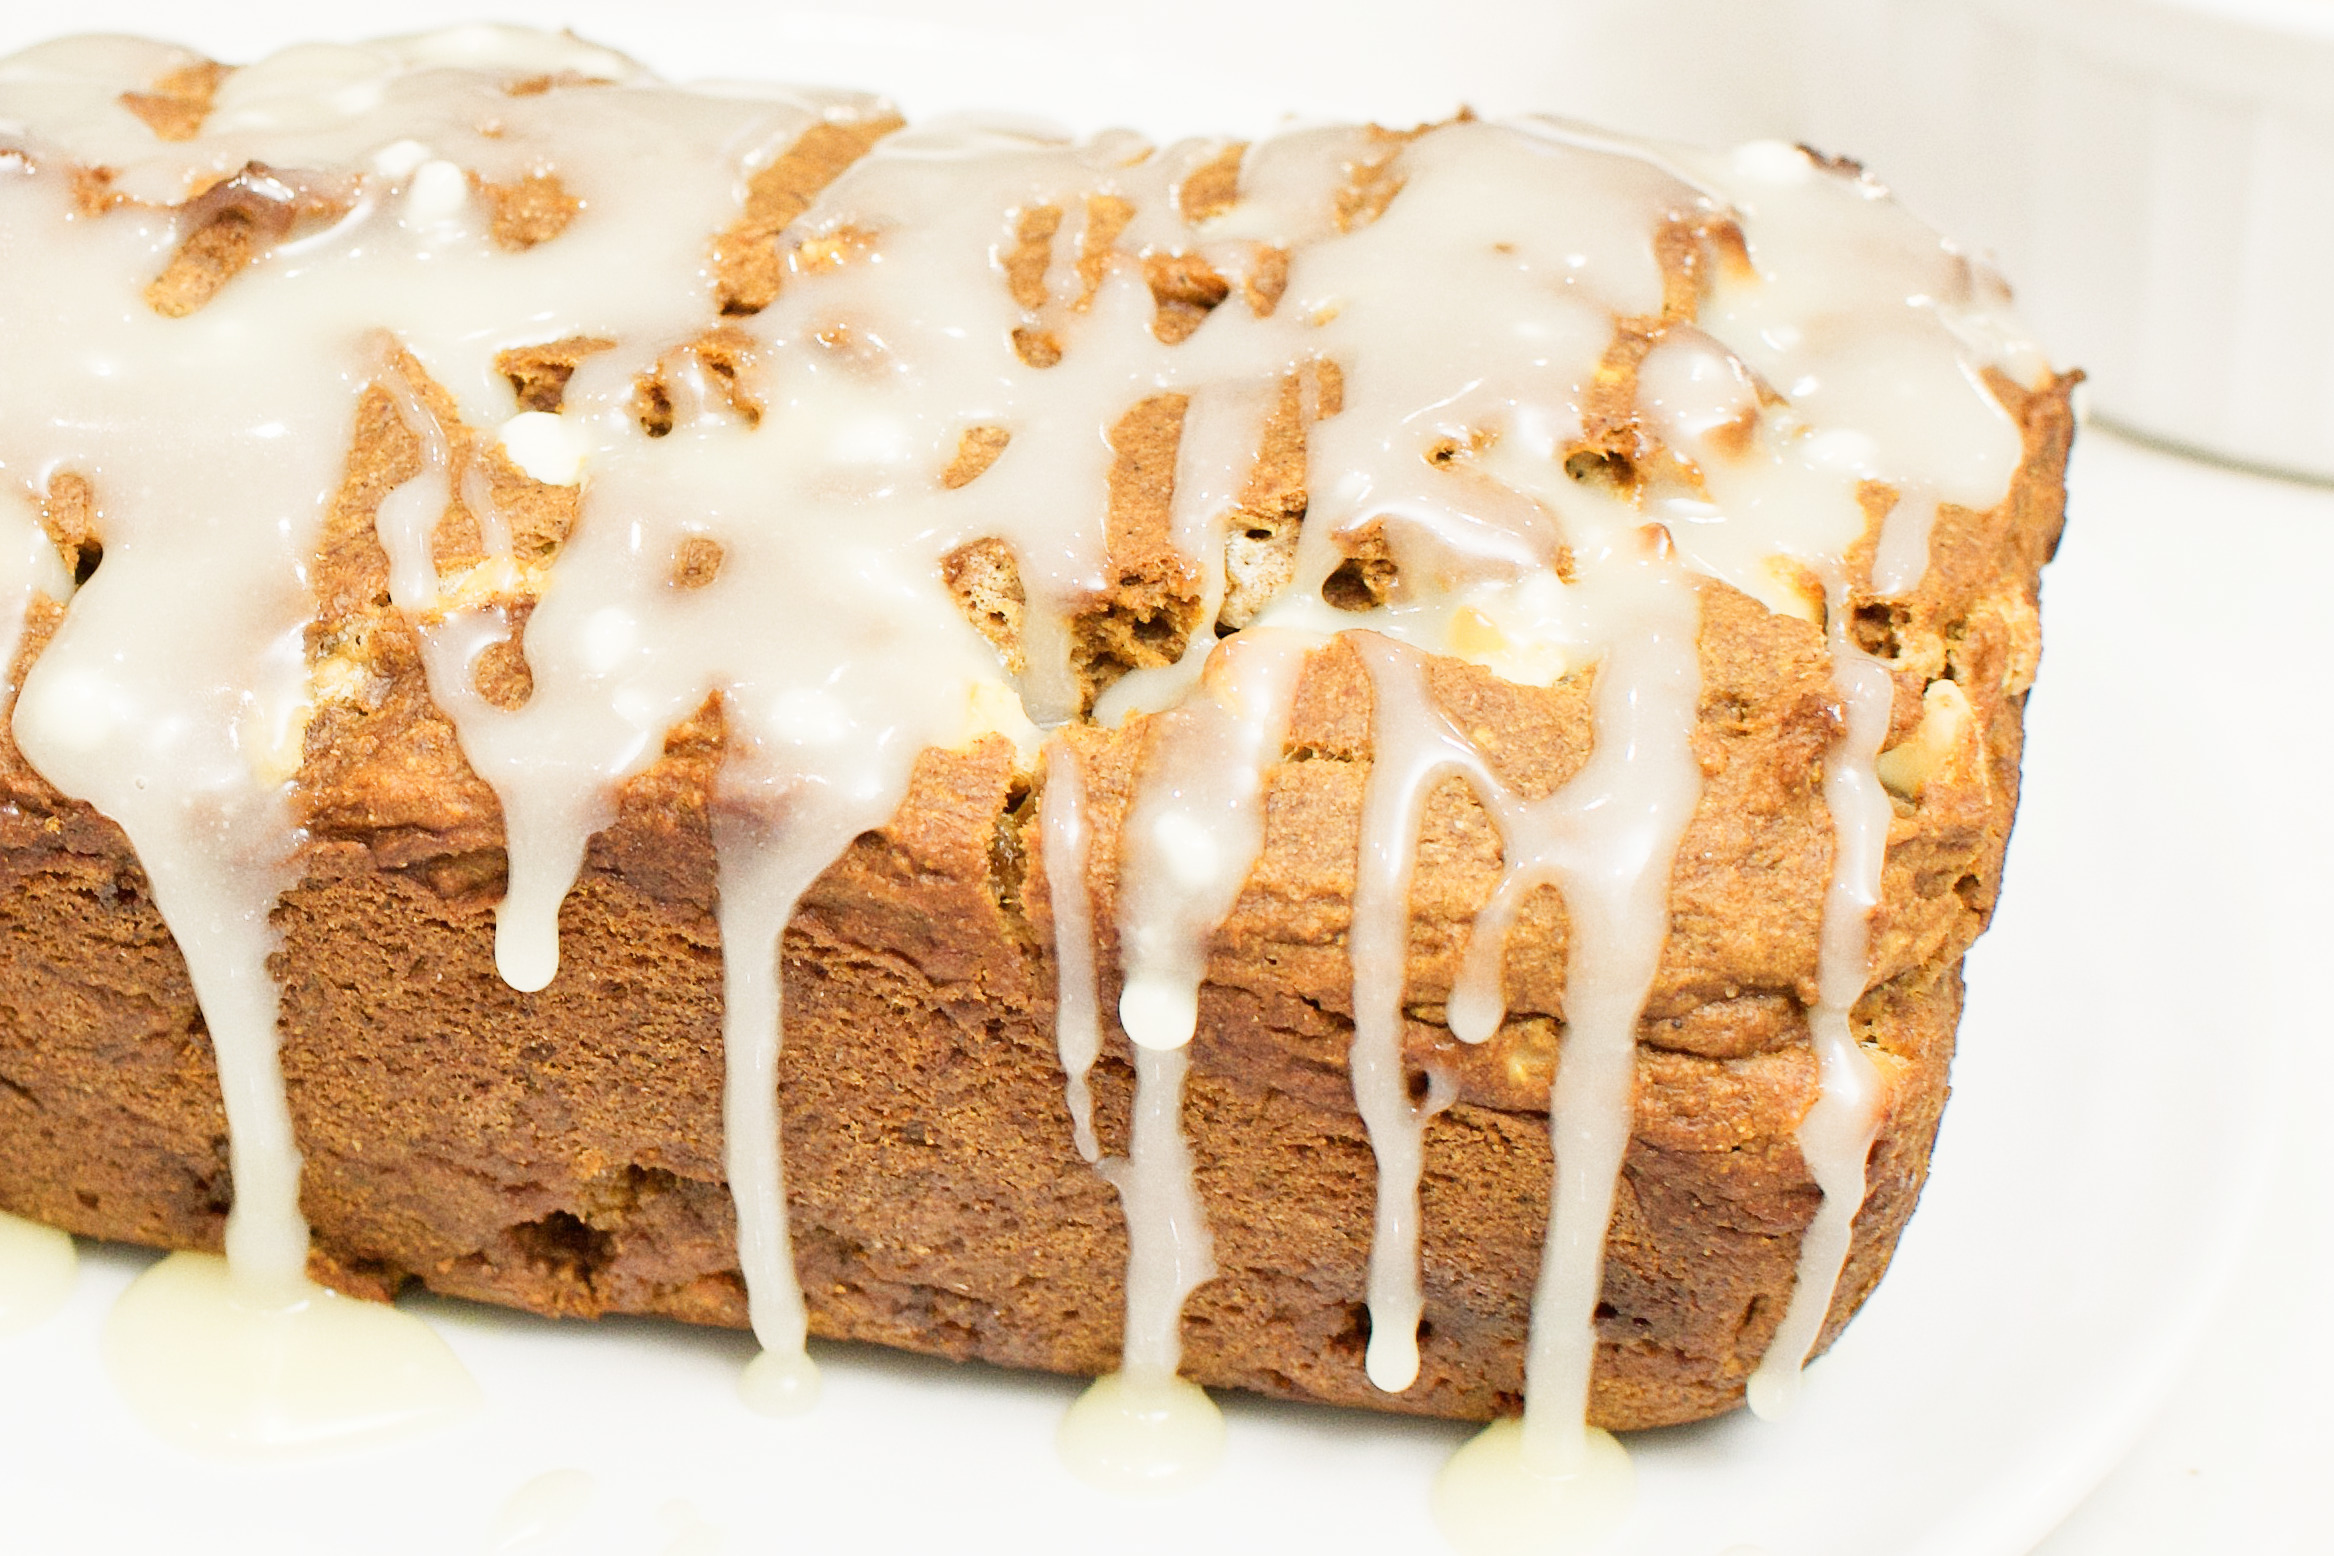
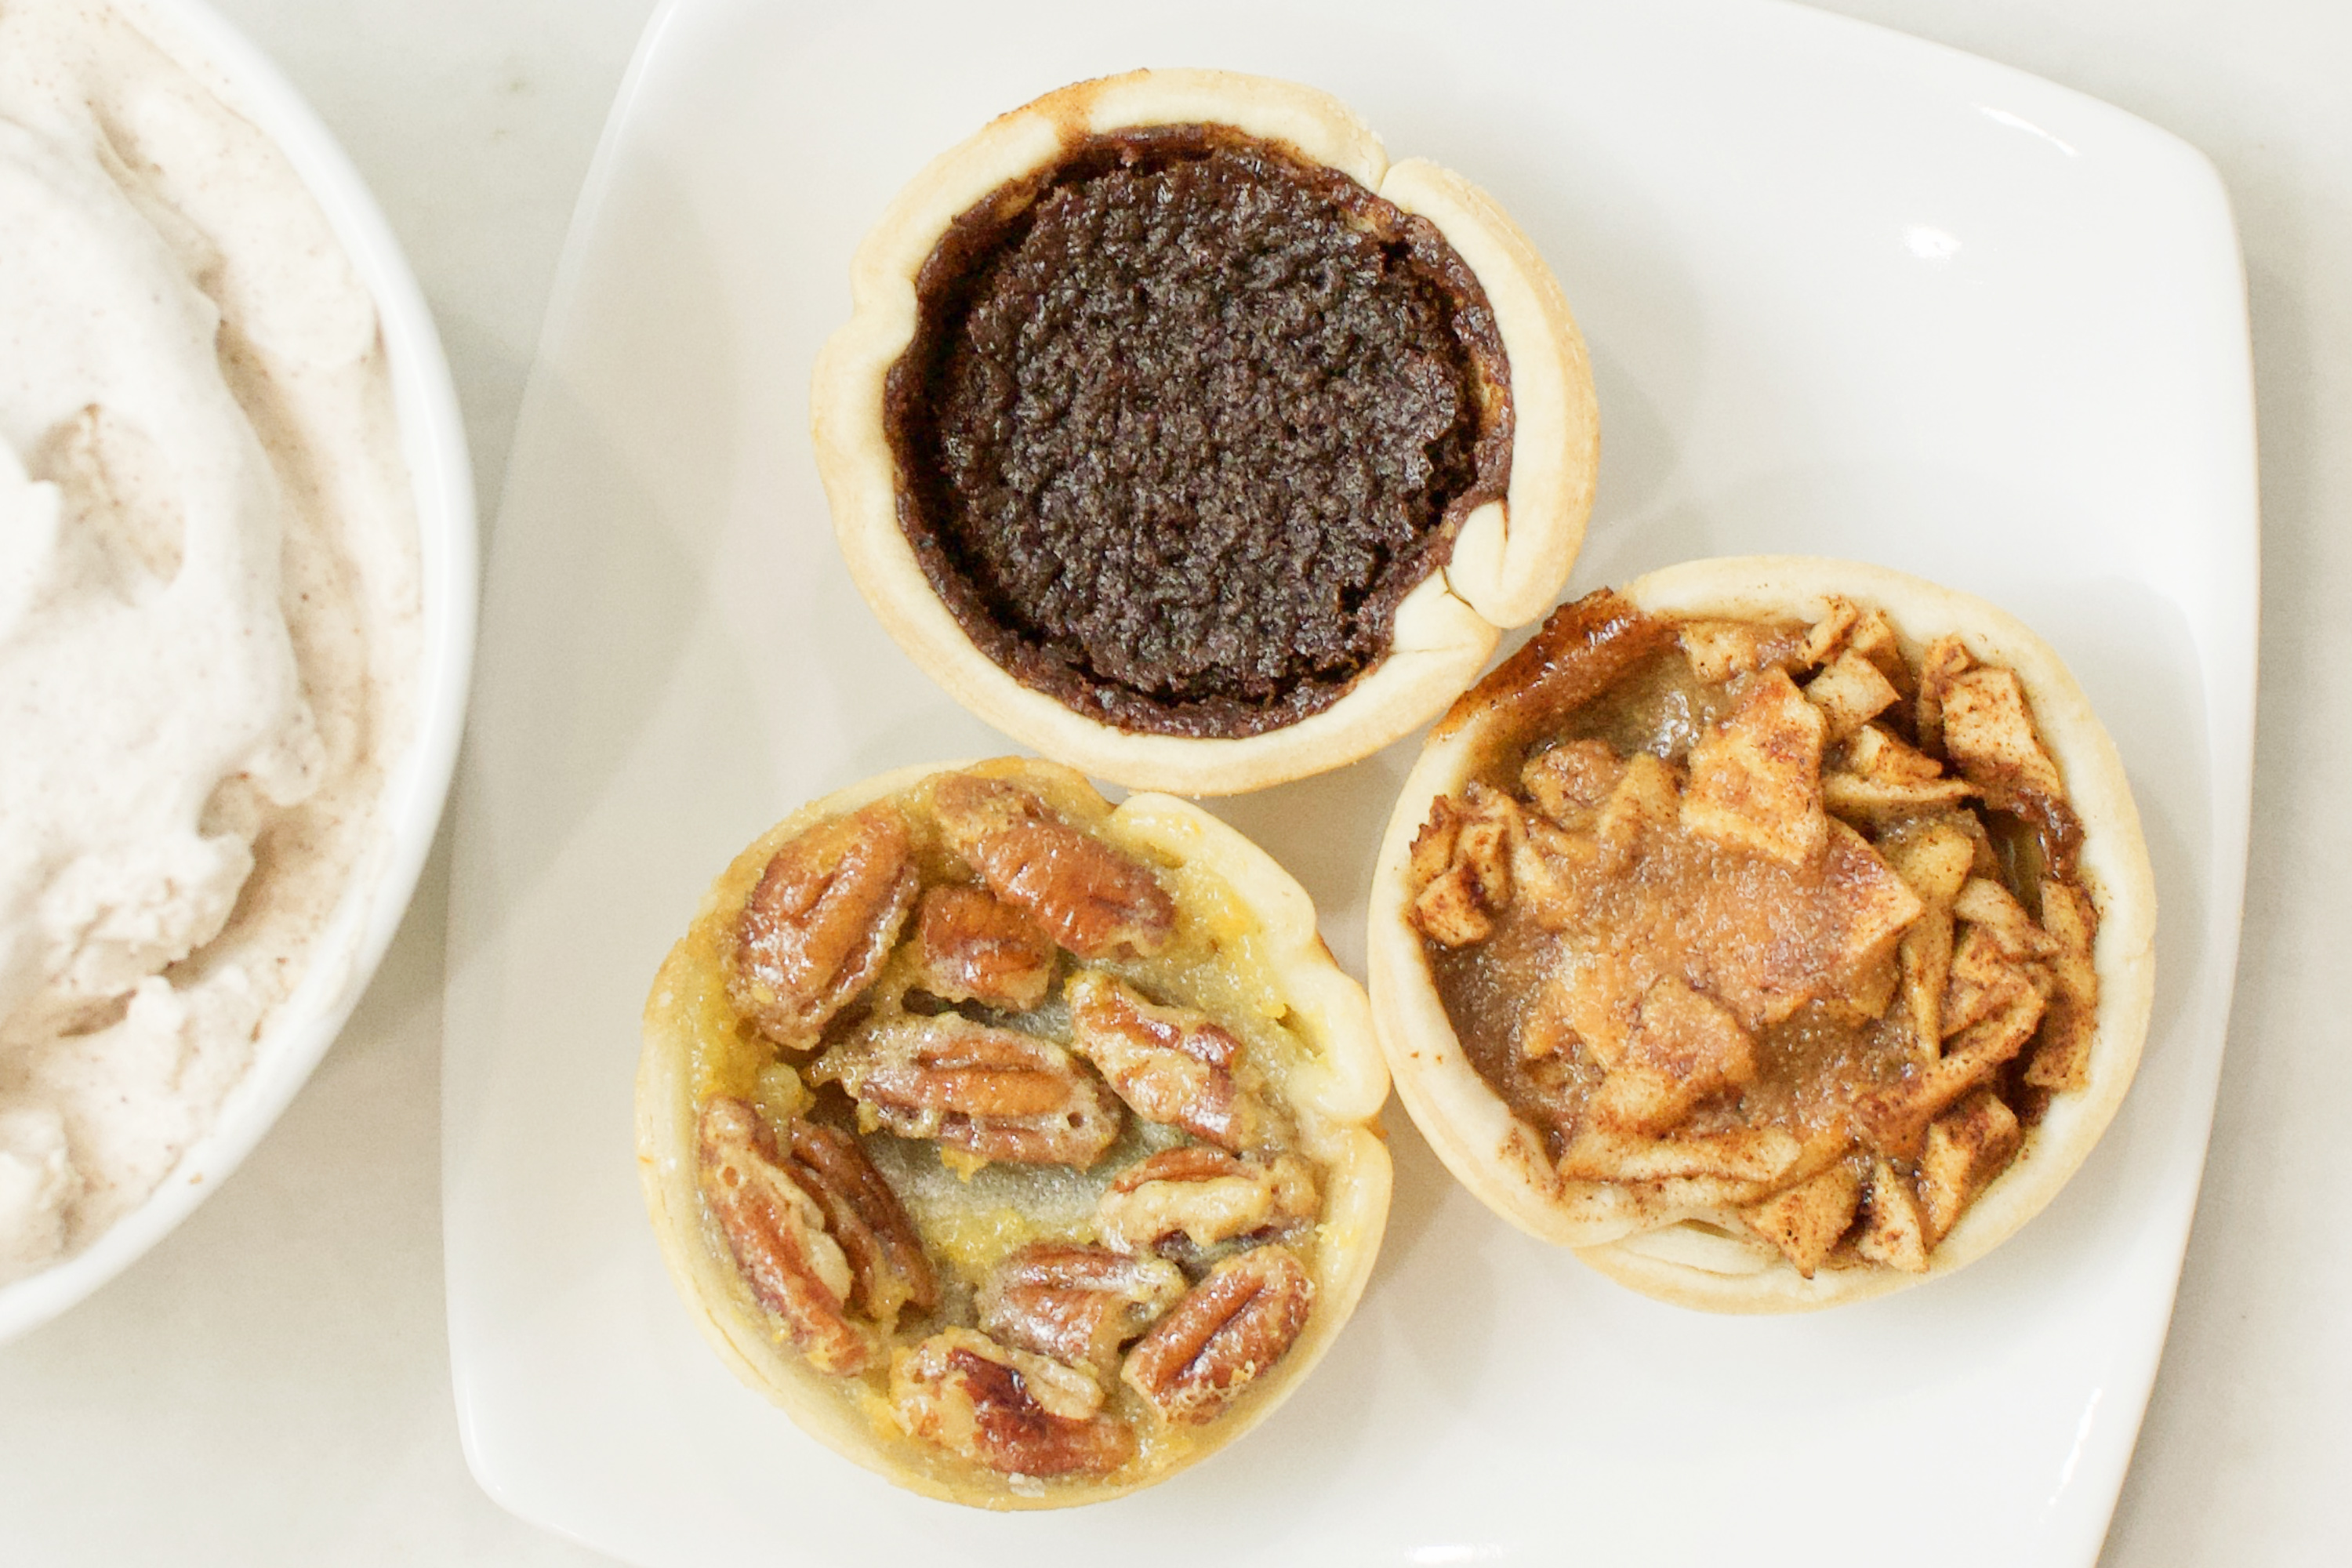
There are many reasons to host a Friendsgiving.
- You and/or your friends don’t have family in town and don’t have anywhere to go on Thanksgiving day.
- You want to throw a giant, epic, food-filled party and make new friends.
- You want to have an intimate dinner and show appreciation for a few close friends.
- You are thankful.
- You have friends.
- You want to have more friends.
- You love to cook.
- You hate to cook but love to eat.
We have hosted Friendsgiving at our home quite a few times. It’s one of our favorite traditions because it combines things we love: friends, thankfulness and food.
Over the years, we have learned a few lessons. Here are some key takeaways to help make planning your Friendsgiving a breeze.

Tip #1 – Delegate.
This is our number one tip. Let people help you! Don’t be one of those people who hosts a giant meal for a crowd and responds with, “Oh, just yourself!” to the question of, “What can I bring?”
Do you love to cook and decorate? Do you think you can handle all the food and the decor? Let’s get real for a minute. Odds are, you won’t be able to cook an entire feast and handle all the decor including an elaborate tablescape on your own. Or maybe you can do everything but it likely won’t all be done well.
Potluck, not dinner party.
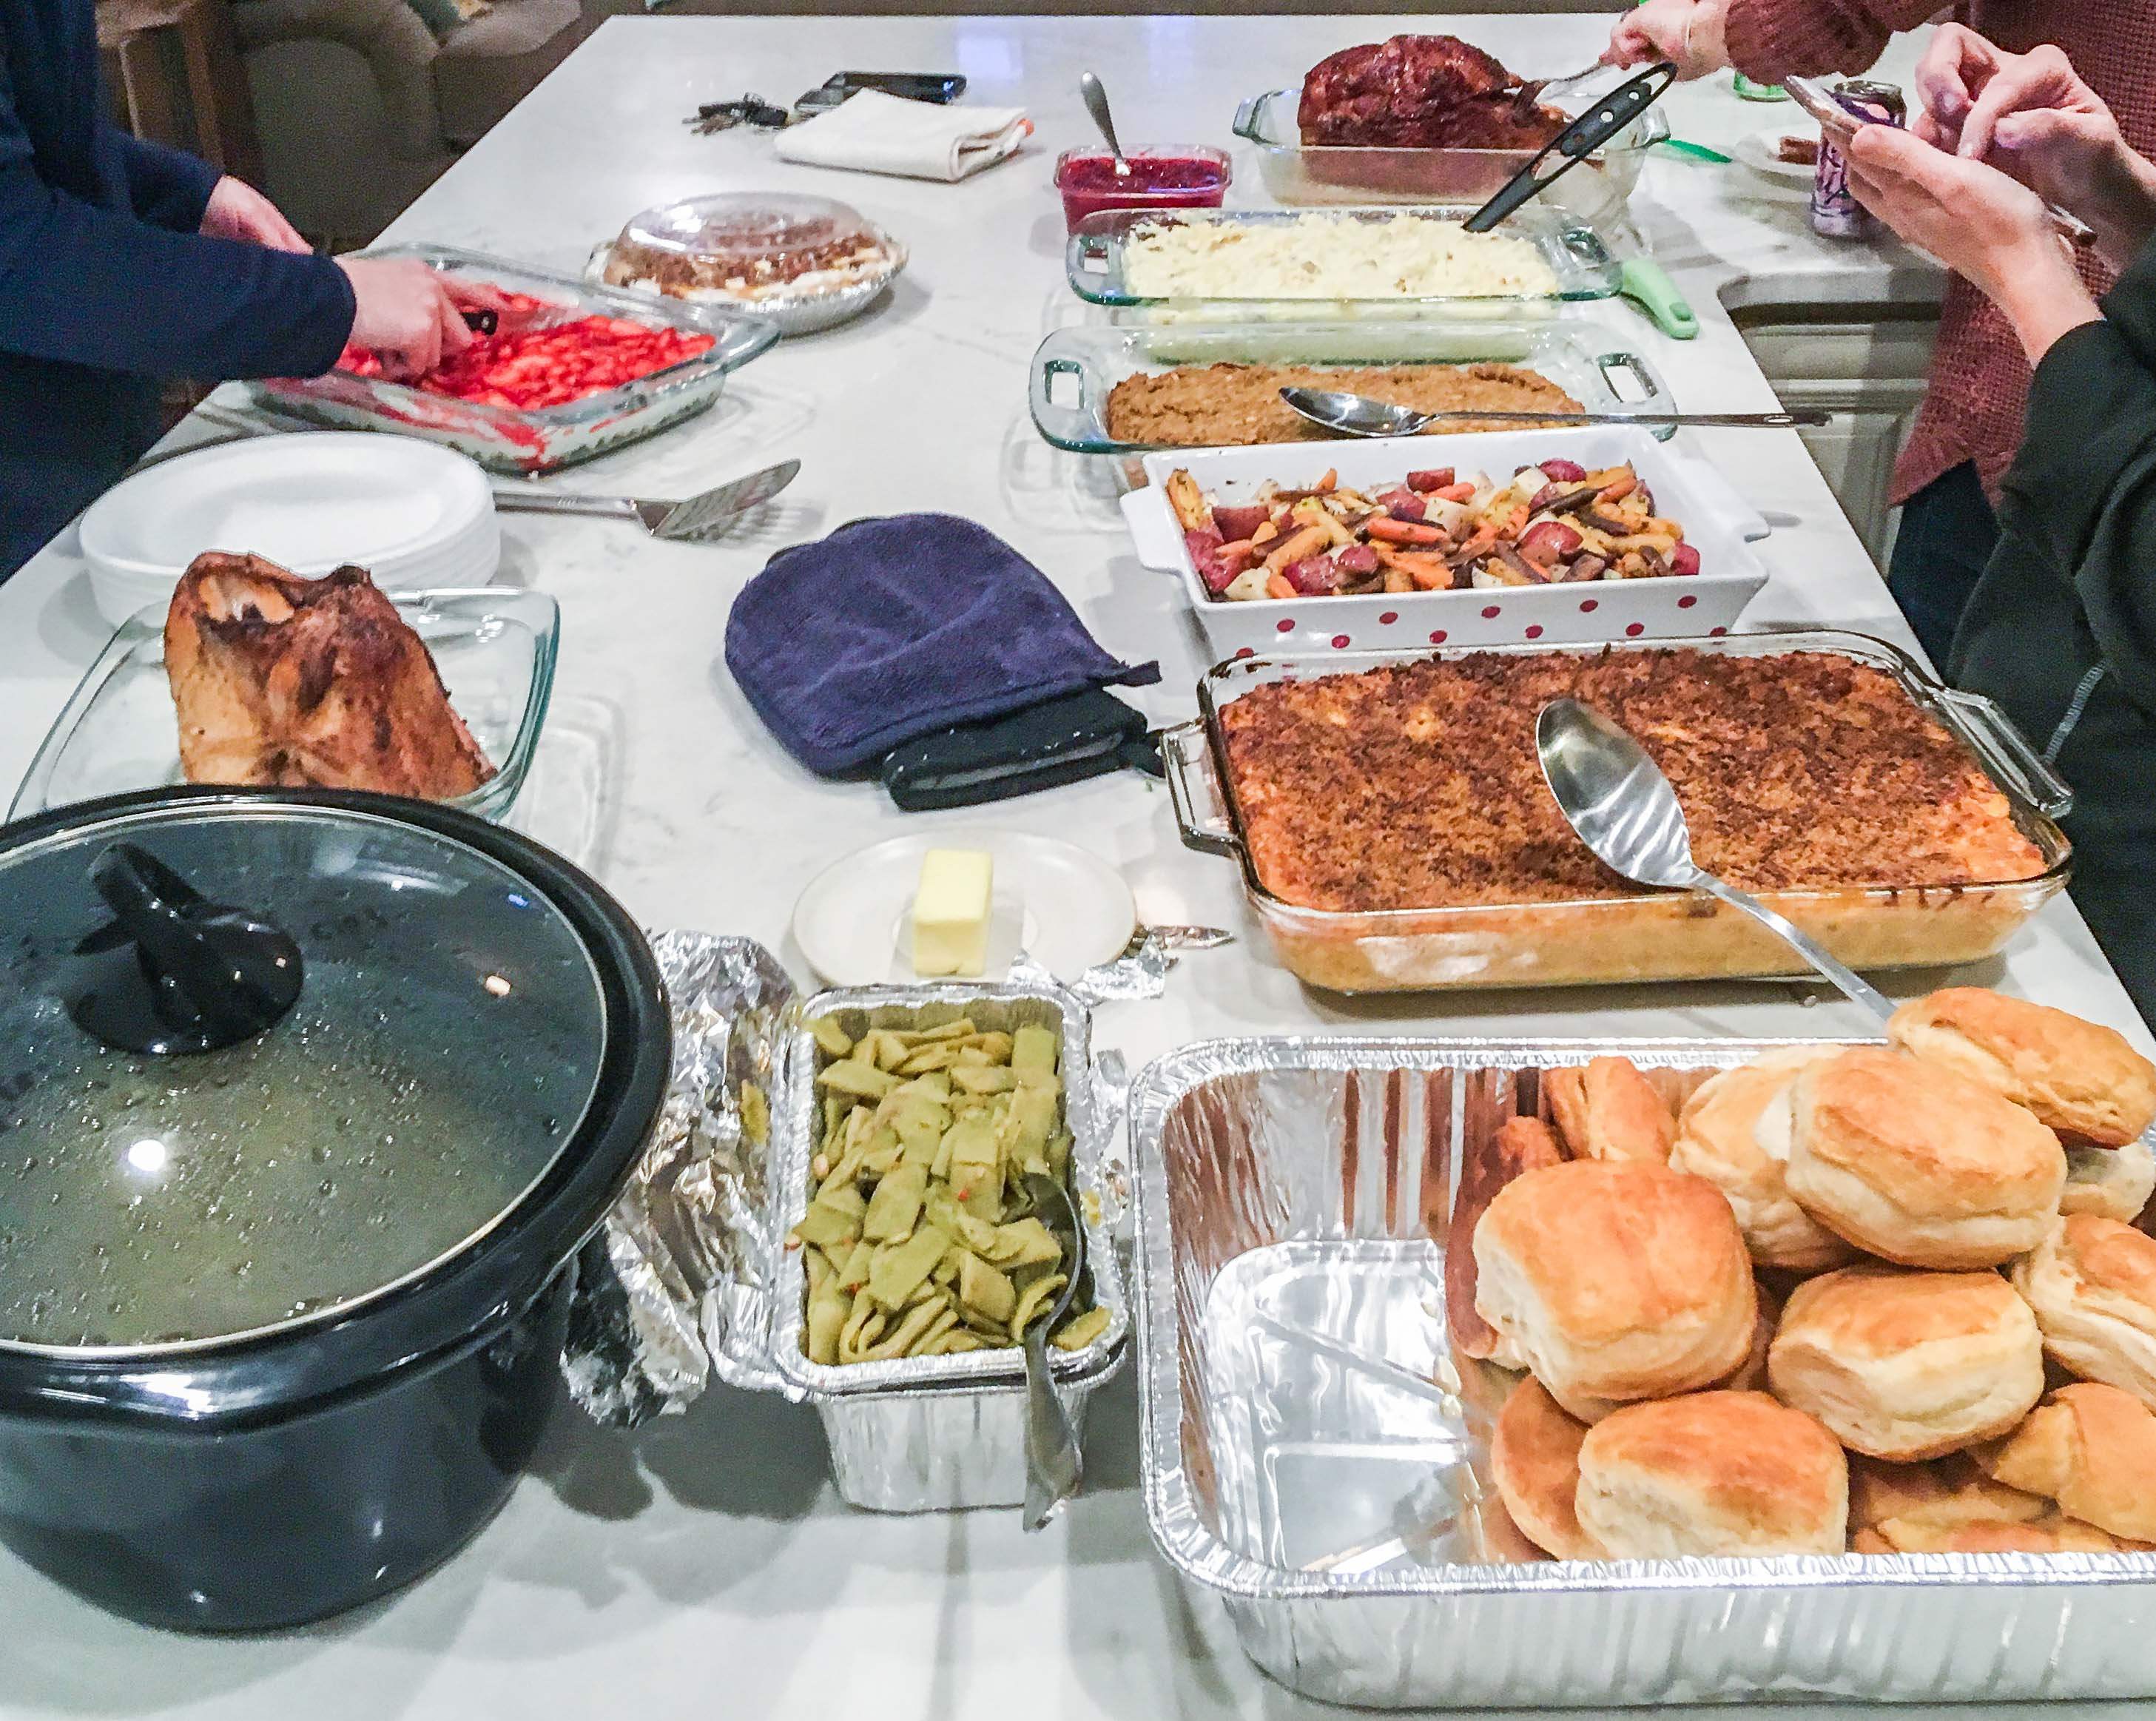
Many times a Friendsgiving functions more like a potluck than a dinner party. The host isn’t expected to cook every single aspect of the meal. Often hosts will commit to cooking the turkey and ask guests to bring sides or dessert.
Not comfy with cooking the main dish? Many grocery stores offer an option where you can order a turkey, a ham or your protein or choice, fully cooked with instructions on reheating it. Or invite a culinarily-savvy friend to come early and help you. Or delegate the turkey to said culinarily-savvy friend and you make a couple side dishes instead.
For the home cook with super powers.
Here’s another option: if you love to cook and thrive on creating an entire menu, you could handle all the food and just delegate desserts, drinks and the tablescape / decor to your guests. Or vice versa if you hate to cook: you handle tablescape / decor / drinks and delegate the food items to your guests.
Whatever you do, delegate something (or lots of things) to your guests. You’ll save your sanity and let them feel like they’re a part of the experience.

Tip #2 – Plan ahead.
What can you do the day beforehand? Or even two days ahead of time?
This is especially true if you’re committed to handling all the food items. But even if you’re making a few things, you’re definitely going to need a plan AND a schedule. Get yourself together a week beforehand.
• • •
Planning. Step 1.
Write down every food item on your menu and every piece of decoration you are planning to create.
• • •
Planning. Step 2.
Decide what you can do ahead of time.
Can you make any cold-served desserts a day or two in advance? Or at least make the pieces and assemble it on the day of. For example: make the pie crust and wrap in plastic wrap in the fridge. Make the pie filling and store in a tupperware in the fridge.
Anything served cold or at room temp could likely be made ahead of time.
Are there any sauces or special condiments that can be made ahead of time? For example: a dressing for the salad, roasted garlic for the mashed potatoes or a glaze for the turkey.
All or most of the decor can probably be done ahead of time. As long as you don’t need to use your table for everyday use, you could set the table as far in advance as you want to. Hanging garlands, making a centerpiece, etc. can all be done ahead of time.
My favorite method is to print out recipes for every food item I’m making, each recipe on its own sheet of paper. Then make notes next to each step of every recipe – mentioning when the steps should be completed.
• • •
Planning. Step 3.
Inventory your pantry and fridge and make a giant shopping list including every ingredient you will need.
Likewise, inventory your decor and serving dishes to see what else you will need to buy. Or ask a friend to supply specific items.

Tip #3 – The Decor.
My favorite approach to themed decor is simplicity. But you can design as simple or complex as you wish.
Use your everyday dishes, paper plates or your fine china. Completely up to you! Often we just leave up our fall decor and let it speak for itself. This rustic wooden decor box with some white candles, pumpkins, leaves and pinecones is one of my favorite simple + festive looks.
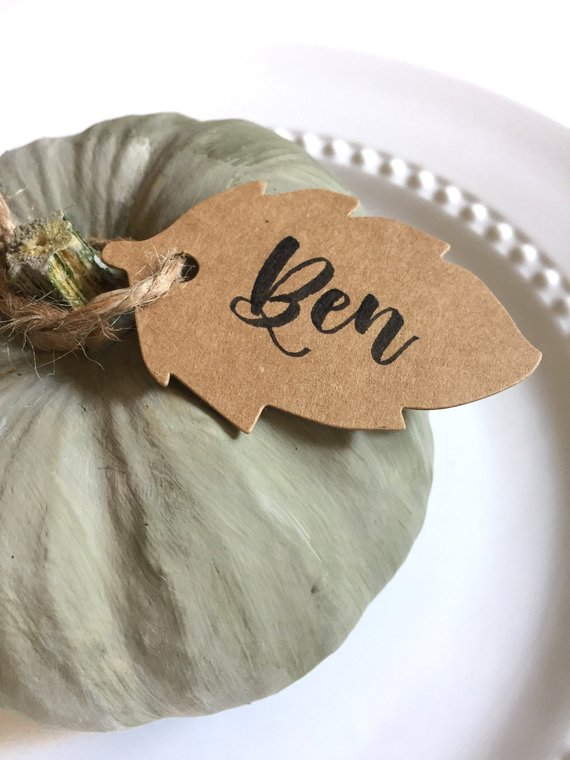
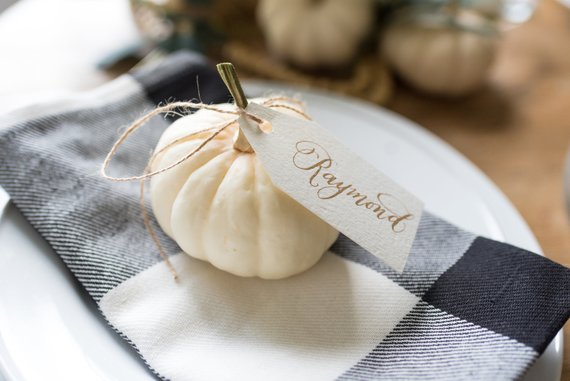
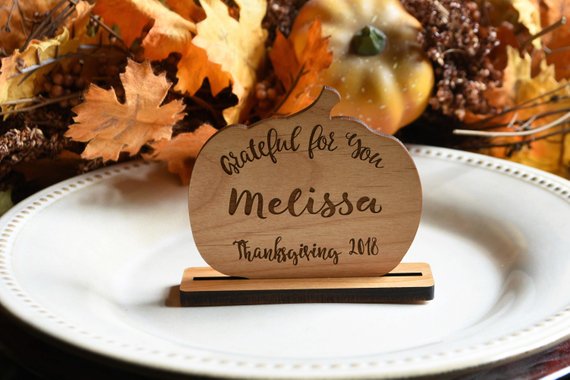
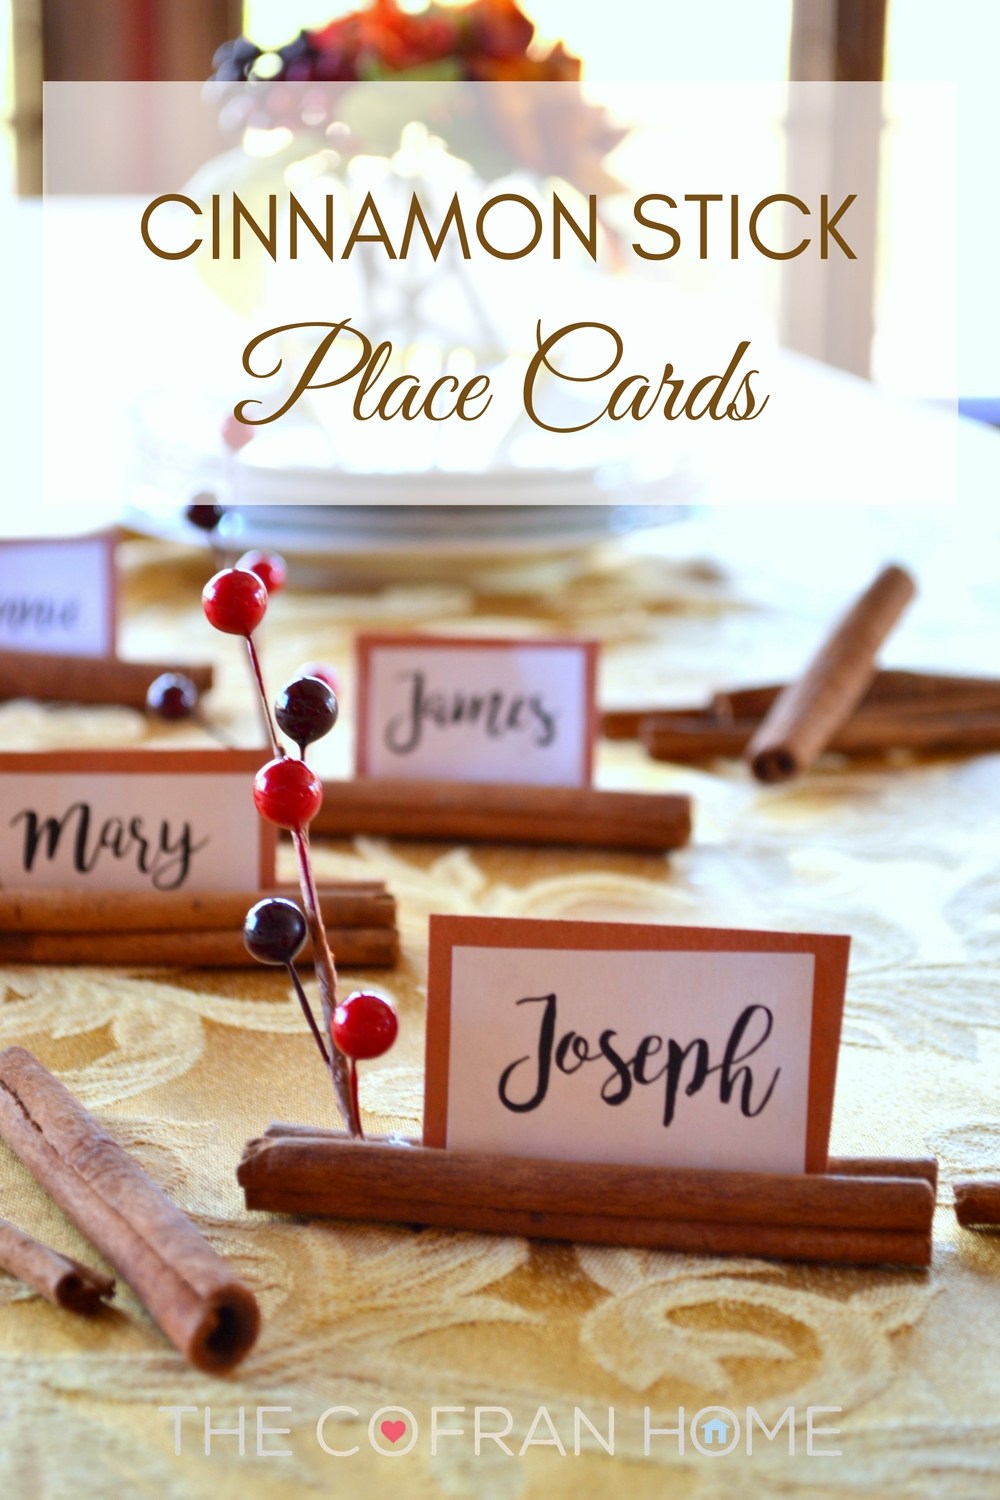
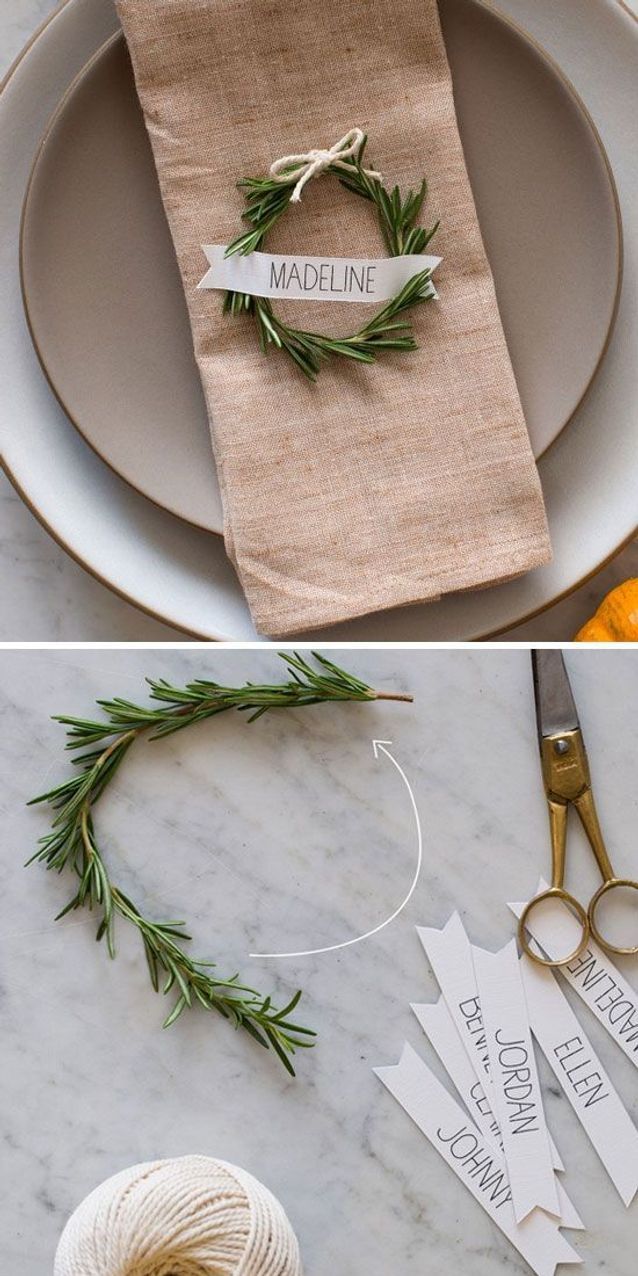
We may add a vase of fall flowers in the center of the table and pull out some simple cloth napkins and placemats and call it a day. Name cards are a nice addition if you know exactly who is coming and want to lay out a seating pattern.
Lay out full place settings if you like. We usually prefer to put the plates out and do a buffet on our kitchen counter then eat around the table.
Check out our fall decor post for ideas on simple and/or DIY fall decor.
Here are a few staples we love to help you create a pretty and simple fall tablescape.
Cloth napkins:
Chargers:
Placemats:
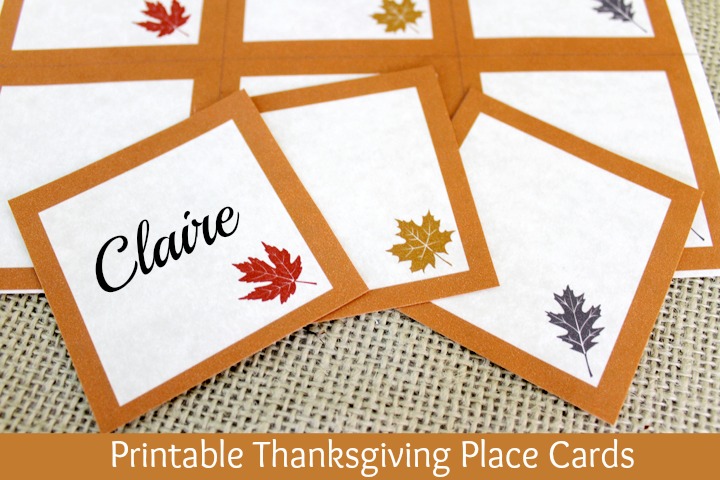
Place cards:
Personalized Thanksgiving Place Cards:
Free Printable Thanksgiving Place Cards from [A Little CLAIREification].
Cinnamon Stick Place Cards from [The Cofran Home].
Country-Style Place-Mark from [ELLE].

Tip #4 – The Activities.
The nature of a dinner party is that dinner is the activity. So technically, there is no need to plan anything extra.
However, I LOVE the opportunity that Thanksgiving gives to engage in recognizing our blessings and what we are thankful for.
Written affirmations.
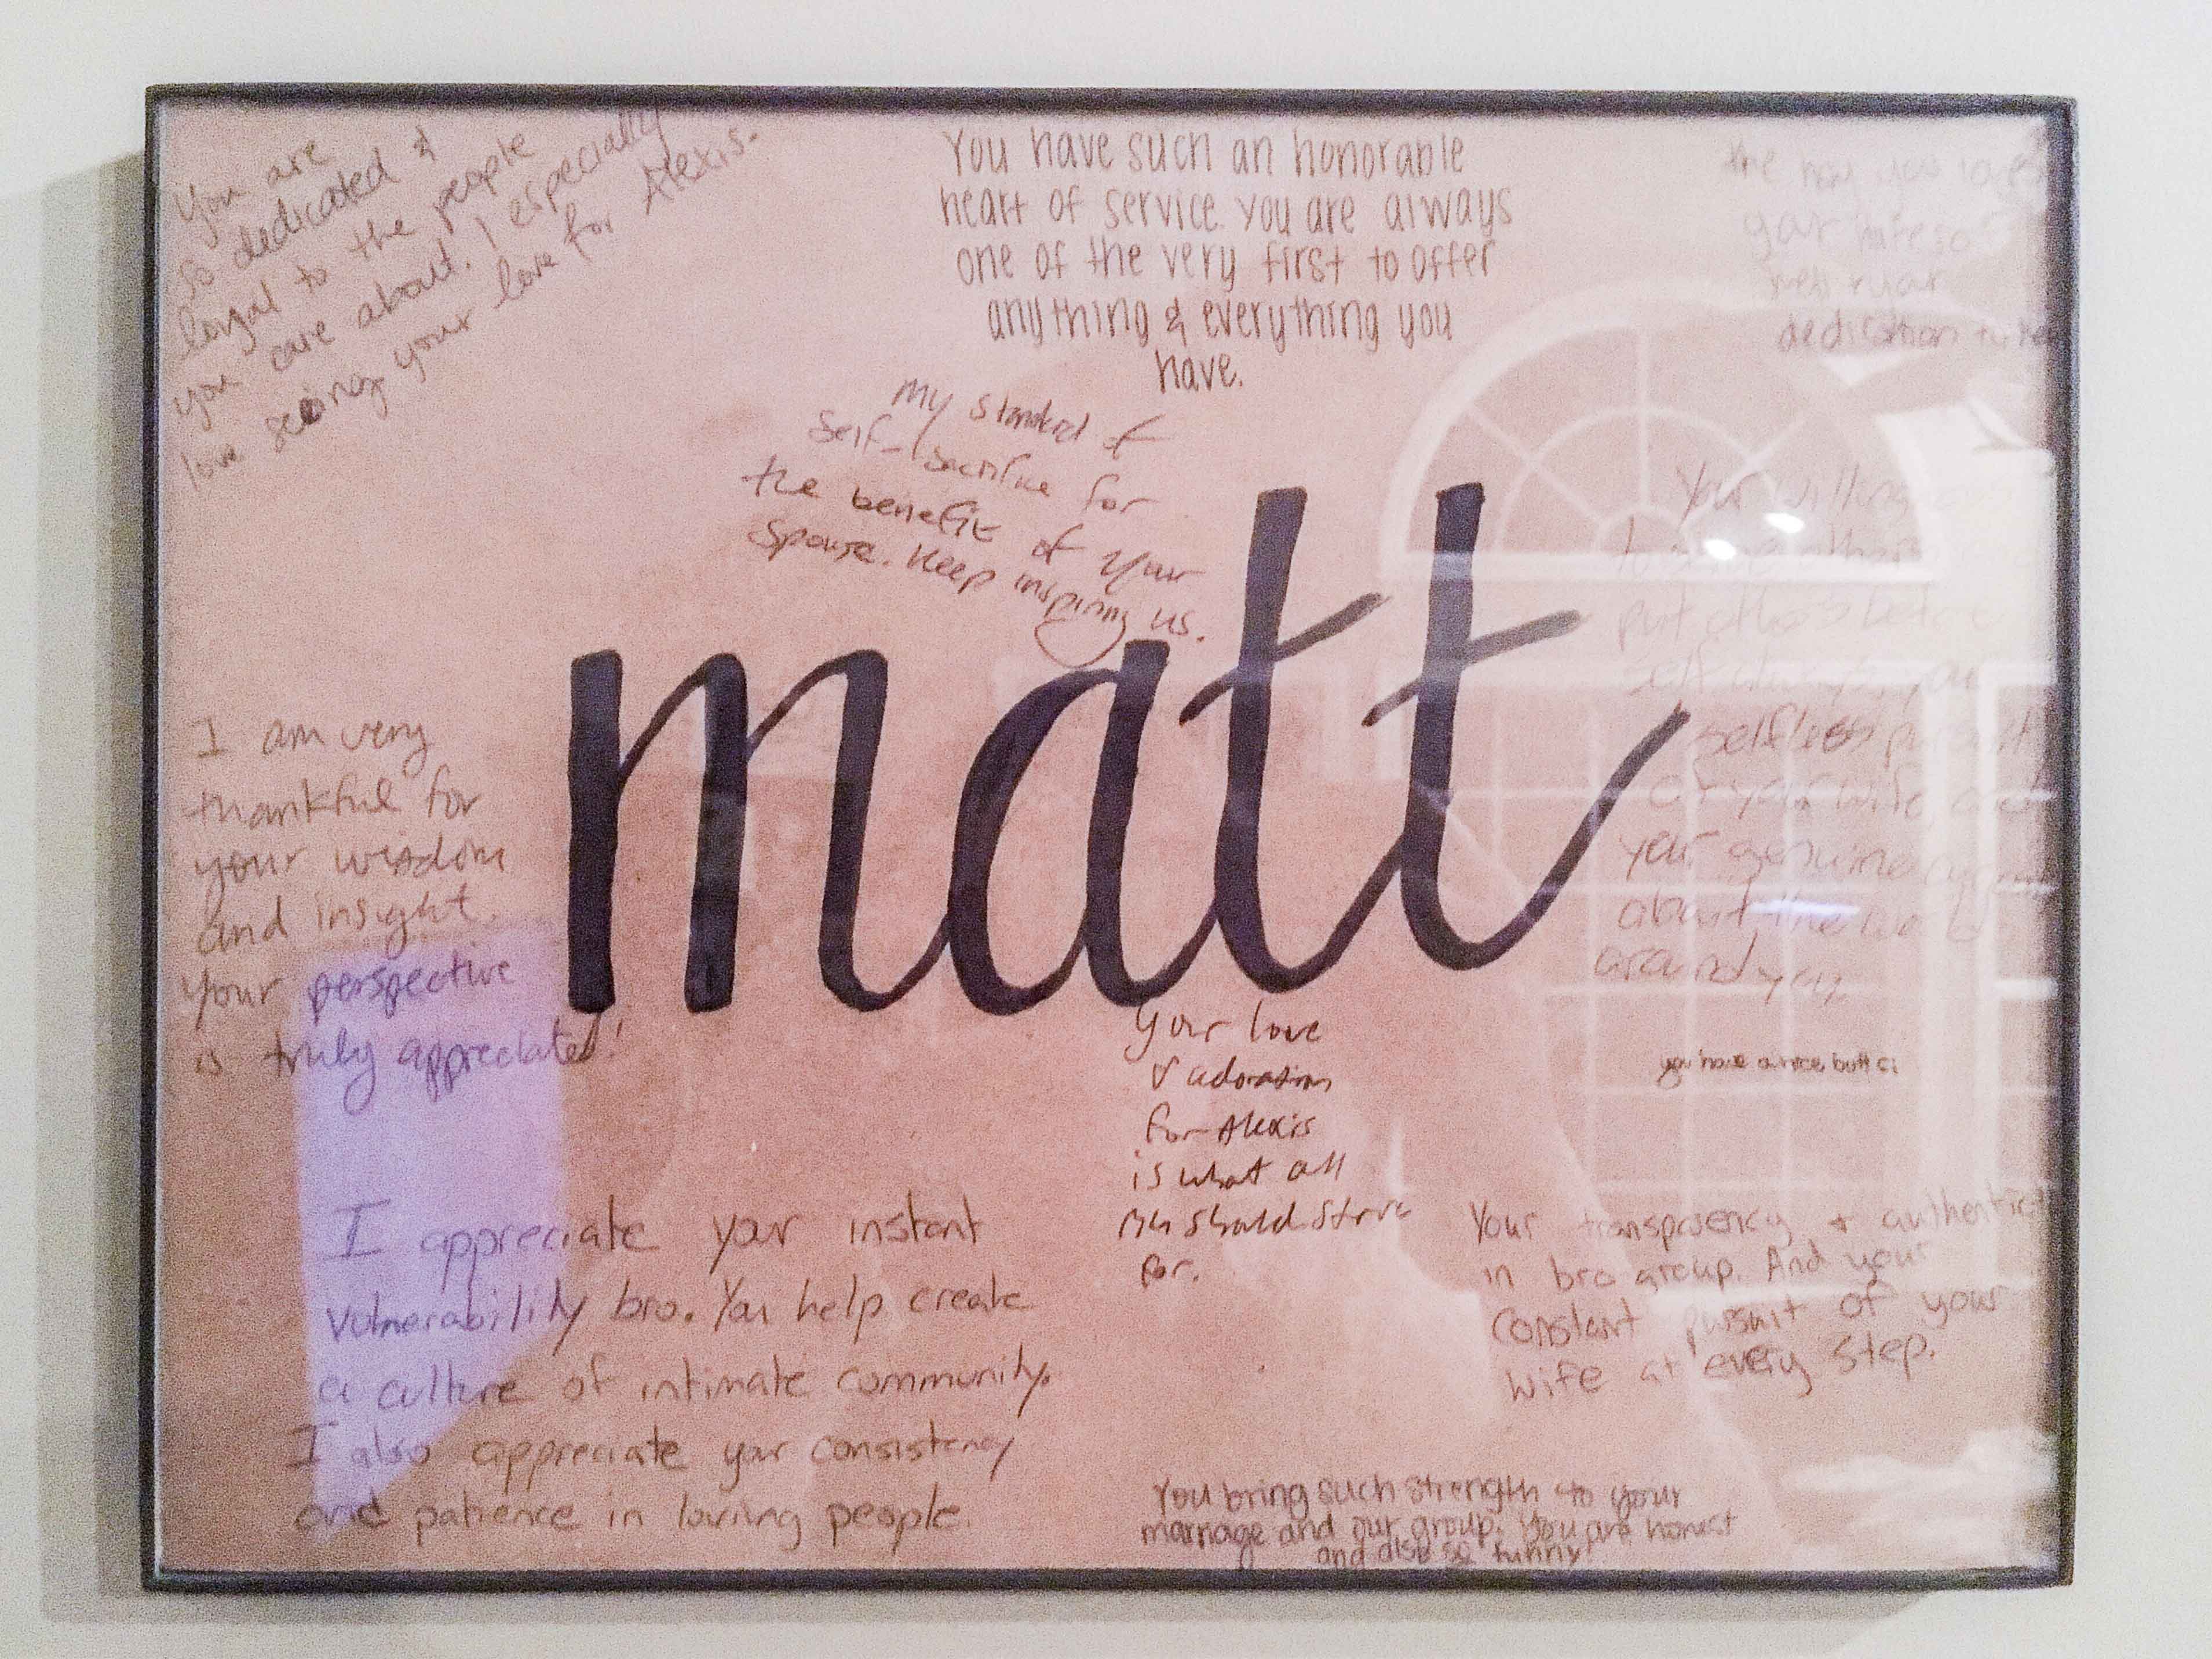
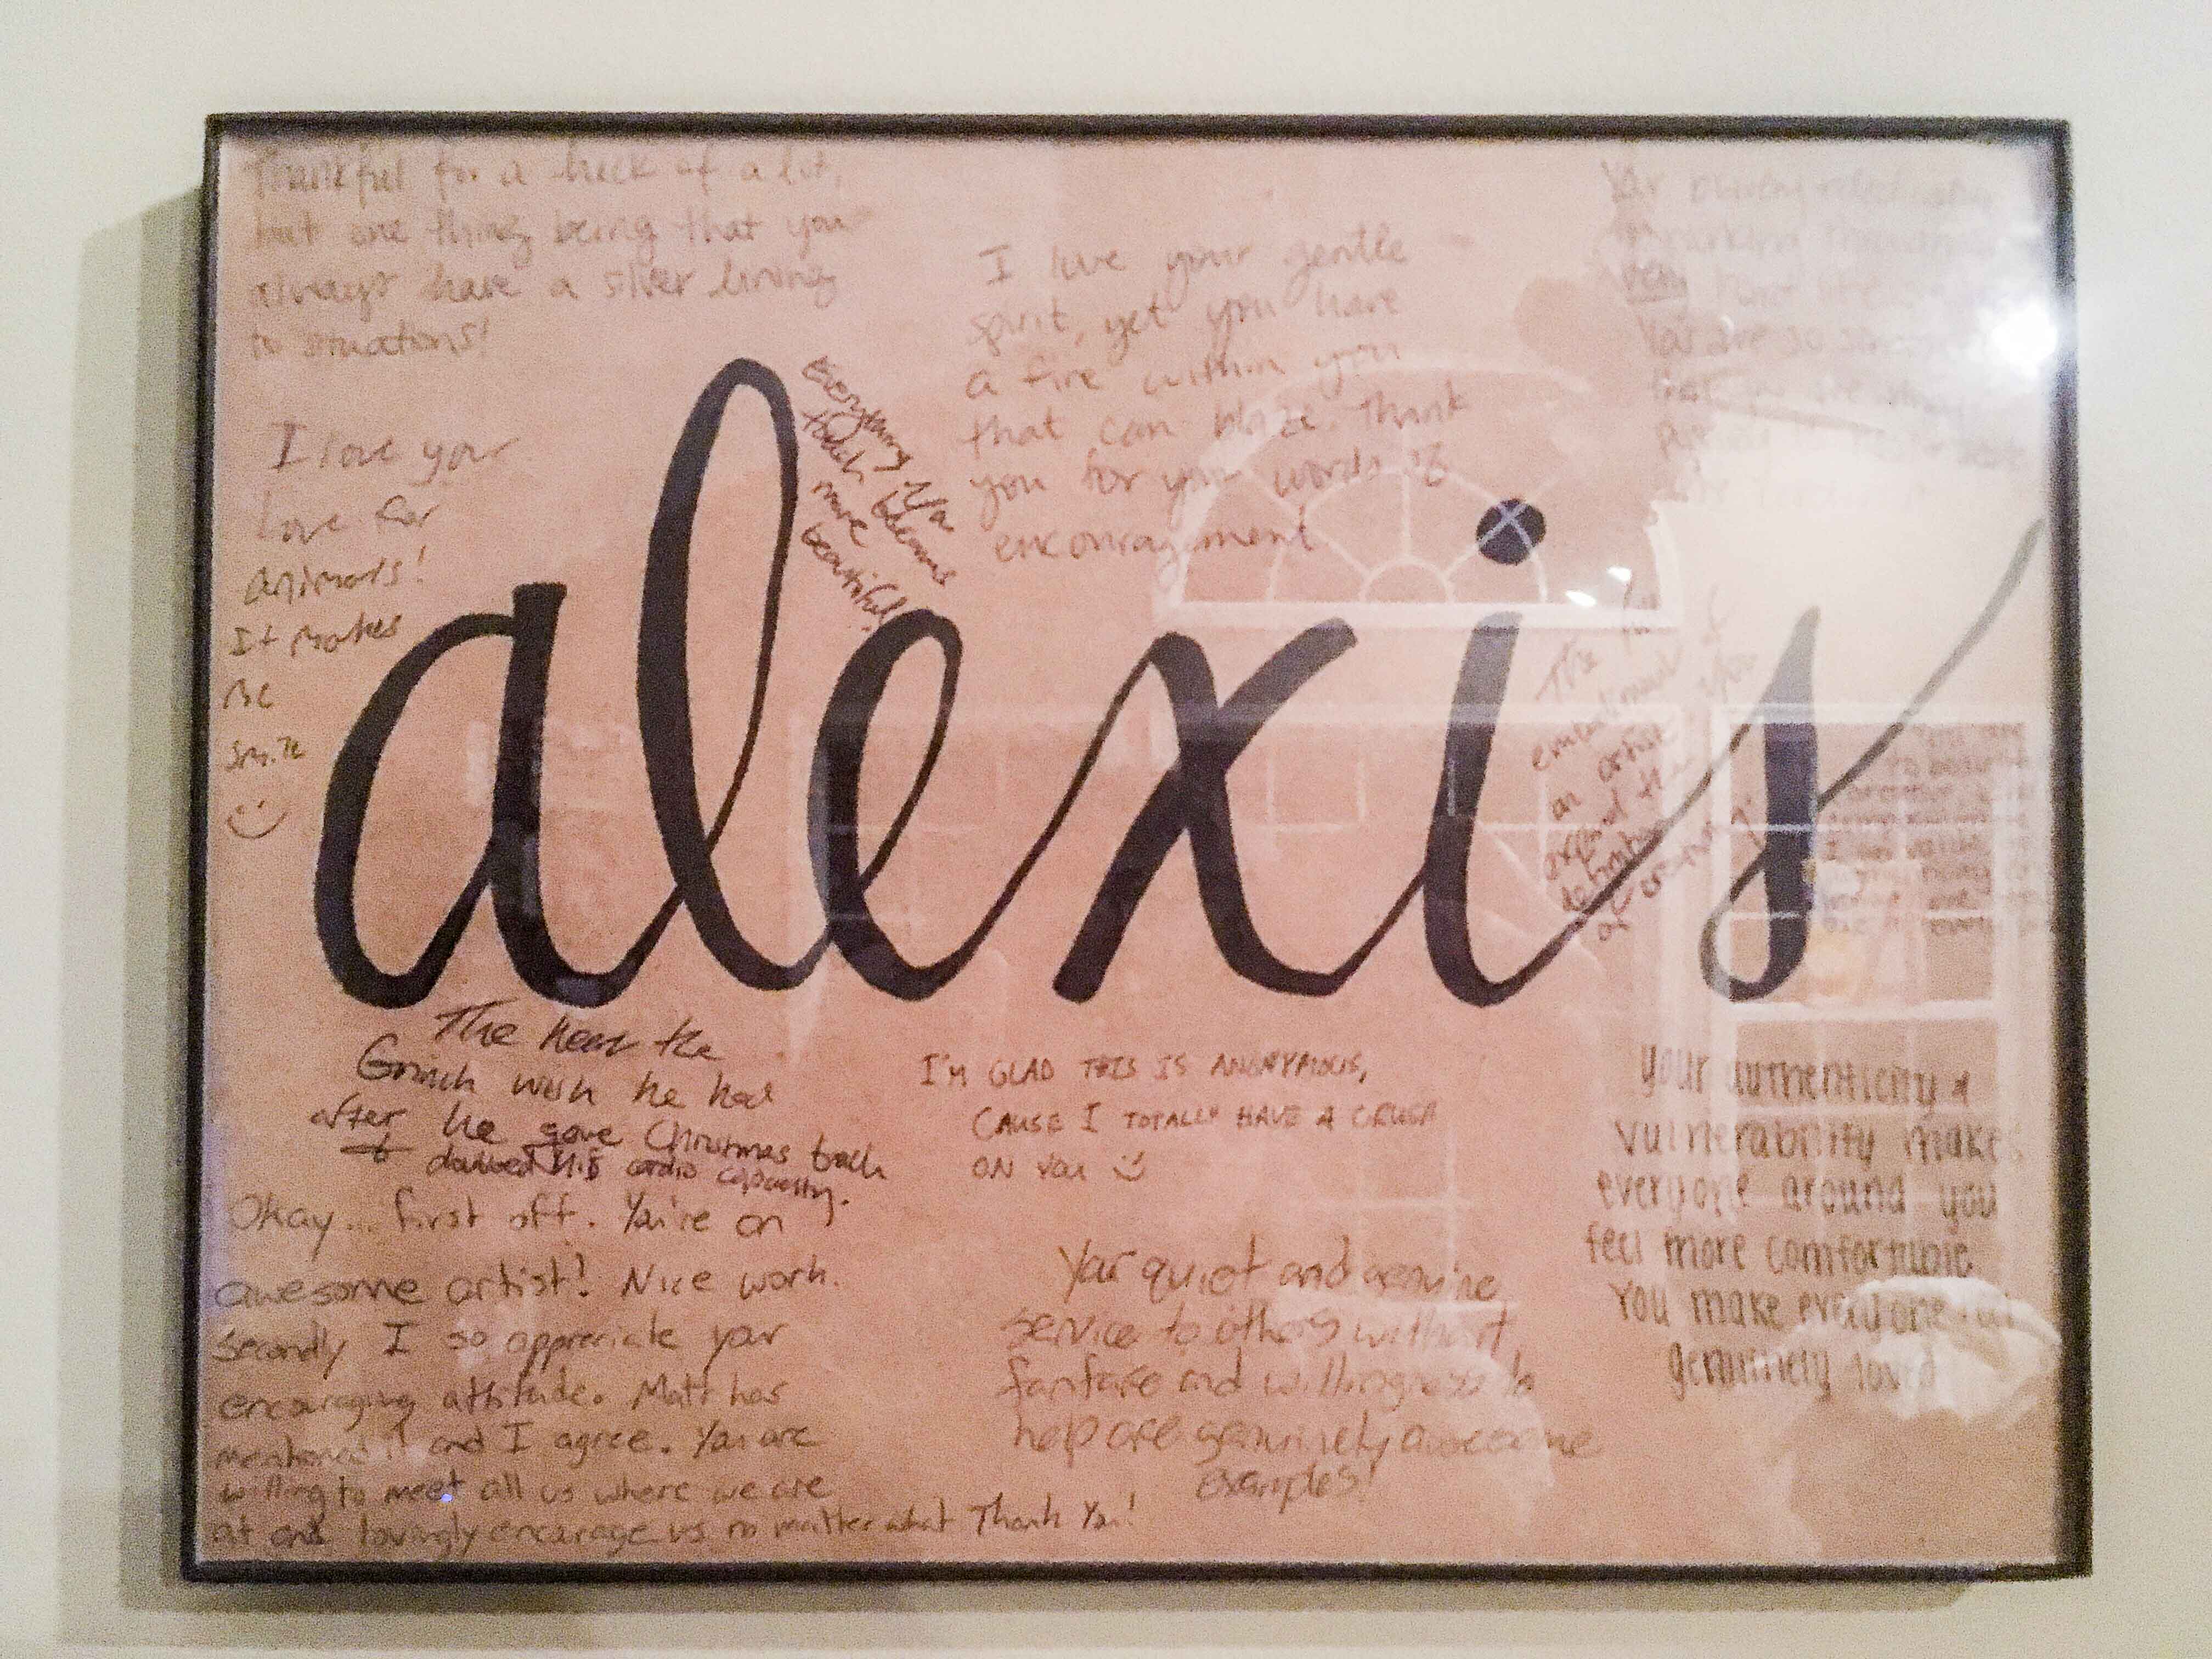
One year we had a friend with beautiful handwriting write everyone’s hand on some super thick cardstock. Before we ate dinner, we set them out and had everyone write one reason they were thankful for that person on everyone’s paper. During dinner, we took turns reading each others affirmations.
It was so encouraging and you got to keep a souvenir to look at year round. Everyone left feeling appreciated and some even framed theirs! This works best in a group where people know each other well enough to have reasons they are thankful for them.
You could also have everyone go around the table and individually say something they are thankful for. When we do this, we usually implement the rule of being specific. So instead of saying, “I’m thankful for my job,” someone might say, “I’m thankful that I get to work in a job where I can do what I love and get outside everyday.”

Tip #5 – The Menu.
There are differing opinions on how much food you need to serve.
My general rule of thumb for Thanksgiving is below. Use the bottom end of the range for small groups and the higher end of the range for larger parties.
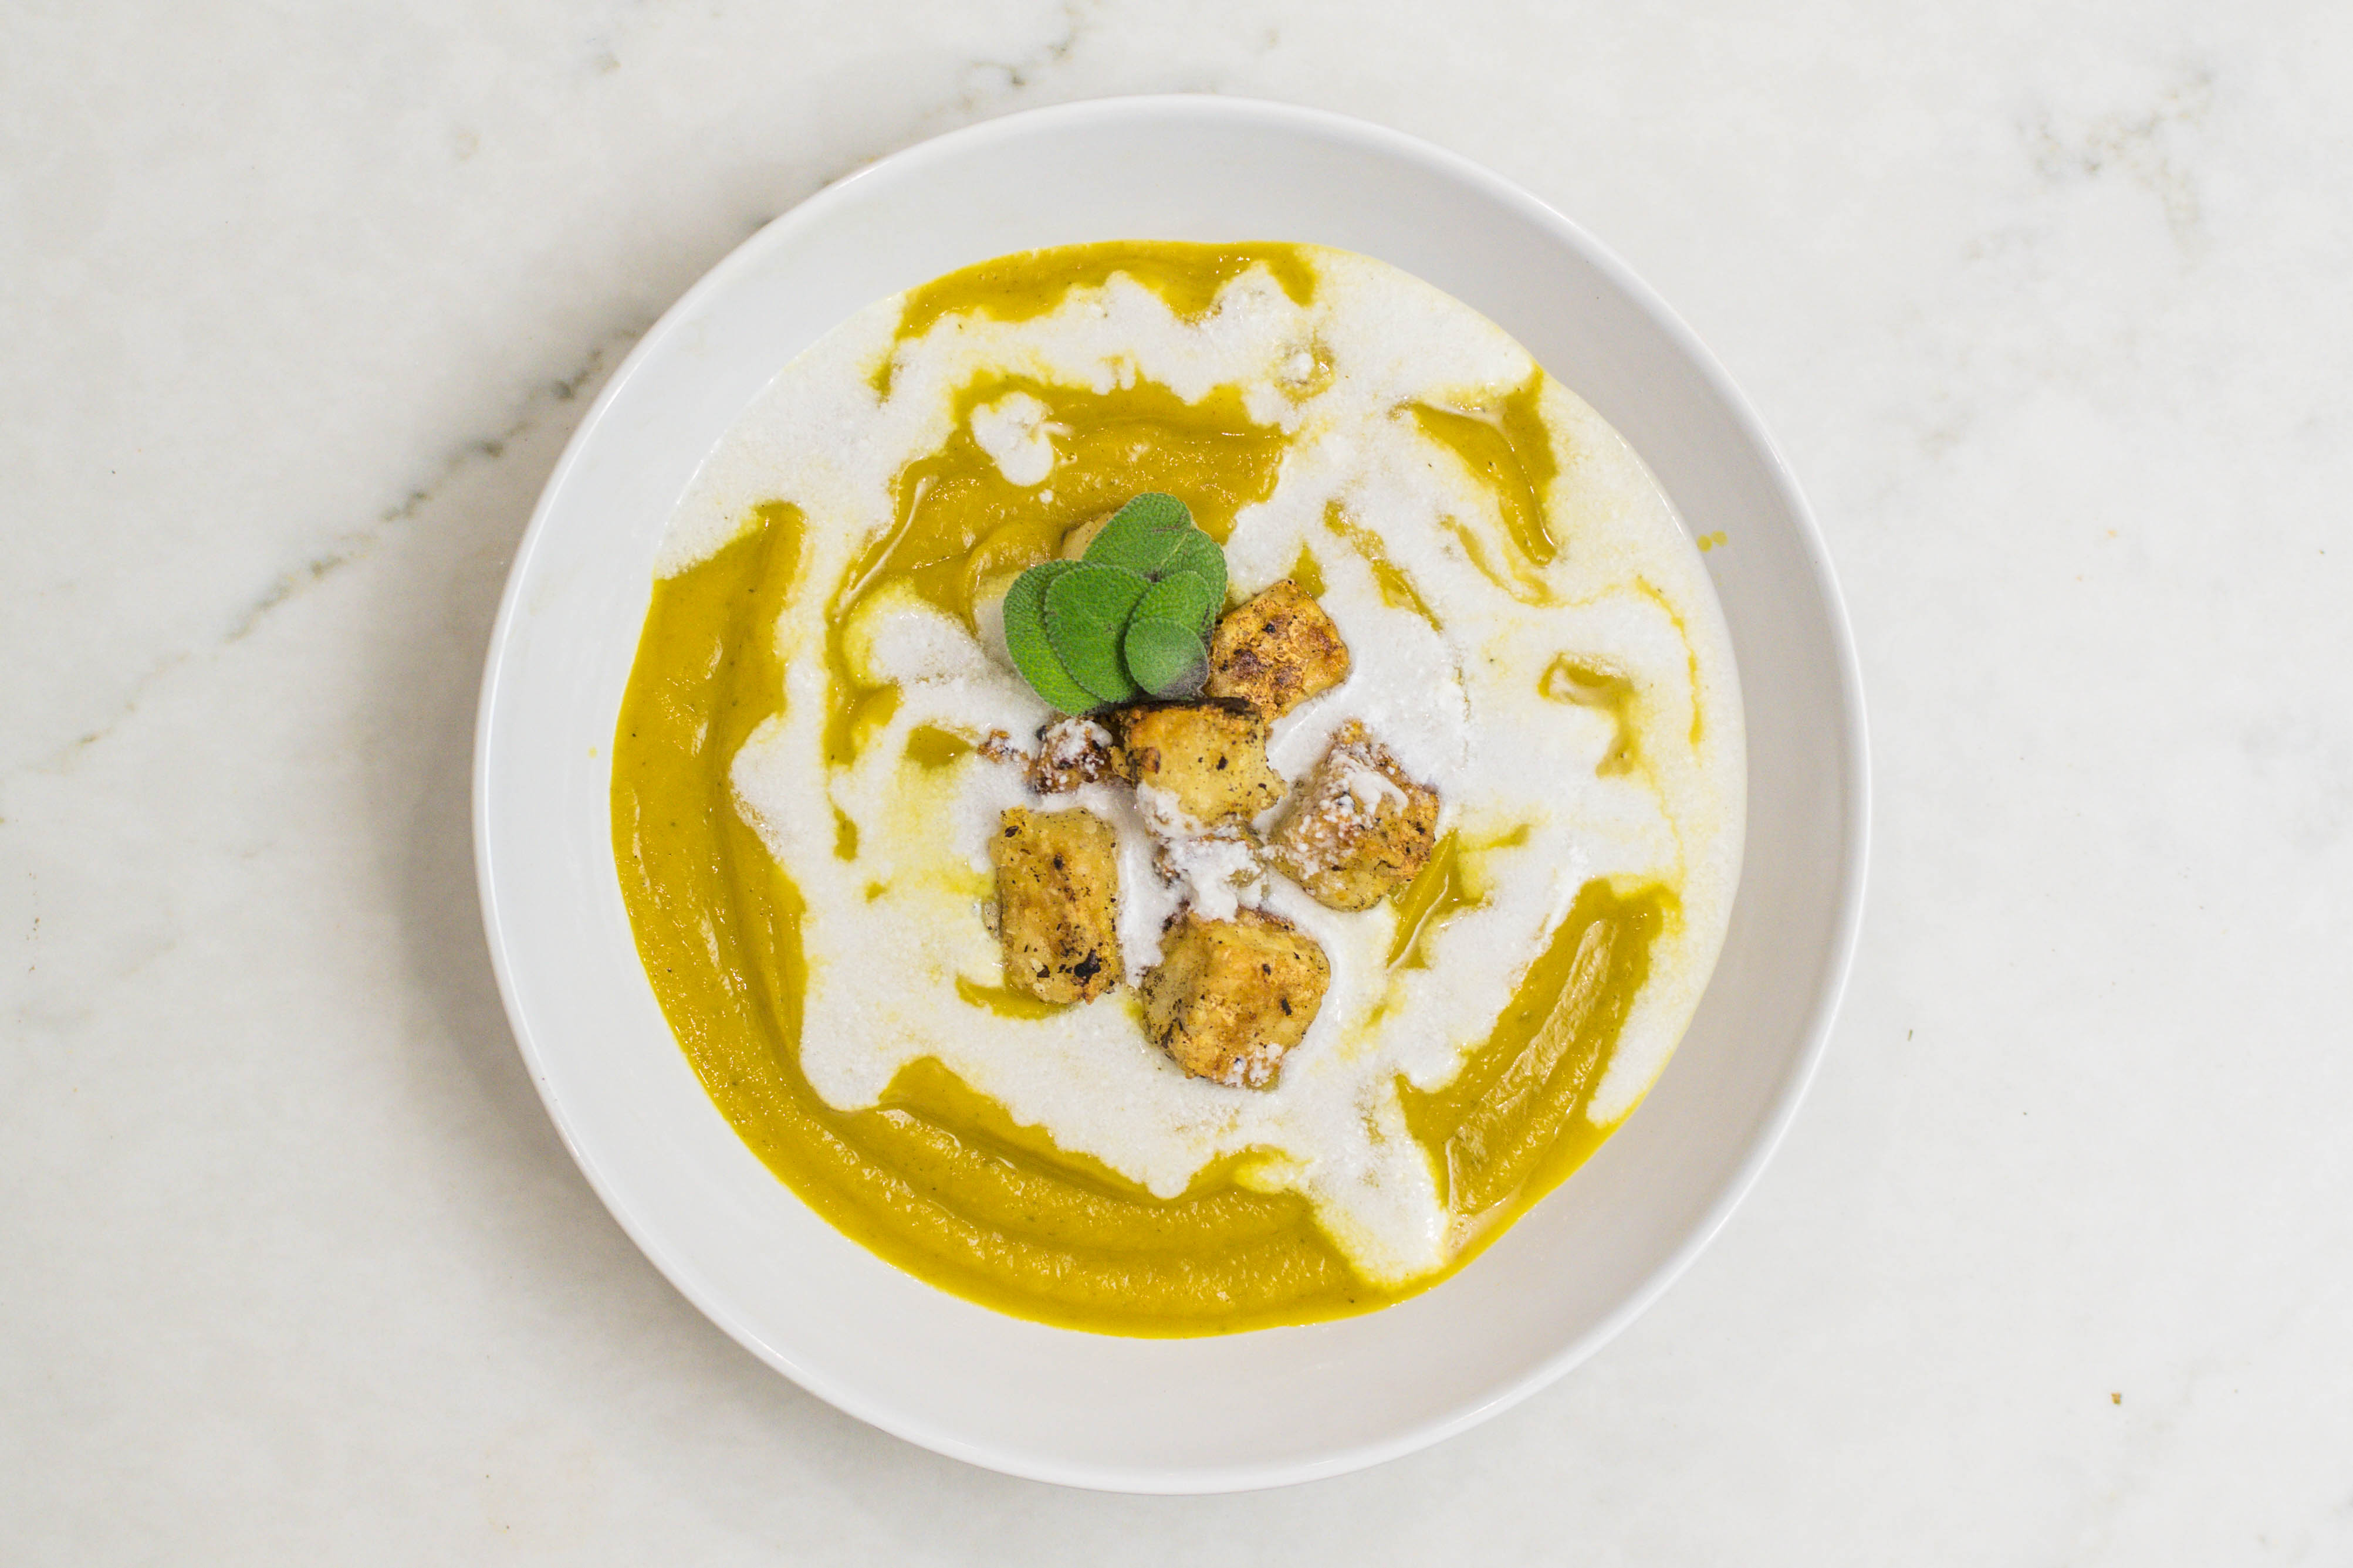
- 1-2 Appetizers (soup shooters, baked brie, flatbread).
- 1-2 Proteins (turkey, ham or any alternative protein you prefer).
- 2-4 Starchy sides (mac n cheese, potatoes, succotash, rice, rolls, stuffing).
- 2-4 veggies sides (green beans, creamed spinach, acorn squash, salad).
- 1-3 Desserts (pumpkin pie, pecan bars, pumpkin roll, chocolate torte).
• • •
A note on turkey.
It usually (almost always) seems to turn out dry.
I have had the best luck with brining the turkey for a couple days ahead of time. Soaking your turkey in the overly-salty solution before cooking actually alters the molecular structure of the meat to be more juicy AND you infuse flavor with the brine.
I will never NOT brine a turkey now. Always, always brine. Use this brining bag.
Don’t overcook the bird. Most people WAY over cook their turkey.
• • •
Use a digital thermometer.
It you buy one of those turkeys with the little thermometer that is supposed to pop out when it’s done, don’t. I repeat, DON’T pay attention to that. They almost always result in an overcooked turkey.
Do yourself a huge favor and get one of these [digital thermometer]. This will help you everytime you cook meat. You’ll never have to cut into chicken breasts to test if they’re cooked. Don’t wonder if your burgers are medium rare or well done.
Definitely don’t serve a bone dry Thanksgiving turkey again. (We use it for other things too like yogurt making among other things.) Our thermometer has an alarm on it so we can set it to go off when the turkey is fully cooked.
• • •
Cook temp.
The FDA recommends cooking turkey to an internal temp of 165ºF. Many chefs recommend pulling it out when it’s more like 161-162ºF at the thickest part of the bird.
When you remove the turkey from the oven, tent it with foil and let it rest on the counter for a while before cutting. It will continue cooking a bit (called carry-over cooking) while it rests.
• • •
Turkey timing.
When you’re making your schedule for the day-of, it’s a good idea to plan for the turkey to be done an hour or so before you think you need it.
Don’t ask me about the time when I cooked the entire Friendsgiving feast for 30+ people and the turkey took so long that we had to serve it with dessert. Major fail.
Play it safe and cook it a little earlier.
A few delicious items to add to your menu:
Turkey:
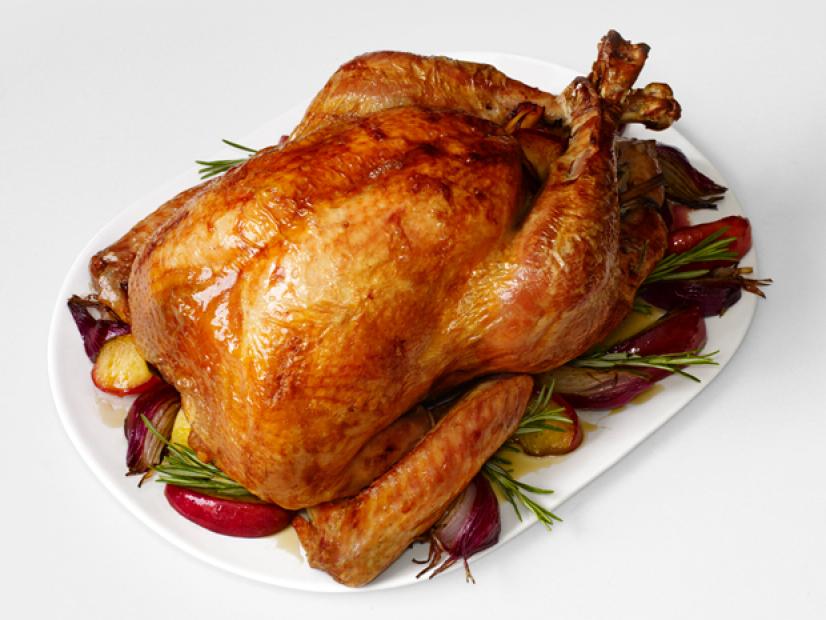
The turkey I usually make from Alton Brown’s recipe.
• • •
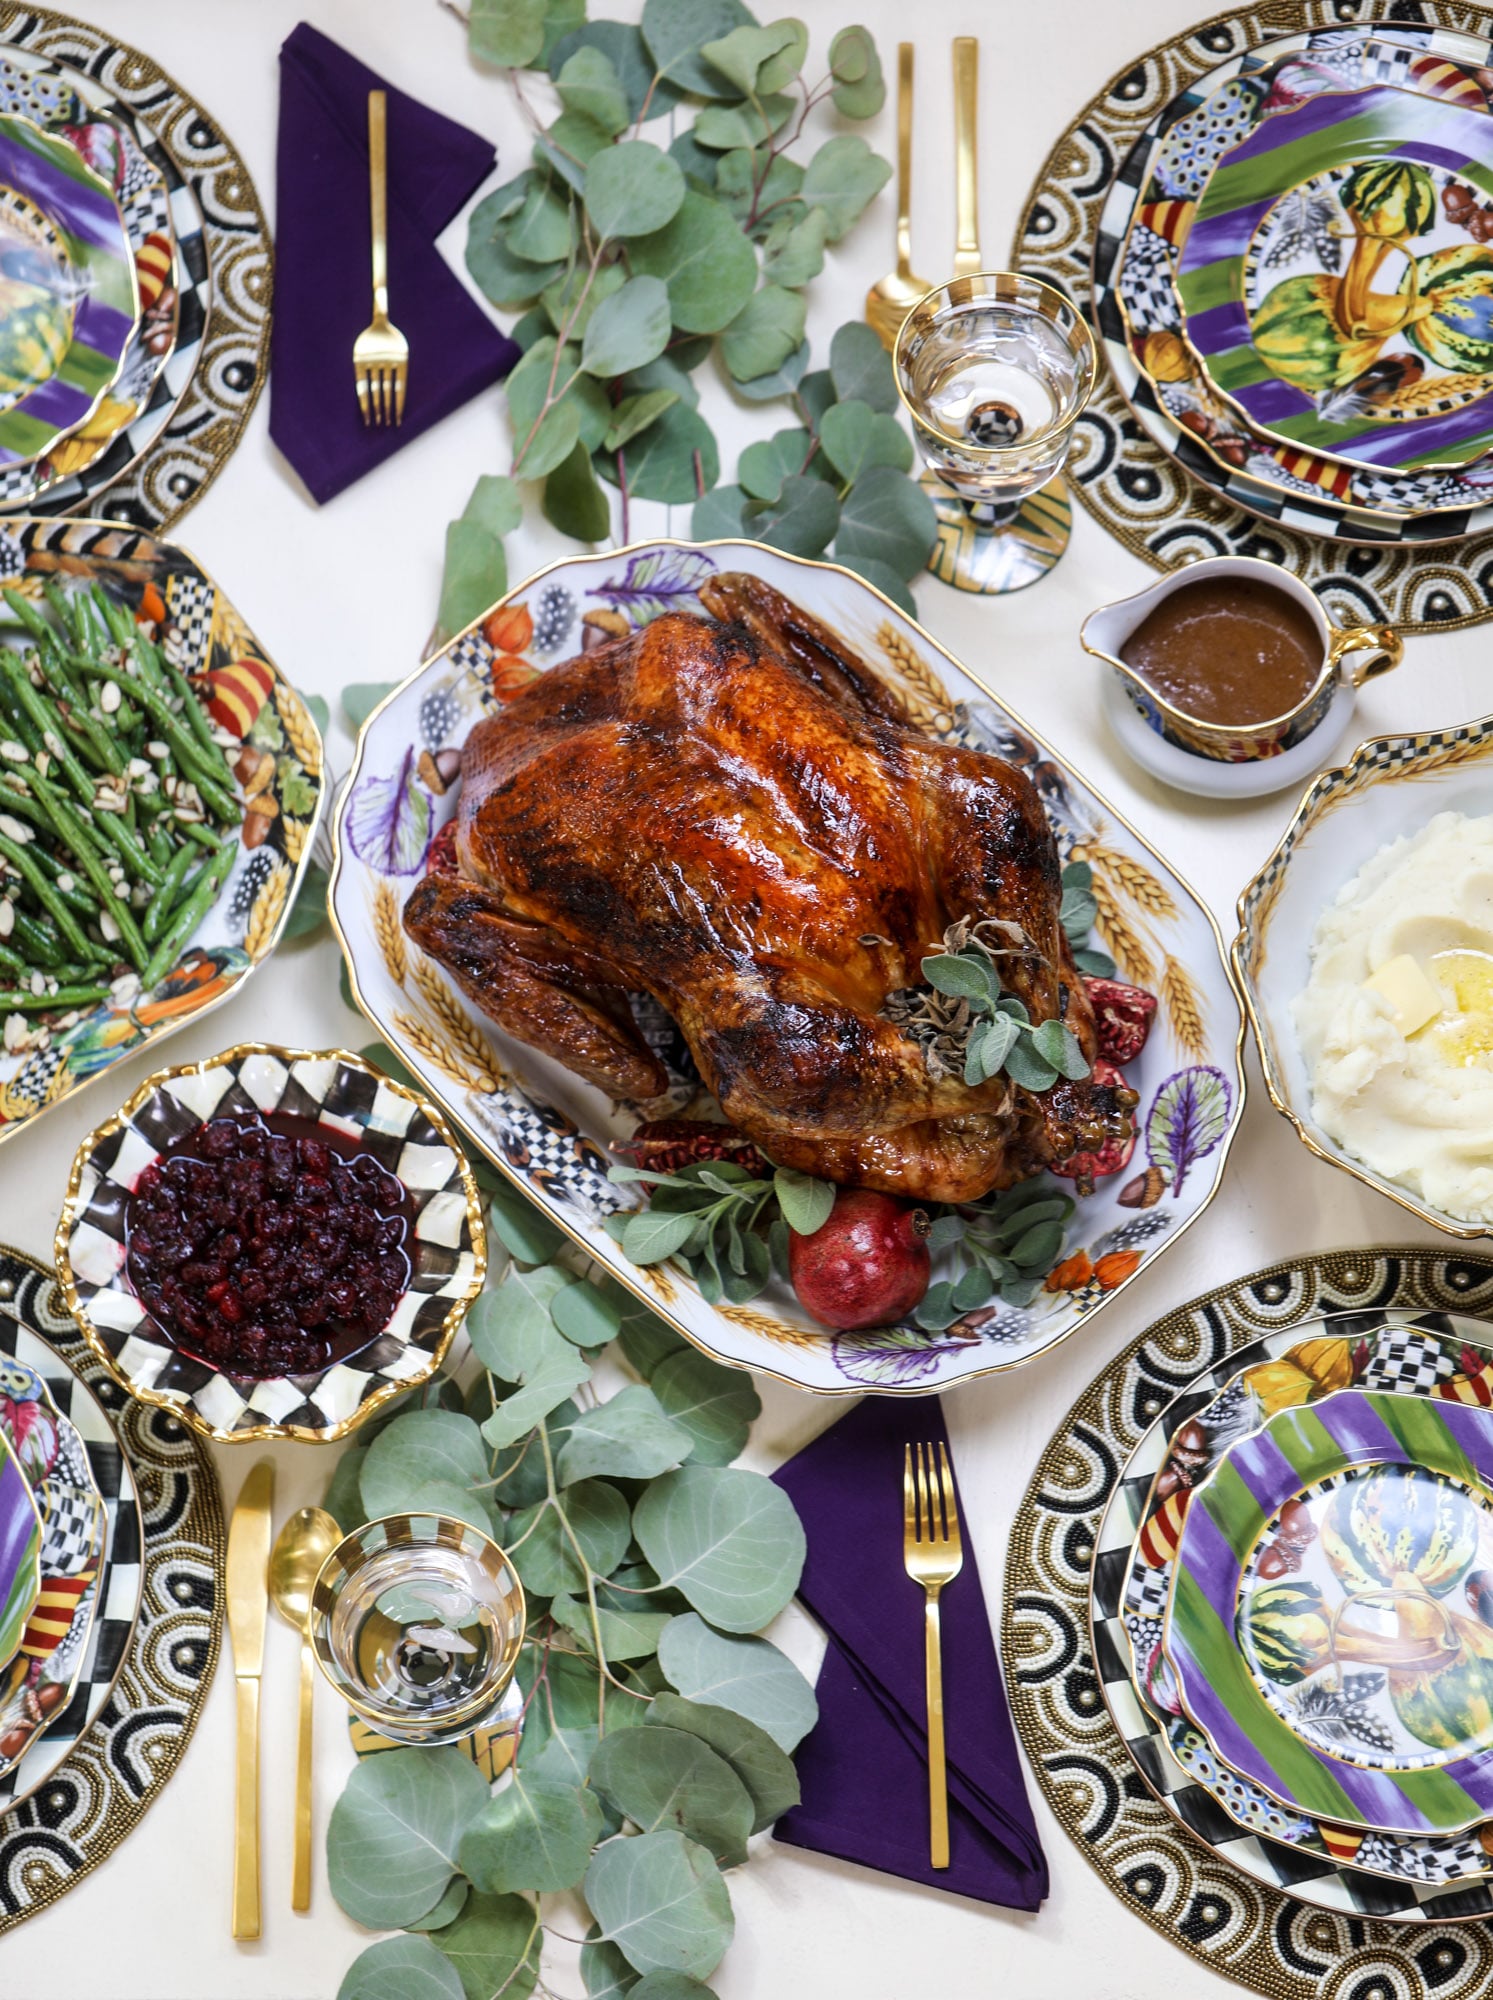
The turkey I’m planning to make this year from How Sweet Eats:
• • •
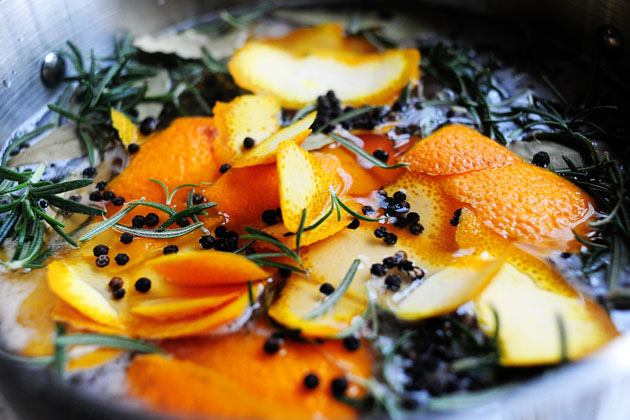
The brine from Pioneer Woman’s recipe:
• • •
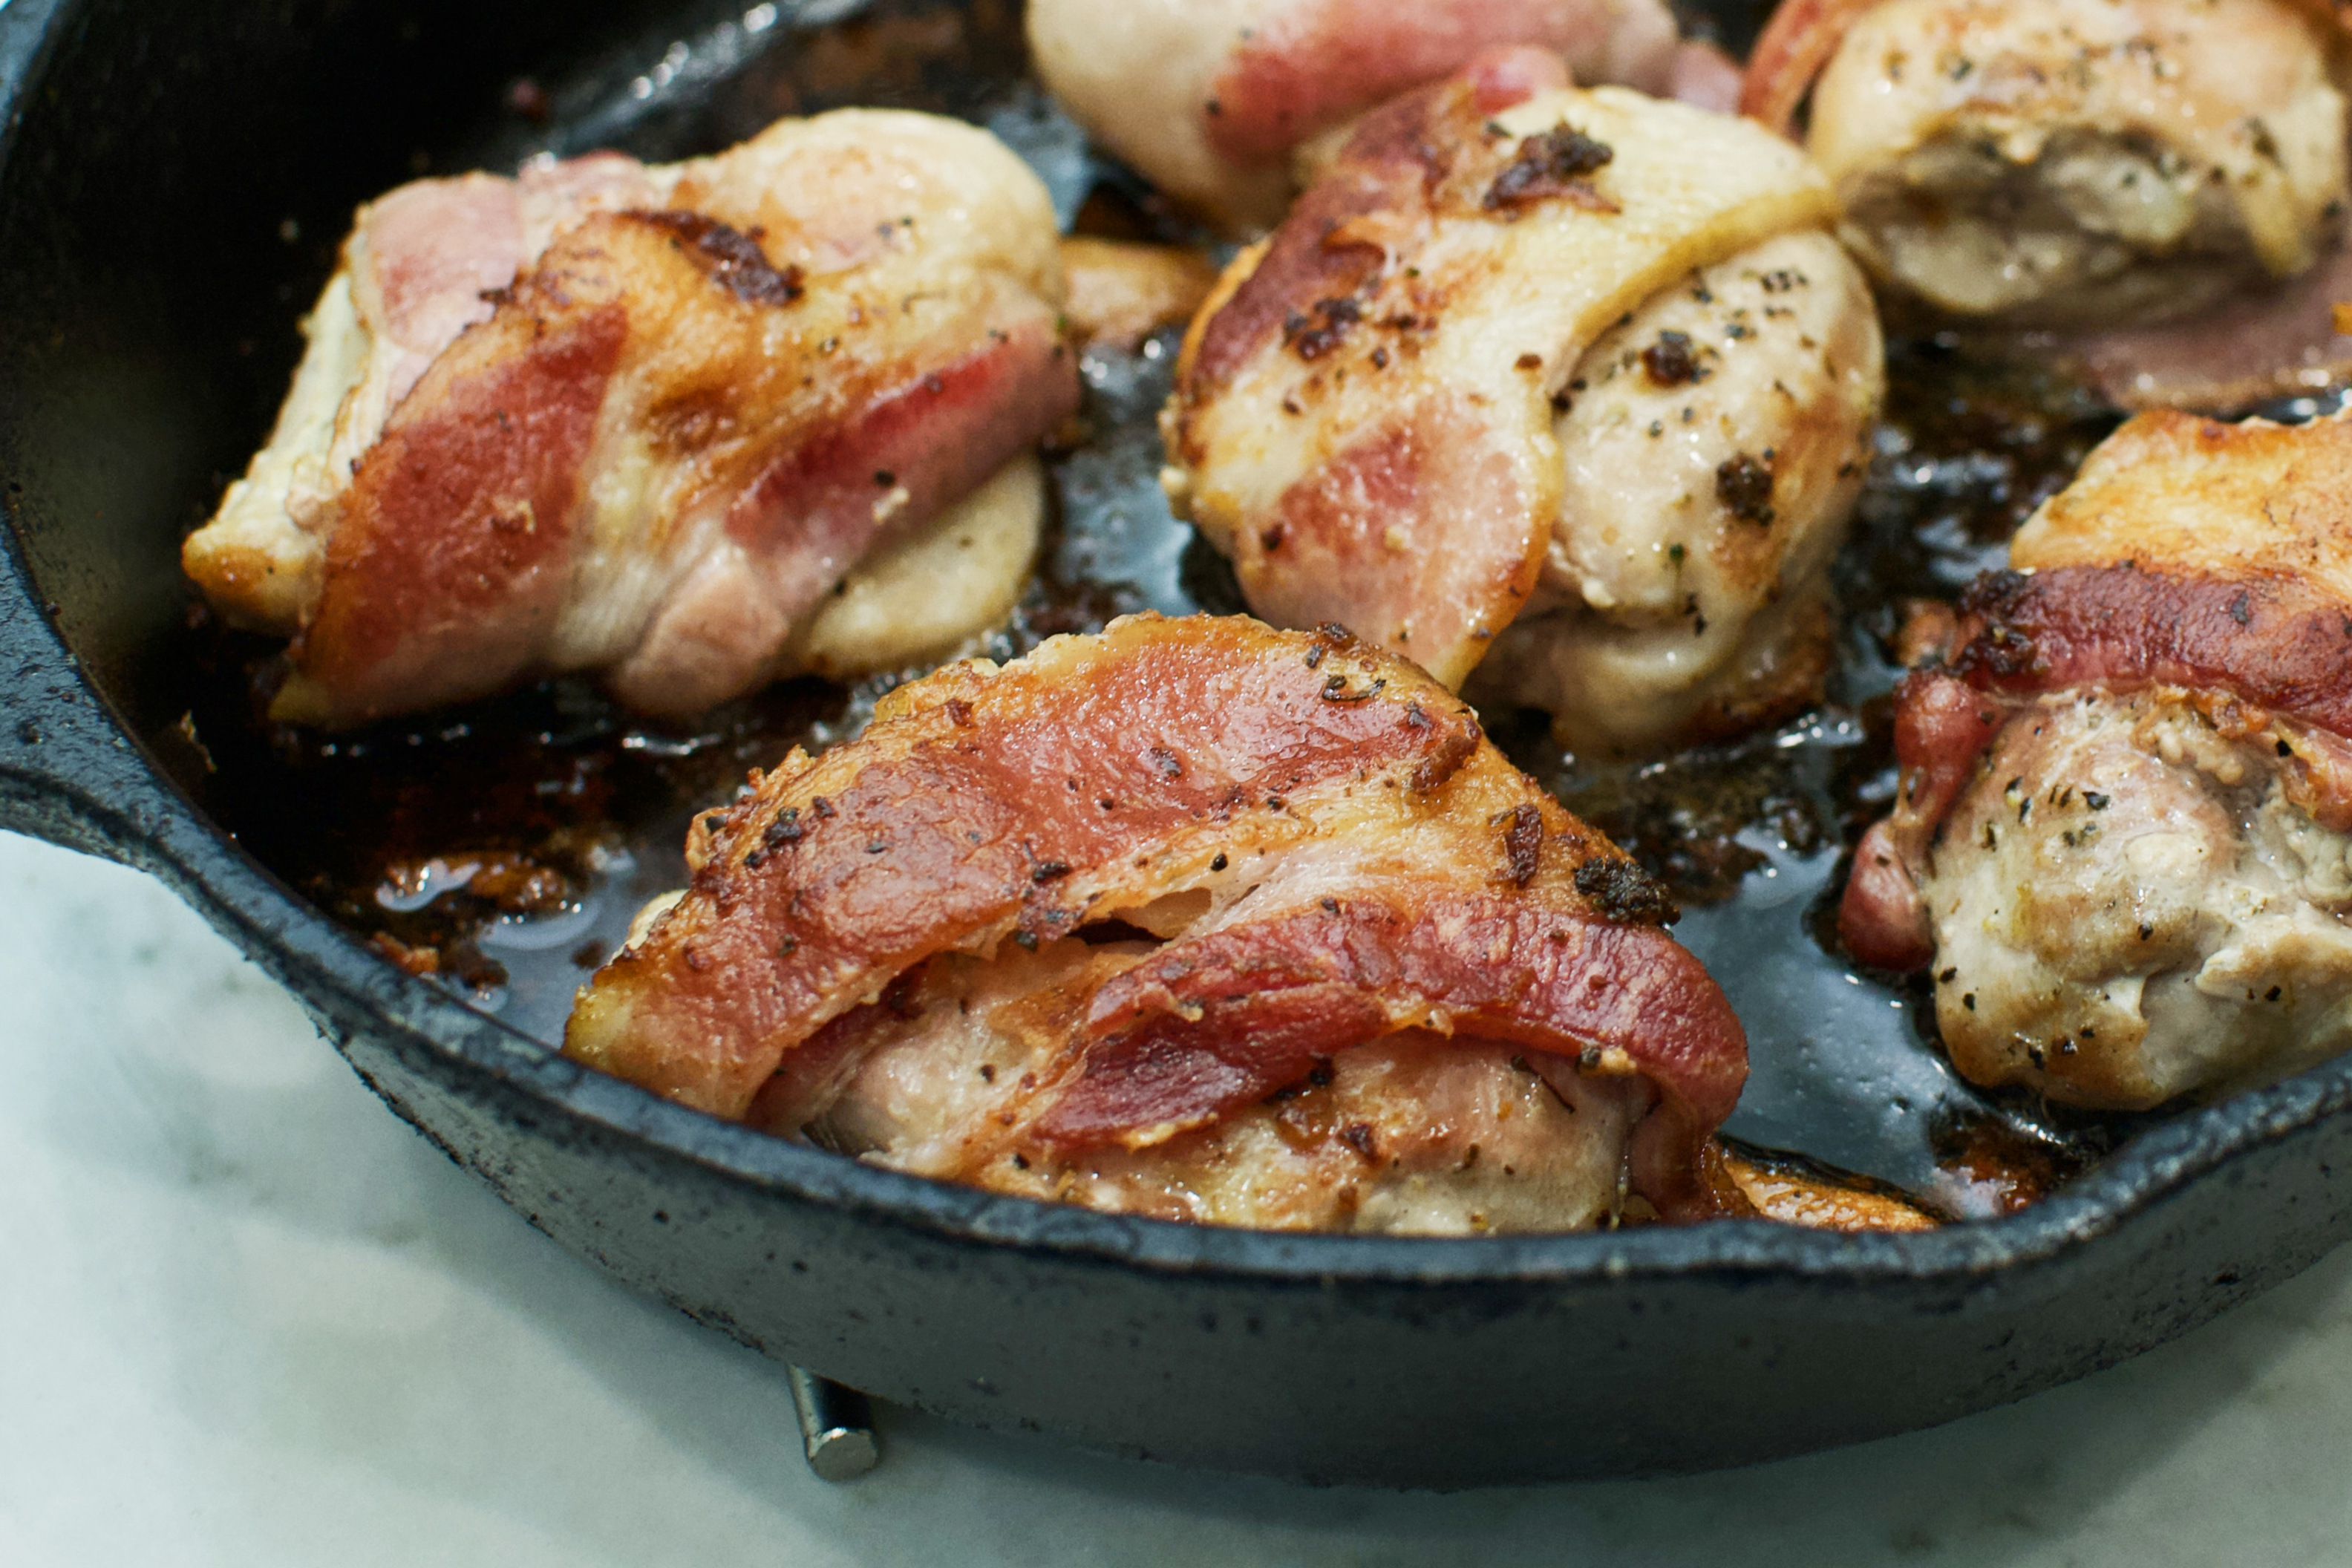
Our alternative to turkey: bacon-wrapped fig-glazed chicken thighs:
Favorite appetizers:
Favorite side dishes:
Garlic and herb mac n cheese bites:
Whole wheat pumpkin rolls with bourbon honey butter:
Butternut squash mac n cheese:
Favorite desserts:
Triple chocolate + nutella trifle:
Best 3 mini pies (chocolate chess pie, caramel apple pie and bourbon pecan):


