The biggest mistakes homeowners like you and I make when remodeling kitchens and bathrooms are easily avoidable.
If your focus is return on investment (ROI), then keep these common pitfalls in mind. We strictly followed each pro tip and were able to sell our first house for $100,000 profit 4 years later. Don’t miss our ROI strategy in this post.

Don’t over improve for the neighborhood.
Research the comparable homes in your area.
Are they renovated or dated? Have the kitchens and baths been updated? If so, with what materials?
If you redesign these spaces to be the best quality on your street, you’re positioning yourself for a loss. Buyers will only pay for what similar homes are selling for, regardless of renovations. Granite countertops in a location with all laminate countertops is a recipe for diminished ROI.


Personalization = money loss.
You want your home to have that personal touch.
“Character” means an extension of who you are and what you love. But before you insert your design style into every nook and cranny of your abode, consider this. If your future buyers won’t like the custom feel, then you won’t like it when your home sits on the market or sells for less than your “touches” necessitate.
Renovate for general marketability, NOT for a tiny niche of buyers. Customize with home decor that is changeable on the cheap. Think: wall art, colorful pillows and rugs instead of red countertops, expensive wall murals and a floor-to-ceiling Terracotta tiled master bath.


Don’t overpay your contractor.
Assess your DIY skills and bandwidth for coordinating a home project.
The more money you pay professionals to renovate your space, the less money you make when you sell. Residential contractors (RC) are the most qualified at the highest price. Subcontractors aka tradesmen are much more affordable than RCs if you’re willing to manage the project, people and materials yourself. Handymen are the cheapest option, but aren’t licensed and often have a day job as well.
Create a budget for your kitchen and bath renovations separately. Research the cost of ALL materials and tools needed to complete each project. Estimate a timeline. Finally, compare the cost of tackling it yourself vs. DIY + handymen vs. managing subcontractors vs. hiring an RC.
I successfully completed both projects with majority DIY, a few trusted handymen and a few subcontractors. An RC quoted our master bath renovation at $24,000, and I did it for under $10,000 using higher quality materials.


How do I start my DIY game & increase ROI?
I hear you, friend. You’re aiming to gain a few do-it-yourself skills to save money on future home renovations.
However, you’re nervous about flooding the main floor, burning the house down, destroying your drywall, cracking the tile and losing a fight to a power tool. Not to worry. Here’s how to get into the wonderful world of DIY, one small step at a time.
Start at level 1. Each step-by-step tutorial here is low risk and high reward for confidence building. You’ll learn a few fundamentals that will translate to ALL home projects down the road.
Once you’re comfortable with level 1 creations, move on to level 2. The second level will stretch your skills and build on what you’ve already learned. Level 3 is for those who have mastered the basics in level 1 and level 2.


Level 1 DIY tutorials – beginners.
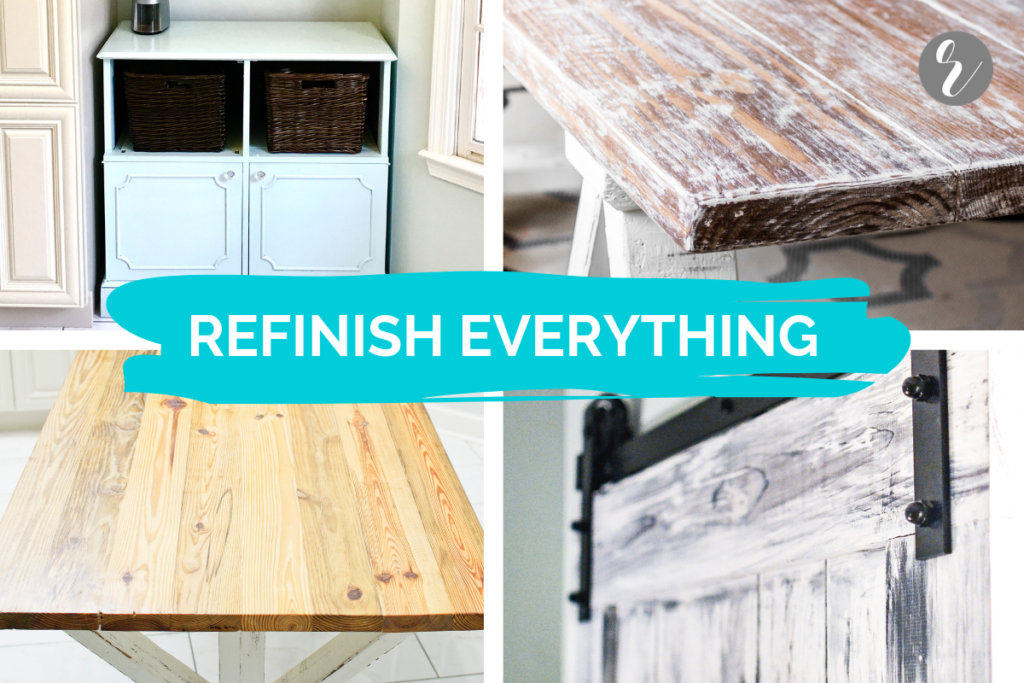
- How to Refinish Everything: DIY Furniture, Home Decor & Thrift Store Finds.
- How to DIY Finish a Custom Pallet Wood Range Hood Vent Cover.
- How to DIY Finish a Sawhorse Coffee Table by Rogue Engineer.
- Rustic Finish For Your Reclaimed Table.
- Paint, Stain, Whitewash & Distress Your Farmhouse Table.
- Homemade Fire Pit for Your Backyard.
- How to Change a Wall or Ceiling Light Fixture.
- How to Dry Brush Reclaimed Pallet Wood with Paint.

Level 2 DIY tutorials – low-experience DIYers.
- How to Clad with Pallet Wood in Your Kitchen.
- How to Make & Install DIY Stained Wood Shelves.
- How to DIY Install Floor Tile.
- How to DIY Upgrade Your Bathroom Mirror with a Stained Wood Frame.
- DIY Stained Wood Sign / Decor Board.


Level 3 DIY tutorials – moderate-experience DIYers.
- How to Install a Solid Wood Range Hood Cover.
- How to Build & Install a Sliding Barn Door.
- DIY Restoration Hardware Copycat Headboard.
- DIY Herringbone Headboard.
- How to Make DIY Shiplap.
- How to Make Crates out of Wood Pallets.
- Laundry Room Renovation Reveal & 9 Step-by-Step Tutorials
- How to Make a Standing Desk with Wood Top & Metal Legs.
- How to DIY Build a Mid Century Modern Side Table (Plans).
- DIY Entryway Organizer.