You work from home, craft & curate at home or just like standing? The standing desk is a game changer.
If you’re a day-long sit-on-your-butt type of human, then by 1 or 2pm your brain is likely starting to melt. Circulation is at an all time low. The lower back is beginning to ache, subtly submitting its request for a lifestyle change. A siesta might do the trick. Perhaps a gargantuan cup of cold brewed coffee. Why not eliminate the afternoon lull by getting stuff done on a standing desk?
Enough with the neck stiffness, restless legs and brain fog. Build this standing workspace.
Interior design + increased energy levels. I’m down with that.
Behind the design.
The tabletop is incredibly simple. Cost-effective common boards from Home Depot or Lowe’s. Joined using some wood glue and a Kreg Jig system for pocket hole screws. No fancy wood joinery necessary.
Dimensional softwoods like pine are cheap. They’re a blank canvas for every type of stain, paint, whitewashing, finishing oil, dry brushing, distressing and weathering.
Those sexy metal legs.
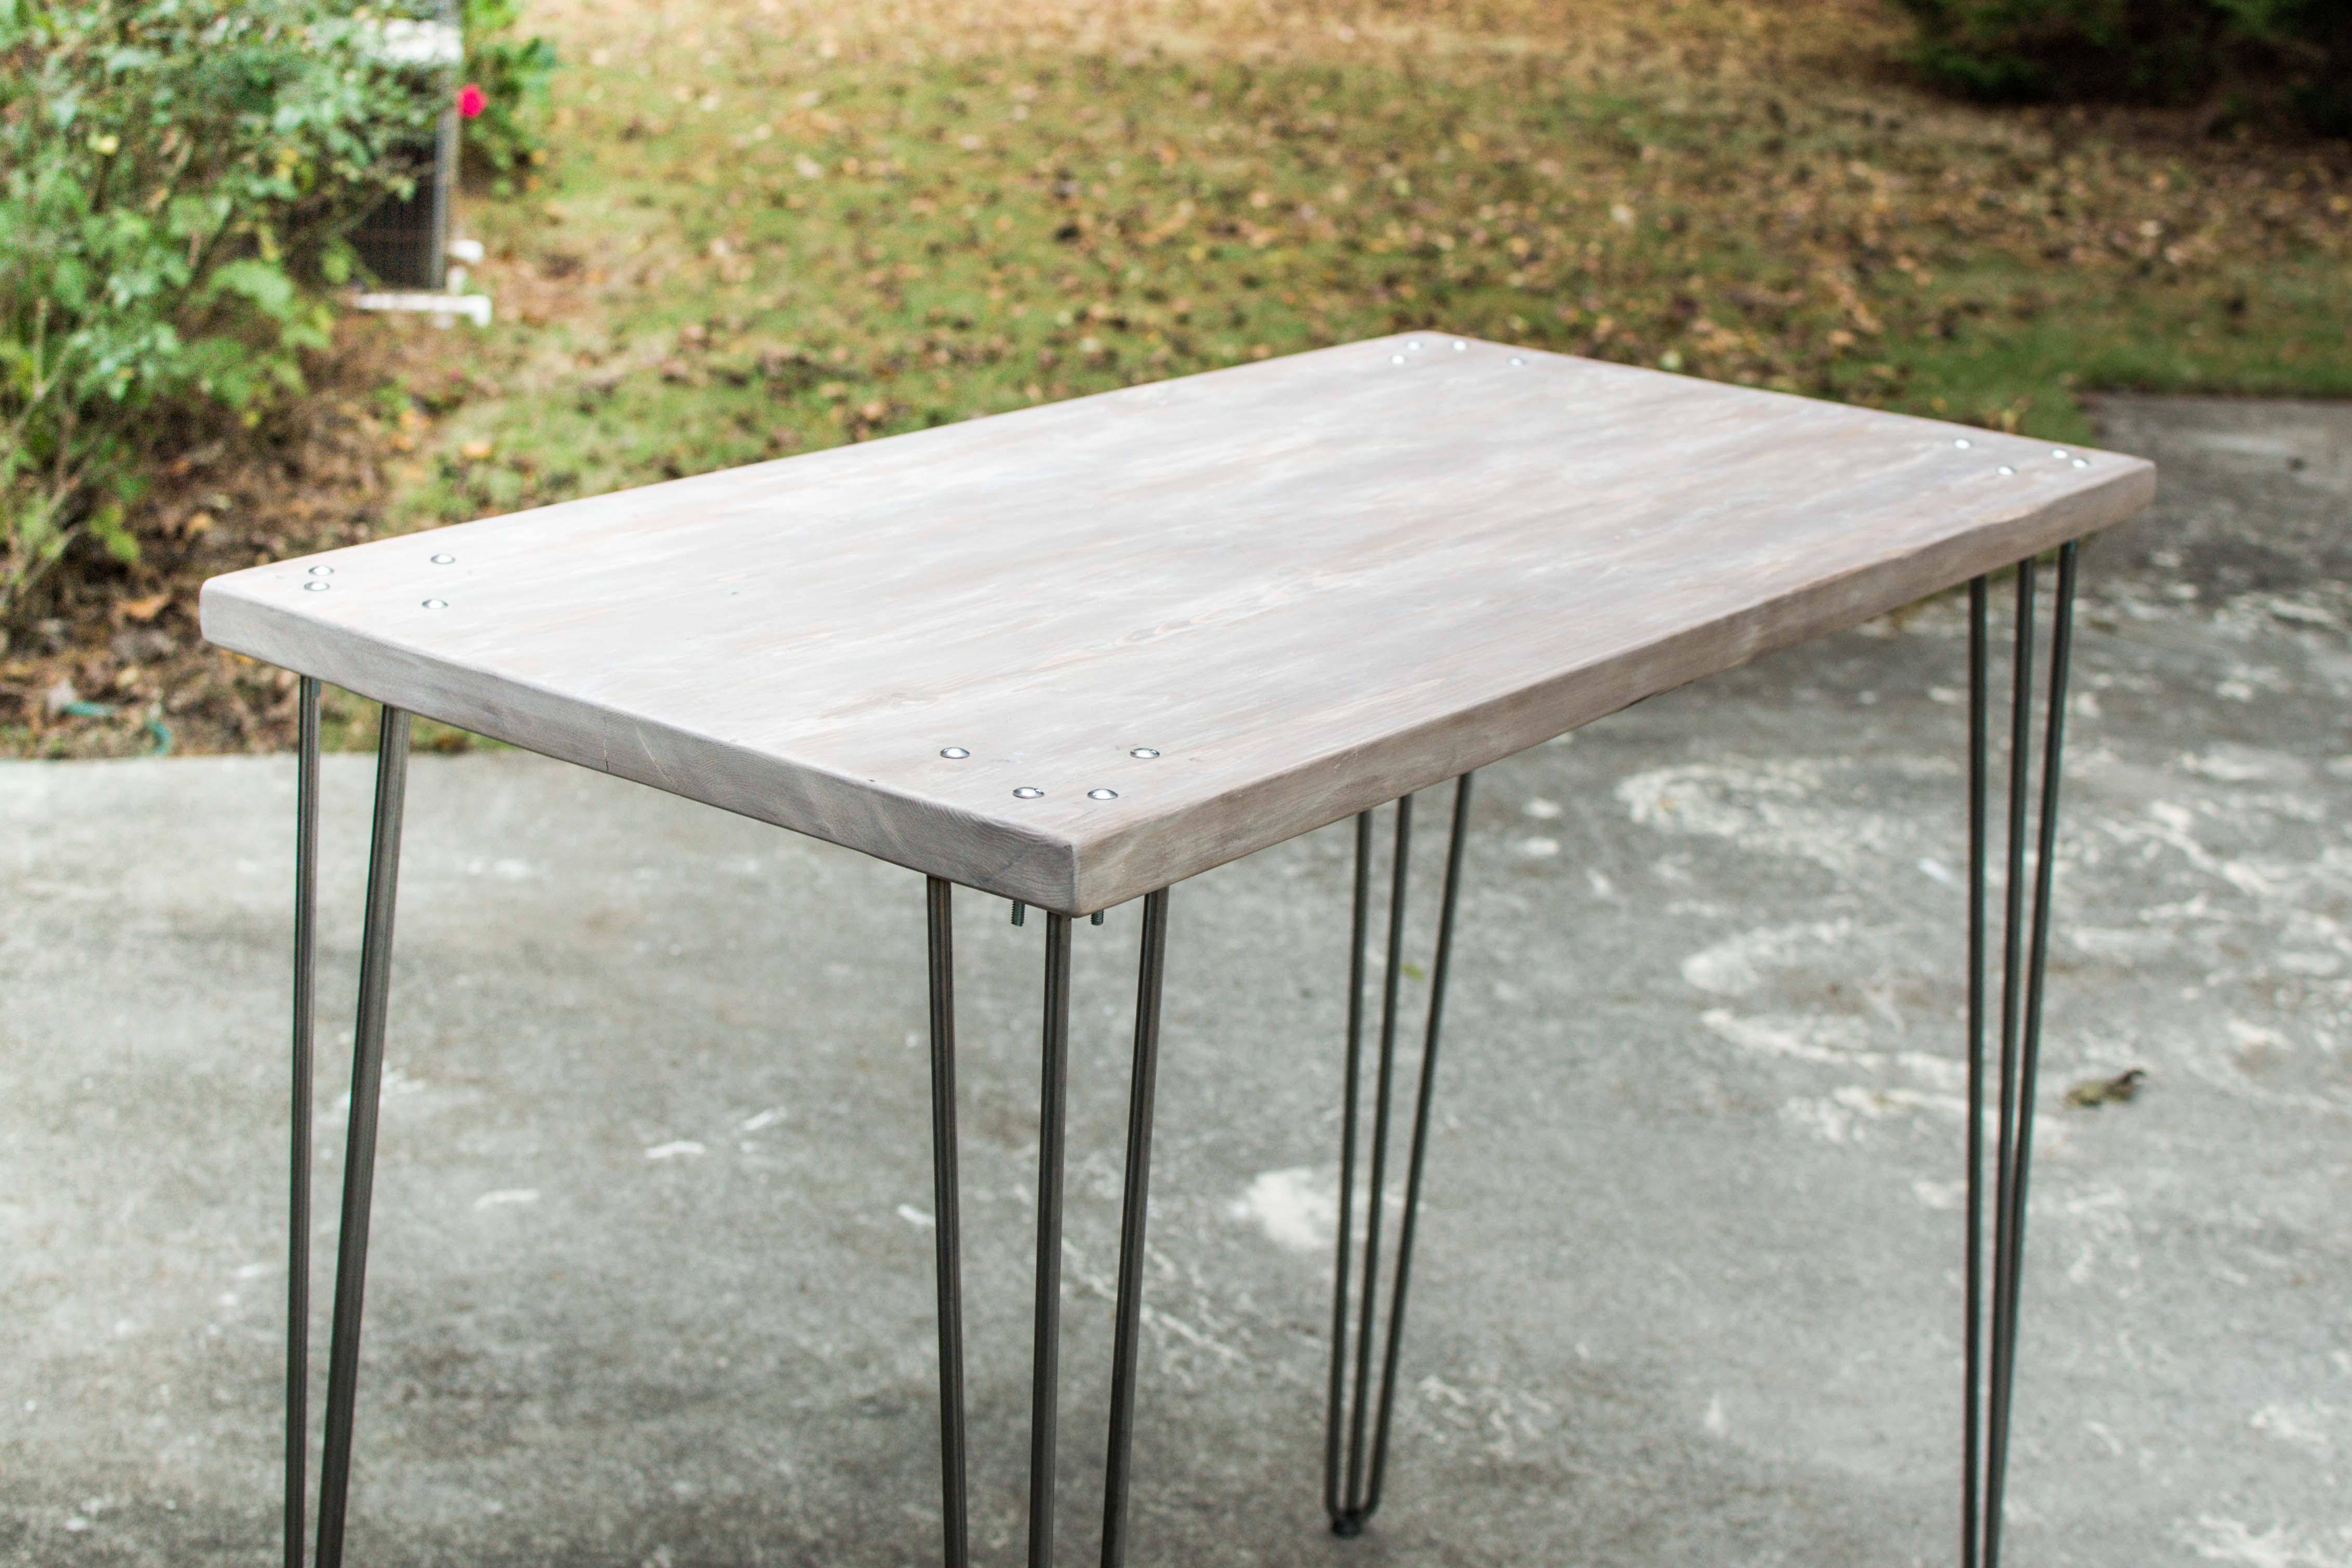
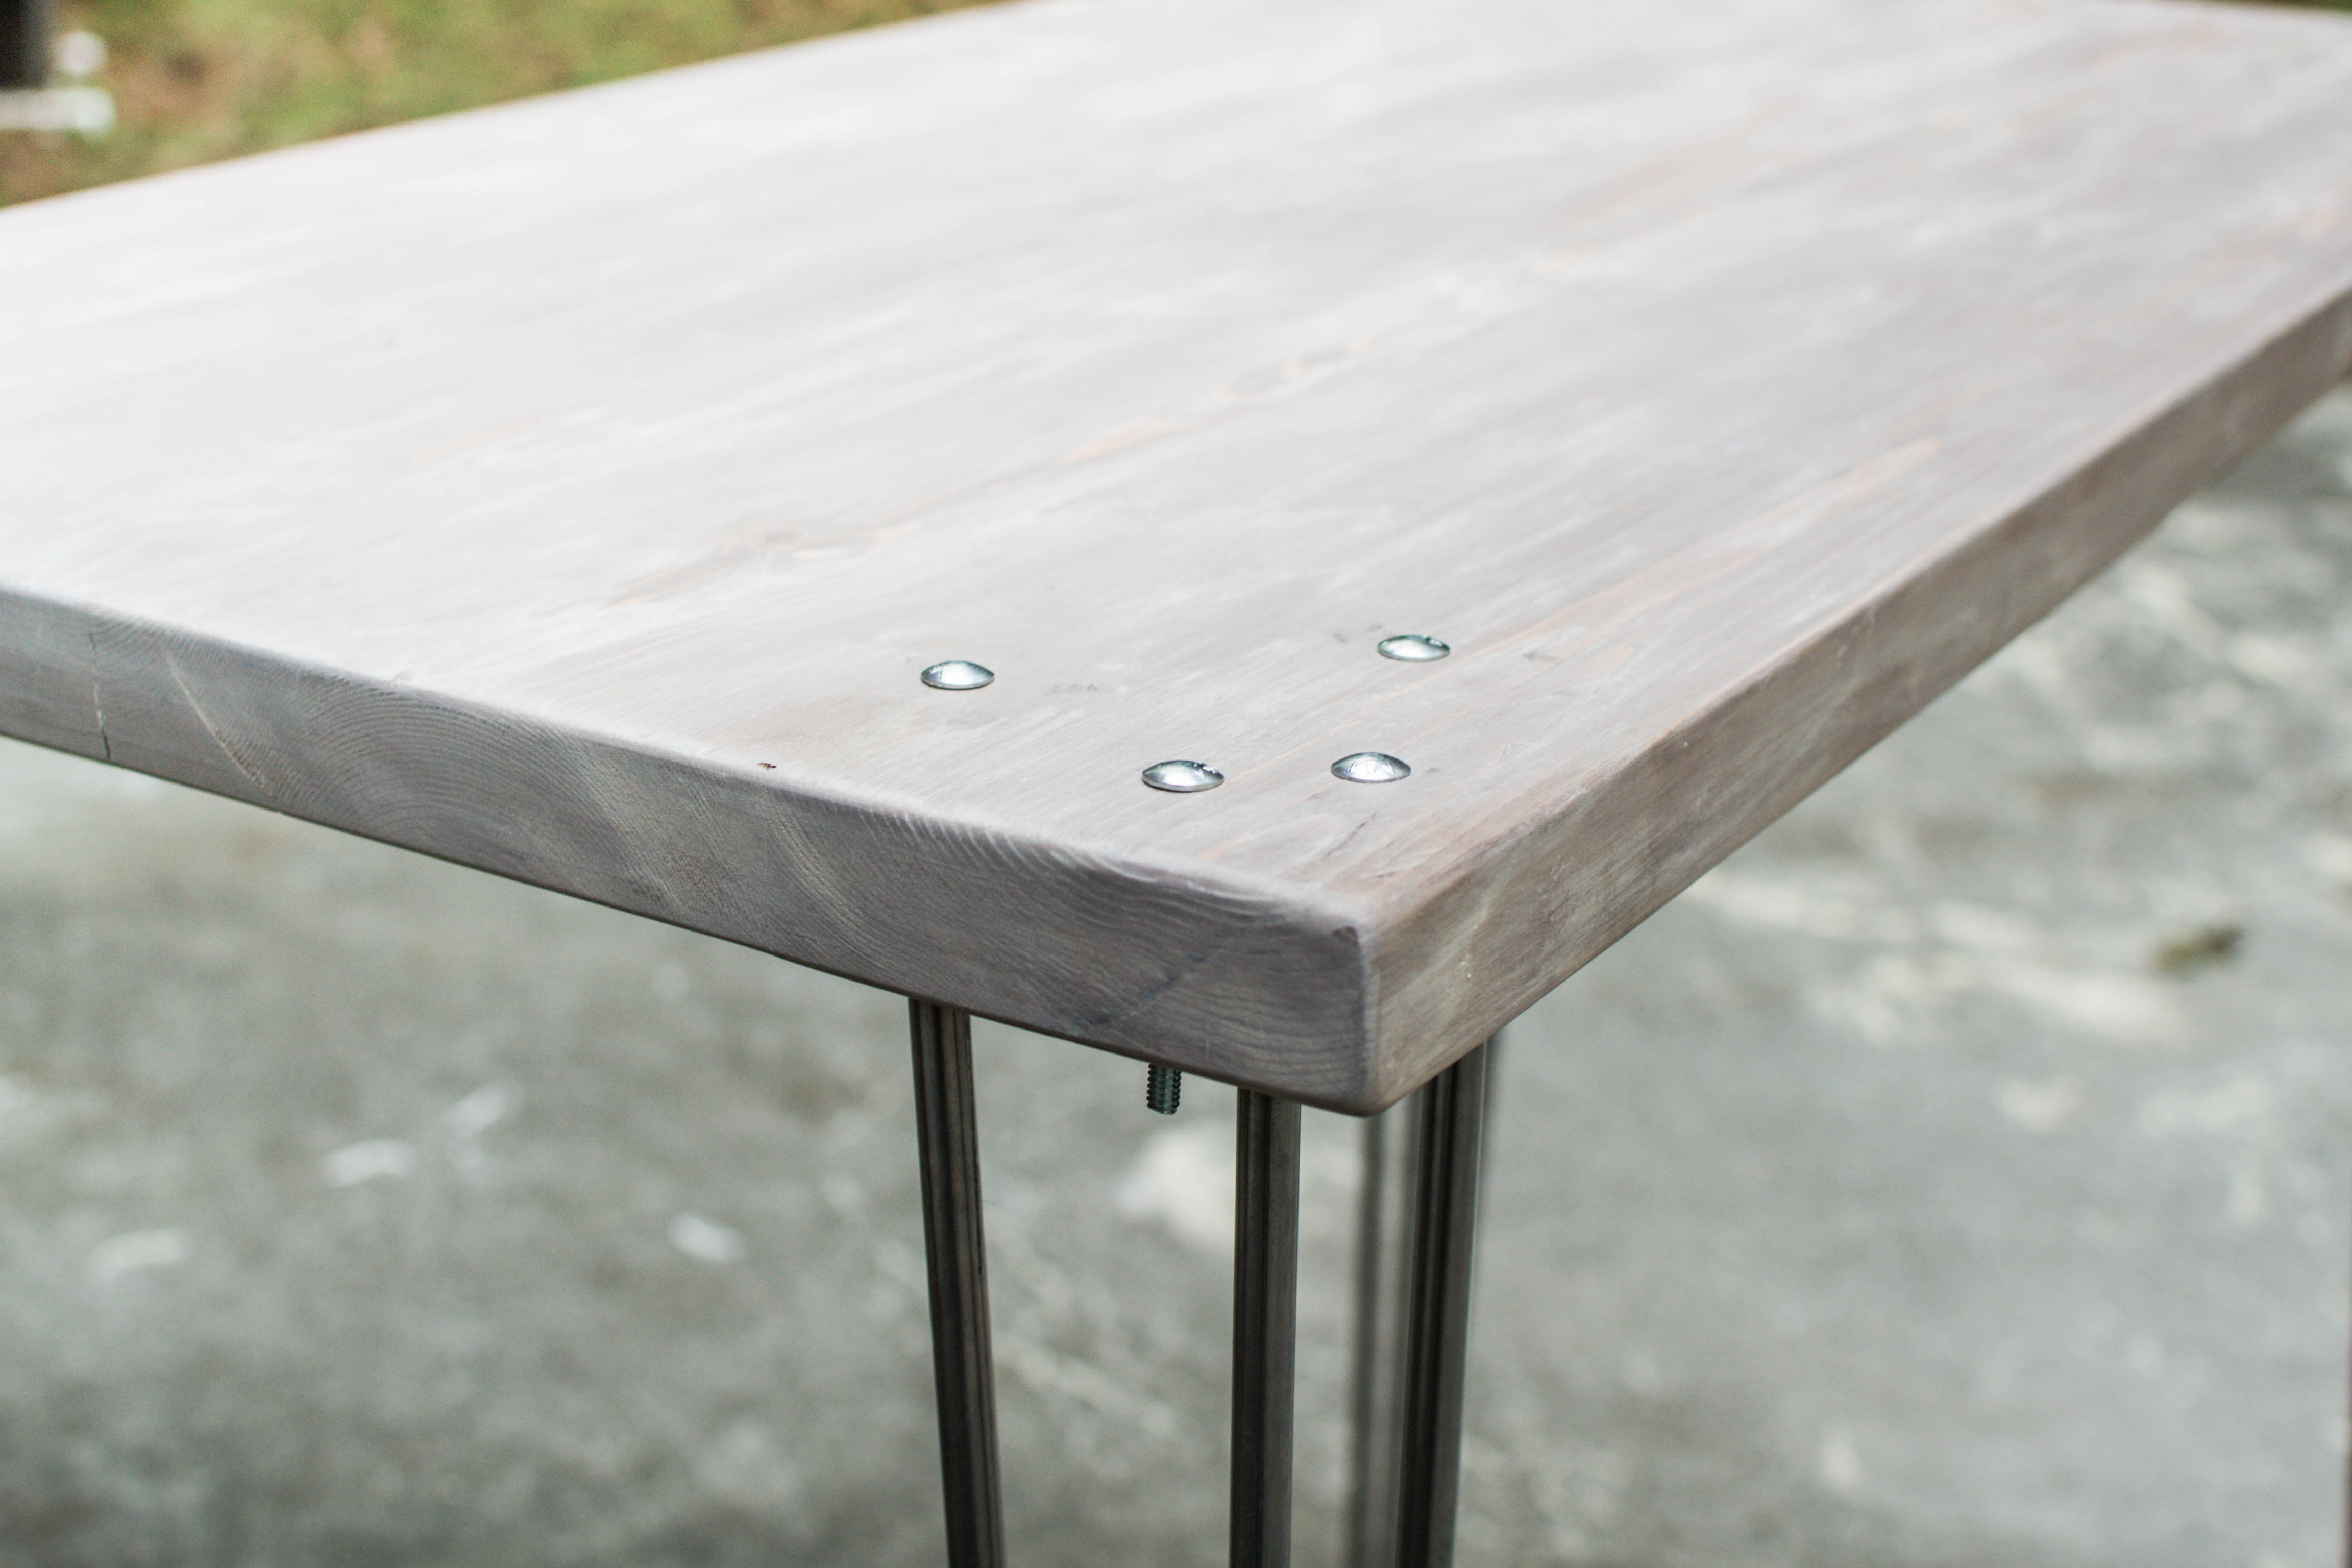
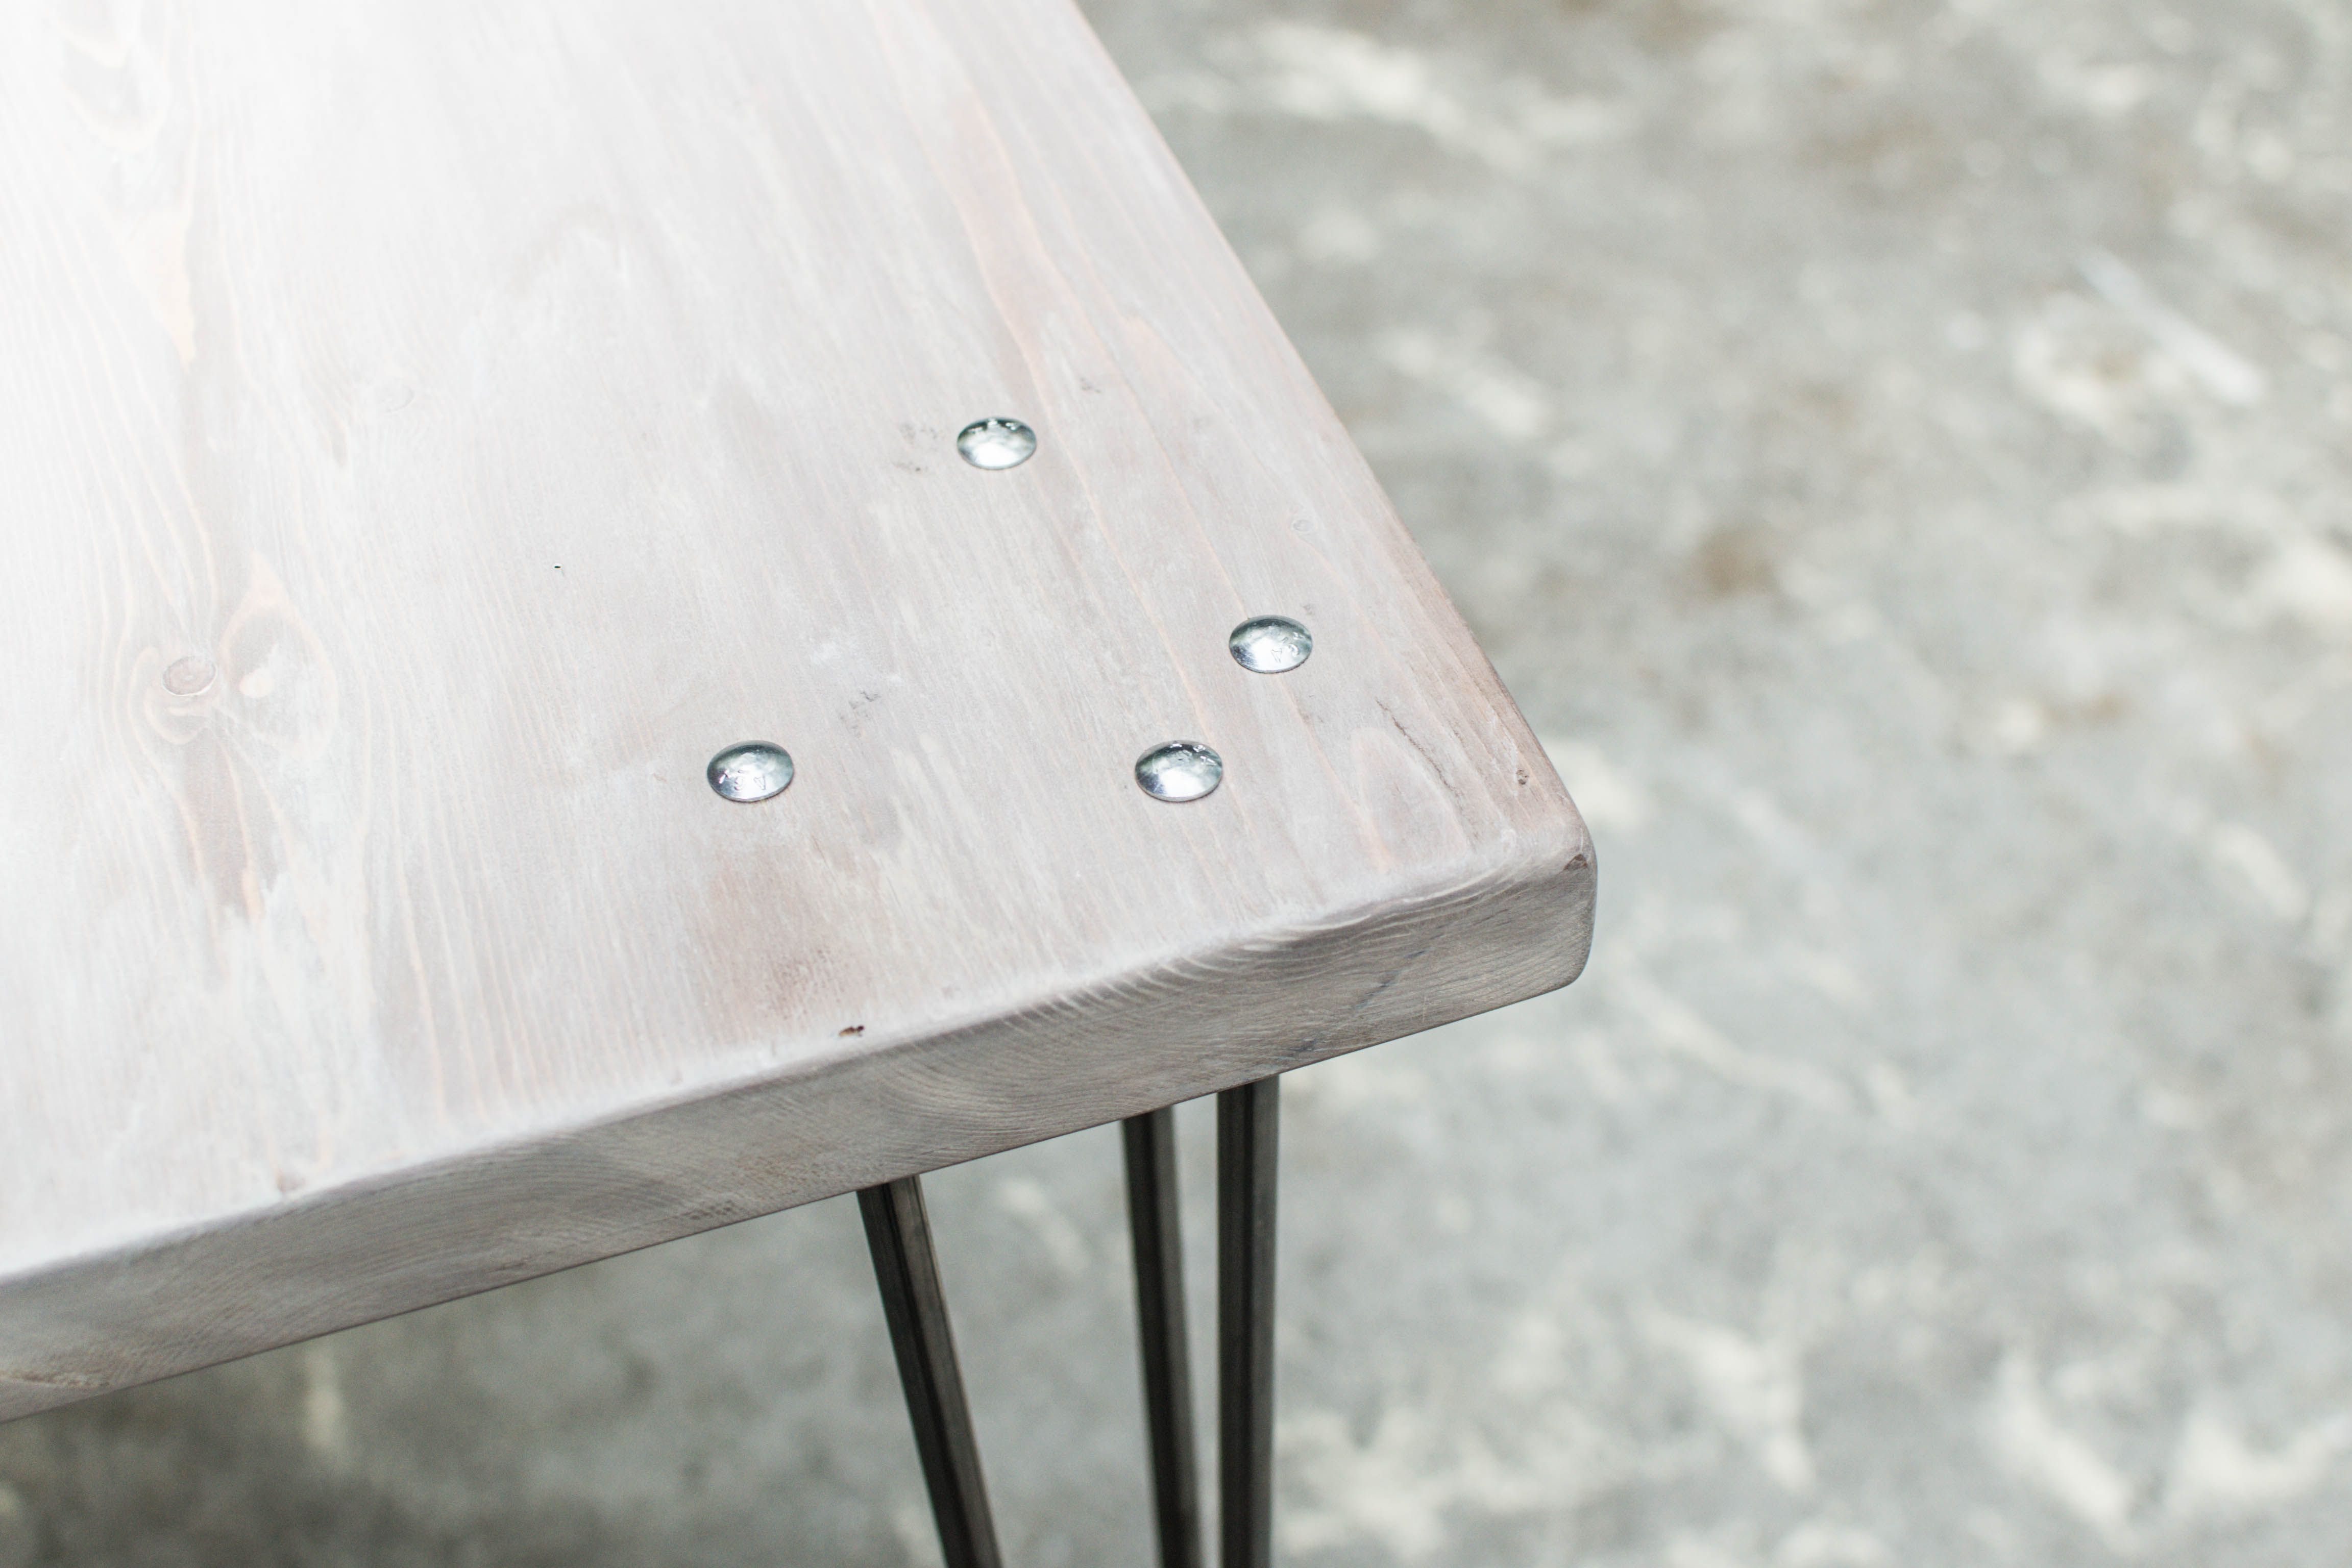
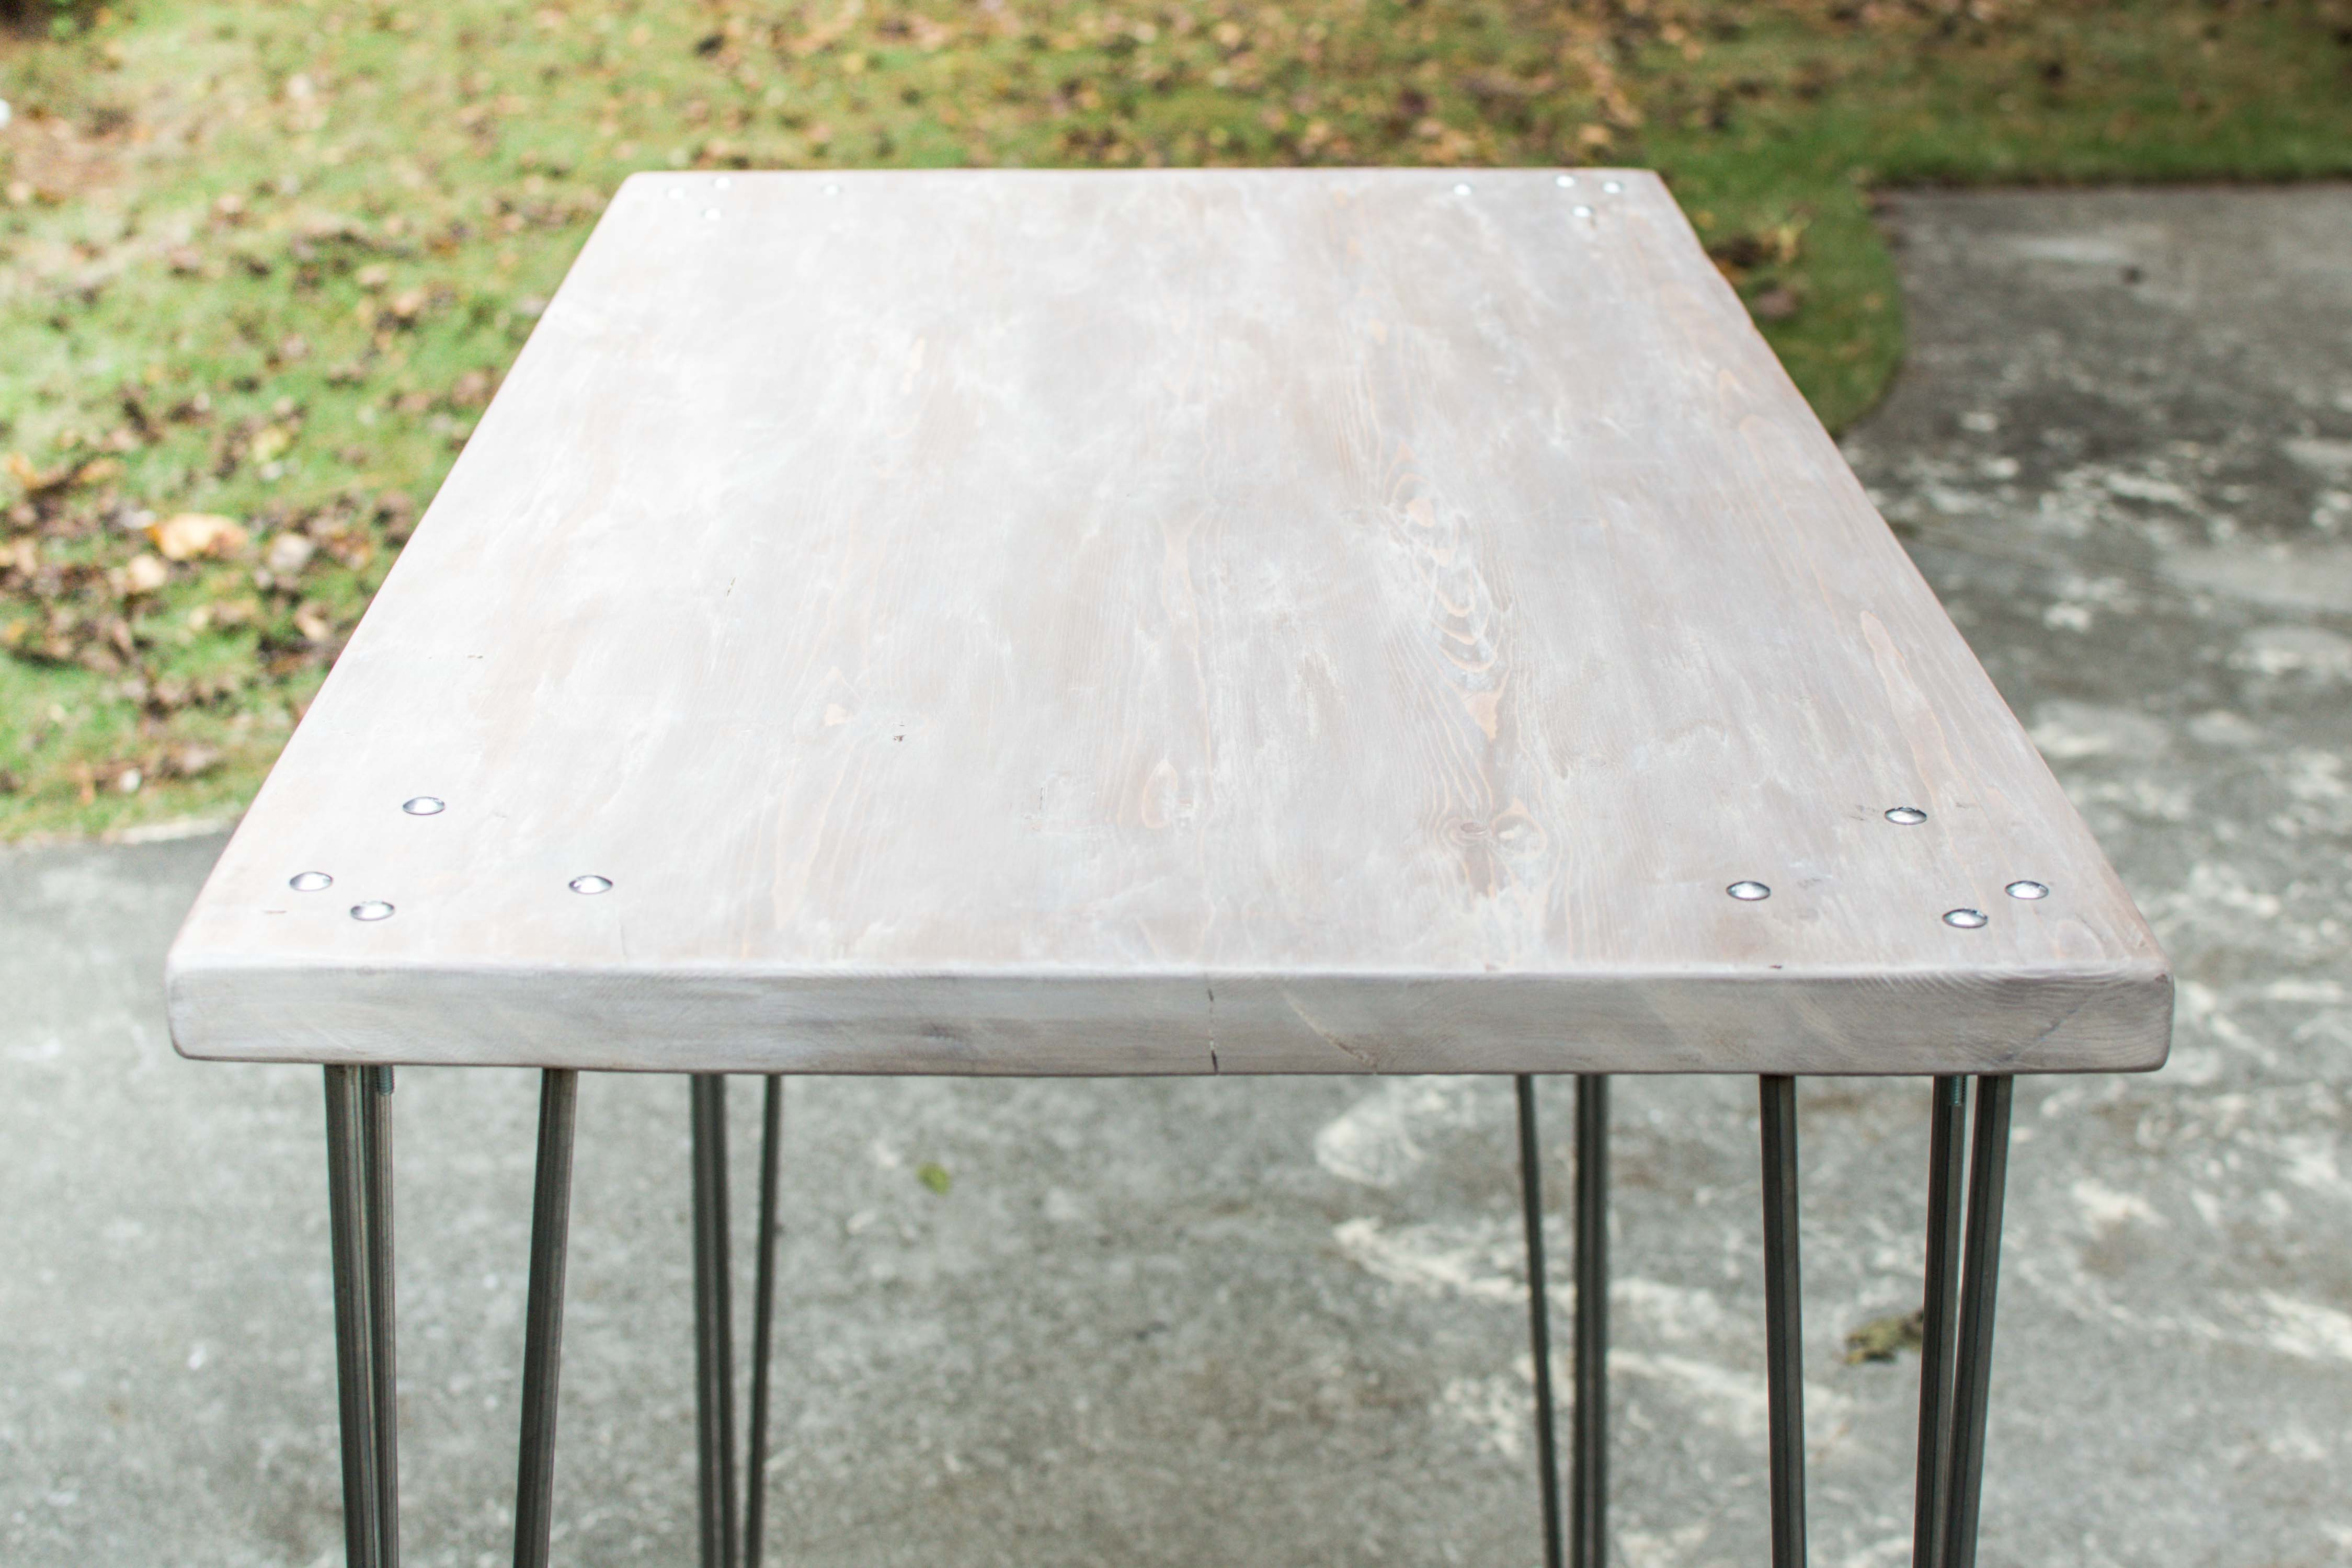
We bought the double welded, raw steel legs on Amazon. These ½” thick rods can hold 250 lbs, even at 40 inches tall. The straight, clean metal offers a little industrial / modern vibe. The steel juxtaposed to the wood top balances cold and warm textures. Not to mention how easy it is to screw metal legs to a piece of wood. Simplicity of design AND assembly.
Let’s be honest. You know you want both functional and freaking fabulous. Capture both dreams in one build. It has to feel good AND look good.
I dare you not to tell all of your guests about the lovely hunk of wood + metal posted up in your office. Or bonus room. Or loft. Or foyer? No, not your foyer. Sorry, I got carried away for a moment. Don’t be that eager. Who are you creating this desk for anyway??
Discussion time is over. You’re ready to create something beautiful.
How to build our modern, industrial standing desk.
Materials.
- 3 – 2x6x8 common boards for $5.25 each. Total: $15.75.
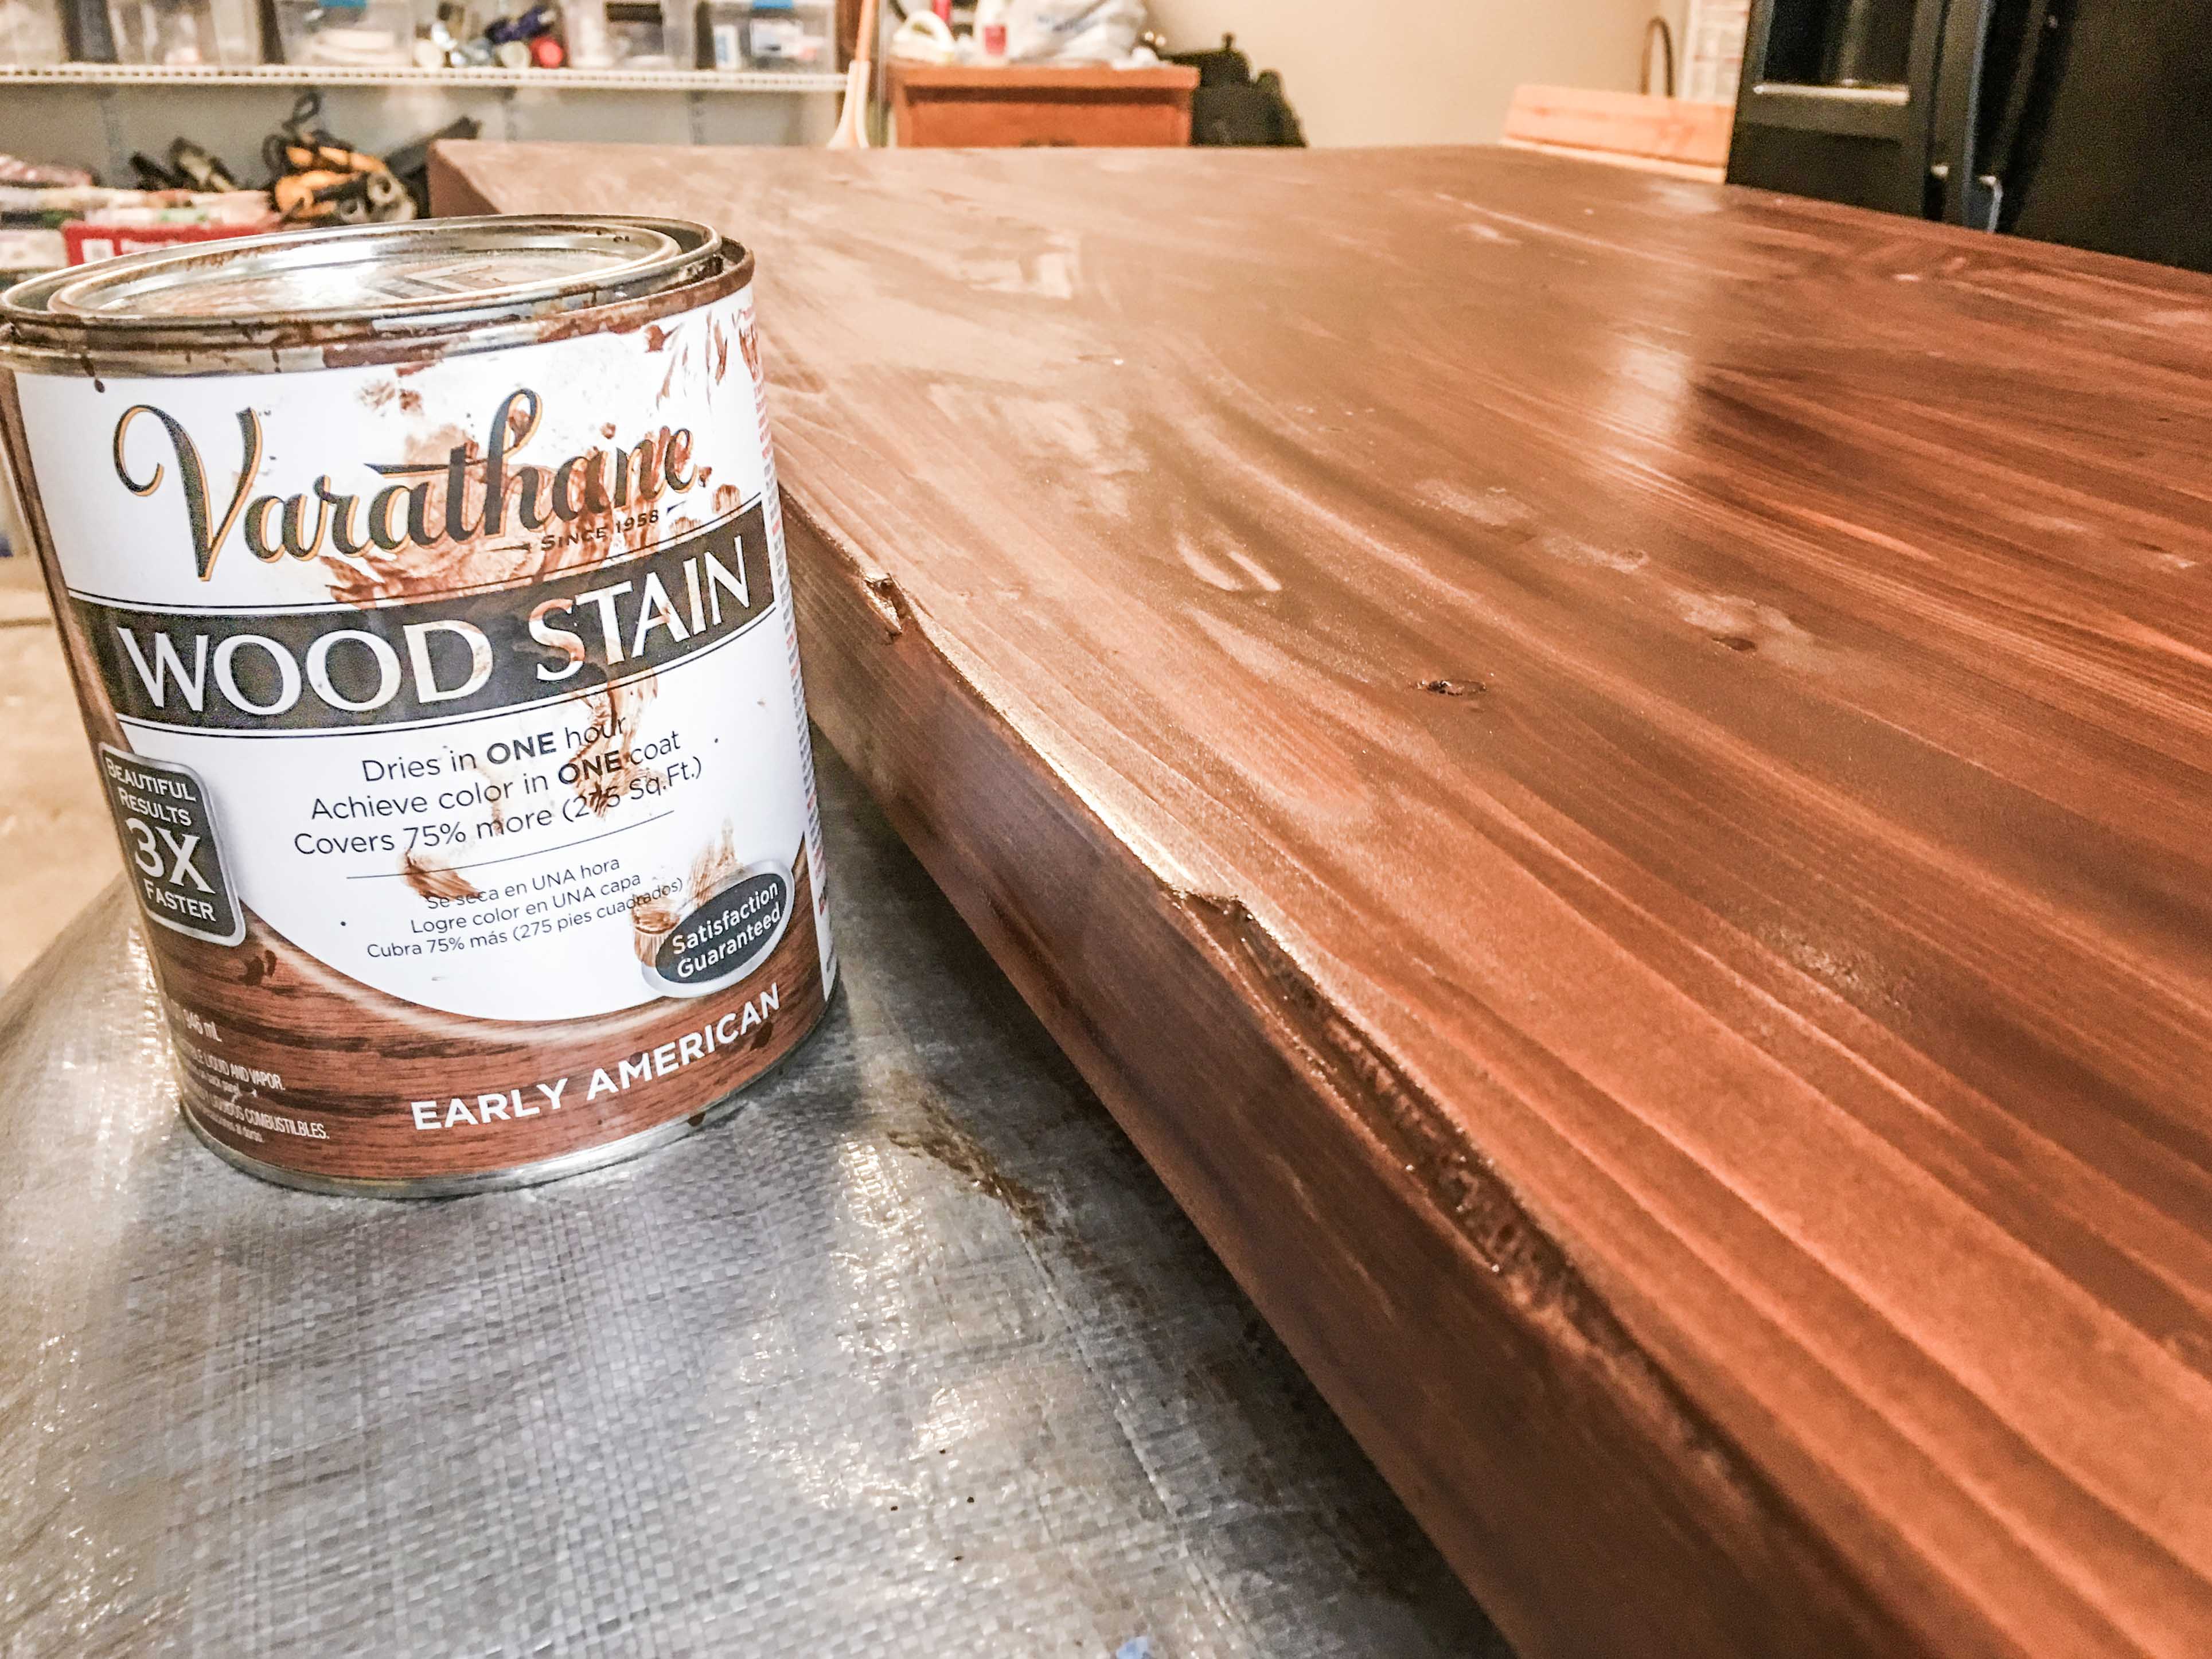
- Wood stain. We used Varathane Early American. Linked 2-pack (1 qt. each) for $15.96. Buy one can for $8.98.
- White paint. We chose a Benjamin Moore Simply White color match in a can of Behr base paint. 8 oz paint sample for $3.27. Or any leftover white paint that you like.
- Paint brush. Buy a kit to save money. Single cheap brush for ~$1.
- Blue shop towels. Linked 6-pack for $11.98. 3-pack for $5.98.
- Nitrile gloves. 50 for $4.97.
- Wood glue. 8 oz for $3.97.
- 4 – Sexy metal legs for $78.95. 40 inches tall. 3-rods per leg. ½” thick steel. Choose the “raw steel” option for $73.95 (our fave).
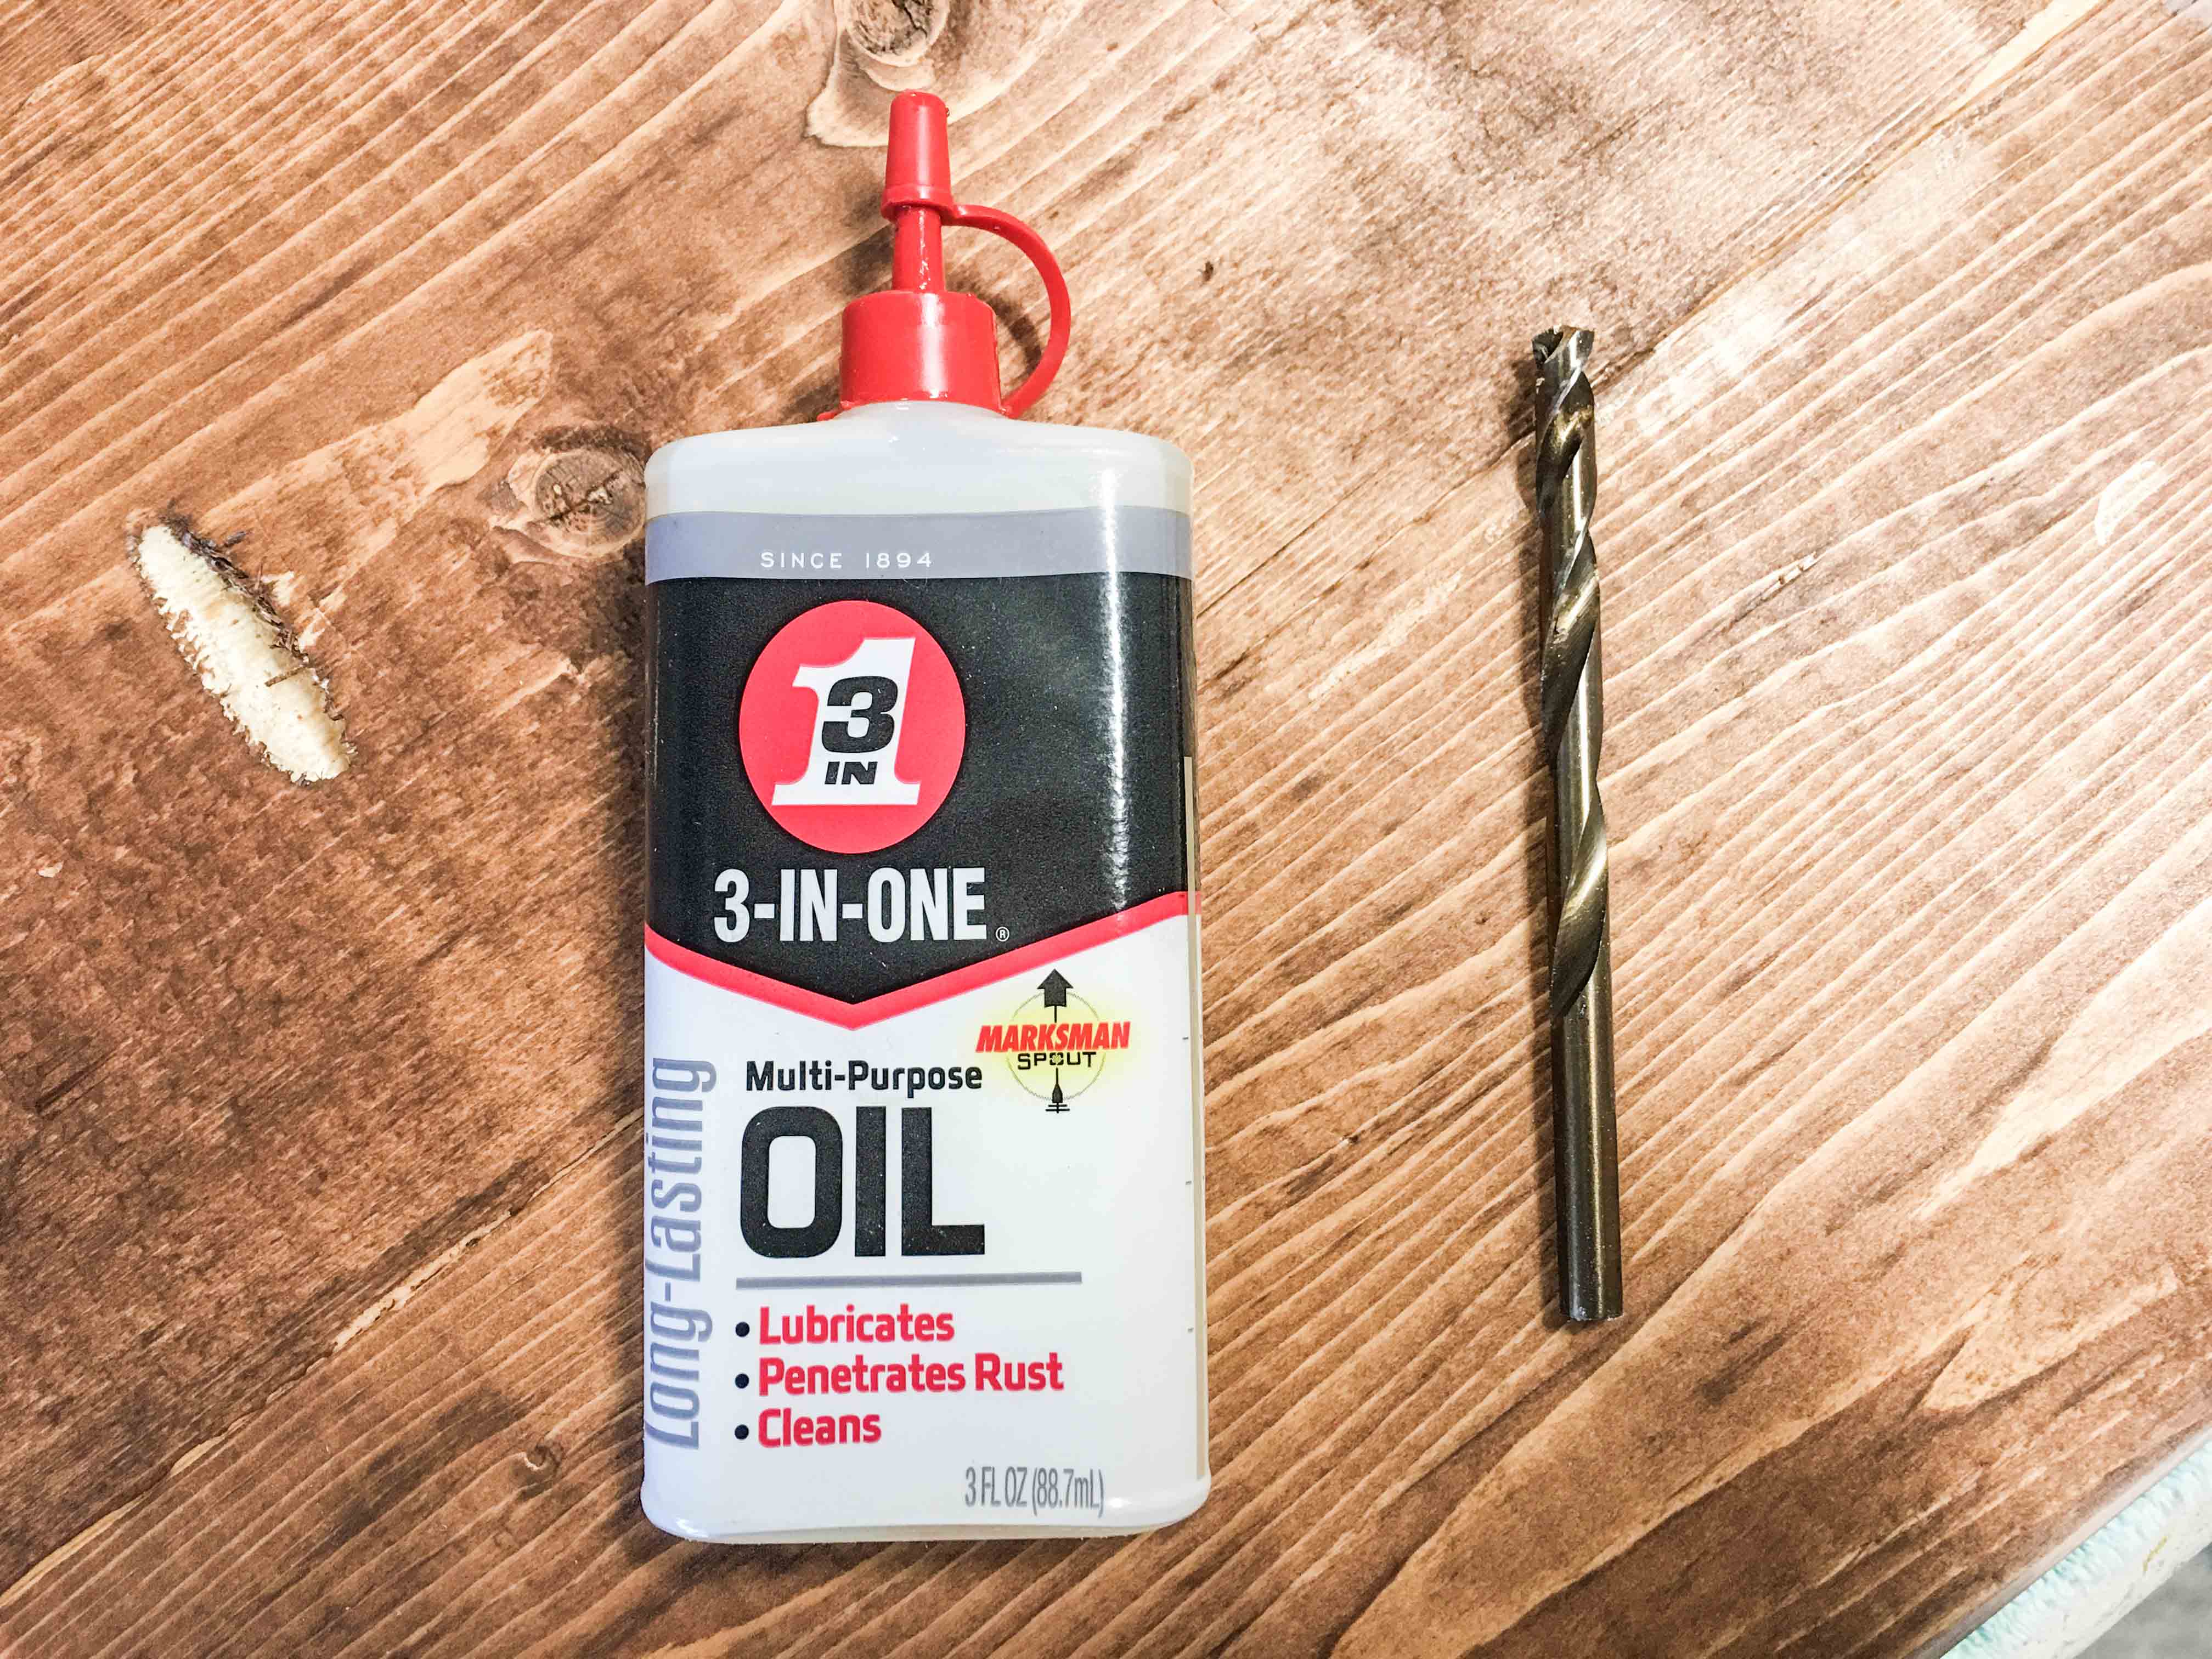
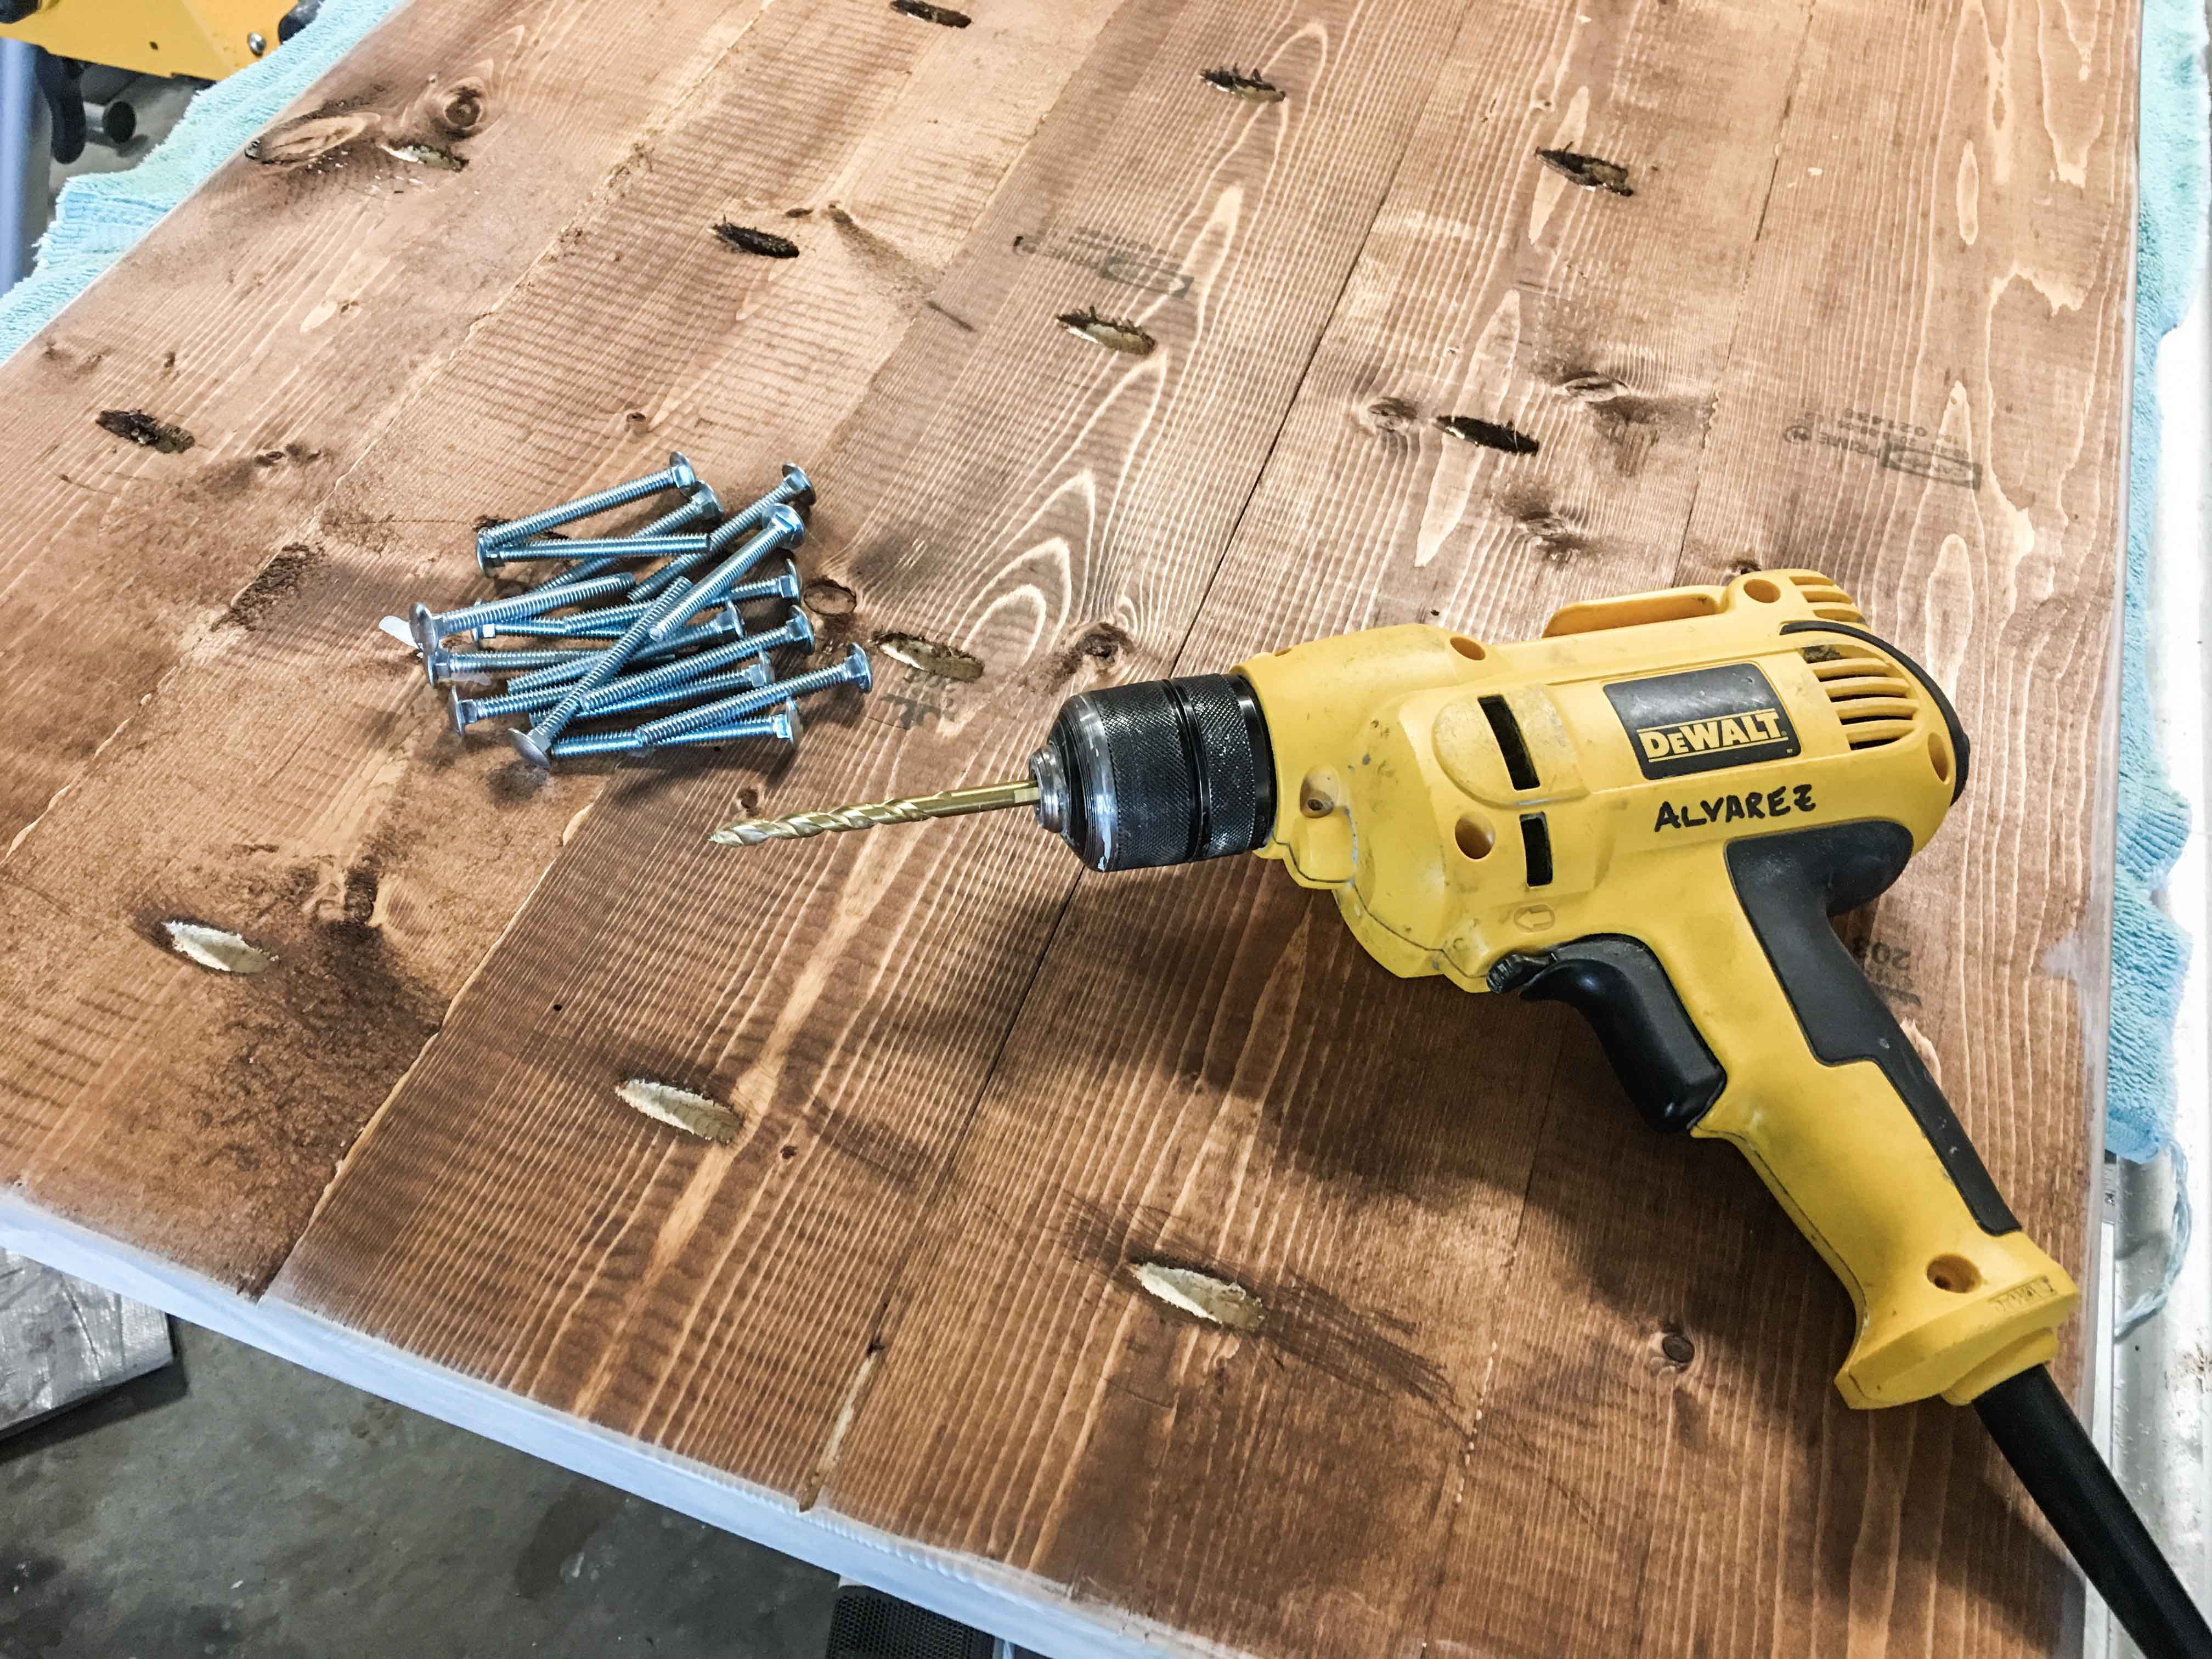
- 16 – ¼” Carriage bolts at 2.5”. $17.22 for a 100-pack. The hairpin screw holes were slightly smaller than ¼”. We used a ¼” drill bit + 3-in-1 oil to widen the holes.
- 16 – Nuts that fit your carriage bolts. Allot ~$3.
- 16 – Washers that fit your carriage bolts. Dry fit ALL nuts, bolts & washers at the hardware store. Bring the hairpin leg with you. Allot ~$3. Many washers will be too large to fit over the hole AND avoid the adjacent metal rod.
- Sandpaper for your orbital sander (sanding discs). $11.99 for a 60-pack.
- Sandpaper sheets – to sand by hand. $5.28 for an assorted pack.
- 2.5” pocket hole screws. $5.77 for a 50-pack.
- (Optional) 3-in-1 oil. OR a stream of water for widening the hairpin screw holes.
- (Optional) wood filler. For the cracks and seams.
Tools.
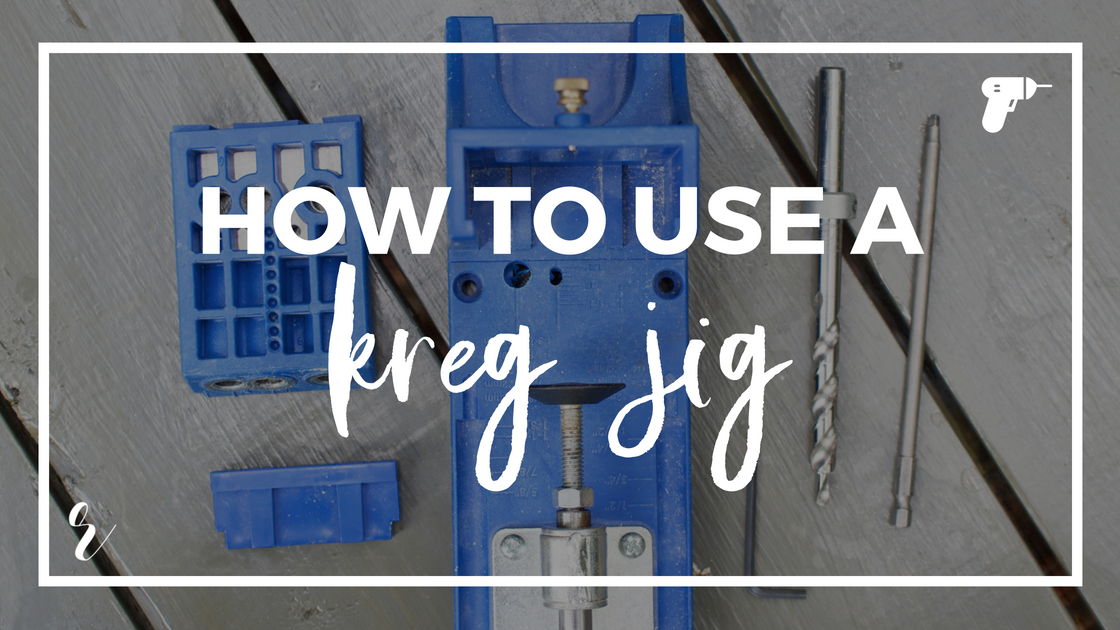
- Kreg Jig System – to drill pocket holes that hide screws.
- Cordless drill / driver with clutch.
- ¼” drill bit. Titanium is ideal for widening the hairpin screw holes if necessary. Dry fit your carriage bolts!
- Miter saw OR hand saw with miter box OR circular saw.
- Table saw. Not essential, but helpful for building an exact width tabletop with tighter seams. Especially when a planer or jointer isn’t available.
- Measuring tape.
- Level.
- Pencil.
- Ear plugs.
- Safety glasses.
- Orbital sander.
- Adjustable wrench OR open-ended wrench set OR socket wrench set.
- Paint scraper.
- (Optional) Belt sander. For the tabletop only.
Budget.
- All materials cost = $169.13.
- All materials cost for DIY regulars = $123.69
If your home workshop or garage is already stocked with stain, paint, paint brushes, shop towels, nitrile gloves, wood glue and sandpaper, then you’ll save $45.44.
Step 1. Determine your exact dimensions.
Note: these plans are based on our 2 foot by 4 foot desk at 41.5 inches tall. Customize to your liking.
- Our standing desk is 2 feet by 4 feet. It’s designed to fit a corner nook in our home office. What area are you space planning for? Feel free to customize the tabletop size to perfectly fit your room.
- If you choose to use 2×6 common boards like we did, then you’ll need to adjust according to nominal measuring. Nominal measurement are generally less than what you’d expect. A 2×6 would ideally be 2 inches by 6 inches, right? Not the case. It’s actually 1.5 inches by 5.5 inches. Our Kreg Jig Tutorial includes a few nominal measuring charts for reference.
- A tabletop made with (4) 2x6s will have a width of 22 inches. (5) 2x6s offer a 27.5 inch width. And so on.
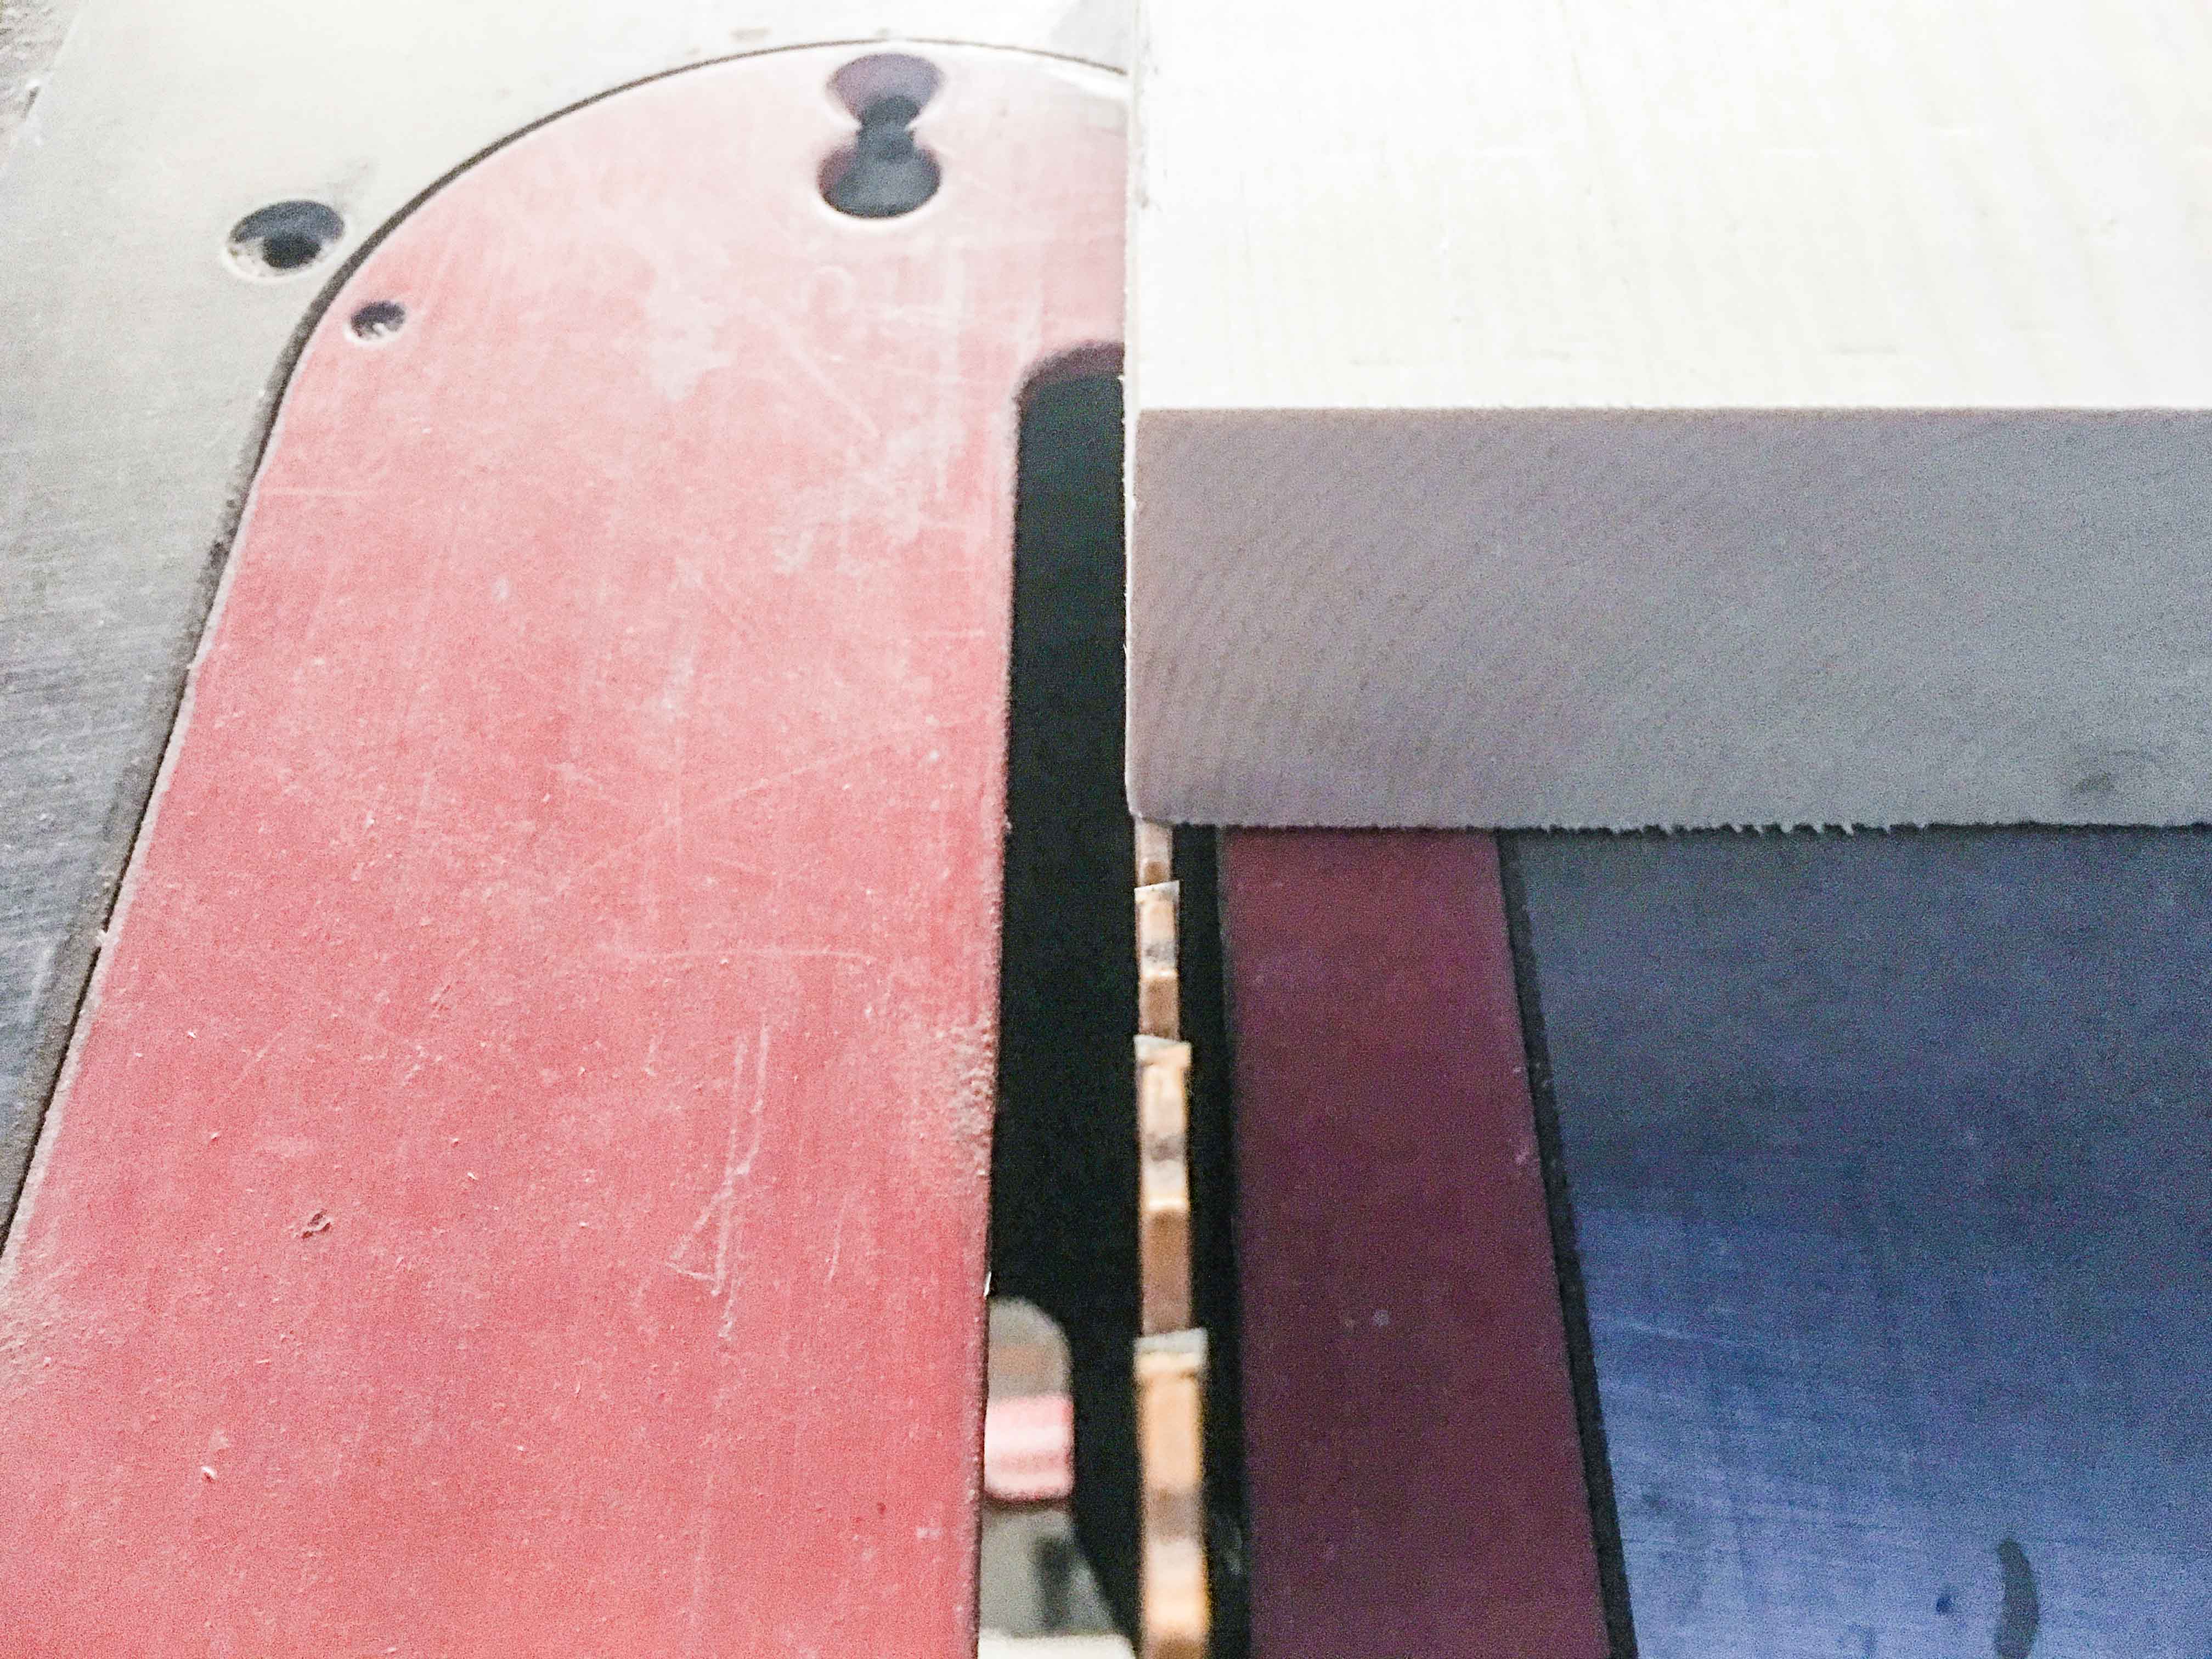
- We opted to rip each board lengthwise through our table saw. Why? Two reasons:
- To get a more precise tabletop width that isn’t contingent on 5.5 inch increments.
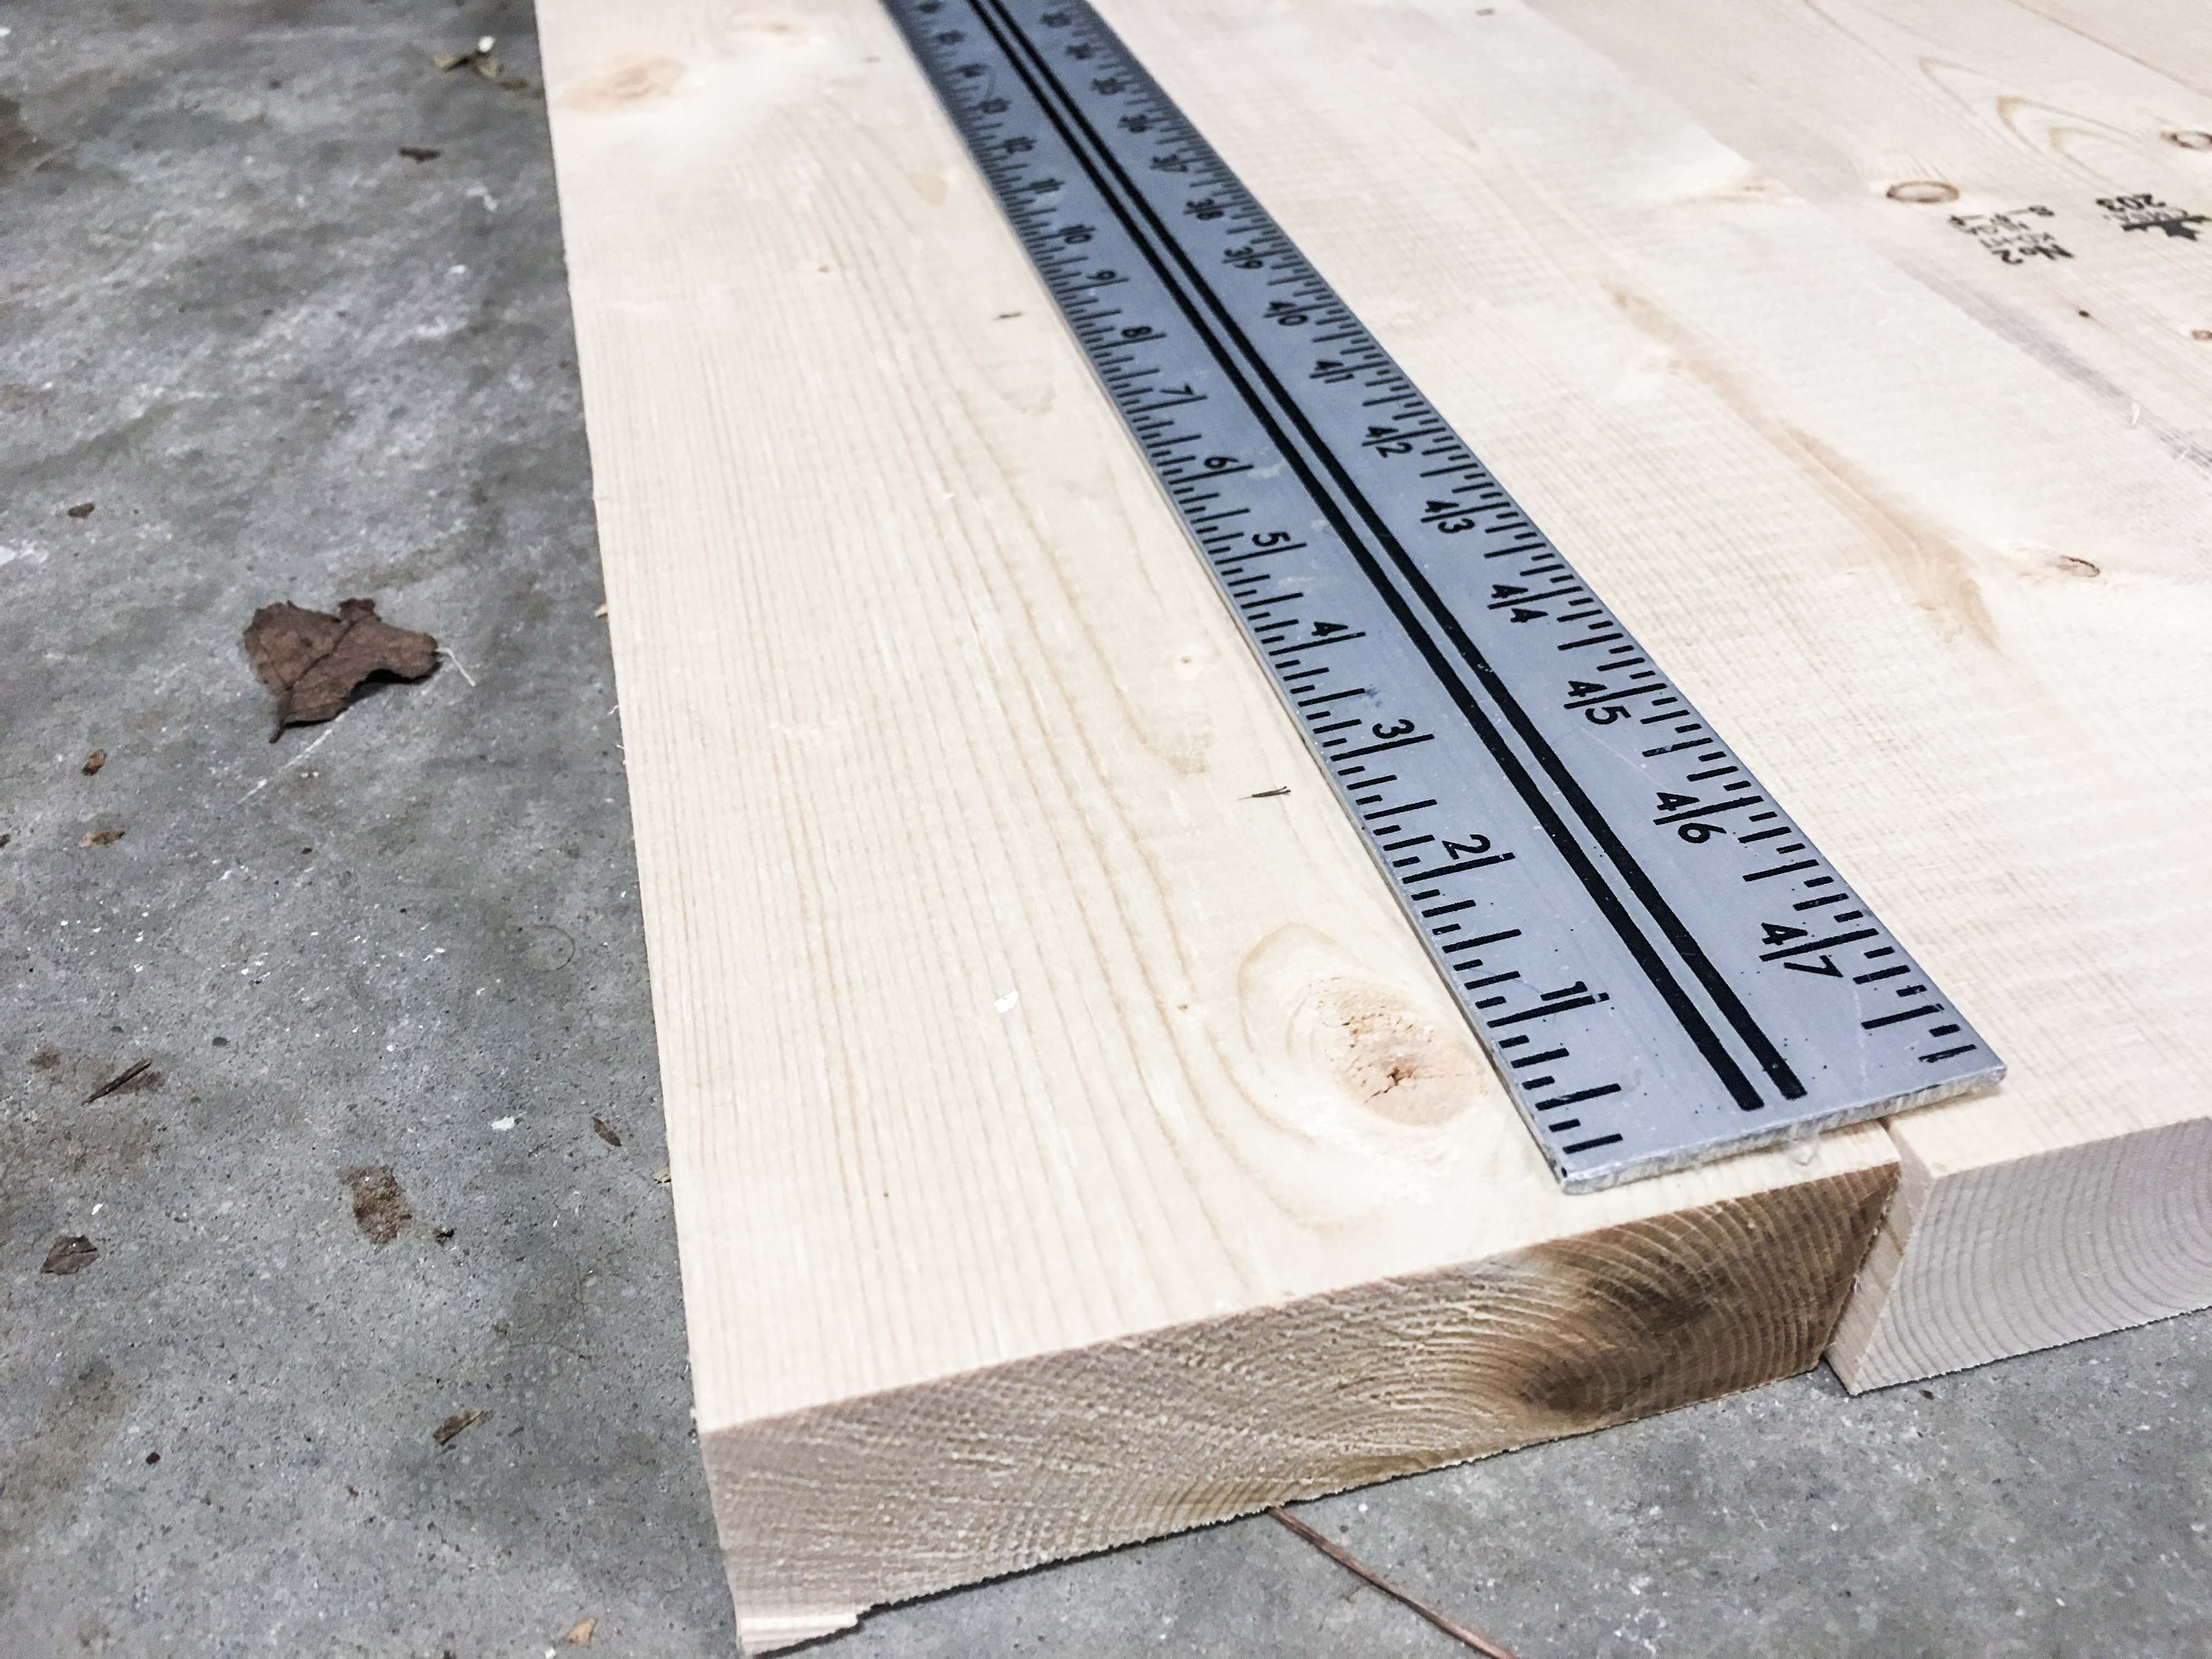
- The edges of most dimensional lumber boards are rounded or slightly curved. Crumbs get caught in between the tabletop joints. If you cut a sliver off all of the joint edges, the sides of the board will become very flat or “square”. The joints will become much tighter. This is NOT essential. Just our preference.
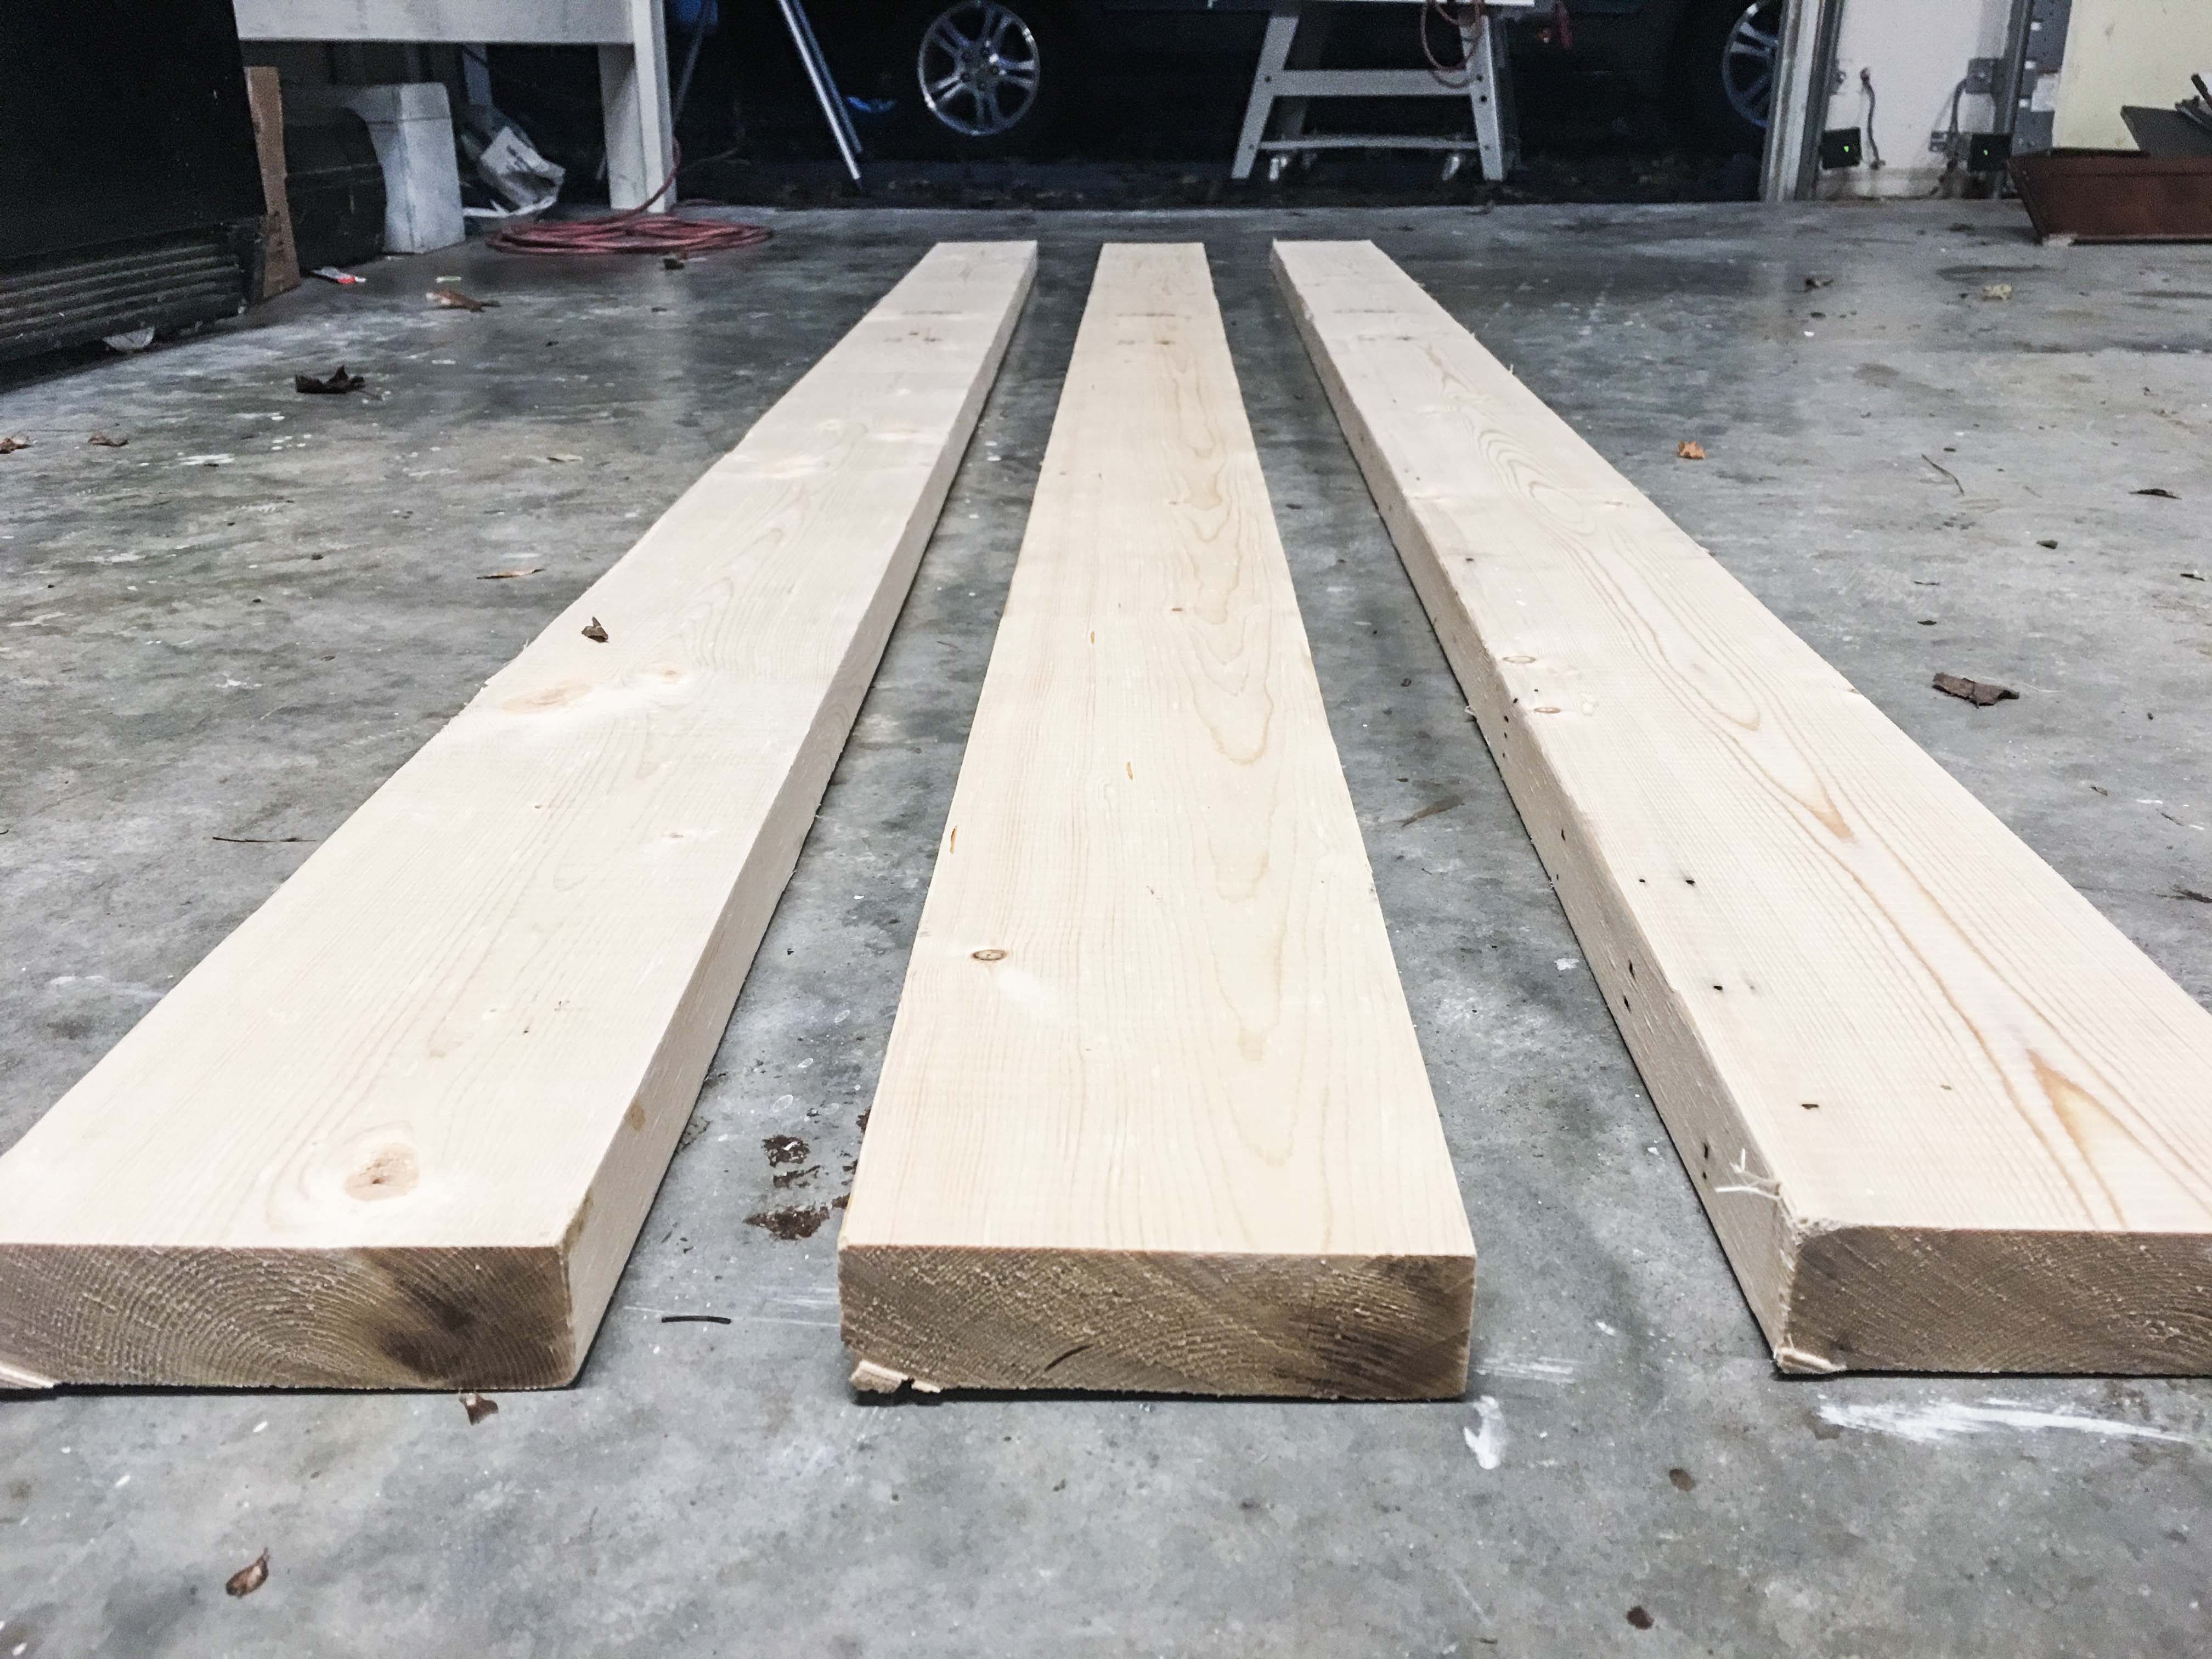
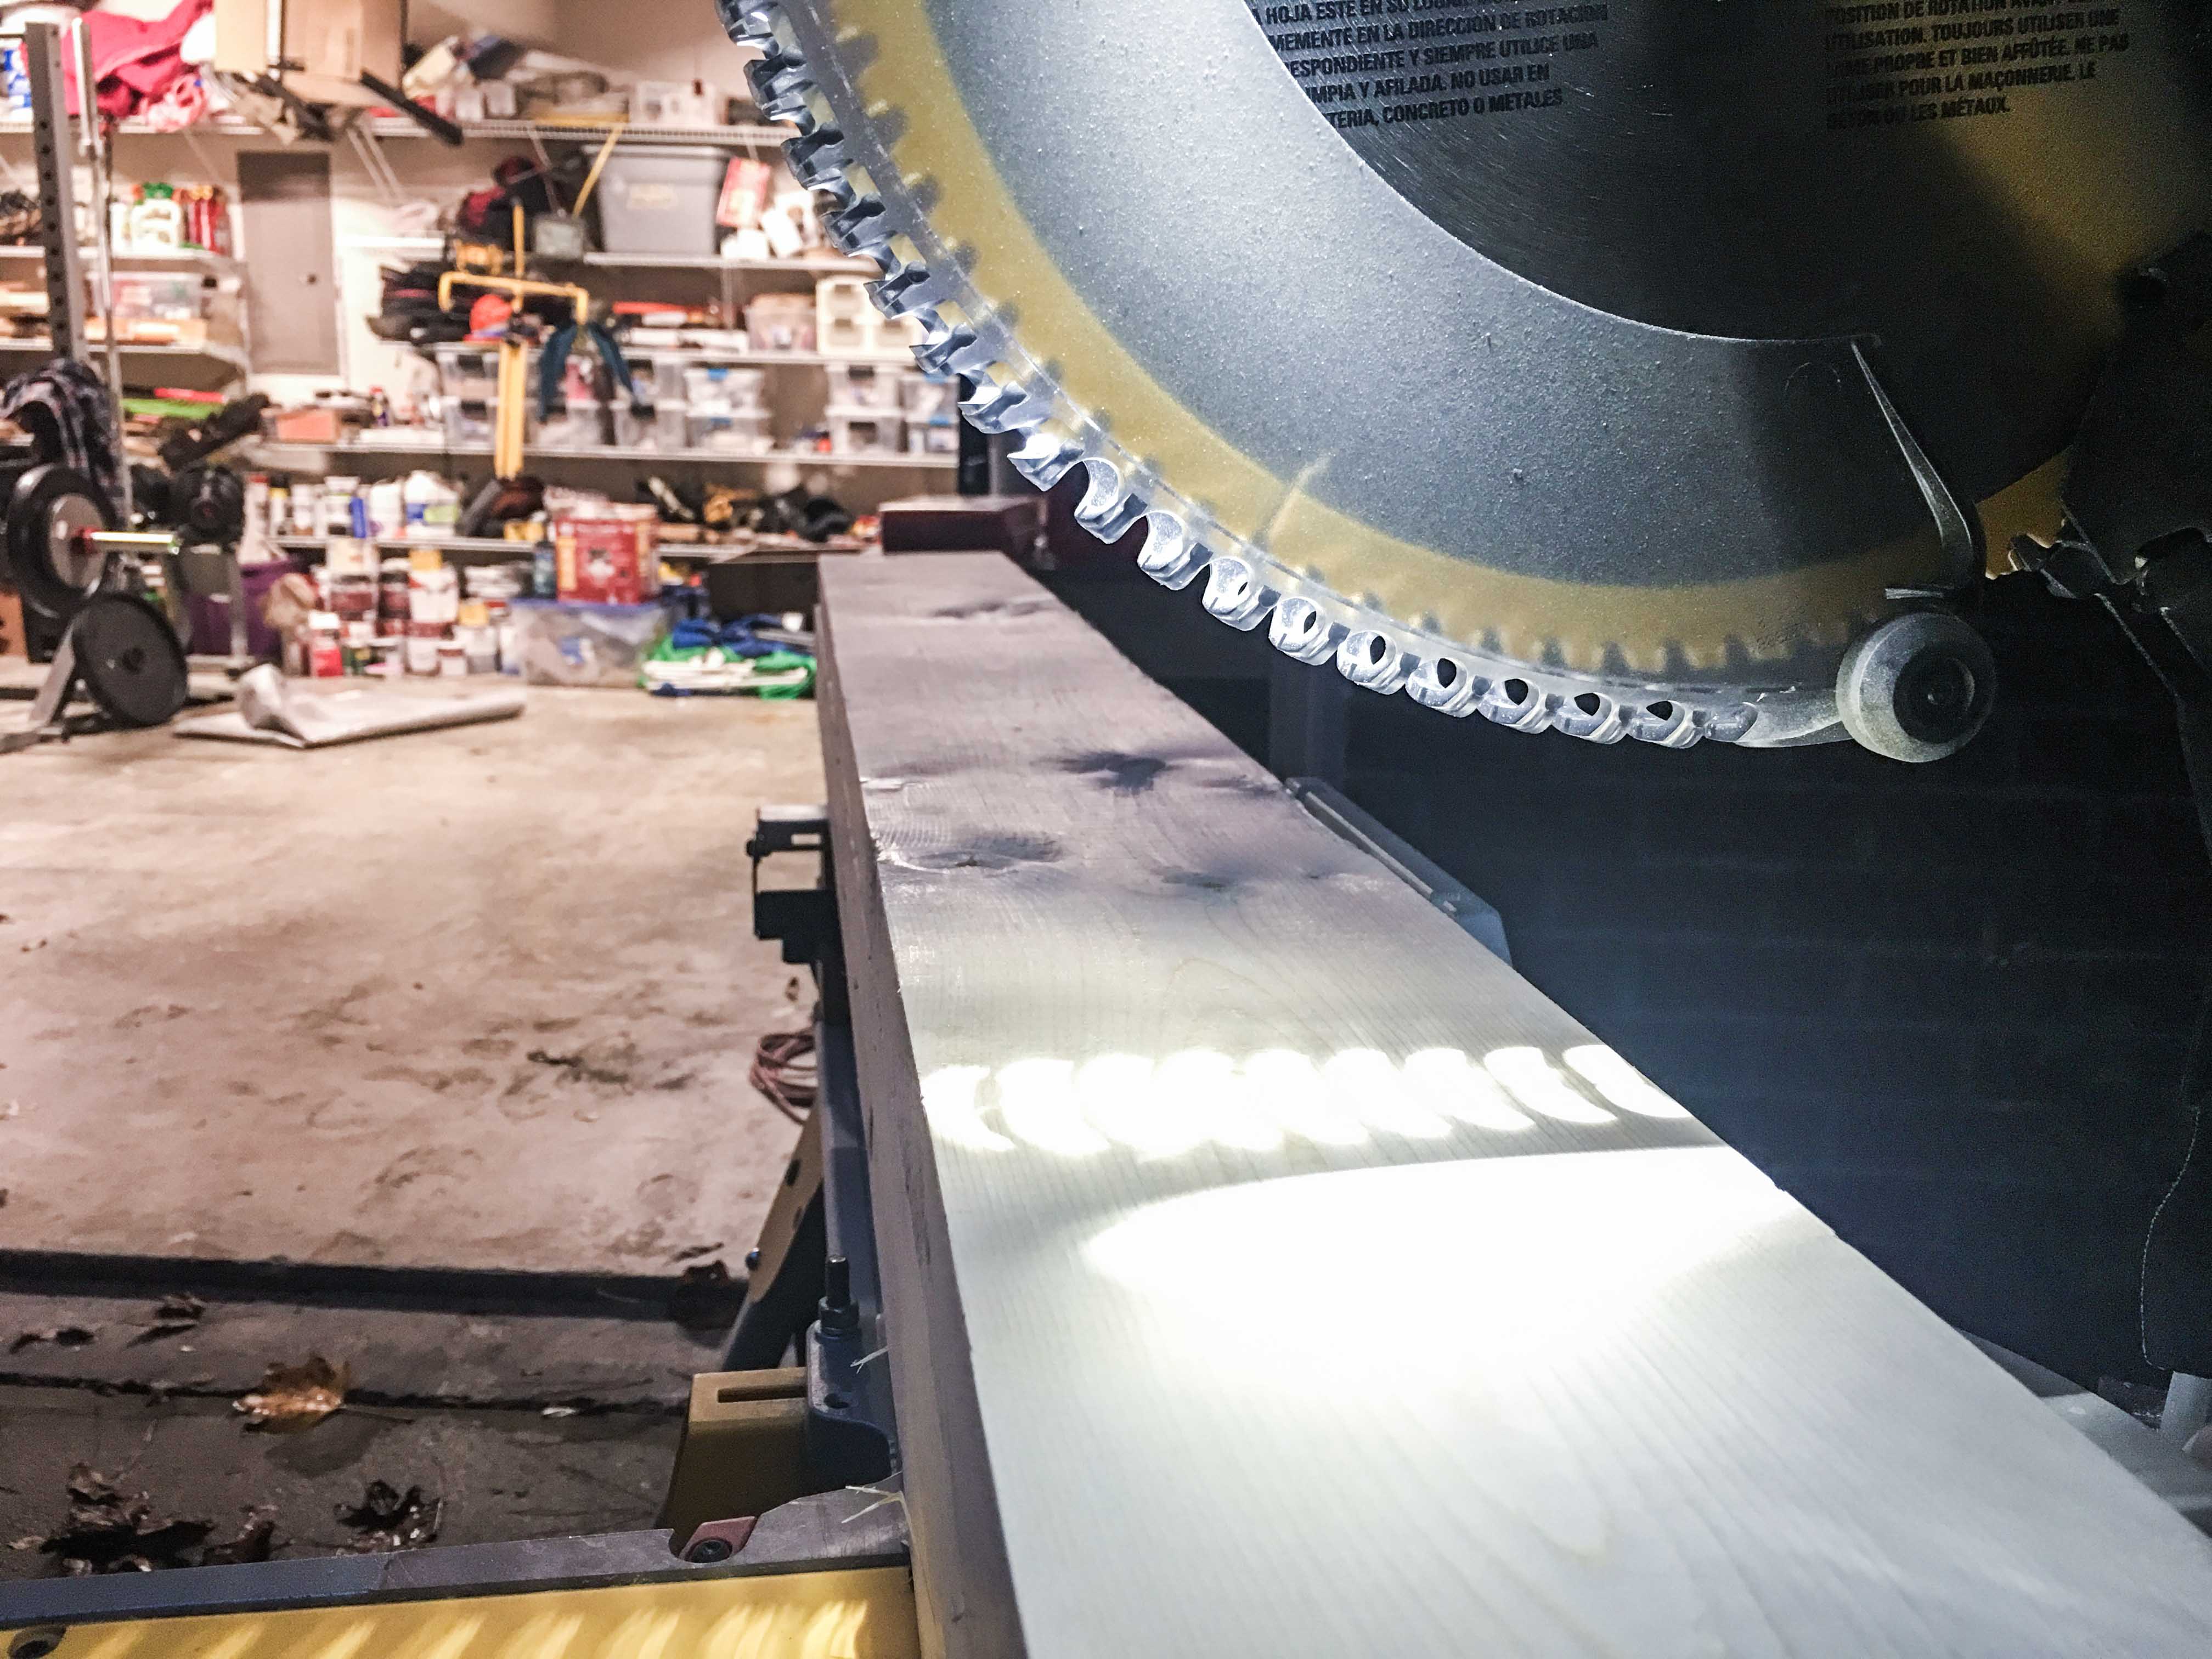
- For tabletop length, you’ll use your miter saw or circular saw to cut each common board to your desired length. Measure your space and cut accordingly. We just mitered our 2x6x8s in half for a rough 4 foot length.
Step 2. Order the legs on Amazon.
- We LOVED the aesthetic of these raw steel metal legs from The Hairpin Leg Co. Buy them here. Or feel free to shop around Amazon to find the design that perfectly matches your overall design palette.
- Consider the ideal height of the legs before you order them.
- According to NotSitting.com, the height of your table should be the distance between the ground and the bend in your elbow when your arm is at 90º. If you’re 5 feet & 11 inches tall, your table should be approximately 44 inches tall. Botd.com offers a few other recommendations:
- If you’re 5 feet tall = 36.5 inch standing desk height.
- 5 feet & 3 inches tall = 38 inch standing desk height.
- 5 feet & 7 inches tall = 41 inch standing desk height.
- 6 feet & 2 inches tall = 45.5 inch standing desk height.
- 6 feet & 4 inches tall = 47 inch standing desk height.
- If you use dimensional lumber, i.e. a 2×4 or 2×6 or 2×8 or 2×10 to build your desktop, then subtract 1.5 inches from your ideal desktop height. As mentioned in Step 1, common boards that are 2x-something are actually 1.5 inches thick.
- Example: if you’re 5’ 7”, you likely need a 41 inch tall desk. Your table legs should be 39.5 inches tall because the desktop with add another 1.5 inches to the height.
Step 3. Hit up the hardware store.
- The desktop boards.
- Choose perfectly straight boards. I know – they don’t exist. But take your time looking down the end of every single board you inspect. Disregard boards that seem a little bowed, warped, twisted, cupped or any form of wonky. It’s worth the 30 minutes this may take to find straight lumber.
- Remember: dimensional lumber was NEVER meant to be seen by the naked eye. It belongs behind drywall, under subfloor, and in your attic.
- Straight boards yield a flat desktop.
- Wood stain.
- Choose a stain based on color preference.
- If you dig Varathane brand, dark walnut is dark-toned, early american is mid-toned, and light walnut is lighter-toned. There are countless colors, shades and tones – consider buying sample sizes and testing them on similar scrap wood.
- Kreg Jig.
- This device is low-cost and efficient way to join boards together when building furniture or decor.
- The pocket holes are drilled on the backsides and undersides of each piece to hide the screws.
- If you’re new to the Kreg Jig game, read our Kreg Jig tutorial here.
Step 4. Wood cut list.
MITER SAW
- (5) – 2x6x4’, square ends (90º).
TABLE SAW (optional)
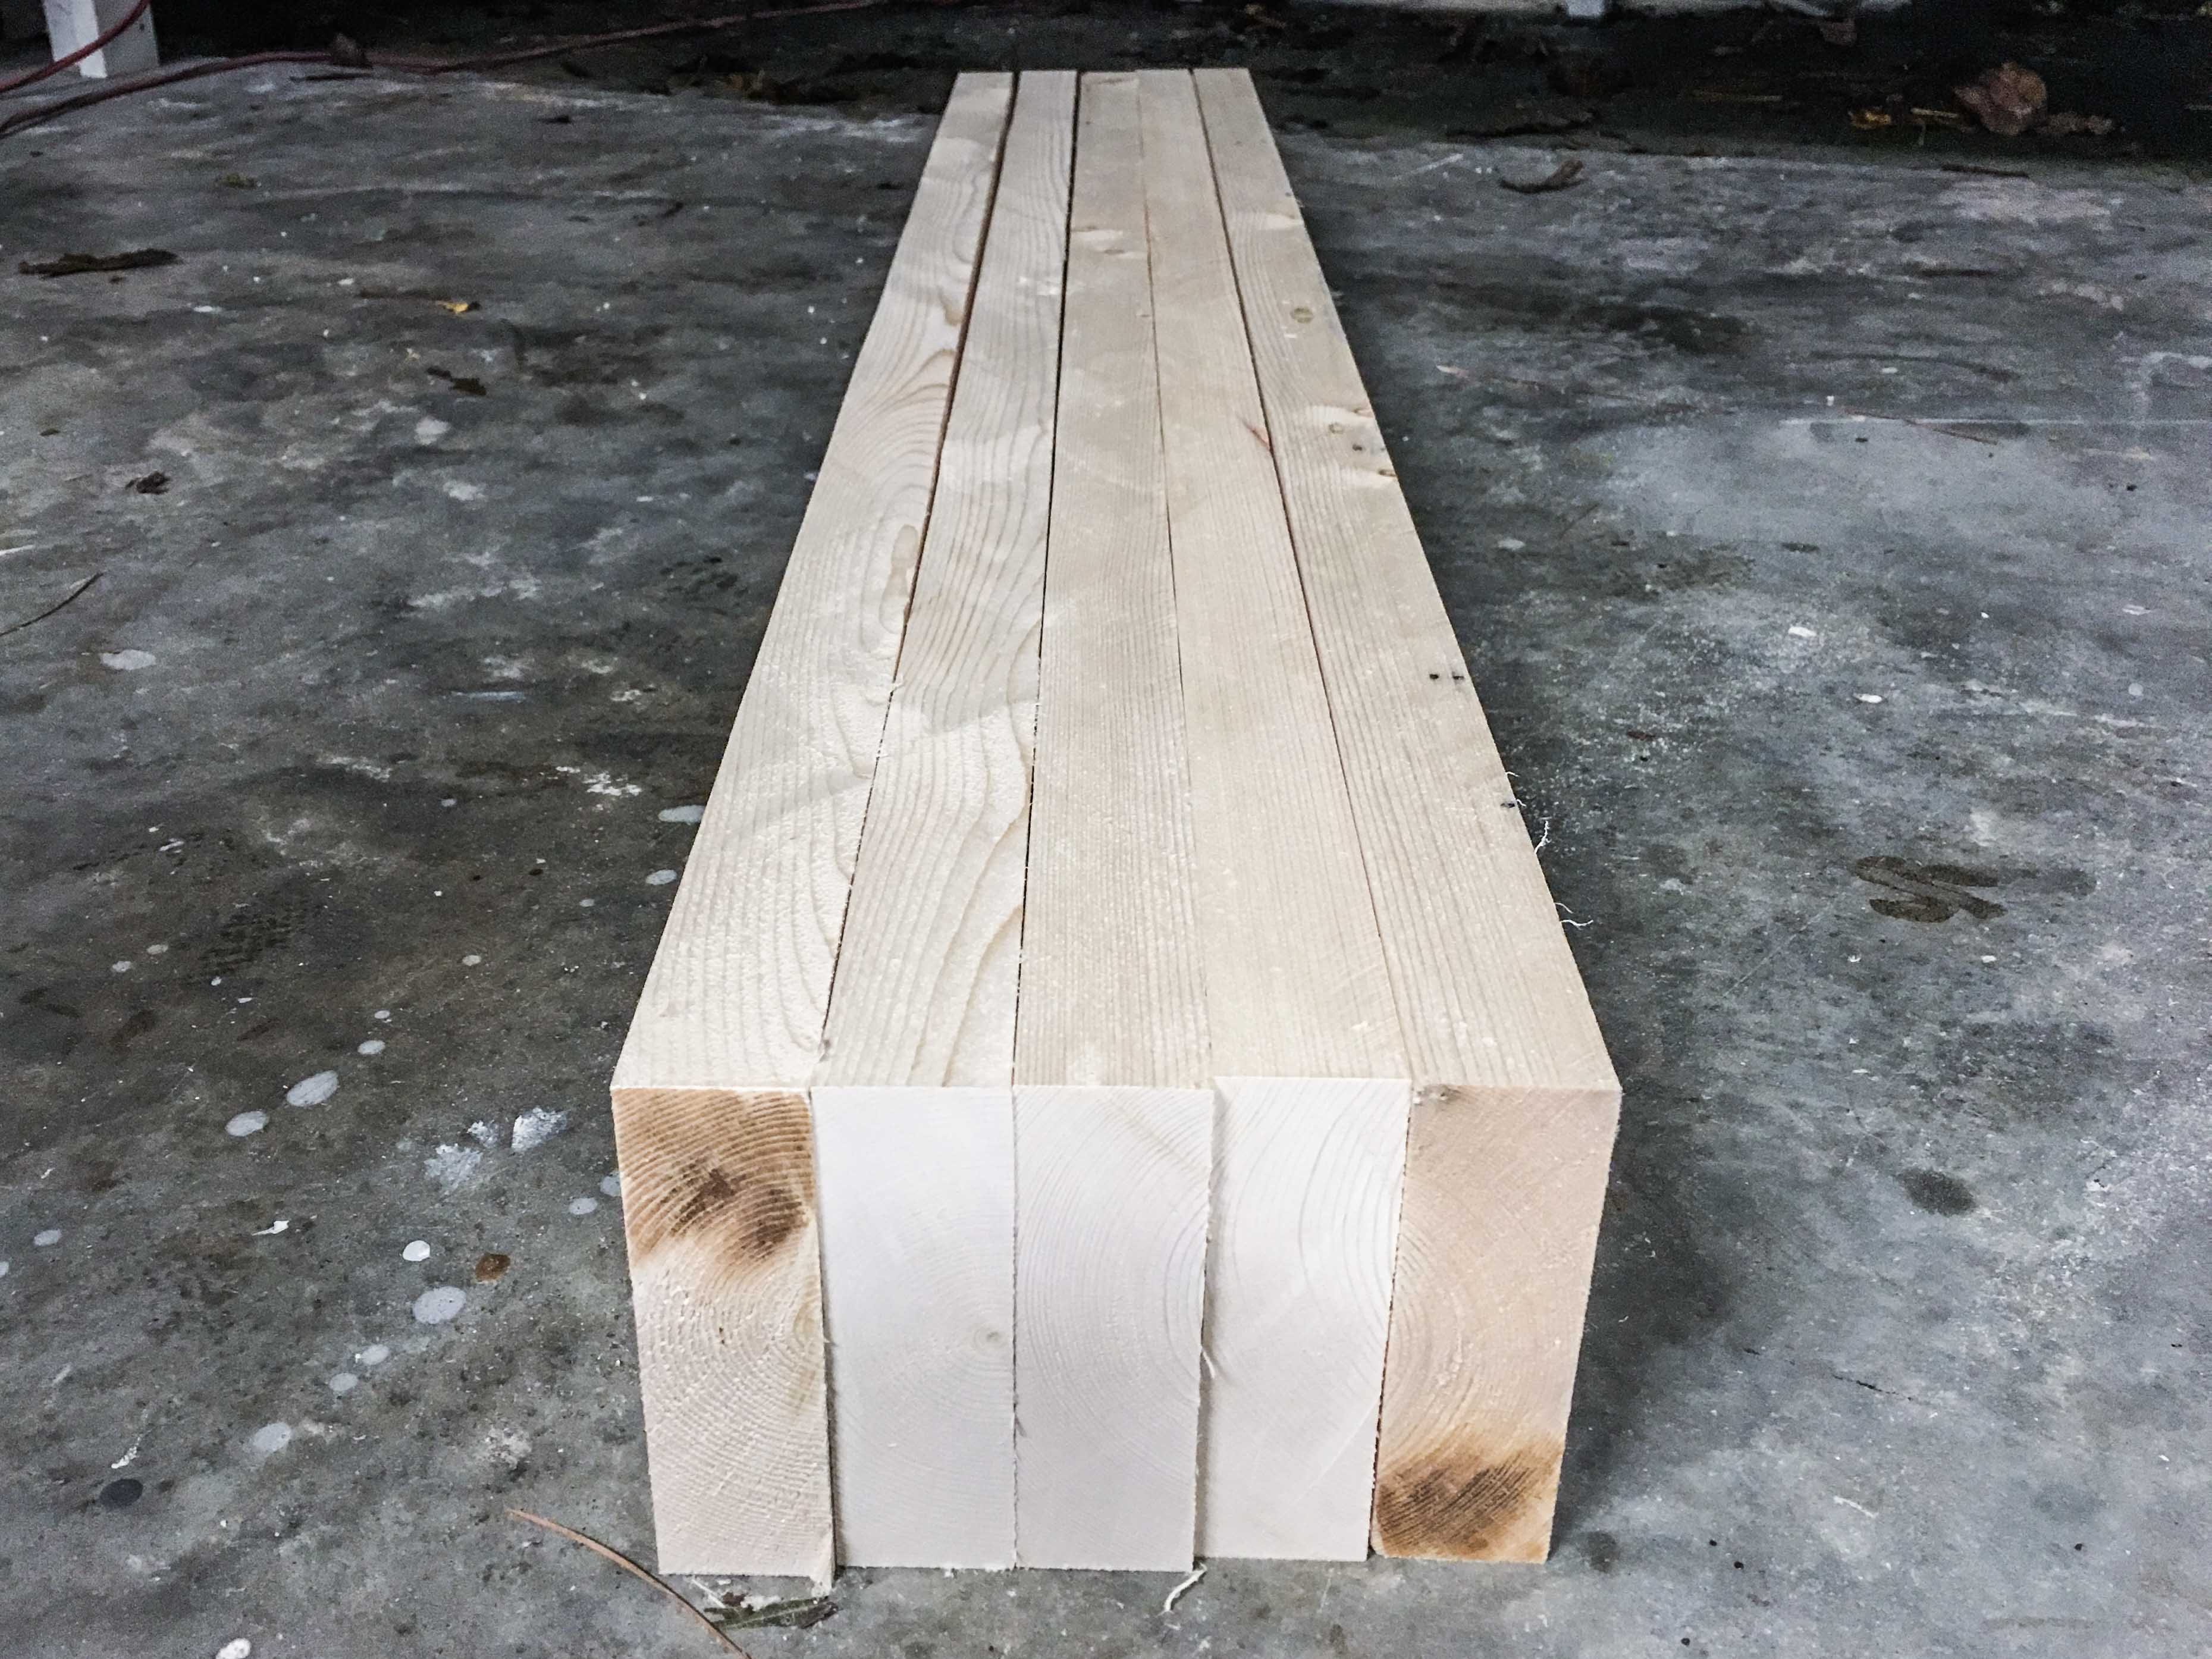
- Take your (5) 2x6x4’ common boards and rip off just under ⅜” from each side. This will yield a 24” width desktop and MUCH tighter joints.
Step 5. Assemble your tabletop.
CLAMPS (Optional – we did NOT use them)
Note on clamps: if you opt to use clamps AND glue + pocket hole screws, then have them ready. After marking the boards and predrilling them, place half of your parallel clamps and/or pipe clamps underneath and perpendicular to the boards.
- After adding the wood glue and flattening the boards again, clamp the boards together before applying pocket hole screws. Add the second half of your clamps on the top of the boards (still perpendicular), in between the clamps underneath to ensure equal pressure everywhere. The clamps will appear to alternate under, over, under, over, etc. This prevent the tabletop from cupping.
- If you opt to use trigger clamps, you’ll need 4 of them. Apply a scrap piece of wood above and below one end of the tabletop, 1 foot from the end. Begin compressing the 2 scrap pieces with a trigger clamp on either side. Repeat at the other end, 1 foot from the end. Only tighten them enough to hold in place.
- Tighten the clamps gradually, only rotating the end a half-turn before moving onto the next clamp. You’re virtually tightening all the clamps at the same rate, but with only 2 hands. This includes gradually pumping the trigger clamps as well. Once the joints are tight and the top seems flat, proceed to add screws.
LAYOUT
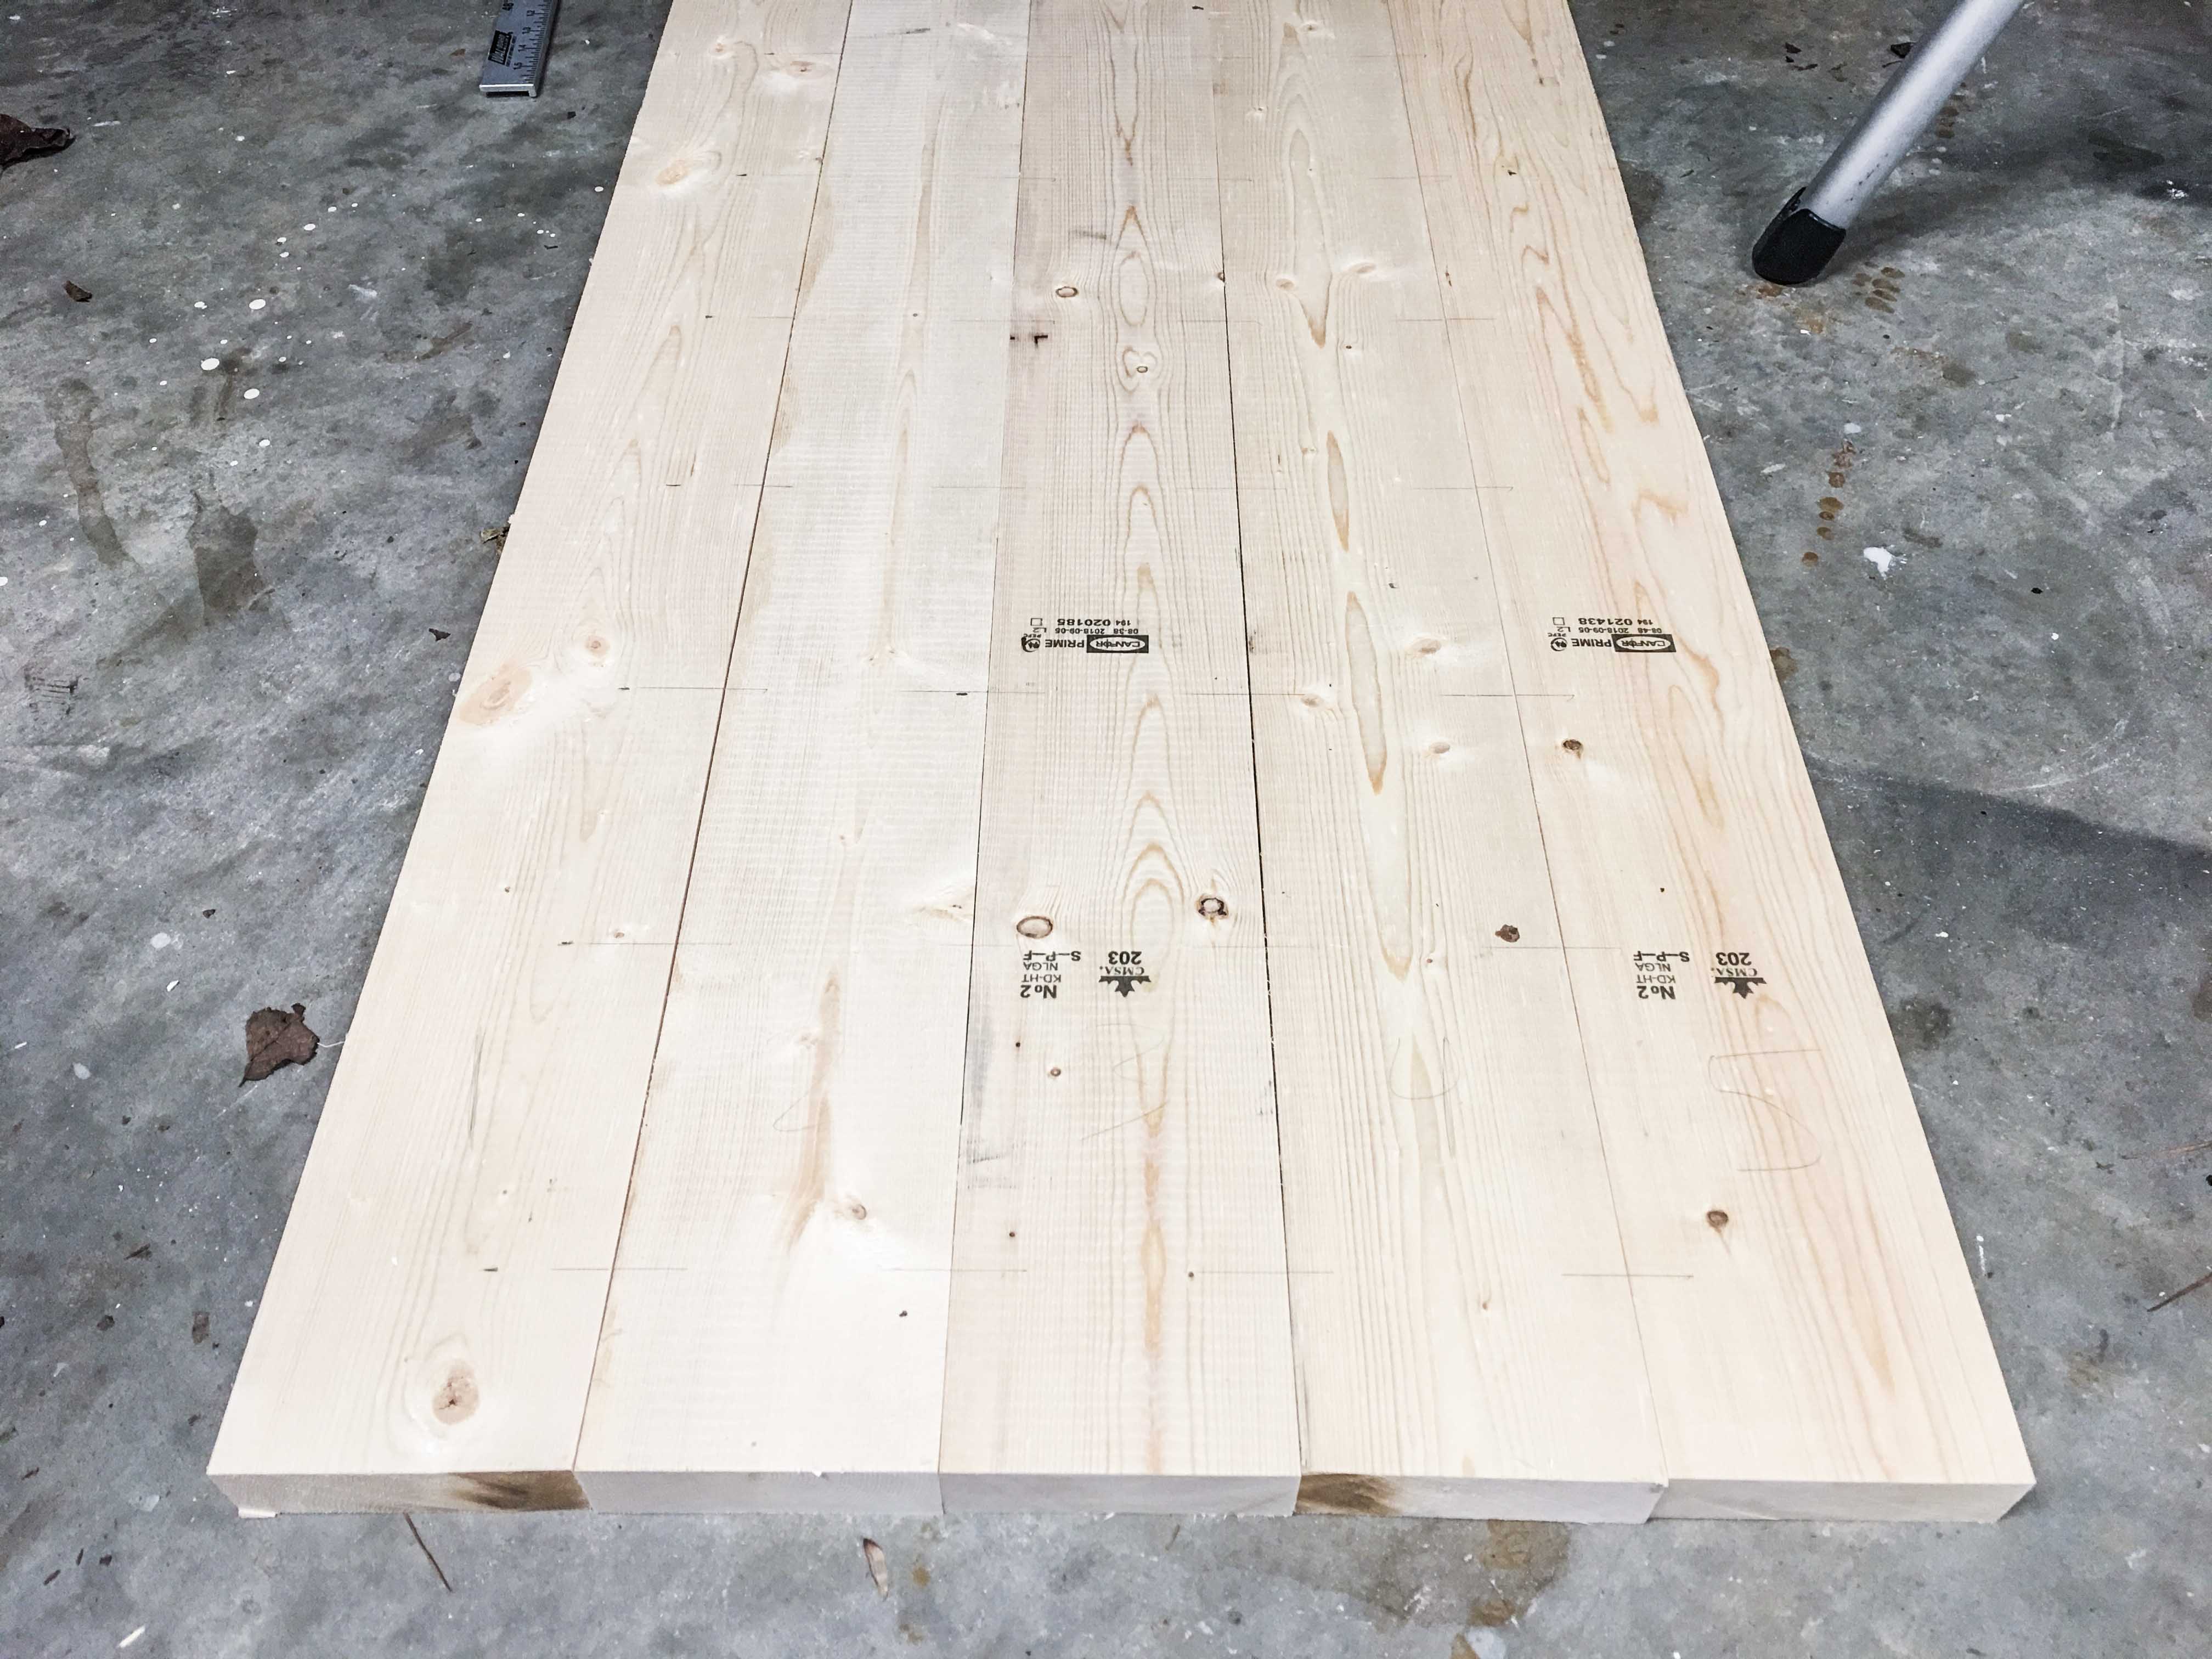
- Lay out your (5) tabletop common boards on a very flat surface. Glue will drip onto it.
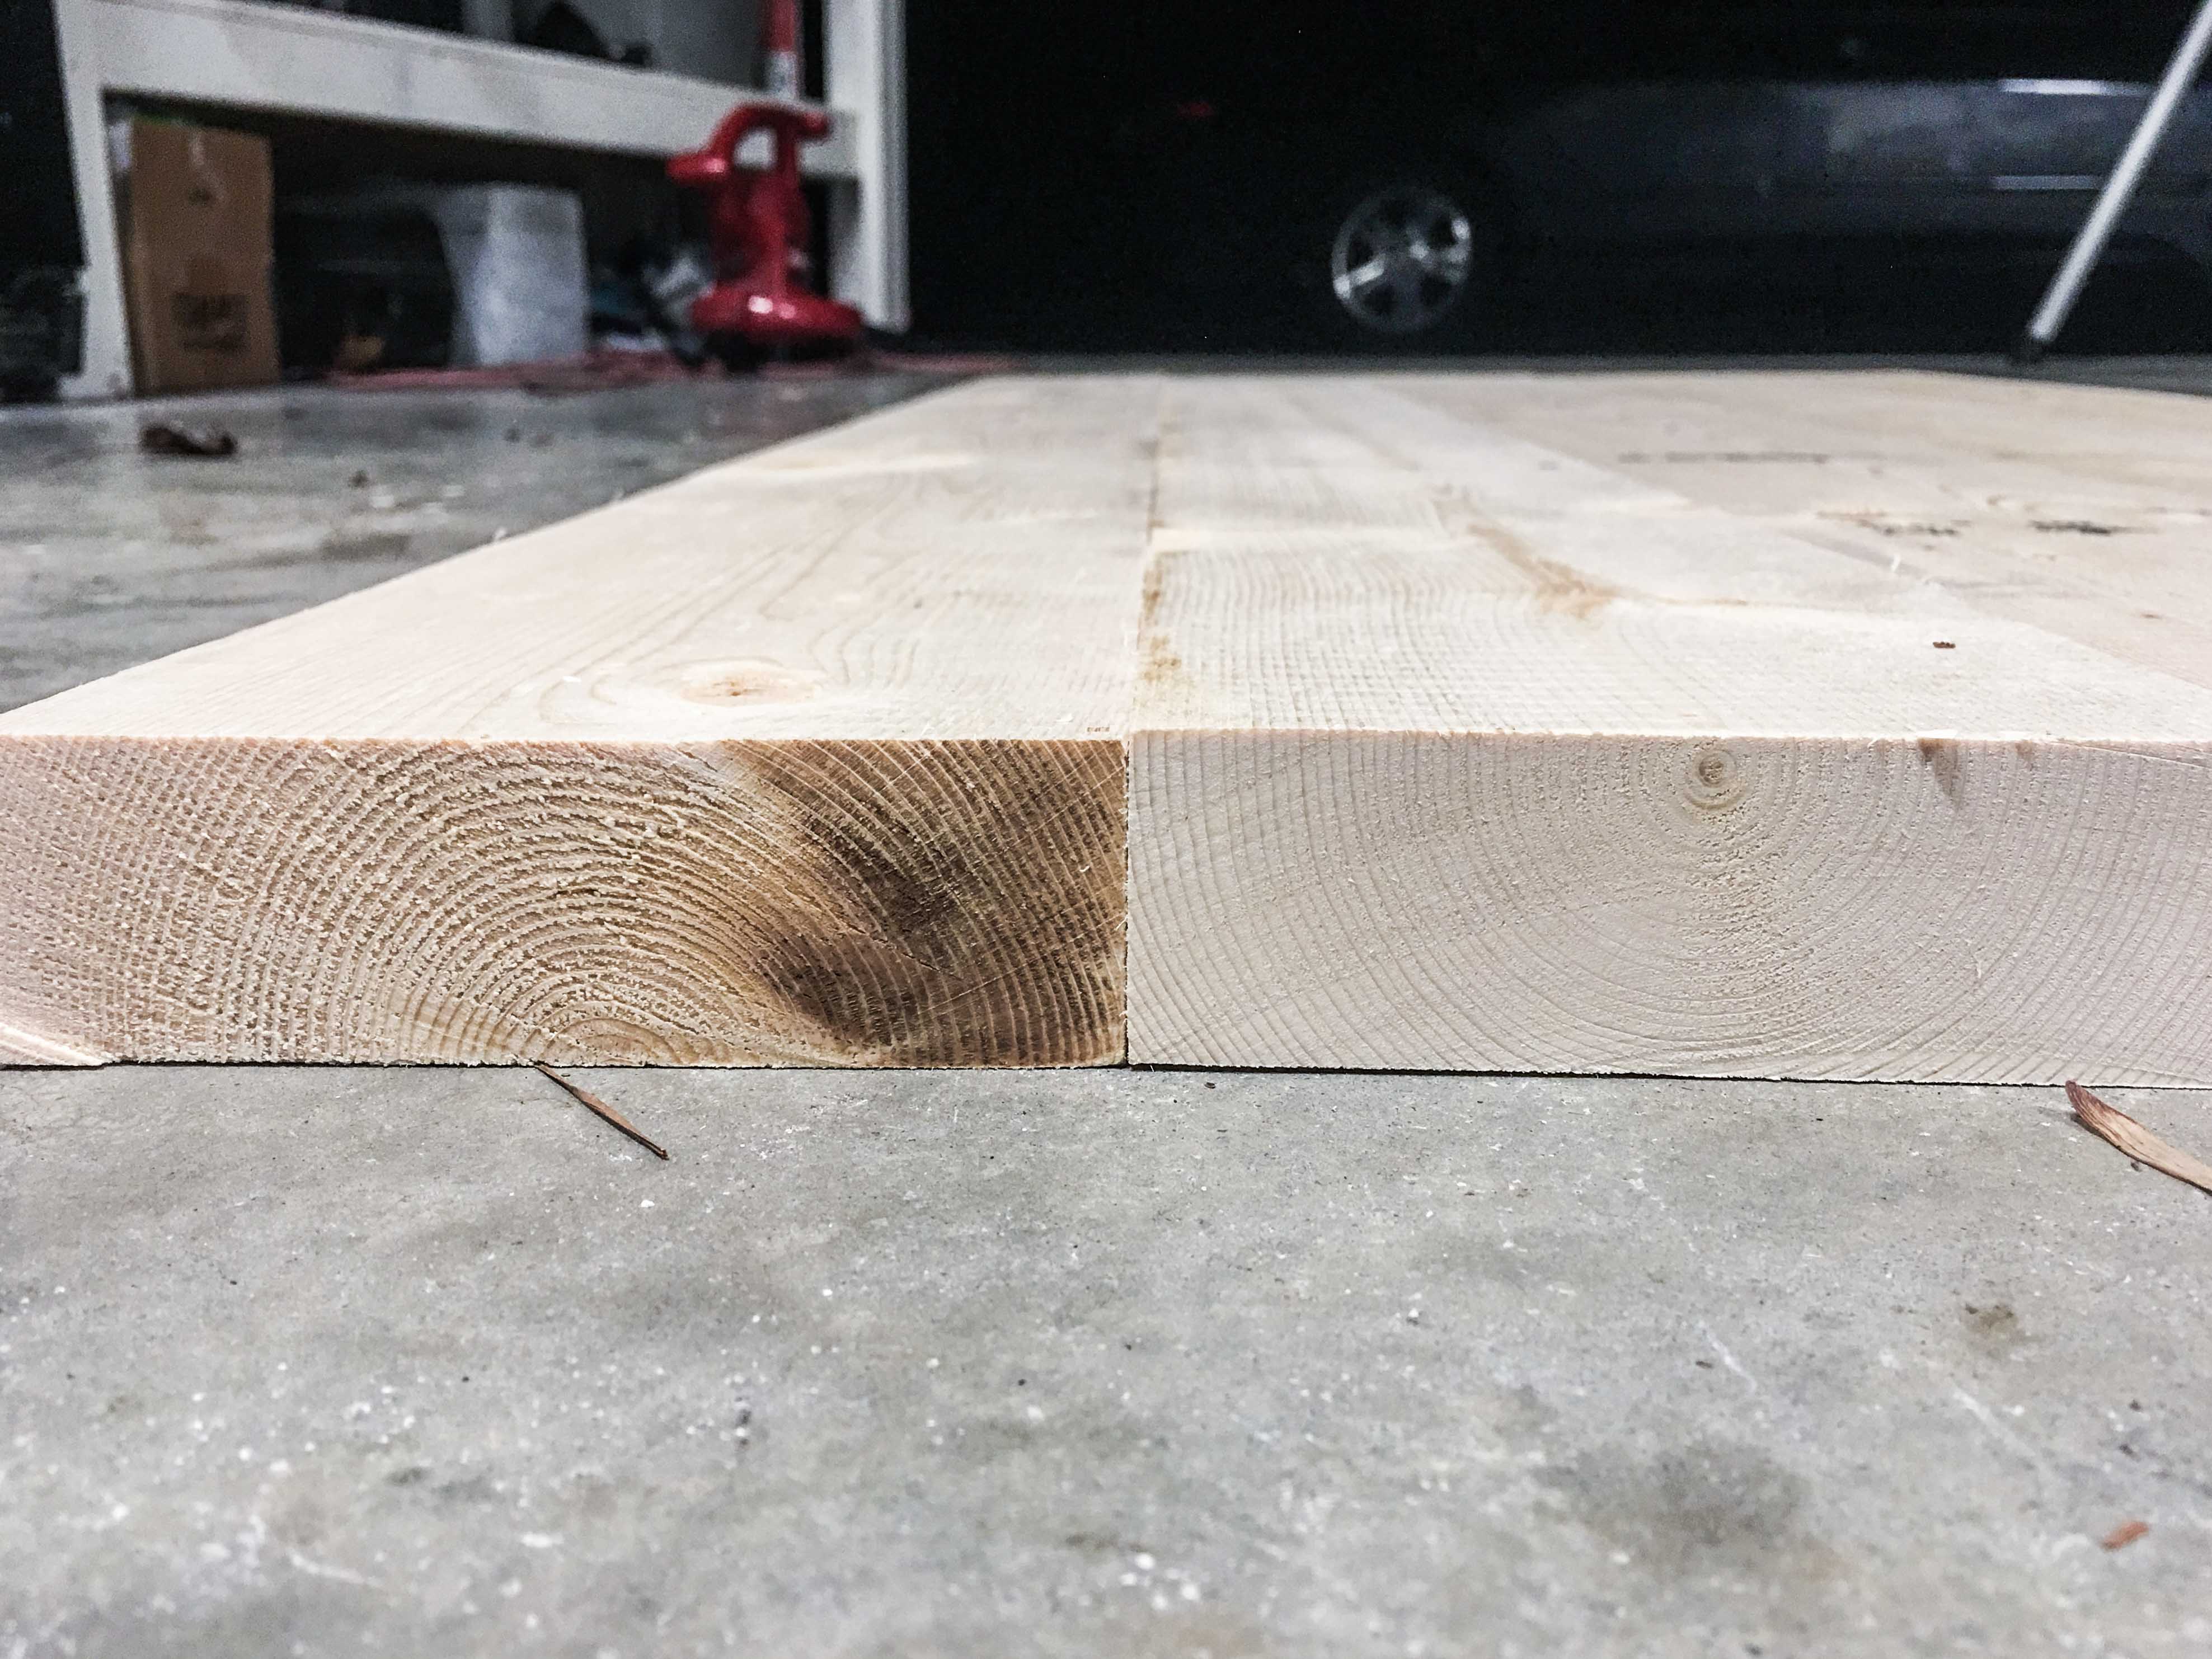
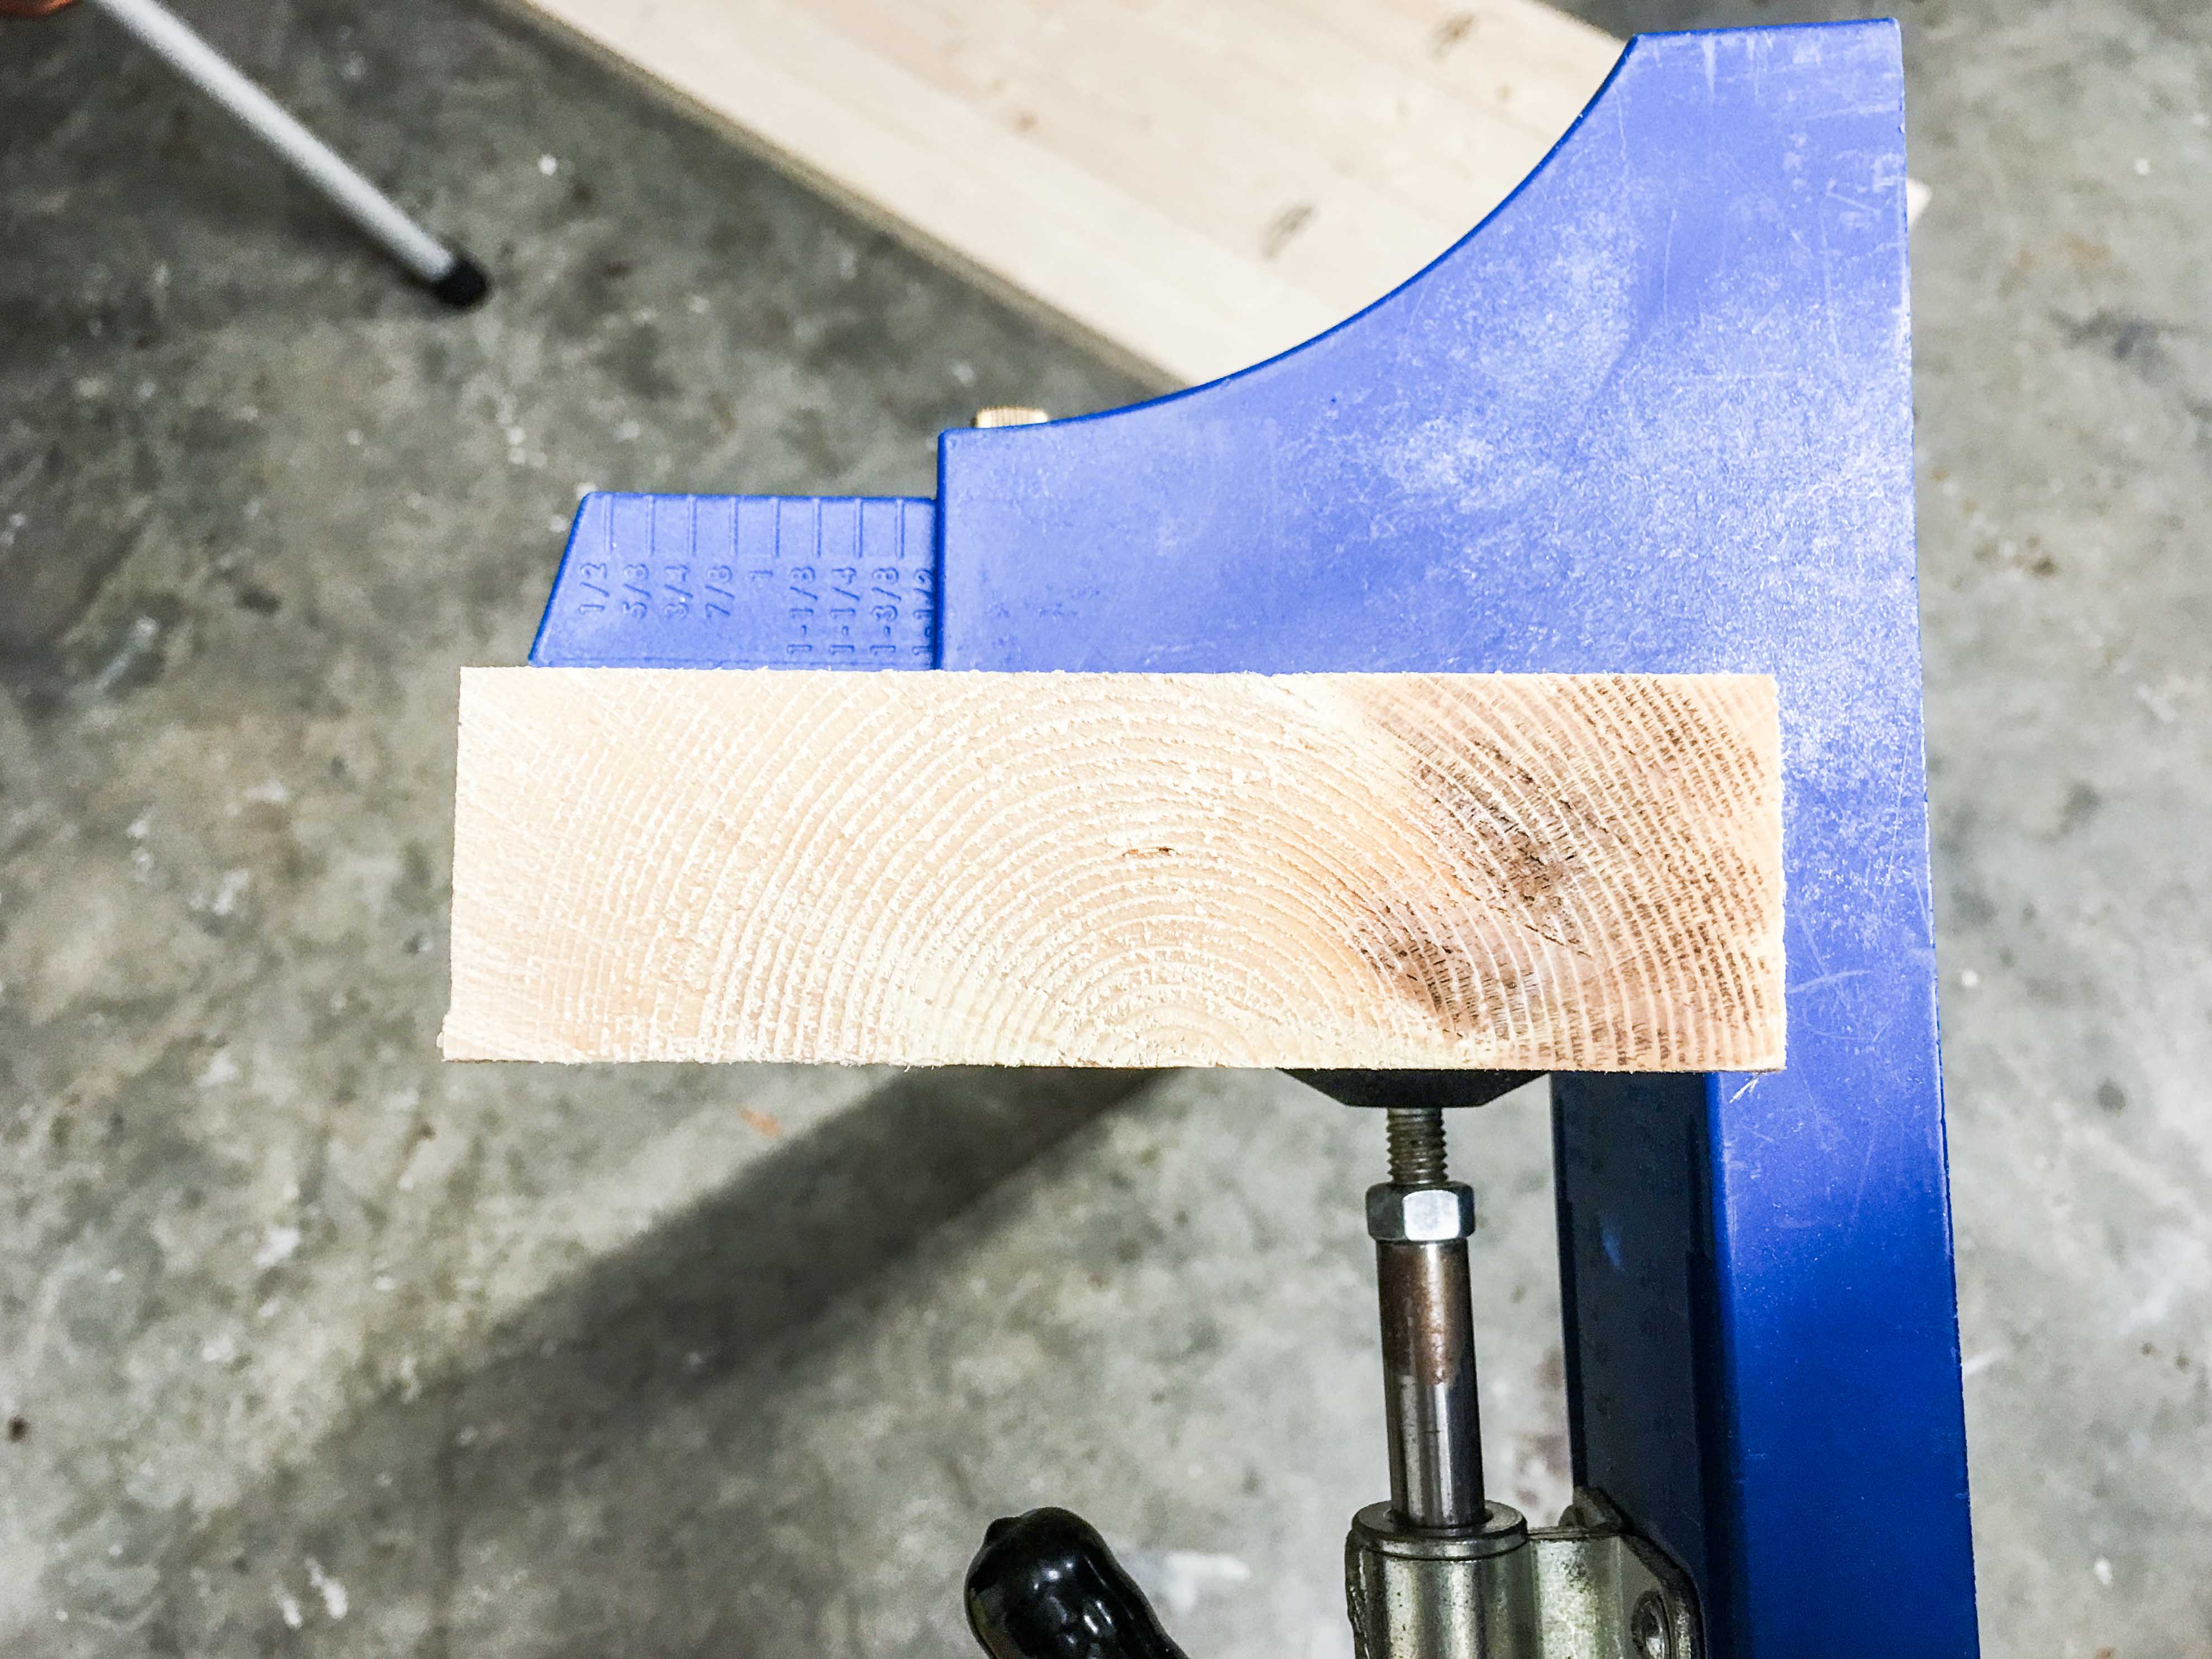
- Look at the end of each board. If you’re directly in the heart of the tree, the circular growth lines will make a bullseye. Otherwise, the center will be offset and the lines with either cup upward like a “u” or downward like an “n”.
- Alternate the direction of each boards’ growth lines. E.g. the edge board would be cupped downward, the next upward, the next downward, etc. This ensures that the tabletop is as flat as possible, and doesn’t begin to warp overtime with moisture, humidity and temperature changes.
MARKING THE BOARDS
- Carefully flip all of your boards over, maintaining the same line-up.
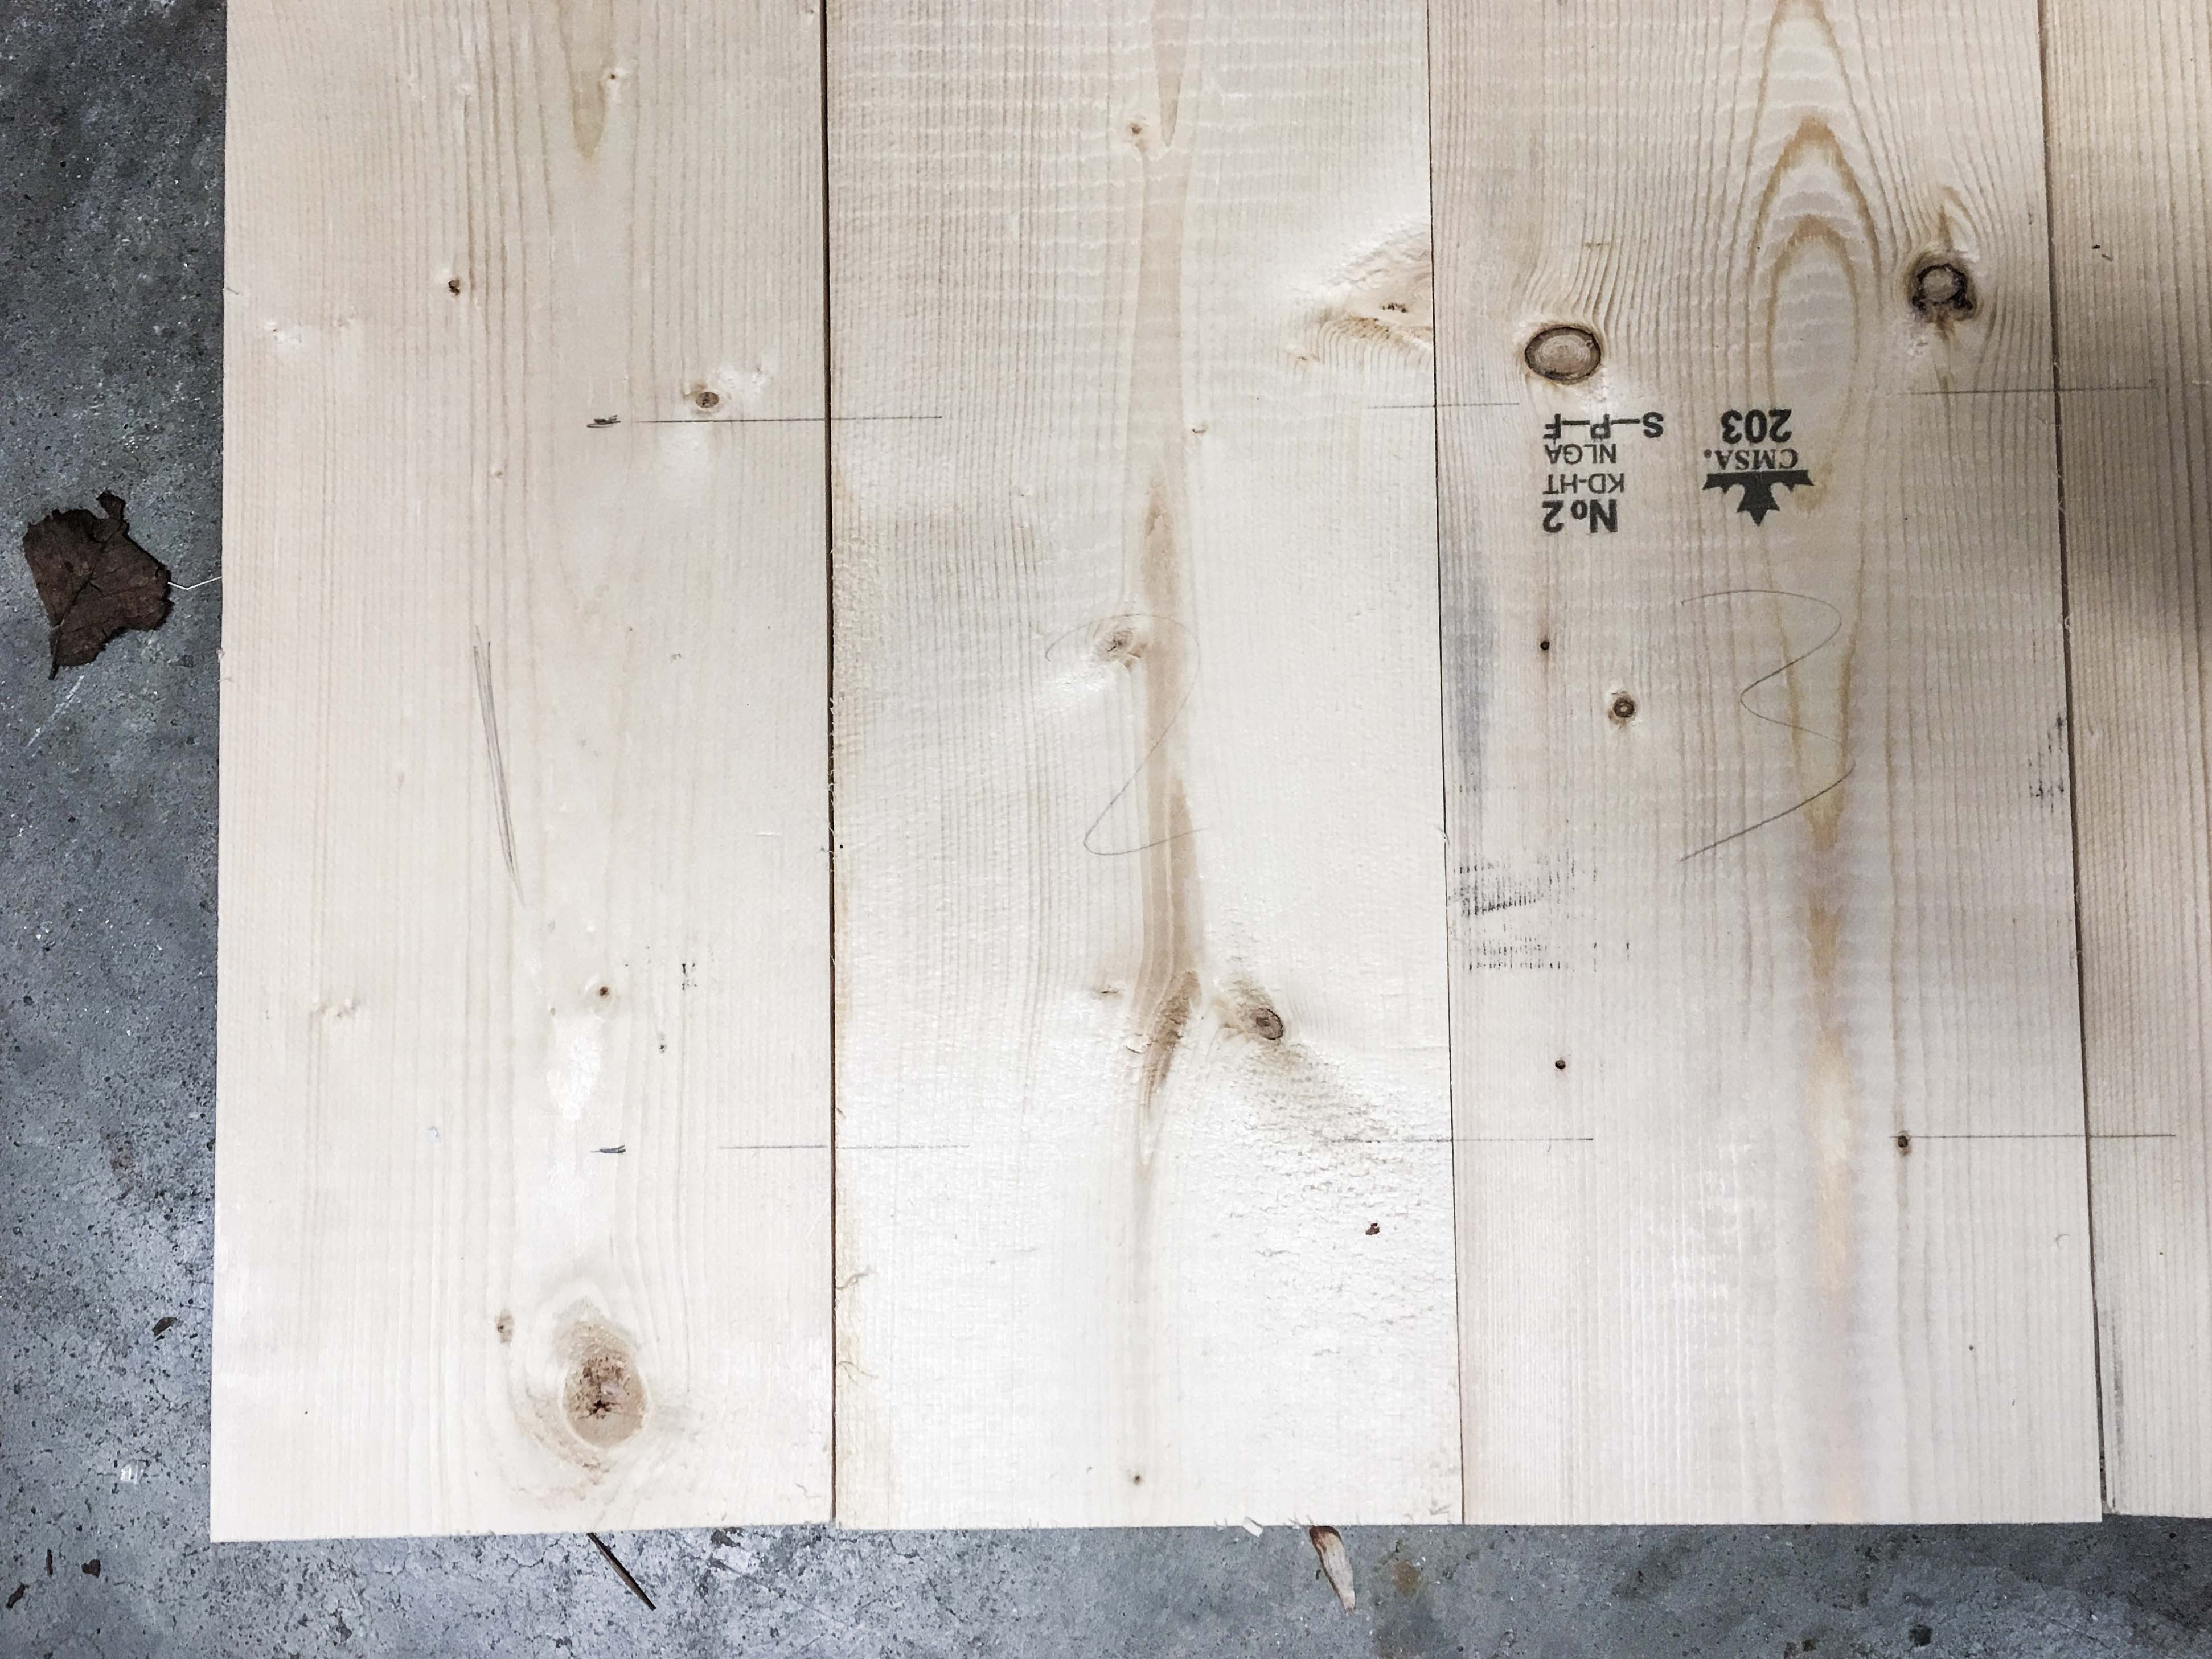
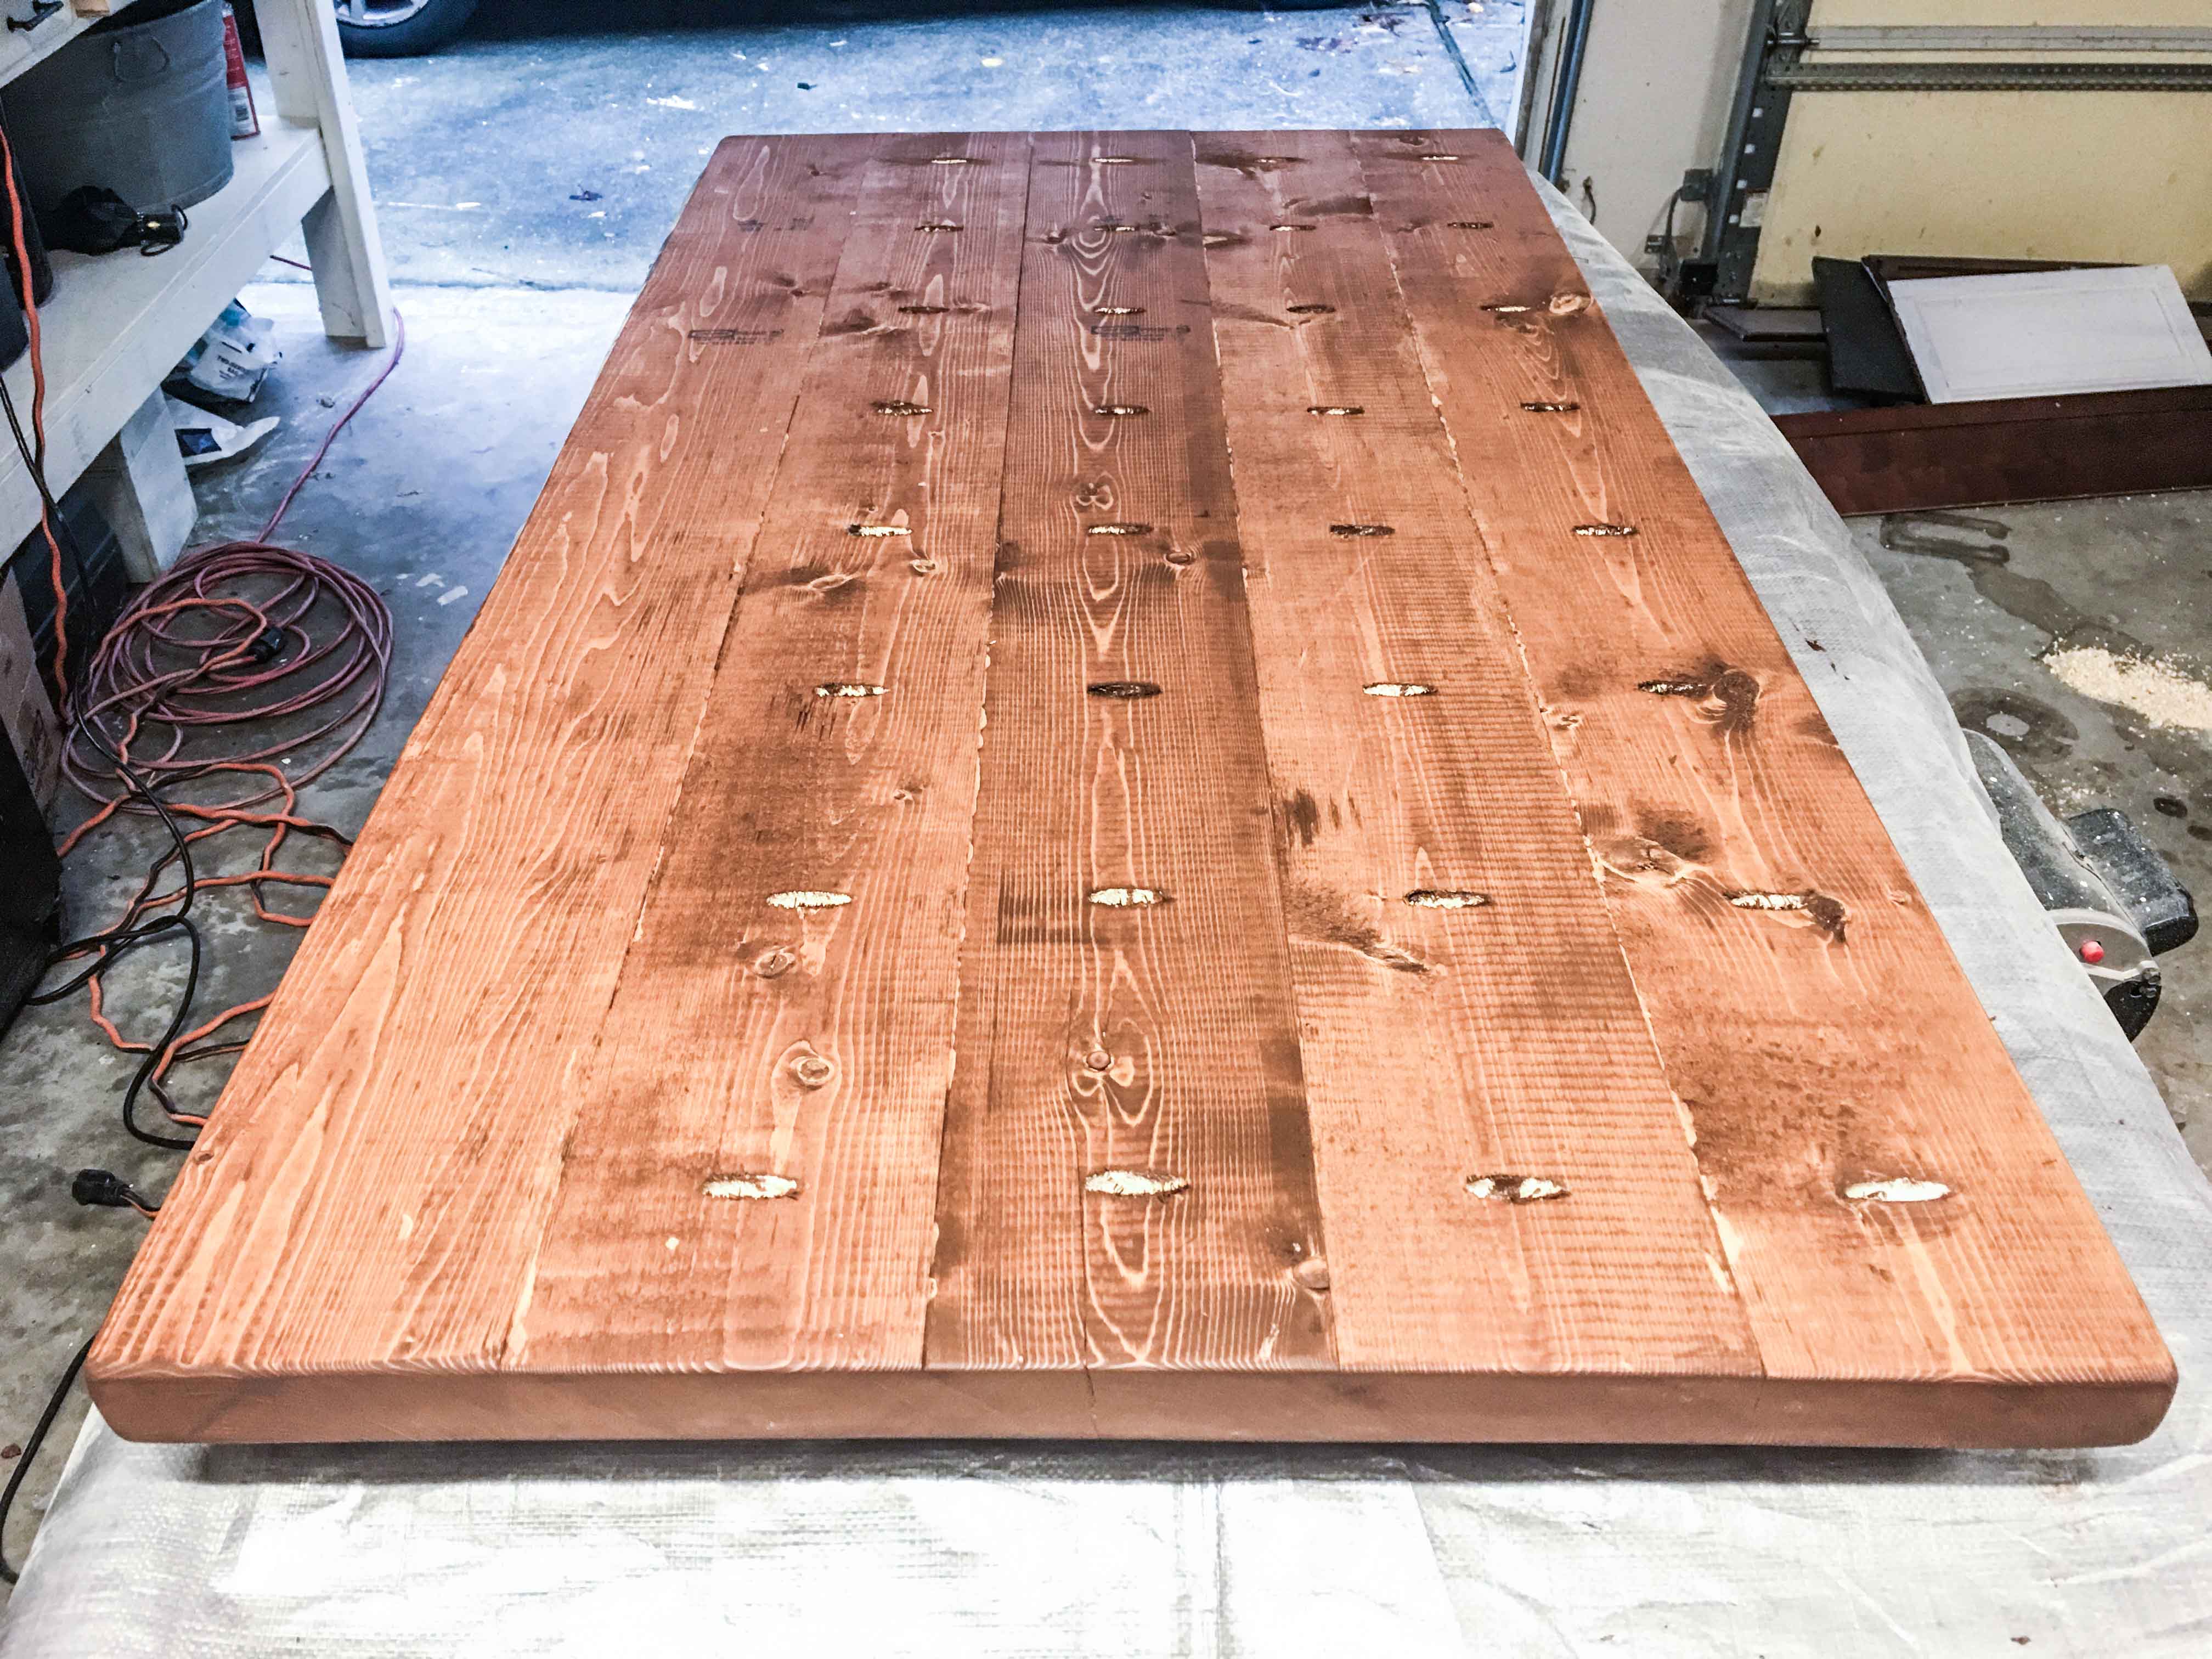
- Draw (7) perpendicular lines from one board to the next about every 6 inches. Start 3 inches in from either end. You’ll drill pocket holes on one side of each board, with the exception of the last board.
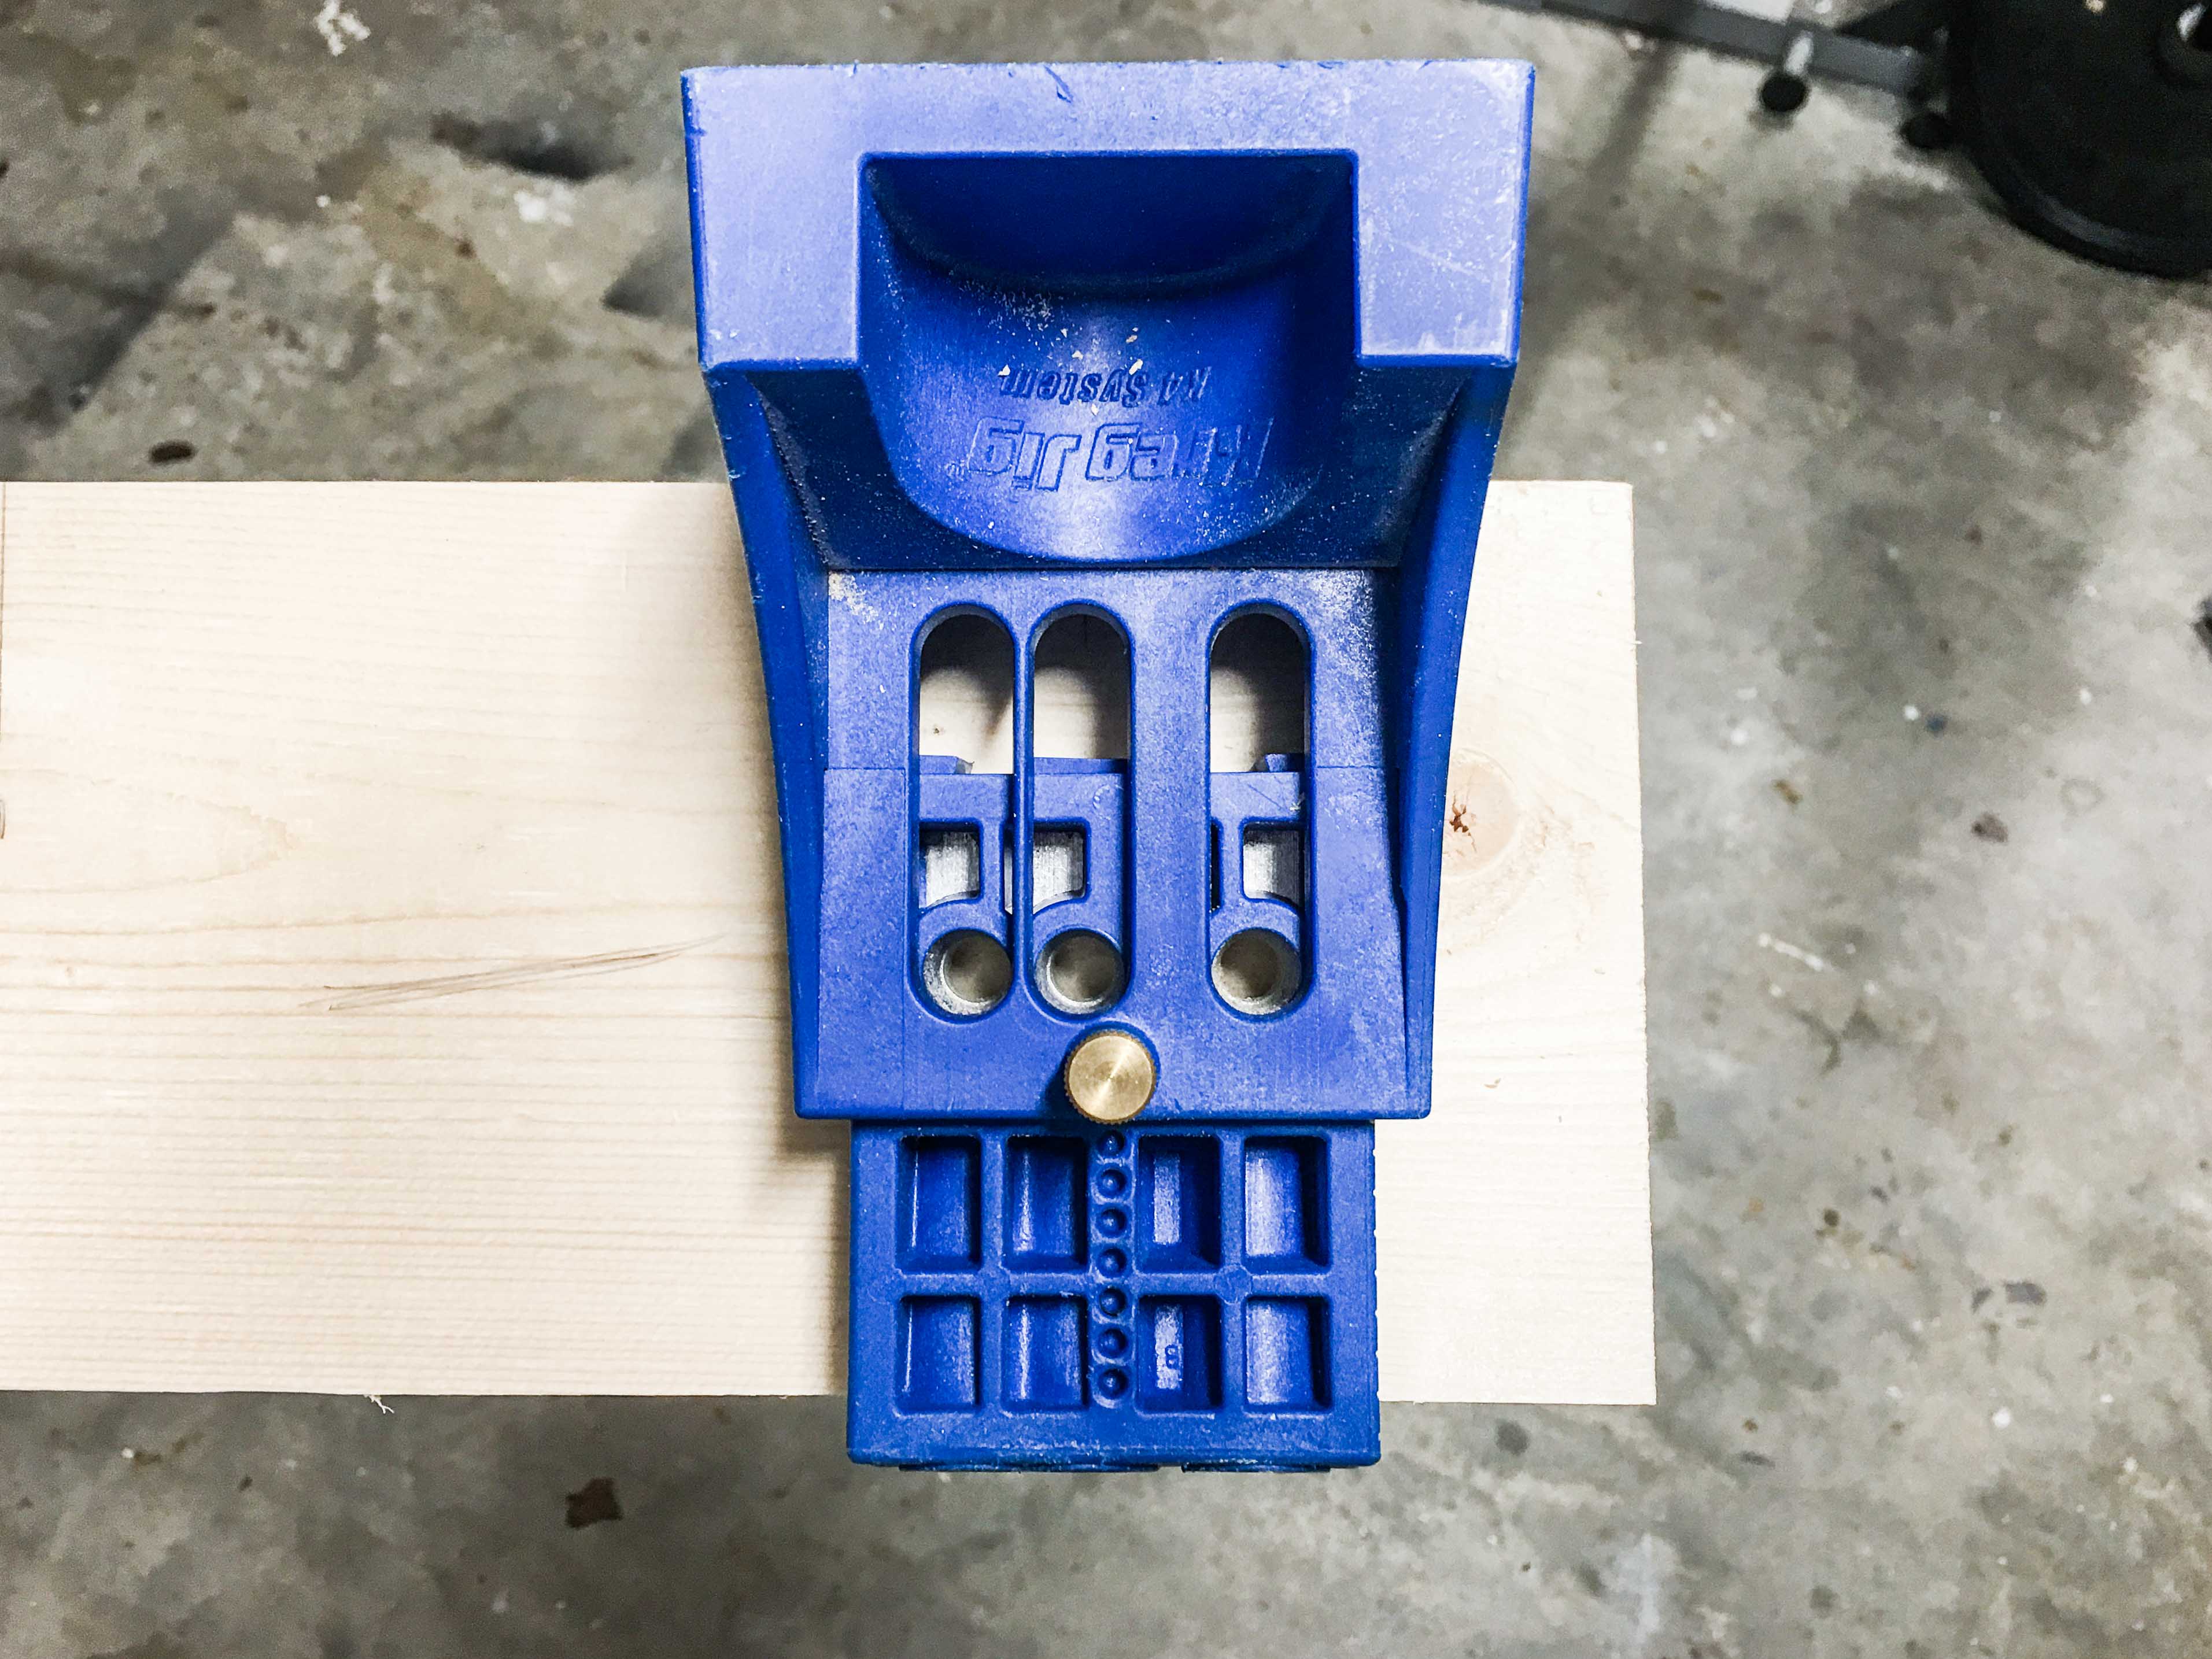
- Create space between each board for the Kreg Jig.
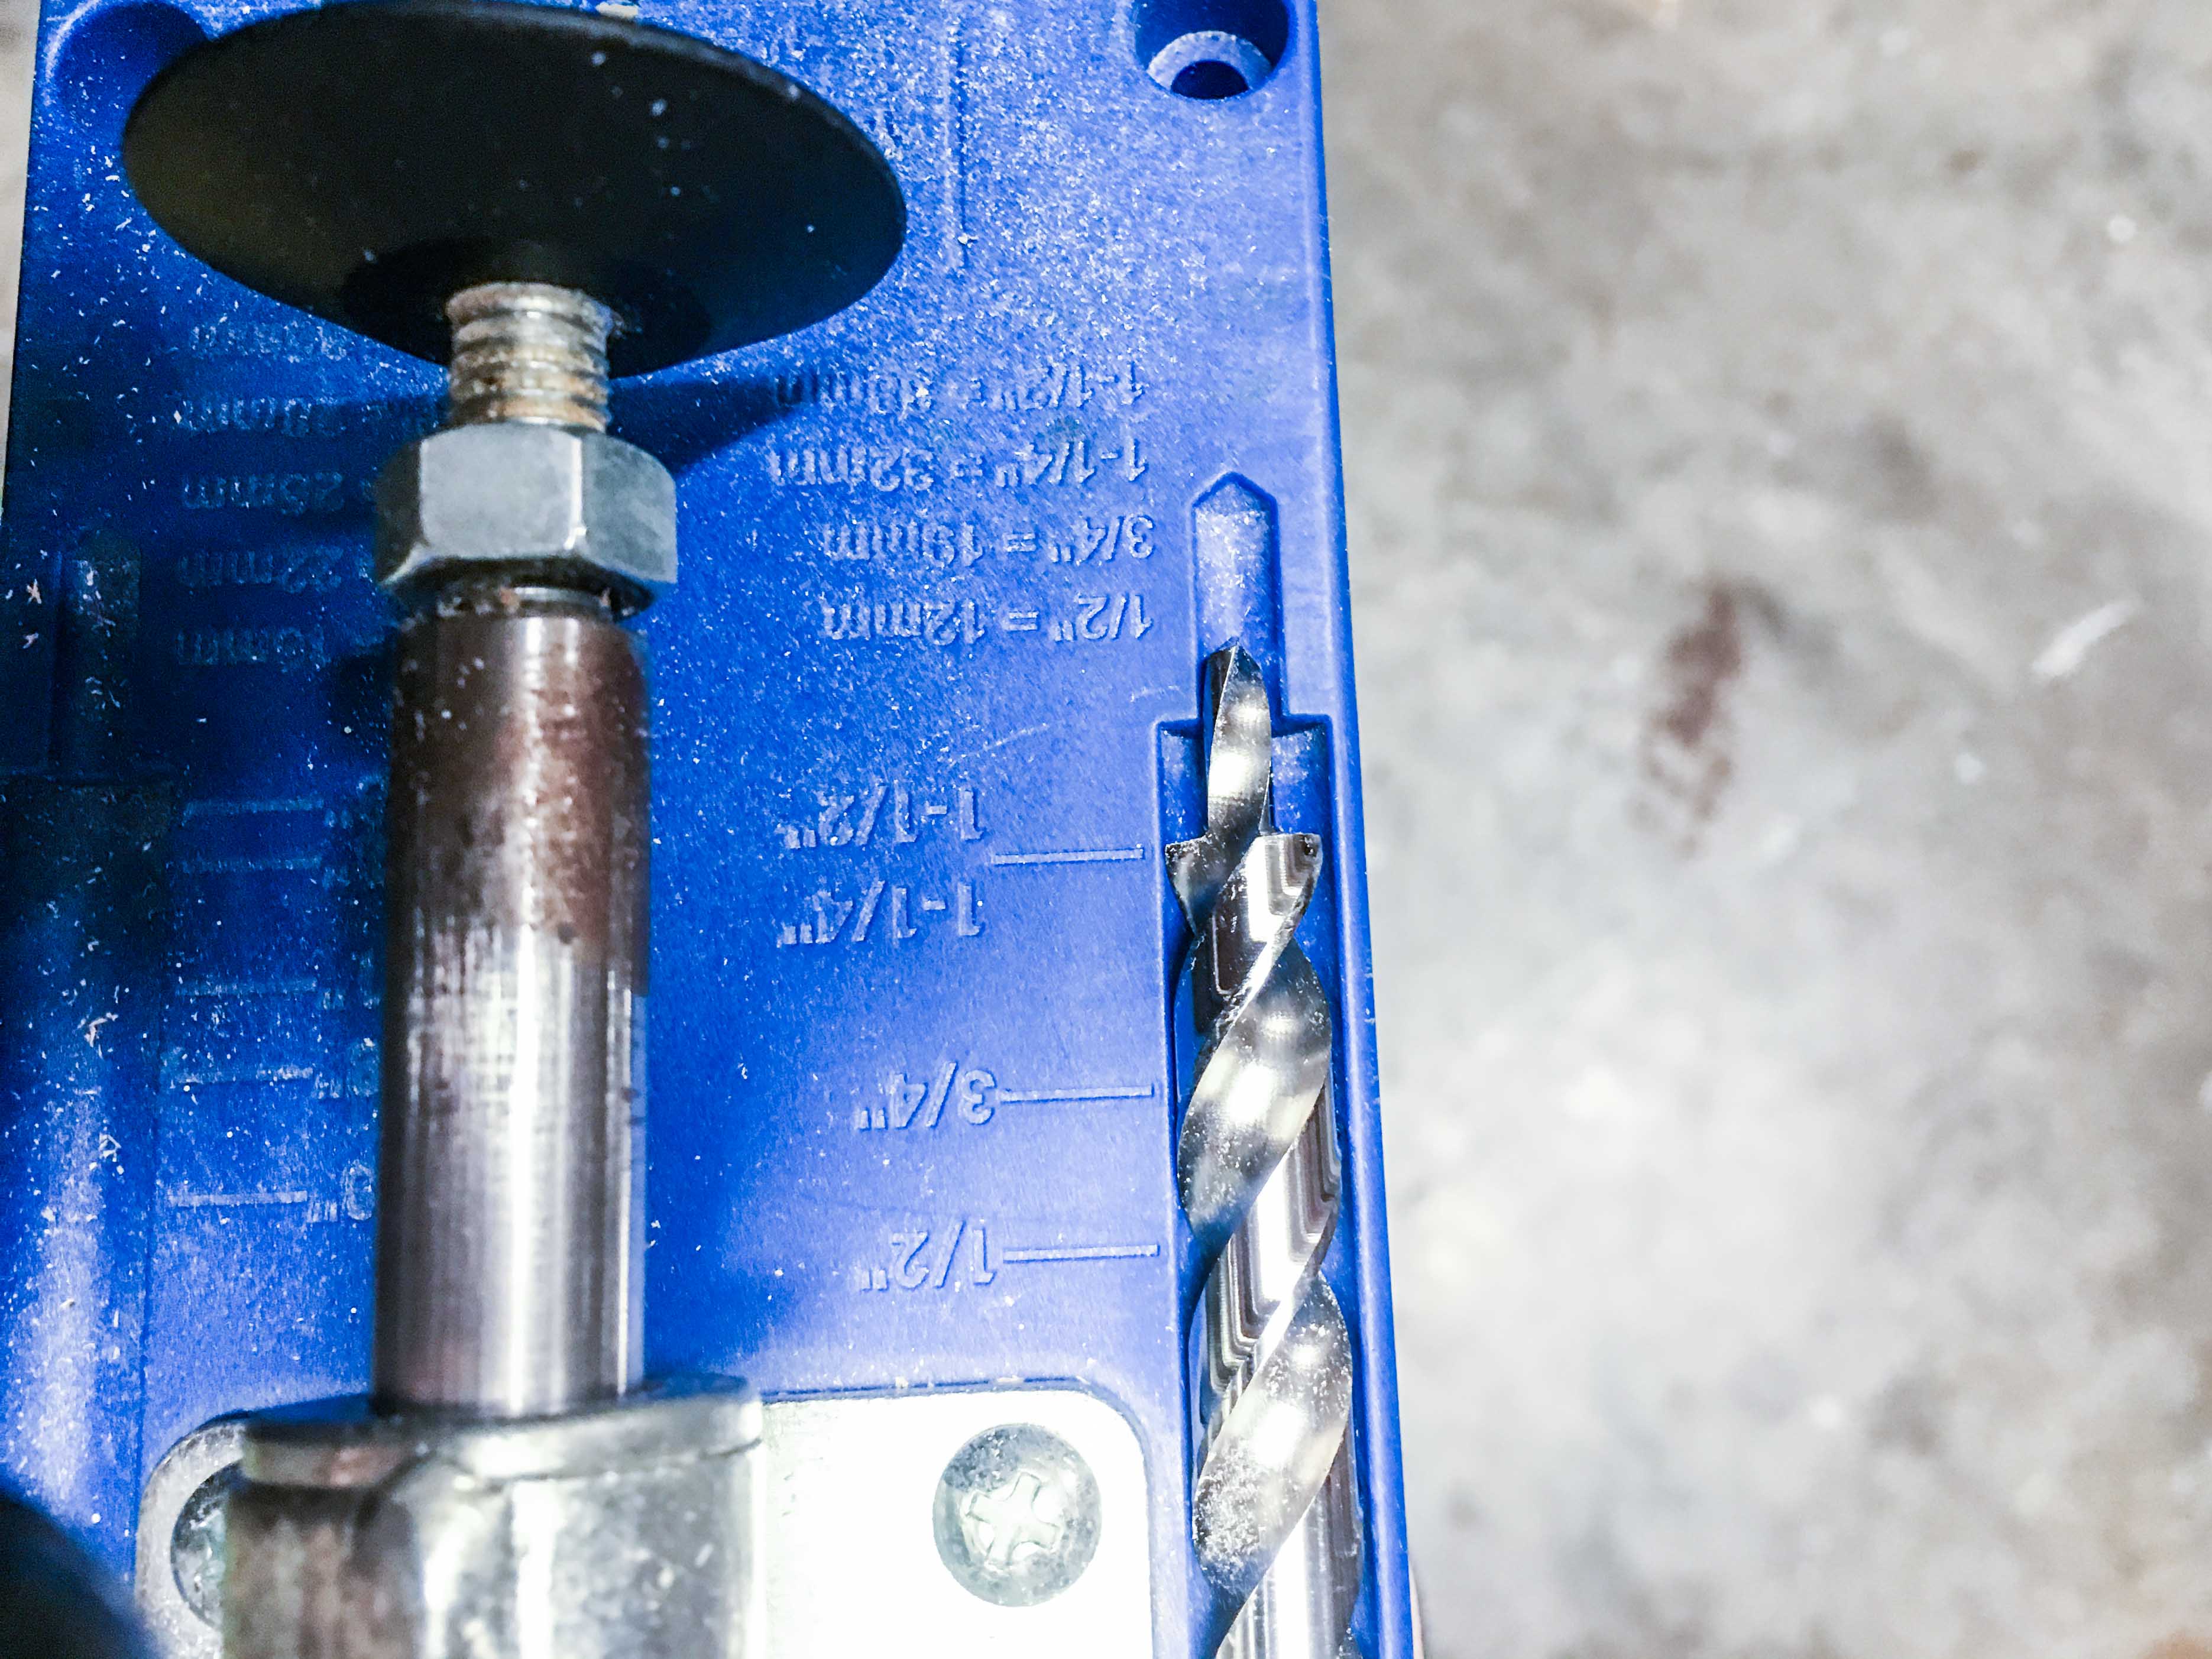
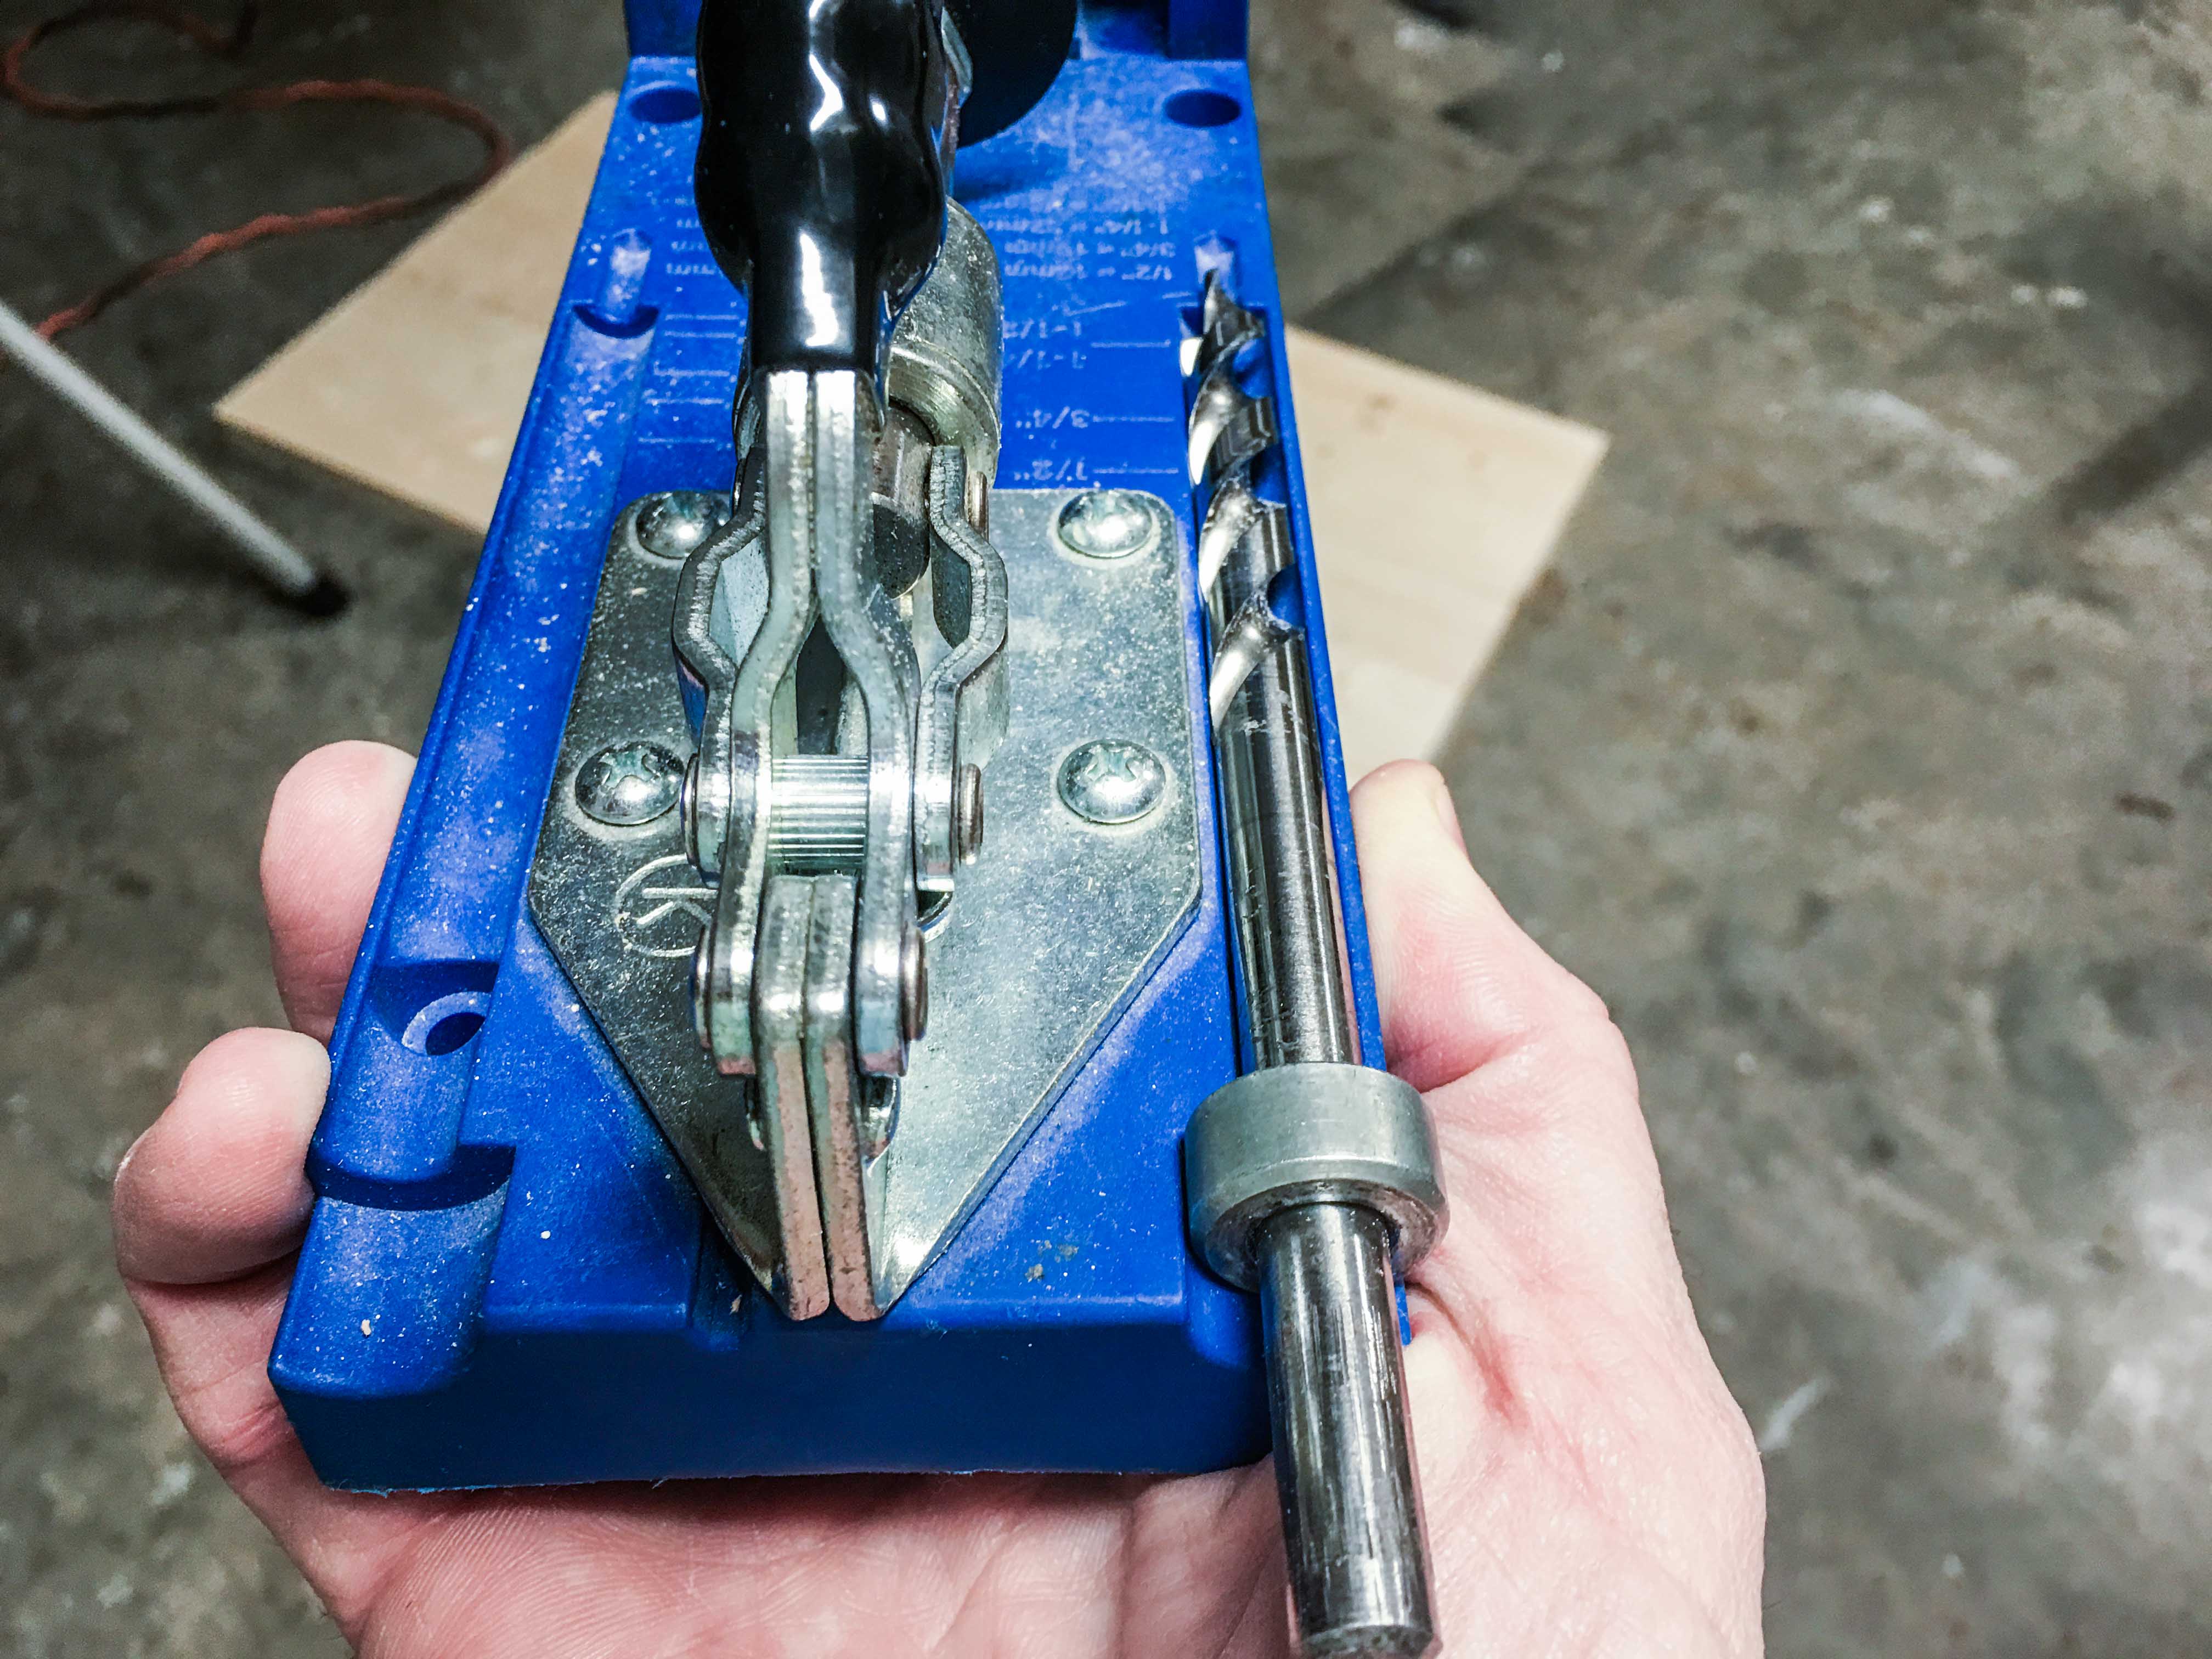
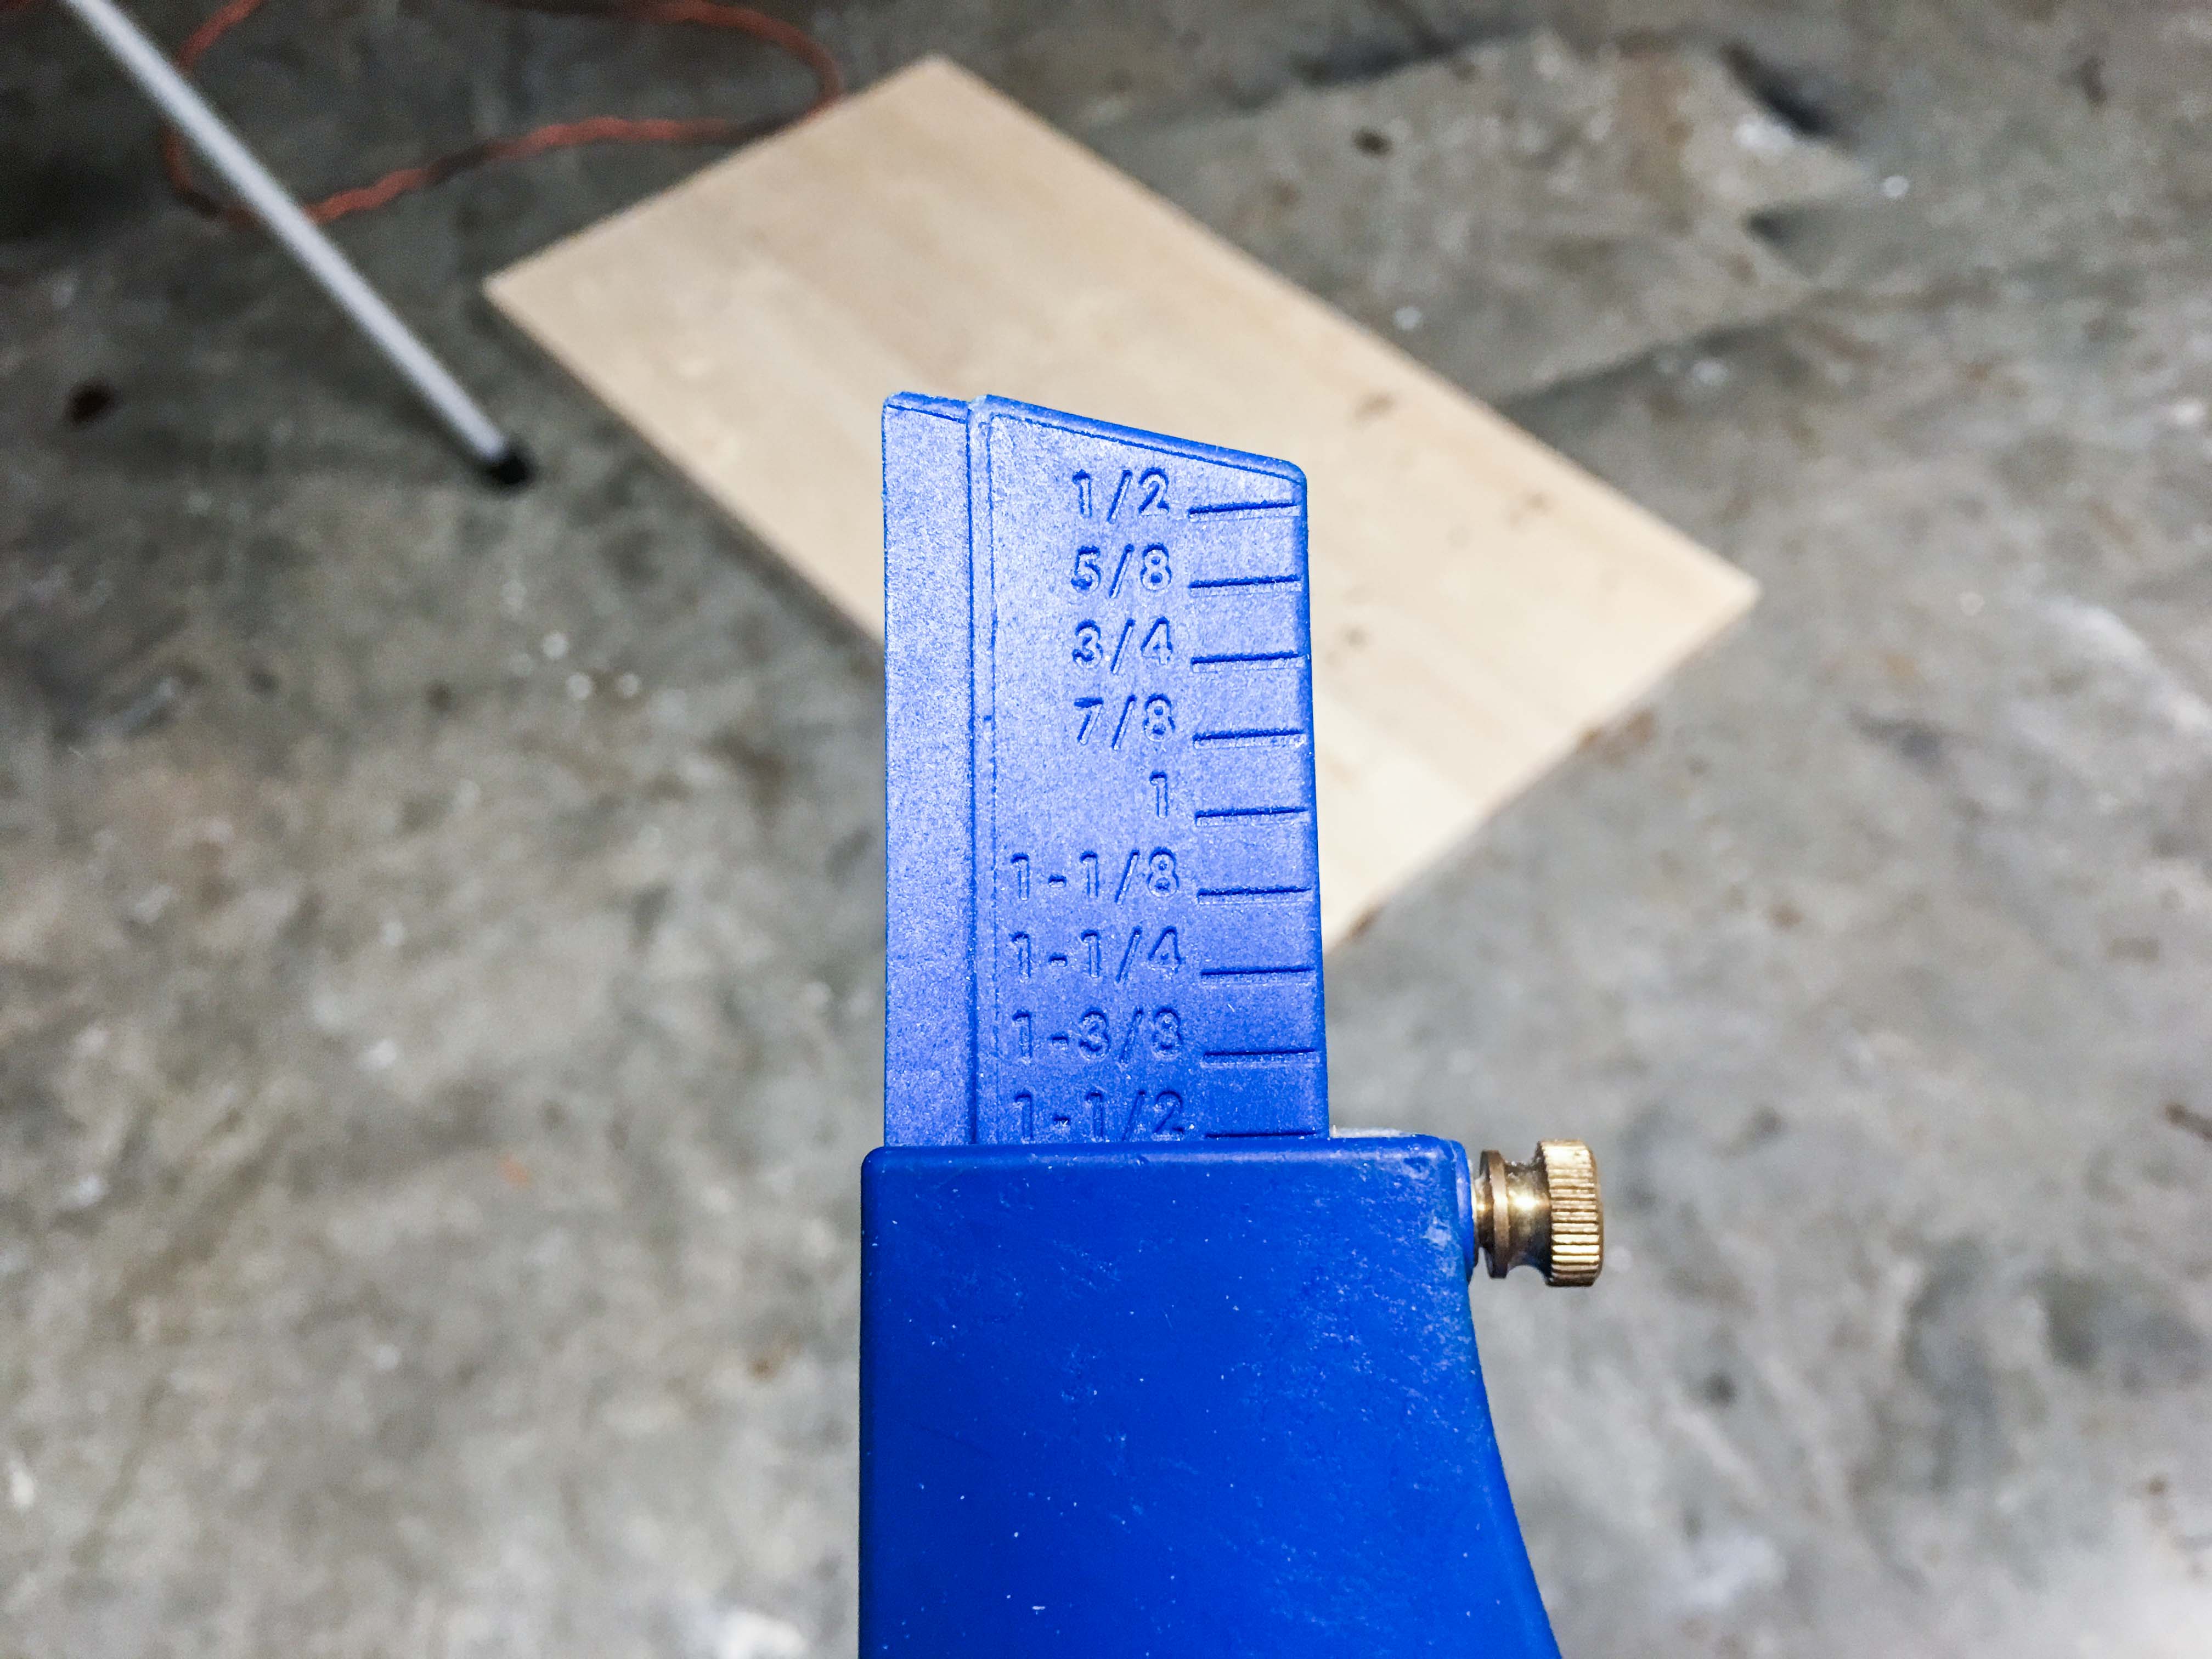
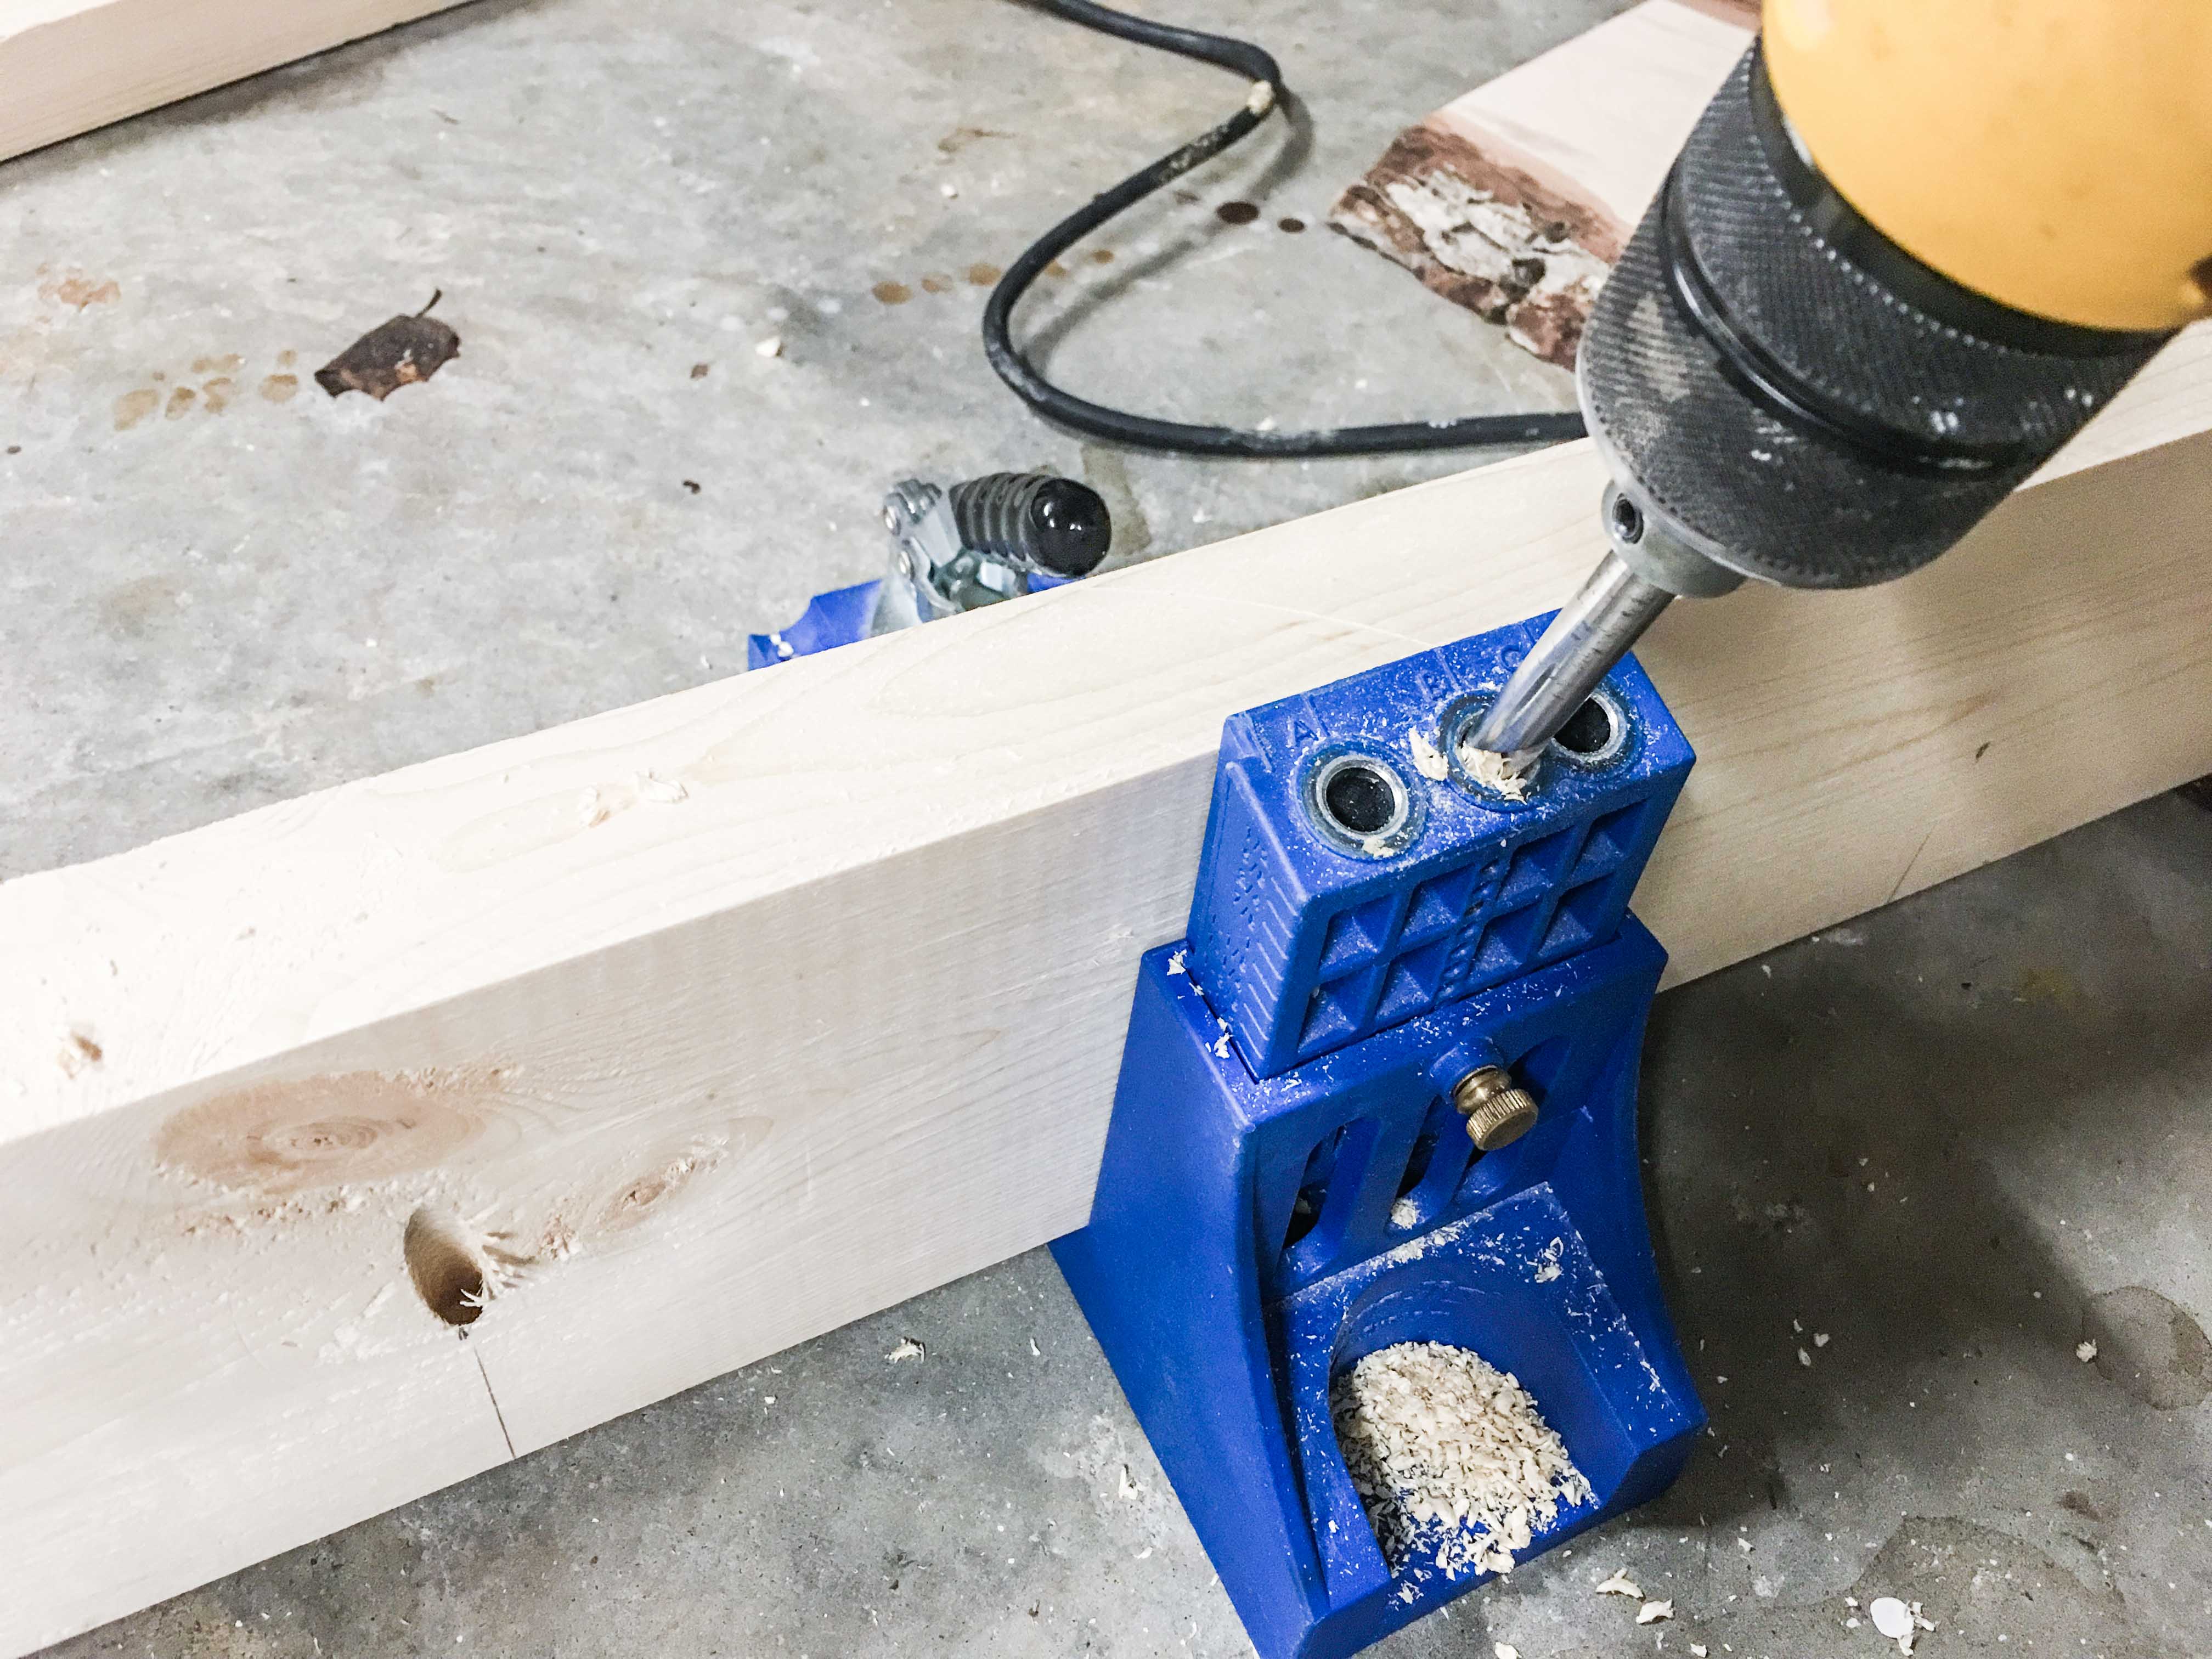
- Set the Kreg Jig guide to 1½” thickness. Set the metal drill bit collar to 1½” as well.
PREDRILLING & JOINING THE BOARDS
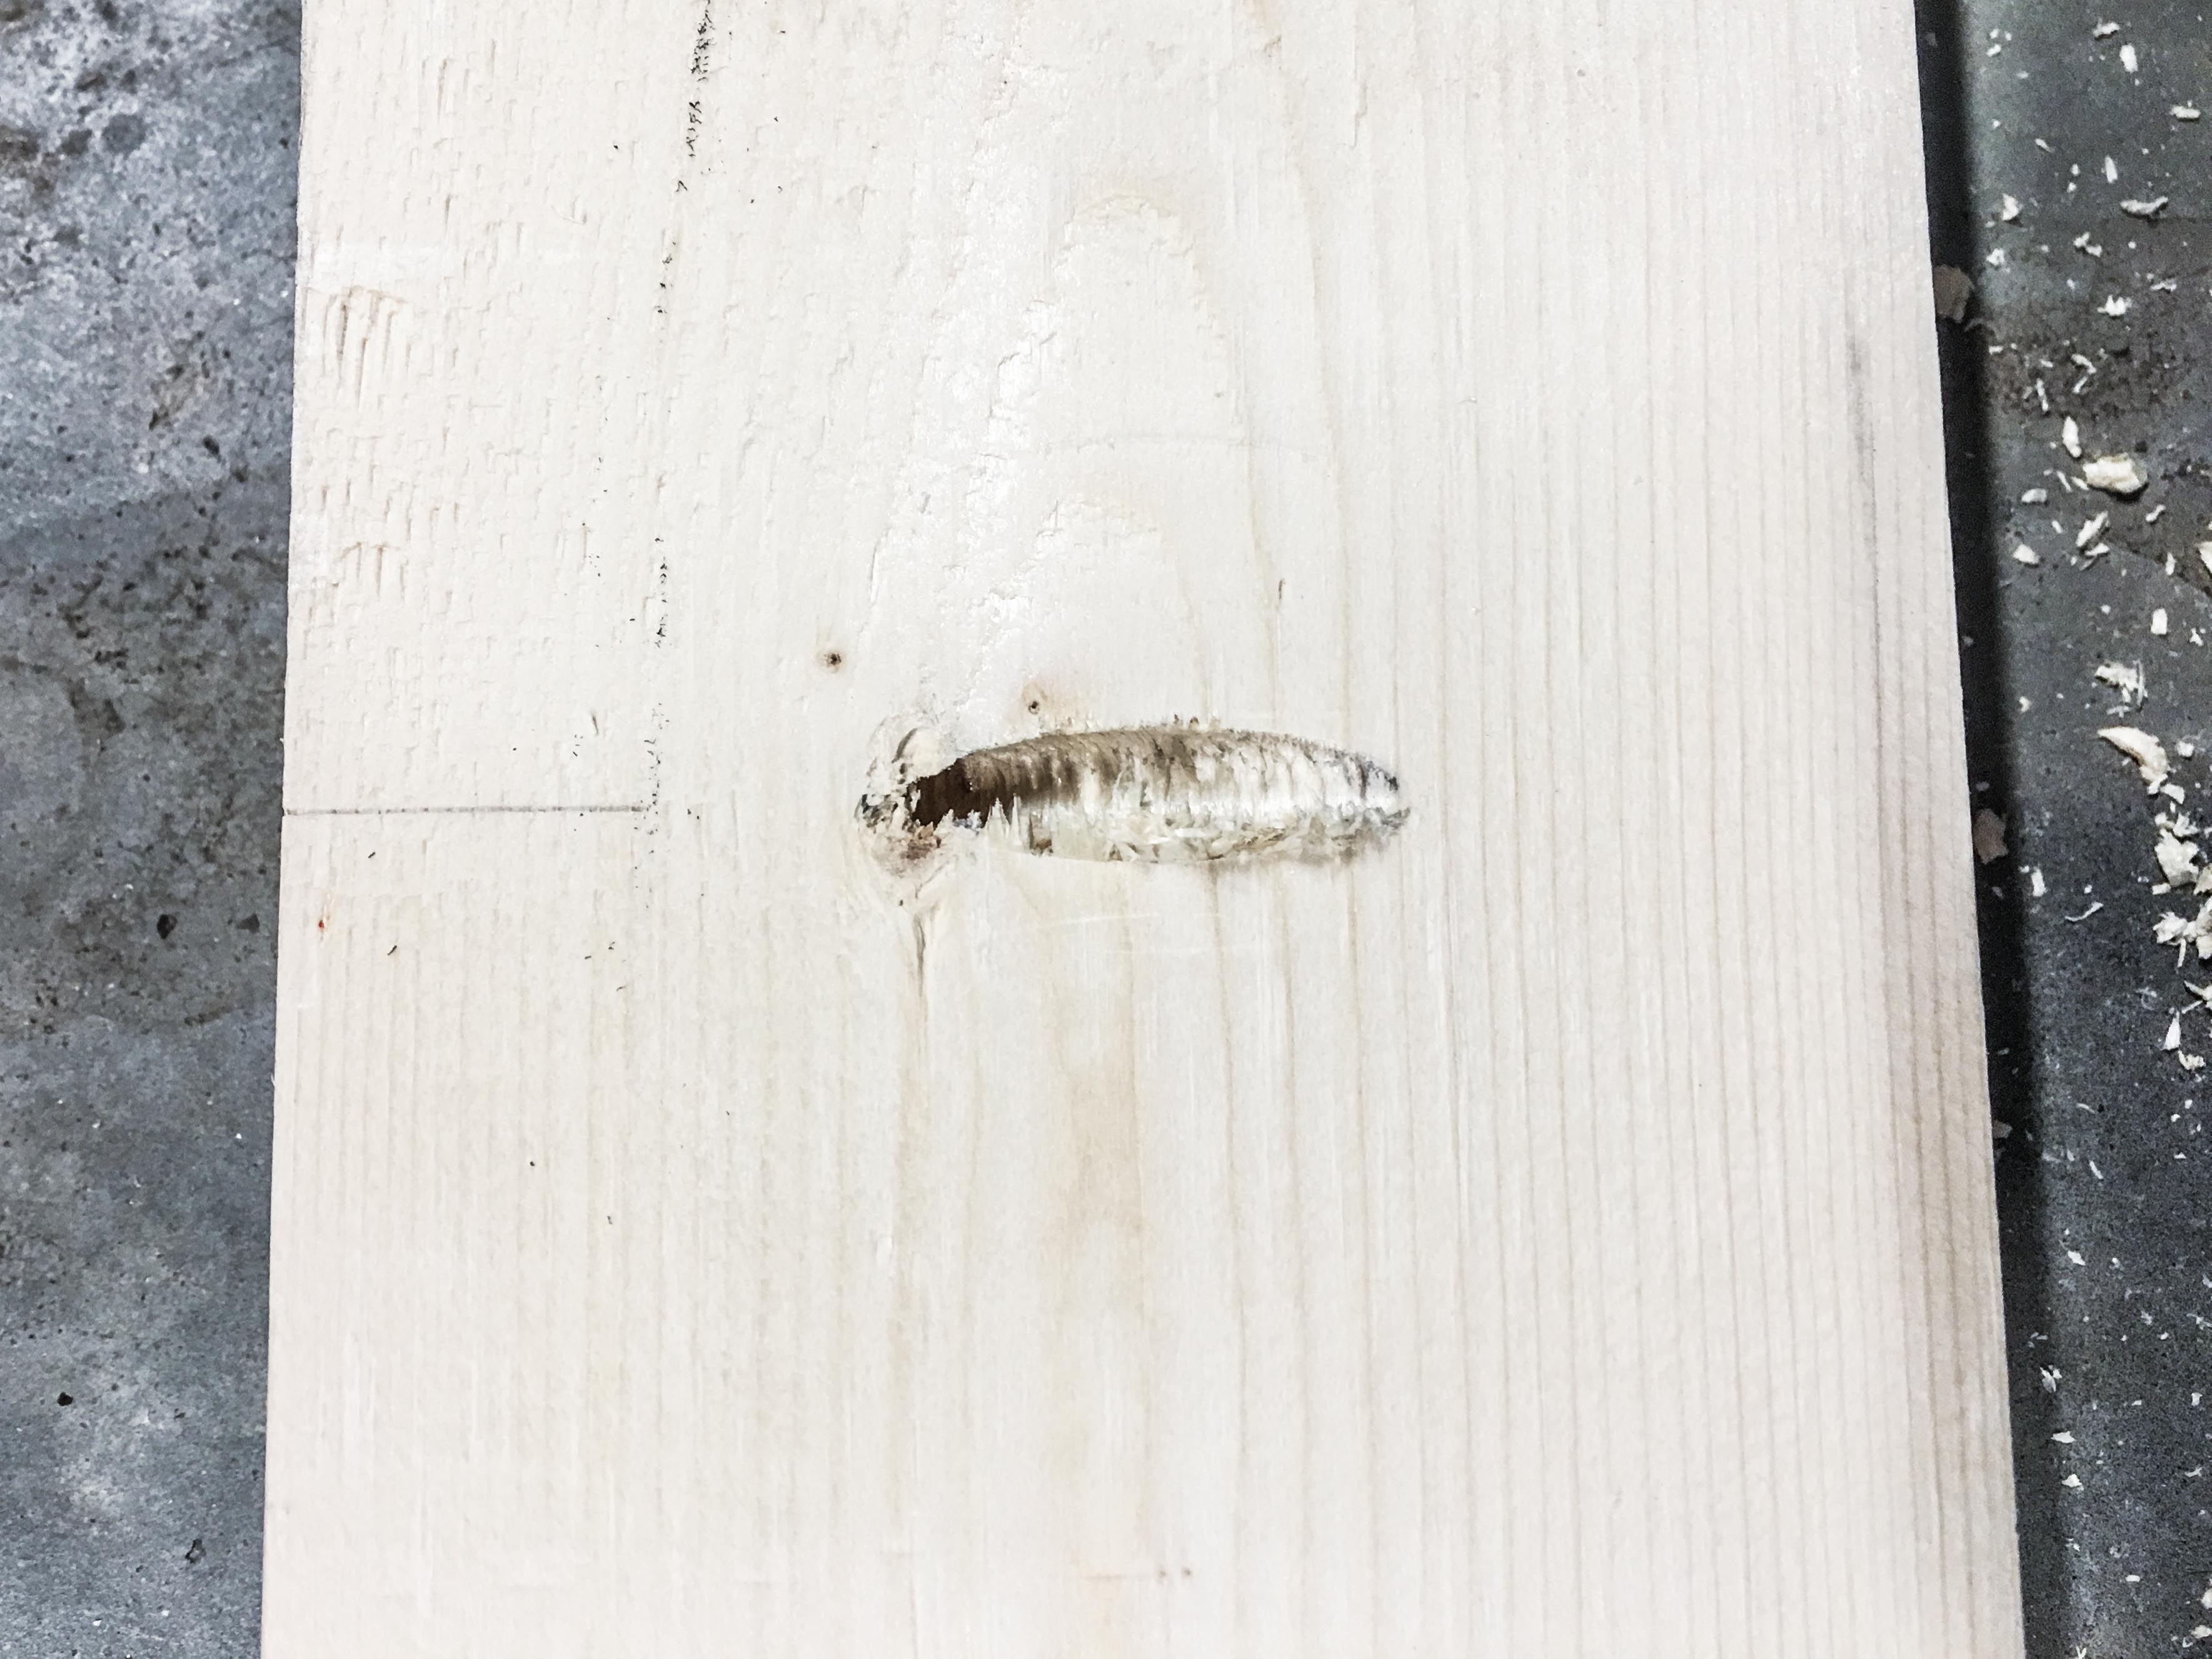
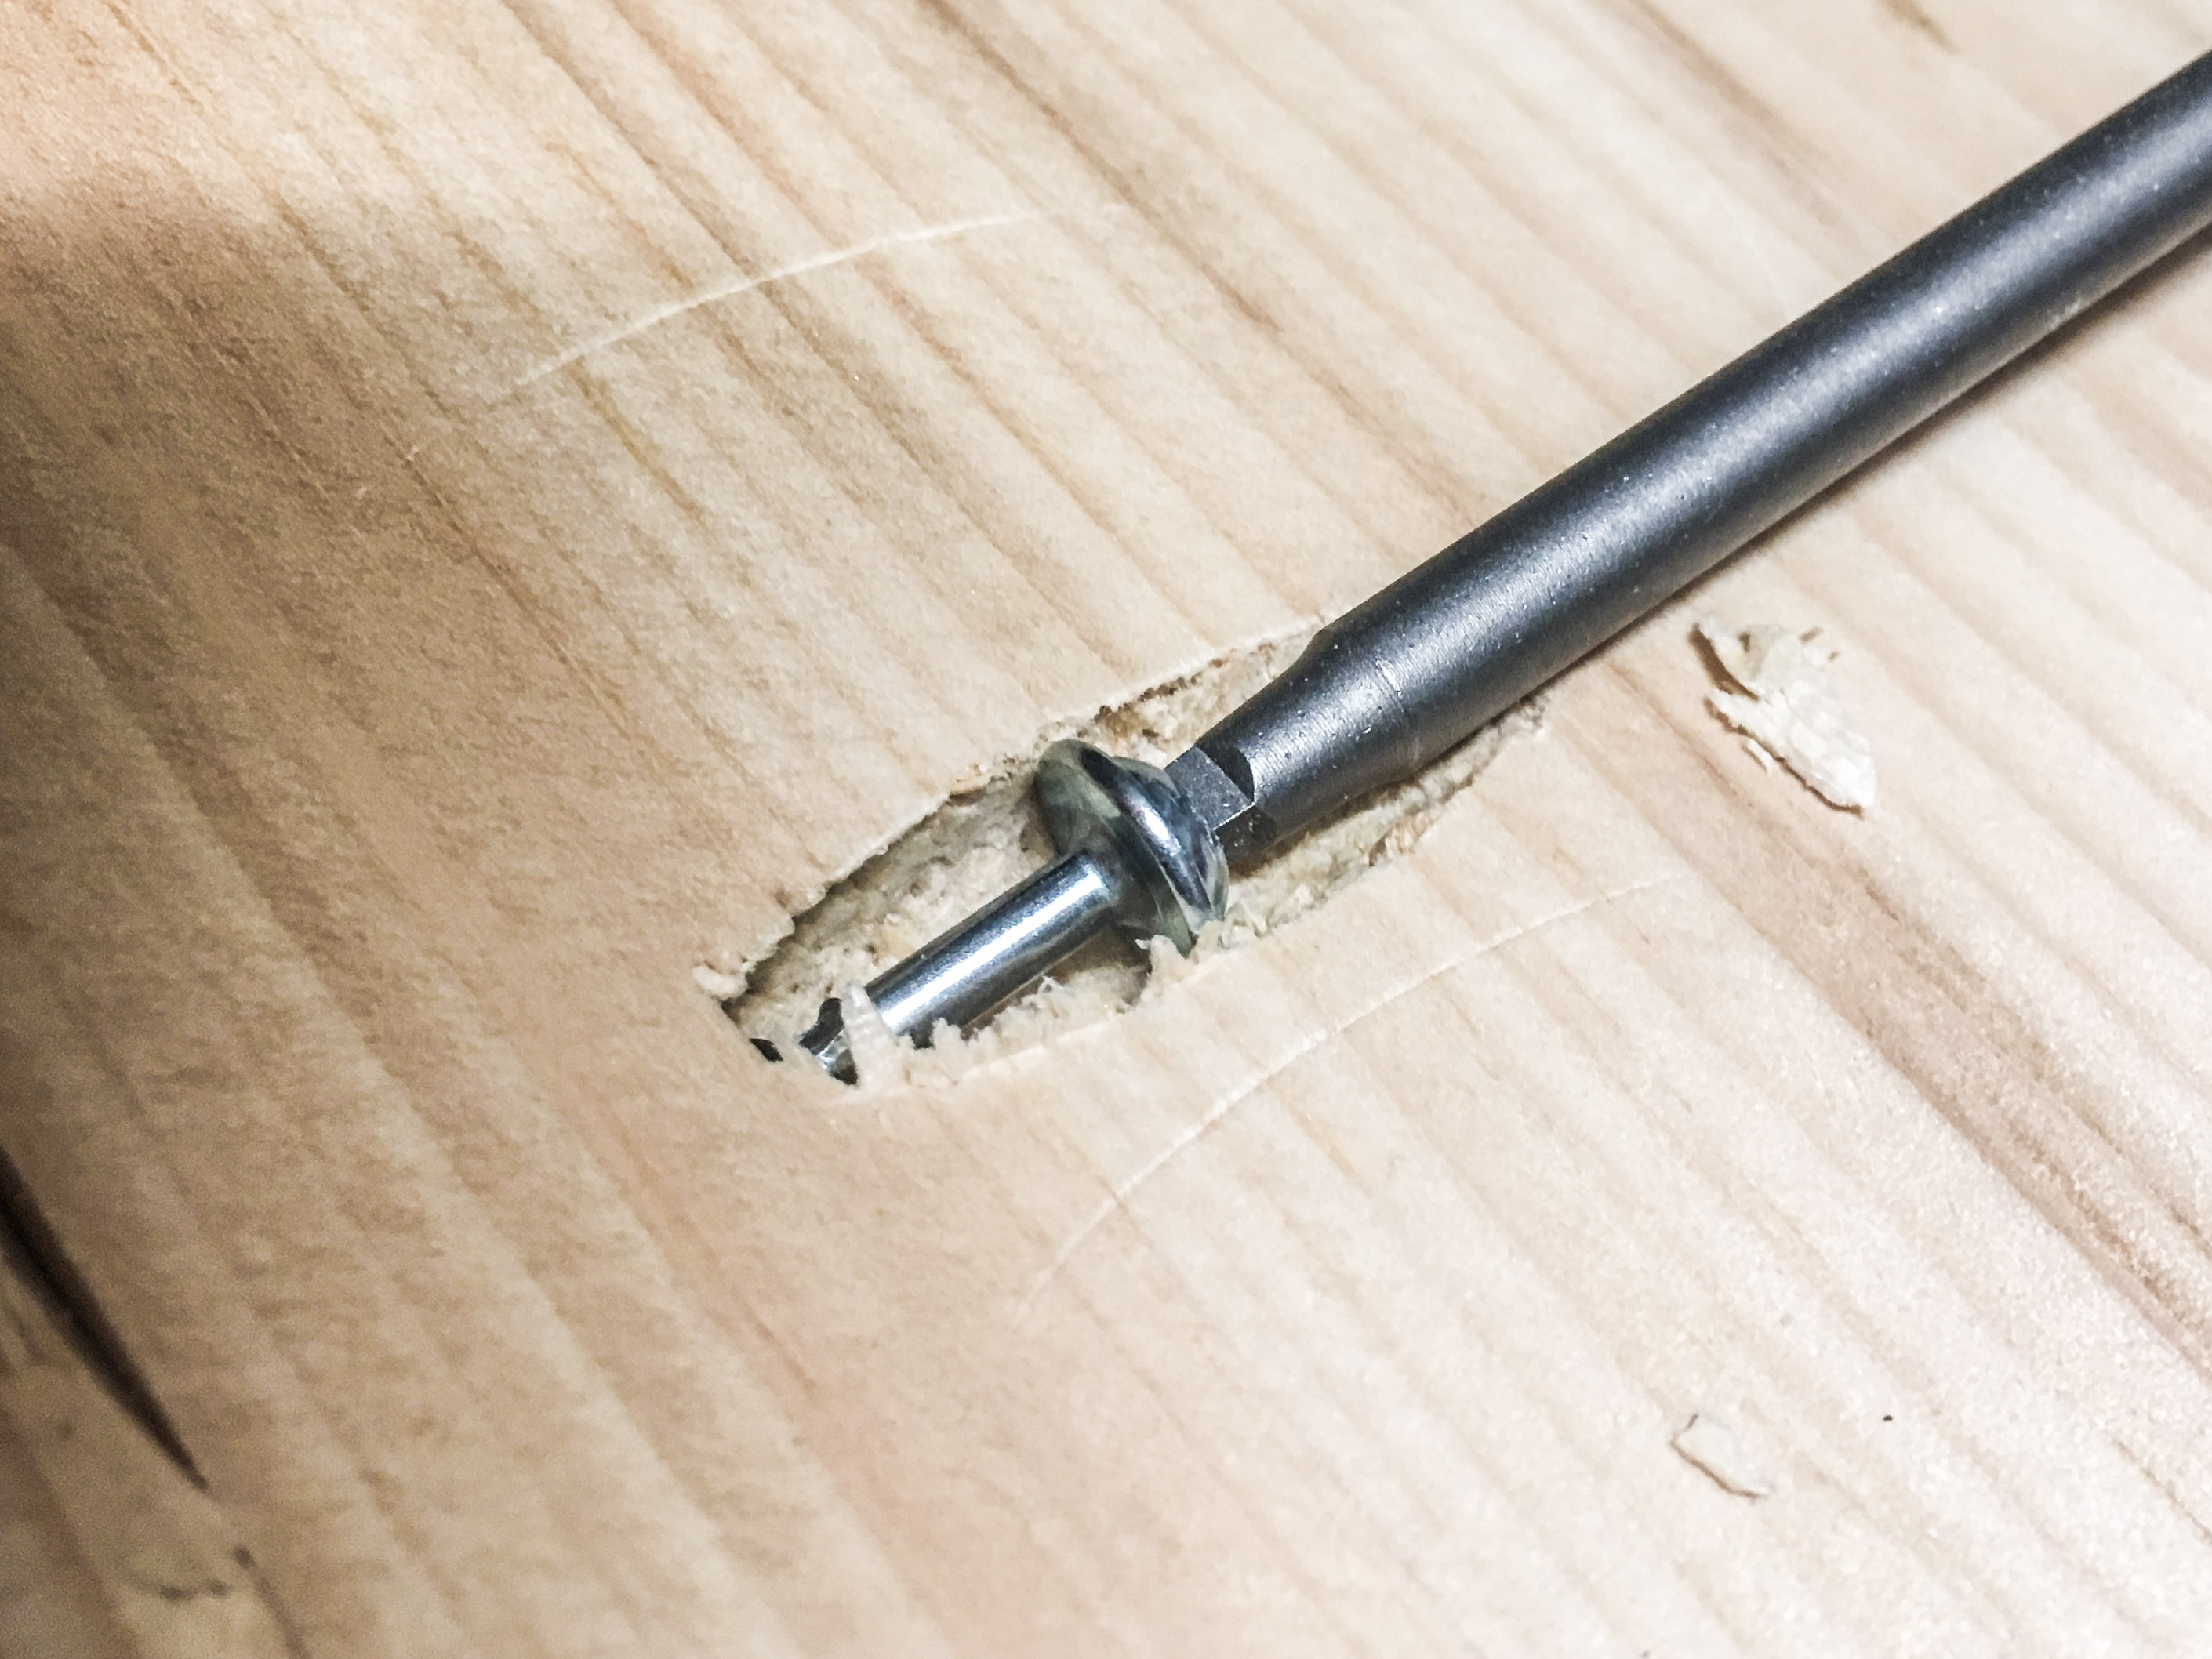
- Predrill pocket holes with your Kreg Jig every 6 inches down each board, with the exception of the last board.
- Turn all of the boards on their sides, using the same clockwise OR counterclockwise direction, ONLY turning the last board up in the opposite direction.
- Apply a bead of wood glue to each board side, NOT including the last board that is upturned the opposite direction.
- With cordless drill and 6” square drive bit at the ready, move the boards back to a flat-on-the-ground position. Make sure it’s exactly the way you had them before turning them on their sides.
- Working very quickly so as not to drip glue, push the boards together until the seams are tight and the ends are perfectly lined up.
- Standing or kneeling on 2 boards at a time, apply (7) 2.5” pocket hole screws from one board to the other. We’ve had success with a clutch ring set to “14”. You can always lower this number if the screws are in too deep (like Sum 41), or raise the number if the joints are tight enough.
- Repeat this process with all tabletop boards until the entire top is connected.
- Set aside the desktop until the glue fully dries. Ideally overnight.
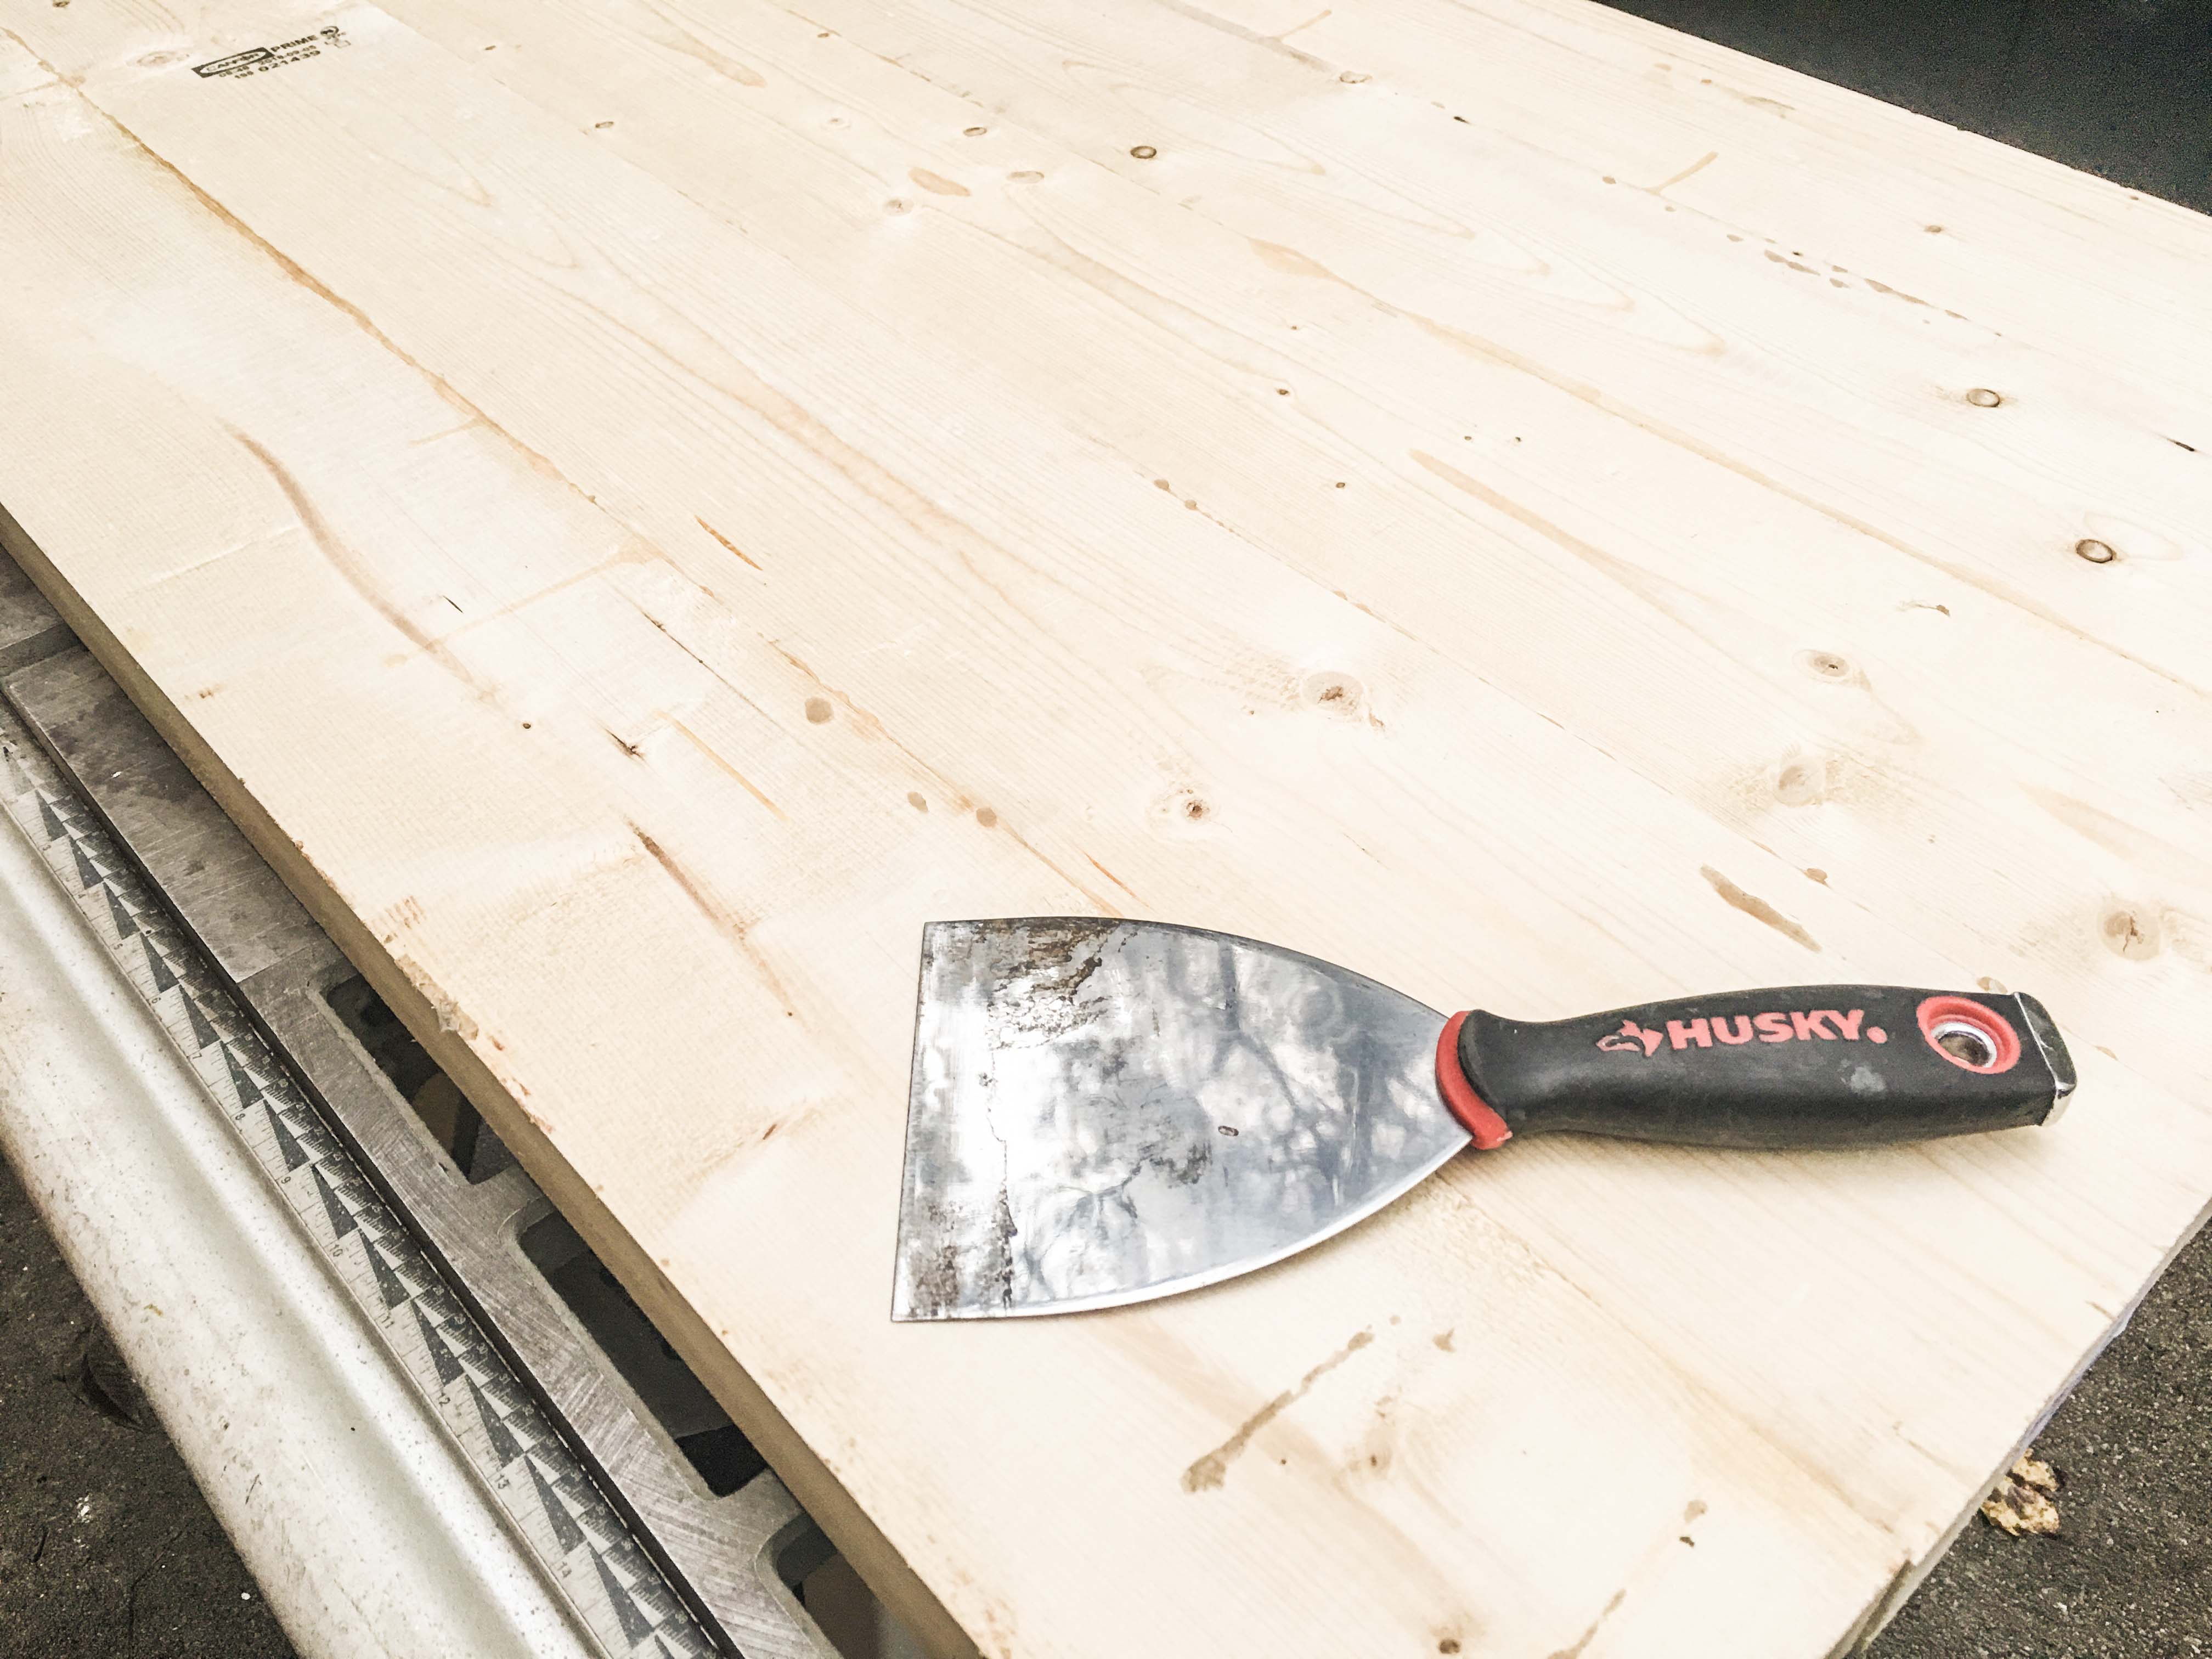
- After dry, chip away the glue droplets with a paint scraper.
CUT OFF THE ENDS
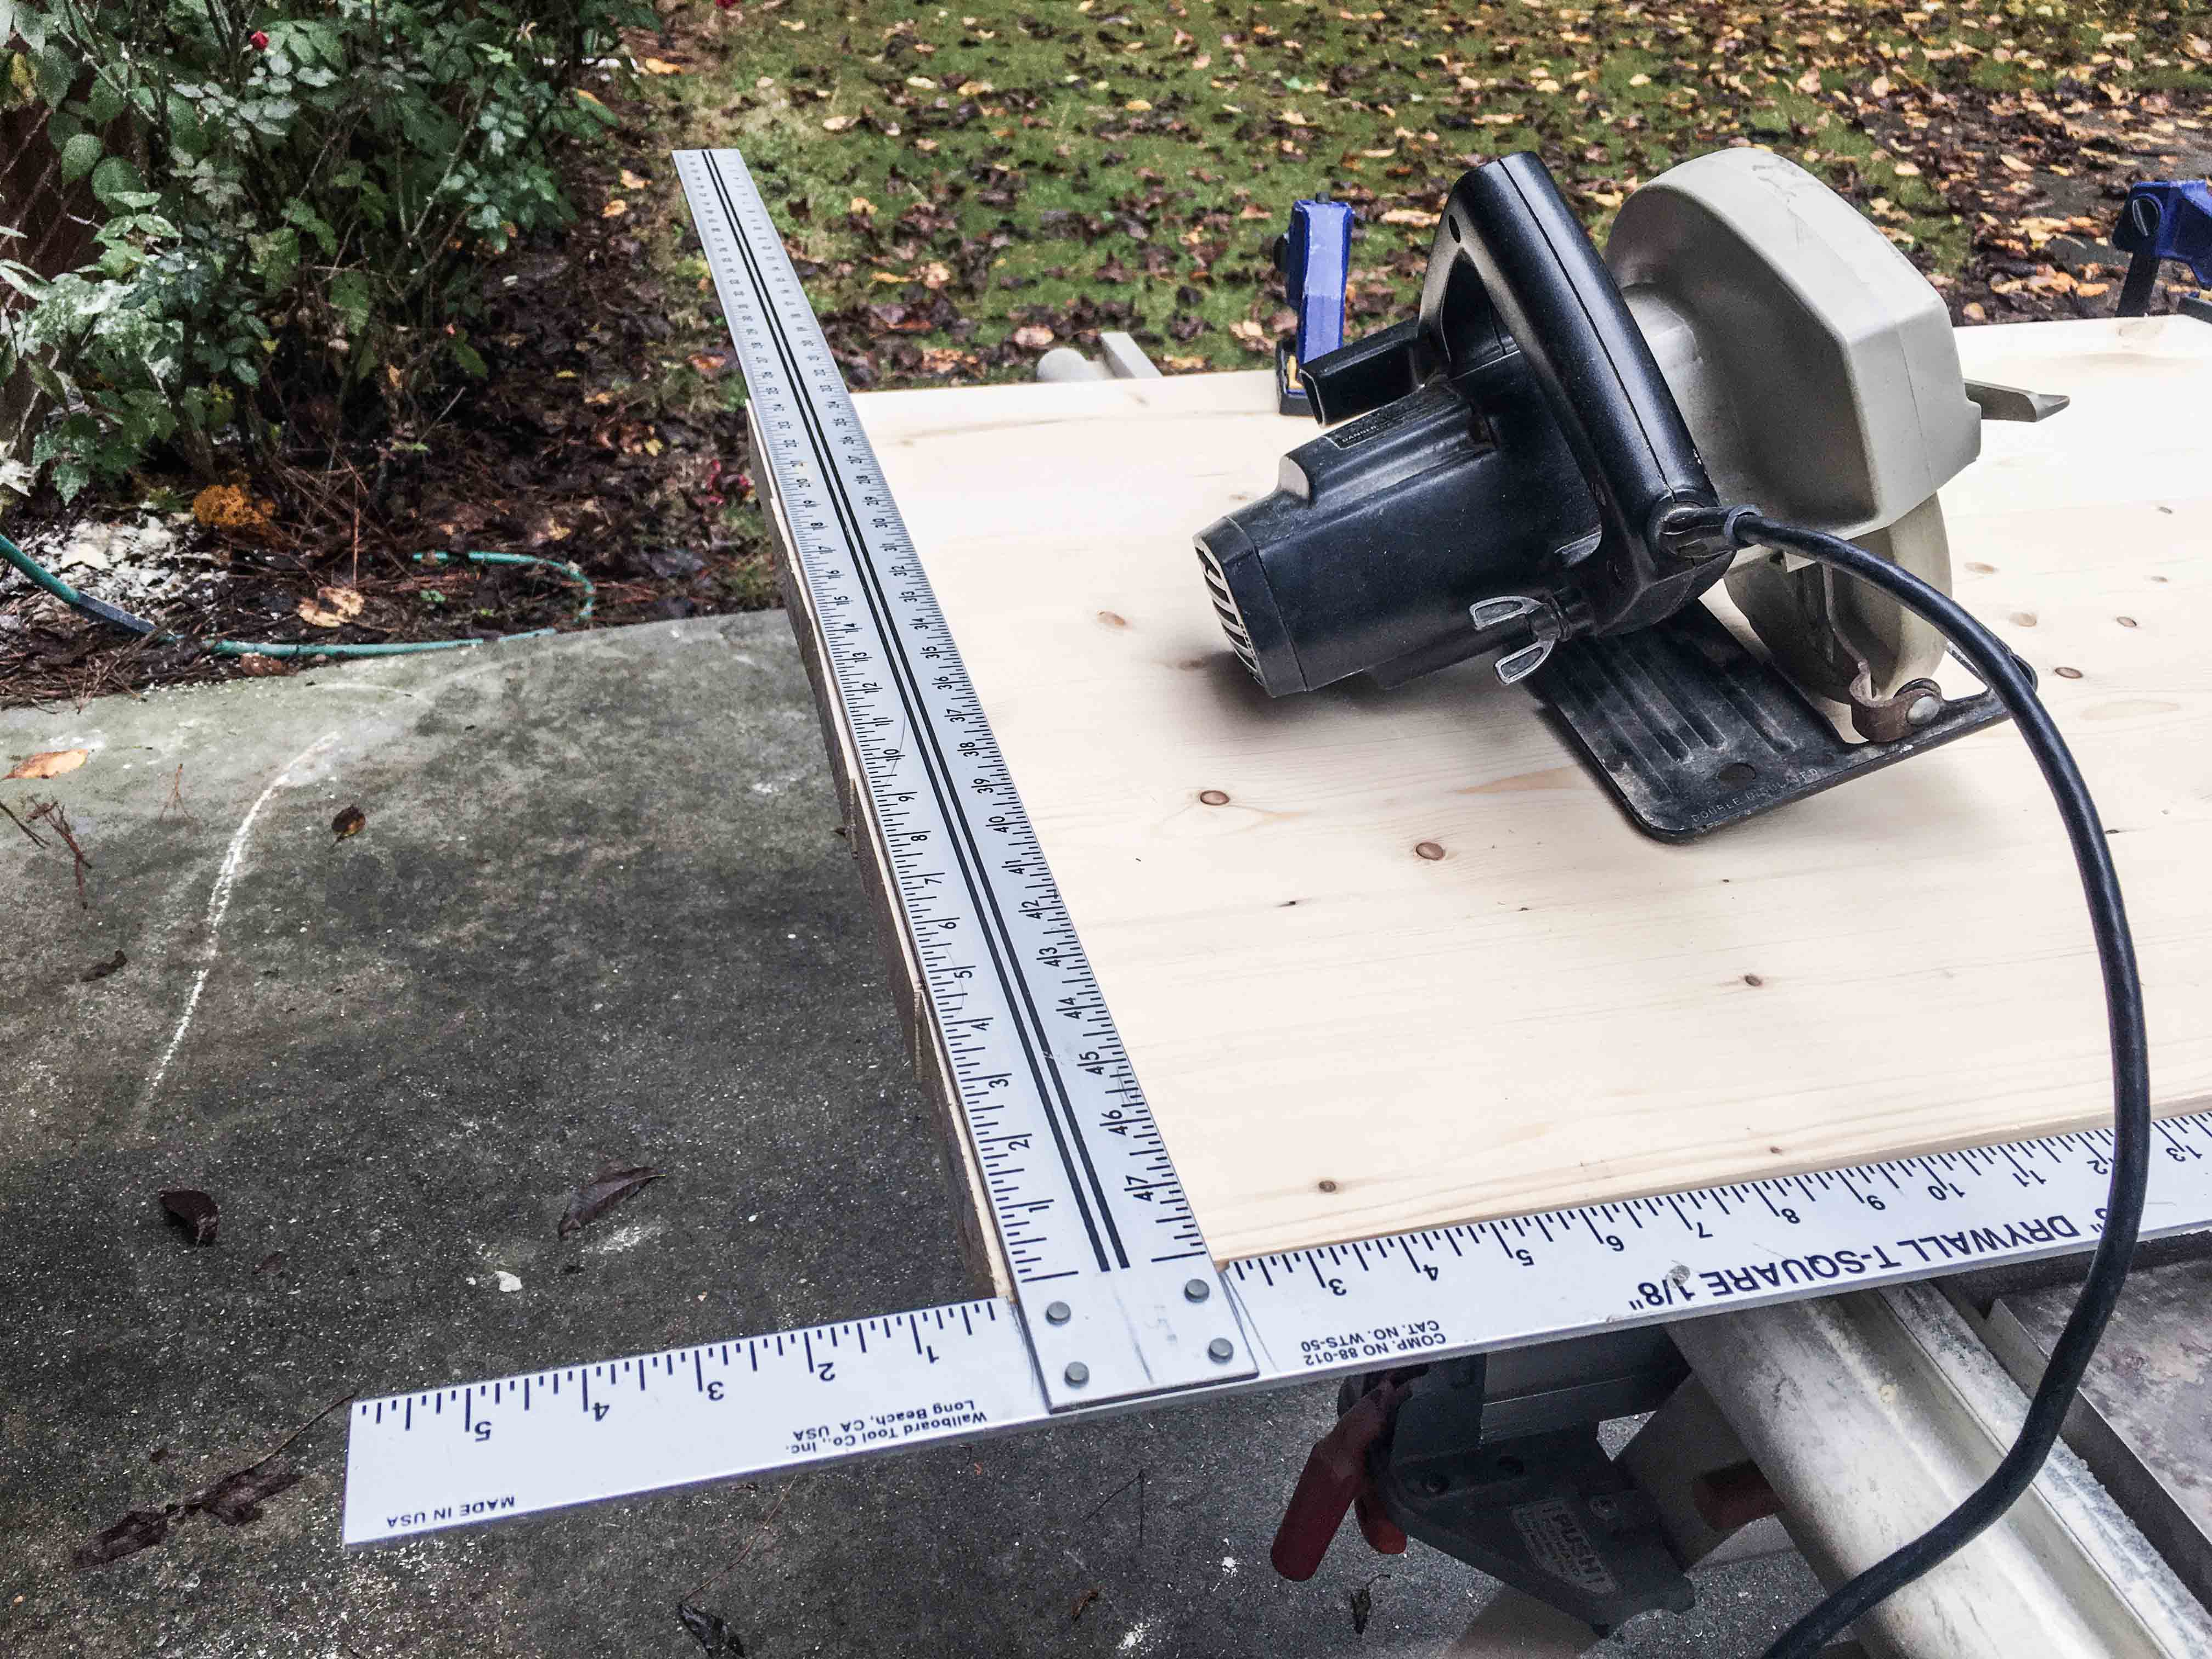
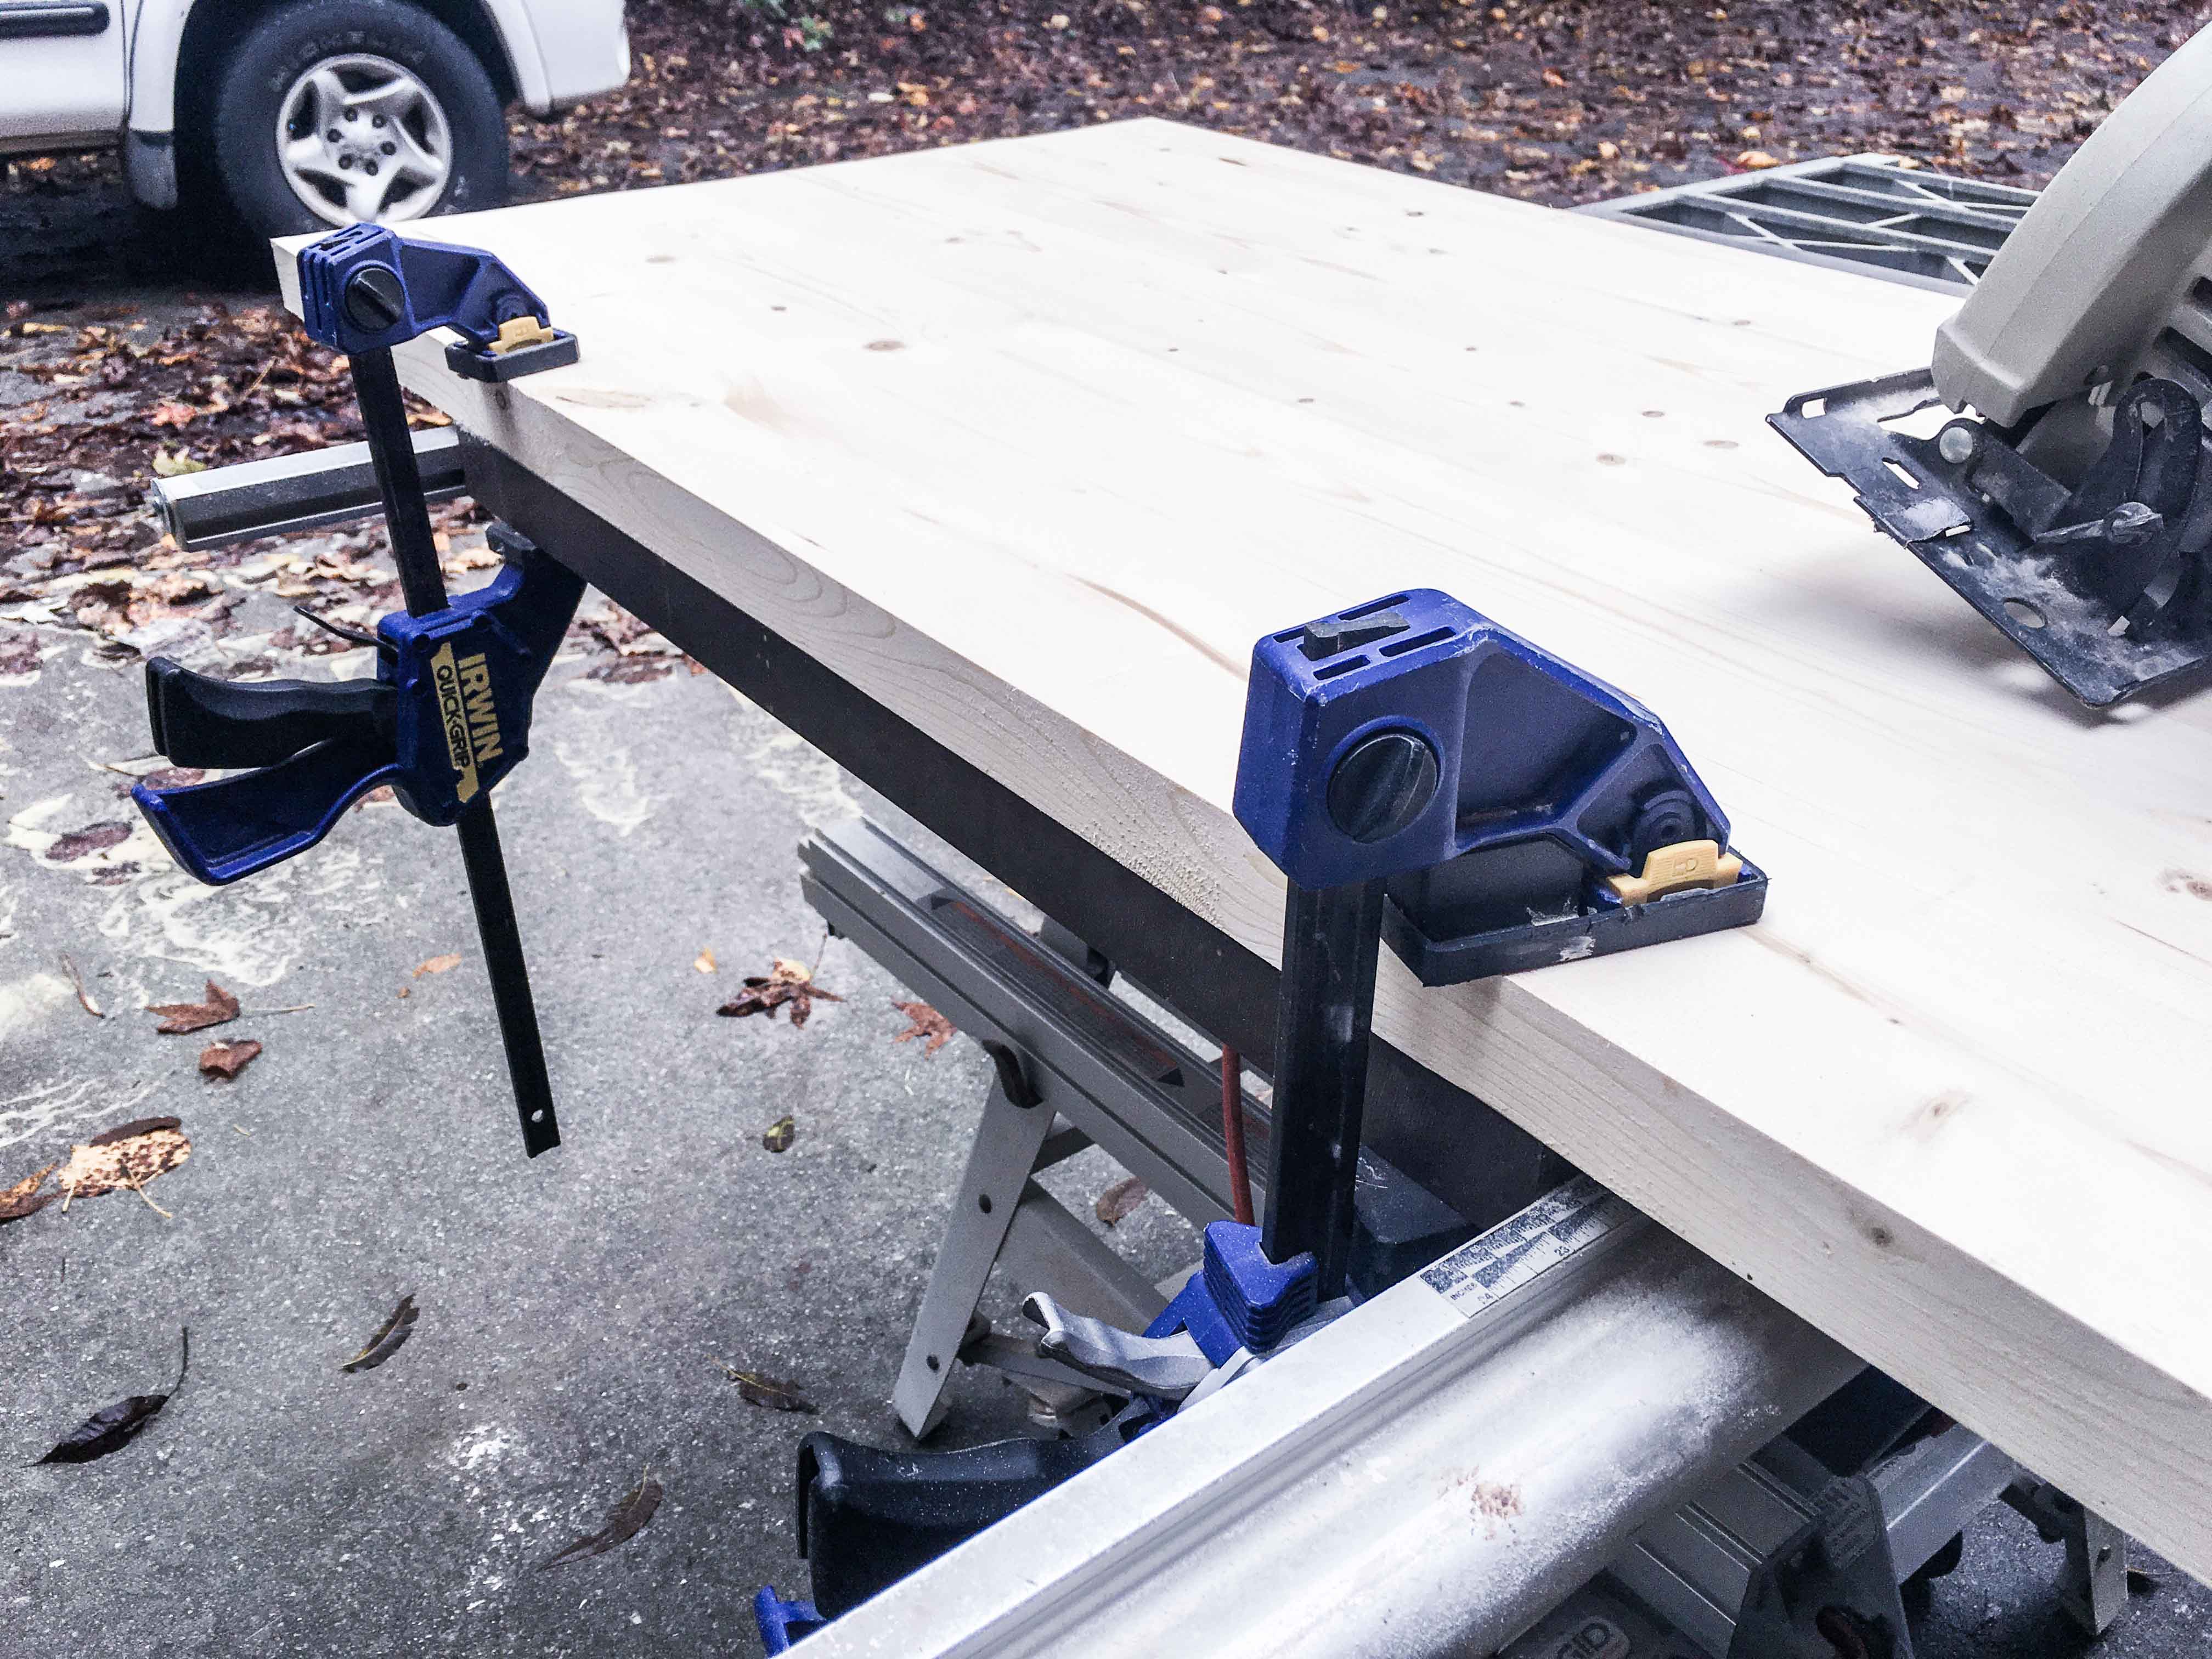
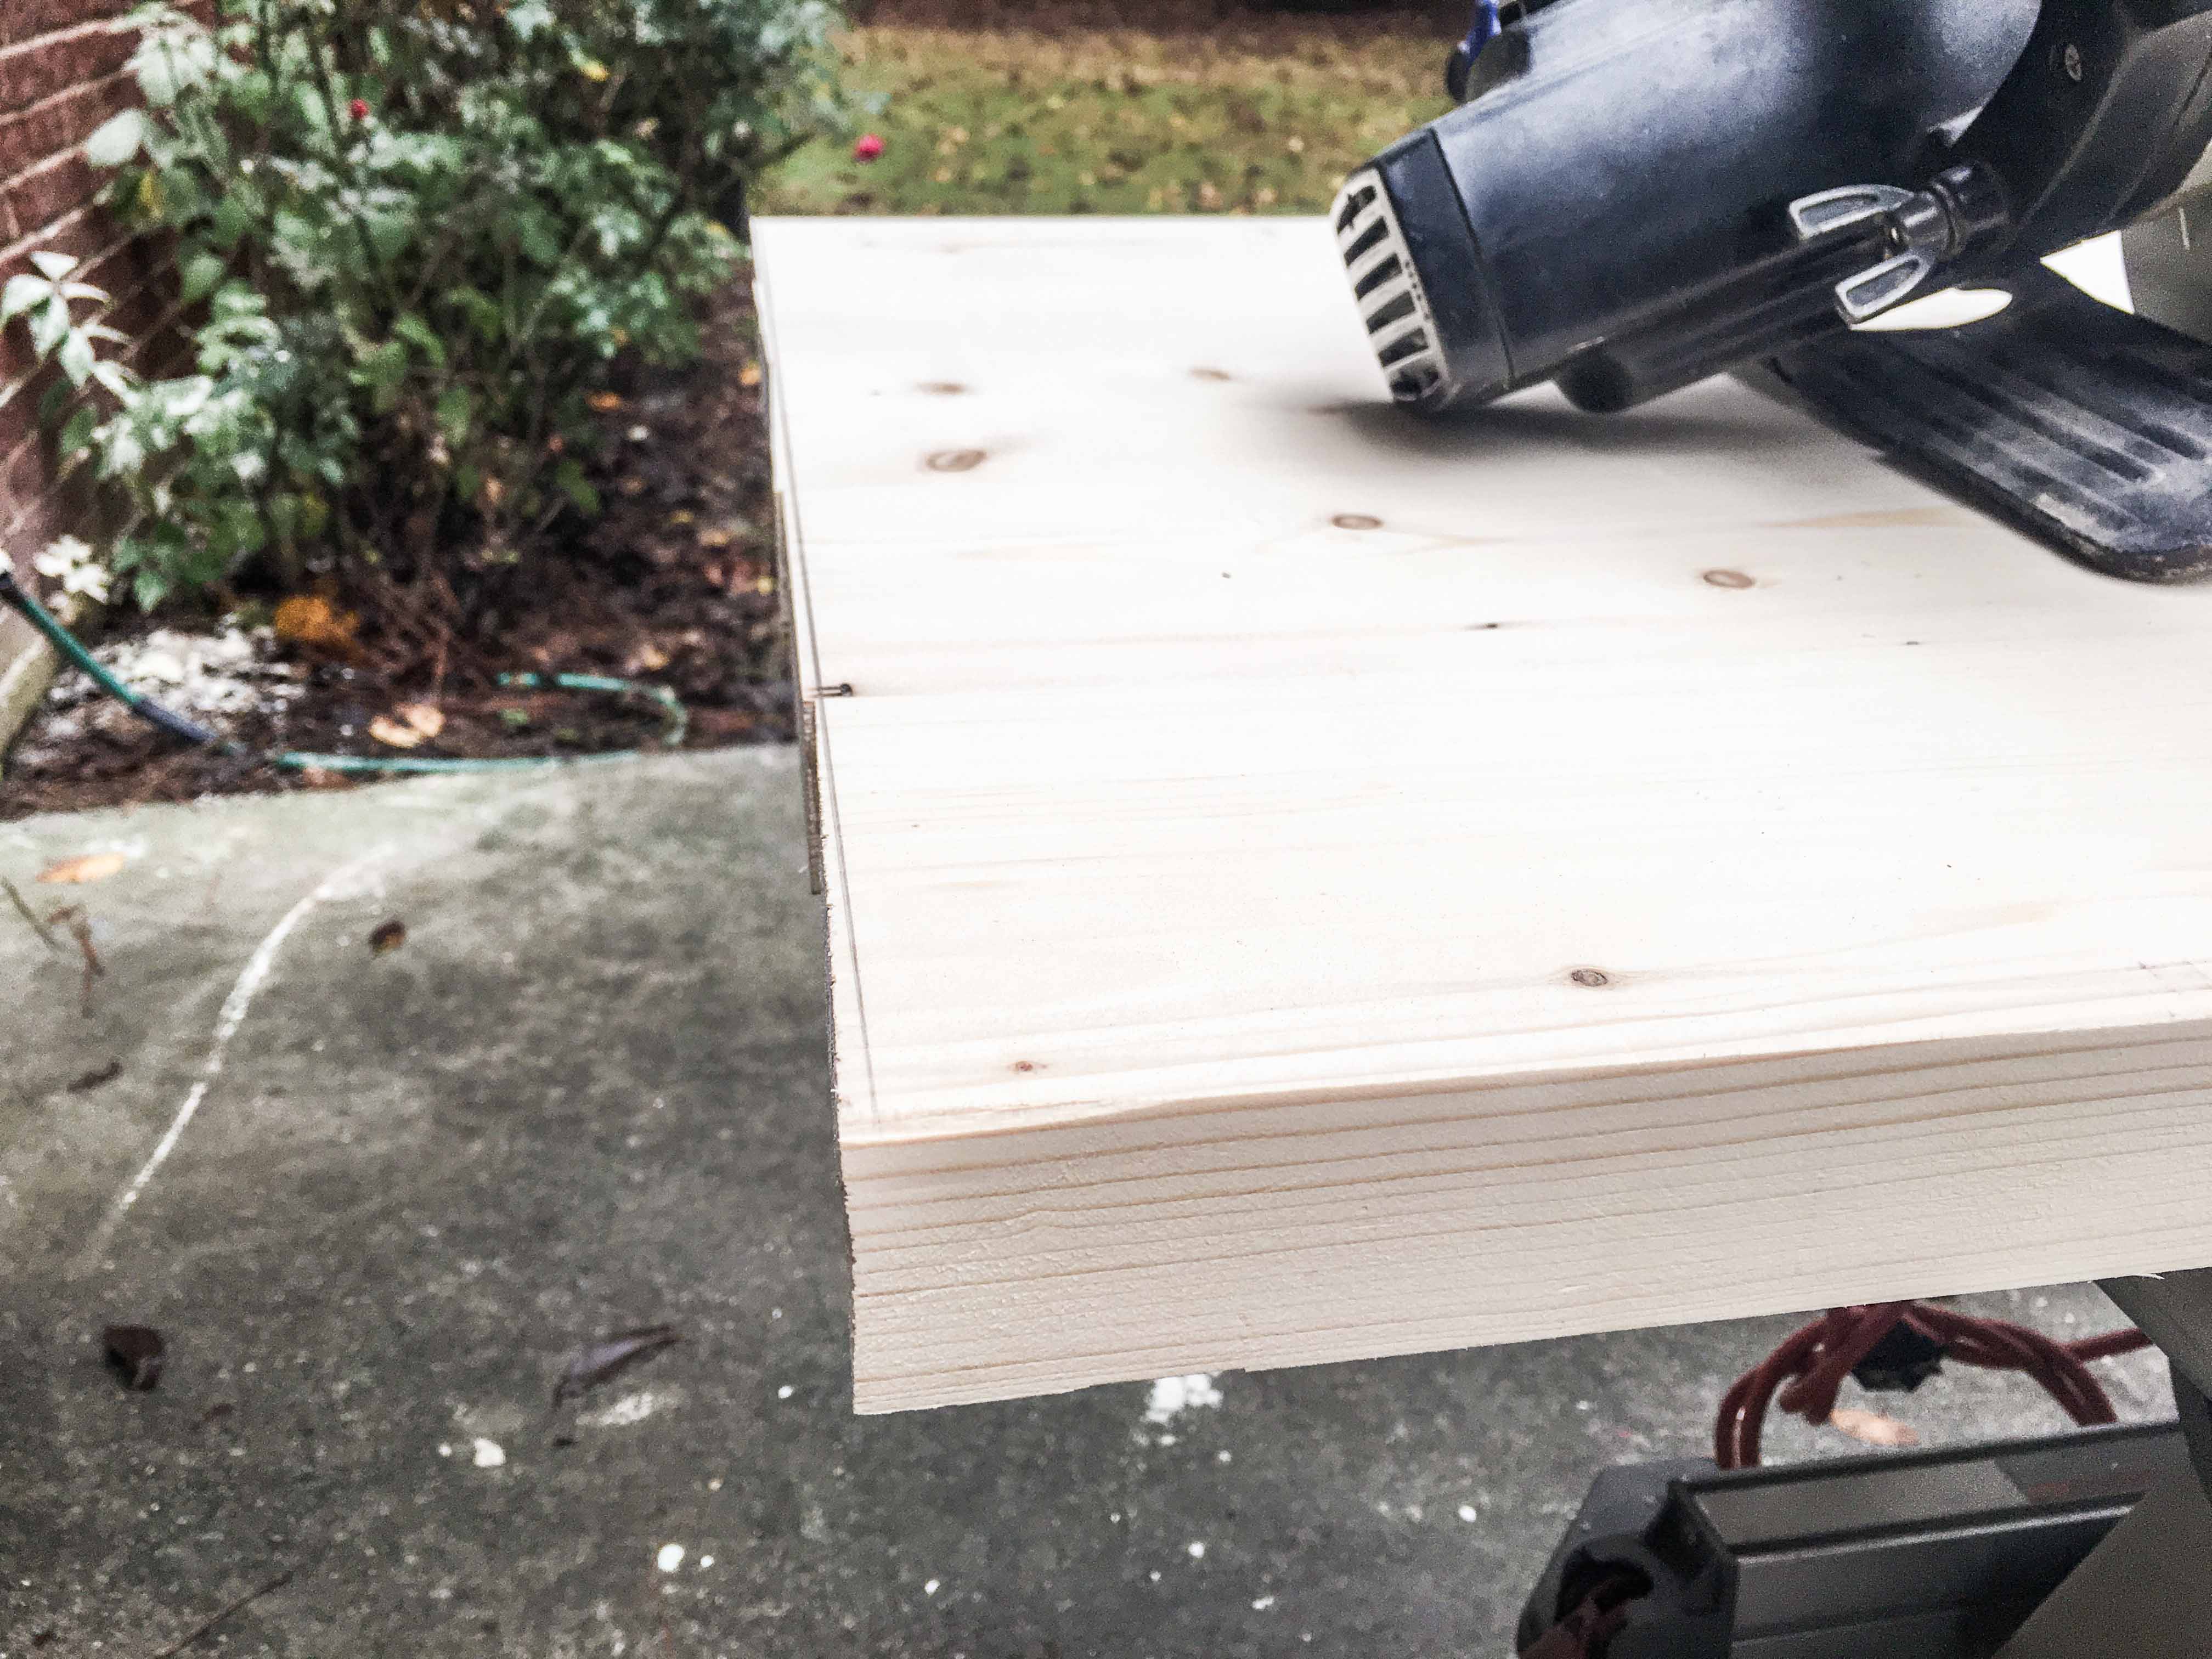
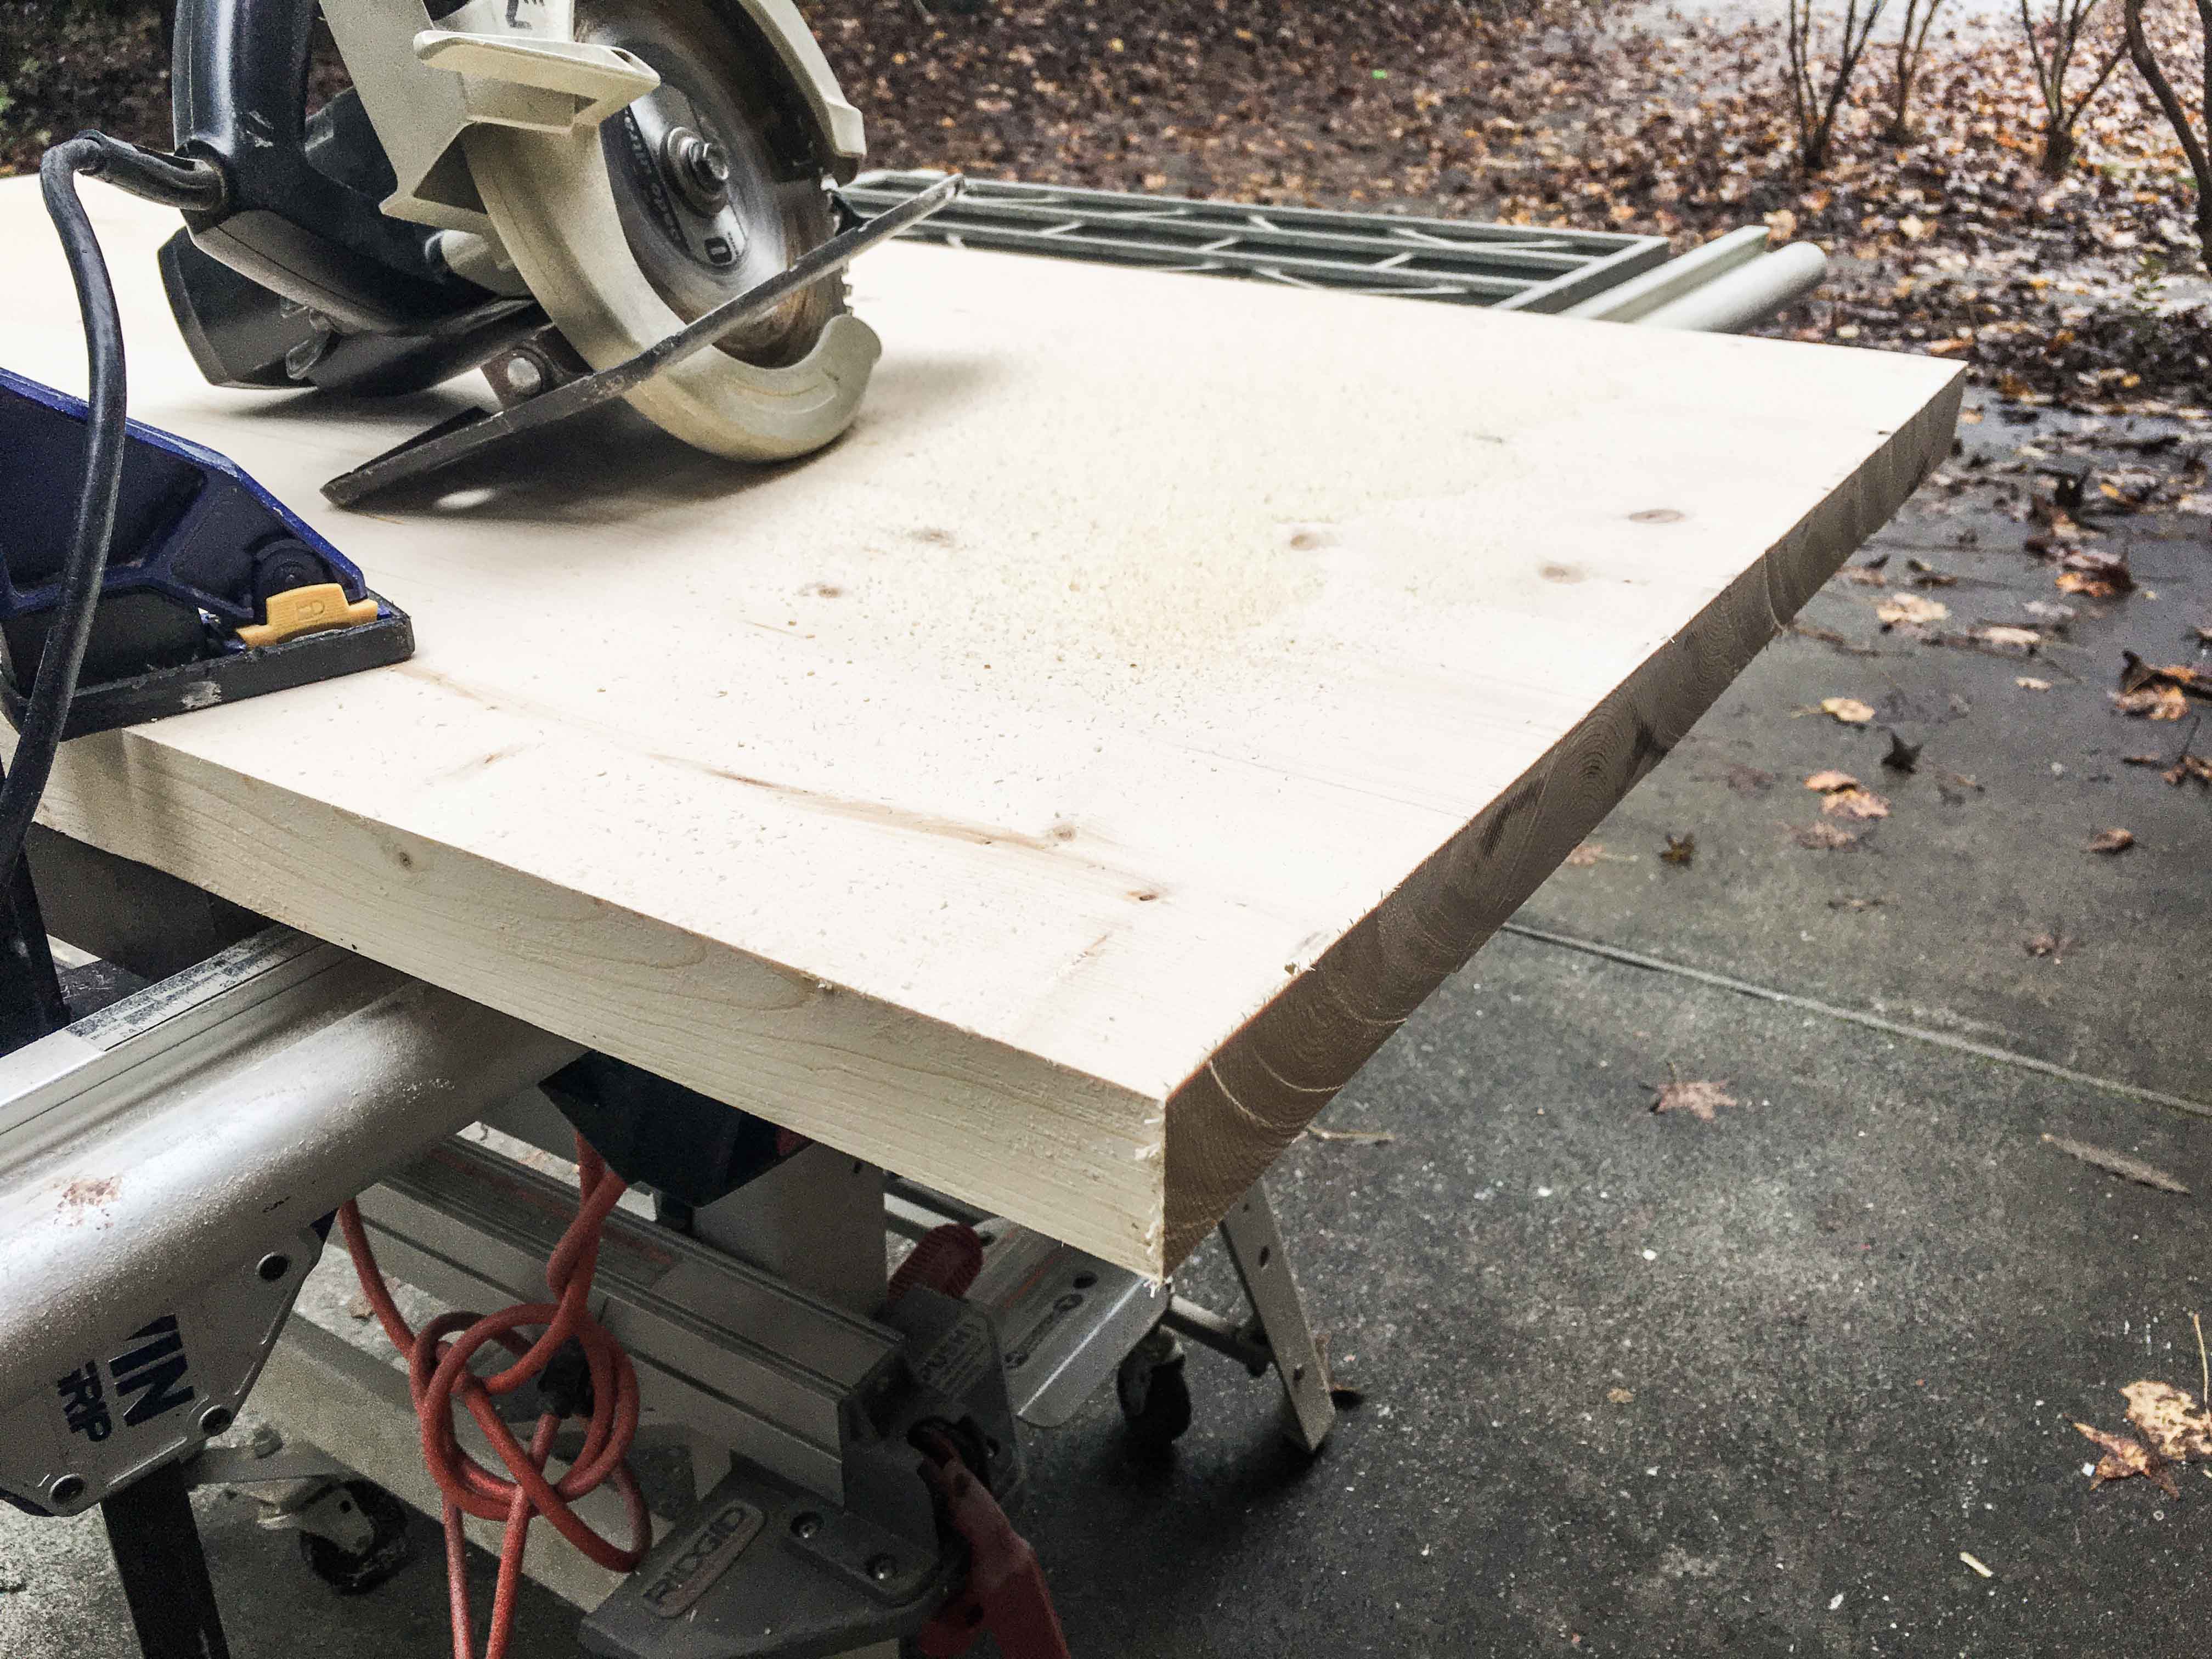
- Using a circular saw, make a single cut to each end to make it square. Or skip this step if sanding the ends will suffice. The more significant the length discordance, the more time you’ll save by using a saw.
- Mark a line using your T-square positioned perpendicular to the tabletop boards. The shortest board should still have at least 1/16″ removed.
WOOD FILLER THE CRACKS
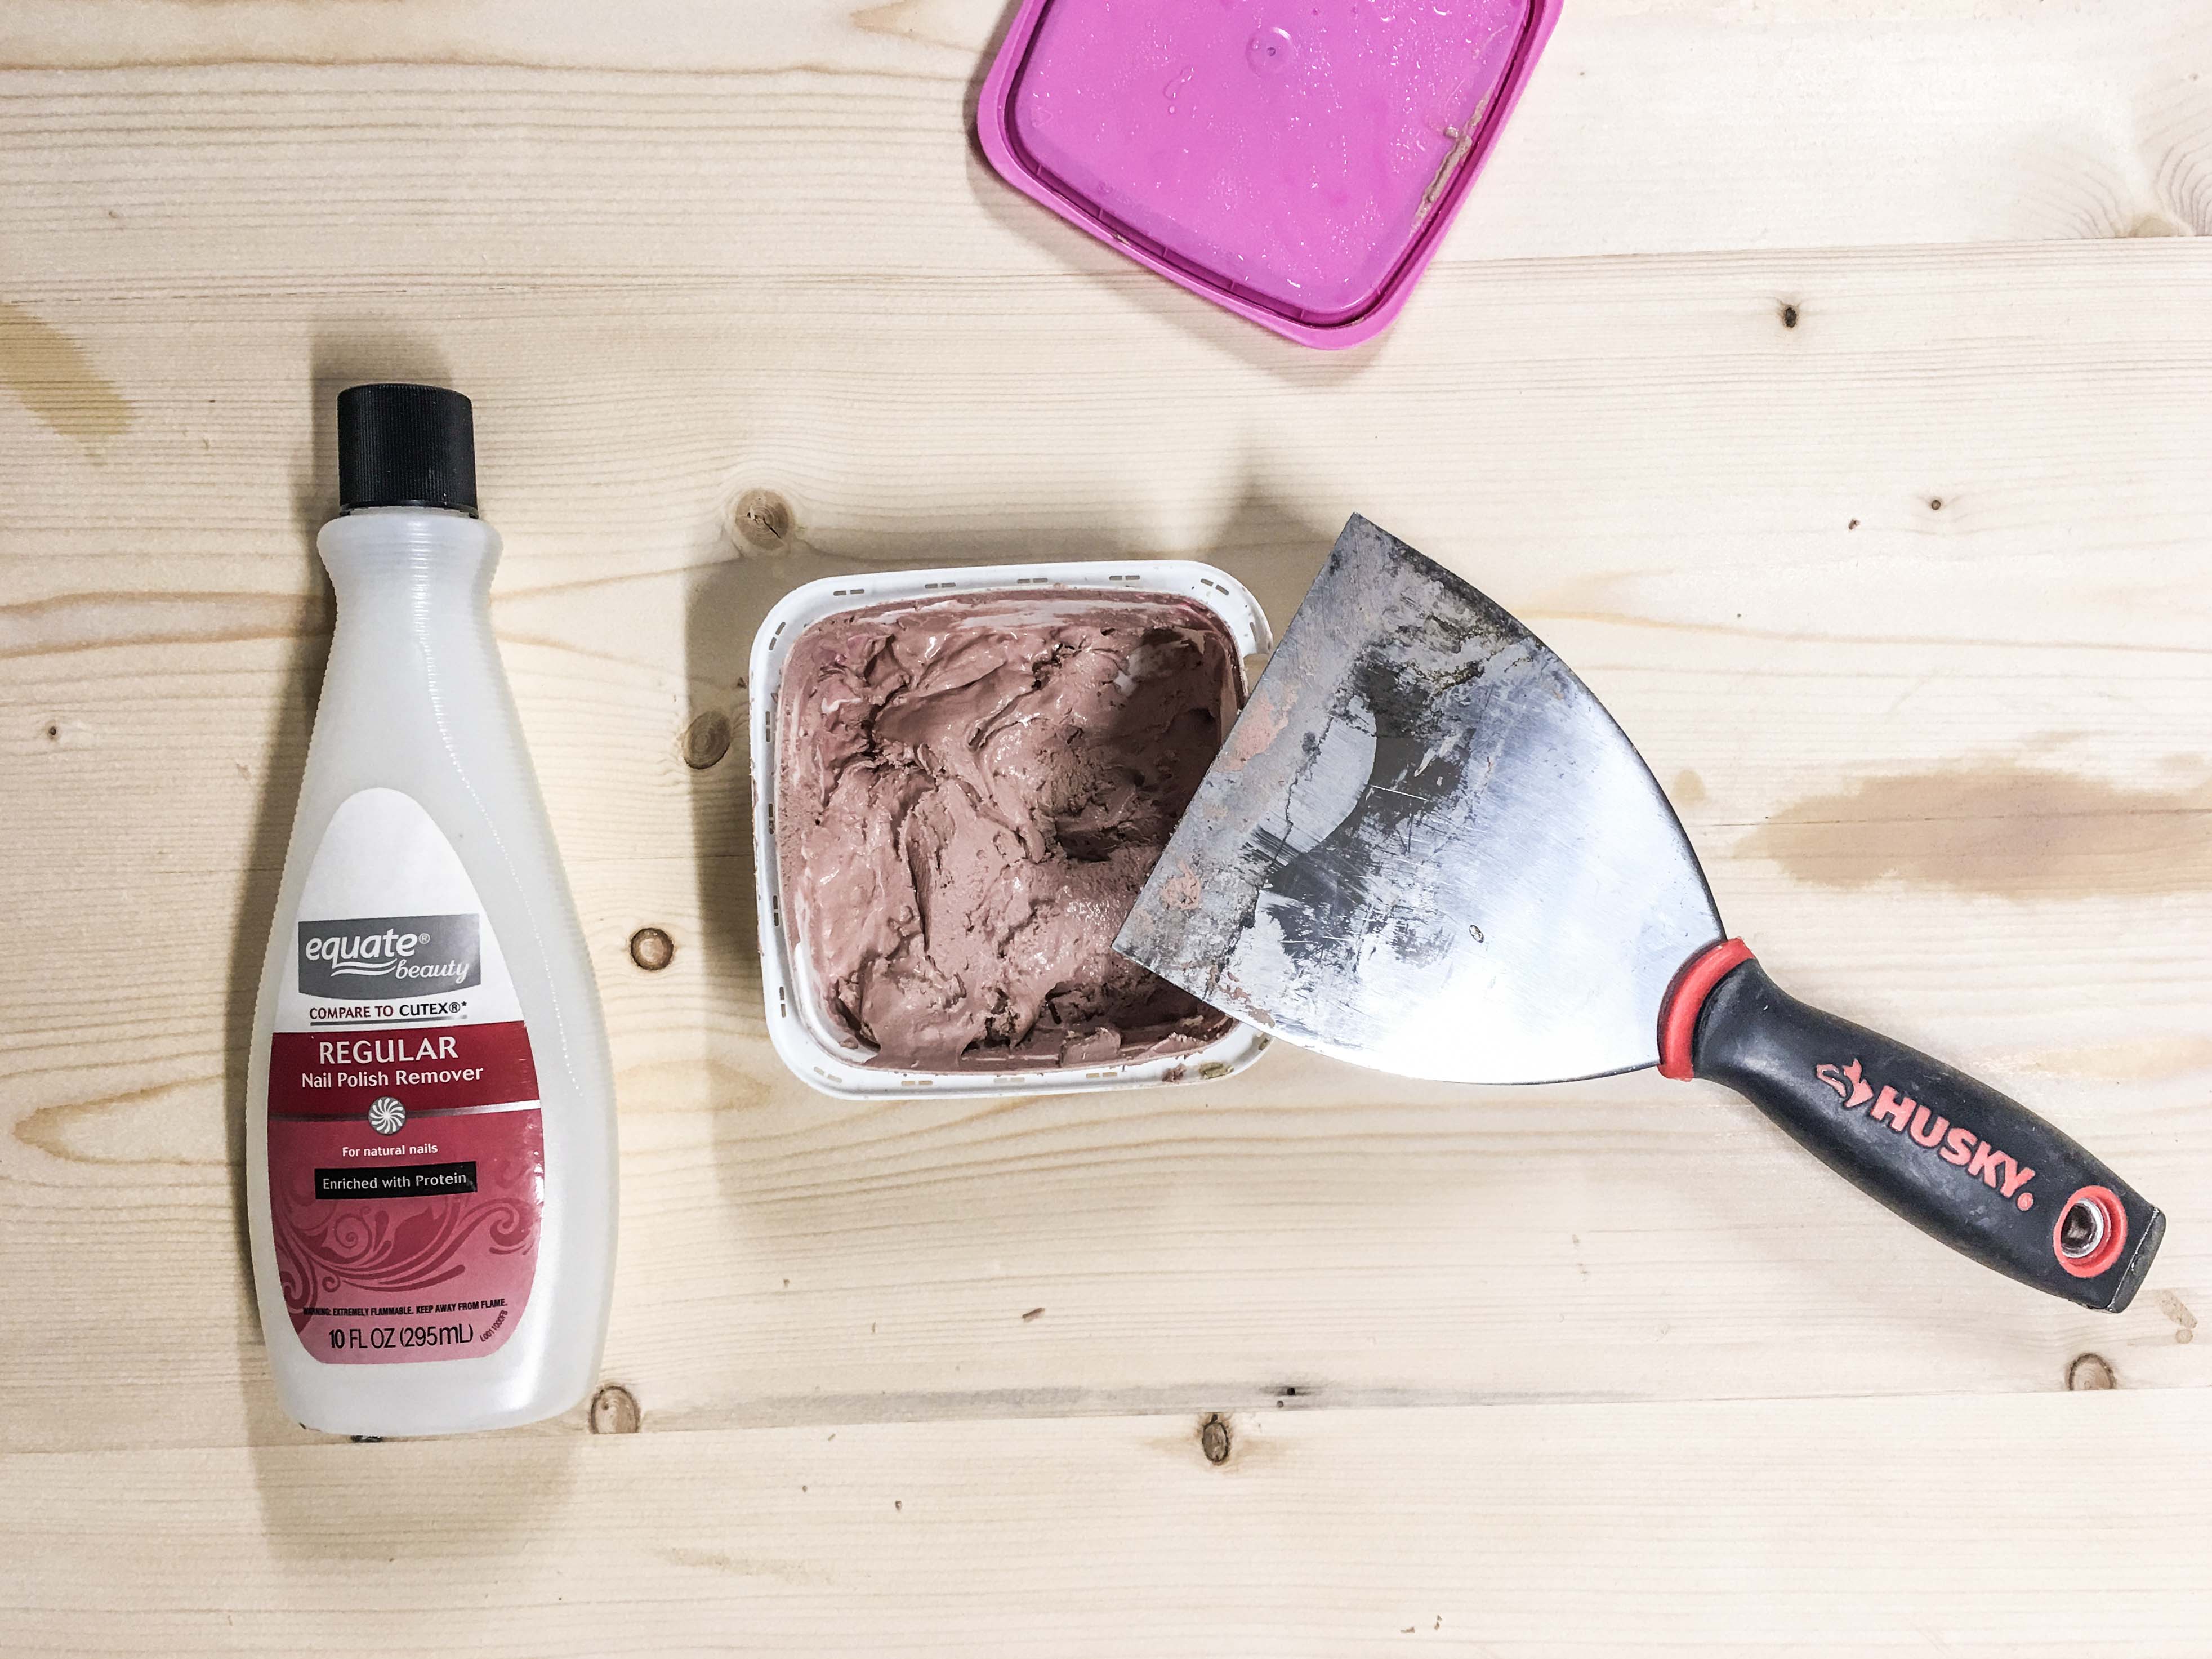
- If you opted to use wood filler, then fill in the cracks and seams using a putty knife or flexible paint scraper.
- Let the wood filler dry according to the manufacturers’ instructions.
- After dry, consider another application of wood filler if it shrank as it dried and showed a dip in the cracks or seams.
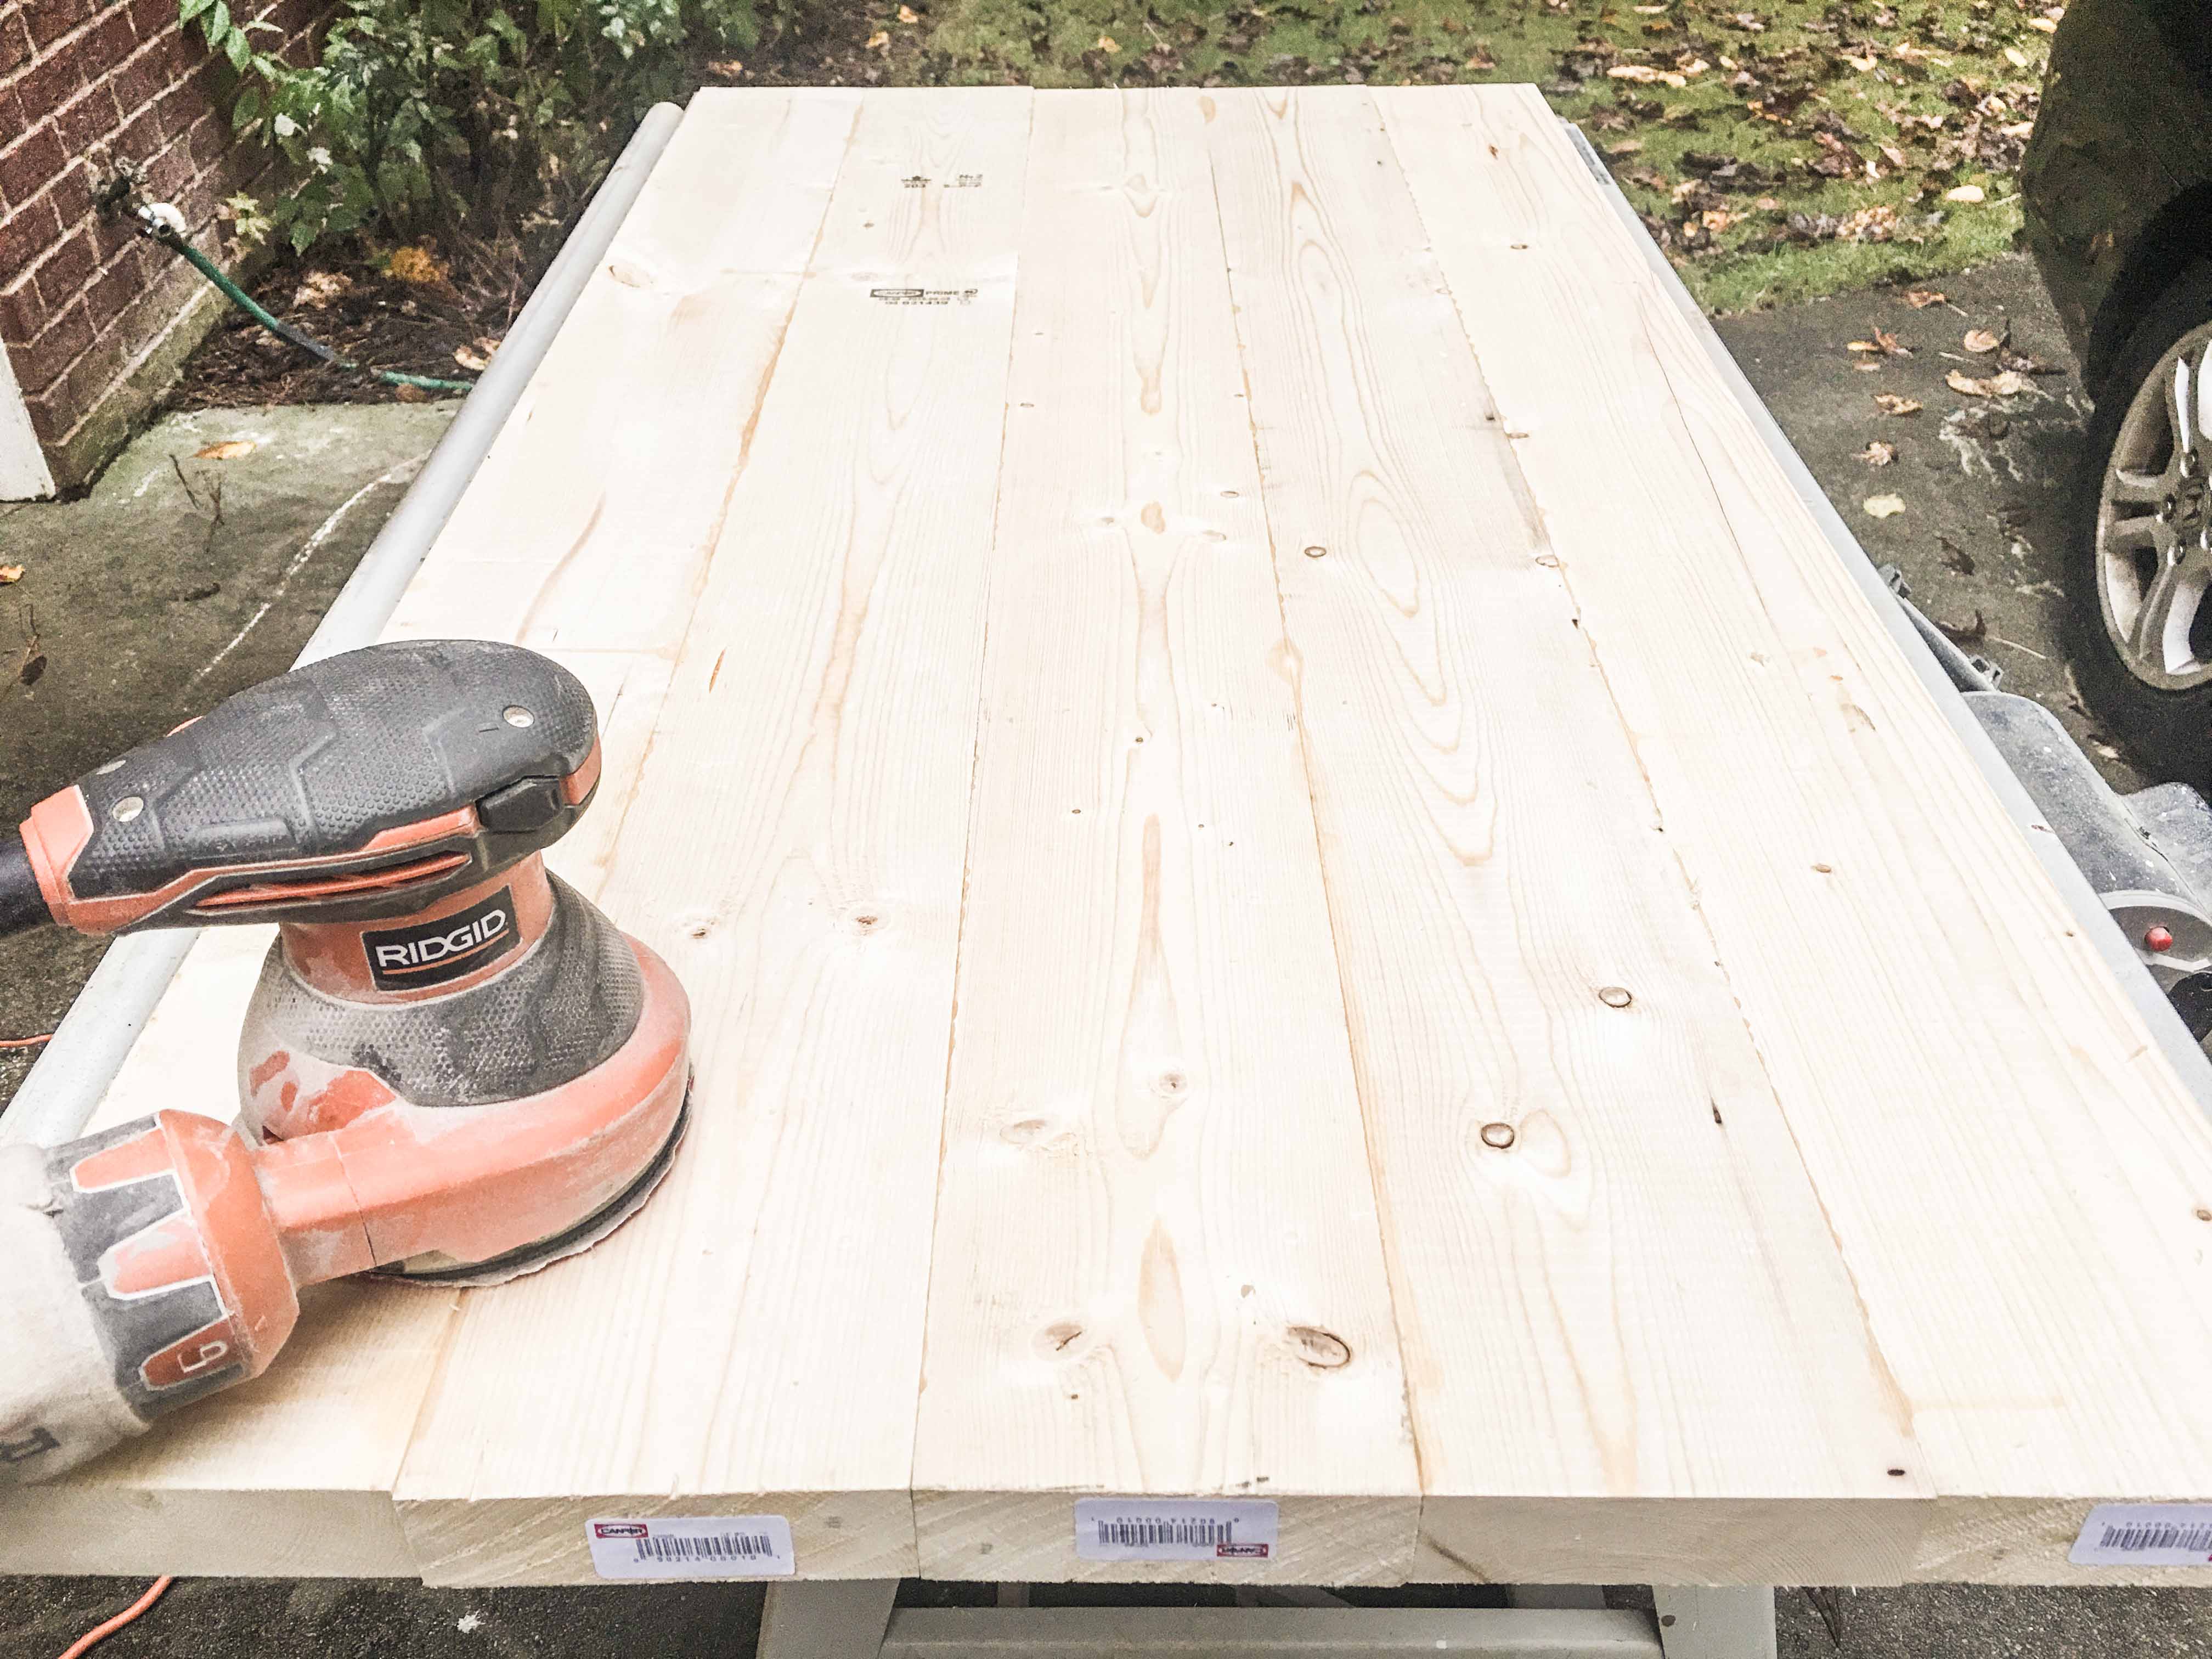
SAND YOUR LIFE AWAY
- If you used glue, consider chipping off the dried glue chunks with a paint scraper to save a ton of sanding time.
- Using your orbital or belt sander, sand the desktop until perfectly smooth to the touch.
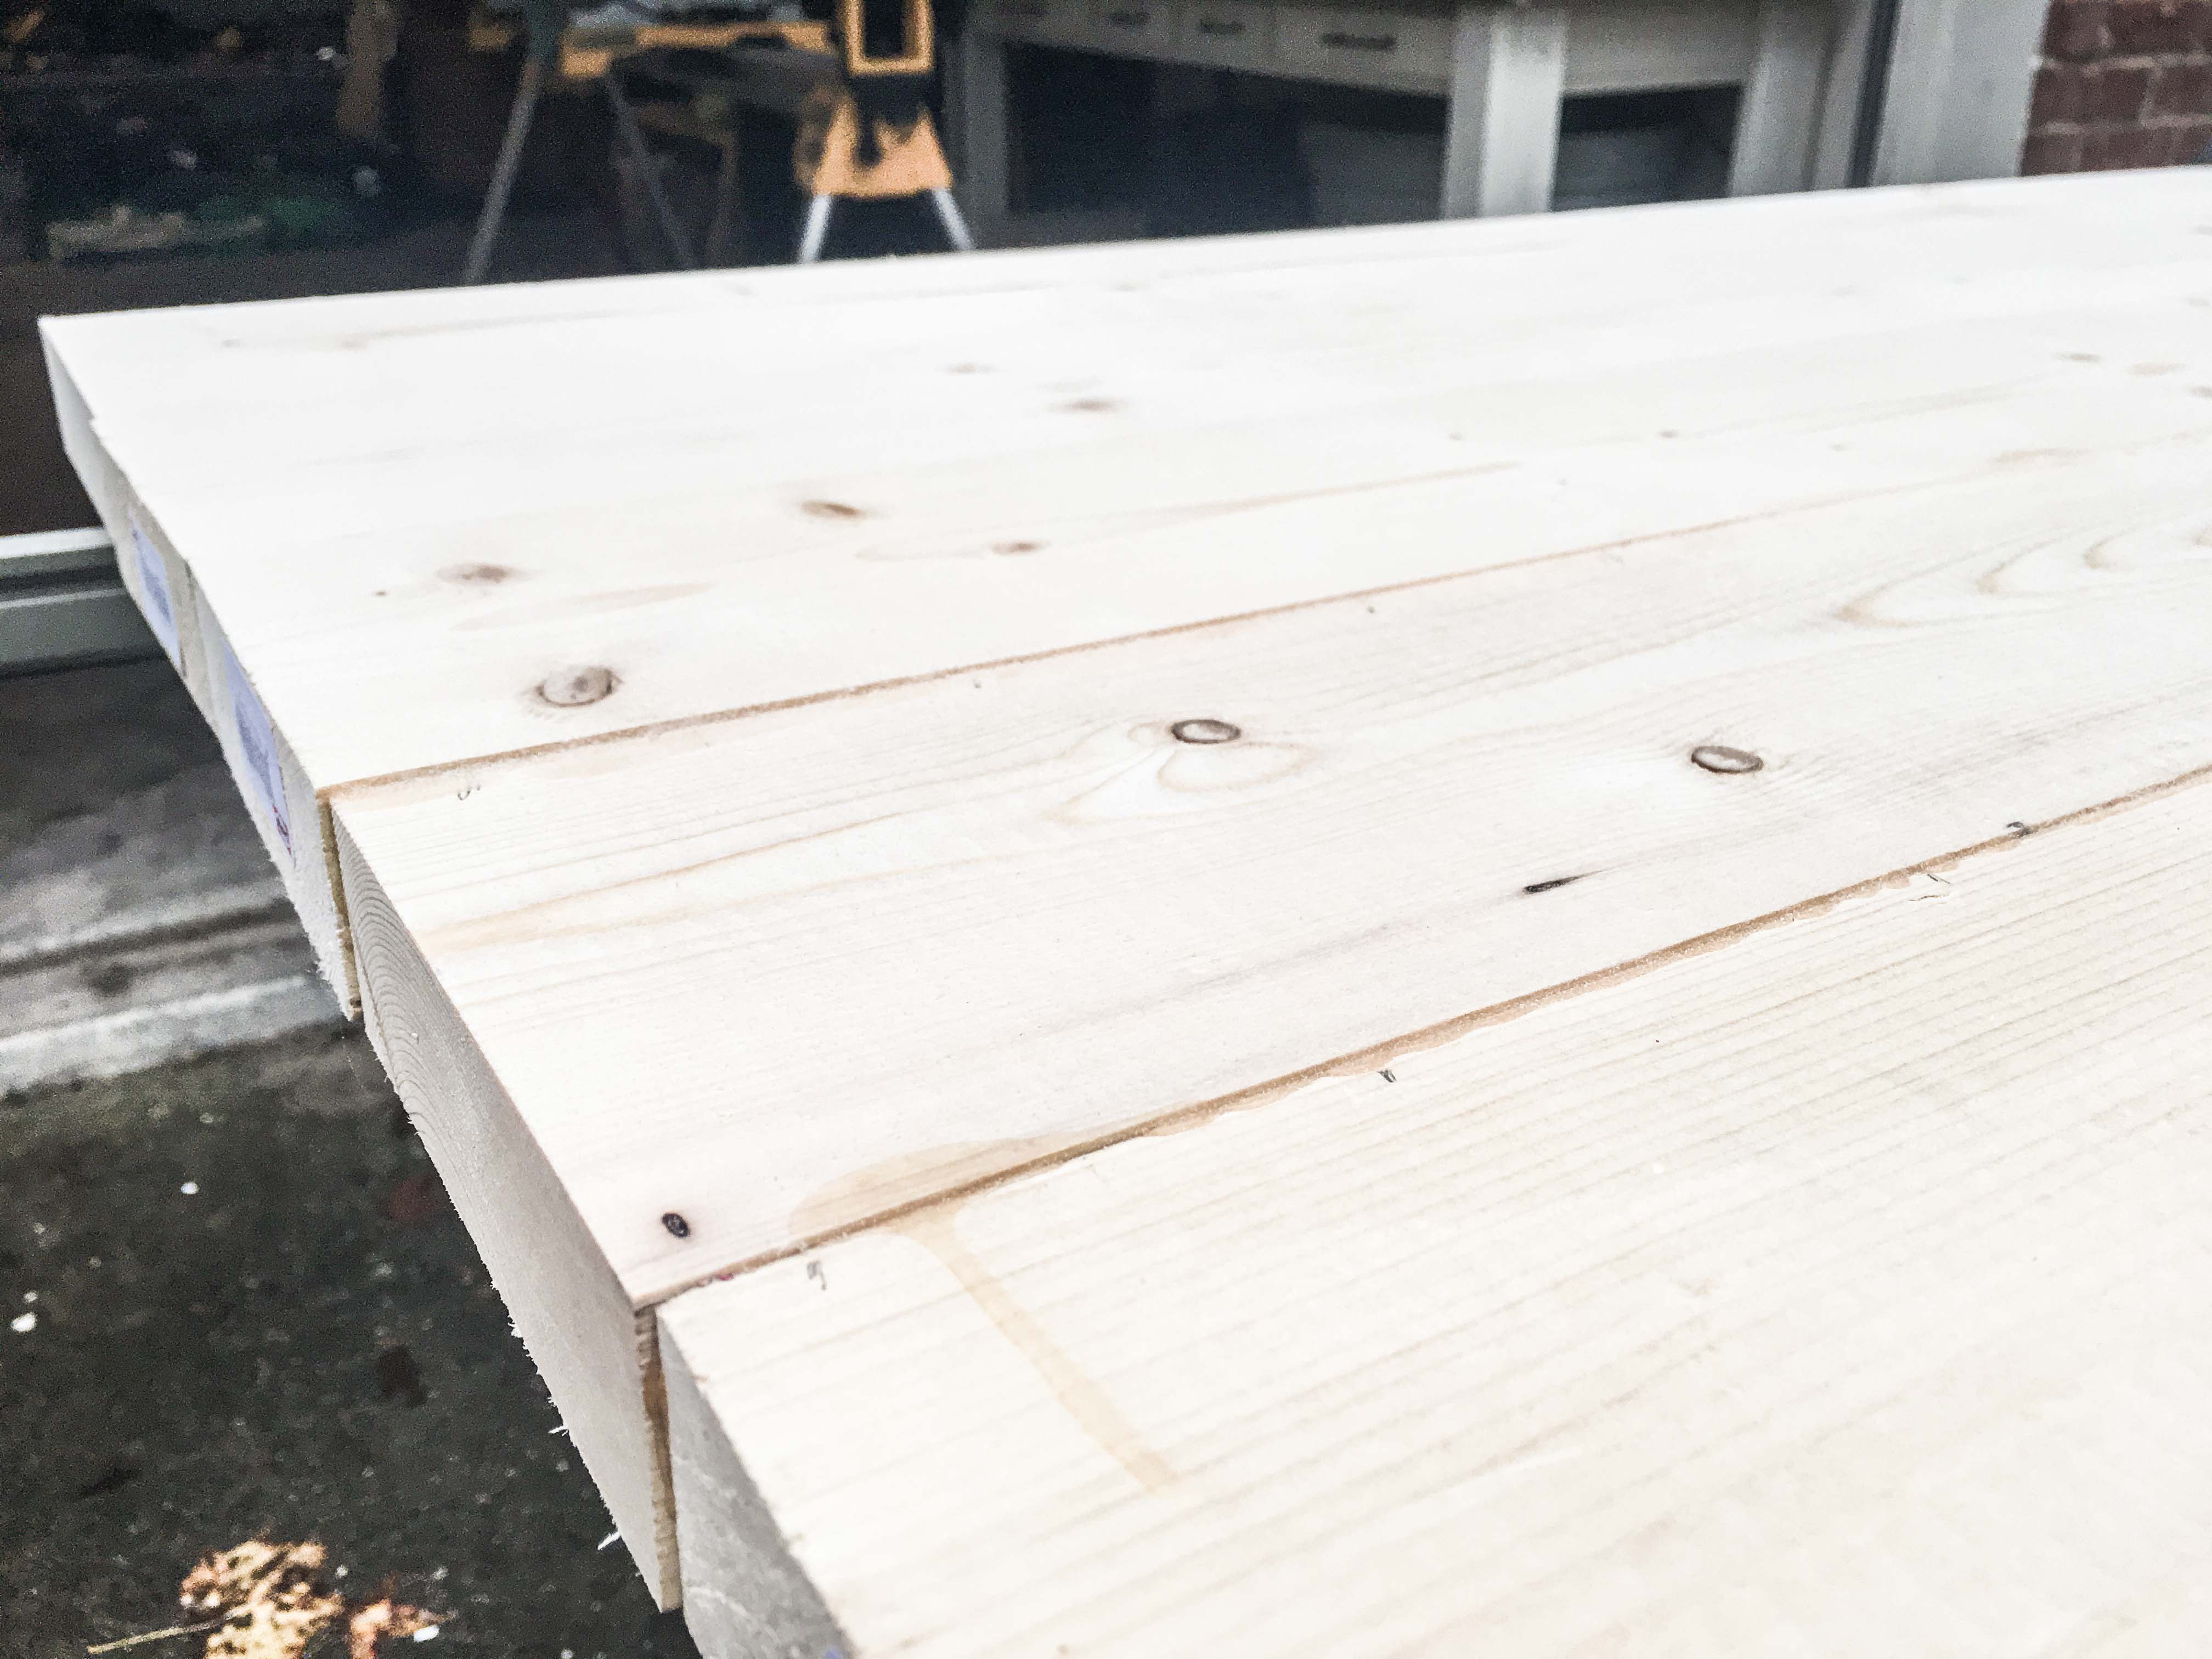
- The joints should be practically seamless when you’re done.
- Do NOT push hard or risk making notches and divots in your desktop.
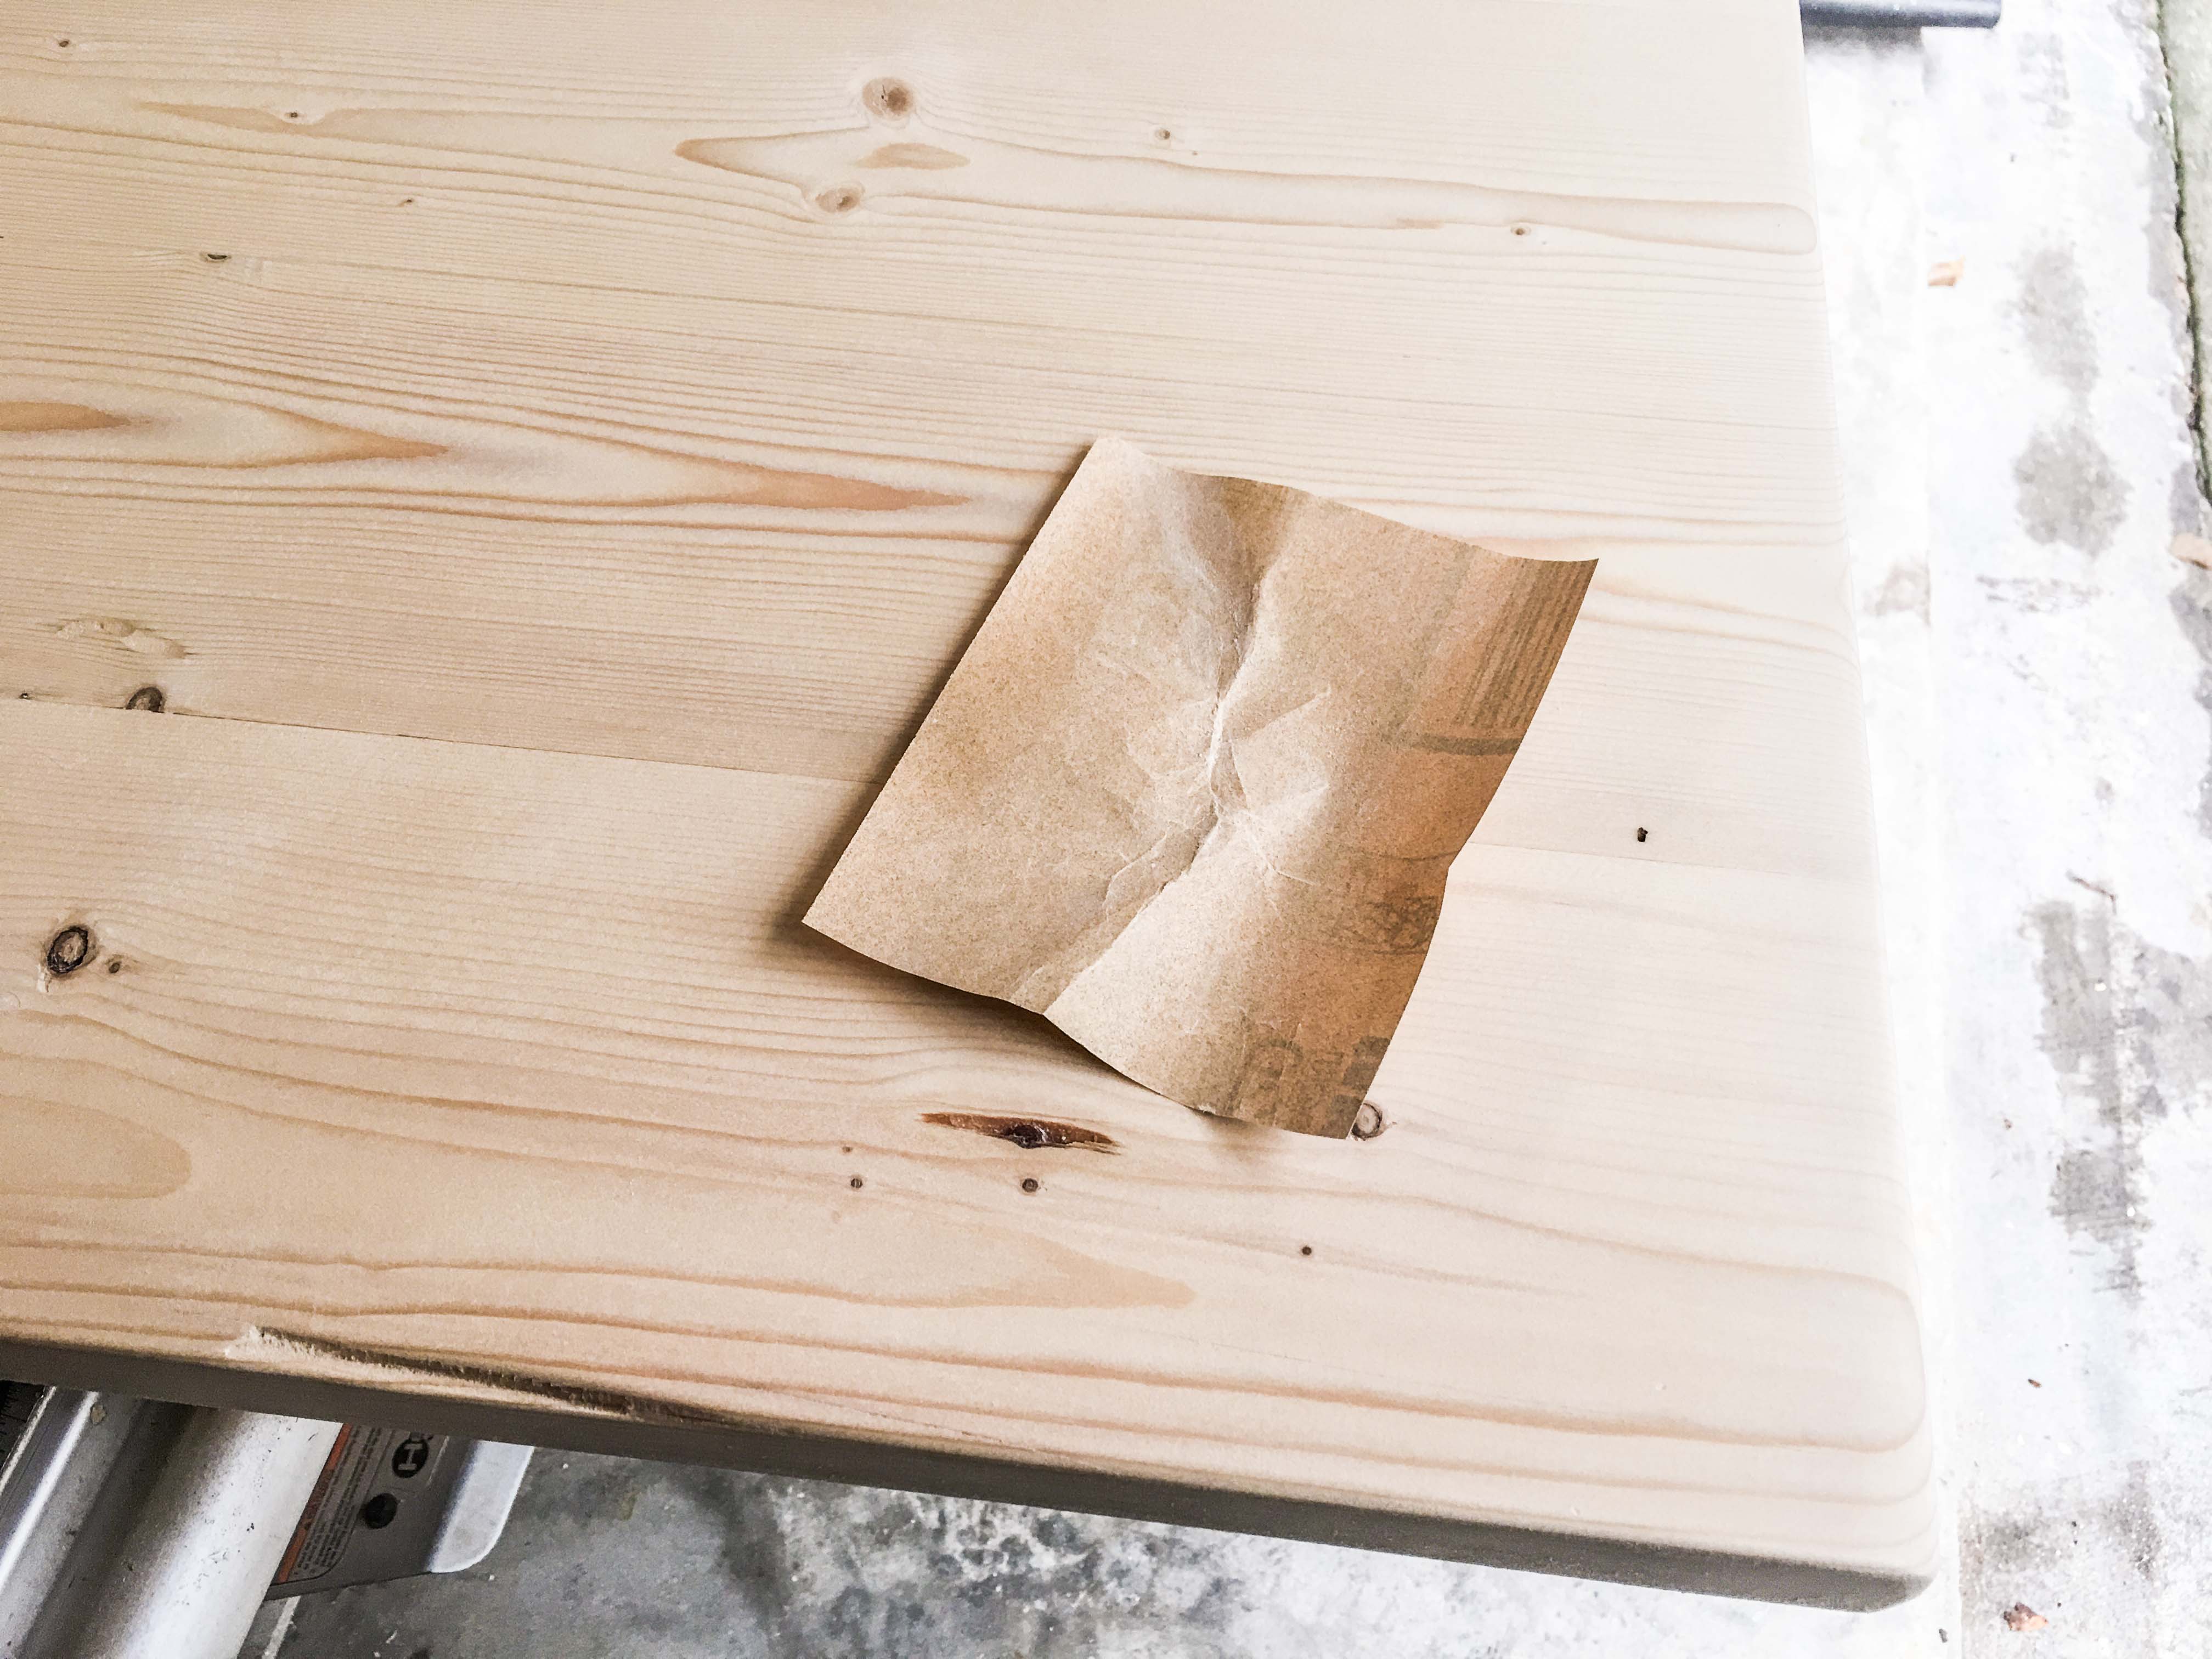
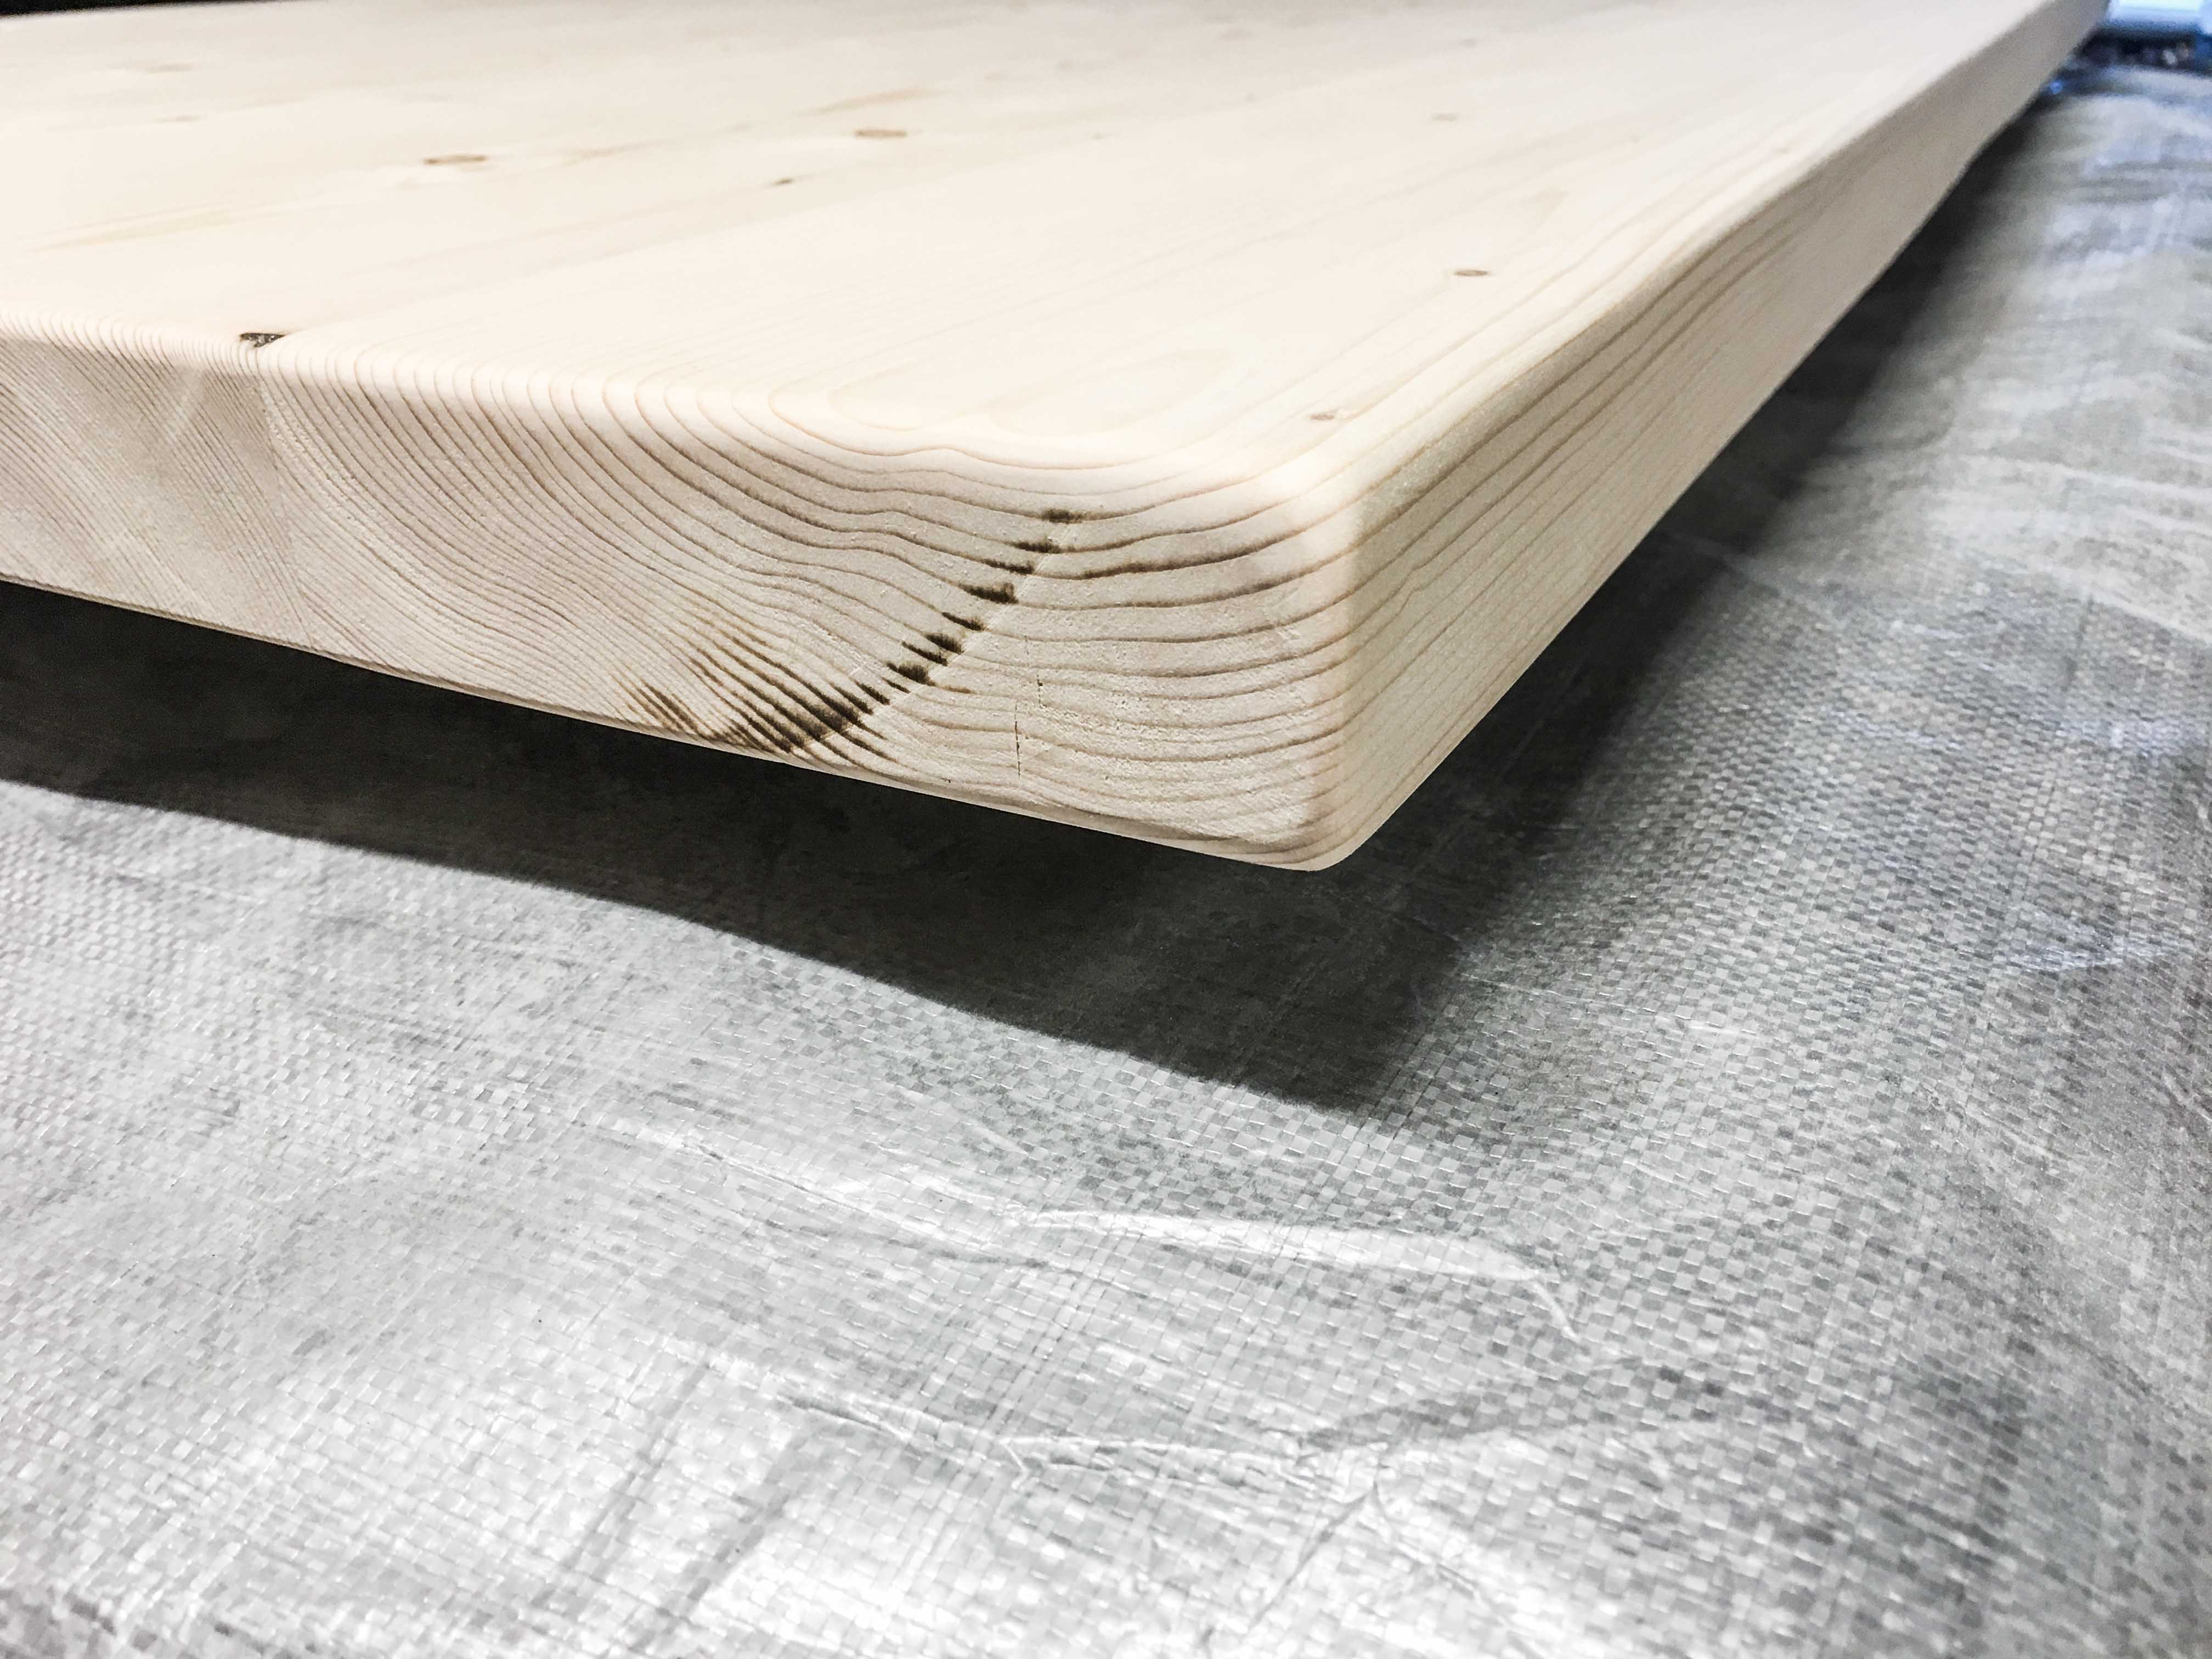
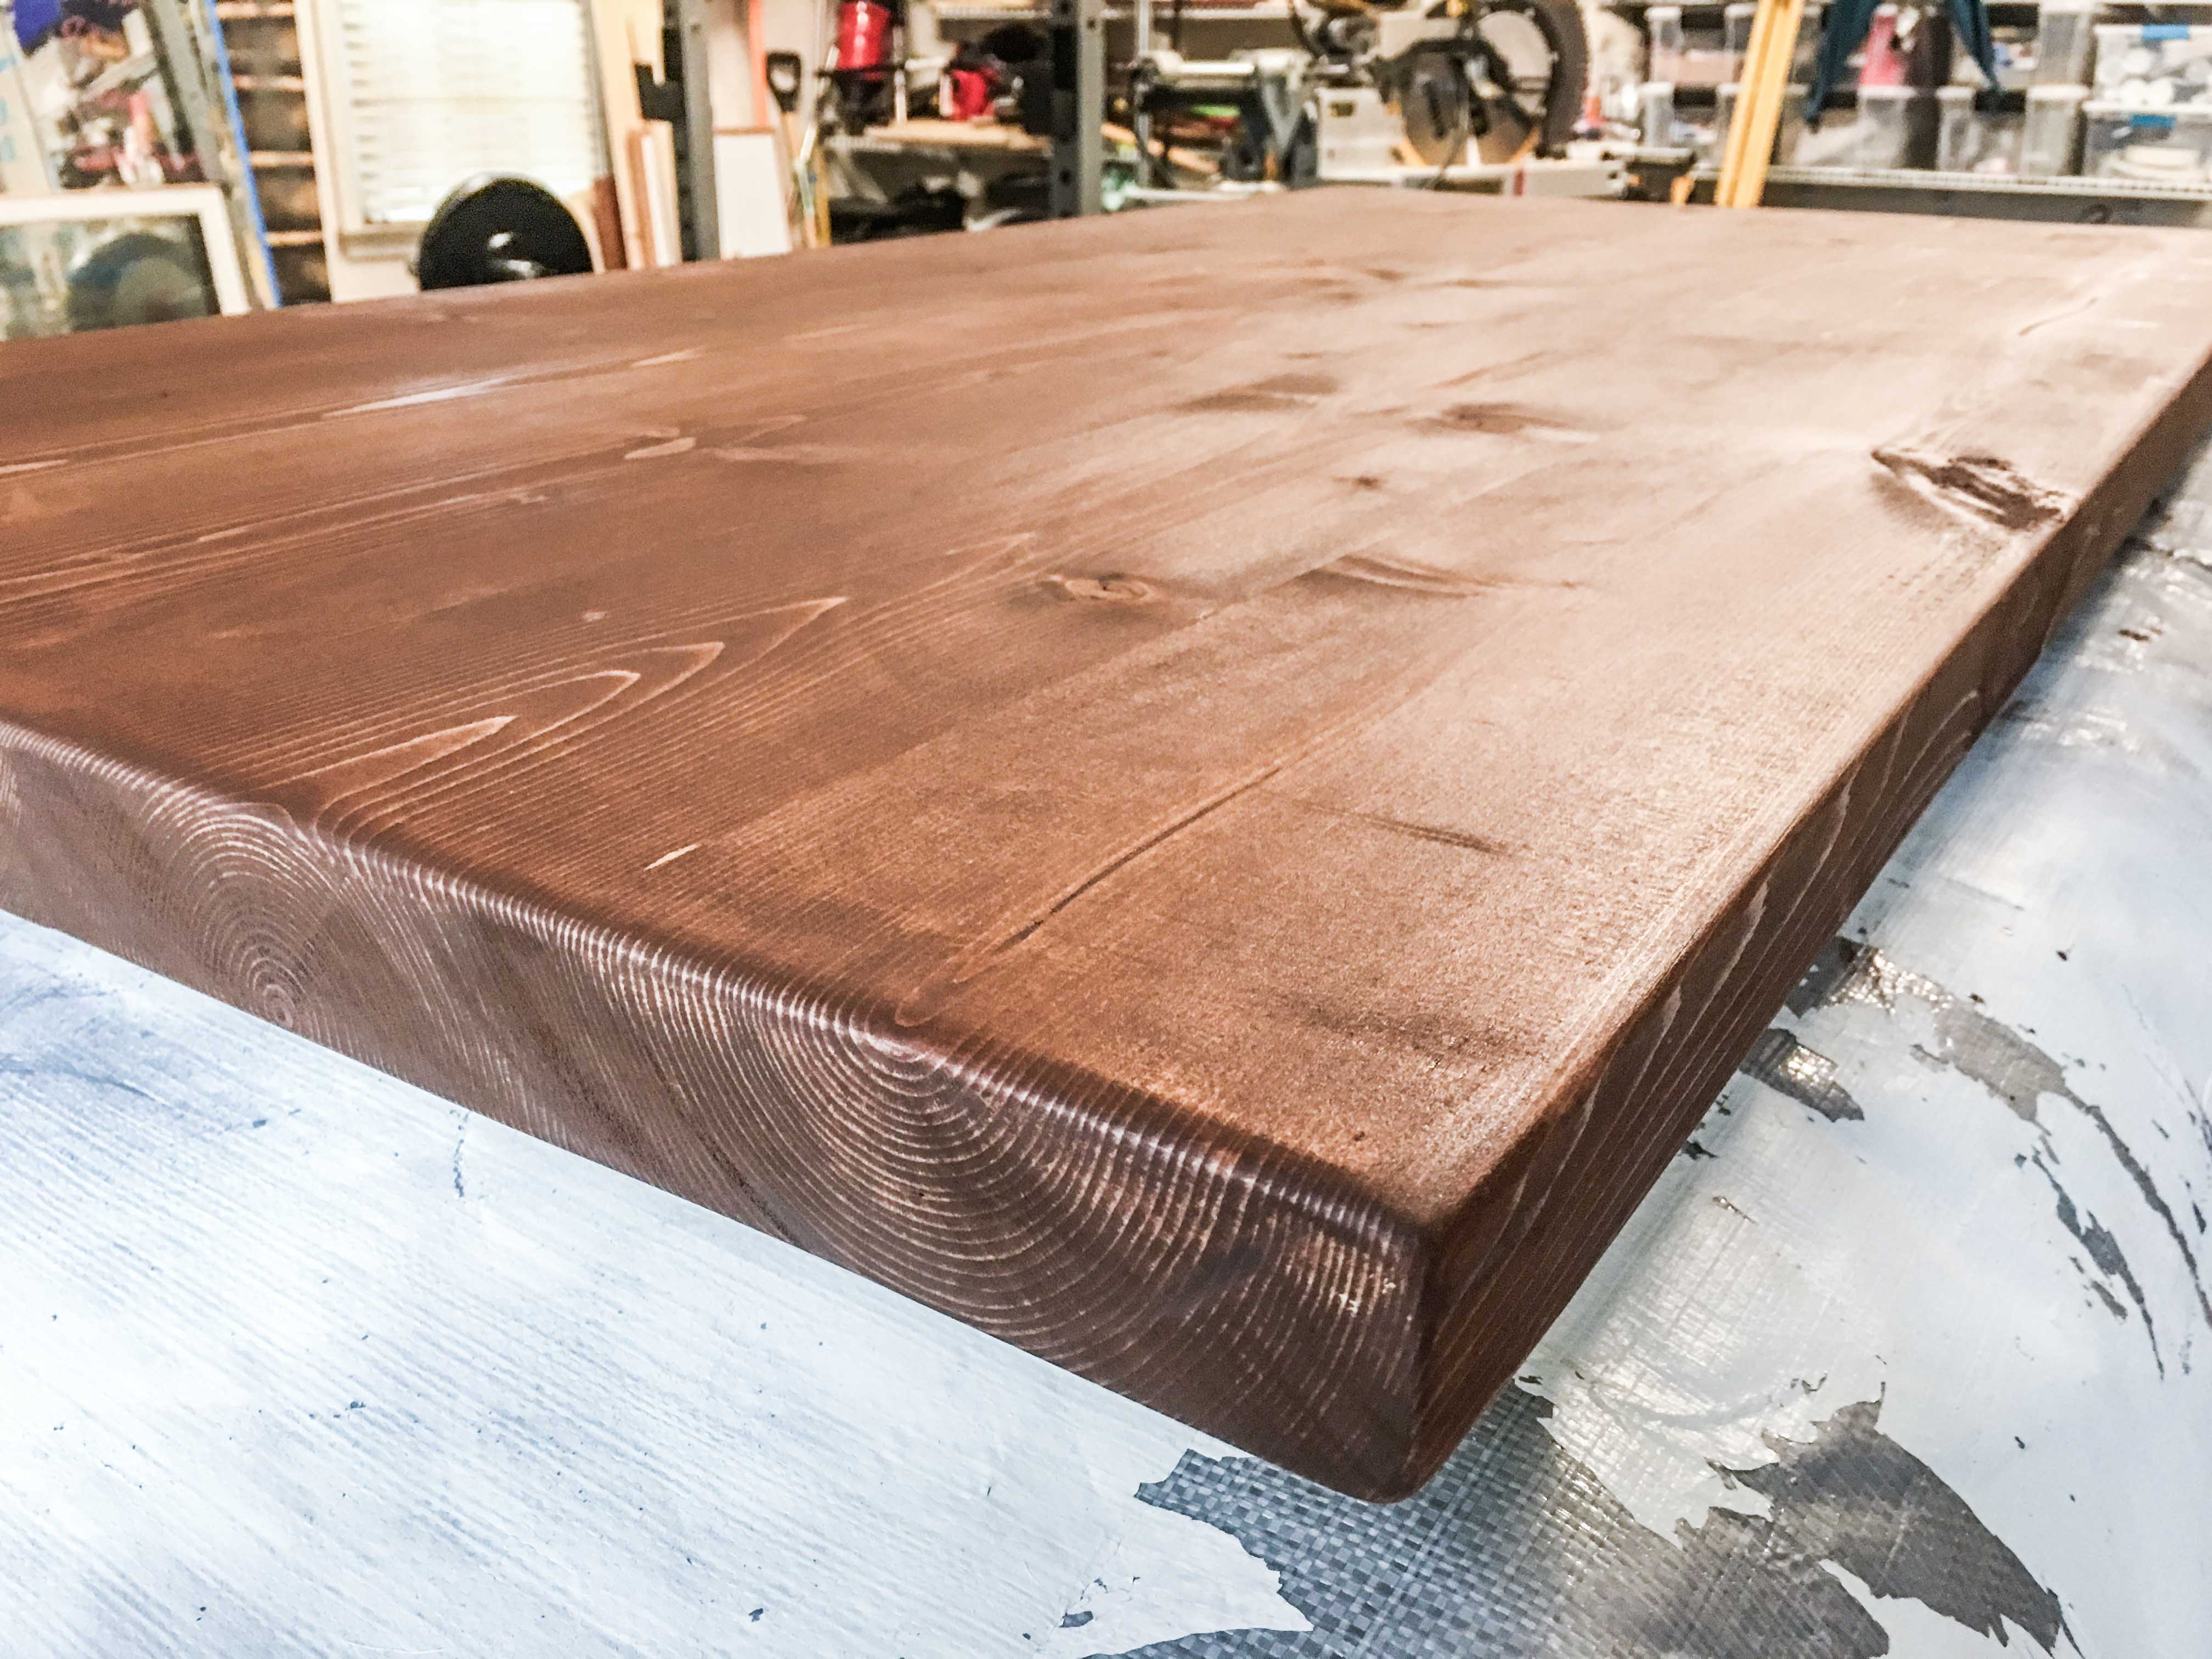
- Don’t forget to sand all of the edges and sharp corners until rounded over. Consider using a piece of sandpaper by hand for more precision. Or make a few rough passes on the edges with your orbital sander and finish sanding by hand.
Step 6. Stain the tabletop.
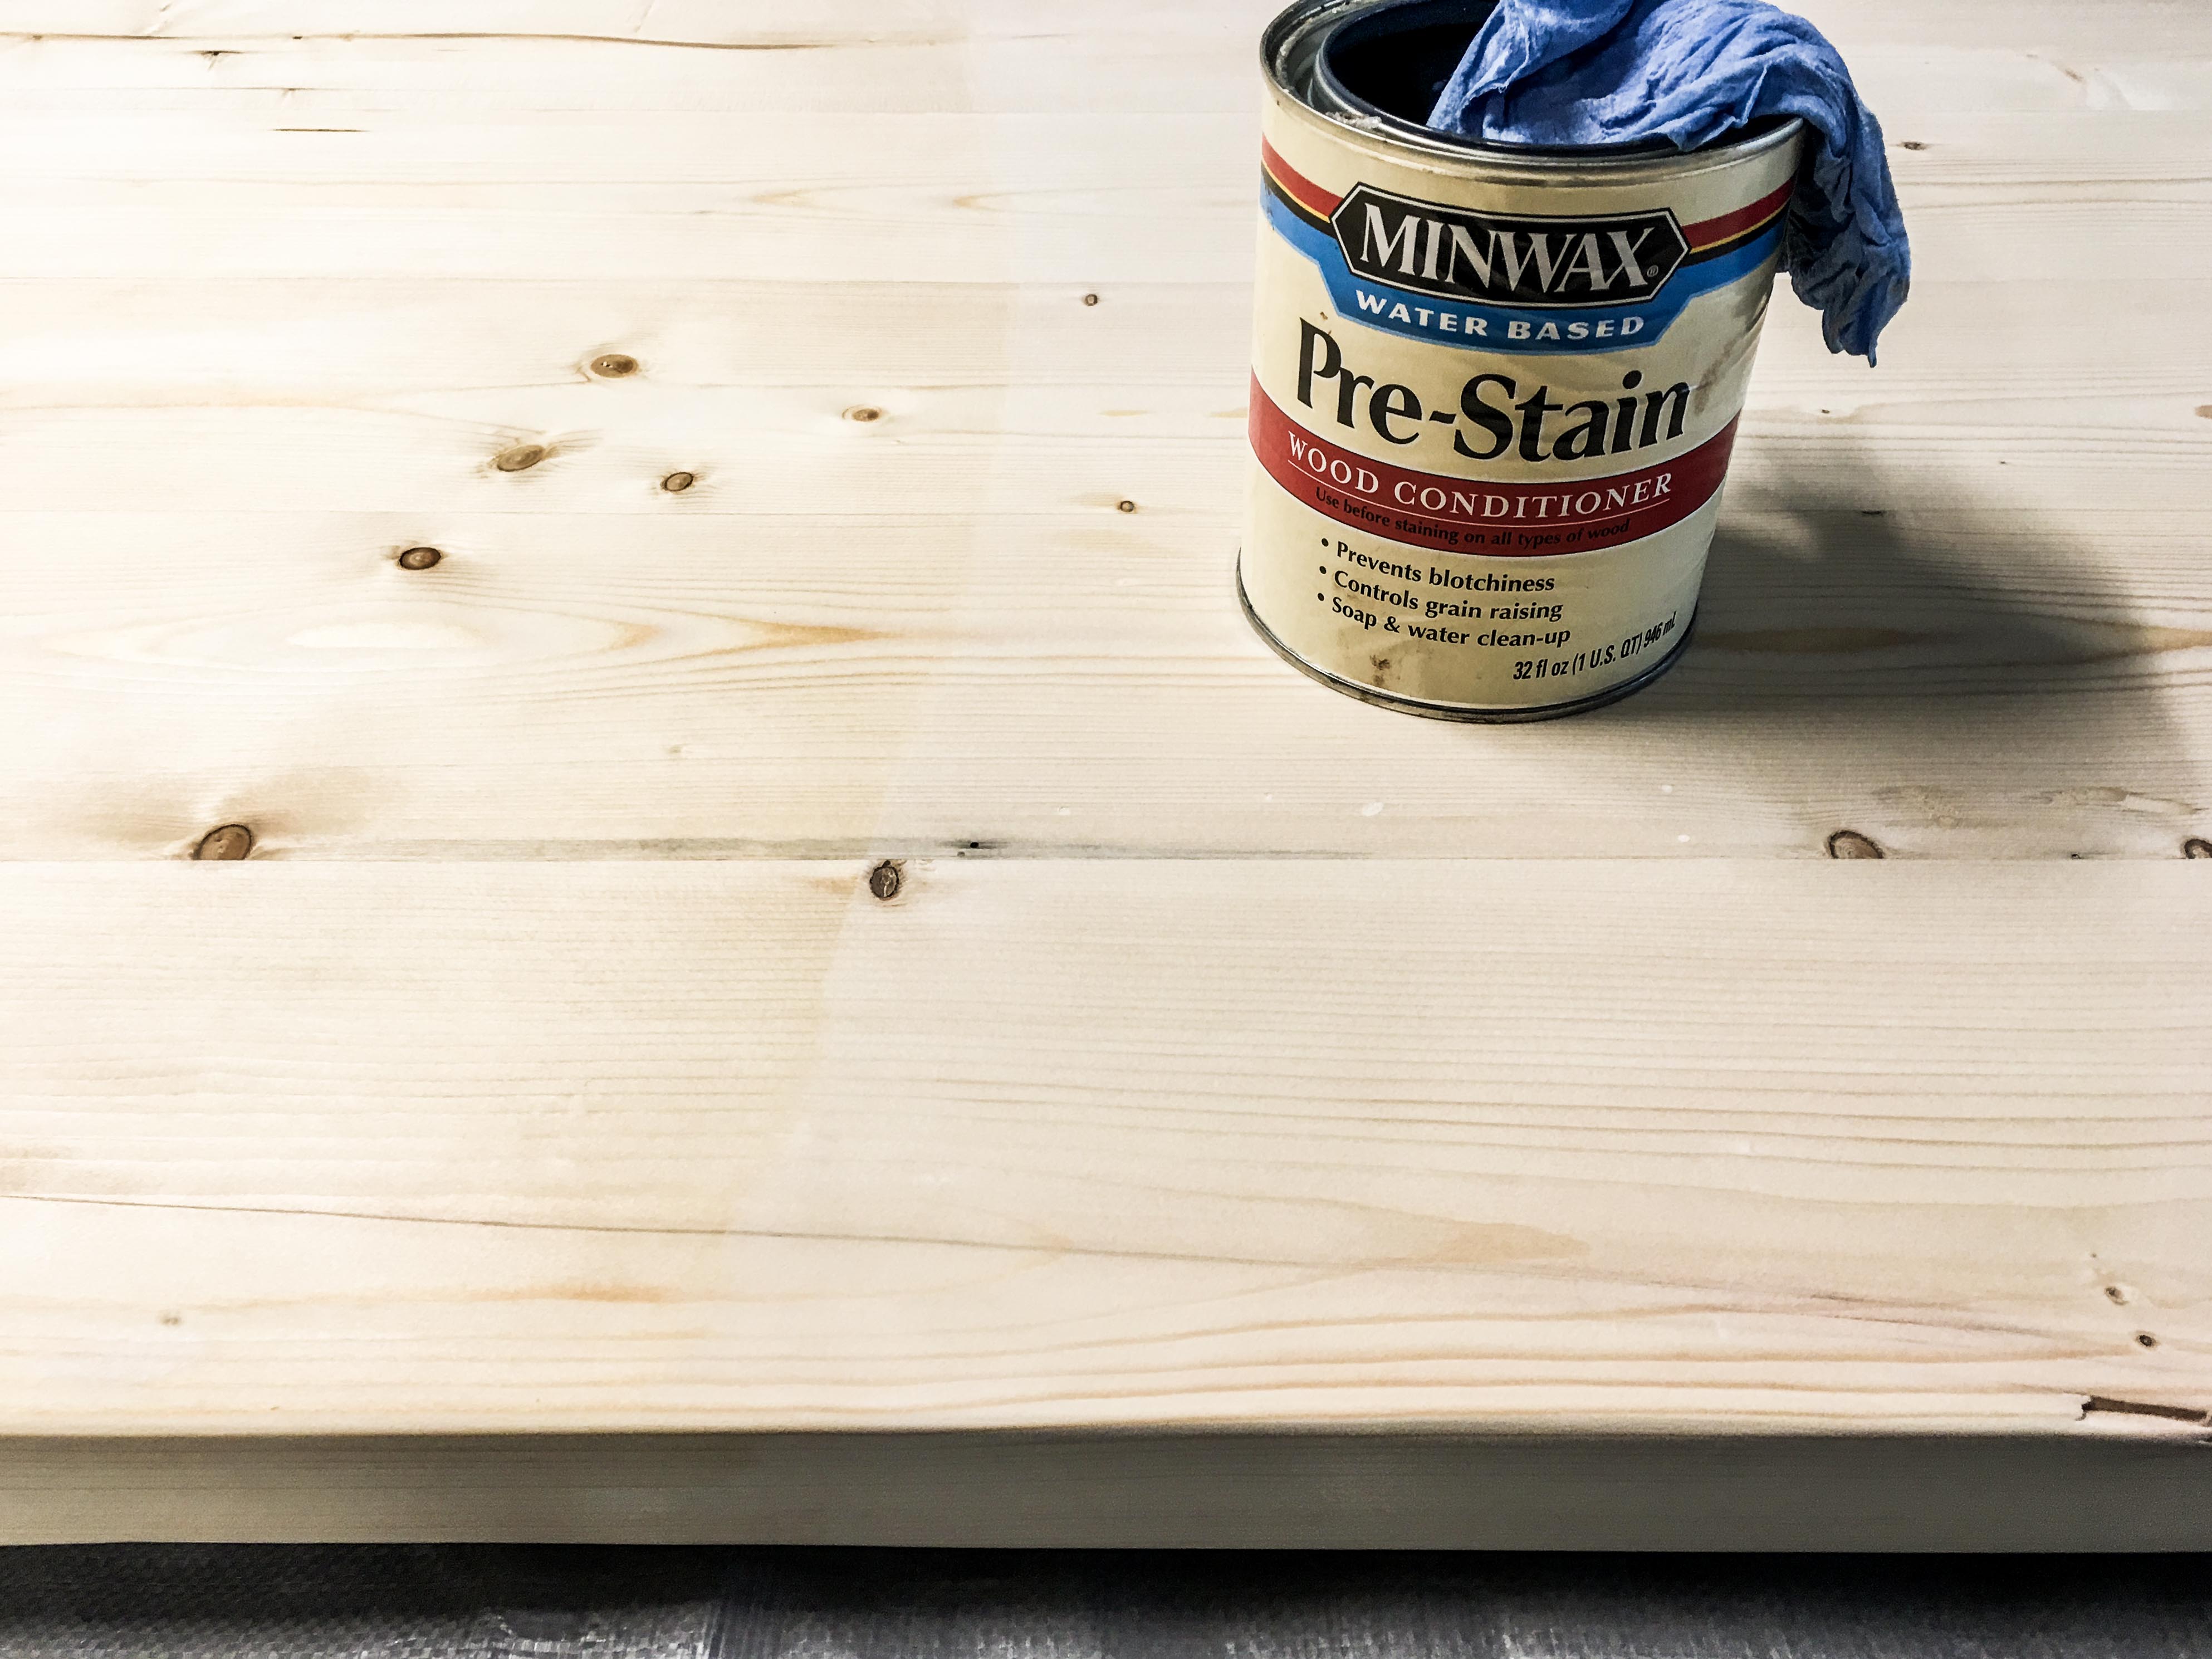
- We opted to use pre-stain wood conditioner FIRST. Softwoods like pine are notorious for absorbing stain very unevenly, creating a splotchy & blotchy aesthetic. Apply pre-stain with a rag and let dry for 15 minutes before apply stain.
- Open the can of stain and thoroughly mix for at least one minute using a wooden paint stir stick.
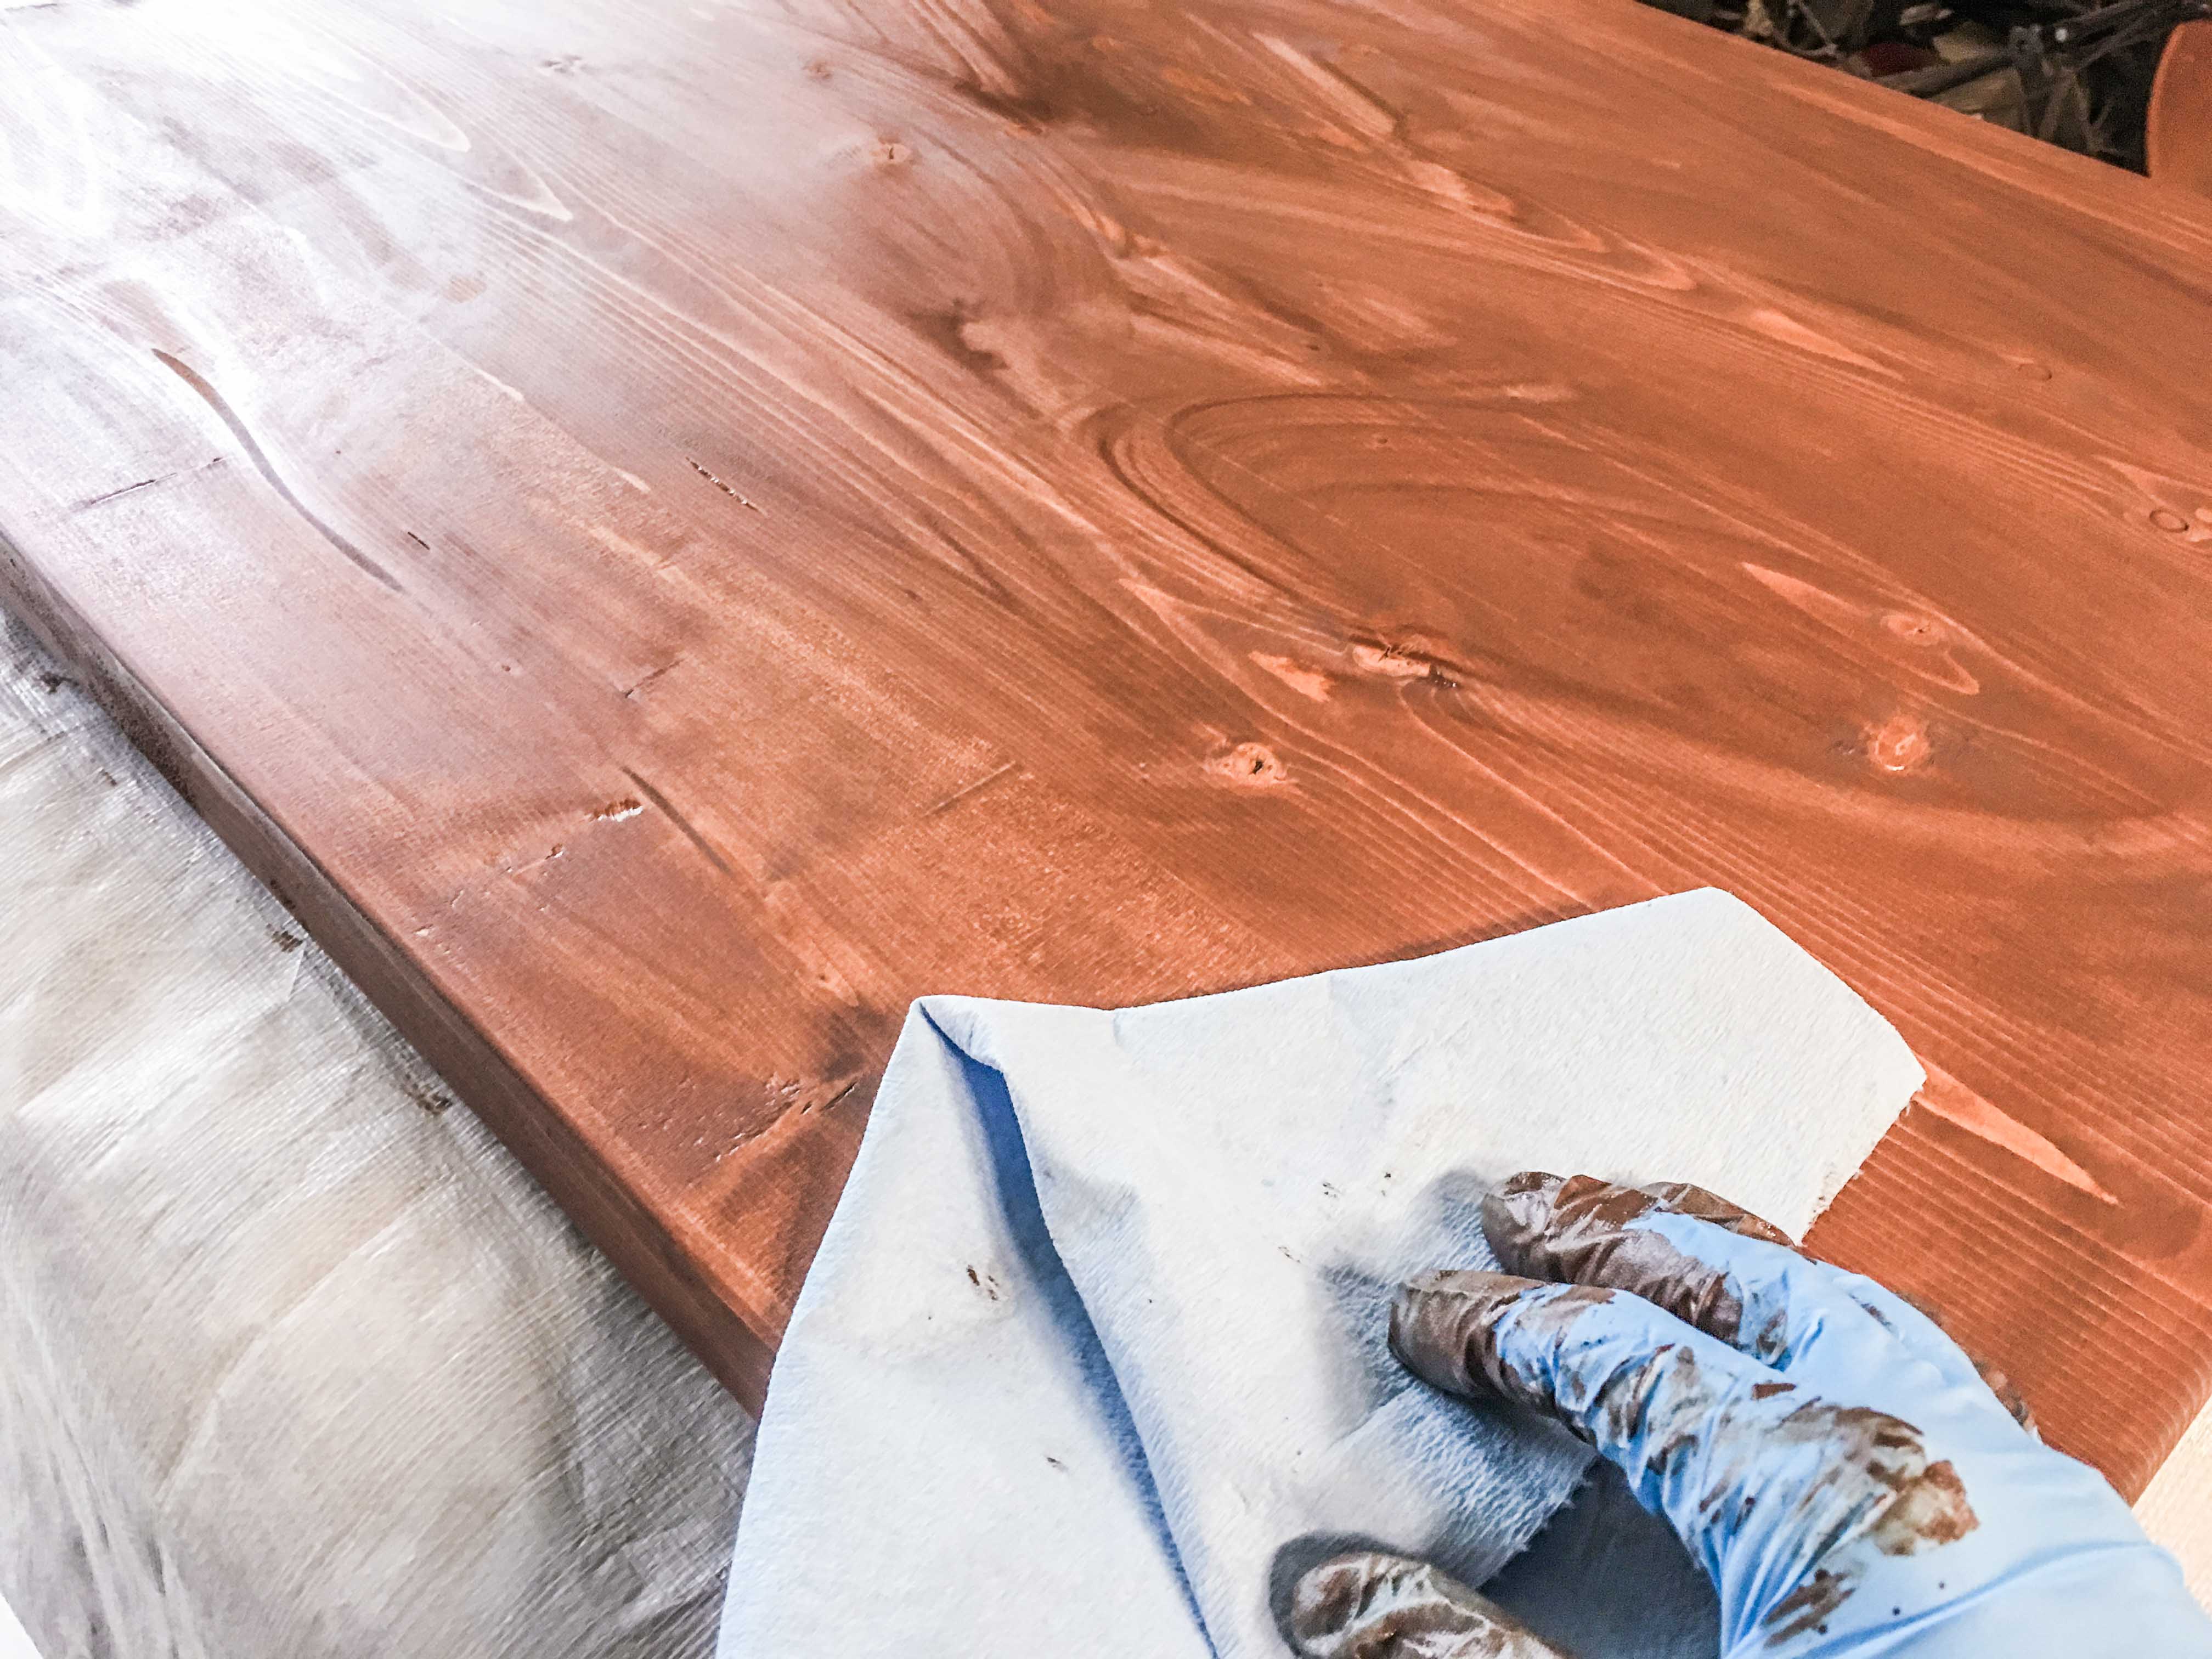
- Put on your nitrile gloves.
- Using the blue shop towels, or an old rag, apply a generous amount of stain to the top and sides of the desktop.
- Allow the stain to penetrate the wood grain for 5-10 minutes before removing ALL excess with a clean shop towel.
- Let dry for 1 hour at normal conditions: 50% humidity and 70ºF. Allow a longer dry time with higher humidity and lower temperatures.
- Consider staining the underside at least once. Wood elongates and shortens with humidity and temperature changes. To help prevent the tabletop from cracking or warping overtime, stain the underside to allow the transfer of moisture to be roughly the same as the top.
Step 7. Whitewash the tabletop.
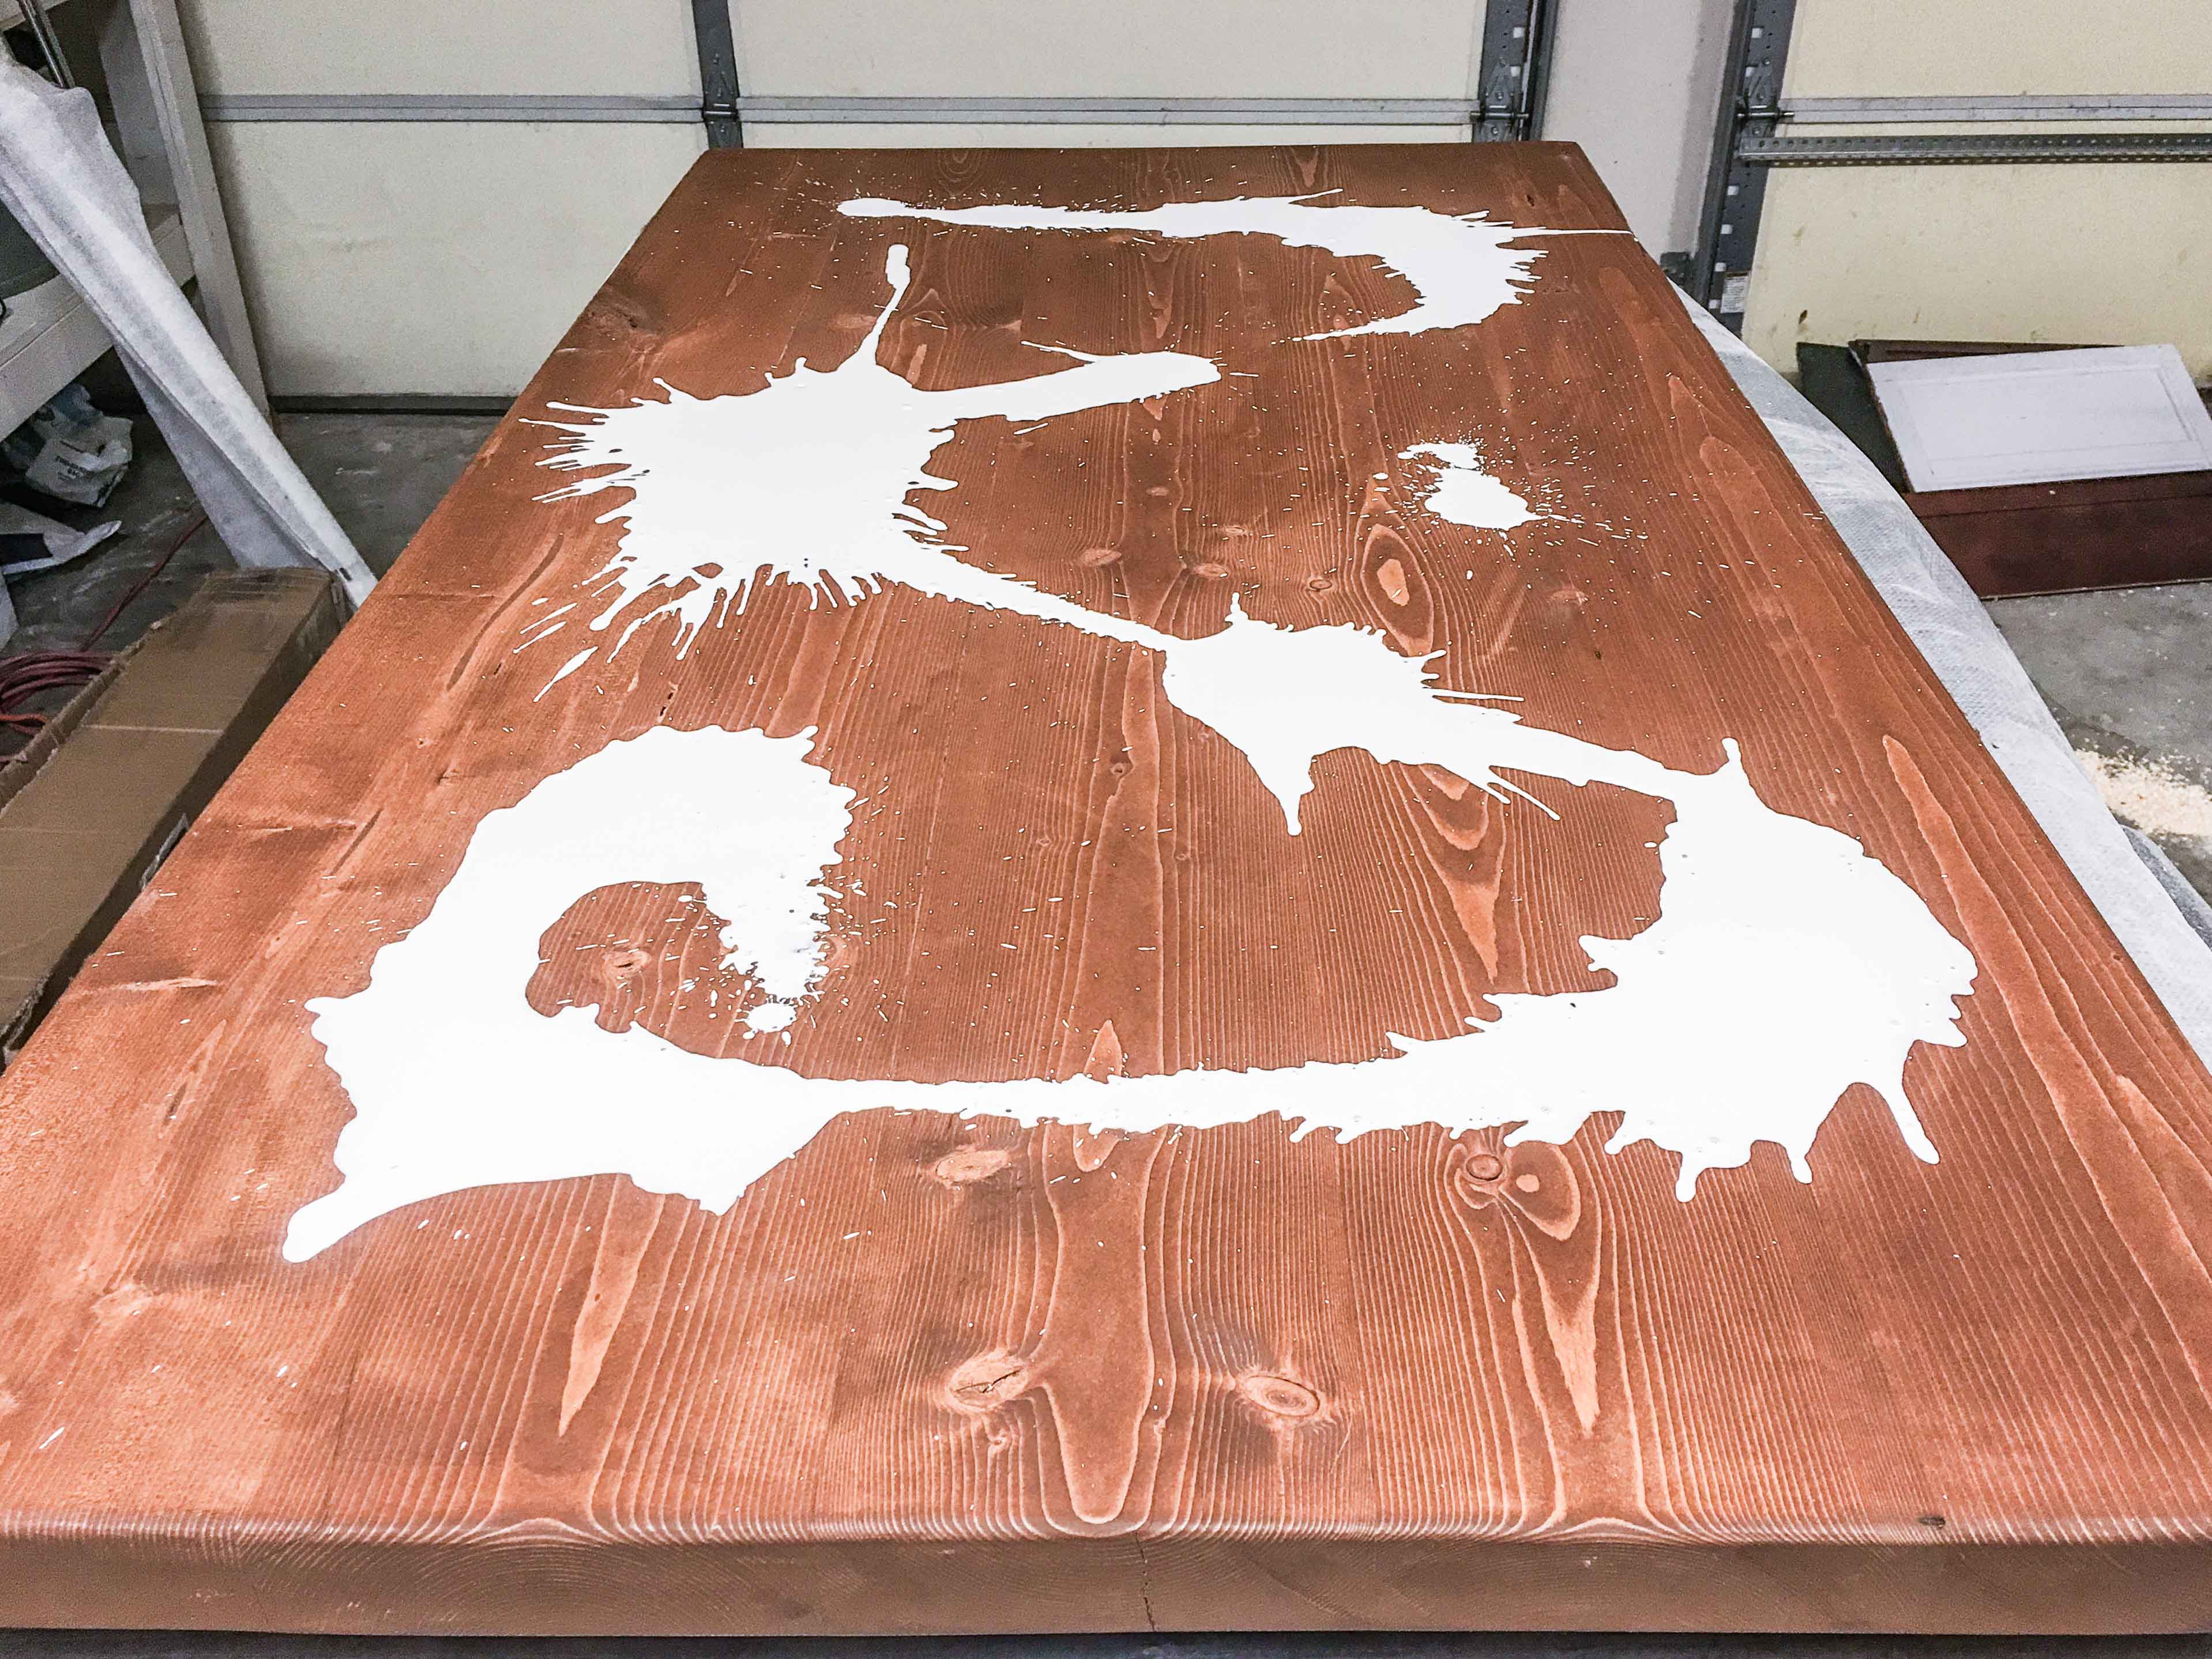
- Combine 50% paint and 50% water into an old plastic container. Thoroughly mix with a wooden paint stir stick.
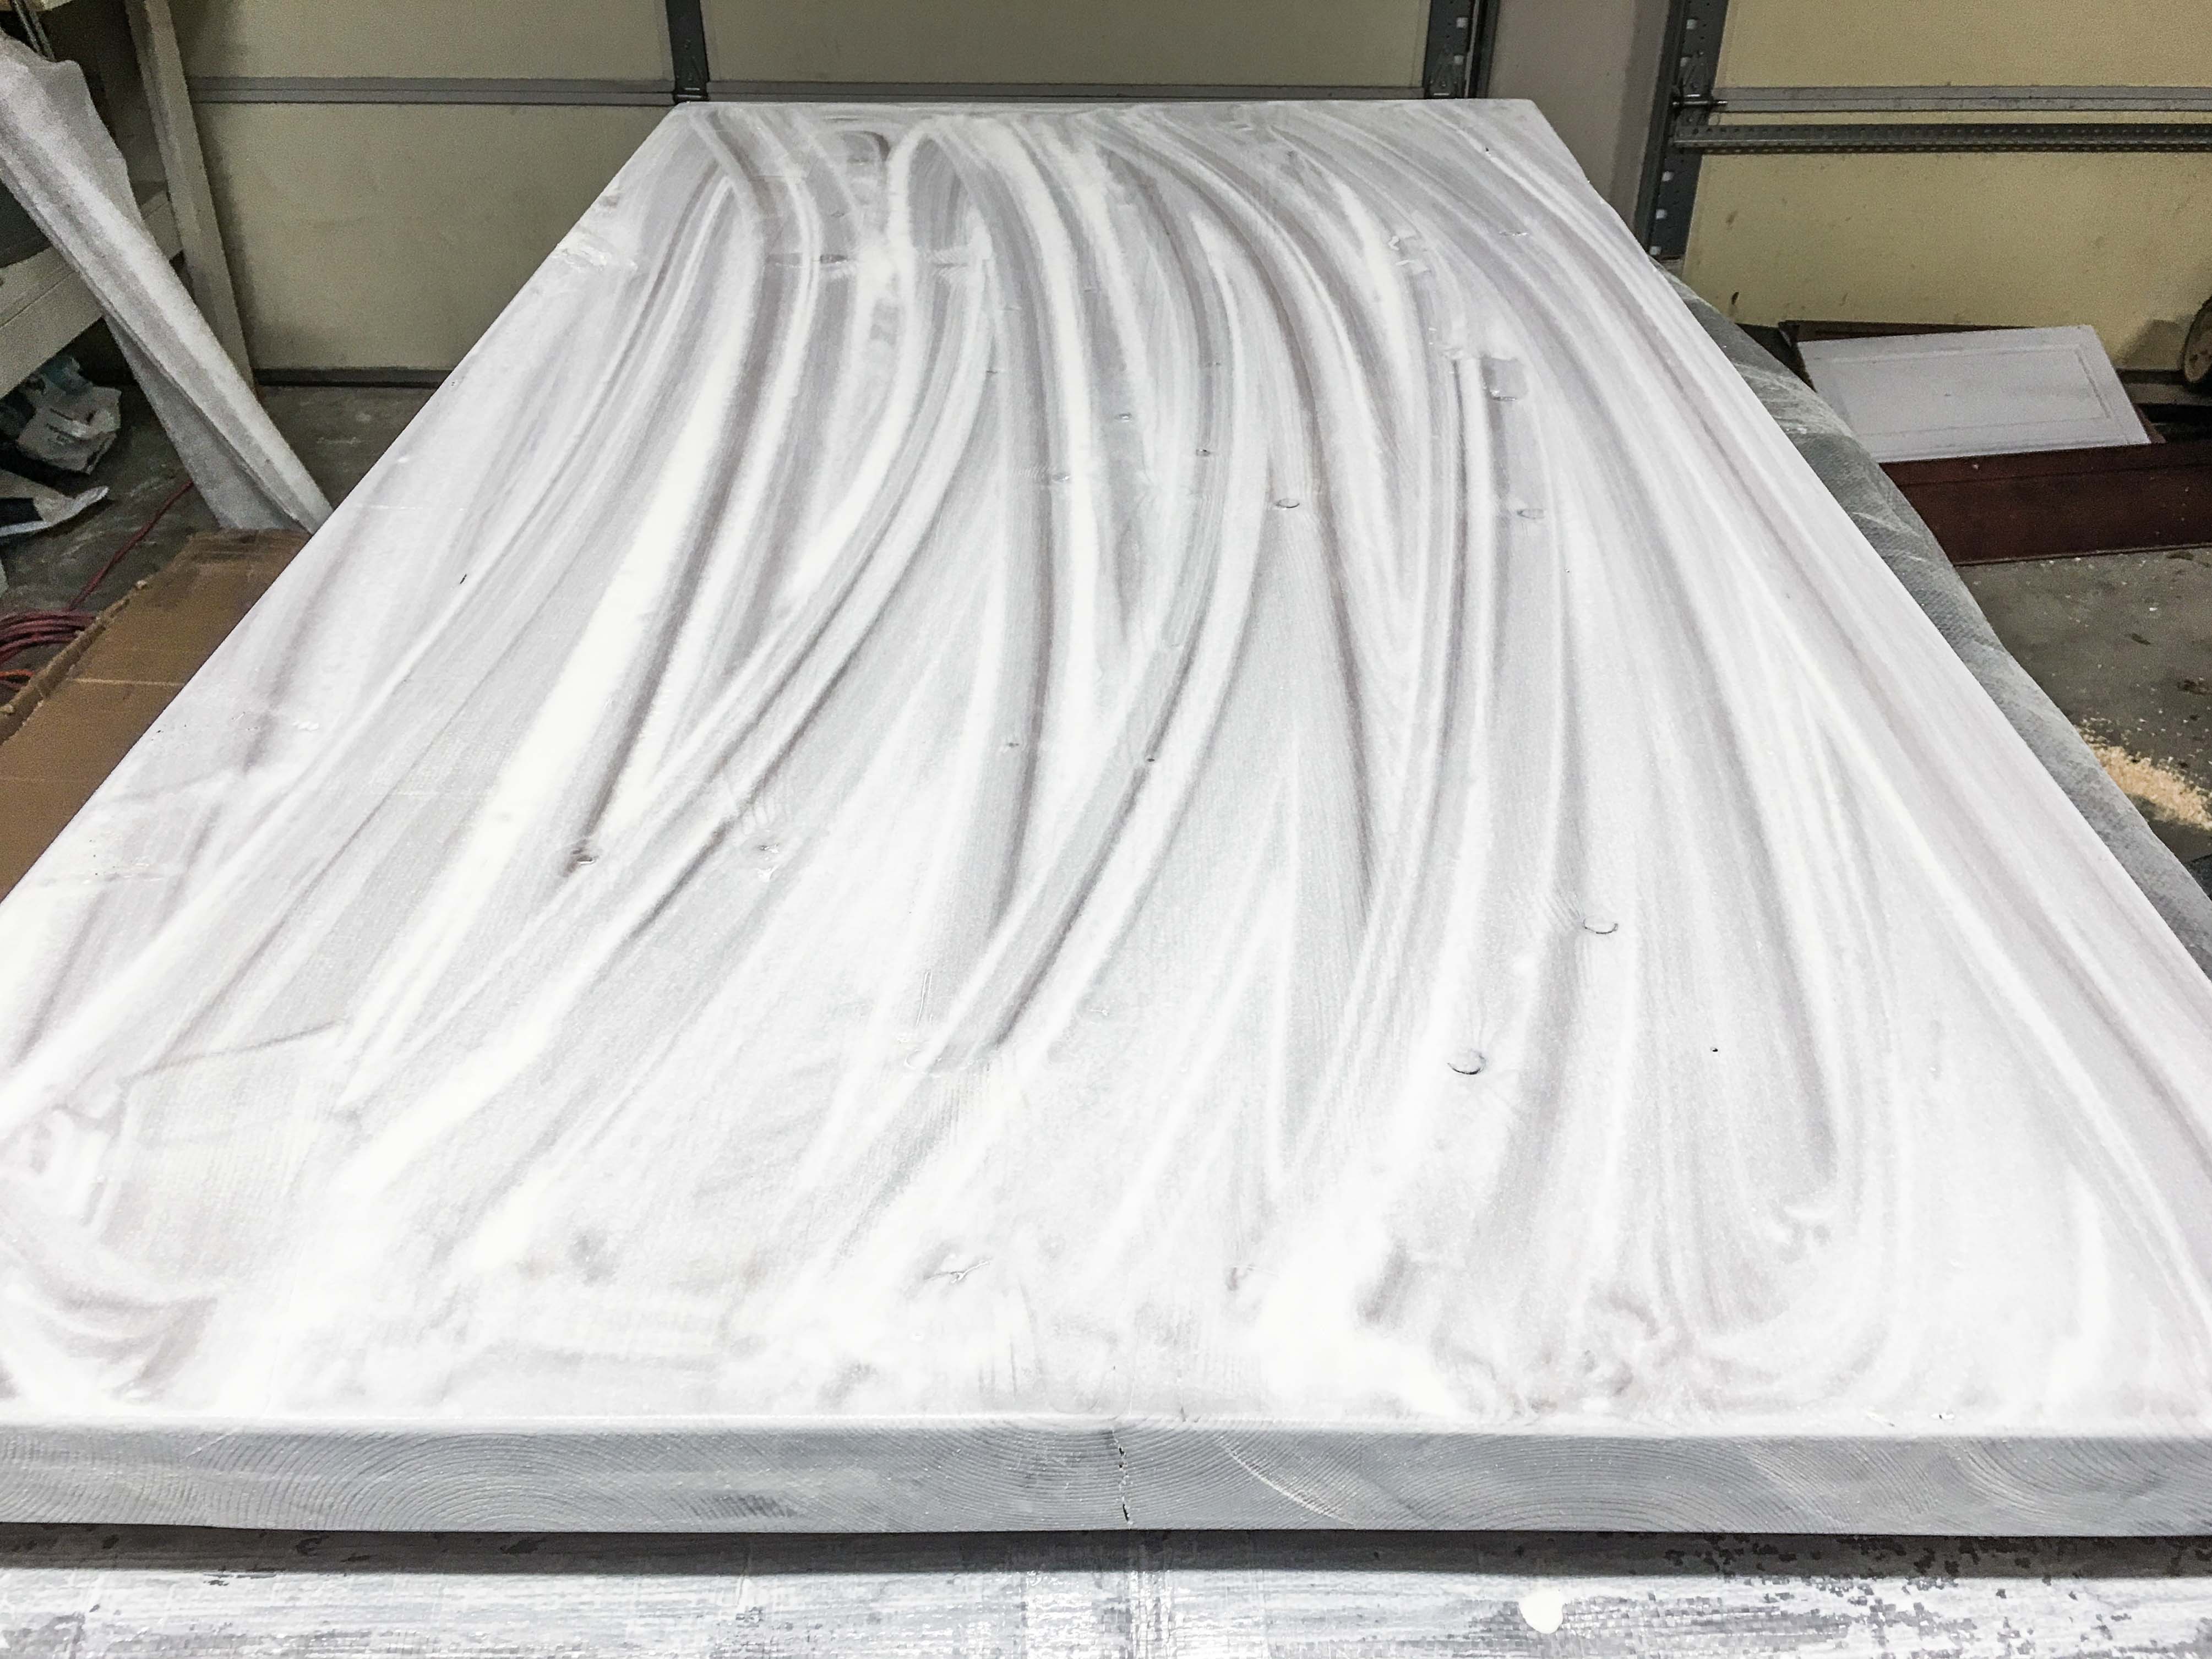
- Apply the whitewash to the top and sides of the desktop. Wipe off all excess.
- Let dry for at least 1-2 hours.
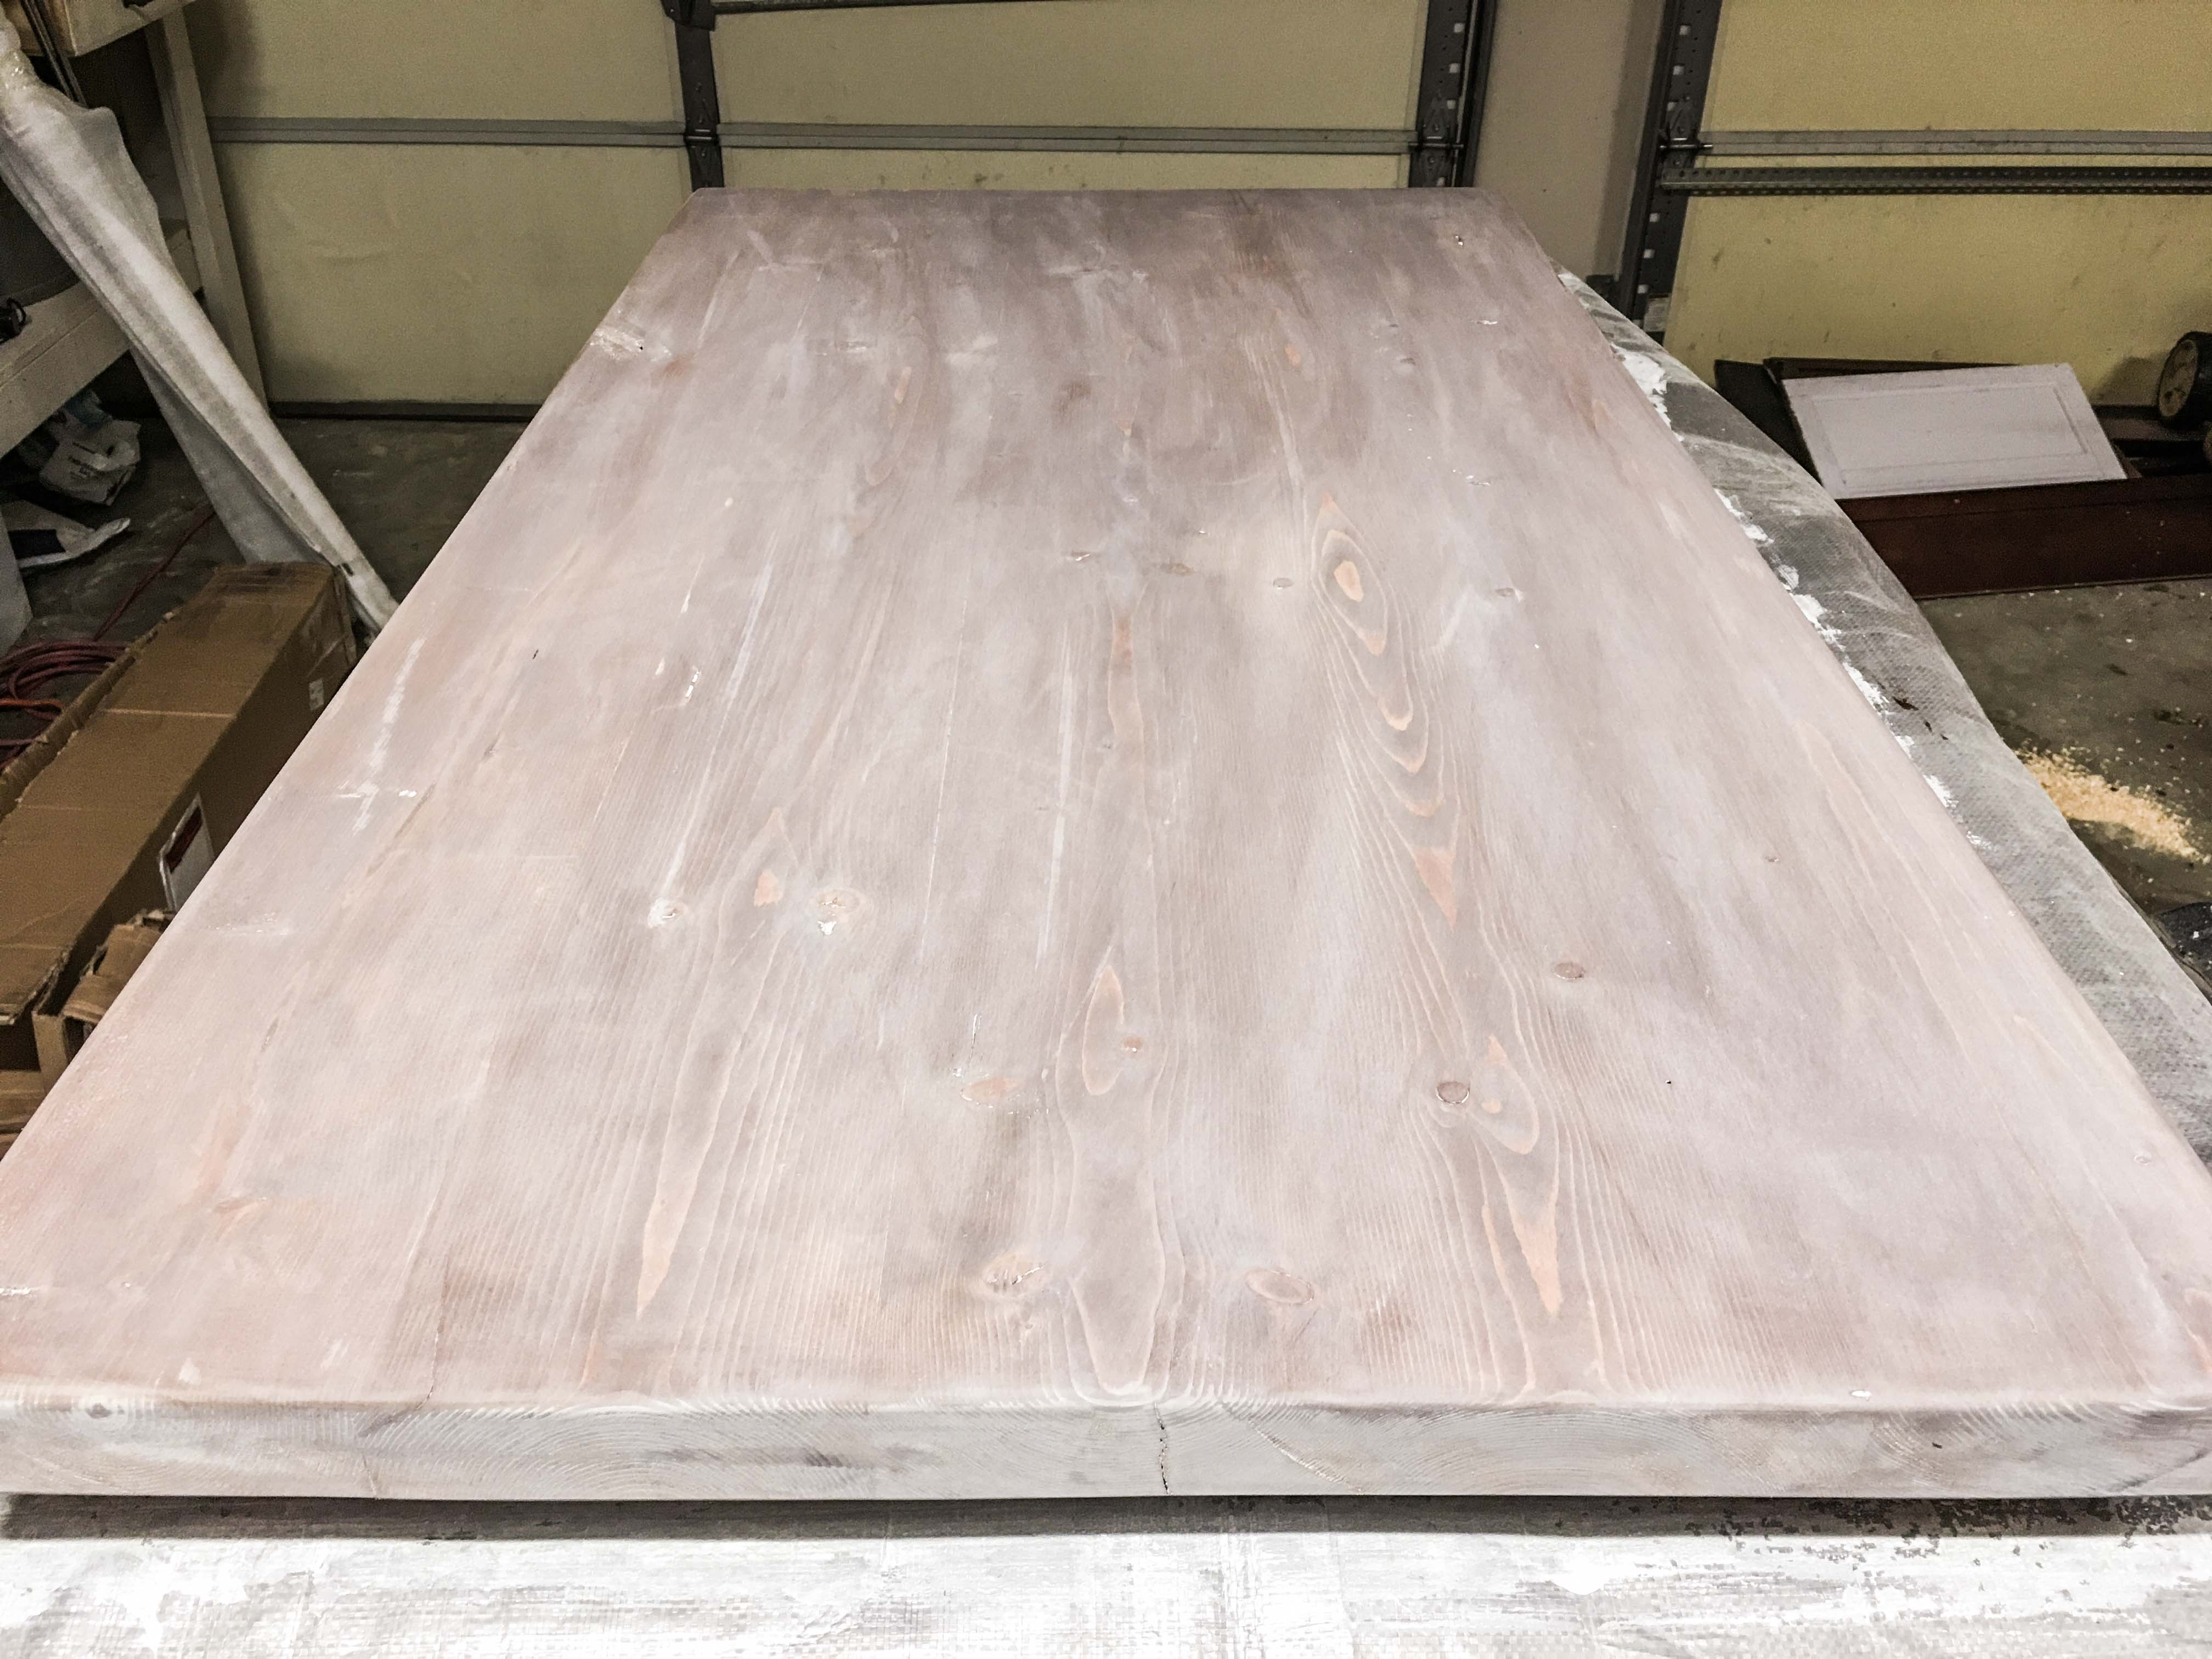
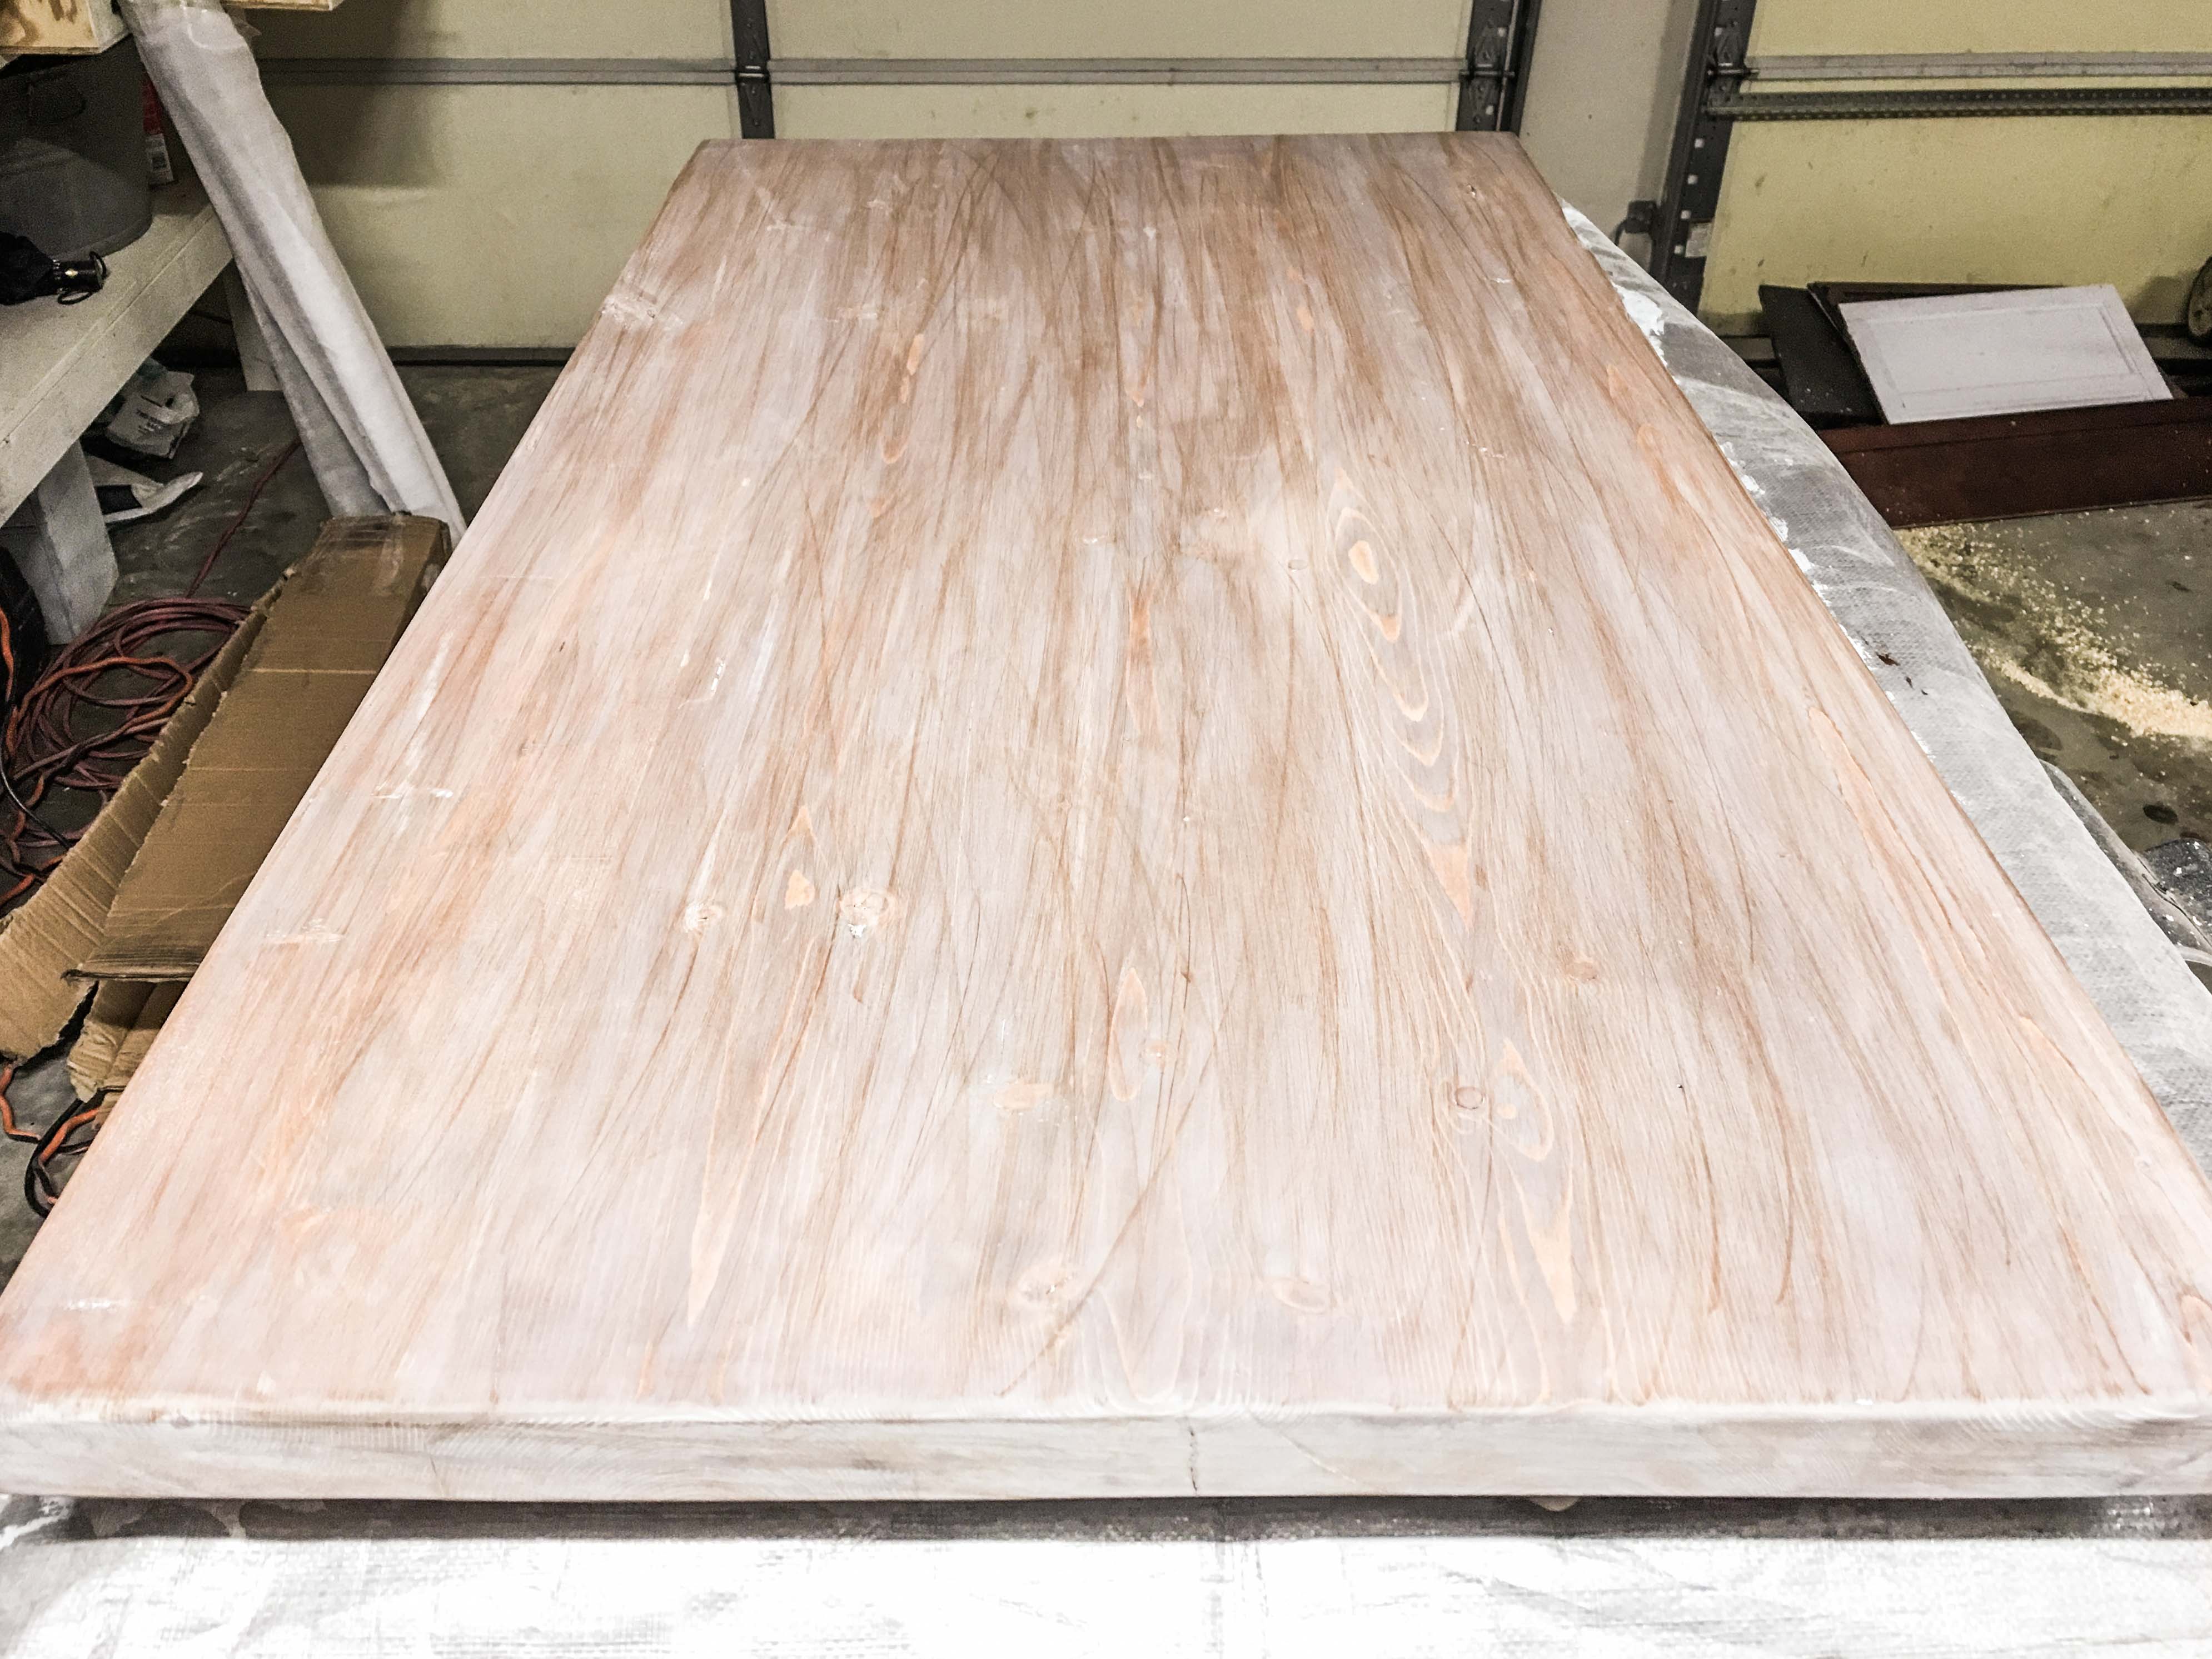
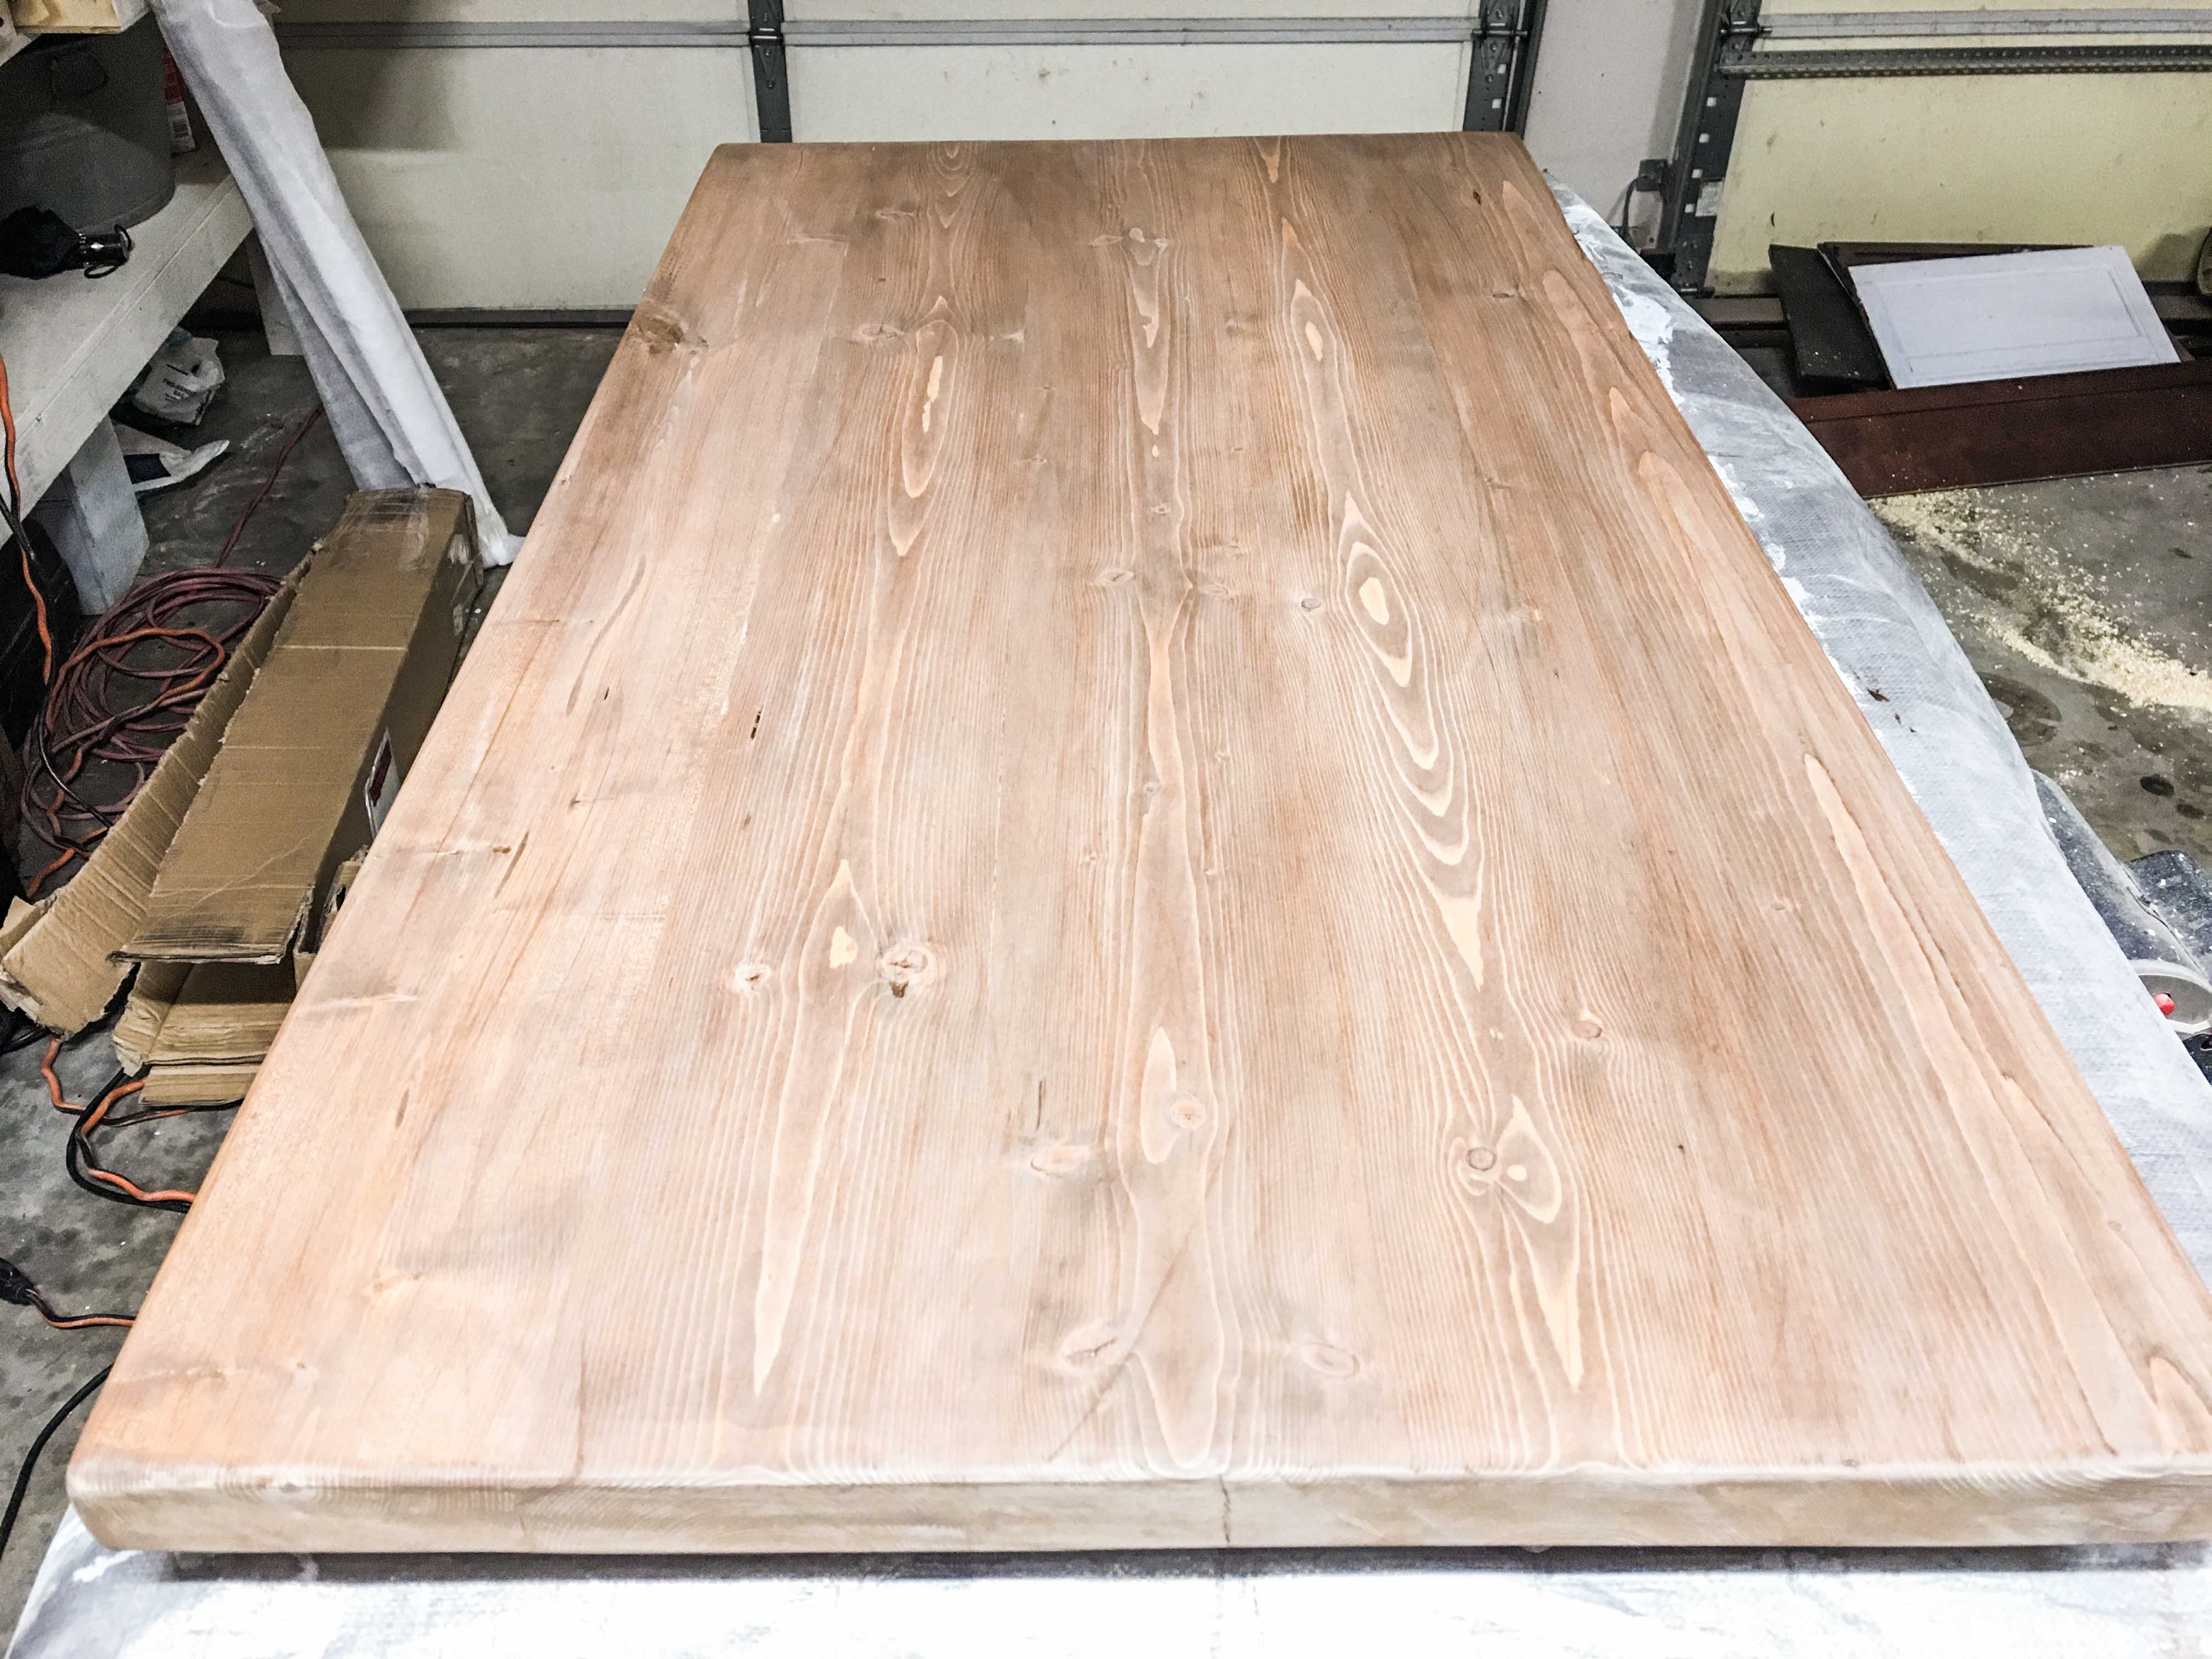
- Manually sand the coat of whitewash until the desired aesthetic is reached. Use 60 grit for a very distressed look, 100-150 grit for a slightly distressed look, and 220 grit for a smooth blend between the stain and the whitewashed coat.
FAUX GLAZE (OPTIONAL)
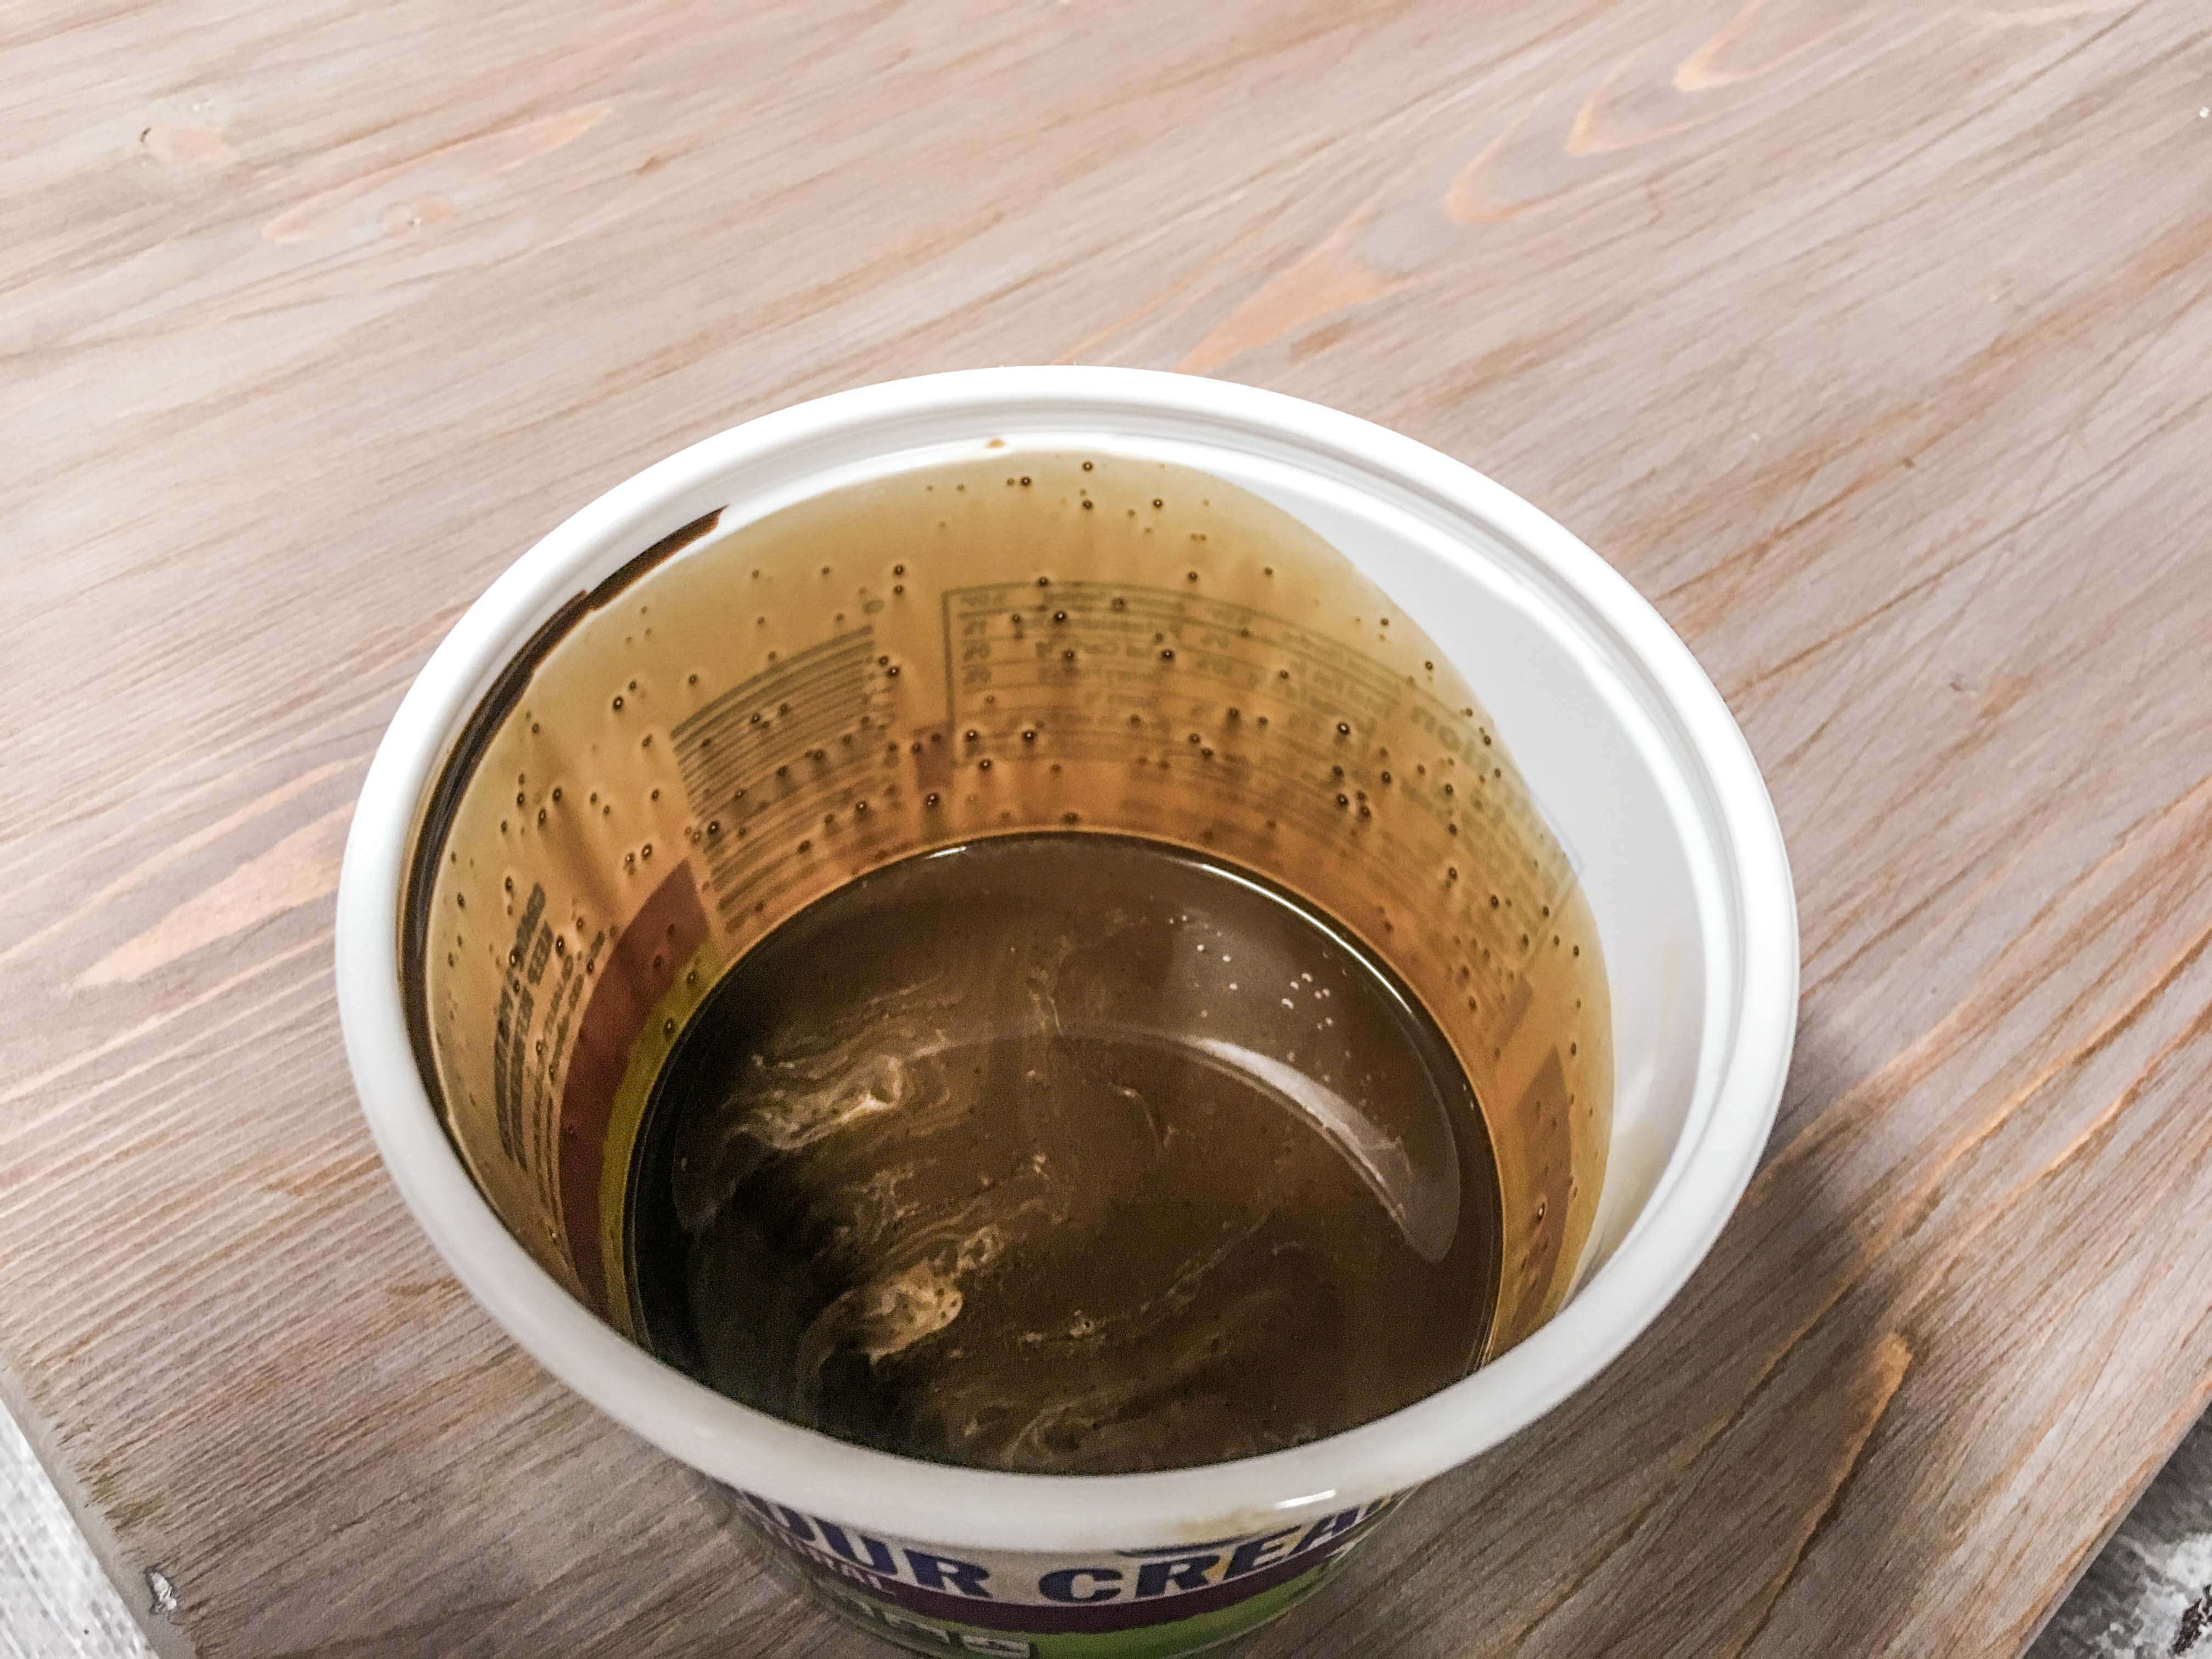
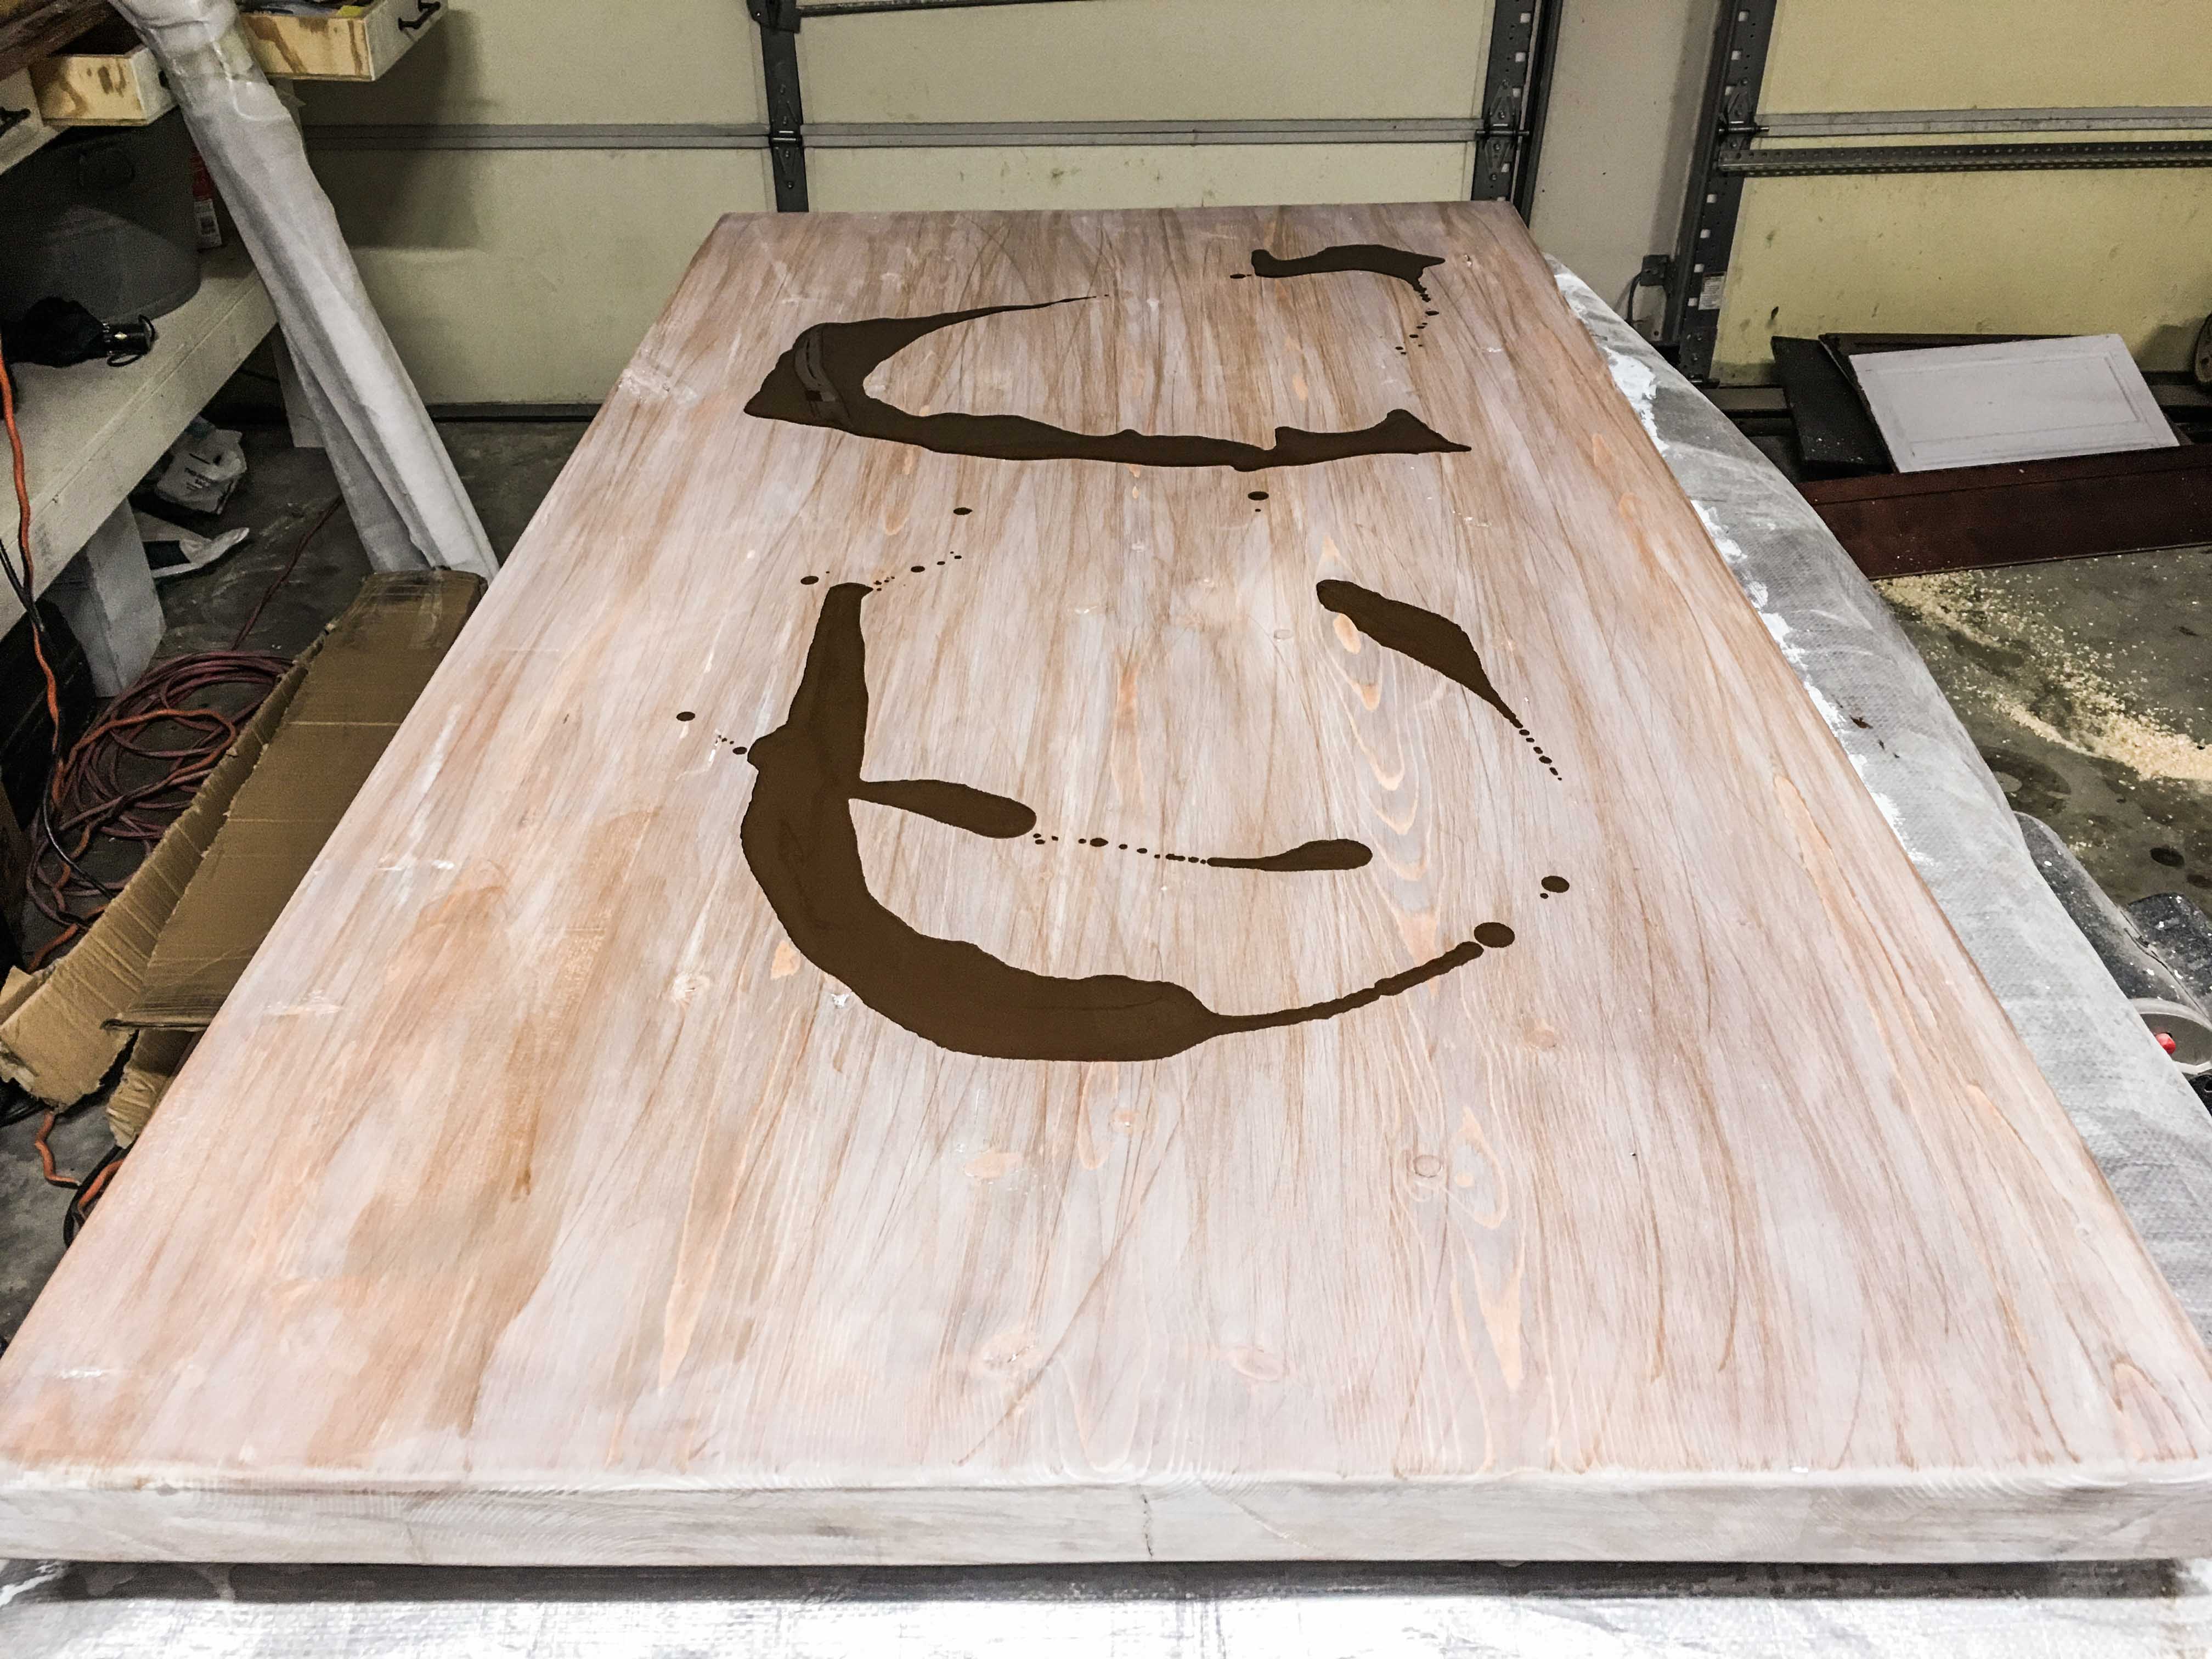
- After sanding the whitewash, we weren’t pleased with how white the tabletop was. So we chose to apply a faux glaze.
- Dilute stain with mineral spirits (according to the instructions on your can) at a 50-50 blend. Thoroughly mix with a wooden paint stir stick.
- Apply one coat of faux glaze with a new shop towel.
- Allow at least 1 hour to dry.
Step 8. Add a “clear coat” to your tabletop.
OVERVIEW
- Clear coats are designed to protect your desktop from water damage, and to dramatically reduce aging from sunlight and humidity.
- Scuffs, pen indentations and scratches will be minimized.
- Either poly OR wax. Don’t do both.
WATER BASED POLY (option 1 – NOT what we did)
- We often choose water-based polyurethane for excellent protection and very minimal ambering. Oil-based poly is stronger, but it adds a heavy amber hue, which is especially visible over lighter-toned colors. Oils like boiled linseed oil provide beautiful color saturation, but offer less protection than water-based poly.
- With gloves on, open your can of poly and thoroughly mix with a wooden paint stir stick for at least 1 minute.
- Apply a thin coat of poly with a shop towel, making sure to smooth out drops and clumps. Cover the top and sides.
- Let dry for 2 hours.
- Lightly and evenly sand by hand with 220 grit sandpaper to provide the next coat of poly something to adhere to.
- Apply your second coat of poly. 3 coats minimum. 4 coats for maximum protection.
- Let the final coat dry for 24 hours before light use. 3 days before heavy use. Like dancing on your desktop or other normal human behaviors.
PASTE FINISHING WAX (option 2 – what we did)
- We opted to wax this standing desk for very quick turnaround time, adequate protection for office use AND the unique aesthetic.
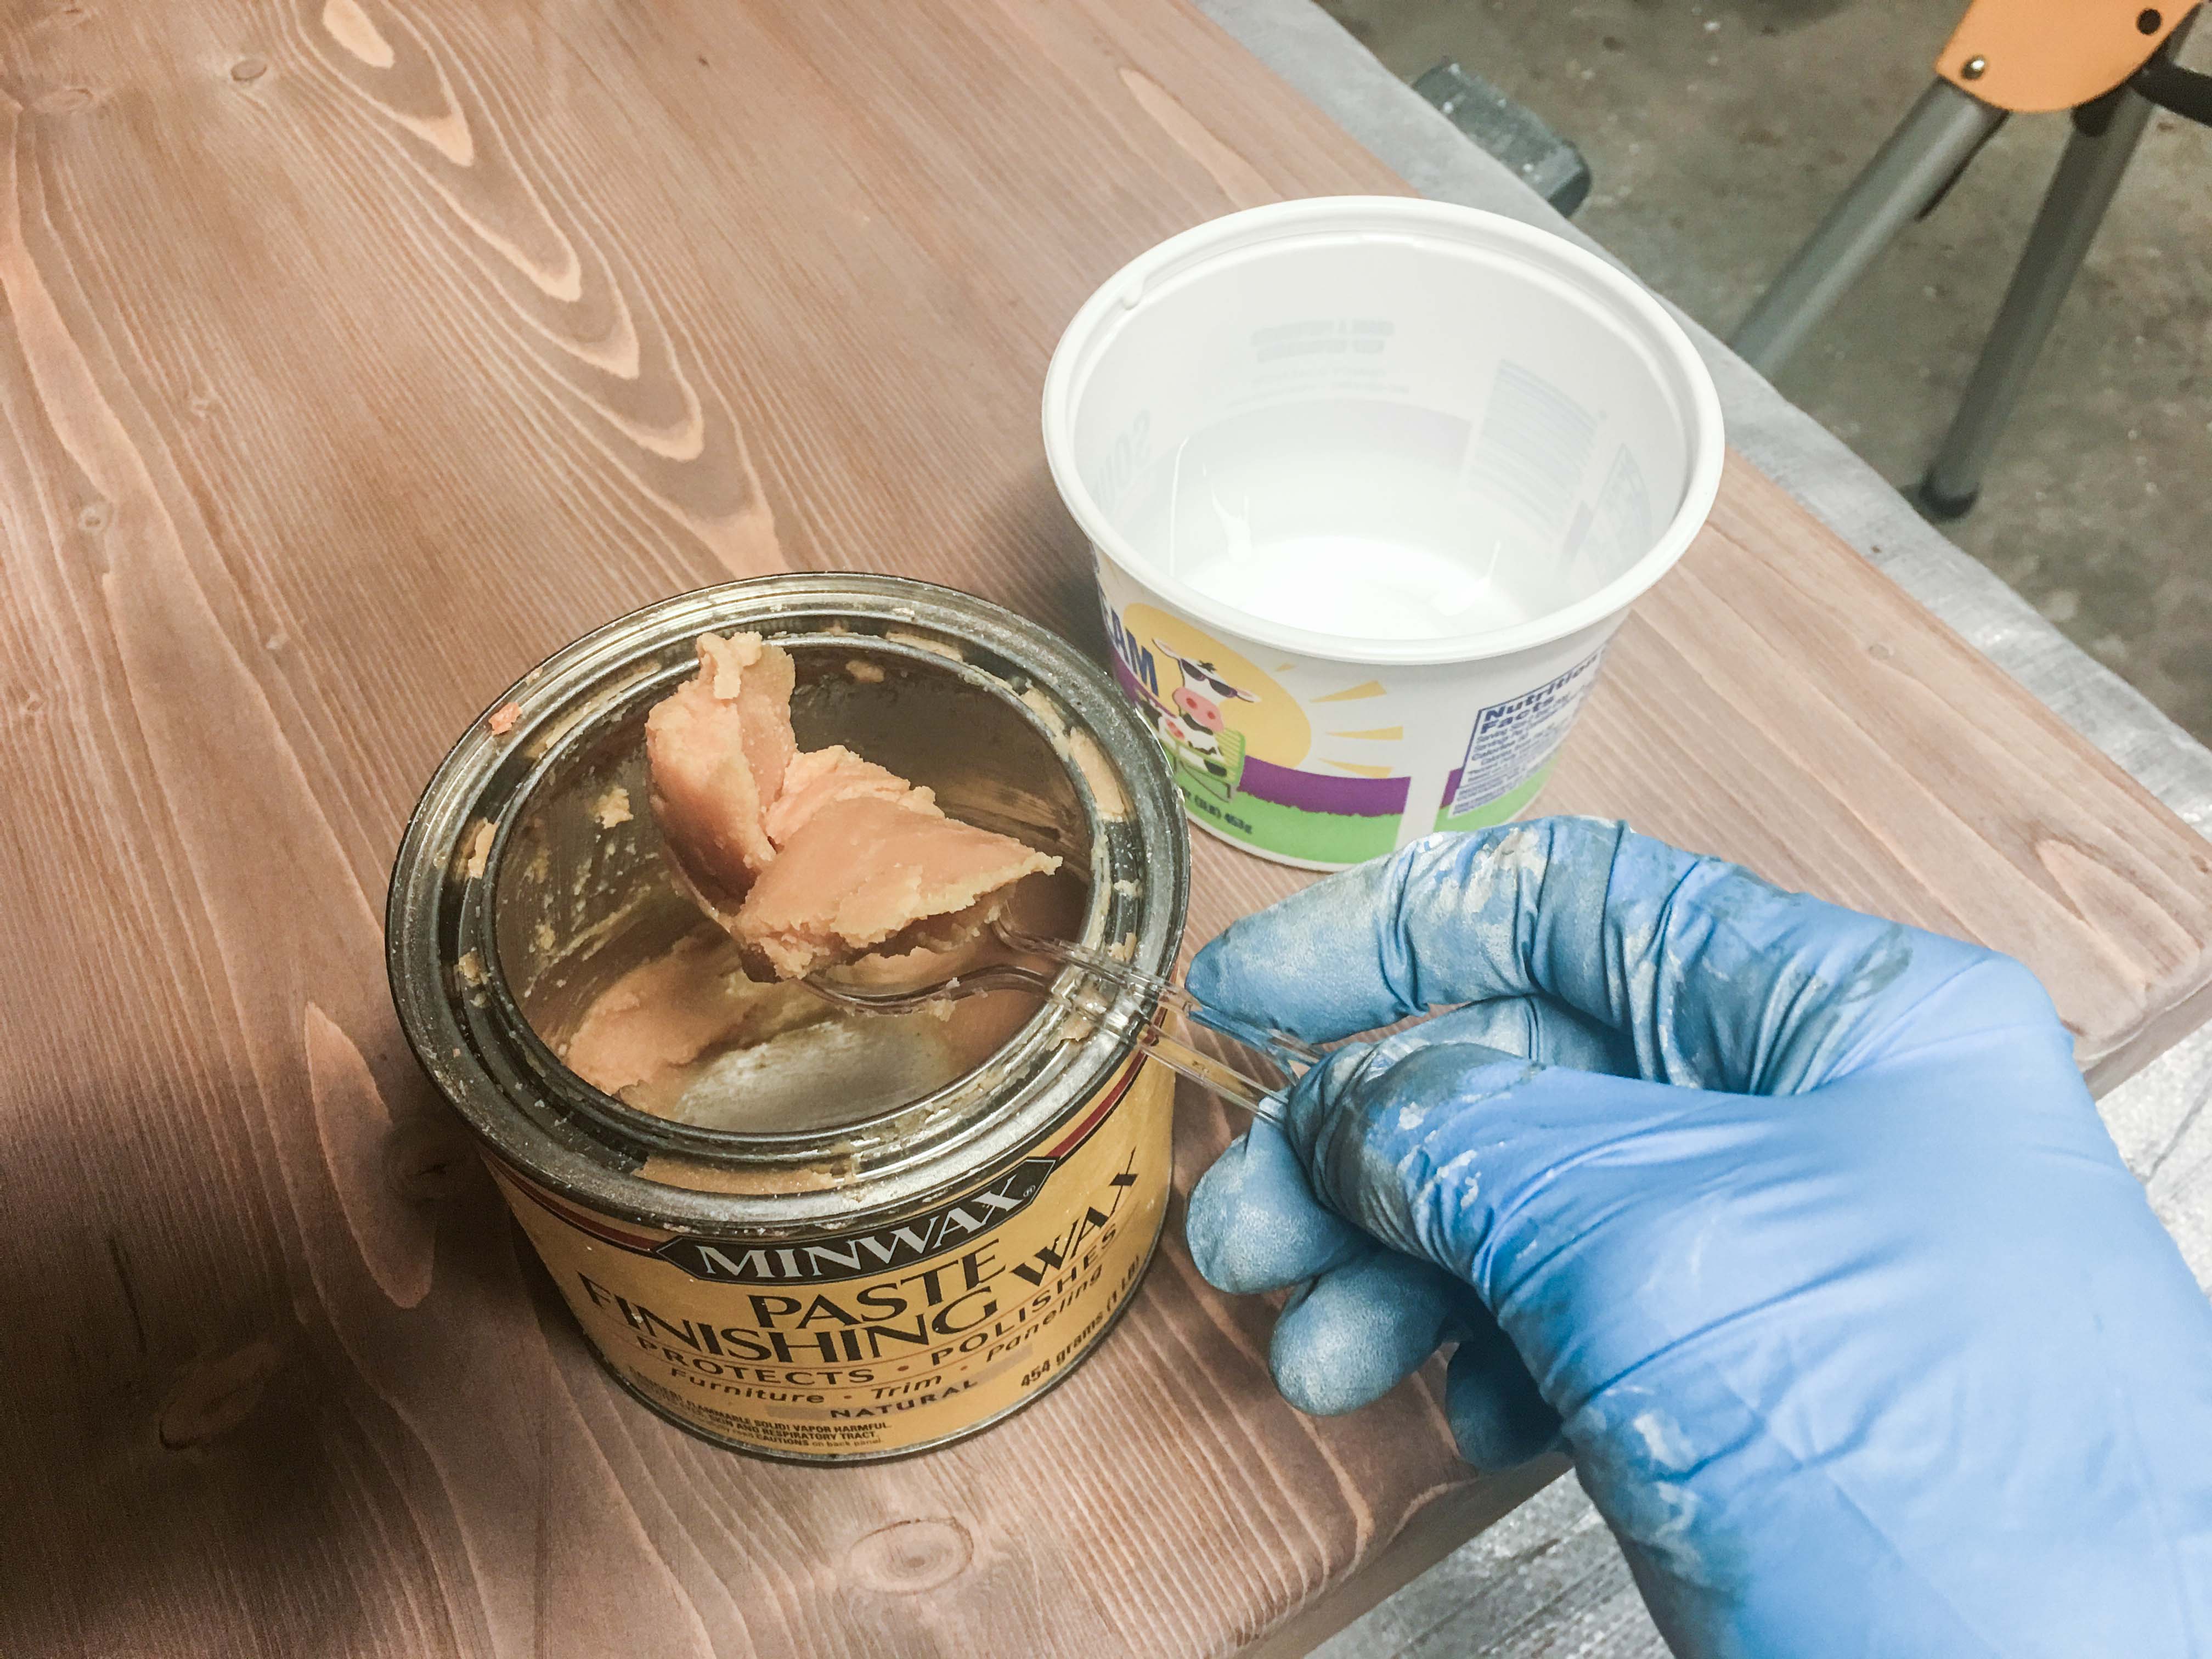
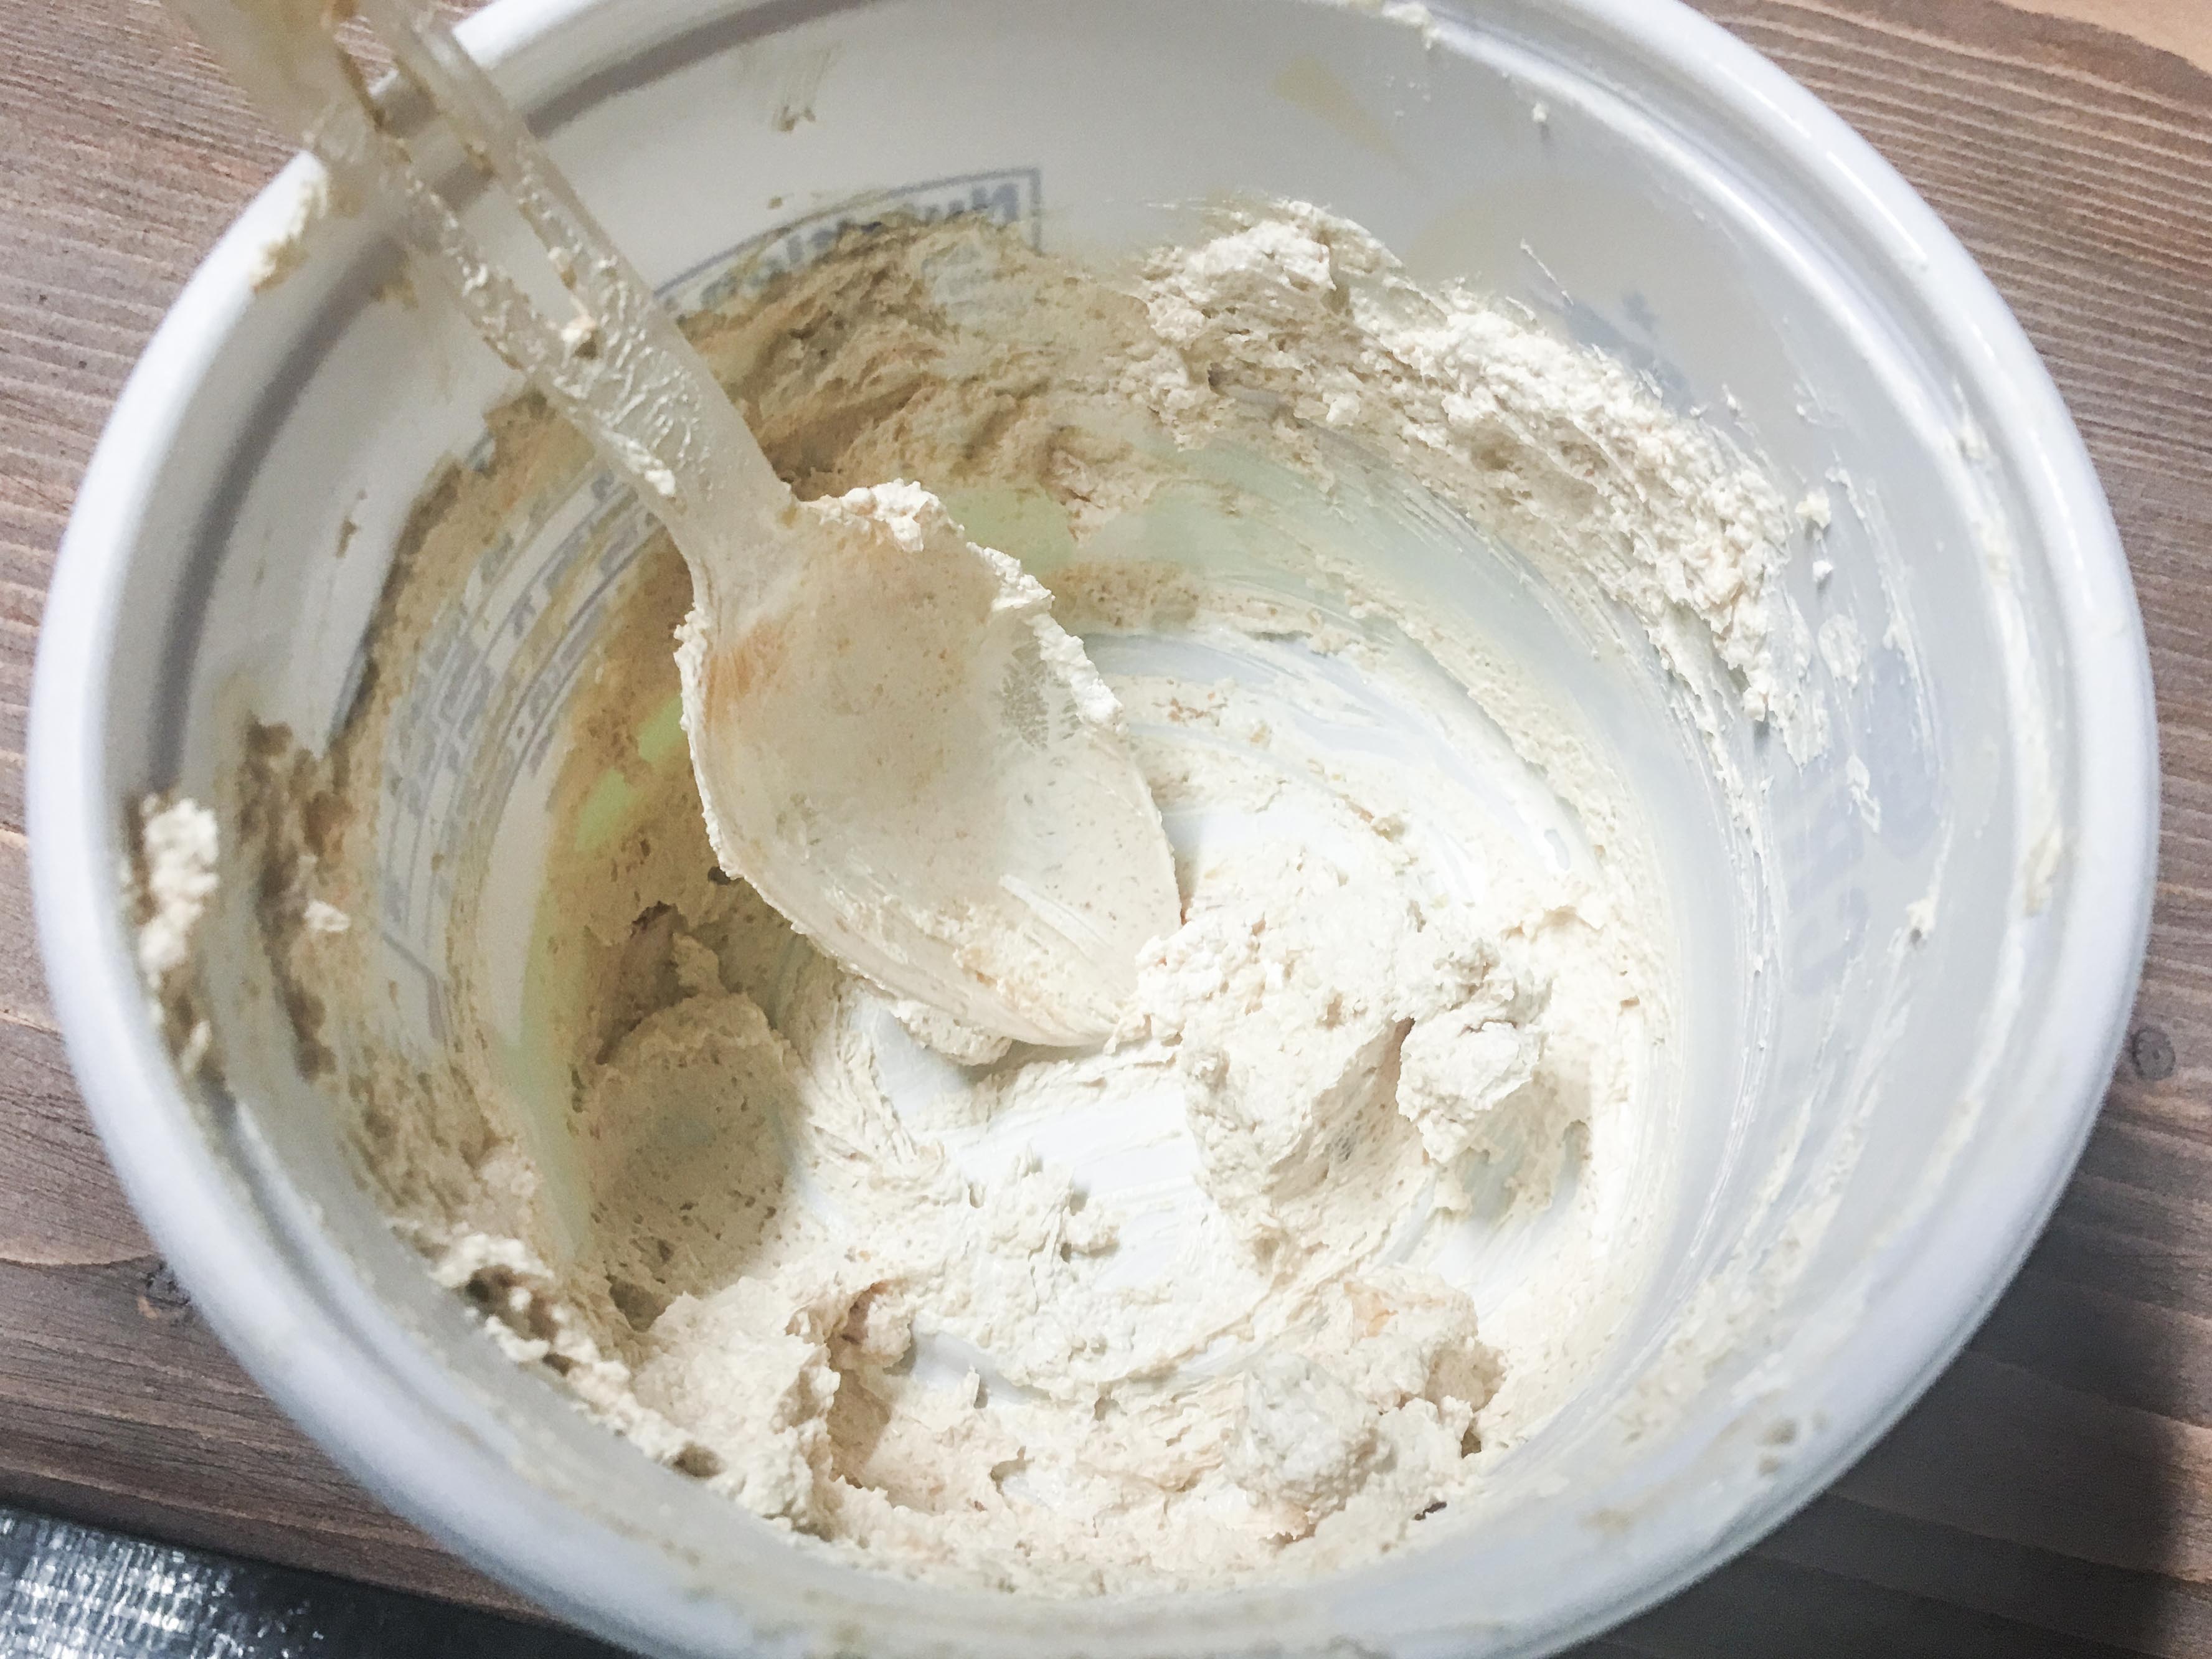
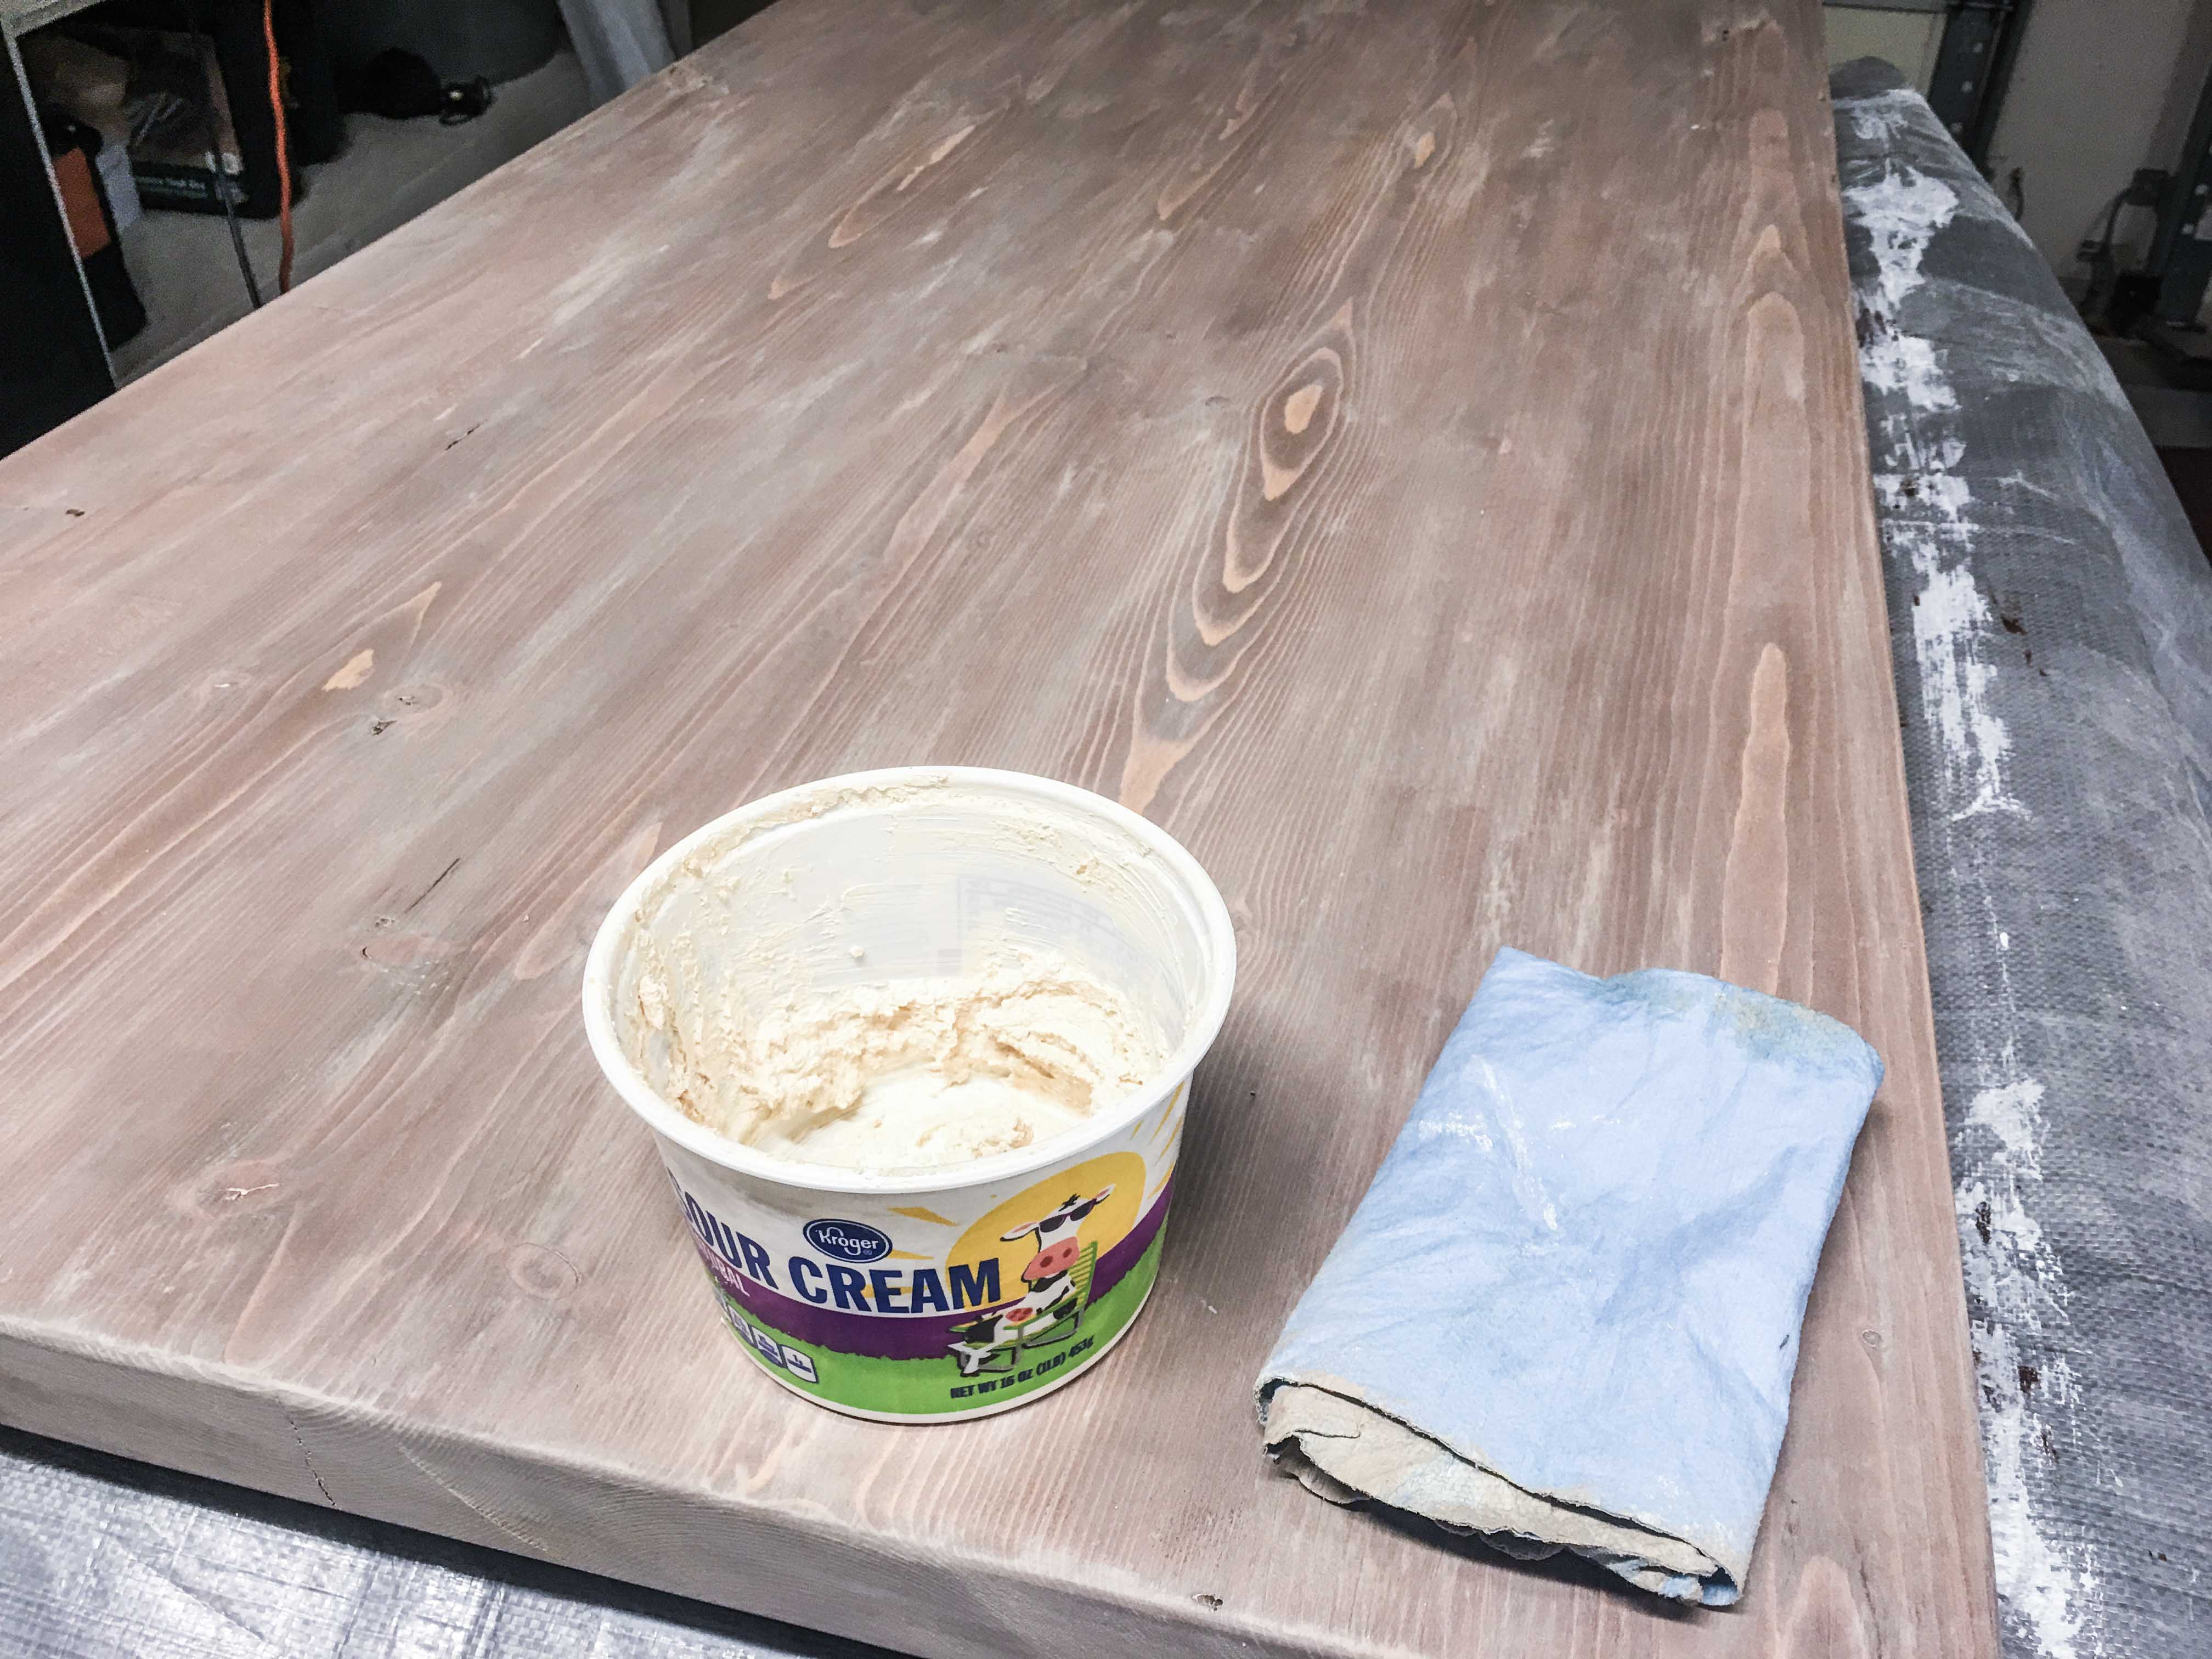
- To create more textural variance, combine your wax with paint.
- ¼ cup of wax for every tablespoon of paint. White paint in our case. Mix it thoroughly with a plastic or clean wood utensil in an old container.
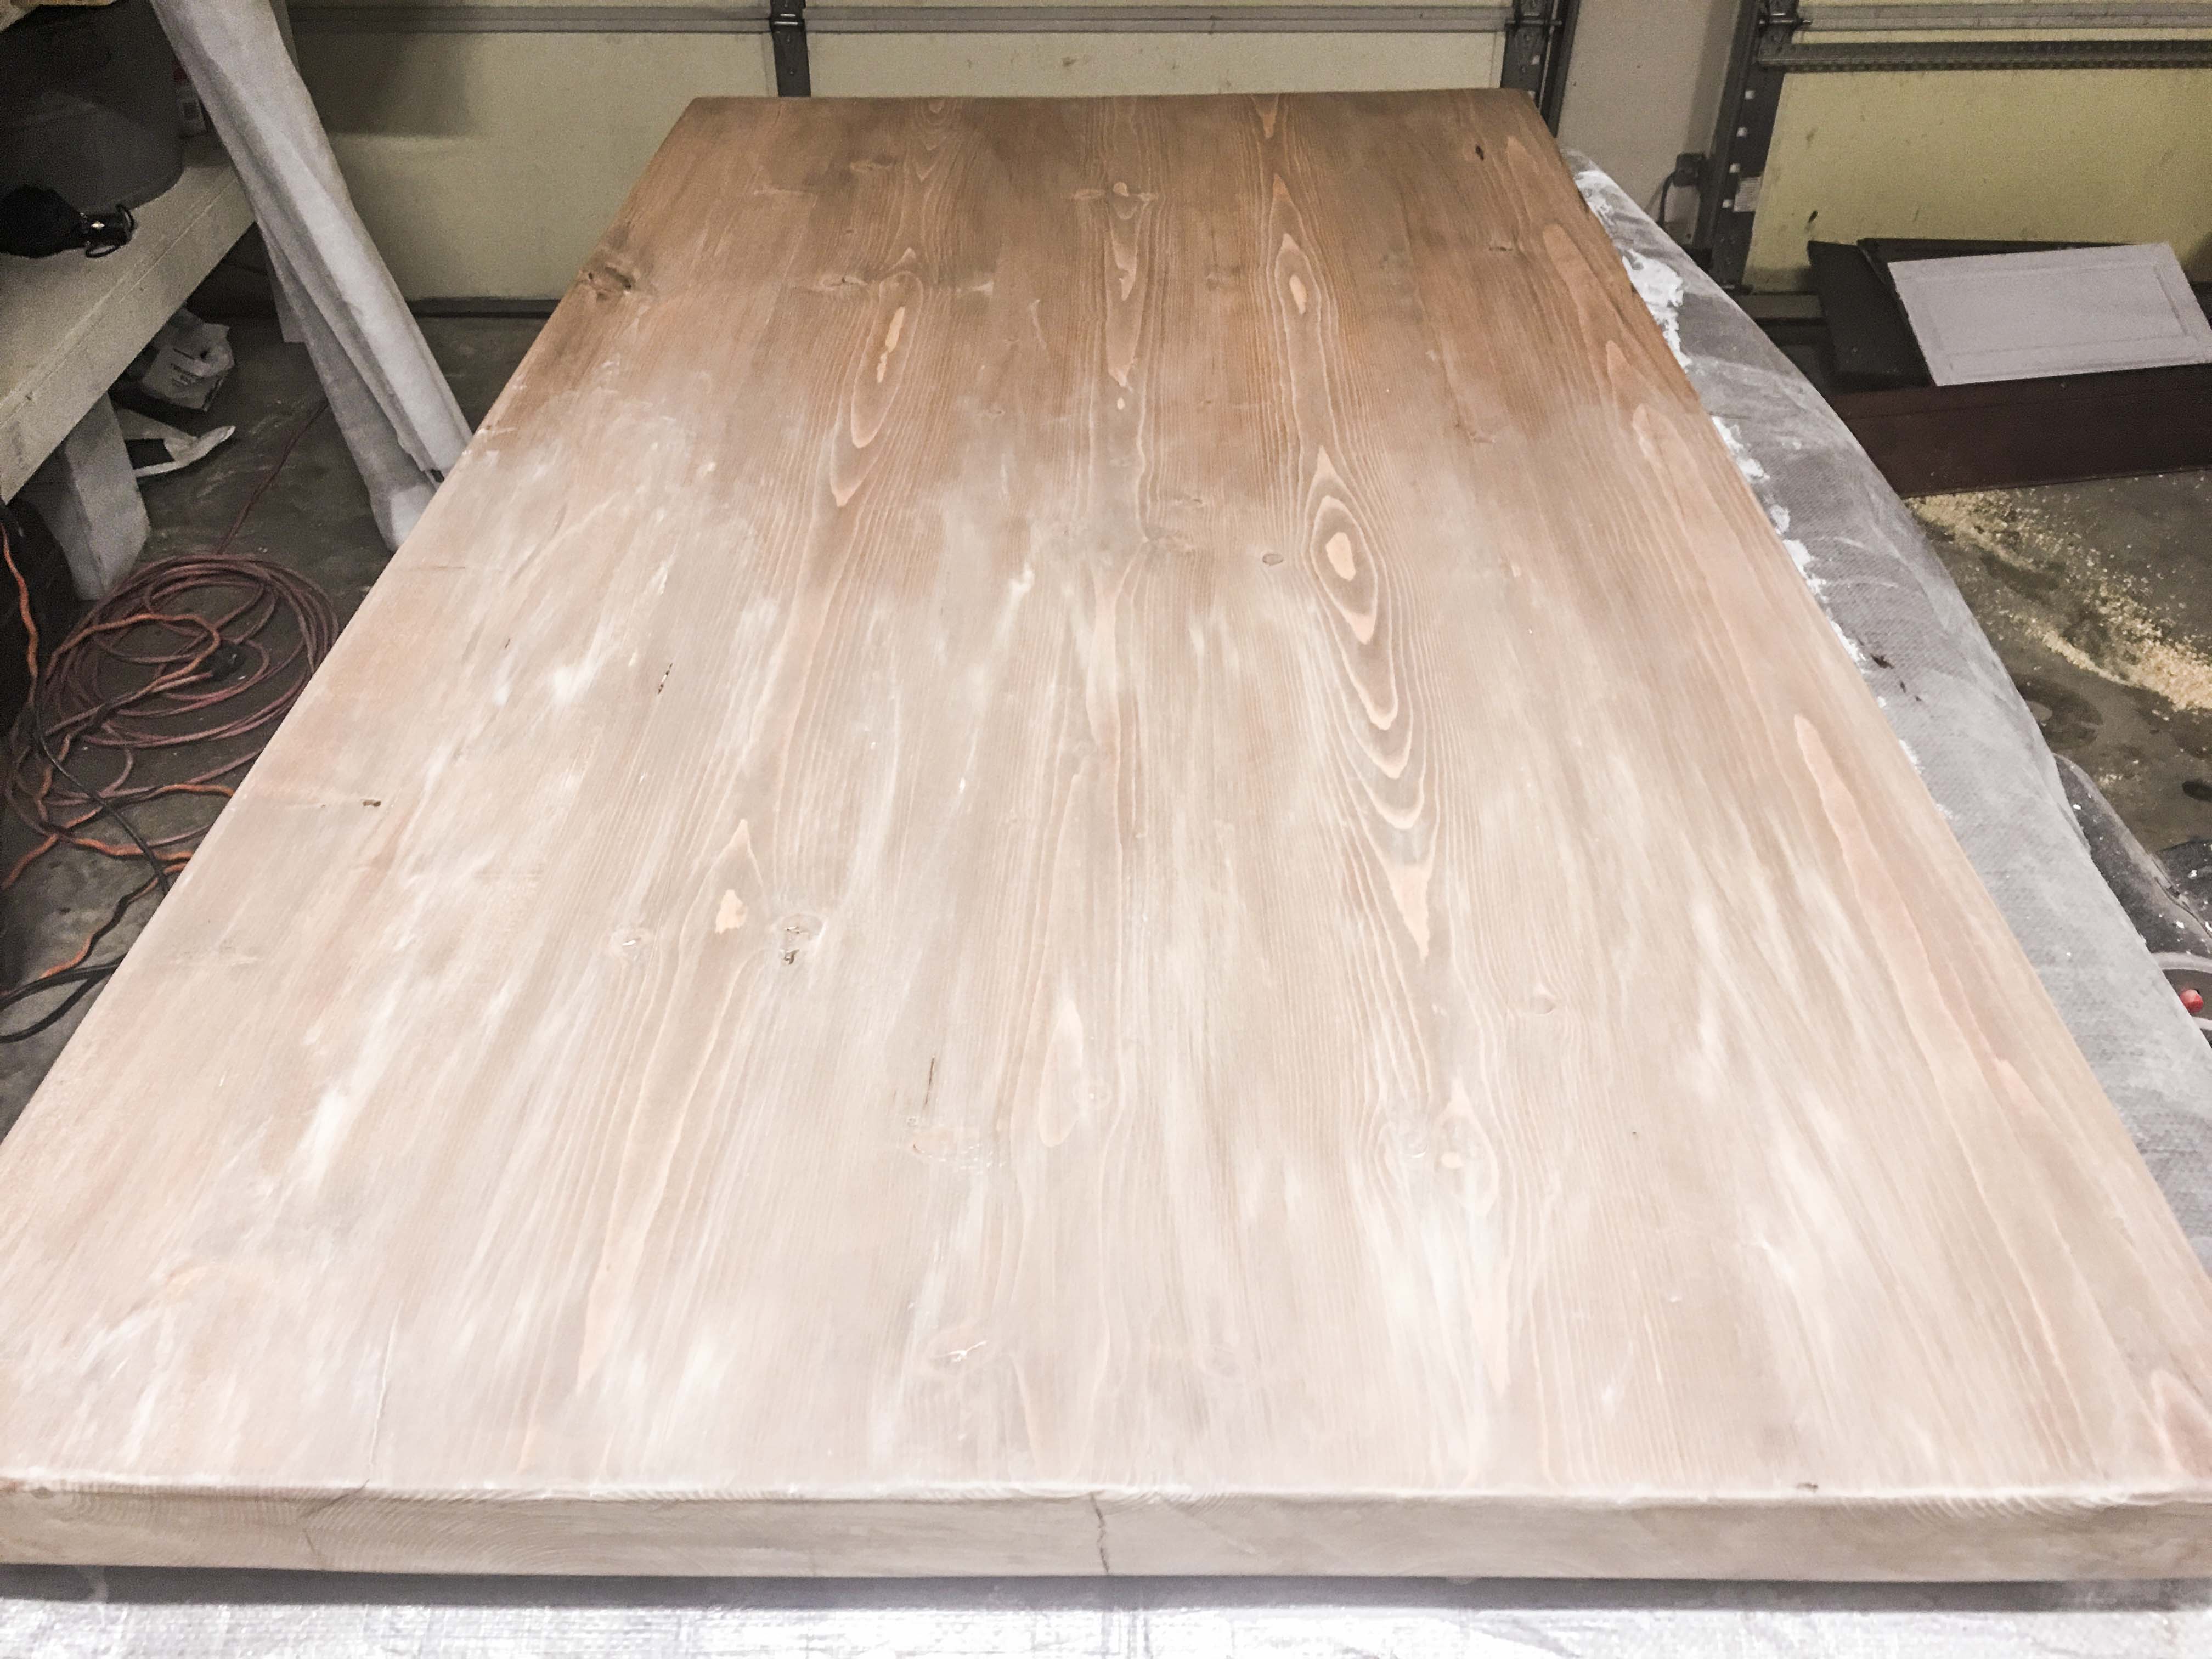
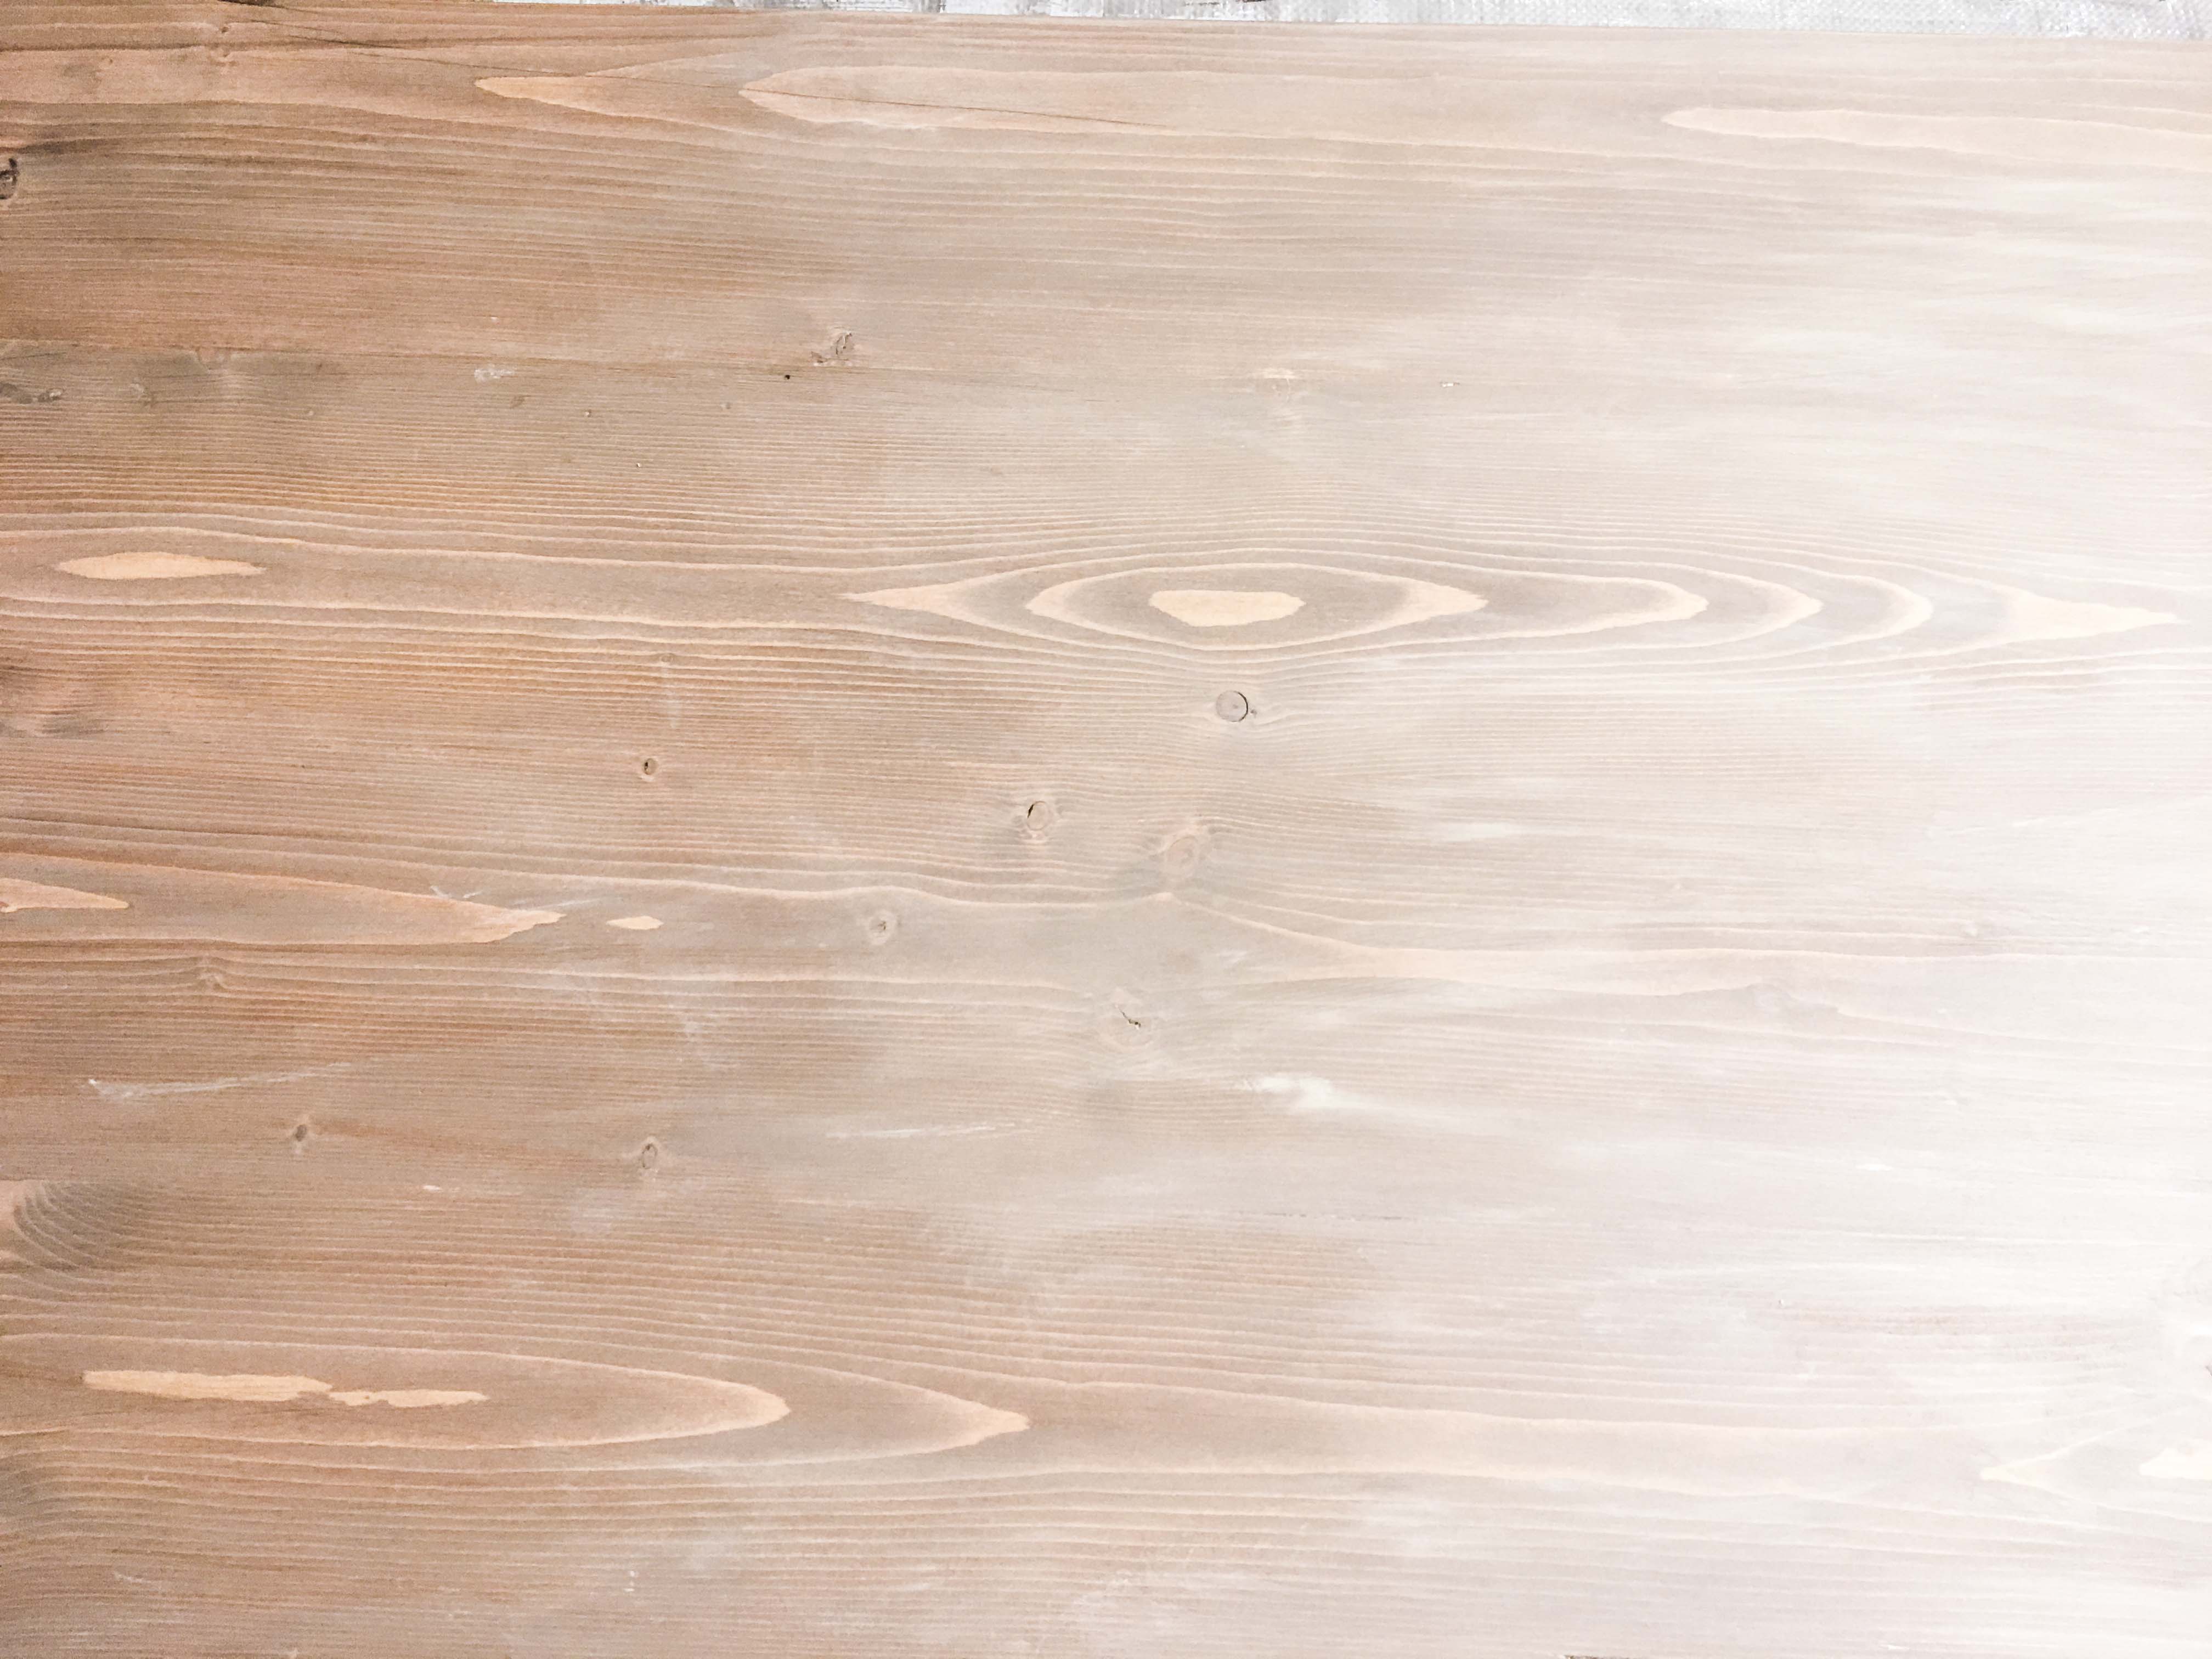
- With nitrile gloves on, apply a generous amount of white-tinted wax to the desktop with a shop towel. Vigorously rub it in, along the grain.
- Cover the top and sides until the coat of wax is even and free of lumps.
- Let dry for 15 minutes.
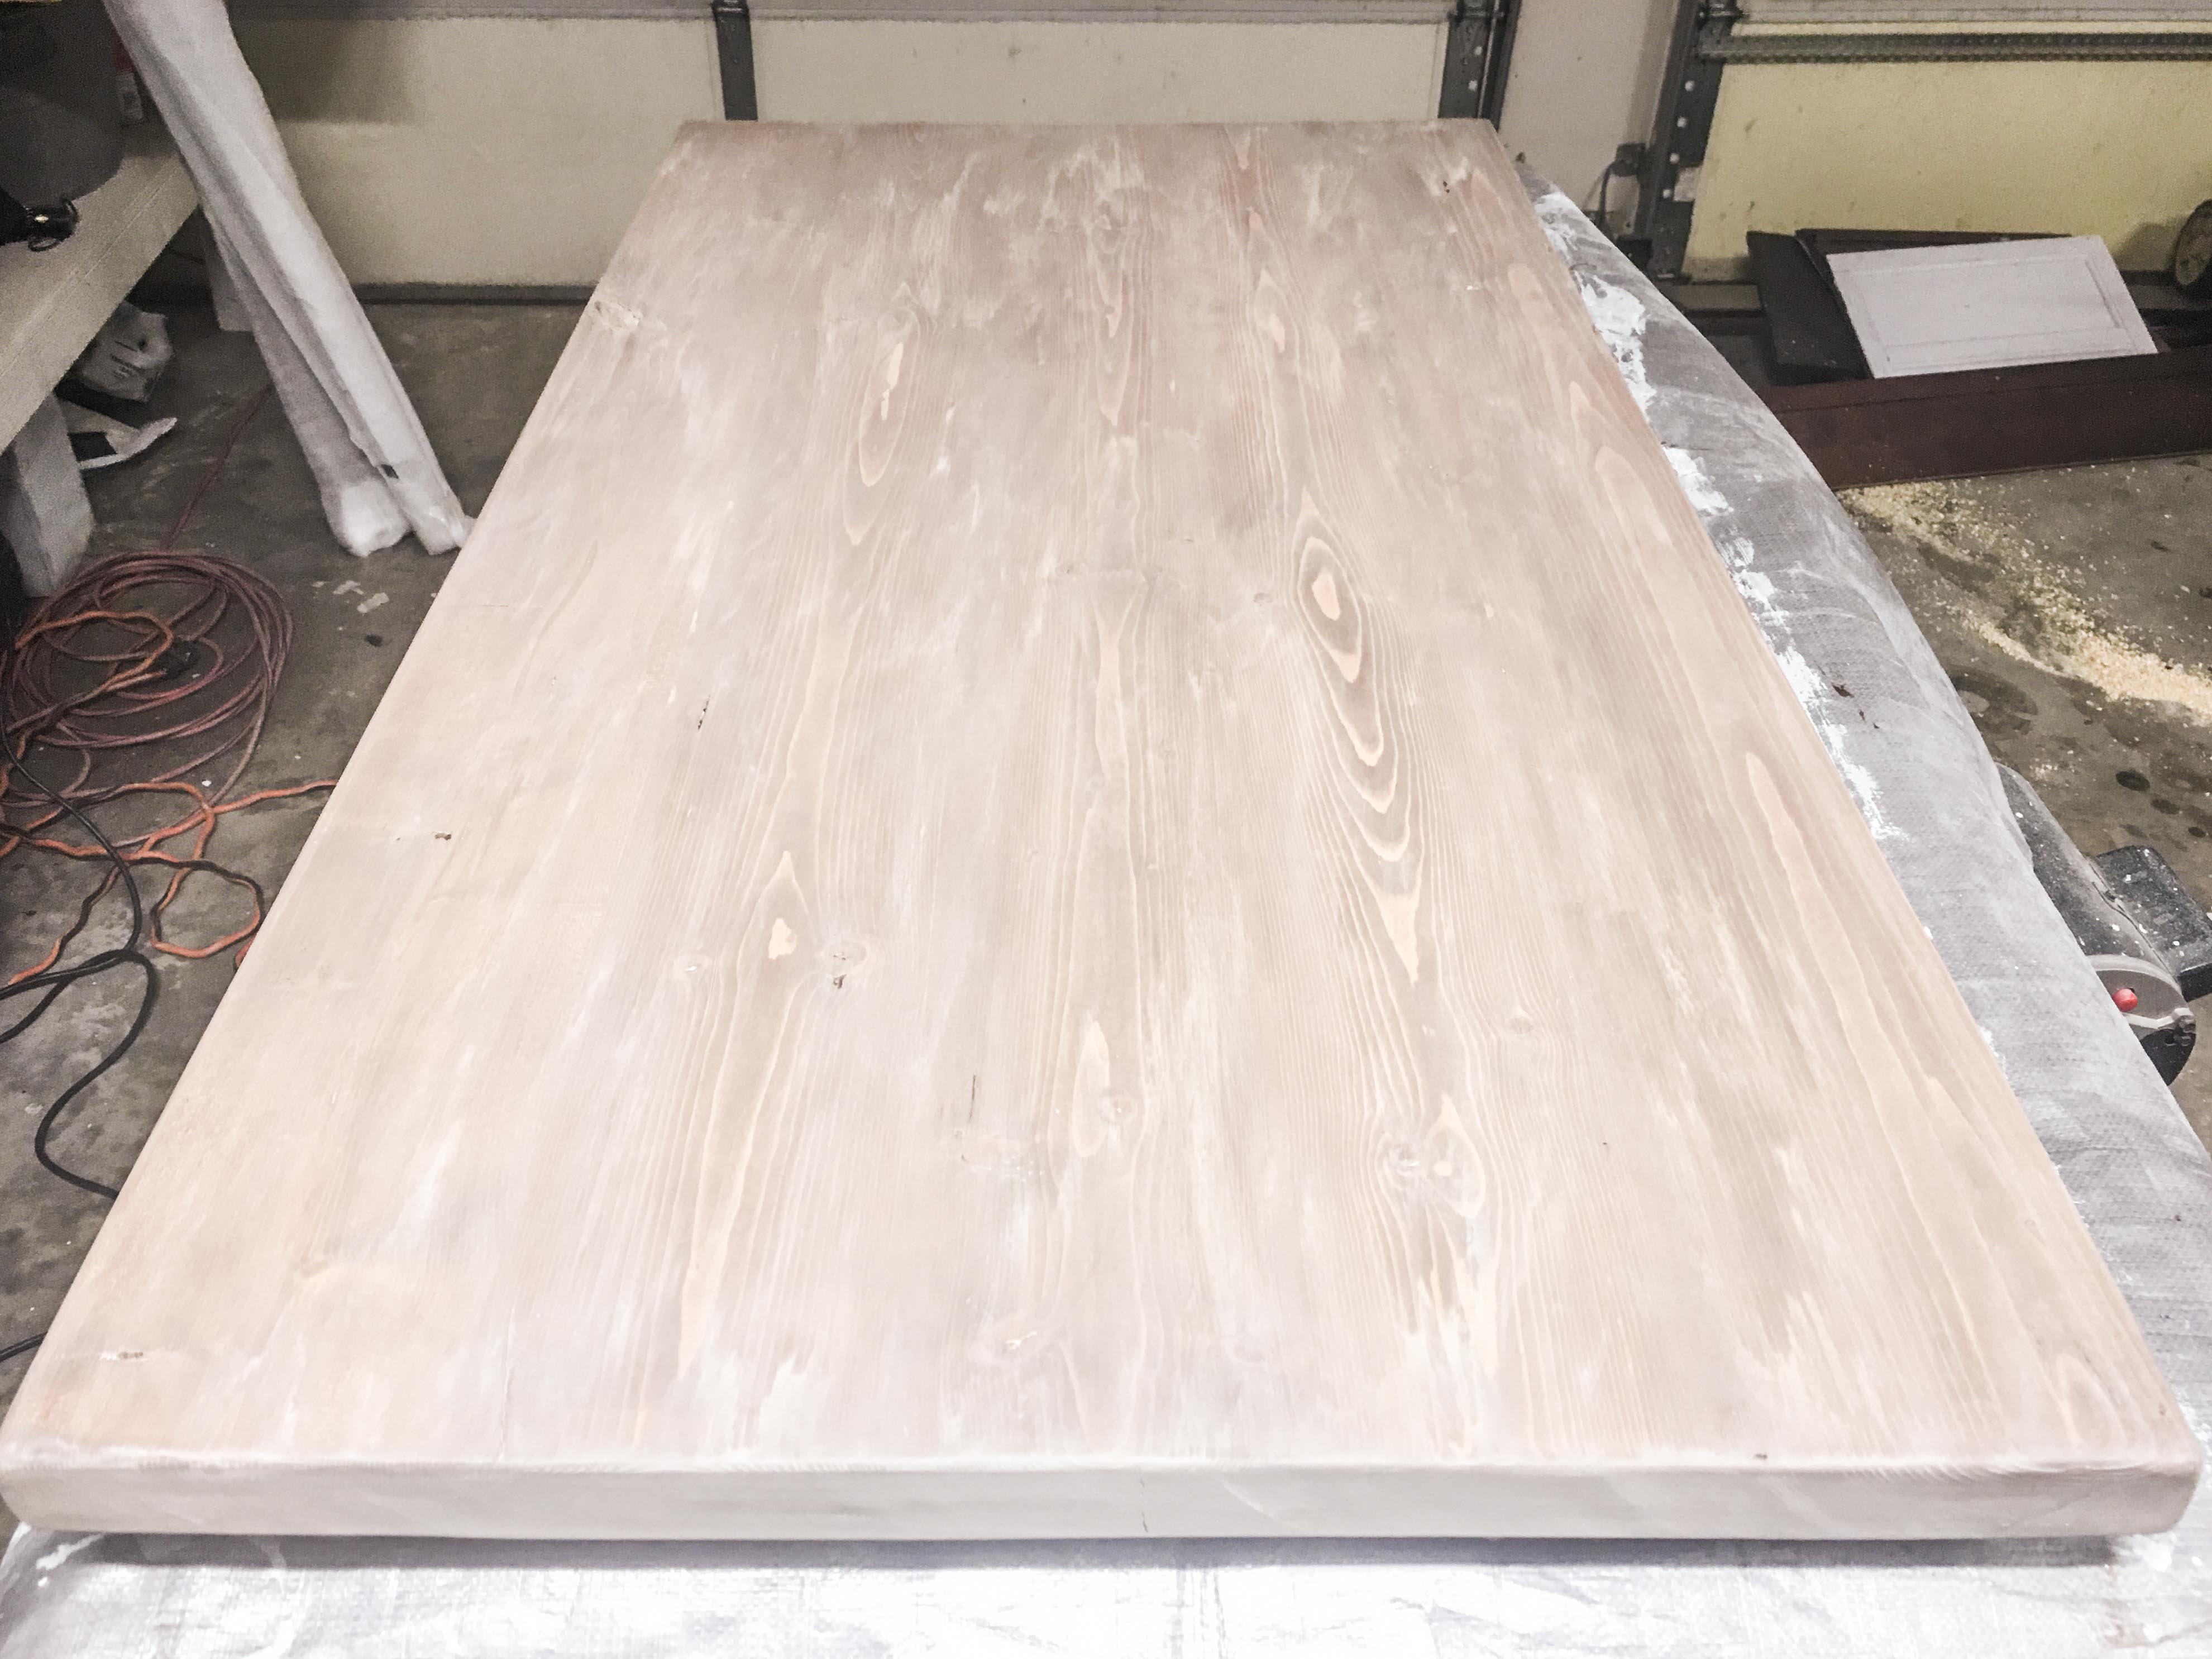
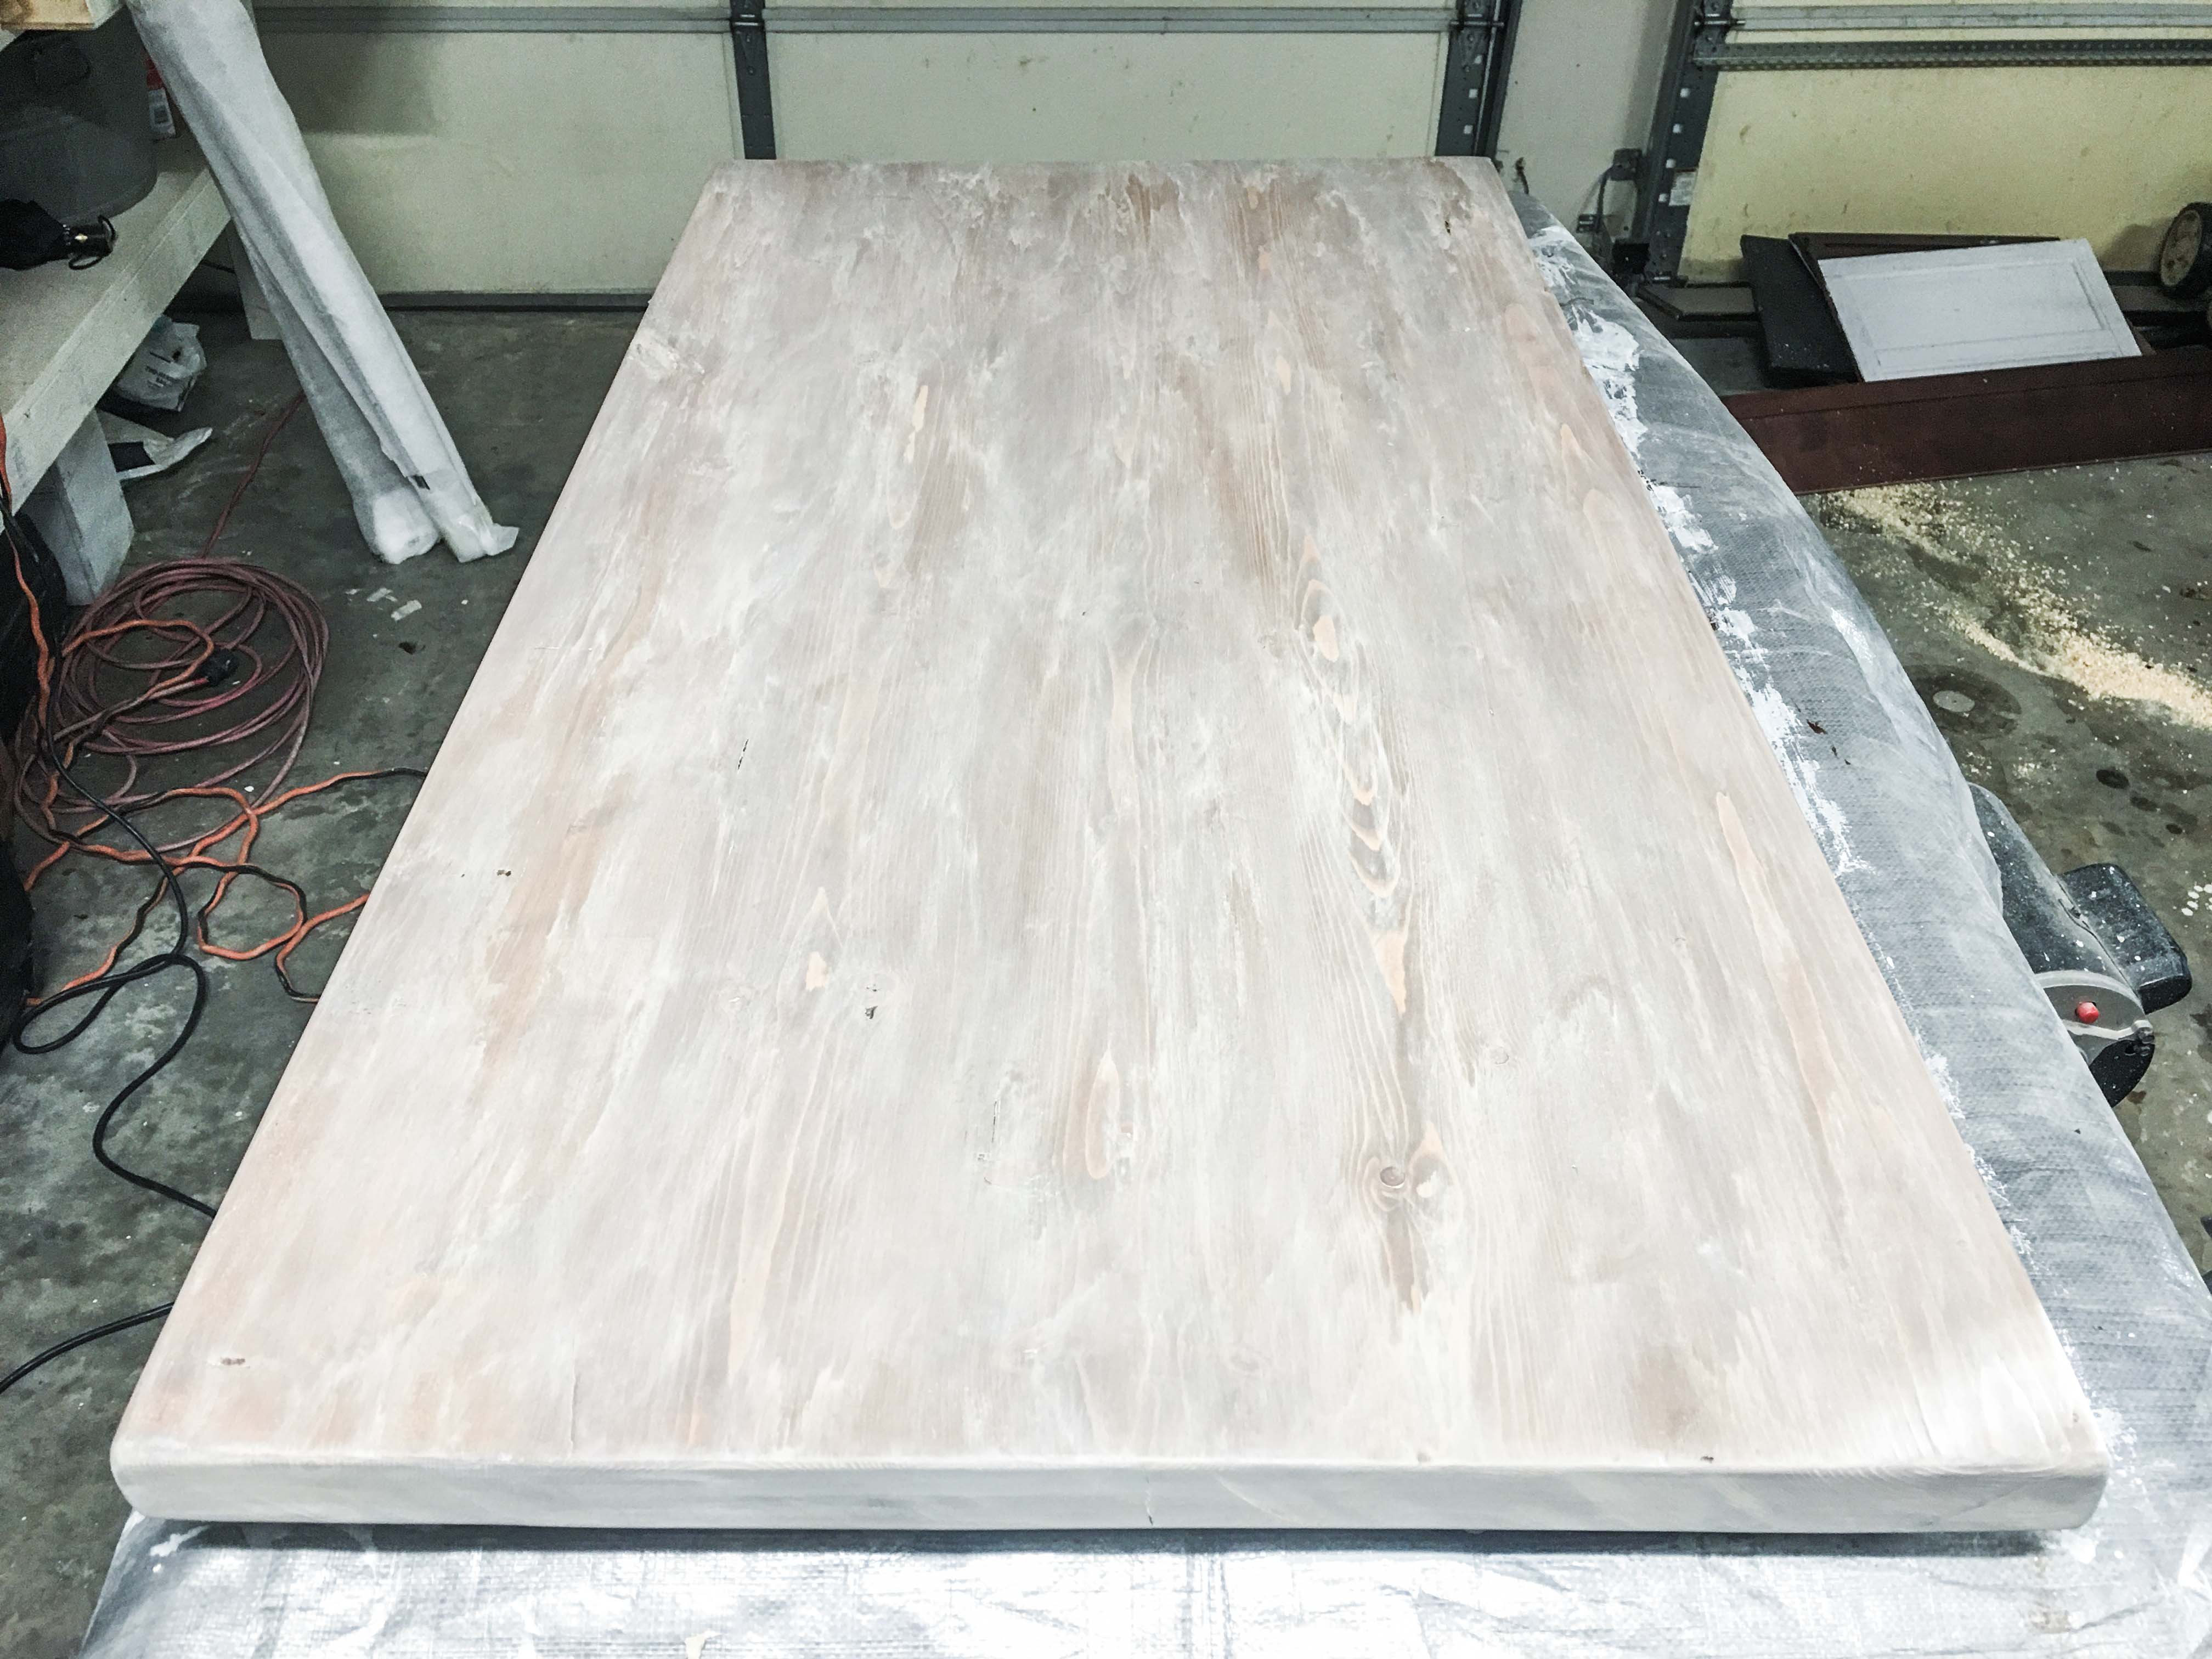
- Considering adding another coat of wax (we did) for more protection and more textural variance.
- When complete and dry, polish the desktop using a clean shop towel with very light pressure and rapid movements in line with the grain.
Step 9. Attach those good-looking metal legs.
Note: are you using carriage bolts like we did? Or lag screws? You’ll predrill all the way through the desktop for bolts. You’ll only predrill 1¼” deep for 1¼” lag screws – don’t penetrate the desktop if you’re using screws!
- Turn your tabletop facedown.
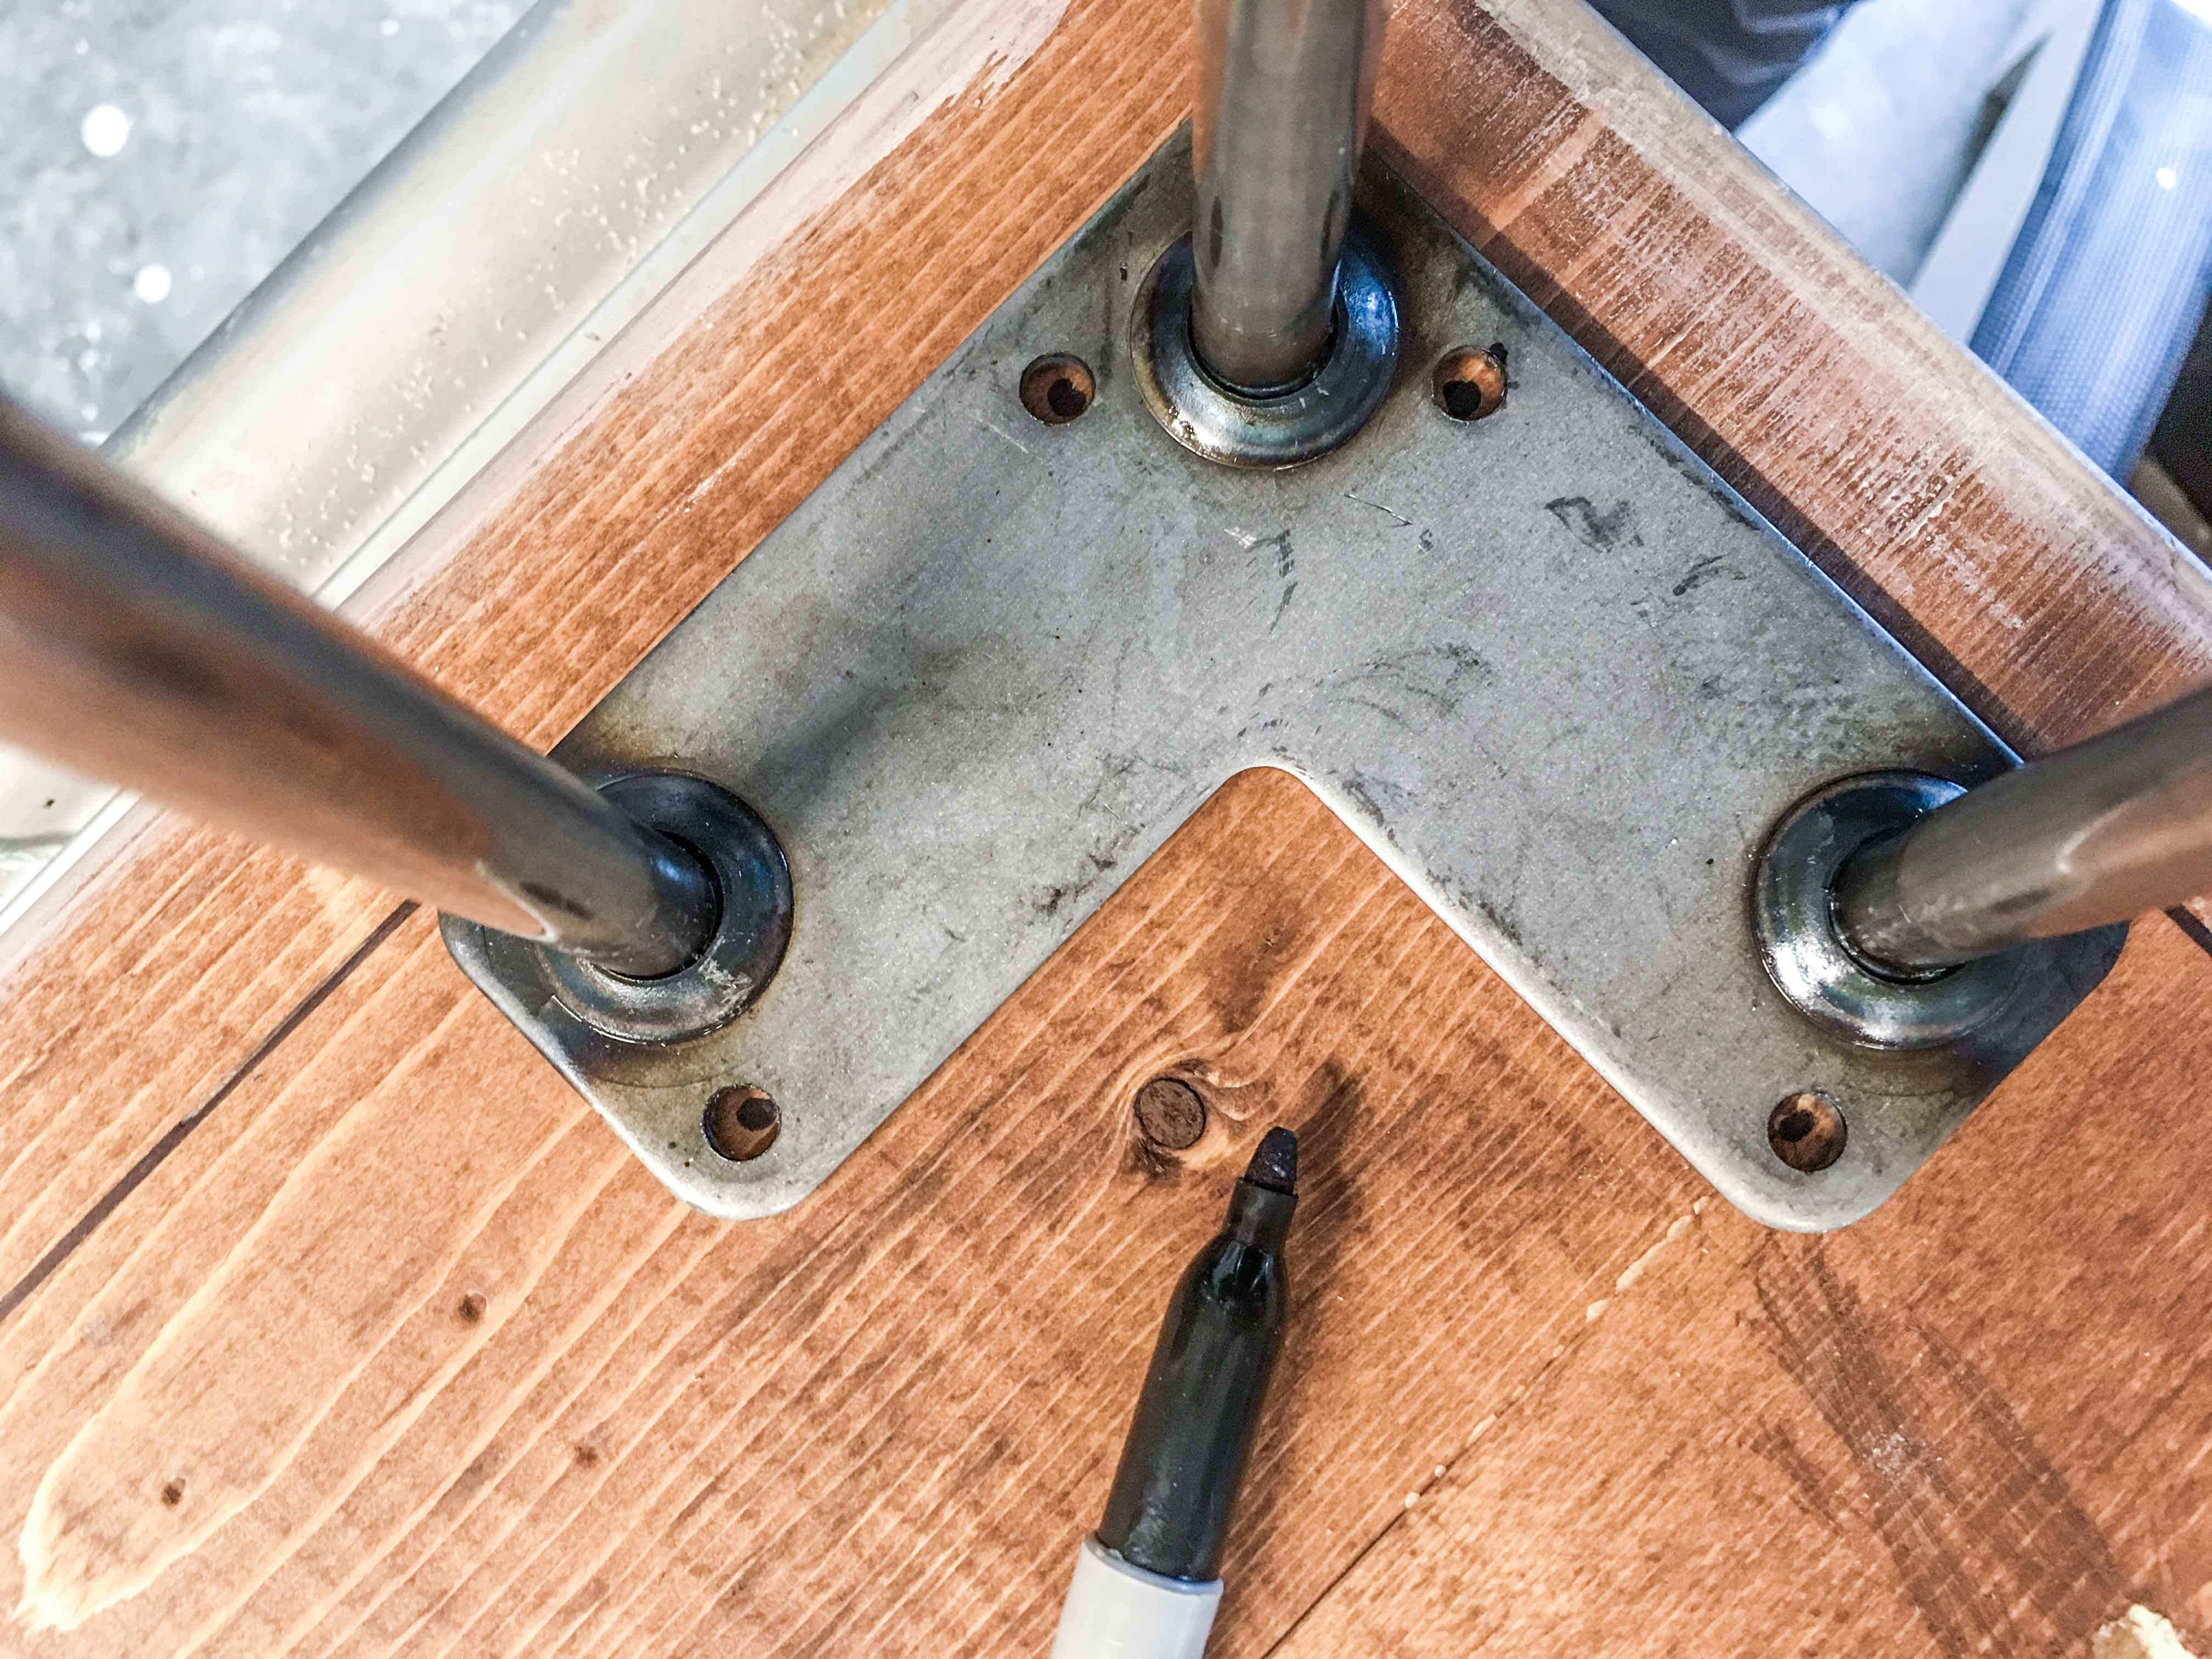
- Dry fit your metal legs on the bottom of the standing desk.
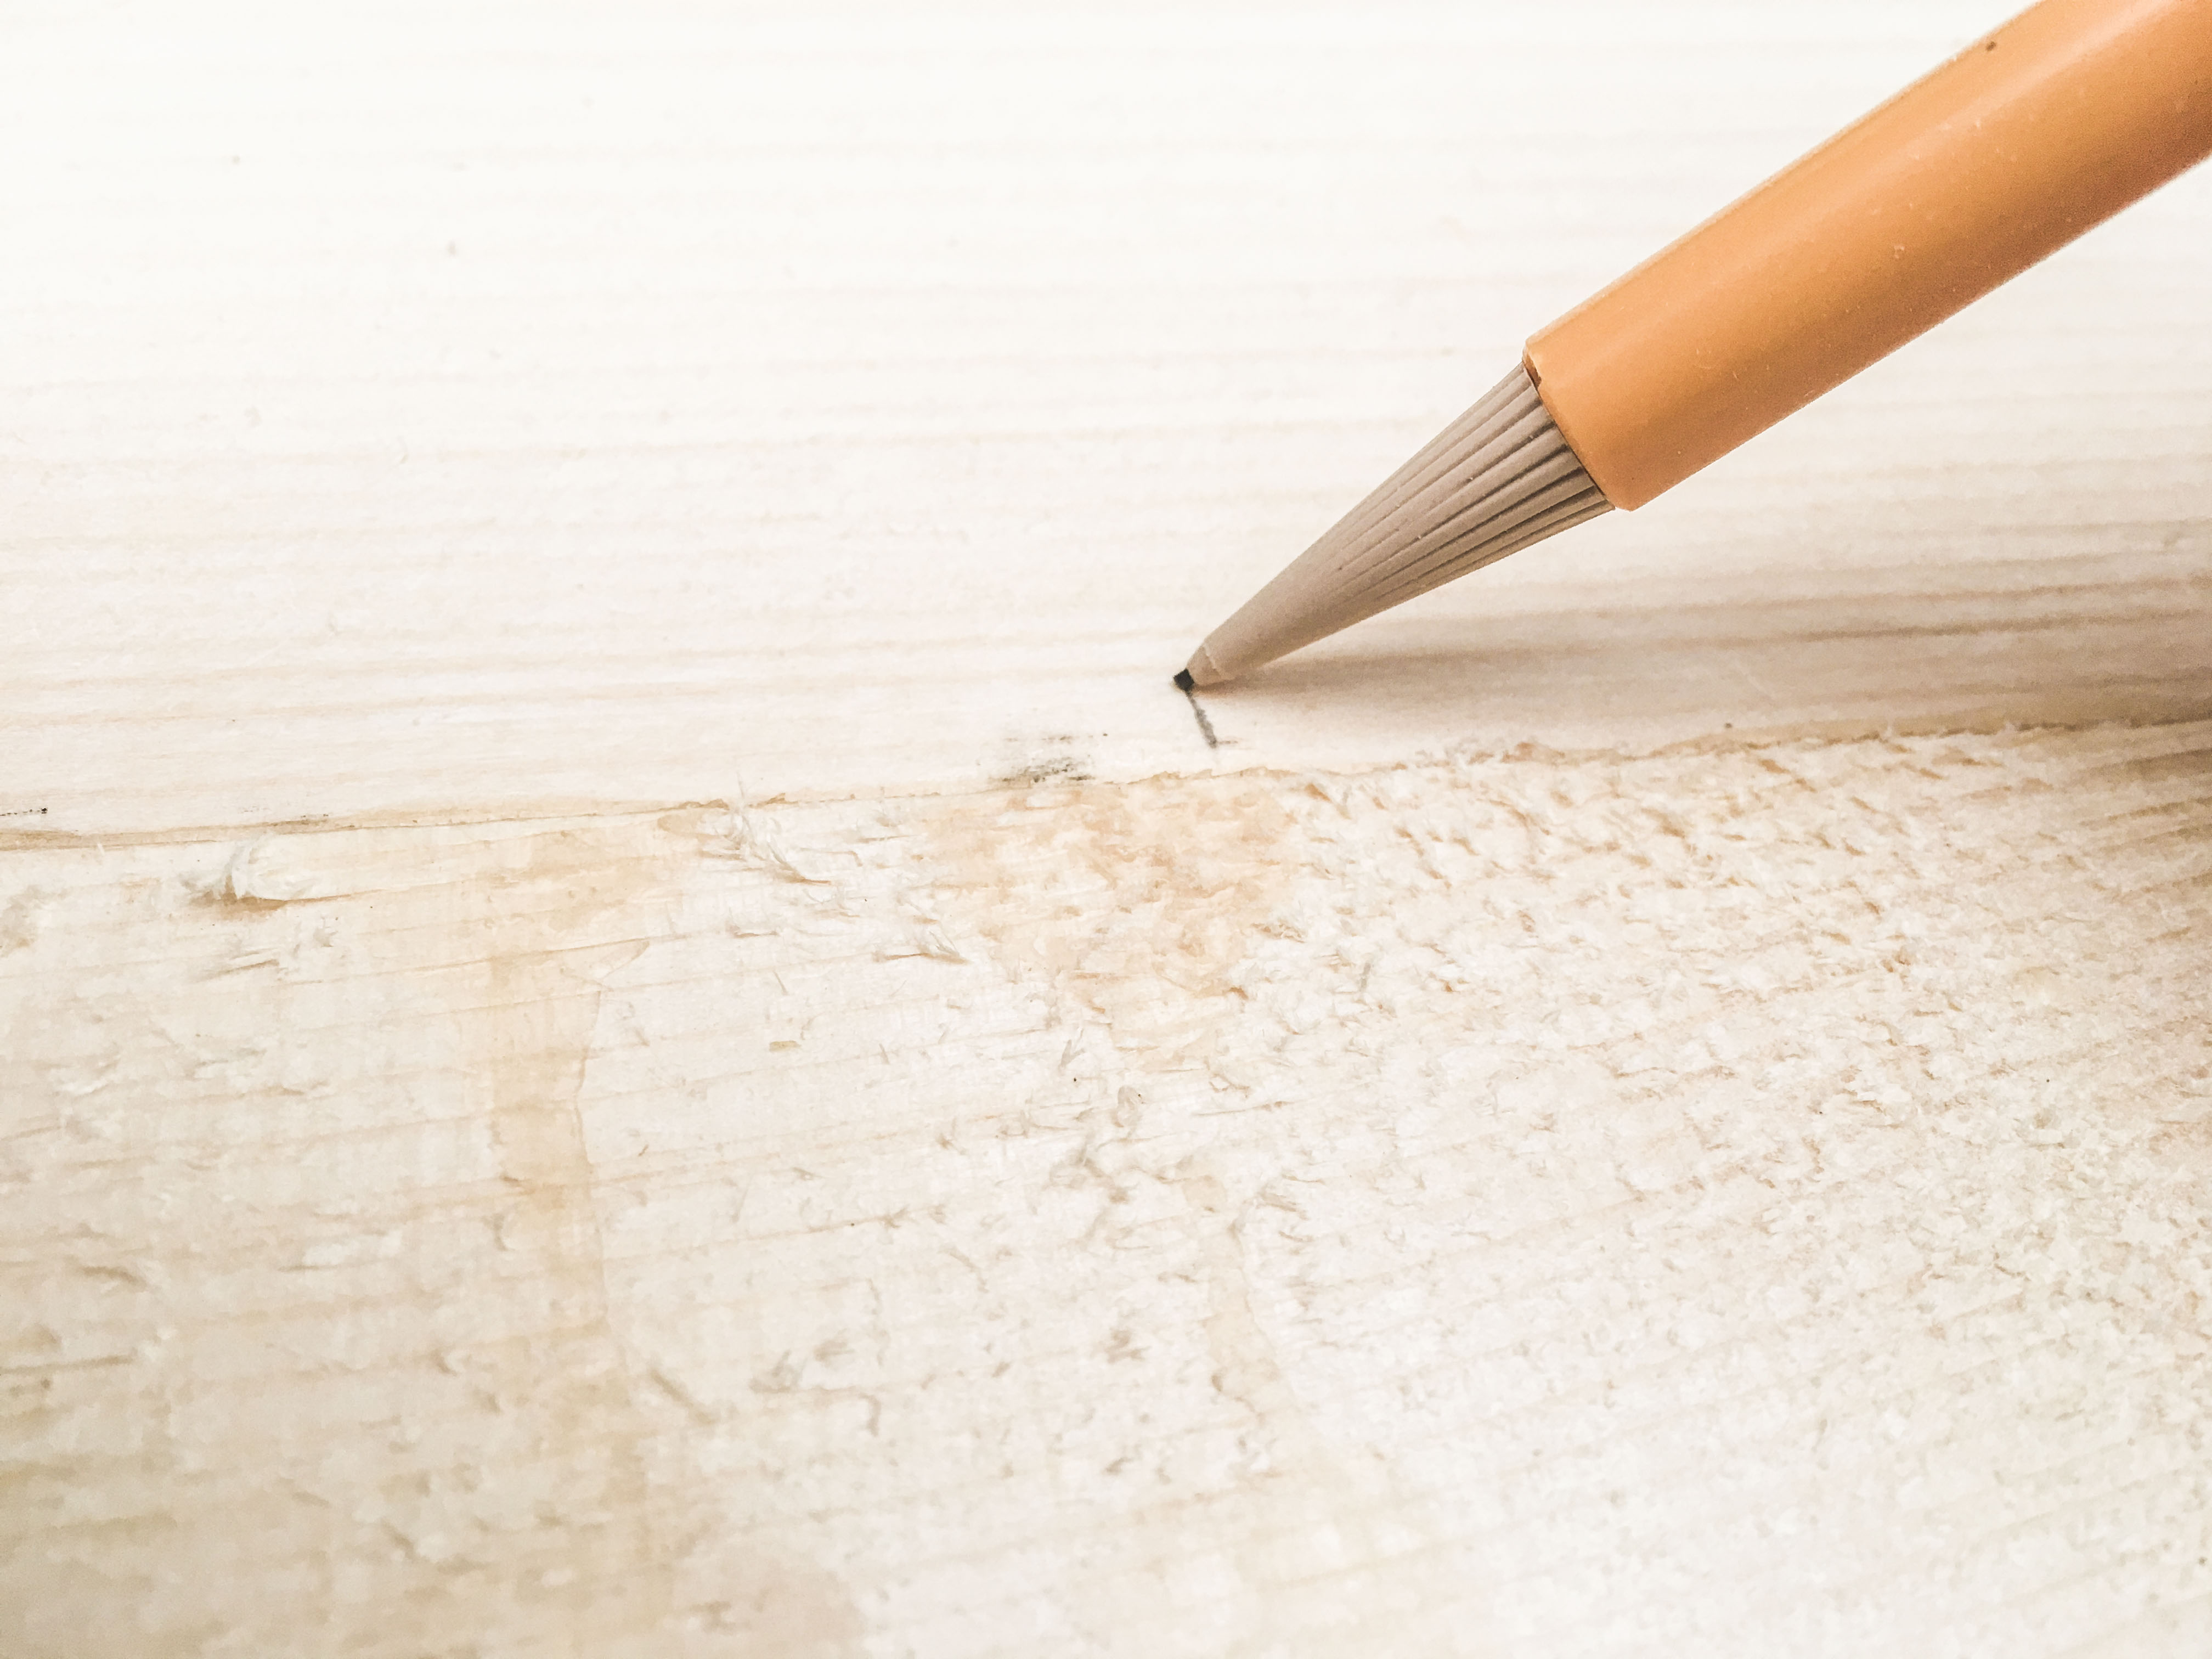
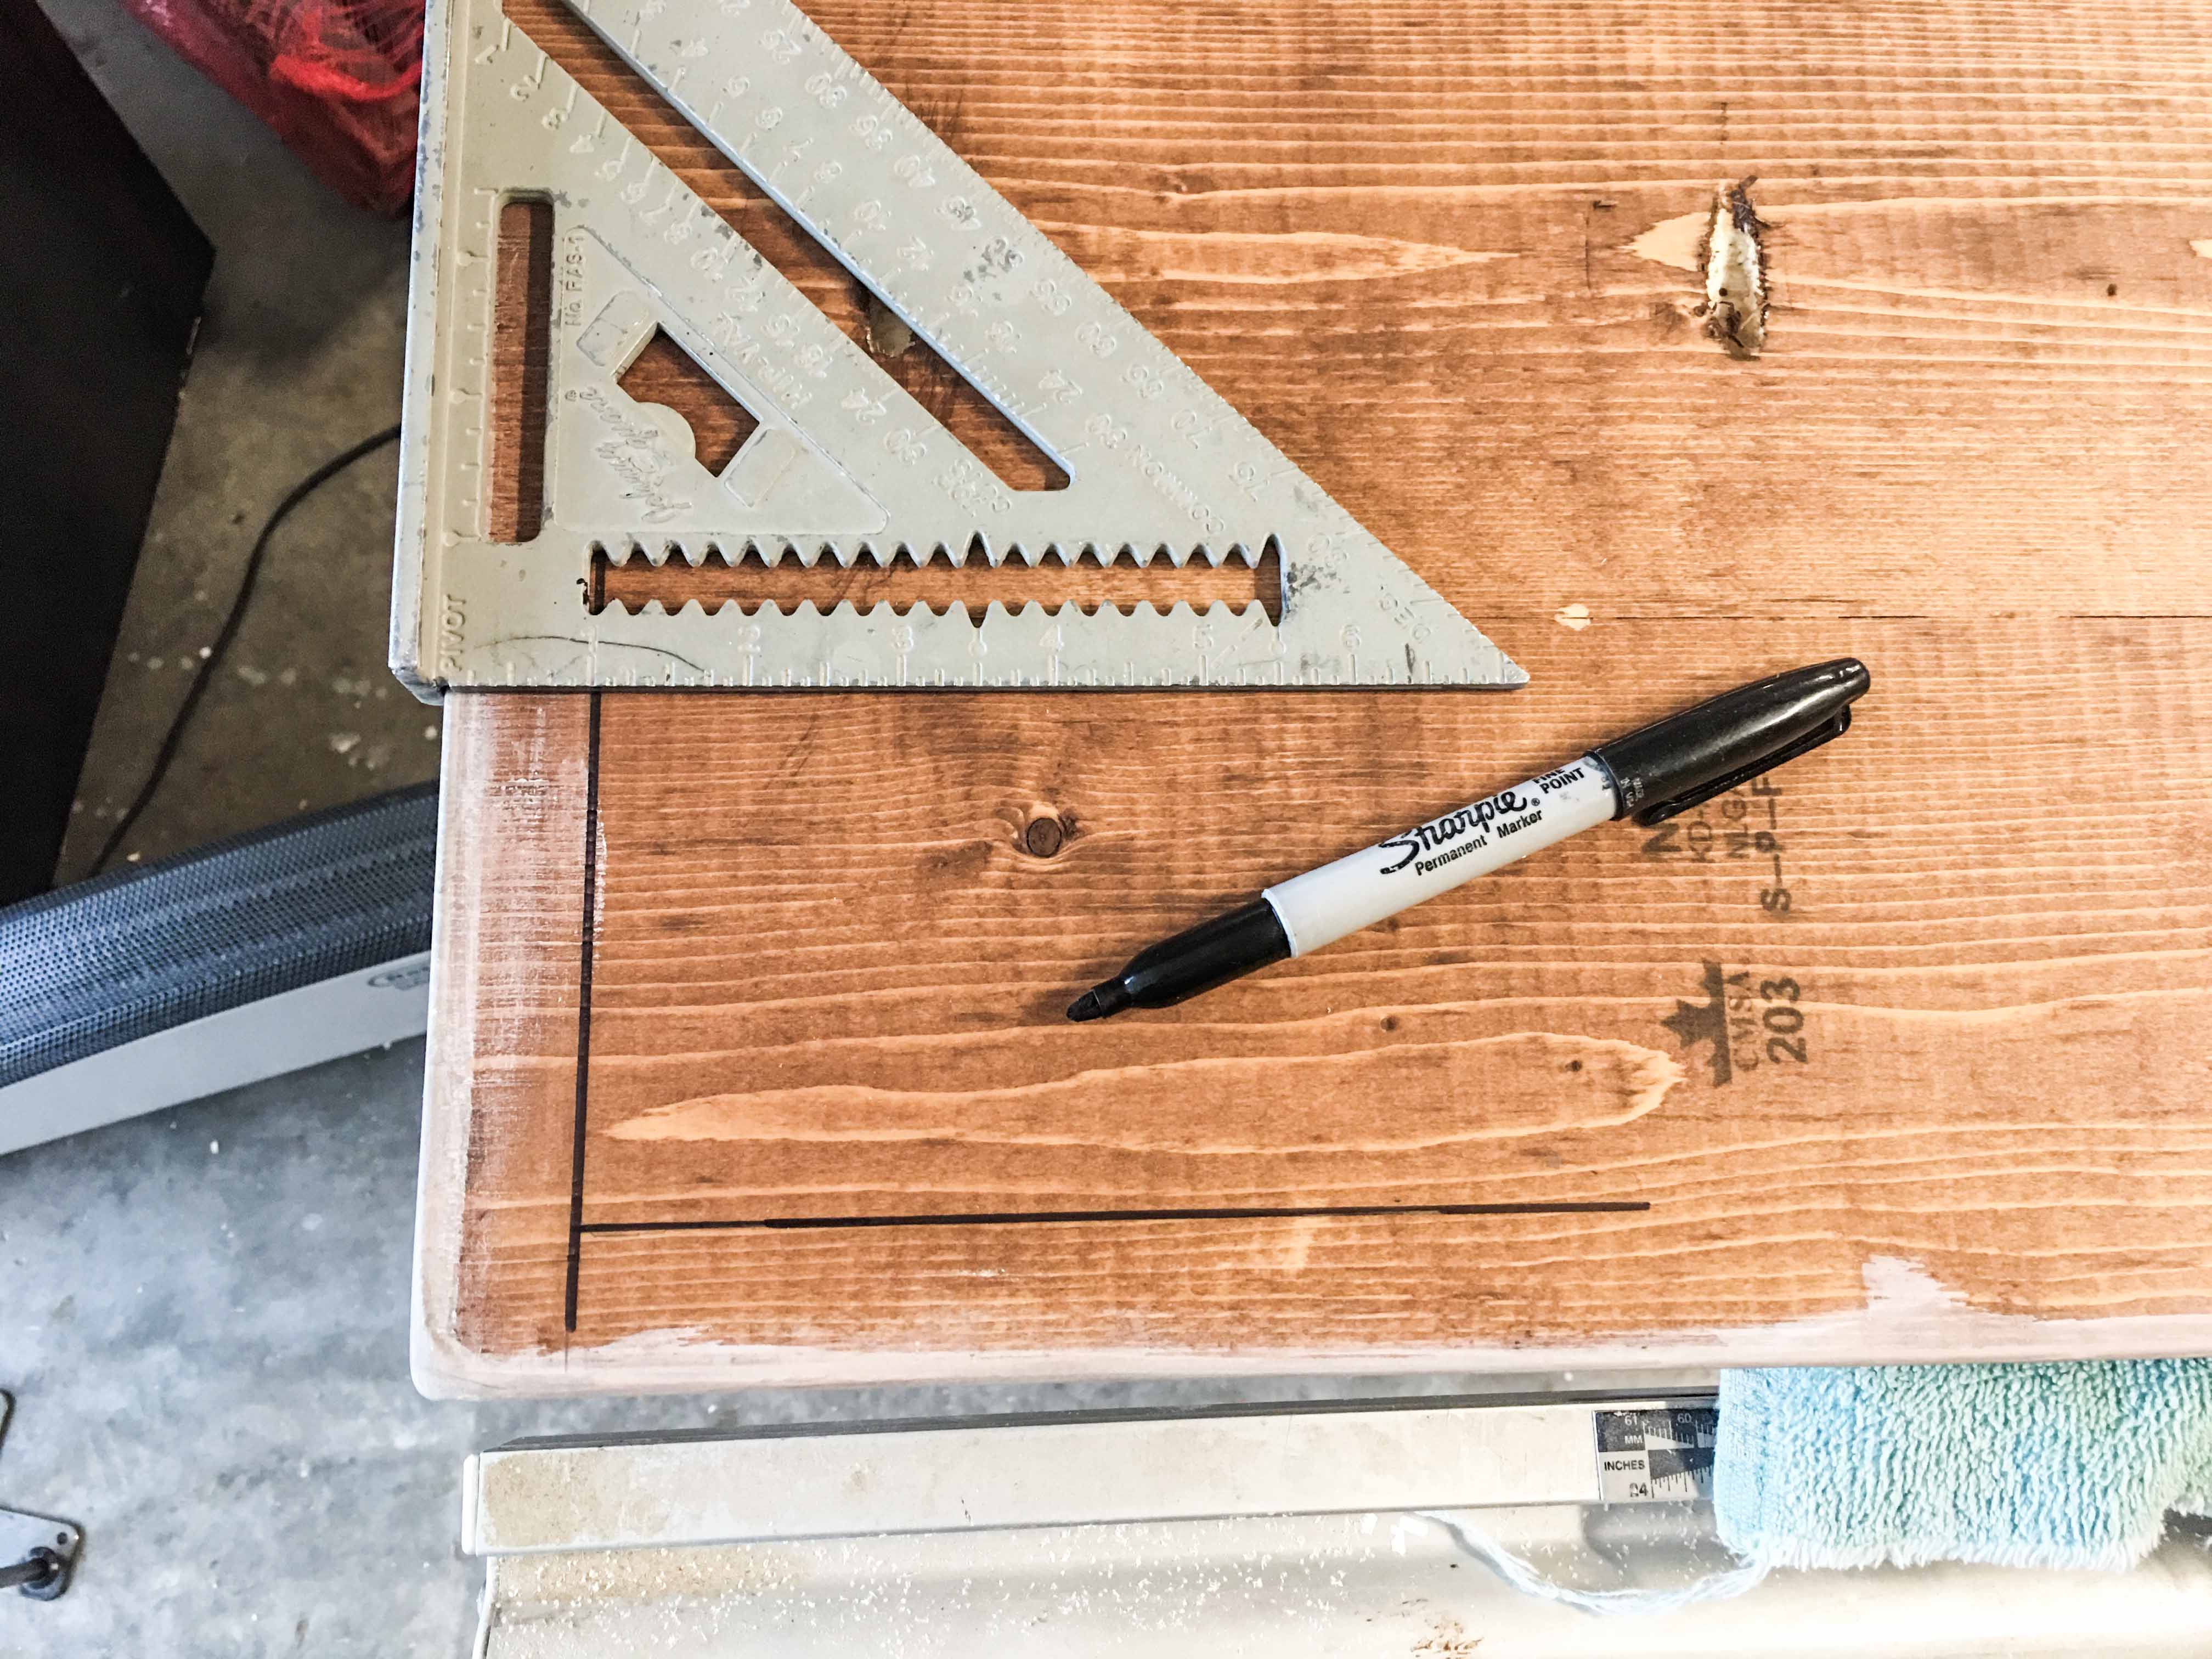
- When ideal placement is visually achieved, mark the inside of the corner holes with a pencil. You need to know exactly where to predrill.
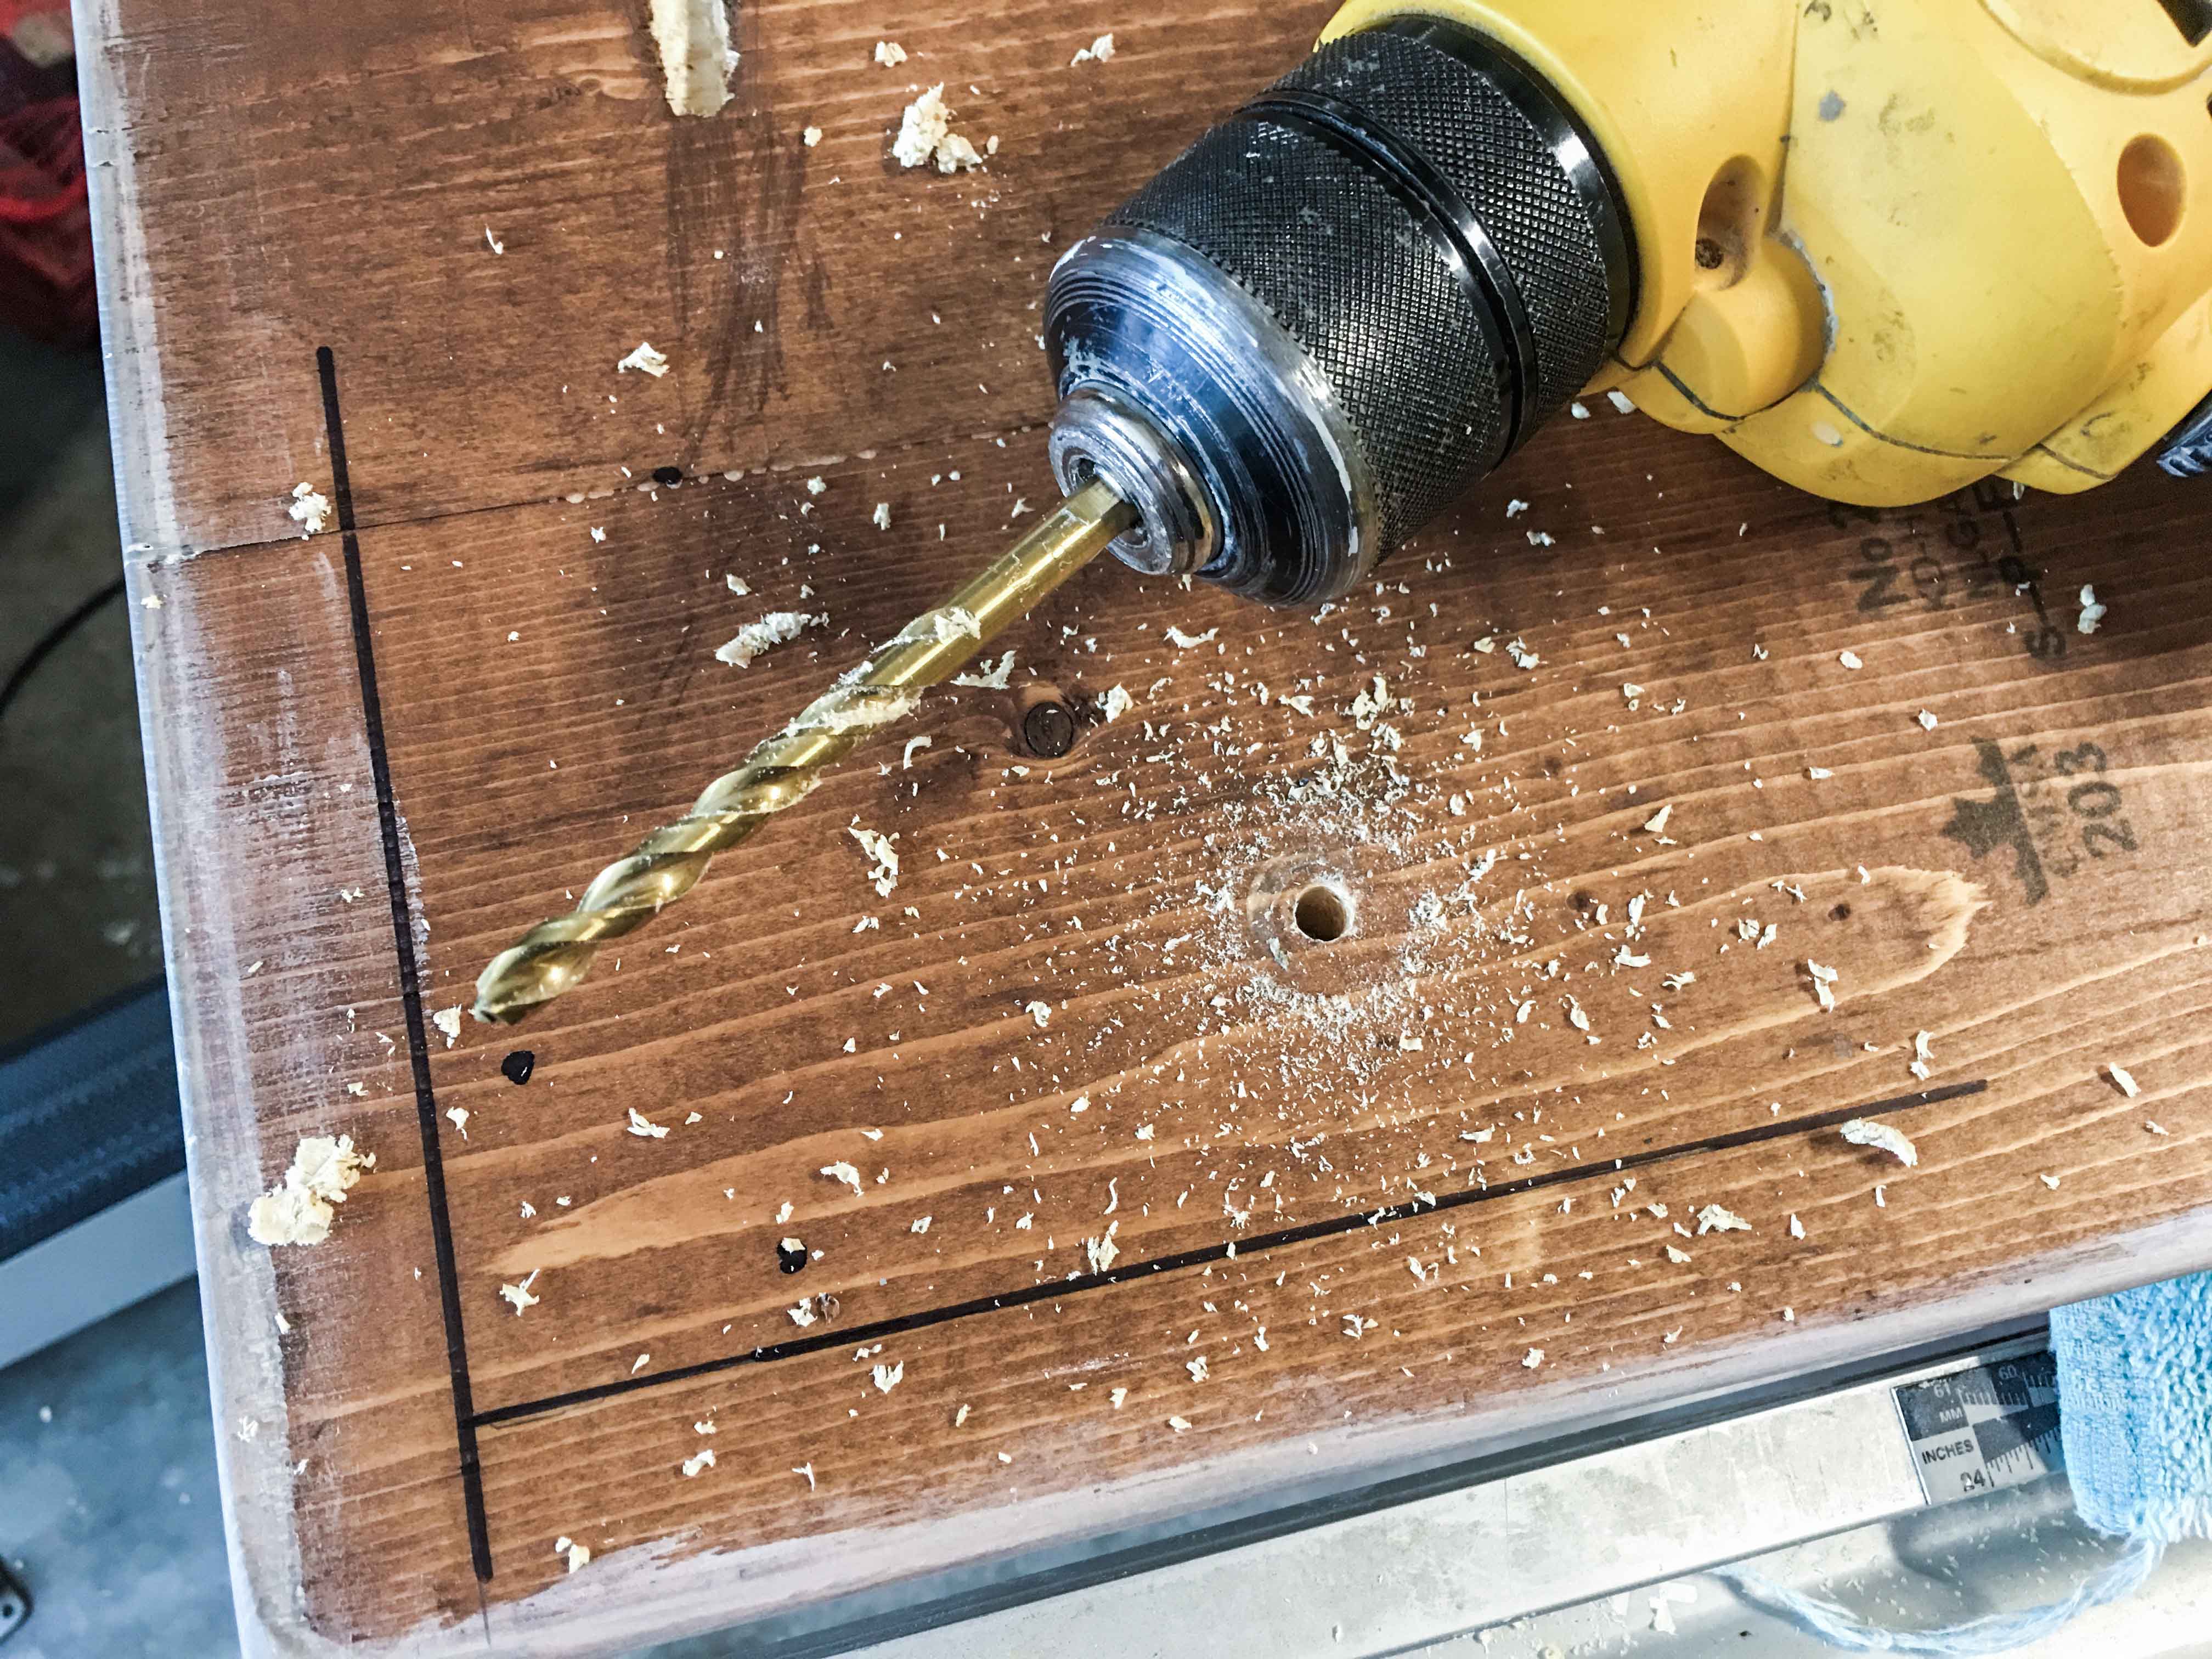
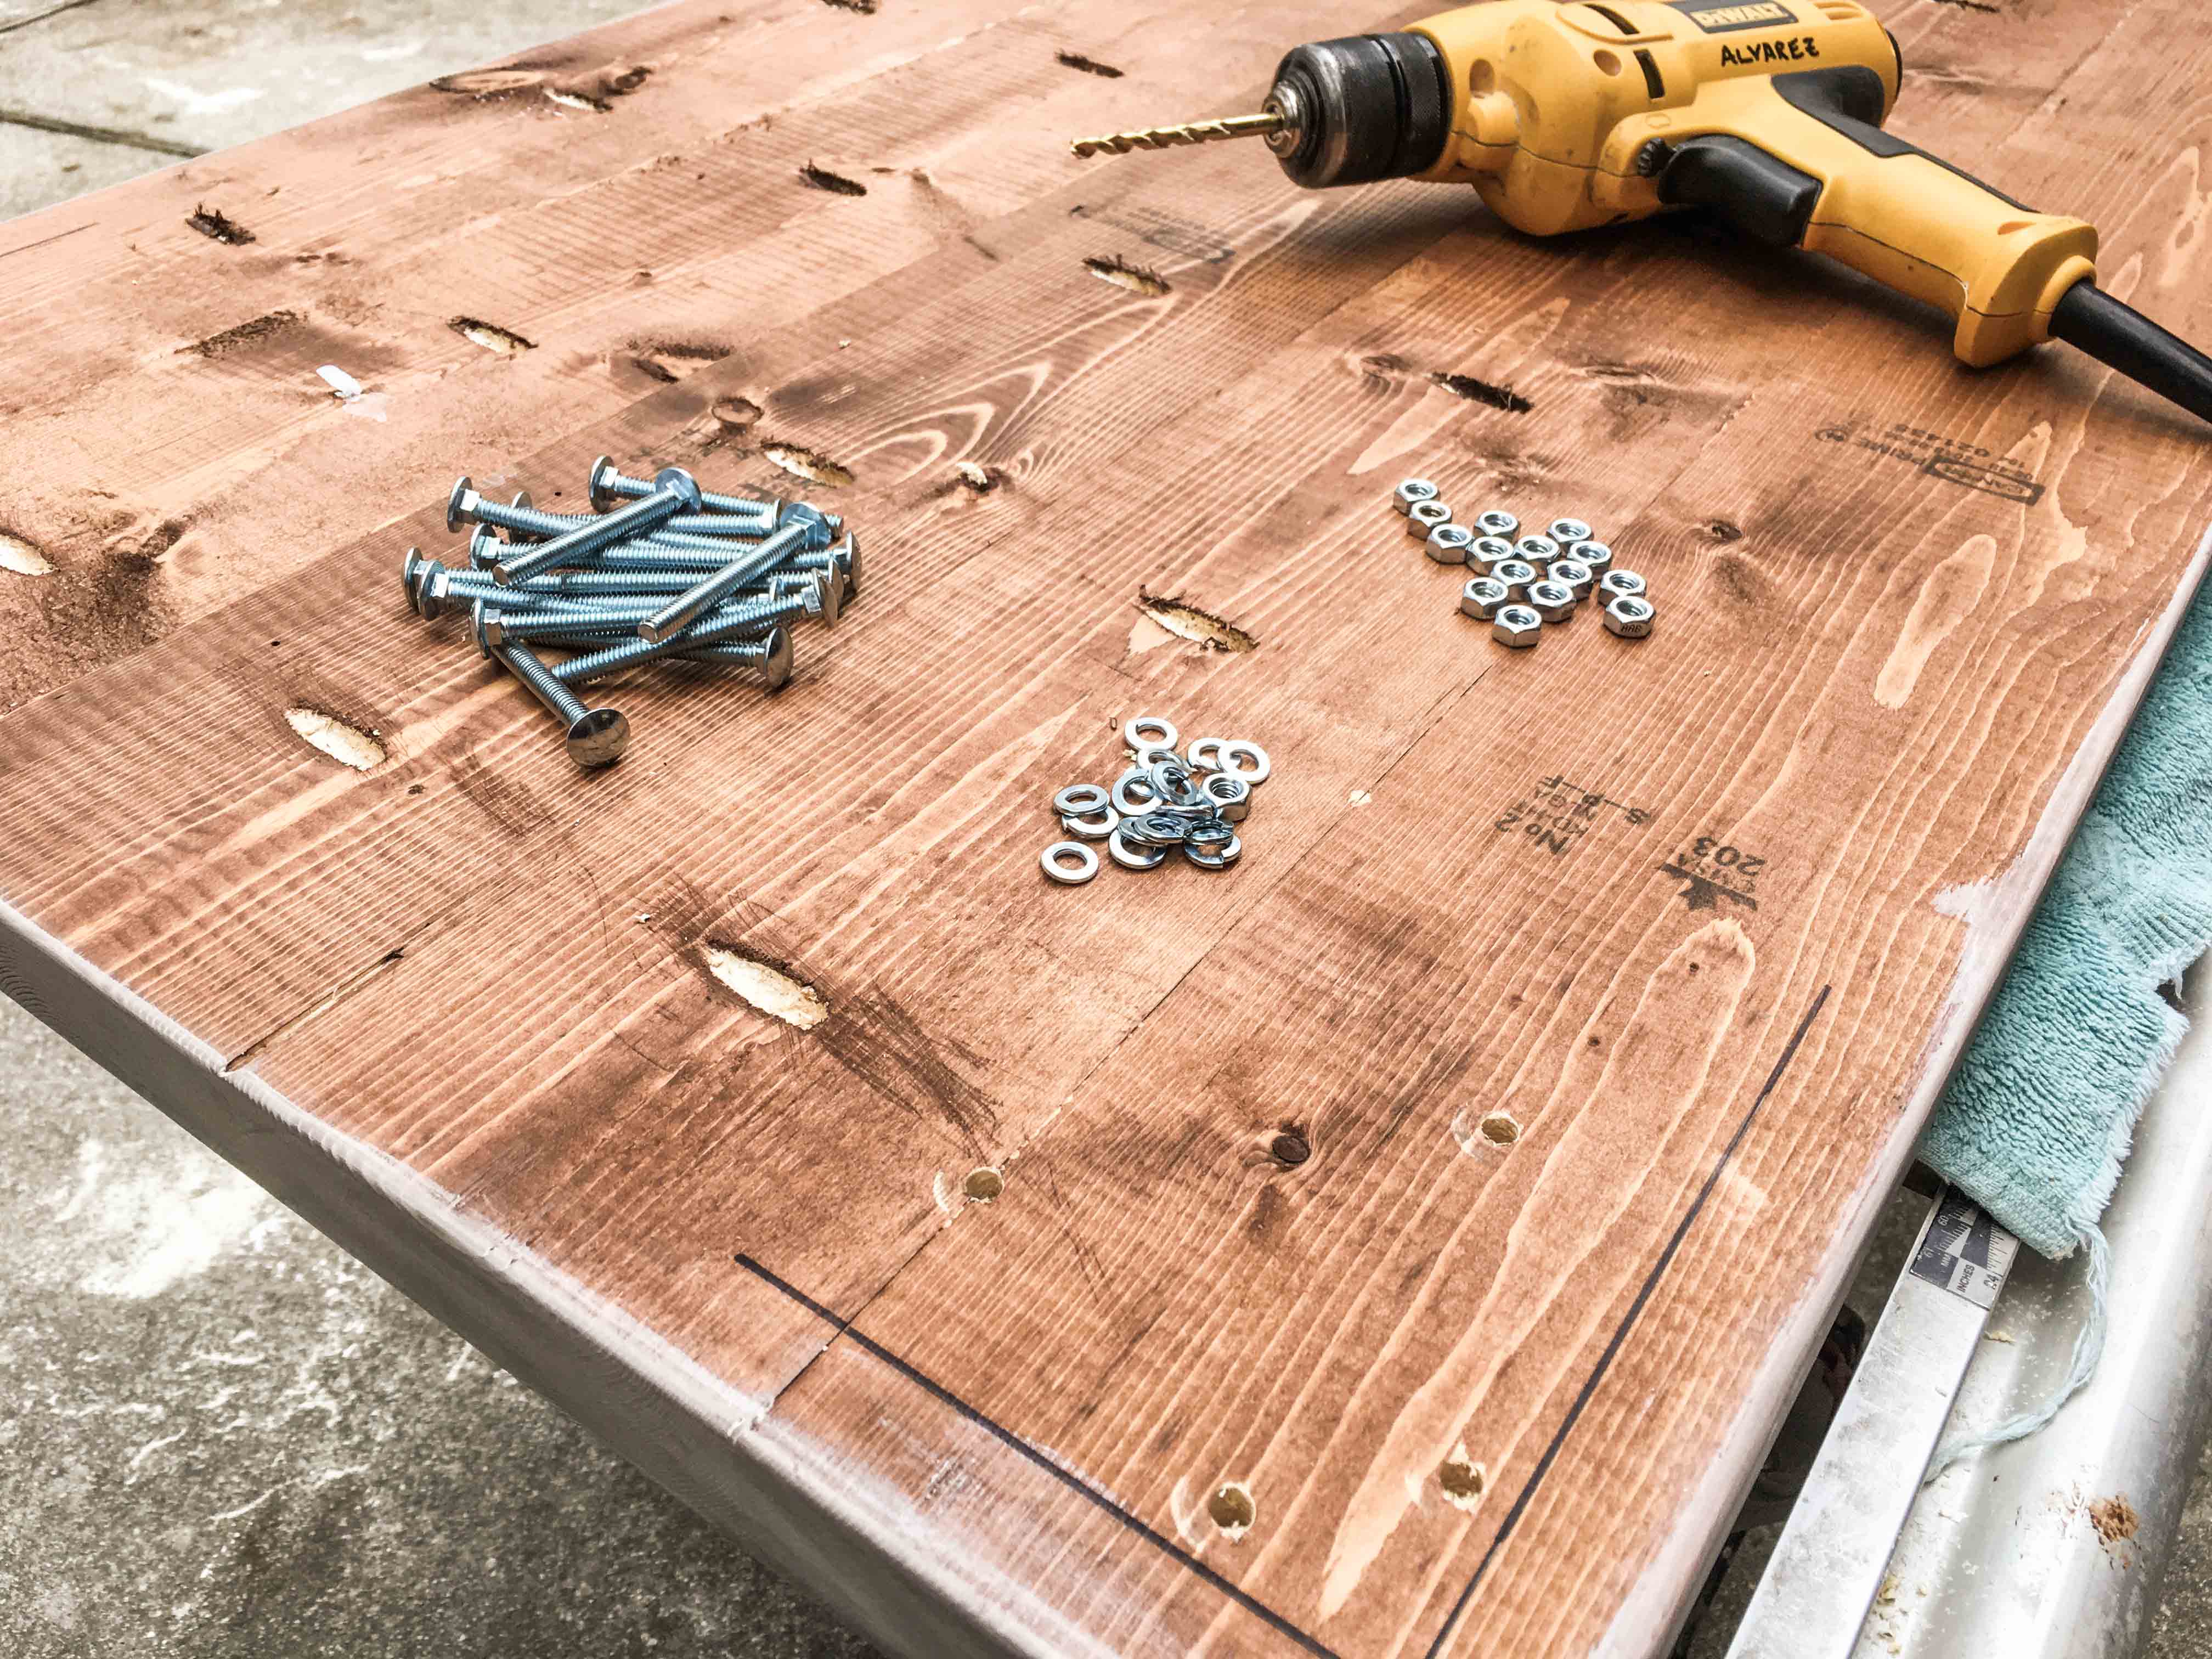
- Using your corded (or cordless) drill, predrill a ¼” hole for each bolt. Use a drill bit that matches the diameter of the screw shaft OR matches the outer edge of the bolt threads.
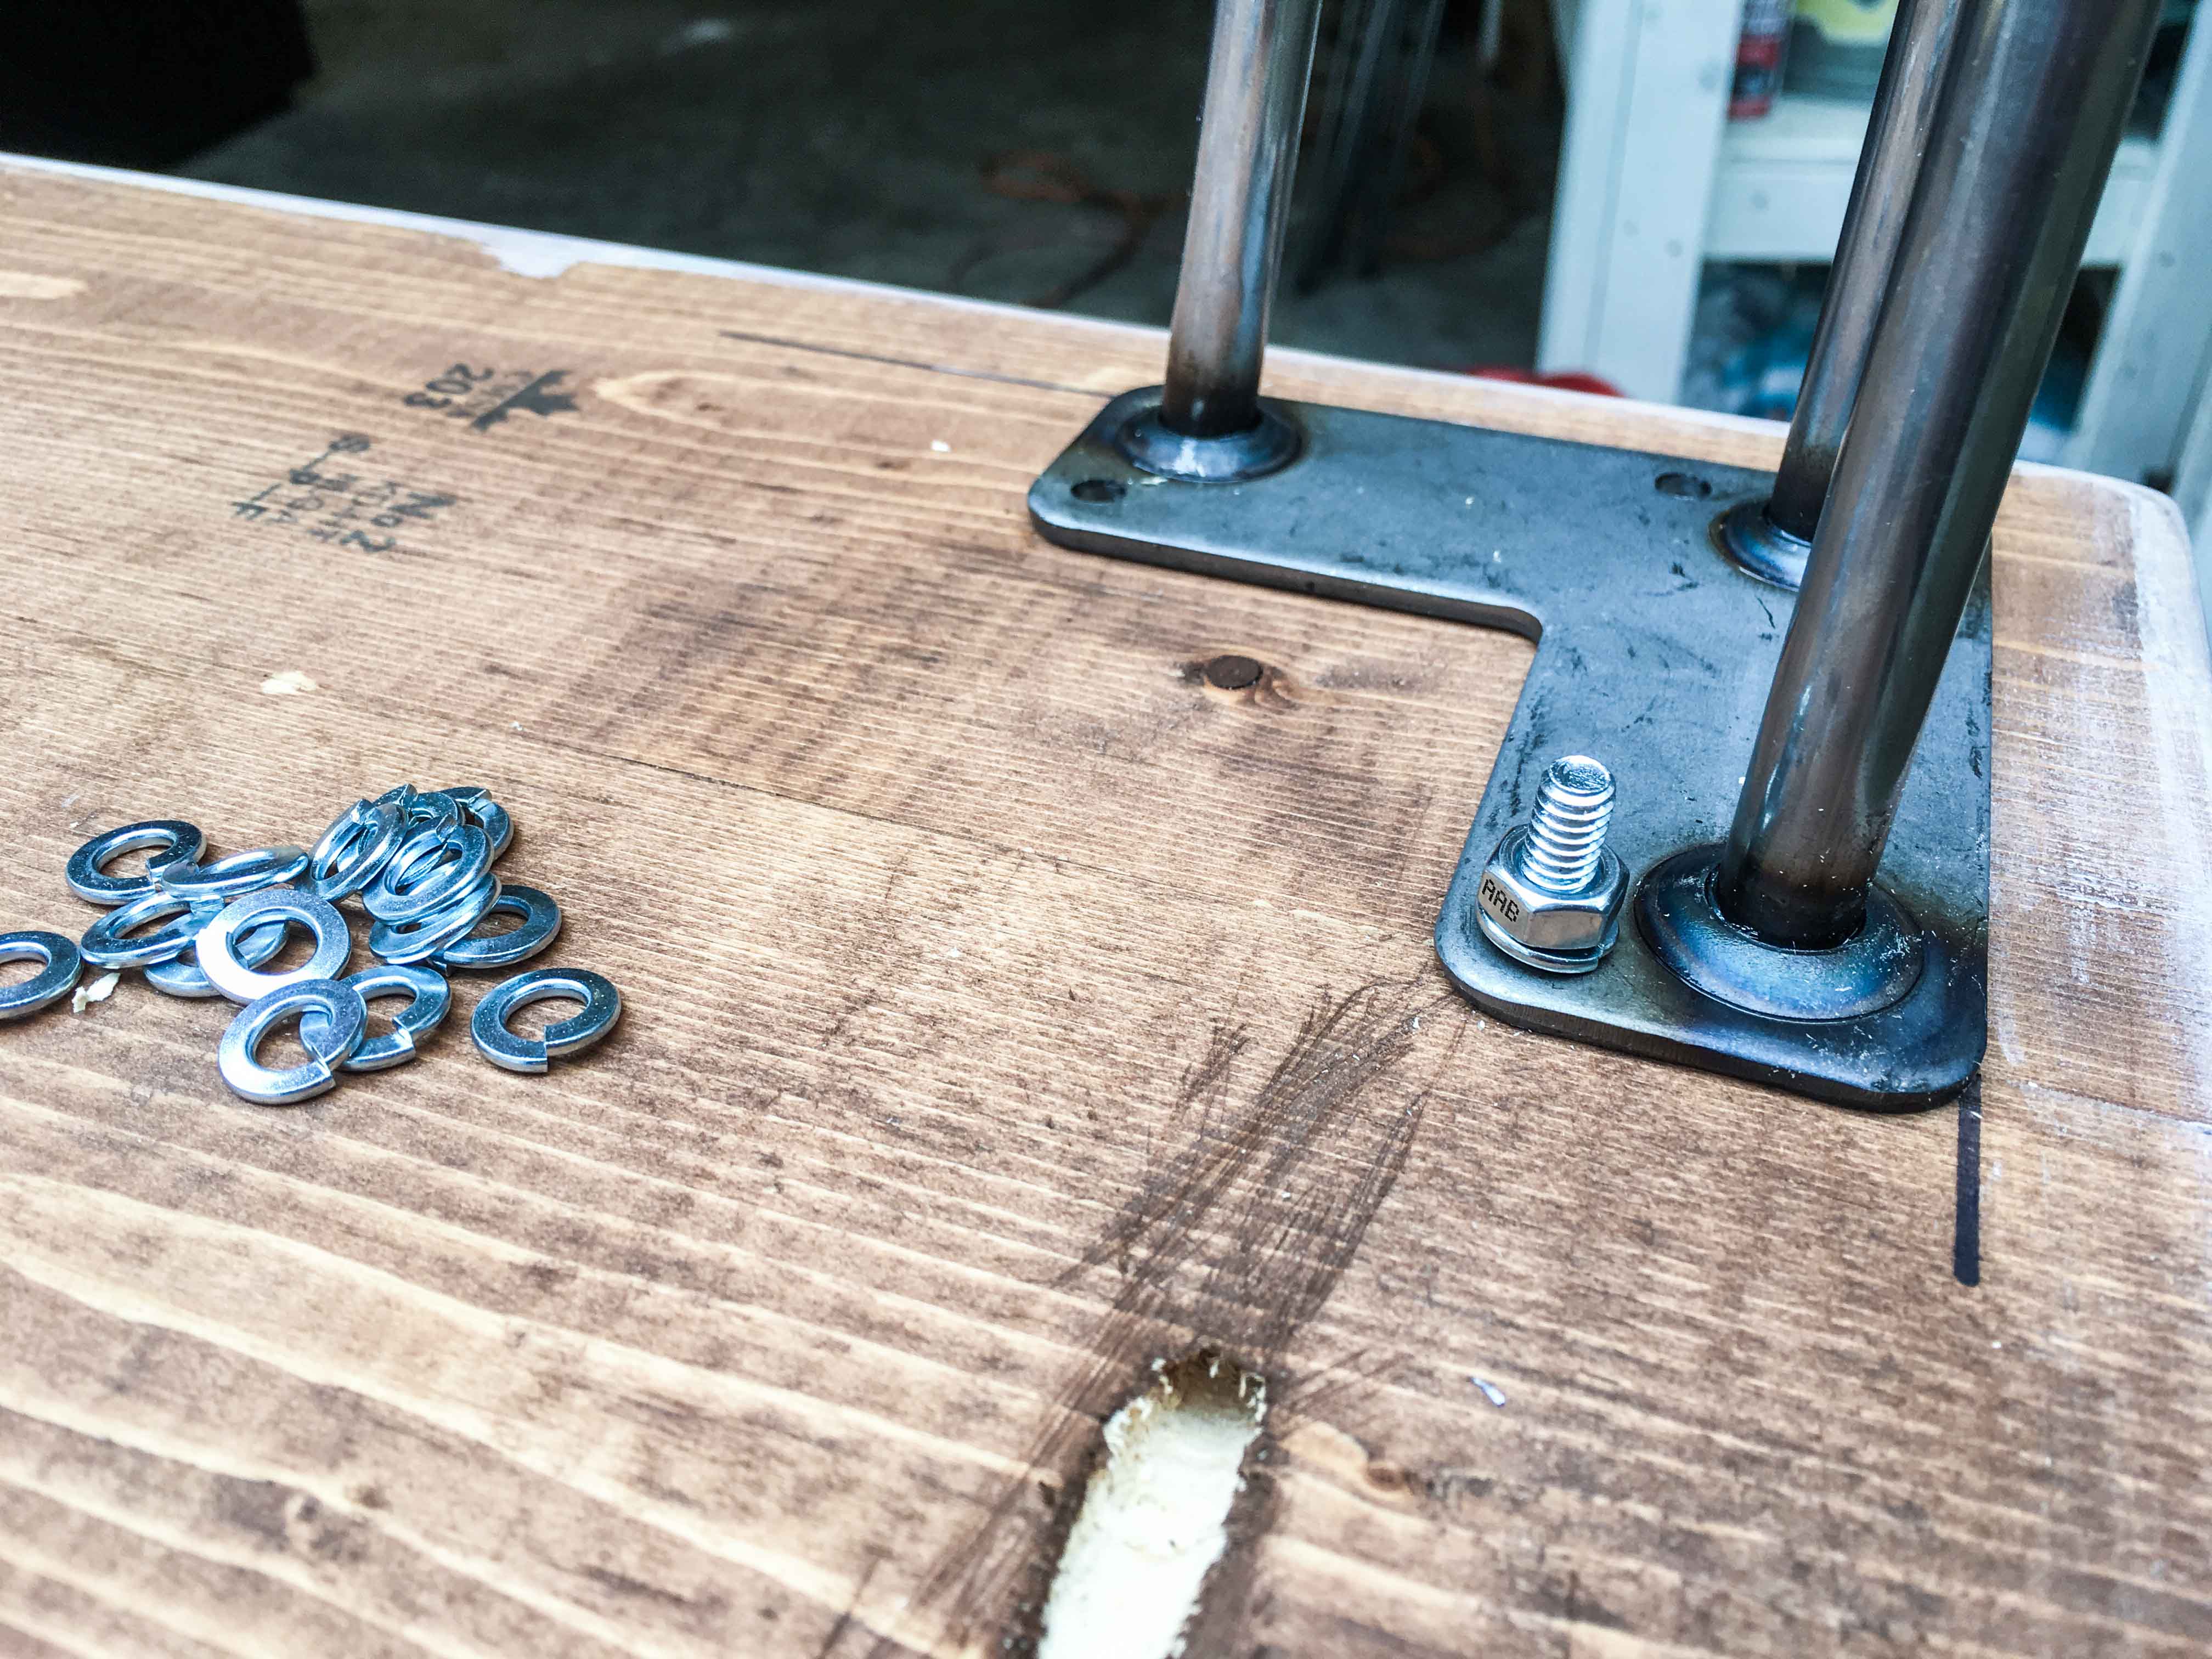
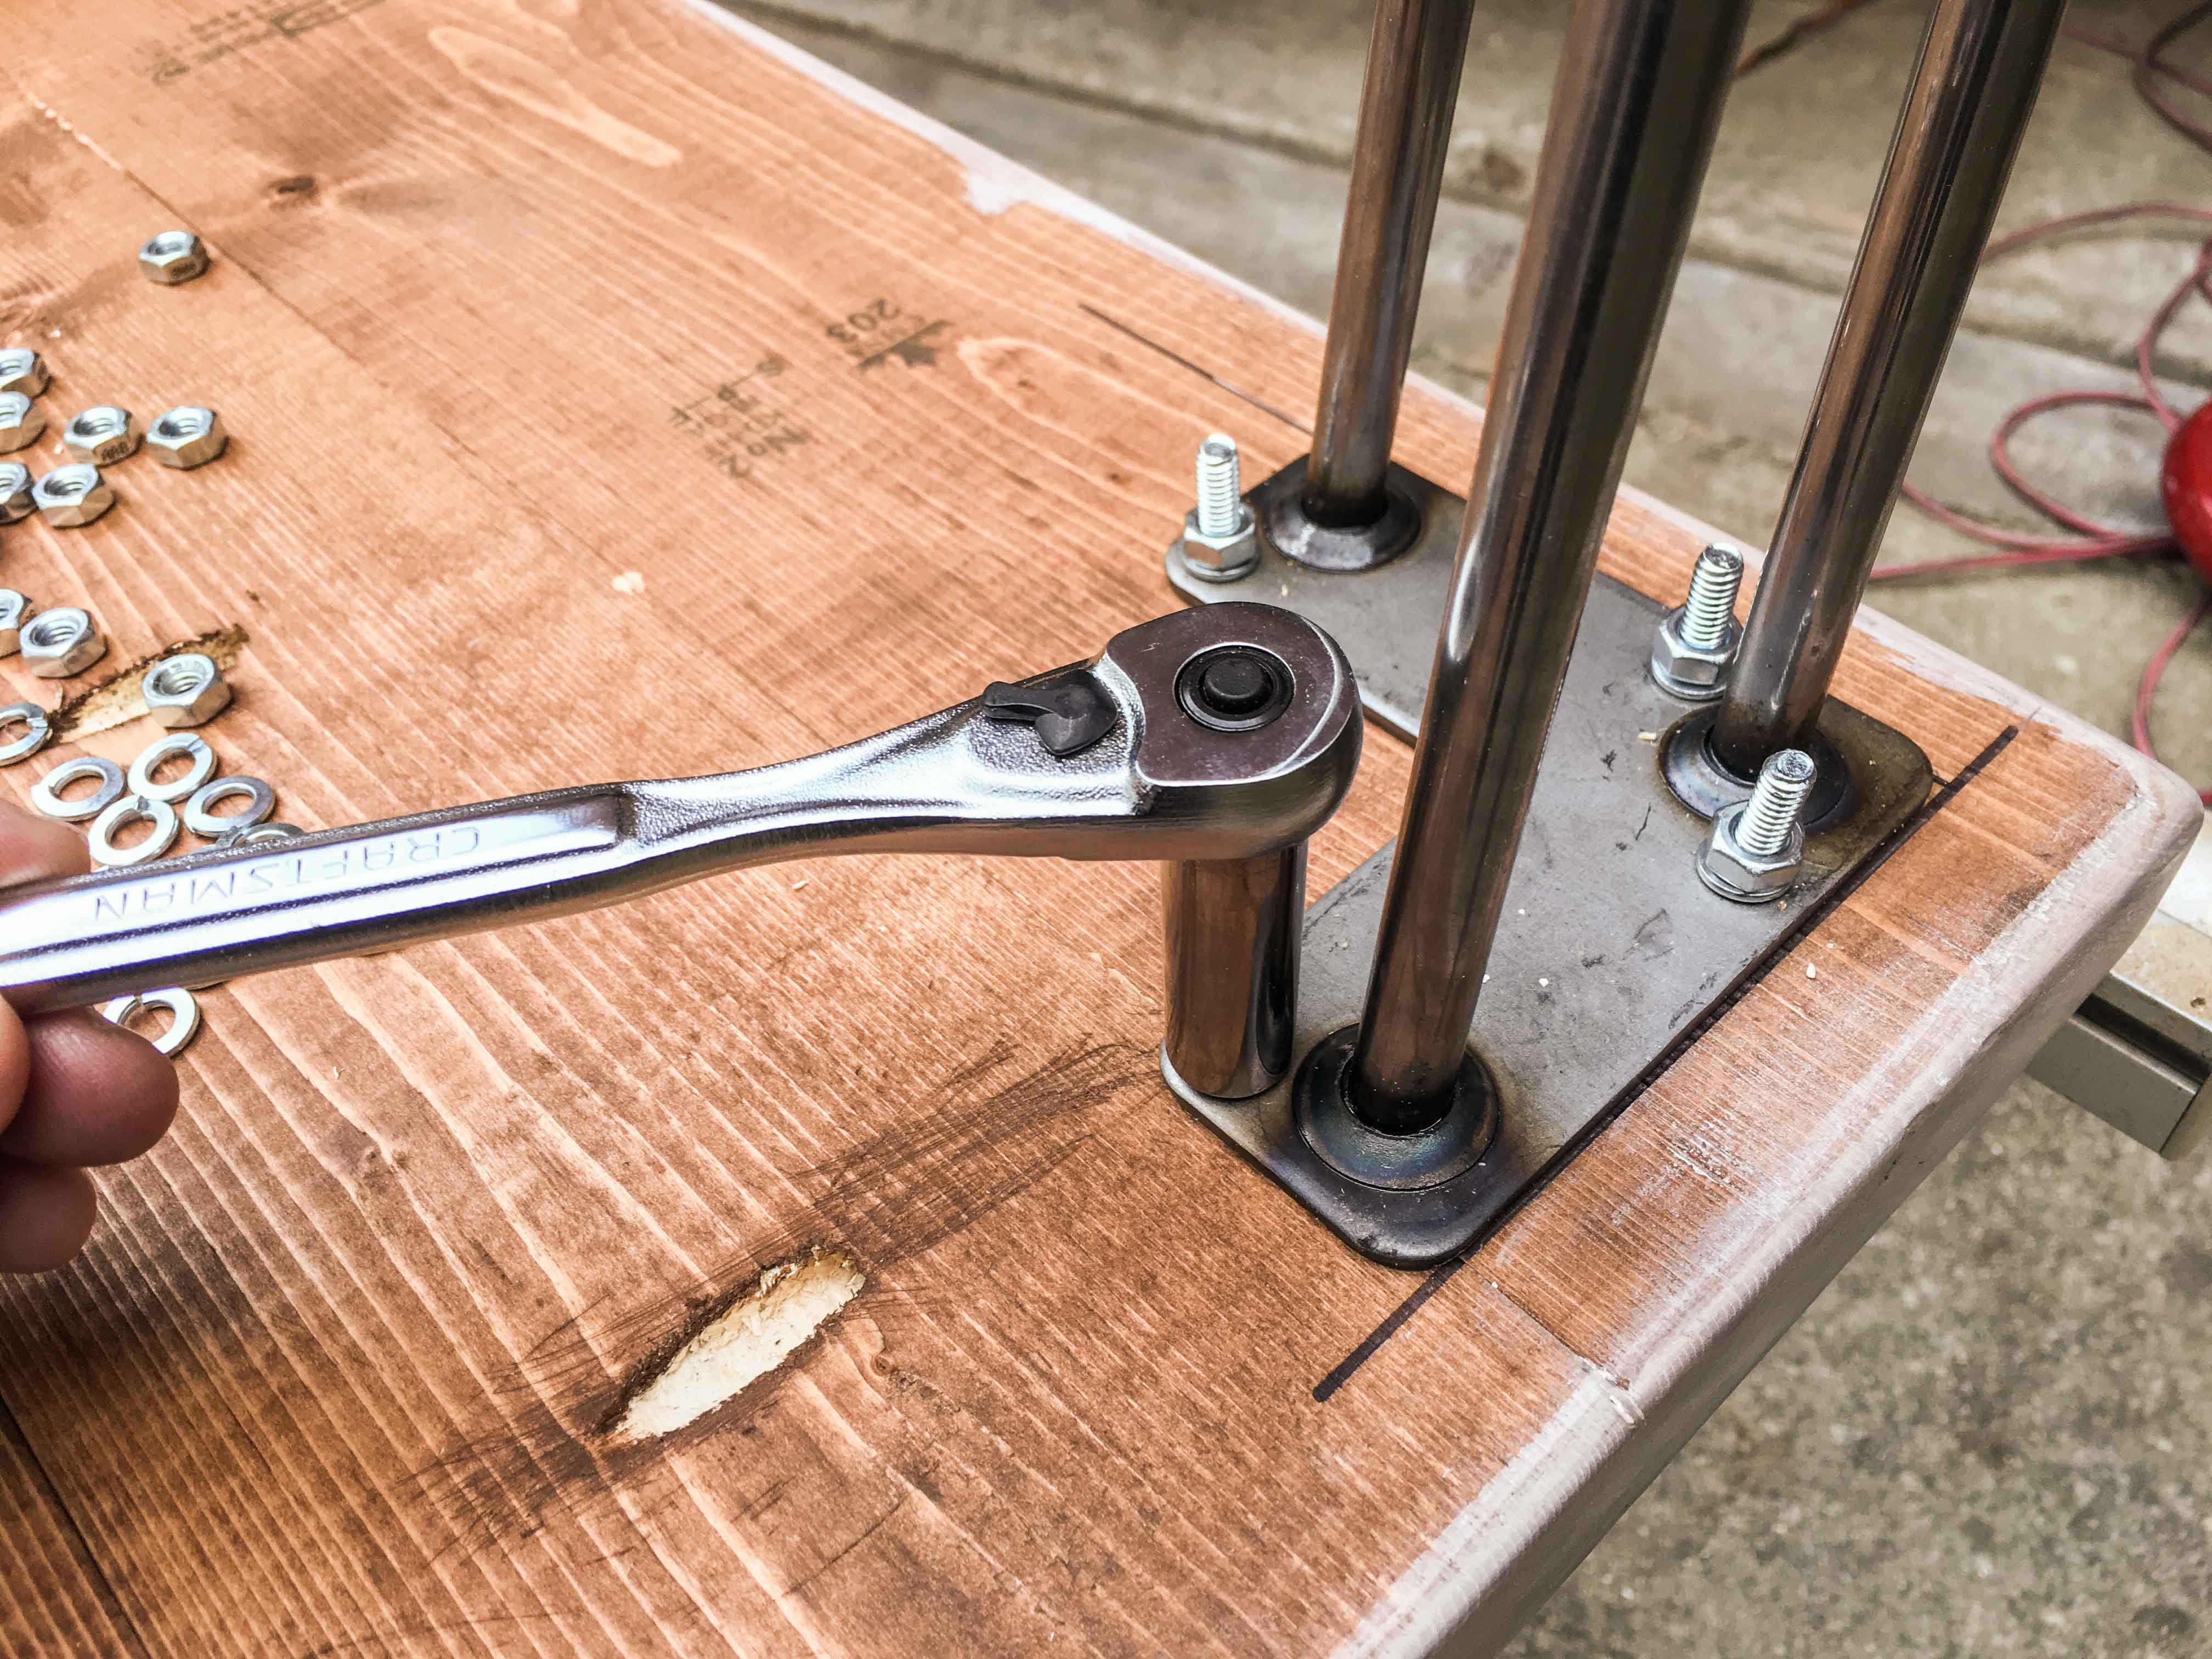
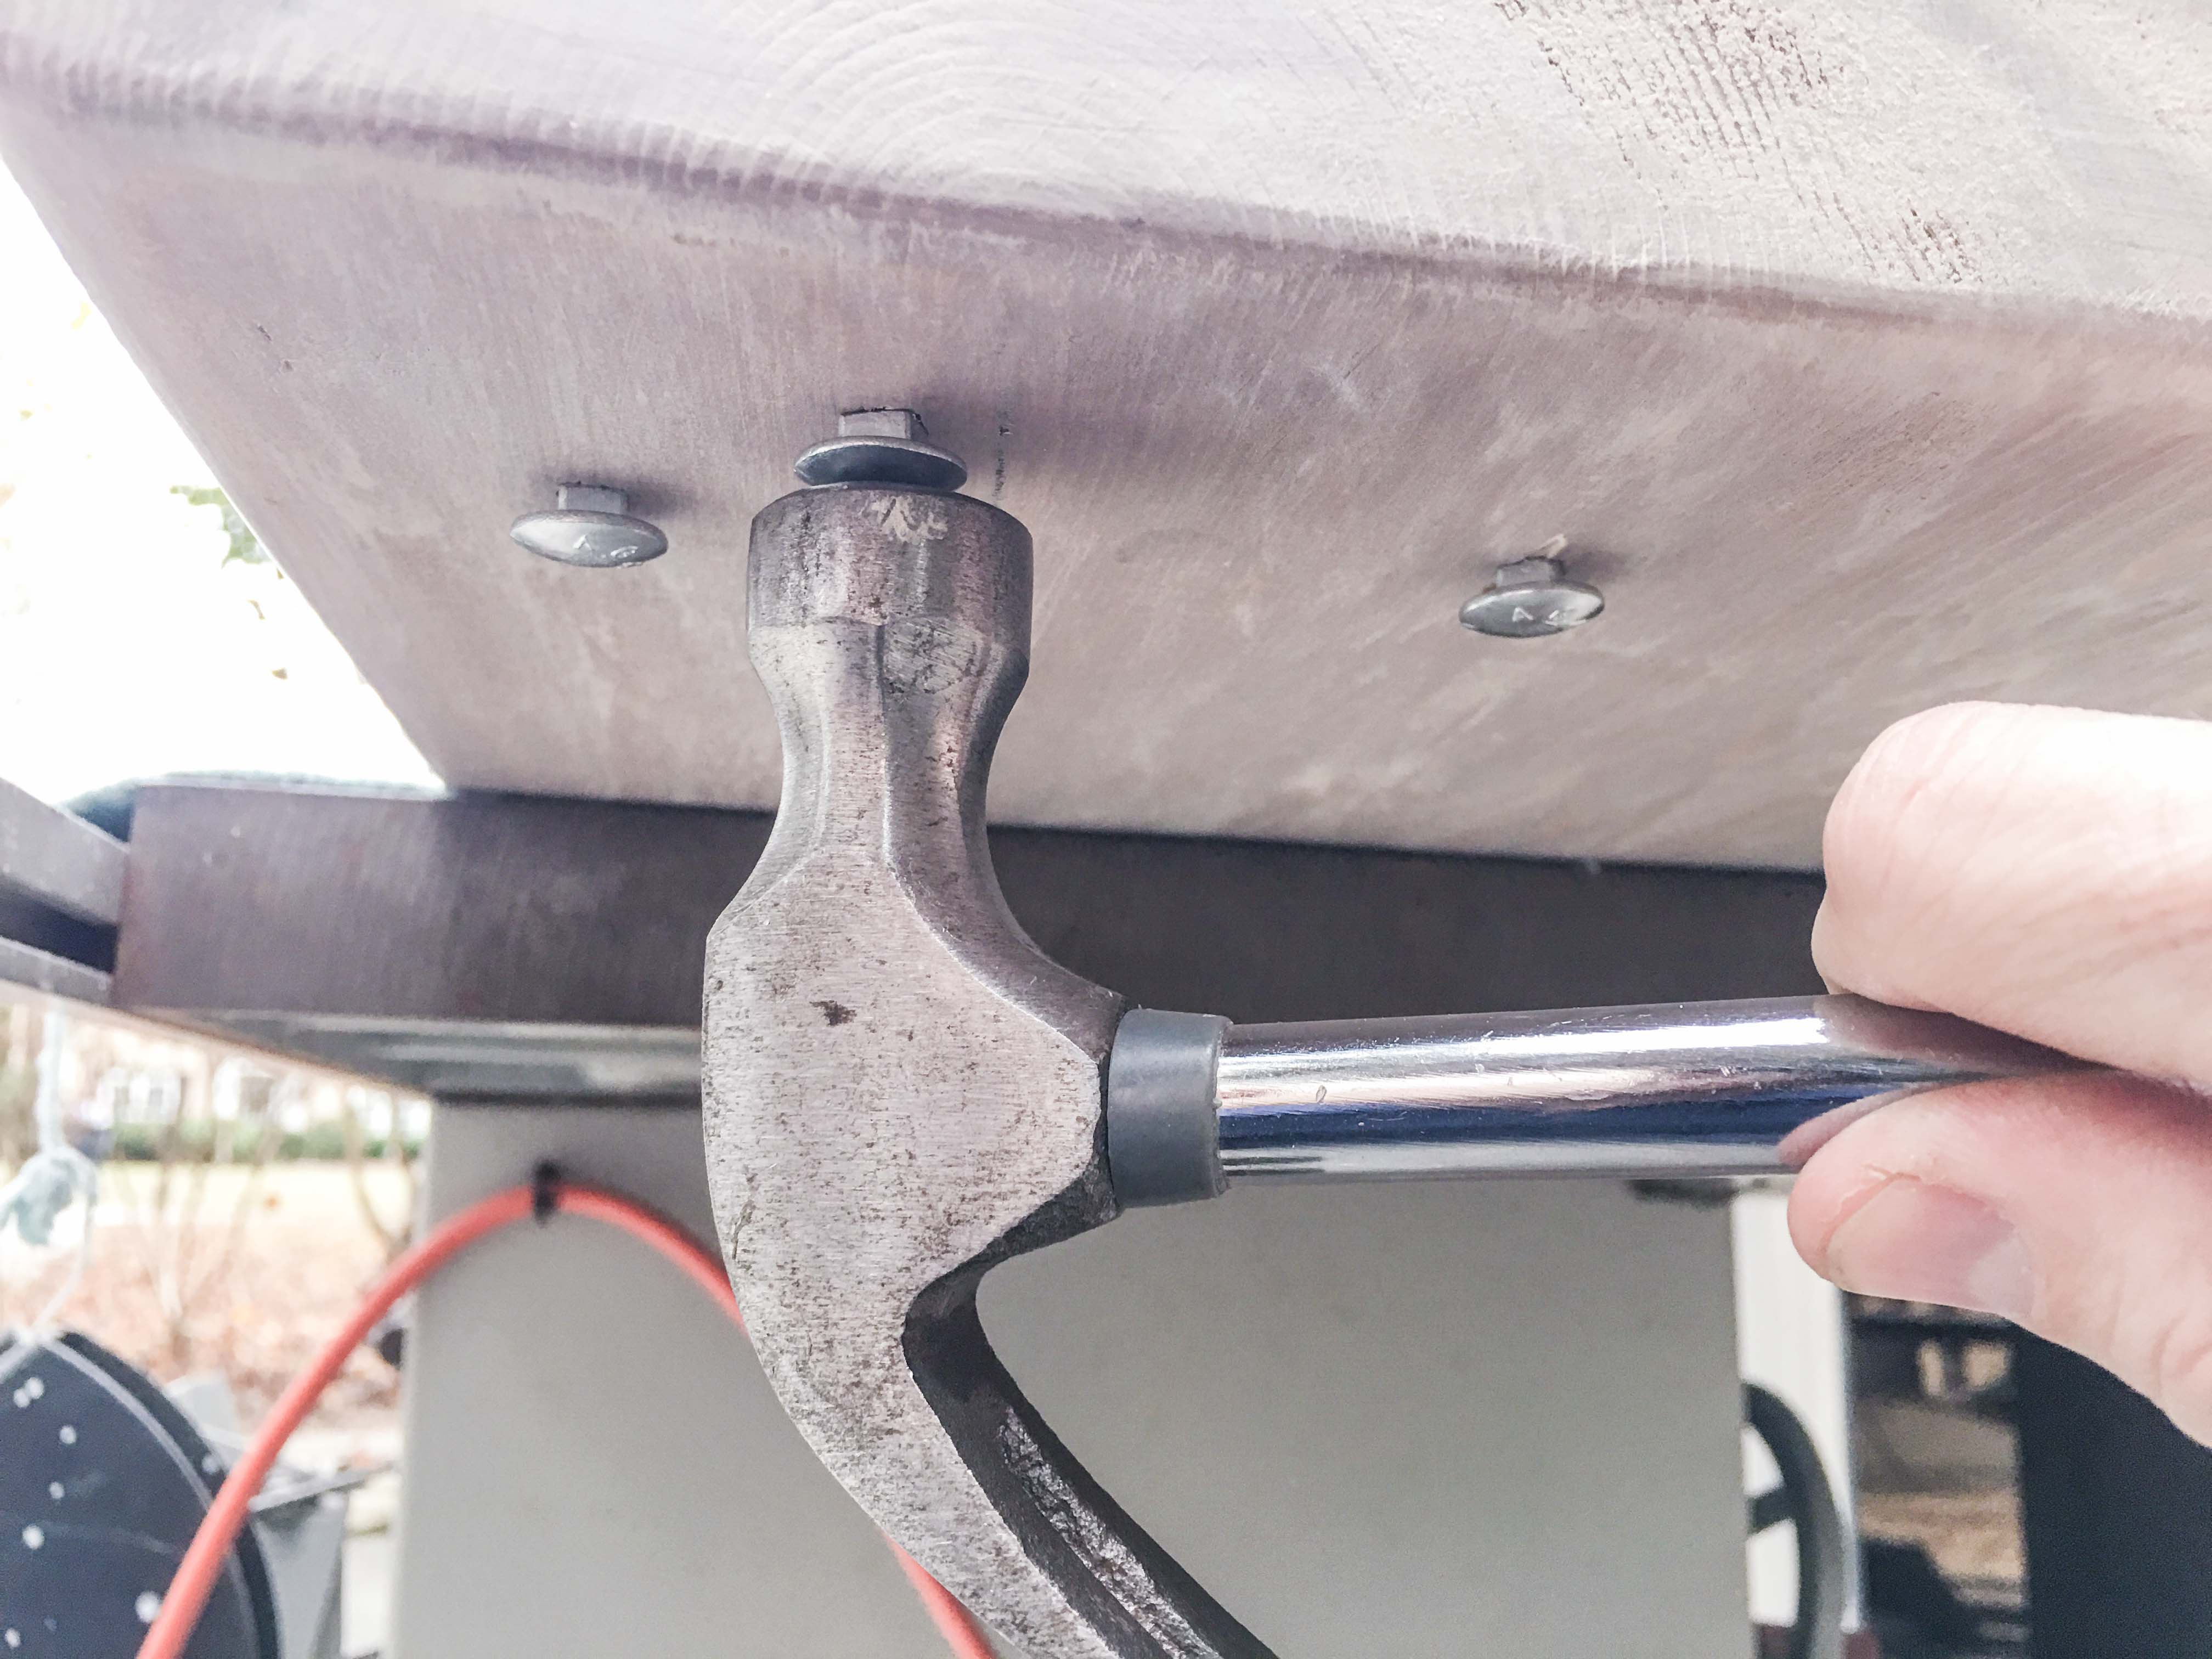
- Install carriage bolts from the tabletop down, with washer and nut on the underside using an adjustable wrench or open ended wrench. OR install lag screws from the bottom using a socket wrench, socket bit for your drill, adjustable wrench or open ended wrench.
- Place your brand new desktop on its feet, assess the tightness of each leg and adjust accordingly.
Cheers to “reclaiming” your afternoons.
That’s a cheddar cheesy dad-joke if I’ve ever seen one. Please ignore this digitally awkward moment in time. Don’t make me explain the pun. DI-Y wood you do that to me, friend? Just when things were leveling out between us. You miter want to move onto to next paragraph before it gets too sawcy. It’s knot you, it’s me. Not sure if I can handle any mortice.
Real talk: your build is one of a kind. So glad you upping your interior design game AND taking better care of your lower back by improving your ergonomics.
Sendpix. Well, let me rephrase that overtly sketchy reddit-like request that only translates to a strange remnant of social media-savvy millennials. Our stoke level would dramatically increase if you’d graciously tag us in your table posts. Share the inspiration! Customization and personalization is half the fun of it.
More epic DIY builds your home wants needs.
Why yes, that IS a freakload of DIY plans, thank you very much. Get in it to win it. Or some other unintelligible colloquialism.
- Laundry Room Renovation Reveal & 9 Step-by-Step Tutorials
- How to Make Crates out of Wood Pallets.
- How to Make DIY Shiplap.
- How to DIY Install Floor Tile.
- How to Saw Your Door Bottom to Fit Over the Threshold.
- How to Make & Install DIY Stained Wood Shelves.
- How to Change a Wall or Ceiling Light Fixture.
- How to Dry Brush Reclaimed Pallet Wood with Paint.
- How to Build & Install a Sliding Barn Door.
- DIY Restoration Hardware Copycat Headboard.
- DIY Herringbone Headboard.
- Custom Calligraphy Wall Decor.
- Decorate Your Home for Fall on a Budget.
- DIY Fabric & Burlap Banners.
- Centerpiece Pallet Wood Box.
- Pallet Wood Pumpkins.
- Homemade Fire Pit.
- Rustic Finish For Your Reclaimed Table.
- Installing Laminate Flooring.
- Paint, Stain, Whitewash & Distress Your Farmhouse Table.
- DIY Entryway Organizer.
- How to Clad with Pallet Wood in Your Kitchen.
- How to Install a Solid Wood Range Hood Cover.




I’ve built many tabletops using your same methods and finishes, but still learned a few new tricks too! Your tutorial was top shelf, great instructions for a newbie or seasoned DIY’er! I can’t wait to try the glazing and waxing technique you used. Thanks so much!
That means a lot, Kristin! Appreciate the positive feedback. So glad to hear the new tricks have helped out.