Shiplap is totally your thing. But you’re searching for some out of the ordinary design inspiration.
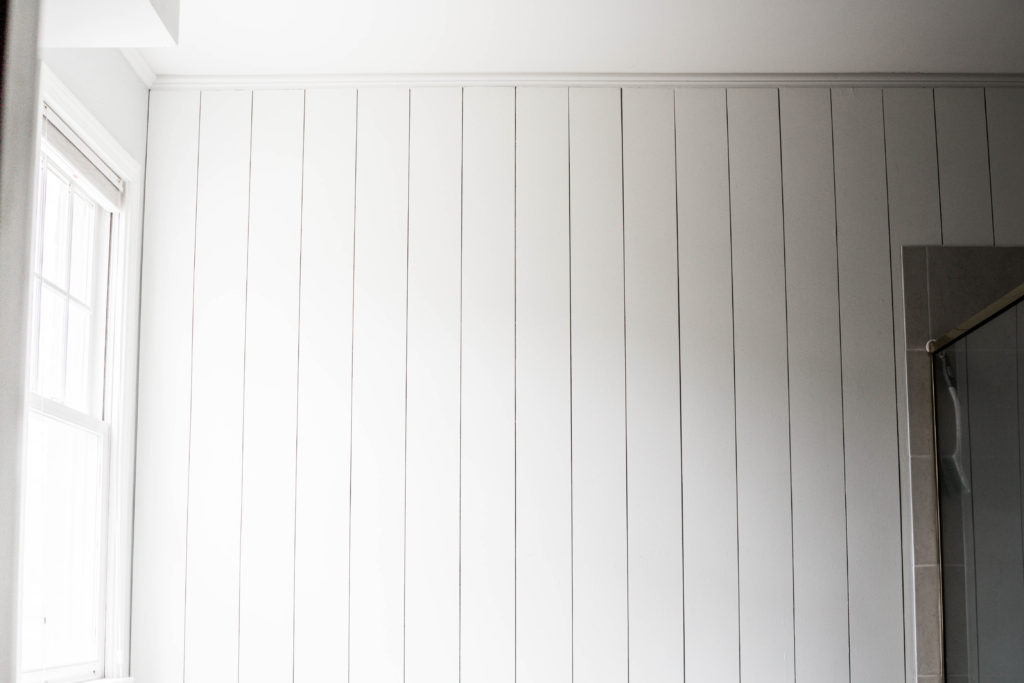
Welcome to the end of your search. Ever considered creating a custom accent wall in your home by installing vertical instead of horizontal boards? The same super clean lines you love about the modern farmhouse aesthetic with a unique twist.
The ups & downs of shiplap.
Instead of drawing your eyes to the expansive width of a room, create the optical illusion that your ceilings are higher than they actually are. Shorter walls made “taller”, or taller walls making a high-end statement.
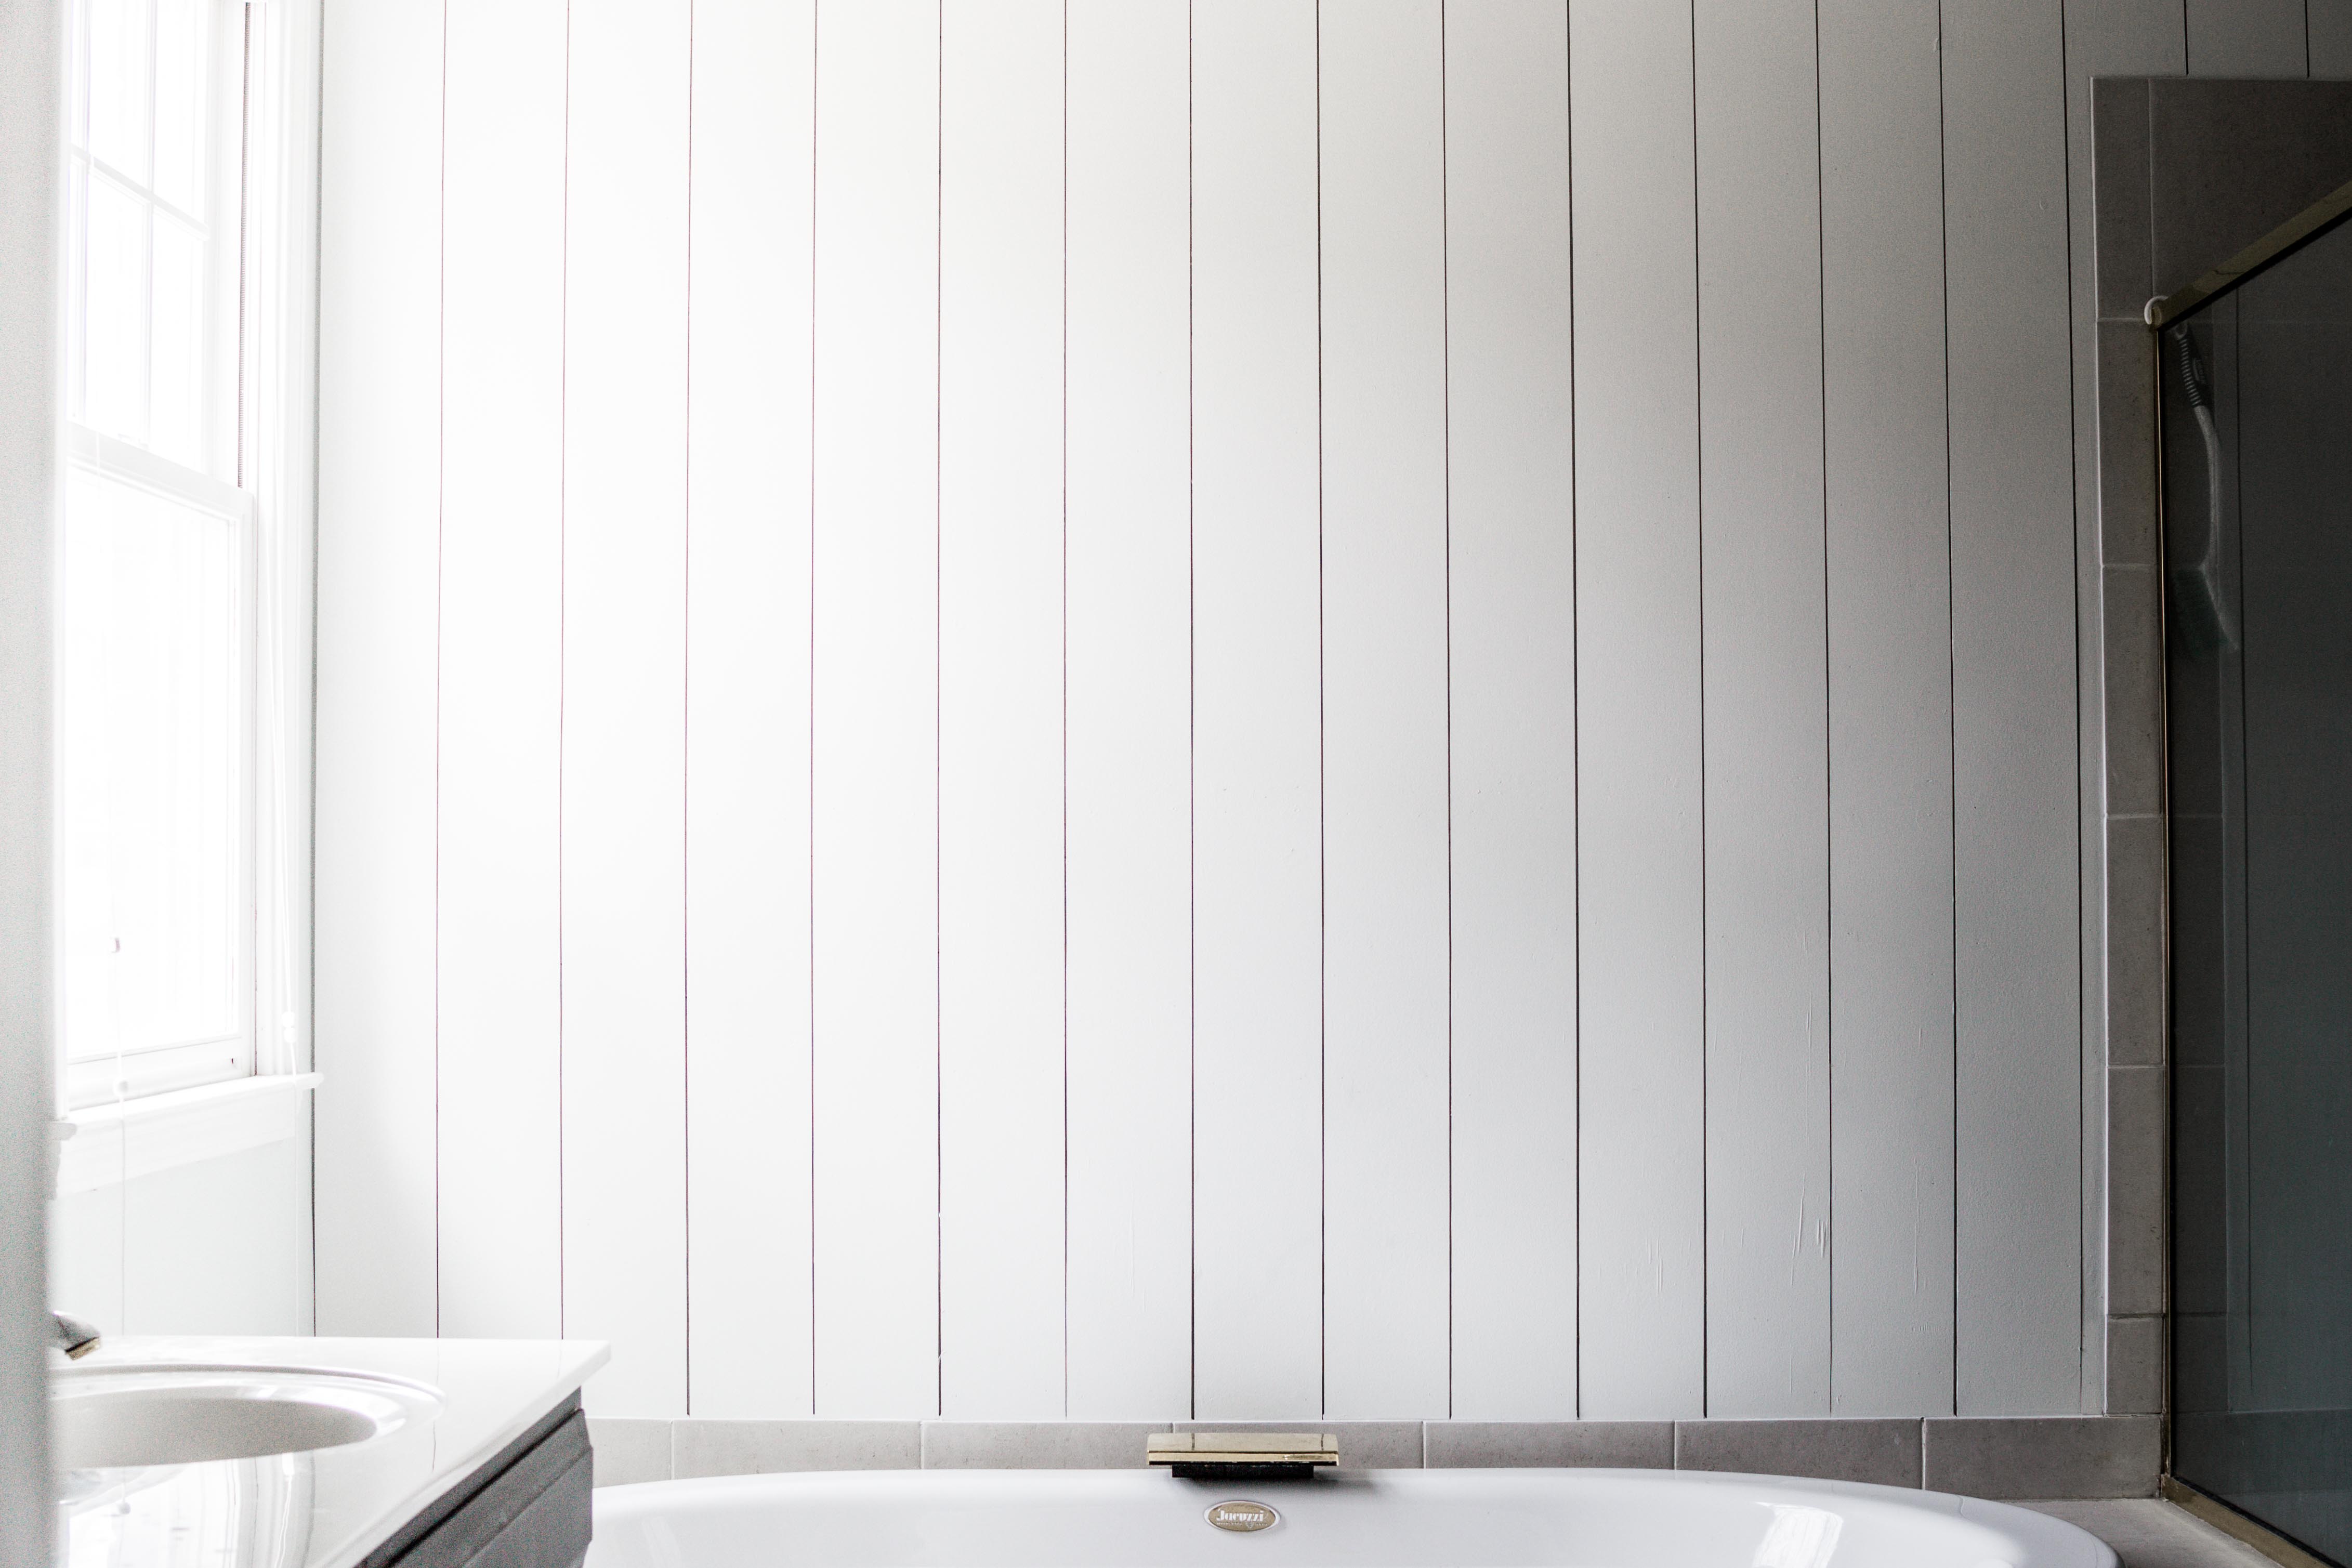
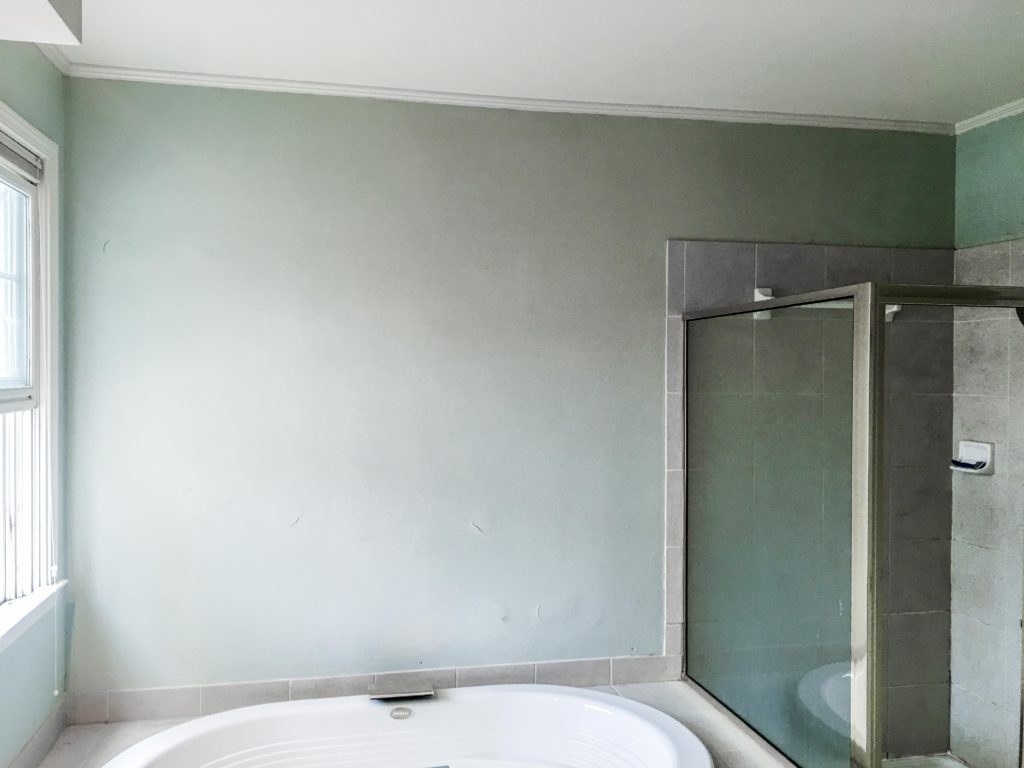
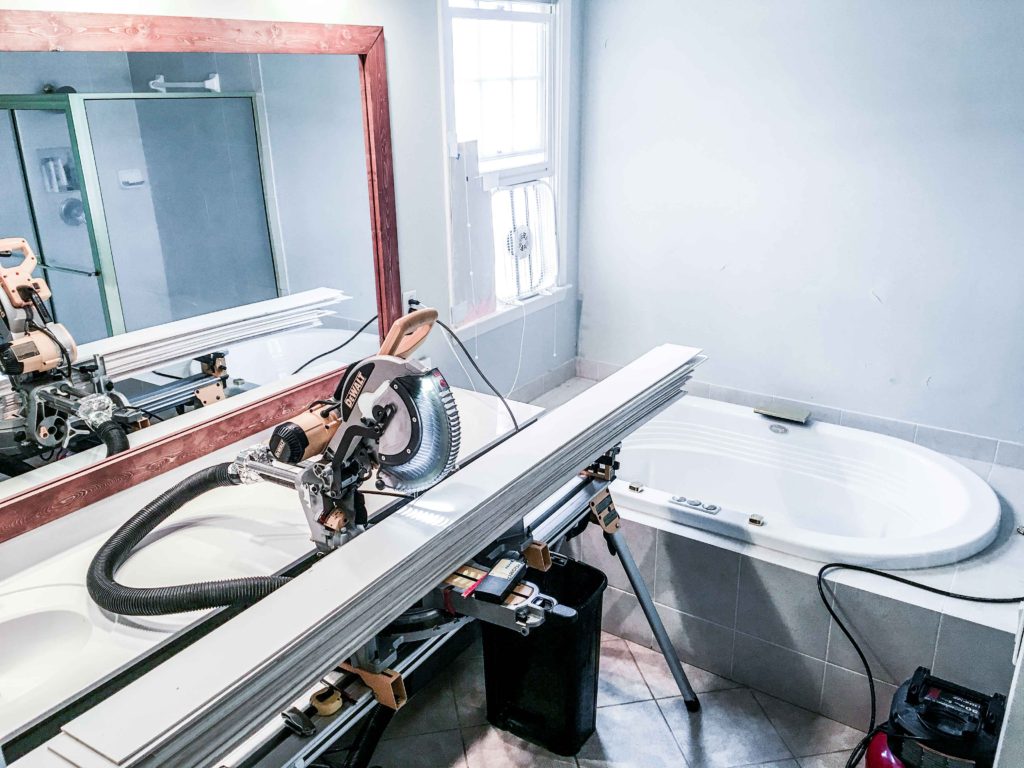
Shiplap isn’t limited to beauty without function. We ripped the extra mirrors out of our bathroom, which were apparently attached to the drywall with loads of construction adhesive. Bye-bye drywall. Spackling or drywall mud doesn’t always get the job done. Either we replace huge chunks of drywall OR we cover the entire wall with wood decor. Hence how this tutorial came about.
Kitchens and bathrooms should be an extension of the overall texture / color palette and vibe of the rest of your home. Even though your master bath is virtually only seen by you and your significant other, the design has a direct effect on your psyche. Good design yields peace of mind. Don’t neglect the owner-only areas of your space.
The recent “revival” of shiplap’s widespread use certainly appeals to a plethora of interior styles (although it was originally used as insulation). Think: cottage, modern, farmhouse, rustic, antique, etc. And if you choose to demo your shiplap in years to come, it’s a very quick and easy uninstallation if it ever happens to not fit your style in the future. As long as you installed it with nails and NOT glue.
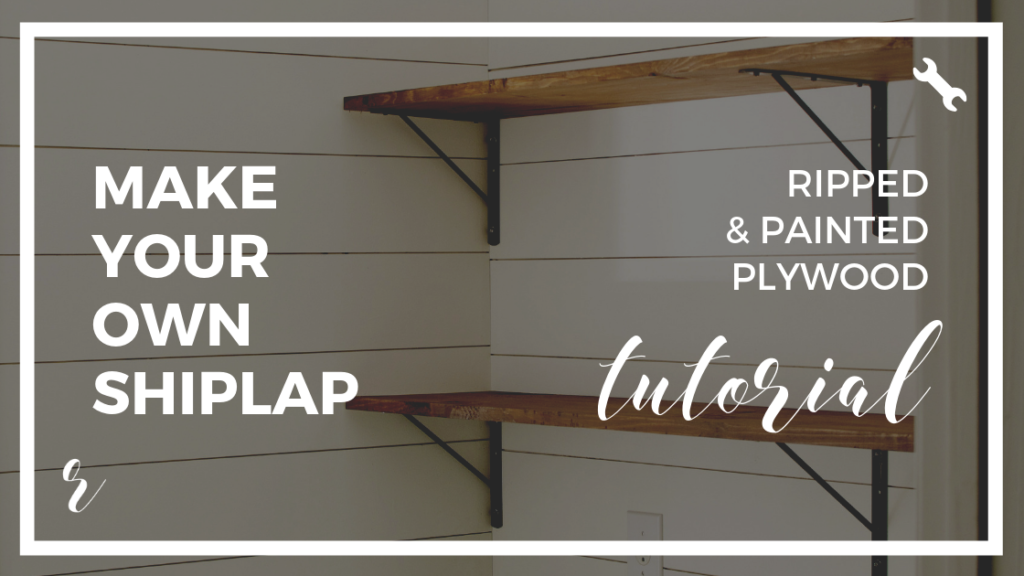
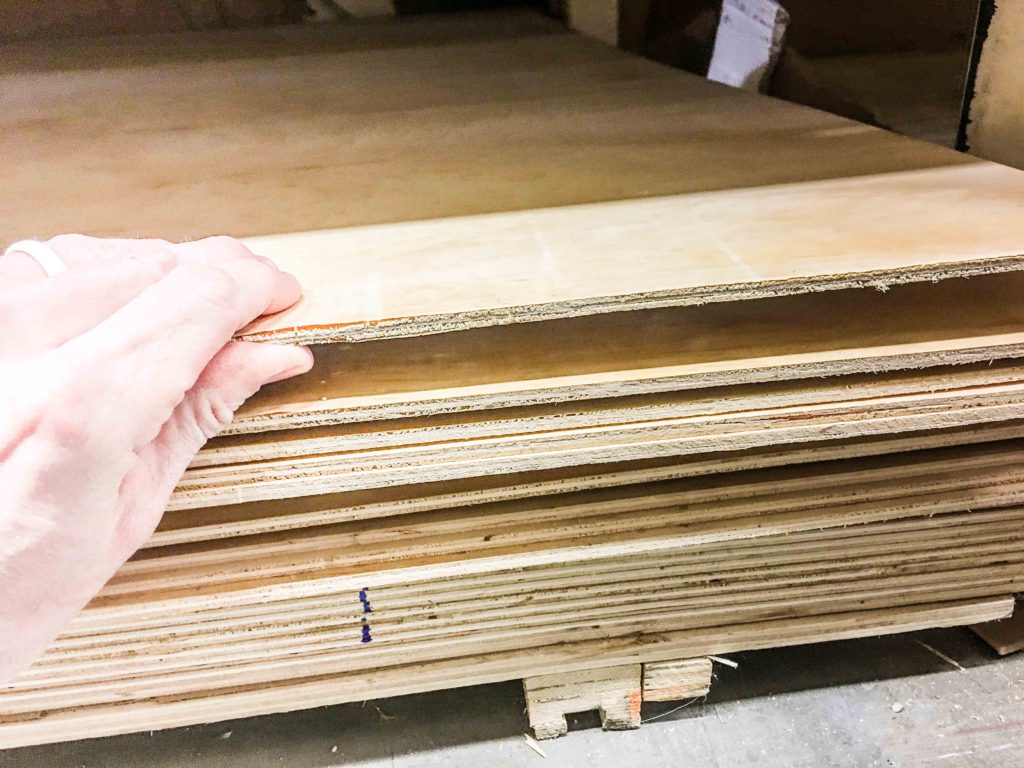
Make your own shiplap from cheap plywood.
Interested in saving at least a couple hundred dollars by making your own shiplap from plywood?
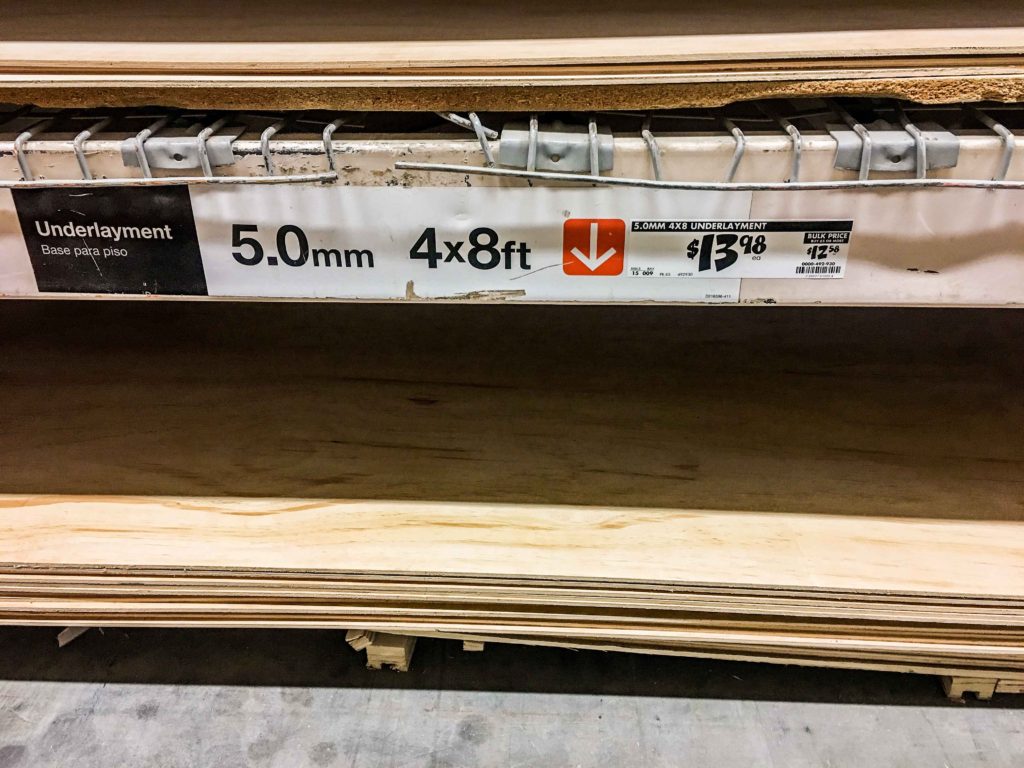
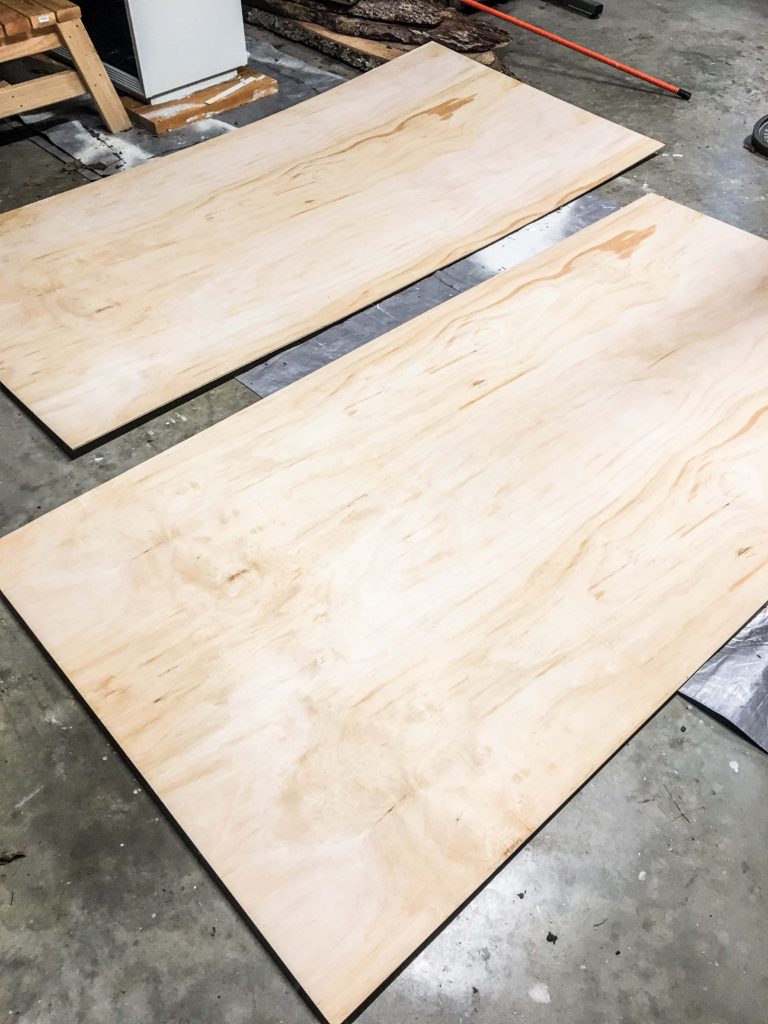
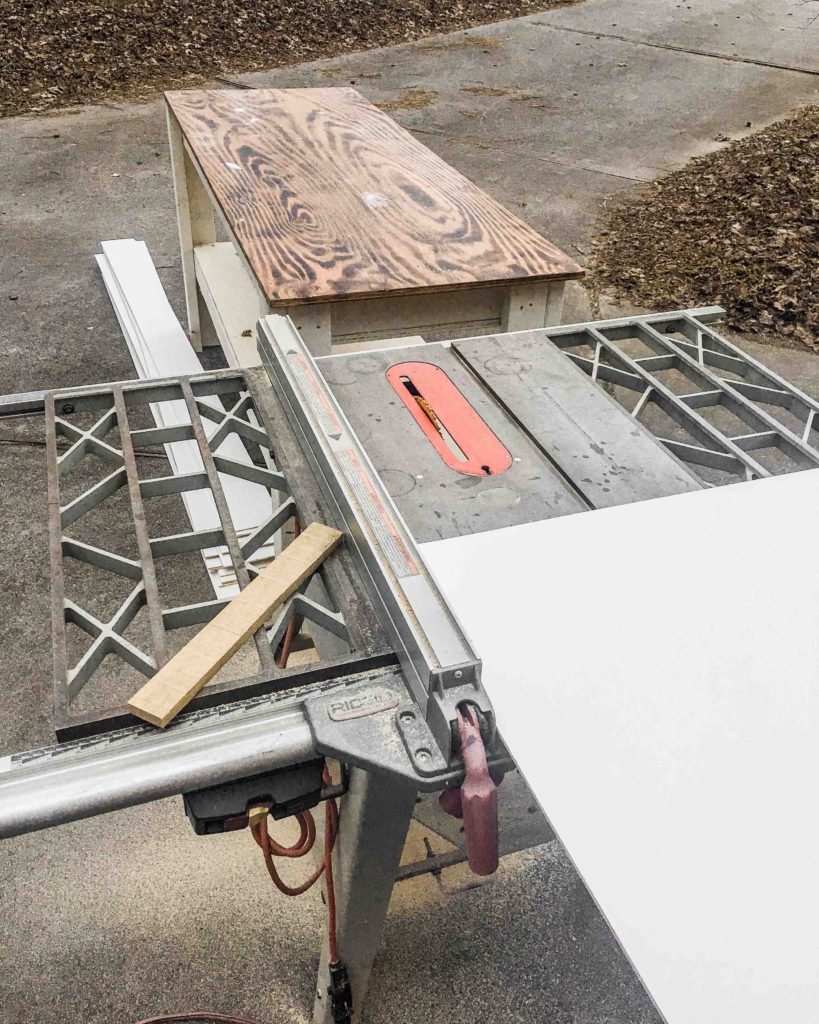
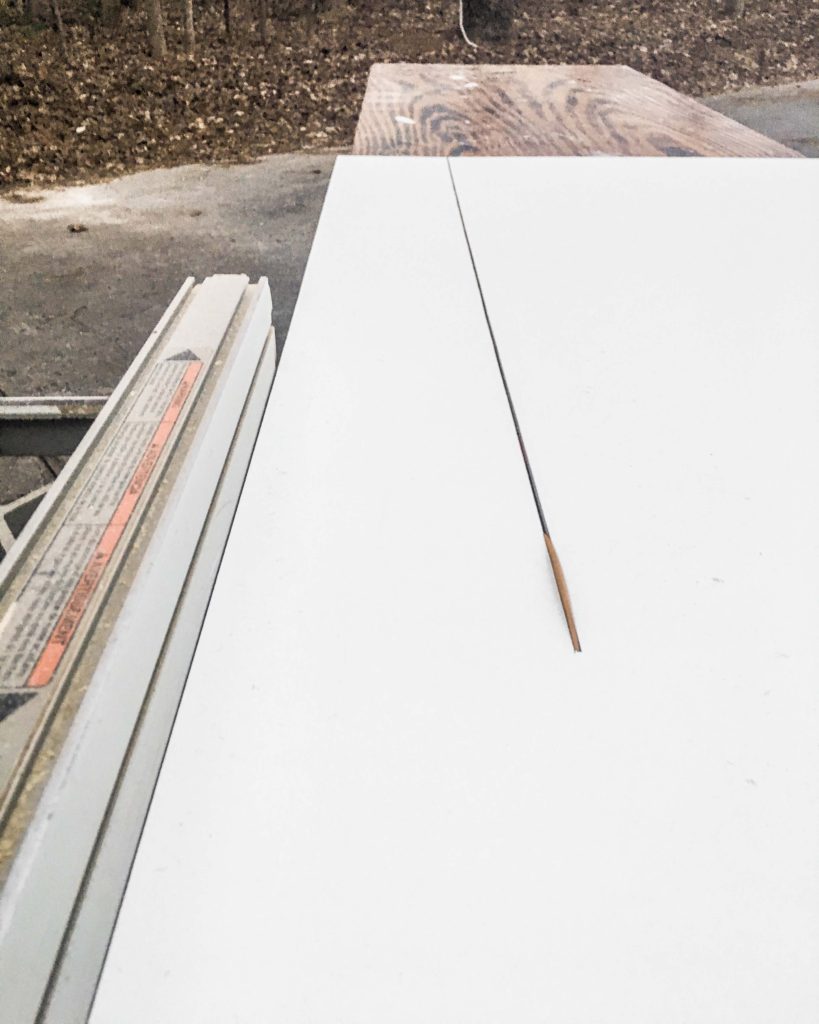
I was. The very reason I bought ¼” plywood from the hardware store and ripped it with my table saw. Painted it white with a paint roller. Cut it to fit with a miter saw. And attached it to our master bathroom walls with compressor and pneumatic brad nailer.
The store bought price? For tongue & groove, premade shiplap, we’re talkin’ $344.45. Including the extra 15% contingency for the expected waste after sawing every piece. $409.31 for ALL materials (including shiplap) to cover 200 square feet of wall space.
What about the price to make your own from plywood sheets? It’s outrageous, friend. In a good way. $111.84 for plywood. $176.20 for ALL materials (including plywood), covering 200 square feet of wall space.
If you own or have access to a table saw, then make your own and cut your price in half. Here’s the step by step tutorial:
How to install vertical shiplap like a boss.
Materials.
- Your homemade plywood shiplap (tutorial linked).
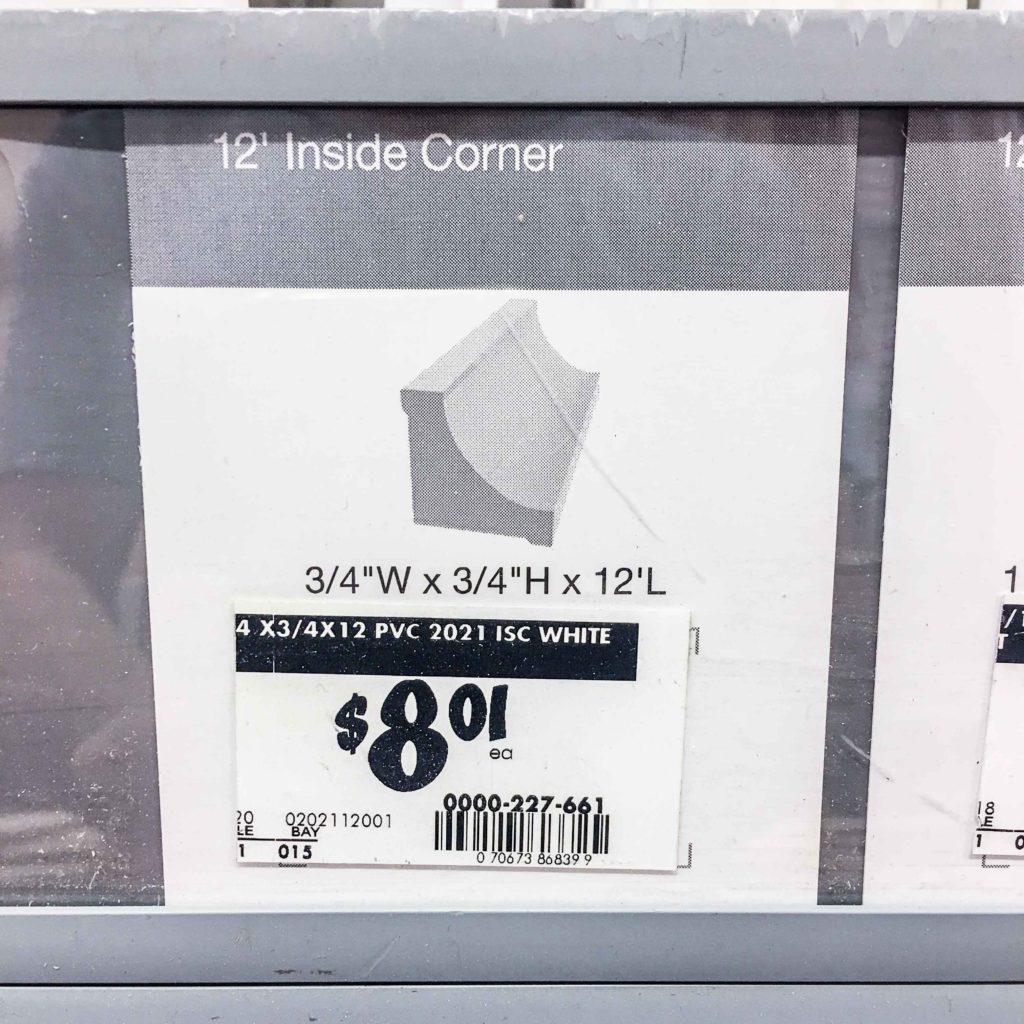
- Inside corner moulding. ~$4 for 8 feet. *See Step 8.
- Outside corner moulding. ~$8 for 8 feet. *See Step 8.
- Scribe moulding. ~$10 per 8 feet. OR lattice moulding, ~$4.50 per 8 feet. *See Step 8.
- 1-1/4″ brad nails at ~$3.13 for 900 (assorted pack) – shiplap install.
- 2” brad nails included in the assorted pack above – baseboard / all moulding install or reinstall.
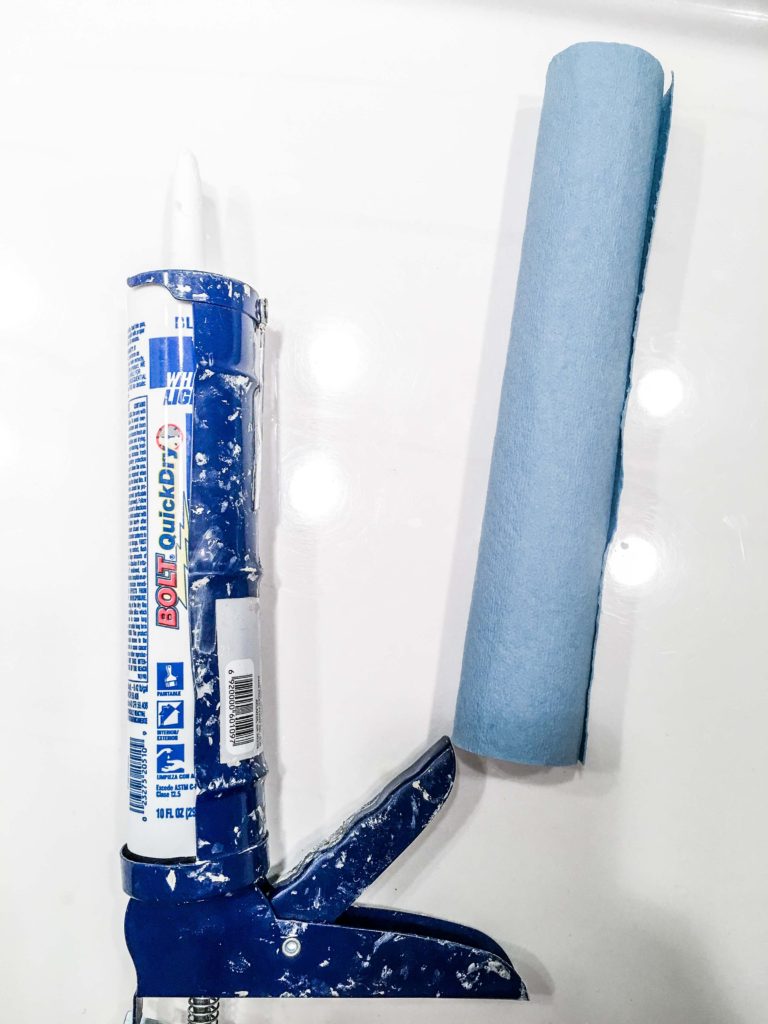
- White caulk for $4.12 per 10.1 oz tube. To fill cracks & brad nail holes.
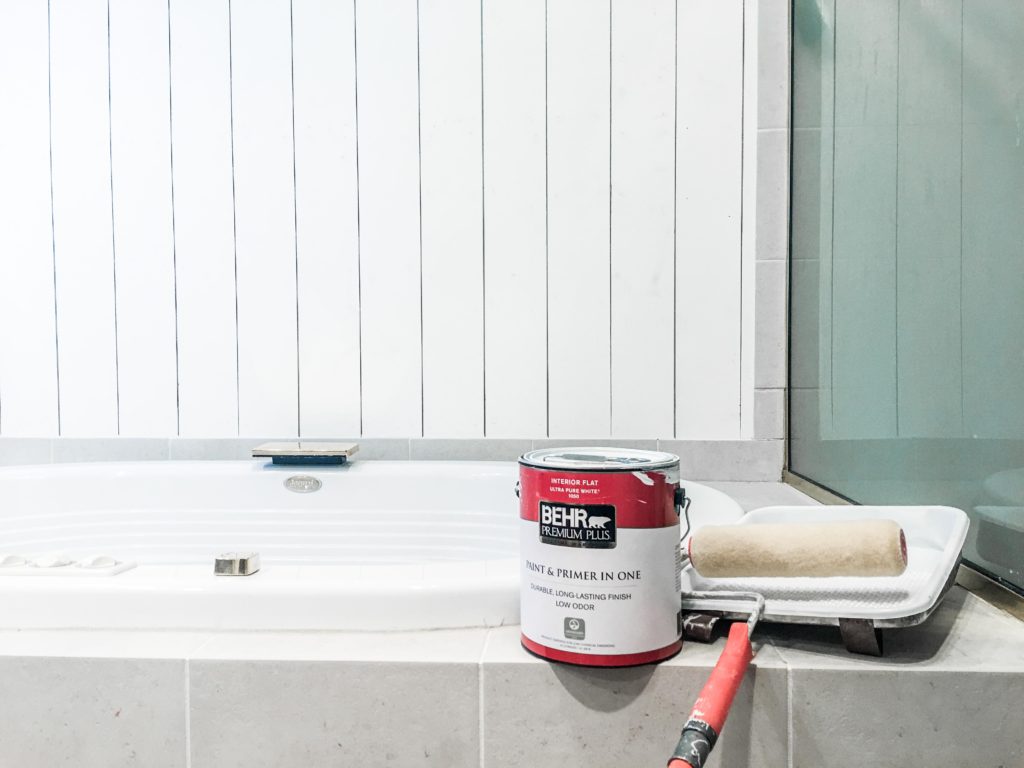
- White paint. We chose Benjamin Moore Simply White color matched in a can of Behr Paint at Home Depot. Interior, flat (matte) sheen. Or any paint that compliments your space. ~$30 a gallon.
- Paint roller covers. 3-pack for ~$7.
- Paint roller frame. 9” frame for $8.
- 2 nails for spacers. Or use something rigid, sticky and ~⅛” thick.
Tools.
- Miter saw.
- Table saw or circular saw – for the last vertical piece per wall.
- Air compressor & brad nail gun with nails (above). (Save cash buying them together). OR hammer + 1-½” finish nails (shiplap) + 2” finish nails (moulding).
- Caulk gun.
- Stud finder.
- Level.
- Measuring tape.
- Pencil.
- Utility knife.
- Pry bar.
- Hammer.
- Yardstick or T-square (better for measuring drywall).
Budget.
TO MAKE IT (not this tutorial)
- DIY shiplap cost, plywood only = $111.84 for every 200 sq ft of wall space.
- Premade shiplap cost, wood boards only = $344.45 for 200 sq ft of wall space.
TO INSTALL IT
- All shiplap installation materials cost MINUS PAINTING = $27.25.
- All shiplap installation materials cost = $72.25.
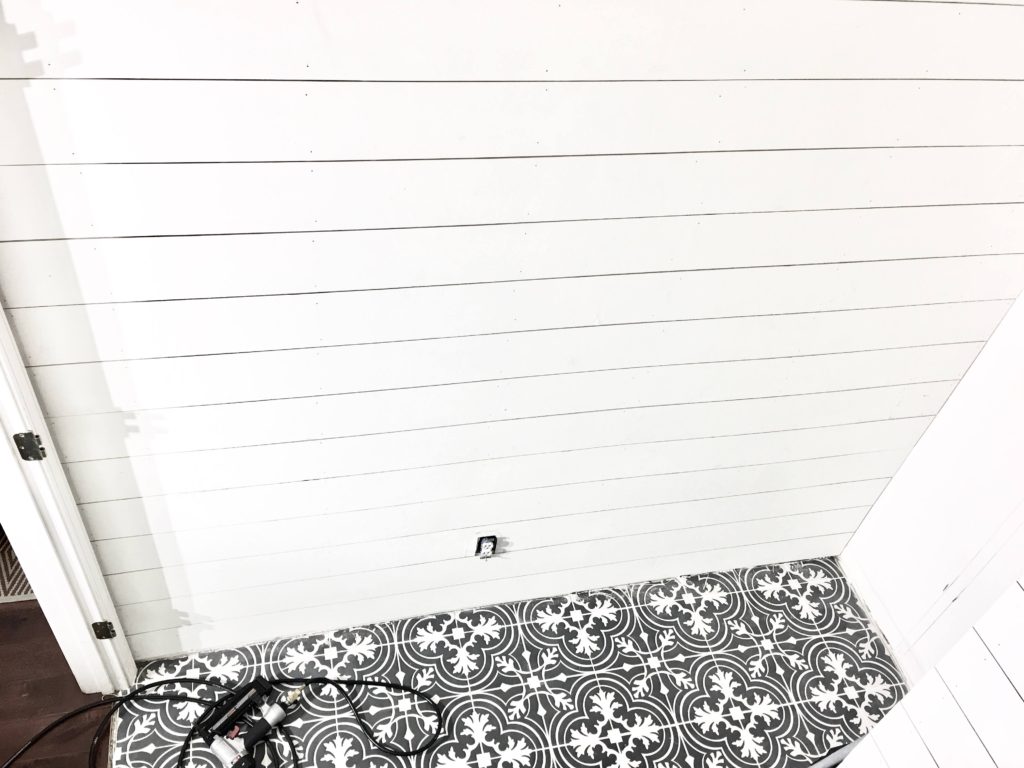
Moulding note: I allotted $20 for ALL moulding in the calculation above. Our horizontal shiplap laundry room install only required one piece of outside corner moulding. Our bathroom accent wall vertical shiplap install (this tutorial) only required 2 – 8 foot long pieces of moulding where the shiplap meets an adjacent wall.
Step 1. Make your shiplap. Or buy it.
CALCULATE NEEDS
- Measure ALL of your wall space you want to shiplap.
- Calculate the square footage of that wall space. Width x height for all walls.
- If you’re making your own shiplap with 4×8 sheets of plywood, consider that each sheet is ~32 sq ft (minus the ⅛” thick table saw blade, multiplied by the number of cuts you make).
- If you’re buying shiplap, look at the square footage assessment on the package.
- Add an additional 15% to your actual wall square footage as a contingency. Most leftover, cut pieces will not be usable. Plus, you may make a few mistakes.
- Round up. If you actual need + 15% = 100 square feet, you’ll need 4 sheet of 4×8 plywood (4×32 = 128 sq ft). 3 sheets of plywood wouldn’t be enough (3×32 = 96 sq ft).
HOMEMADE
- Here’s our tutorial to make your own shiplap using ¼” plywood to save a couple hundred dollars.
- You’ll definitely need a table saw to rip each board. Or a circular saw with a guide.
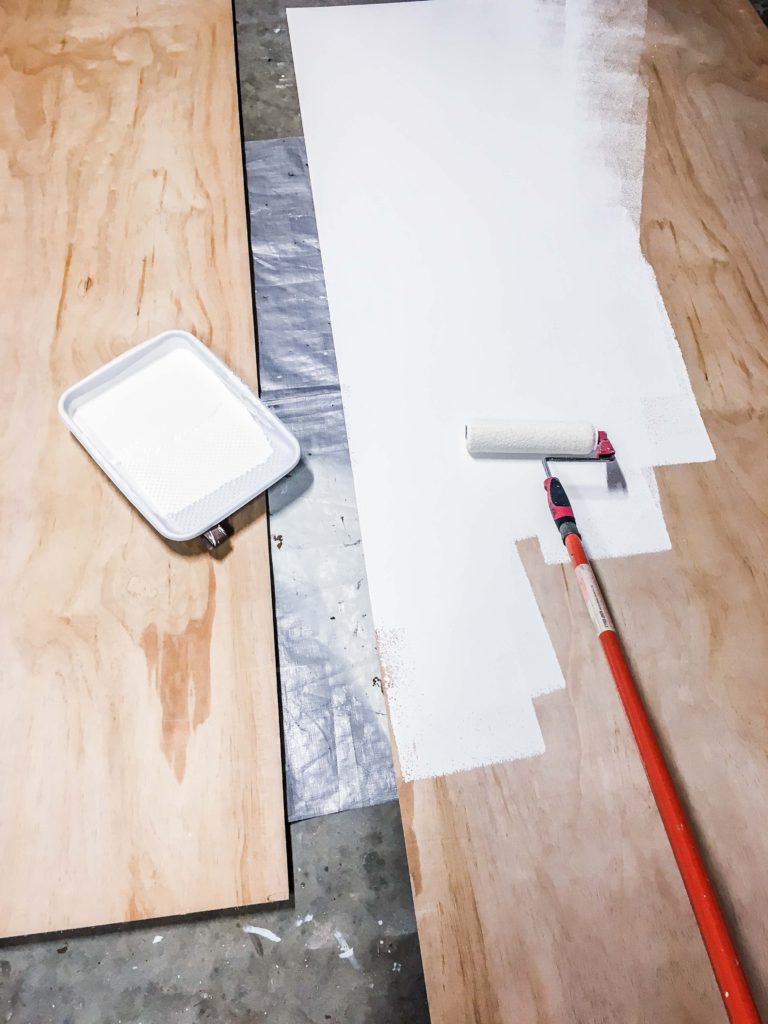
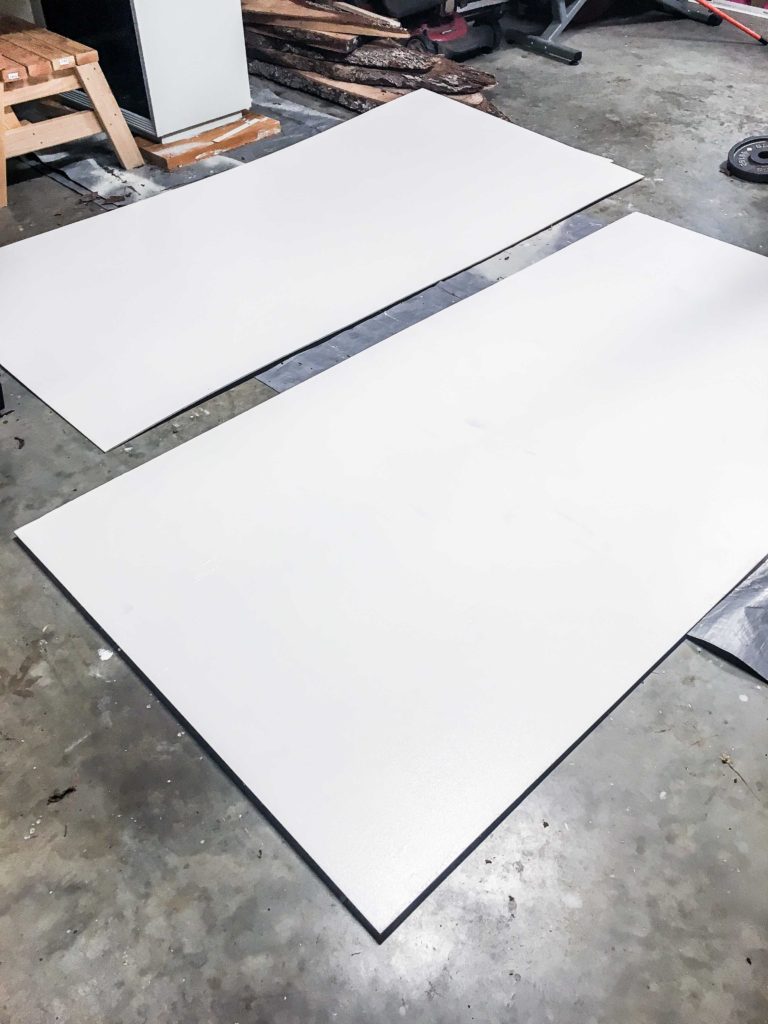
- Paint the plywood BEFORE you rip it with your saw. Painting a handful of sheets is quicker and easier than painting one hundred pieces of shiplap (not an actual calculation).
STORE BOUGHT OPTIONS
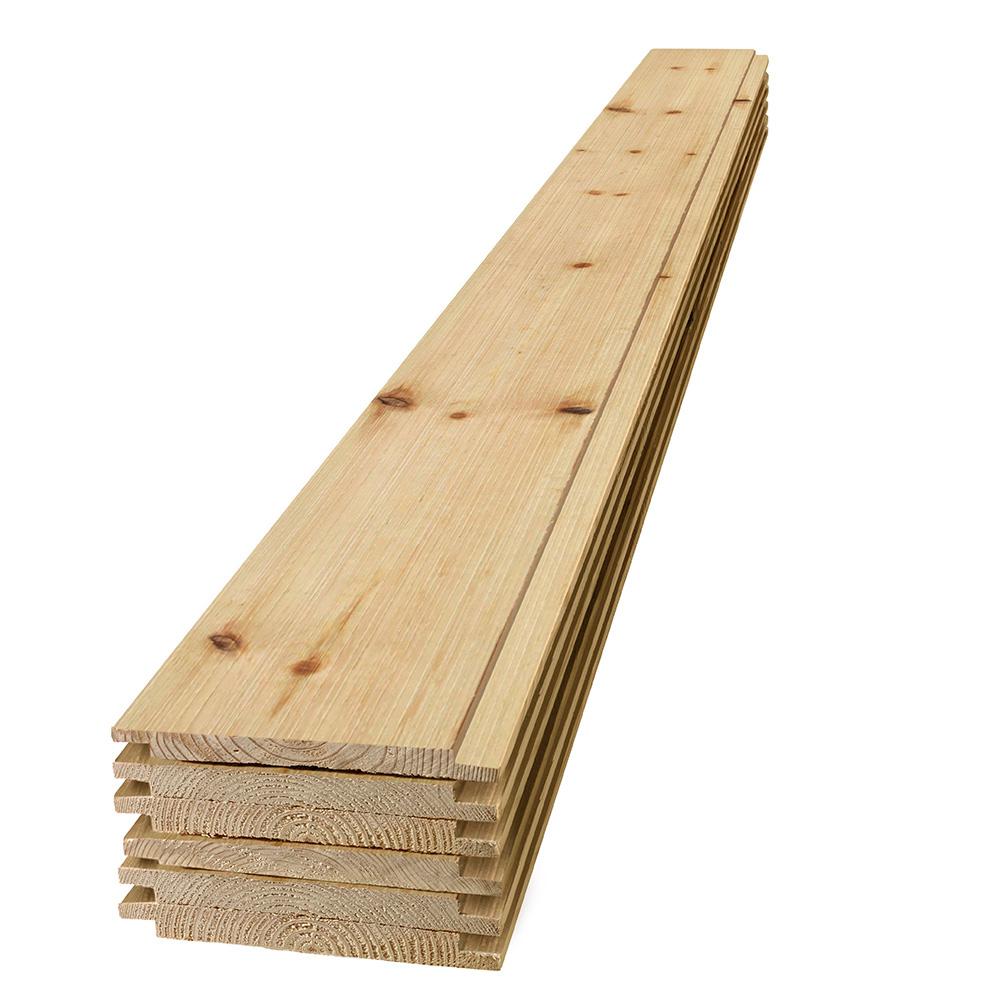
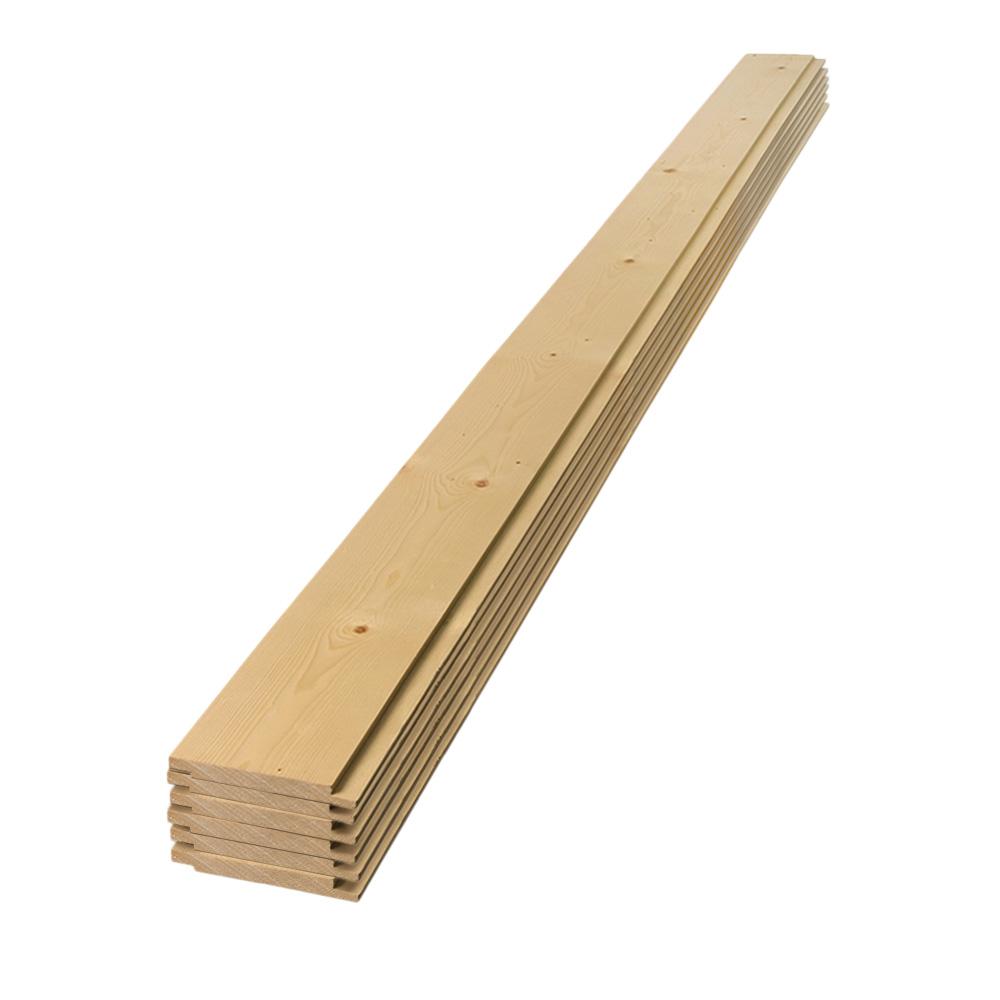
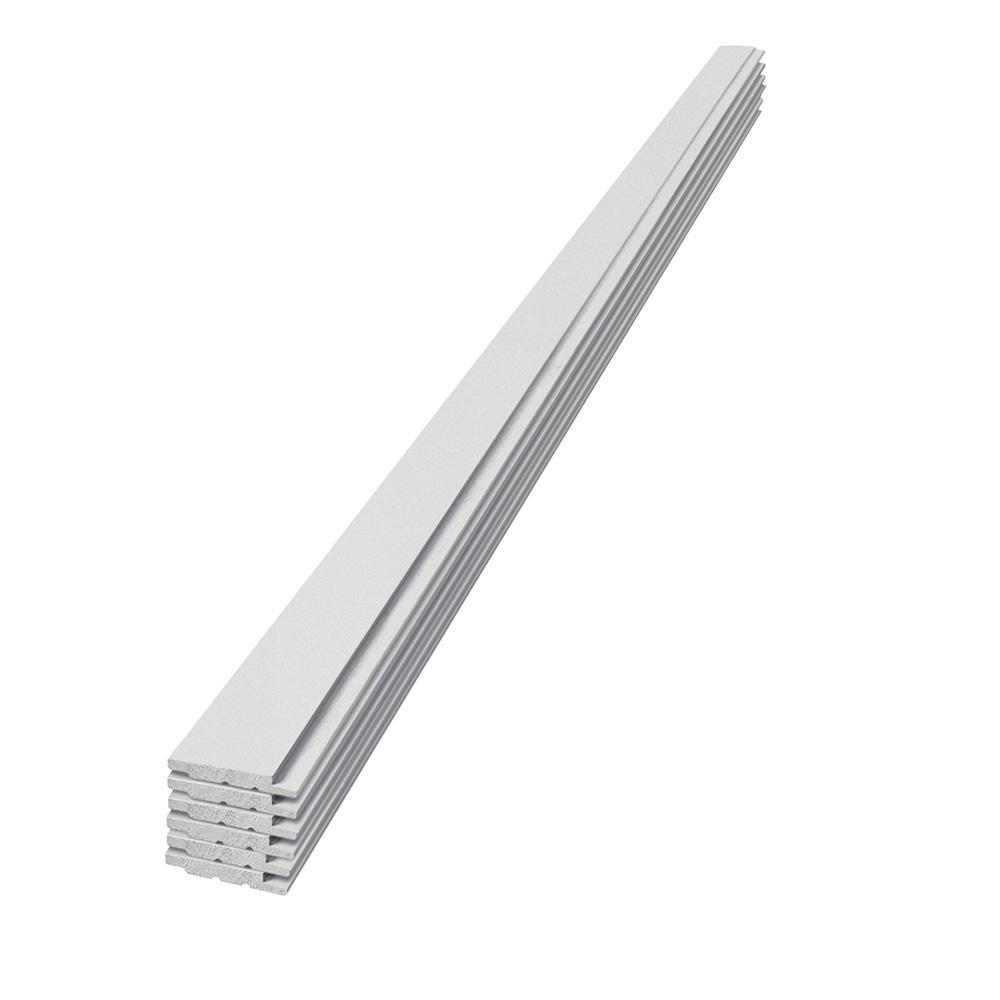
- 1x6x8 pine shiplap, painted white.
- 1x4x8 pine shiplap, painted white.
- 1x6x4 ash gray, charred wood, pine.
- 6”x96” brown wood.
- 1x6x8 weathered gray MDF.
- 1x6x8 rough sawn oak MDF.
- 1x6x12 raw pine, tongue & groove.
Step 2. Paint the plywood or store bought shiplap.
- Our “how to make DIY shiplap” tutorial already included a tutorial on painting the shiplap.
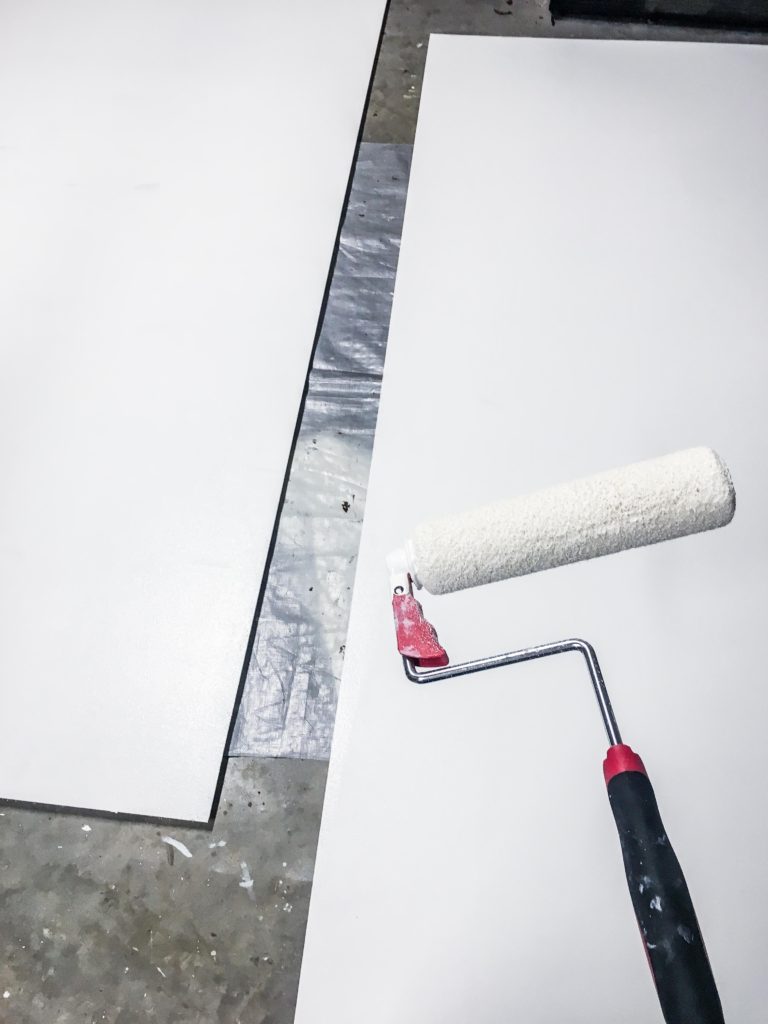
- If you still need to paint your shiplap, use your paint roller covers and paint roller frame for an even coat.
- Apply two coats of paint minimum.
- If your shiplap will be installed in a bathroom or on a kitchen backsplash, seal the wood. Two coats of paint should help protect against moisture damage. Consider water-based polyurethane for higher level protection. Water-based will add very little amber color, whereas oil-based poly will add a heavy amber hue.
- When choosing paint, consider how it will complement or conflict with the surrounding colors. E.g. paint color of your crown moulding, baseboard, adjacent walls, flooring, decorative details, etc.
- Whitewash is diluted white paint that allows you to see the wood grain through the paint. Whitewashing alone may not provide sufficient protection from moisture damage.
Step 3. Remove moulding (if needed).
Moulding paint. If you’re already in painting mode, go ahead and paint your new moulding or repaint existing moulding if it needs a touch-up.
- Only remove necessary moulding. I didn’t remove any for our vertical shiplap bathroom install. The horizontal shiplap laundry room install had baseboard at the bottom of the wall, which is usually not level. Removing the baseboard allows you to start with a level board at the bottom for horizontal installs.
- Score the moulding with your utility knife, where the moulding meets the wall and other moulding pieces.
- Pry the moulding off the wall by hammering the pry bar between the moulding and the wall. Aim for studs, otherwise the pry bar may put a hole in the wall.
- Keep the moulding intact if you plan to reuse it.
- Remove ALL nails from the moulding for reuse.
- If you’re using premade ¾” thick shiplap, remove the crown and baseboard to expose the top and bottom/sole plate 2x4s. These are guaranteed 2x4s at the very top and very bottom of the wall that you can attach your shiplap to.
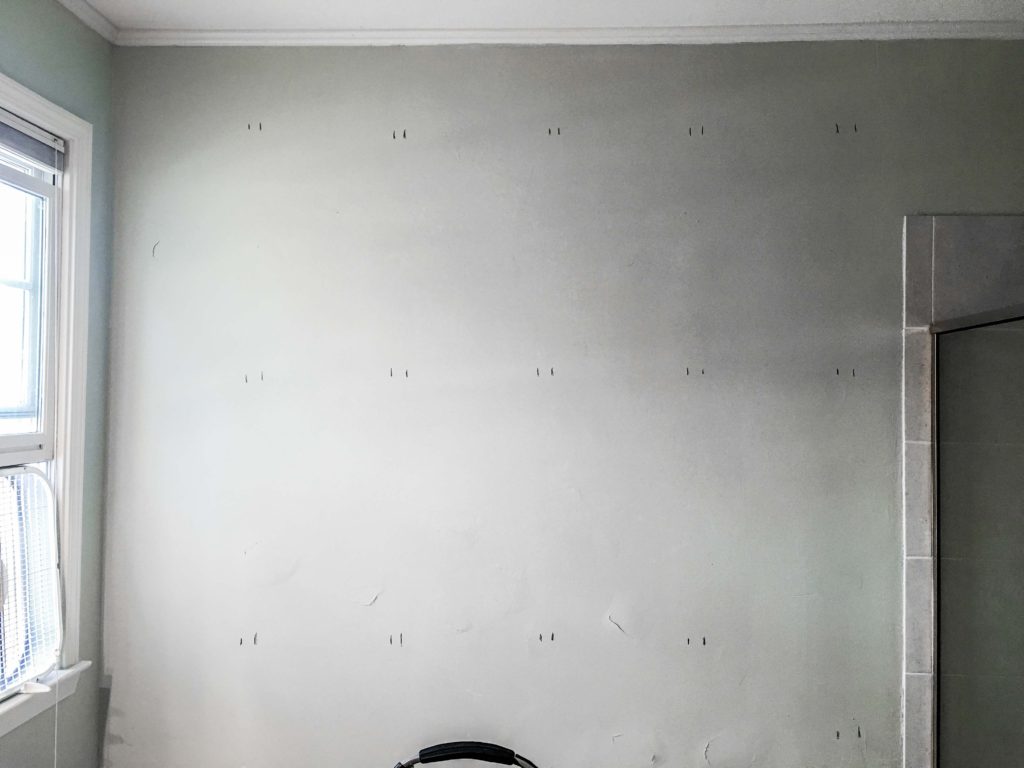
Step 4. Mark your studs with a pencil.
- Attaching your ¼” plywood shiplap to drywall is sufficient. Attaching plywood to studs is ideal for long term structural integrity. If you’re using ¾” thick premade shiplap, attaching to studs is CRUCIAL. Consider using a small amount of construction adhesive on each ¾” thick piece wherever studs and other 2x4s are not accessible.
- In the US, your common studs are vertical 2x4s positioned 16 inches (occasionally 24 inches) apart from center to center. Marking these alone will only provide super secure backing for every couple pieces of shiplap.
- There may be blocking 2x4s horizontally connecting your studs. These are cross-braces / cross-supports that either provide structural rigidity OR act as a firestop or fire blocking. Consider rotating your stud finder 45º to find and mark these blocking 2x4s. Vertical pieces of shiplap can attach to both studs and blocking. Depending where you live, “wood blocking” is also known as nogging, noggin, dwang, nog, bracing.
- No need to mark your top plate and bottom/sole plate 2x4s. If the very top and very bottom of your wall are only covered with drywall and no moulding or any other structure, then assume you’re nailing into a horizontal 2×4 in these areas.

Step 5. Install your first vertical shiplap board.
- Fire up your air compressor, oil your nail gun and attach the nail gun to the compressor. Load the brad nailer with 1-¼” brad nails. Otherwise use your hammer and 1-½” finish nails and get ready for a true test of your patience.
- Start on the edge of one wall.
- Measure the gap you wish to fill with the vertical shiplap board. Cut the board to fit with your miter saw or circular saw.
- Dry fit the board in place on the wall.
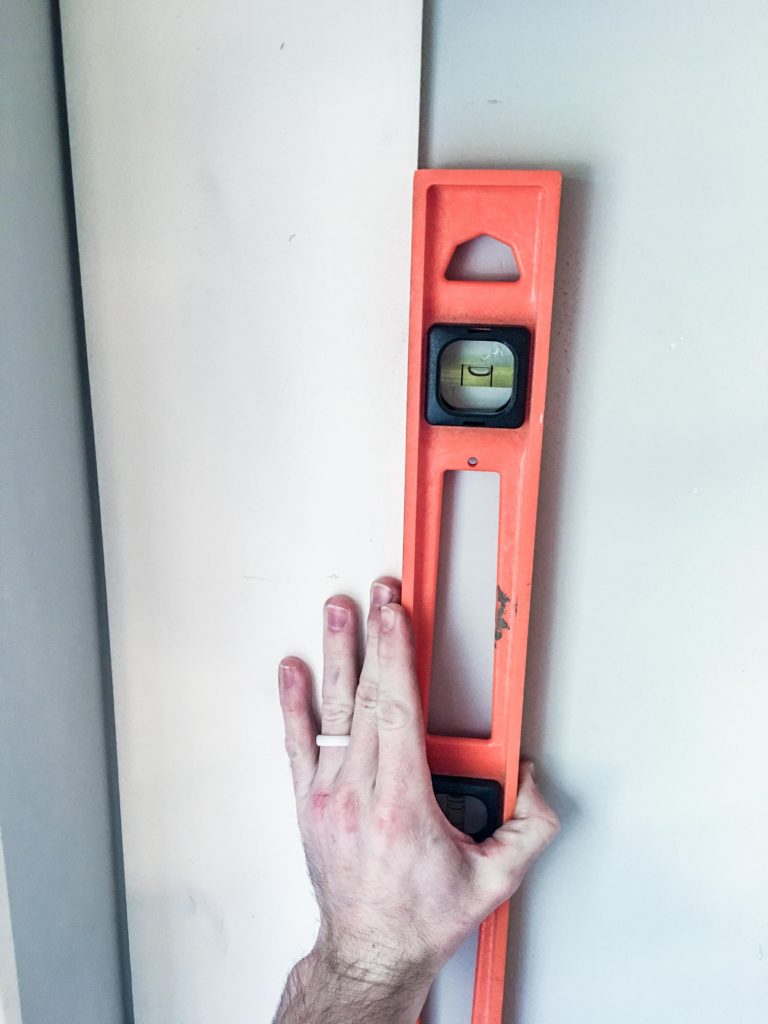
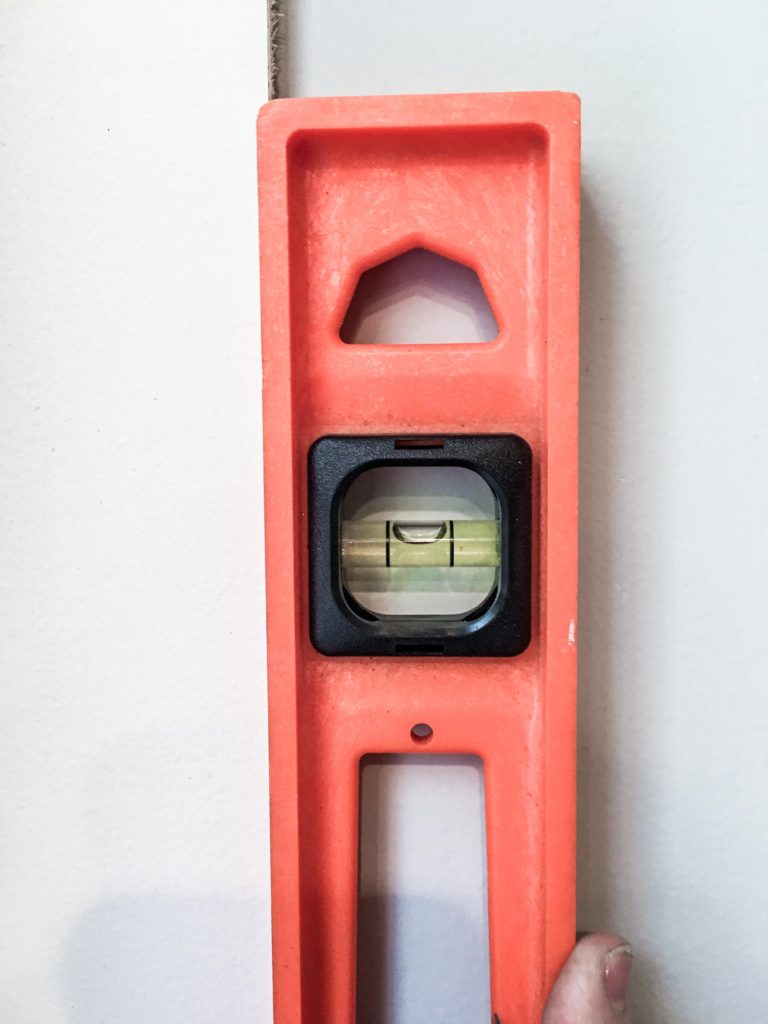
- Using your level, shift either the top or bottom of the shiplap board until the piece is plumb (i.e. straight up and down, perfectly vertical). The wall edge or corner is probably NOT plumb. See for yourself. If you simply push the piece up against the adjacent wall or line it up with the wall corner, then you risk offsetting ALL of your boards in a crooked fashion.
- Attach your first plumbed piece of vertical shiplap to the wall with brad nails.
Step 6. Install the rest of your shiplap.
- Grab your spacers. I used 2 precision screwdrivers with the same shaft diameter. Otherwise, use 2 nails, wood shims with added adhesive or anything about ⅛” thick that will stick to the side of your board.
- Hammer your spacers halfway into the drywall without piercing all the way through. The more air you allow to flow into your wall cavity, the less efficient your heating / cooling, the easier it is for insects to breach the gap, and greater the risk for an in-wall fire to spread. Or simply place your sticky spacers on the side of your first vertical board.
- Measure the next gap and saw your second board to fit.
- Press your second board up against the spacers, check the top and bottom for perfect fit and install with nails. If you’re relying on drywall, consider slightly angling nails to the right (toward the right edge of the shiplap), and angle the nail the left (toward the left edge of the shiplap).
- Repeat this process for all remaining boards.
- Use your circular saw for all “puzzle piece” boards when working around wall details. In my case, working around the edge of a shower.
- Be prepared to rip your last piece with a table saw or circular saw to fit against the end of the wall. If the board isn’t a perfect fit against the wall, use trim to cover the imperfection.


Step 7. Install or reinstall moulding.
- Reinstall or install your baseboard, crown moulding, chair rail, etc.
- Cut new pieces of moulding to fit your space.
- Use 2” brad nails.
Step 8. Install inside / outside corner moulding.
- Measure and saw your vertical moulding pieces to fit. These will hide the vertical edges of the shiplap where walls end or meet.
- Inside corner moulding is used in a inside corner where two walls of finished shiplap have been installed. Use 1-¼” brad nails.
- Outside corner moulding is using to cover the imperfections between two walls of shiplap that meet at a corner that juts out. Use 1-¼” brad nails.
- Scribe moulding is traditionally used on the edge of kitchen cabinets to hide a slight gap against a wall. Use this in a inside corner wall where a wall with shiplap is adjacent to a wall WITHOUT shiplap. Place the scribe moulding on top of the shiplap, pressed against the adjacent wall to hide the vertical gap. Use 1-¼” brad nails.
- Lattice moulding is another option used just like scribe moulding. Choice depends on your preference. It’s a long, thin rectangle with squared-off edges. Use 1-¼” brad nails.
Step 9. Add caulking to cracks + nail holes.
Note on caulk: make sure your caulking is paintable AND matches your shiplap paint color.
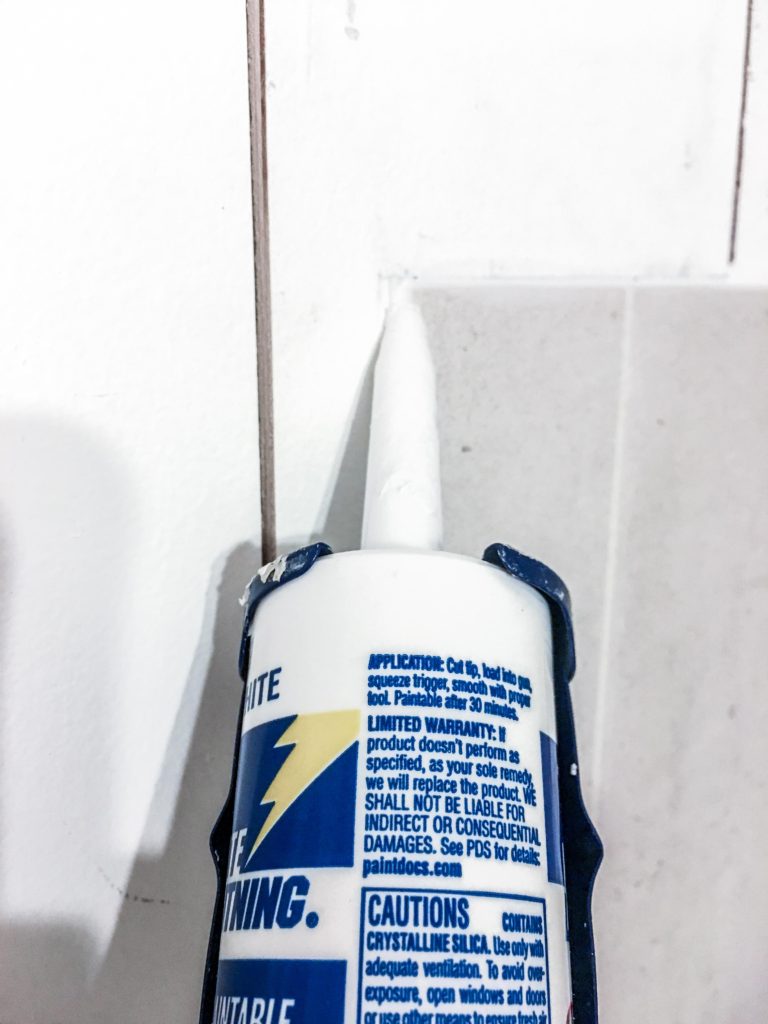
- Cut the tip off of your 10.1 oz of paintable, white caulking tube. Make the cut at an angle for cleaner application.
- Using the built-in caulk gun puncture pin, break through the protective barrier of the caulking tube by playing the pin in the hole you just cut. Poke it as deep as possible, over and over again until the caulk can easily flow when the gun trigger is engaged.
- Place the caulking tube in your caulk gun.
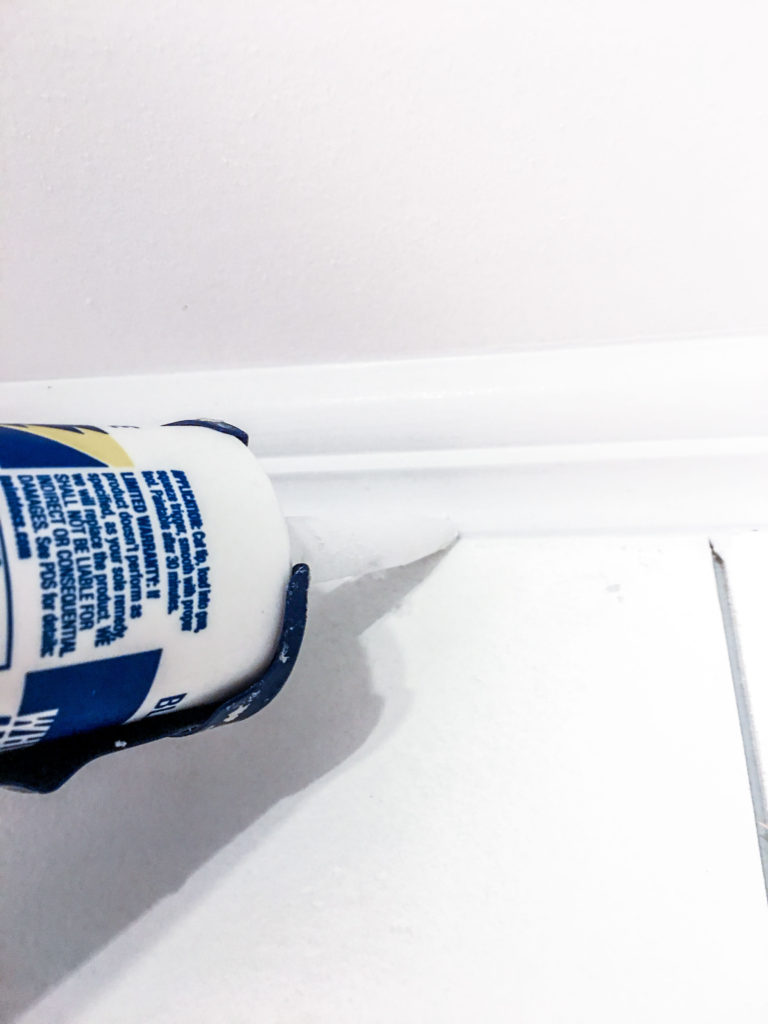
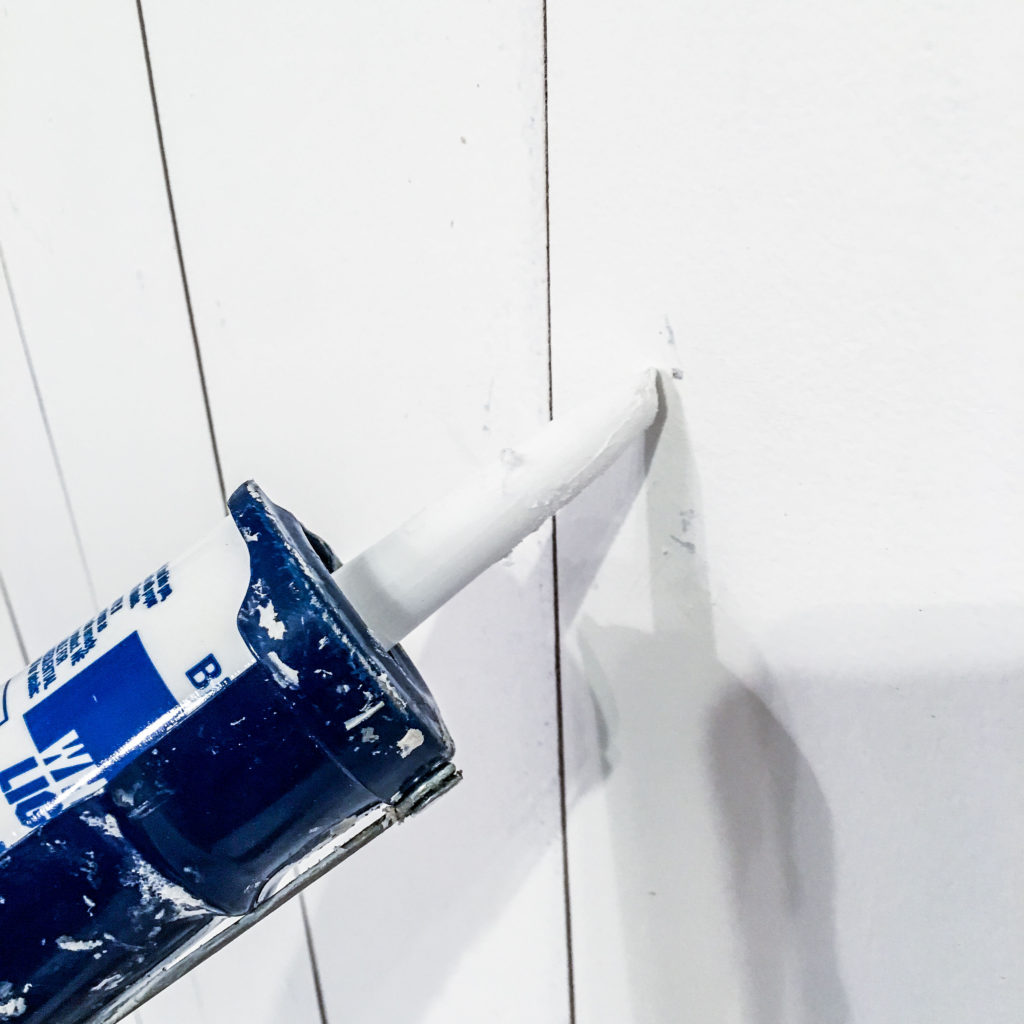
- Apply a thin bead of caulk to all moulding gaps.
- Fill every brad nail hole with caulking. Wipe off excess until flat.
- Allow the caulk to dry according to manufacturing instructions. White Lightning brand linked in the materials section requires 2-4 hours dry time before painting.
Step 10. Apply touch-up paint.
- Apply a coat of paint to your shiplap to cover the caulked brad nail holes.
- Apply a coat of trim paint to your moulding so all of the moulding in the room is the same color and sheen.
- Allow the paint to dry. Behr Paint Premium Plus interior flat paint requires a minimum of 1 hour dry time and 2 hours for recoating.
Your daily dose of DIY inspiration, fam.
Don’t stop at shiplap. I know you’re already dreaming about your next home project. Here’s some inspiration for the upcoming renovation. Up your home decor game, one weekend at a time.
How to DIY Finish a Custom Pallet Wood Range Hood Vent Cover.

DIY Stained Wood Sign / Decor Board.

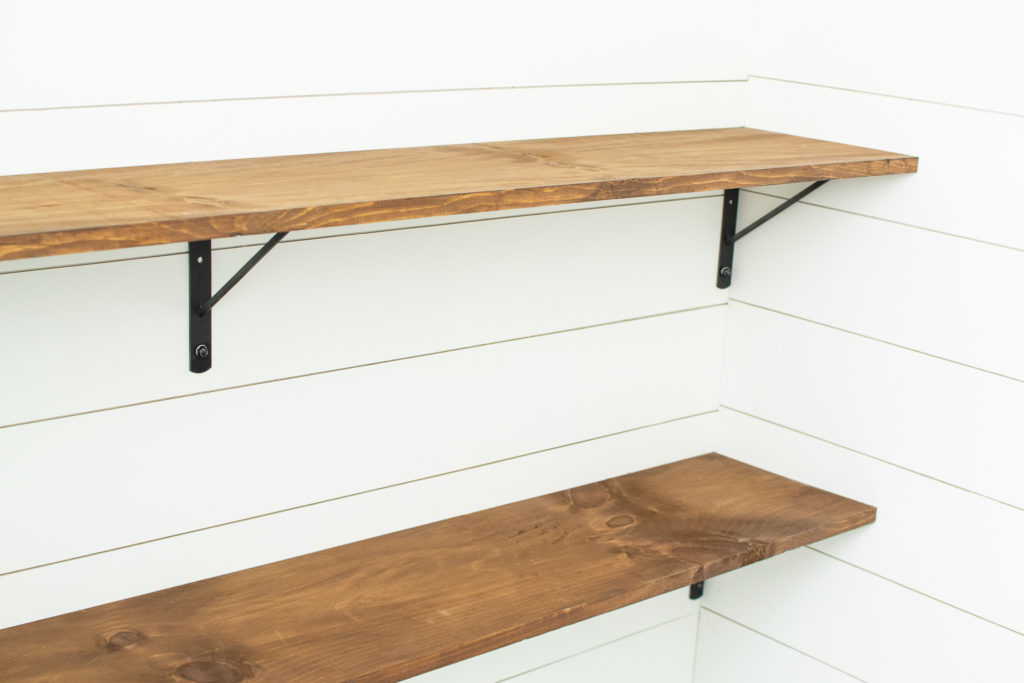
How to Make & Install DIY Stained Wood Shelves.
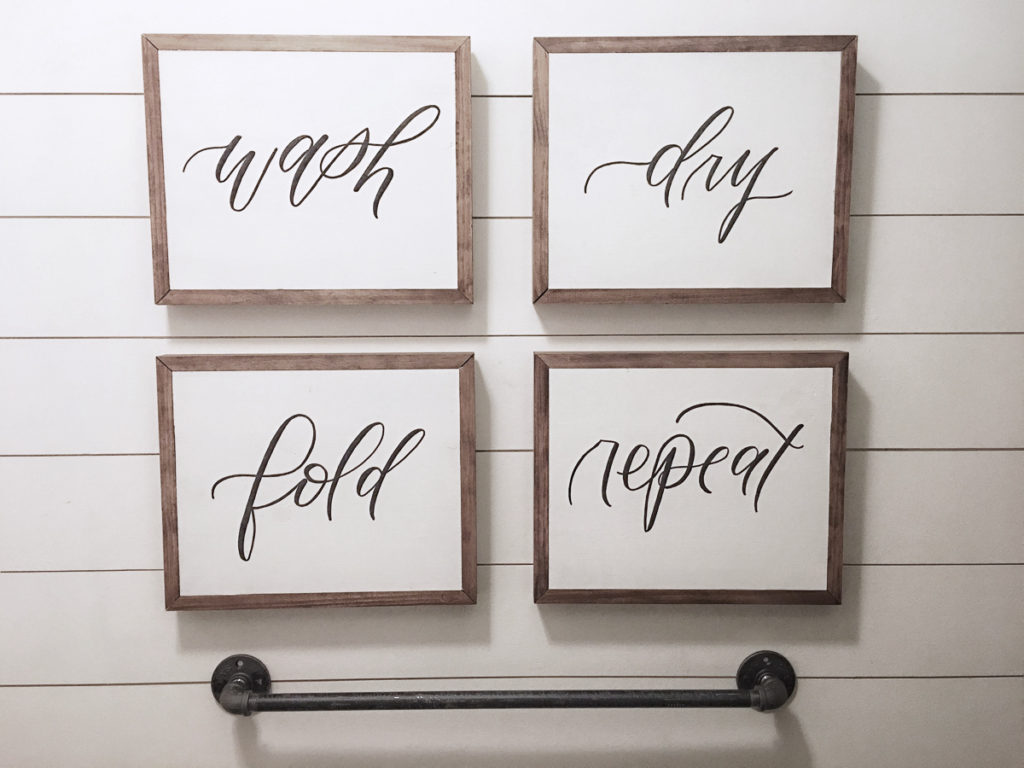
Custom Calligraphy Wall Decor.