You have a blank canvas of a backyard and want to host all the friends on the weekend.
Good luck convincing them to stand around on the dirty ground for more than ten minutes. You can only comment on the unchanging weather so many times before the social awkwardness is palatable.
Thirty nervous neck scratches later, you realize your outdoor pad could use an entertainment feature or five. And your skin is so chafed you would kill for some Butt Paste or Desitin.
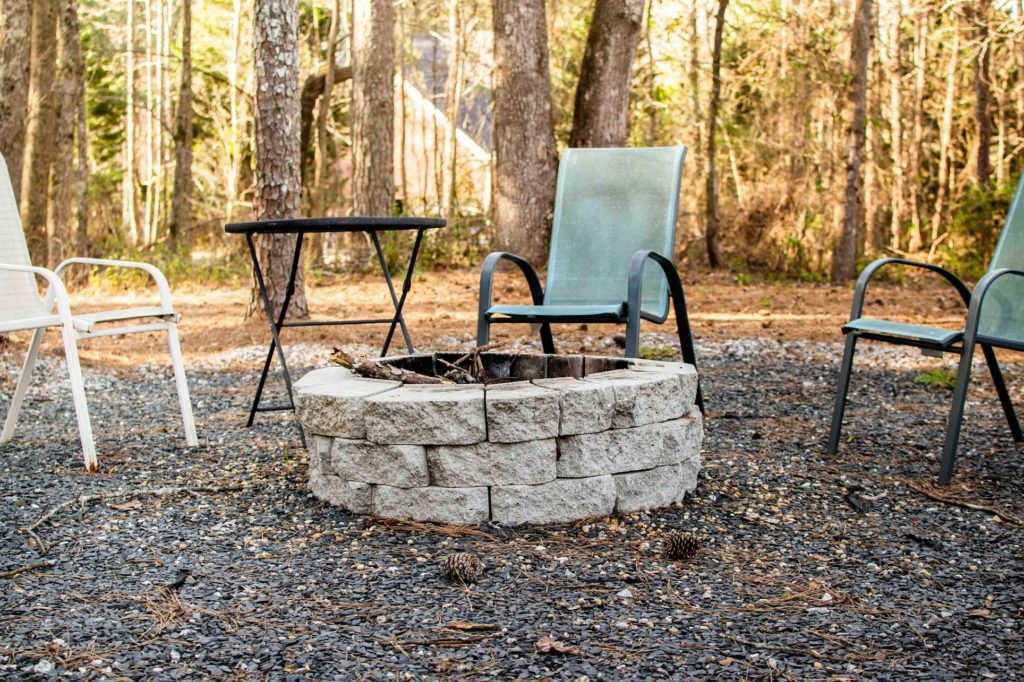
Your ideal entertaining space.
But where do you start? What do you cultivate first? How do you entertain everyone?
The creative ideas are endless. From functional furniture to whimsical lighting to pretty ground cover to green-thumbing to marshmallow roasting.
Did you catch all five items? The best way to woo & wow your wide variety of friends is to offer a plethora of engaging activities and conversation starters. You need to DIY an epic outdoor entertaining area. Stat.
In-ground fire pit. Weatherproof picnic table. Raised-bed garden. Decorative stone pebbles. Pretty twinkle lights. Here’s the quick rundown on every project. But first, let’s clear some things up. *End cringe-worthy dad-joke*.
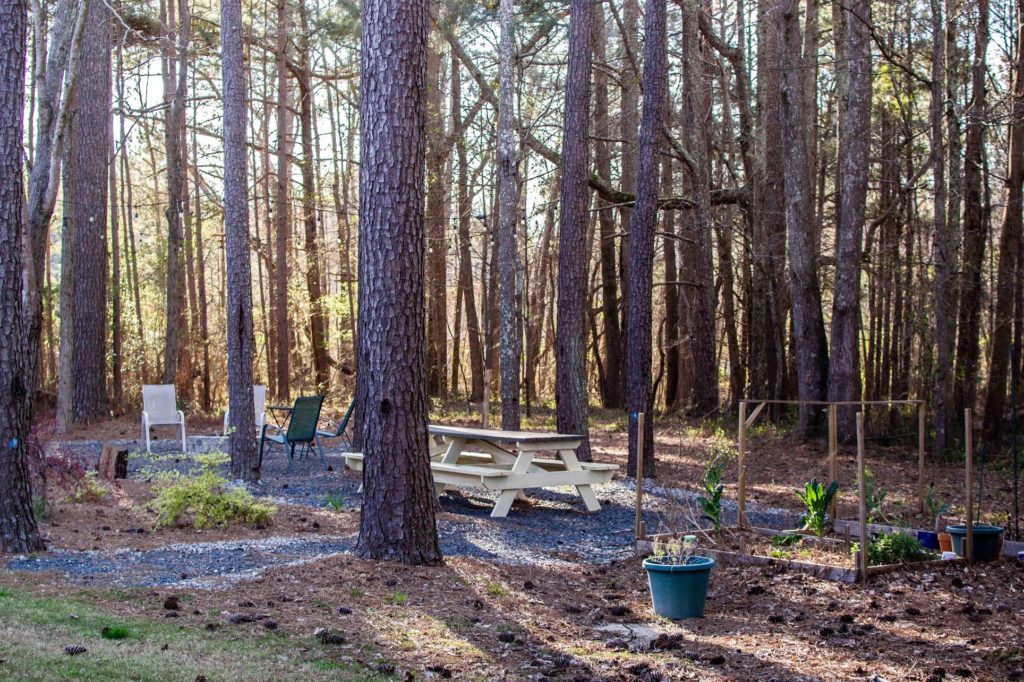
Clear the area.
Grass? Mow it. Weeds? Yank ‘em. Pine straw? Clear the foliage with a rake.
You need a clean slate to work with. Leaves, twigs and underbrush are a fire hazard and must be removed before the fire pit makes its home in your outdoor wonderland. And nobody wants to sit at a table with poison ivy tickling their calves.
Your beautiful little garden will be weed-ridden if you simply place the raised bed garden box directly on top of existing plant life. Be sure to prevent sneaky seedlings from sprouting up and around your designated area with the proper ground cover.
Raise the canopy. If you’re in a wooded area, be sure to prune the surrounding trees to allow sufficient sunlight to feed your future greens. Branches shouldn’t impede your friend’s enjoyment of the oasis. Shape existing bushes and larger shrubs for a polished aesthetic.
And now begins the creation of your outdoor living room.
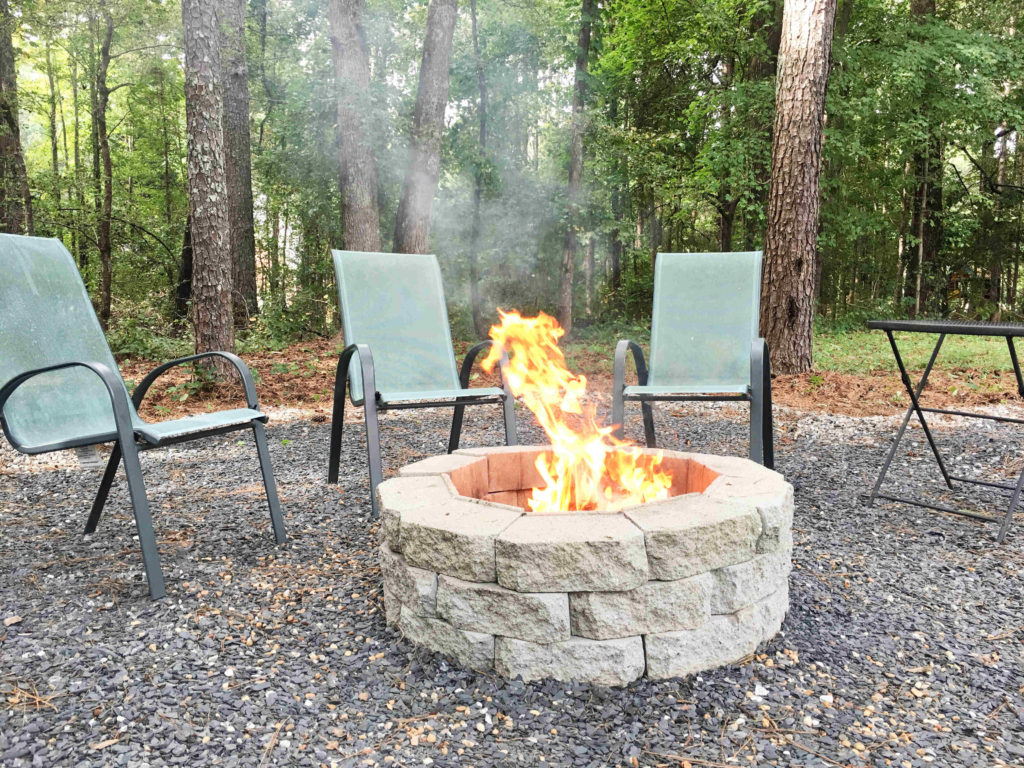
Build a fire pit on the cheap.
Warming hearts and humans at the same time. The perfect fall, winter and spring gathering space. (And summer too if you don’t mind sweating a lot).
Melty s’mores. Campfire stories and songs. Cozy date nights. The feature that helps disarm uncertainty with new friends and rekindle relationship with old ones.
The cost? $68 bones. Grab 30 concrete blocks from the hardware store, 1 bag of pea pebbles and 1 bag of paver base. Here’s the step-by-step:
- Identify the primo location.
- Clear ALL ground cover in the shape of a circle.
- Dry fit your concrete blocks.
- Start digging out the circular area at least 4” deep.
- Lay the paver base and wet it.
- Assemble the concrete blocks.
- Dump the pea pebbles.
Check out our SUPER detailed DIY fire pit tutorial here.

Add a weatherproof finish to your outdoor table.
Select the furniture piece that be the gathering table during the warmer spring, summer and falls months.
You can thrift one very cost-effectively. Perhaps a consignment store, local yard or estate sale. Maybe you already have a table inside your home that would compliment your outdoor greatroom. Or build one from scratch like we did.
Here’s the plan for constructing our ten foot long picnic table by My Outdoor Plans. All of those 2x6s are no joke.
Now to add a few layers of protection to help your table last for years to come. Moisture, sunlight, bugs and mold are the enemies of your furniture. Here’s how to ensure its longevity:
- Sand your furniture piece with an orbital sander / belt sander.
- Apply wood stain to penetrate the wood grain.
- Apply exterior-grade paint. The increased elasticity allow the paint coat to expand and contract with the weather changes without cracking.
- Apply second coat of exterior paint. One is never sufficient, especially for outdoor use.
- Add multiple coats of exterior-grade polyurethane for a plastic-like layer of protection.
Check out our INSANELY detailed wood weatherproofing tutorial here.
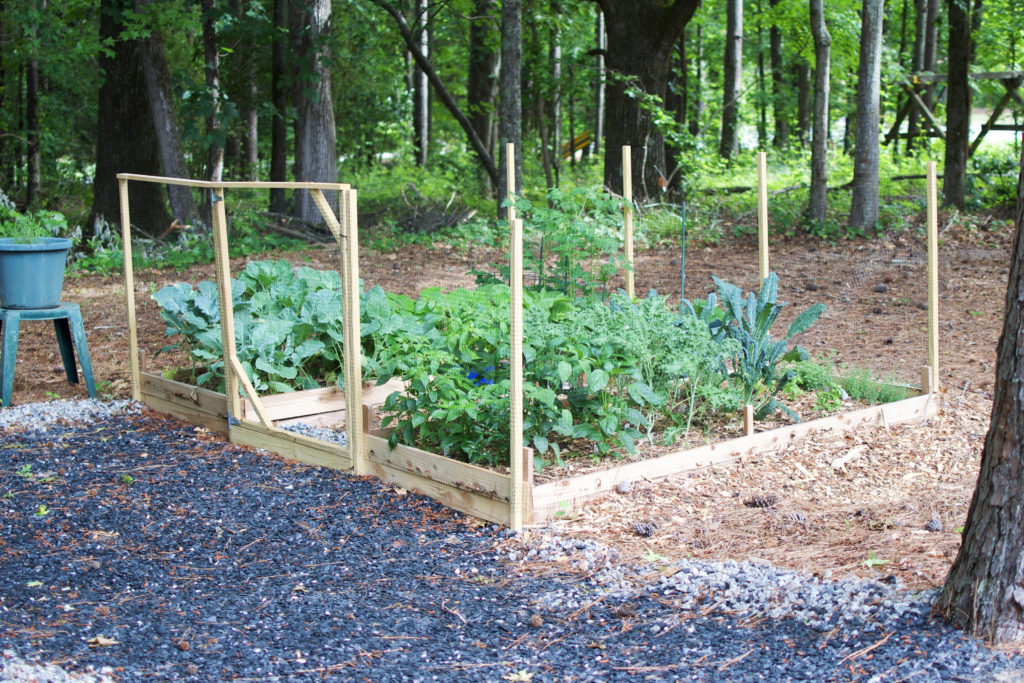
Construct a raised-bed garden.
A raised-bed garden can take you from black-thumbed plant killer to green-thumbed gardenista.
Potted plantery are perfect for apartment life or homes with limited or no yard space. Raised-beds are next level if you have an outdoor area with partial to full sun exposure. Here are the benefits:
- Optimal drainage.
- Weed prevention.
- Mole prevention.
- Erosion blockage.
- Soil compaction avoidance.
- Soil quality.
Here’s the overview. Make your first raised-bed gardens like a pro:
- Construct two raised beds out of cedar. It’s naturally weatherproof.
- Acquire quality soil. Your local yard supply center may have a mixture of compost and topsoil for the vegetal yield of a lifetime.
- Snag some plants from Home Depot, Lowe’s, Pikes or other nurseries. Make absolutely sure they’re appropriate for the season.
- Plant your seedlings, small plants in the raised-beds. Space them appropriately. Don’t compact the soil.
- Construct a fence to ward off deer, squirrels or whatever plant-eating animal is pervasive in your area.
- Water the garden consistently.
For a breakdown of every step with loads of pictures, check out our raised-bed garden tutorial here. We disclose every material needed along with market pricing to help you budget ahead of time.
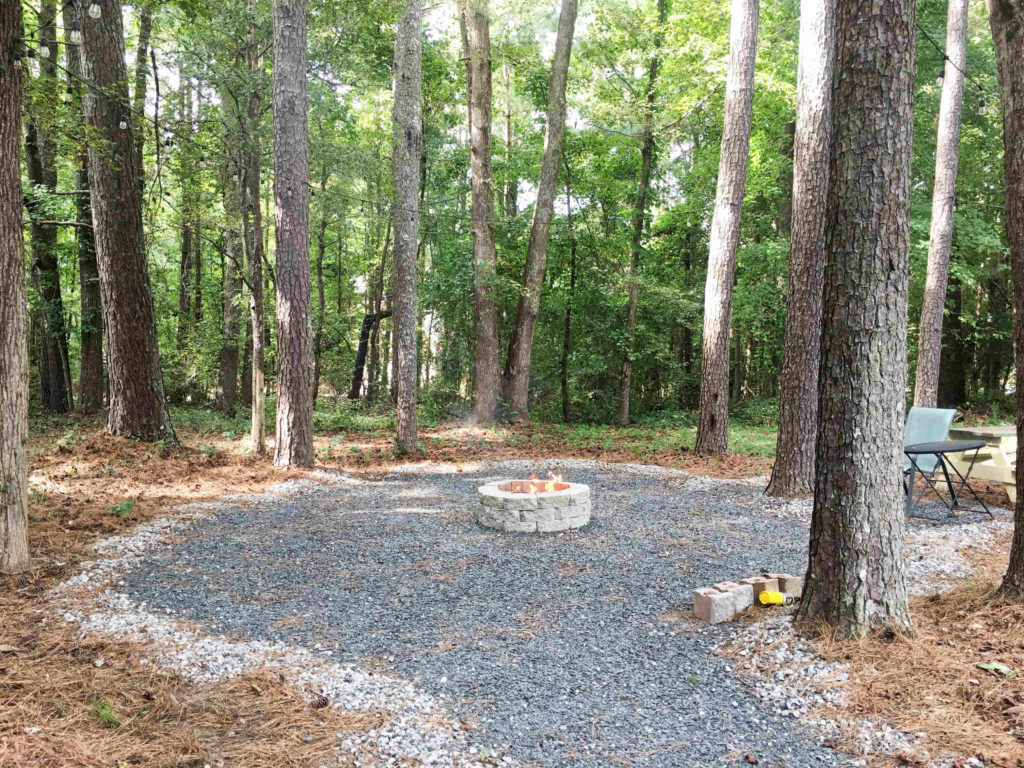
Lay stone pebbles + gravel.
Define your space with beautiful ground cover.
It’s the “designer rug” for your outdoor living room. But besides aesthetic benefits, here are a few key value-adds to covering the area with pebbles bordered with gravel:
- Pest control. Ticks and other insects prefer to post up on foliage, not rocks.
- Weed control. Rocks make plant growth rather difficult.
- Ground fire prevention. Embers from your fire pit will gladly ignite the dead and dry plant materials on the ground. Stones usually don’t burst into flames.
Laying the stone is pretty simple. Here’s our step-by-step:
- First, make sure all foliage is completely cleared from the area.
- Consider spreading a natural, granular weed killer / repellent.
- Lay a weed barrier landscape fabric on the ground, overlapping the edges of each piece.
- Secure the fabric to the earth with garden or sod staples every foot or so along the edges (and center when necessary).
- Lay an 8”-12” wide barrier of gravel as the perimeter to your area.
- Fill the area inside the gravel barrier with stone pebbles. We used slate pebbles, which are flat enough to stay put whenever we blow off our outdoor space. The blue slate provides a lovely visual contrast from the lighter colored gray gravel.
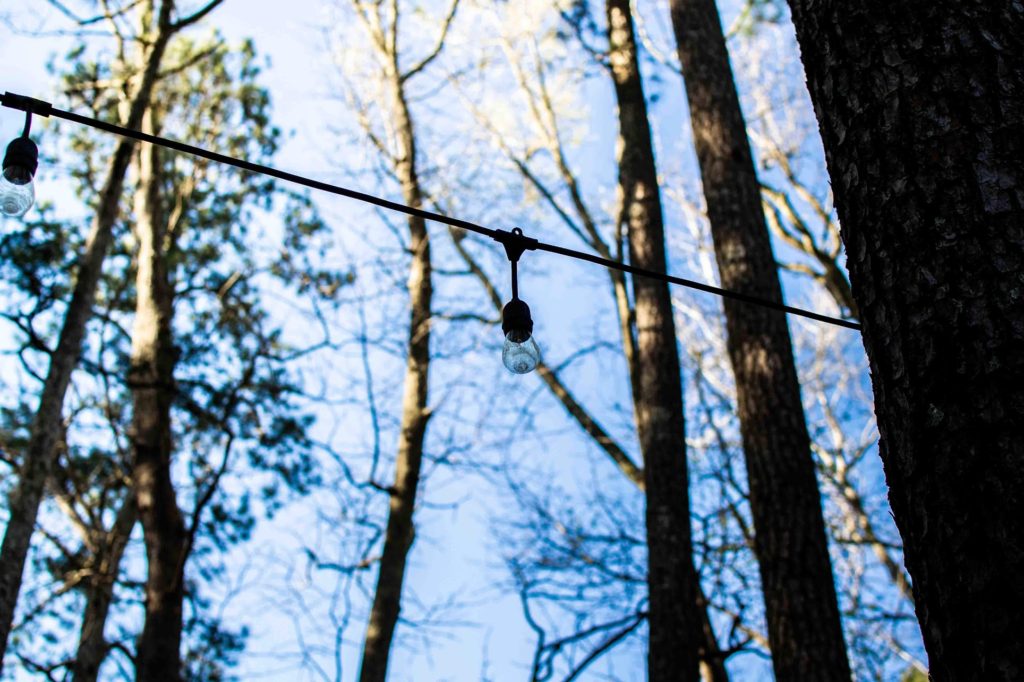
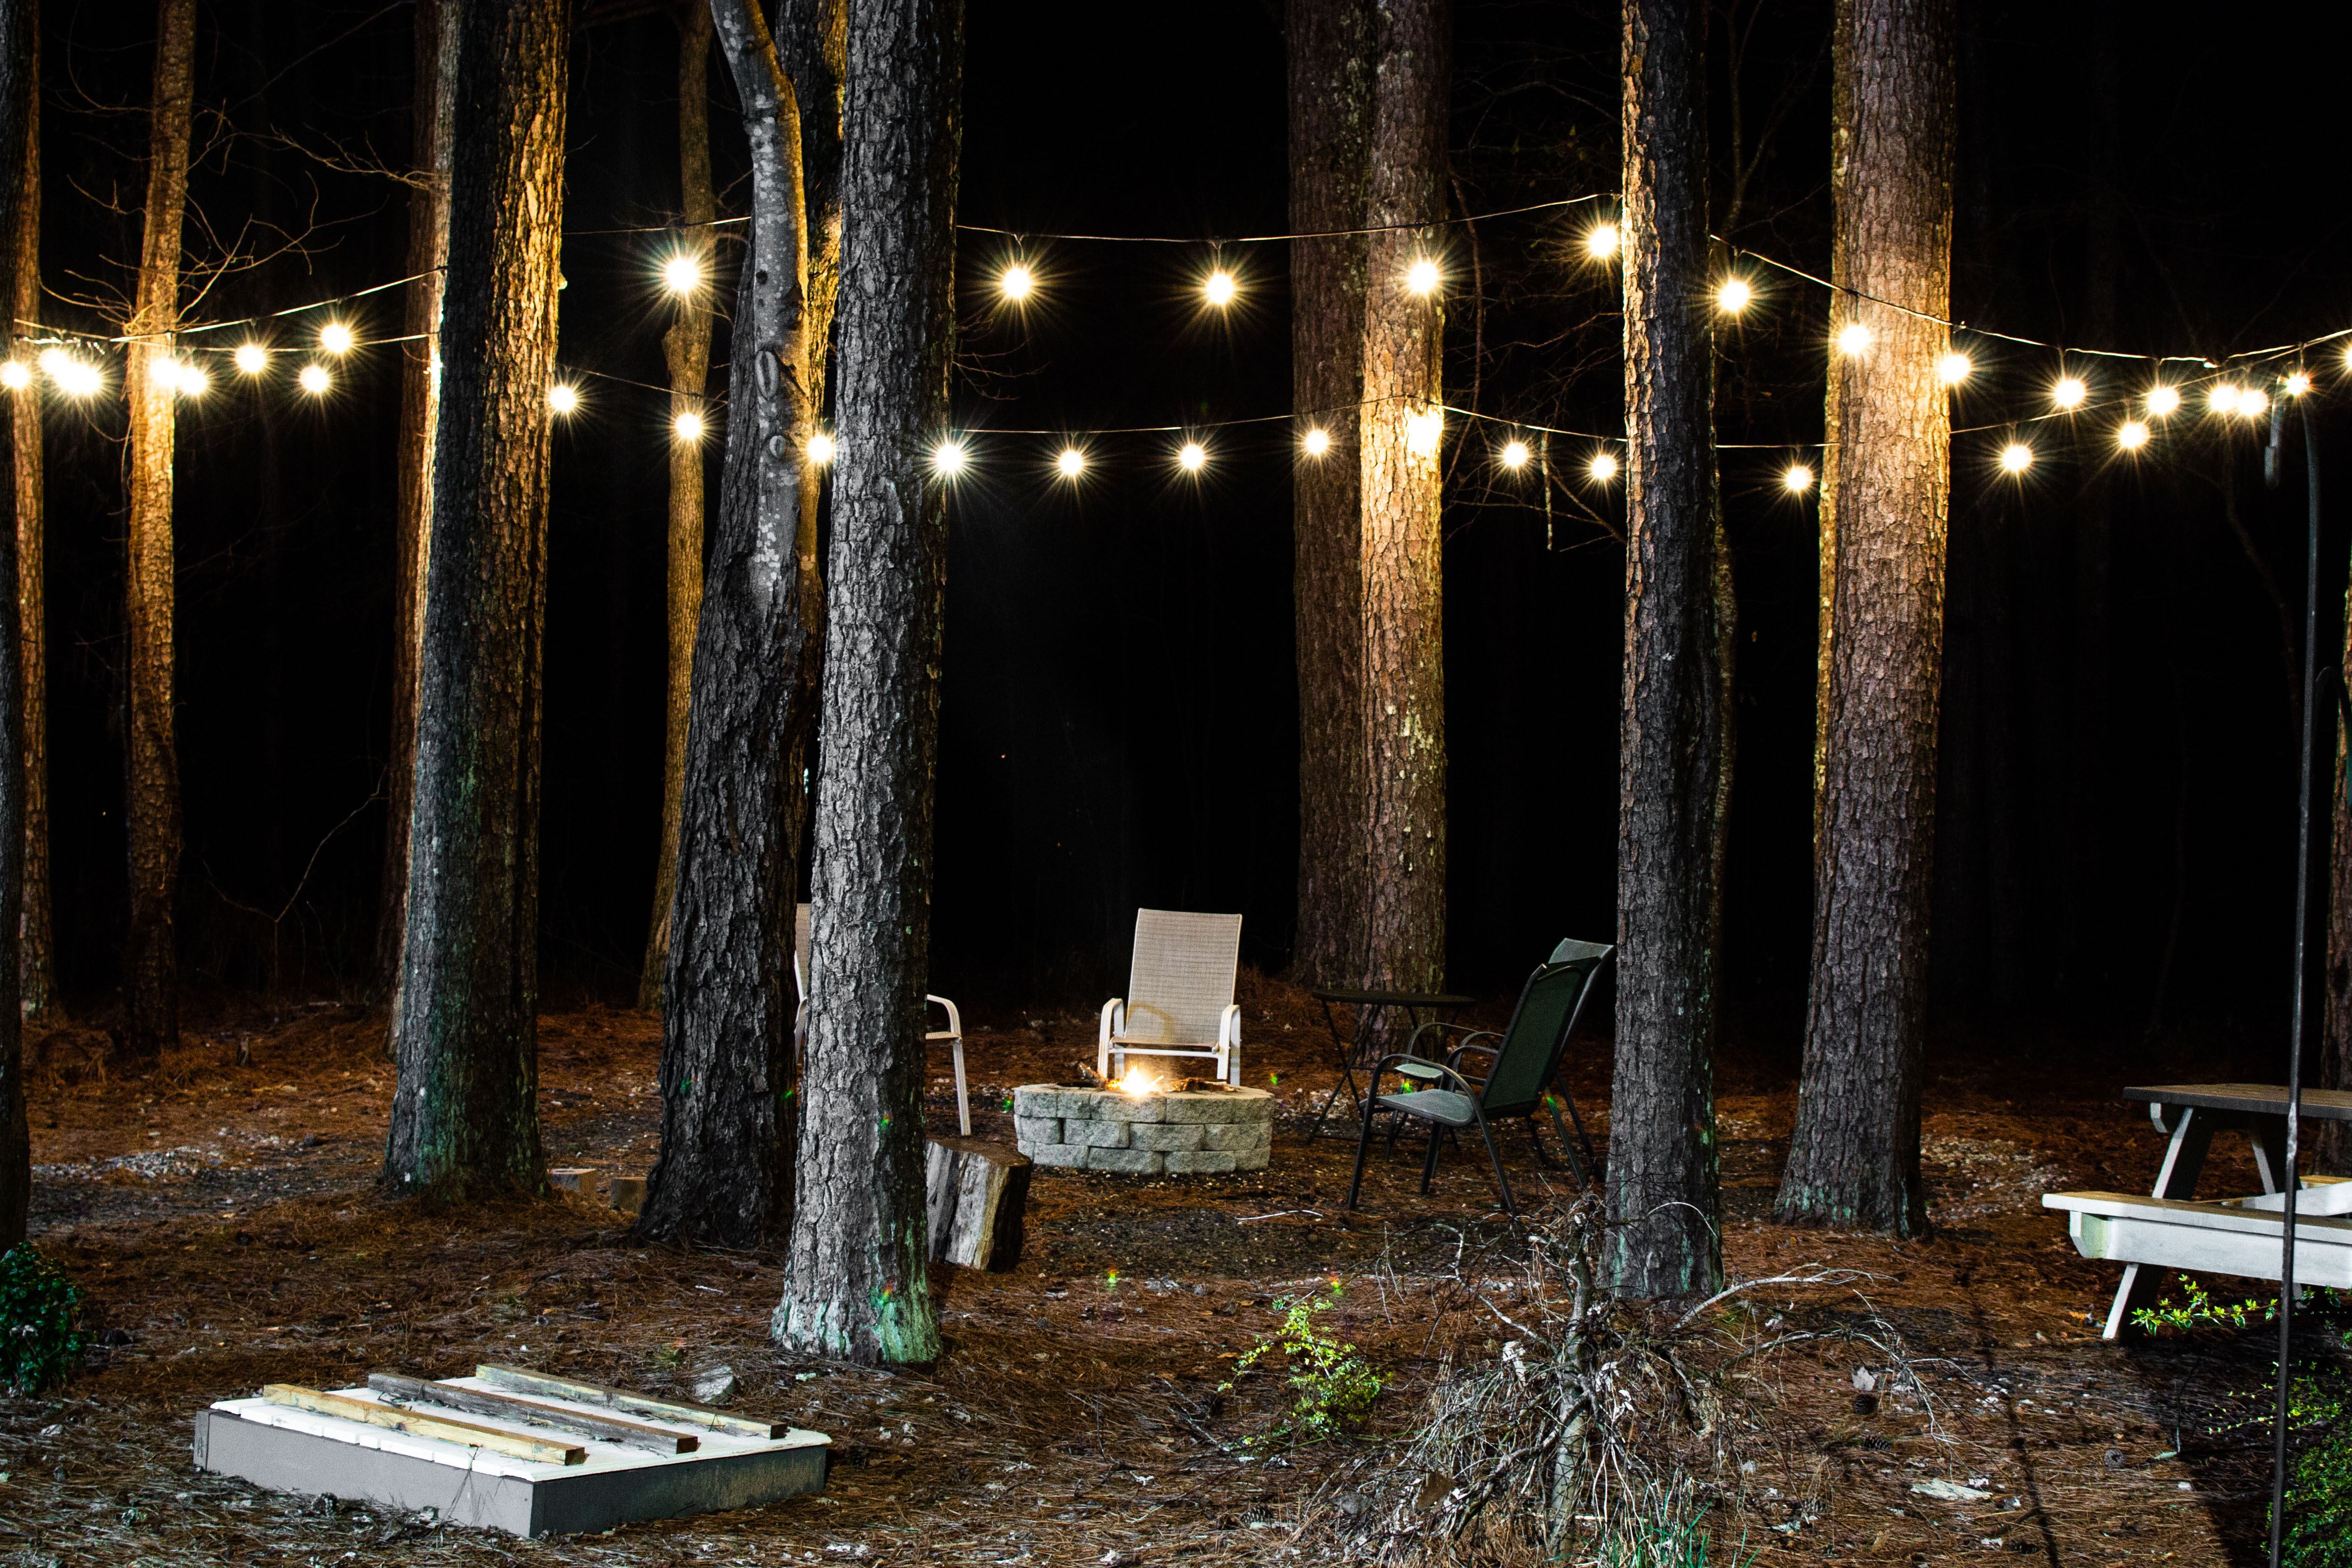
Hang some pretty twinkle lights.
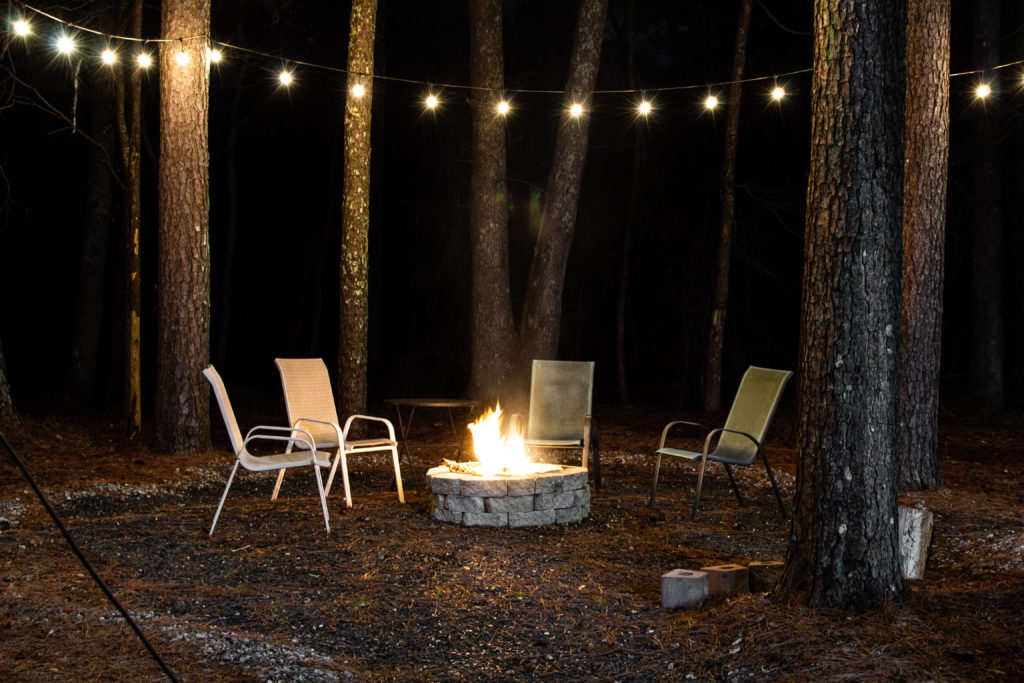
Your outdoor entertaining game wouldn’t be complete without an evening and weekend option. There’s only so much party that can happen when your yard is unlit.
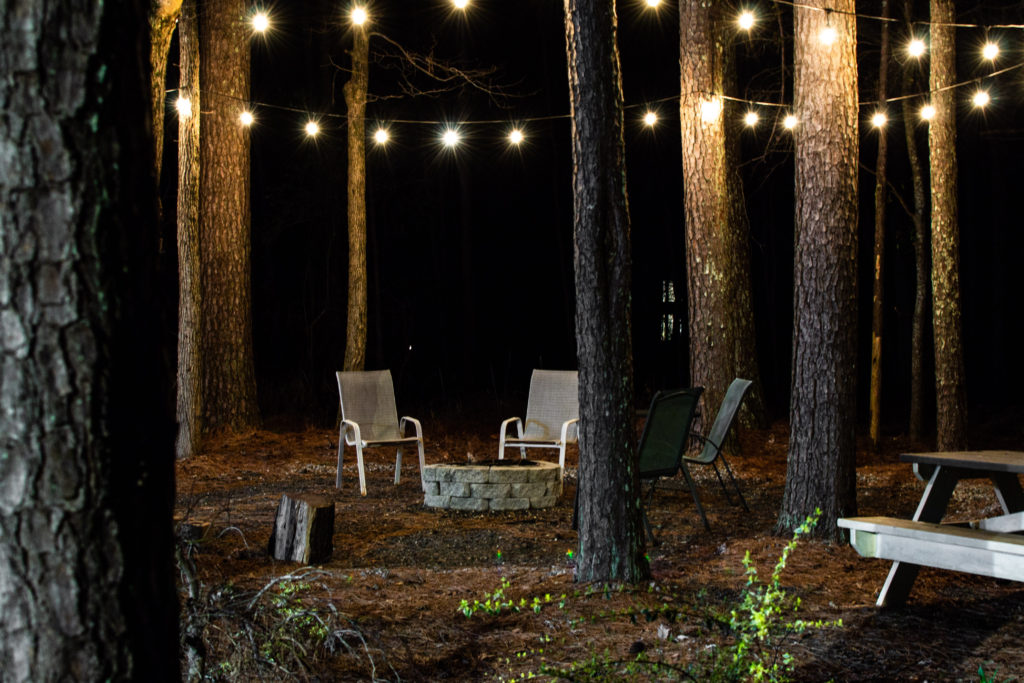
Best way to get lit? String lights, most often referred to as “twinkle lights”. Ambience + clearly defining the space + actually being able to see the backyard when it’s dark outside.
Choose outdoor LED string lights. This is a 2-pack on Amazon for ~$72. Each strand is 49 feet long, totalling 98 feet together. Every component is waterproof, ideal for permanent installation.
We bought a box of 2.5” deck screws and used our impact driver to connect the string lights to trees with the screws. Using a ladder, the lights are about 10 feet high. Consider keeping the height between 10 and 12 feet. Lower feels a little crammed. Higher feels disconnected from the space you’re aiming to create. Right around 10-12 feet high is the perfect height to create a ceiling feel above your outdoor space.
Connect the lights to an outdoor extension cord that blends into the scenery. Opt for a smart home option using a outdoor smart plug that enables you to turn on and off the pretty string lights from your phone or virtual assistant.
We can’t wait to see how beautiful your outdoor space is once it’s complete. Host all the friends and family for us. Happy DIY-ing!


Really Nice
wooden gazebos
Thank you, Sid!