The Journey of the Thumb
Ever been accused of having a “black thumb“? Likely it was unintelligibly uttered under granny’s breath to your progenitress (your mom) at the last backyard family luncheon you hosted. Allow me to elaborate. It’s when you wholeheartedly attempt grow photosynthetic plant organisms in an indoor container, outdoor pot, directly in the earth-ground, within a raised-bed, hydroponically, on your oh-so-fertile cement garage floor or in the back of your 700˚ vehicle of neglect, but end up killing them dead (the outcome of those last two options are a real shocker). Geriatric snickers permeate the air and rise above the conversational white noise only to crush your dreams of becoming a gardenista (plants on fleek), agriculturist (monetization) or homesteader (so granola).
Black Thumb Shaming
There’s still hope, friends. We, too have been the (self-inflicted) victims of black thumb shaming. Examples are as follows:
“I see you’re… err… growing something on your patio there, Pal.”
“Nice twig pots, homie. Have you considered urban ag design as a career?”
“I guess they weren’t perennials there, Shamie Durie.”
“Your vegetation appears to be a little thirsty. Might wanna water it, say, at least twice per year.”
“Relying on photosynth’, EnviroBoy?”
“Have you considered starting a gardening blog?”
“Your soil’s nutrient density is that of a twinkie.”
(*Older male human makes soulful eye contact with a slowly side-oscillating headshake, pat on the back and scene exit into the distance*)
Full Disclosure
Confession: we didn’t kill everything we attempted to grow. Factor in bird-pirates, squirrel-thugs, frostbite, excessive heavy rainfall (weak), acid-rain (terrible excuse), locust storms and improper turd-to-soil ratio (no comment). But we had this funny inkling that if we actually remembered to water our plants, they would somehow not die. Inspired, we potted herbs for 6 consecutive growing seasons. Some medium yield, some low yield, some no yield, some became potted tundra.
*Note: due to our extremely impressive track record, Monsanto (Mr. GMO) was offering full-ride sponsorship to grow soy, wheat, corn and alfalfa. But we declined and opted to bathe our non-genetically modified produce in Roundup for the yield of a lifetime (InstaDead). Really relieved we bought seeds from Bayer instead. I think they’re a local, sustainable, organic, heirloom-seed-selling farm.
Glyphoscoffing aside, we were determined to create a strategic partnership with the hose instead and grow some thriving earth-bounty. Here’s what we did:
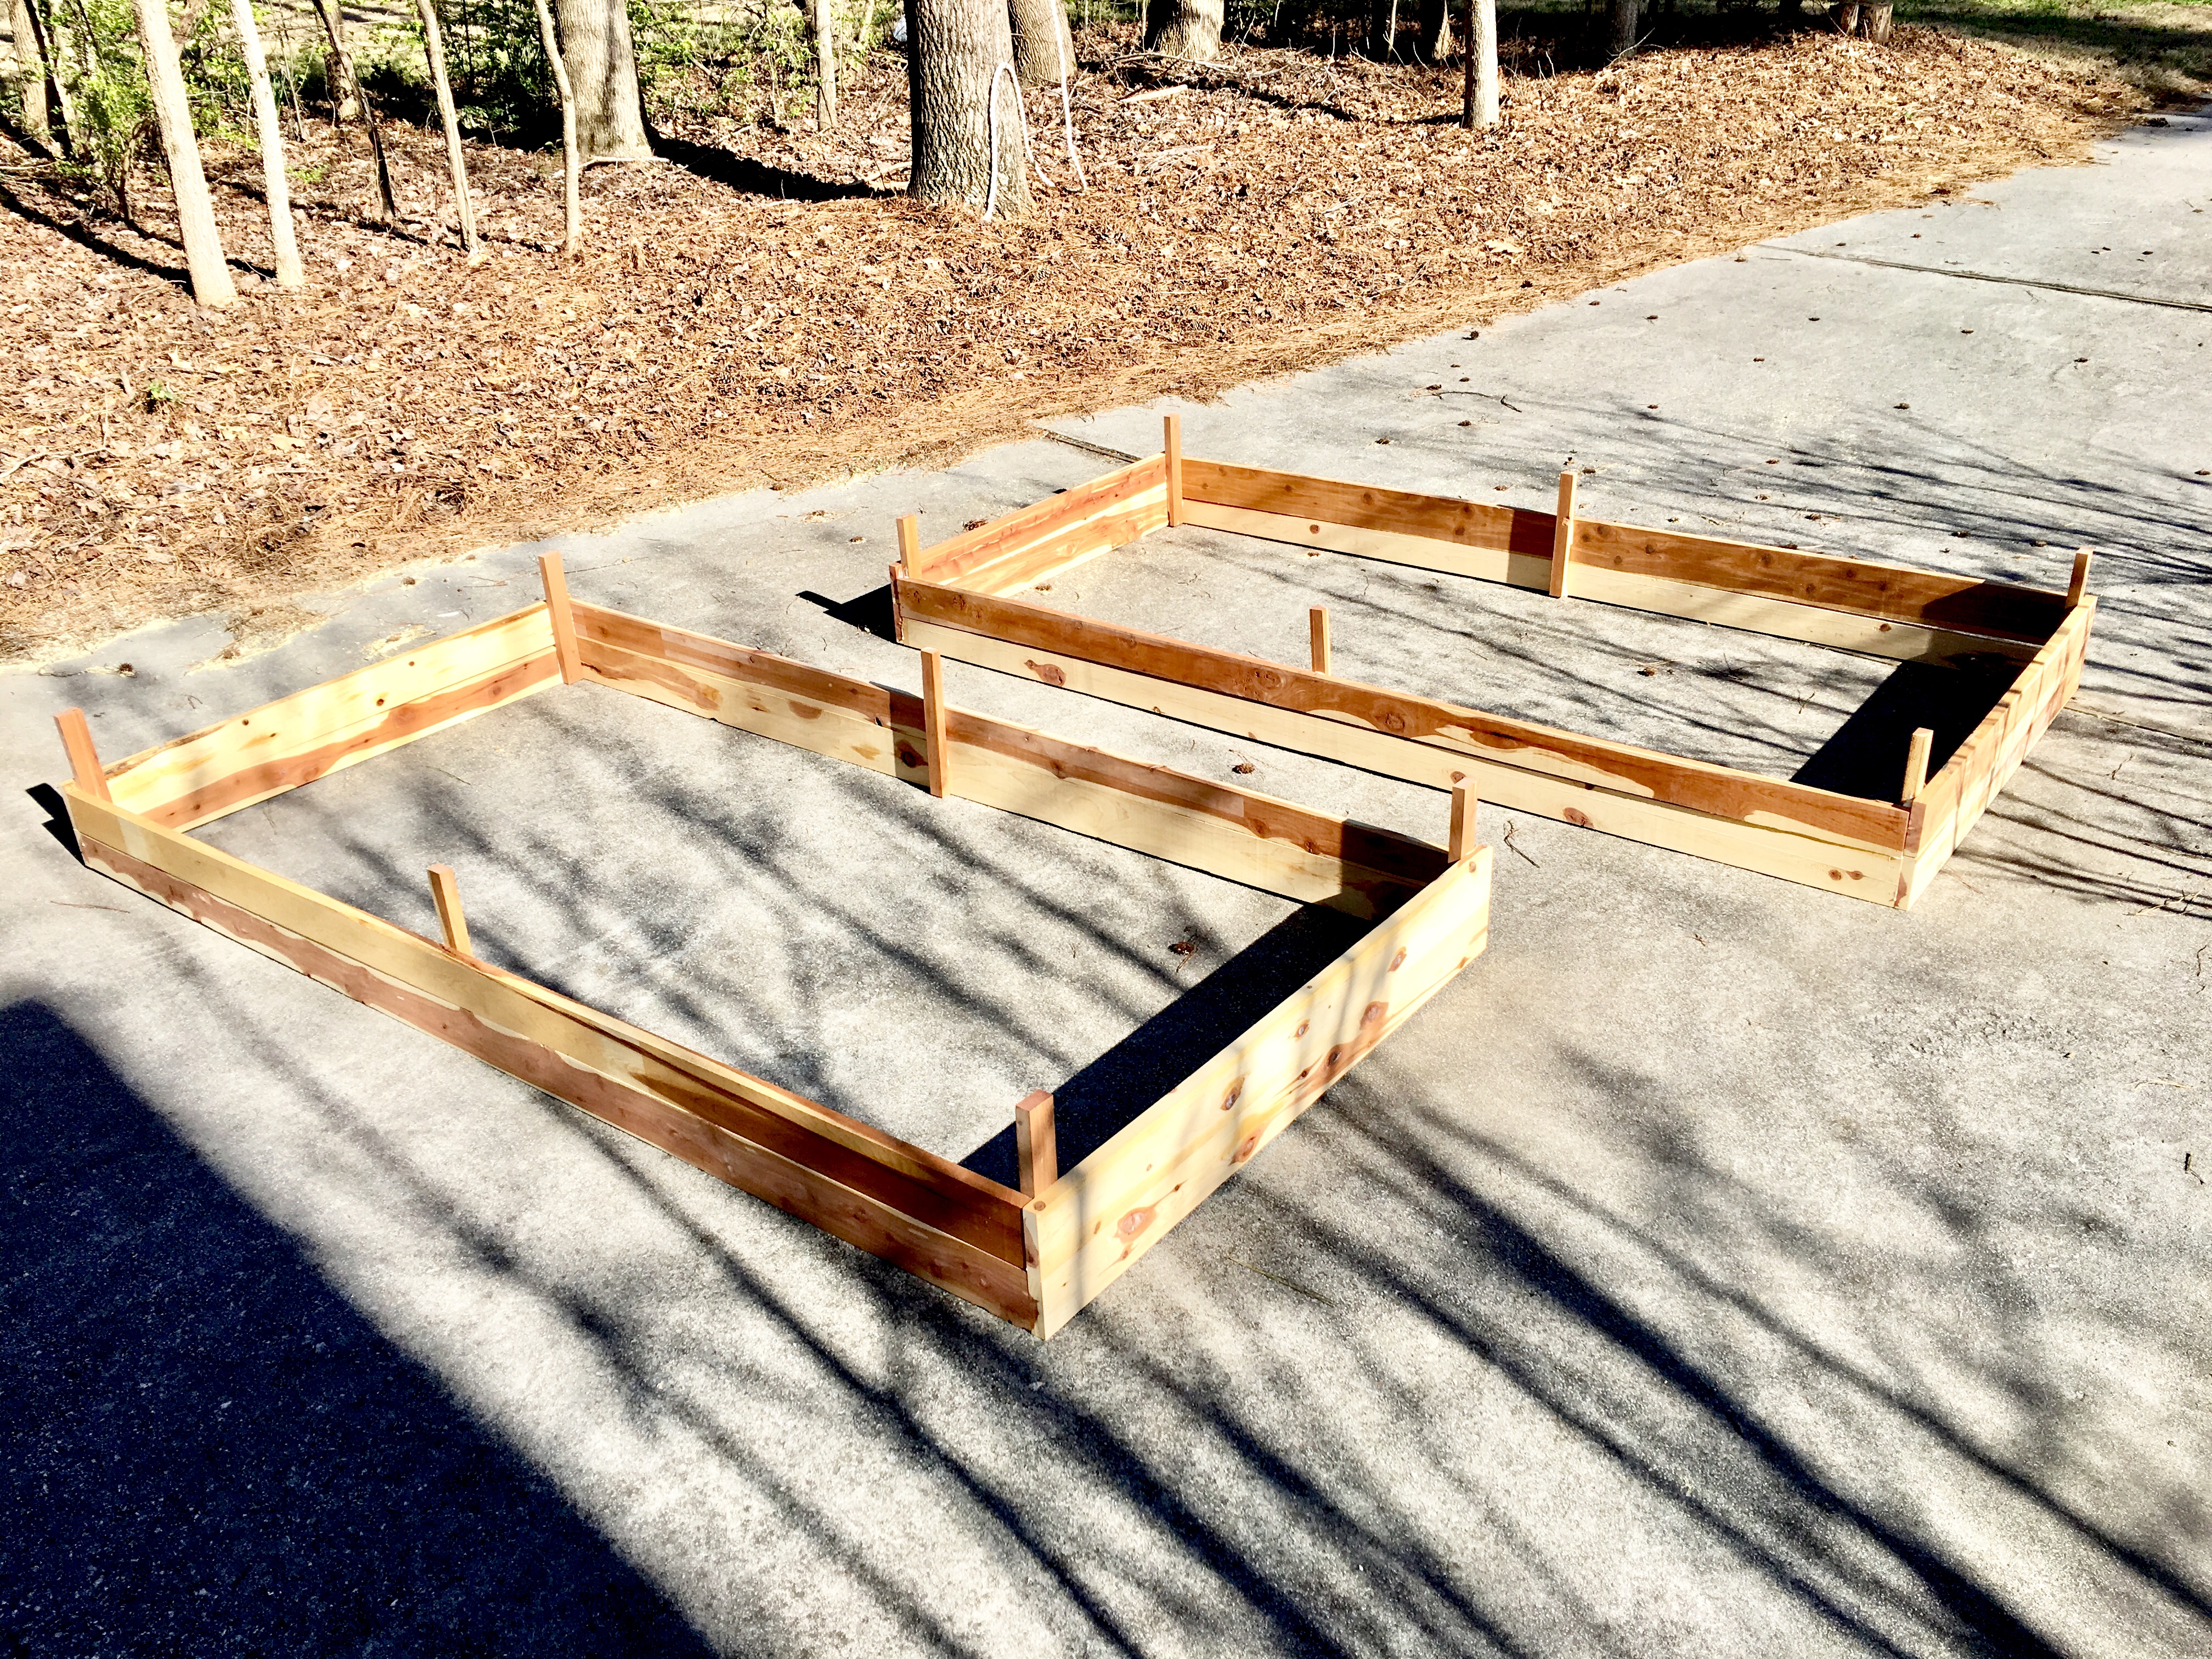
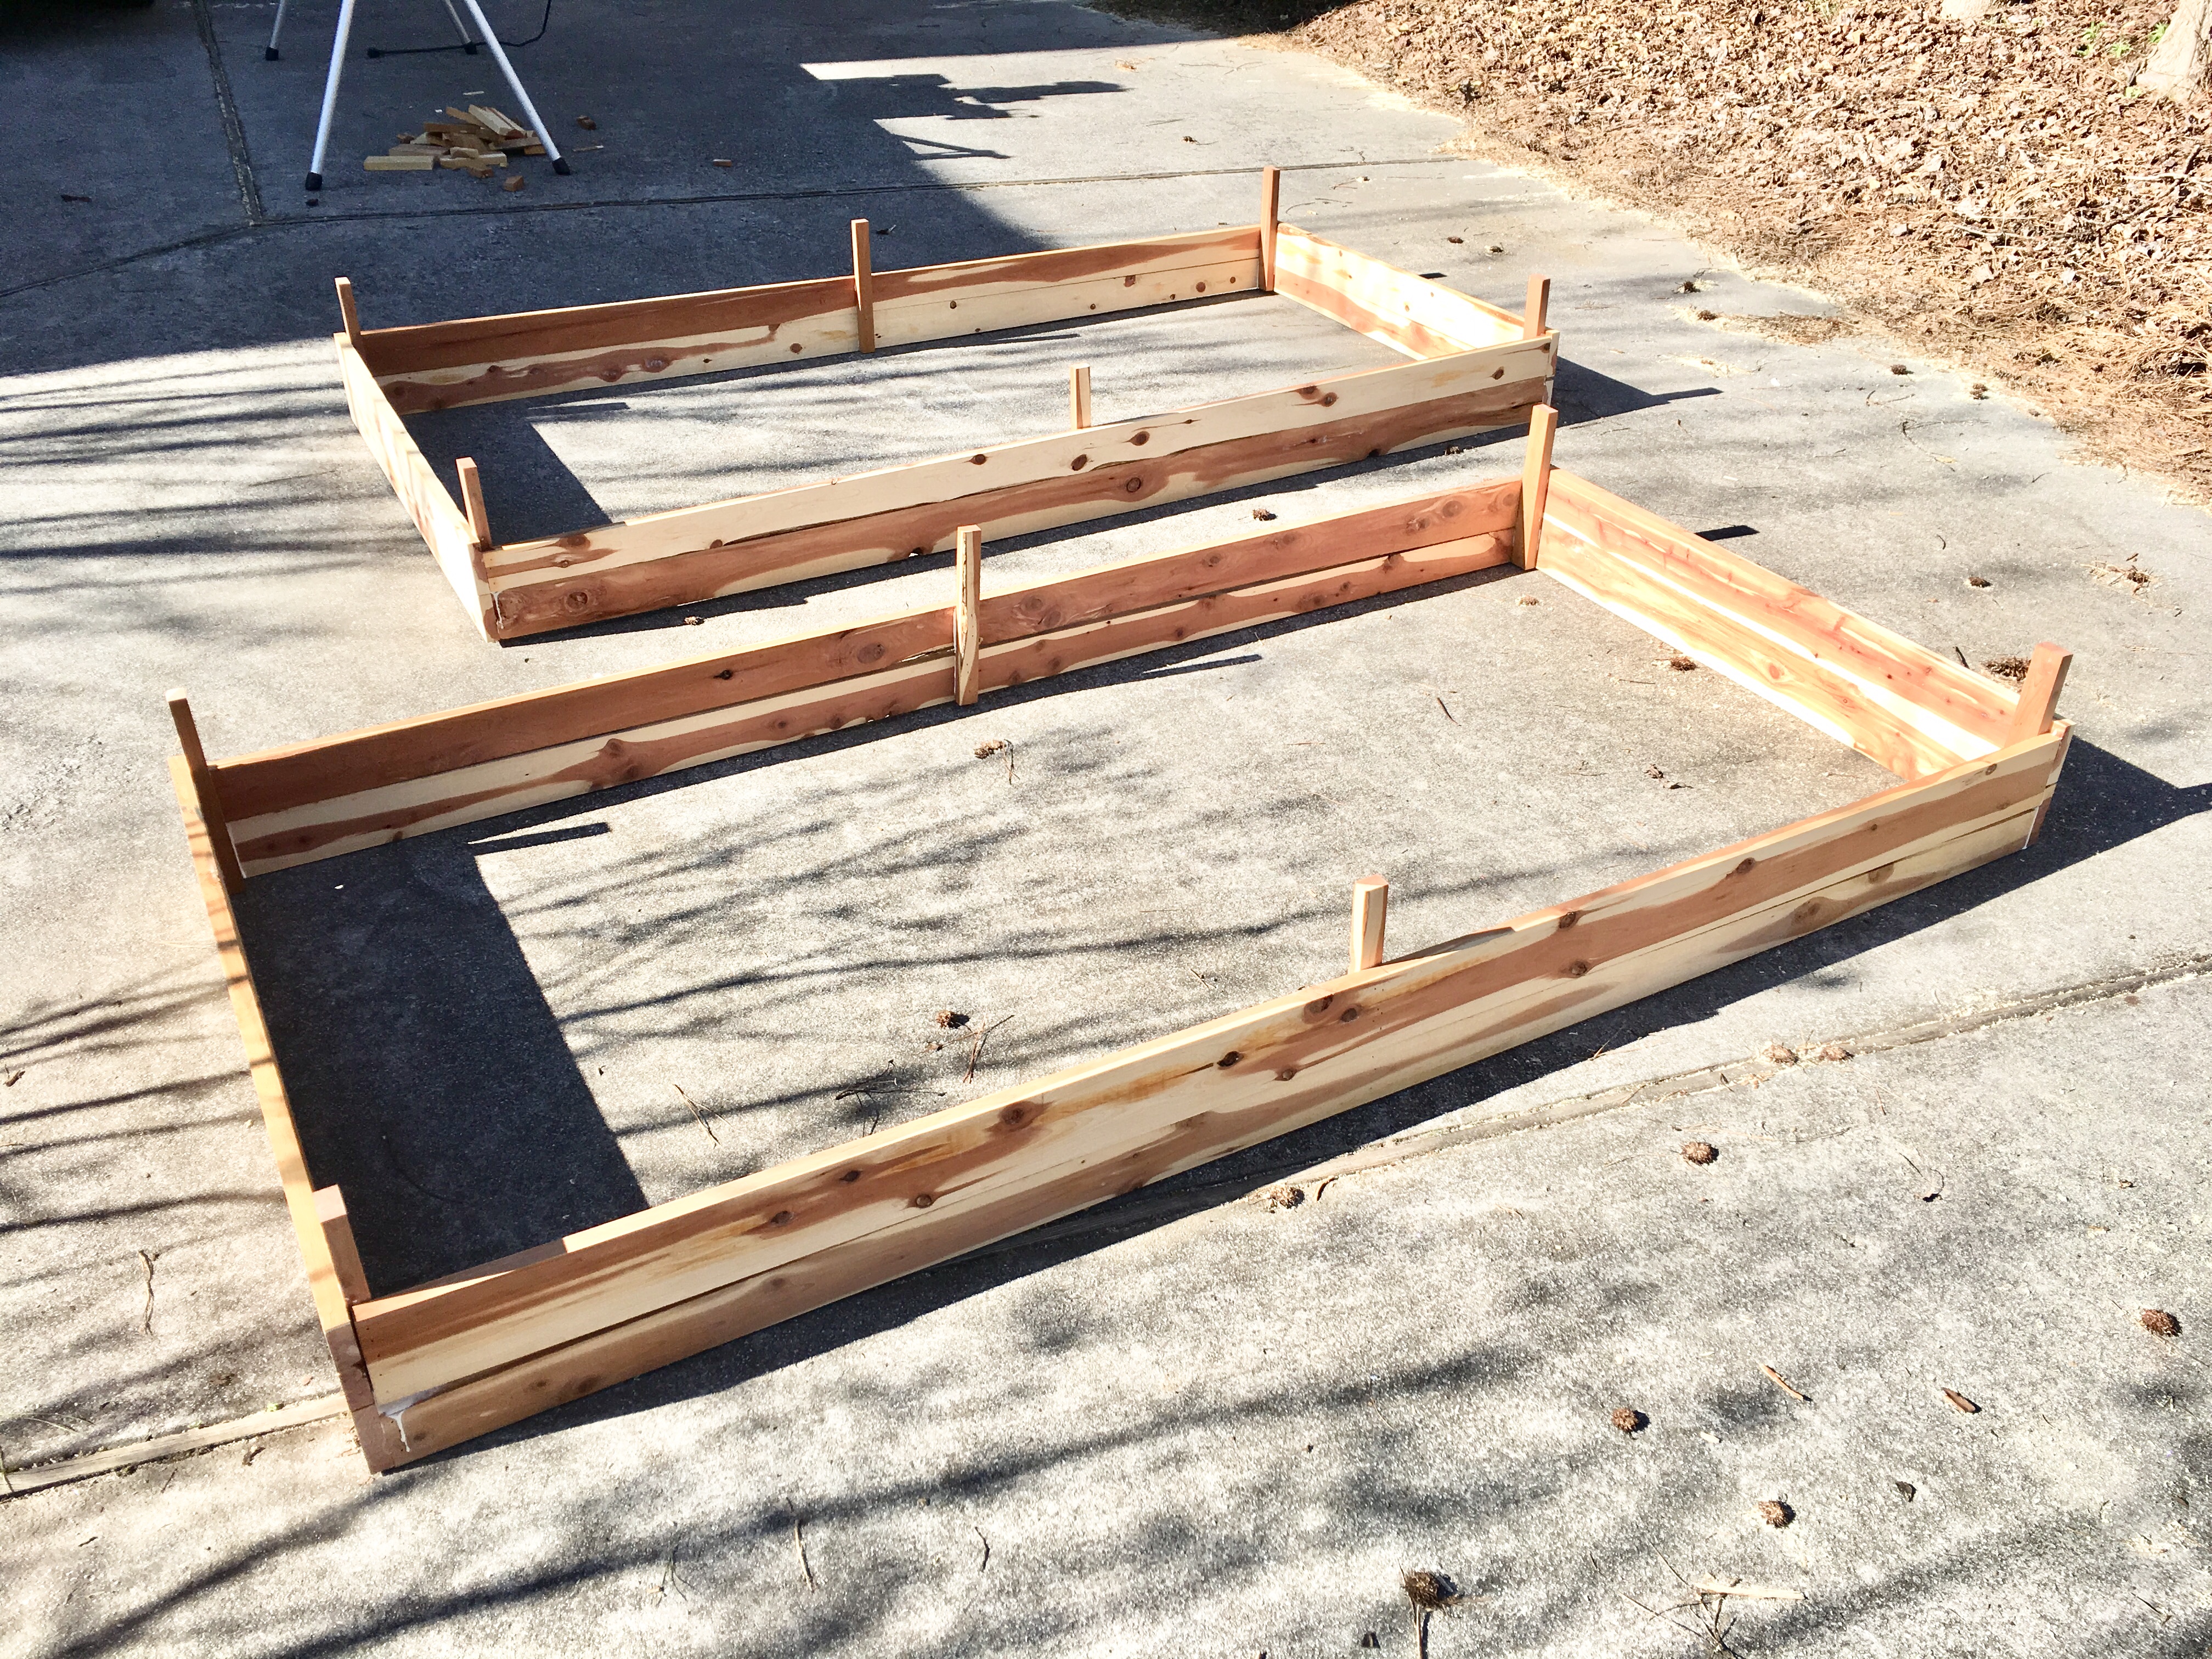
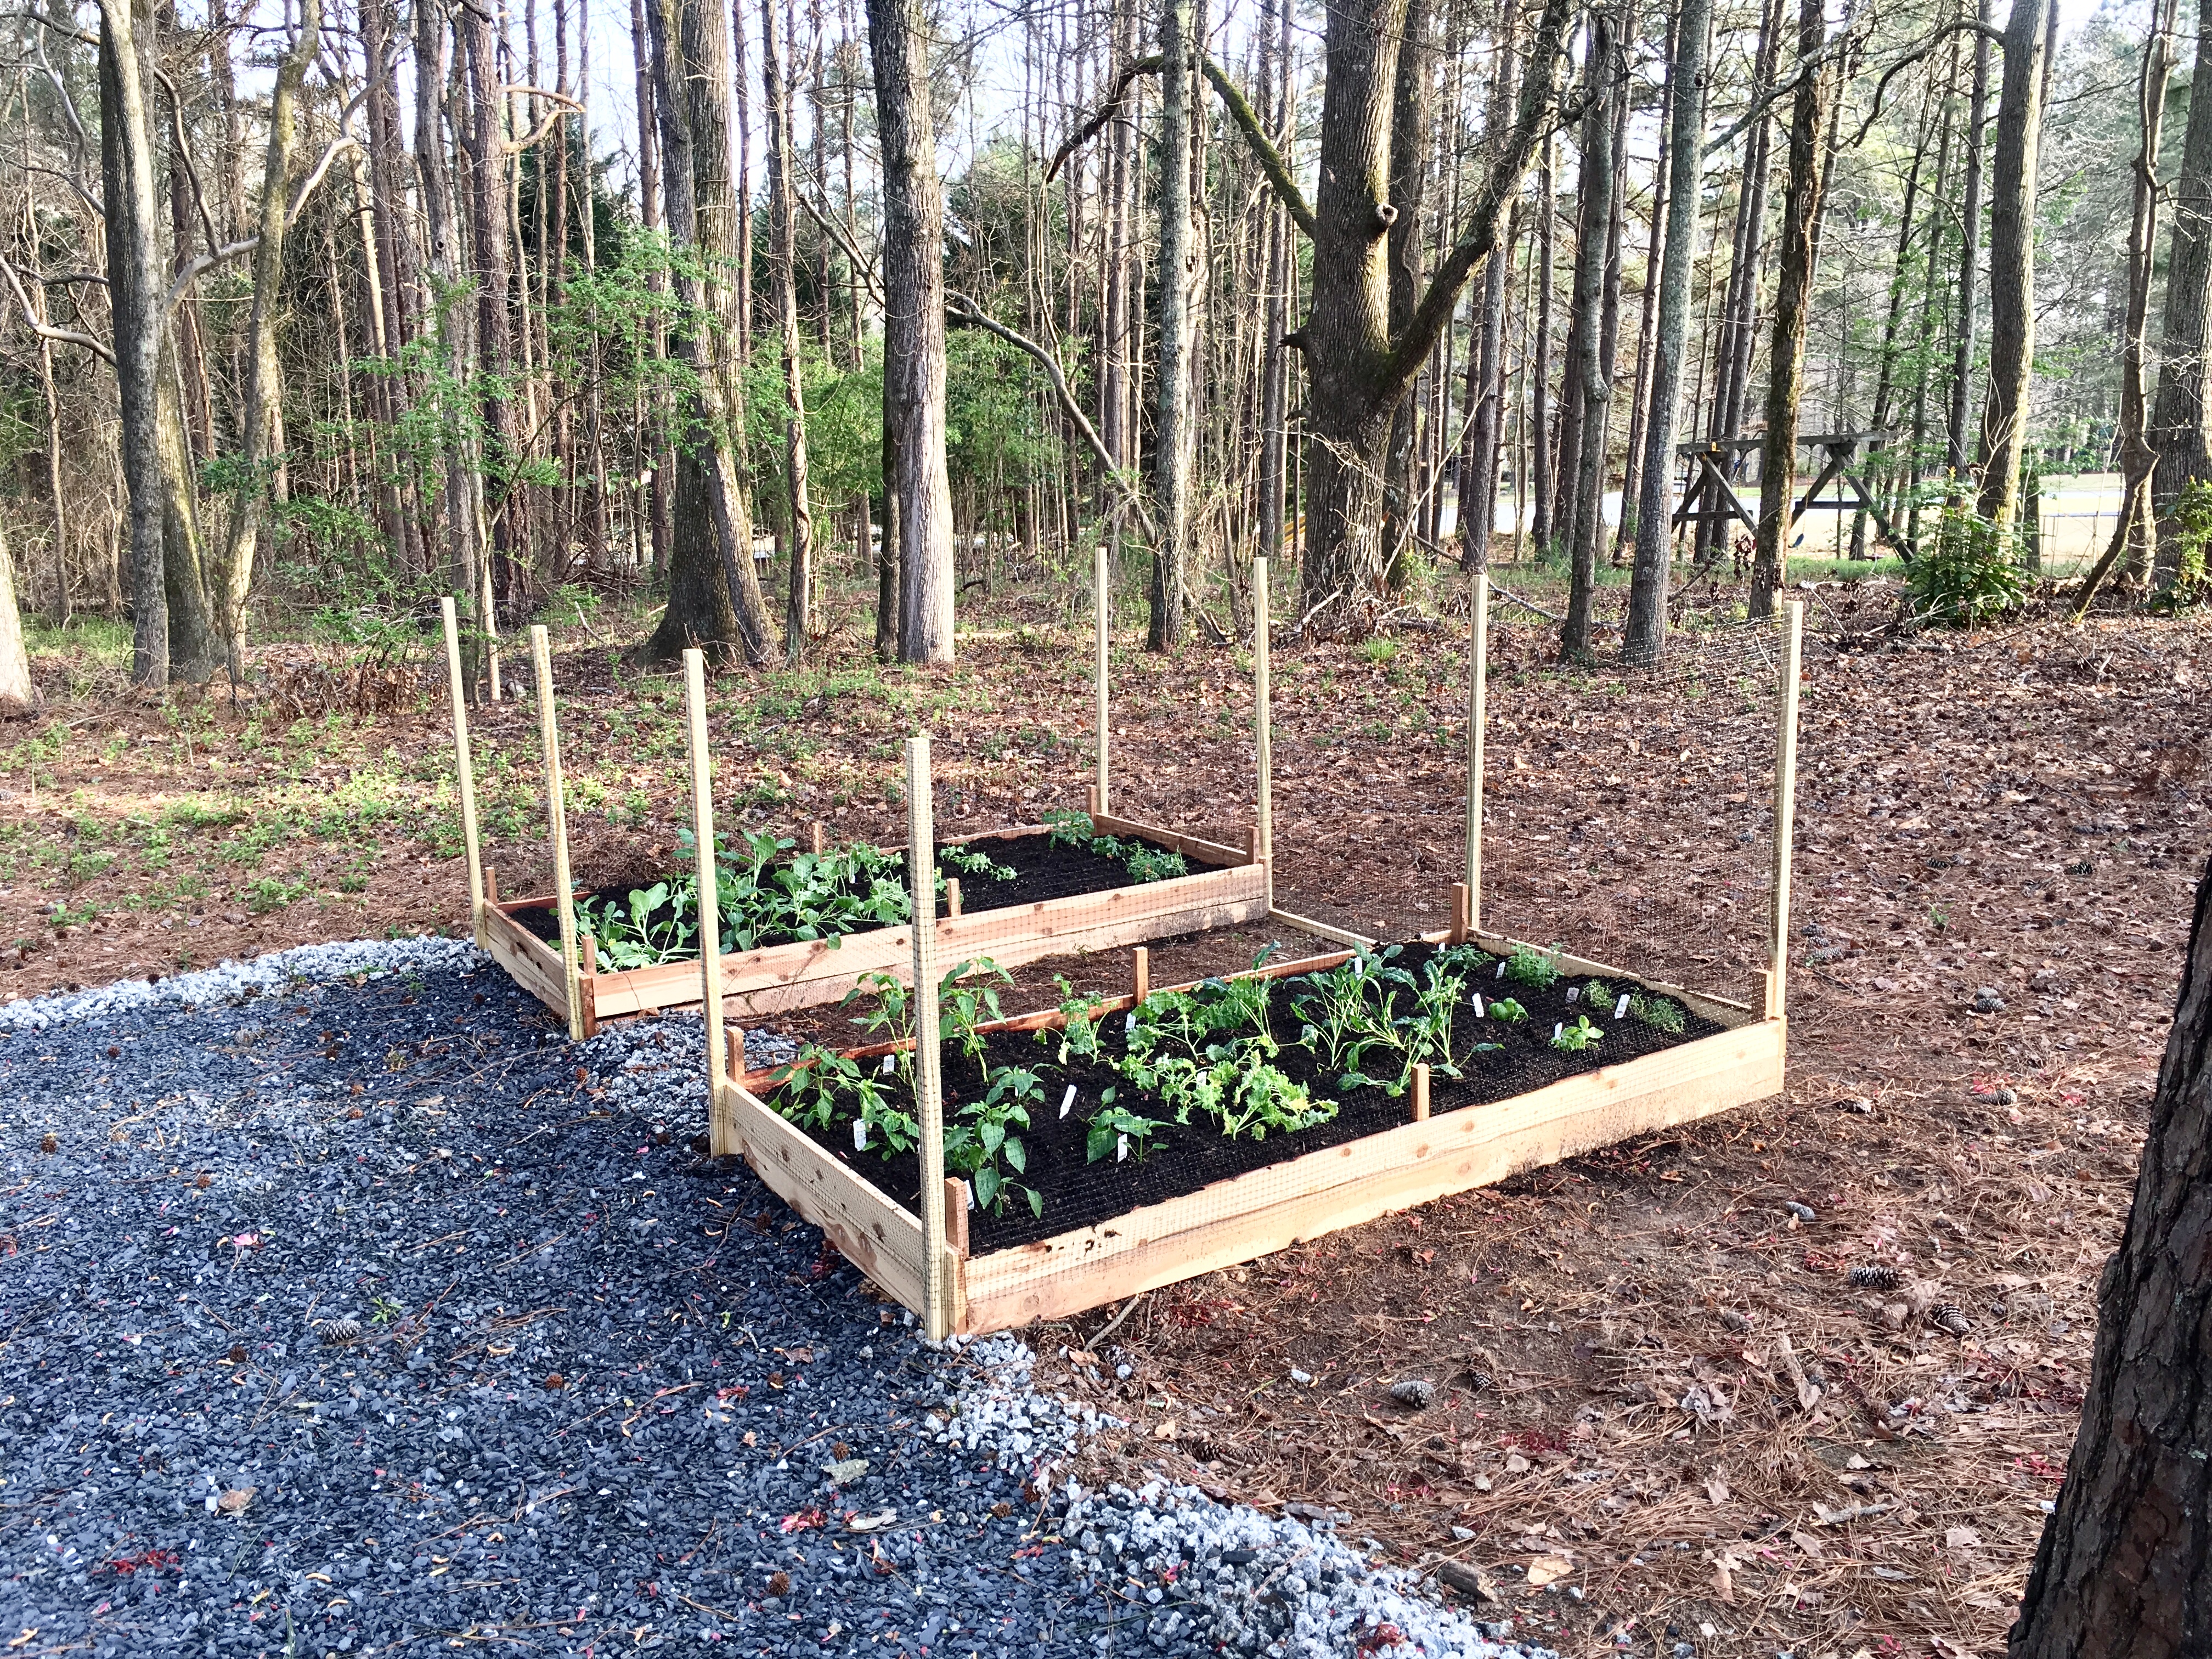
Step 1. Construct two raised beds out of cedar.
Why raised beds?
- Optimal drainage – if your soil stays too wet and never drains off, your plants will suffer.
- Weed prevention – ease of weed barrier install underneath the bed.
- Mole prevention – the ability to create a barrier that keeps varmints from digging holes to your roots and nomming them.
- Erosion blockage – rain can’t relocate your dirt.
- Soil compaction avoidance – creating an accessible box discourages stepping on the soil, compacting it, hindering drainage and lessening oxygen transfer to the root systems.
- Soil quality – you have the freedom to add whatever soil mixture you want without the necessary tilling and digging.
Why cedar?
- It’s naturally weatherproof.
- If you use dimensional lumber (pine) from your local home improvement spot, your bed will deteriorate over time. Rain, sunlight, insects and fungus will wreak some havoc.
- If you use pressure treated lumber, toxins will leach from your lumber to your soil and to your plants. Not something you want to mess with.
- Teak, like cedar, is already weatherproof, but far more expensive.
- Cedar is top choice for your clean, green, growing machine. Bonus: the wood grain variance and coloration is rather gorgeous.
Cost: the cedar happened to be a gracious gift from a friend. Lowe’s sells cedar 1x4x8s for $8.24 (verify with the link). I stacked two on top of each other for a 7″ deep bed. Many tutorials recommend to go even closer to 10″ deep. One full board would complete each shorter side. Total = (12) 1x4x8s = $98.88 without tax. You’ll likely want (1) 1x2x8 at $4.32 to provide more structural integrity. Attached with a 75-pack of 1.5″ deck screws at $6.79. Or take a risk like I did and use wood glue and 2″ brad nails via compressor and brad nail gun (if you already have one). If mine falls apart, I’m dropping $6.79 like it’s aught (cred: Snoop Dogg).
*Note: If you’re not the “wing-it” type, or your drill skills are similar to mine a couple years back, here’s a Lowe’s tutorial on building a raised garden bed.
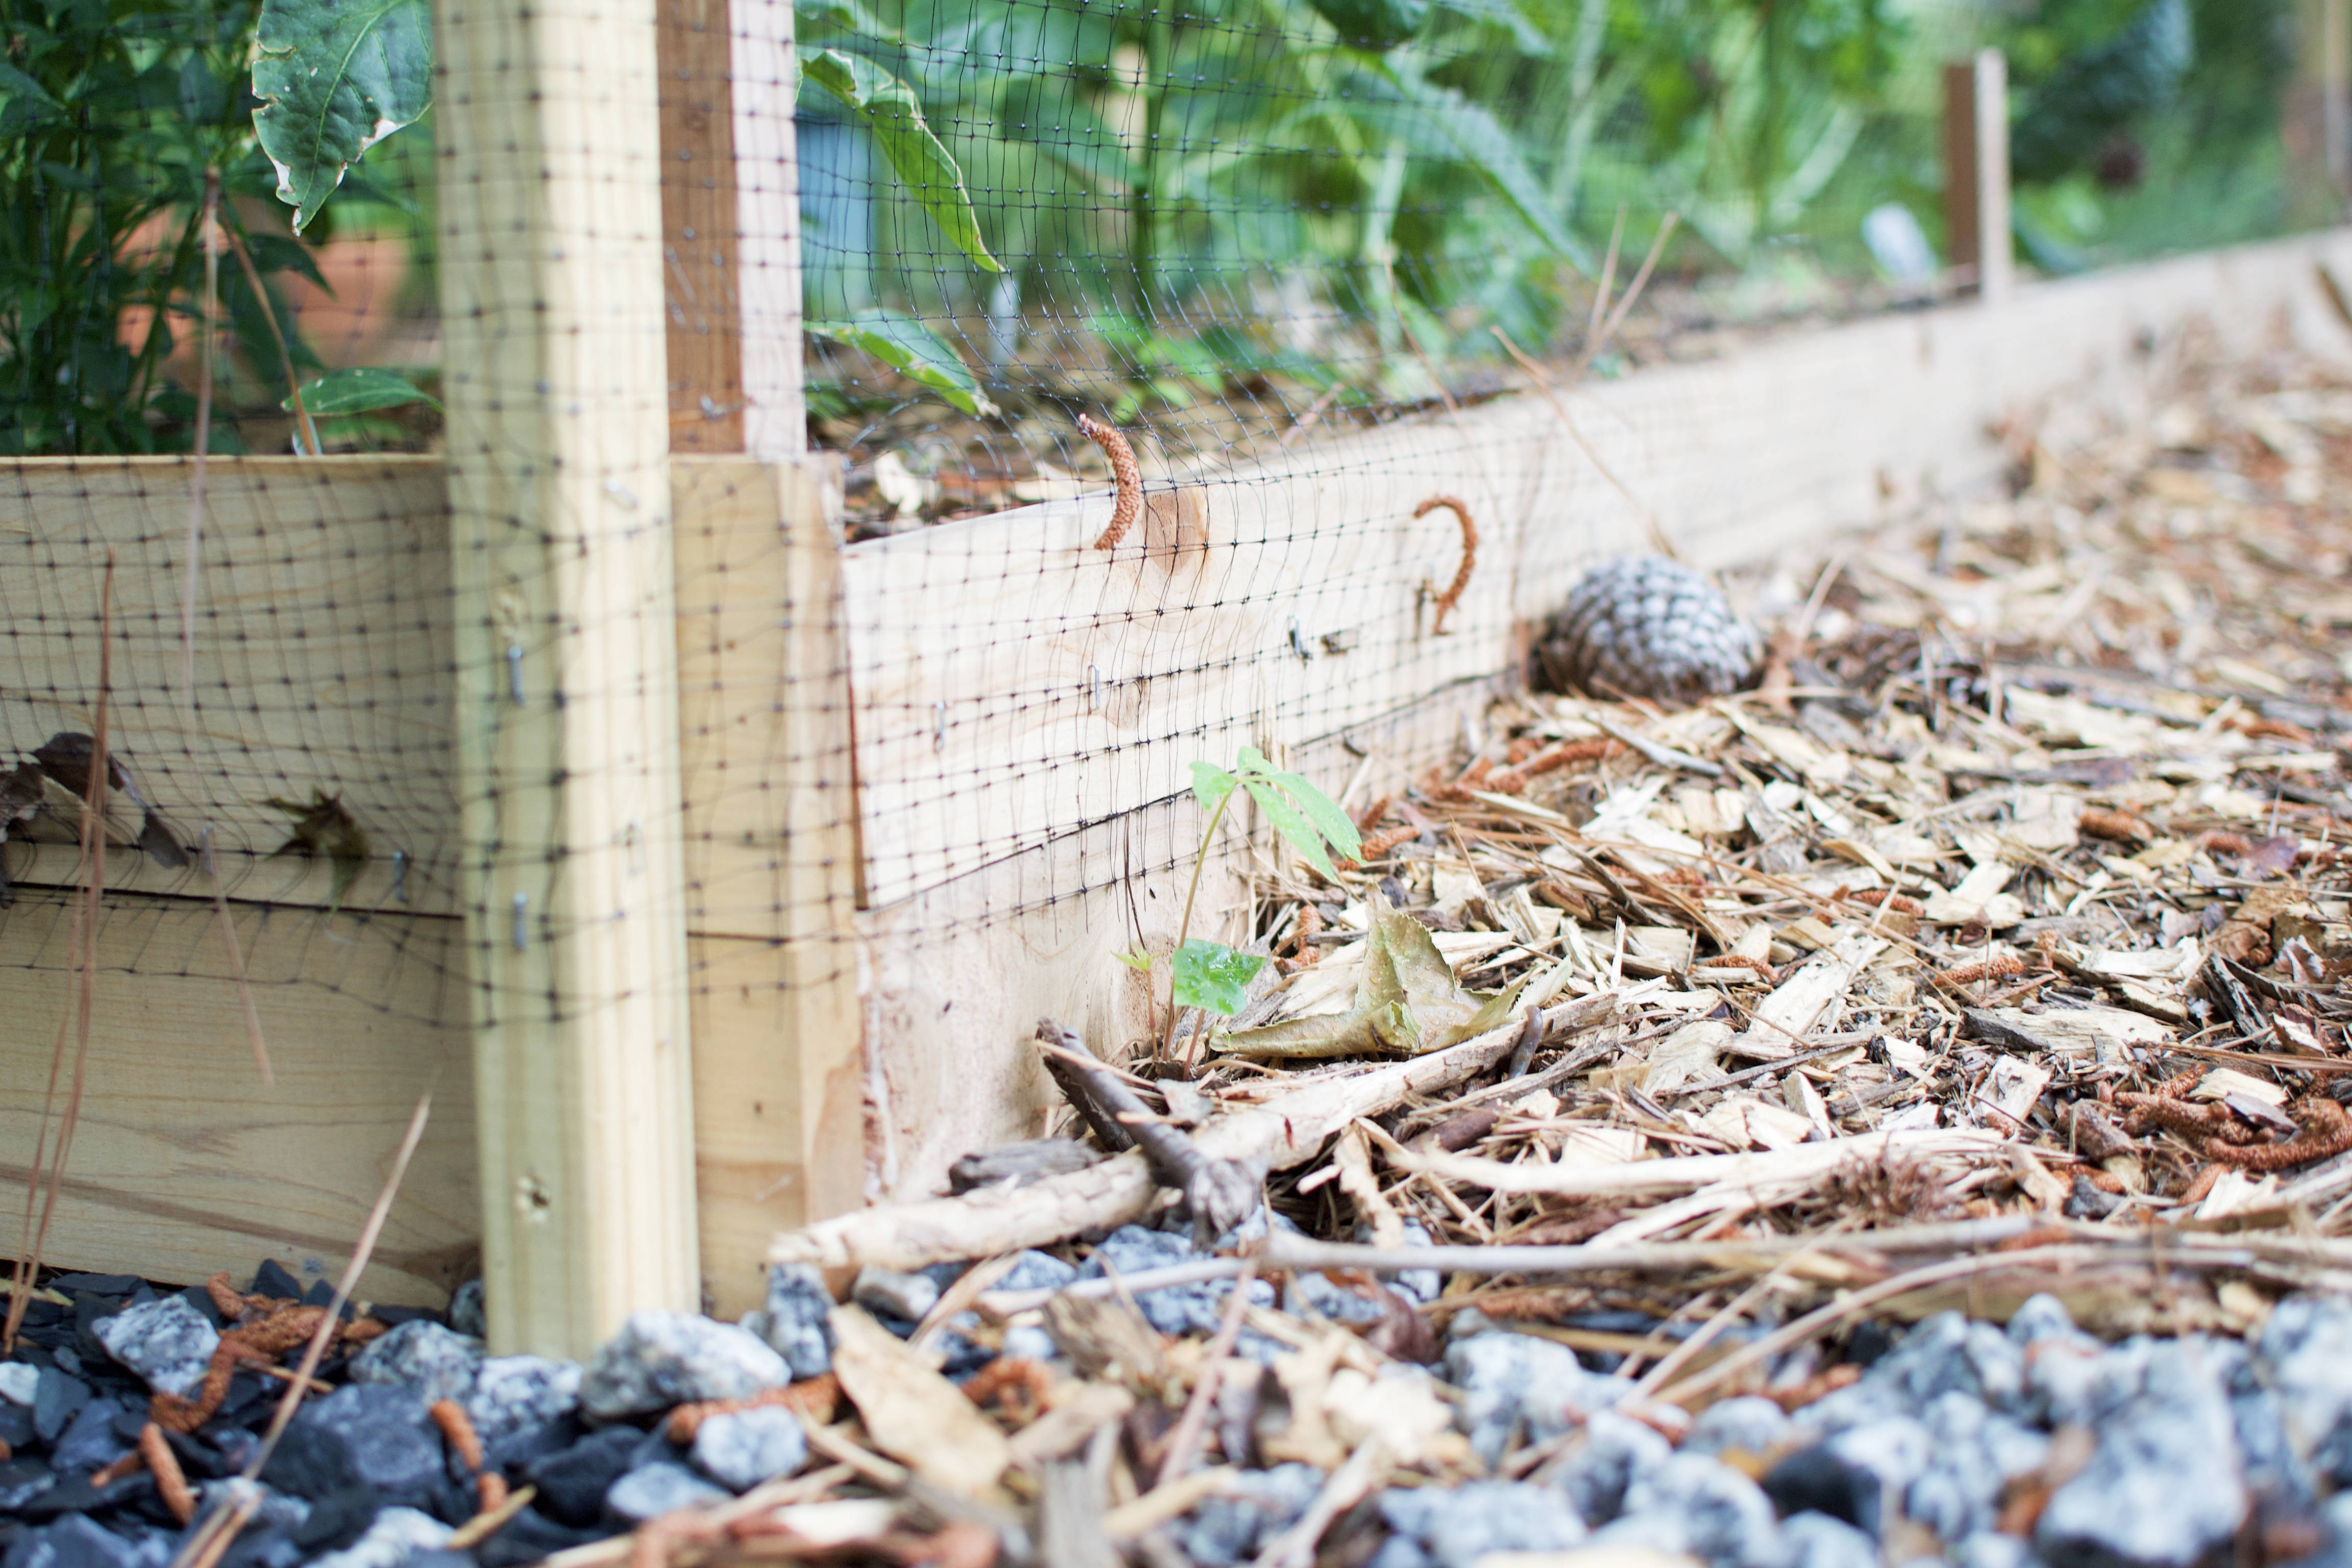
This is the best time to add a mole AND weed barrier. I used one roll of plastic mesh netting ($31.98) topped with a single roll of polyethylene mesh fabric ($12.98) and secured with metal landscape staples ($9.67 for 75). Cut and resize as needed to fill the bottom of your bed.
Step 2. Acquire soil.
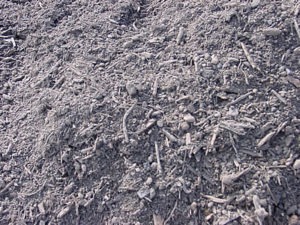 Top soil.
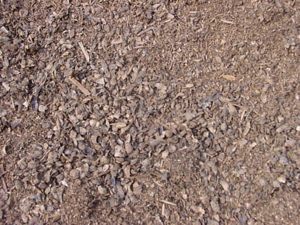 Composted soil.
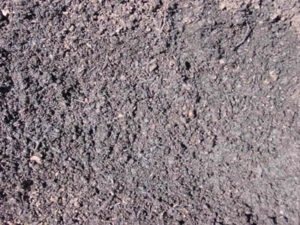 50% top soil + 50% composted soil.
Find your nearest yard supply center, which will likely sell soil for much cheaper than the bags available at Home Depot or Lowe’s. Search engine around to identify one that offers a compost-style mix. Or just buy topsoil and blend with your own compost pile or bin. Isn’t composting for hippies? Definitely not. You put all of your plant scraps and eggs shells to good use, providing a nutrient-rich supplement for better yields.
We bought a 50-50 blend of topsoil and composted soil that our local yard pros combine onsite per order. Can’t wait to use the compost we’ve been adding to everyday in our tumbling composter – more to come soon. The 1 cubic yard of soil fit perfectly in our two 3 ft by 7 ft raised beds. Price: $45. Full standard sized truck bed. Suspension almost bottomed out.
Step 3. Acquire things to grow.
Depot was the move for cost effective tiny plants. Our negative 5 confidence level didn’t allow growing a garden from seeds or germinated seedlings. Lacking experience and a backwoods botany “degree”? Then consider starting with the tinies. Price: each individual plant costs $3-5 at Depot. Wanting 10 plants? Budget $50. Wanting 20 plants? Budget $100. Trying your hand at the seed? I.e. 25 beefsteak tomato seeds in one pack for $2.59. Would save you money and dramatically increase your patience. If you like pesto, snag some basil (& sage) for a homemade version.
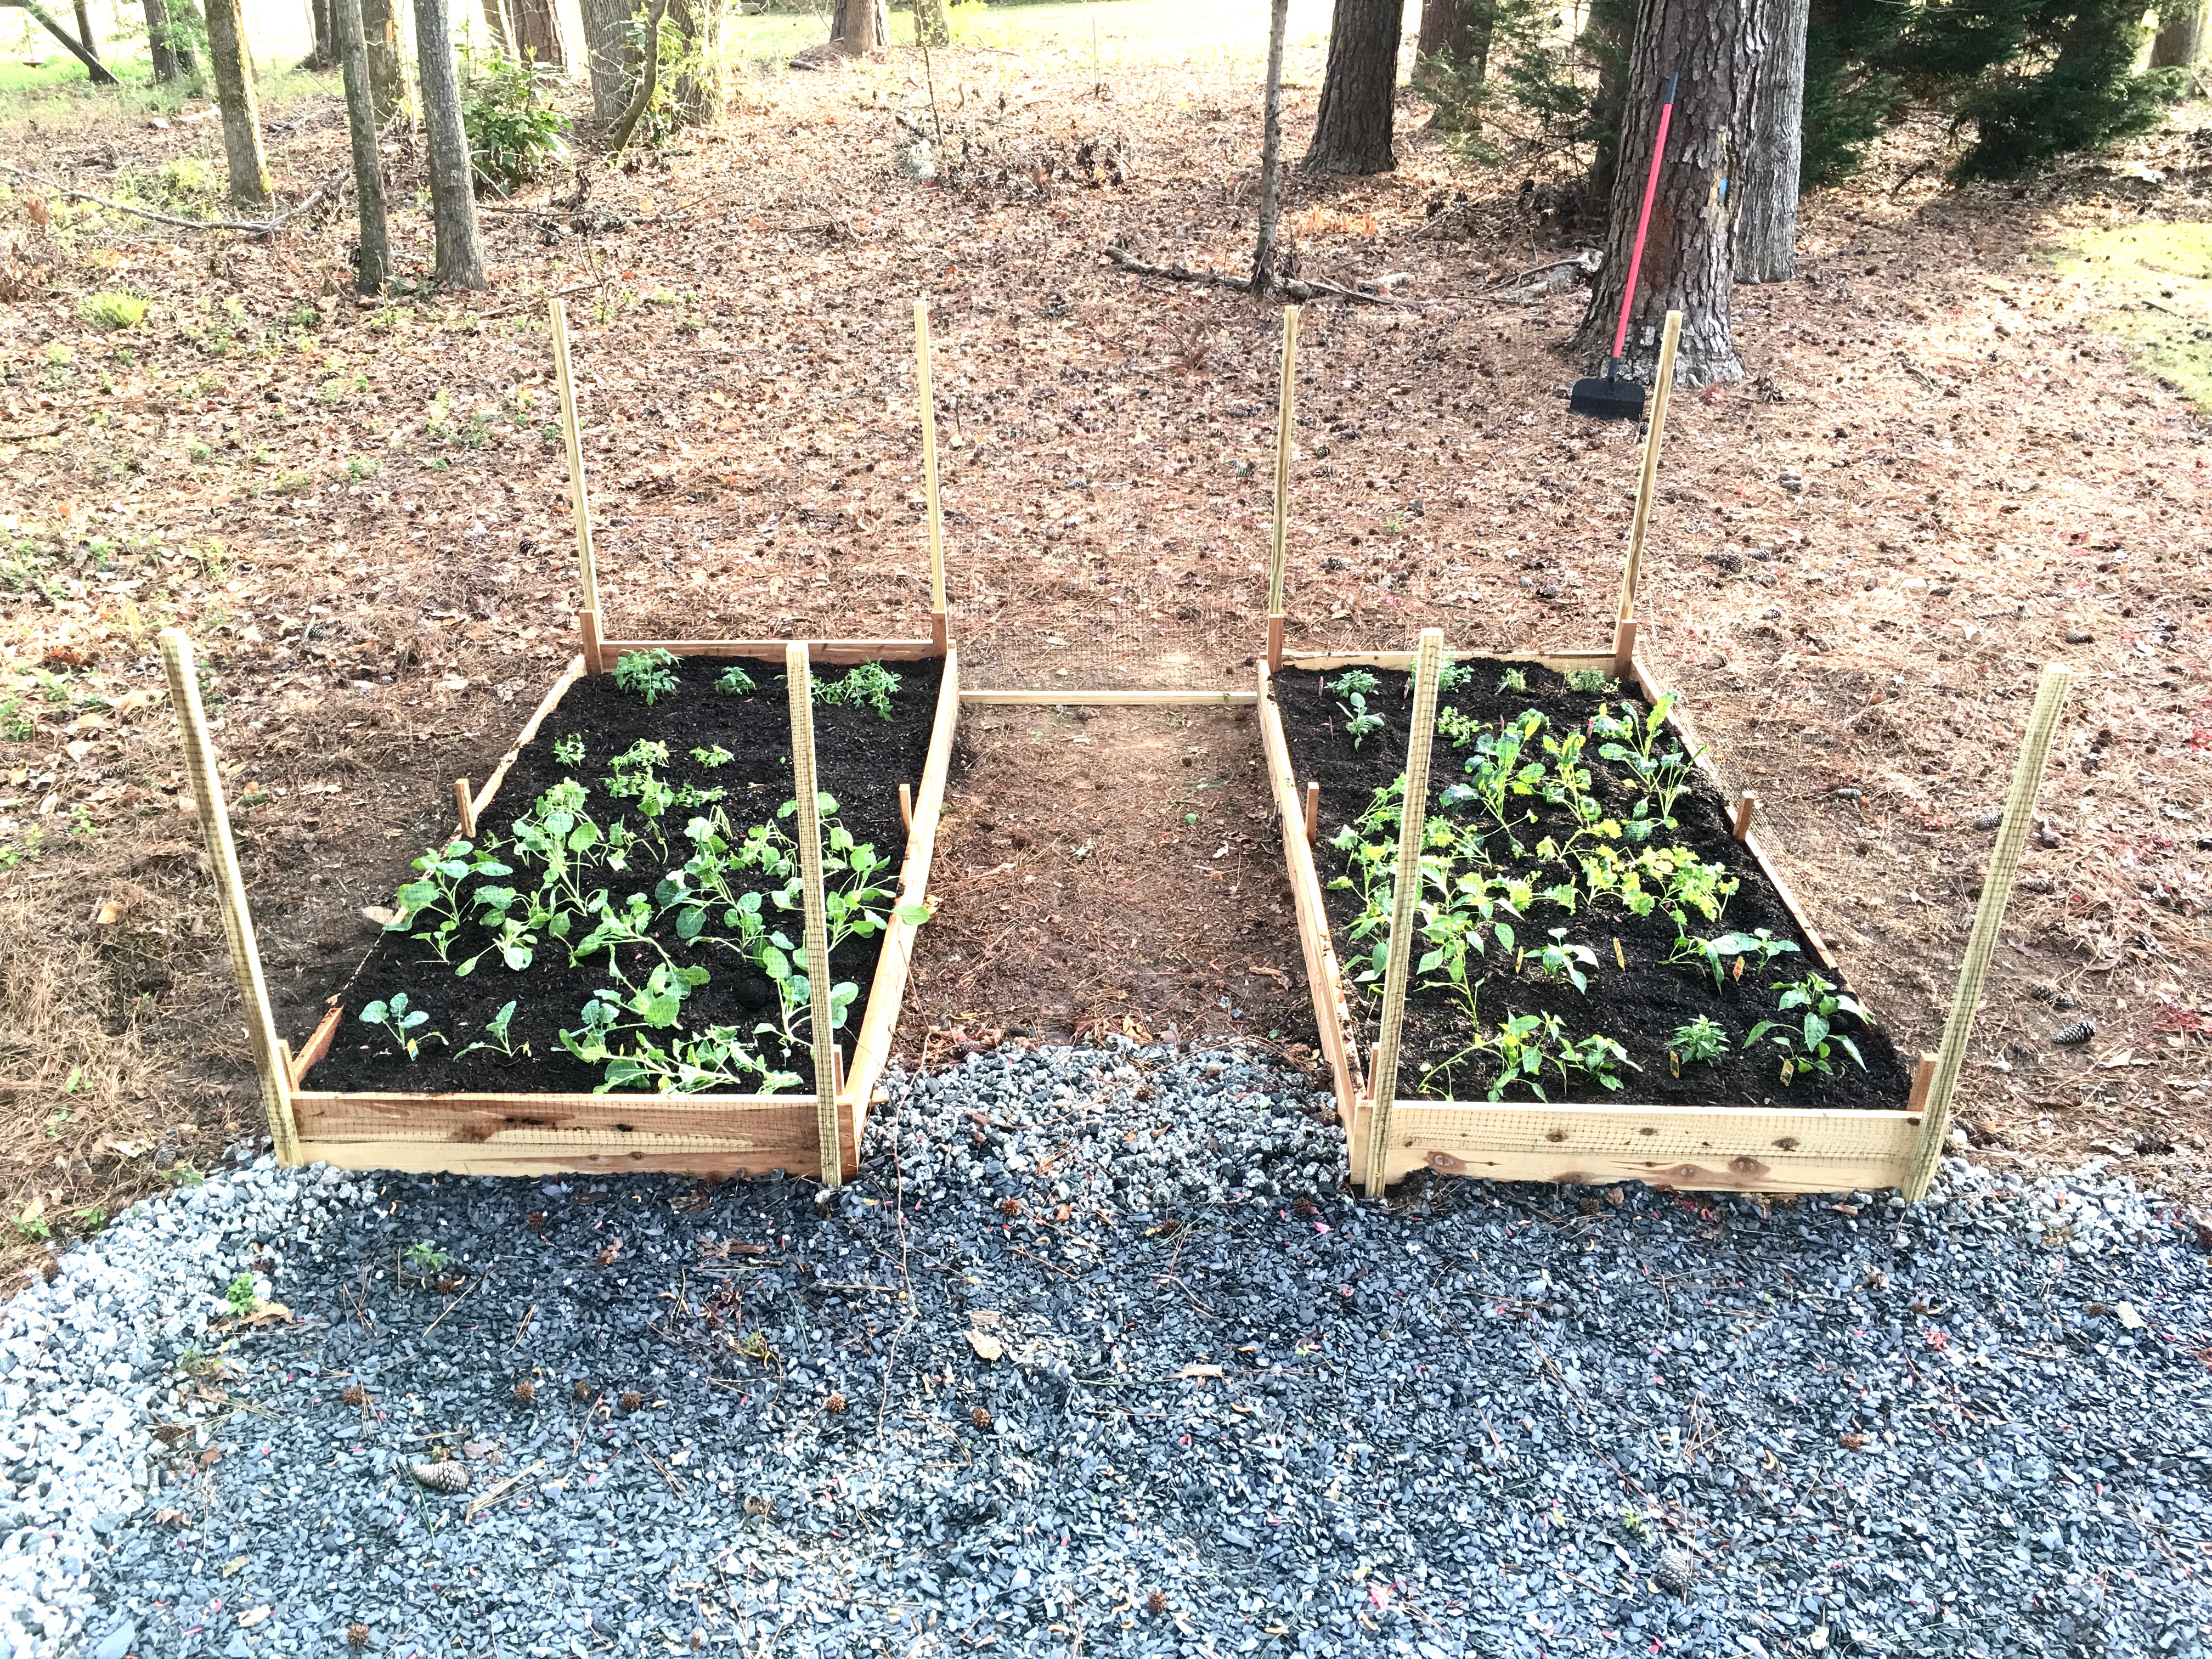
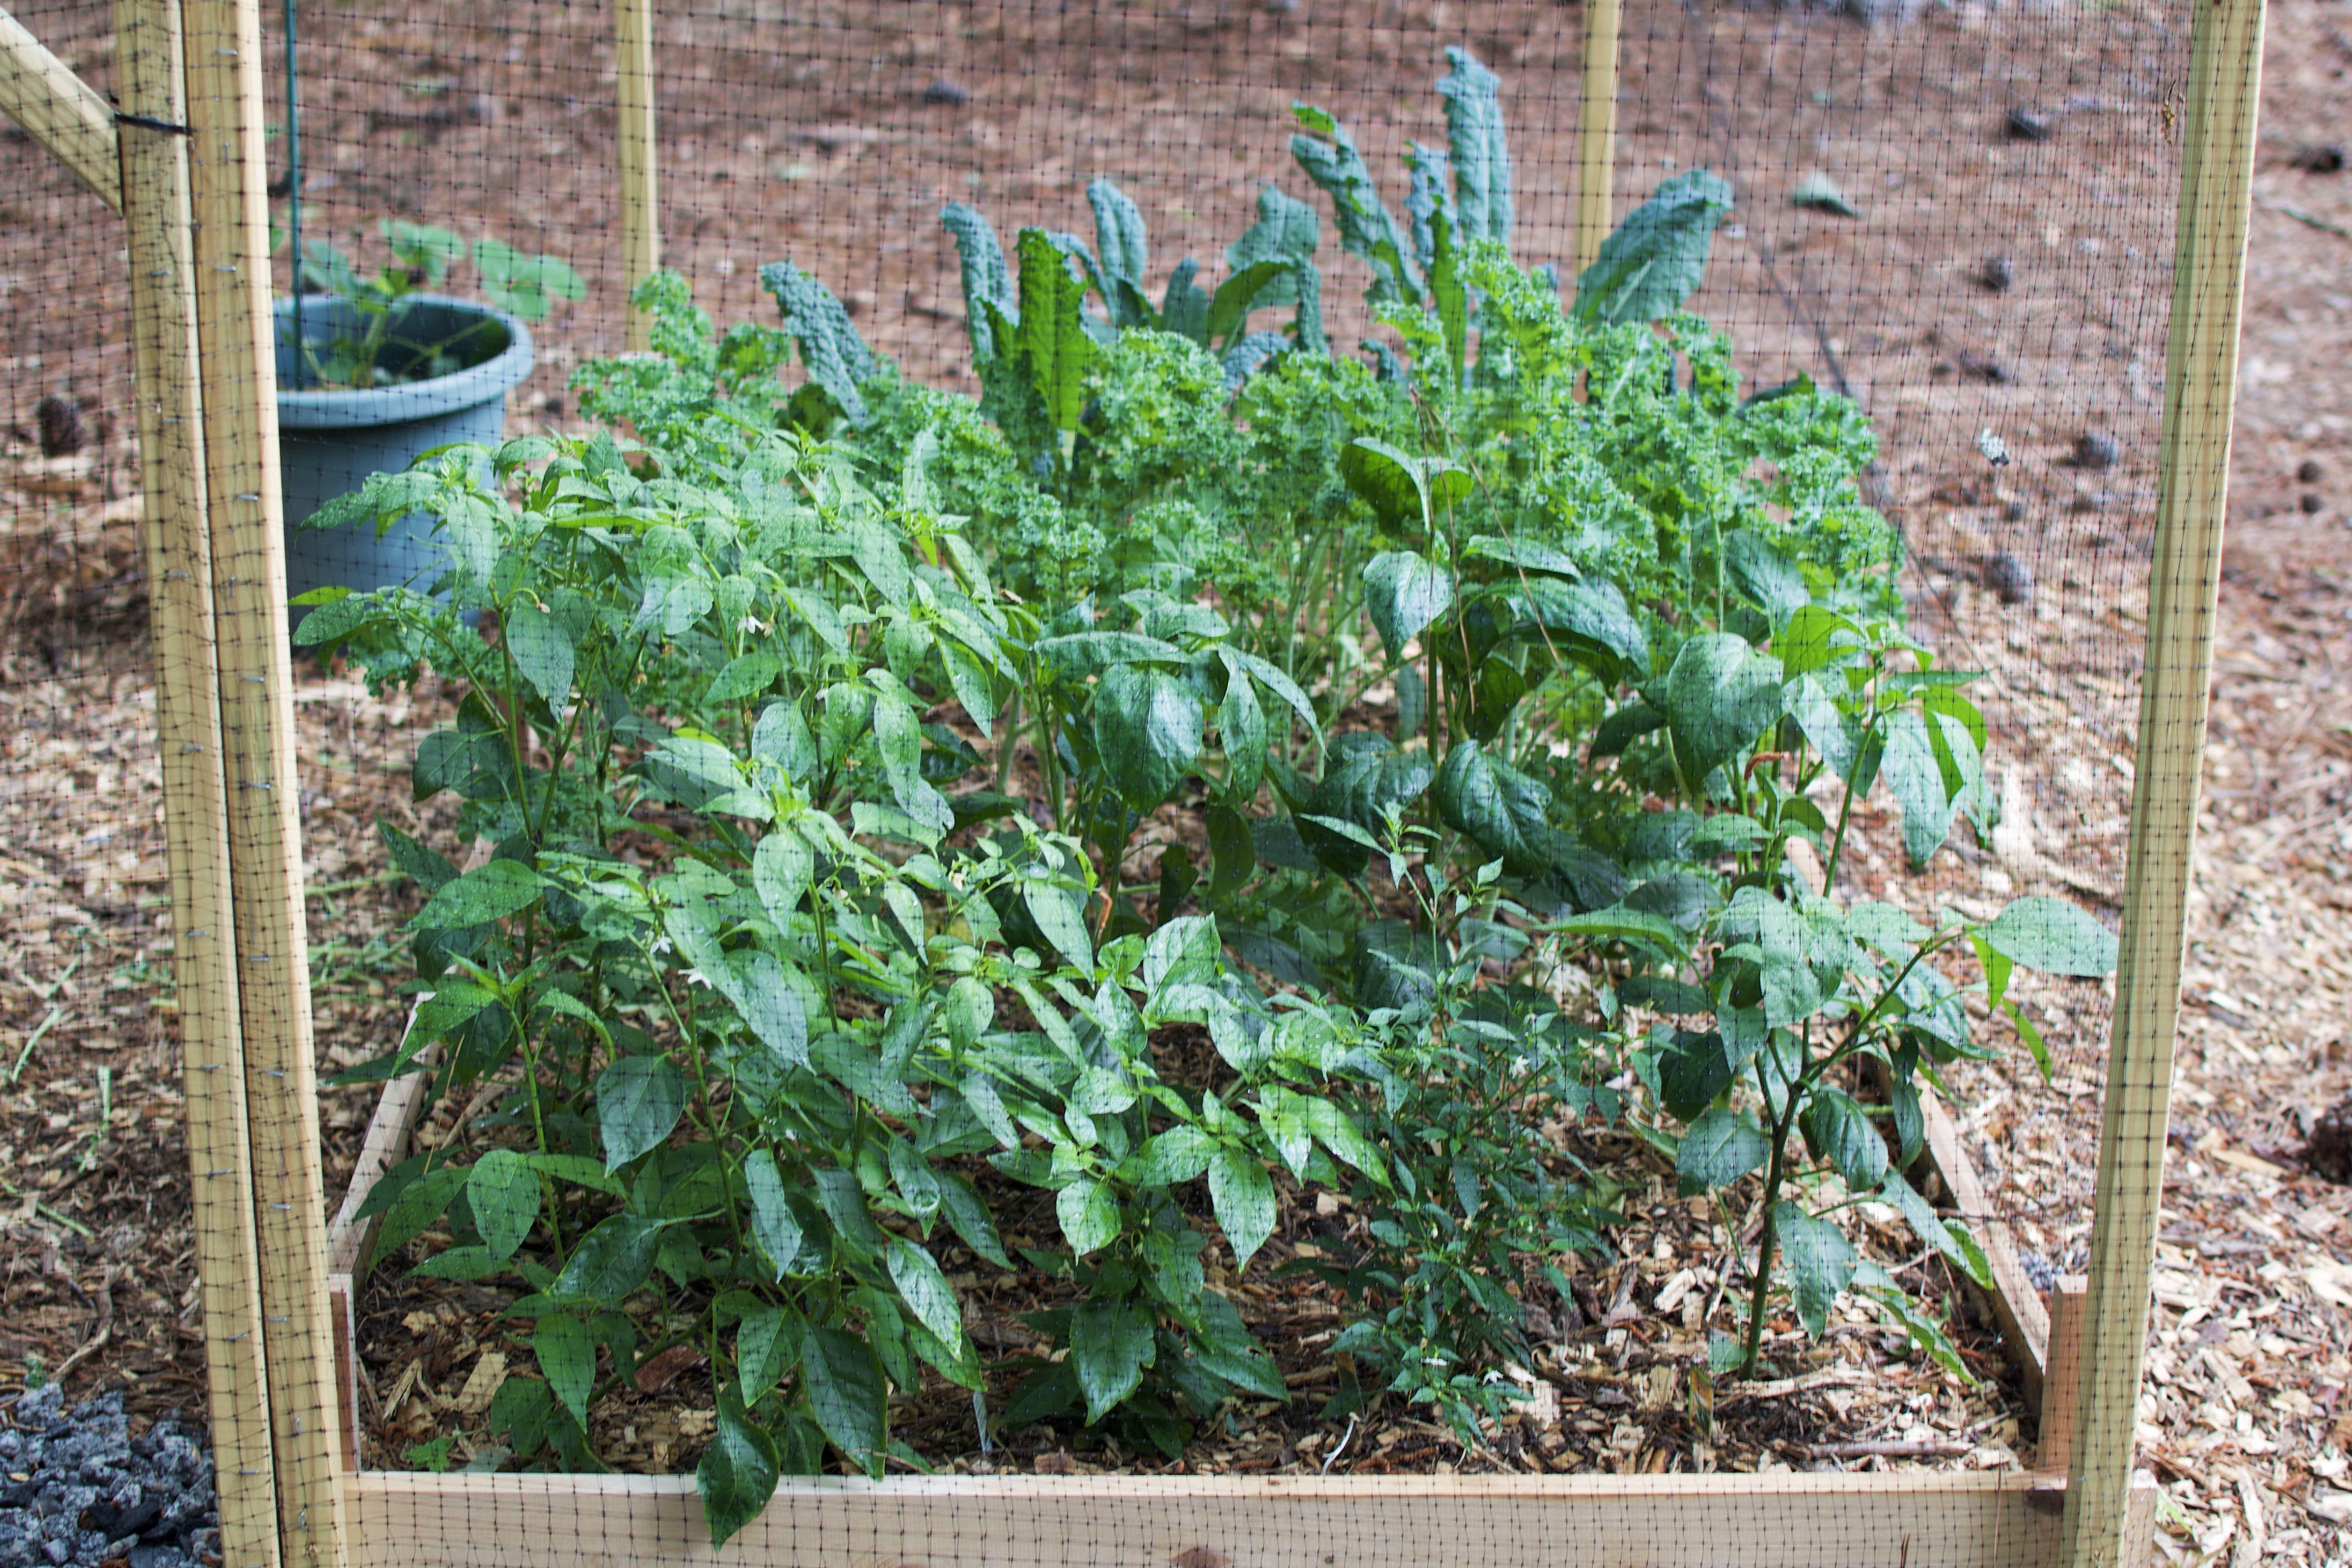
Step 4. Plant plants in the bed.
Here’s a mistake you likely won’t make: perceiving a container of 6 plants to be 1 plant, and arriving home with enough soil-suckers to qualify for a sizeable tax exemption. And subsequently packing the space tighter than a 1 year old’s butt cheeks in a size 1 disposable diaper (did that the other day and wifey was proud gently offering an alternative lolling). Apparently size 1 diapers are made for babies 8-15 lbs, not our 25 lb 1 year old. Snag a look below at the size of these cuties! (Not my son’s rump).
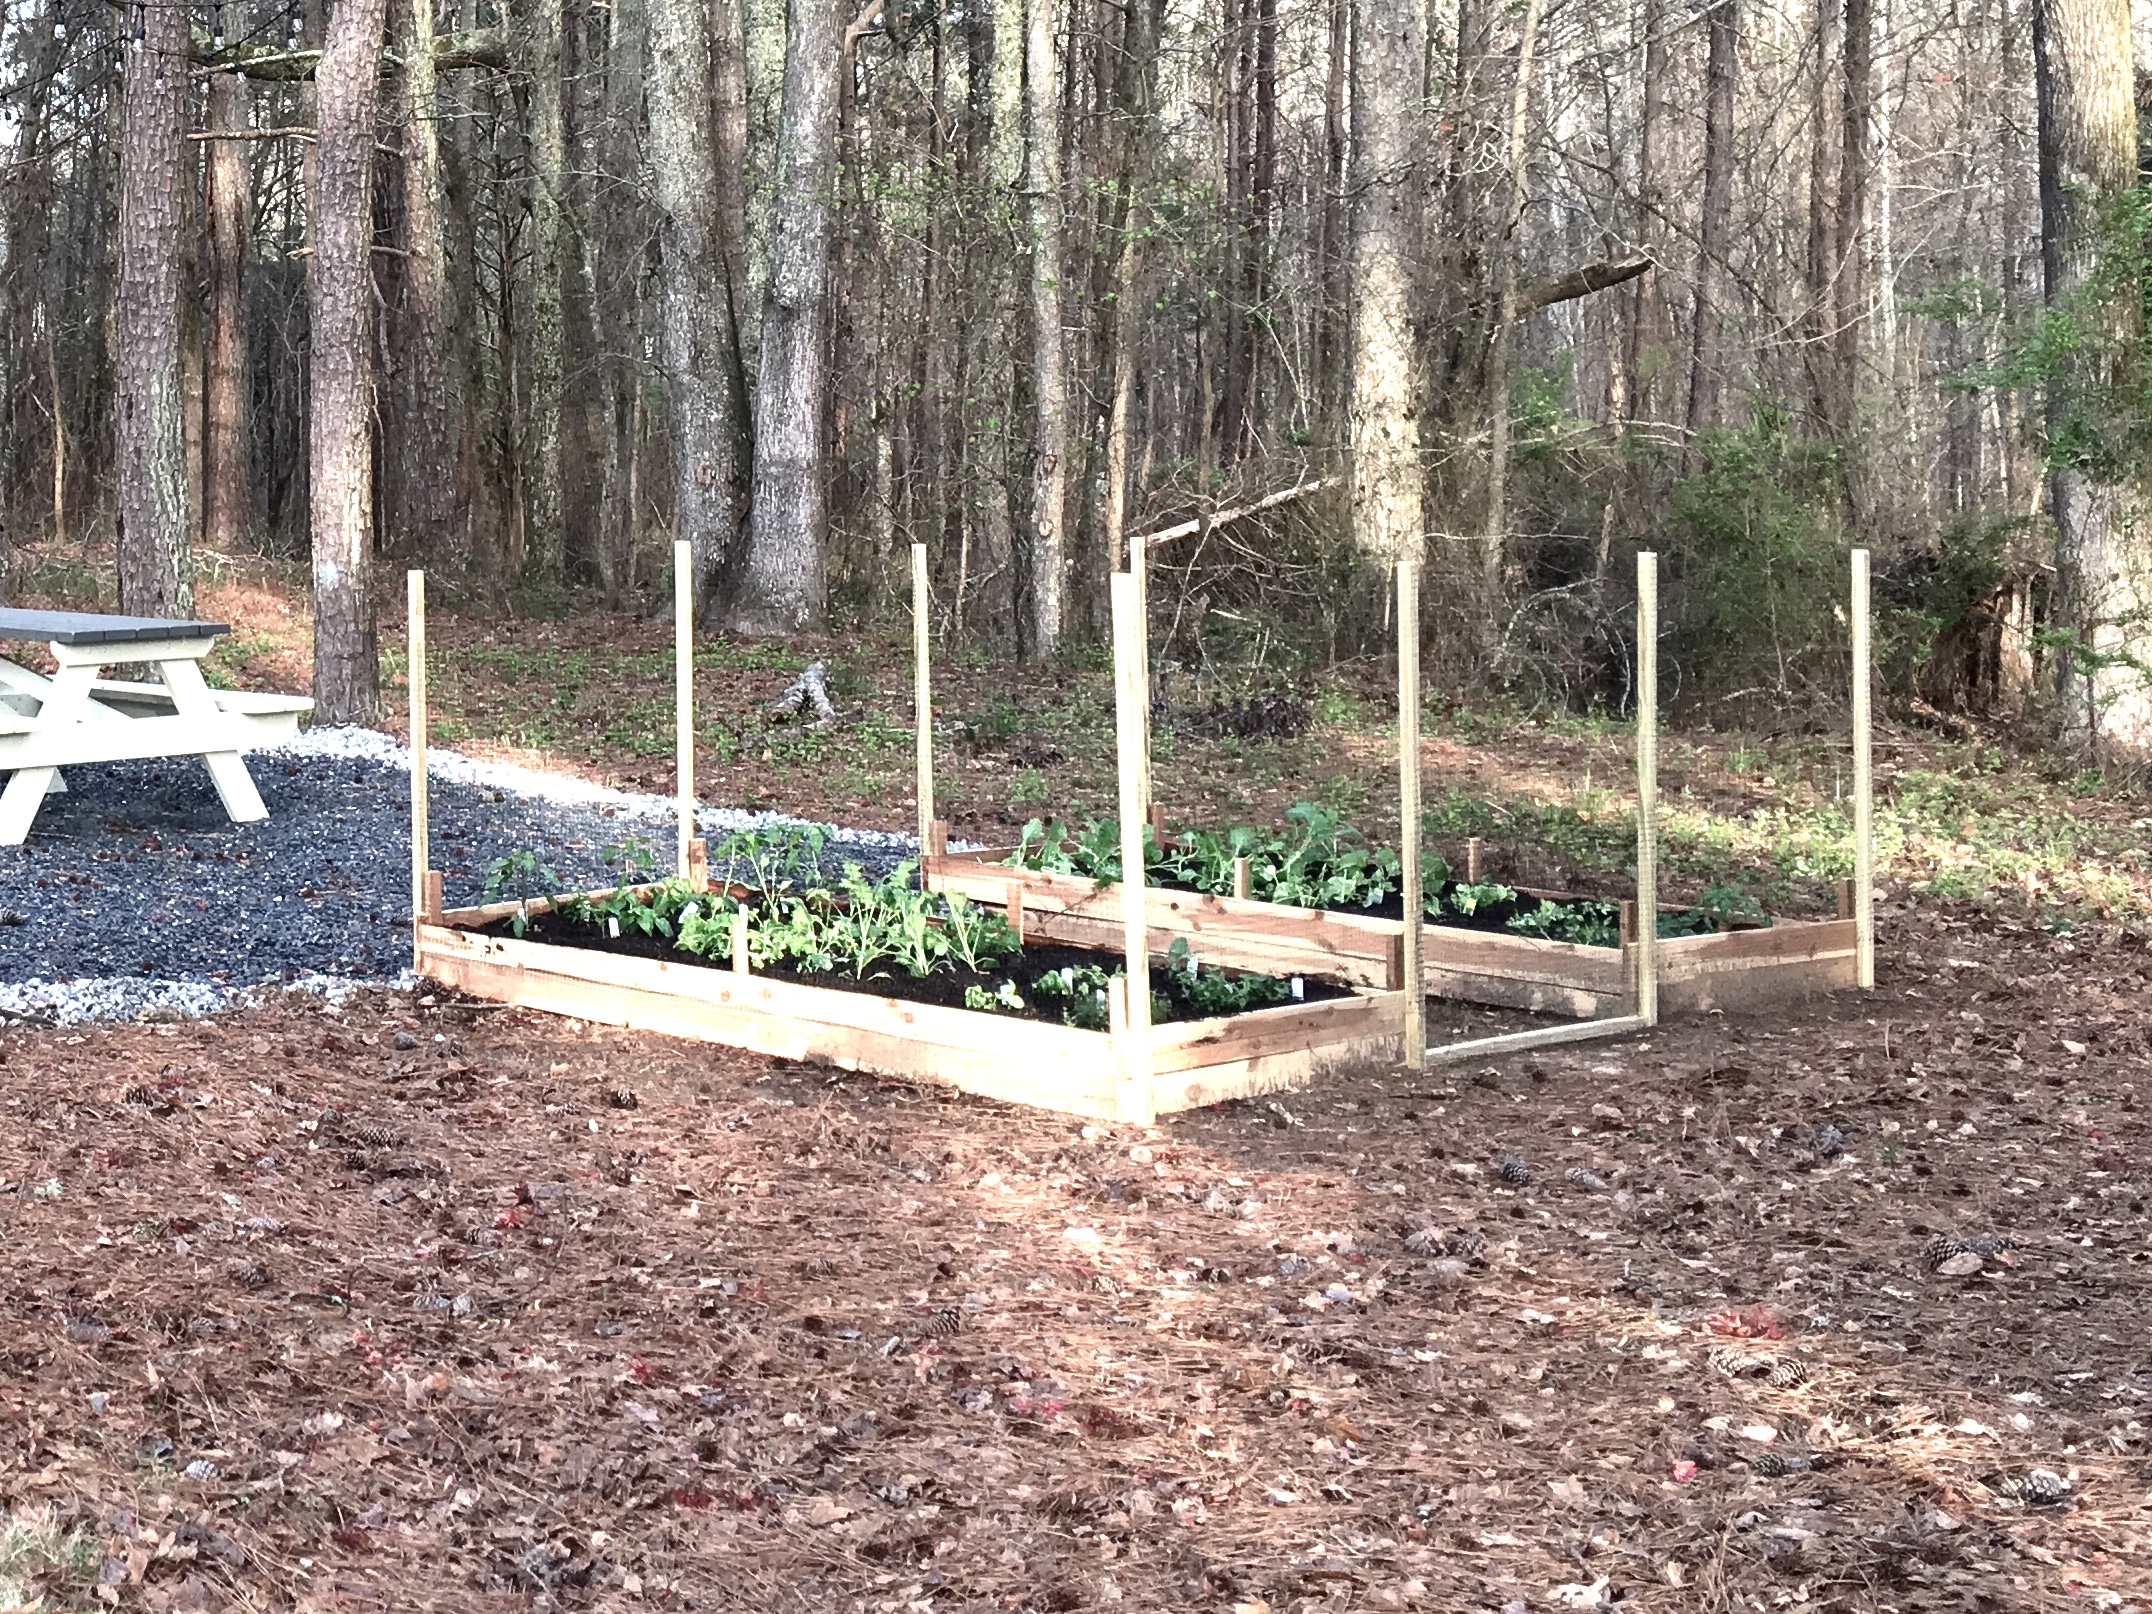
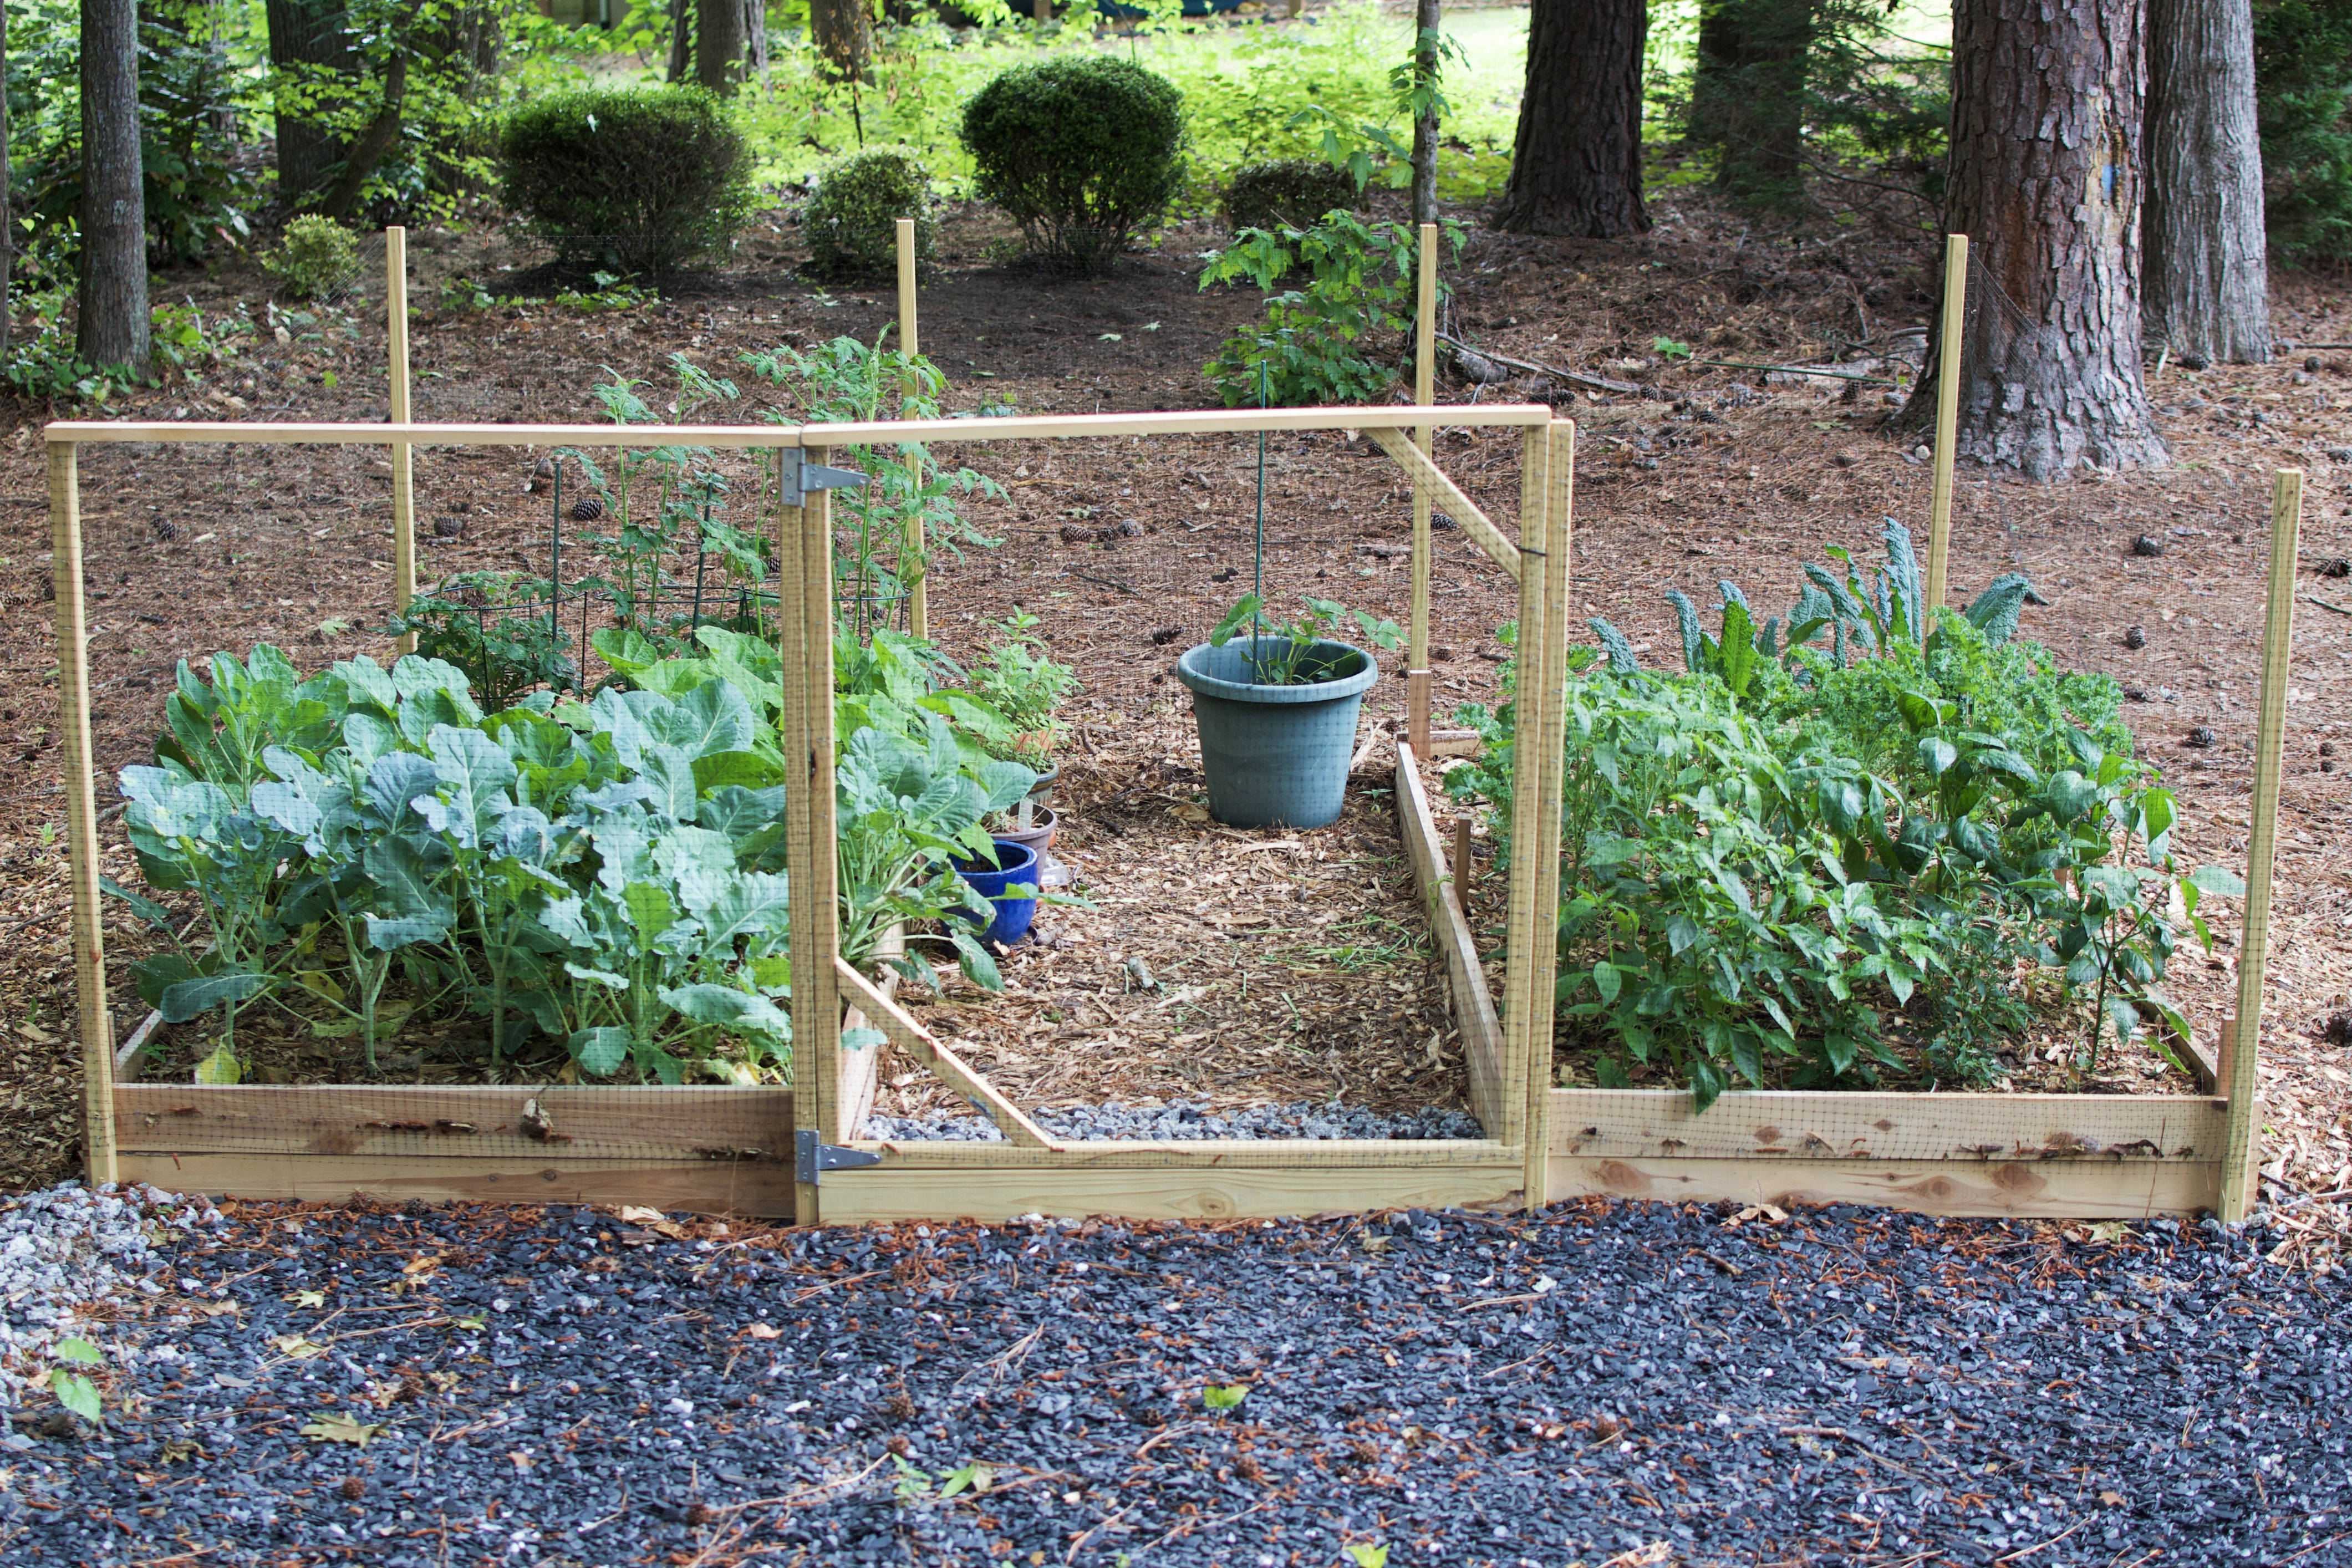
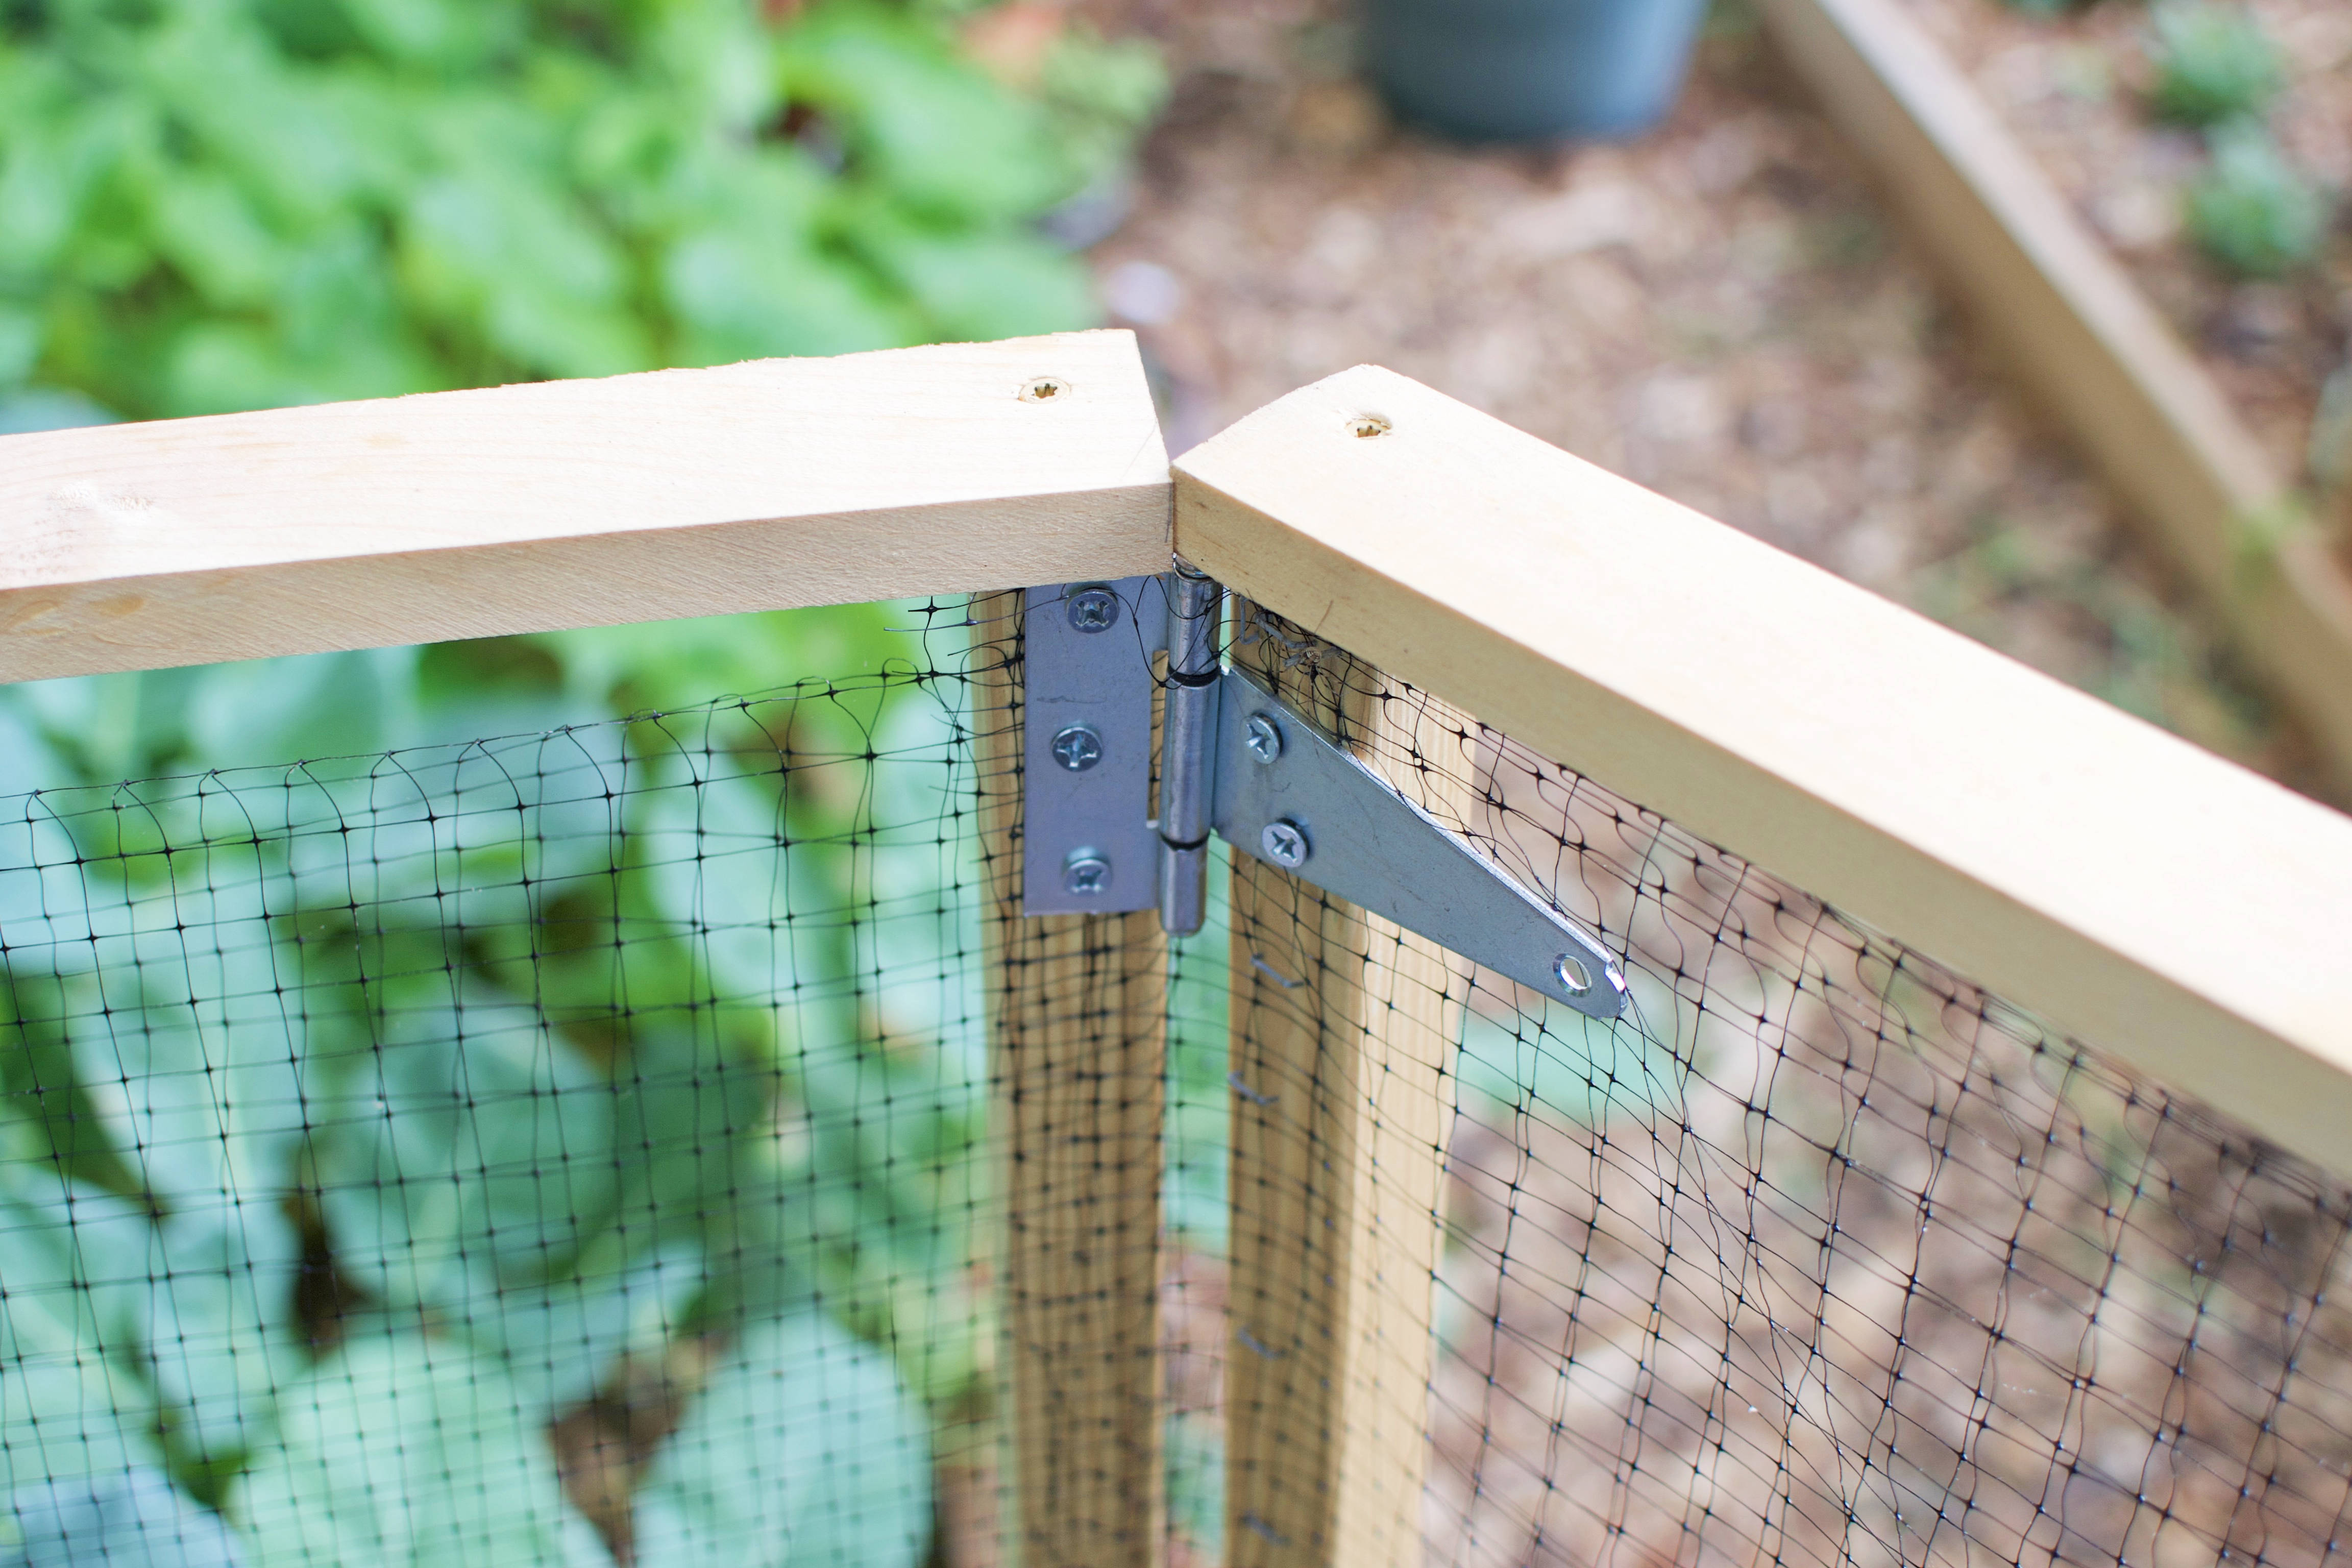
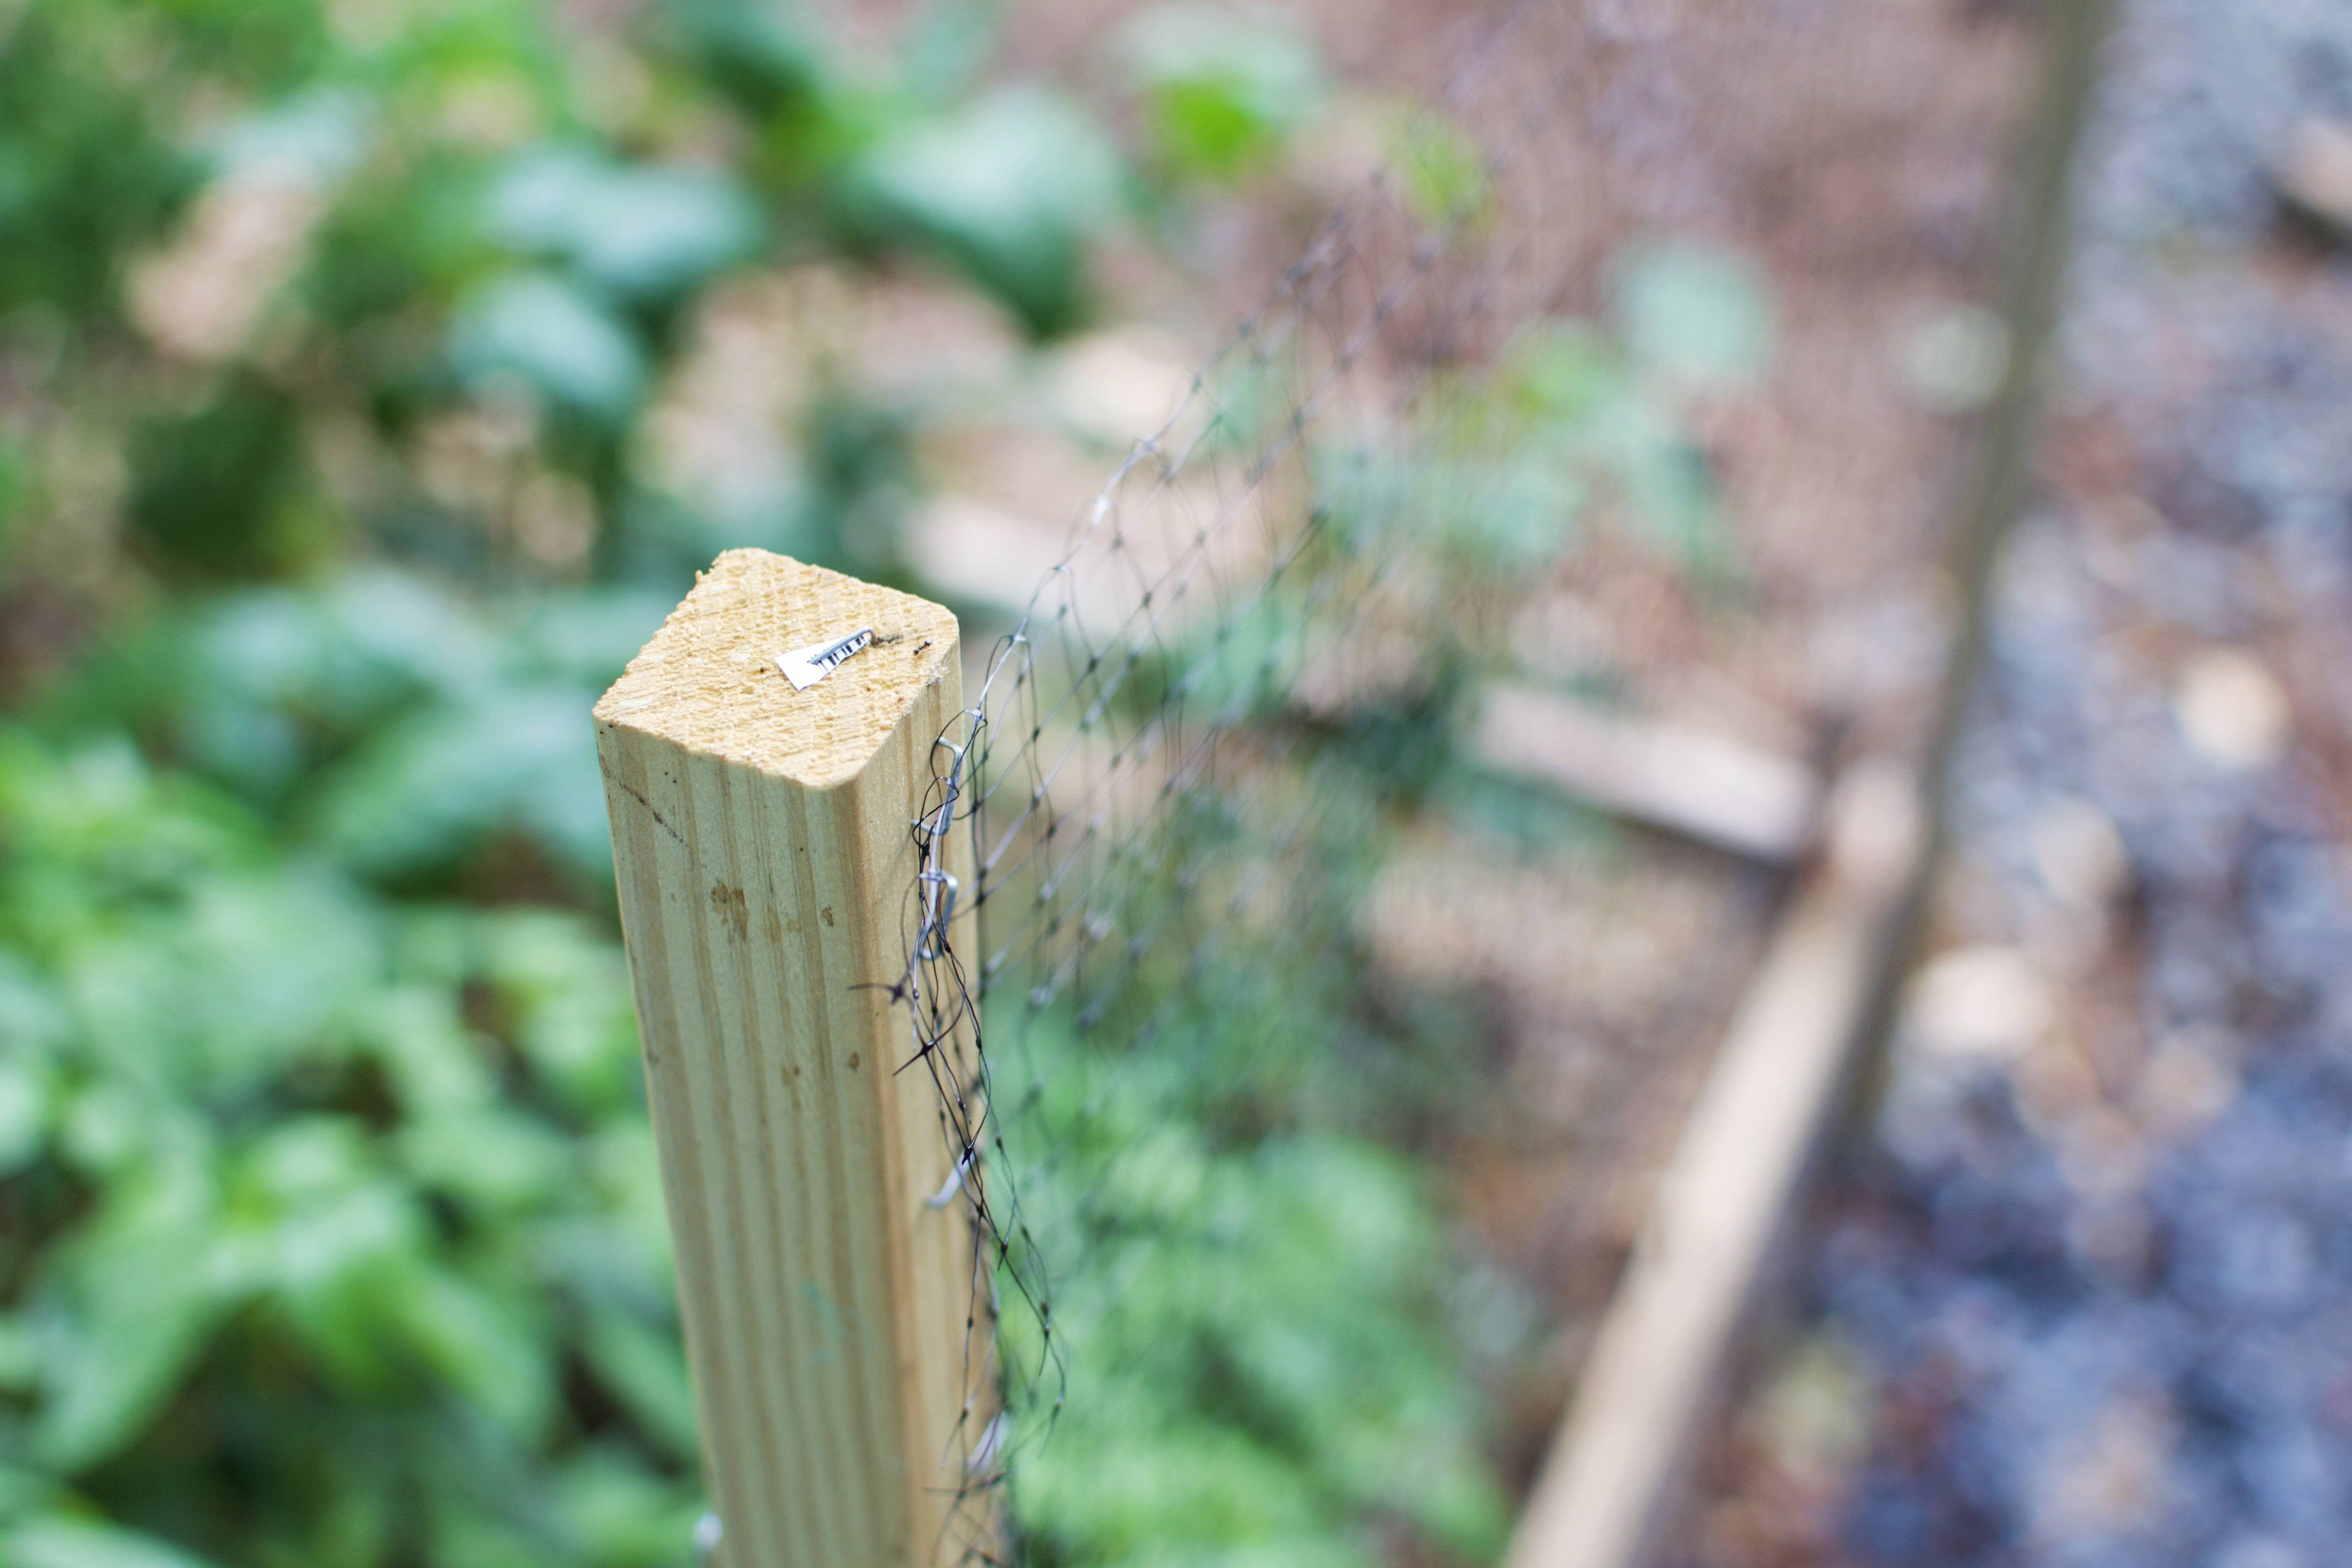
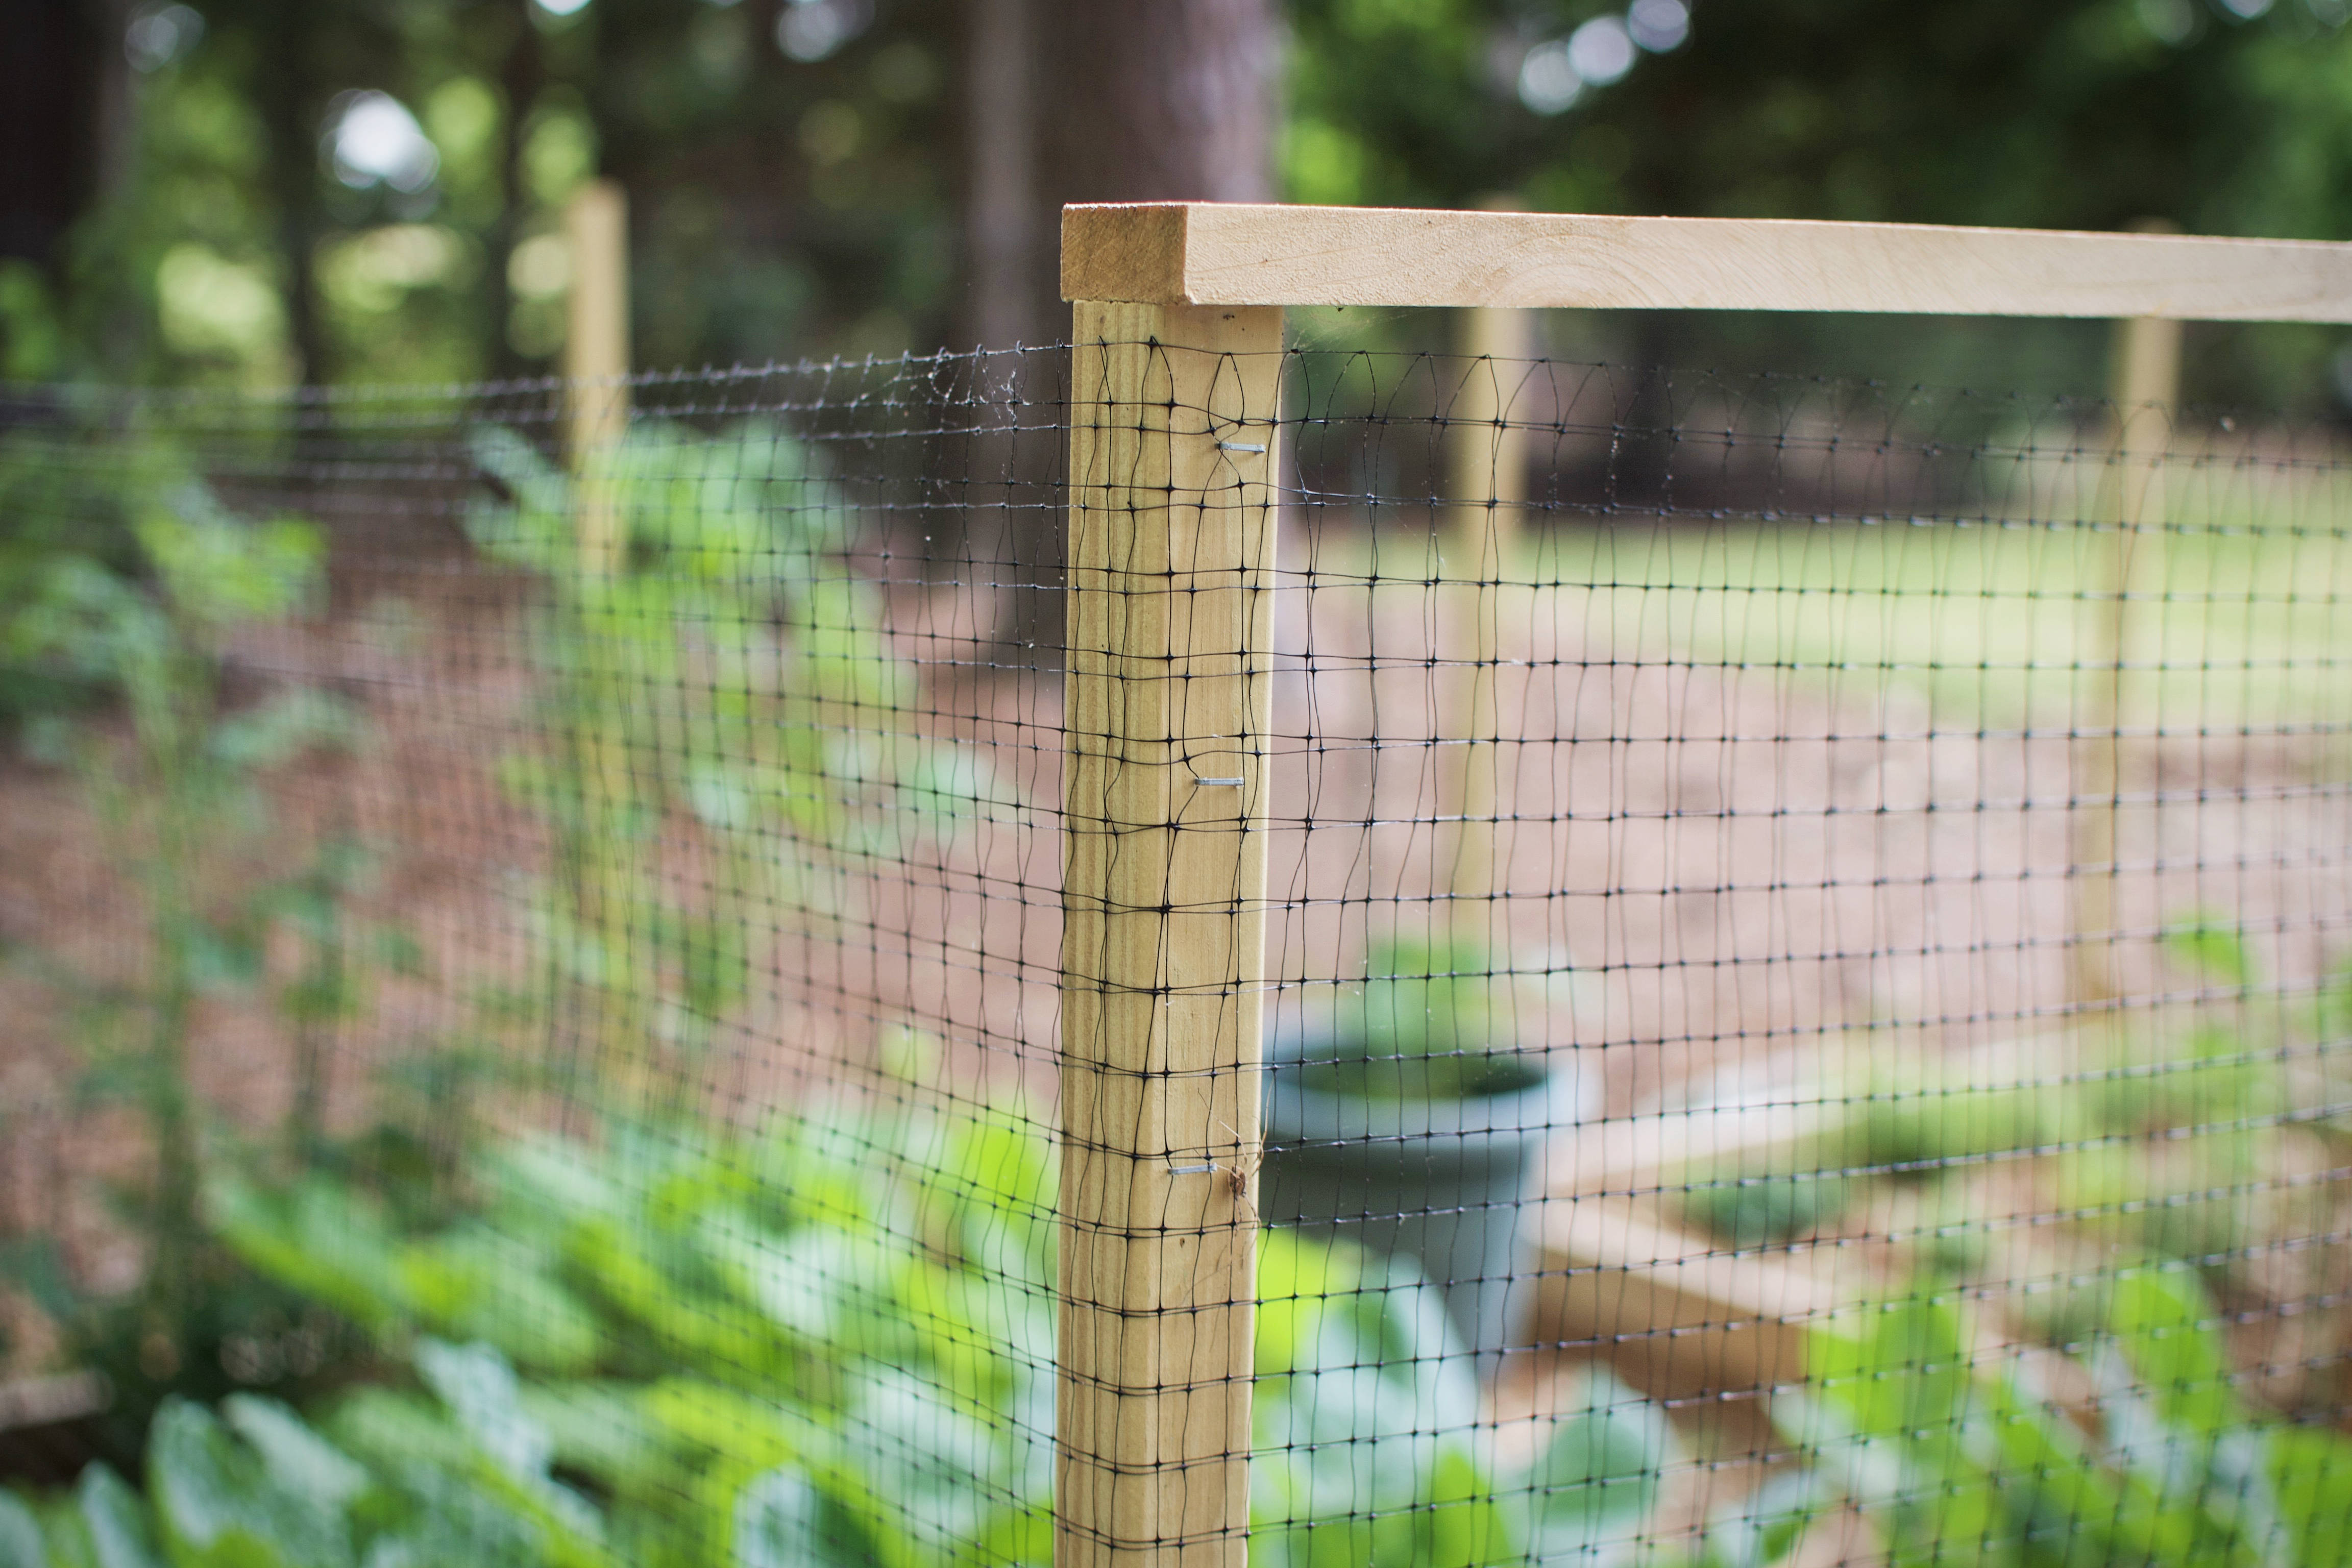
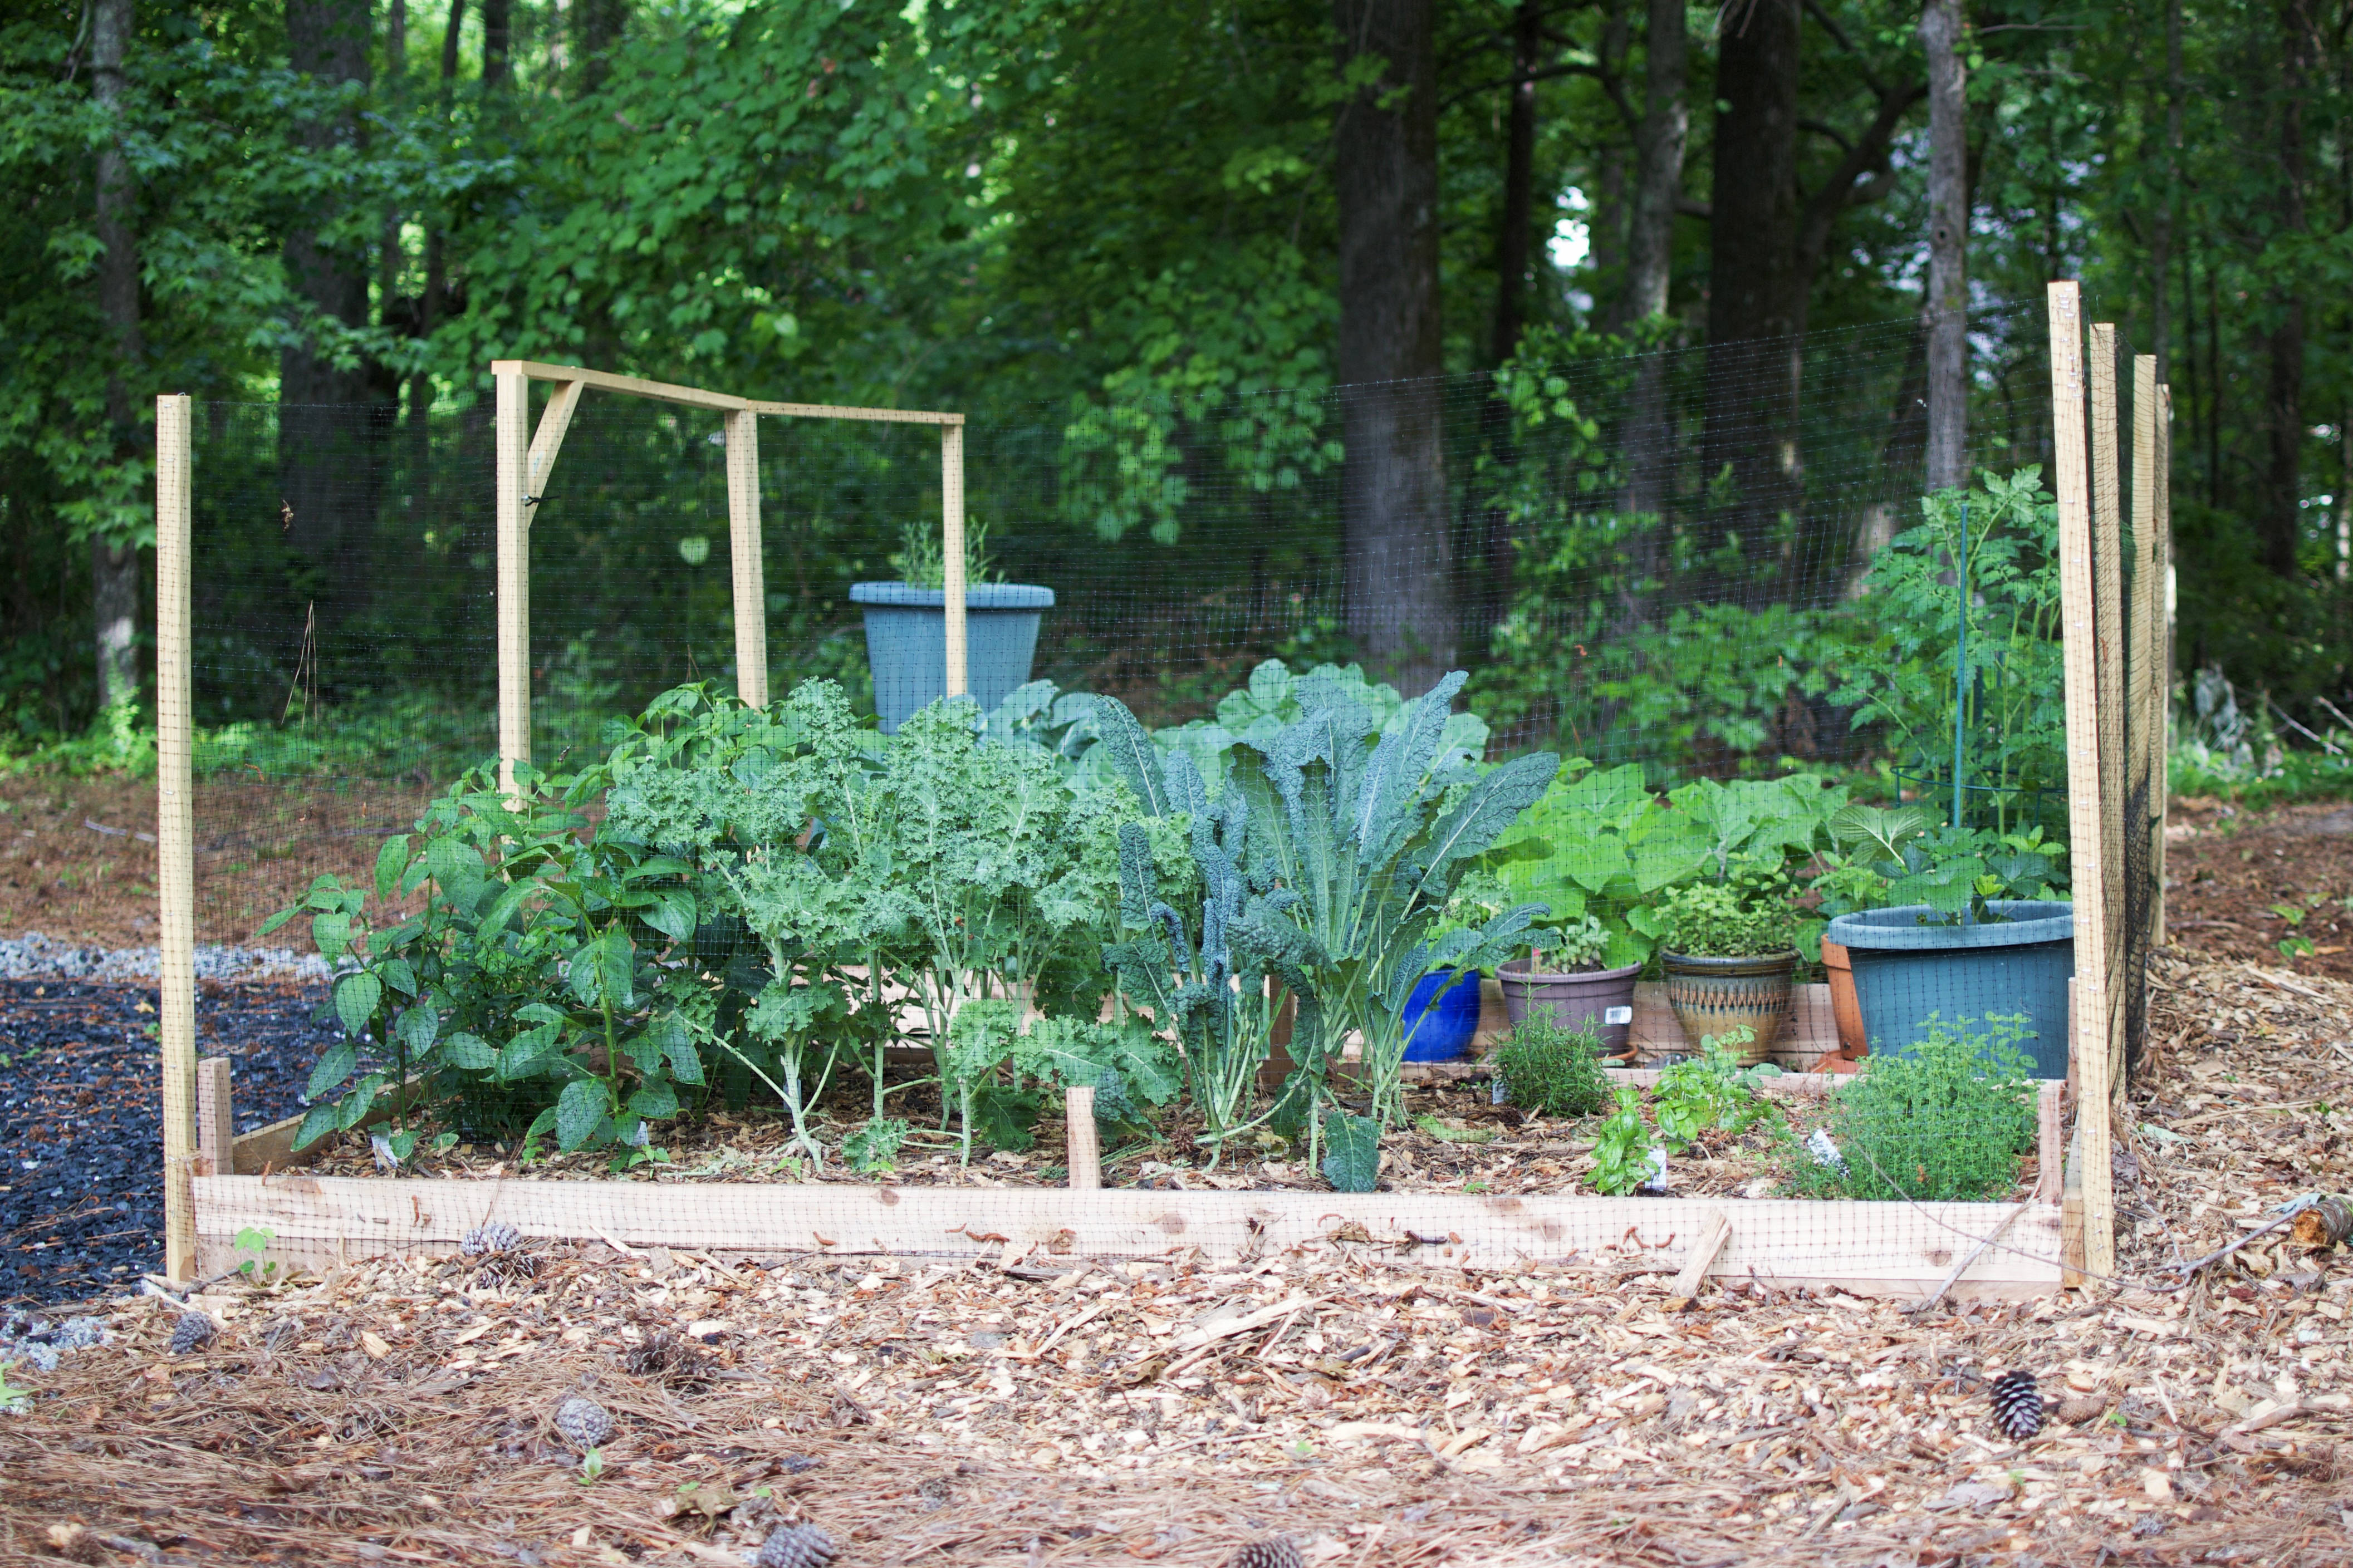
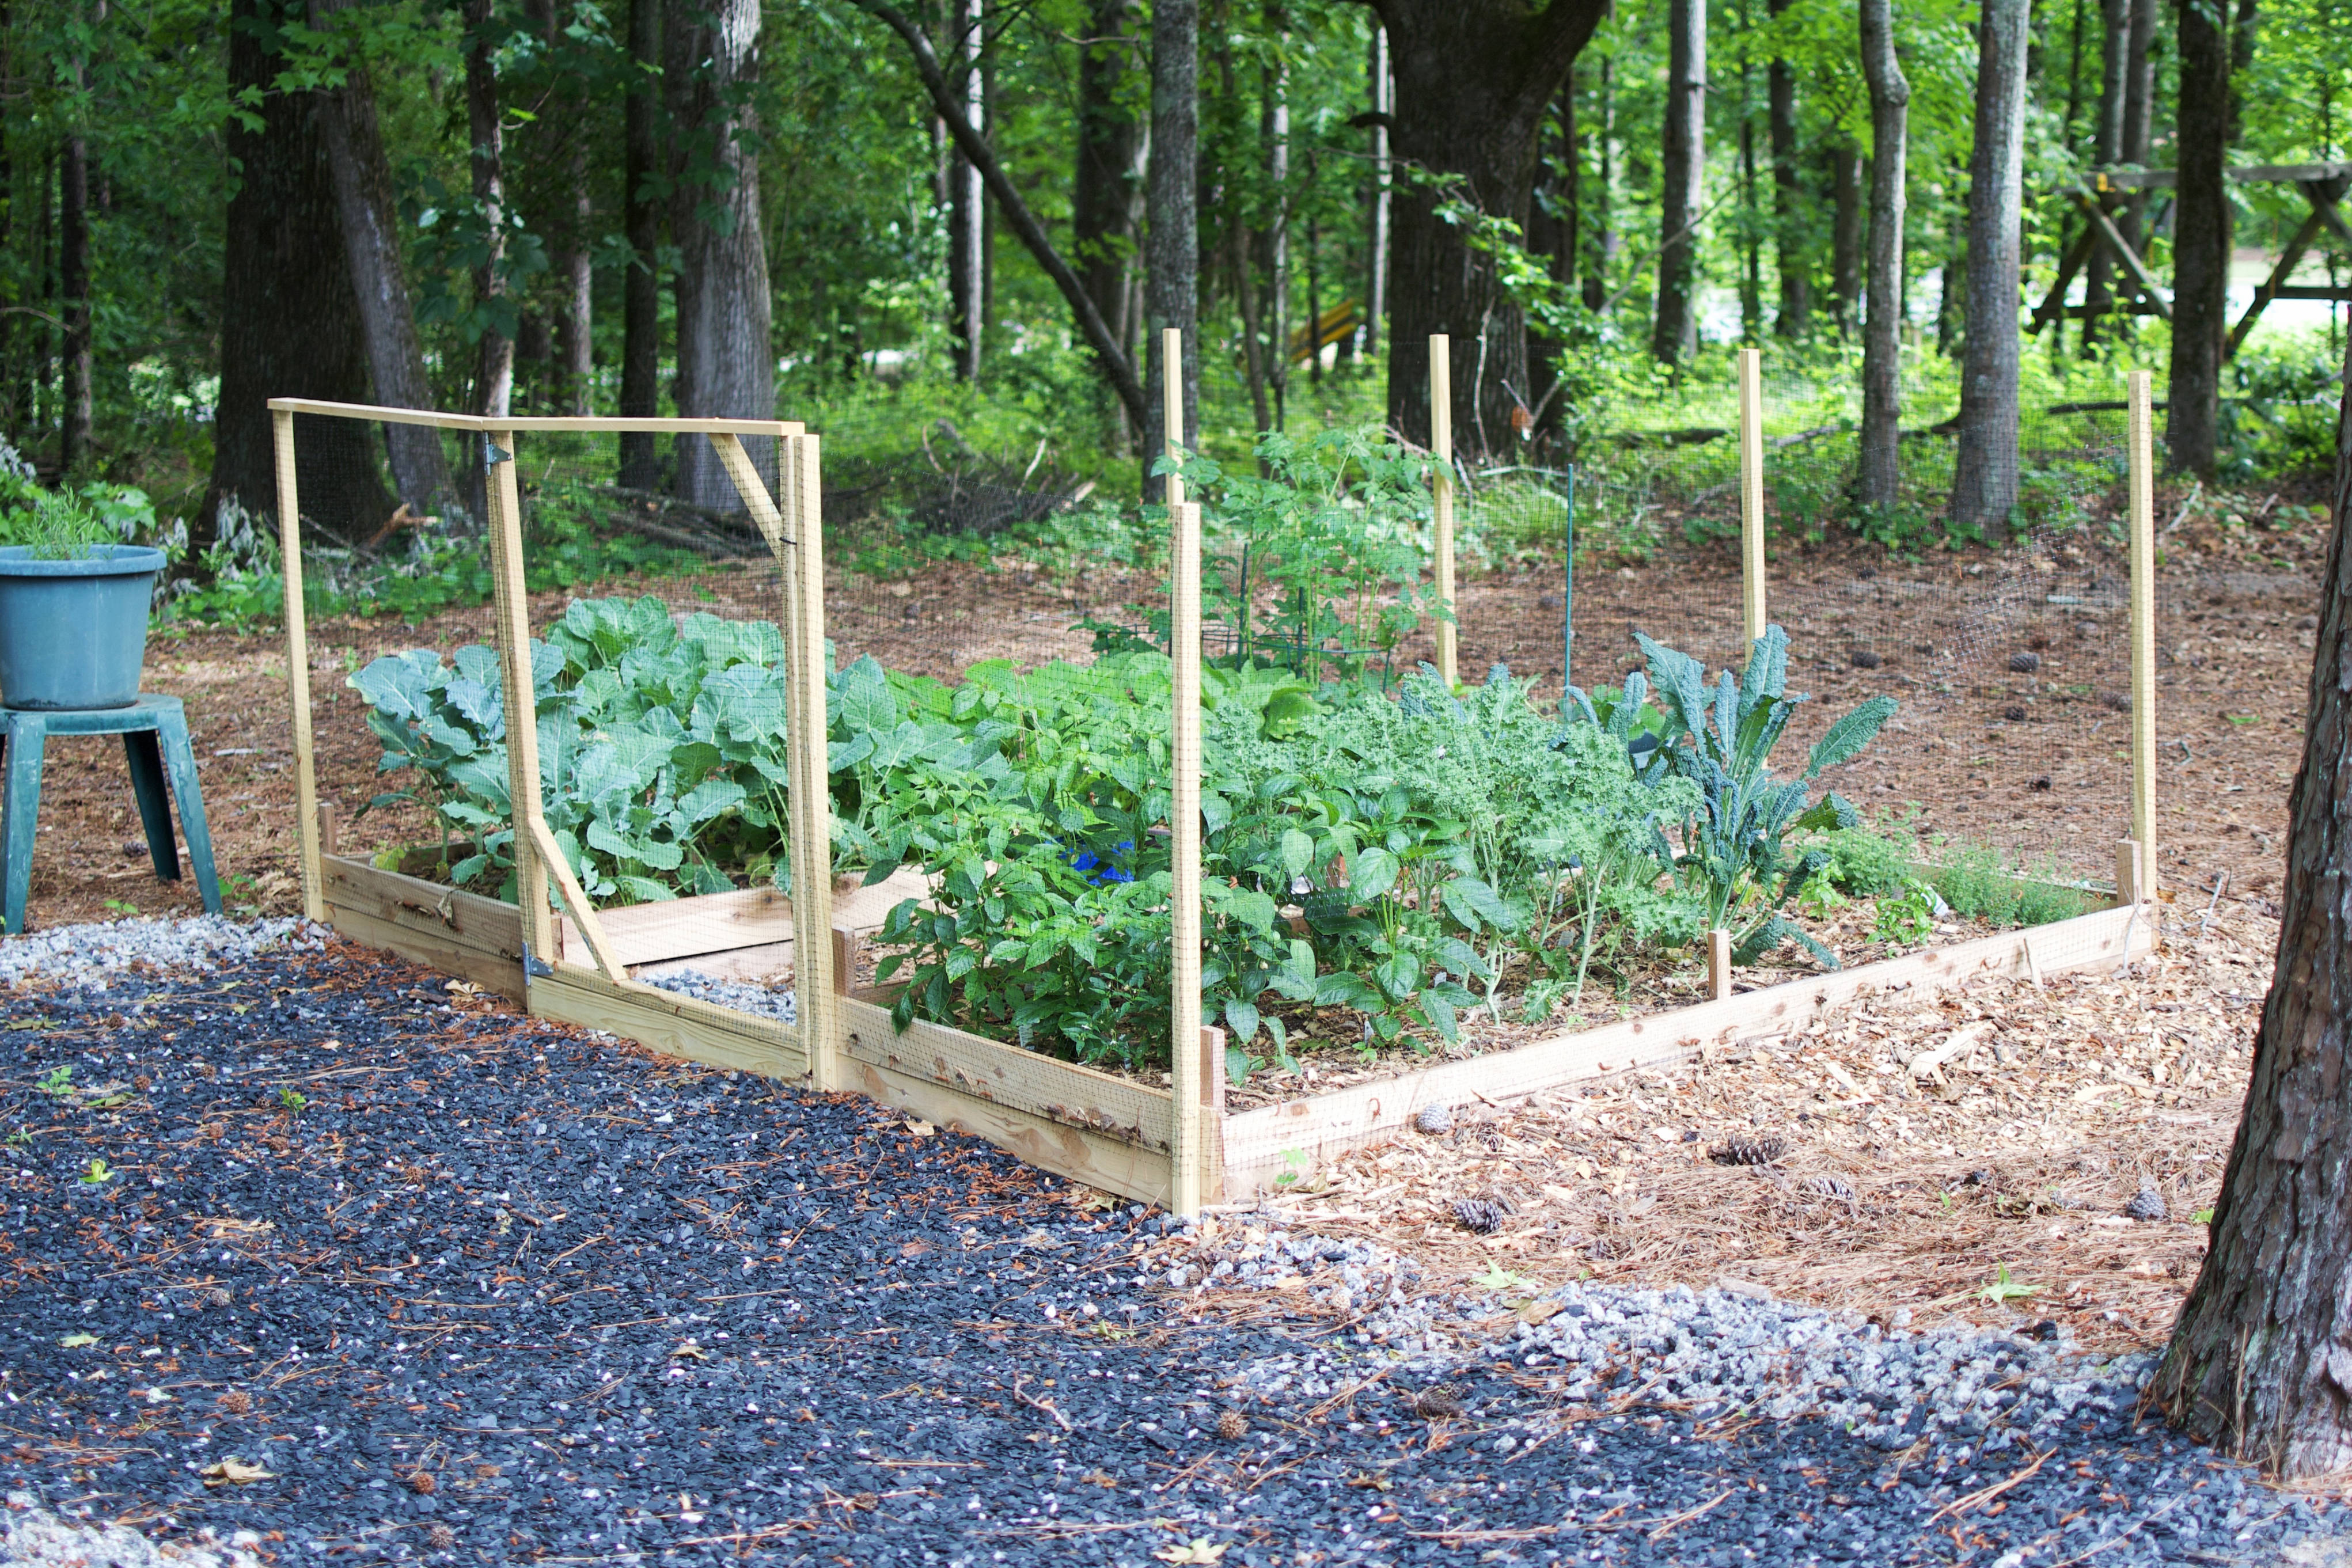
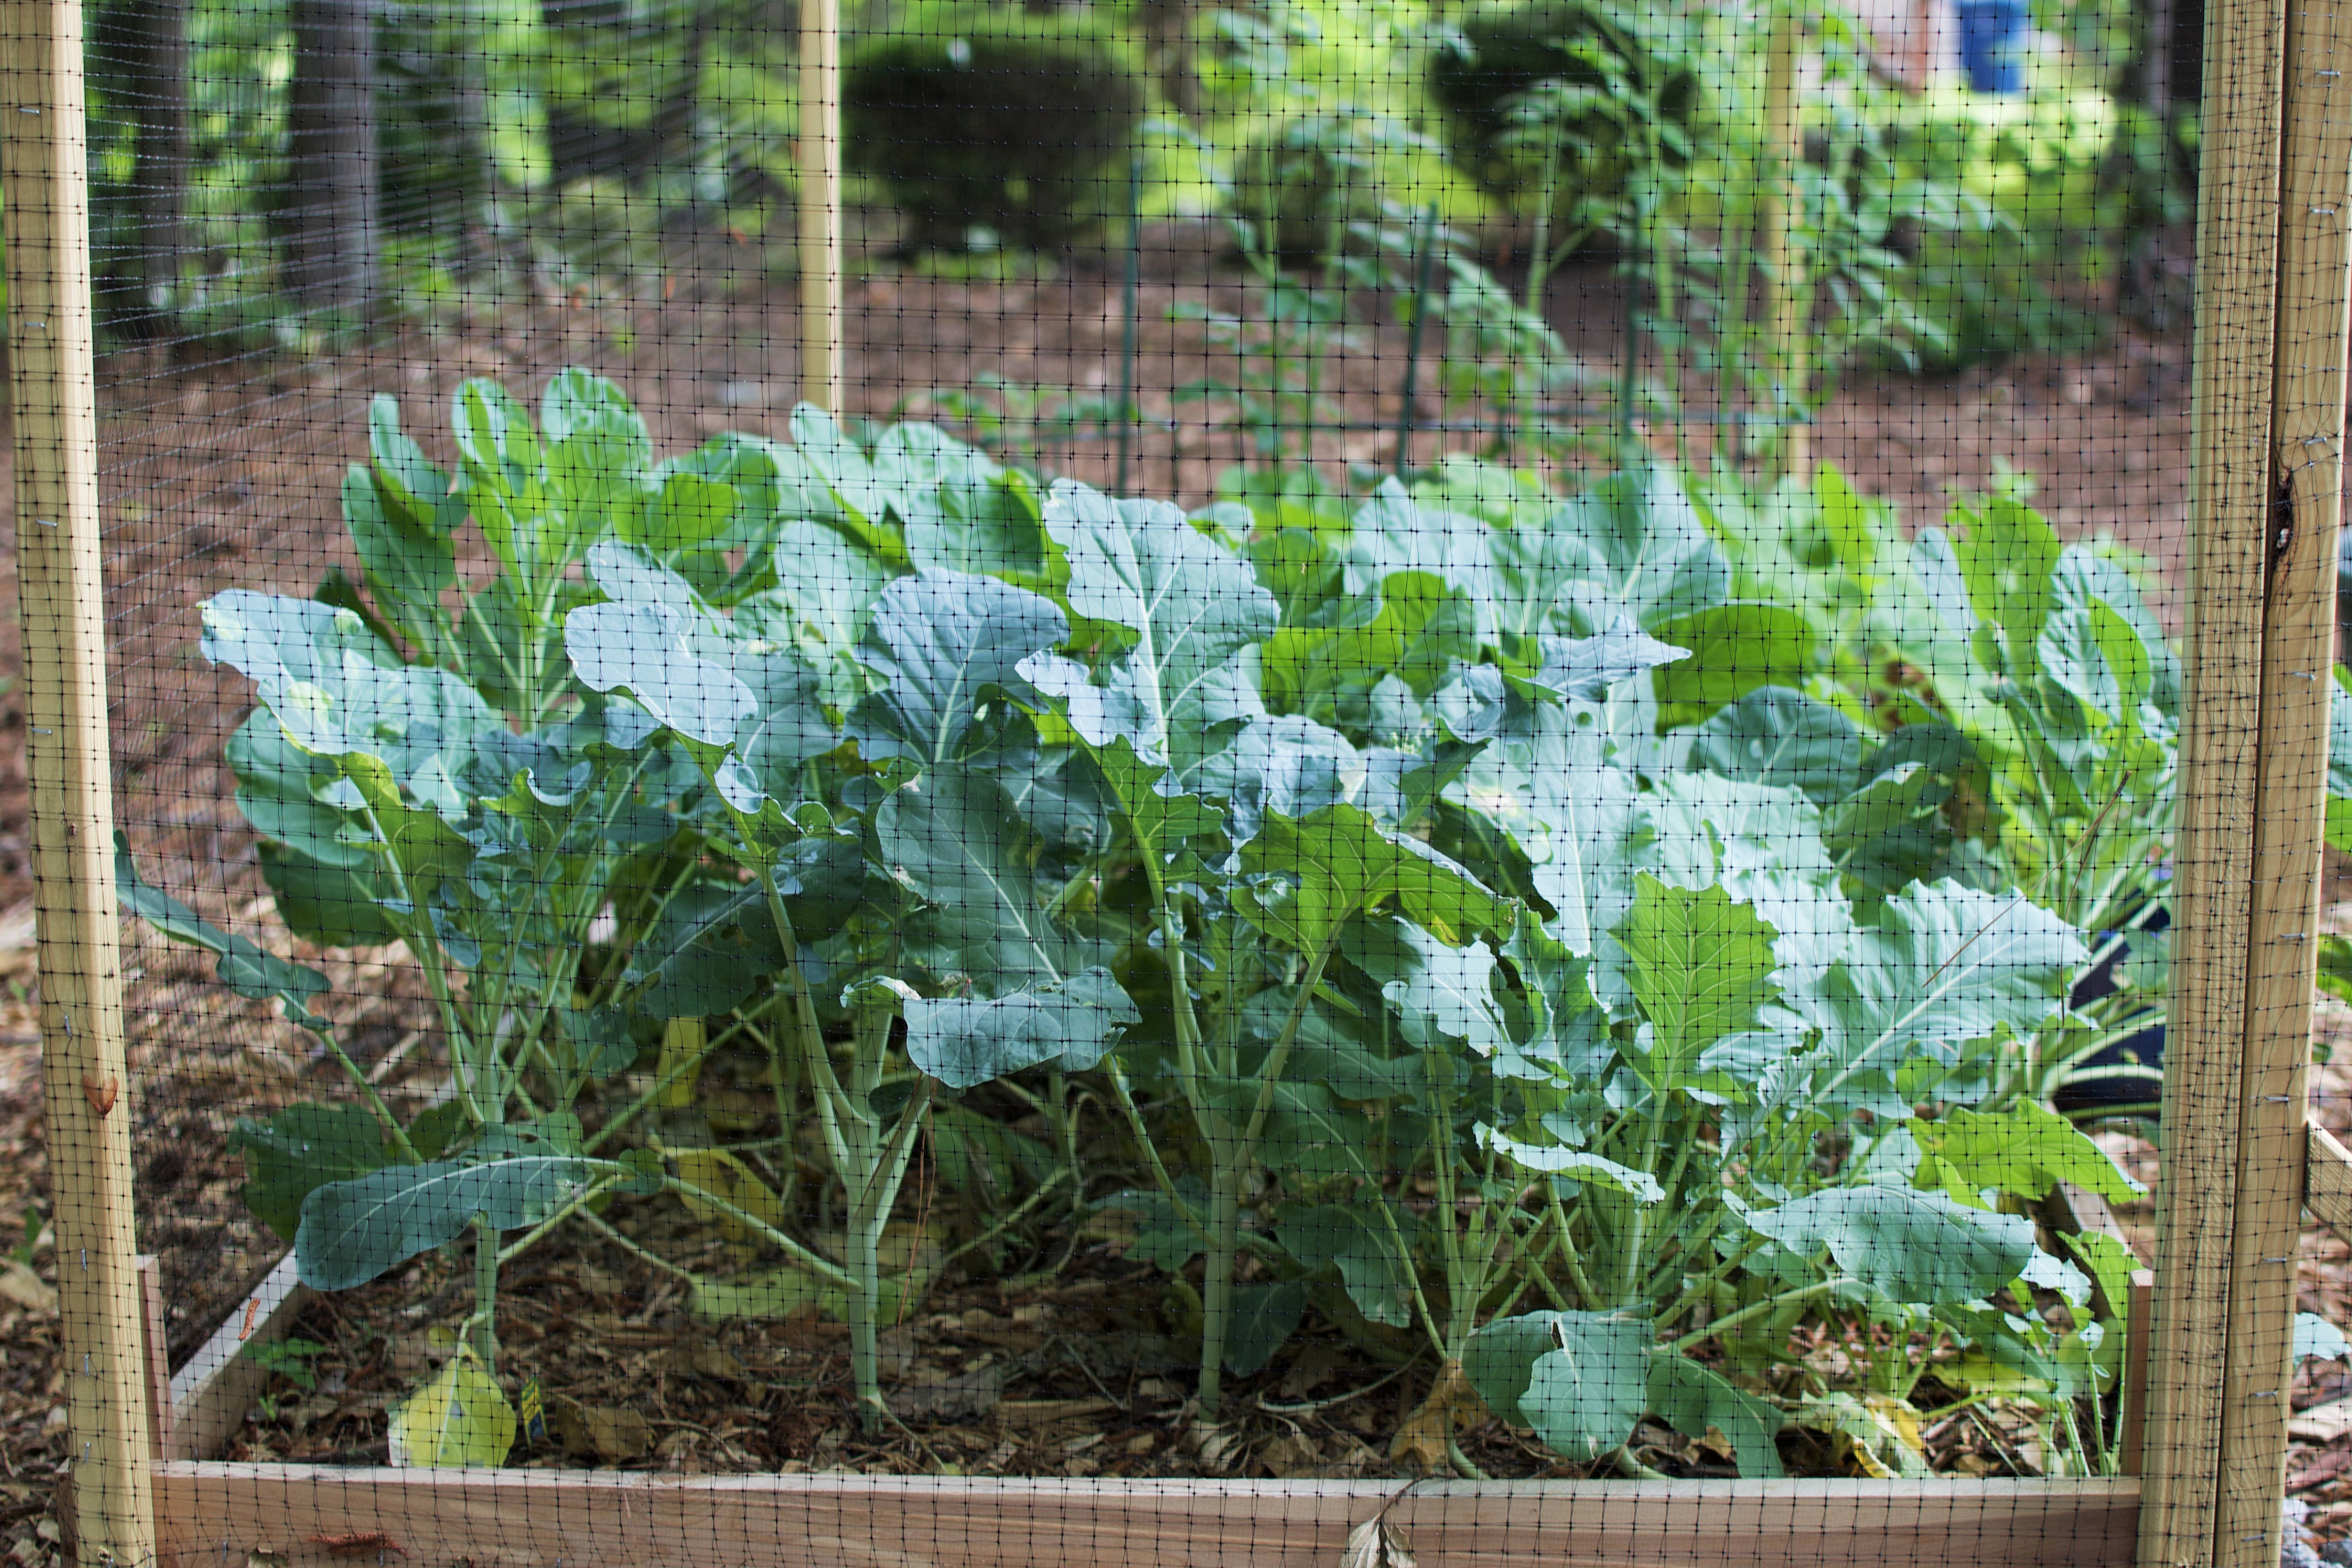
Step 5. Construct a fence.
Rabbits and deer are my next concern. I went cheap and simple. 2x2x8 pressure treated stakes from Depot, cut in half, and deck screwed into the cedar beds. Toxicity is avoided by attaching them to the outside of the boxes. The same plastic netting used for moles was wrapped around and stapled to the stakes. Then came a door on two hinges. Price: using 8 posts at 4 ft, I bought and cut (4) 2x2x8s for $3.67 a piece = $14.68. I attached them with 2.5″ deck screws at $9.48 for 73.
Watering, watering, watering! I’m hosing these not-so-tinies every other day. We’ll see if the schedule works to their advantage. And if the proximity and overpopulation will affect growth and yield. Check out the latest!

Your inevitable takeaway: anyone can identity shift from a black thumb to a not-so-black thumb. Green thumb? I friggin’ hope so! Continue to join us in the journey-of-the-thumb to find out. My agro-dignity is on the line. And according to LoveCake, so is our bank account.
Overall cost breakdown:
- 12 cedar 1x4x8s: $98.88
- 1 cedar 1x2x8: $4.32
- 2.5” deck screws (73): $9.48
- 1.5” deck screws (75): $6.79
- Plastic mesh netting: $31.98
- Polyethylene mesh fabric: $12.98
- Metal landscape staples (75): $9.67
- 20 tiny plants at $5 each: $100
- (4) pressure treated 2x2x8s: $14.68
- 1 cubic yard of topsoil compost blend: $45
- Total cost = $333.78 (plus tax). Yield, baby, YIELD.
Interested in what we’re growing? Take our first Garden Tour. Close-up shots of every little cutie.
Happy Harvesting!


