Your indoor space is all the rage, but your outdoor space needs a little work. You want the party to spill over from your family room into the backyard? Then it’s time for a fire pit. It couldn’t be more ideal for hosting during cool evenings in the fall, winter and spring. Or more nostalgic.
Stop and smell the roses? No thanks. I’d rather stop and smell the roasty toasty pine & oak, crackling in the warm and cozy fire. The perfect hangout spot, relationship accelerator, hobby and safe way to burn yard waste. Enough chats. Let’s make one.
How to build a do-it-yourself firepit from scratch.
Materials.
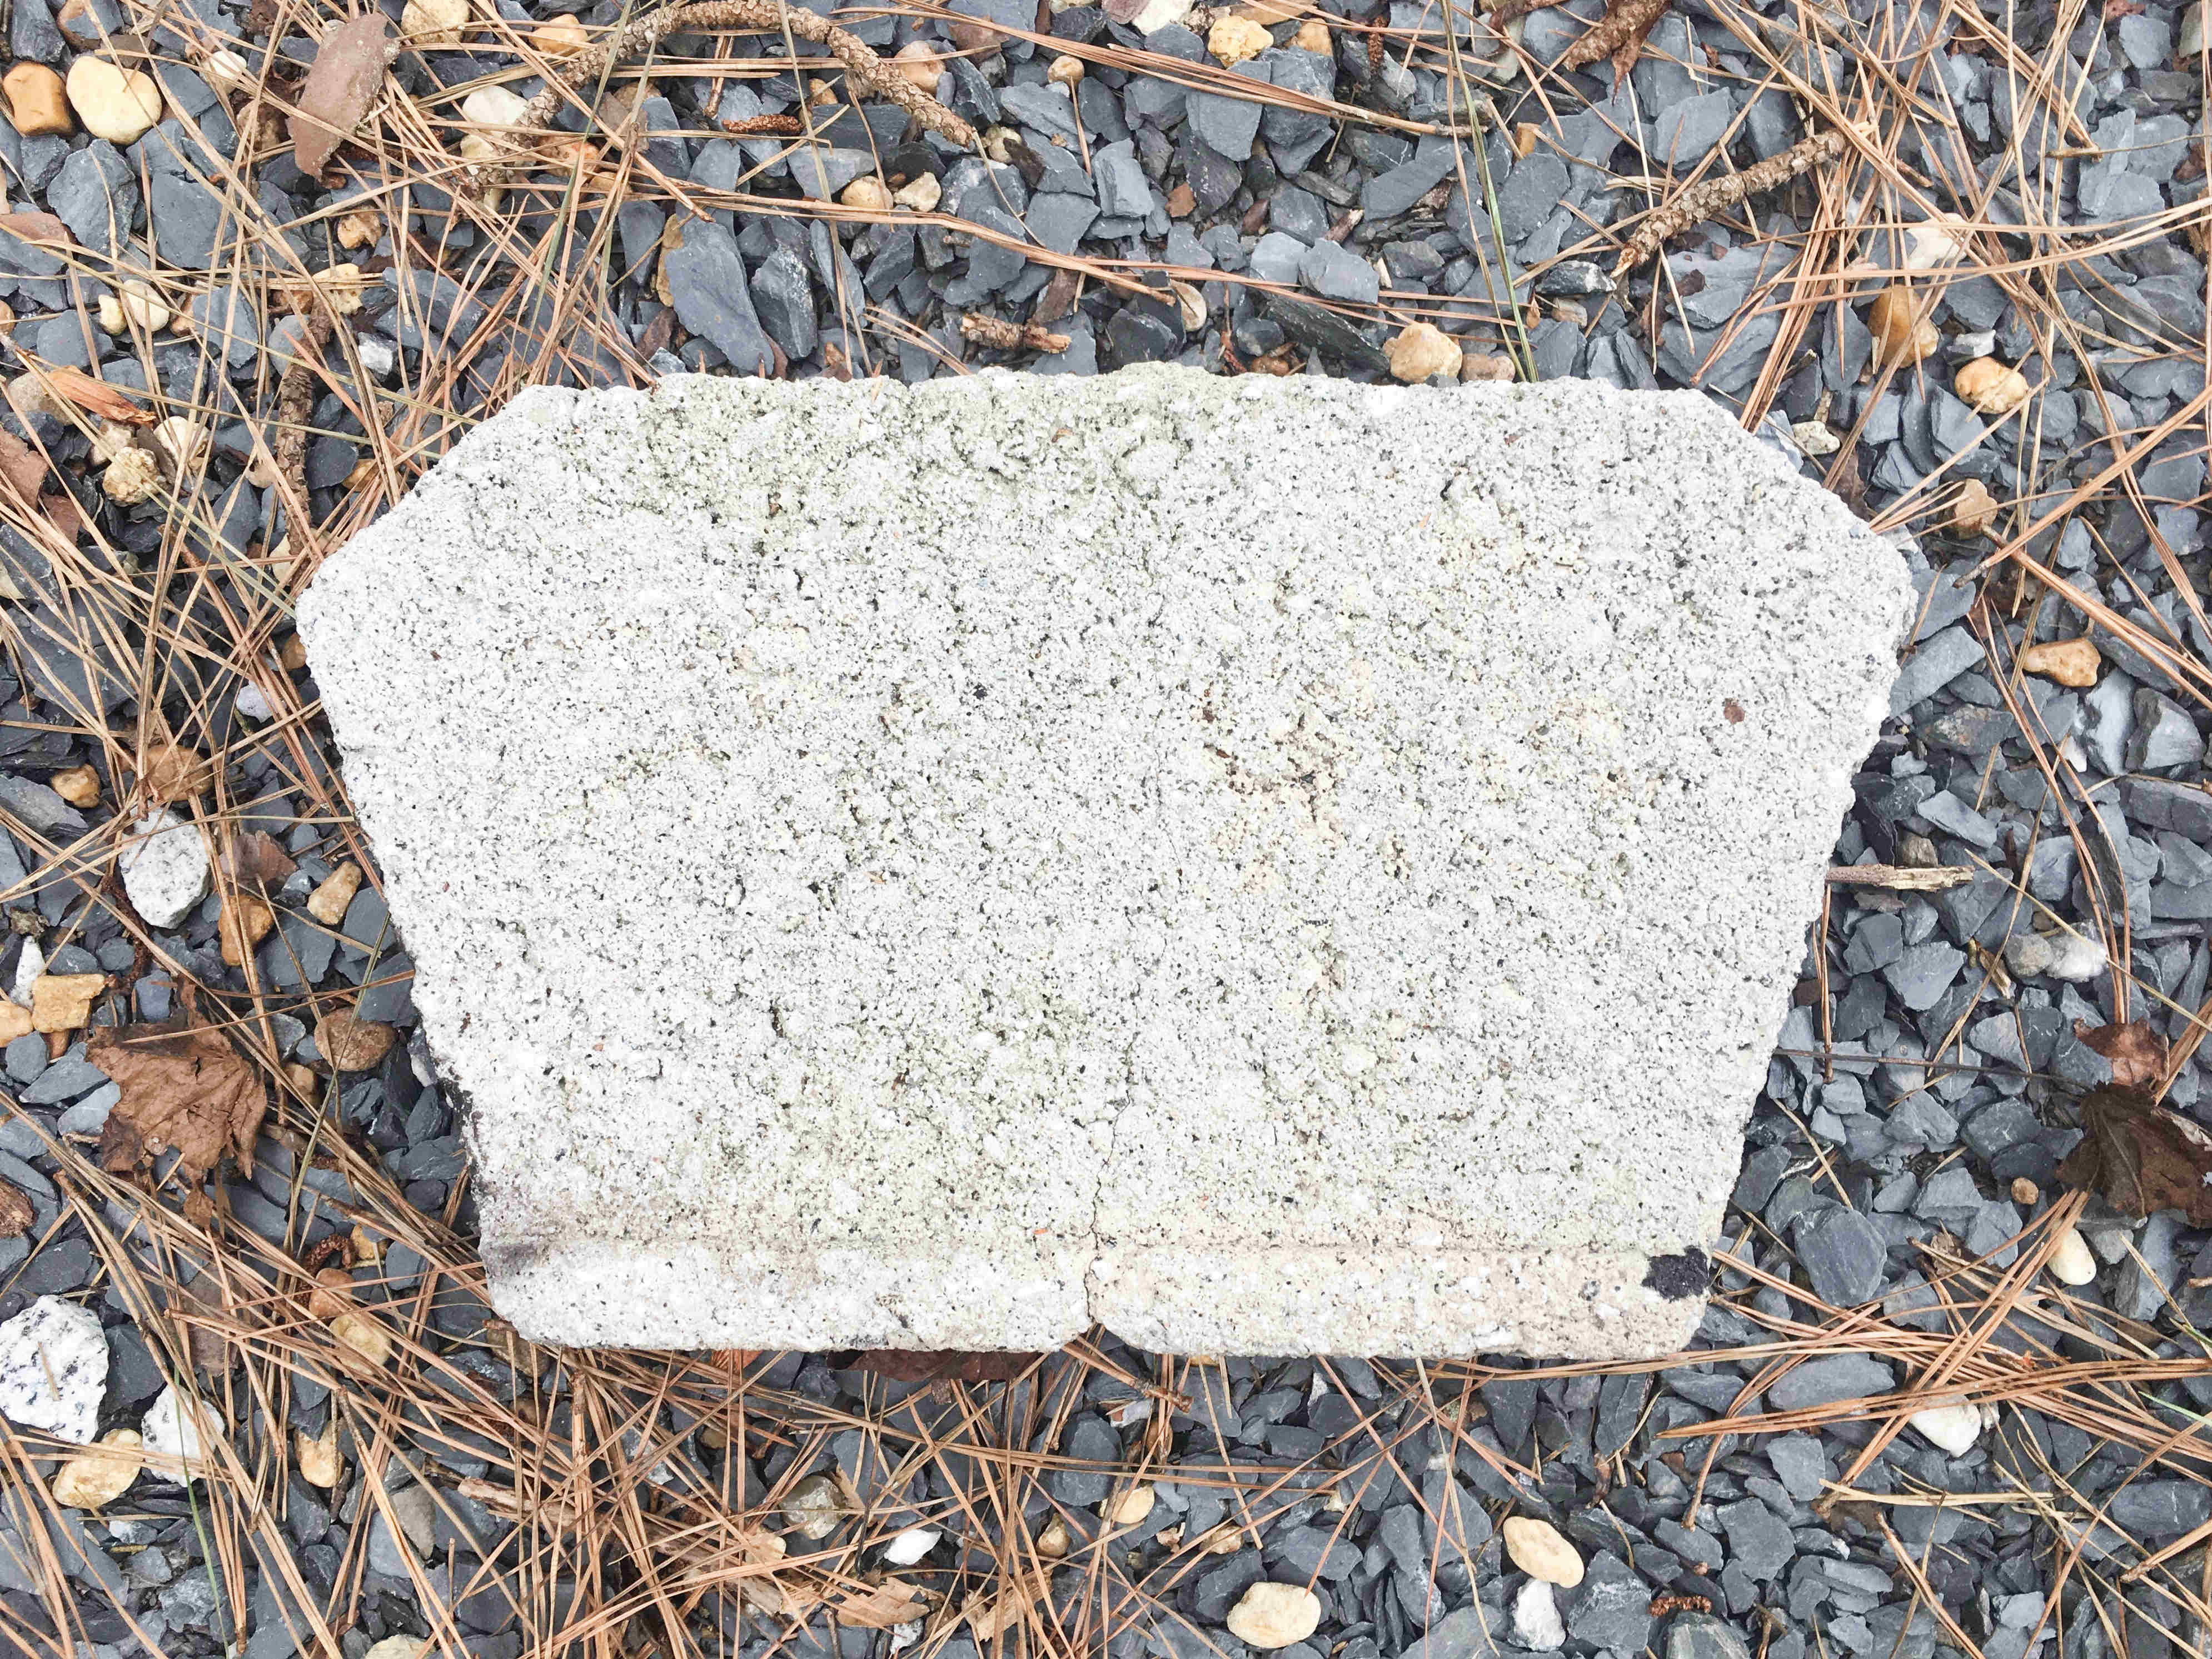
- 30 pewter concrete retaining wall blocks. $2 a piece.
- 1 bag of pea pebbles. ~$4.
- 1 bag paver base. ~$4.


Tools.
- Shovel.
- Hose or many buckets of water.
- Rake.
- (Optional) level – for leveling the ground under the concrete blocks.
- (Optional) steel tamper – to flatten the dirt after digging.
- (Optional) landscape block adhesive – to secure the blocks.
Budget.
- $60 for 30 concrete blocks + $4 for a bag of pea pebbles + $4 for a bag of paver base.
- TOTAL = $68.
Step 1. Identify the primo location.
- Backyard? Side yard? Front yard if you don’t have an HOA and you have some serious acreage?
- Consider avoiding excessive tree cover. Or raising the canopy with a chainsaw and extension ladder. The ladder will allow you to remove branches 12 ft high and under.
- Pine straw or dirt coverage? The perfect setup. Just rake away.
- Grass? Totally doable. Keep in mind: the grass underneath the fire pit will die. Plus, the grass surrounding the pit will likely thin out and suffer unless your chairs are regularly stored away after use.

Step 2. Clear the area.
- If it’s pine straw coverage, use your rake to completely clear the top layer of foliage until the dirt is completely exposed. Clear at least 2 feet beyond the edges of the fire pit.
- If grass coverage, begin to kill and remove the grass from the area. Digging with the shovel should suffice.

Step 3. Dry fit your concrete blocks.
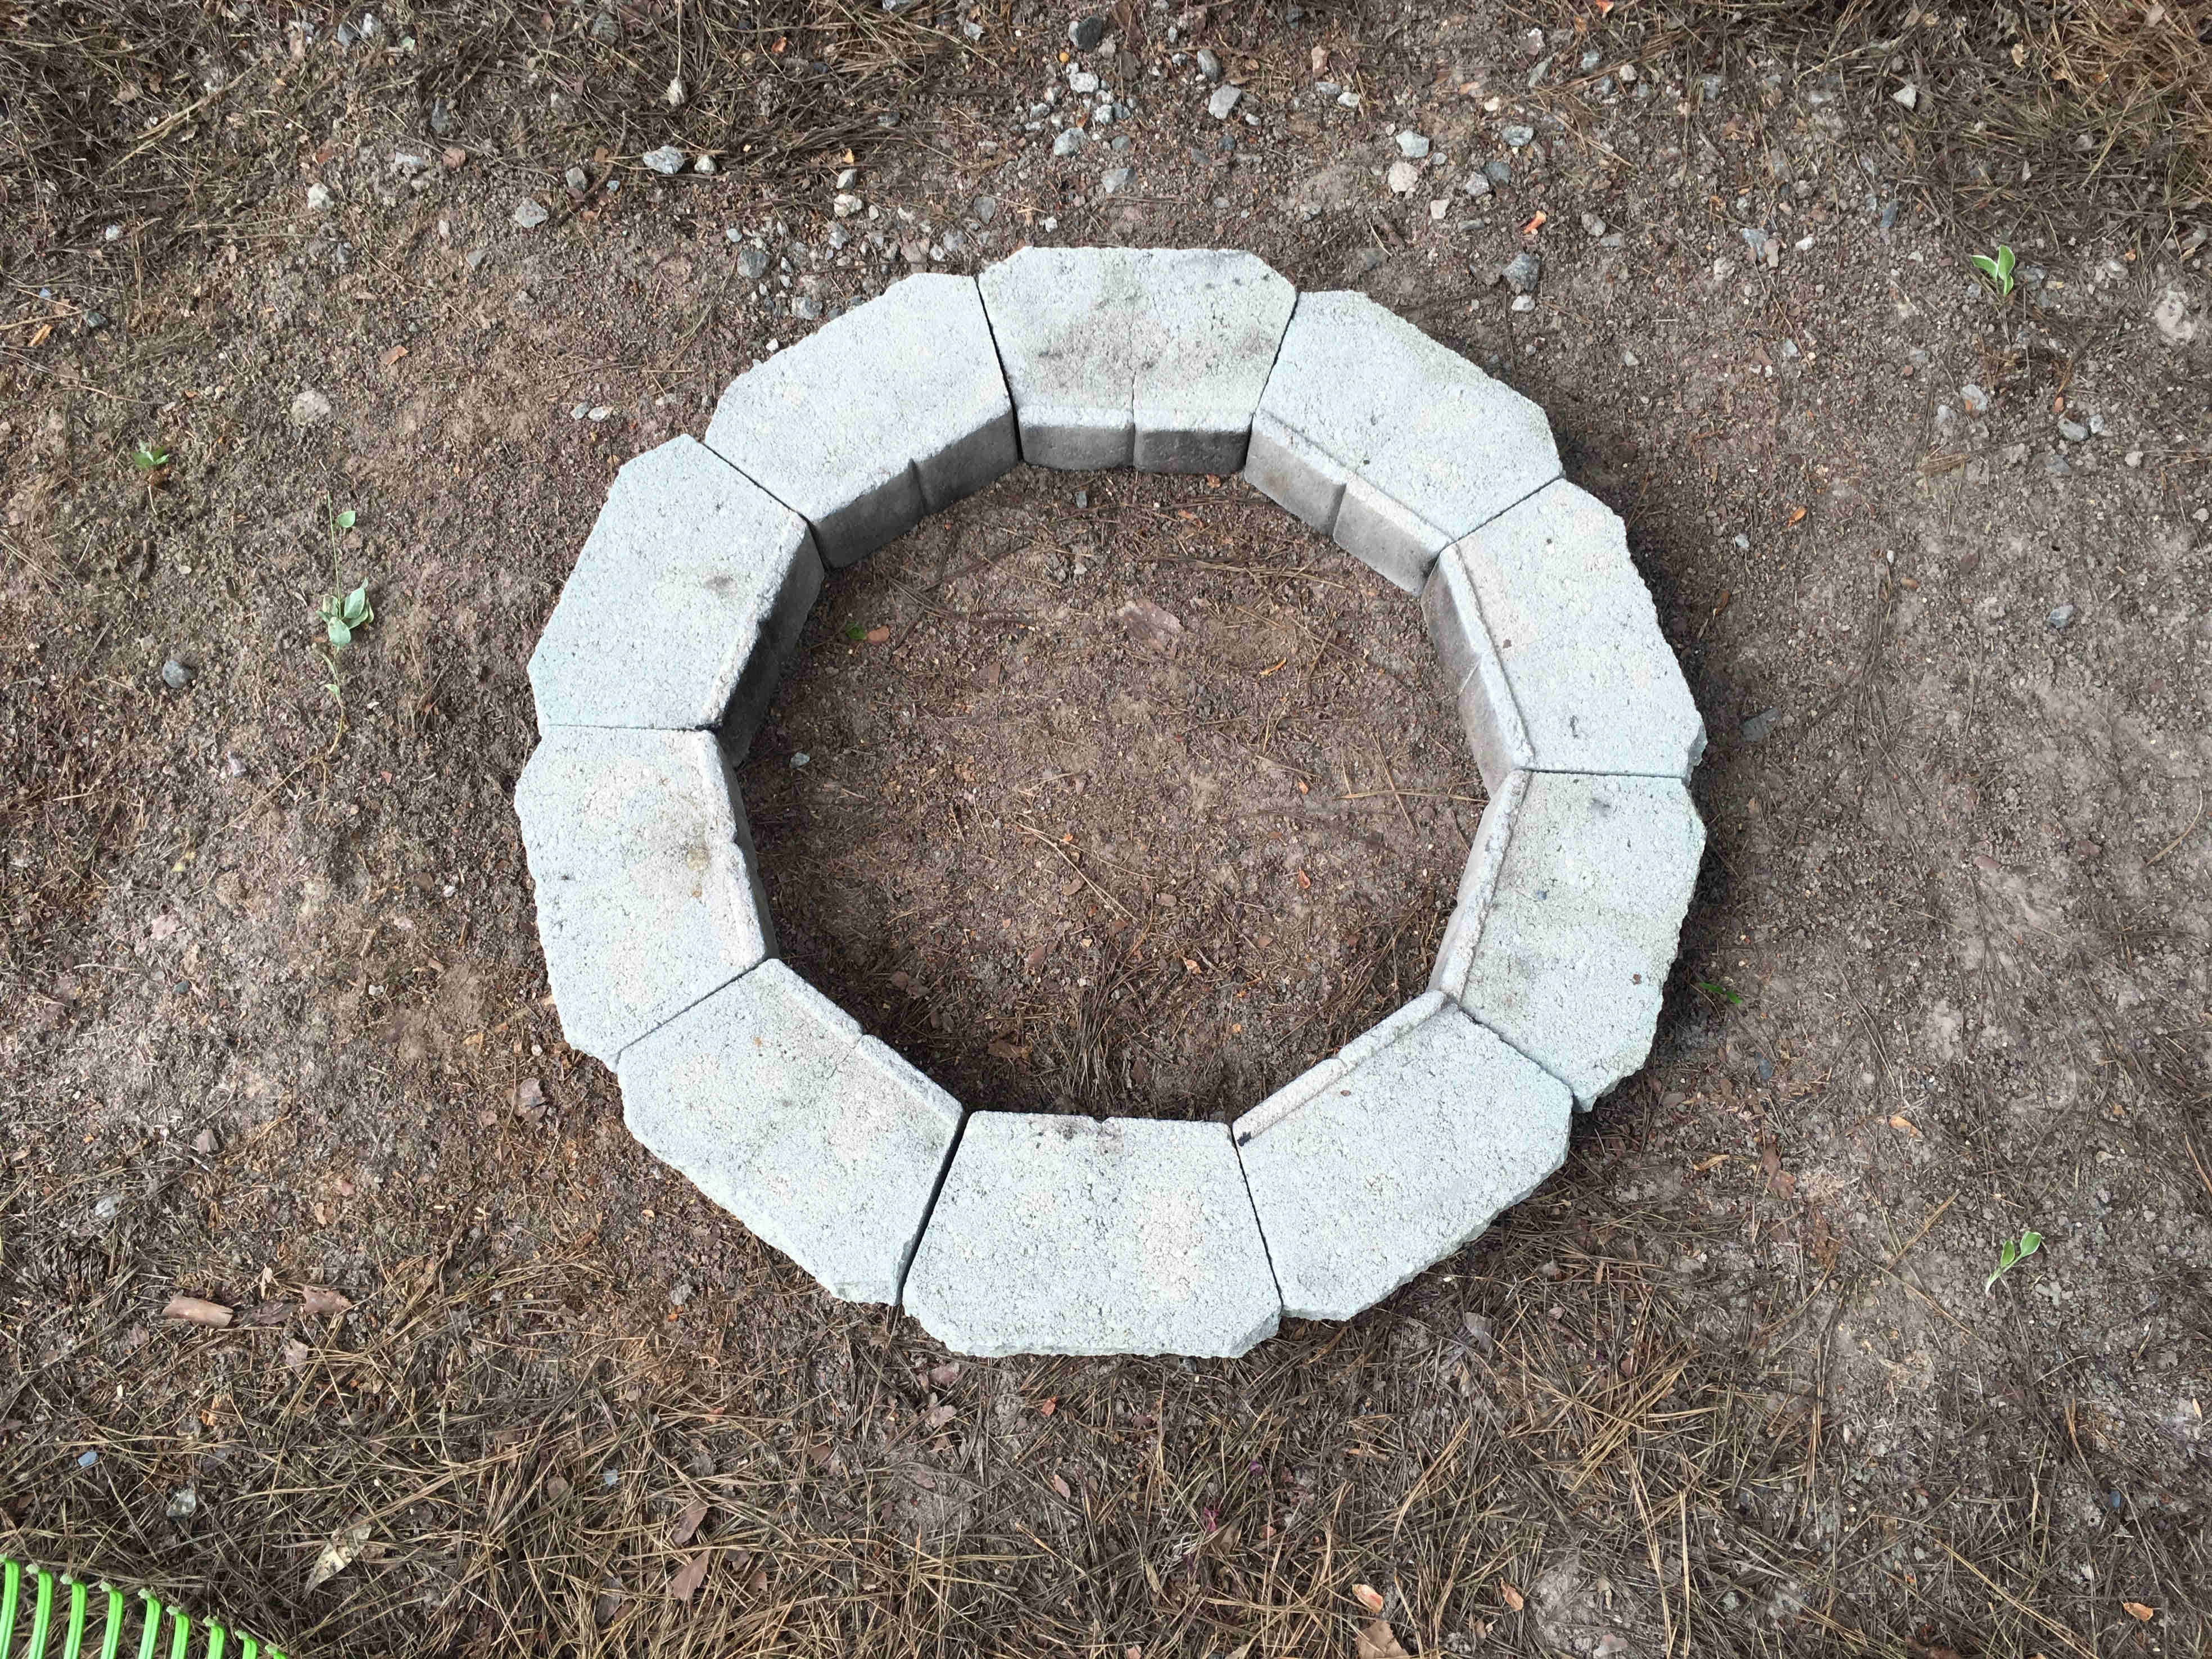
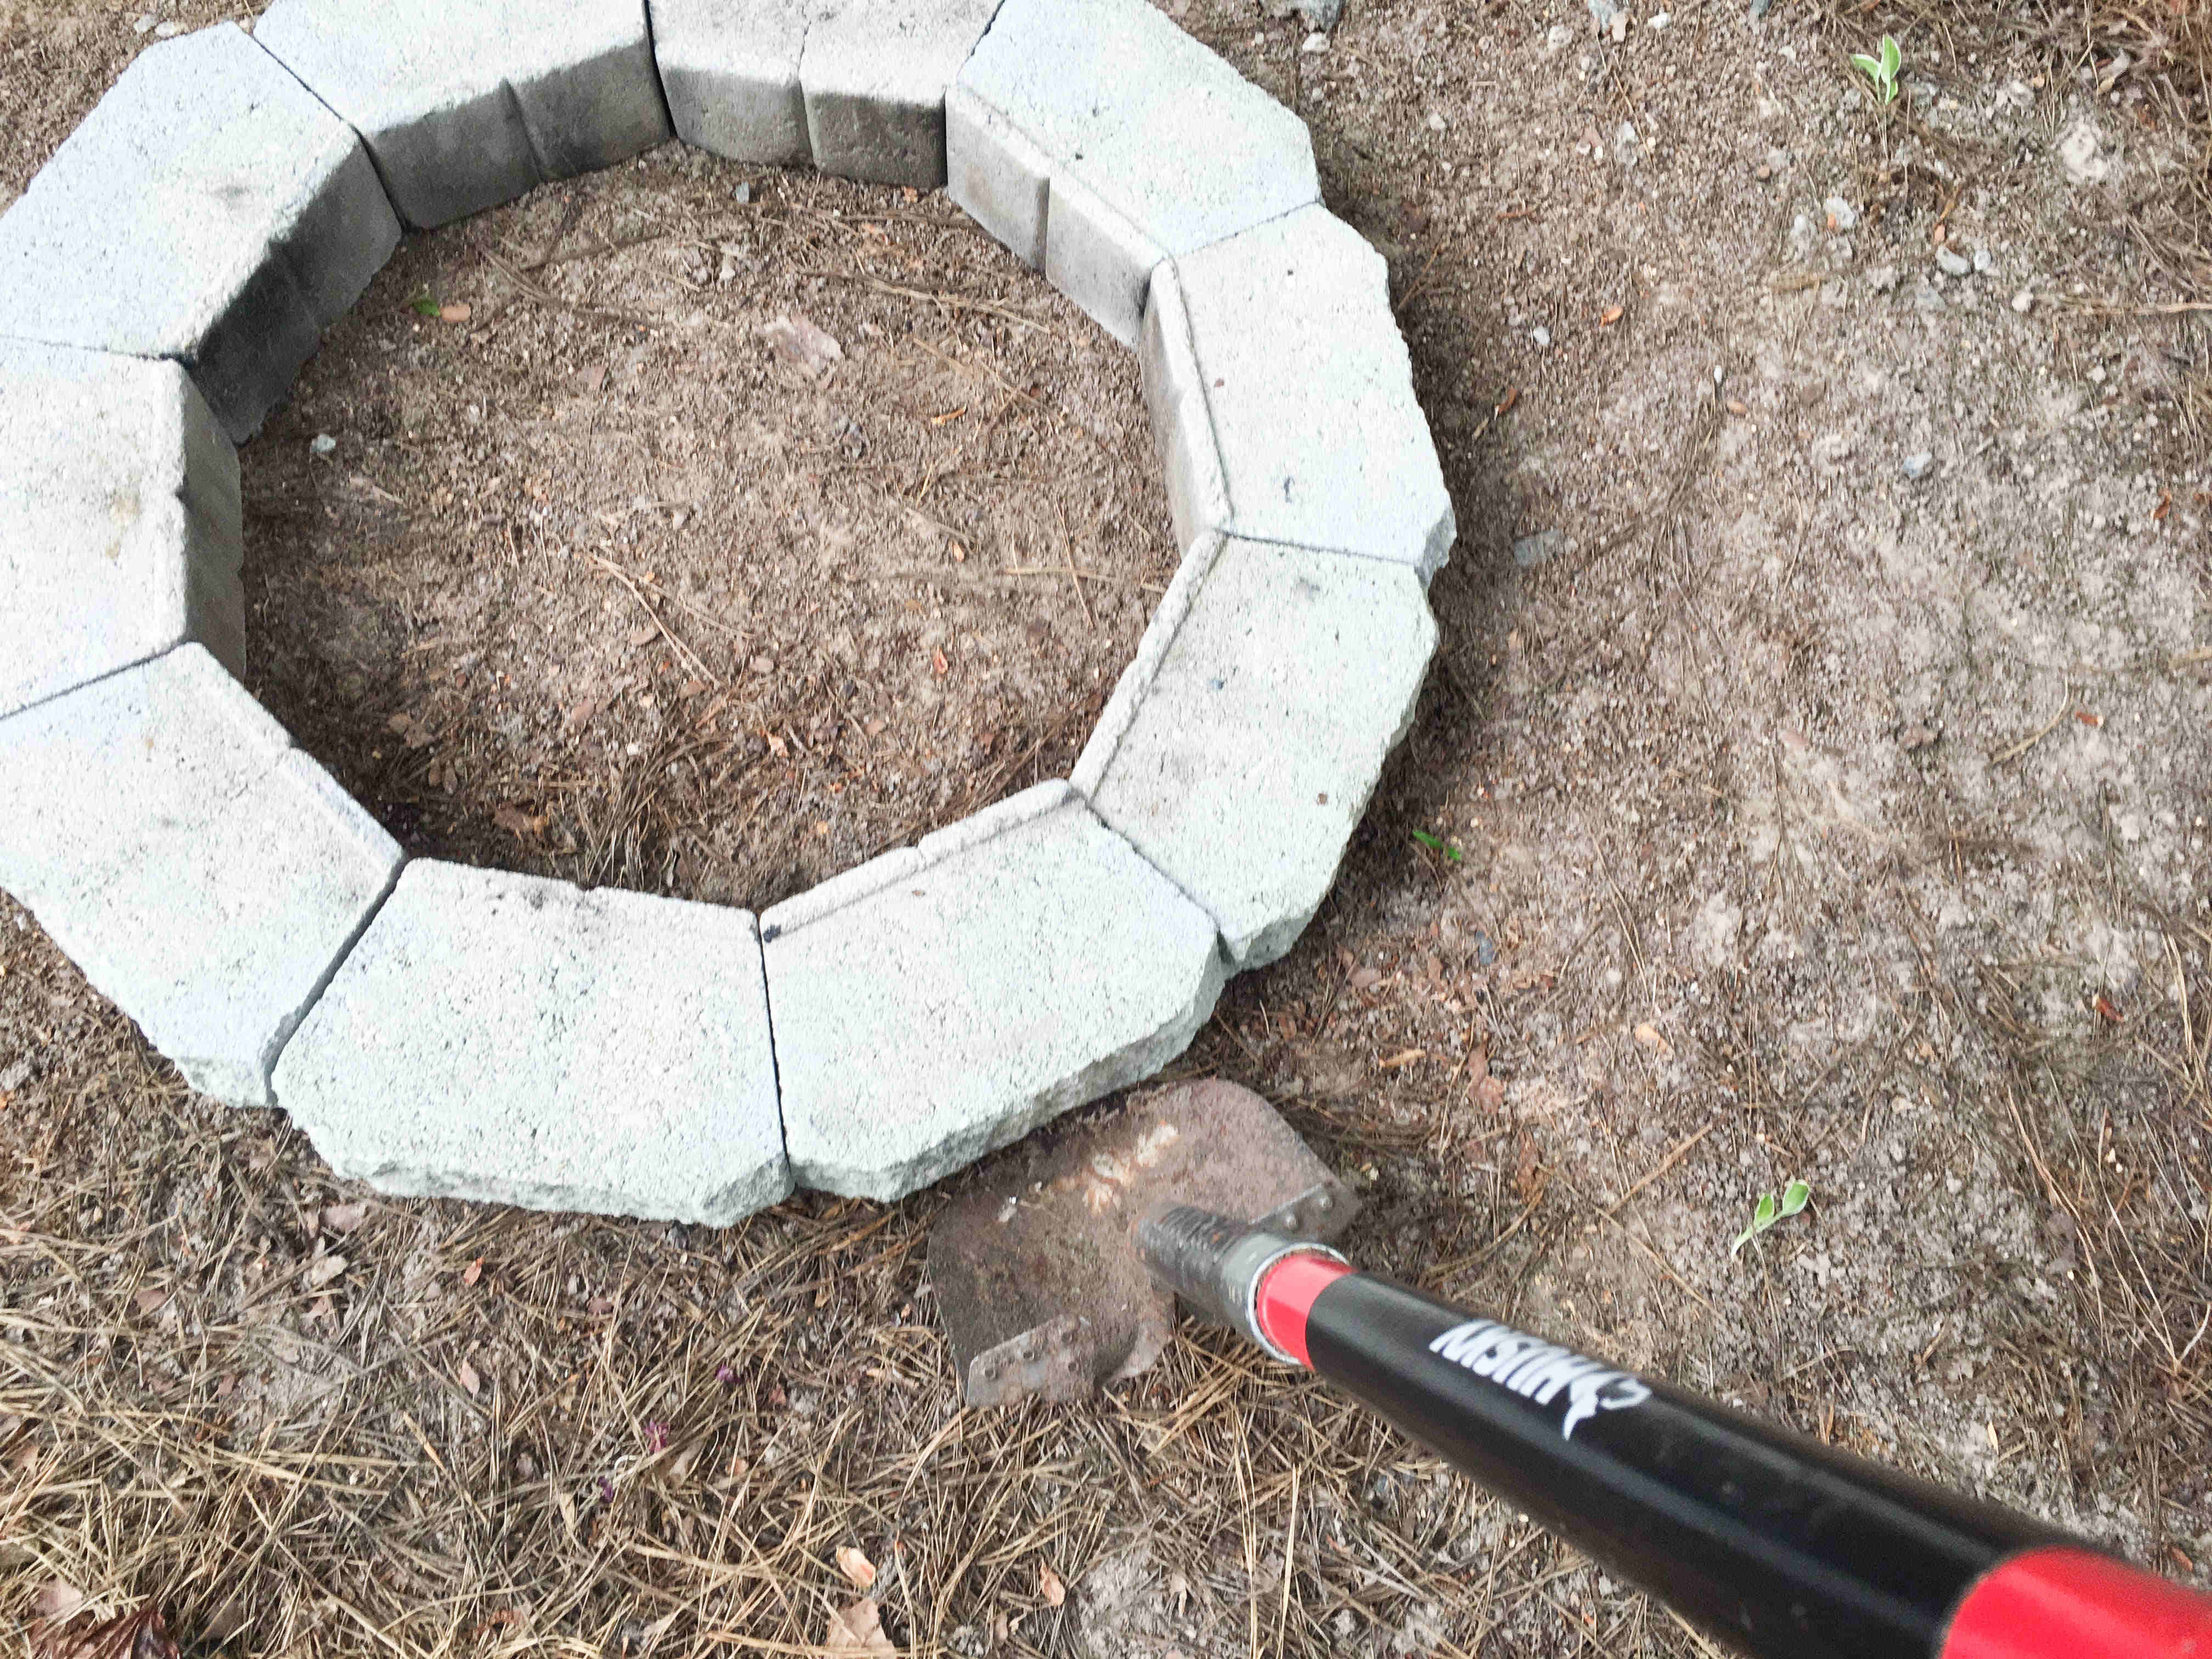
- Once you have your spot cleared and the dirt is revealed, dry fit the first layer of concrete blocks. Place a circle of 10 blocks in the exact space of choice.
- Mark the outer edge of the blocks with your a shovel.
- Remove the blocks and set aside.


Step 4. Start digging.
- Using your shovel, dig down about 2 inches where the concrete blocks will sit.
- If you opted to level the ground, bust out your level, assess the ground and use your steel tamper to even the dirt until level.

Step 5. Lay paver base.
- Cut open your bag of paver base.
- Evenly spread the paver base throughout the entire cleared space, including the inside circle AND under where the concrete blocks will be. Consider leveling and packing down with a steel tamper.
- Connect your hose and dampen the paver base until softly saturated with water. The liquid enable the paver base powder to activate and become solid. Or fill multiple buckets of water and fully saturate the base with water.
Step 6. Assemble your concrete blocks.
Note: if you opted to apply landscape block adhesive, apply multiple beads of adhesive between each layer of stacked blocks. Skip the adhesive for a more rustic (and removable) approach.
- You bought 30 concrete blocks. Use 10 for each layer.
- Lay the first 10 concrete blocks in the a circle, lip side down. Adjust until tightly connected / touching.
- Apply the next layer of concrete blocks in a brick style, lip side up. The second layer should sit in the middle of each layer-one divider. Snag a quick look at how bricks are stacked for a reference point.
- Assemble layer three in a brick style, lip side face up. To clarify, the first layer is all face down, the second layer is all face up and the third layer is all face down. Ignore the up-down alternation

Step 7. Dump the pebbles.
- Why pebbles? The pea pebbles enable the fire pit to properly drain all liquid, especially when it rains. A moist fire pit bottom layer doesn’t easily yield a roaring fire. The day after a rain, your dirt-bottomed pit will still be more water saturated than the pebble-bottomed alternative.
- Spread the pebbles until evenly covering the paver base within the concrete blocks.
Now go invite over everyone you know.
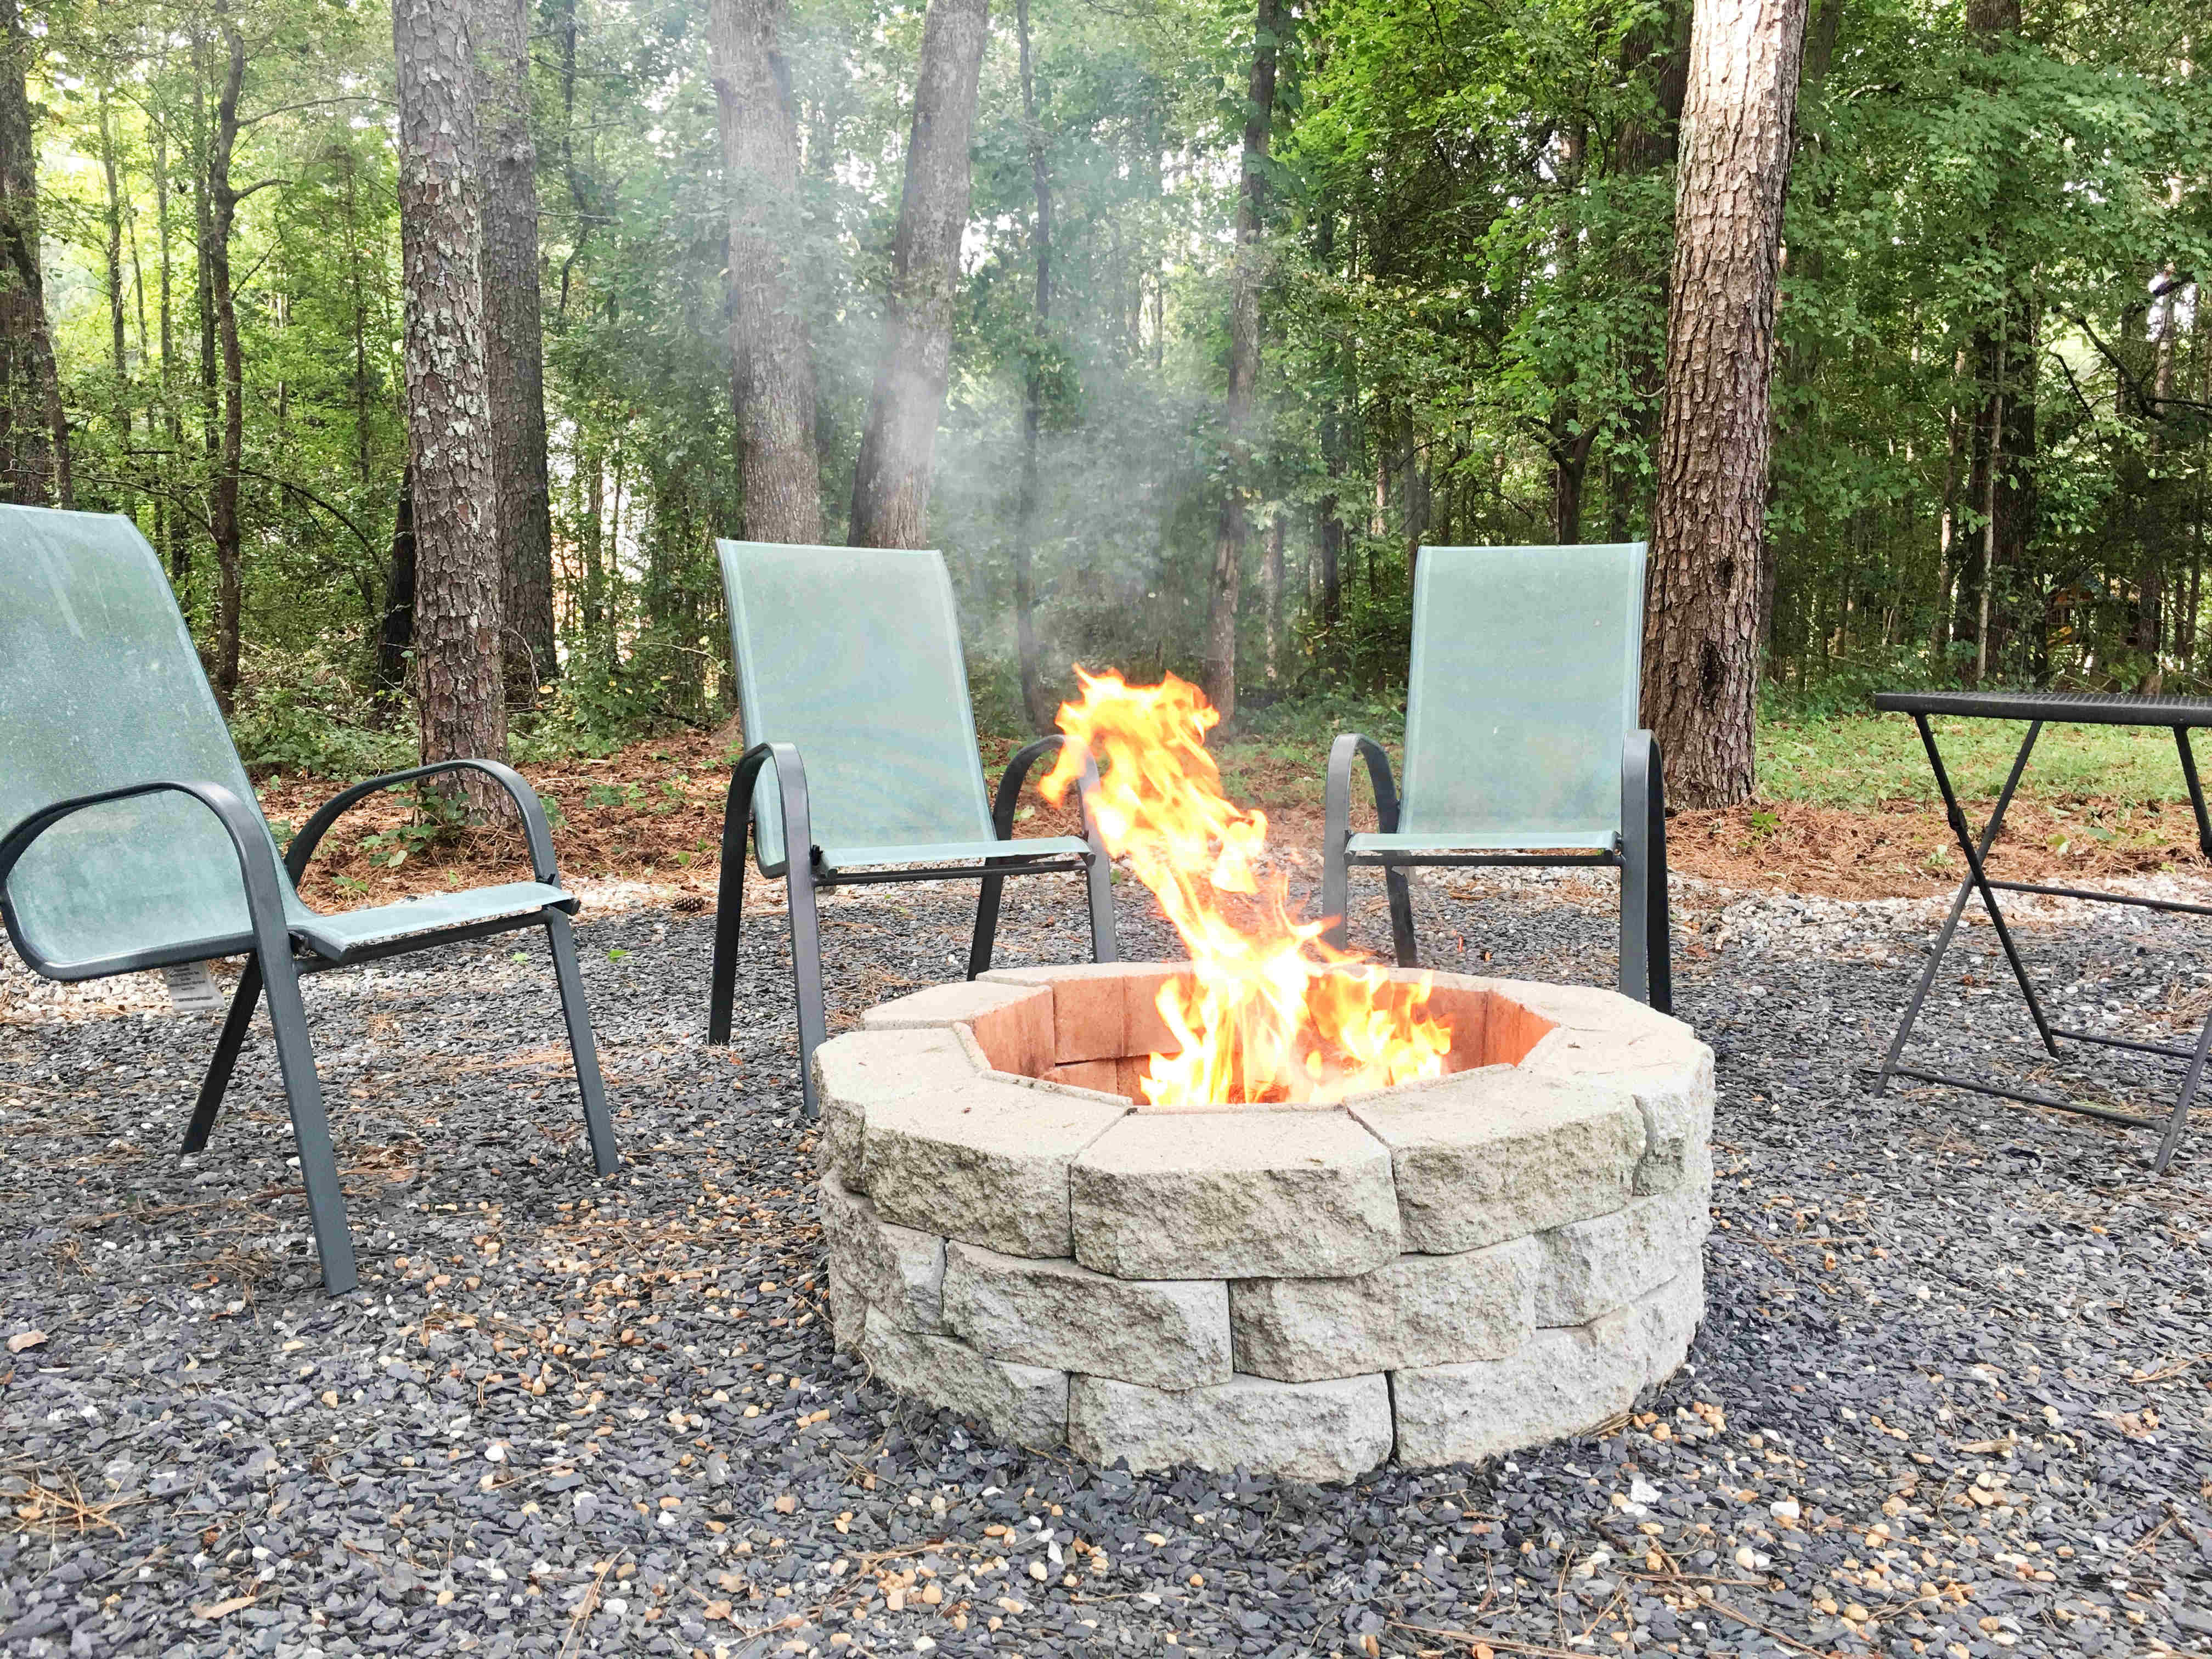
Are you ready to test this bad boy? Pile up a unreasonable amount of pine straw or newspaper or dryer lint underneath tiny twigs, larger sticks and aged wood or dry pallet wood. Light ‘er up, pull up a chair and enjoy the billowing, roasty fragrance of your backyard getaway. Your breathe-easy moment in the beauty of nature. You literal staycation. Go ahead and set a date for your fire pit’s grand opening party. Bring on the flame-engulfed marshmallows, melty chocolate bars and crispy graham crackers. Perhaps you could put on your mixologist hat and craft some OG cocktails with homemade bitters for all to sip on – warming spirits in every way (amirite?). Get lit. Well, don’t actually light yourself on fire. Or bev too hard. There’s a chance that ethanol is slightly flammable, so rage responsibly.


Note: the gray-blue pebbles, you ask? Slate stone. We laid 3 cubit yards of it in our backyard in a horseshoe layout. Bordered by gravel. Our DIY picnic table and raised-bed garden fit right into the flow.


love the idea of firepit in the backyard! will accomplish on my next day off! Thanx muc
Glad you like it, Jared. Enjoy the build! Such a great community building spot. Please share any modifications you make to inspire all of us.