Do NOT do what I did. Hand-me-down cordless drill. Zero “how-to” tutorials or mentorship. Pseudo-masculine infused confidence (the reason all things break before warranty). 10 minutes worth of power per battery, maybe. The amperage to drill through some mean cardboard. Or to effortlessly predrill through some wet drywall.
- Don’t strip the drive of every other phillips head screw (like I did).
- Better yet, avoid phillips drive screws altogether.
- Don’t break the heads of off your screws (guilty).
- Don’t hand-unscrew the remains of your embedded screw shaft with a vice grip while suppressing your embarrassment and hiding your red face from the eavesdropping squirrel in your shrubbery.
- Definitely avoid giving up on said embedded screw shaft and recip sawing the mess out of it only to leave a tiny spike of death sticking out of your project.
The reason for this tutorial.
This is the EXACT tutorial I wish I had before I ever laid my naïve hands on a drill. For serious. Your timing on reading this is clutch. You won’t get screwed on your next drill-wielding project. Let’s drill down into the details to ensure that my mistakes are your victories. Feeling amped? Getting charged? Get after it, DIY expert in the making. (Dad jokes so hard.)

Cordless Drill vs. Impact Driver vs. Corded Drill vs. Rotary Hammer Drill.
When should each drill be used? Glad you asked, friend. Check out our chart below:
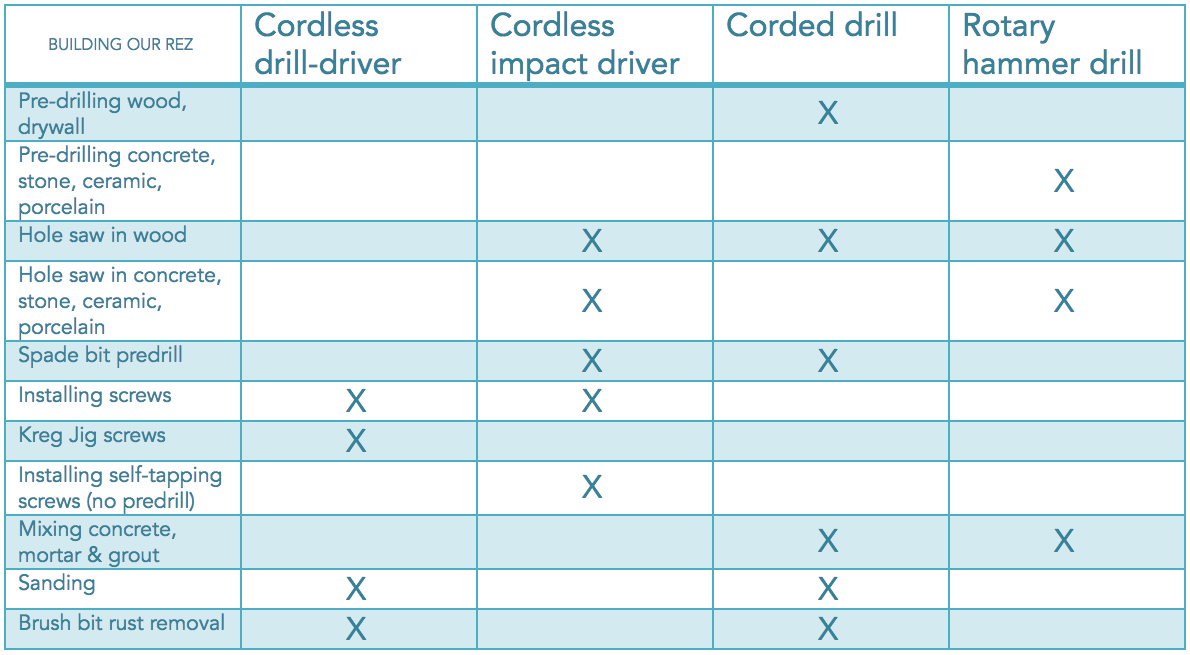
Note: learn more about each drill to know the “why” behind this chart. For example, your cordless drill can predrill holes in wood. However, the cordless is ideal because it has more power and won’t drain your battery. Another example: the rotary hammer drill is ALL power and is unnecessary in most hobbyist DIY applications. But it’s a contractor’s must-have.
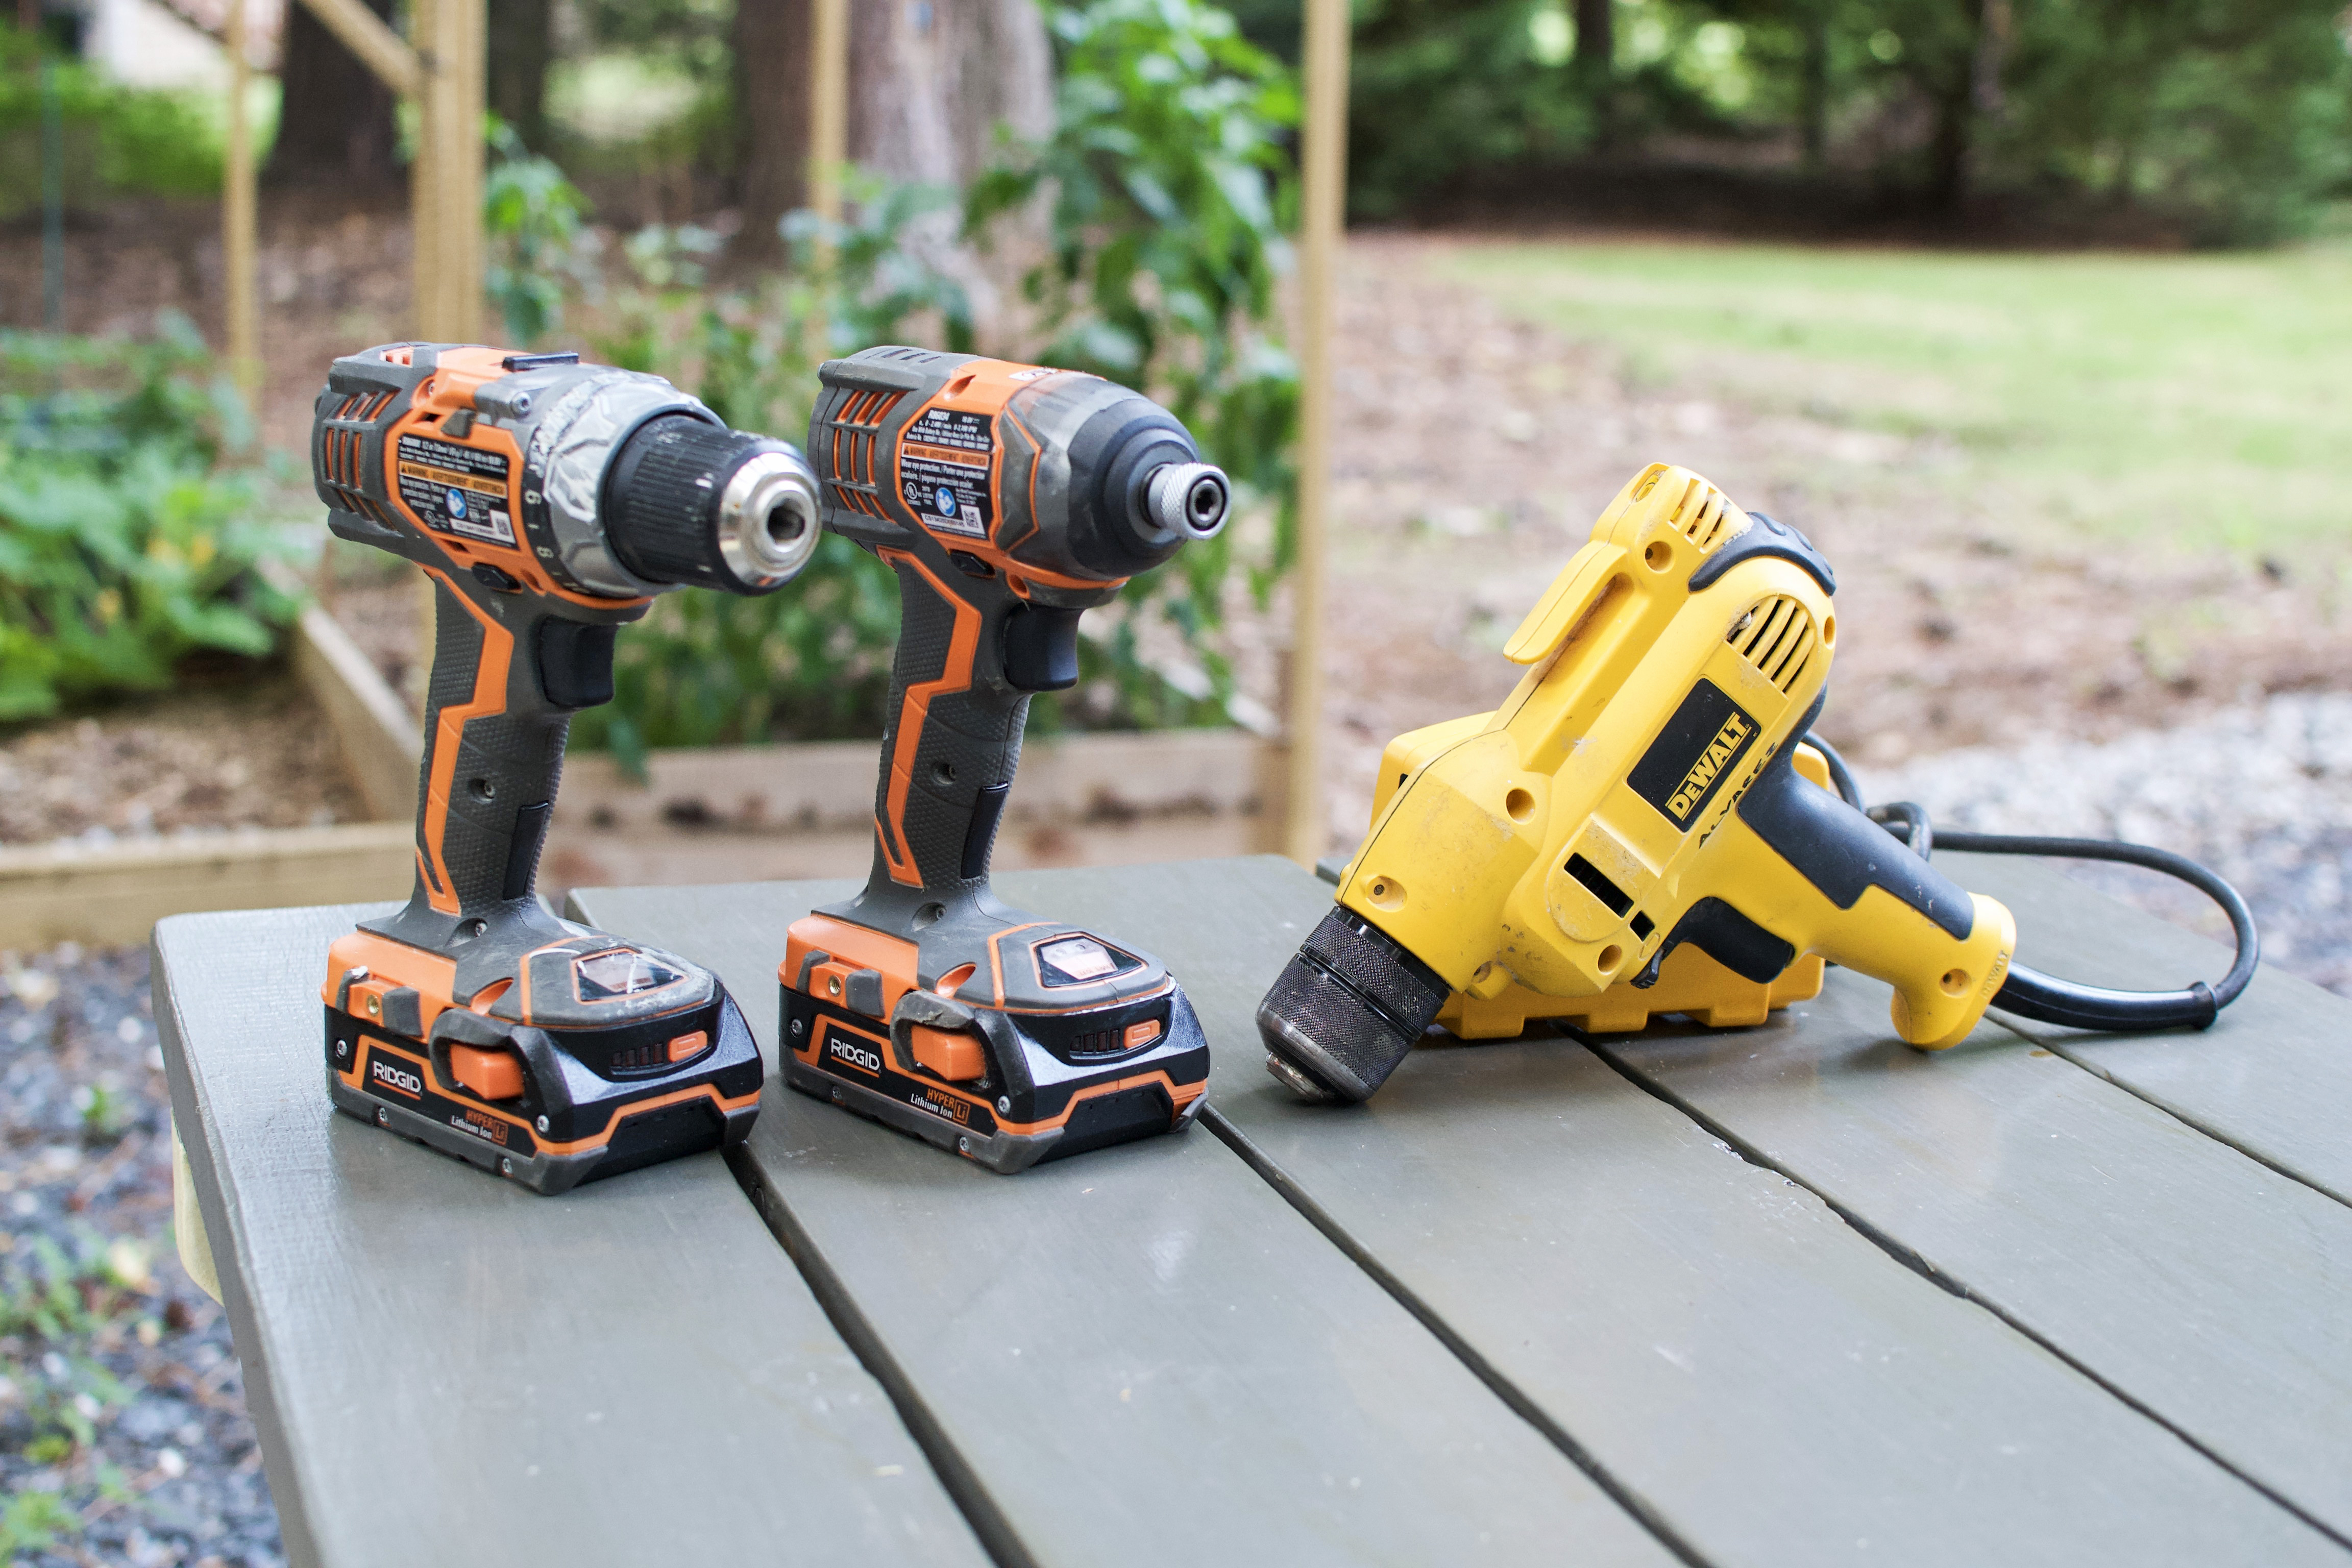
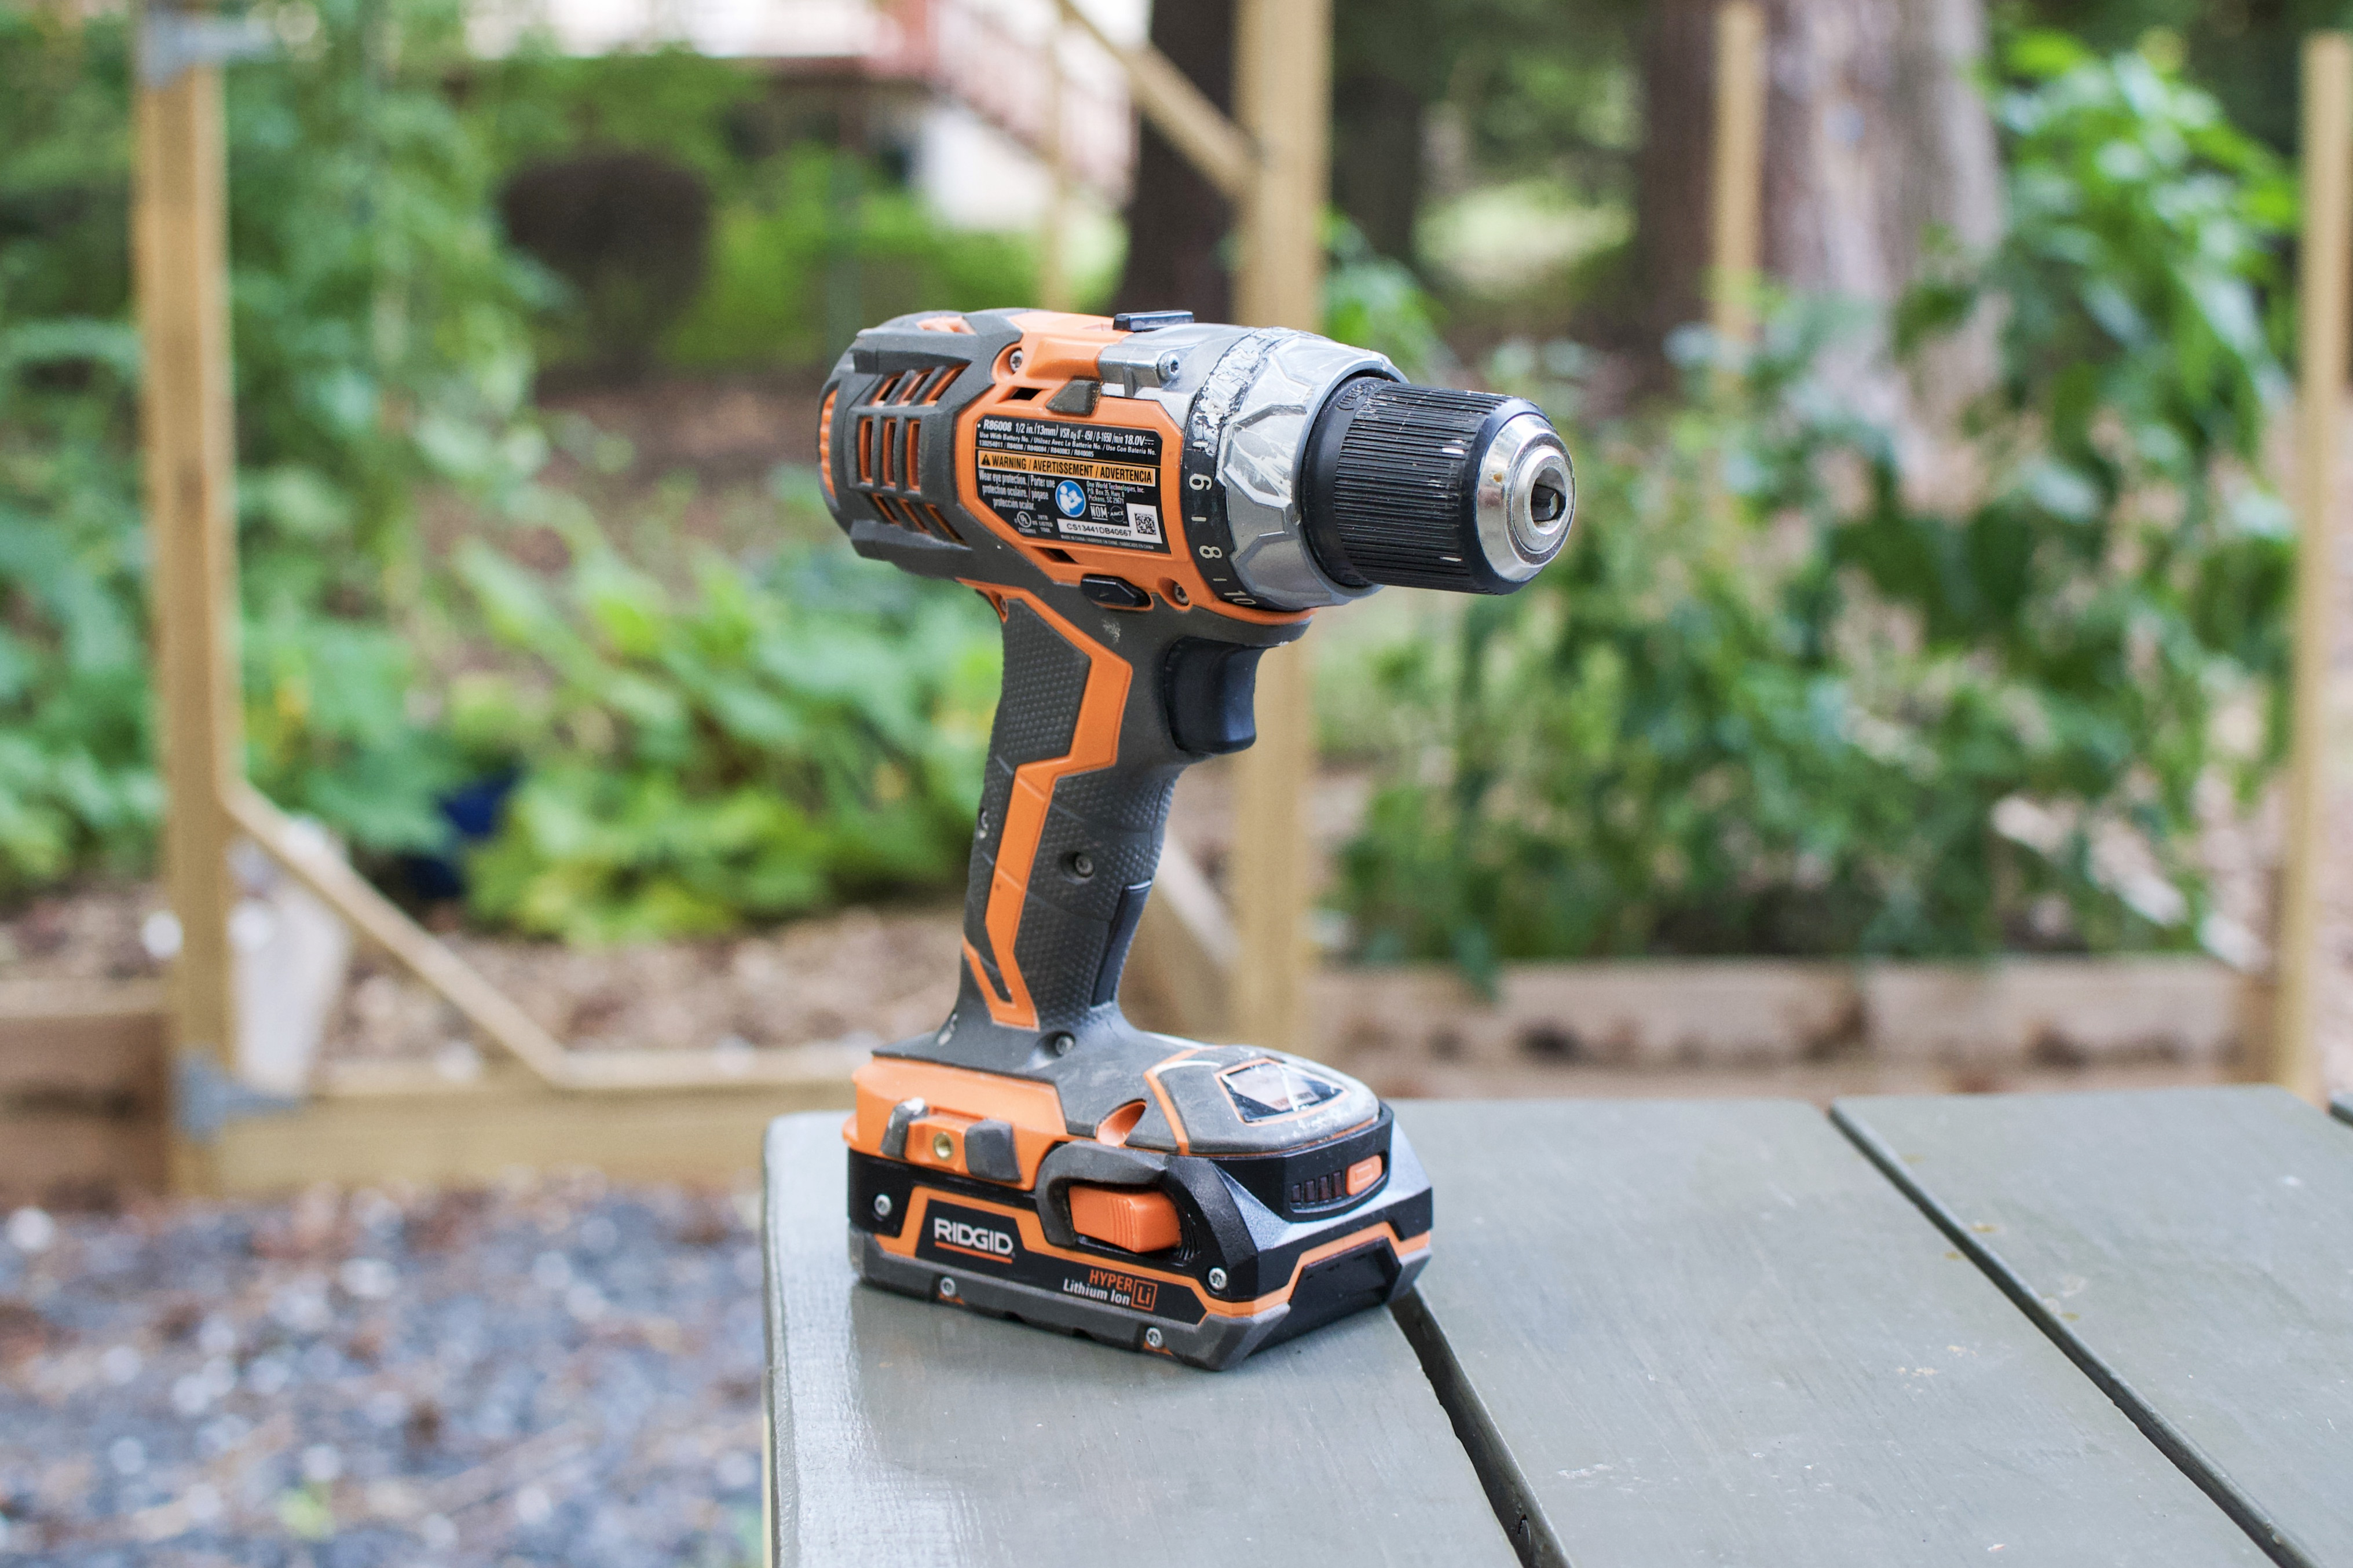
RIDGID Cordless Drill-Driver.
- Uses. Installing most screws, building furniture & design pieces using a Kreg Jig, sanding with a sanding drum or sanding disc attachment, removing rust from metal with a wire brush or brush bit. Pre-drilling into wood is totally doable, but not ideal – your battery life is limited, and your corded drill will likely have far more “power”. Drilling pilot holes with drill bits for screw install is no big deal. However, hole saws, spade bits and core bits will be much more challenging to use.
- Battery. Lithium Ion – it will not slow down as the battery almost runs out of juice. Expect a sudden stop. Always plan to charge one battery while the other is in use.
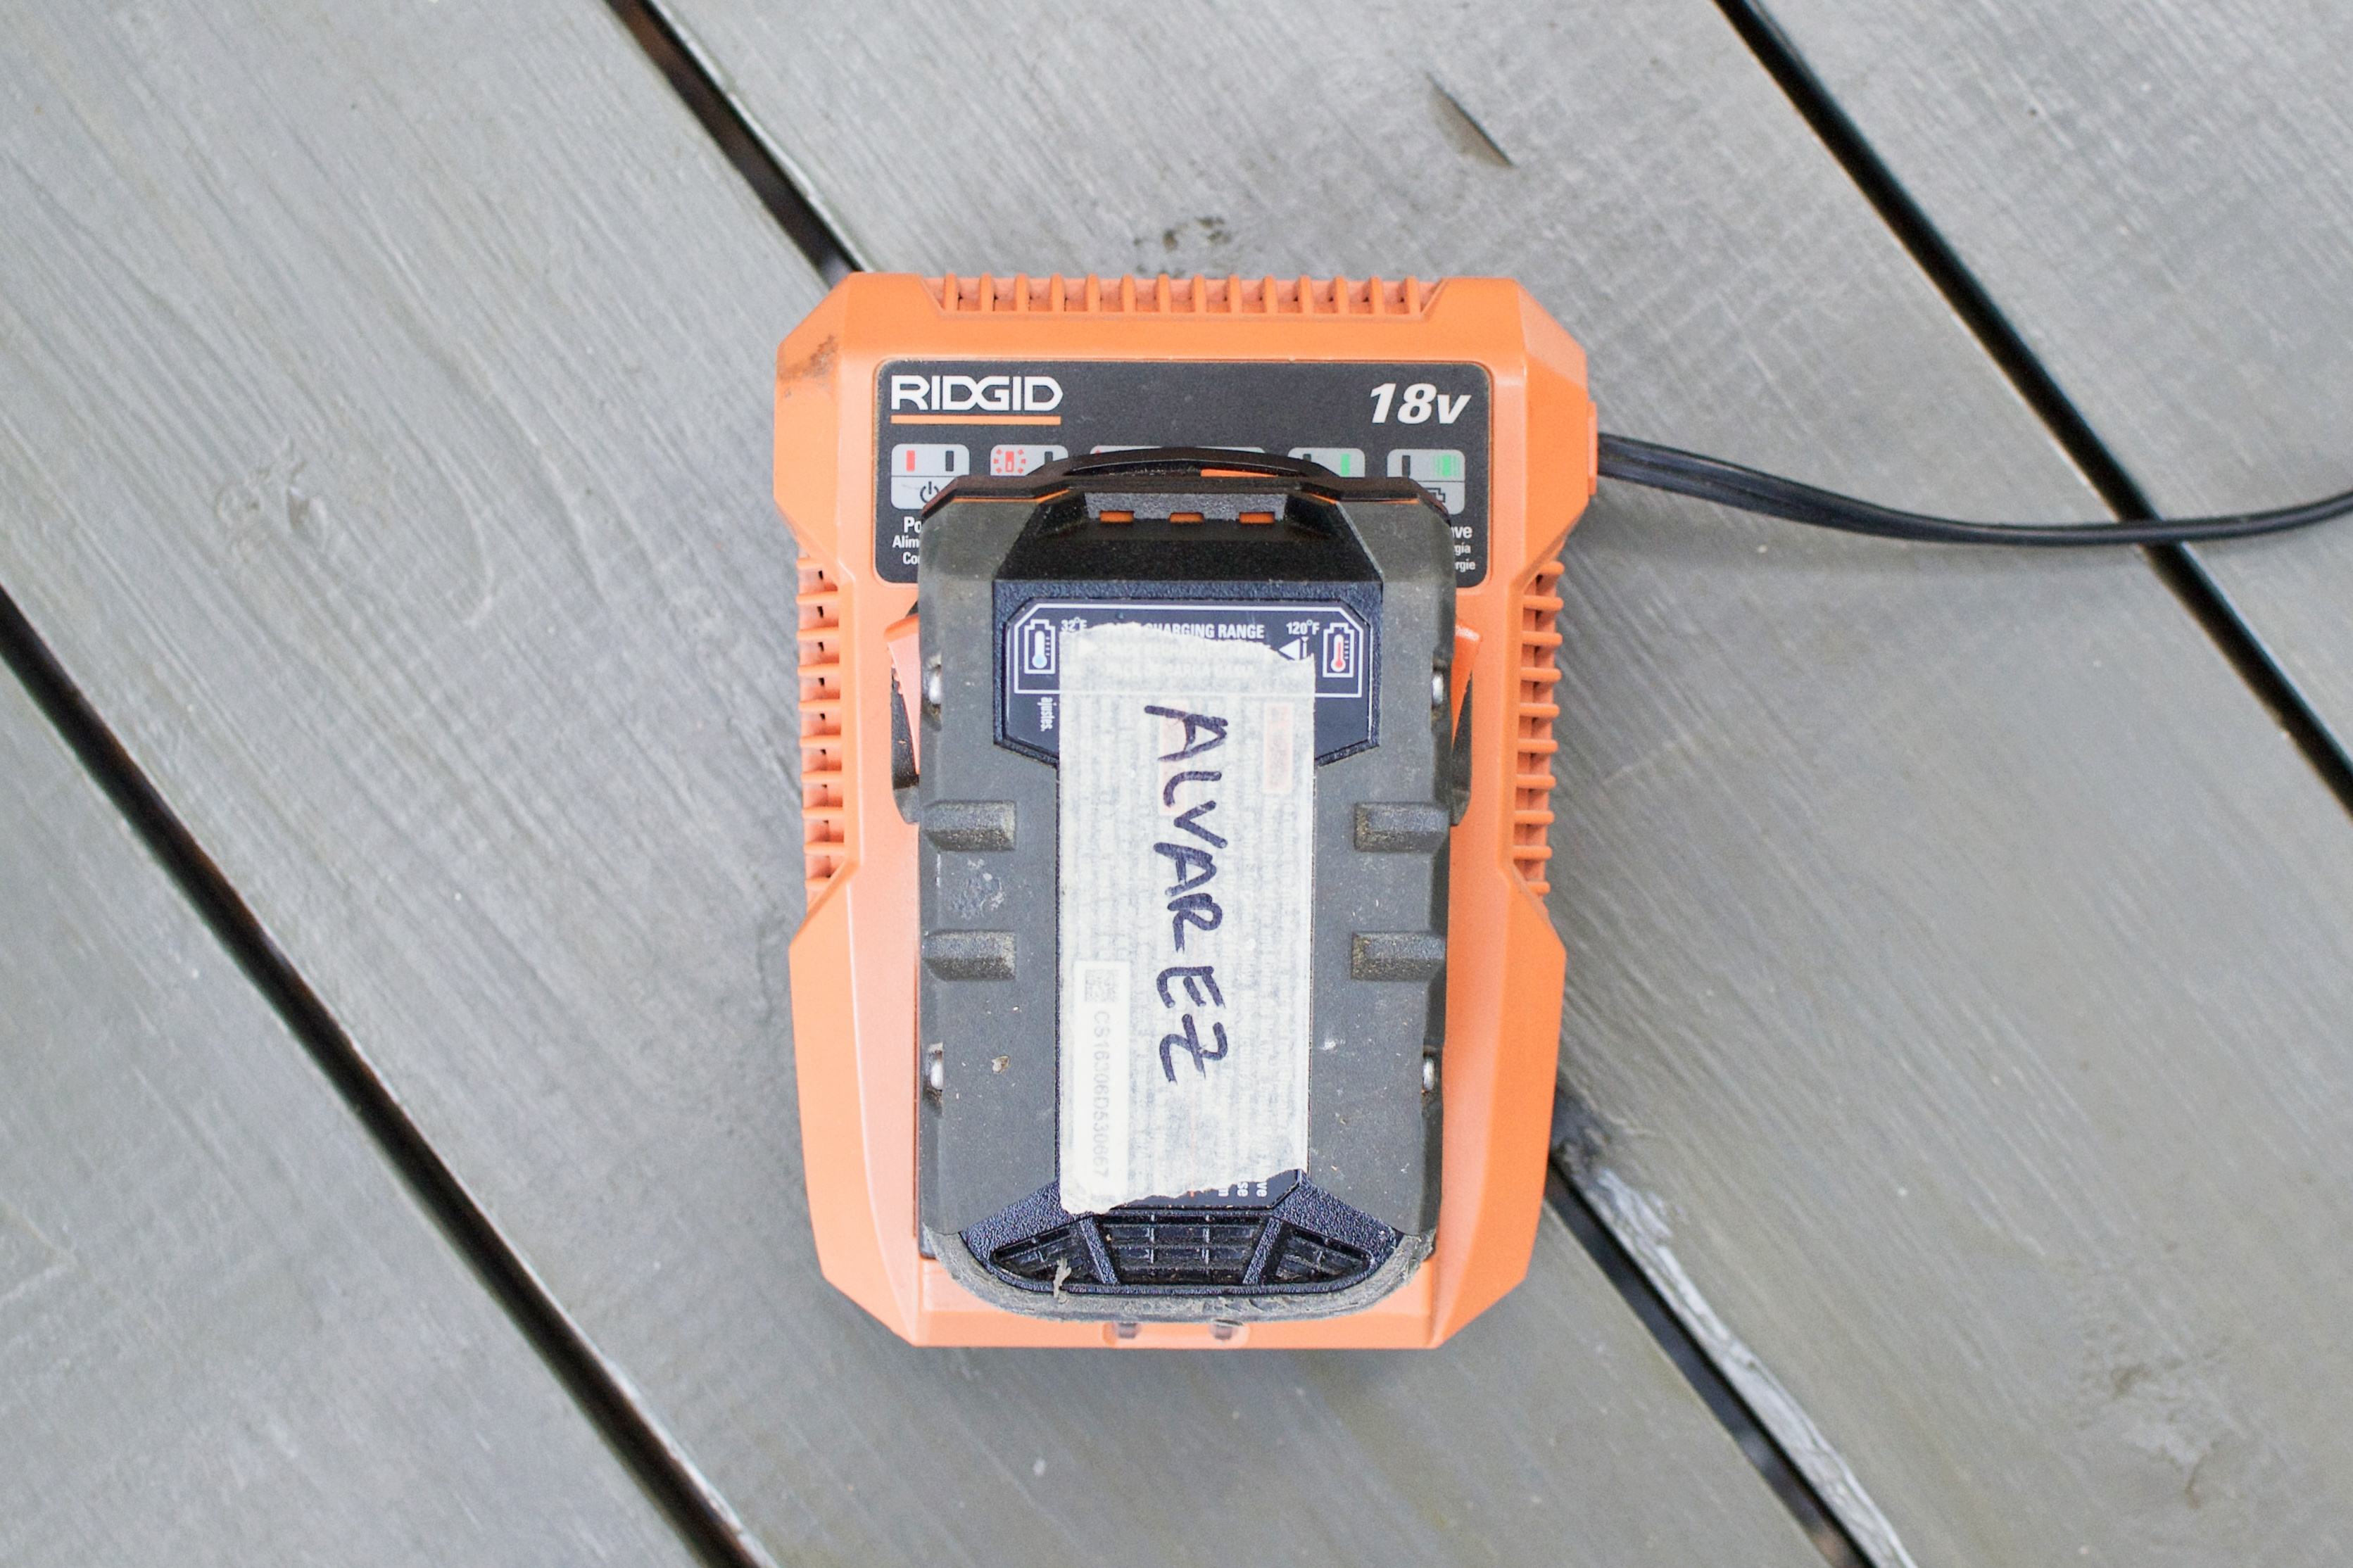

- Battery amperage. Functionally, the amount of power your drill has. Amperes or amps are electrical current. Ampere hour or Ah is the amount of current used by your drill multiplied by the amount of time it will take to discharge or run out of juice. RIDGID sells a 1.5Ah drill and a 4.0Ah drill. Thus, the 4.0Ah will either (a) last much longer at the same amperage compared to the 1.5Ah, (b) offer way more “power”, or (c) last longer AND have more power. I own the 18-watt 1.5Ah, my brother owns the 18-watt 4.0Ah Gen5X models. His regularly attempts to twist his arm off when a screw gets stuck. Mine doesn’t quite have that much “power”.
- Direction of rotation selector. Push it right or left to drive screws into material or remove screws as needed. Center the selector as a “safety” lock to prevent your drill from being used by children (or) accidentally spinning in your storage bag when external pressure is applied.

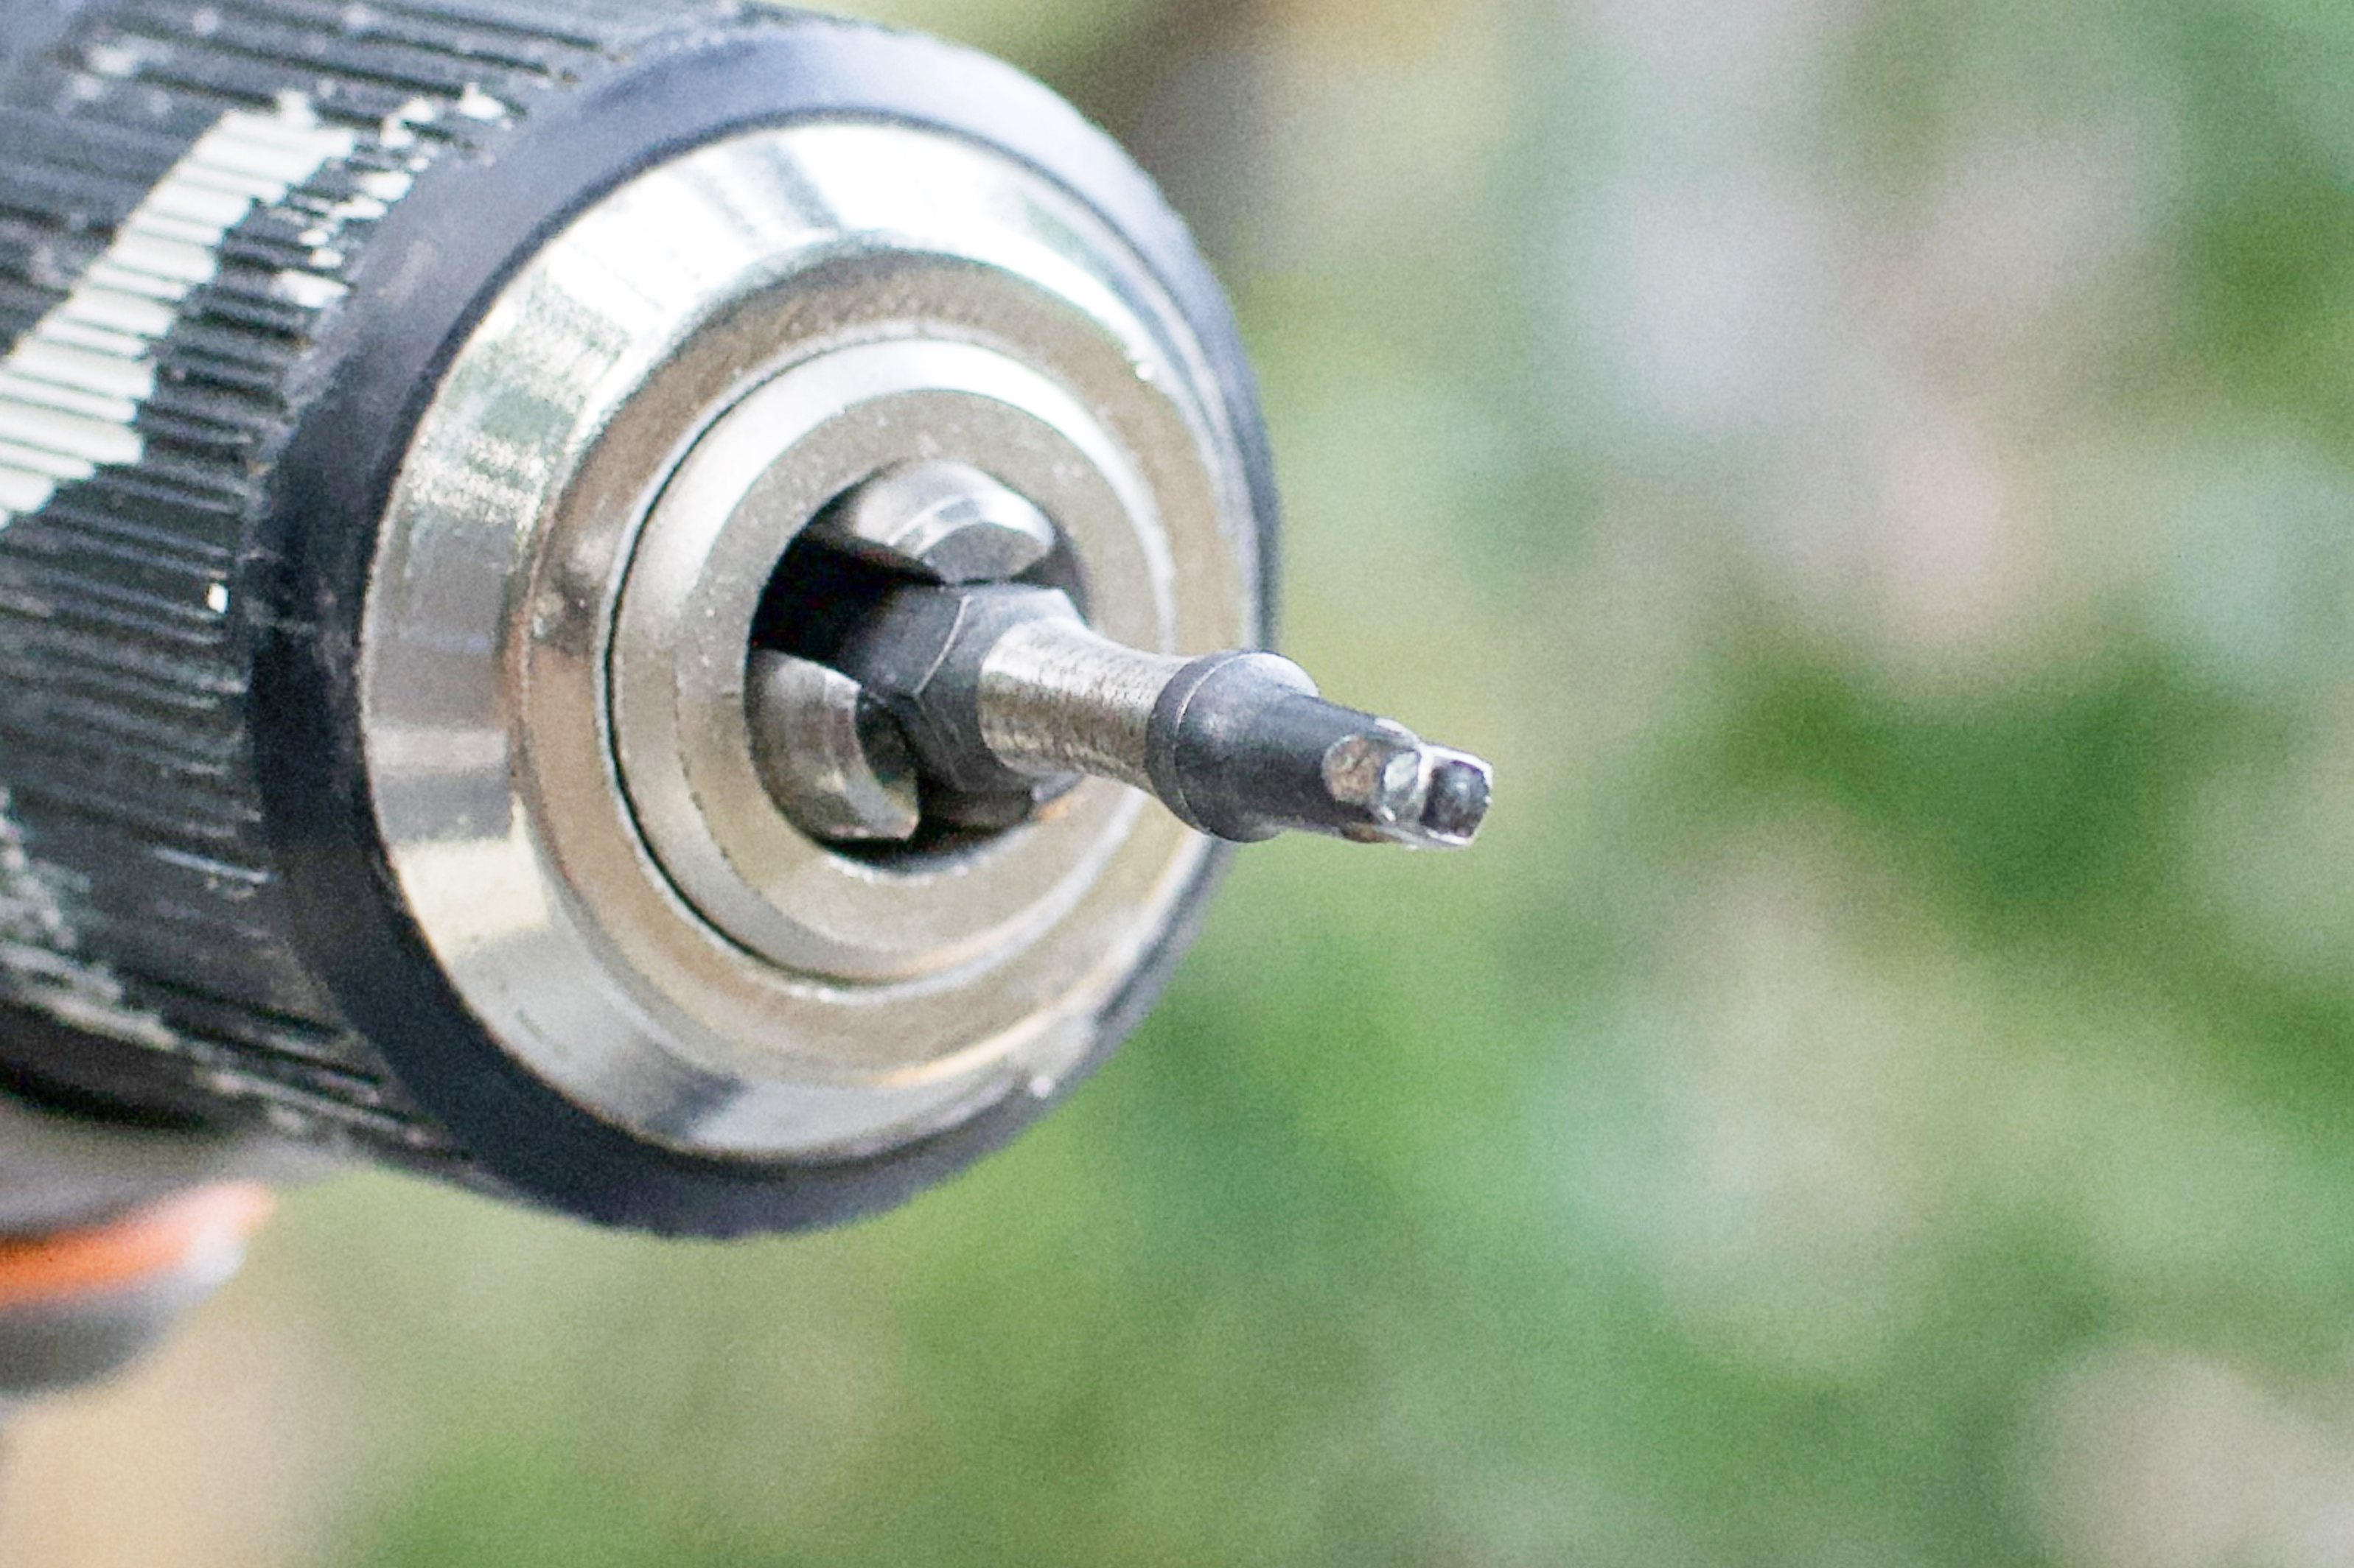
- Chuck. The cylindrical clamp attached to the end of your drill. Where the drill bits and screwdriving bits go. This is a keyless chuck, only requiring hand turning to loosen or tighten your bits, not a “chuck key”. It’s a 1/2″ ratcheting chuck, tightening more efficiently when you bear down and hear a series of clicks. Chucks are generally available in (3) sizes: 1/4″, 3/8″ and 1/2″. 1/4″ is for light-duty work, NOT suitable for most DIY purposes. 3/8″ are common for “home” use. 1/2″ chucks are ideal for woodworking projects, home renovation and heavier duty applications.
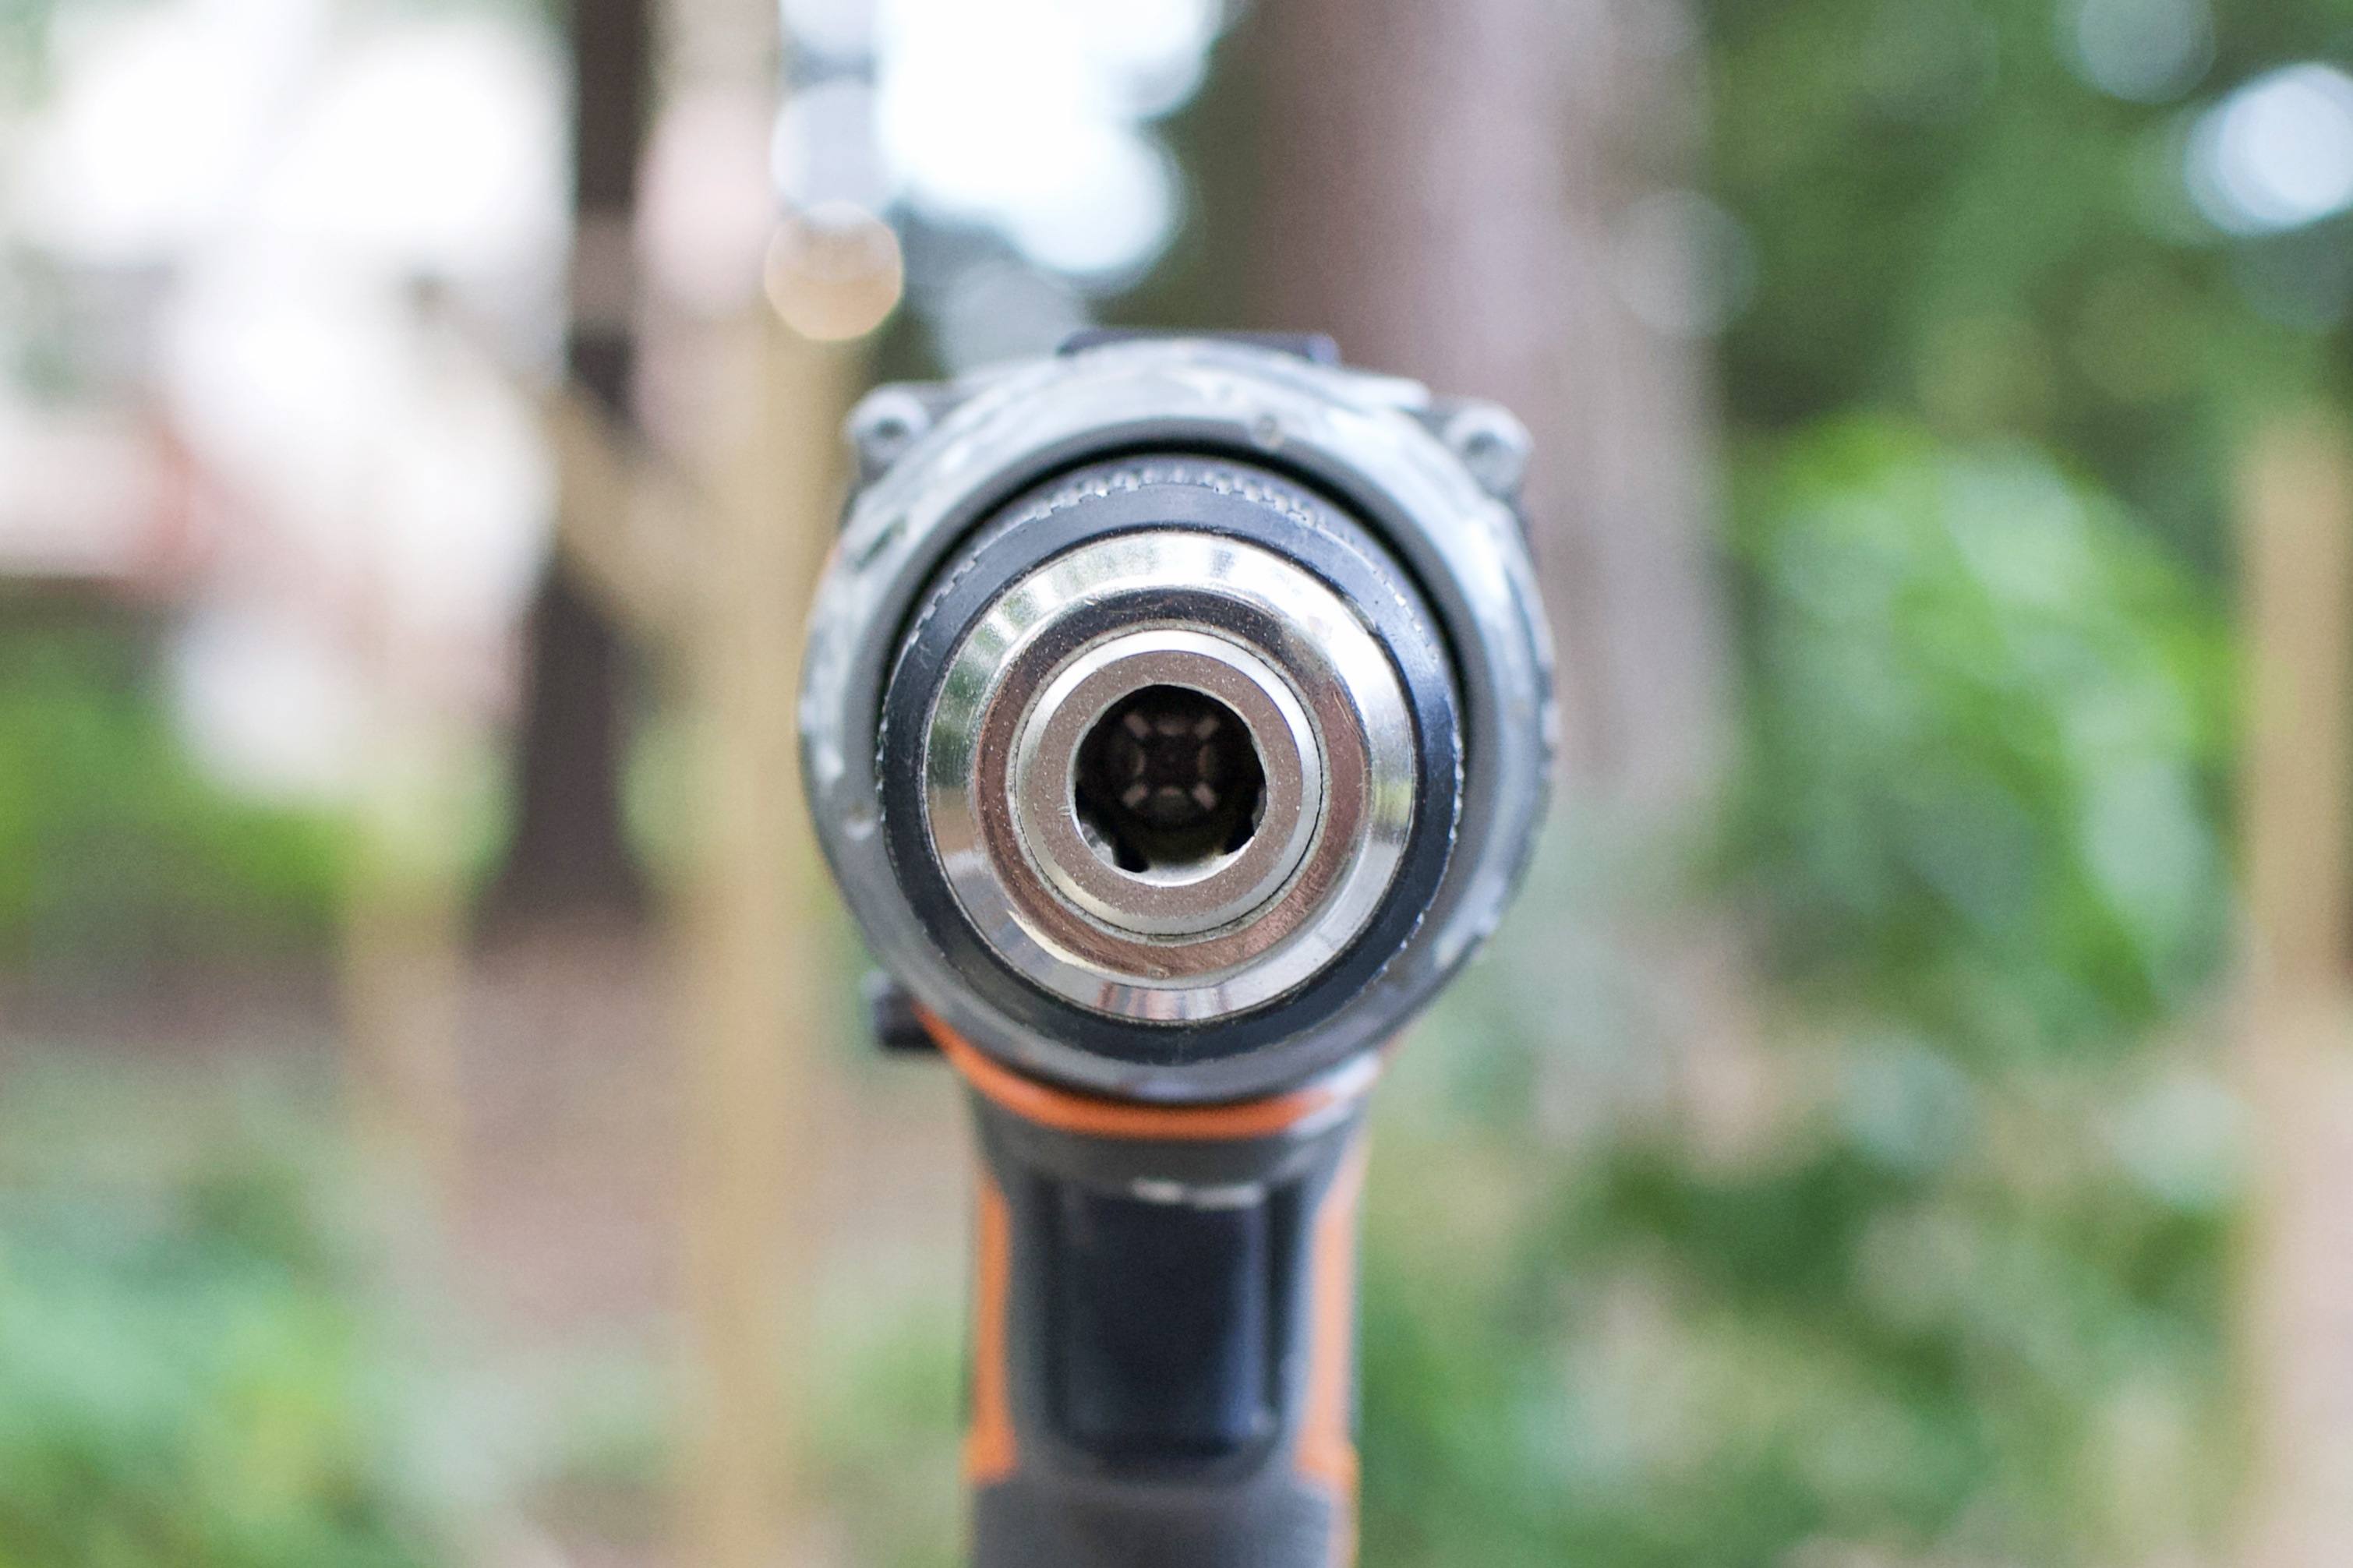
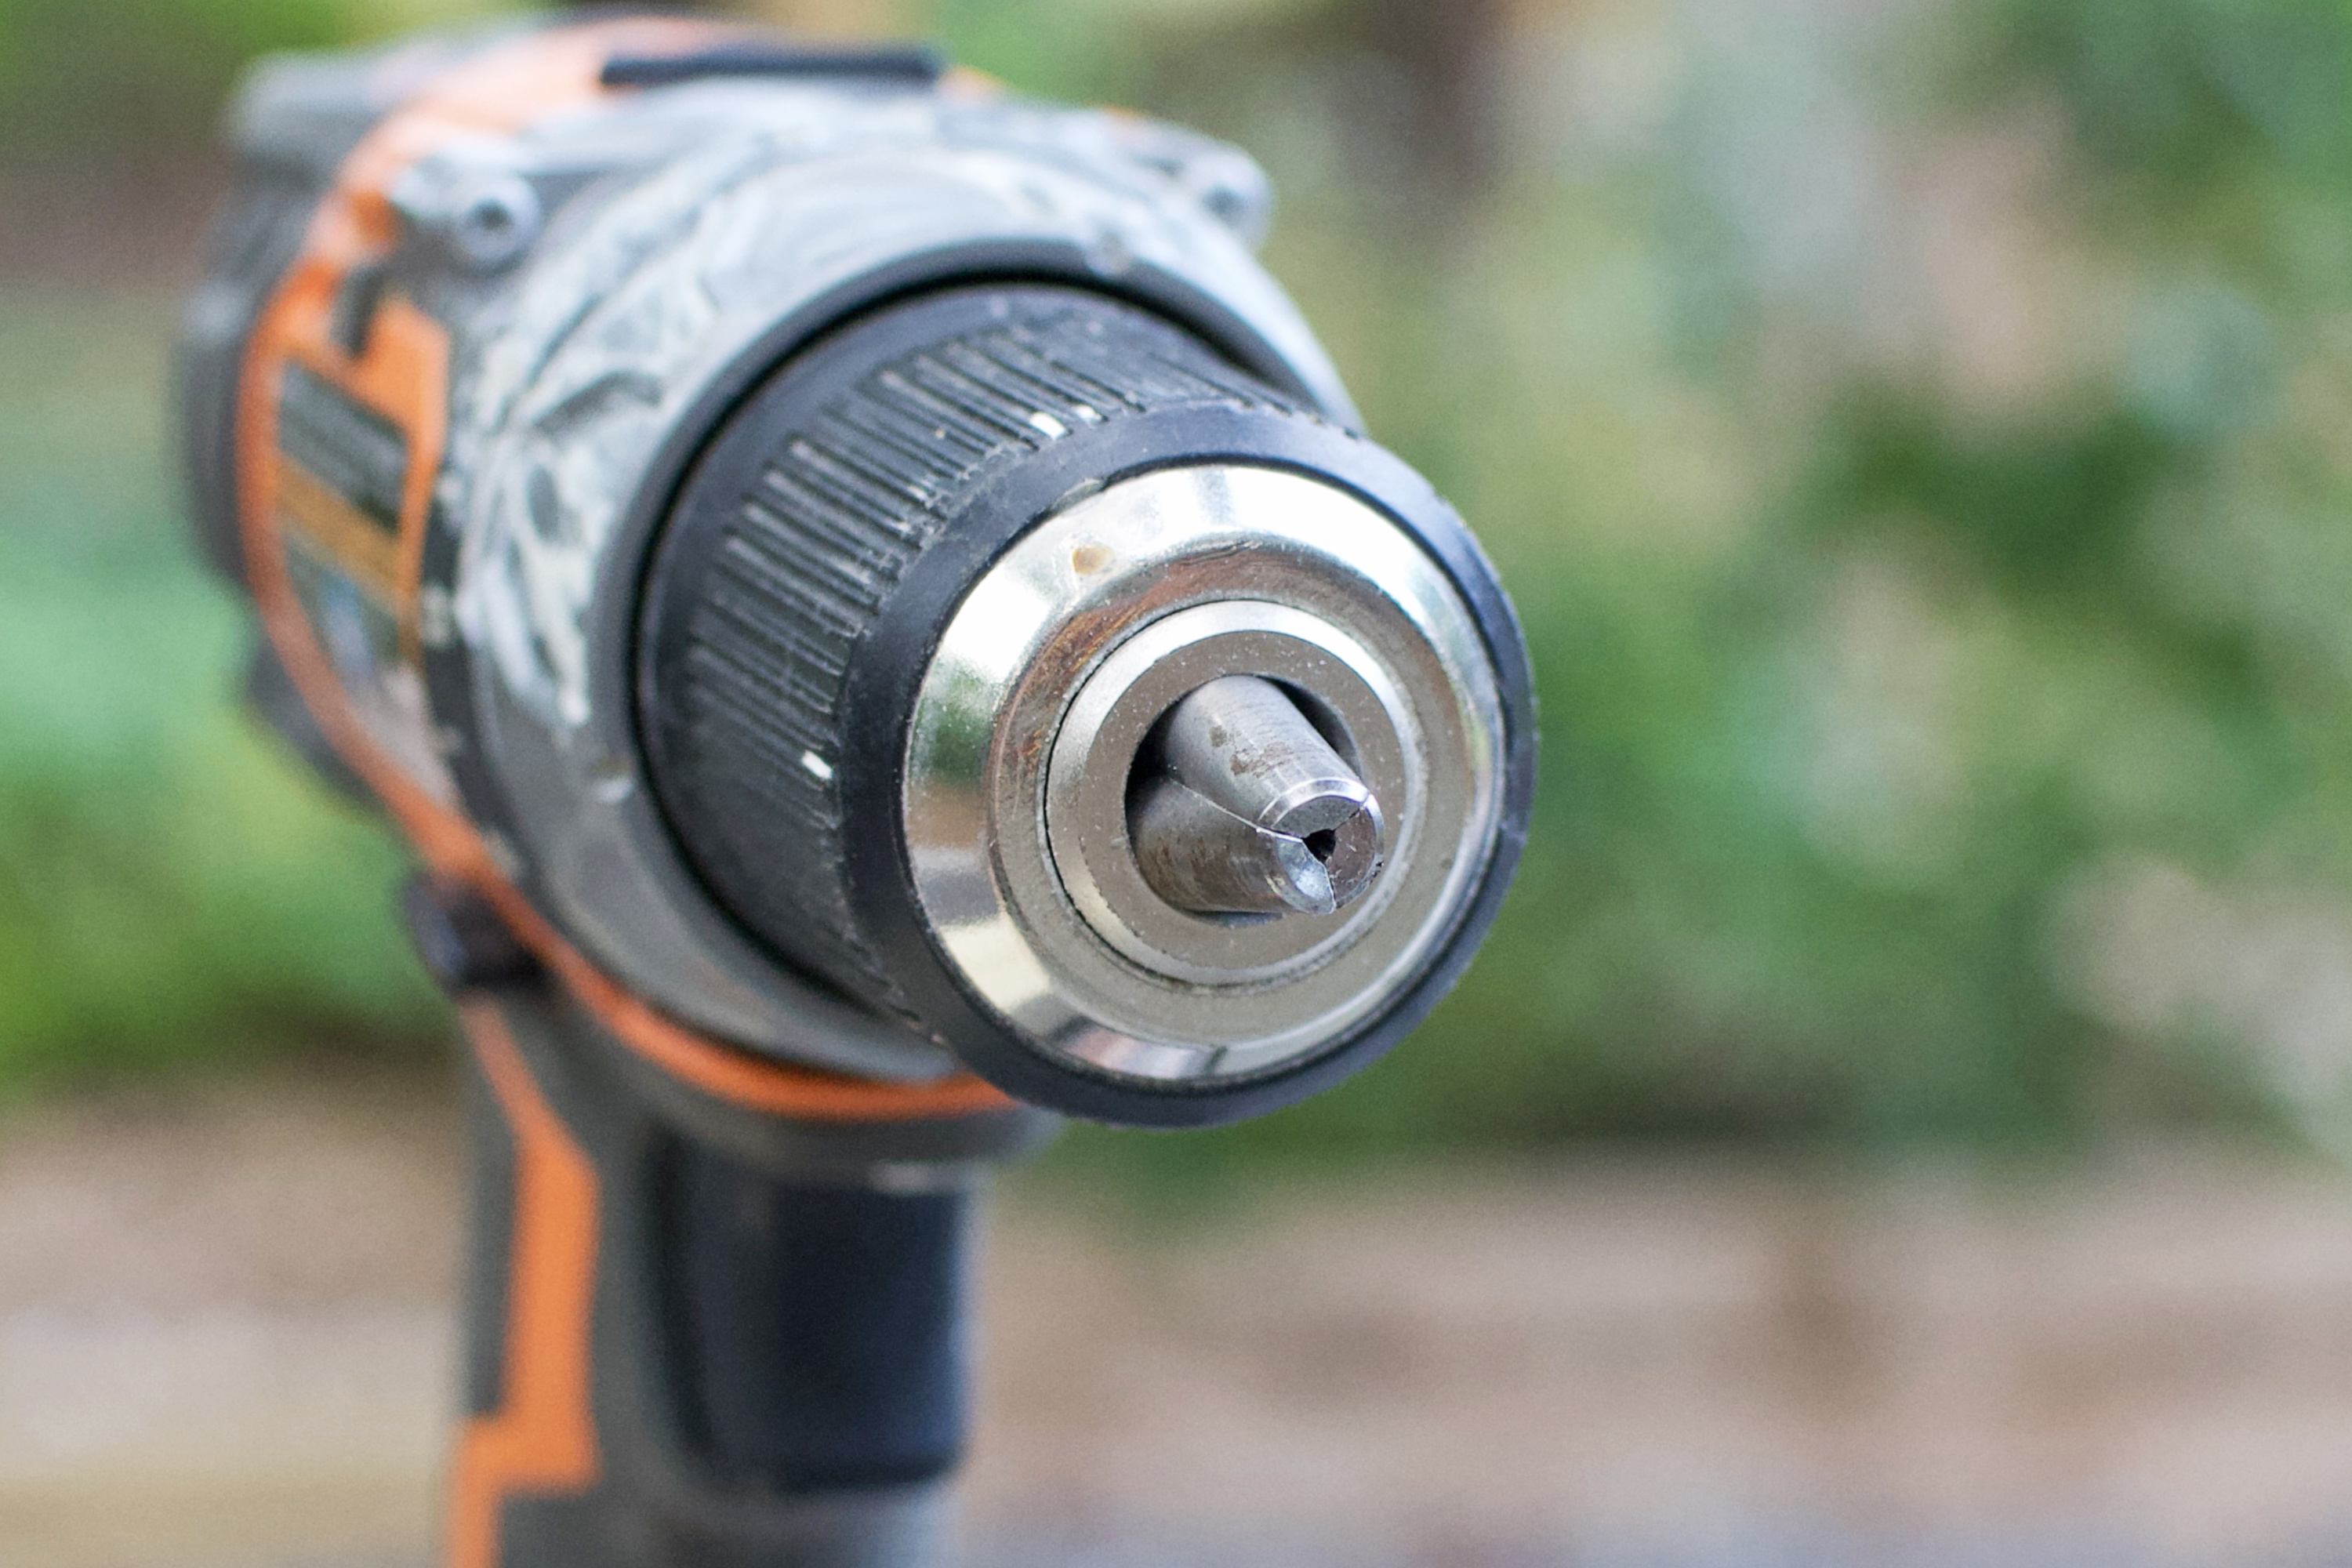
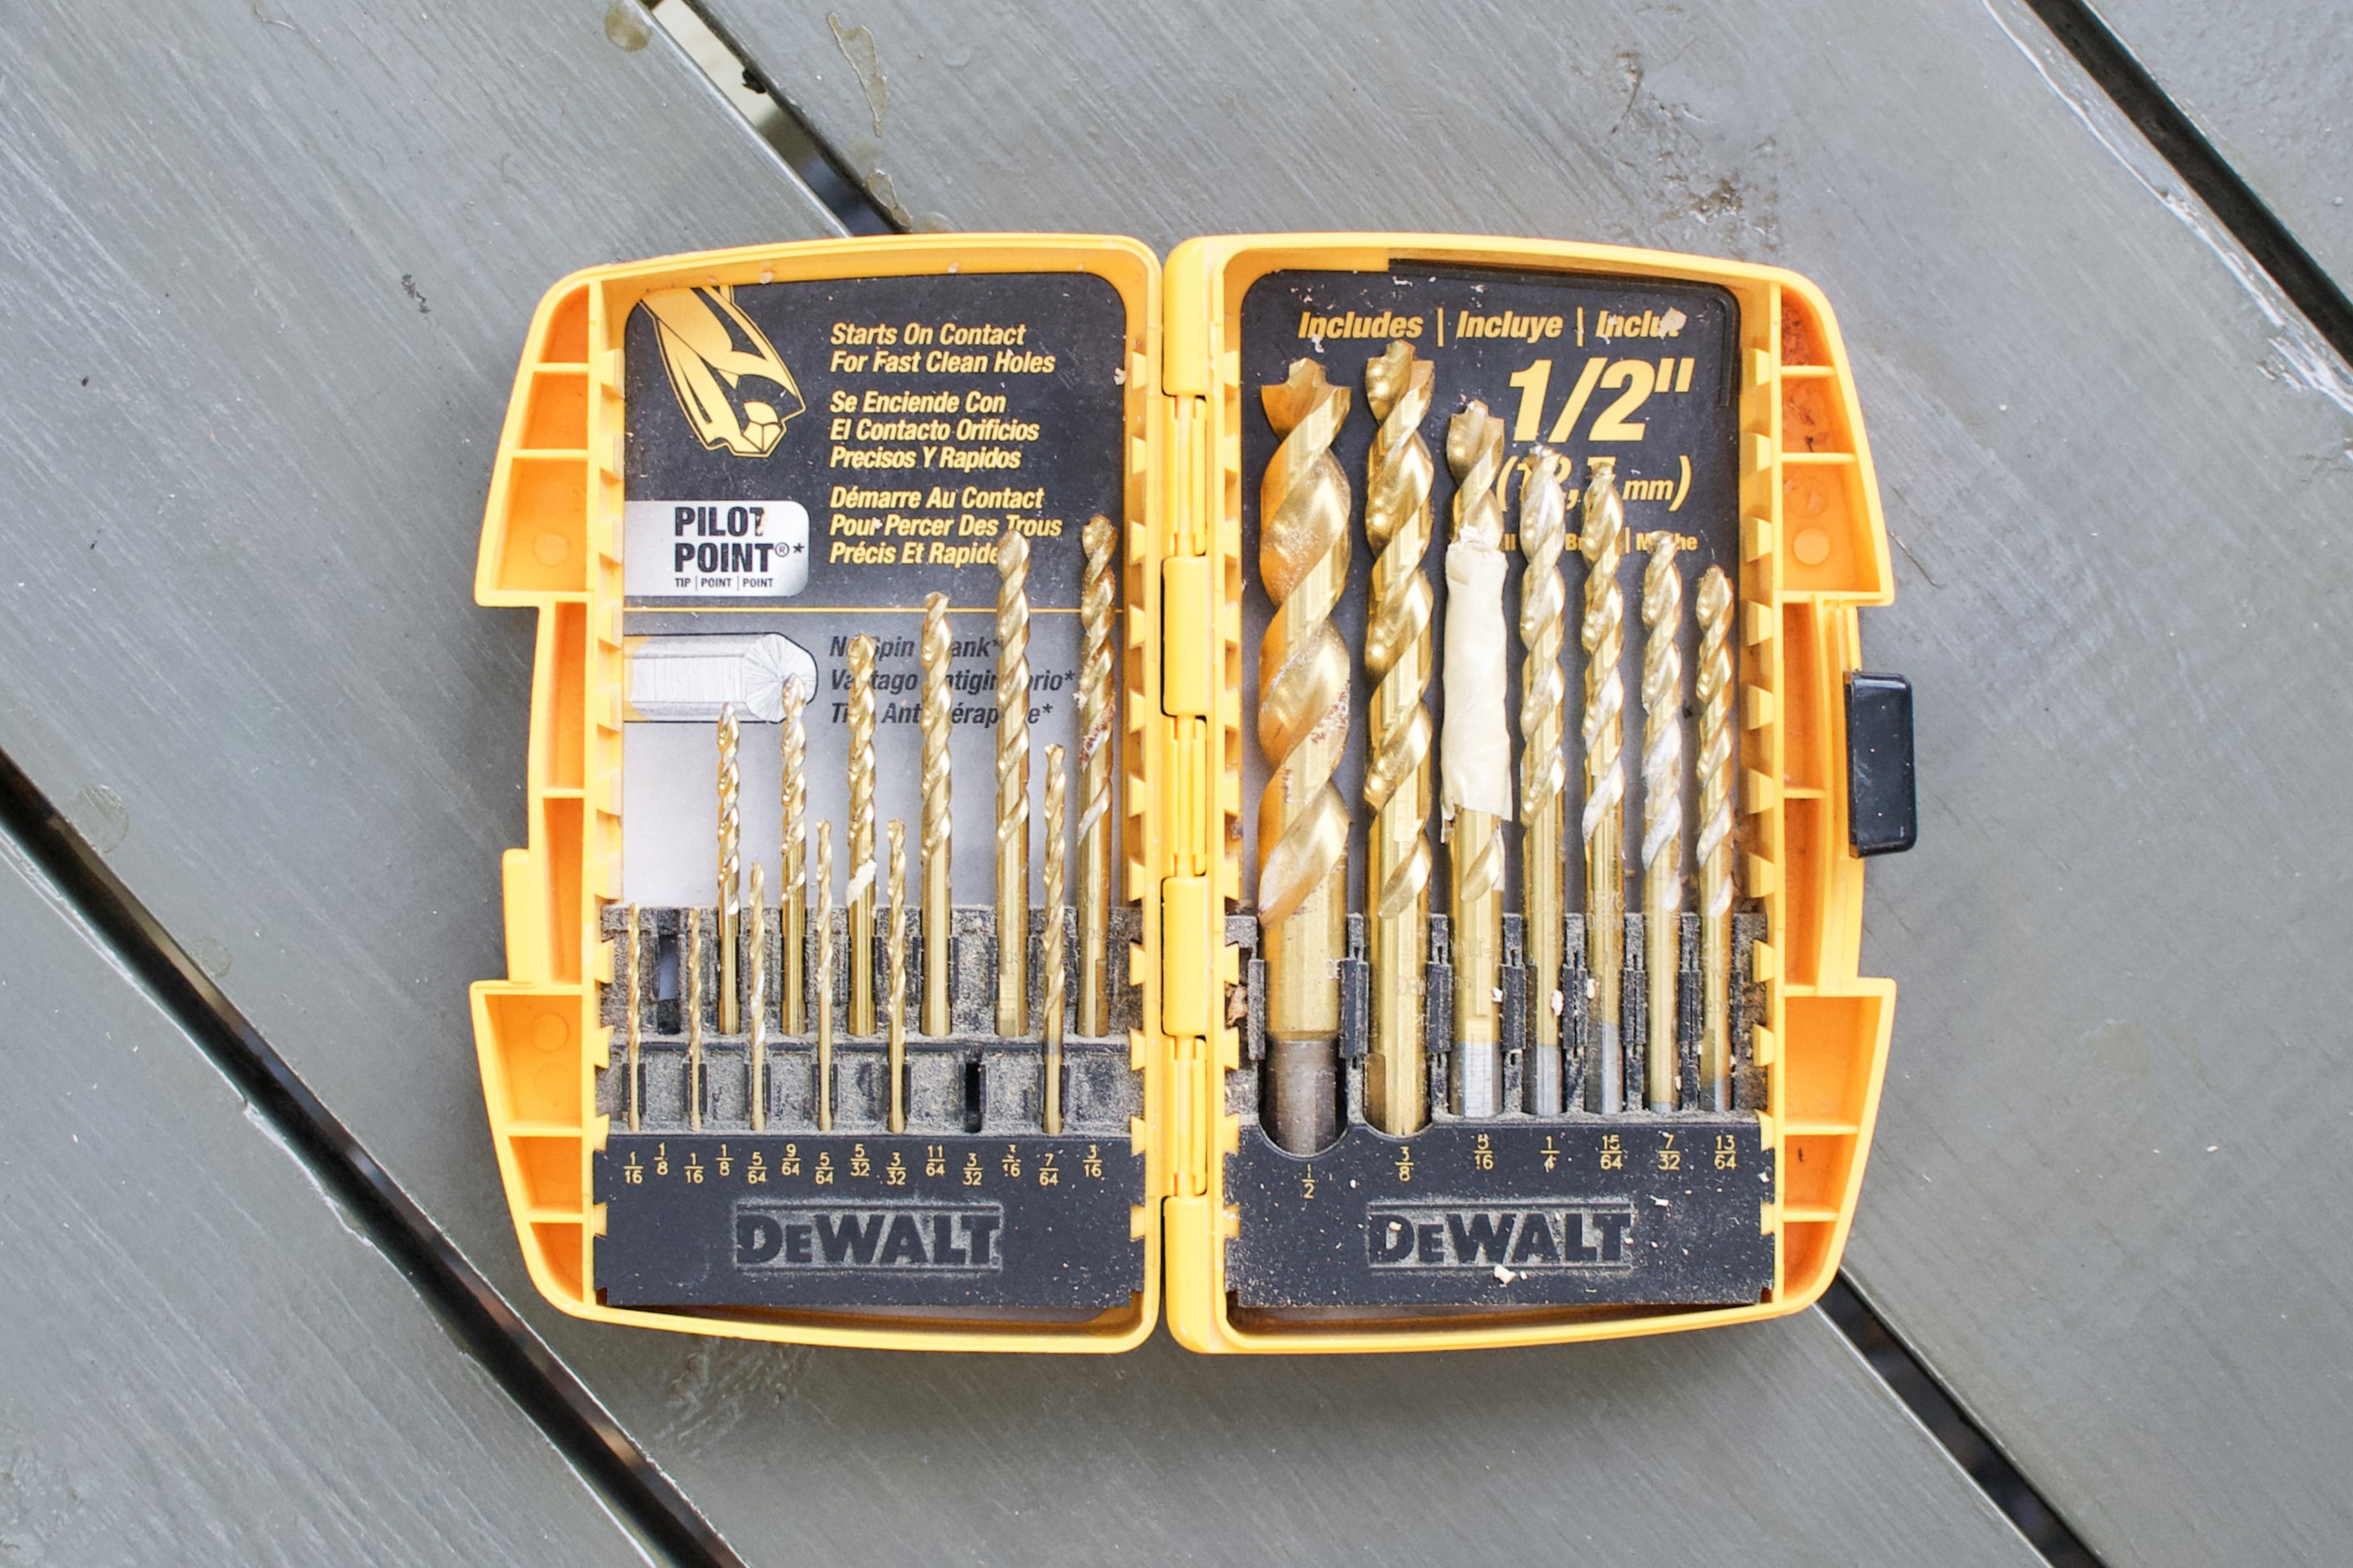
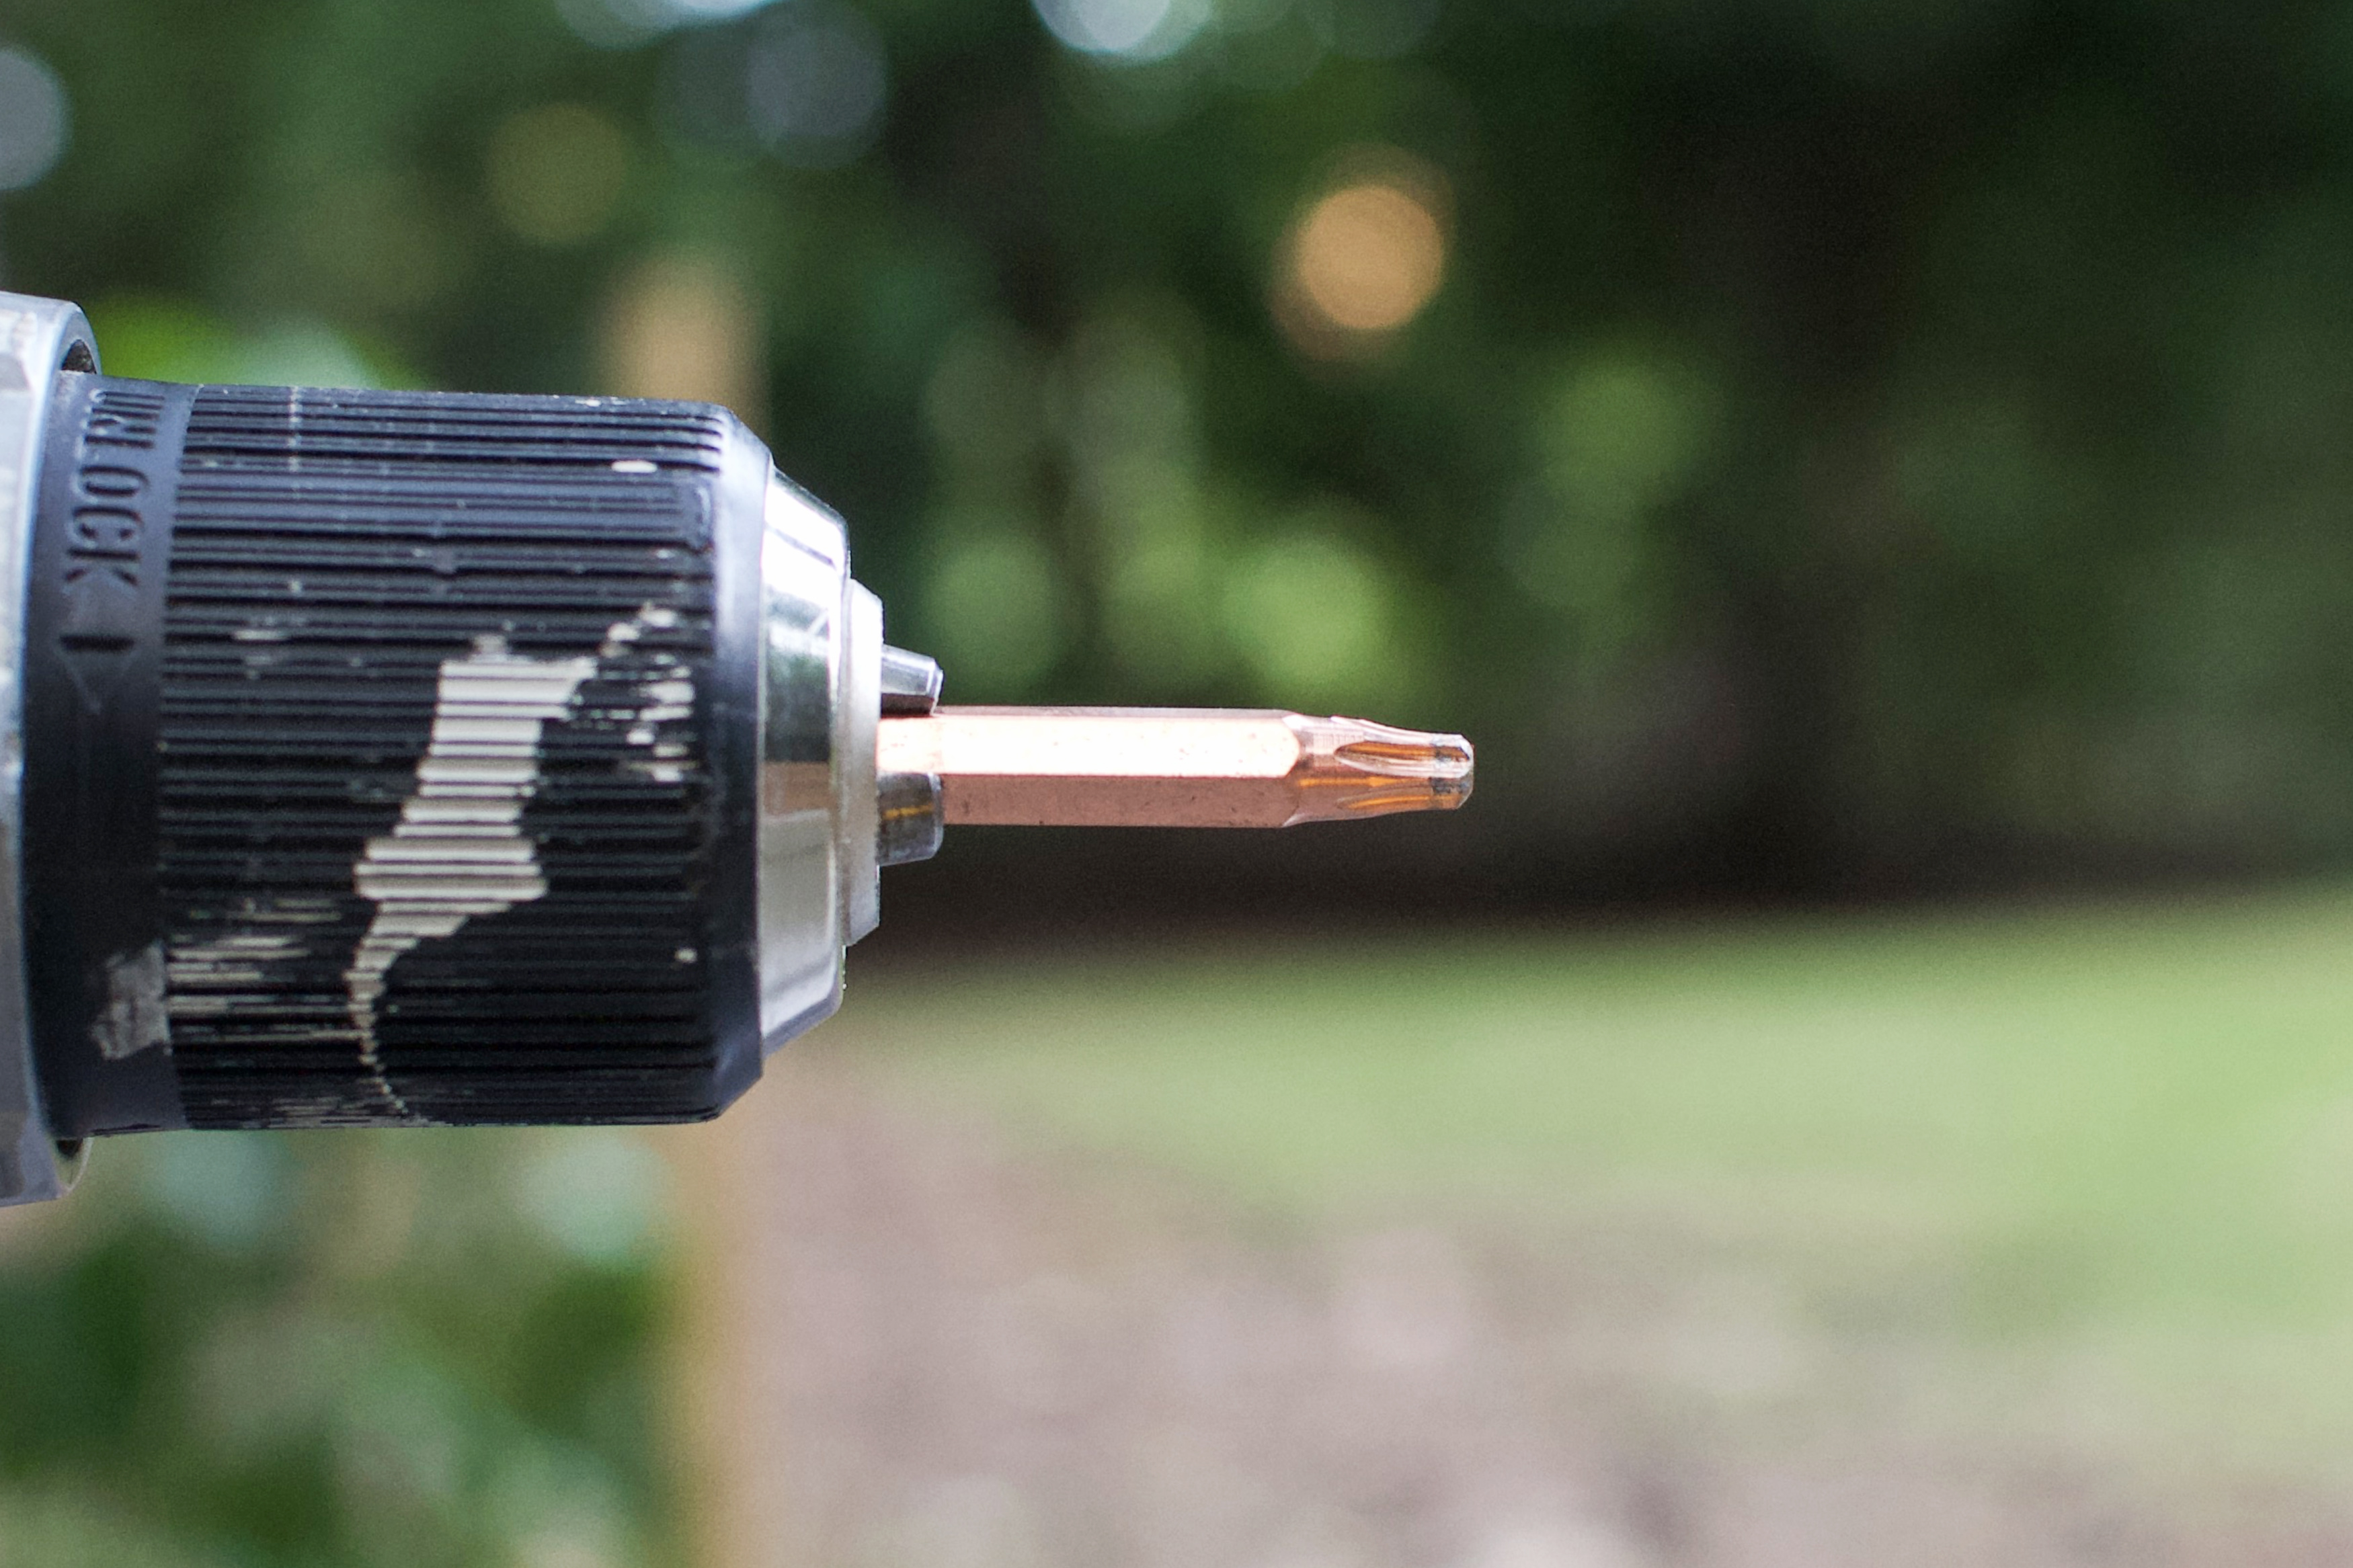
- Bits. Drill bits are used for predrilling holes aka pilot holes. Driver bits – aka driving bits or drive bits or screwdriver bits or screwdriving bits – are used to install screws. Pro-tip: use square drive or star drive screws whenever possible. Flat and phillips drive screws are at least 17 times more likely to get stripped (not actual statistics).
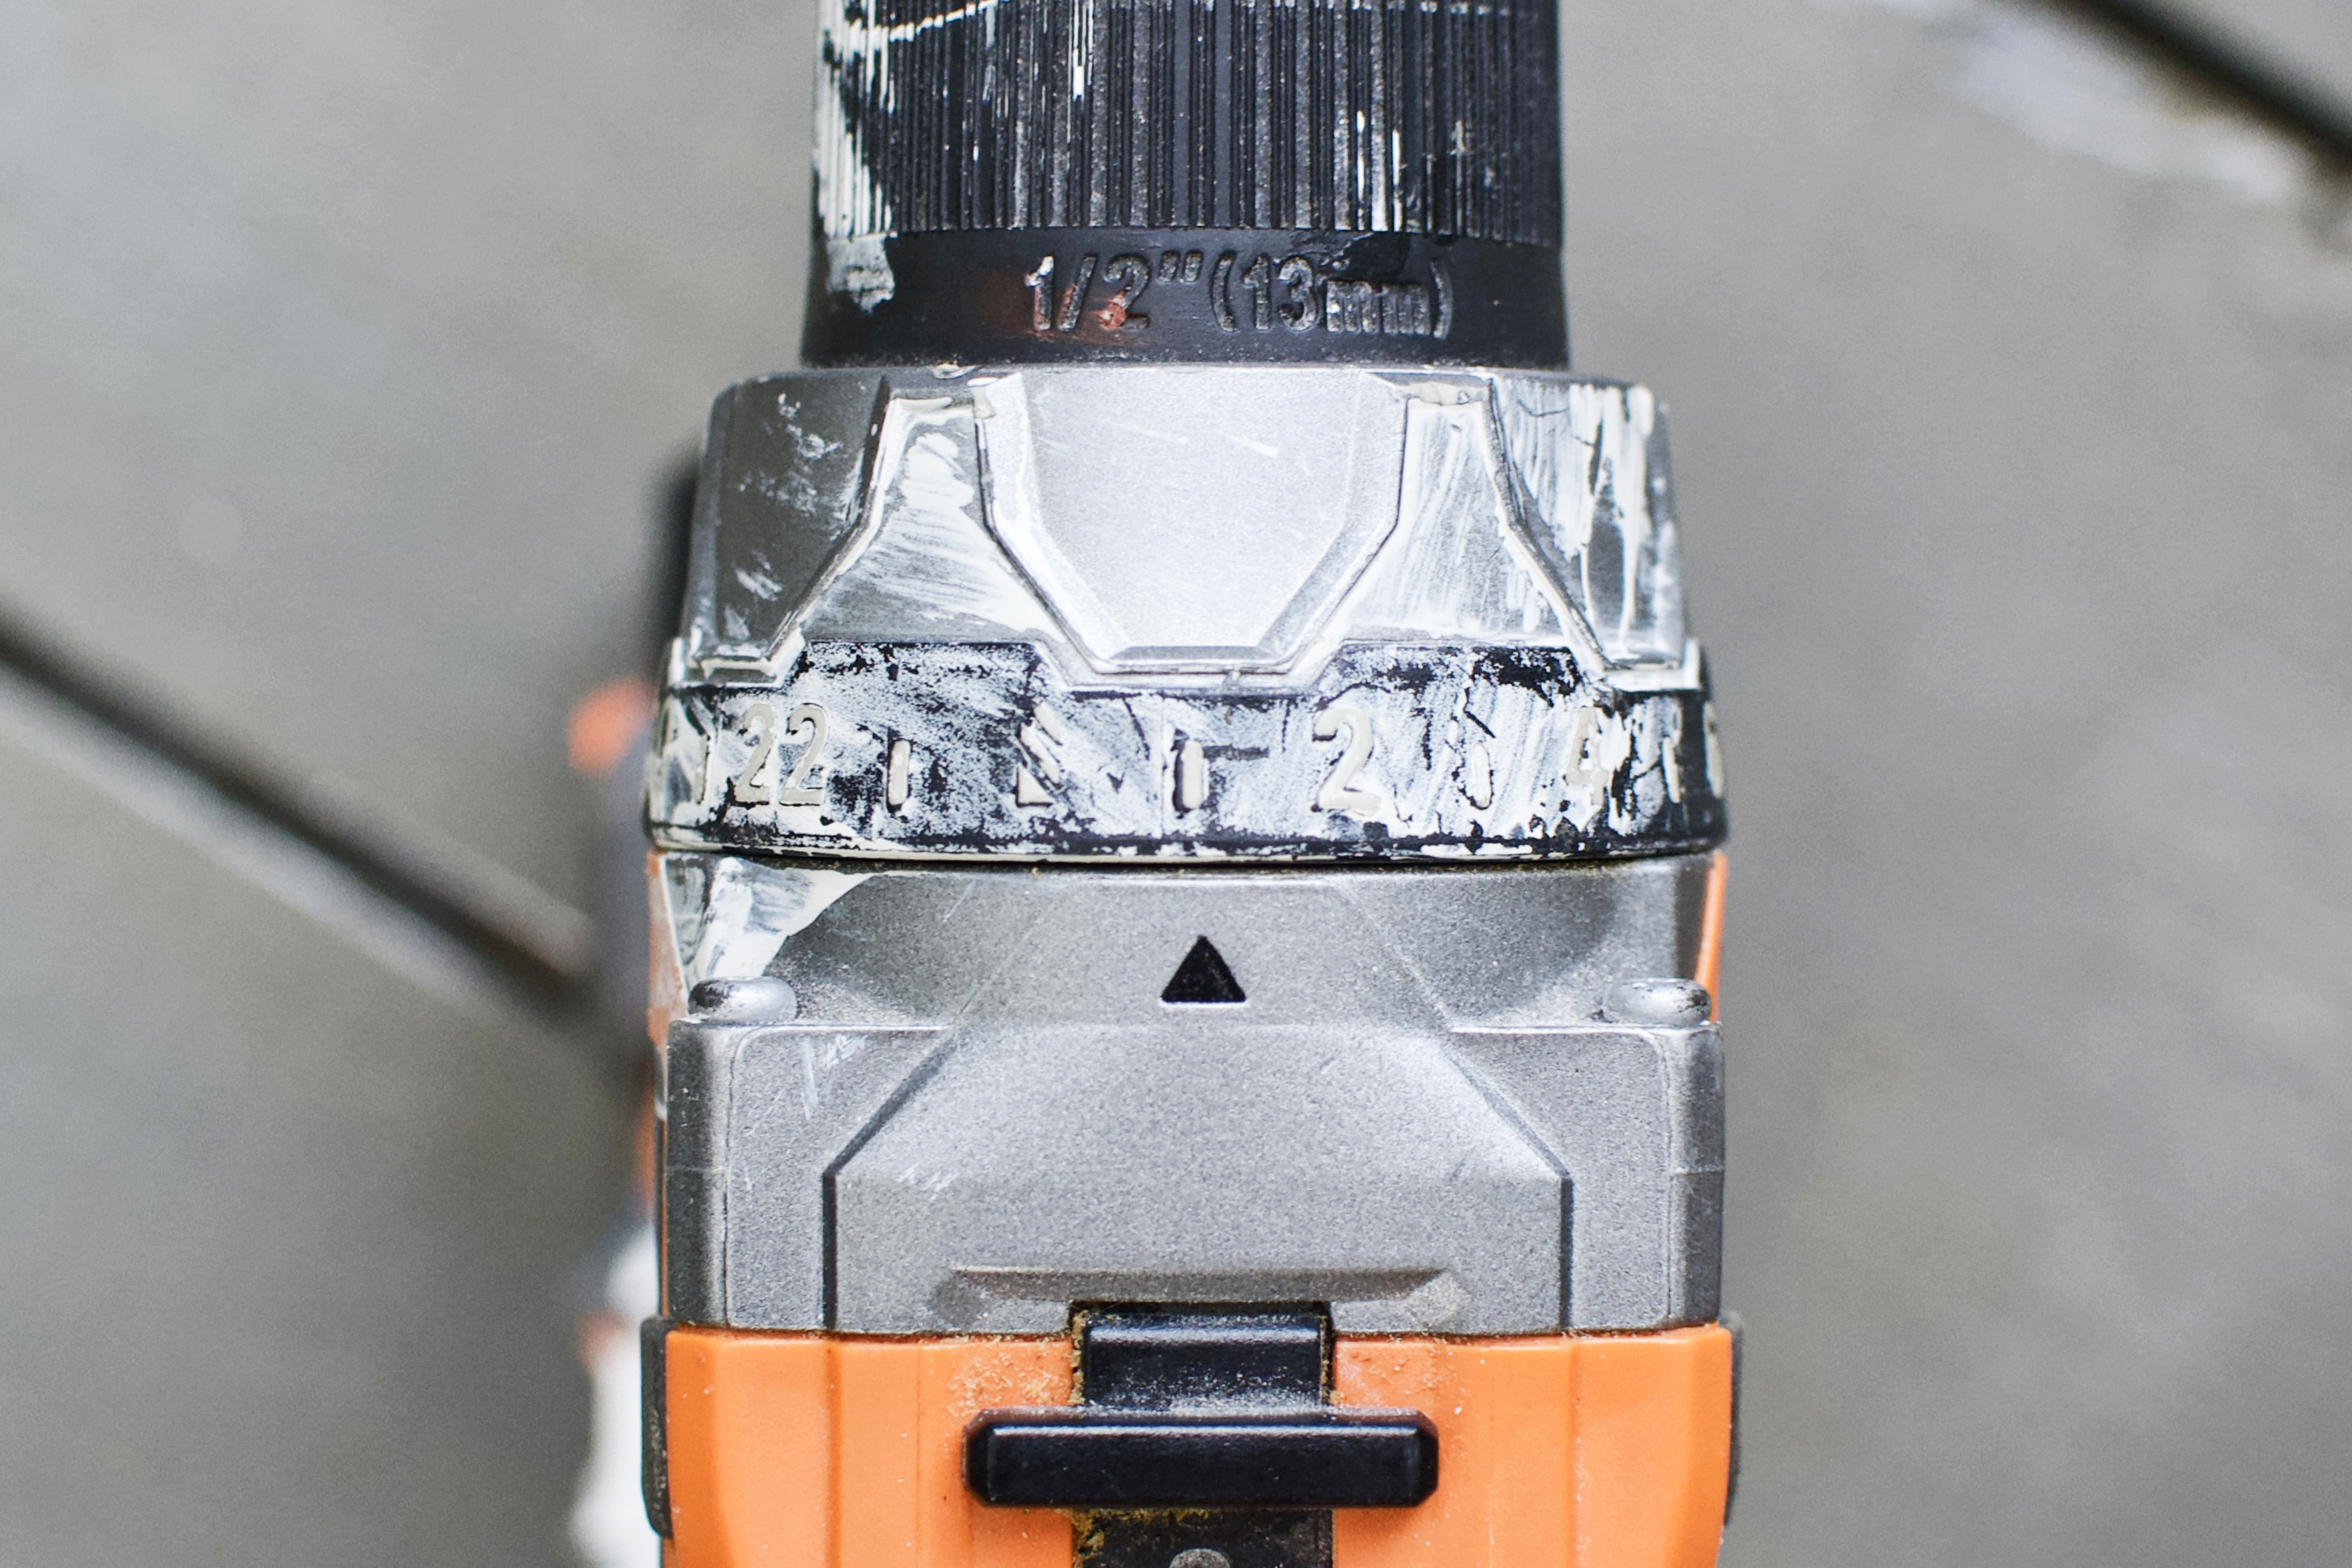
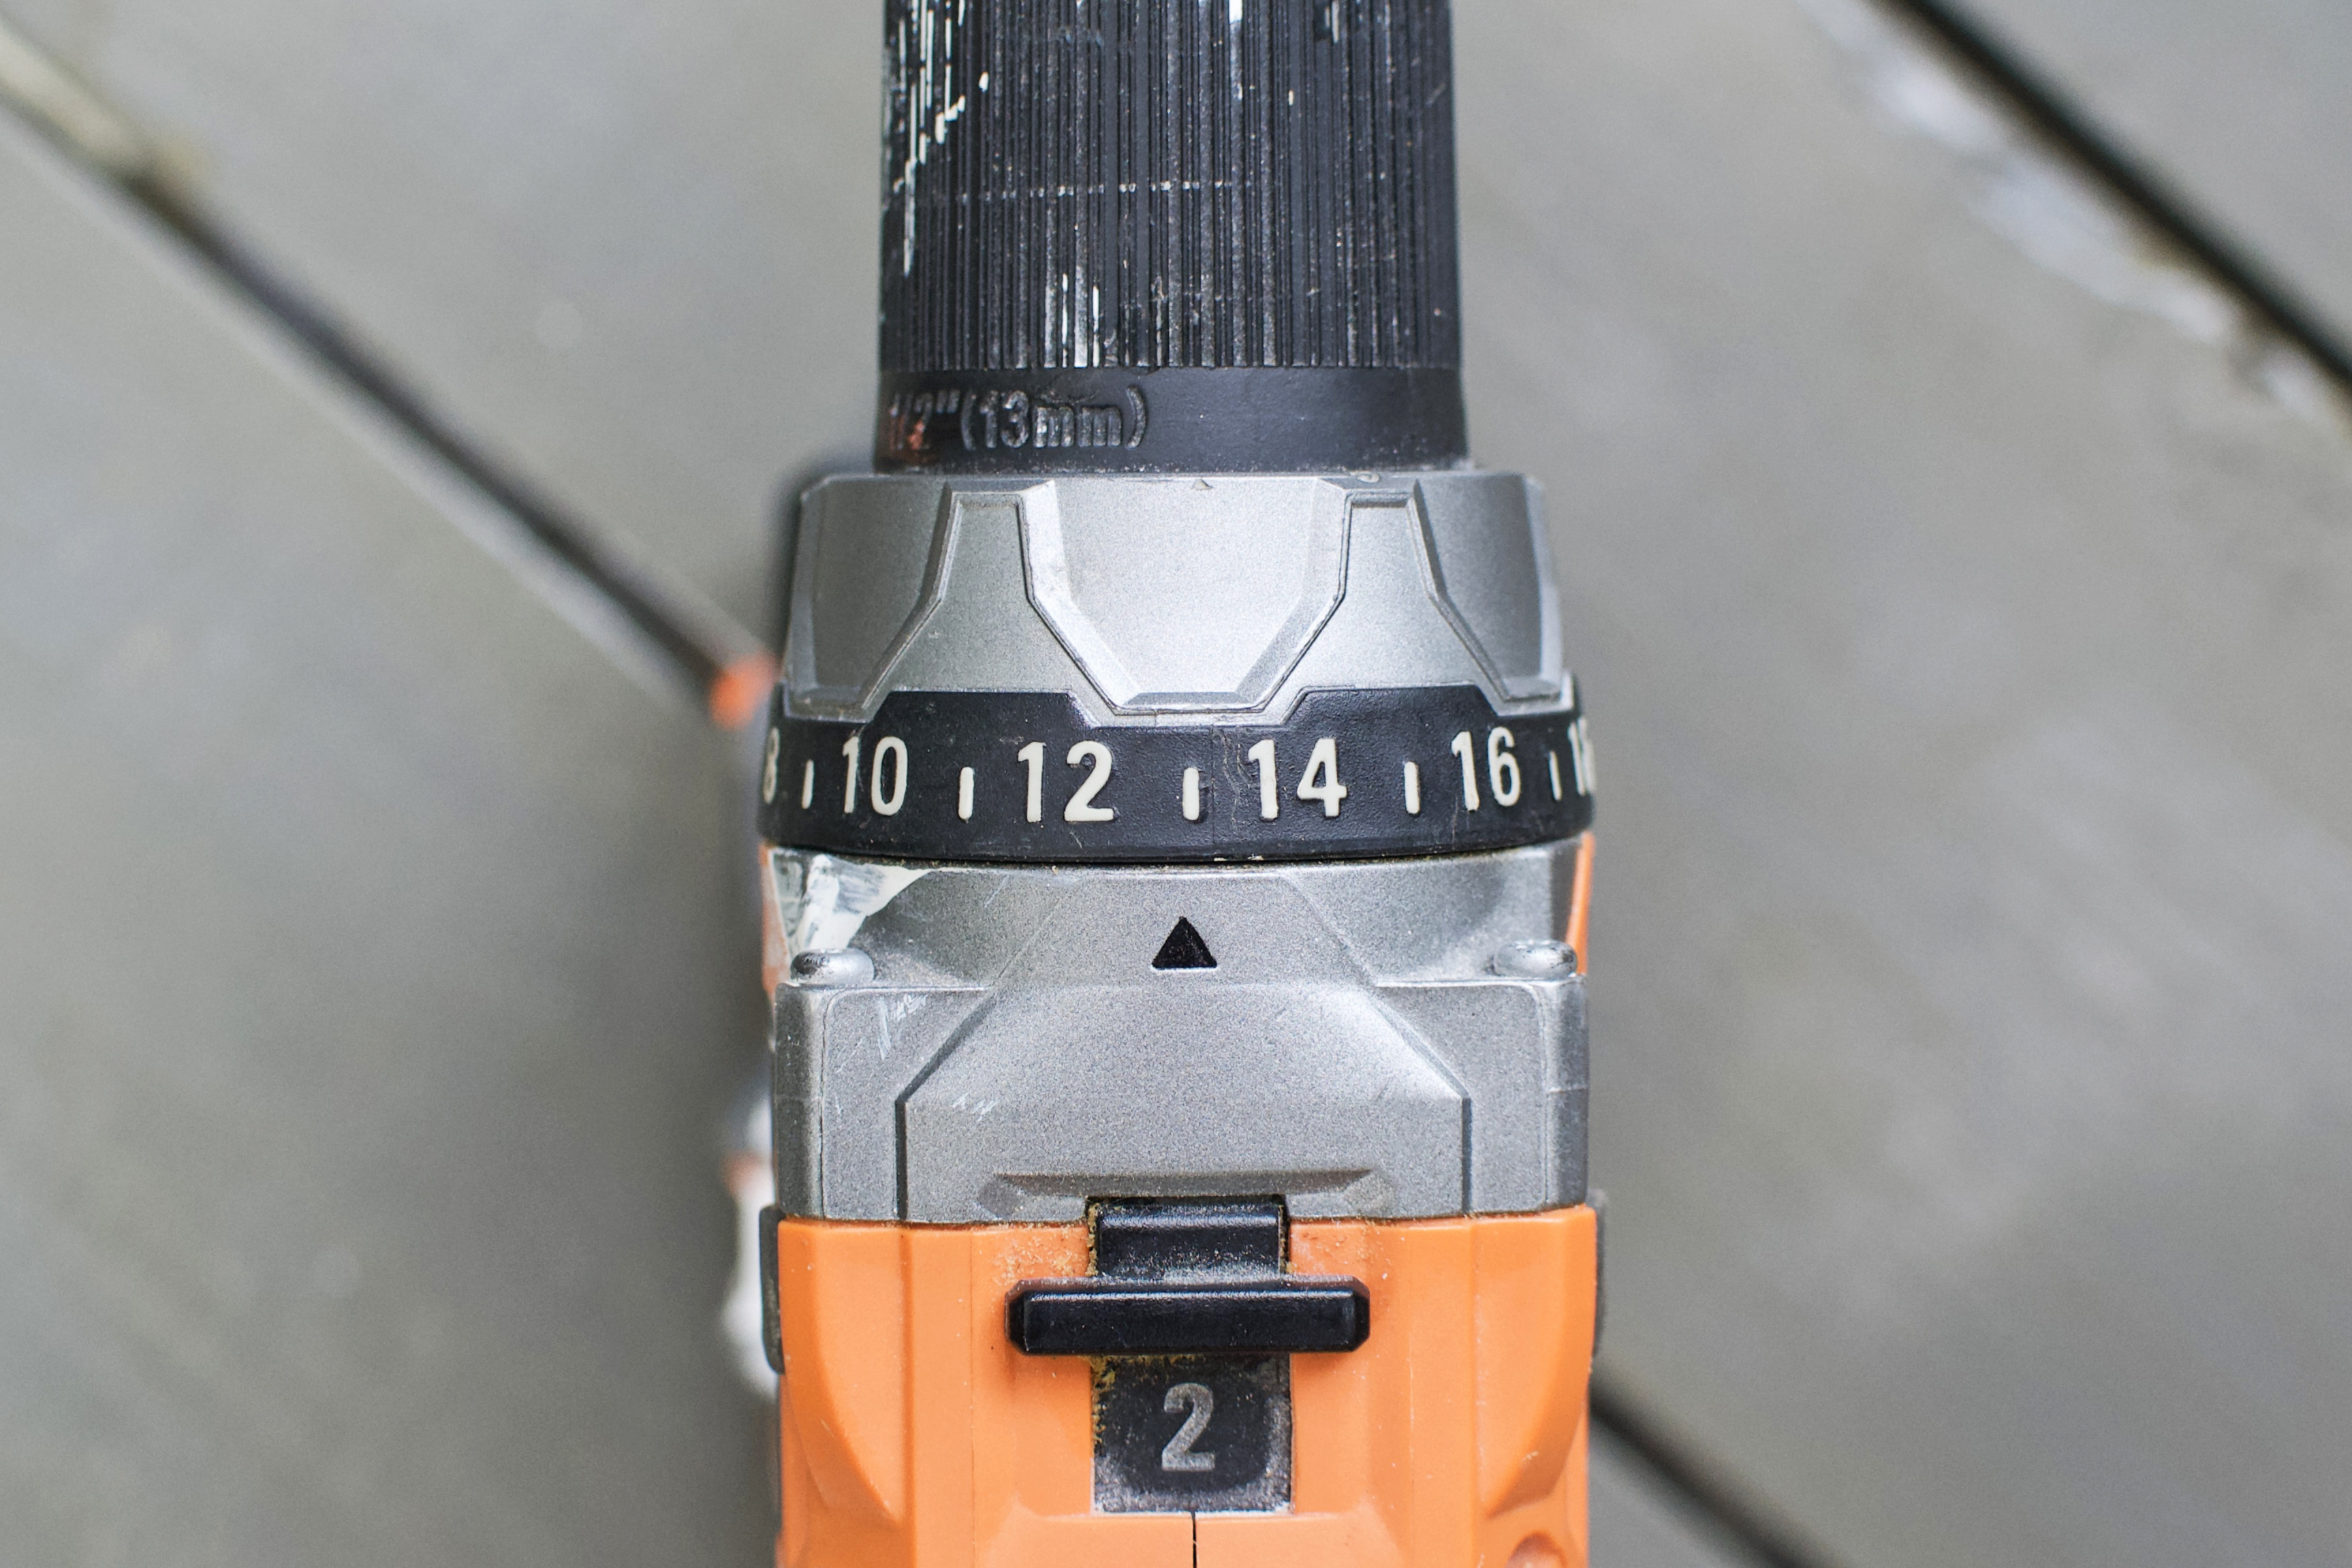
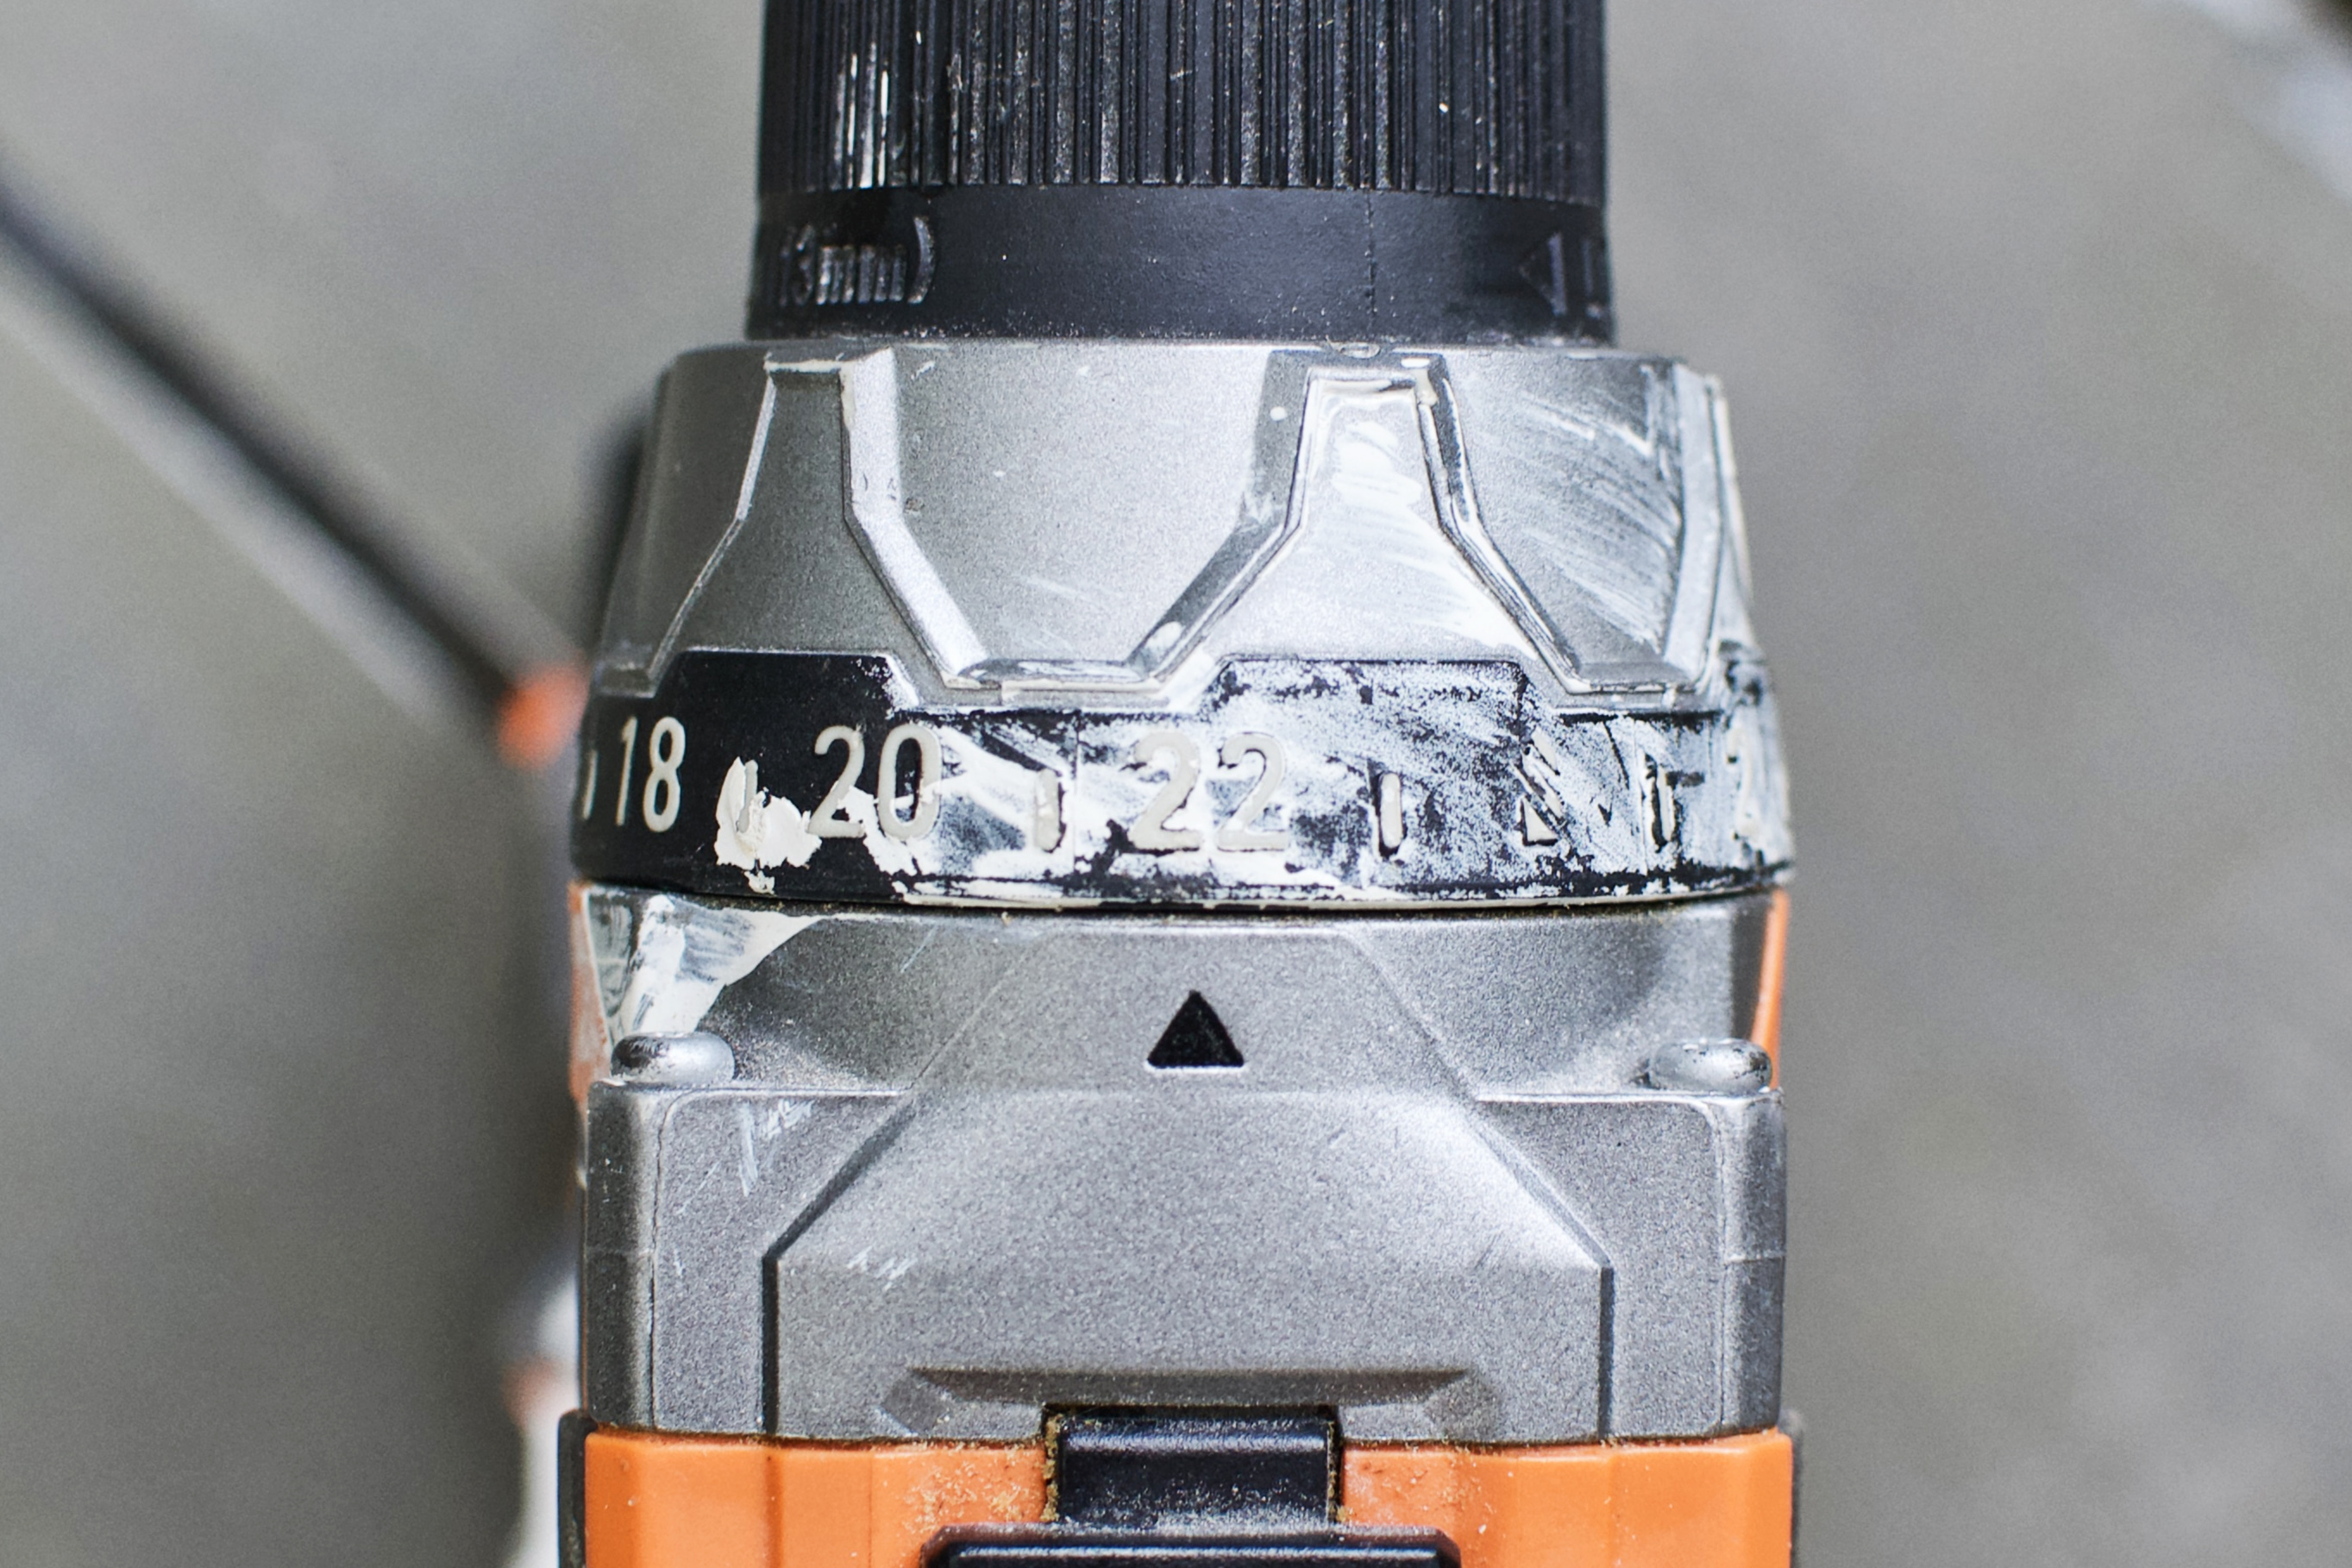
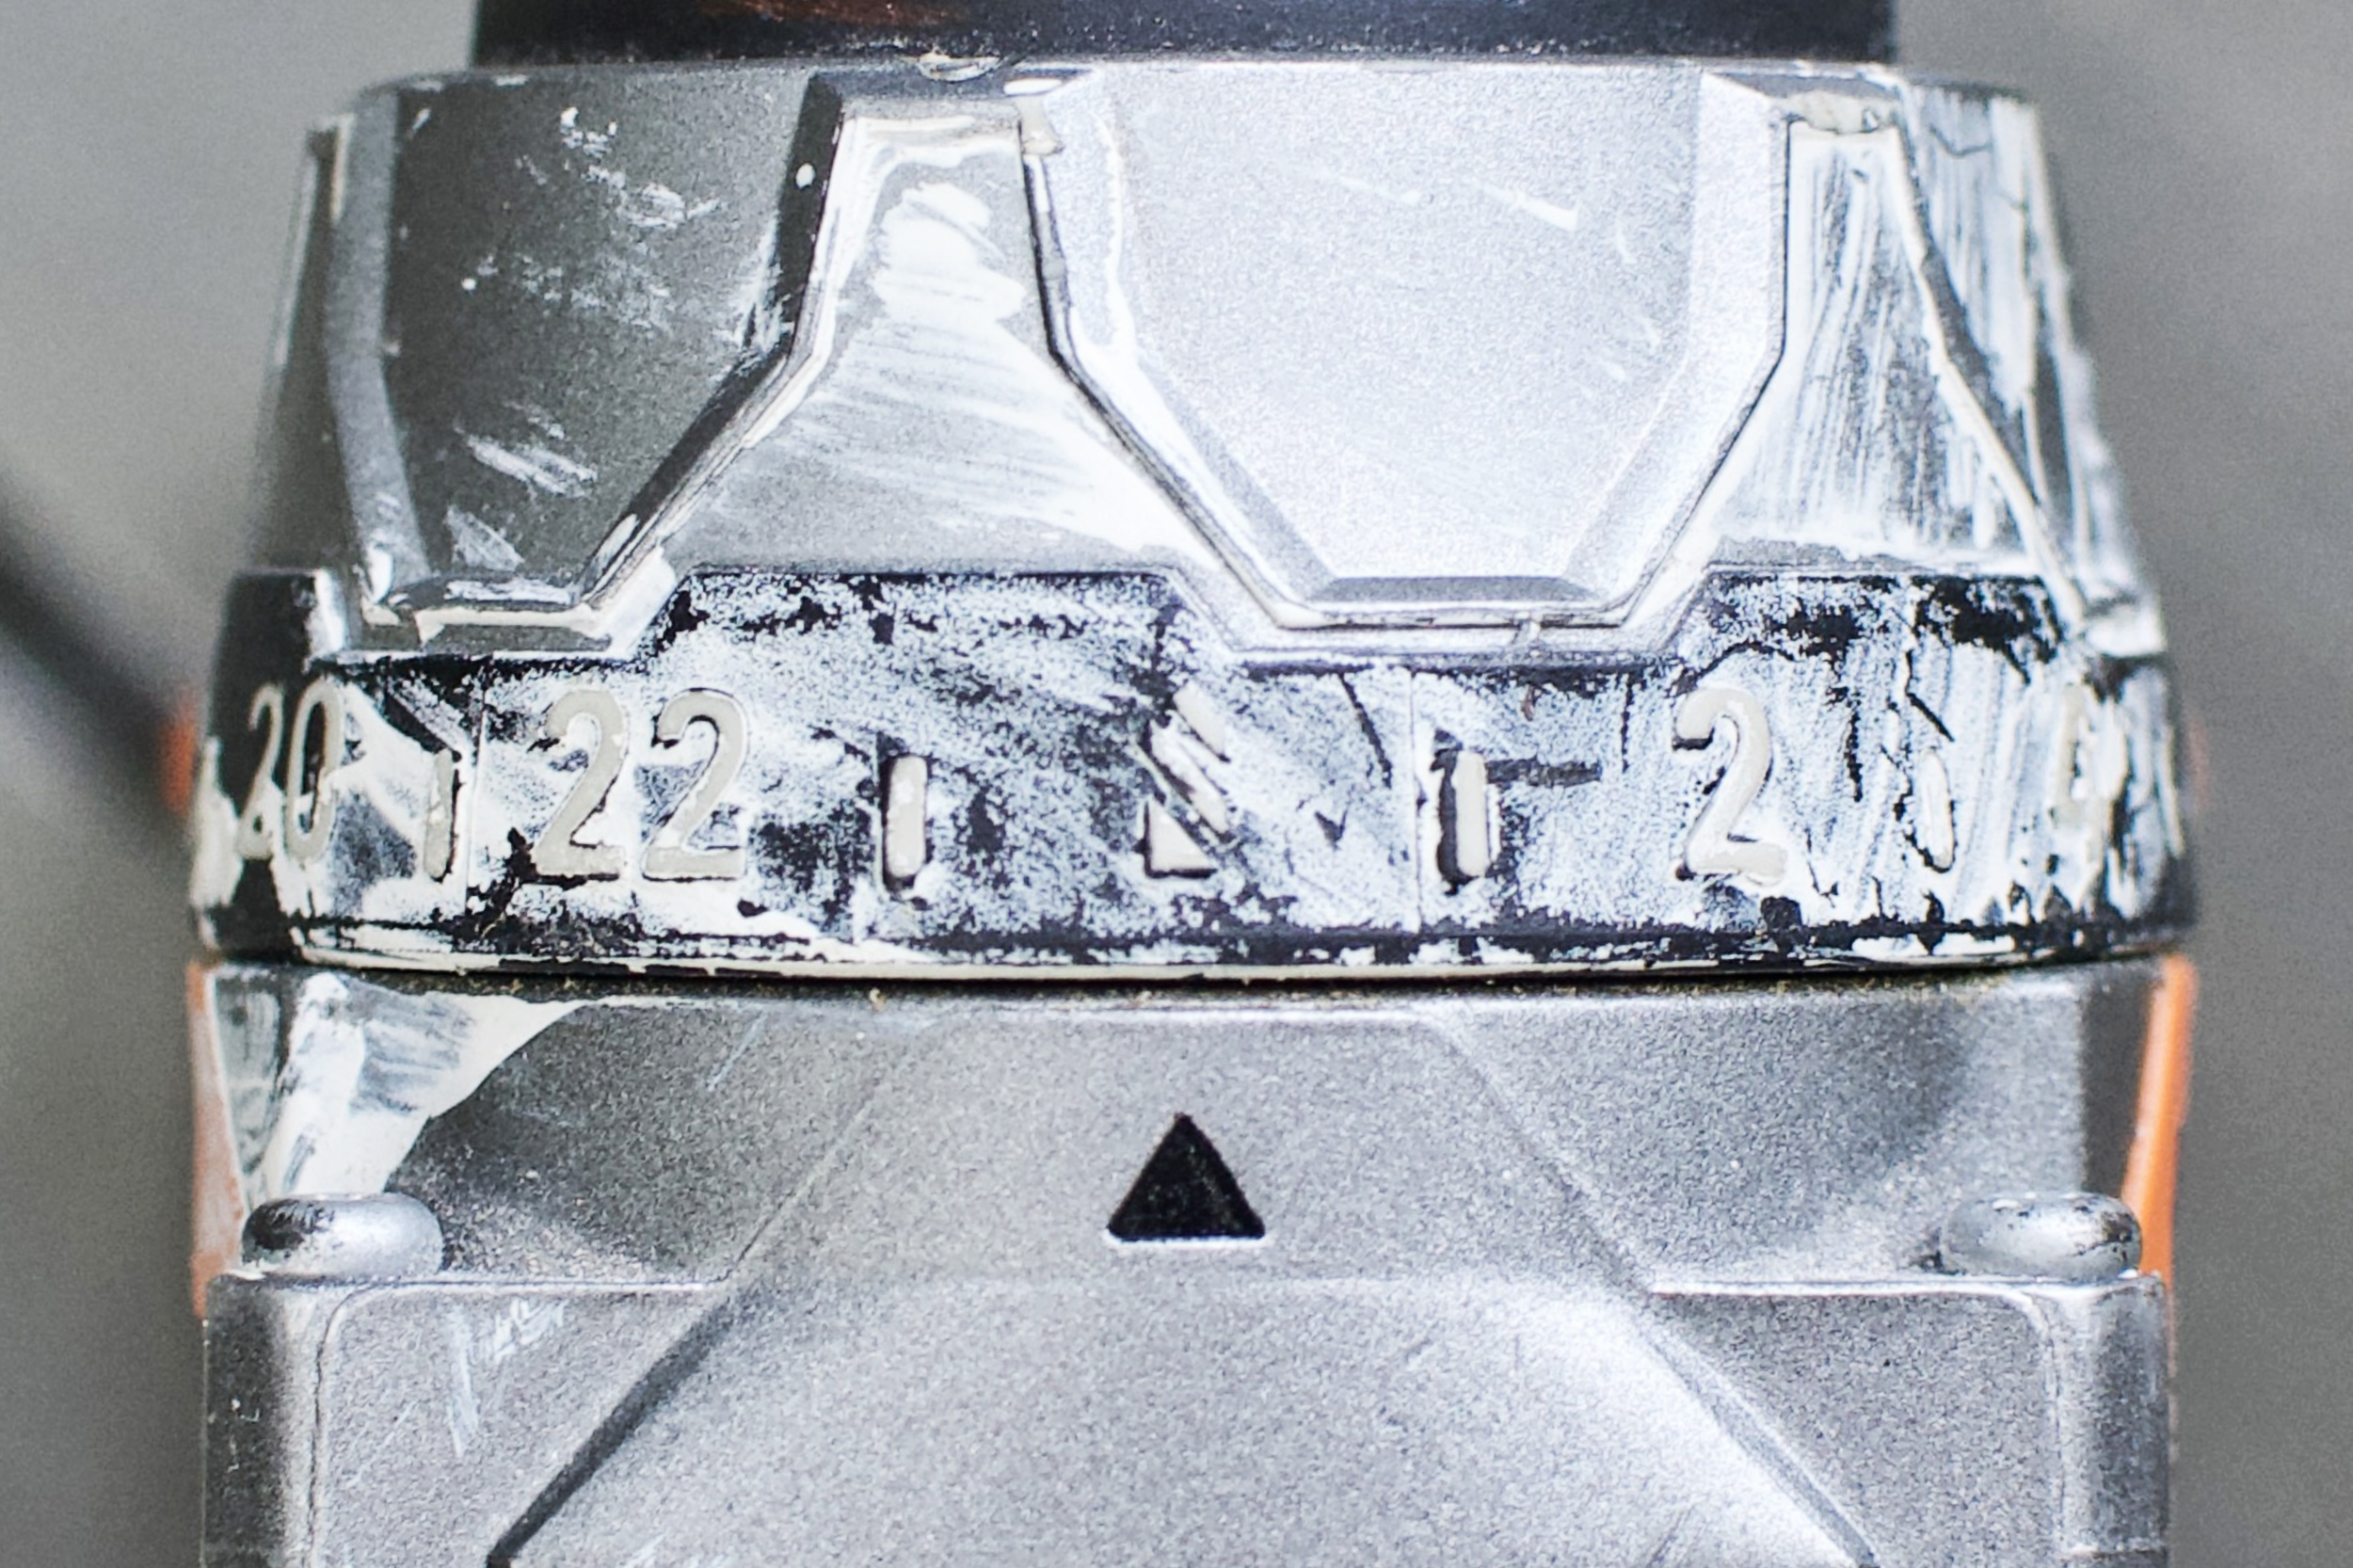
- Torque adjustment ring aka “the clutch”. This might be THE most important reason to buy a cordless drill-driver. When set to a number between “1” and “22”, the drill will allow a certain amount of rotational force (torque) before disengaging the motor along with a pulsating clicking noise. Extremely helpful when driving screws, preventing you from going too deep, stripping a screw head or breaking a screw head. Setting “1” will allow very little torque before disengaging. Best for very soft materials. Settings between “5” and “15” might be appropriate for screwing into pine, starting with a lower number and adjusting to a higher number if the screw won’t fully sink in. On my drill, “10” to “12” is usually perfect for driving pocket hole screws into dimensional pine (Depot lumber). The little screw icon next to “22” turns off the clutch feature, allowing you to predrill or use a hole saw without disengaging.
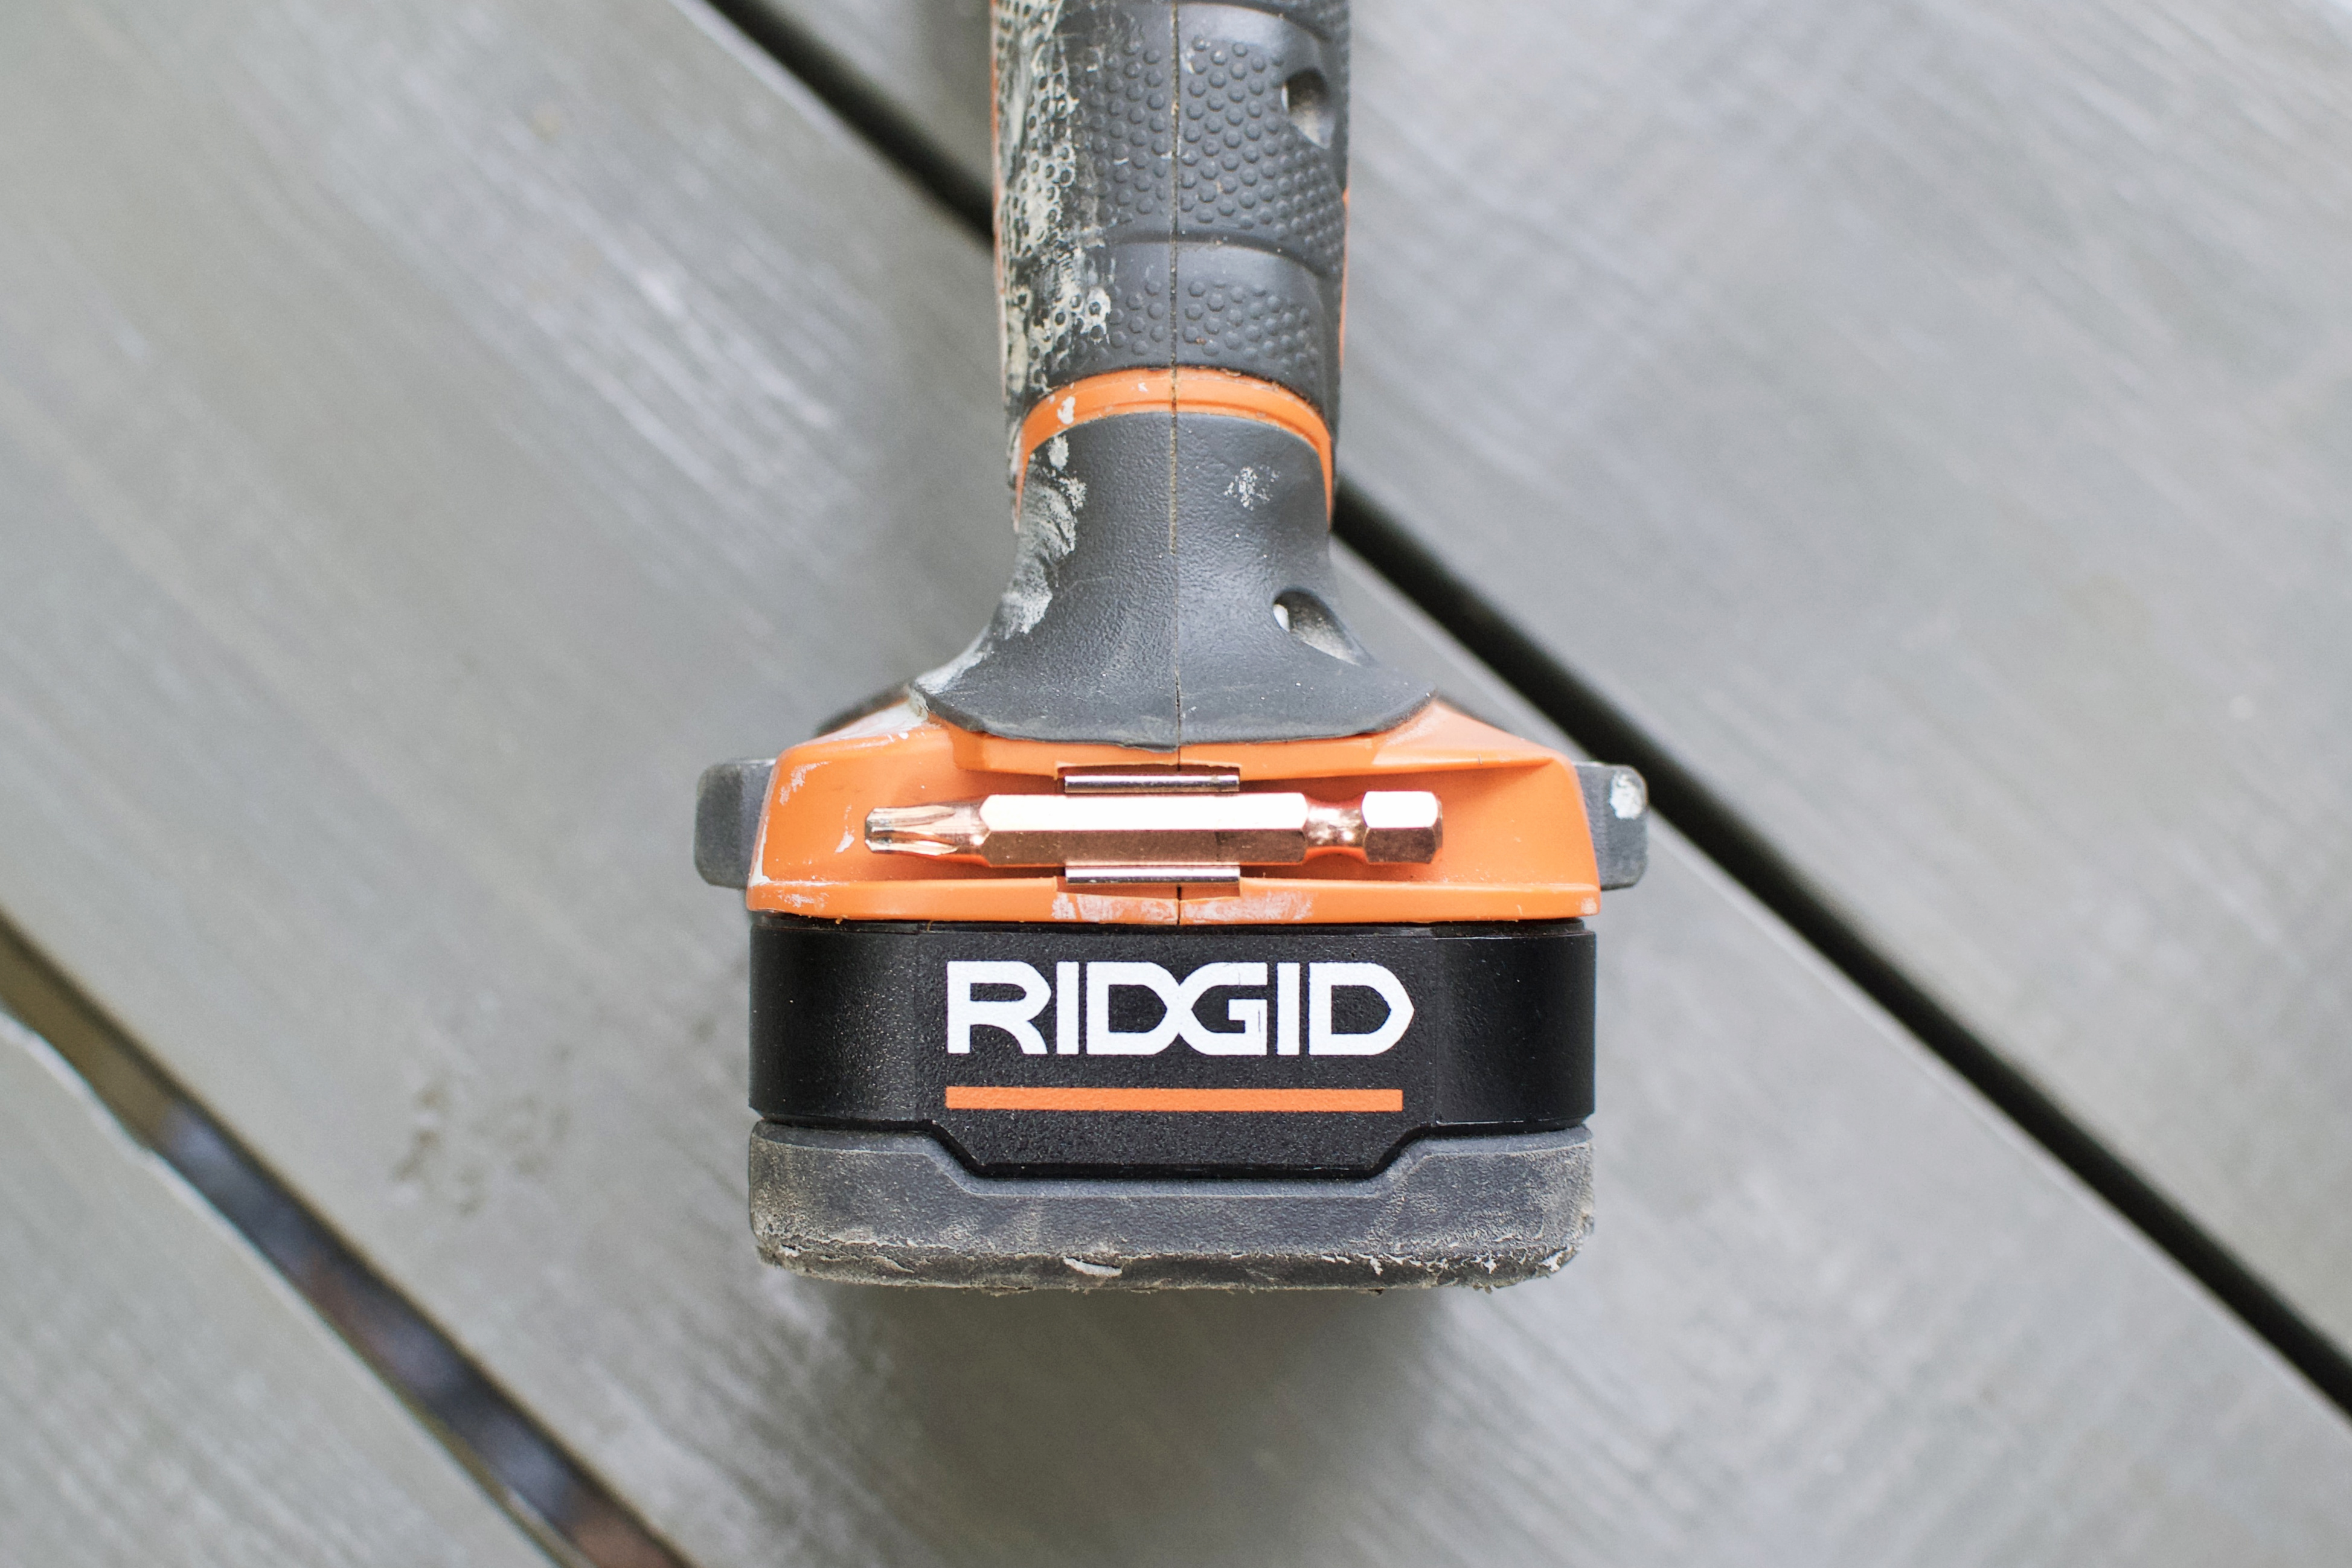
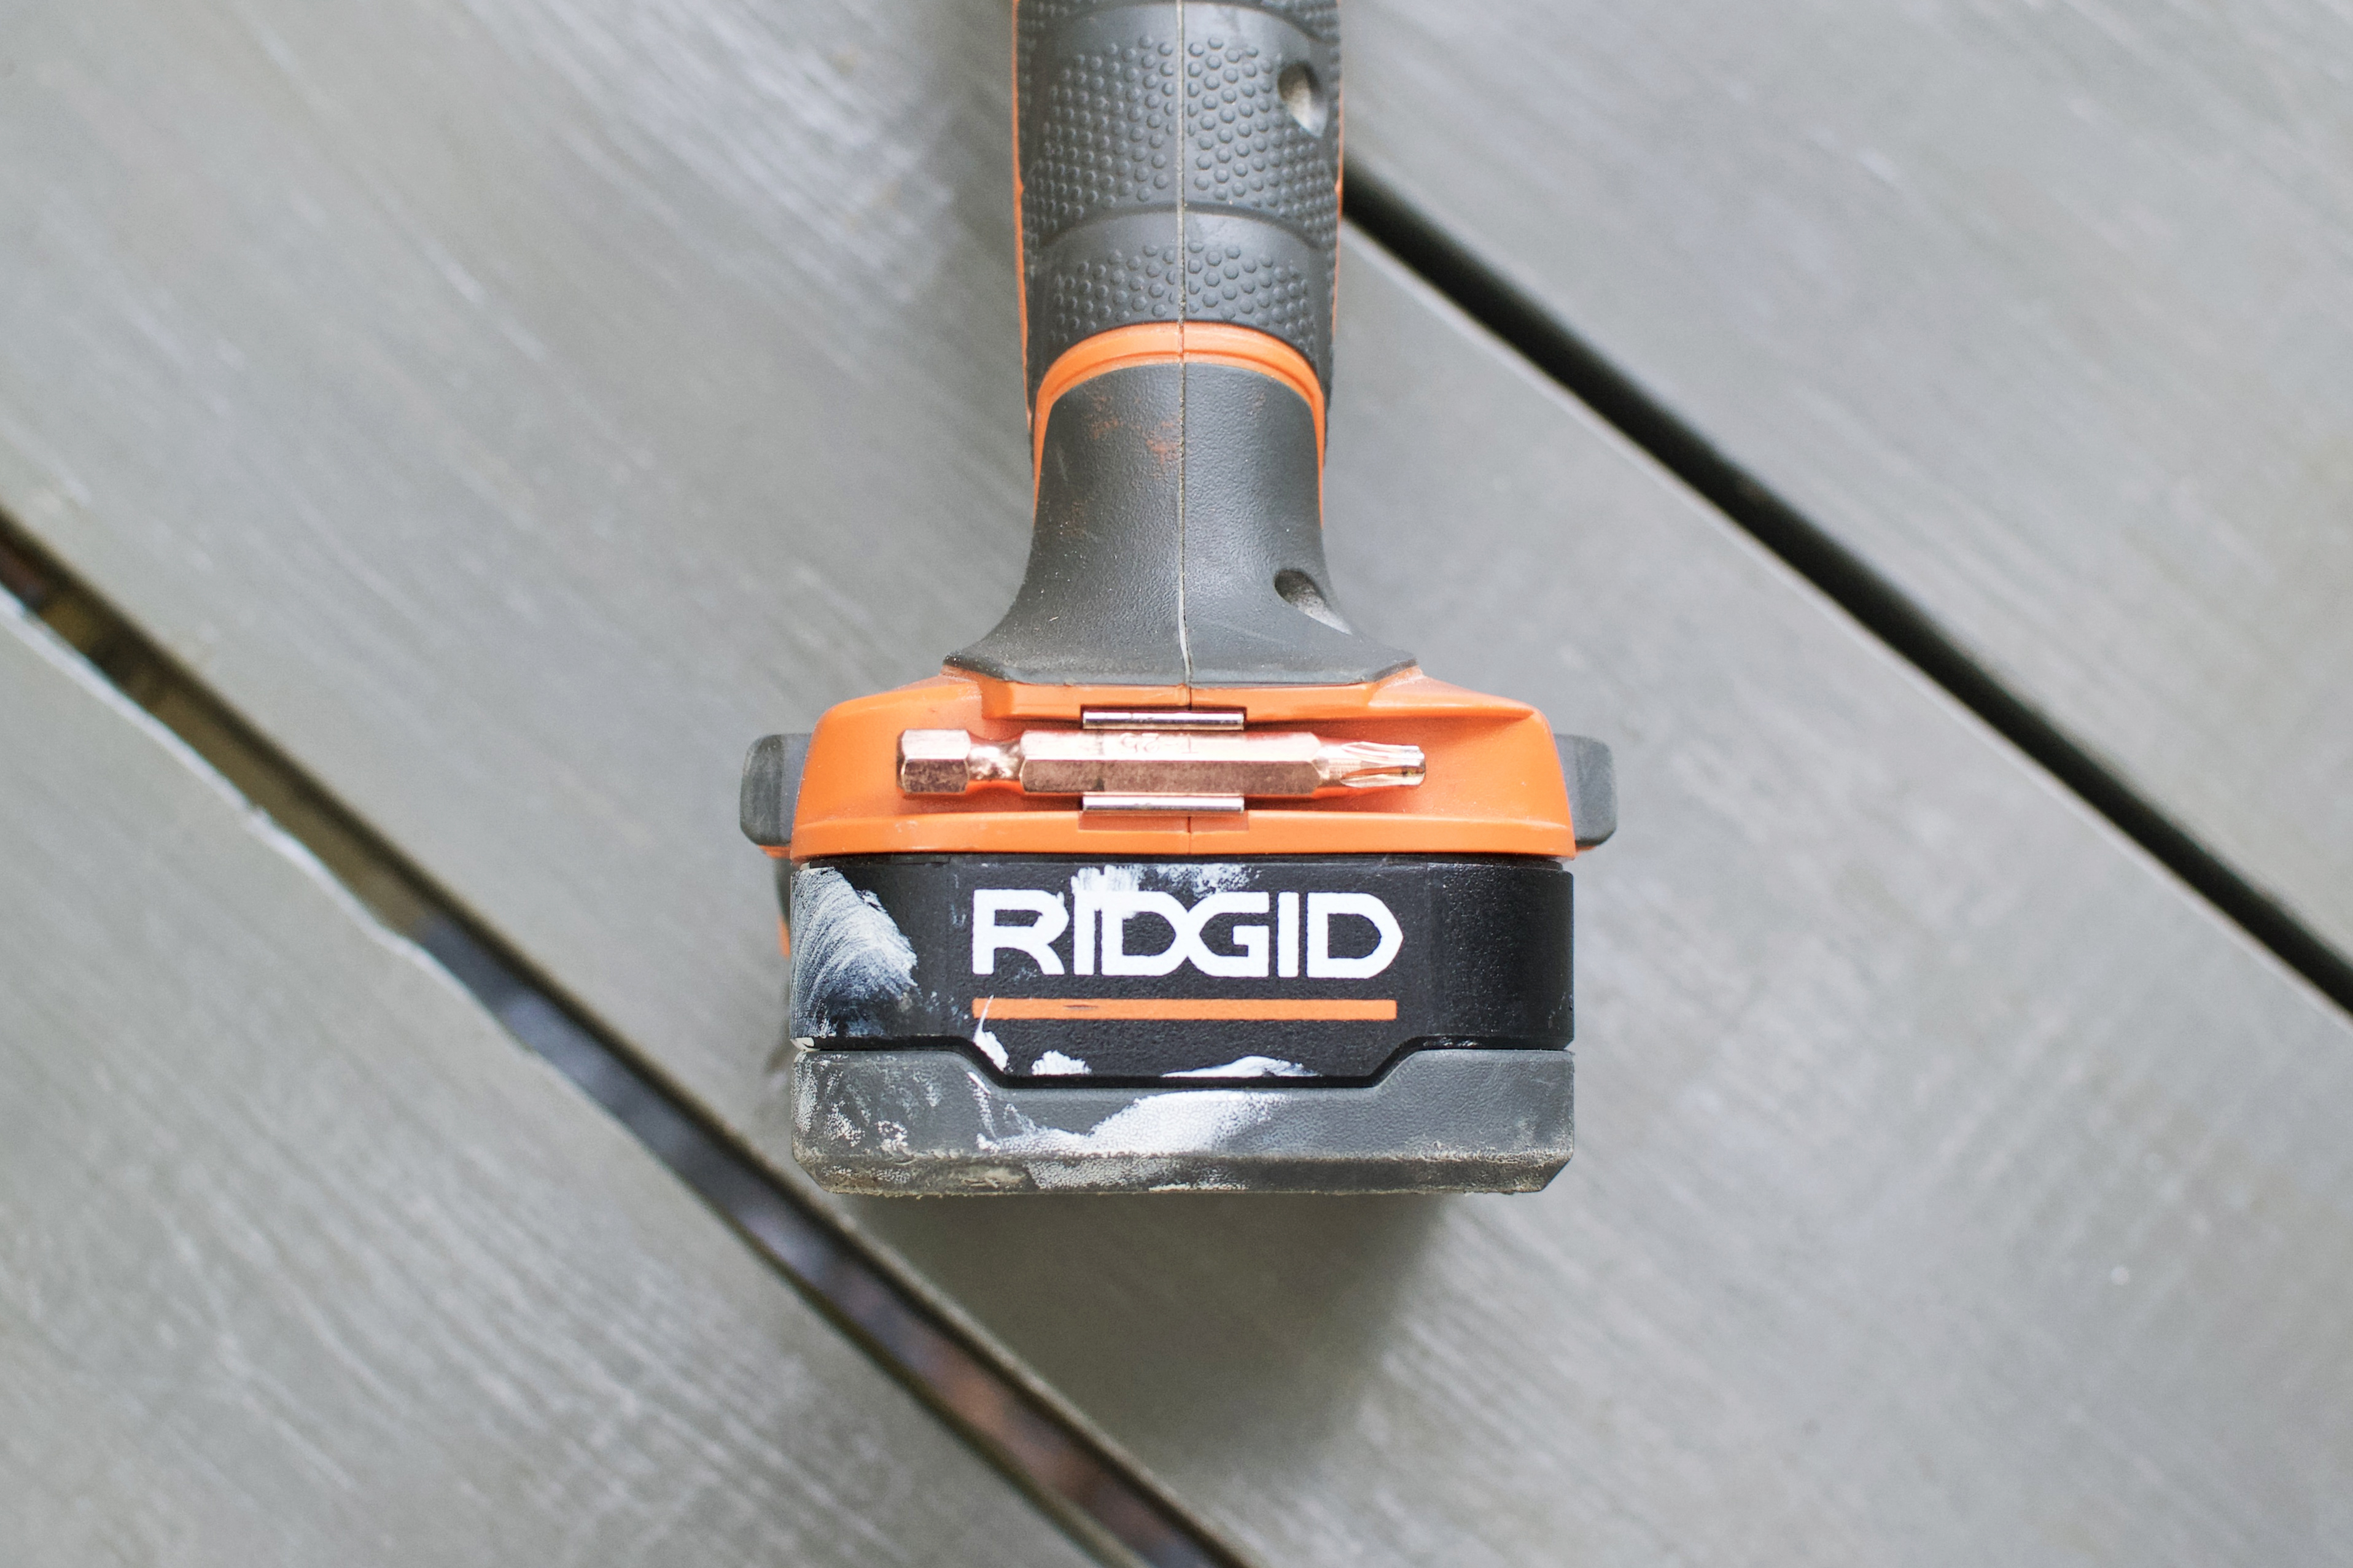
- Bit storage. The area beneath the handle on the backside where you can store your most used driver bit. Mine is a T-25 star driver bit.
- Two speed gear train. Check the very top of your drill. You’re either in high-speed low-torque mode “2”, or low-speed high-torque mode “1”. E.g. “2” for drilling a pilot hole with a drill bit, “1” for installing a deck screw.
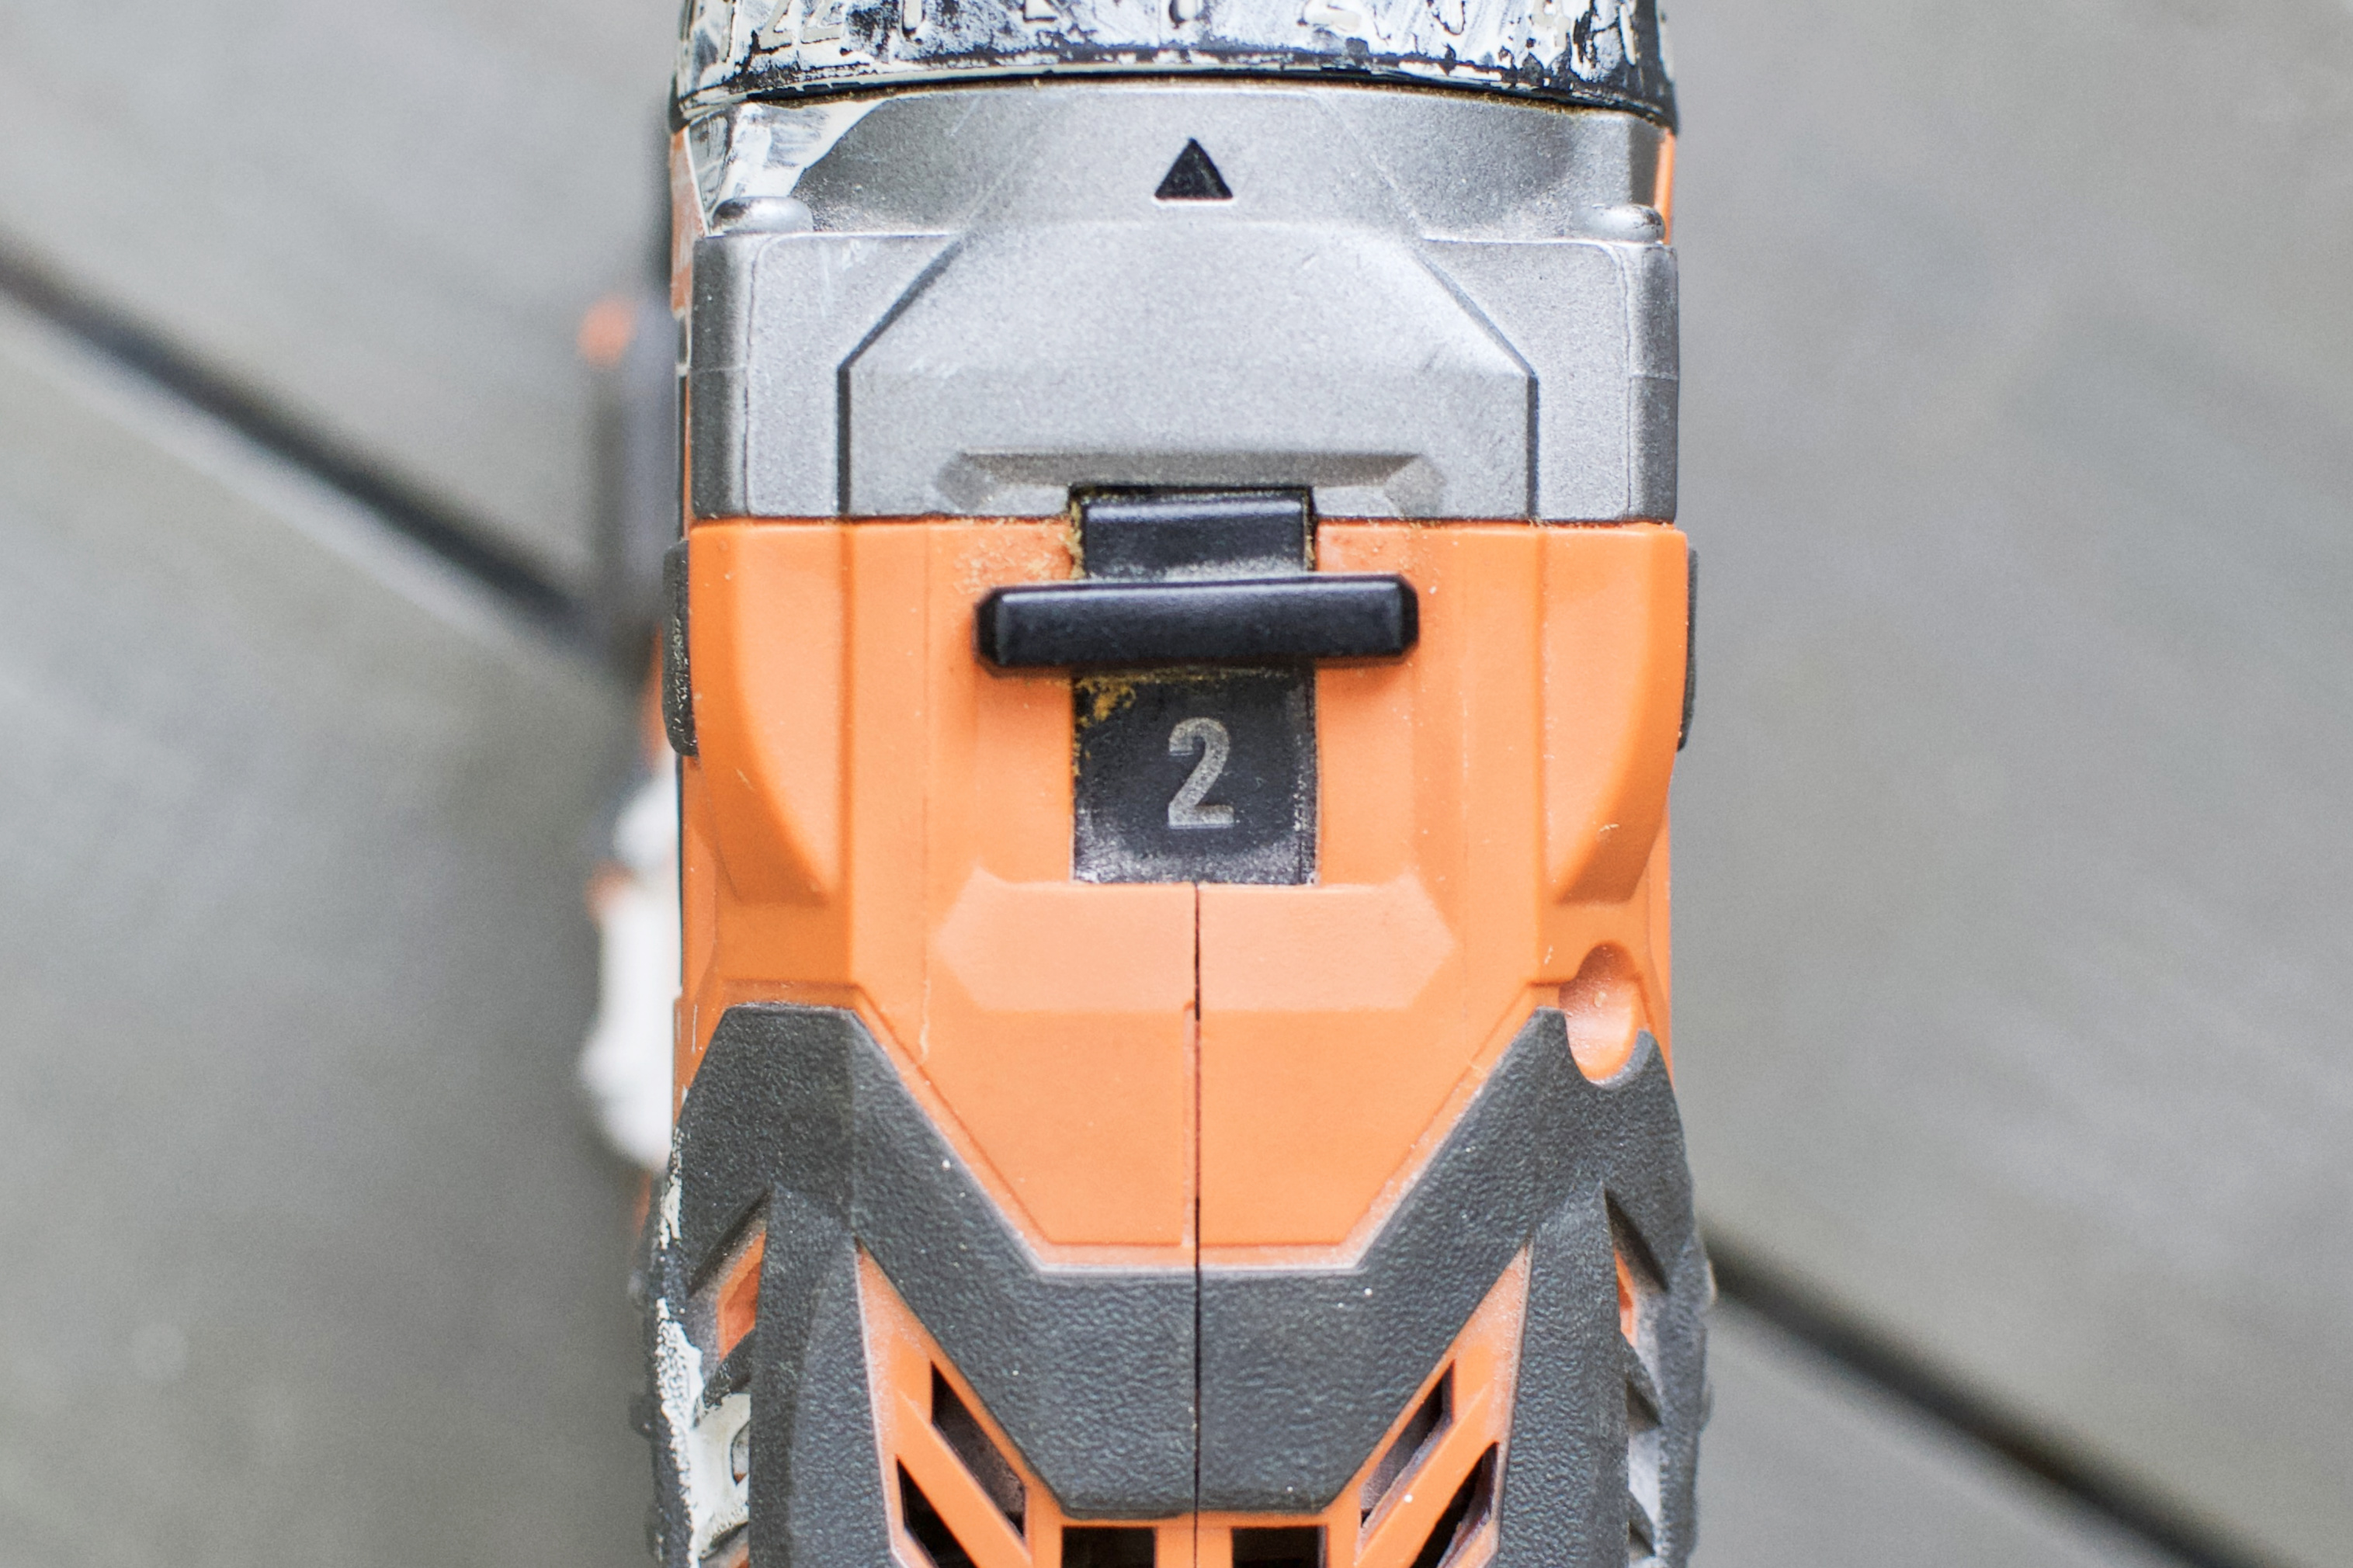
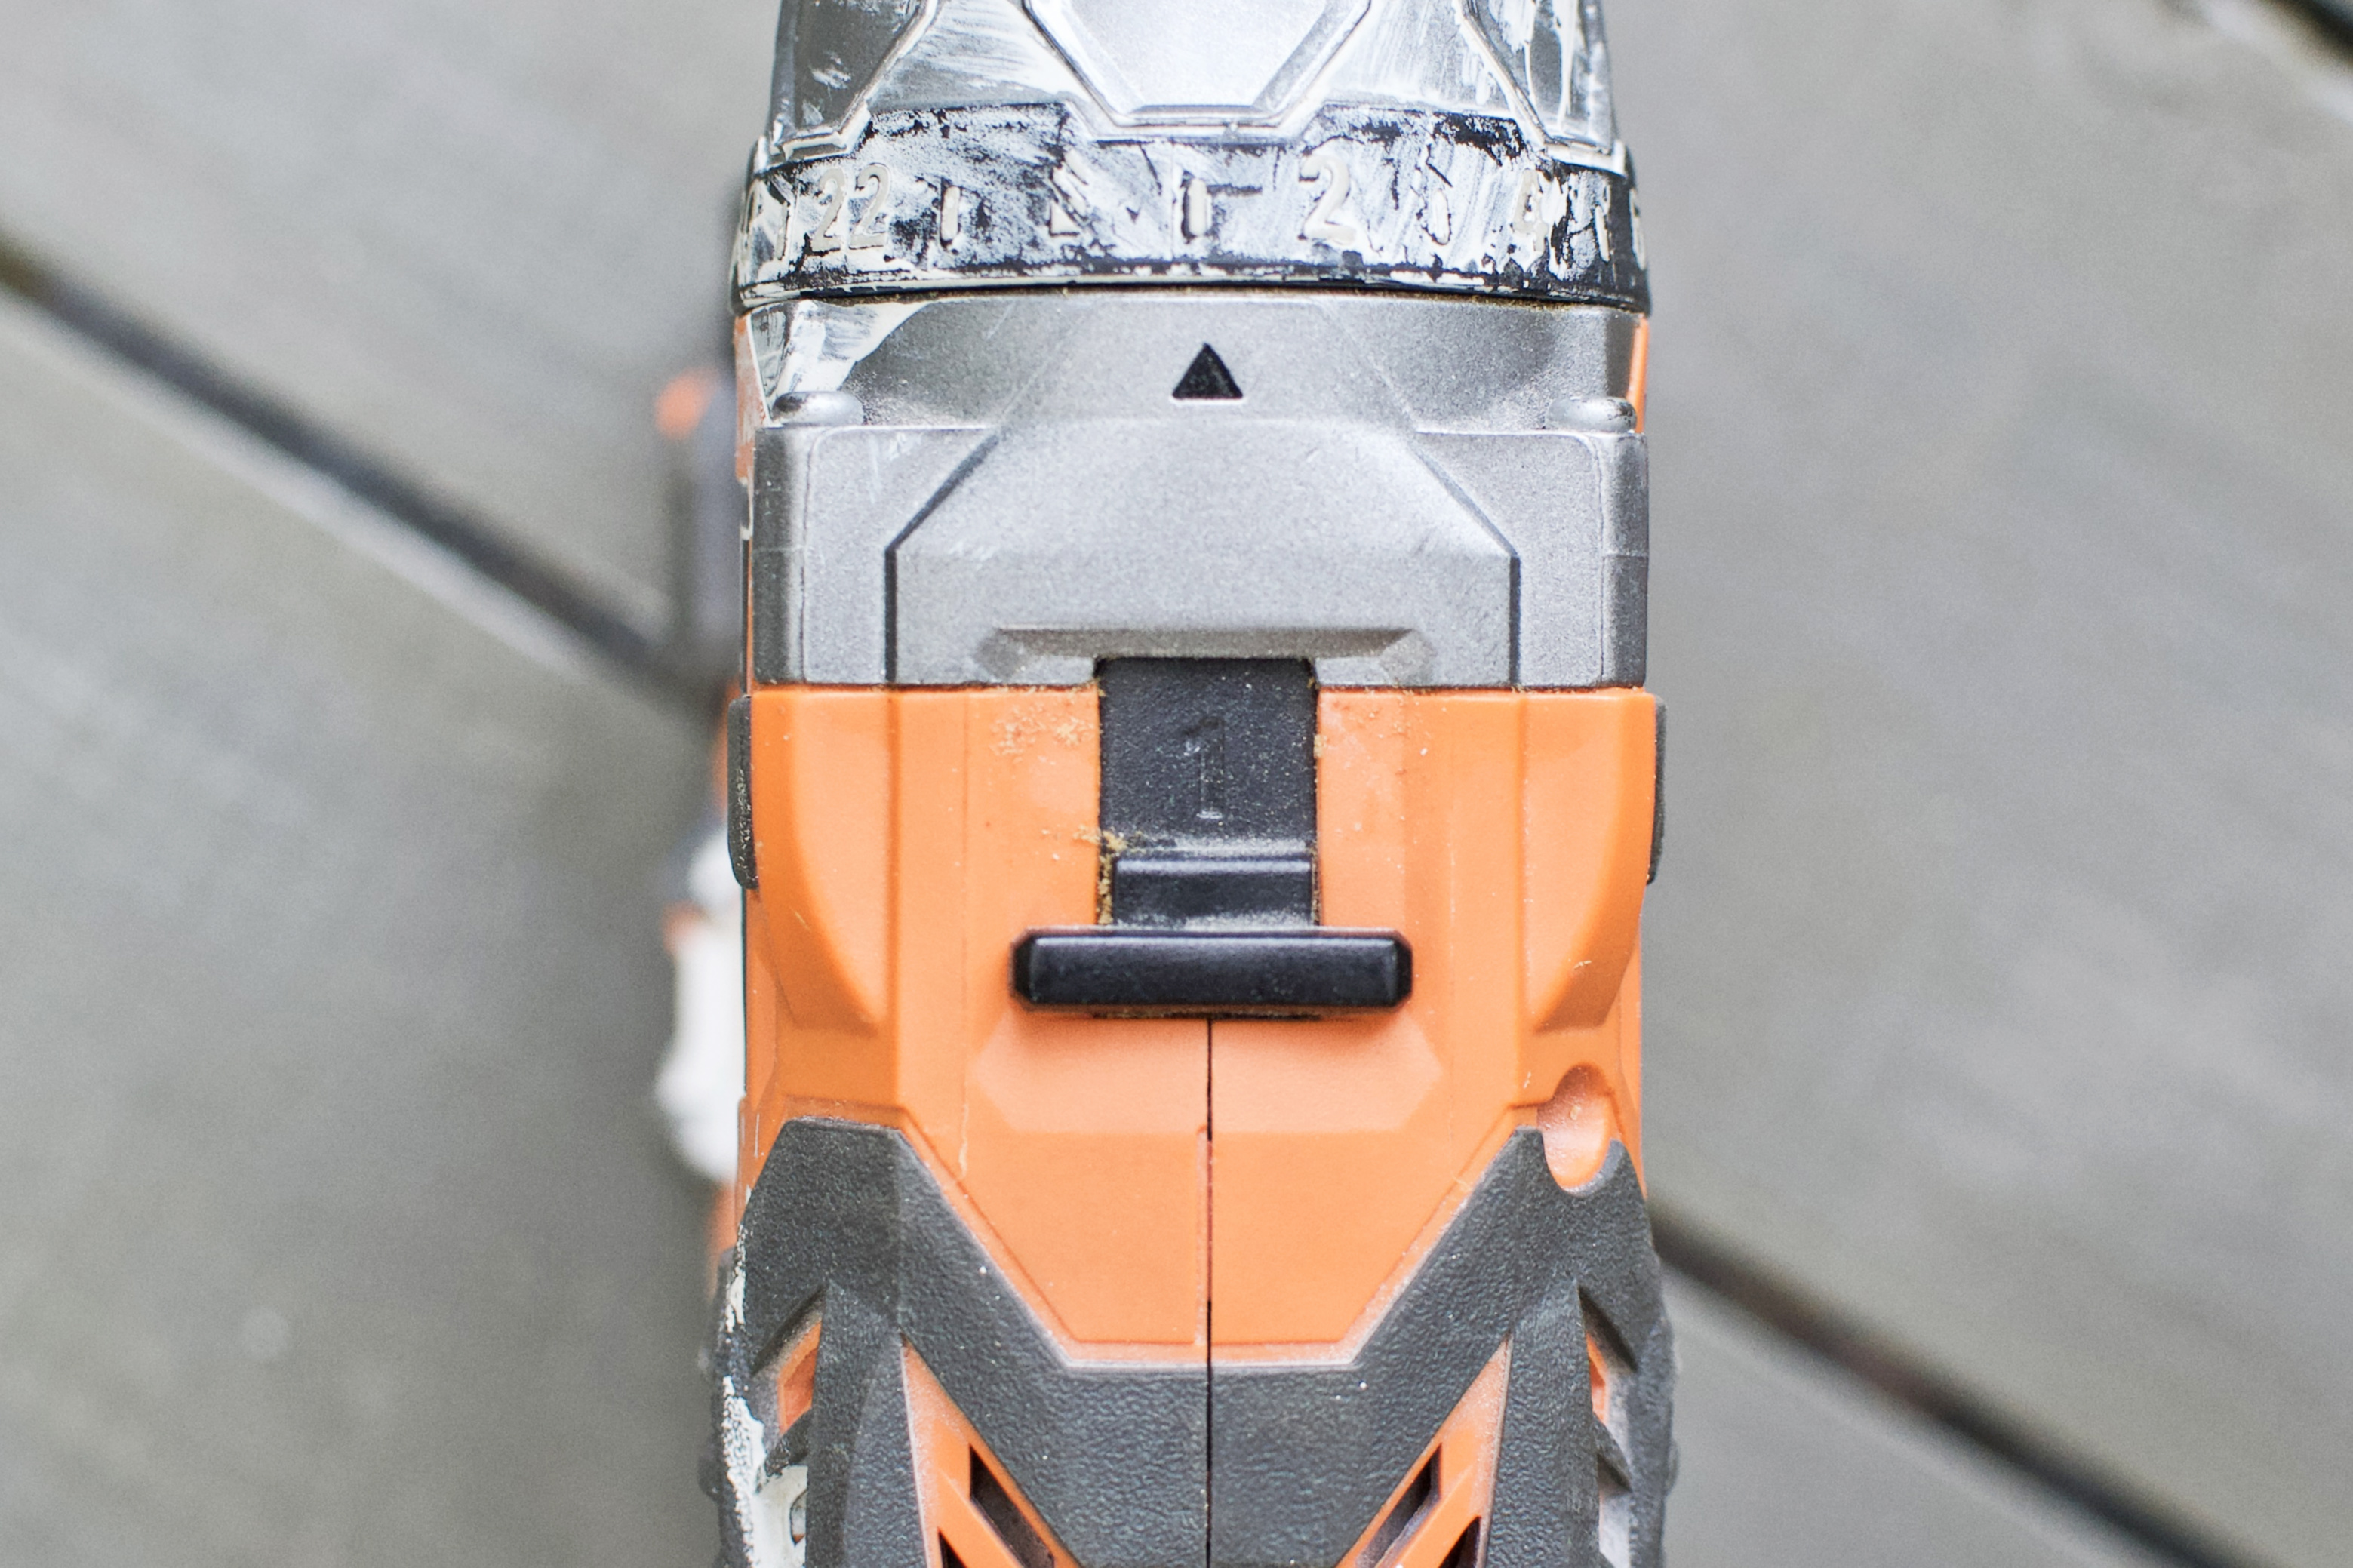
Tip: buy the drill-driver AND impact driver in a combo kit to save cash money. Includes 2 batteries, charger and a bag.
RIDGID Impact Driver.
- Uses. Installing standard-use screws AND self-tapping screws. Any application that needs a high amount of torque. Predrilling is only doable if you have hex-shank bits, but larger holes are its specialty. NOT ideal for driving screws into softer materials like drywall, very soft woods or anything that needs a clutch.
- How much torque? The 1.5Ah cordless drill-driver above offers 535 lbs. of torque. The 1.5Ah impact driver offers 1,750 lbs. of torque. Similarly, the 4.0Ah drill offers 700 lbs. of torque and 4.0Ah impact driver offers 2,250 lbs. of torque. How is this so hoss? According to the Family Handyman, it’s all about the clutch-like mechanism. The chuck is disconnected from the motor to build momentum and powerfully reconnects 50 times a second to yield enormous torque with very little kickback or arm twisting.
- Battery. Lithium Ion – ideally interchangeable with your power drill. RIDGID sell a combo kit including the impact driver, drill-driver, 2 batteries, charger and bag.
- Direction of rotation selector. To drive into materials or remove screws from materials.
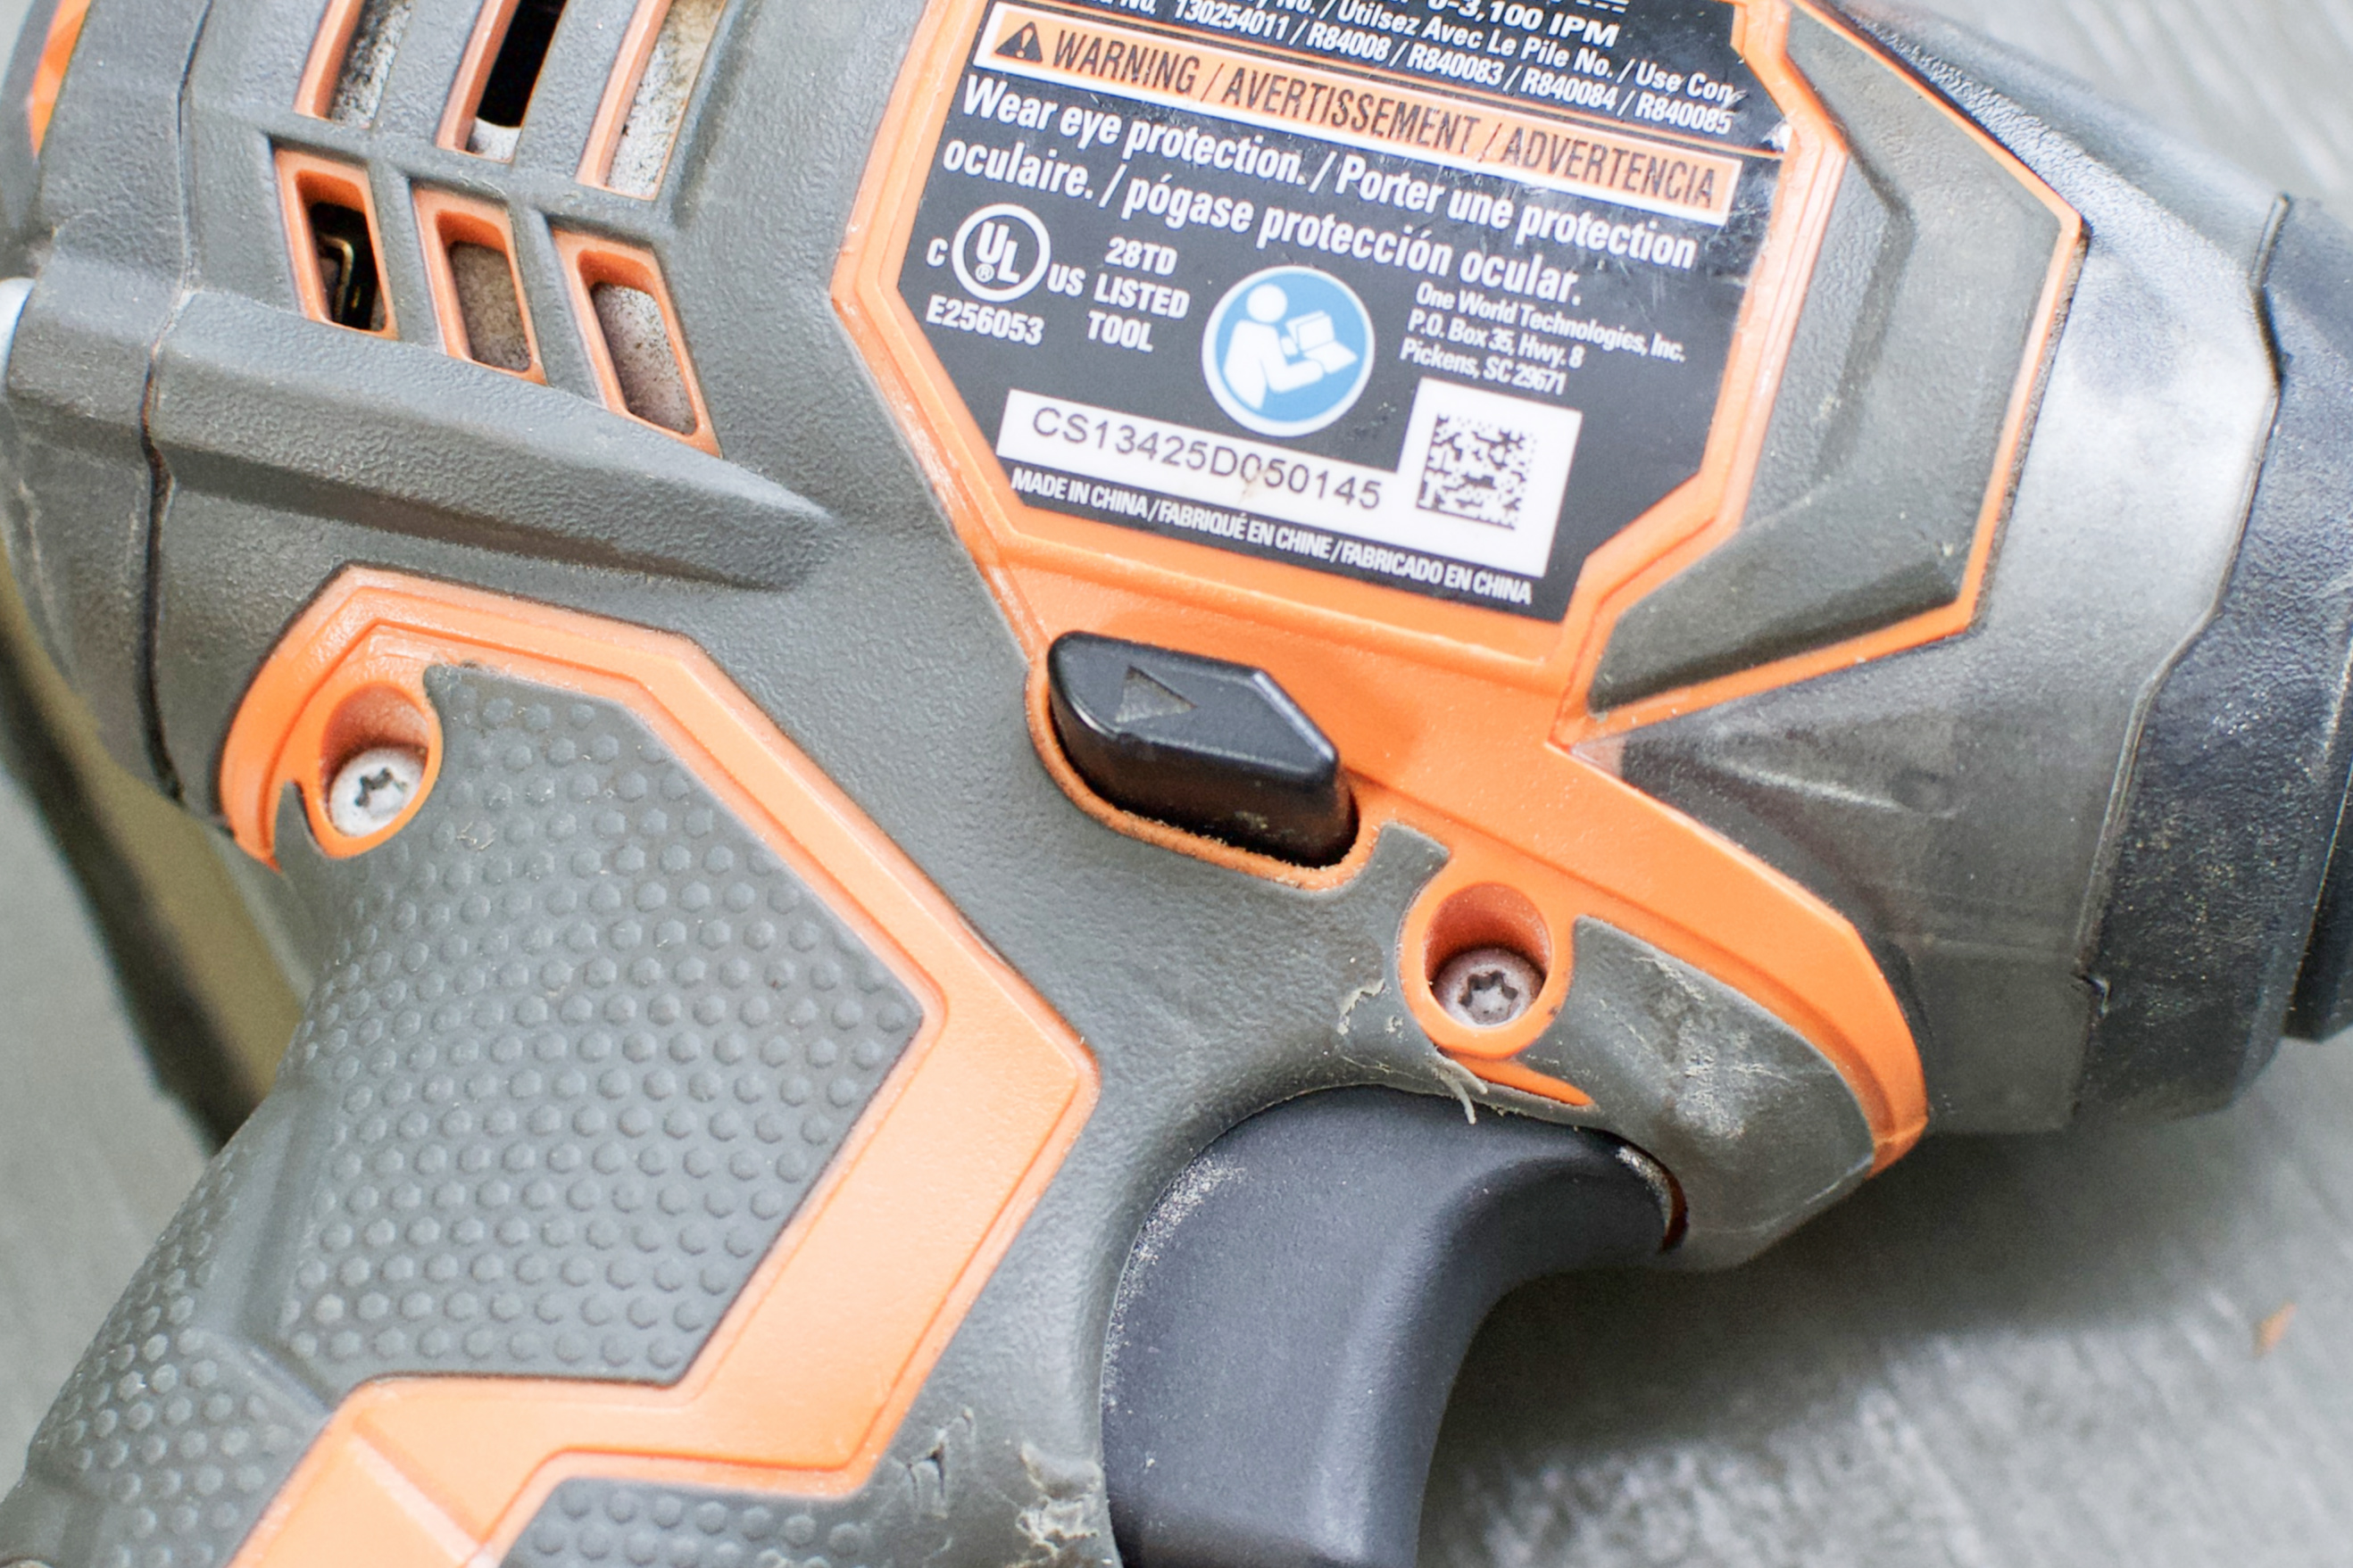
- Chuck. ¼” Hex – it only accepts ¼” hexagonal-shank bits. The shank is on the bit’s end that attaches to the drill chuck. It’s quick-release, meaning you can easily add or remove a bit with one hand. Pull the outer coupler away from the drill to eject the bit. While the coupler is still sticking out, push a bit into the chuck until it locks.
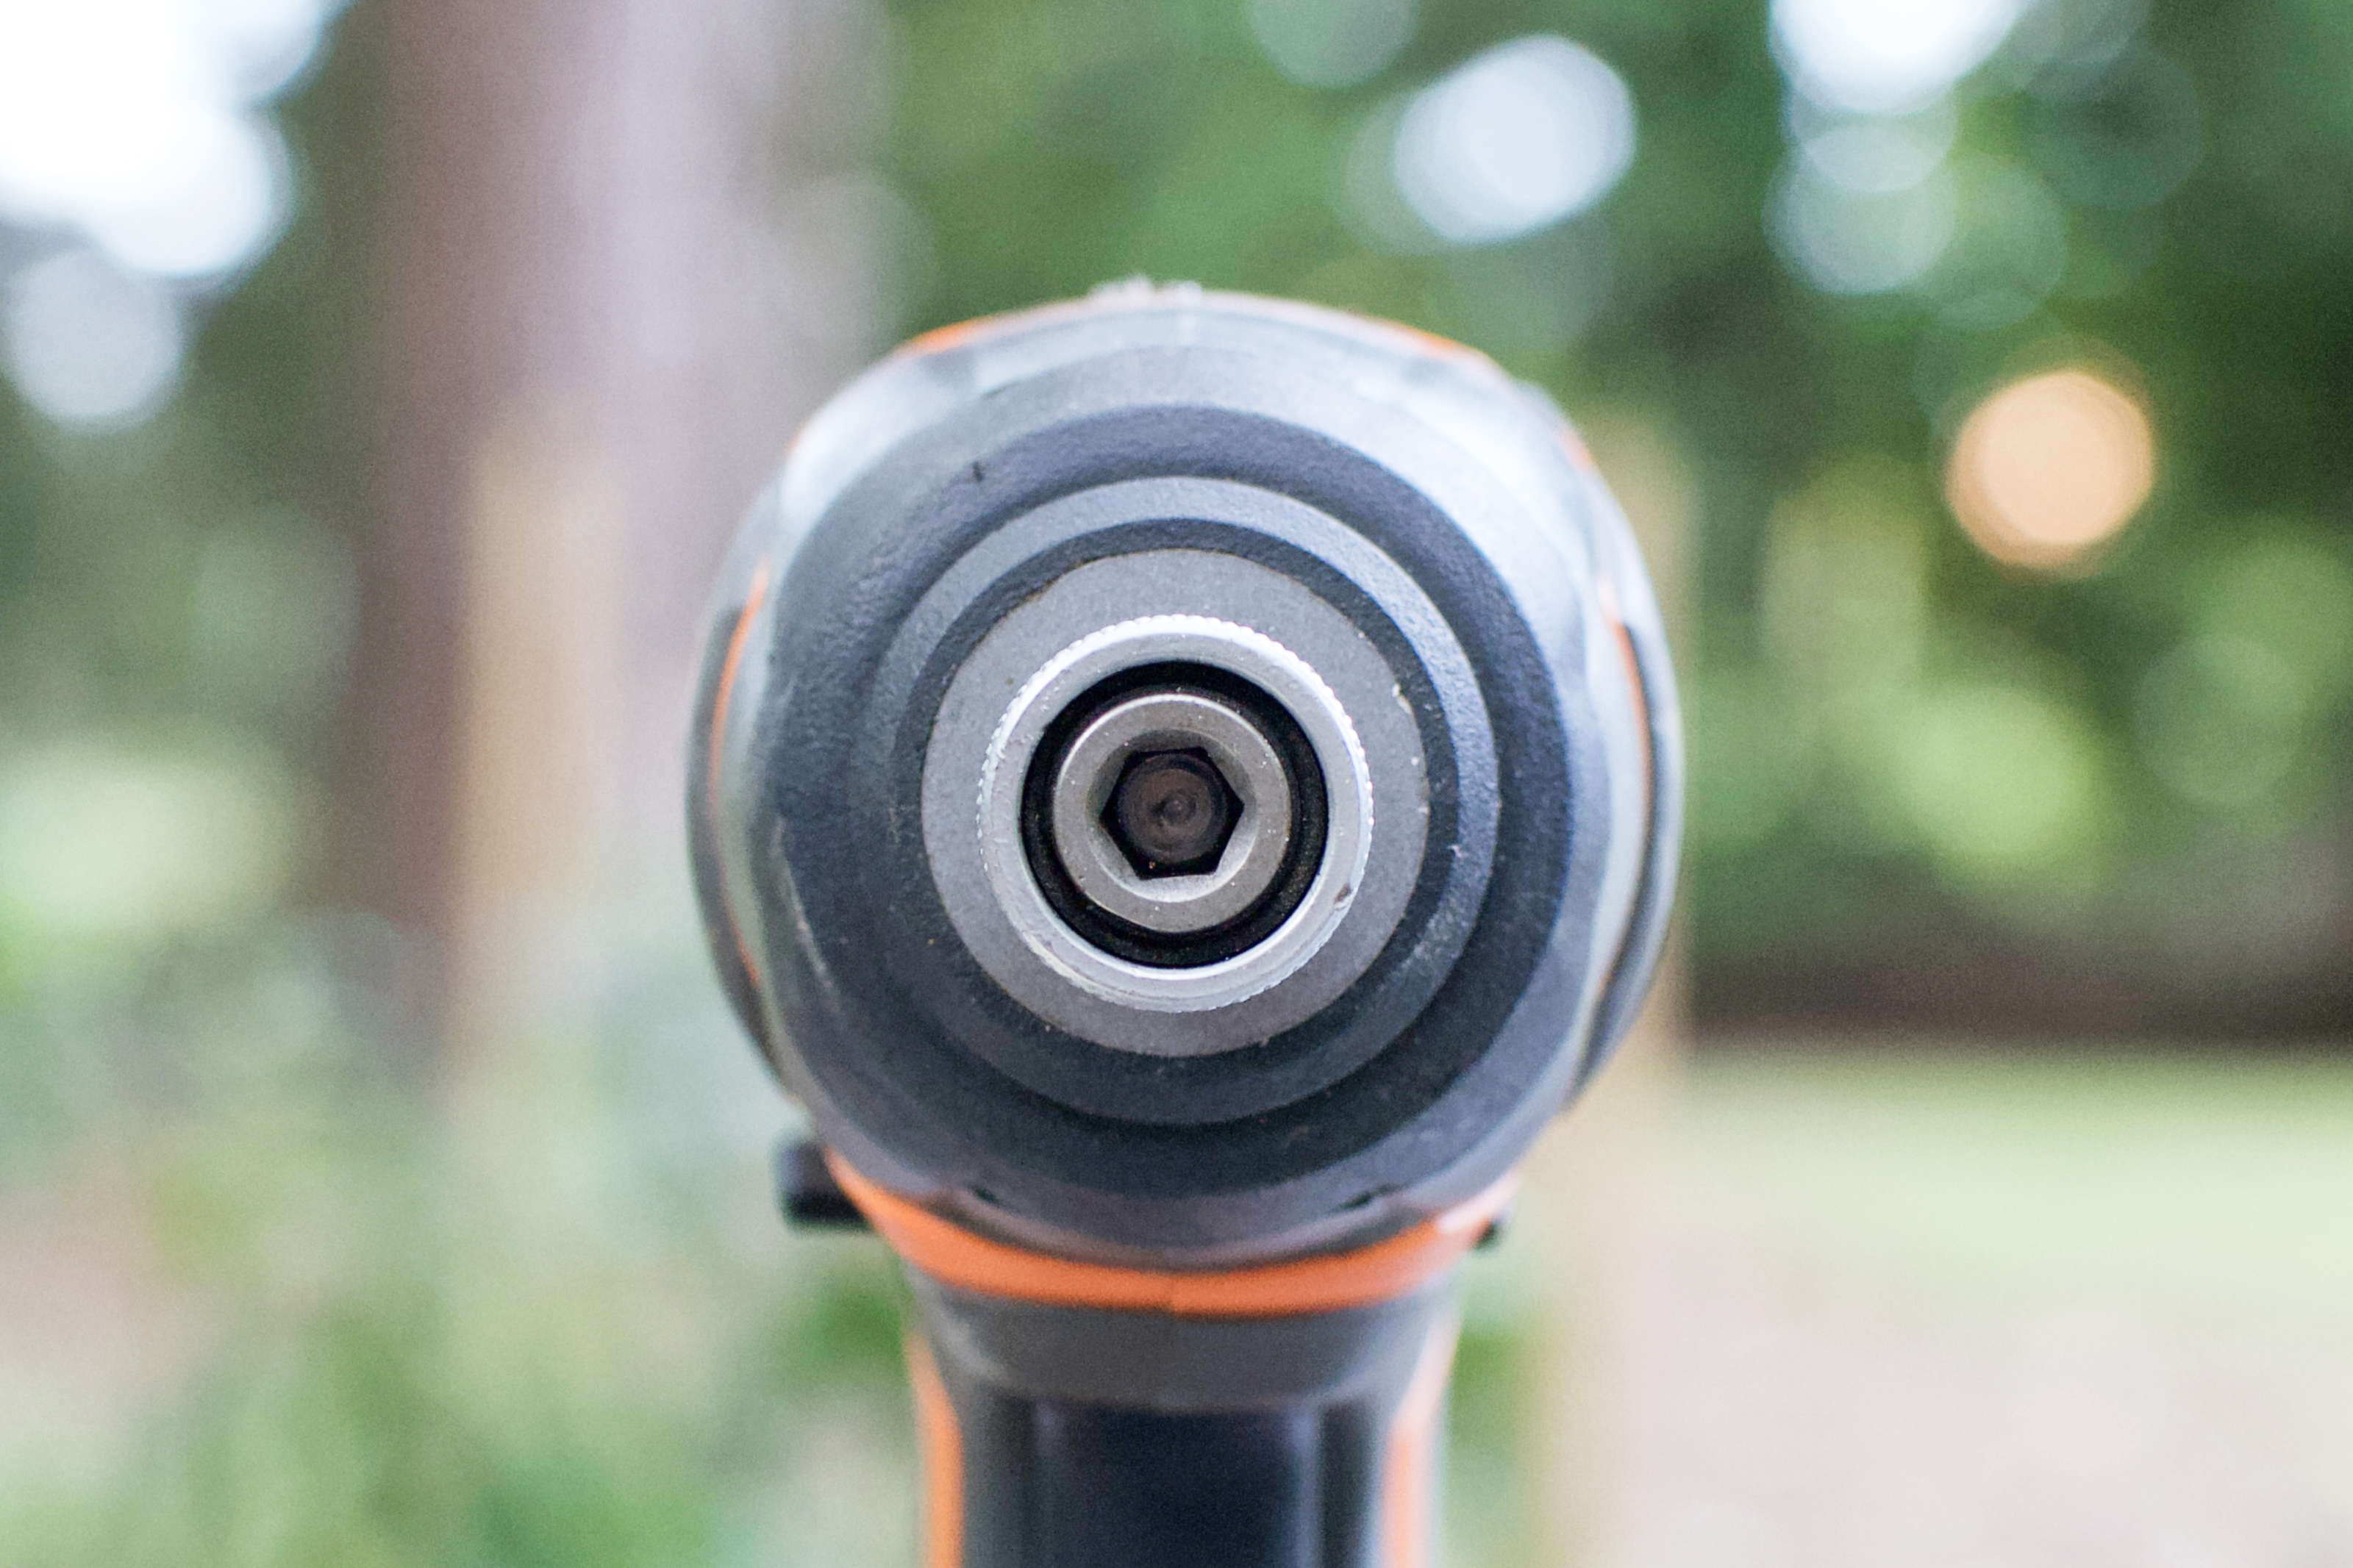

- Bits. Your options are limited to ¼” hex shank bits. Star drive and square drive bits are less likely to kill screws than flat and phillips. T-25 star drive bits work beautifully with 1-1/4″ deck screws and 2-1/2″ deck screws – my go-to screws for most DIY furniture builds.

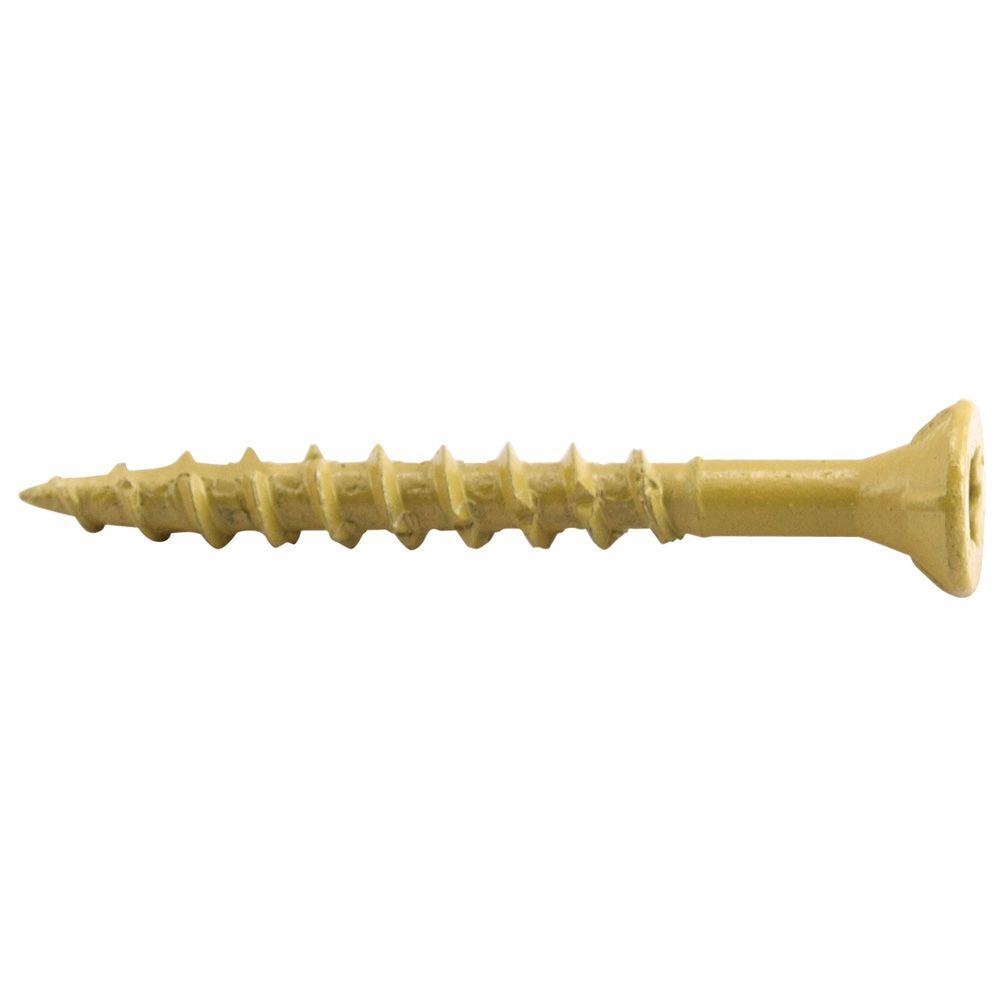
- No clutch! This means nothing will stop your screw from drilling through your wall into the neighbors yard. This also means that the screw you should have predrilled just got stuck in the wood and your impact driver is about to rip the screw’s head off.
- Bit storage. Same lower back of the handle storage for your most used bit.
- Speed/torque selector. Only newer models have this option on the very top of the drill. “1” is low speed/torque, “2” is medium speed/torque, “3” is high speed/torque.

Tip: drill-driver + impact driver + 2 batteries + charger = savings.
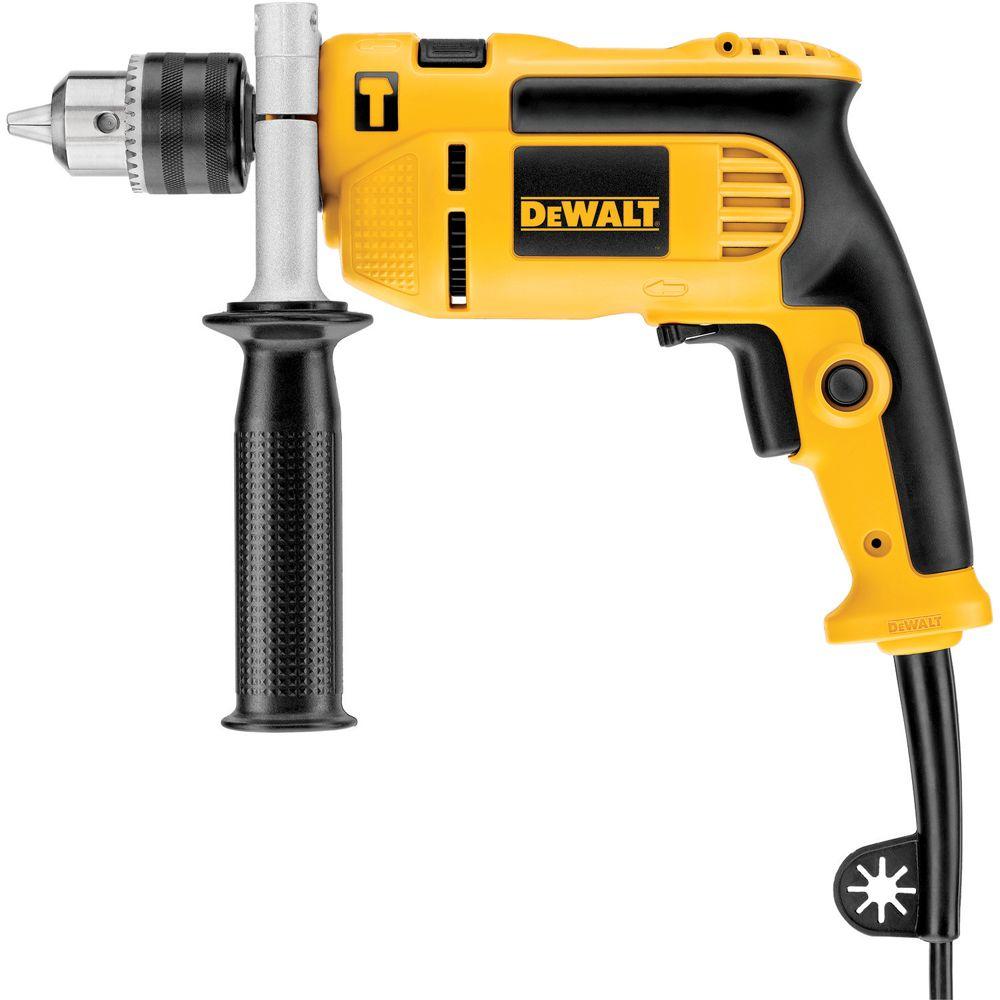
DEWALT Corded Drill.
- Uses. We’re talkin’ high speed predrilling, all day long. Standard drill bits, spade bits, hole saws, you name it. Excellent for sanding, rust removal, and mixing grout / mortar / thinset / concrete in a 5 gallon bucket. NOT ideal for installing screws – doable without a clutch, but takes a LOT of finesse. Screws can get broken or stripped in under a second. Kreg Jig predrilling with your corded drill is fantastic, but installing pocket hole screws is rather difficult.
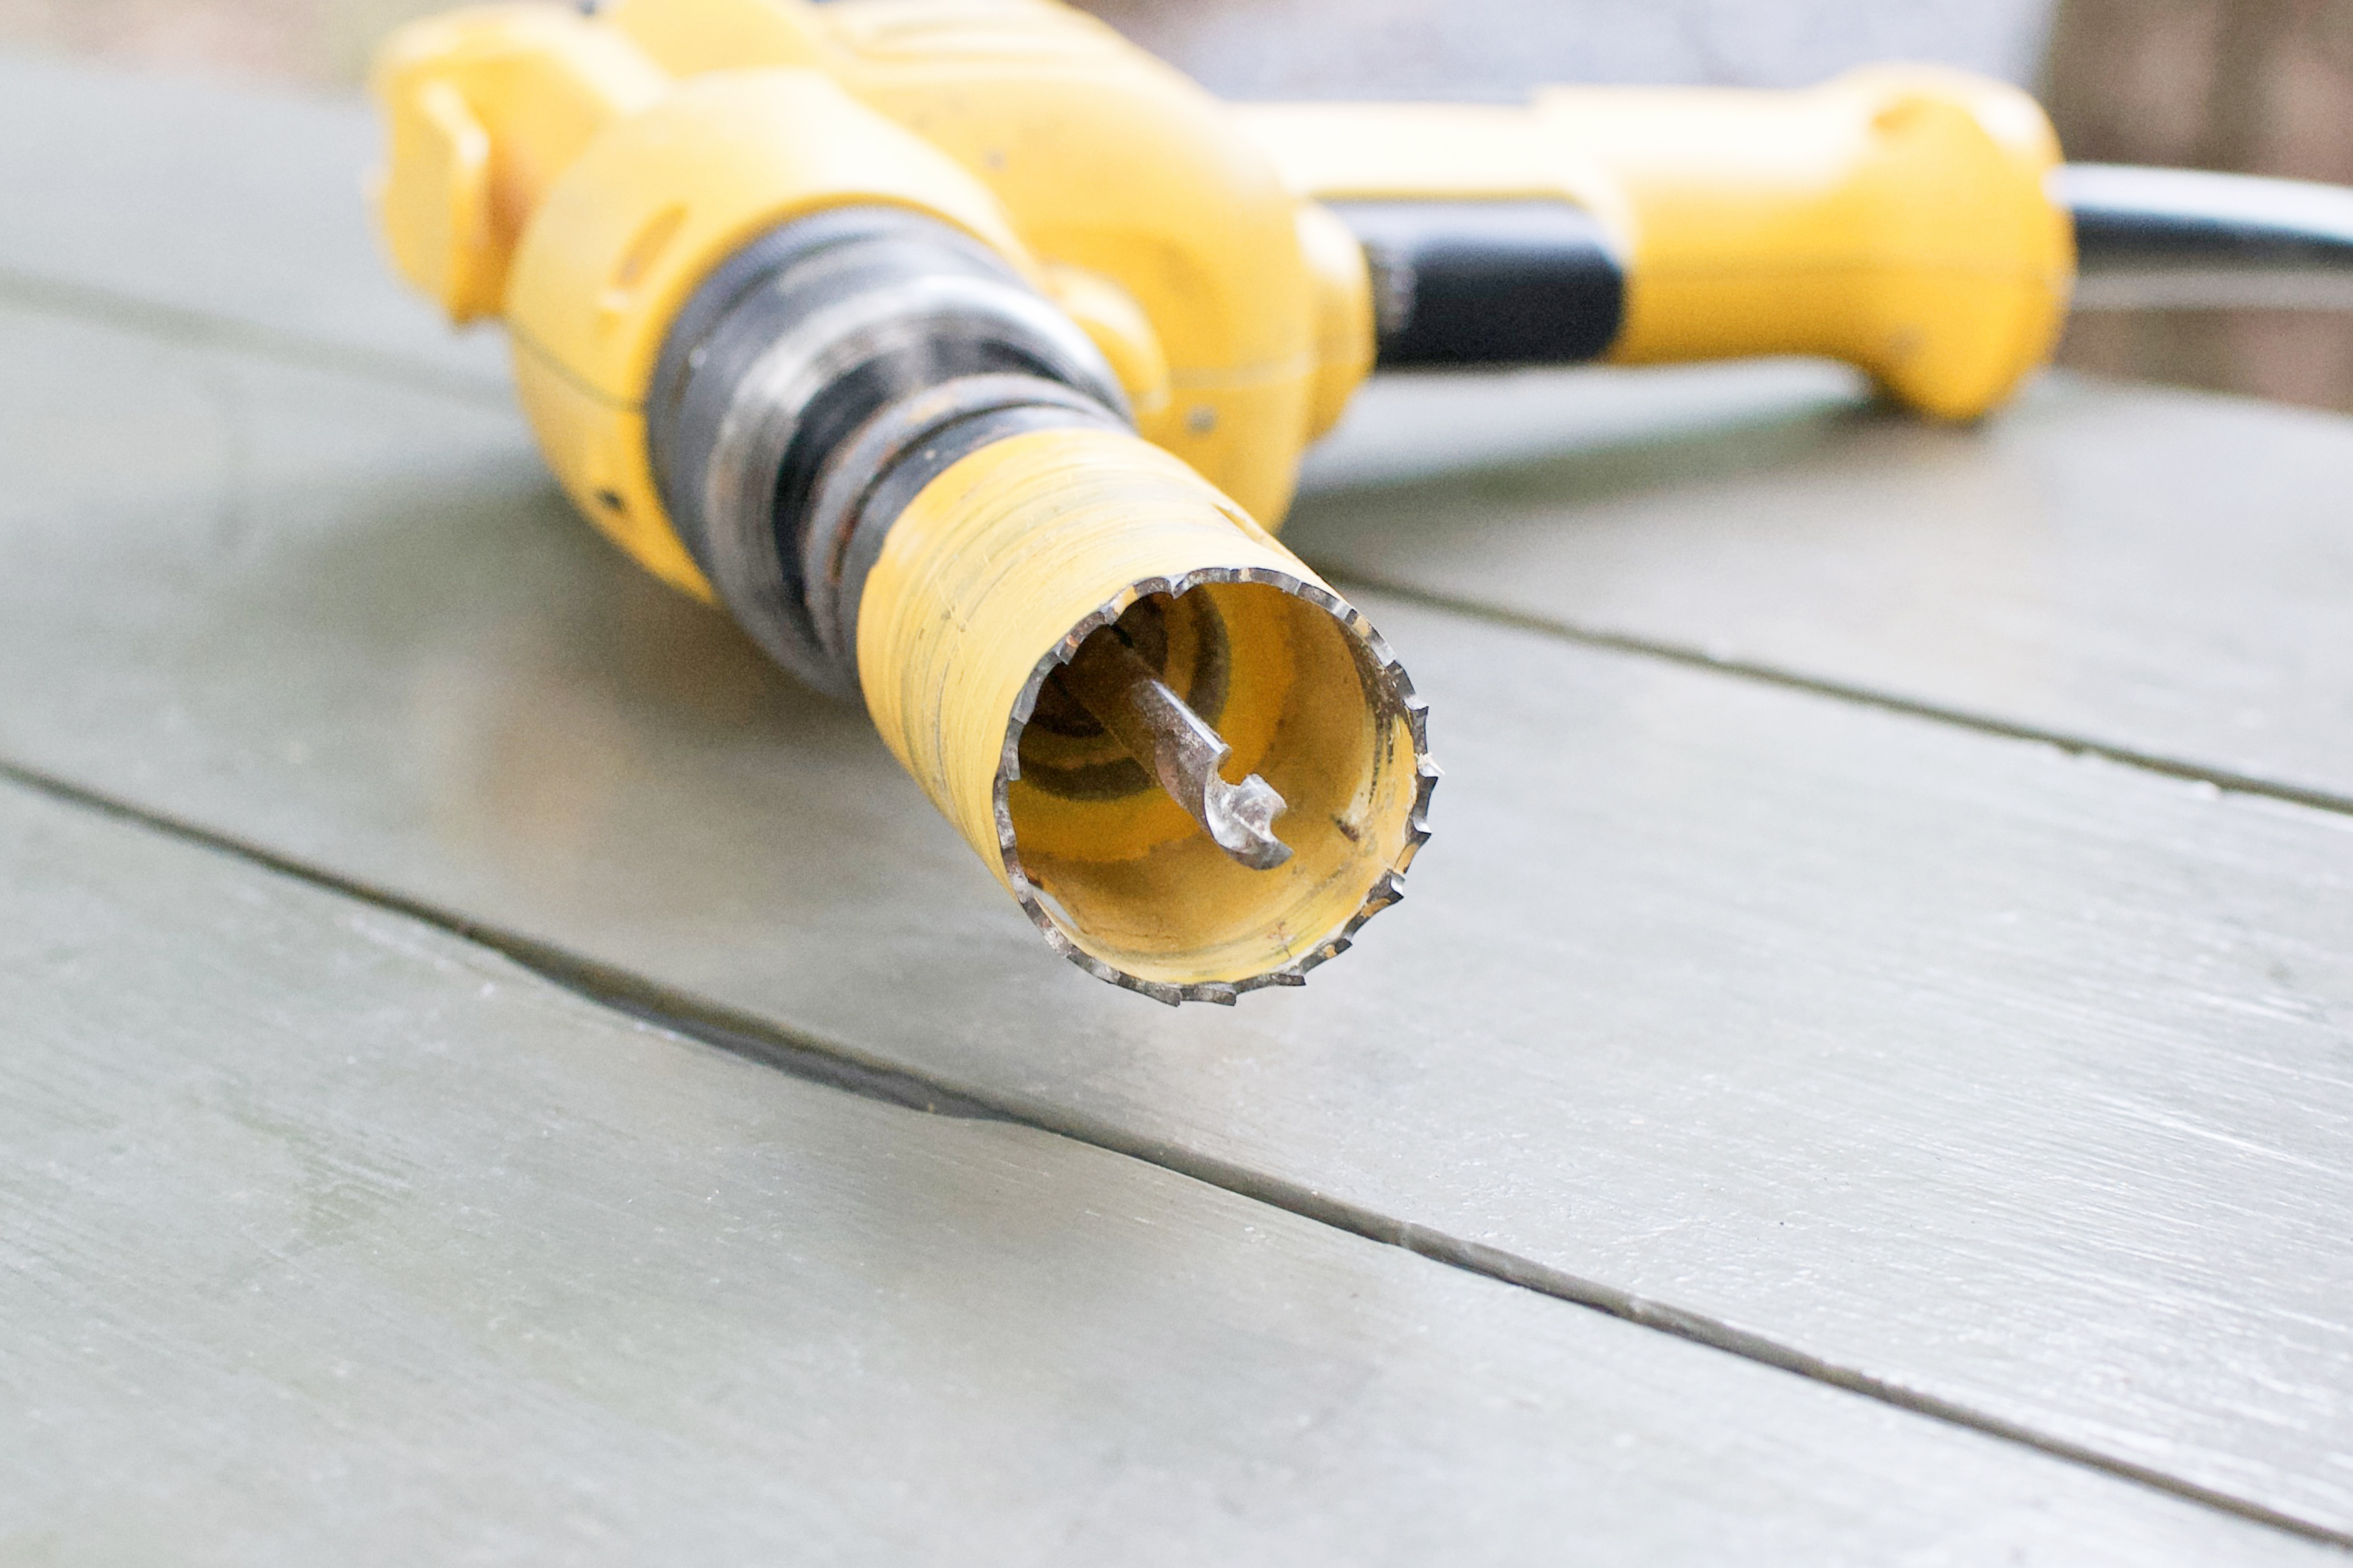
- No battery! Corded means it only works when it’s plugged into an outlet. Limited to the length of your extension cord.
- Reverse slider. Change the rotational direction with the slider directly above the trigger.
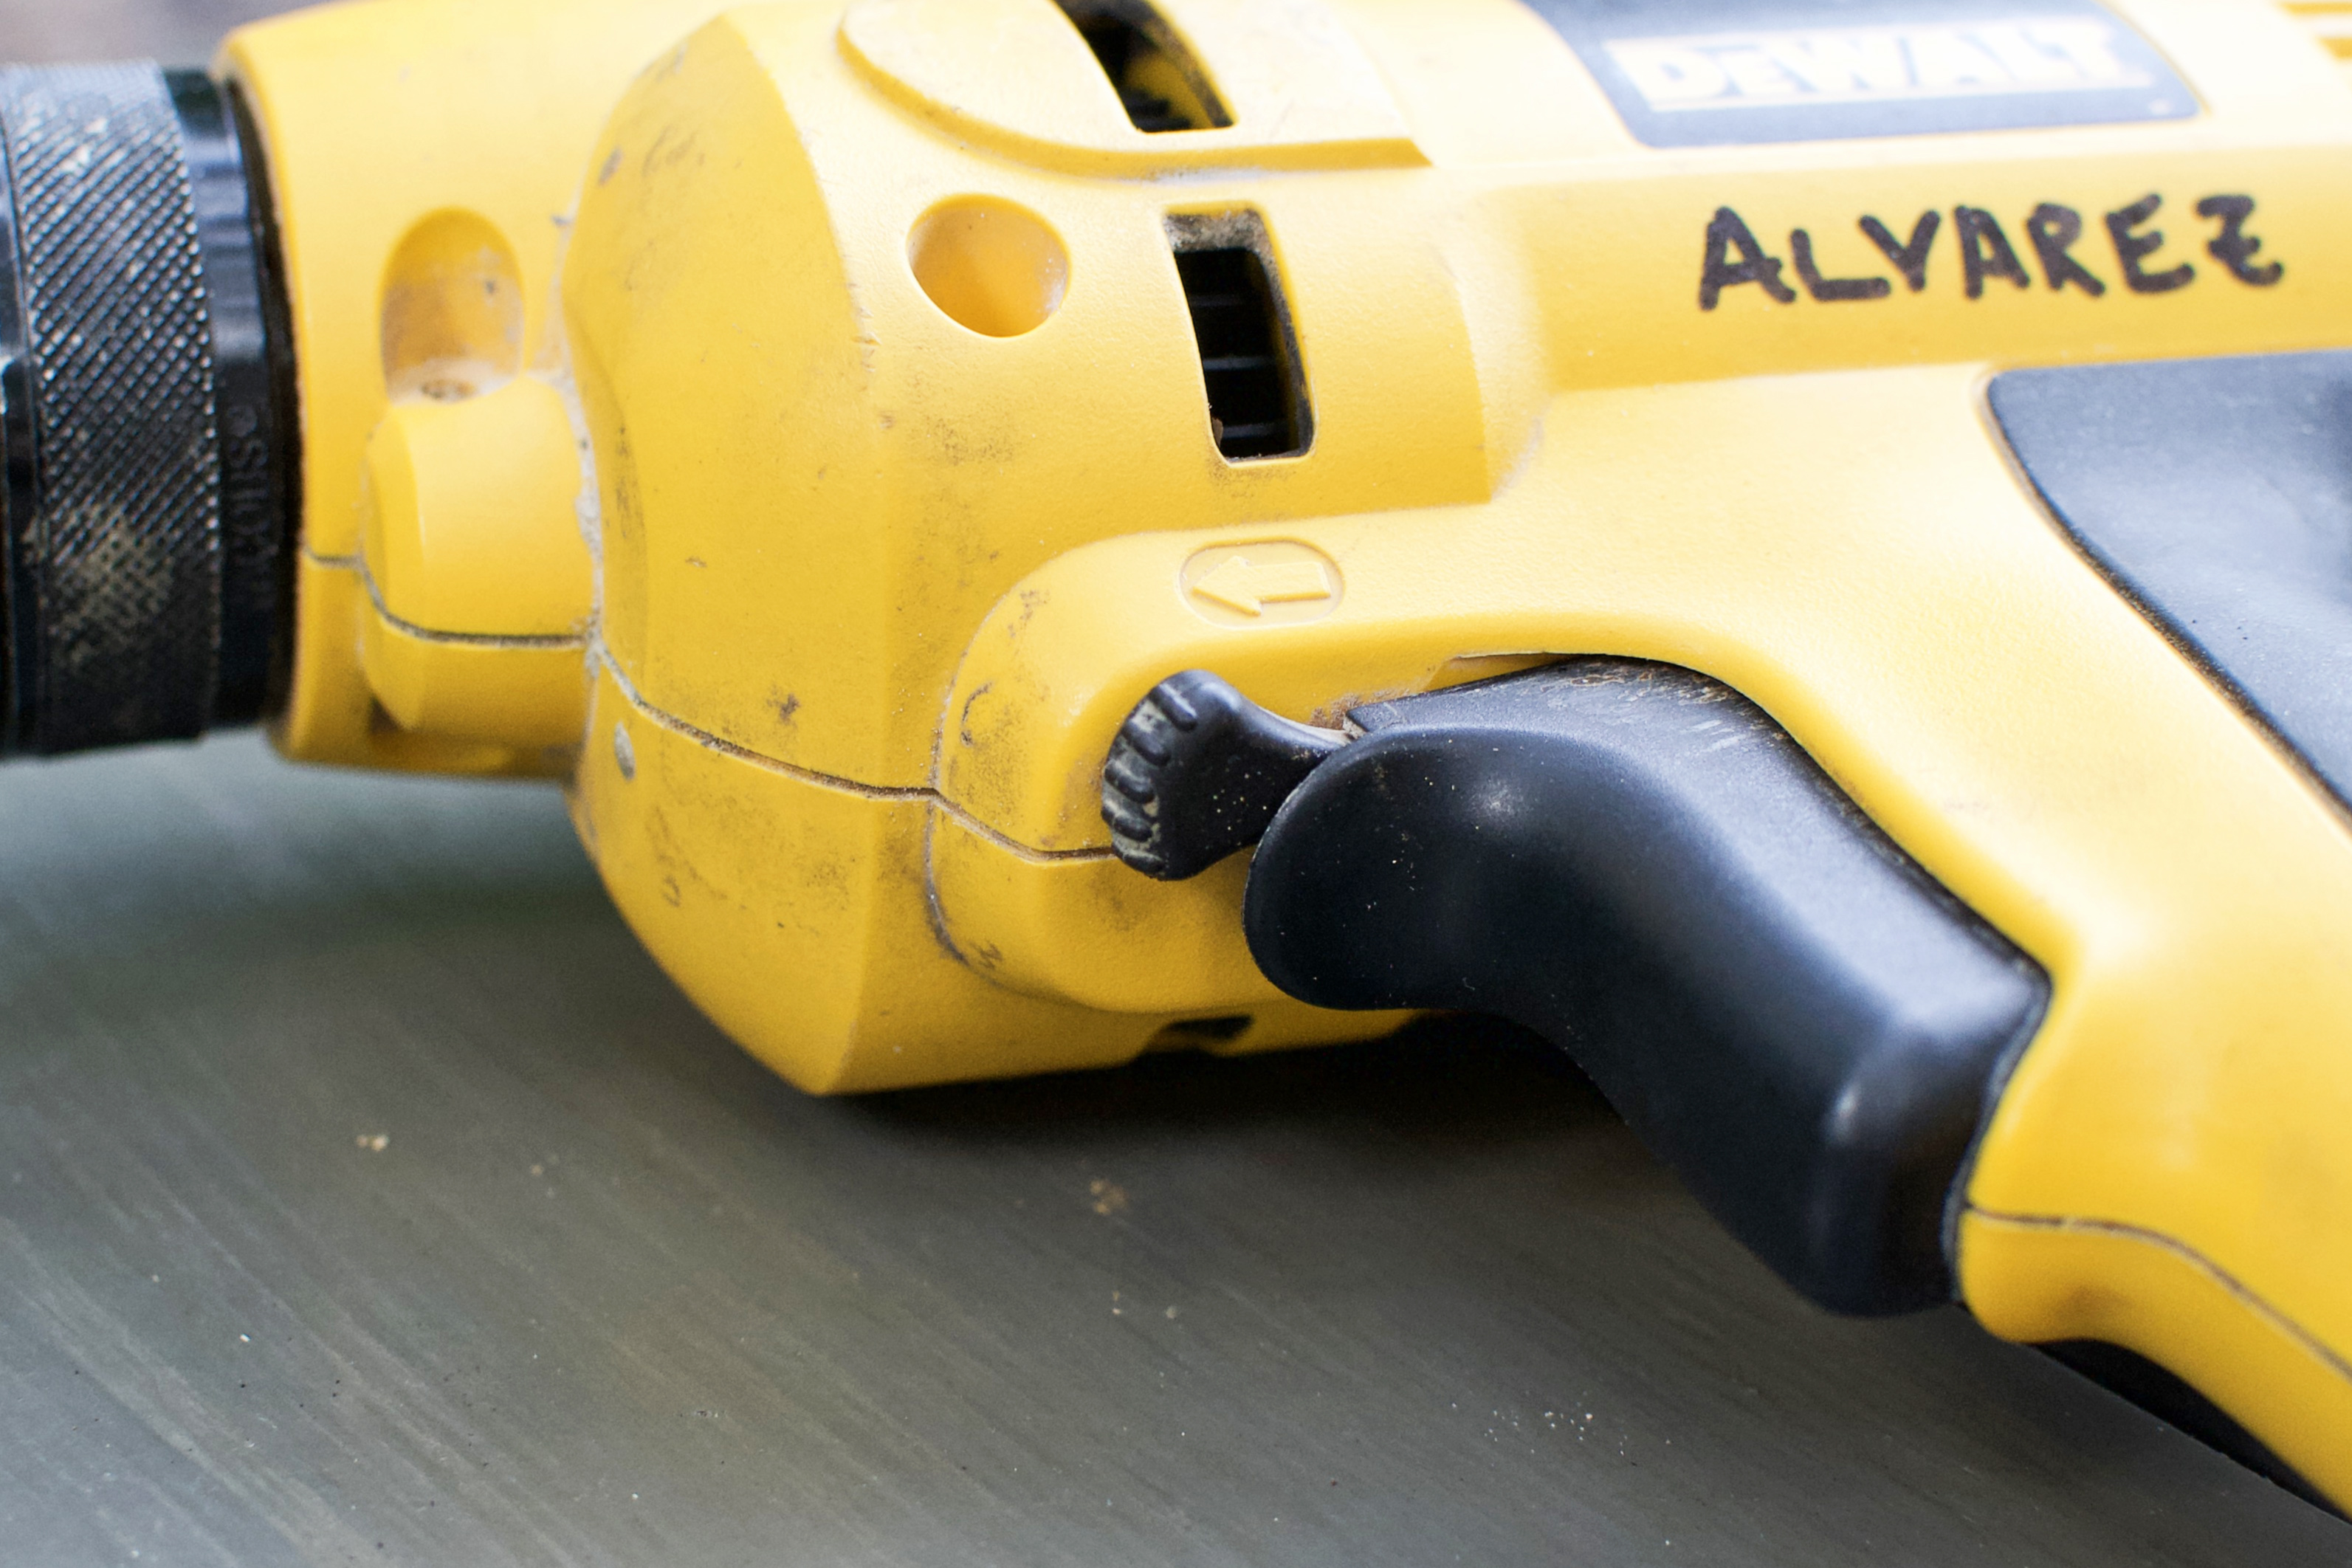
- Trigger lock. For extended use applications like mixing mortar, enabling you to take you finger off the trigger while it’s running.
- Chuck. ½” is ideal for DIY / renovation purposes. I own the 3/8″ version, which has proven sufficient for heavier jobs like mixing mortar.
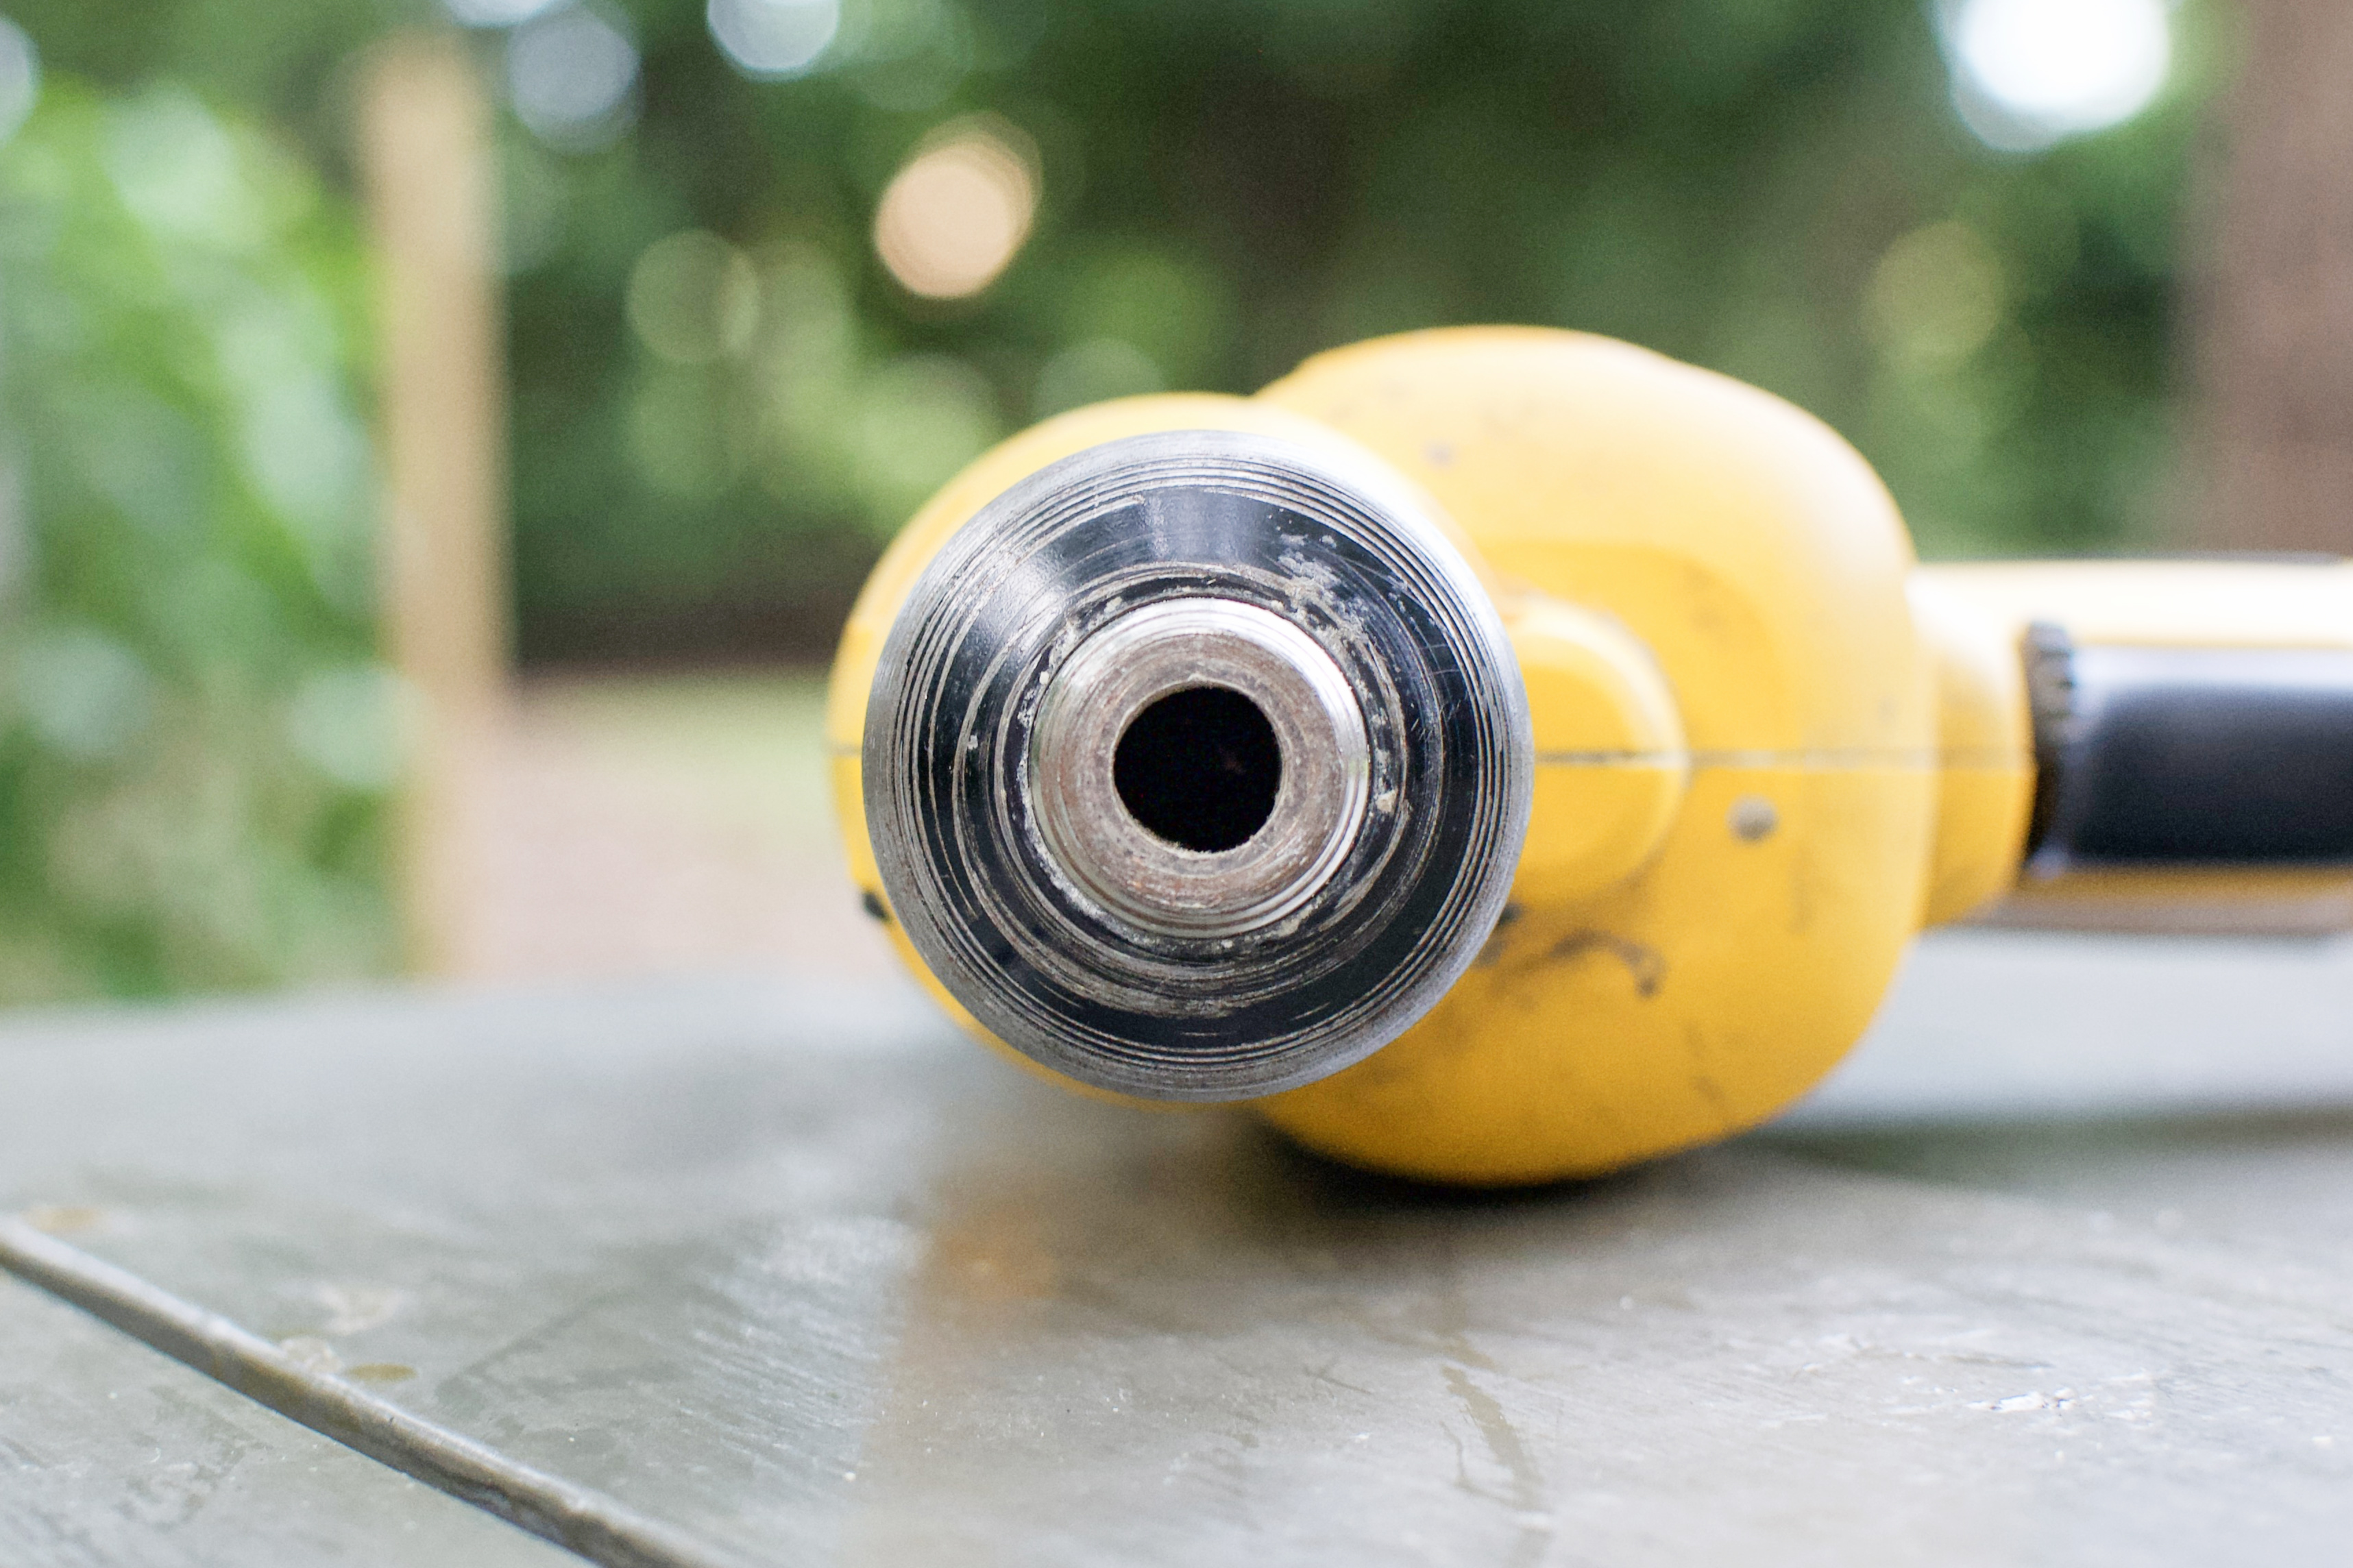
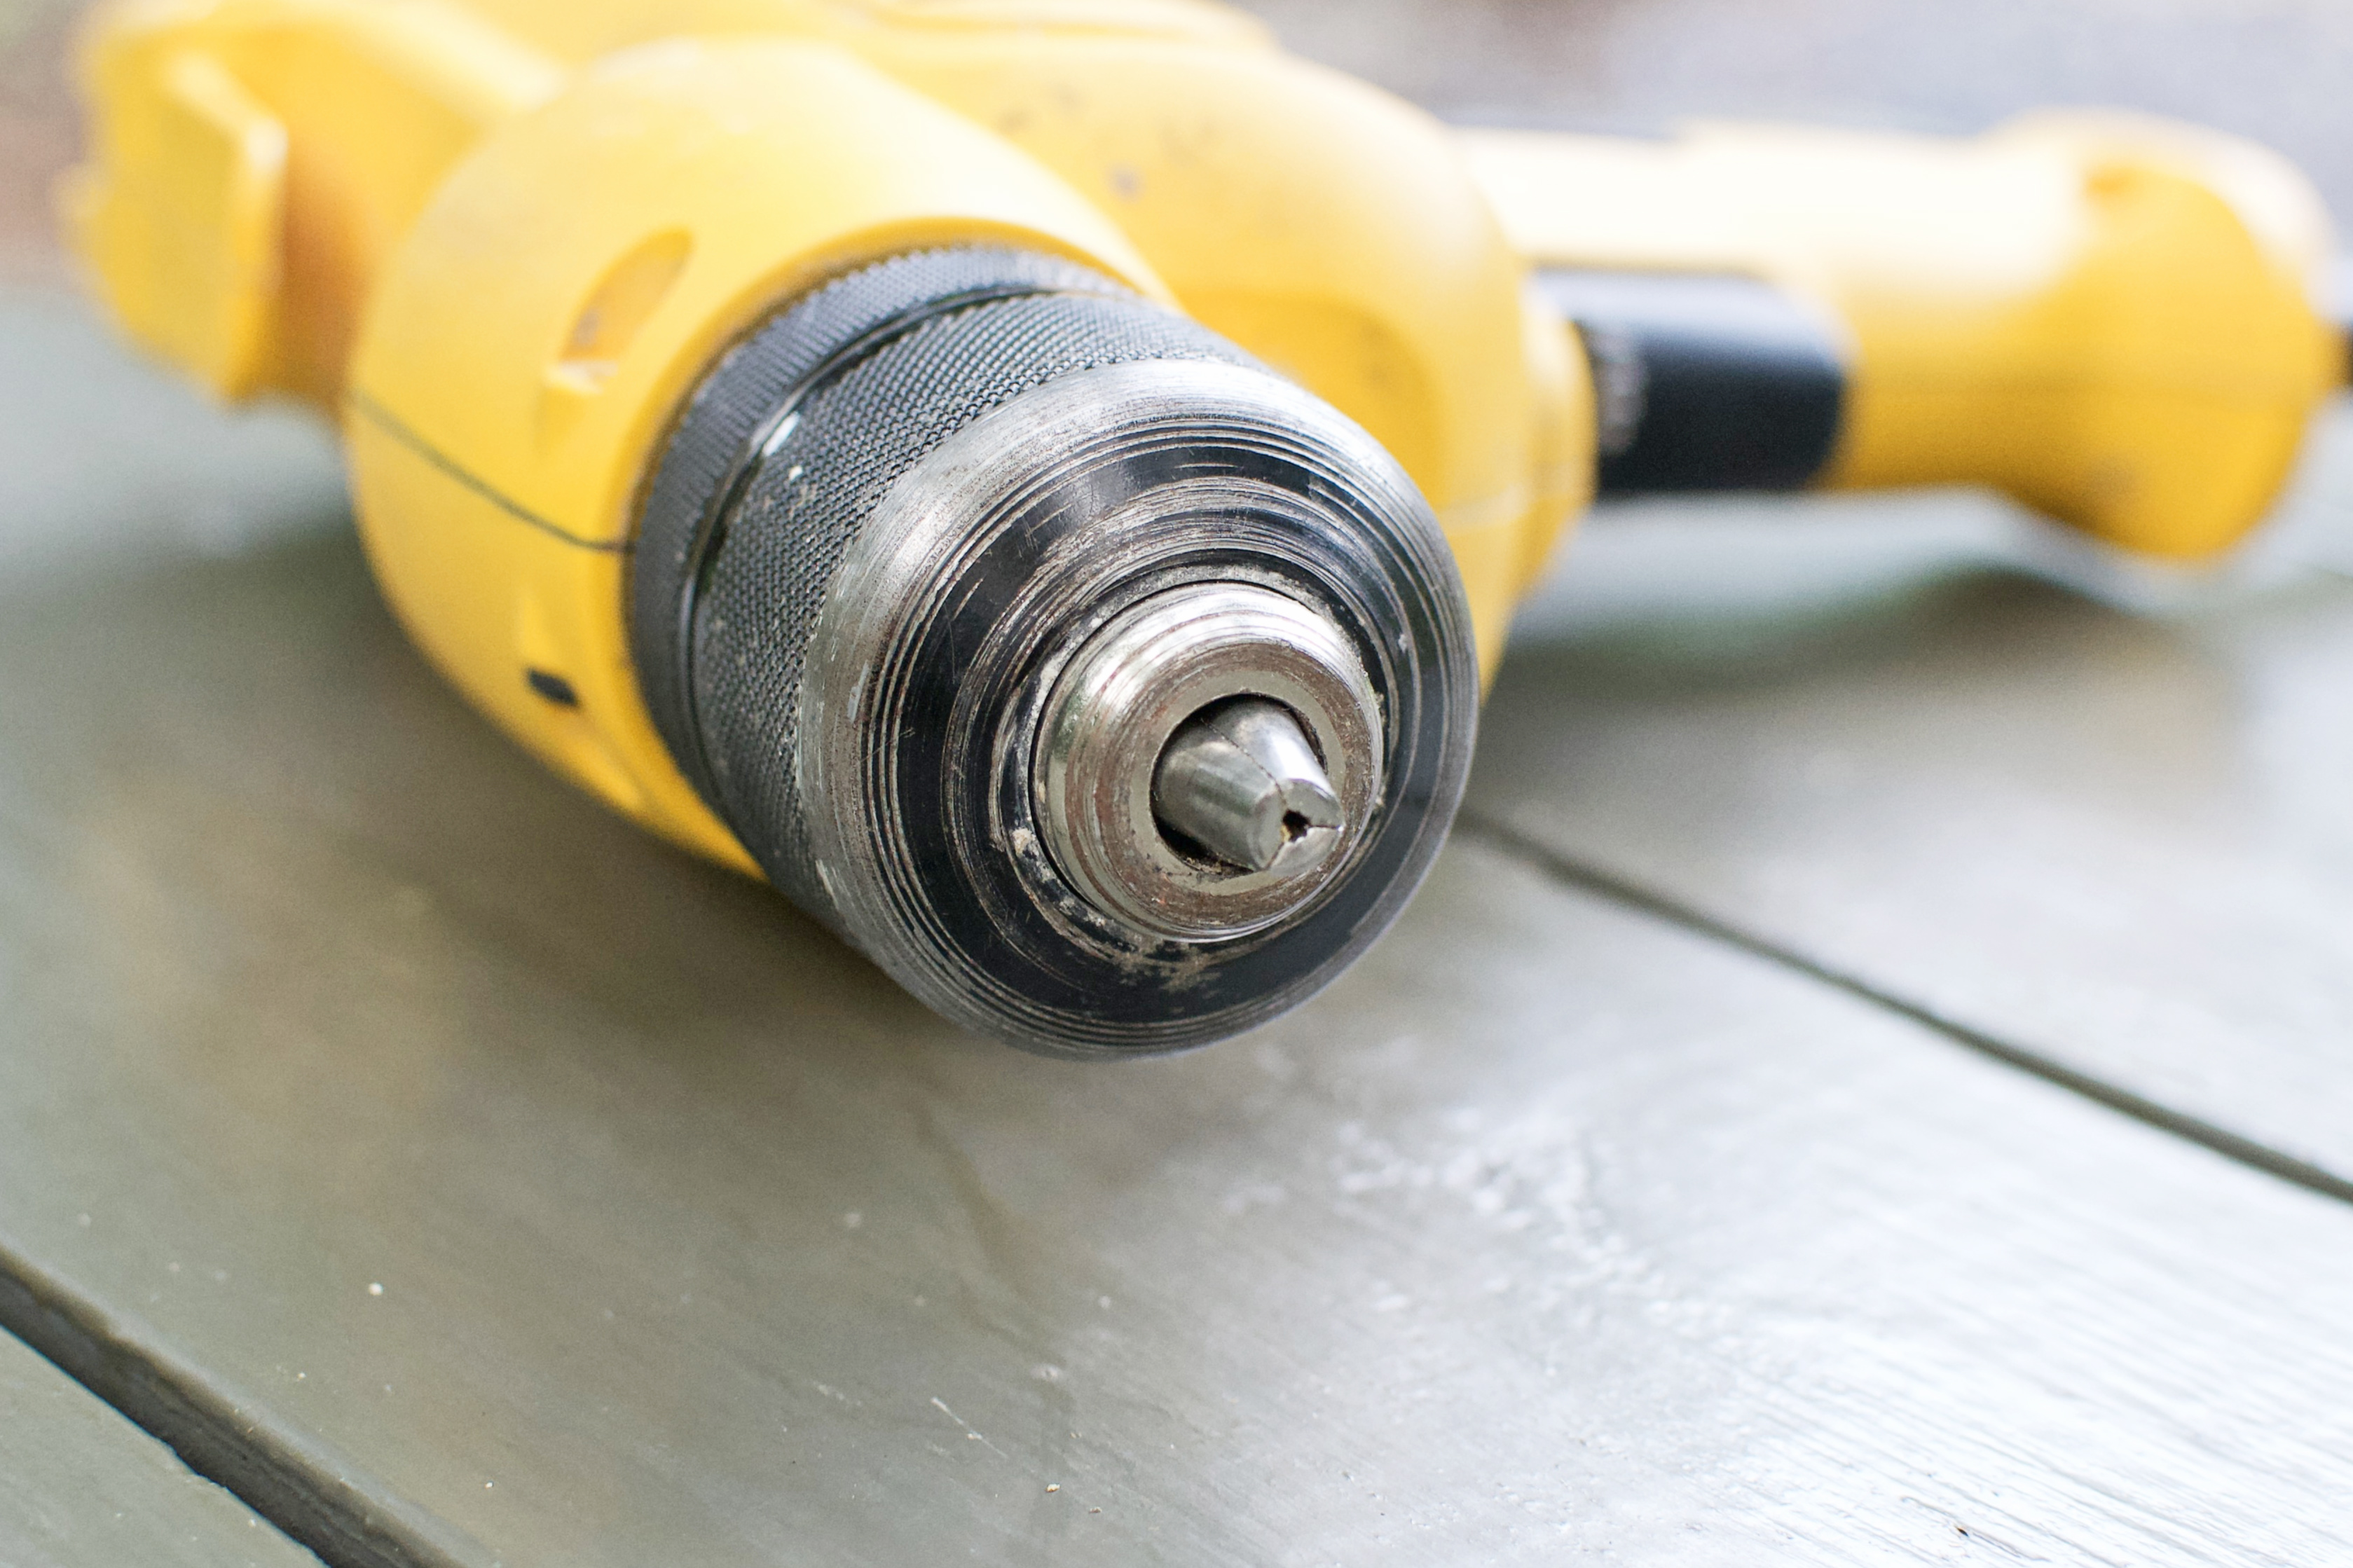
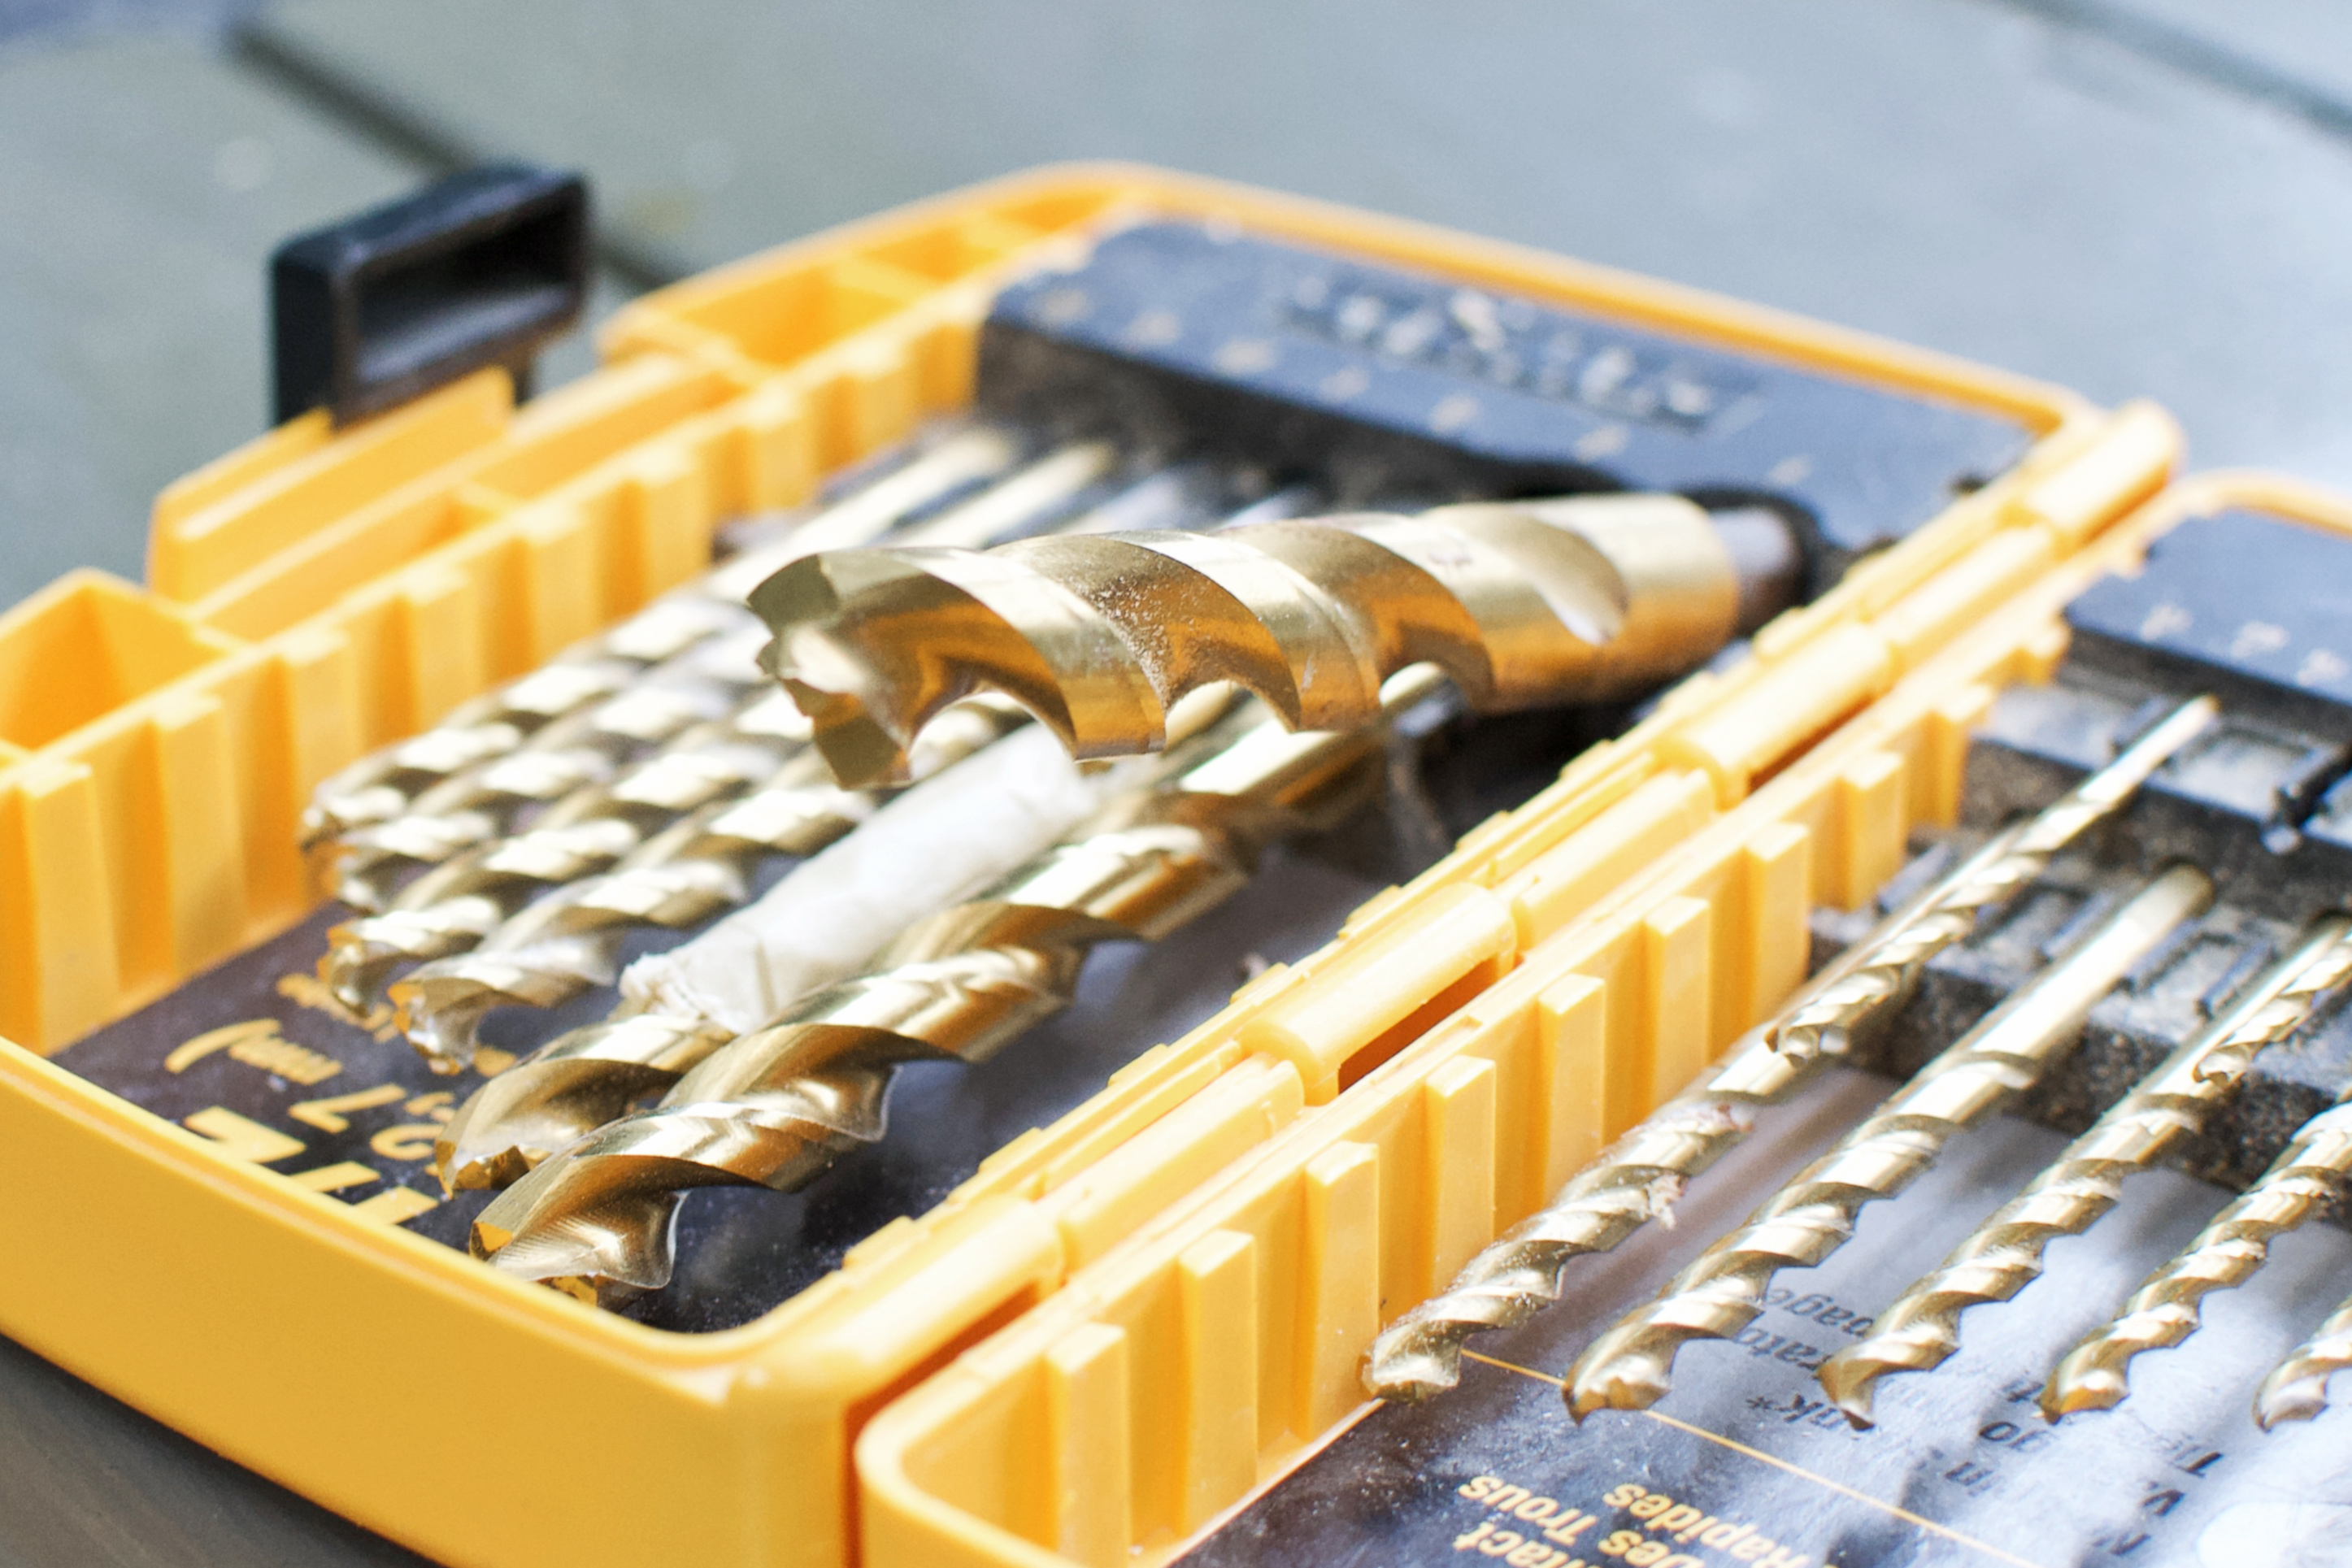
- Bits. Be sure to snag a quality set of drill bits for predrilling pilot holes. Spade bits for larger, quicker and uglier holes in wood. Hole saws jump up in price but offer a much cleaner cut for visible application.
- No clutch! If you opt to drive screws, be very careful.
- The user manual.
DEWALT [Rotary] Hammer Drill.
- Uses. Heavy-duty recommended. With a higher price tag, only purchase one if you’re planning to drill into very hard materials like concrete, stone, brick, etc. Or mixing huge batches of mortar. For a one-time use, borrow one from a contractor friend or rent one from your hardware store. Set to “rotation” for standard predrilling and hole making.
- Mode selector. Some models offer 2 modes: “rotation drilling” with a drill bit icon, and “percussion drilling” with a hammer/mallet icon. “Rotation” is simply a higher RPM standard corded drill. “Percussion” impact AND rotates at the same time, ideal for concrete / masonry drilling. “B” in Figure 1 below is the mode selector.

- No battery! Limited to an outlet.
- Reverse slider. Change the rotational direction with the slider directly above the trigger. “D” in Figure 1 above.
- Trigger lock. Enables you to keep the drill running without trigger pressure. “F” in Figure 1 above.
- Chuck. Most rotary hammer drills start at a minimum of a ½” chuck per the heavy-duty use. “A” in Figure 1 above.
- No clutch! Driving screws is not advised. One slip of the trigger and you’ve completely stripped a screw head. However, set to “rotation drilling” if a cordless drill with a clutch isn’t available.
- The user manual.
Get to drillin’.
Now get out there and tackle a DIY project. Better yet, create two lists. The first list: the seemingly urgent, nagging small projects that should only take 30 minutes to a couple hours. The second list: the half-day to week long larger scale projects. Prioritize the most important, most peace-of-mind yielding, highest ROI items at the top of each list. Snag your calendar, assess your margin over the next month, and begin by adding 1 small project per weekend. Feasible, right? Able to make time for a larger project in the next couple months? Research the cost, budget accordingly and slap it on the calendar when sufficient funds will be saved up.
What’s your next project? Excited to hear all about it.




Hi, I like your step by step instruction about using these tools. I am a new user of the hole saw, So, I need some guidelines how can I use this more smoothly. If you had more insight into it I would much appreciate it. Thanks for the sharing such an informative article.
Hi, Michael!
I’m so glad you found our article on drills helpful.
Are you using a hole saw to cut metal or wood? Or perhaps a core bit for cutting stone, brick, cement or concrete? What goal are you trying to achieve? All applications will benefit from using a high powered drill. We recommend a corded drill for light-duty jobs or rotary hammer drill for heavy-duty jobs. A cordless drill with clutch will work if it’s at least 18V – just make sure to turn the clutch setting to the highest number or to the bit icon. The bit icon disengages the clutch for raw power without stopping at a certain torque.
For wood: let the drill do the work. Take your time, or else risk overheating the saw blade carbide tips, smoking the wood and completely dulling your hole saw. If this has already happened, it’s time to invest in a new hole saw. If you’re using a spade bit, make sure to use two hands as this approach is very rough and rapid.
For metal: let the drill do the work (sensing a theme?). Apply little pressure and expect the cut to take a long time. If possible, apply a thin, cool stream of water to the blade the entire time it’s cutting. The water will cool the blade to avoid completely dulling it. It may be necessary to take a rest every 5-10 seconds to cool the entire blade by submerging it in cool water.
For masonry: a rotary hammer drill is almost essential. Your core bit will dull just like with wood or metal above, so be sure to apply a thin stream of cool water while drilling. Apply light, even pressure. If the bit gets overheated, let it rest in cool water for a moment.
This guide is amazing and very informative, further, I want to add that Choosing the best cordless drills isn’t easy since there are so many competitive, quality options on the market. With so many brands with different models and varying features, we’ve decided to make your life easier. Cordless drills have really come into their own in recent years with so many improvements in aspects such as the size and weight as well as battery life. As such, there’s no reason why you can’t find the perfect product for you in today’s market. After all, there’s a range of products to suit all budgets and working needs.
Thanks for sharing, Mansha! Definitely agree. It’s a buyer’s market. We’re just glad to see the affordability of quality drills and how that empowers the greater DIY community.
By the way, nice drill comparison website. Cheers!
I am 63 years old, and I would like to know which model would be ideal for me. I want to have my tools and do things for myself, but sometimes, I find it challenging to use this type of devices.
Thanks for sharing the topic. Encouraged to check it out.
Glad to hear it, Barry. Let me know if you have any questions.