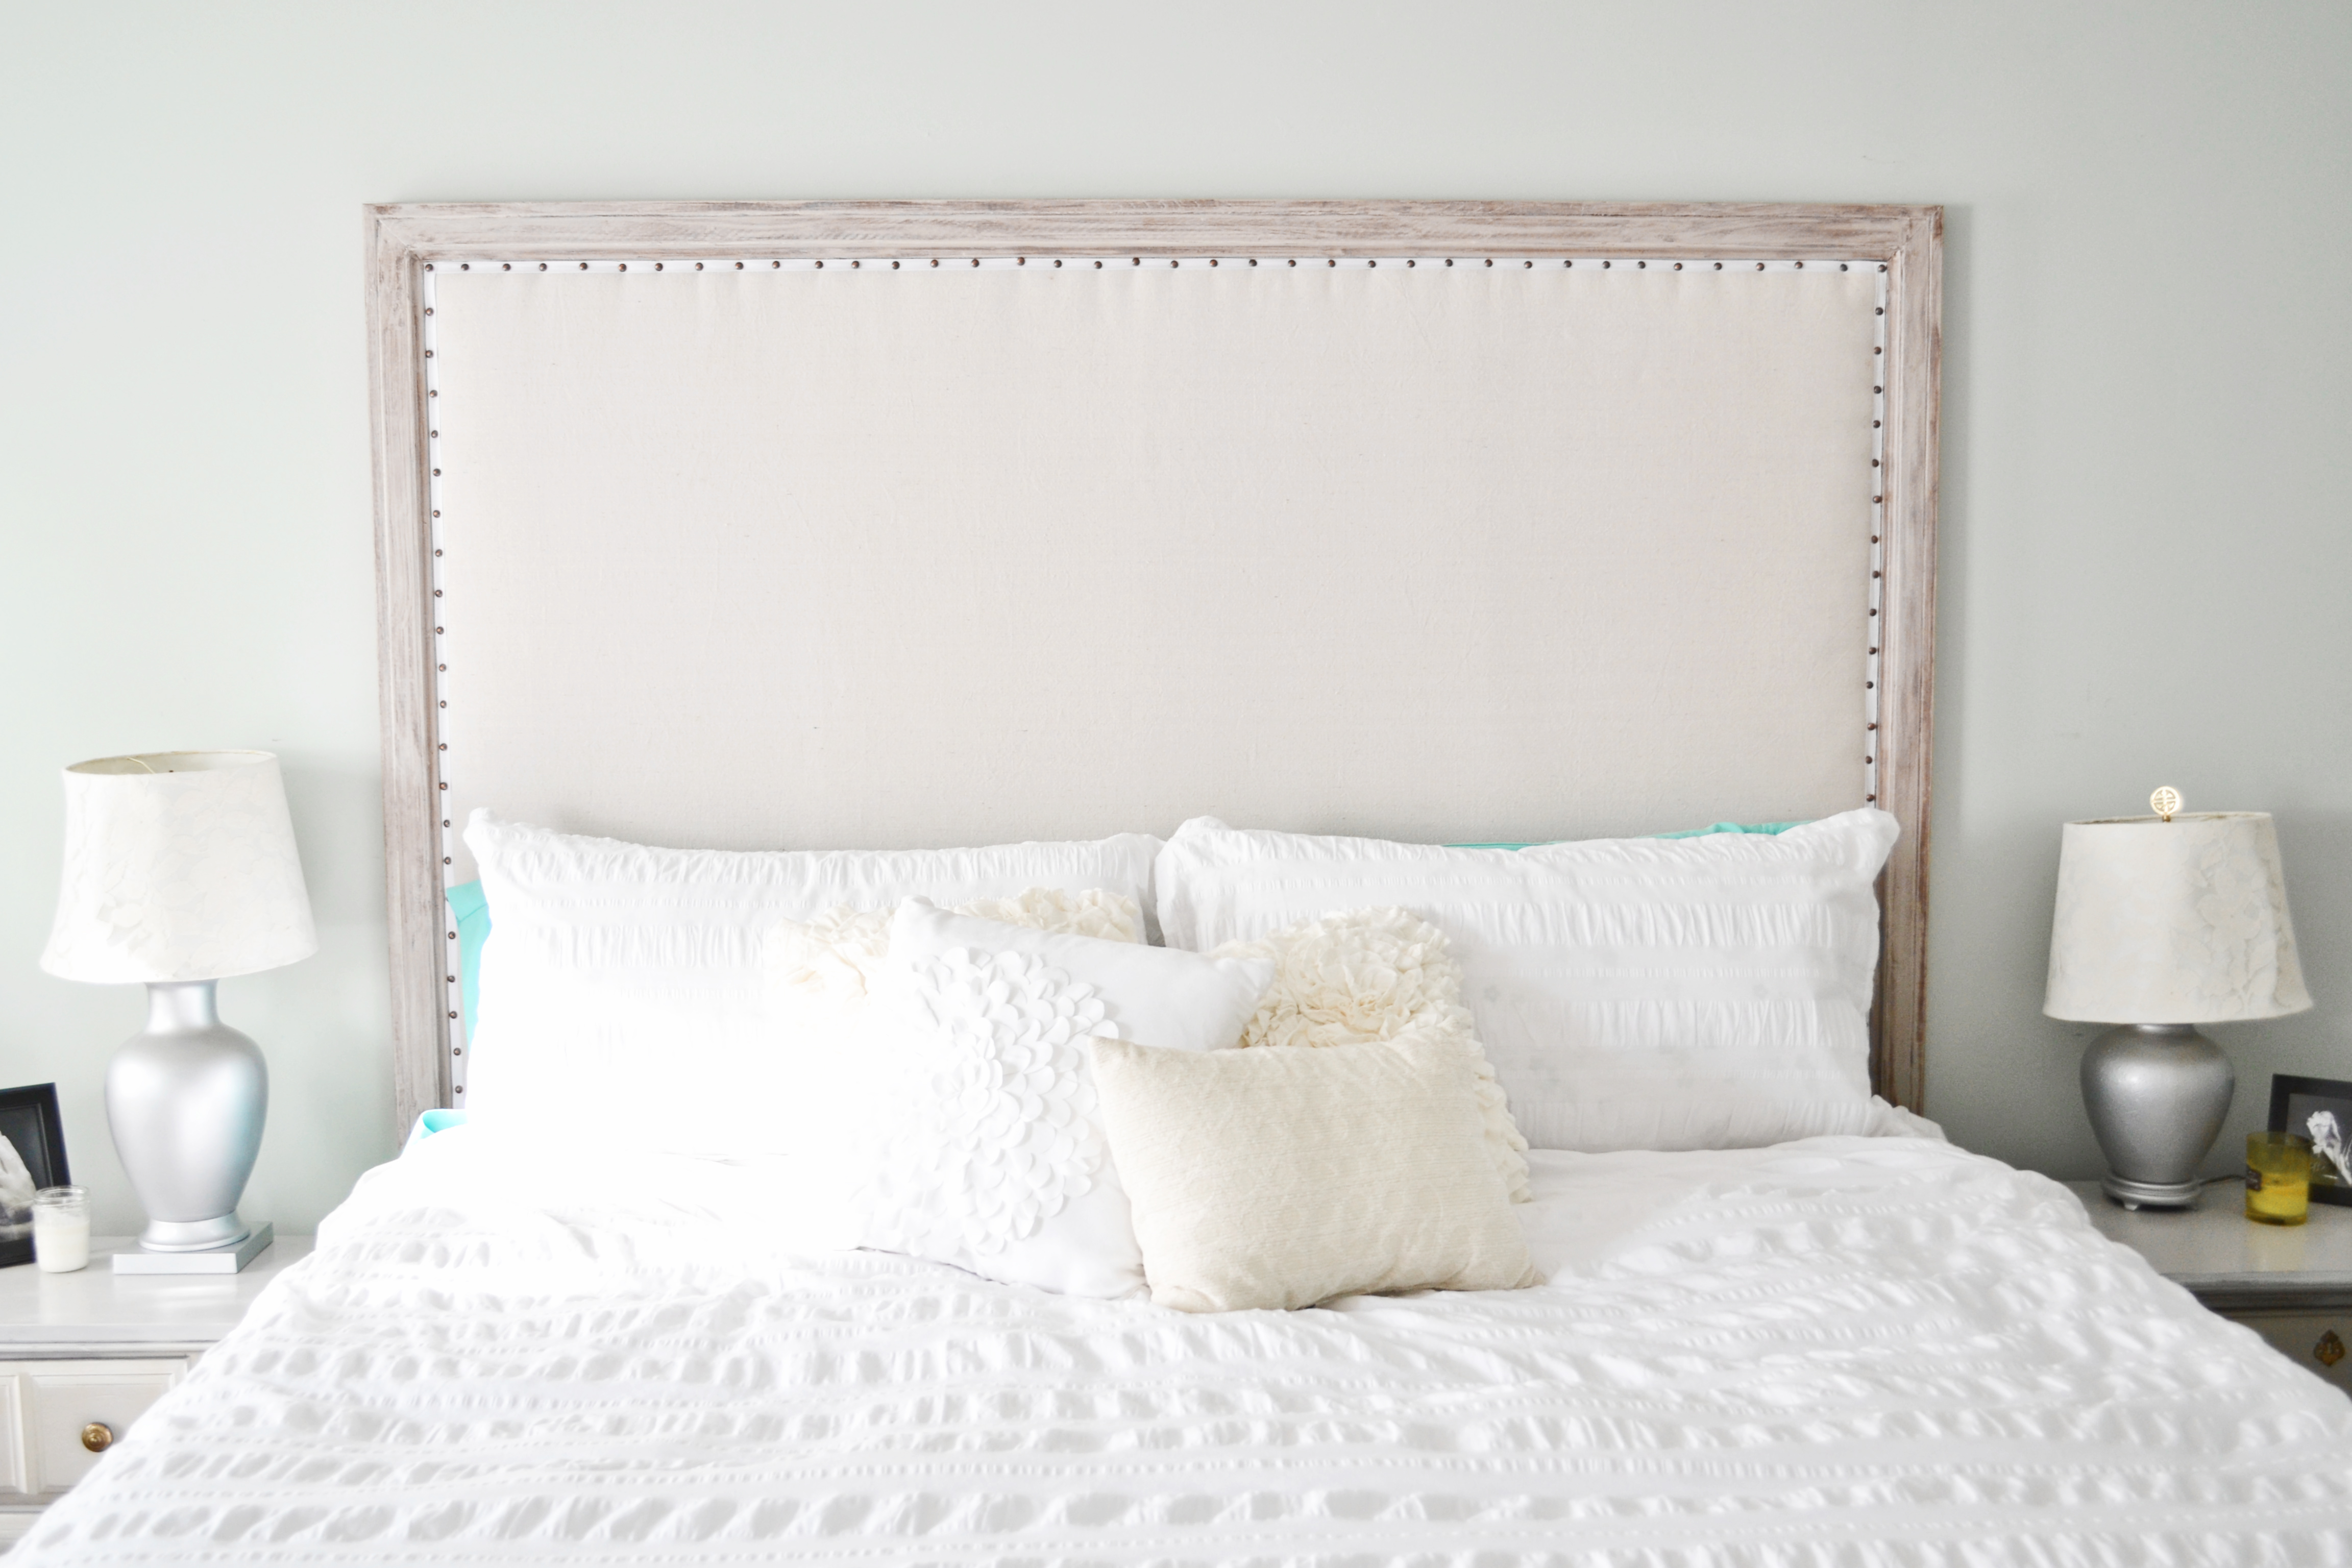
Welcome back, DIYer! Part I was quite the journey (the build). This is Part II of the Restoration Hardware copycat headboard tutorial. We’ll be covering the “finishing” component in this post: painting the casing, waxing the casing, adding white ribbon to the edge of the fabric and hammering on some nailhead trim.
Recap of Part I – The Build
You goo-goo’d over Restoration Hardware’s rustic modern headboard designs. Nearly BM’d when you discovered the down-payment-on-a-house price equivalency. Almost bought a showroom just to breathe in industrialized cowhide air. Realized doing the nebulous “it” yourself would save you $800 bones. Built said “it” by the sweat of your brow & the blade of your saw. Spent the savings on a plane ticket, youth hostel and Uber to innocently stalk the HGTV-star-who-shall-not-be-named. And WHAM-O. Questionably impulsive judgment got you THIS (painfully undramatic effect… just scroll down a little). Now to pretty it up.
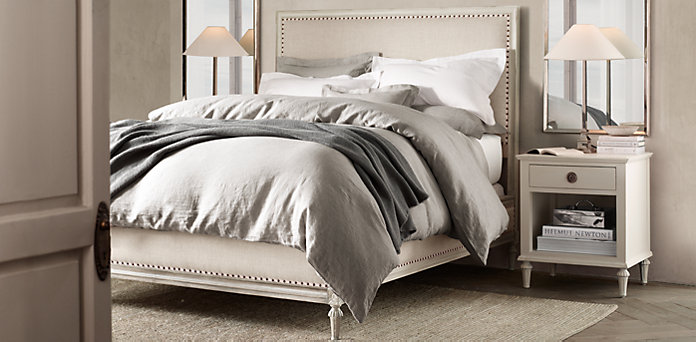
Did you catch the price difference?
- $2,595 = Restoration Hardware’s king-size Maison Upholstered Bed in Antiqued Grey Oak, including the bed frame and headboard.
- $1,000 = If they sold the headboard separately, I’d estimate it to be listed at at least $1,000 or more.
- $200 = We made one for less than $200 bones, ALL materials included.
How to finish a rustic modern headboard
Materials
- Antique brass hammered upholstery nails at $1.30 per pack of 20. Buy (5) packs totaling $6.50 (100 nails).
- White grosgrain ribbon 5/8″ wide. 50 yard roll for $6.88.
- Construction adhesive (Liquid Nails), 1 tube for $2.58. Caulk gun for $3.97 if you don’t have one. If you just build the headboard in part I, this is just a reference point.
- Paintbrush. (Cheapest 3-pack of paintbrushes at Depot – save the nicer brushes for coats that won’t be covered in tinted wax. Not included in the budget).
- (2x) Behr Gentle Rain paint, sample sizes, matte sheen, $3.27 each. (2) total $6.54. It’s a soft gray. One for each coat.
- Any brown paint you have lying around your home. Only need about a tsp.
- Minwax paste finishing wax, 16 oz. can for $14.64 (not seeing it sold online at Depot anymore).
- Painter’s tape, 60 yards for $3.58.
Tools
- Hammer. – Best 20 oz. beast I’ve ever had.
- Scissors.
- Needle nose pliers.
- Pencil.
- Measuring tape. (Mini-version for ease of use, 12 ft max length or get this one: Up to a 26+ ft measuring tape to for rooms, framing, joists, etc).
- Old rags.
- (Optional) 2 saw horses. Functions like a portable workbench.
Budget Recap
- Part II (finish) cost ONLY = $44.69
- Total project cost (part I, II & III) = $216.79
- Total project cost (part I, II & III) for DIY regulars = $152.98
Note: DIY regulars should be able to subtract up to $63.77 from the total cost per standard household building materials. E.g. brad nails, construction adhesive, caulk gun, staples, wax, screws and stapler.
Step 1. Tape.
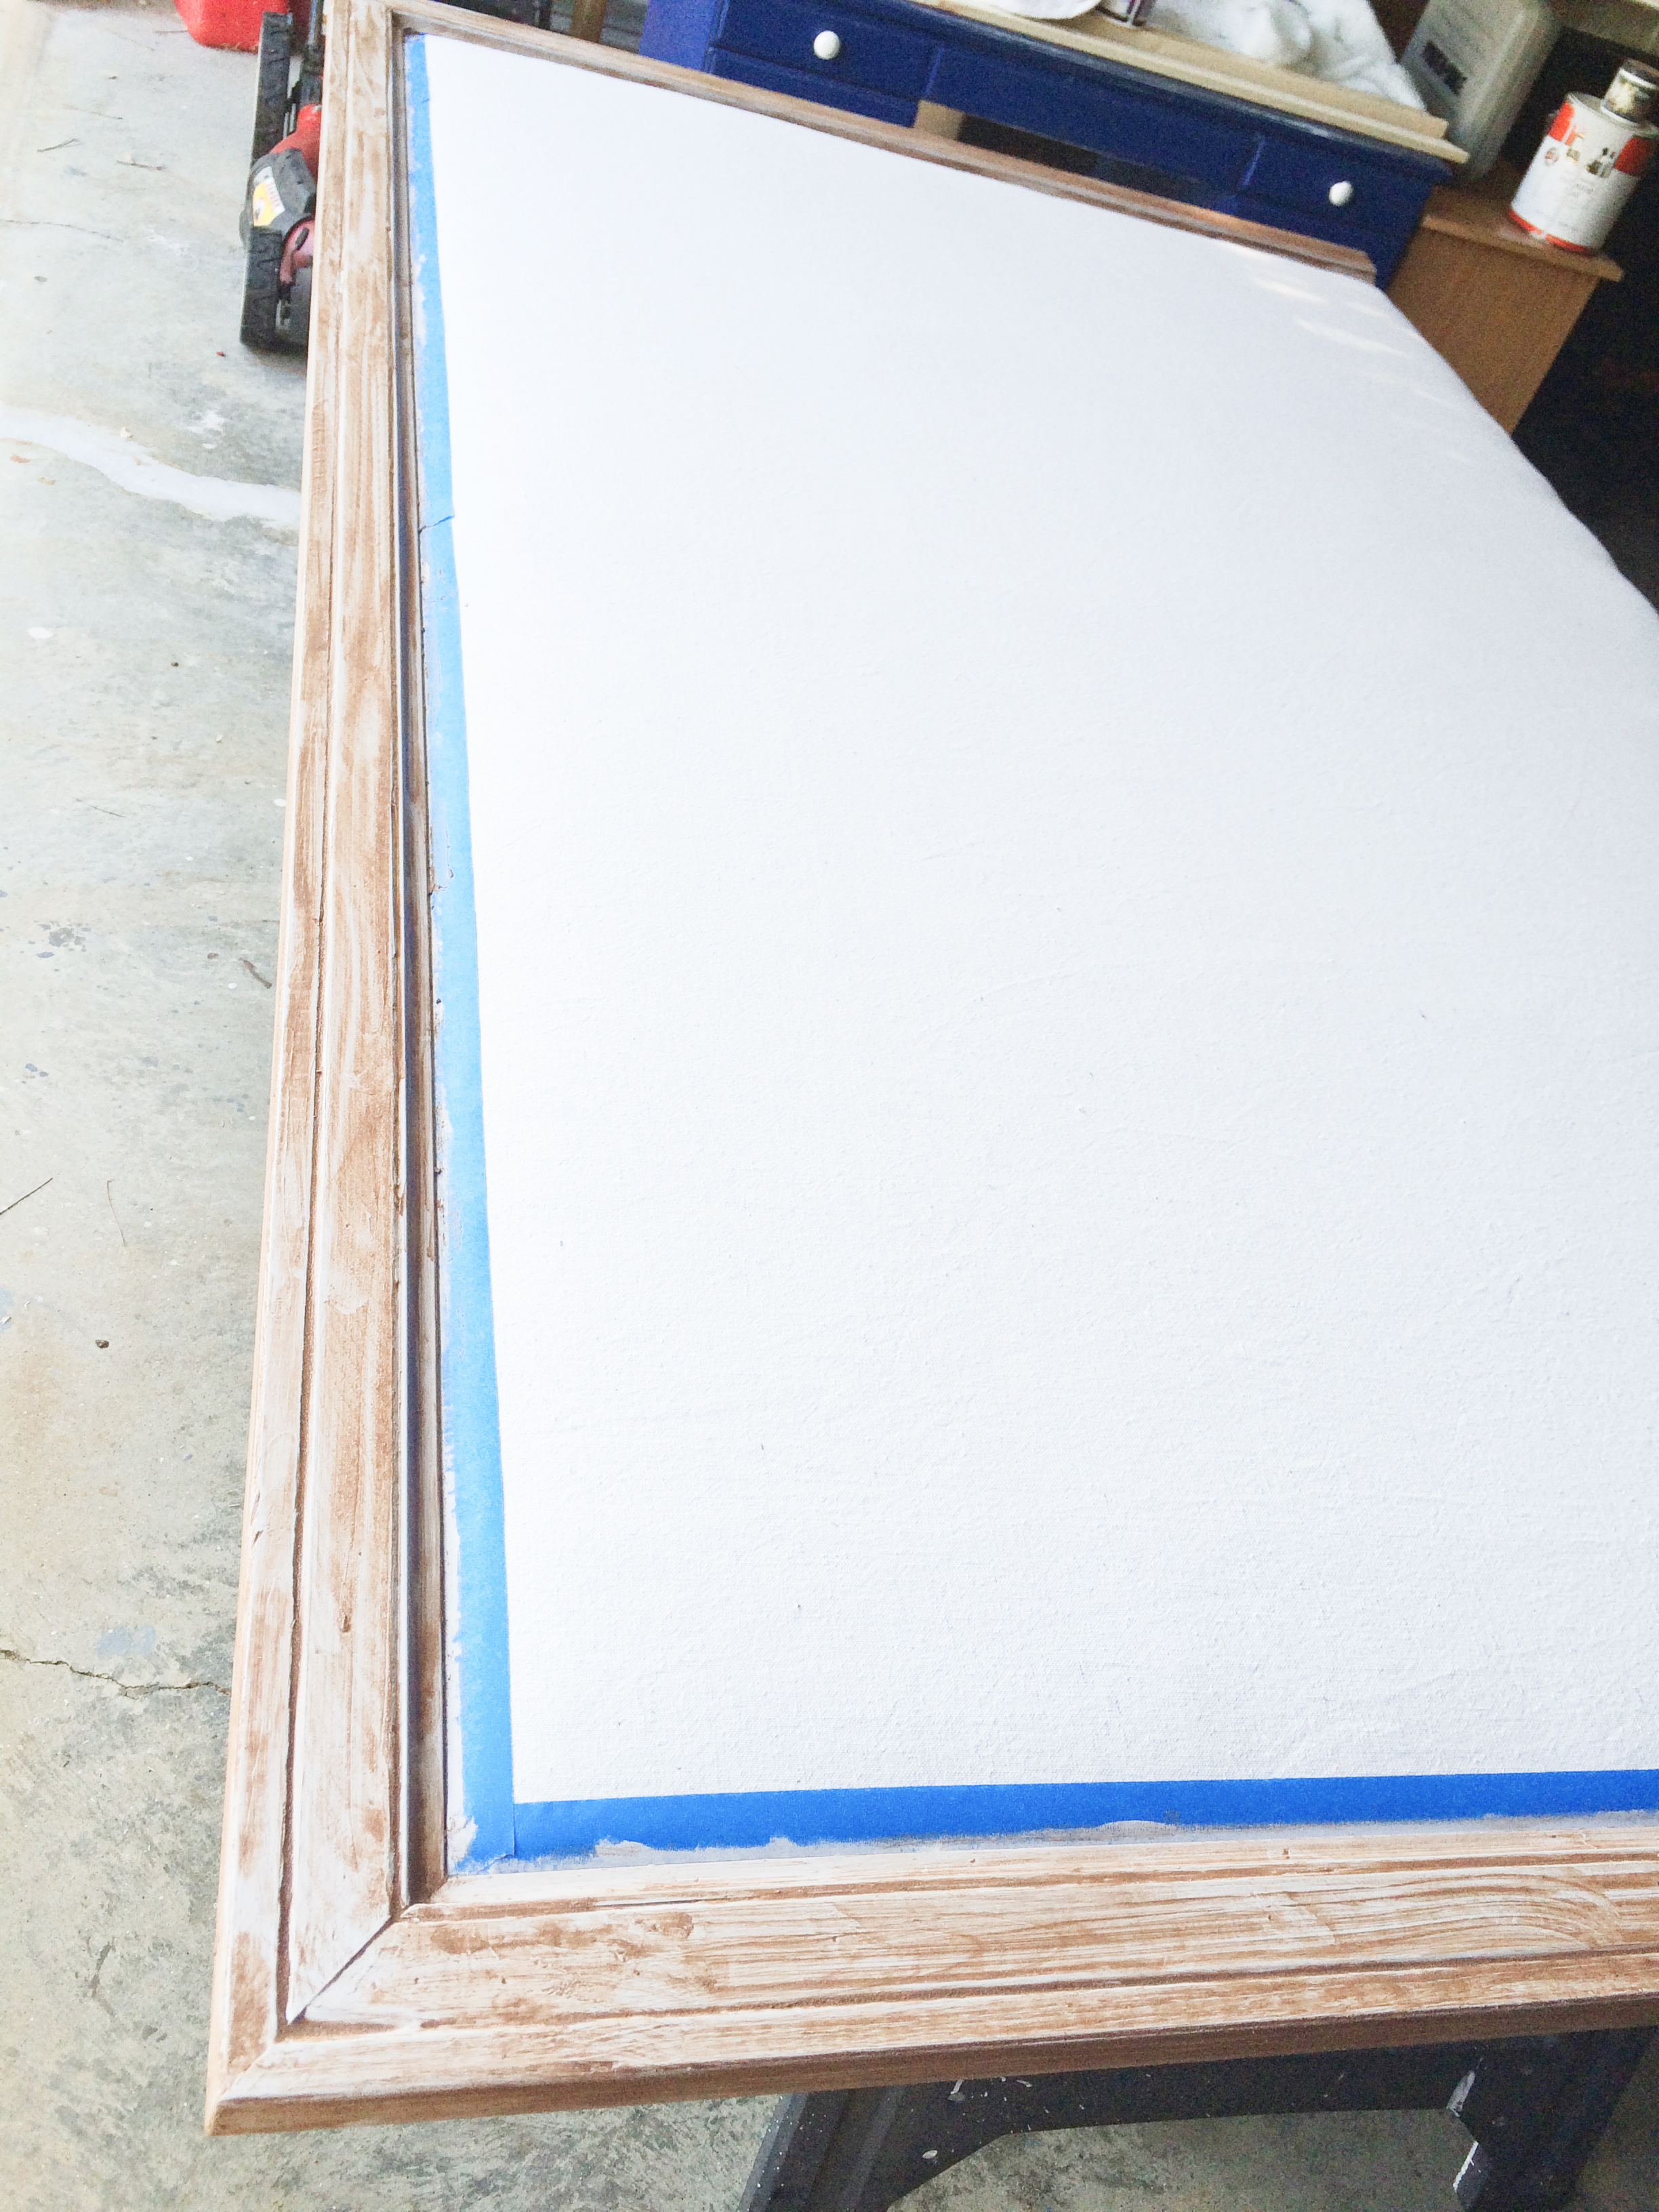
Set up your headboard pretty side up on 2 saw horses to save your achy back. (Or a table or workbench or whatever you’ve got.) At this point, the door casing trim should be attached to 3 sides, not painted and not stained (raw). The drop cloth canvas appears to be eaten by the casing. Yet it needs a bit more visual interest.
Don’t paint yet! Tape first. Tape is forgiving – canvas is not. Apply your painter’s tape adjacent to the inside edge of the casing, directly on the canvas. You don’t want to see any fabric peeking through a crack between the tape and casing.
Step 2. Paint.
Pull out any old paintbrush. Old & busted is quite all right considering these 2 coats of paint will be covered by tinted wax. Save your ritzy paintbrushes for the final paint coat finishes (not this project).
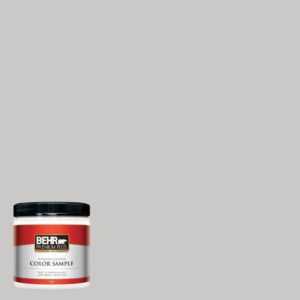
Crack open your sample of Behr Gentle Rain, matte sheen and thoroughly mix it with a clean stirring stick. Then dip your brush in the sample and go to town. Apply an even, medium coat to the outer edges, face and inner edges of the casing. Allow to dry for at least 1 hour or according to the direction on the paint container.
After sufficient dry time, repeat for a second coat as needed. Let dry for at least 1 hour. Low temperatures and high humidity can dramatically elongate dry times.
Step 3. Brown-tinted wax.
Once your second coat of paint is completely dry (0% tacky to the fingertips), it’s waxing time. Not Karate Kid style – this junk better not come off! We’re going to tint the natural colored wax, which is slightly orange / light tan, with paint.
Dig up a plastic container you can designate for DIY or crafting purposes. (Instead of recycling them, we like to save containers from things like sour cream and yogurt, run them through the dishwasher and then use them for purposes such as this. Scoop out ~1/4 cup wax into the container and mix with 1/4 tsp of brown paint. This brown can be left over from any previous creative venture. Thoroughly mix with a clean wooden stirring stick until the pigment is fully incorporated.
Take an old rag, scoop out a small chunk of brown-tinted wax with the rag and evenly apply to every visible part of the casing. Rub it in. Don’t be afraid to use force to spread it out. If you need more, it’s best to blend a new batch or risk changing the color shade. Wipe off excess wax when you’re done applying. Let dry 15 minutes. For real. It solidifies insanely fast.
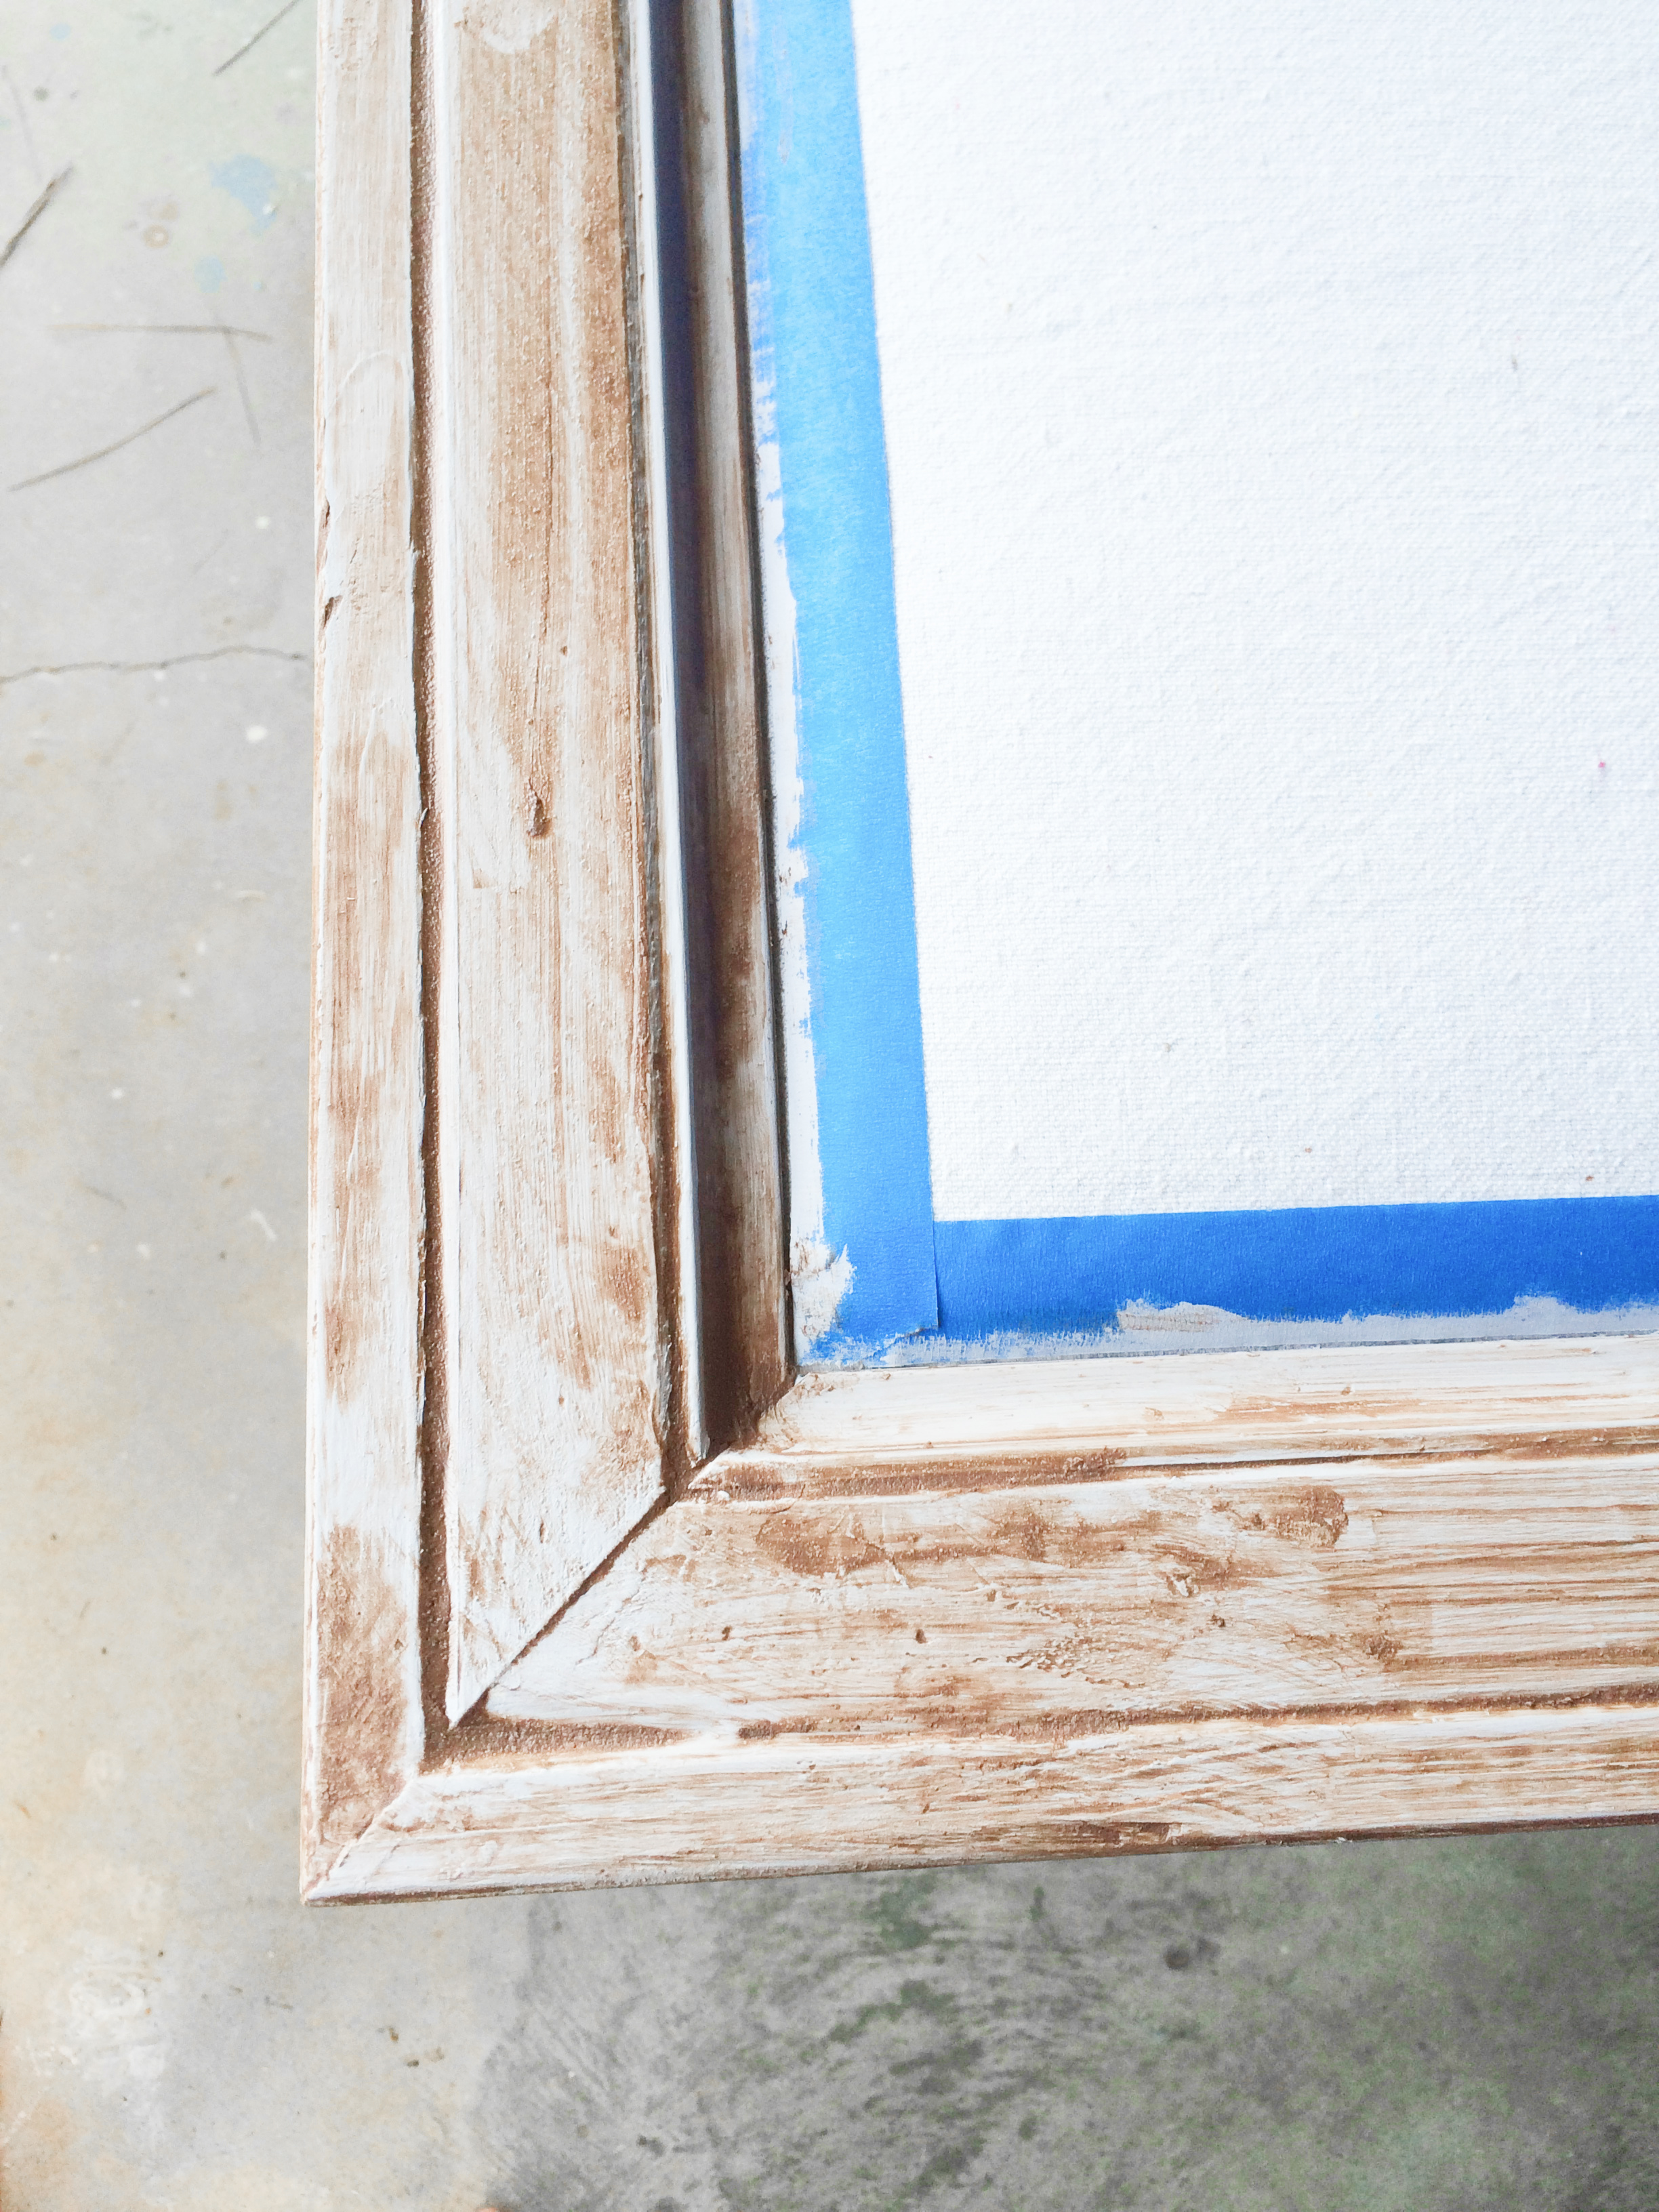
Step 4. White-tinted wax.
Following the guidelines in Step 3, blend a little white paint with a fresh scoop of wax. Evenly apply the white-tinted wax to the casing with a clean rag. Wipe off excess. Let dry another 15 minutes. Side note: if you’ve ever worked with oil-based polyurethane, 15 minutes is a joke. This stuff is seriously fast!
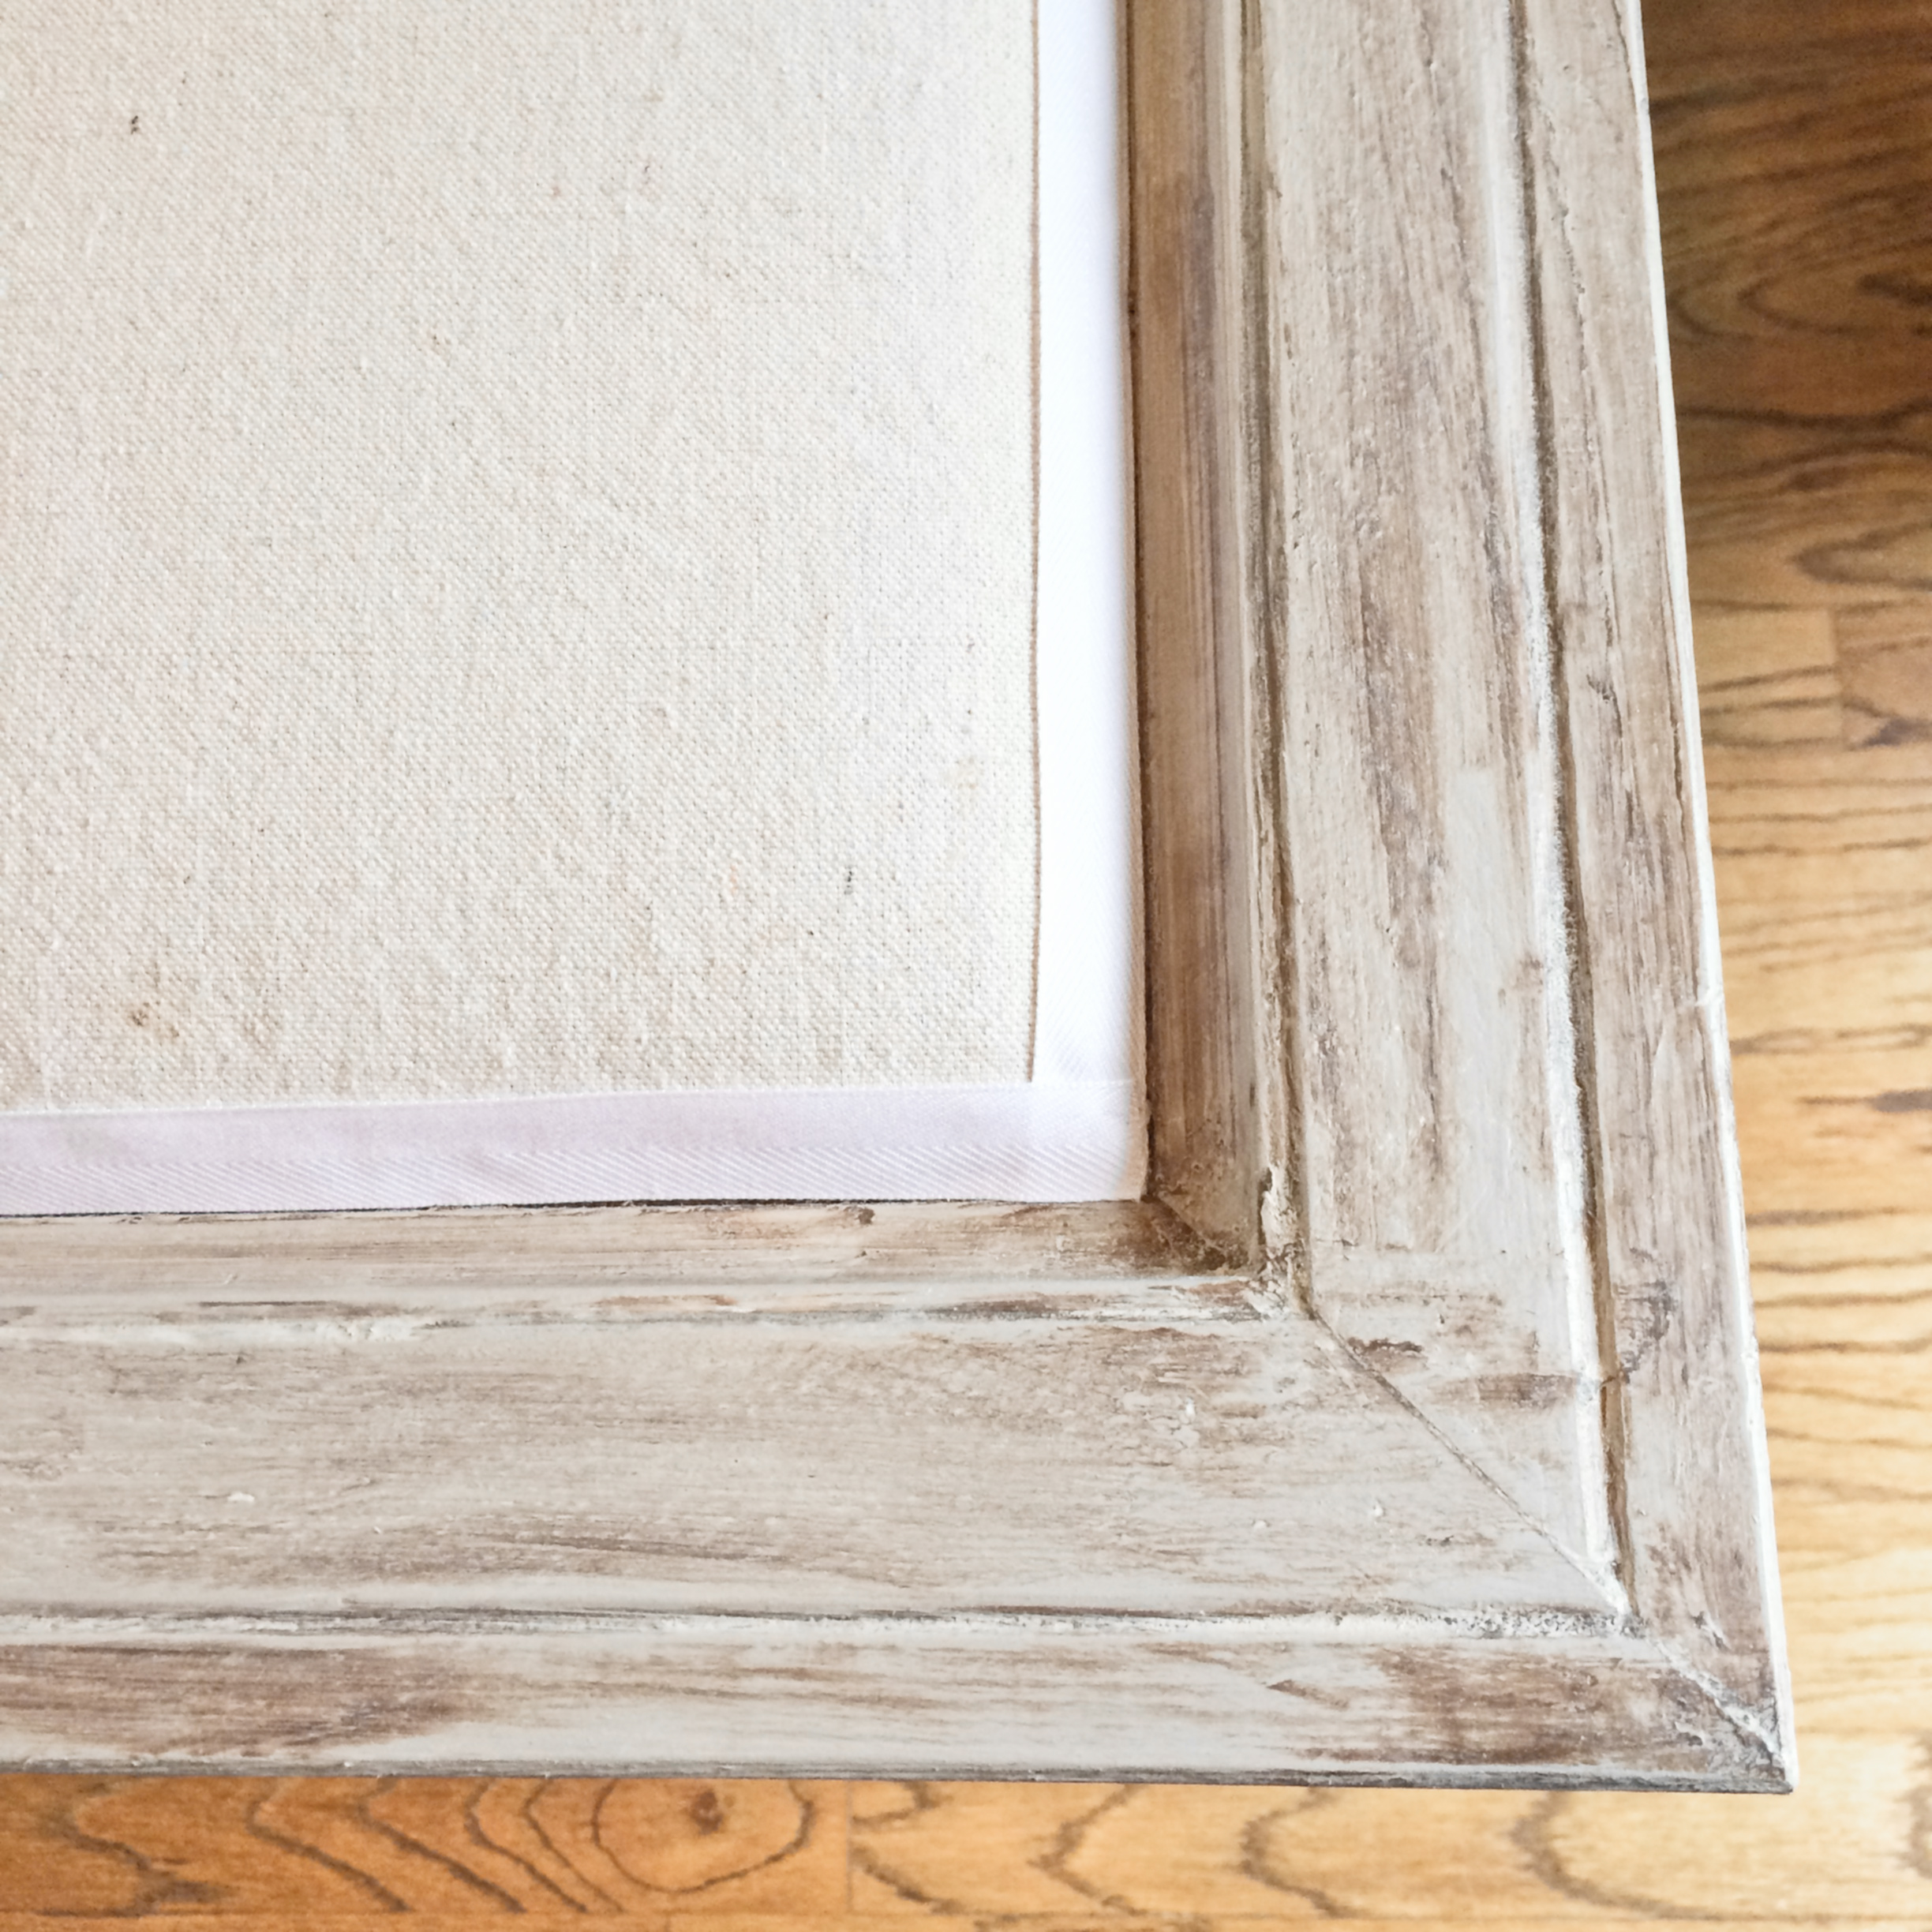
Step 5. Buff (aka your man before kids showed up).
Return to your designer workshop with a fresh rag at the ready. Waxing is donzo. Now it’s time to buff it out and make it shine. Lightly and rapidly rub your rag back and forth on the casing until it becomes slightly shiny. Step back, breathe in the aliphatic hydrocarbon saturated air, and marvel at the piece of art you just created. But not too much or you’ll rock your brain and nervous system. Always read labels.
Step 6. White ribbon.
Locate your construction adhesive tube, caulk gun, and reunite these old friends. With the headboard pretty side up, remove the tape guardrails from the painting stage. Unravel your white ribbon. Glue it to the canvas alongside the edge of the casing (barely touching it). Use a very thin bead of adhesive – you don’t want it running out and showing beyond the ribbon and the nails in Step 7 will help secure it as well. Repeat on all three sides. Allow the adhesive to set up for an hour.
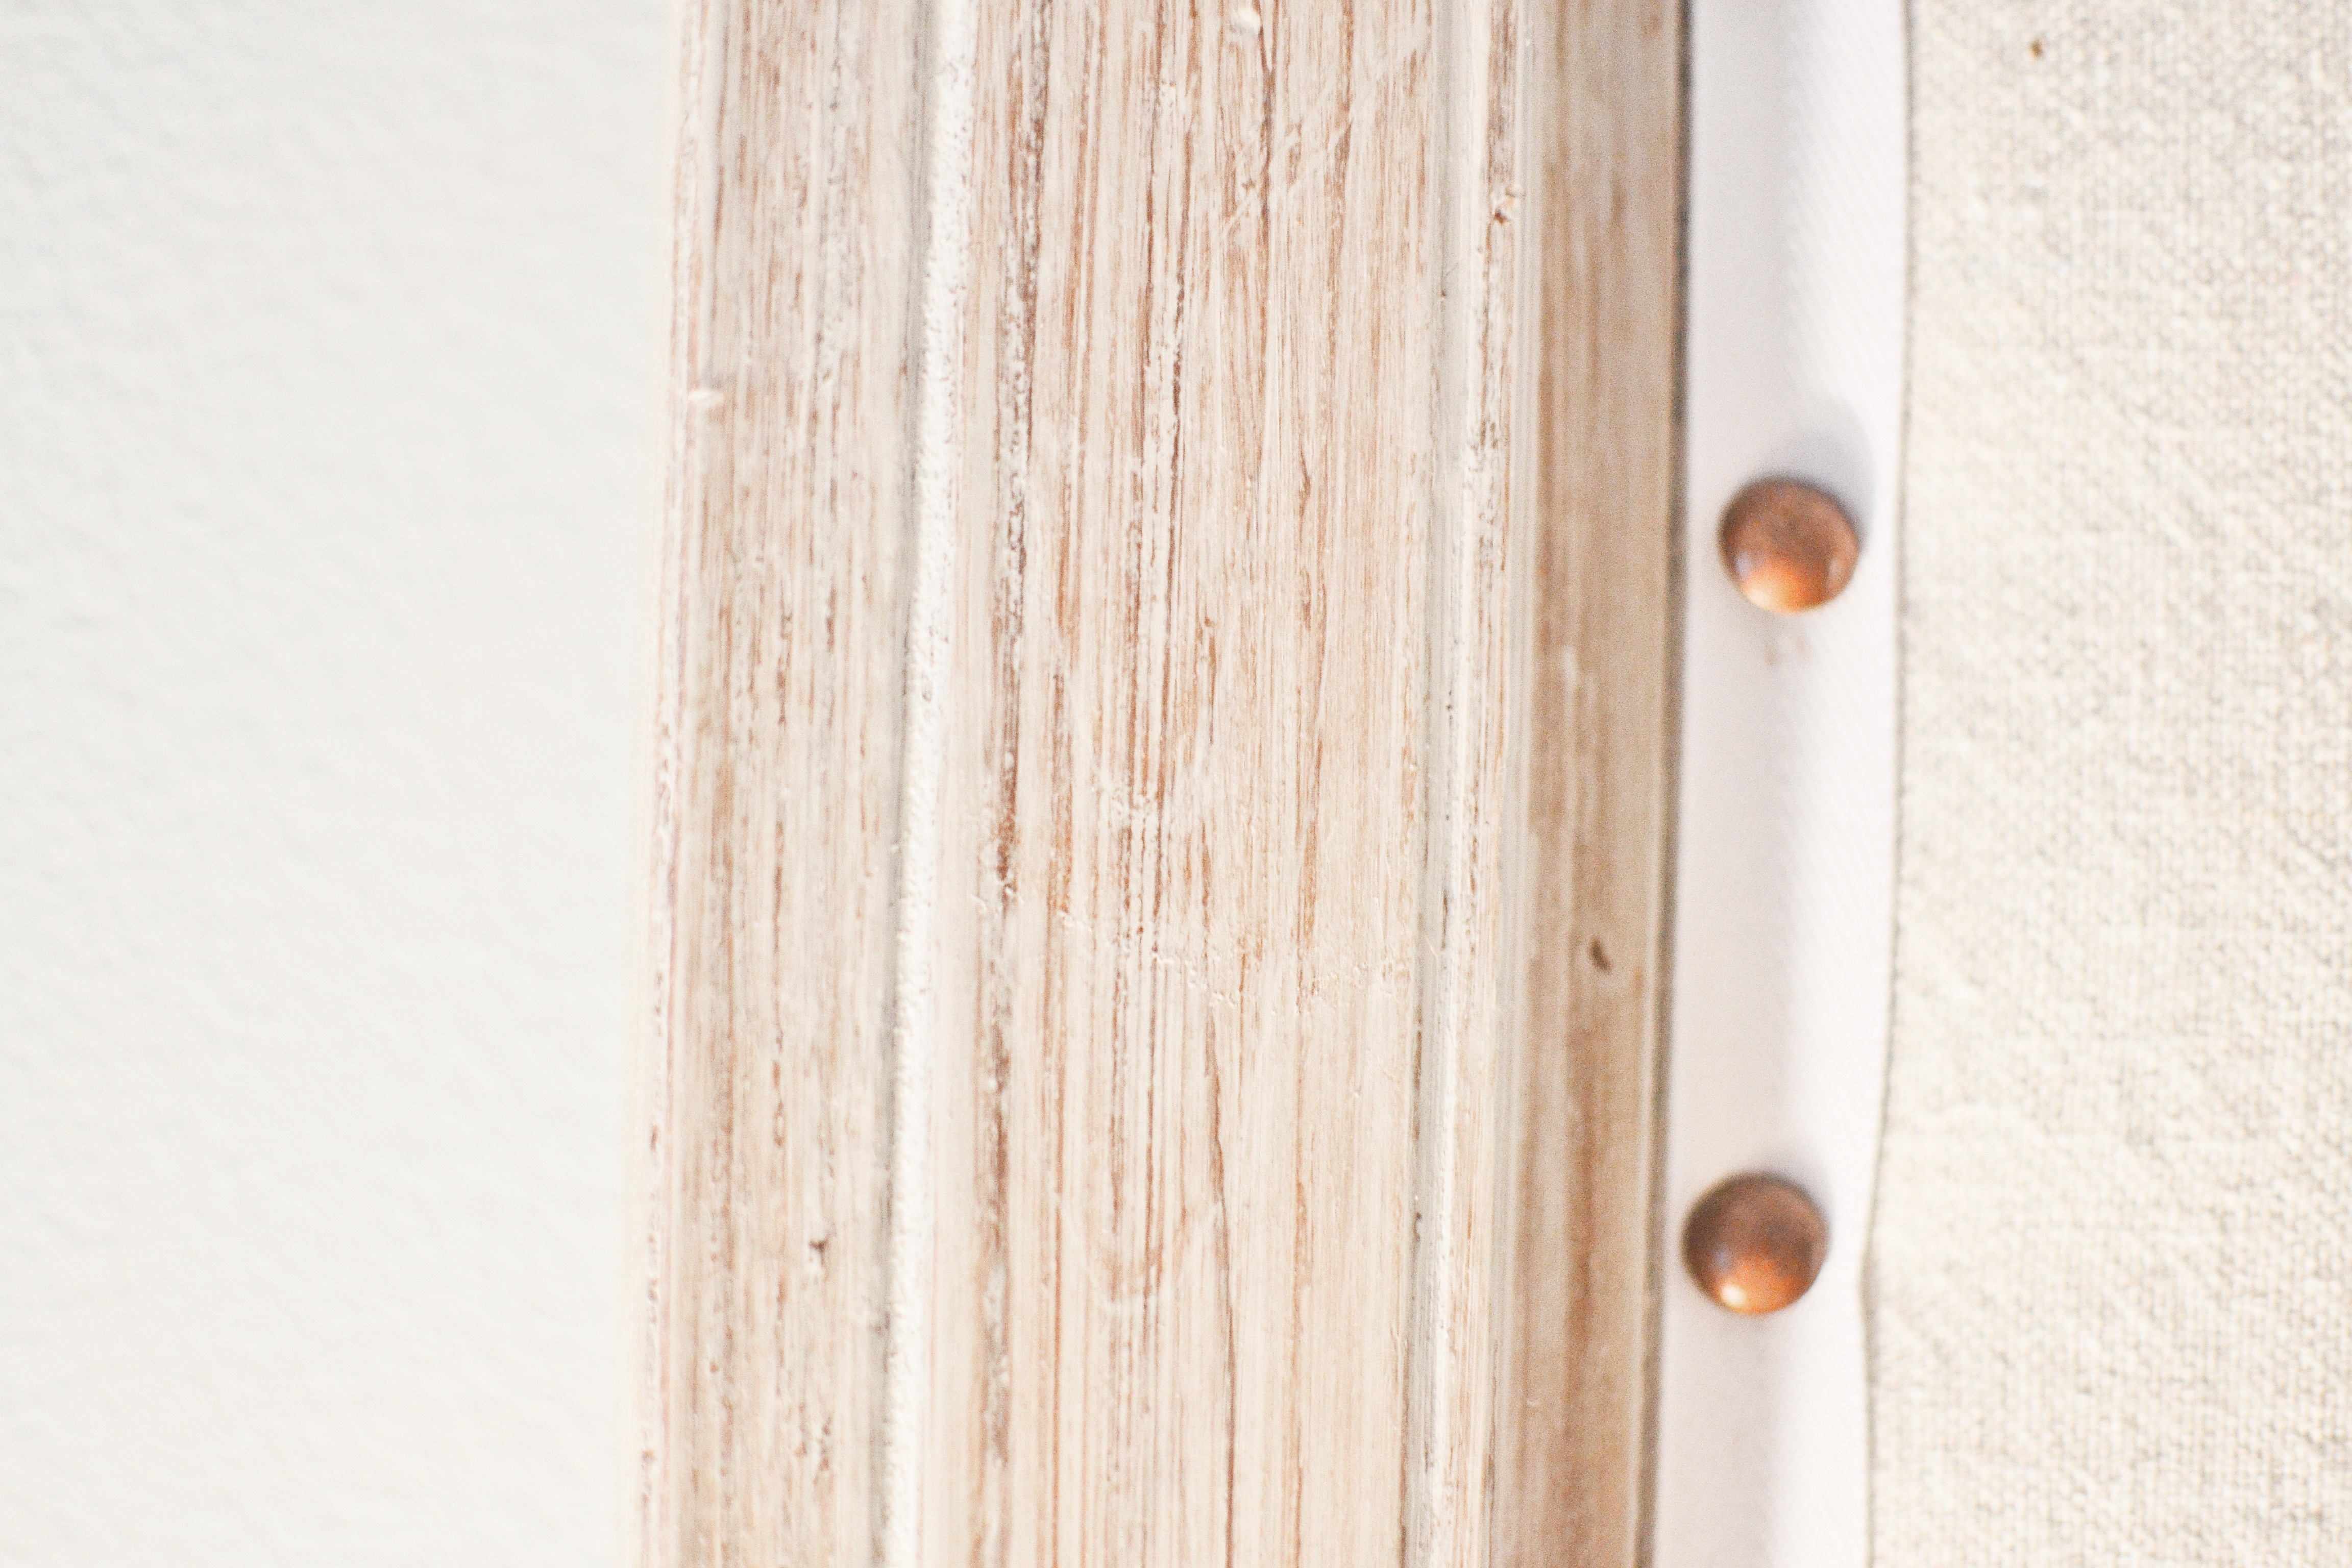
Step 7. Nailhead trim.
Grab your multiple boxes of nailheads, otherwise known as antique brass hammered upholstery nails. If you want perfection, hold your tape measure over each length of ribbon and mark in the center of the ribbon every 1-1/2″. We recommend spacing them out before pushing them in to ensure that the top ribbon will start AND finish in increments of 1-1/2″. It’s no fun to pick up the last nailhead and realize you’re choosing between a huge gap or two tiny gaps. You may need slightly larger or smaller spacing between the nails in order to have even spacing. If you want to wing it, find a piece of wood (or anything) that is exactly 1-1/2″ long and use it to space the nailheads as you install them.
Use your needle nose pliers to hold each nailhead in place as you hammer them into the ribbon. Be careful, but don’t get frustrated. Many will bend in half and fail to penetrate the plywood through the fabrics. Good news: you’re almost there, maker-of-nice-things.
Install, shall we?
Congratulations on completing your scratch-made, hand-crafted, better than Restoration Hardware could manufacture, headboard of your dreams. It’s about time we installed that beaut on the wall beyond master fluff. Dive right in to Part III. Or just skip it, hammer a finish nail into the drywall, toss that feather light piece on the nail and call it a day. Just don’t forget to have a nearby millennial record a video of it when it instantly falls, upload to Vine, and tag me when it’s viral tomorrow afternoon.
