You walk into your bathroom at least twice a day. Raise the little ones full time? We’re talking a minimum of 17 bathroom visits – on a good day.
With all of that foot traffic, you probably have some burning interior design opinions. An almost literal laundry list of small upgrades, fix-its, improvements and renovations that would take your bath from wonky to wow. Shab to chic. Turd to firebird.
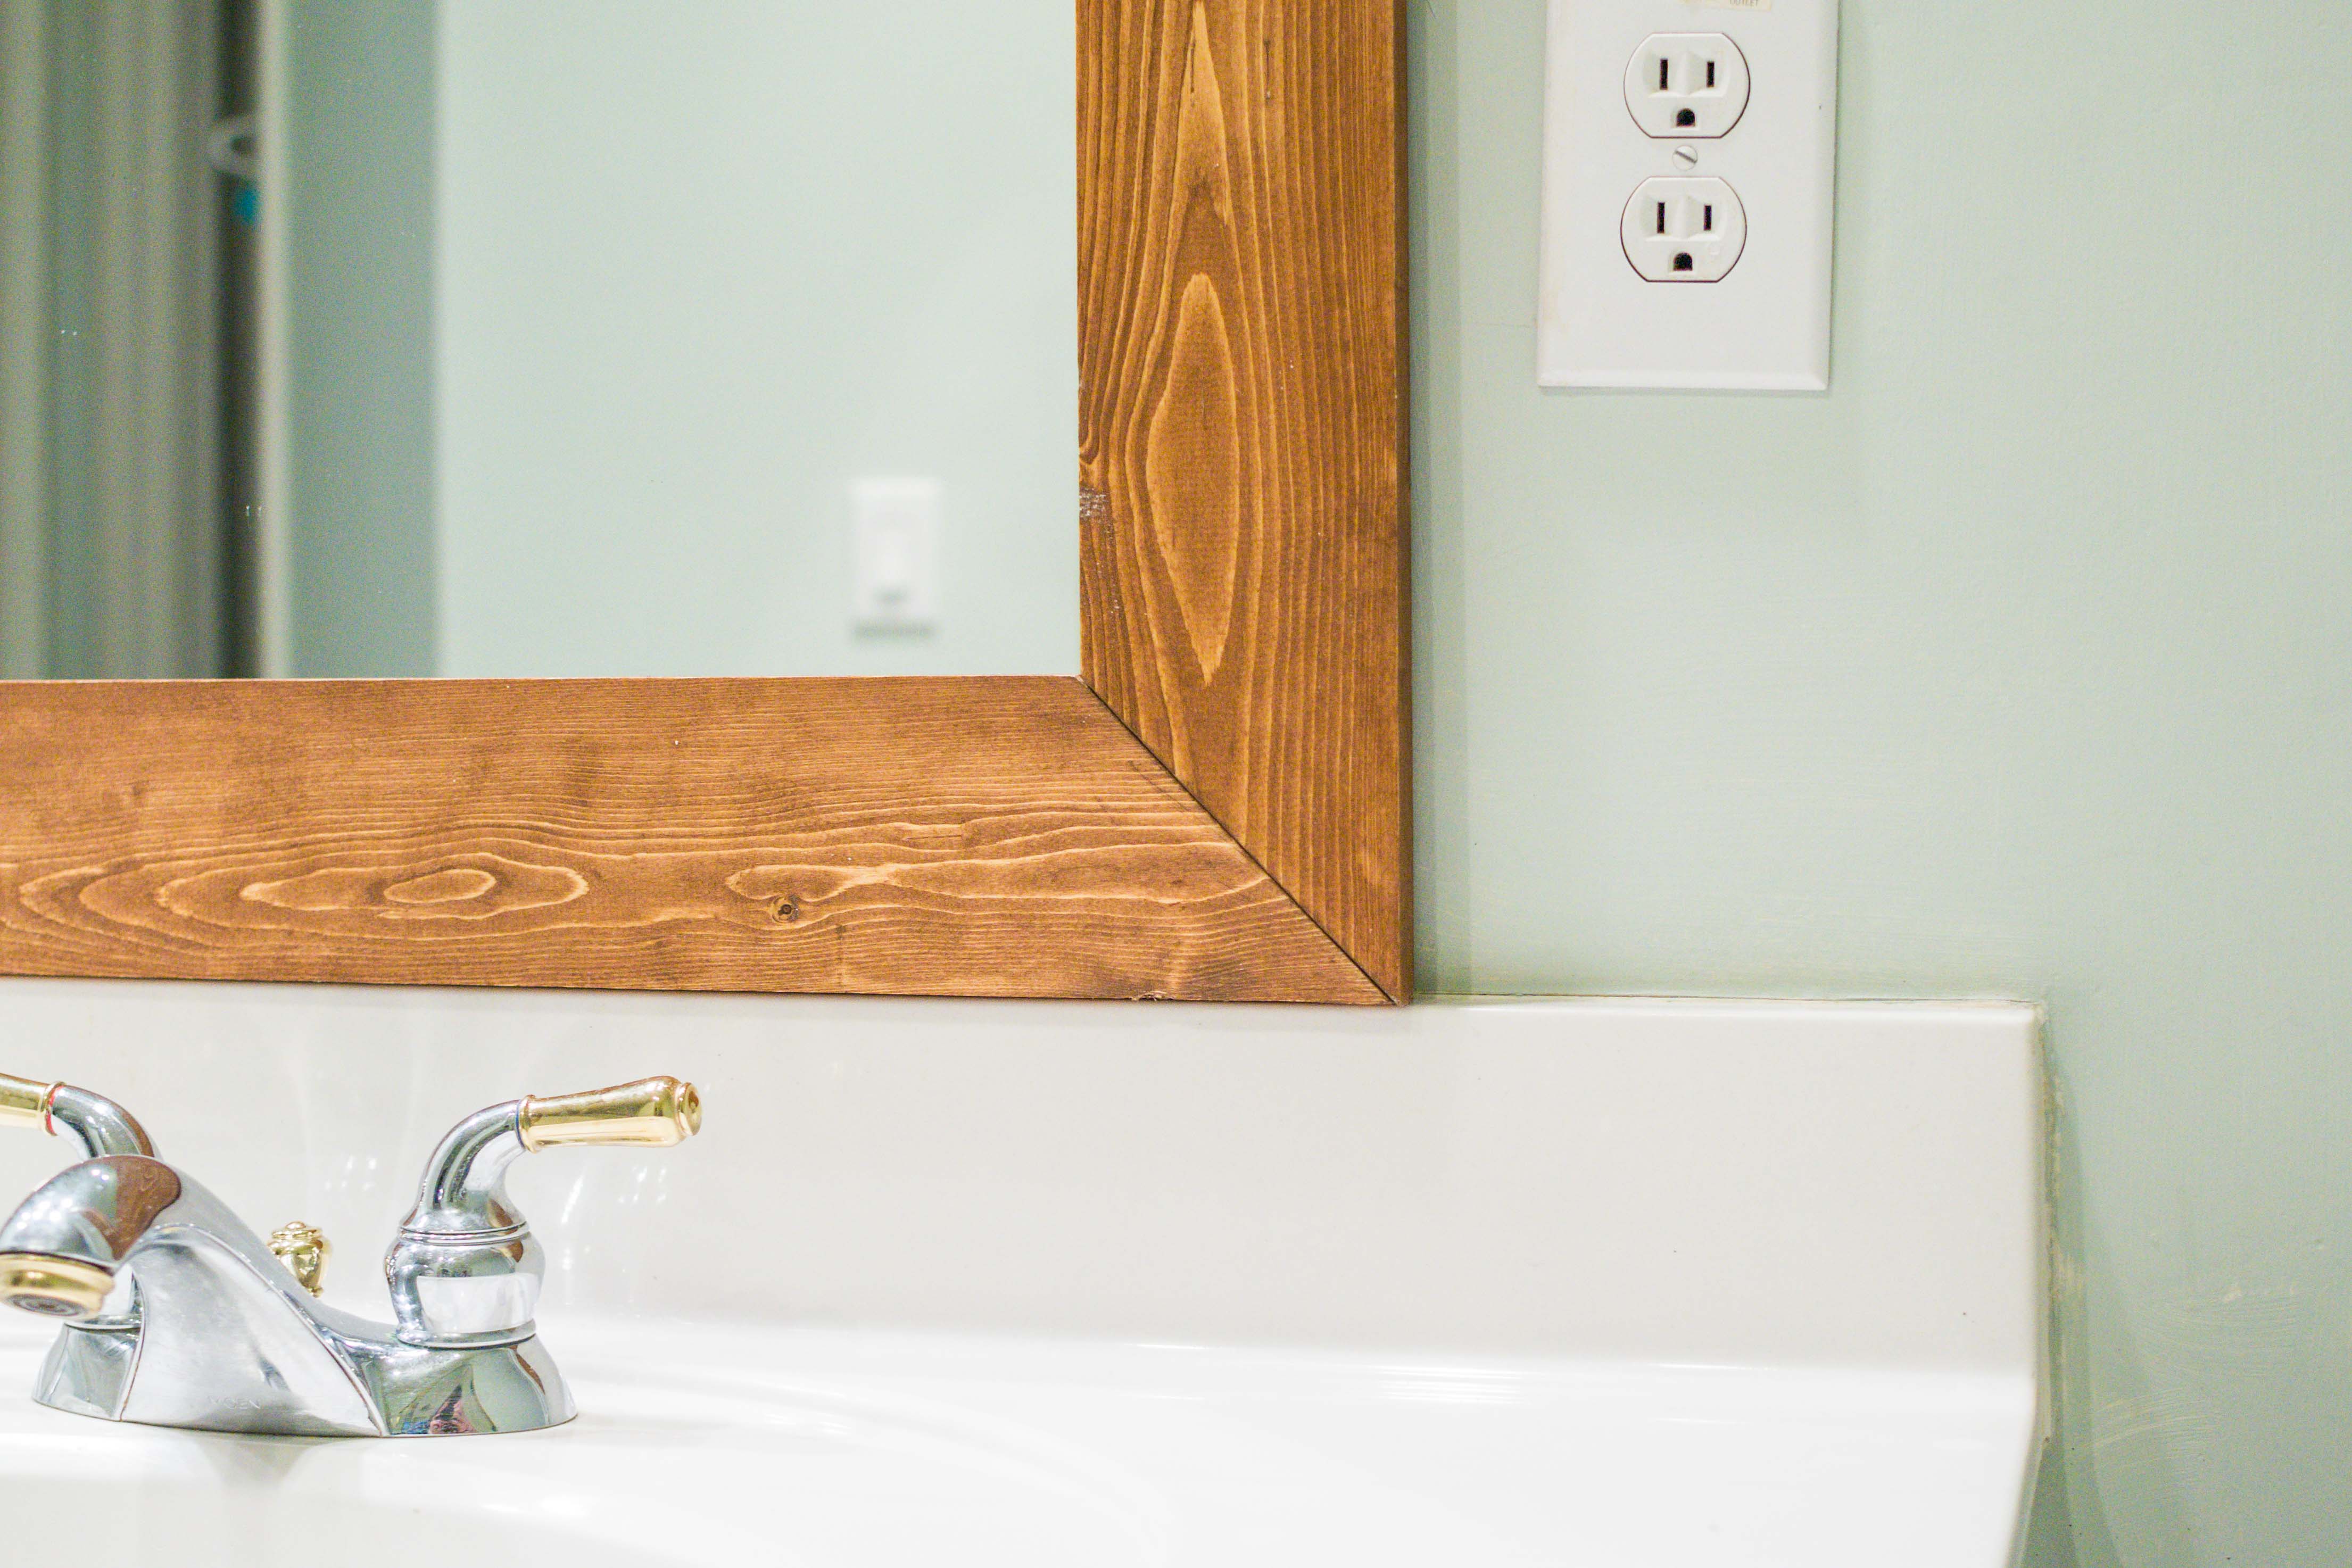
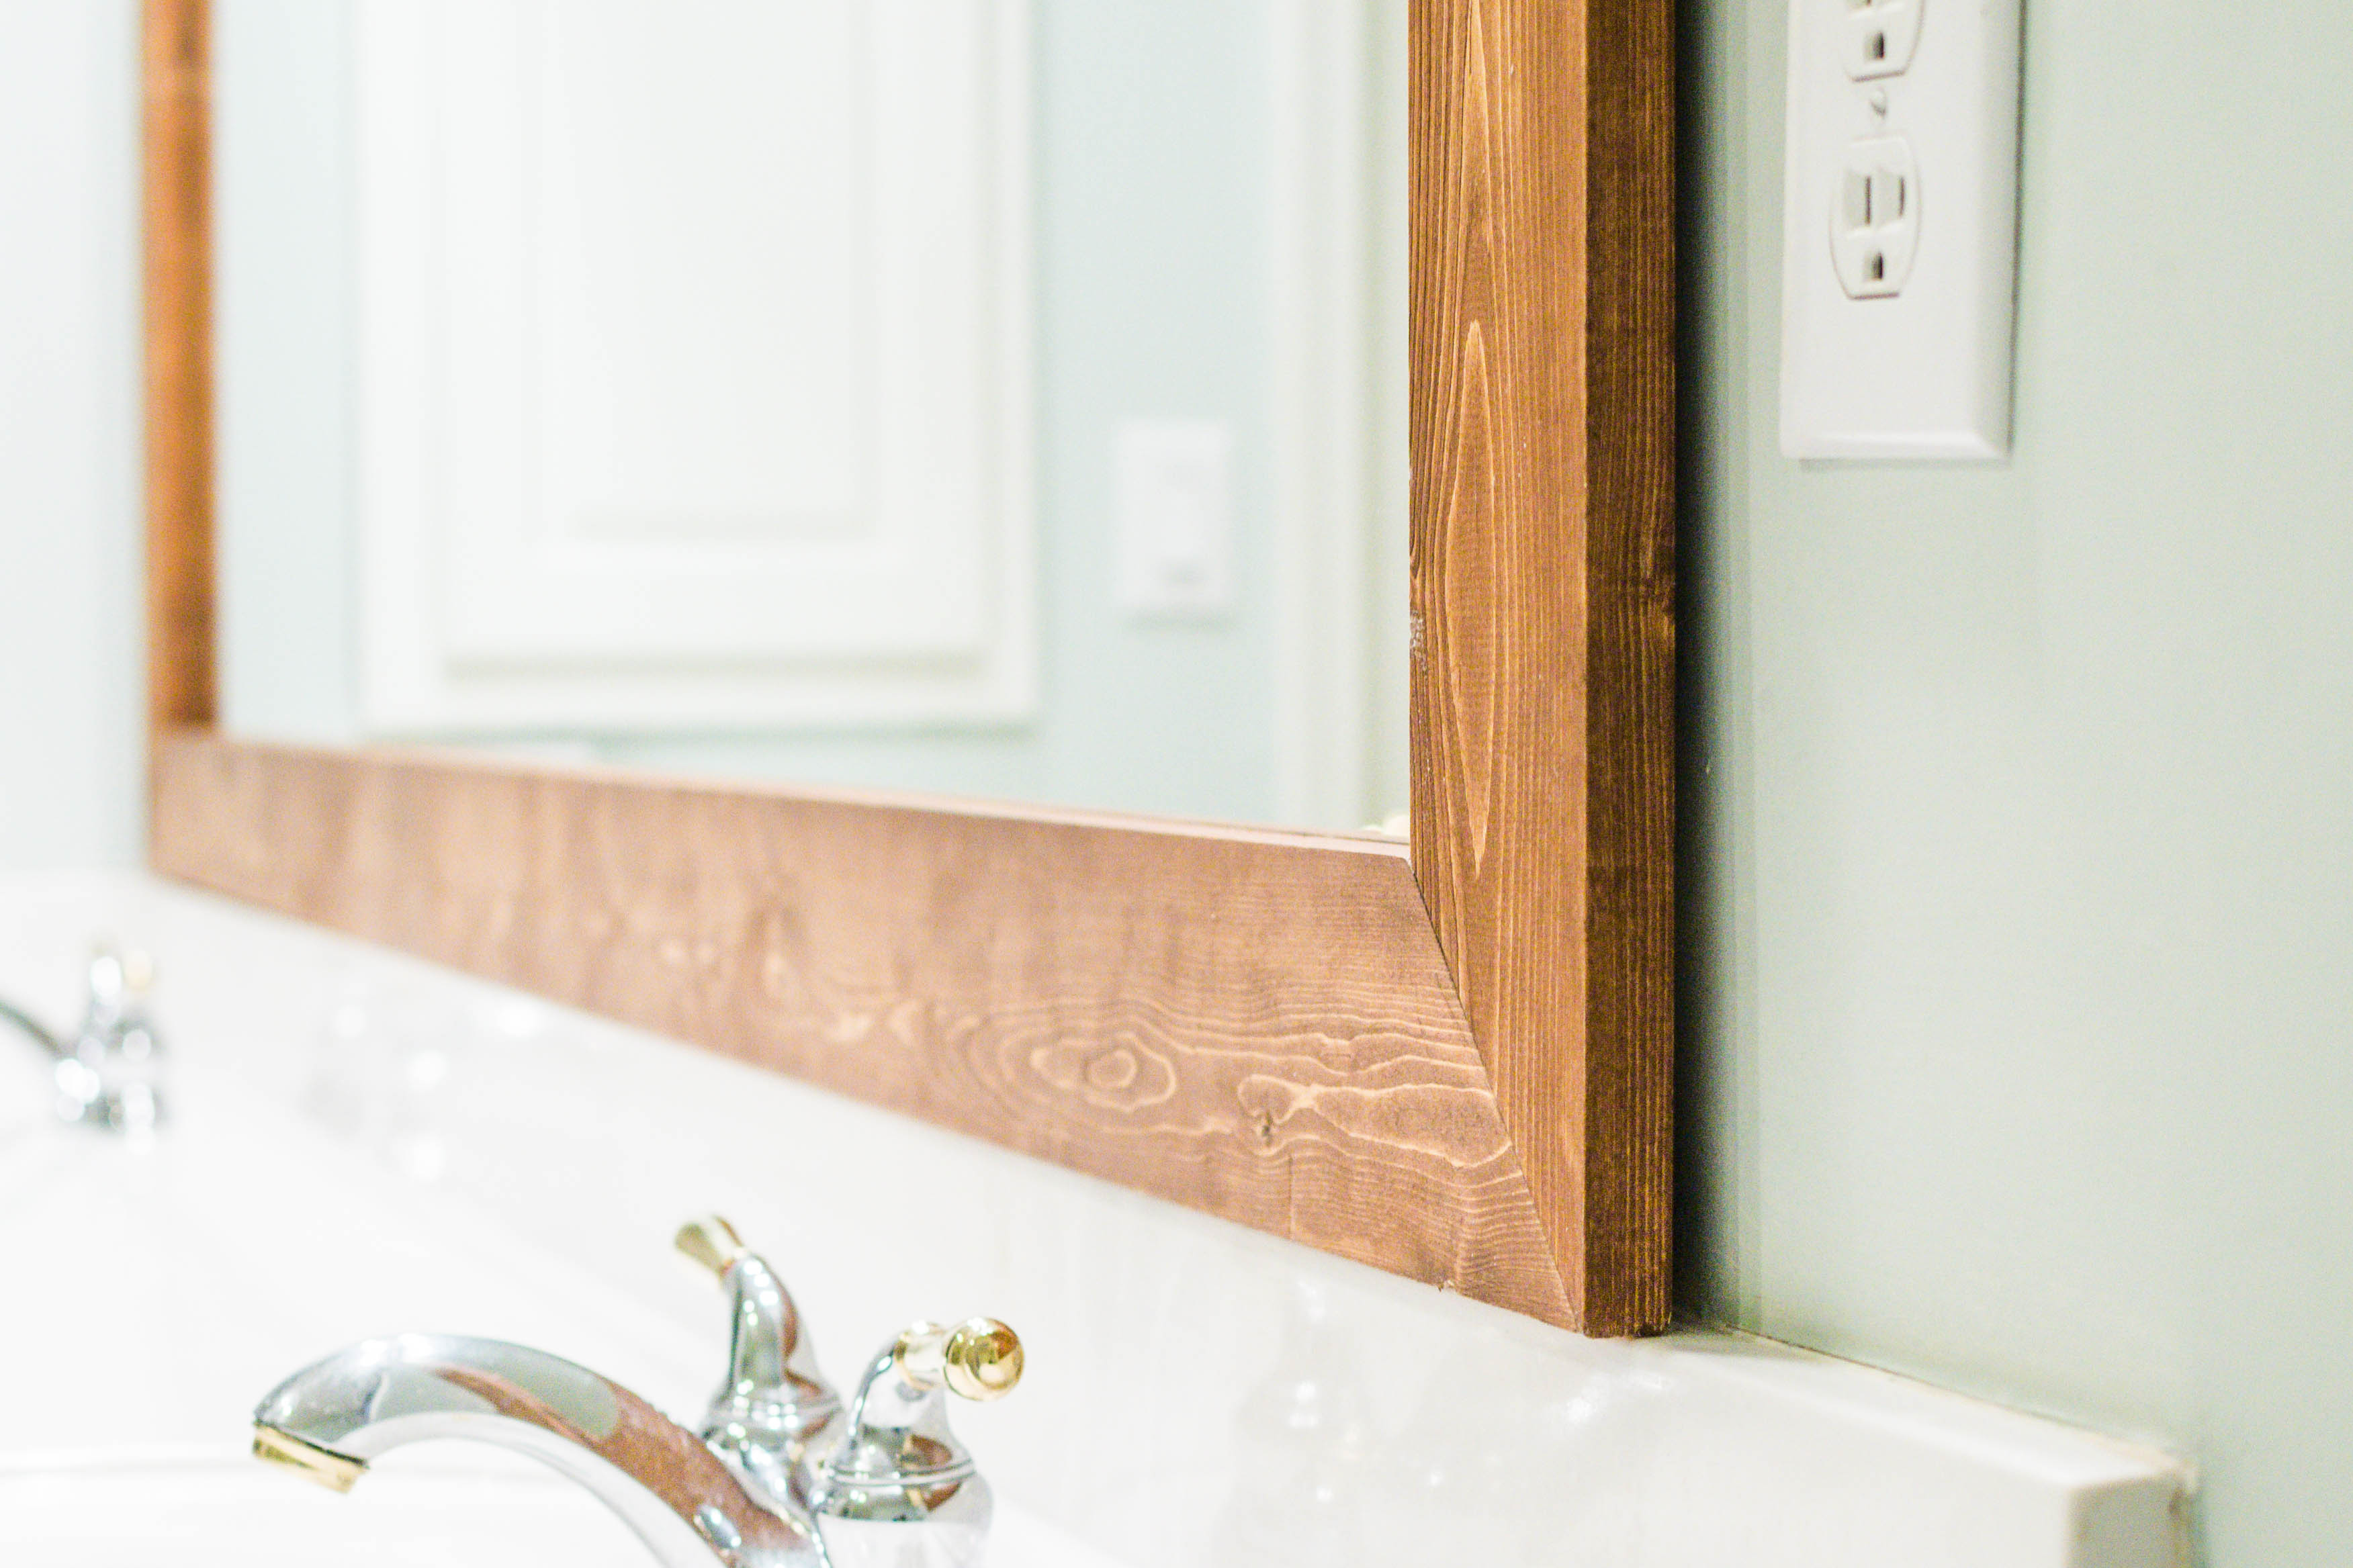
Is your mirror builder-grade? A plain rectangular chunk of ¼” glass, haphazardly glued to the wall? No trim or moulding or decorative framing or style? Yeah, ours too. That’s why we upgraded our mirror with a custom stained wood frame. The difference in the look of our bathroom is night and day, but the project was as easy as pie. Making pie is more difficult than beautifully framing your mirror.
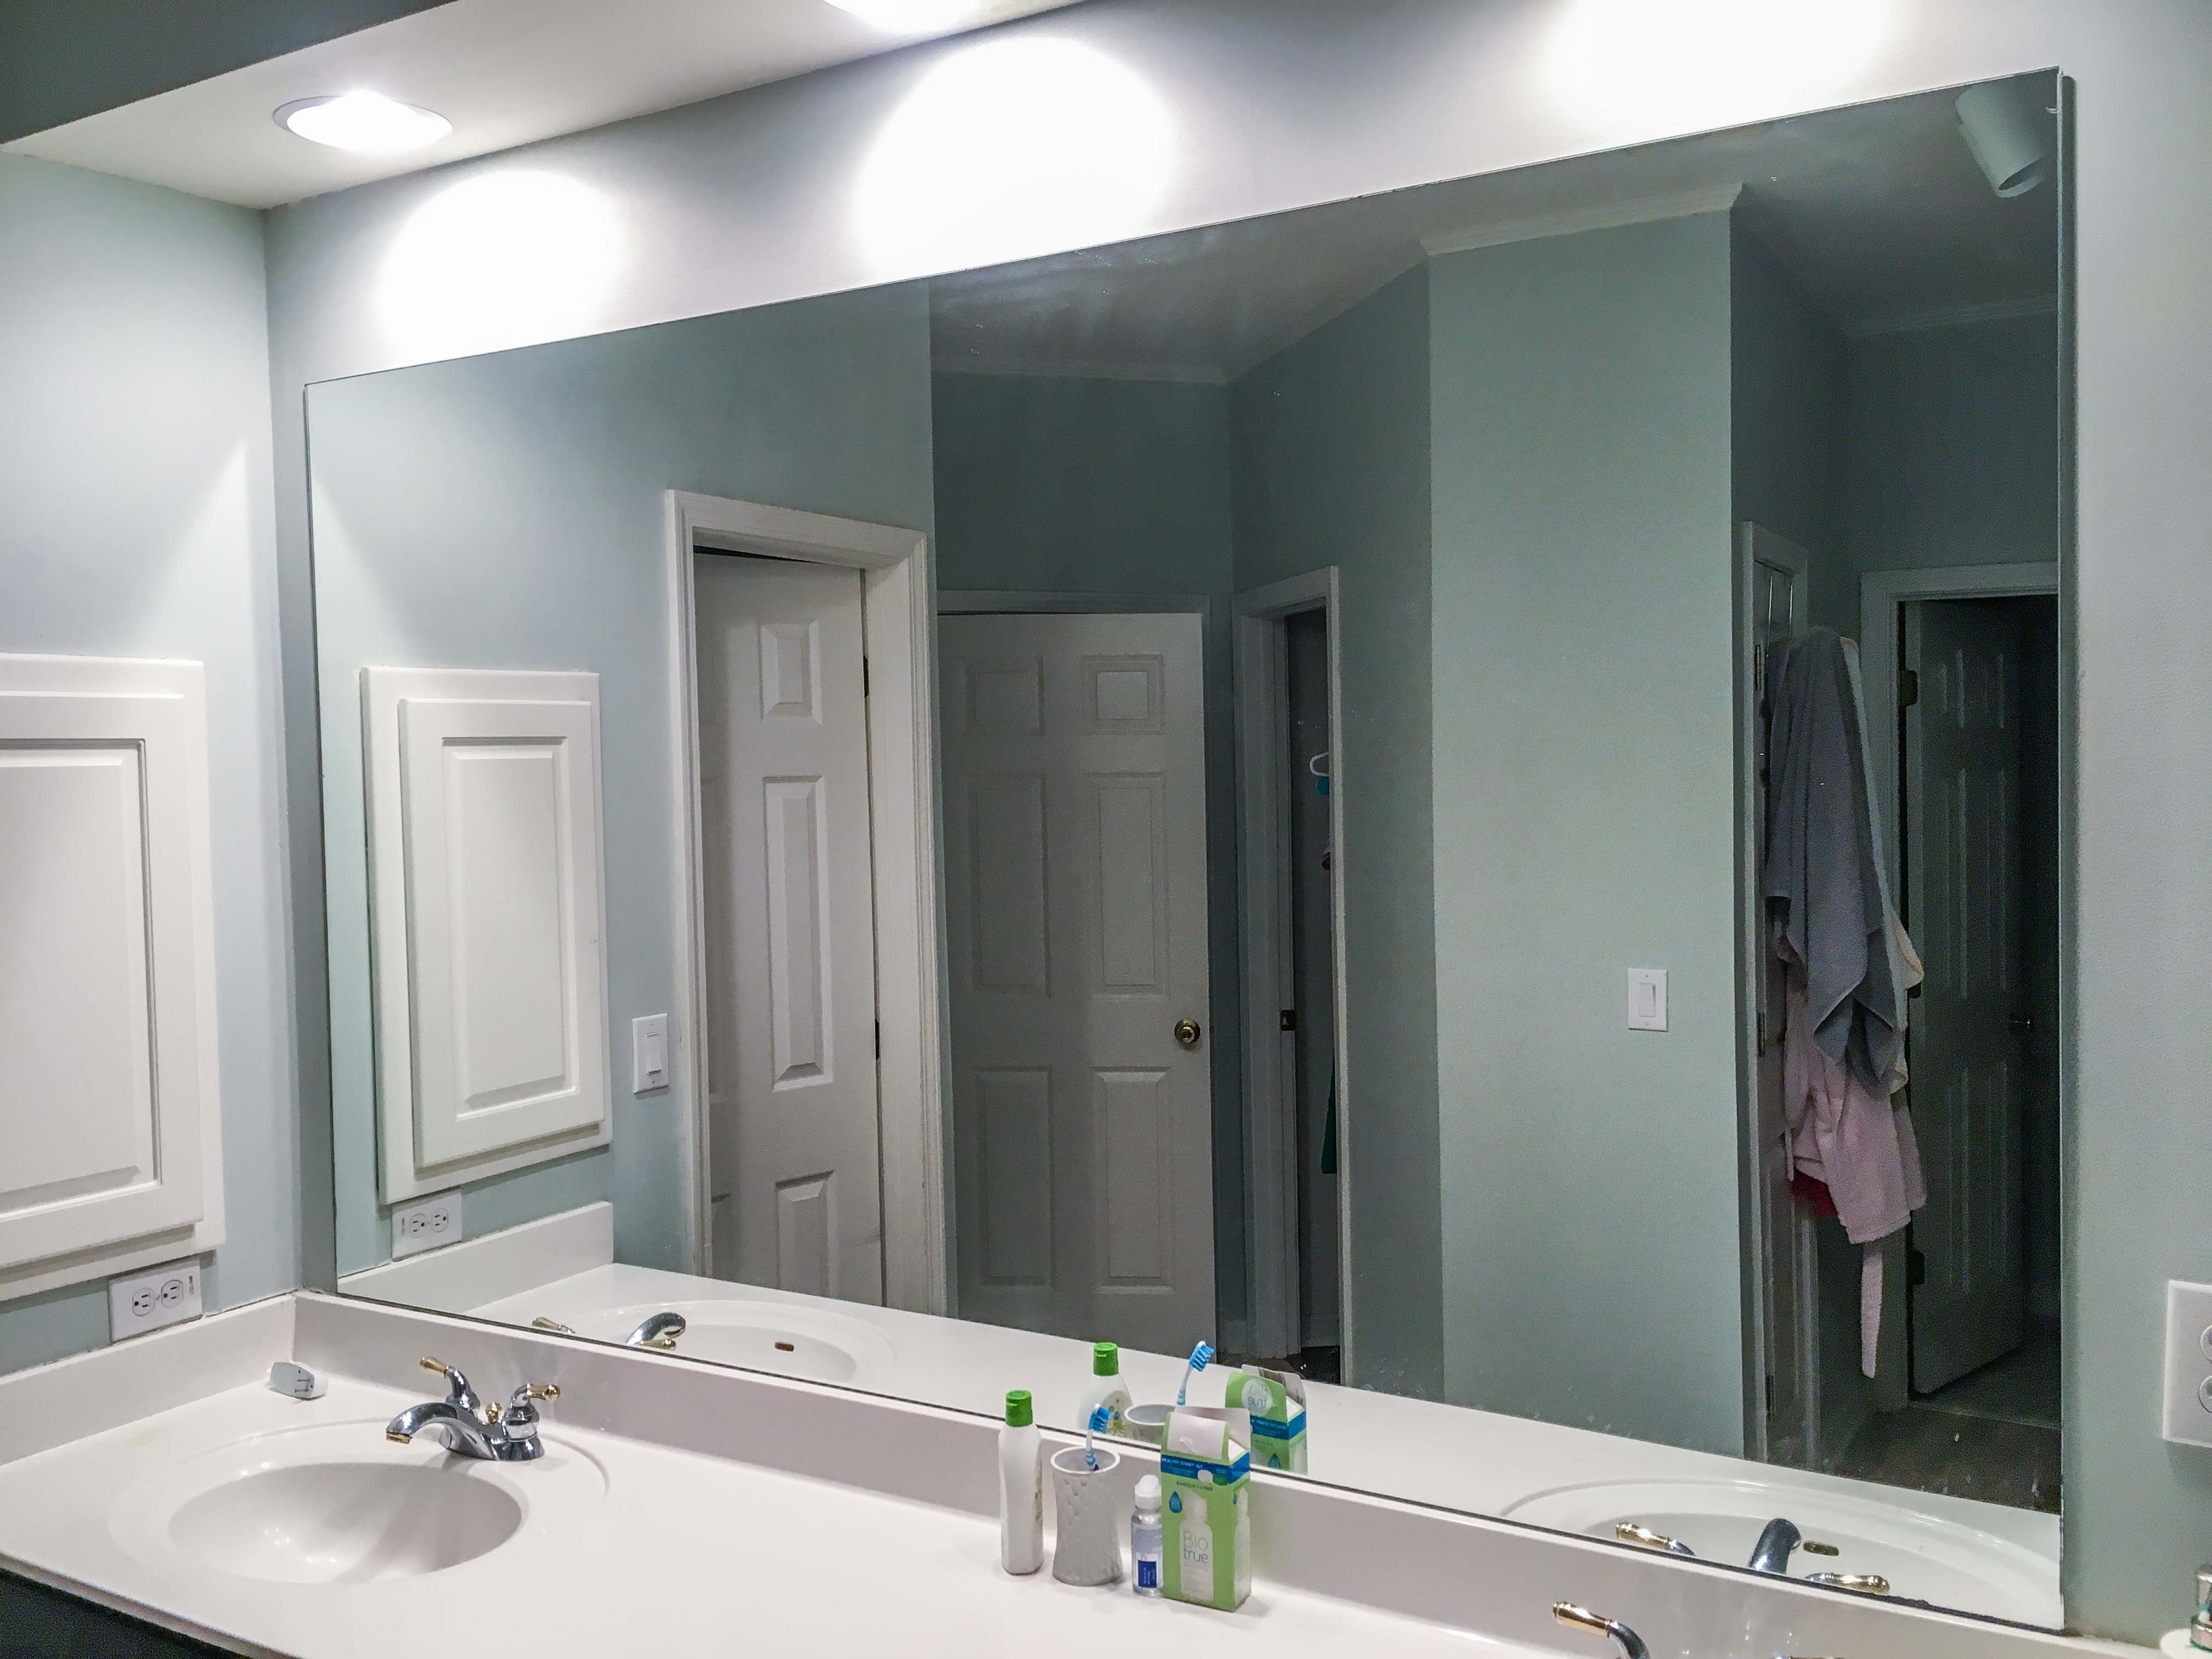
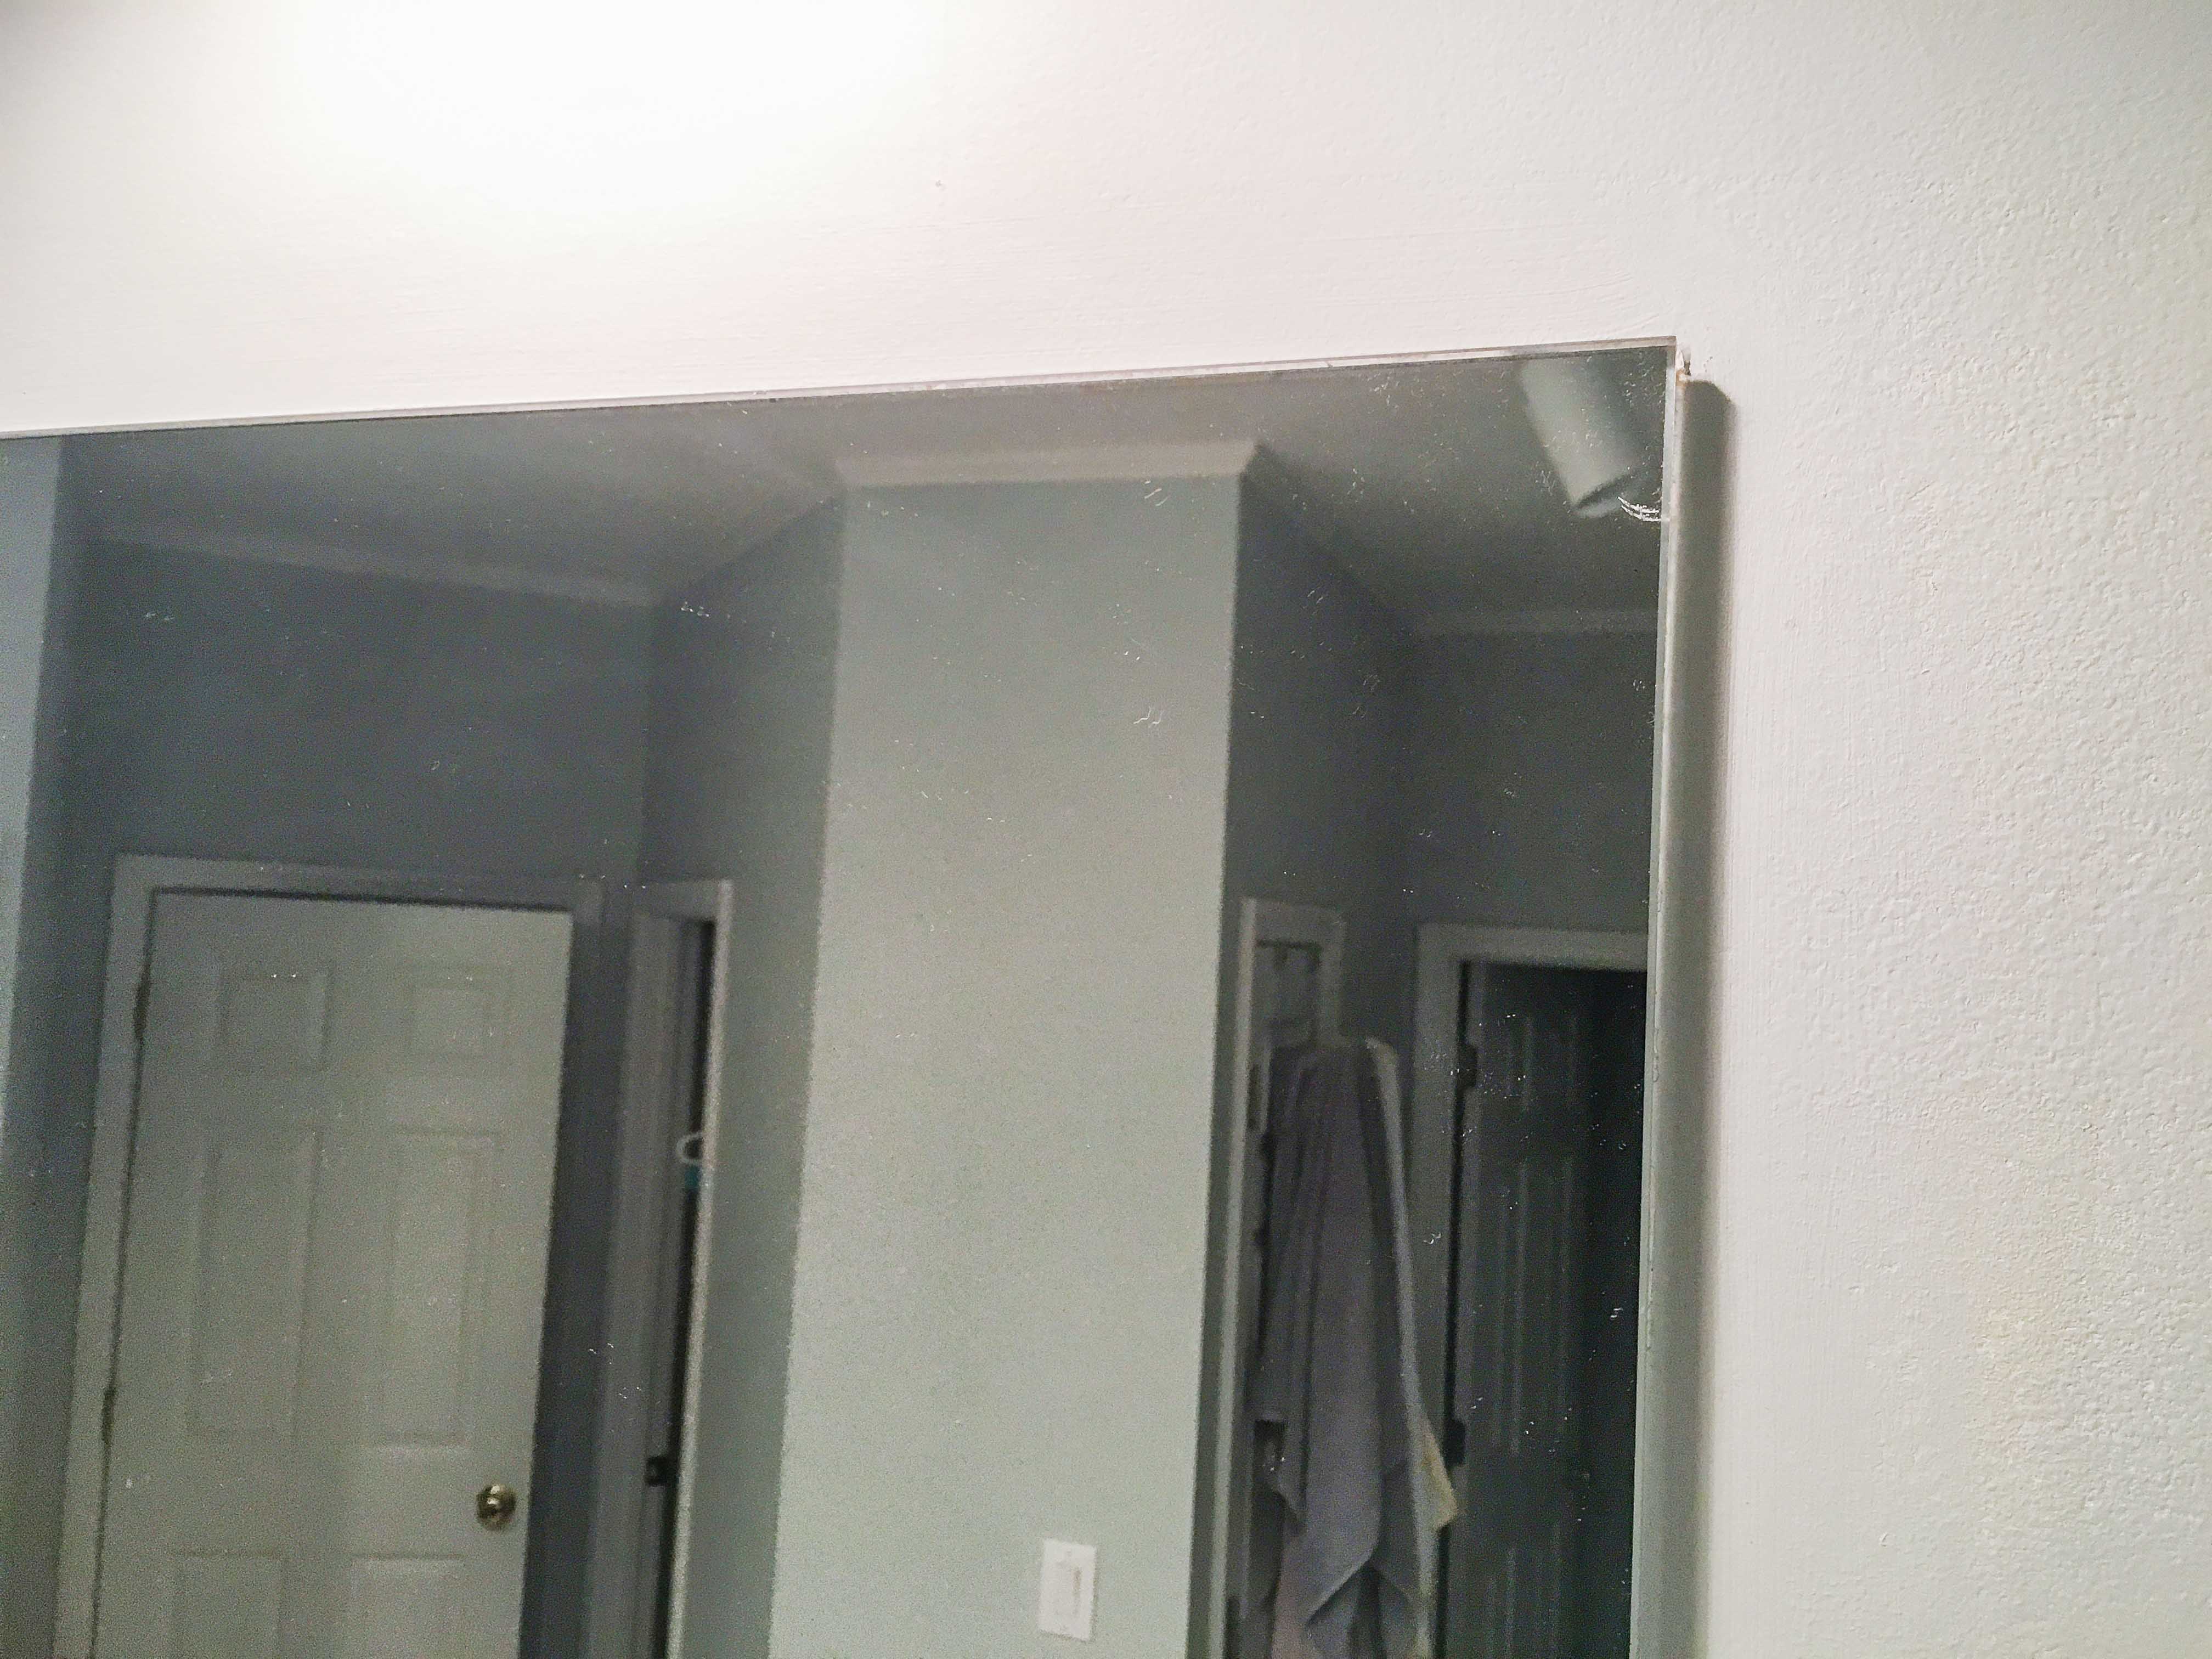
Your next, small bathroom project: framed mirror.
Even if this is your first DIY woodworking project ever – you’ll nail it (well… glue it). Here’s the simple overview: get some 1 inch by 4 inch pieces of lumber at Home Depot or Lowe’s. Measure the mirror. Cut the wood. Pre-stain the wood, stain the wood, wax the wood. Glue the wood to your mirror. And you’re done.
This is too quick to be a “weekend” project. Make it your next weeknight creation. Hit the hardware store tonight, cut the four pieces of wood, and slap some stain on ‘em to dry overnight. Wax and glue them to your mirror the following evening. Are you ready to update your bathroom? Here’s the nitty gritty:
How to custom frame your mirror with wood.
Materials.
- (3) – 1x4x10 common boards. $5.84 each, or $17.52 total. These boards fit our 82”x48” mirror only… not your mirror. Measure what you need! No mirror dimensions are the same. Buy boards at least a few inches longer than you need.
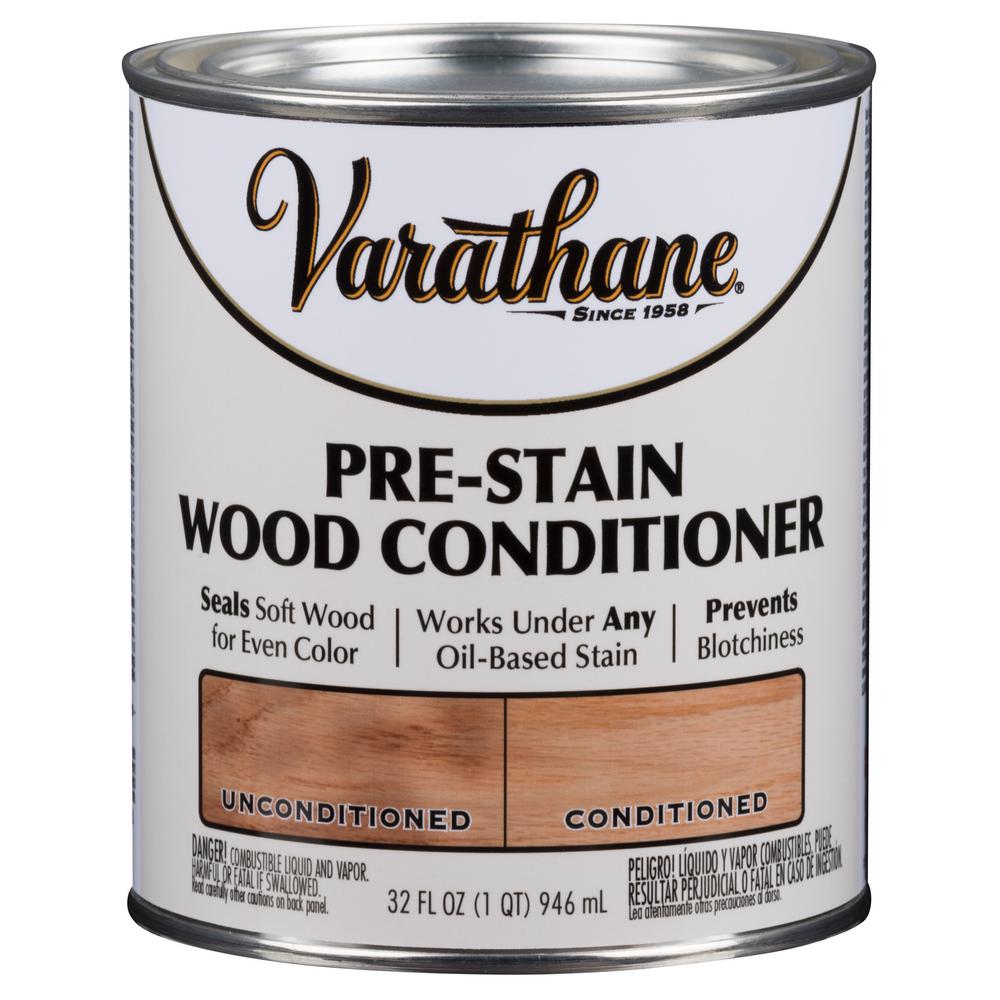
- Pre-Stain Wood Conditioner. Goes on softwoods (like pine) before staining. Linked 2-pack (1 qt. each) for $25.34. Buy one can for ~$12.67.
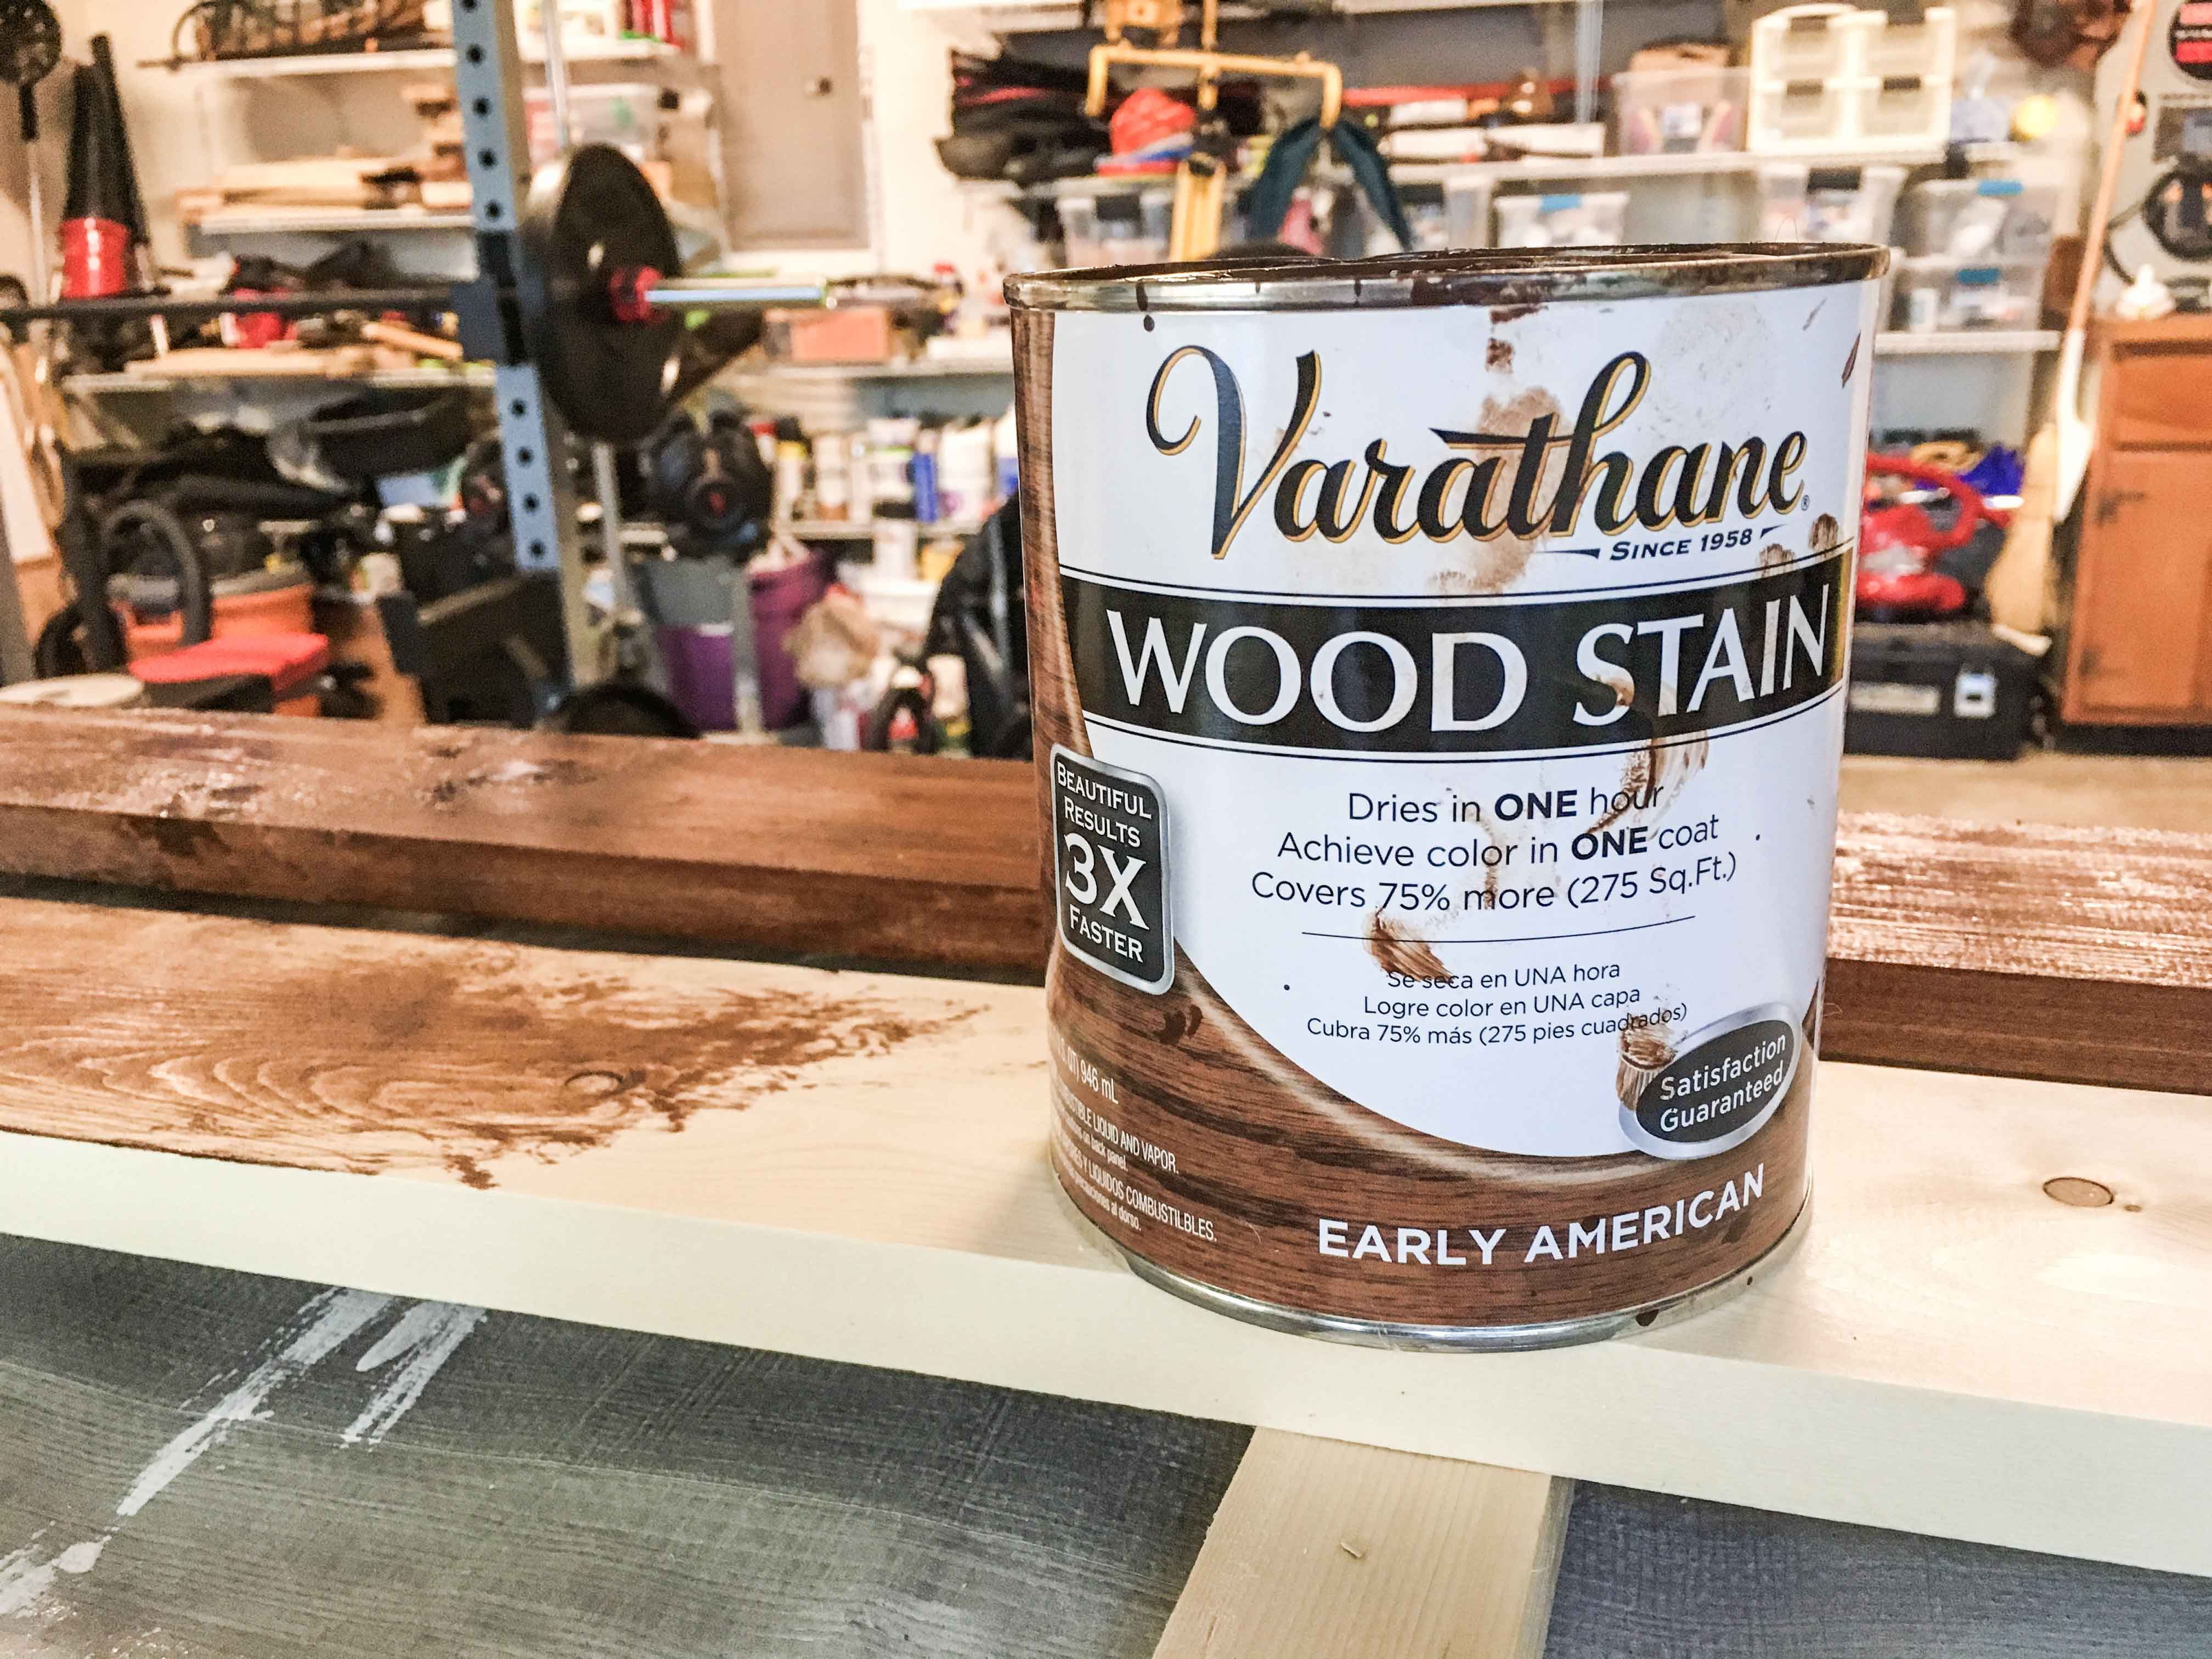
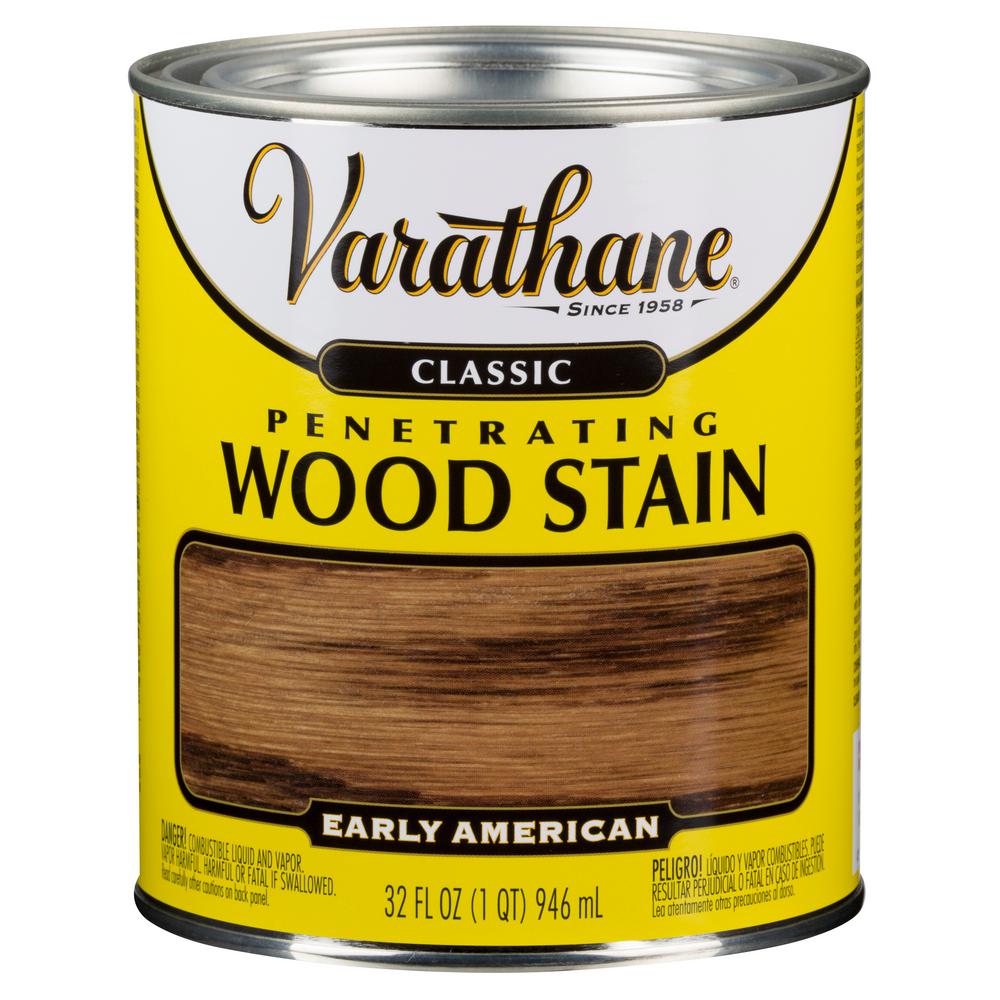
- Wood stain. We used Varathane Early American. Linked 2-pack (1 qt. each) for $15.96. Buy one can for $8.98.
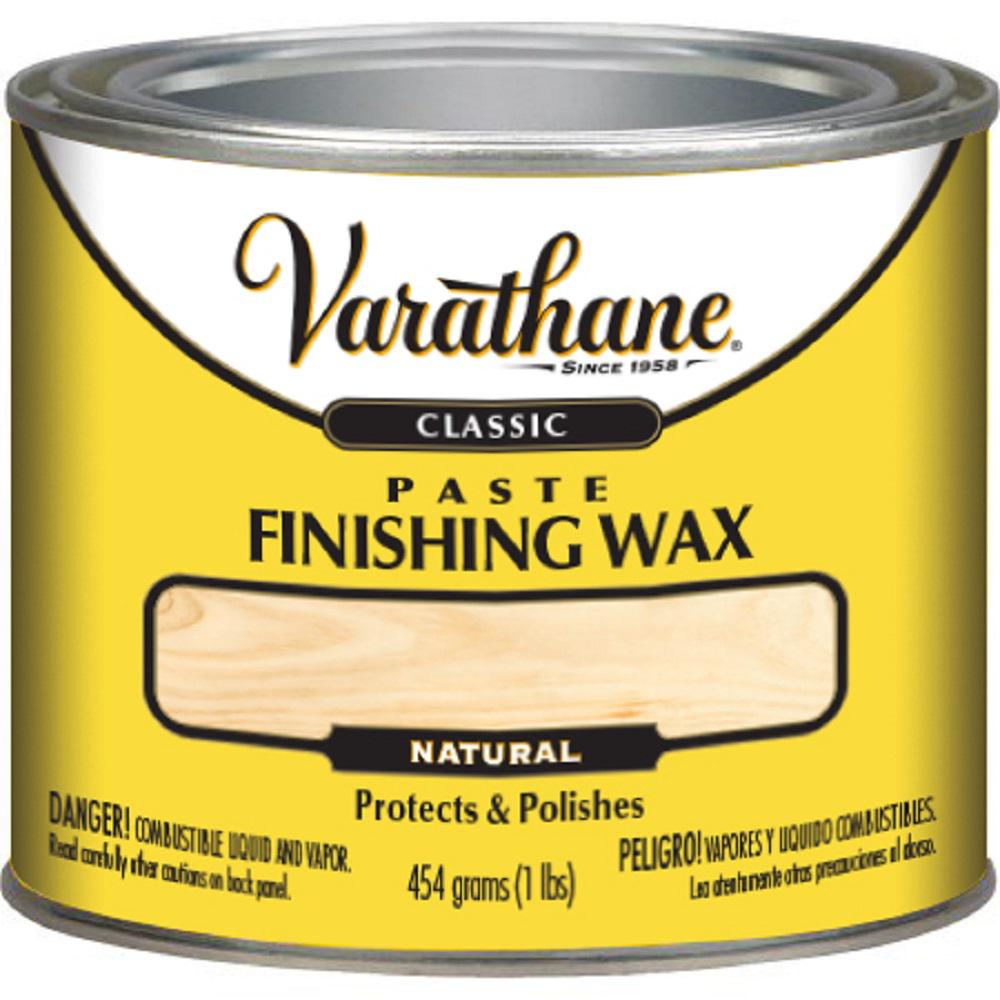
- Varathane paste finishing wax. 1 lb. can for $10. Linked a 4-pack for reference.
- Blue shop towels. Linked 6-pack for $11.98. 3-pack for $5.98.
- Nitrile gloves. 50 for $4.97.
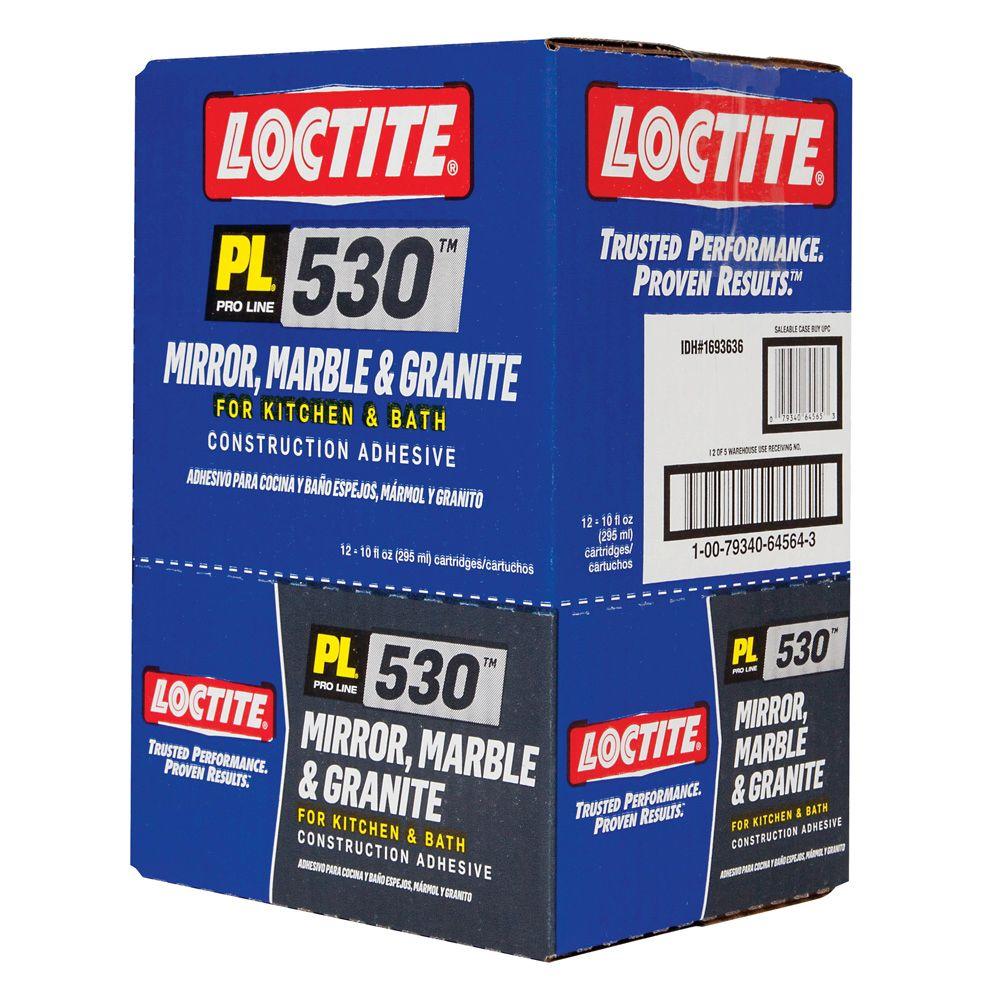
- Mirror adhesive. 10 oz tube for $4.97. Linked a 12-pack for reference.
- Painter’s tape. A roll for $3.77.
- (Optional) Mineral spirits. For clean up.
Tools.
- Miter saw OR hand saw with miter box OR Circular saw.
- Caulk gun.
- Measuring tape.
- Level.
- Pencil.
- (Optional) Orbital sander.
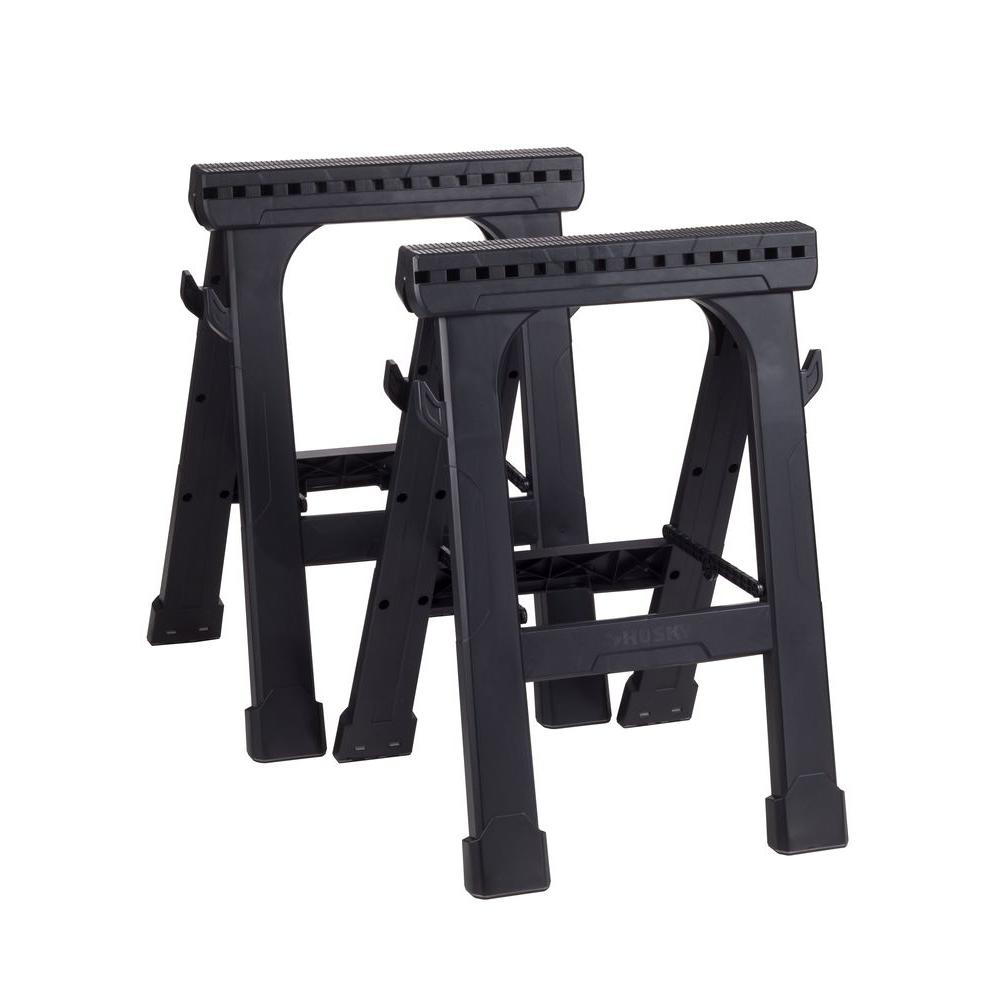
- (Optional) 2 sawhorses.
Budget.
- Common board 1x4x10s + pre-stain + stain + paste finishing wax + blue shop towels + nitrile gloves + a tube of mirror adhesive + painter’s tape = $68.86.
*All materials cost = $68.86.
- DIY regulars: humans who already have pre-stain, stain, wax, shop towels, gloves and tape.
*All materials cost for DIY regulars = $22.49.
Step 1. Trip to the hardware store.
- Frame thickness. We chose 1×4 common boards to frame our mirror. Would you prefer thicker pieces of wood? Thinner pieces? Grab your measuring tape and visually assess what a 3 inch board would look like over the edges of the mirror, along with a 4 inch board, 6 inch, 8 inch and so on.
- Overlap. The common boards will overlap the edges of the mirror by 1 inch on ever possible side, so estimate the lengths of wood you need accordingly.
- Pre-stain. This liquid wood conditioner helps softwood like pine more evenly absorb stain, yielding a more consistent aesthetic. Without pre-stain, expect your stained common board to be somewhat splotchy. Not necessary on hardwoods like oak or cherry or maple.
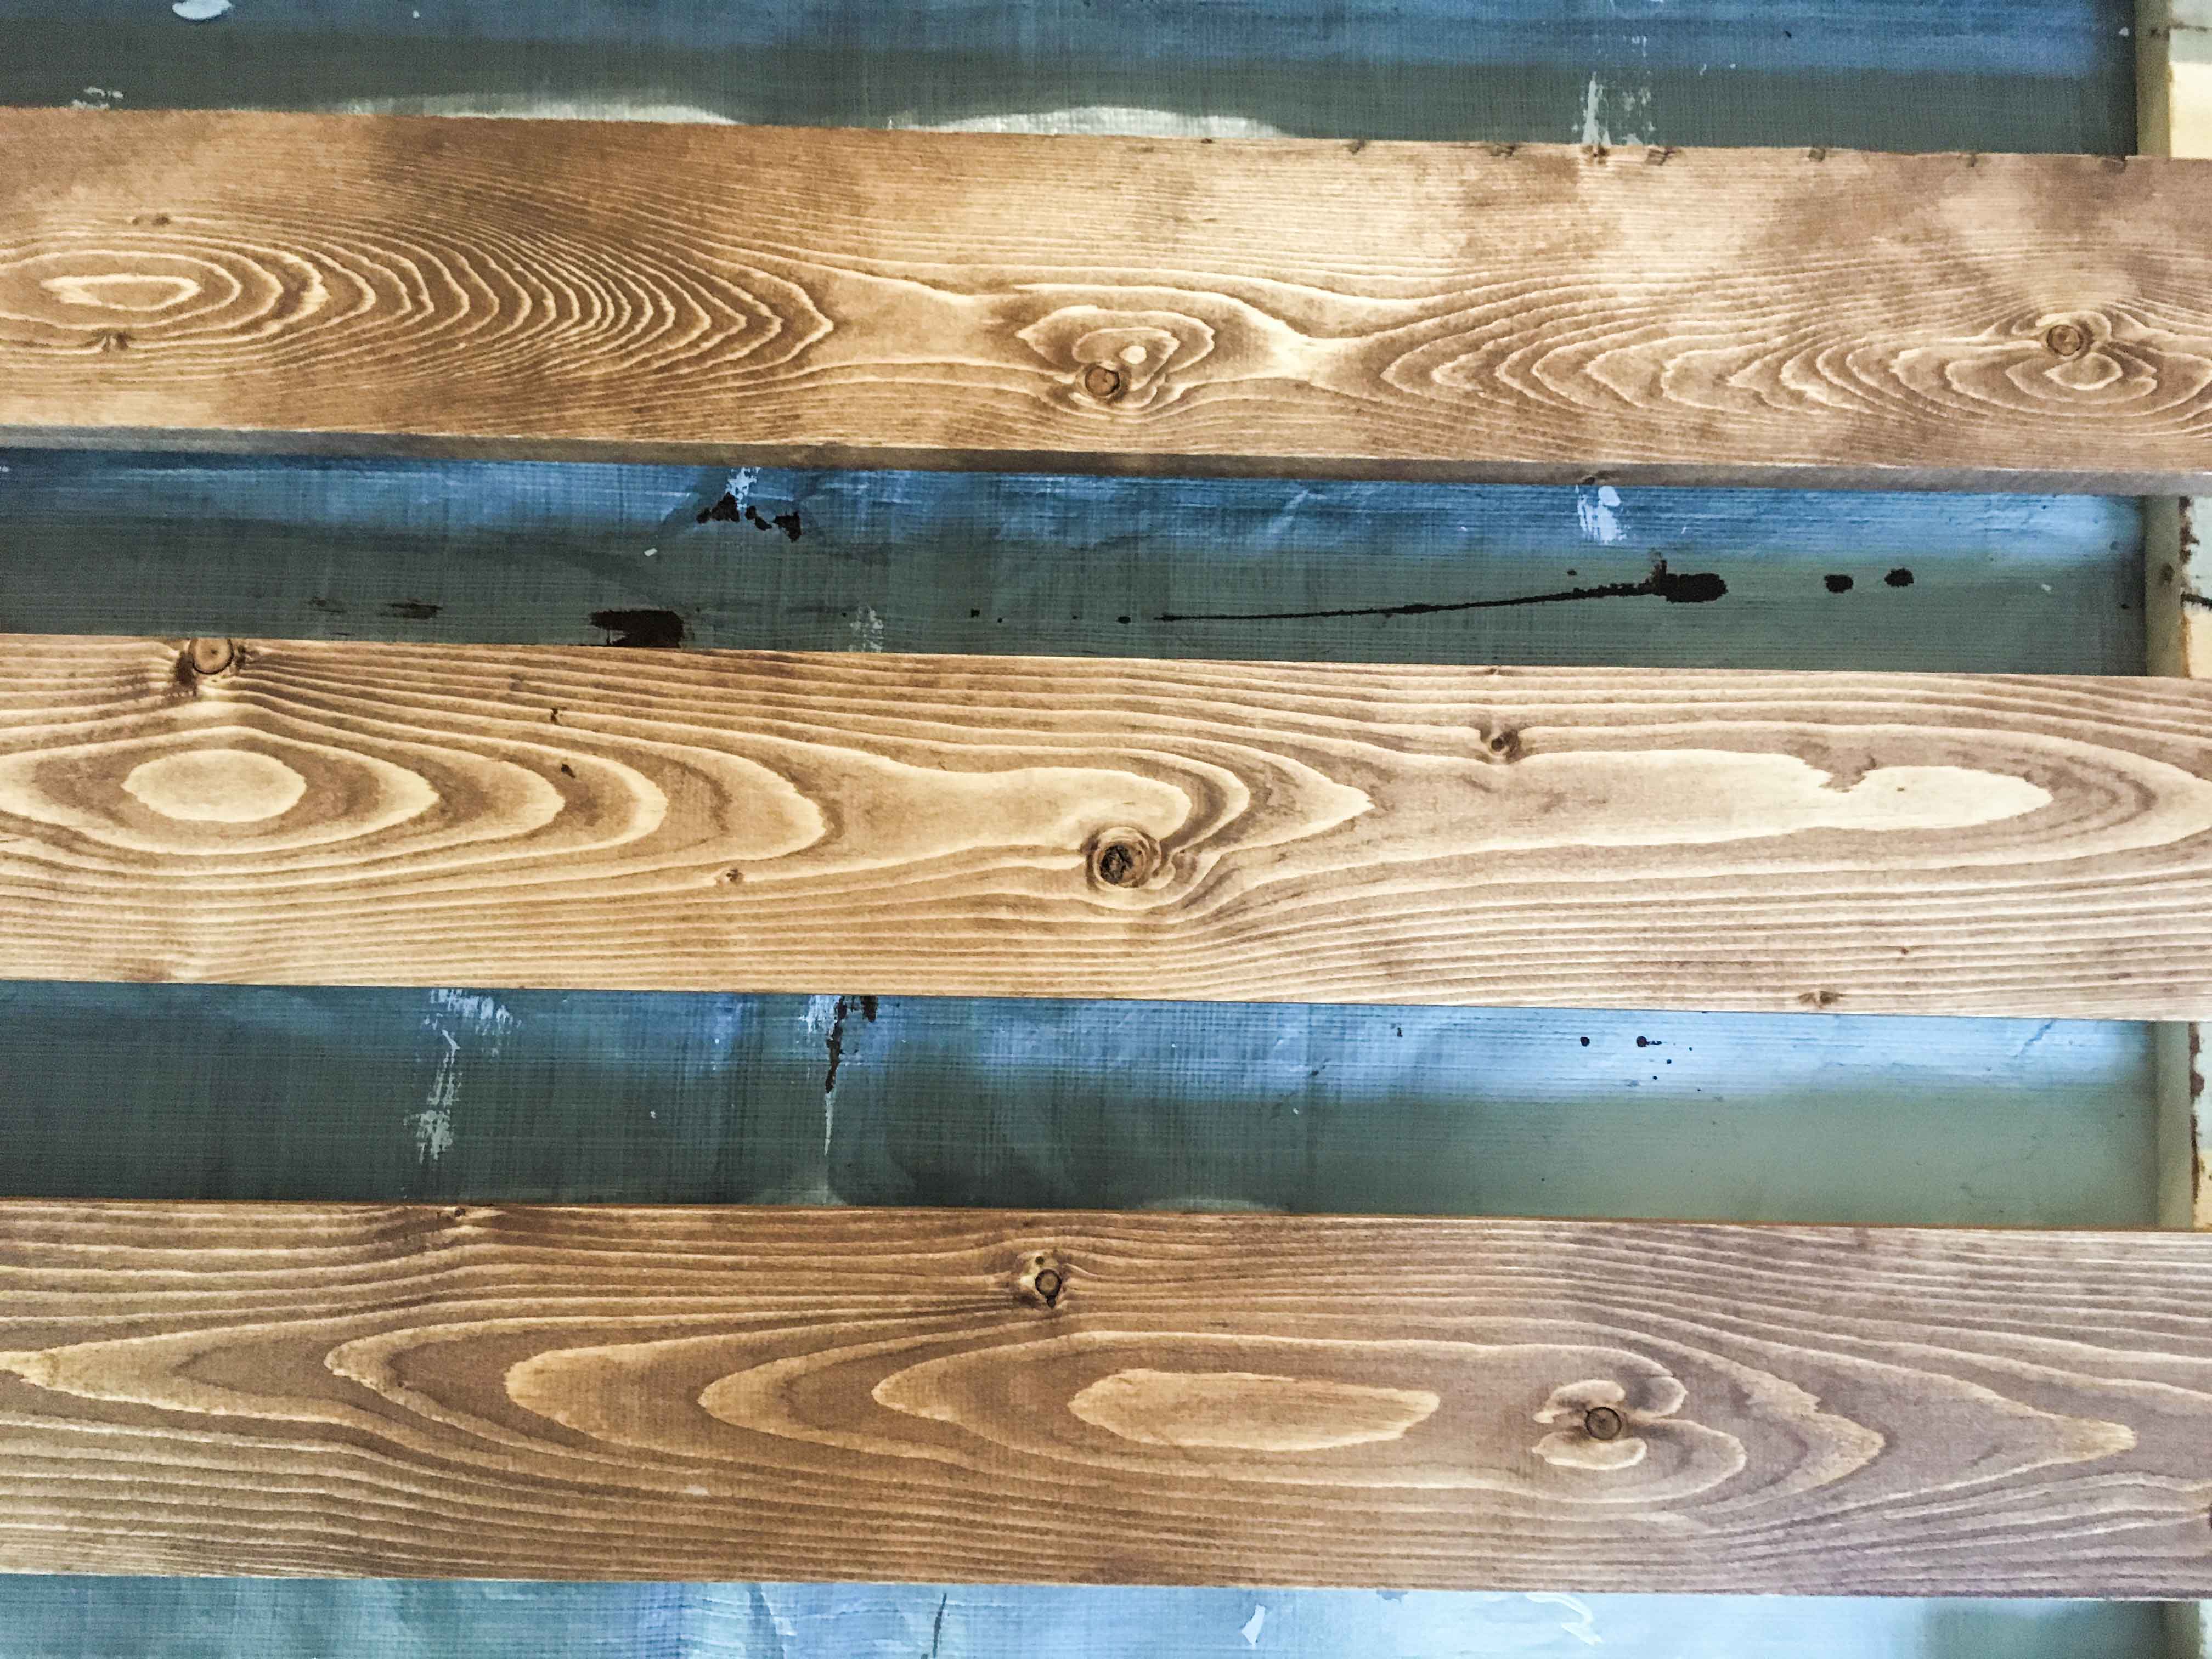
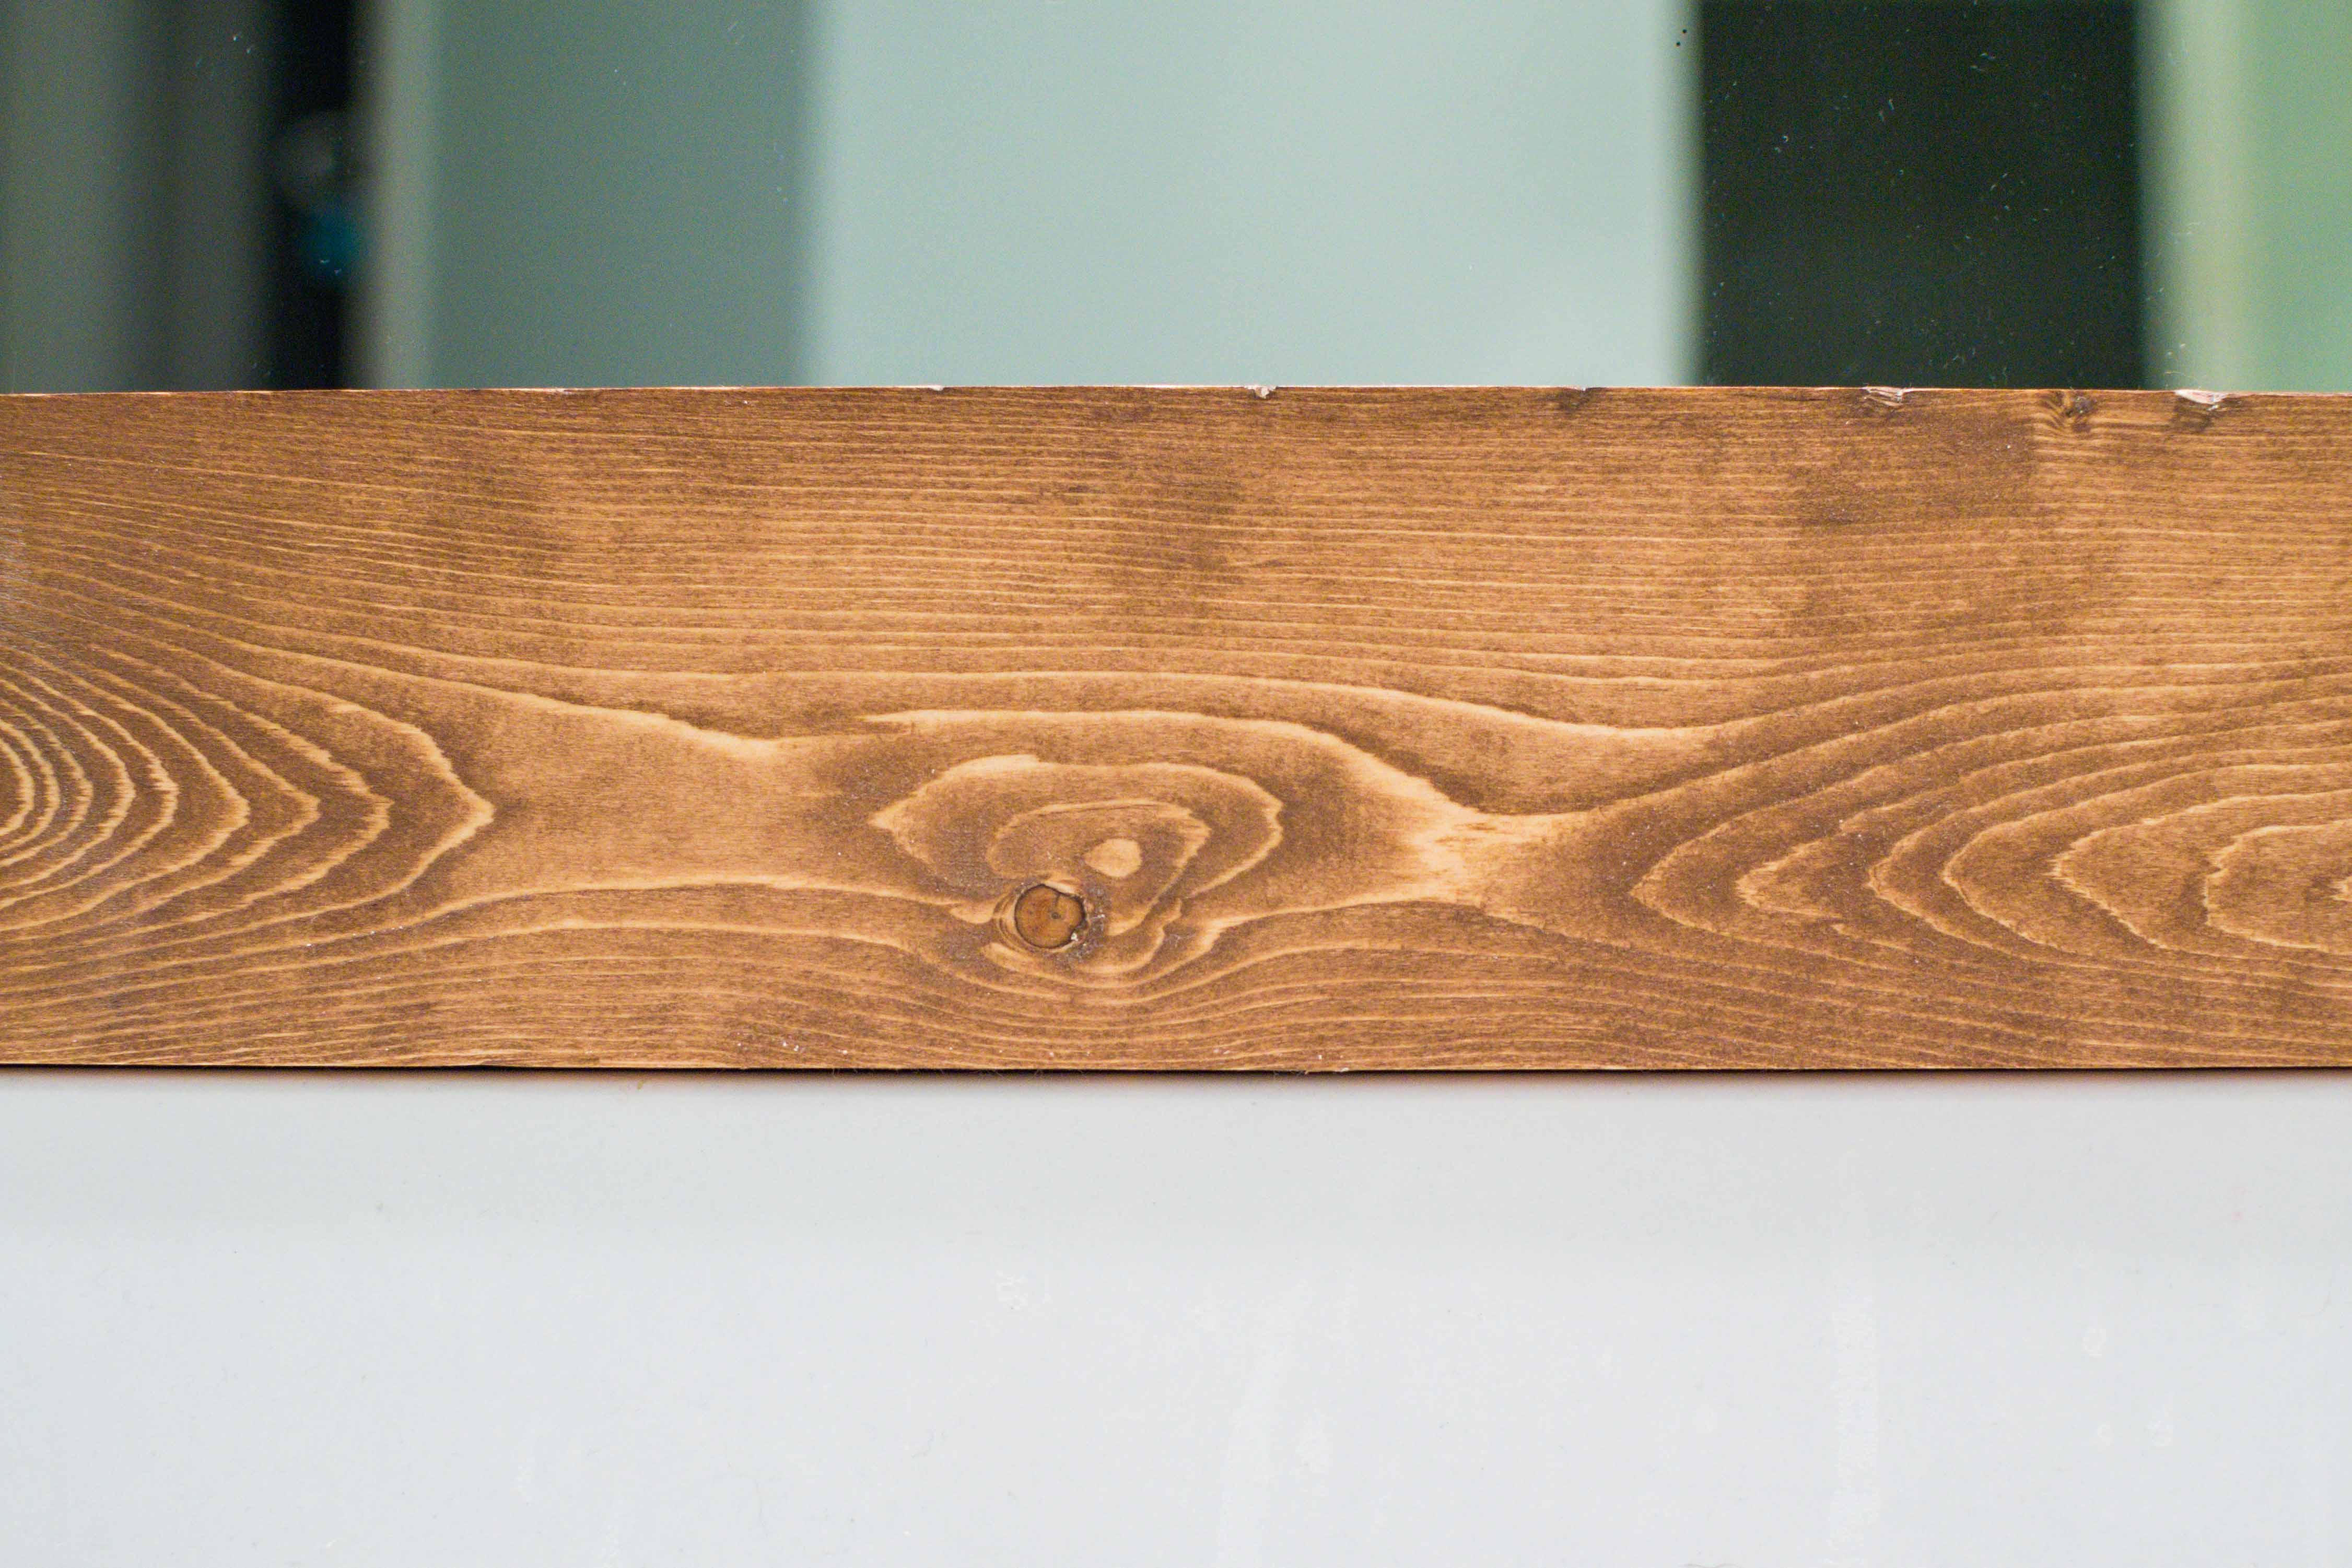
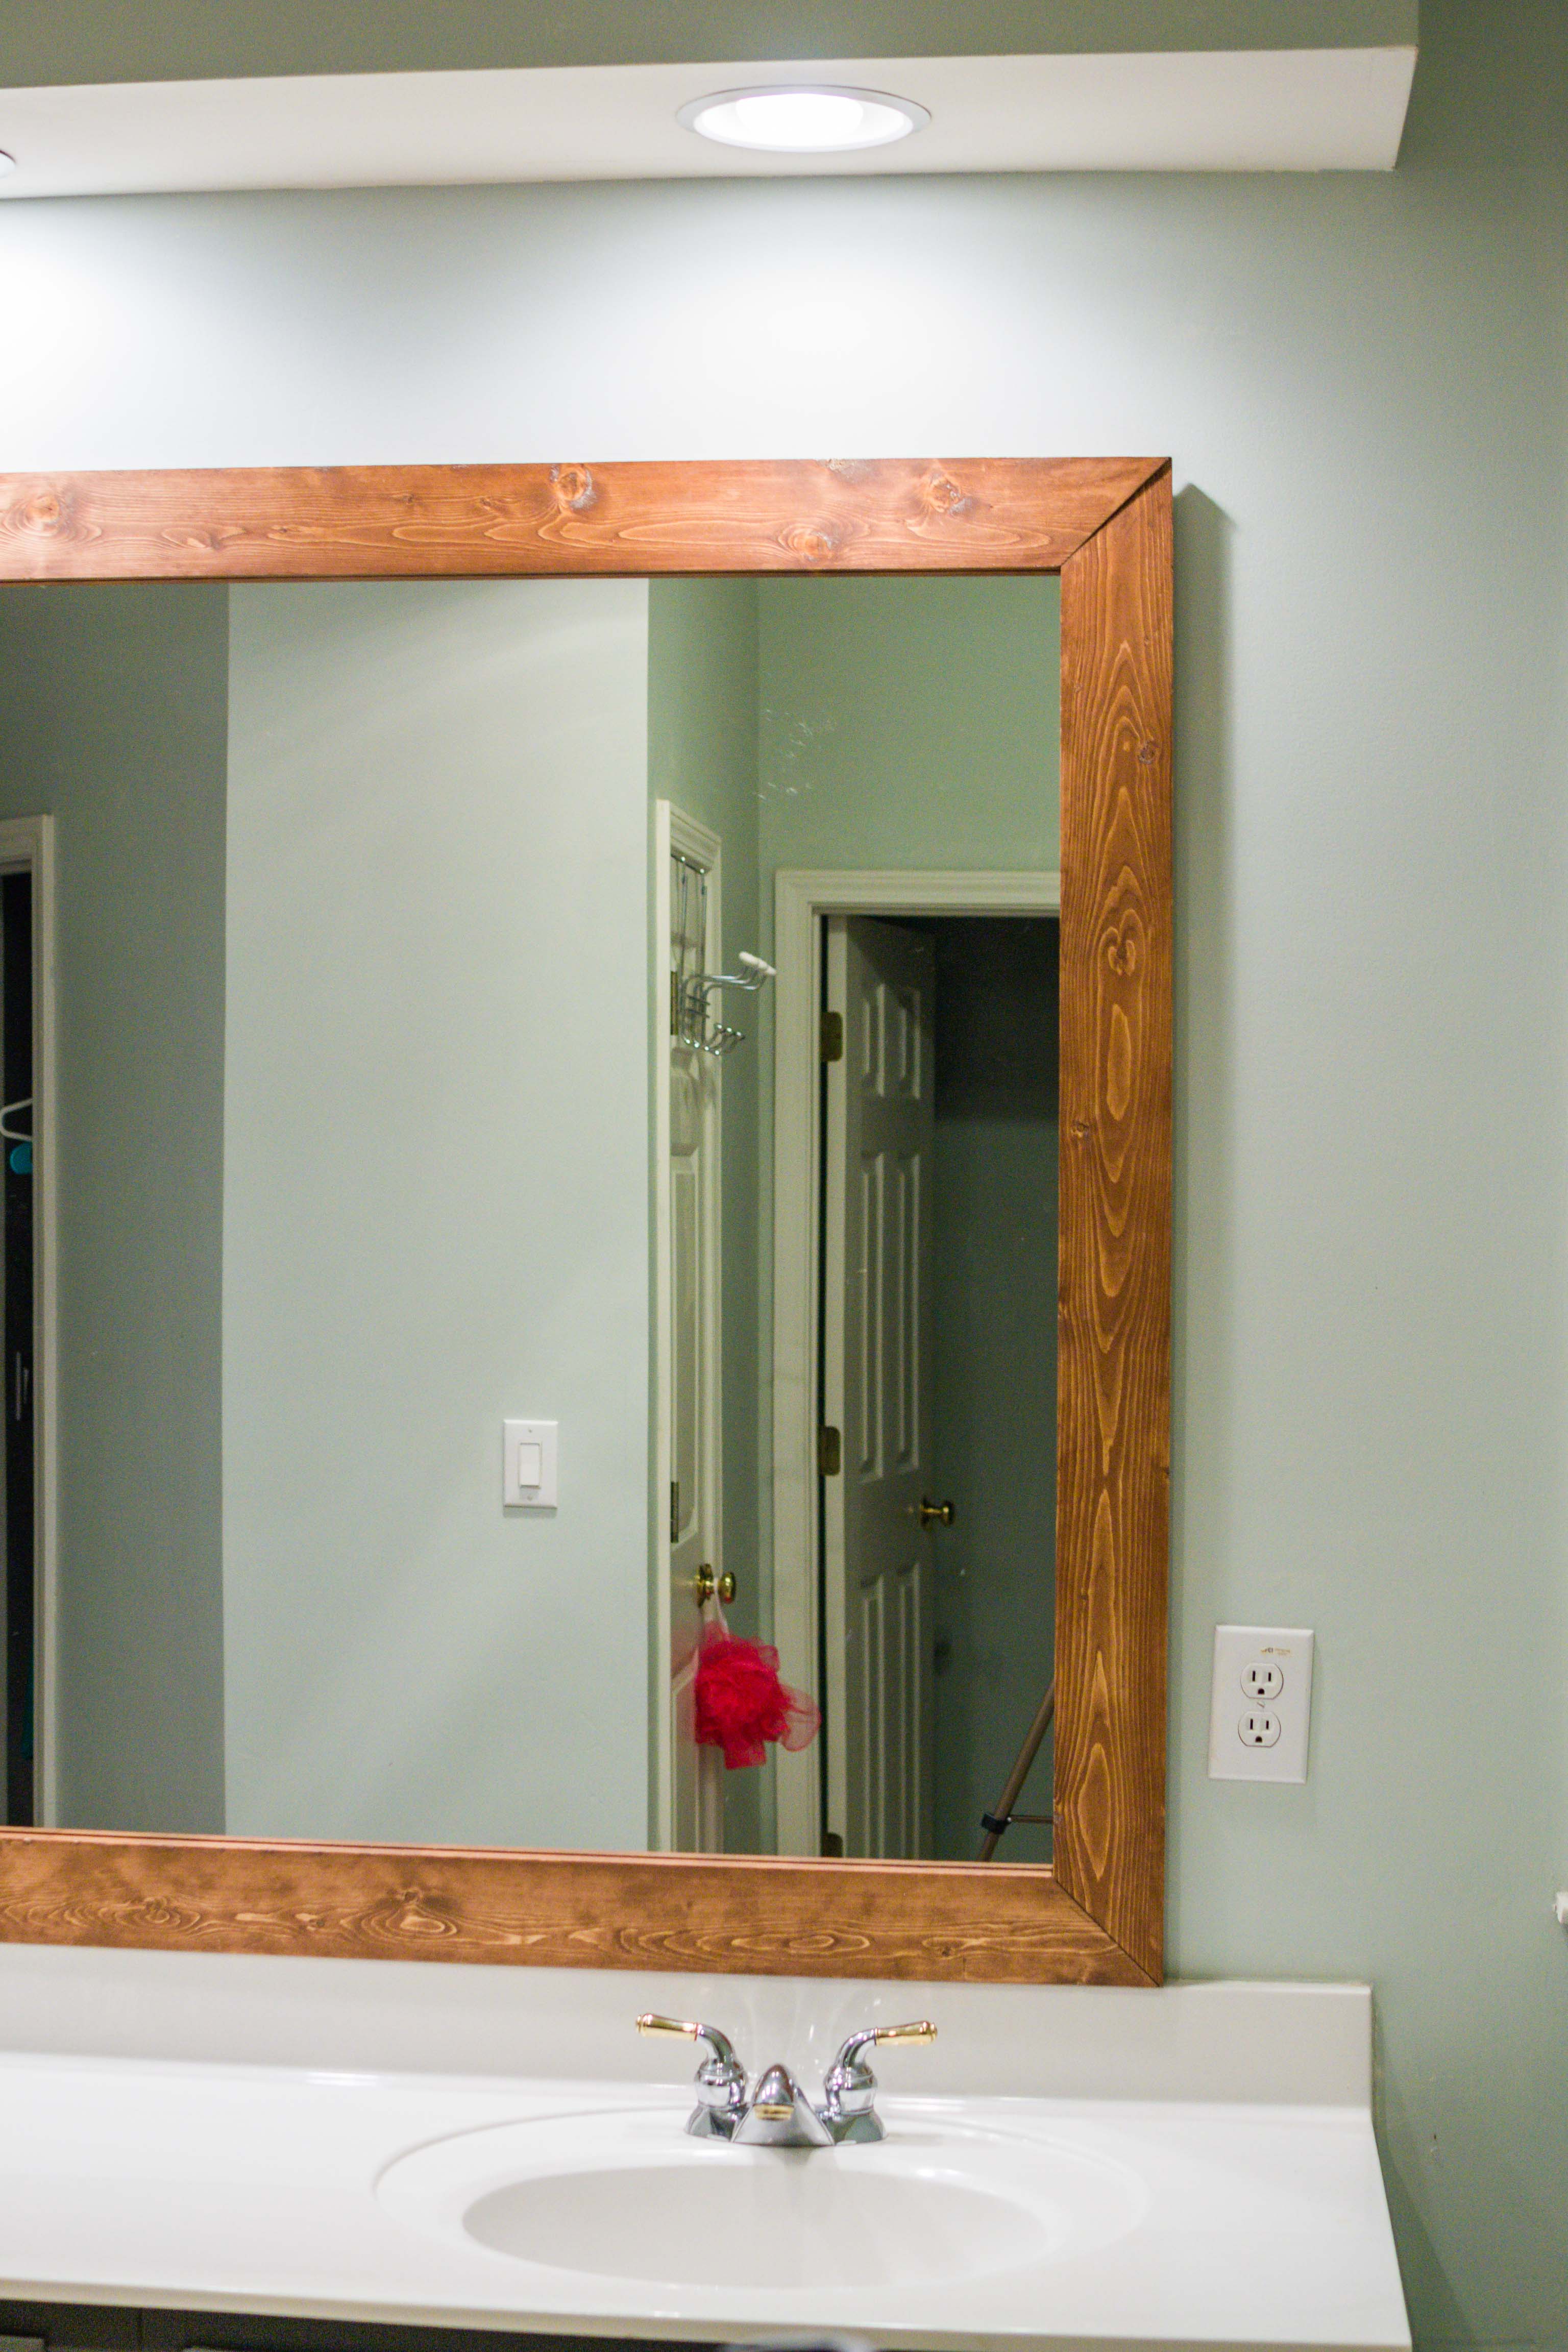
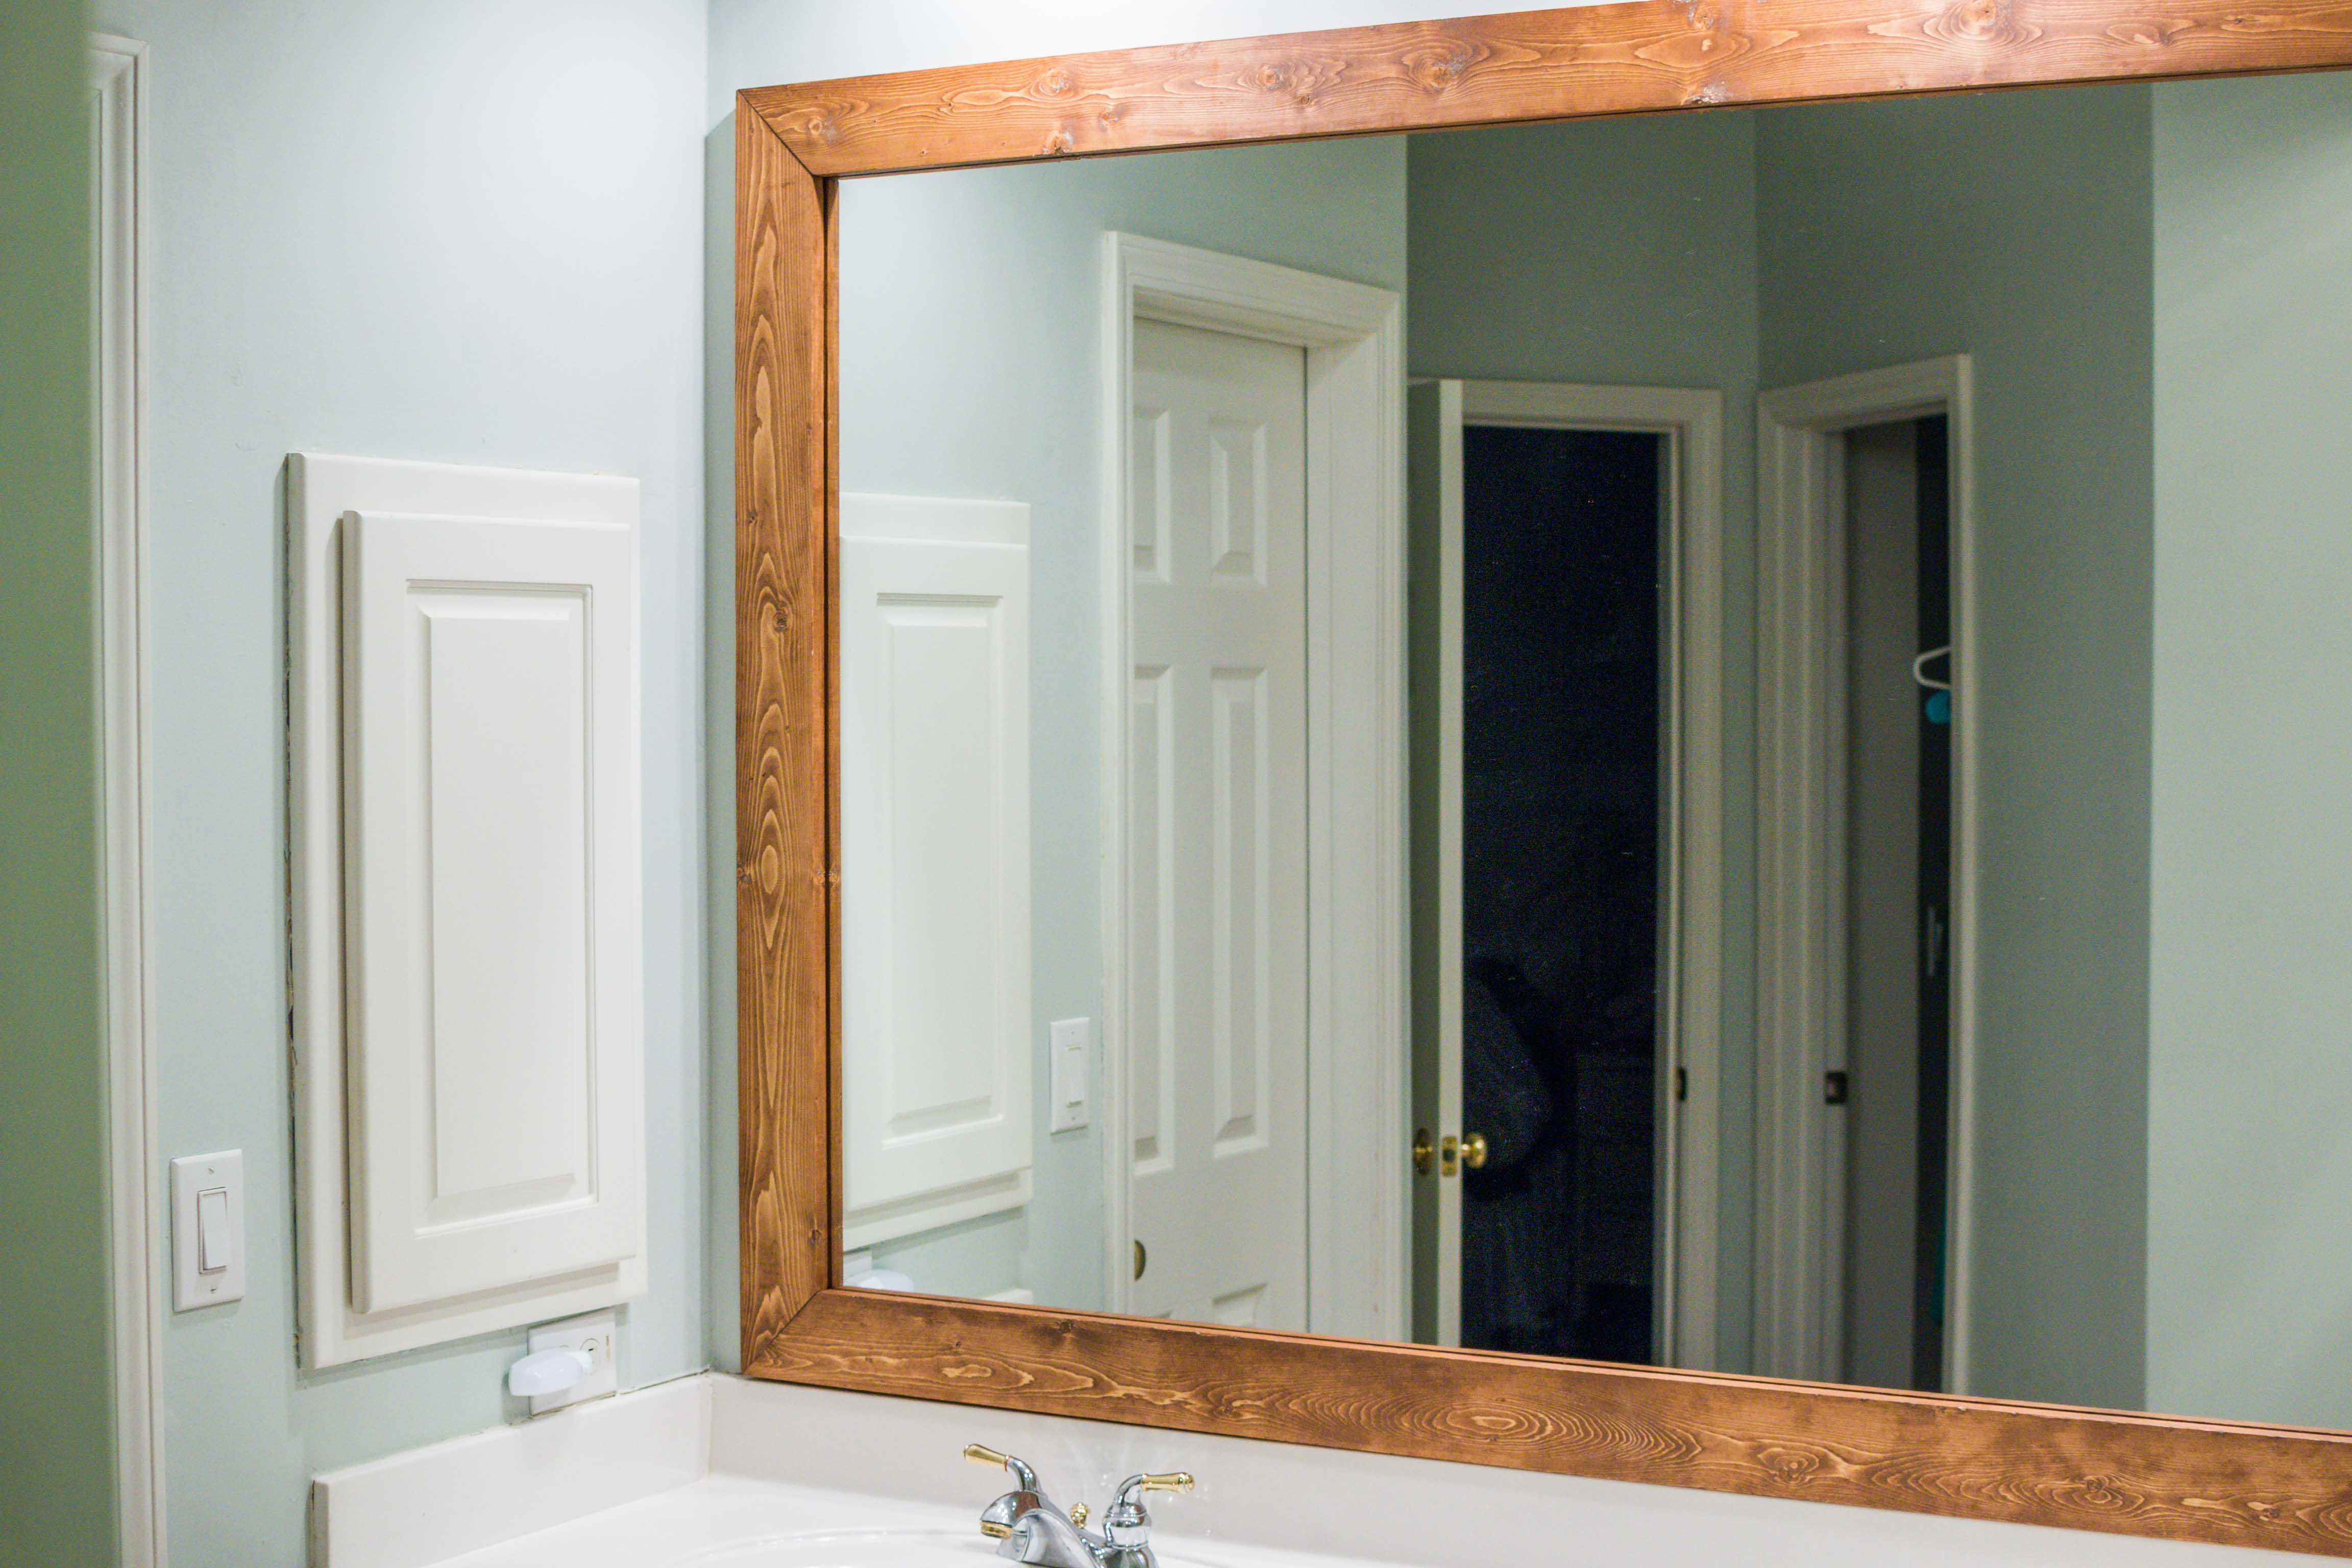
- Stain. We love Varathane’s Early American wood stain. It’s a mid-tone brown without a lot of warmth (red tones). When choosing a stain color, consider contrasting it with your wall color. Our bathroom walls are Sherwin Williams Sea Salt, a lighter blue-green pigment. The mid-tone of the stained frame allows the mirror to pop against the wall color, rather than blend in like it did before. If your walls are dark and dramatic, consider a lighter colored stain or whitewash.
- Mirror adhesive. Be sure to buy a construction adhesive designed to adhere materials to mirror or glass. Otherwise, the glue may not be strong enough to hold your wood frame on the mirror.
- Folding sawhorses. The cheap, easy, sturdy and portable workbench. Unfold each sawhorse and place a piece of scrap plywood across the top of each stand. Setup your workspace anywhere.
Step 2. Wood cut list.
Note: cut to fit! Do NOT base your measurements on our bathroom mirror.
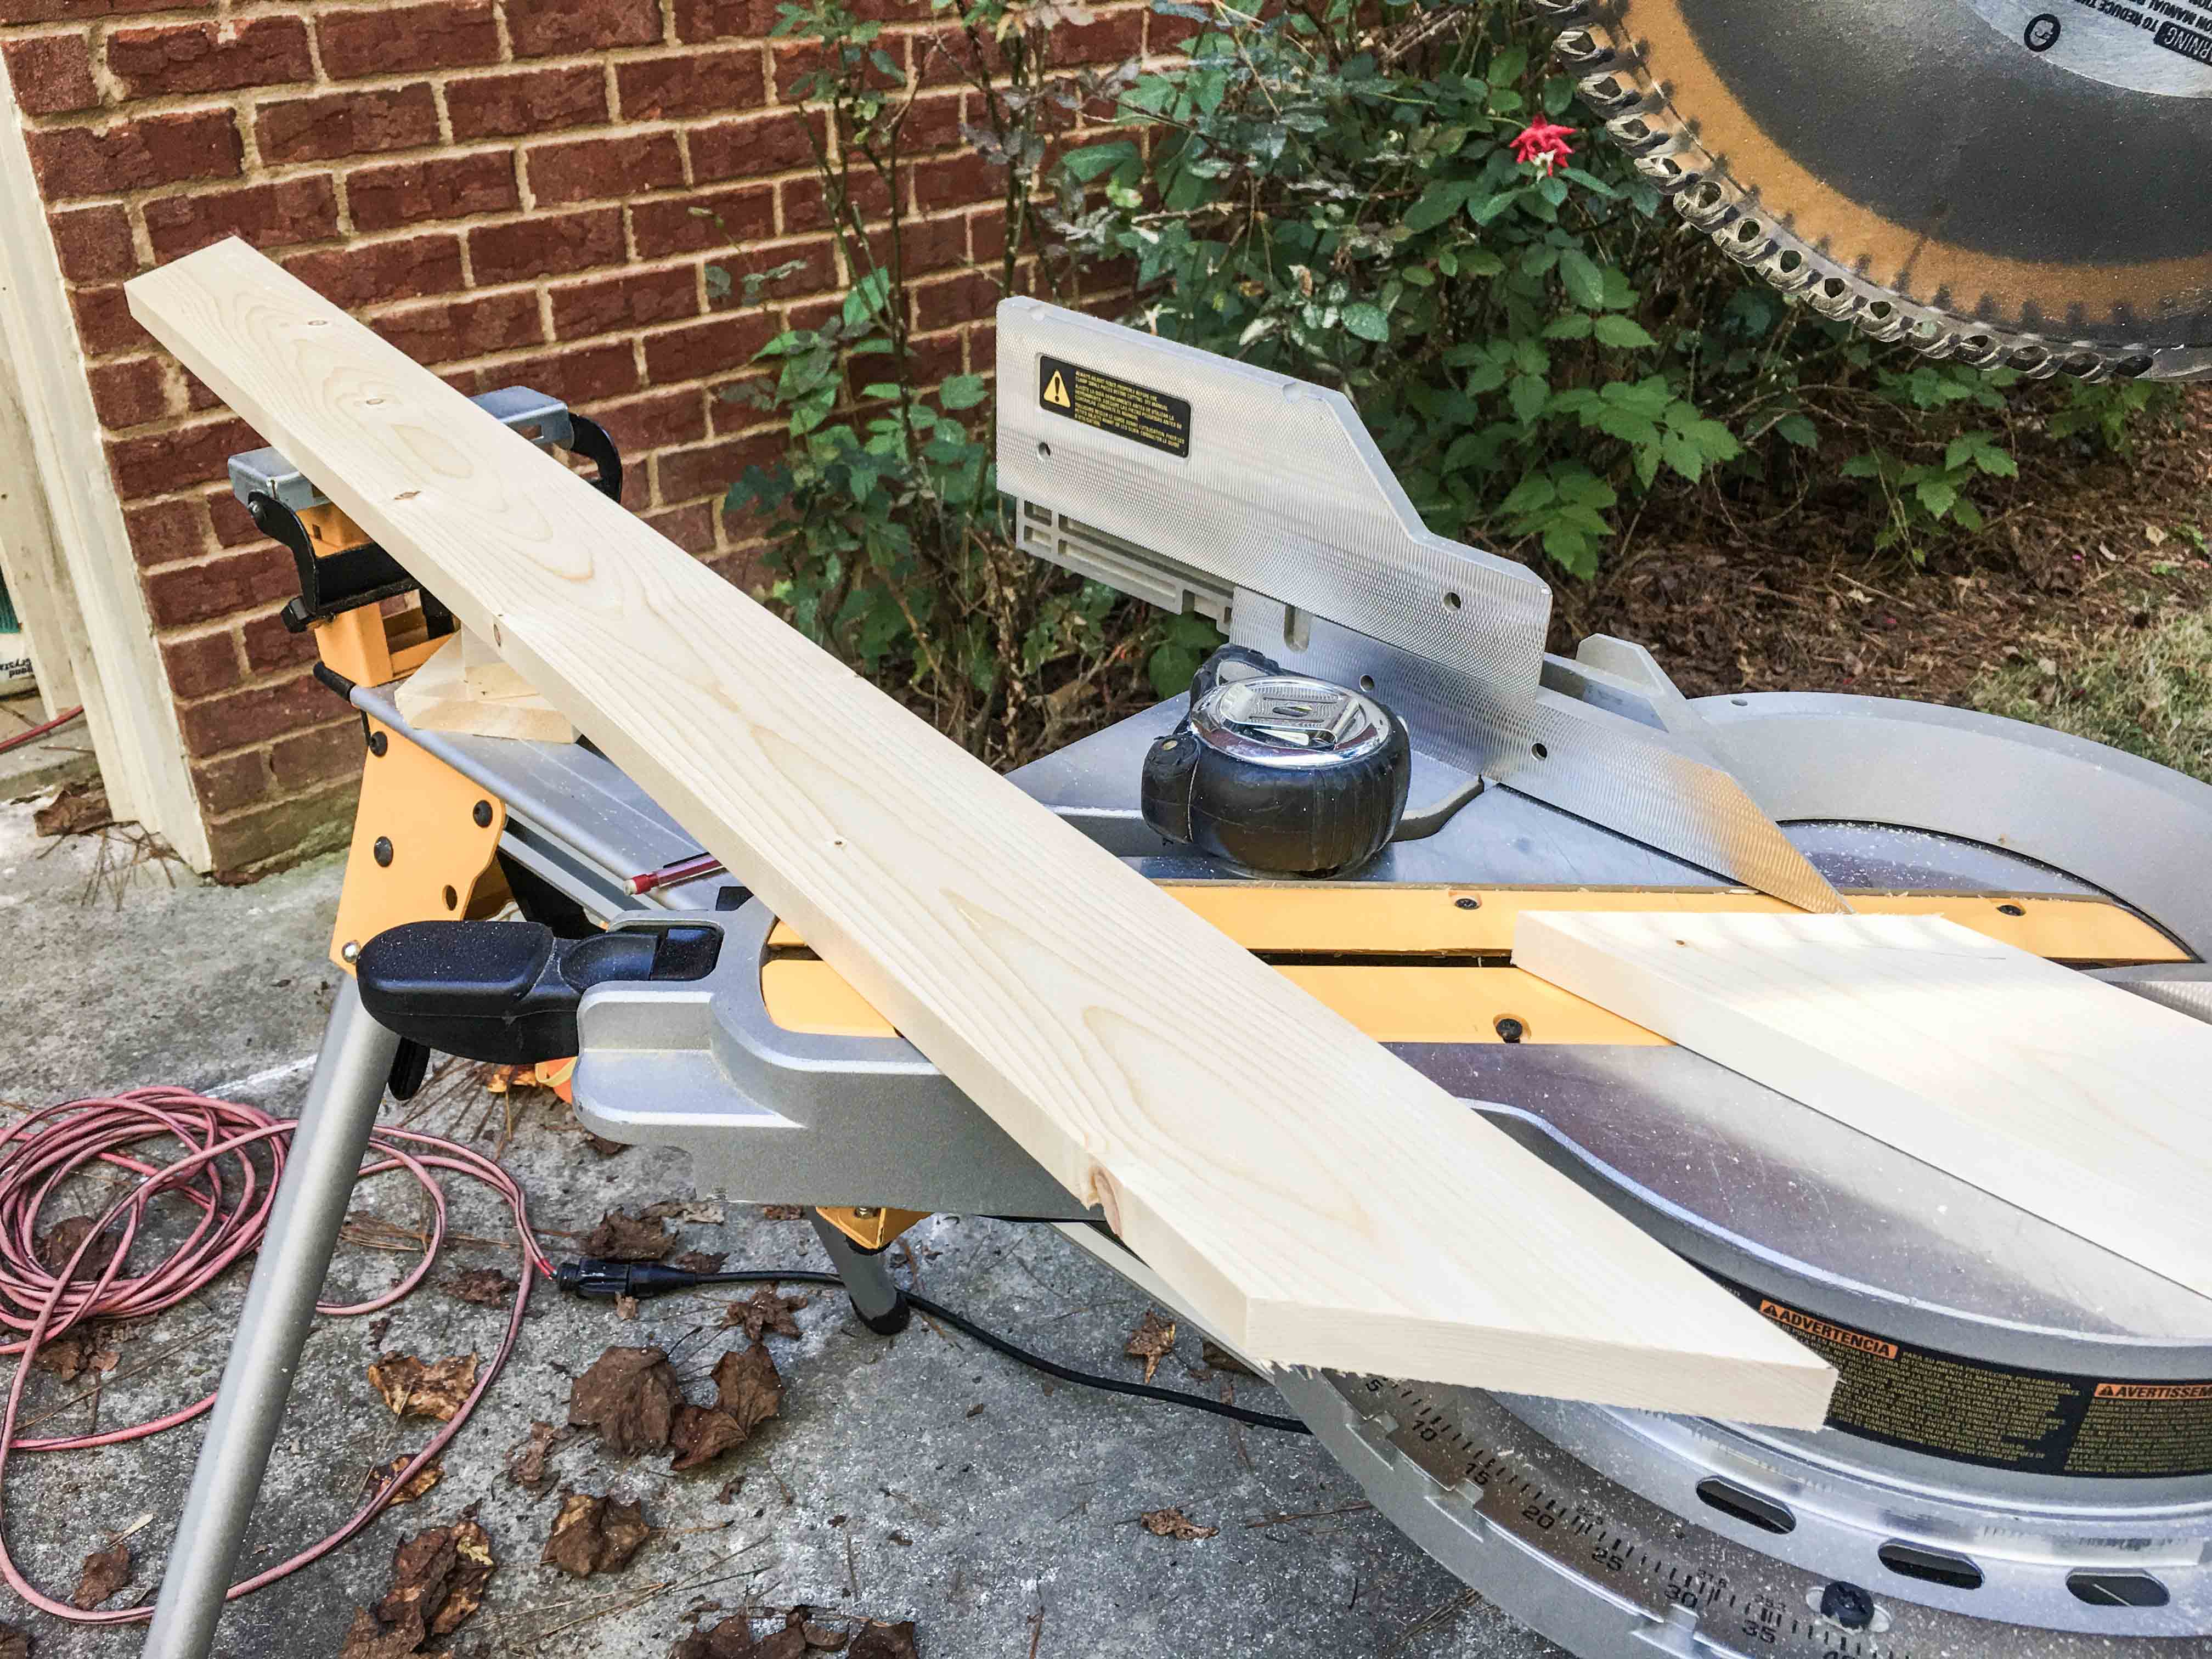
Tools. Use either your miter saw, circular saw or hand saw with miter box. The miter and circular saws are powered, allowing the quickest yield. The miter will ensure that your angles are practically perfect.
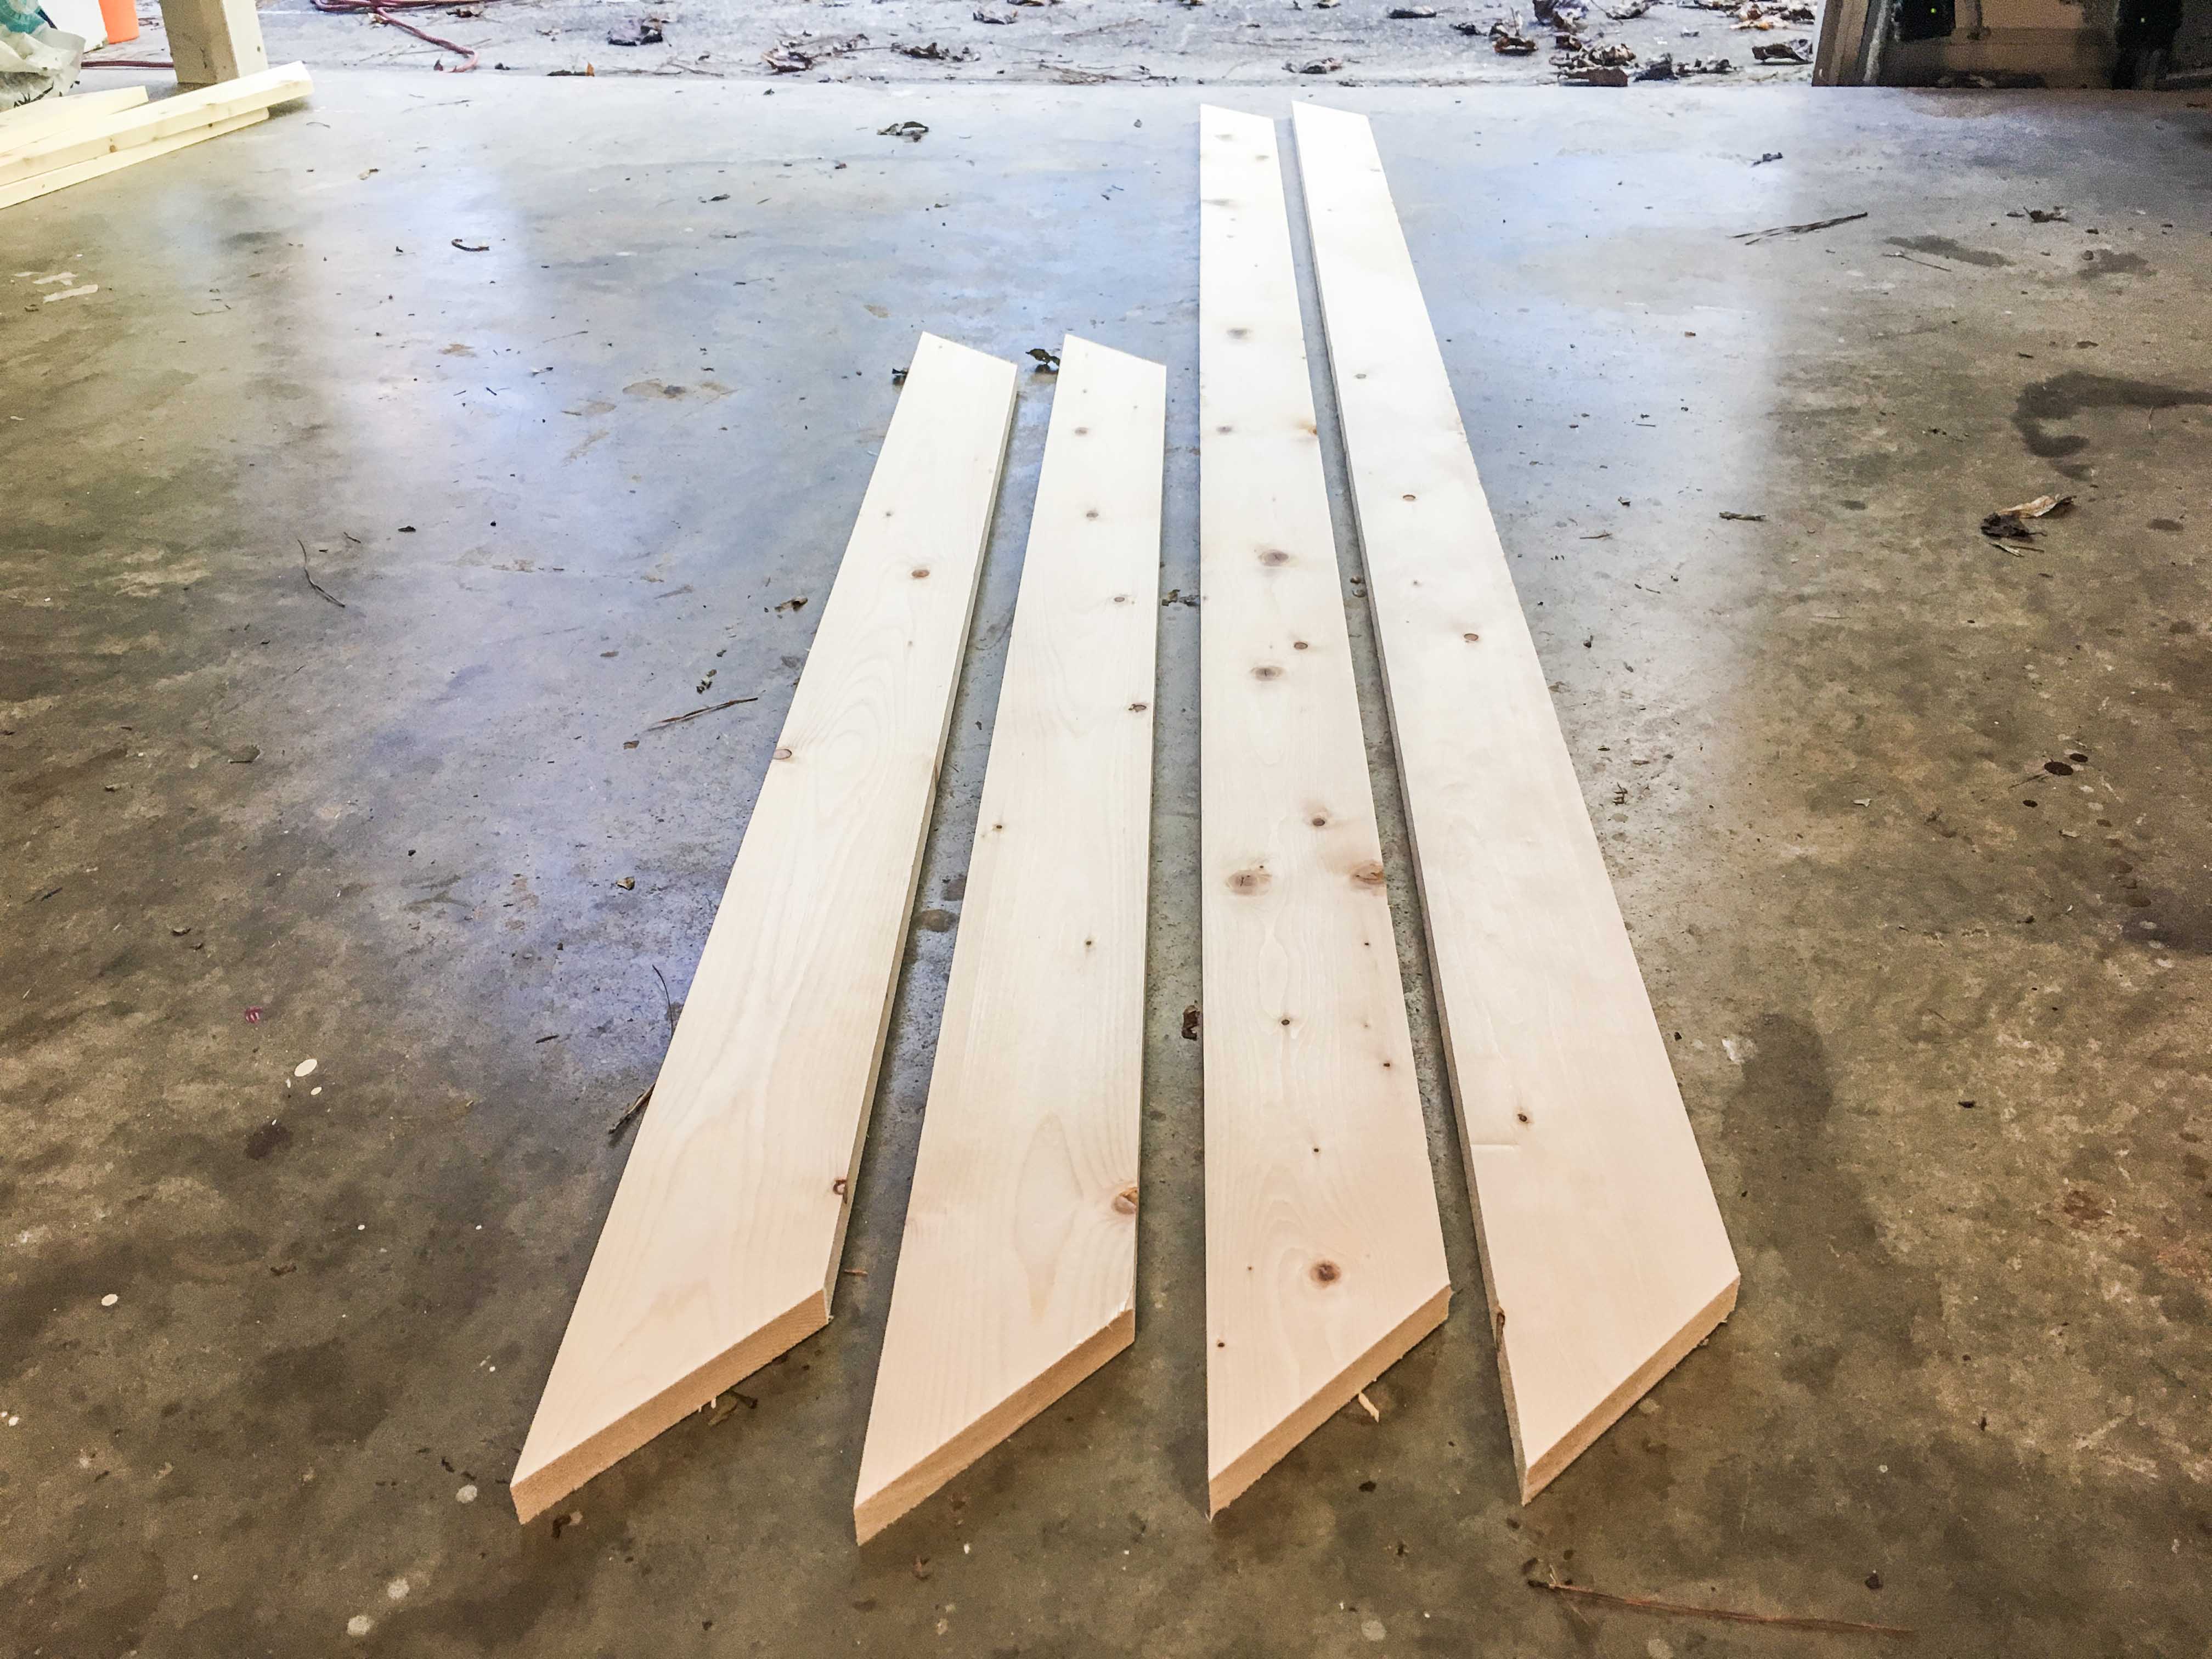
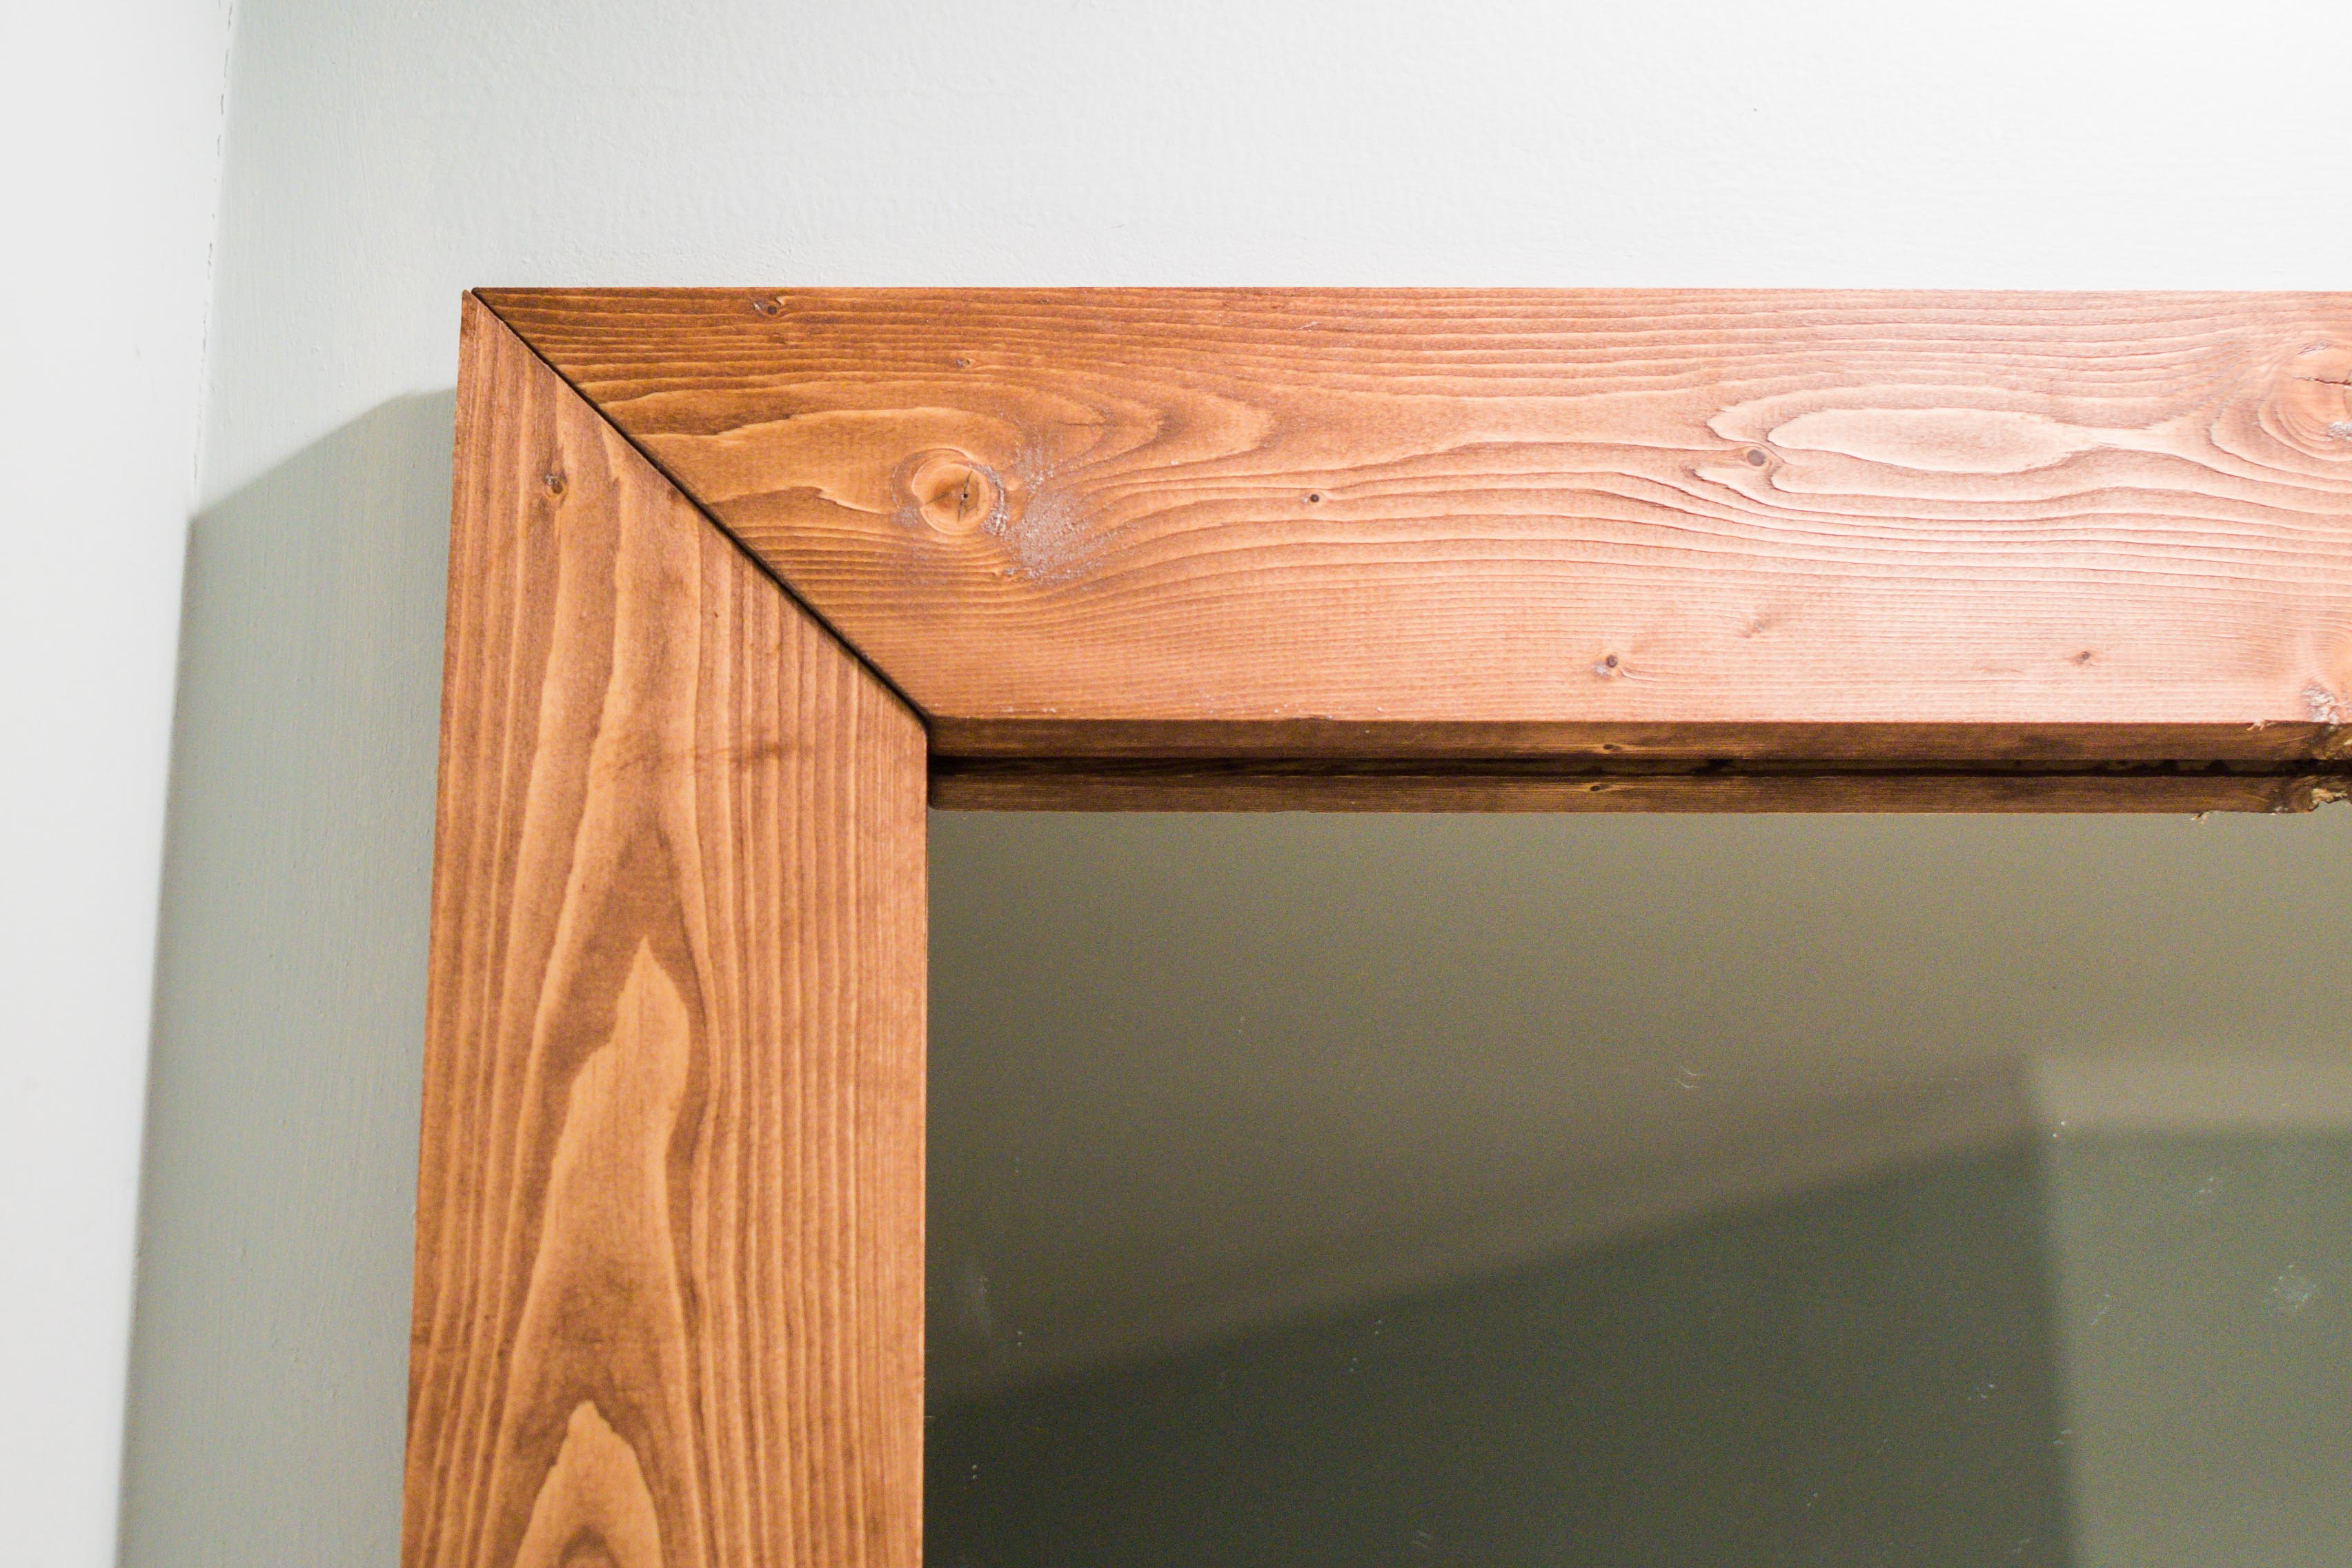
- (2) 1x4x84” – non-parallel cuts, like a picture frame. (1” overhang on both sides to hide the edges of the mirror.)
- (2) 1x4x49” – non-parallel cuts, like a picture frame. (1” overhang on the top only, to hide the top edge of the mirror. The bottom of our mirror touches the countertop.)
Non-parallel cuts: the cuts at the end of each piece are perpendicular to each other.
Step 3. Pre-stain the wood frame.
Note: only pre-stain the 1 face and 2 sides that will be seen.
- Setup your workspace or workbench. Make sure it’s well-ventilated as pre-stain, stain and wax release harmful fumes.
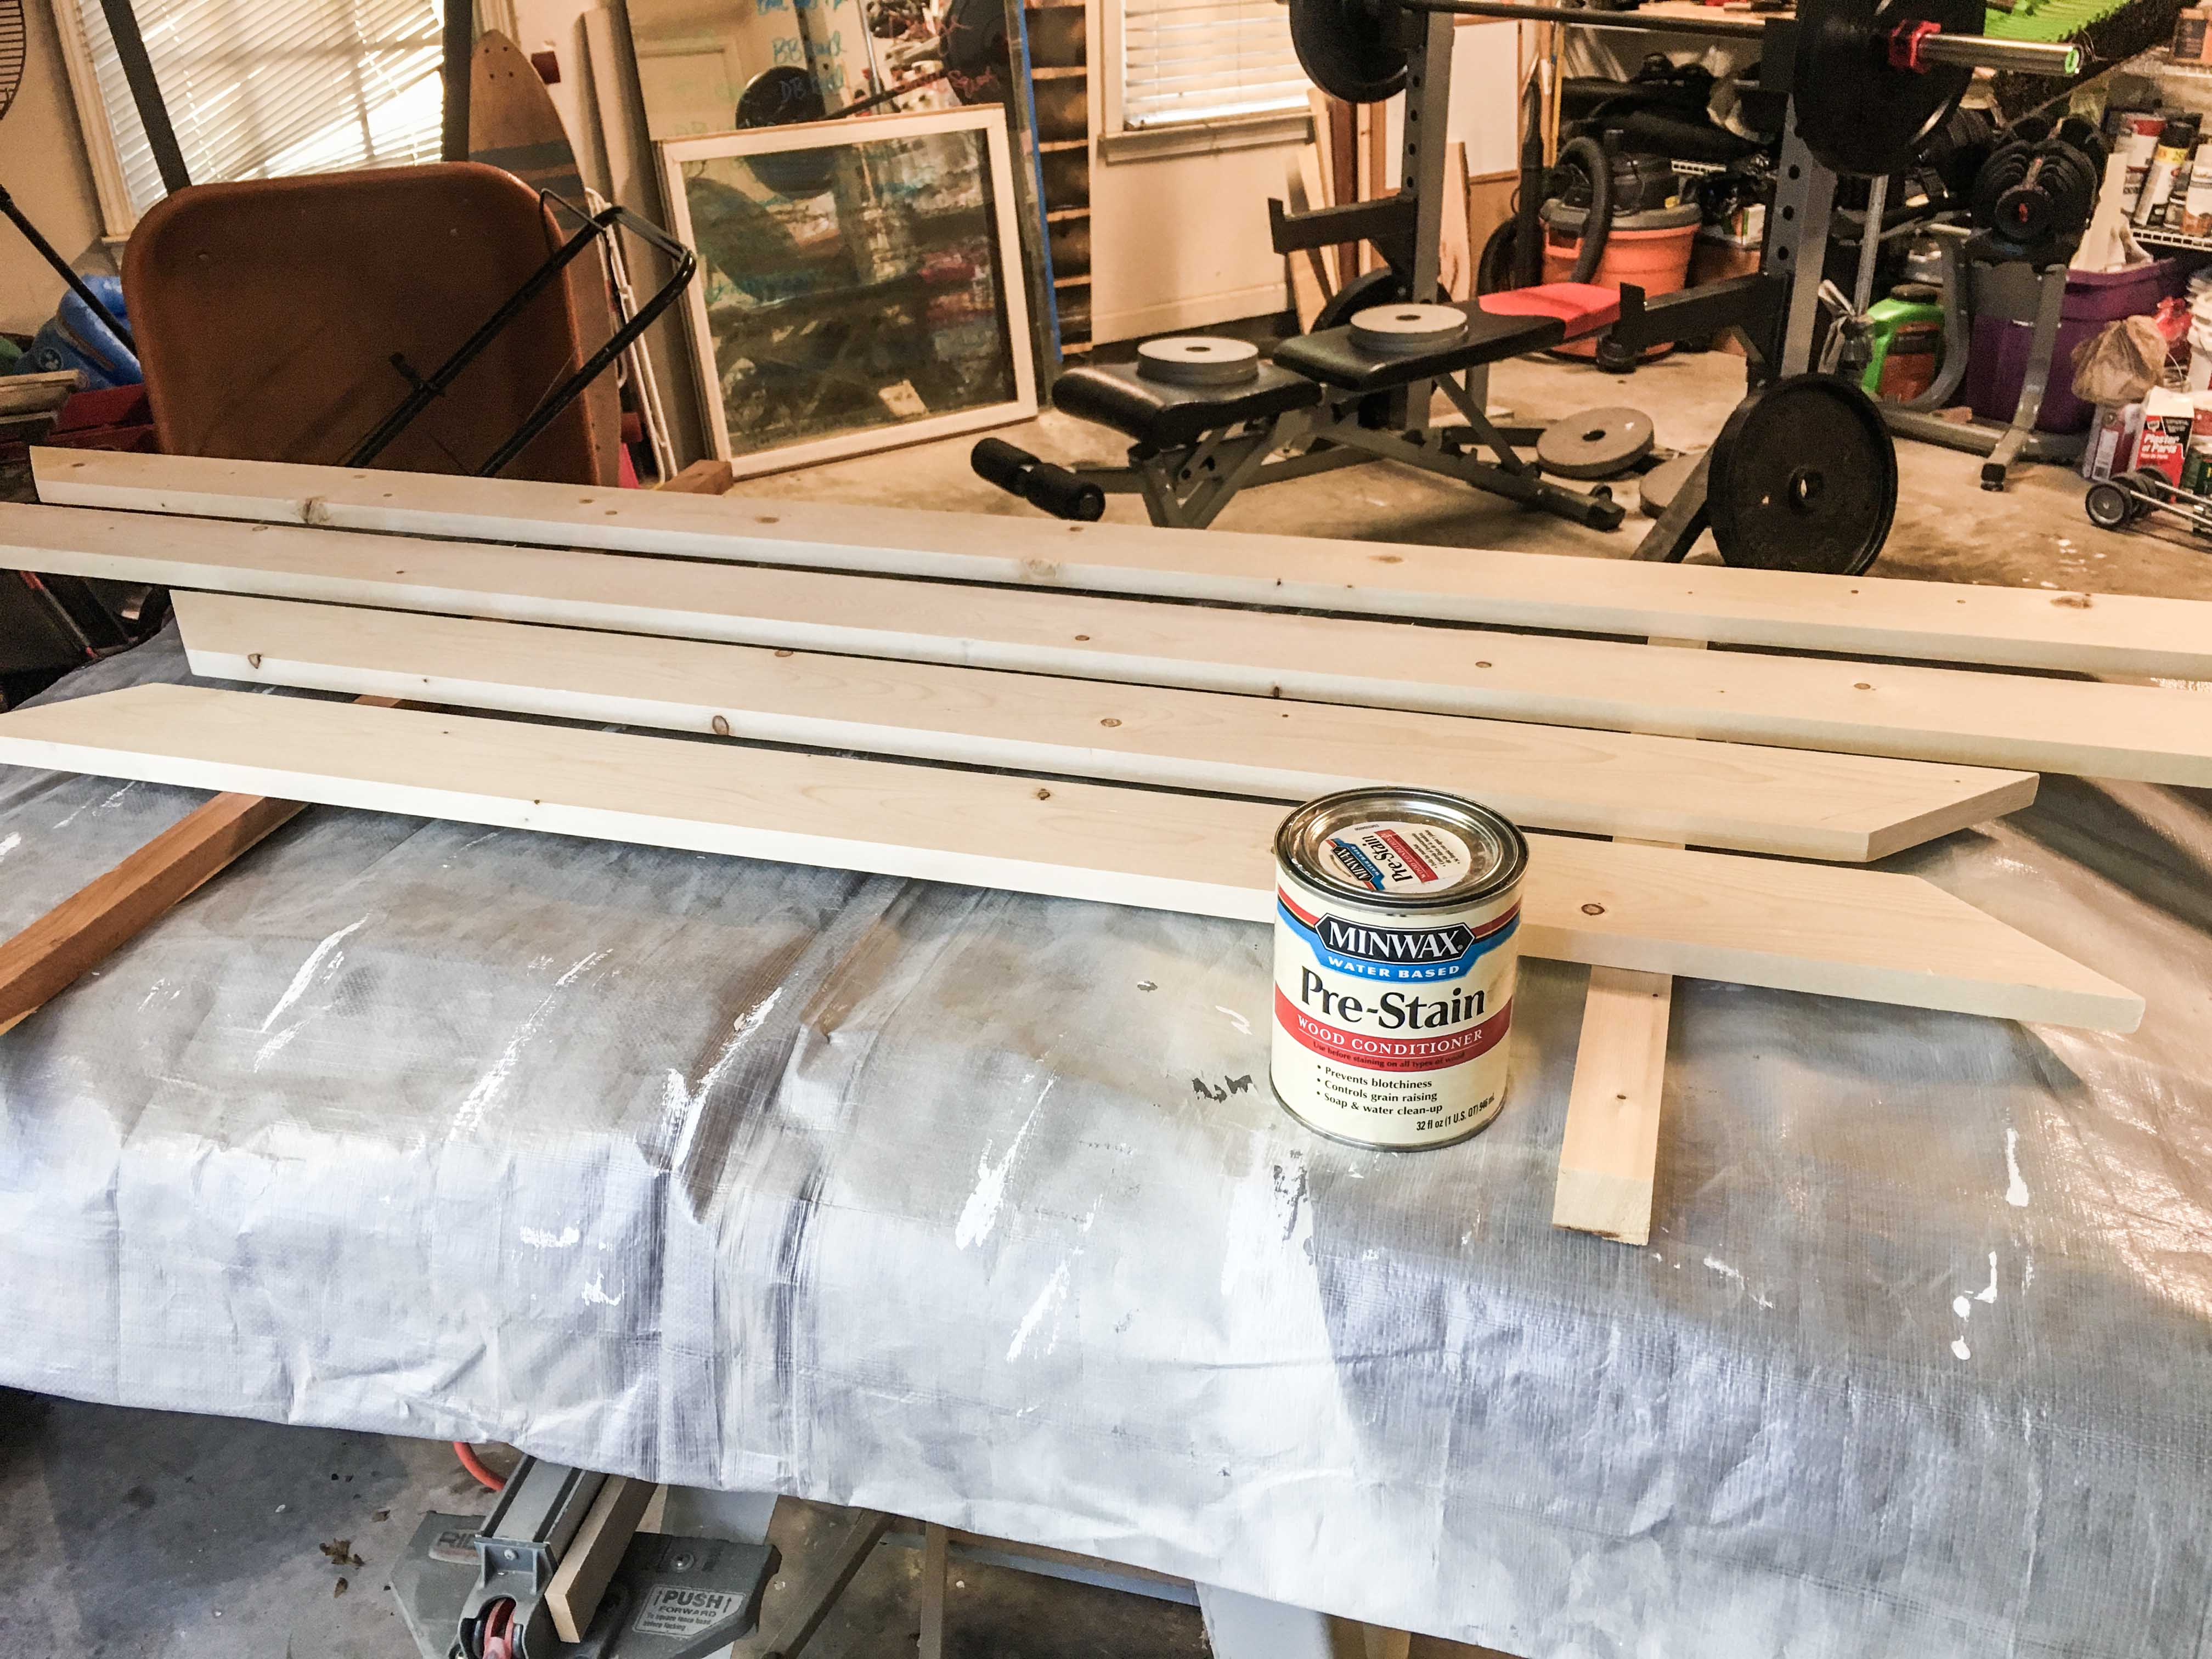
- Lay all (4) pieces of mitered wood onto the workspace.
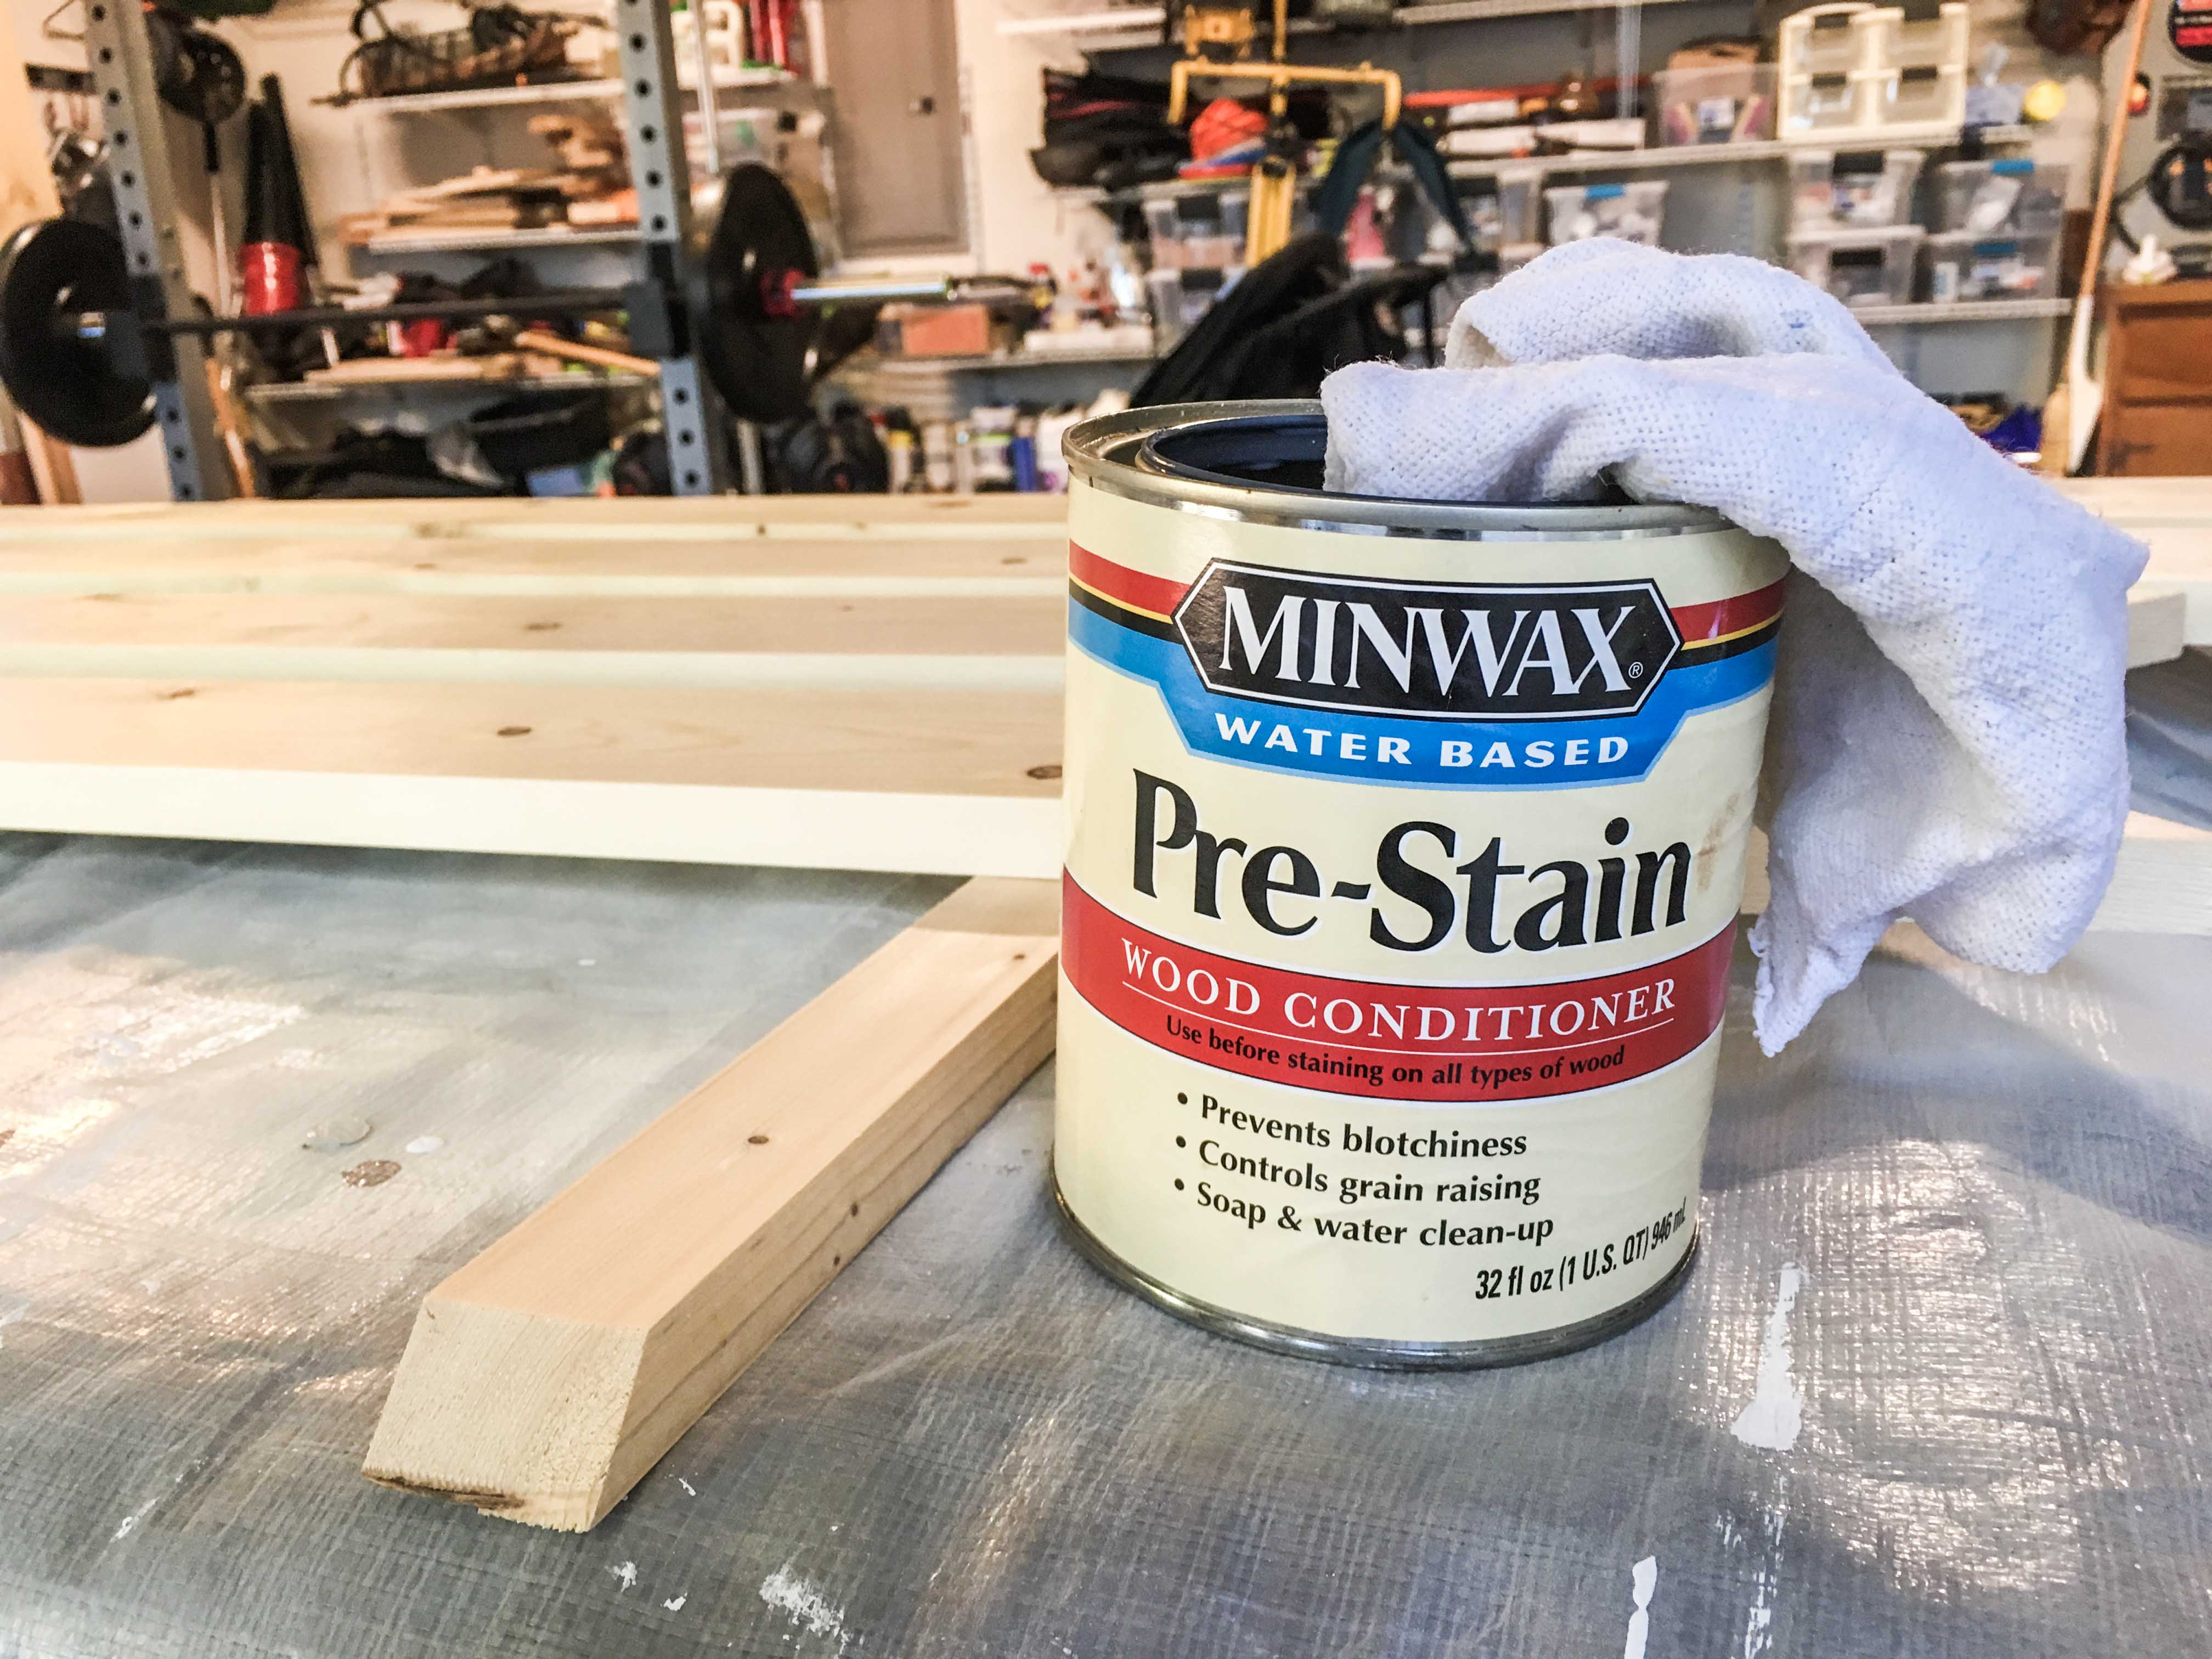
- Open up your can of pre-stain wood conditioner. Stir with a wooden paint stir stick for 1 minute to be sure the components are properly blended.
- Put on your nitrile gloves. Snag your blue shop towels.
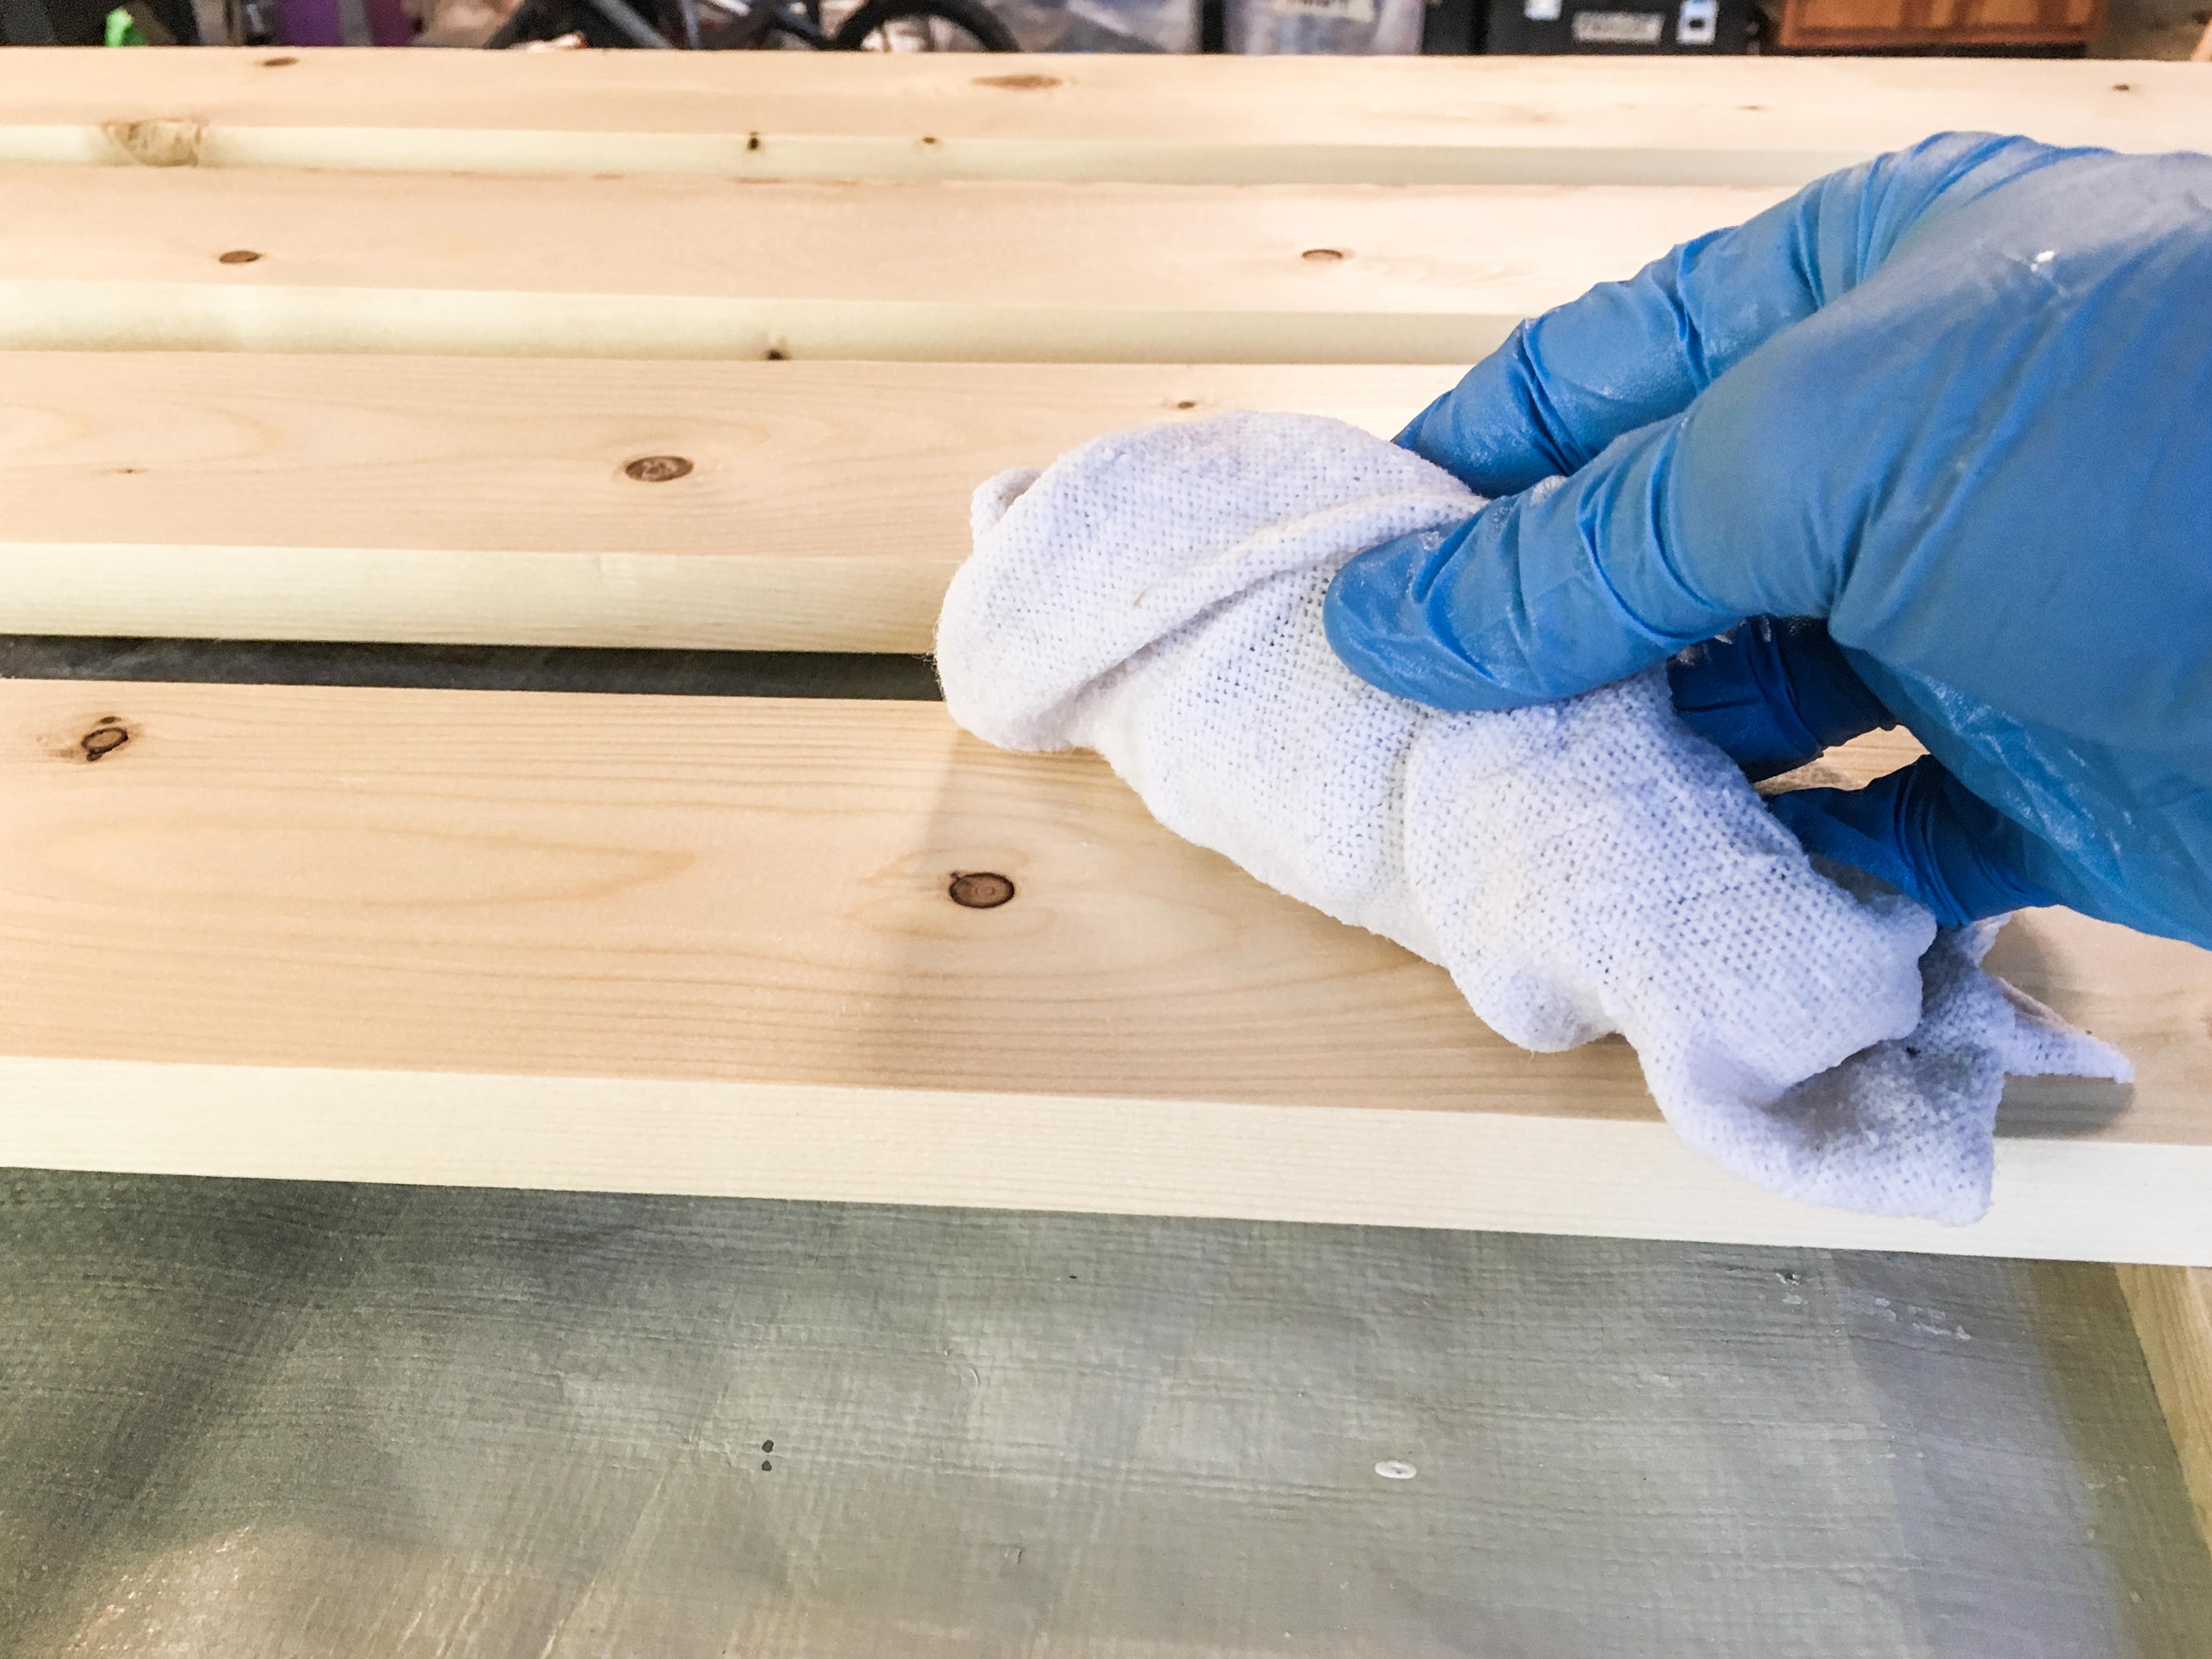
- Thoroughly apply a coat of pre-stain to wood pieces using your blue shop towel. Rub it in to help penetrate the wood grain.
- Wipe off excess pre-stain liquid.
- Let it set for 30 minutes to allow the wood conditioner to seep into the wood.
Step 4. Stain the wood frame.
Note: only stain the 1 face and 2 sides that will be visible.
- Use the same gloves, or apply a new pair.
- After the pre-stain has set for 30 minutes, prepare to stain the wood.
- Open your can of stain.
- Mix the stain with a wooden paint stir stick for at least 1 minute.
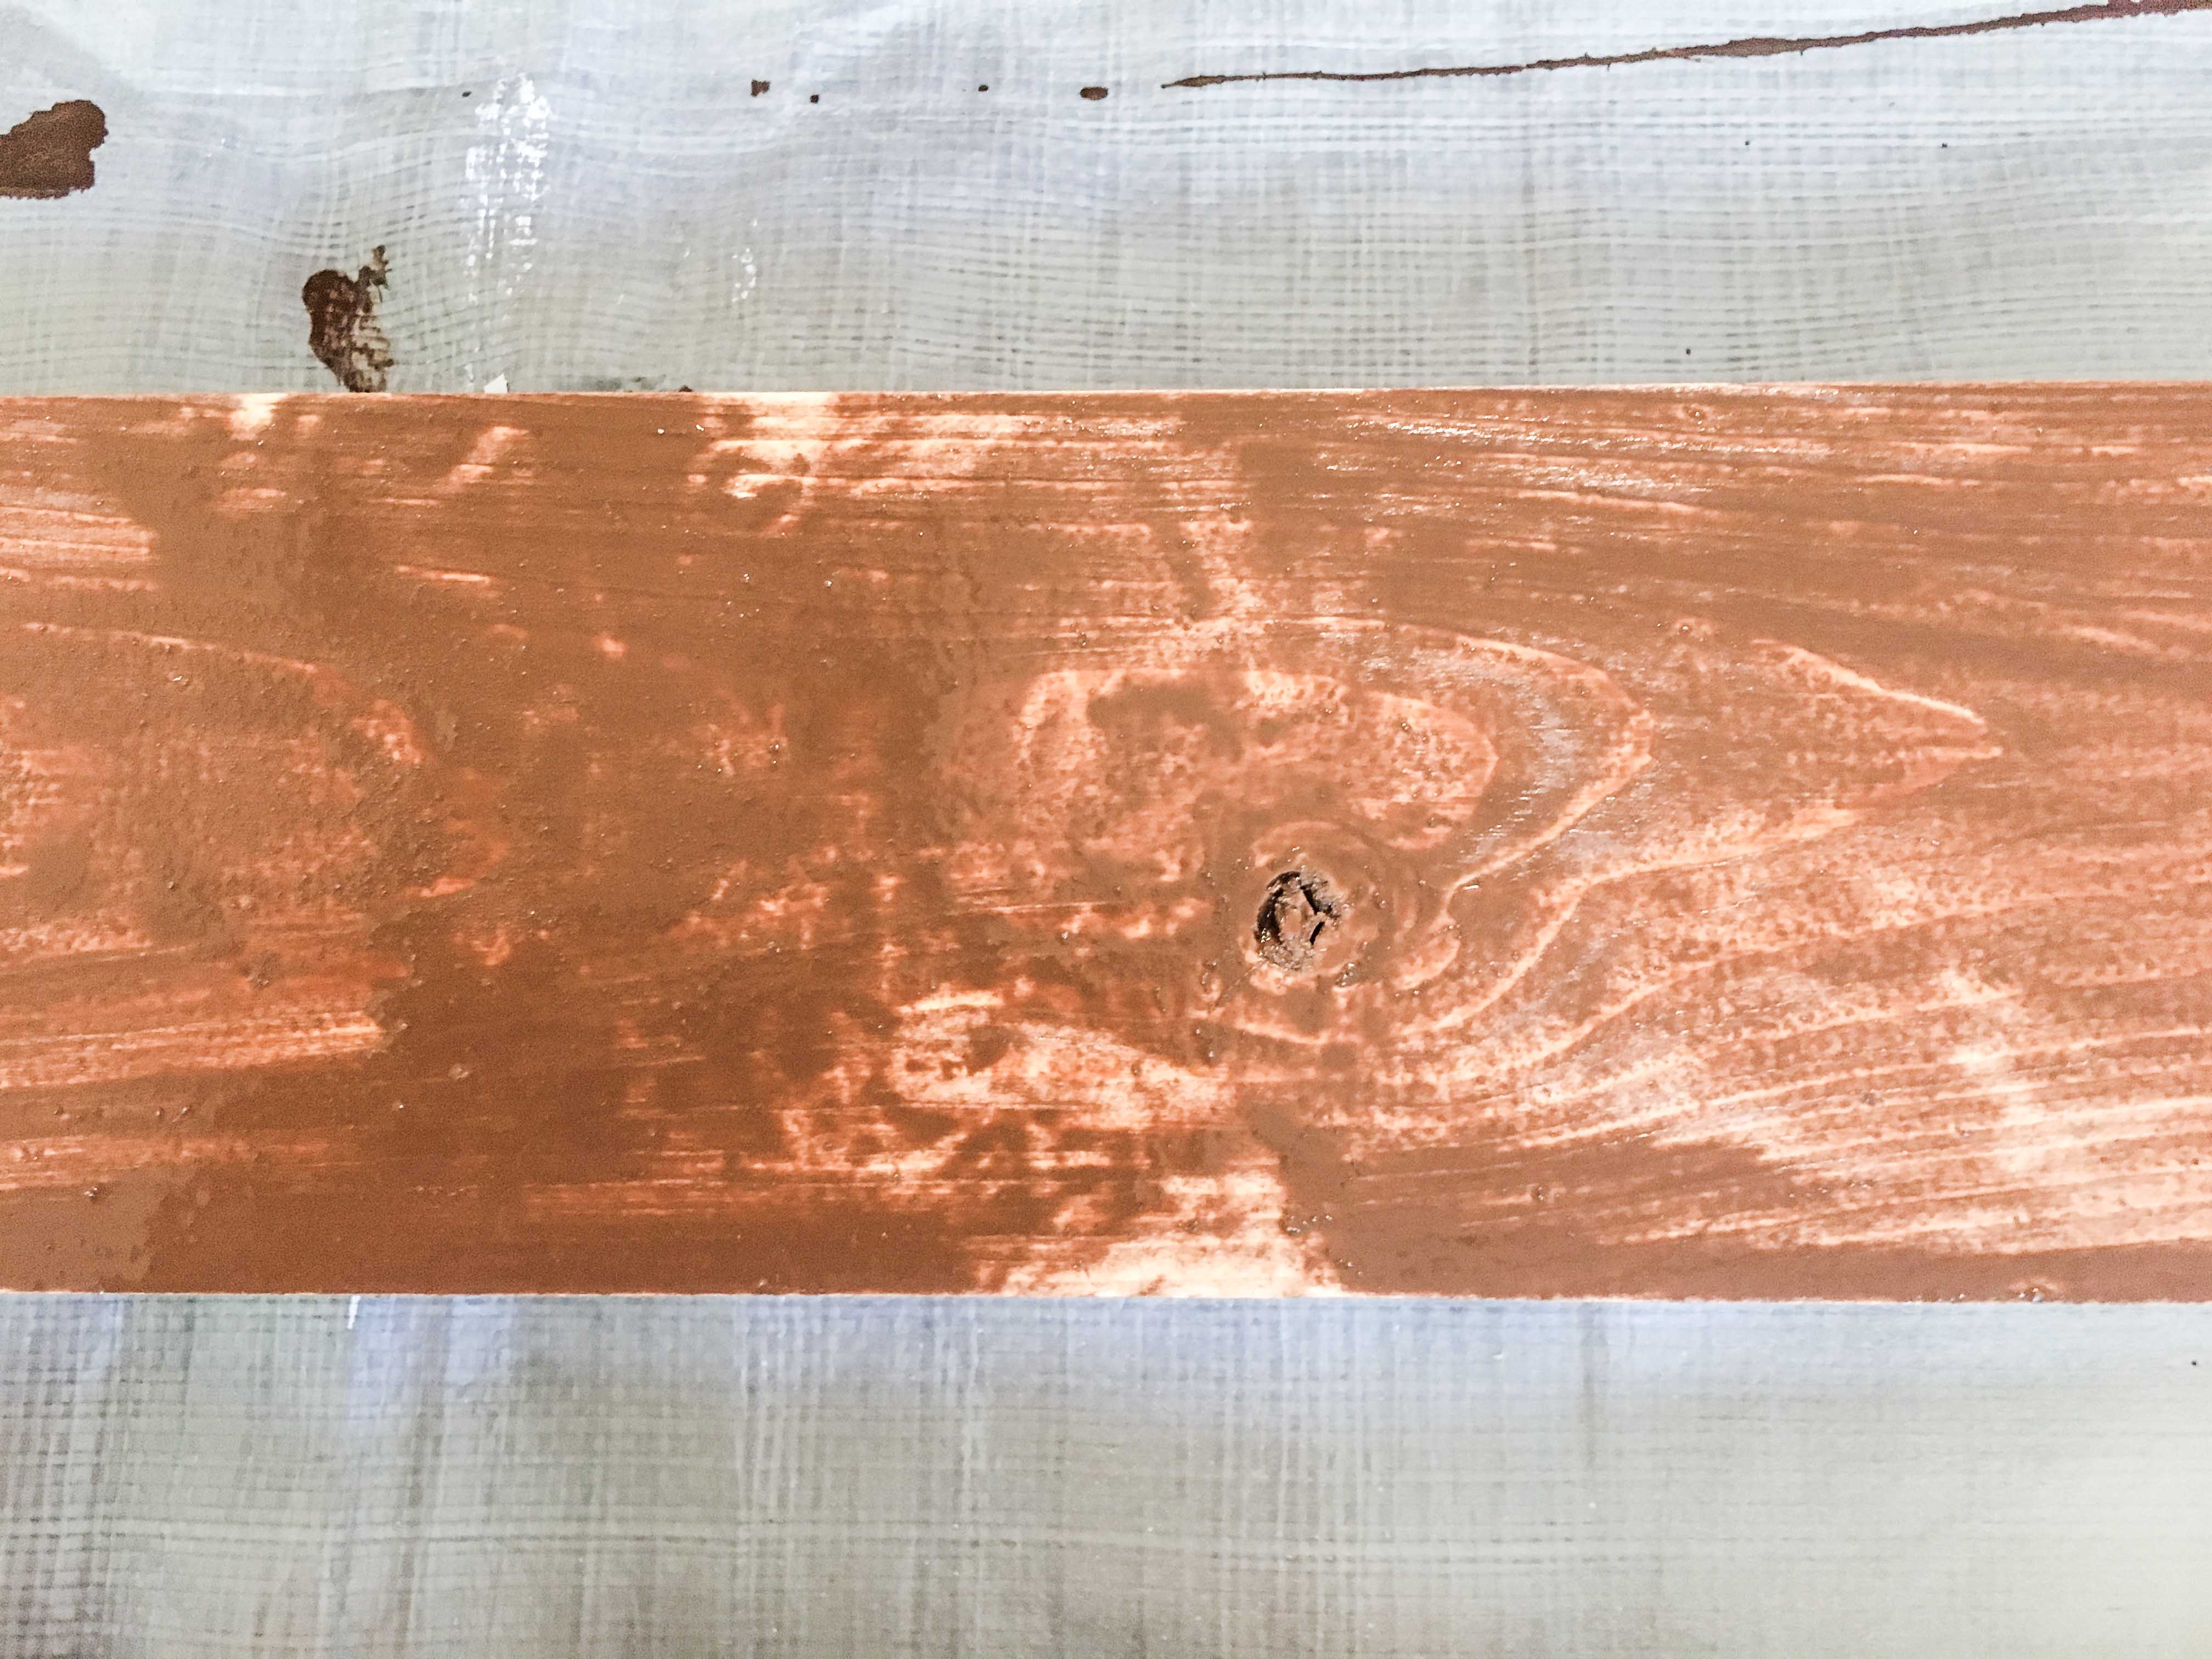
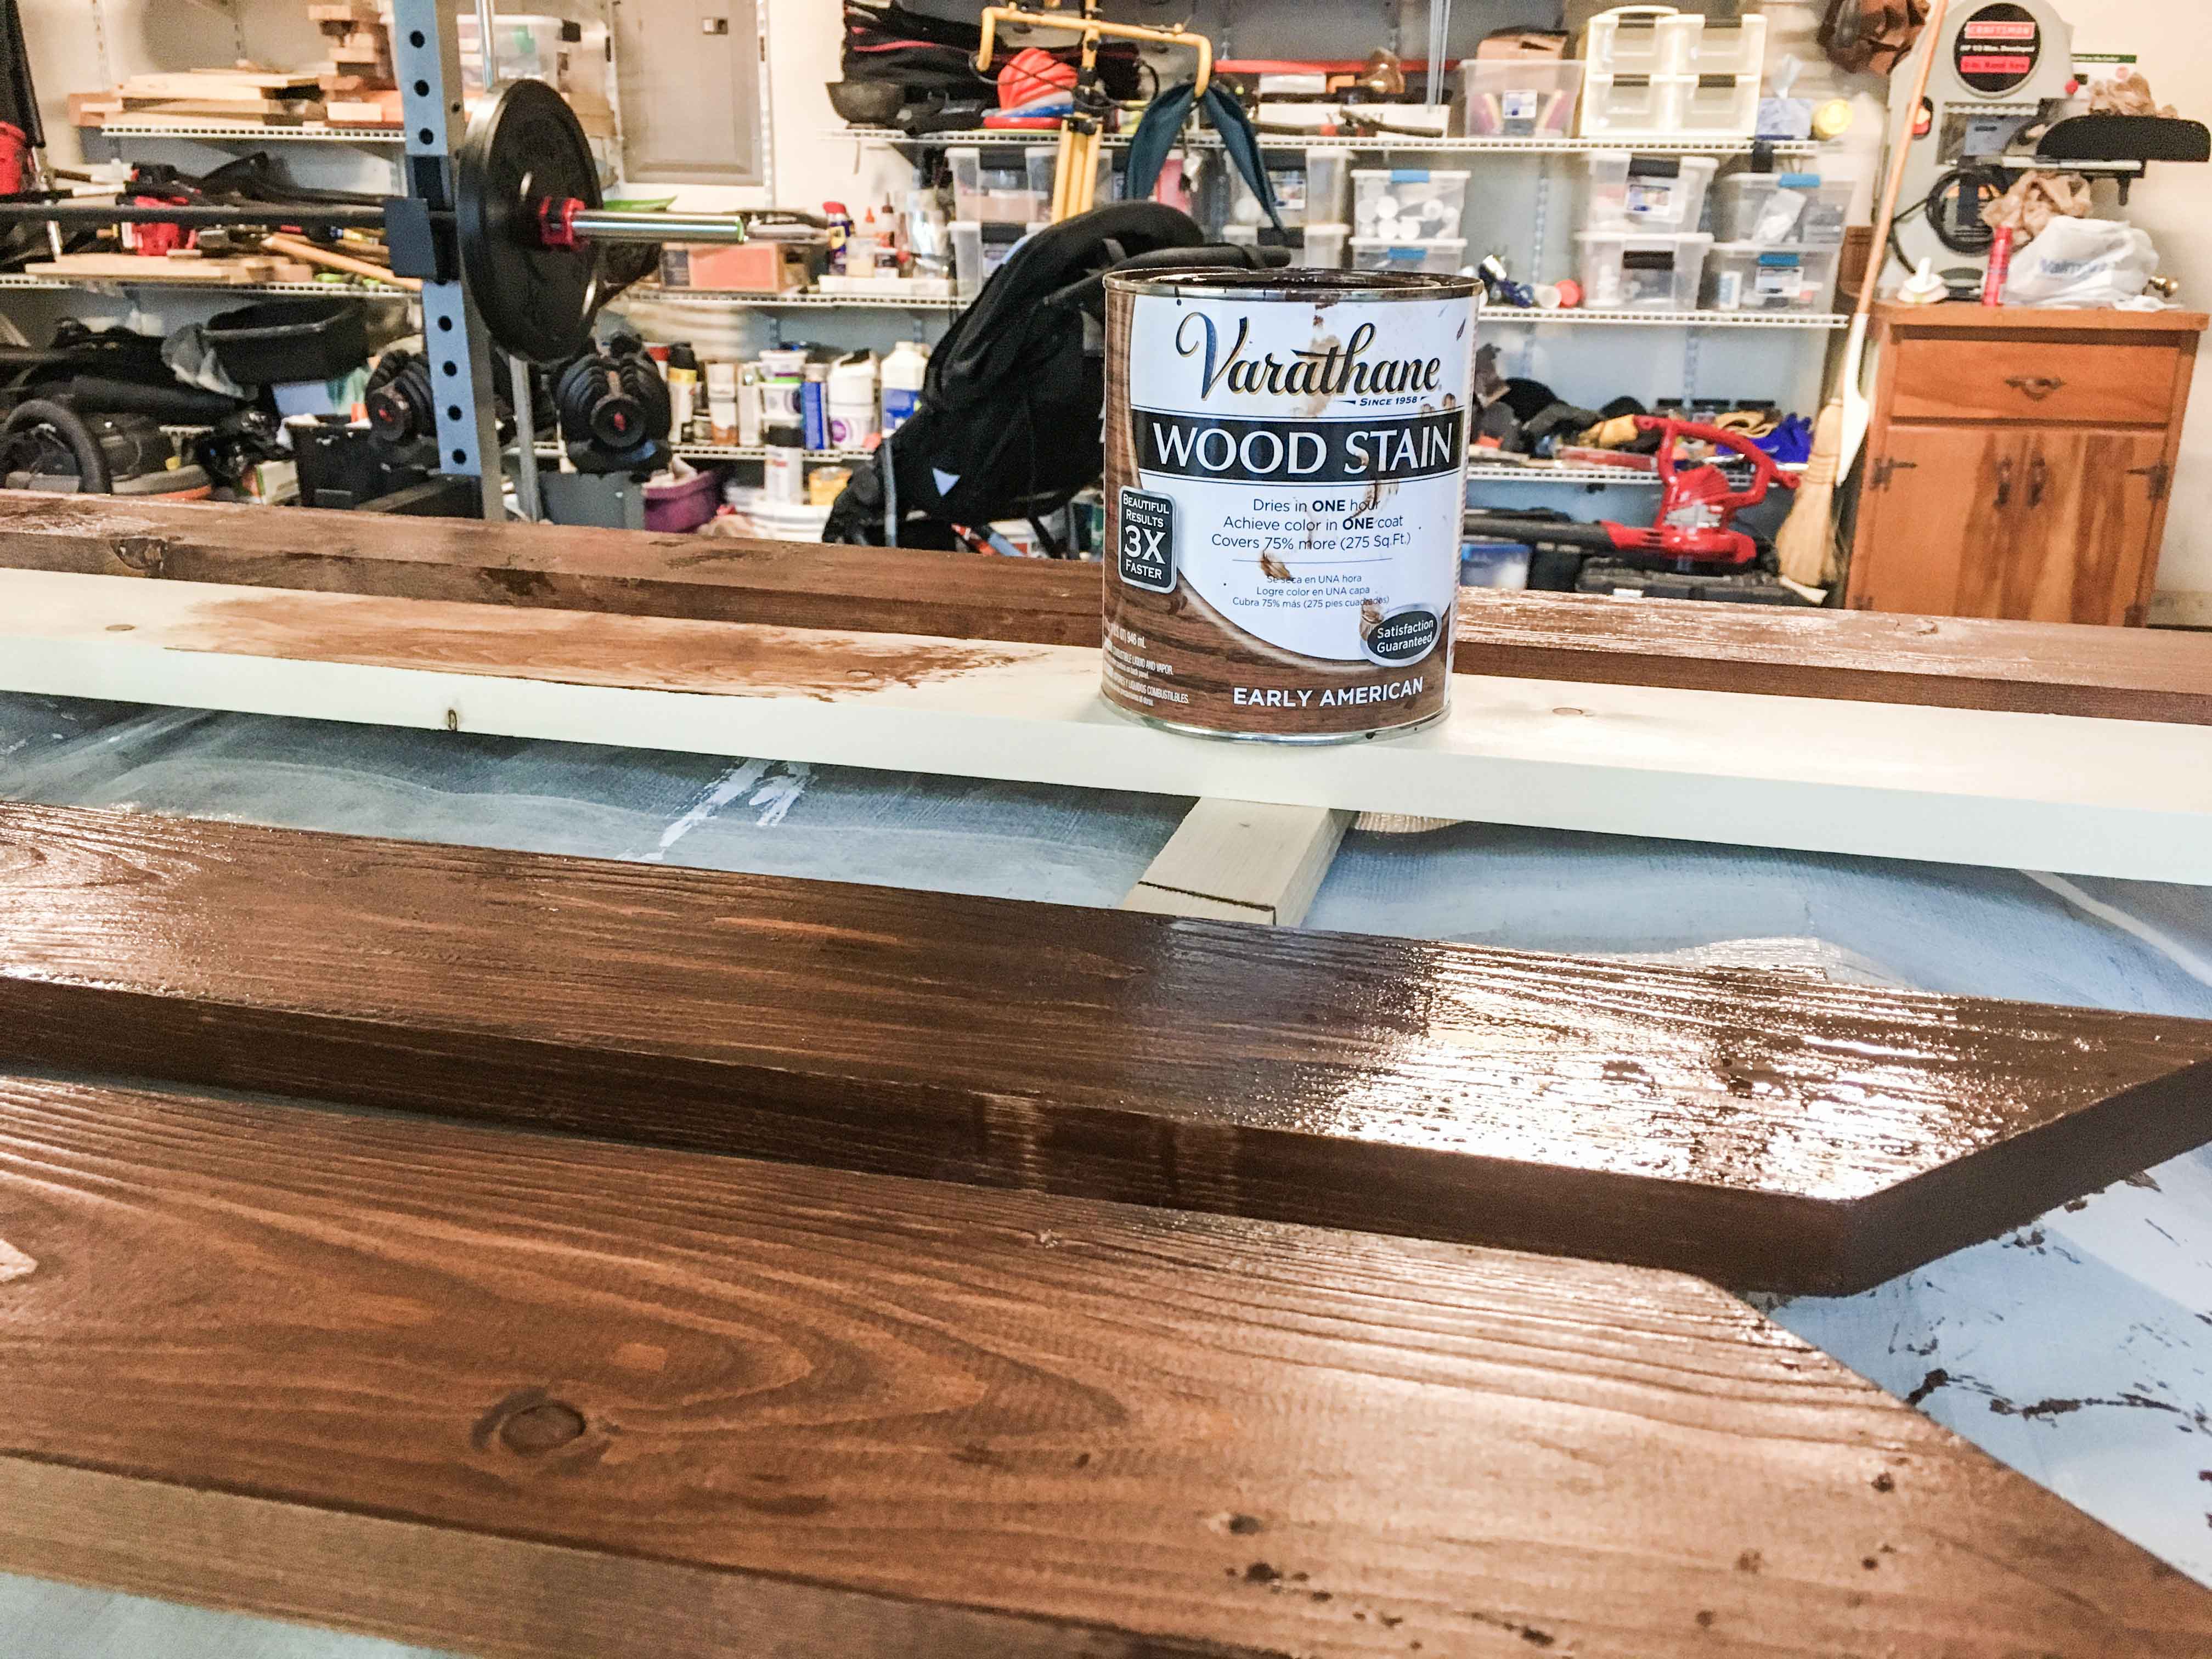
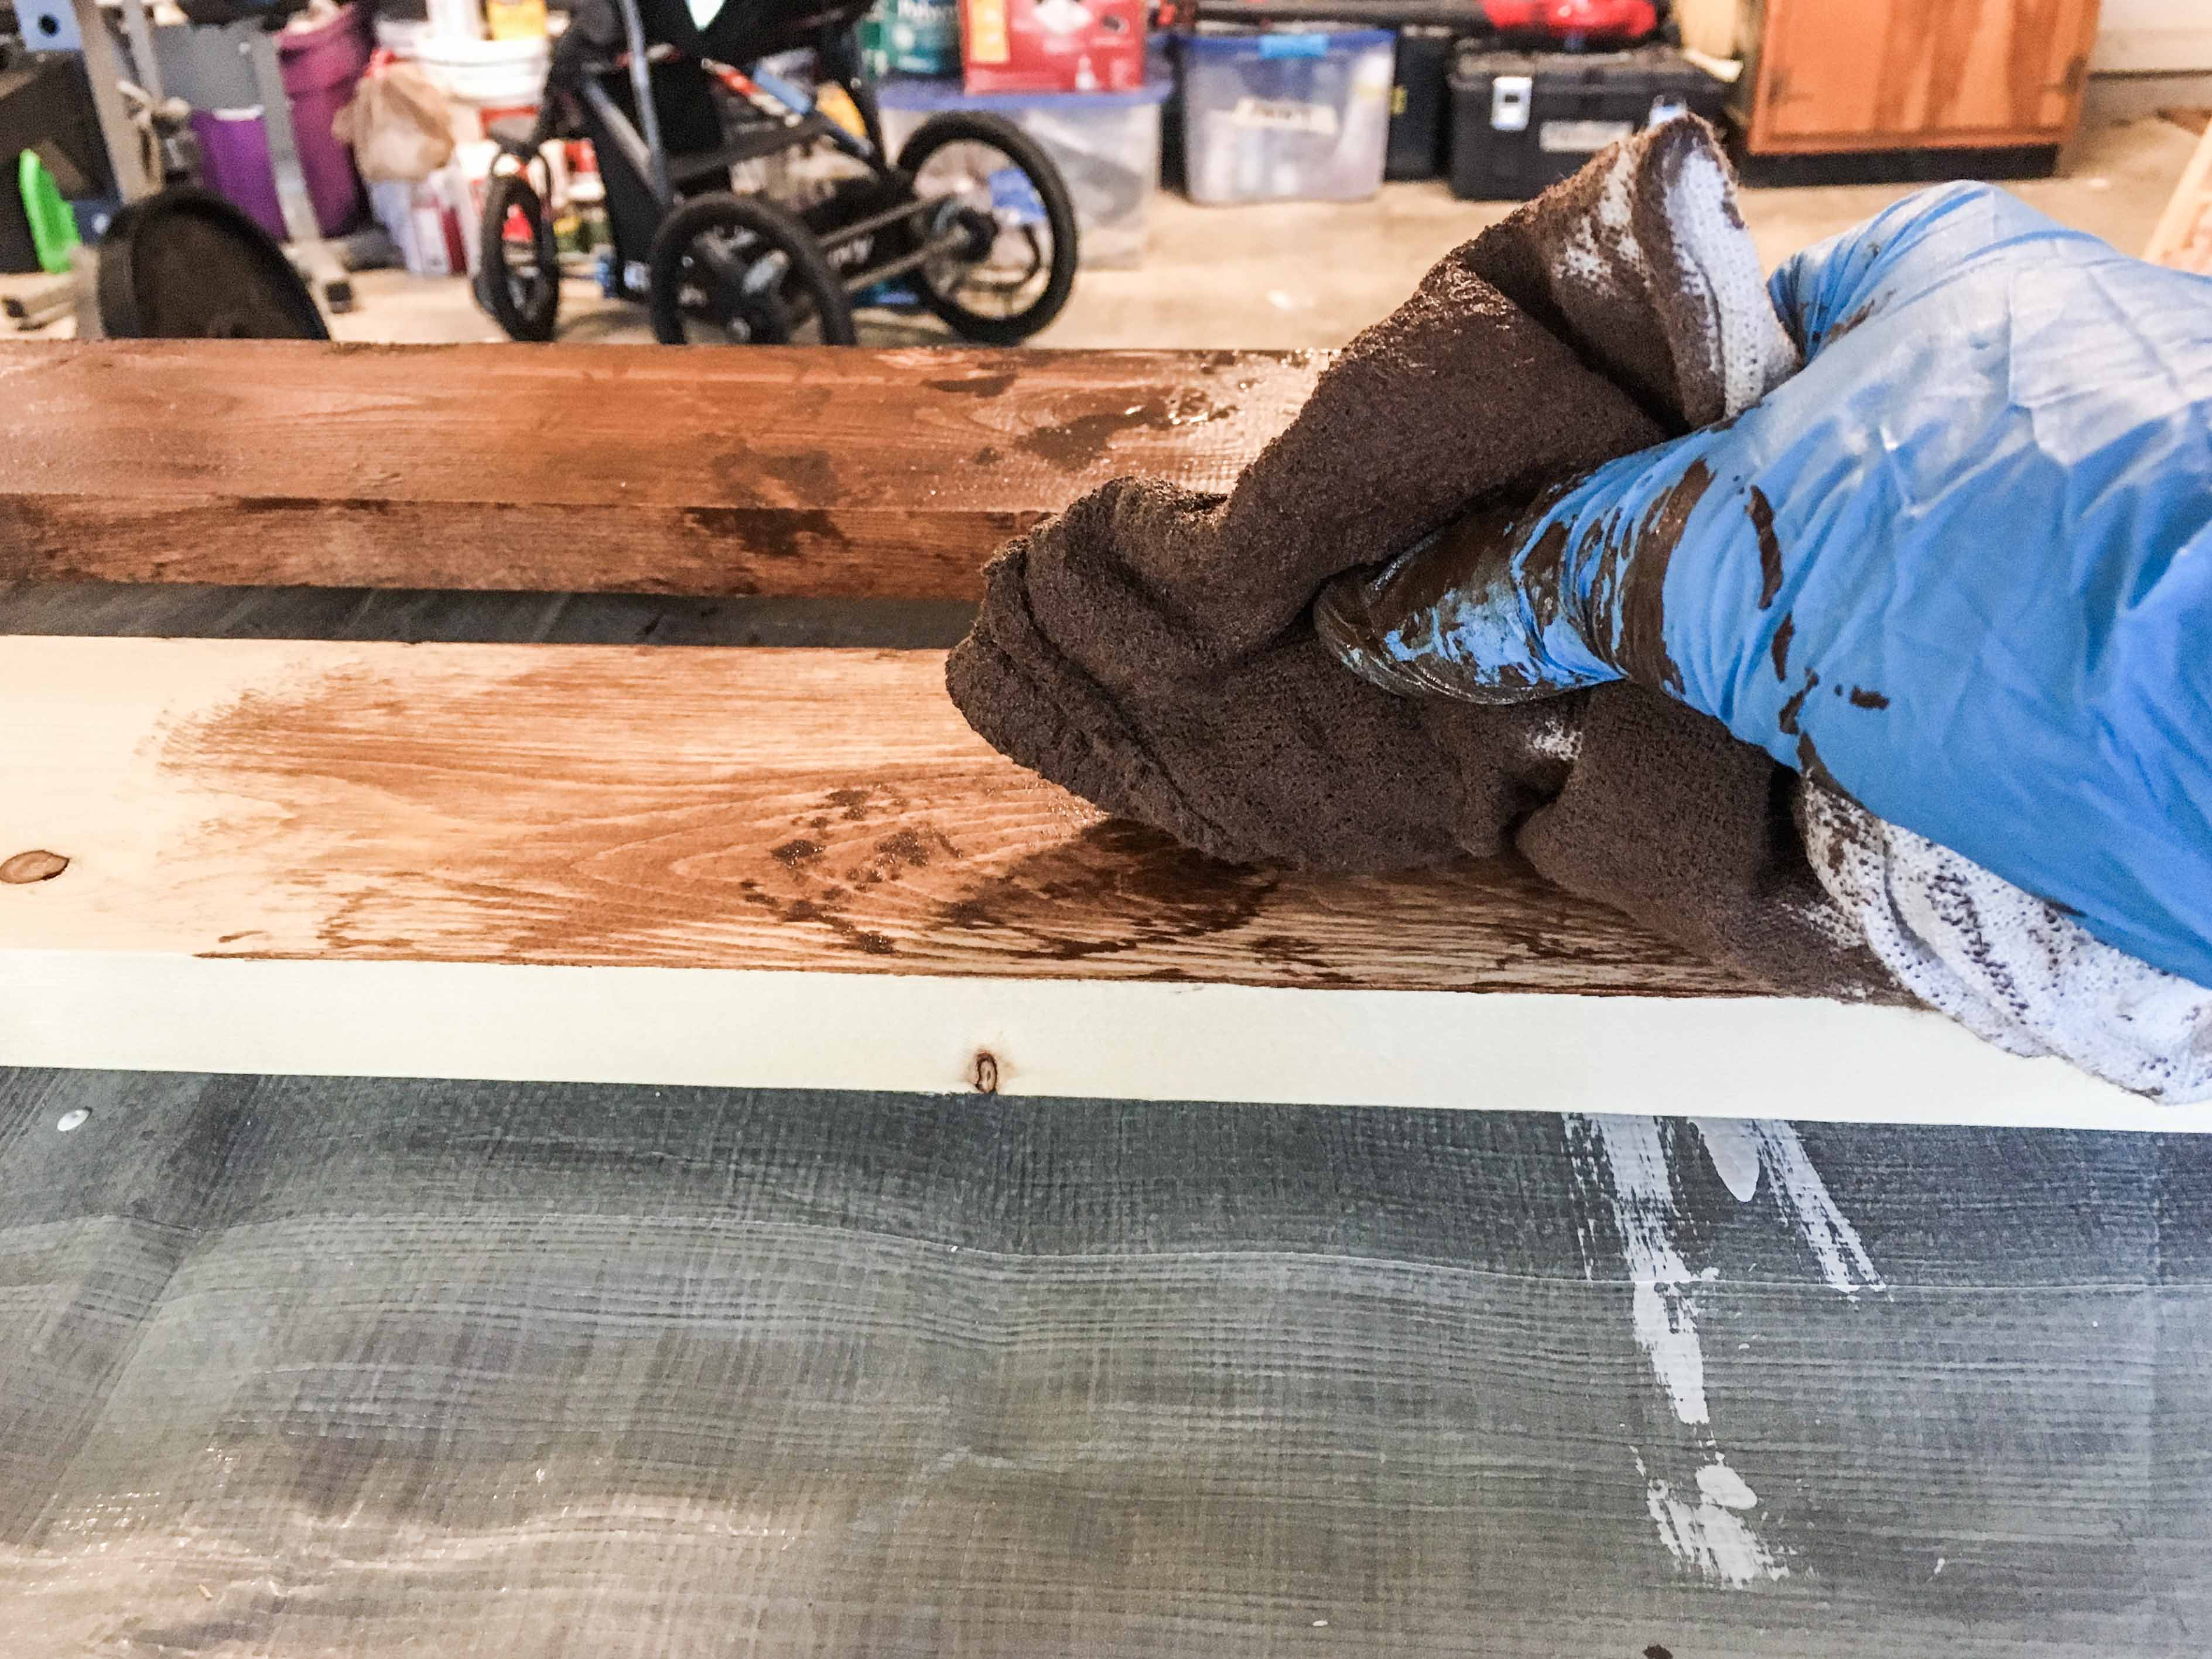
- Apply the stain to the wood with a blue shop towel in the direction of the grain. Rub it into every crevice and cranny until no unstained wood color shows through.
- Allow the stain to fully penetrate the wood grain for 5-10 minutes, then remove with a fresh blue shop towel. It’s common practice to make multiple passes when wiping off so no stain dries on the surface of the wood.
- Varathane’s “fast dry” stain products are usually dry to the touch after 1 hour in normal condition. Normal means it’s 70ºF and 50% humidity in your workspace. Allow a longer drying time with cooler and/or more humid spaces.

Step 5. Wax the wood frame.
- After your stain is completely dry, it’s time to protect the wood from moisture damage.
- We like the look of wax, but you’re welcome to use a water-based or oil-based polyurethane for a heavier protective coat. Wax dries in 30 minutes, whereas poly usually takes at least 4-6 hours to dry.
- Open you can of wax and begin applying it to your stained wood pieces with a new blue shop towel.
- Scoop out substantial clumps of wax and rub the wax into the wood grain, in the direction of the grain. Aim for even coverage as it will dry very quickly.
- Smooth out all uneven spots with your blue shop towel.
- Allow the wax to dry for 30 minutes.
- Polish the wax with a fresh shop towel using very light pressure and rapid hand movements.
- For a greater level of protection, consider applying a second coat.
Step 6. Install the wood frame.
Materials to have on hand: level, caulk gun, mirror adhesive, wood frame pieces and painter’s tape.
- Once your wax is dry and polished, proceed to installing the wood frame onto your mirror.
- Place your 10 ounce tube of mirror adhesive into your caulk gun. Be sure to cut off the tip of the tube at an angle and pierce the end with the long metal spike attached to your caulk gun.
- With your level resting on the wood, dry fit the bottom piece of your mirror frame with a 1 inch overhang on the bottom and sides if possible (no overhang on the bottom of ours since the mirror touches our countertop). Our goal is to hide the edges of the unfinished mirror without the need for additional trim.
- If the dry fit is to your liking, place the piece of wood face down on a nearby surface. Apply a sinusoidal (wavy or zigzag) bead of mirror adhesive to the back of the bottom wood piece.
- Press the bottom wood piece in place on the mirror with 1 inch overhang (or flush with the countertop like ours).
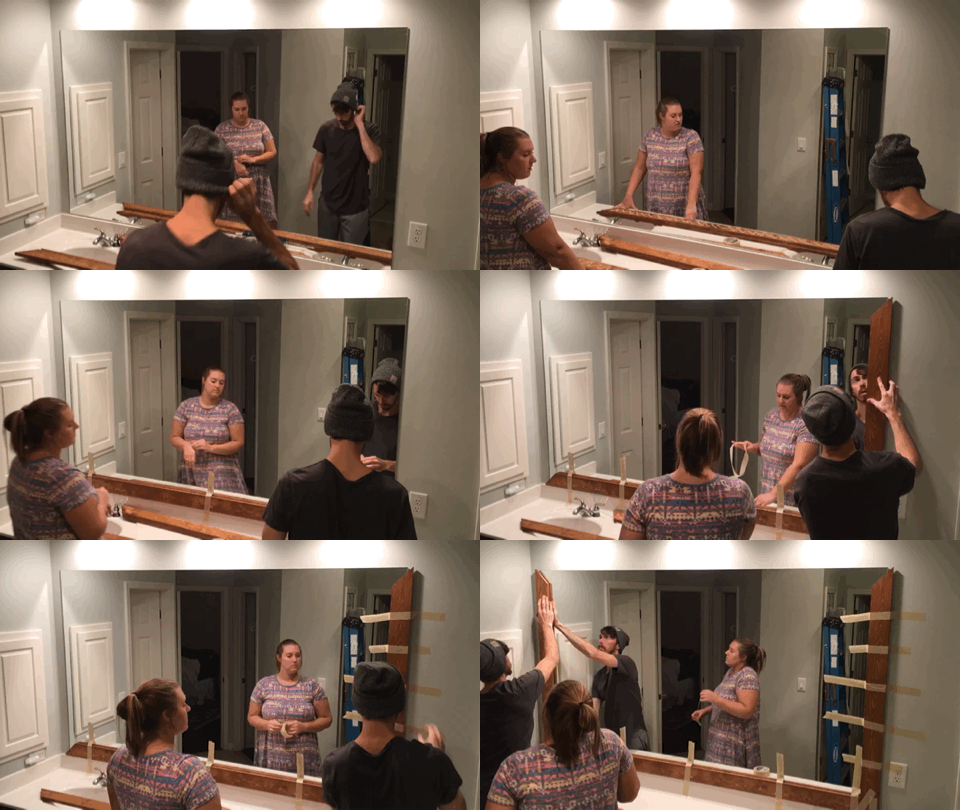
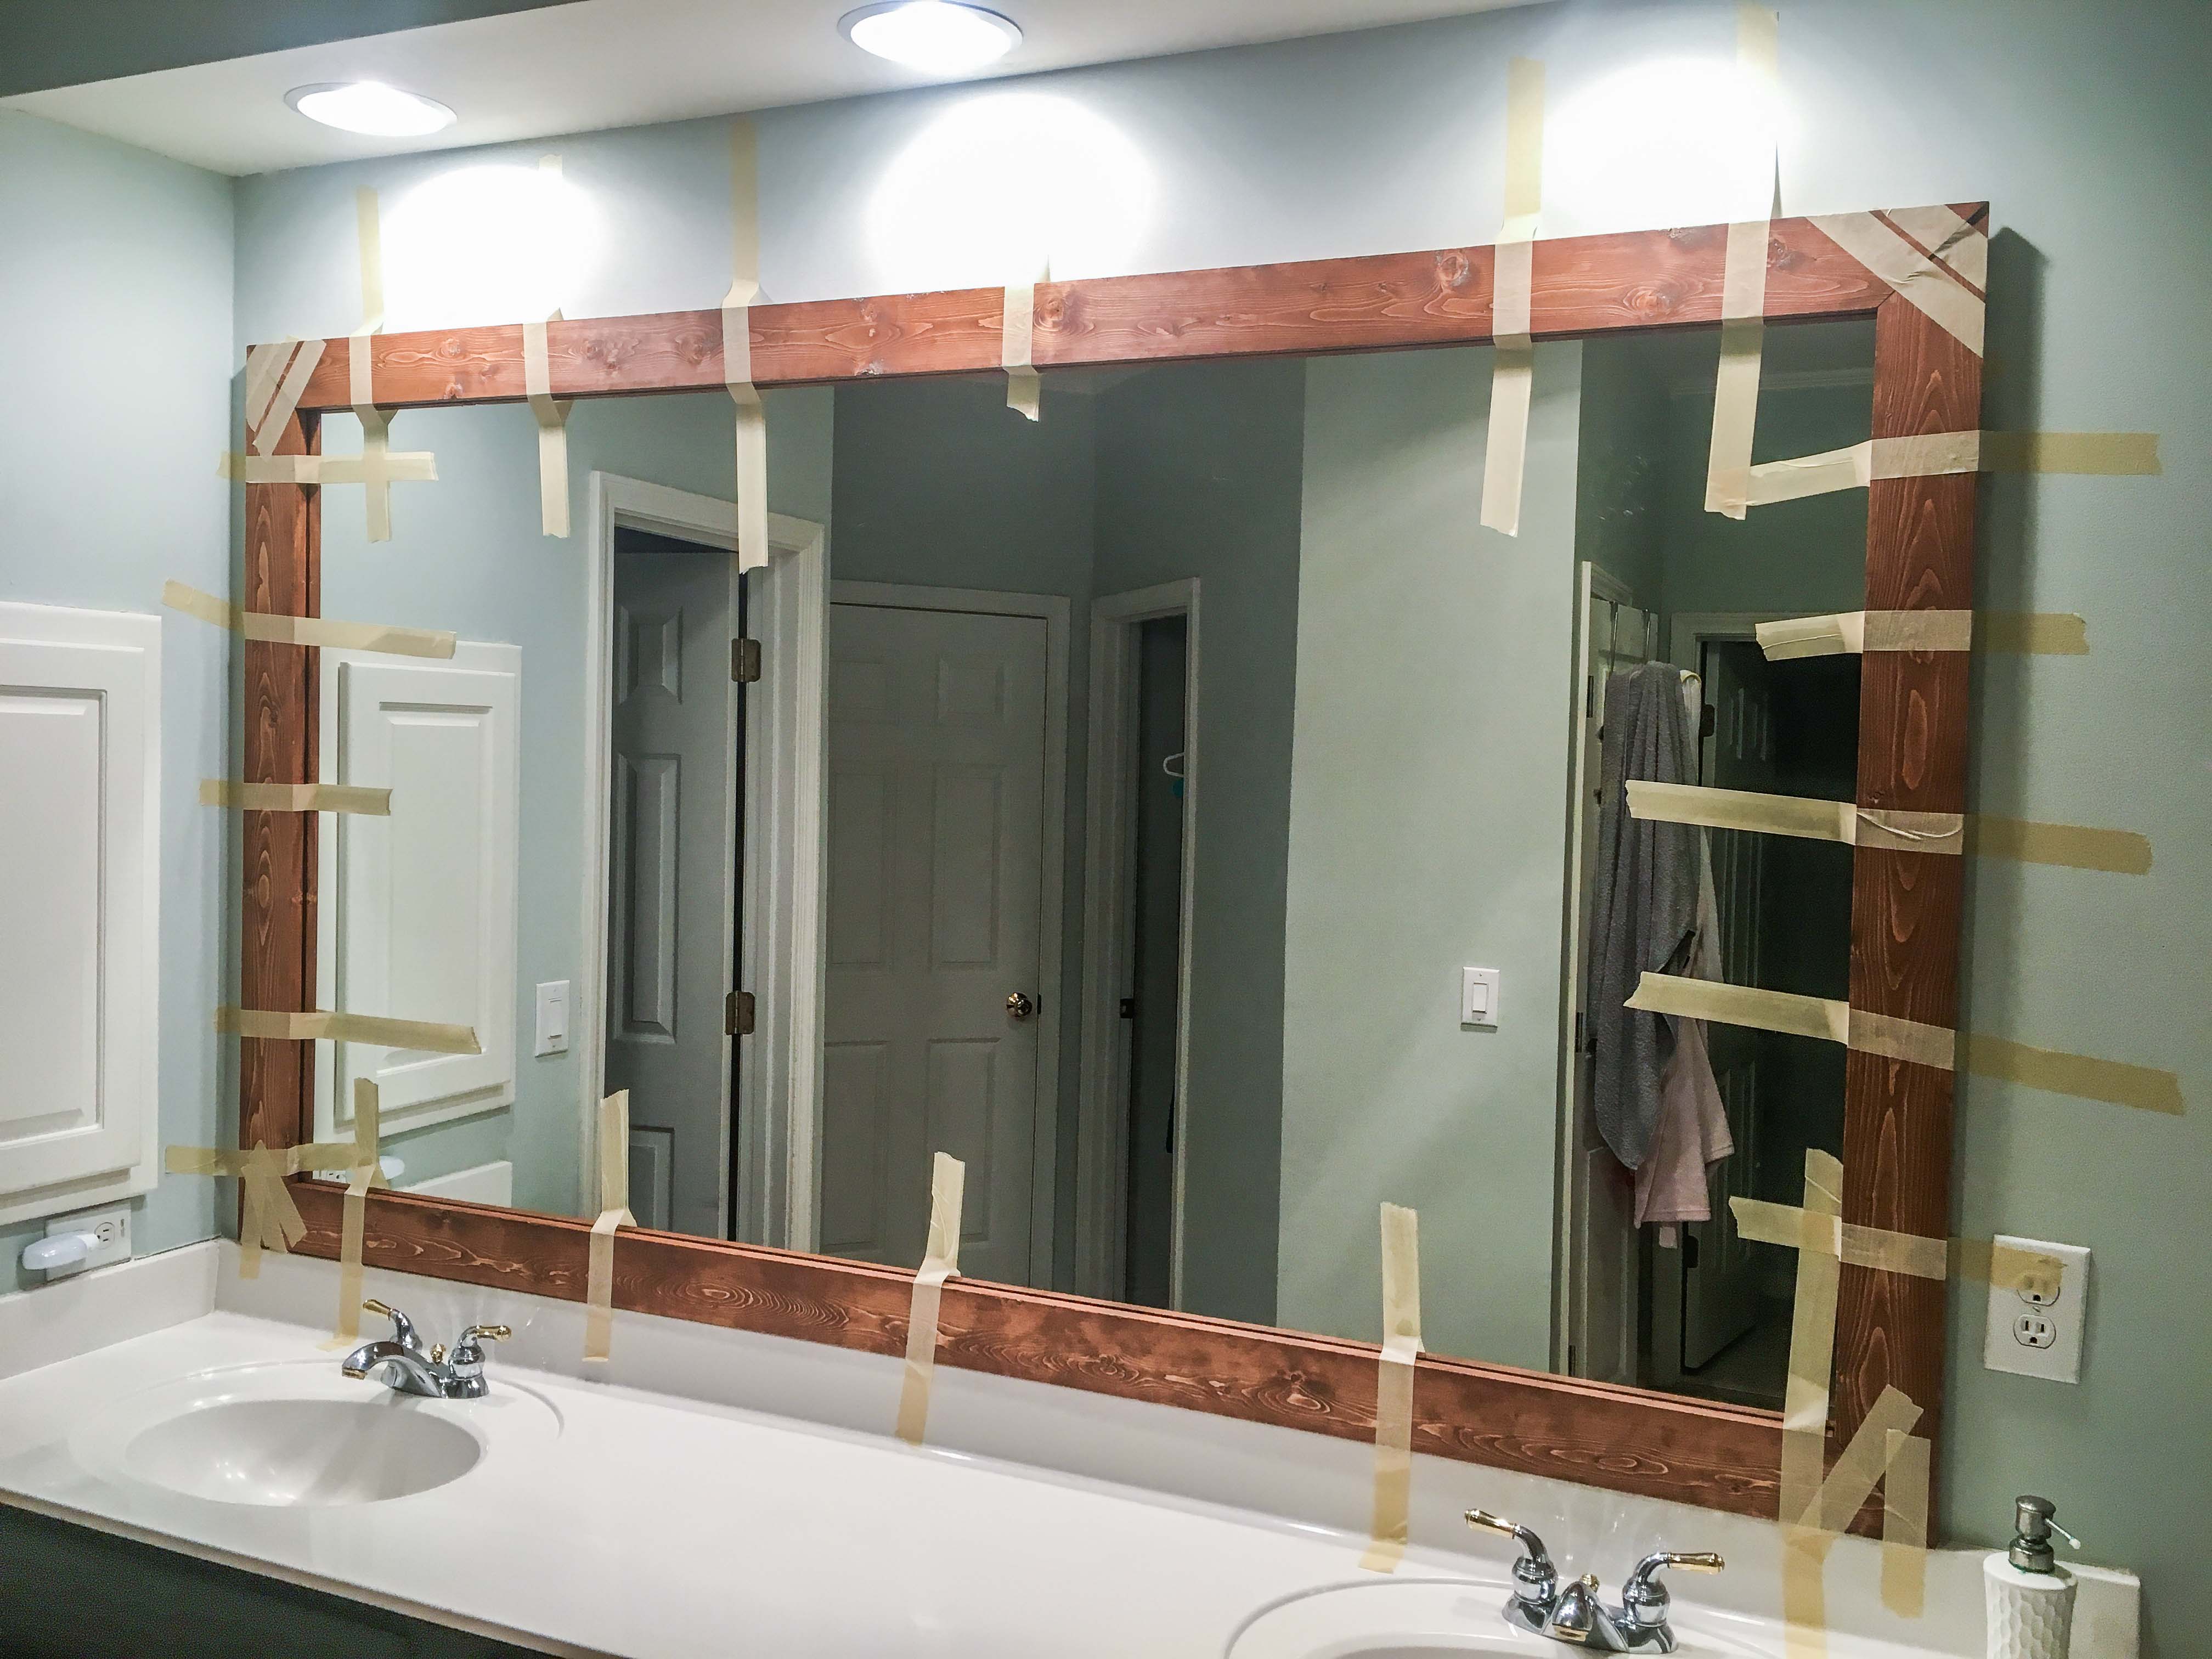
- Tape the piece in place with plenty of painter’s tape.
- Repeat for each side wood frame piece, and lastly, for the top wood frame piece. You can never use too much tape. You do NOT want these bad boys falling off the wall.
- Let the adhesive dry and cure for 48 hours before removing the painter’s tape.
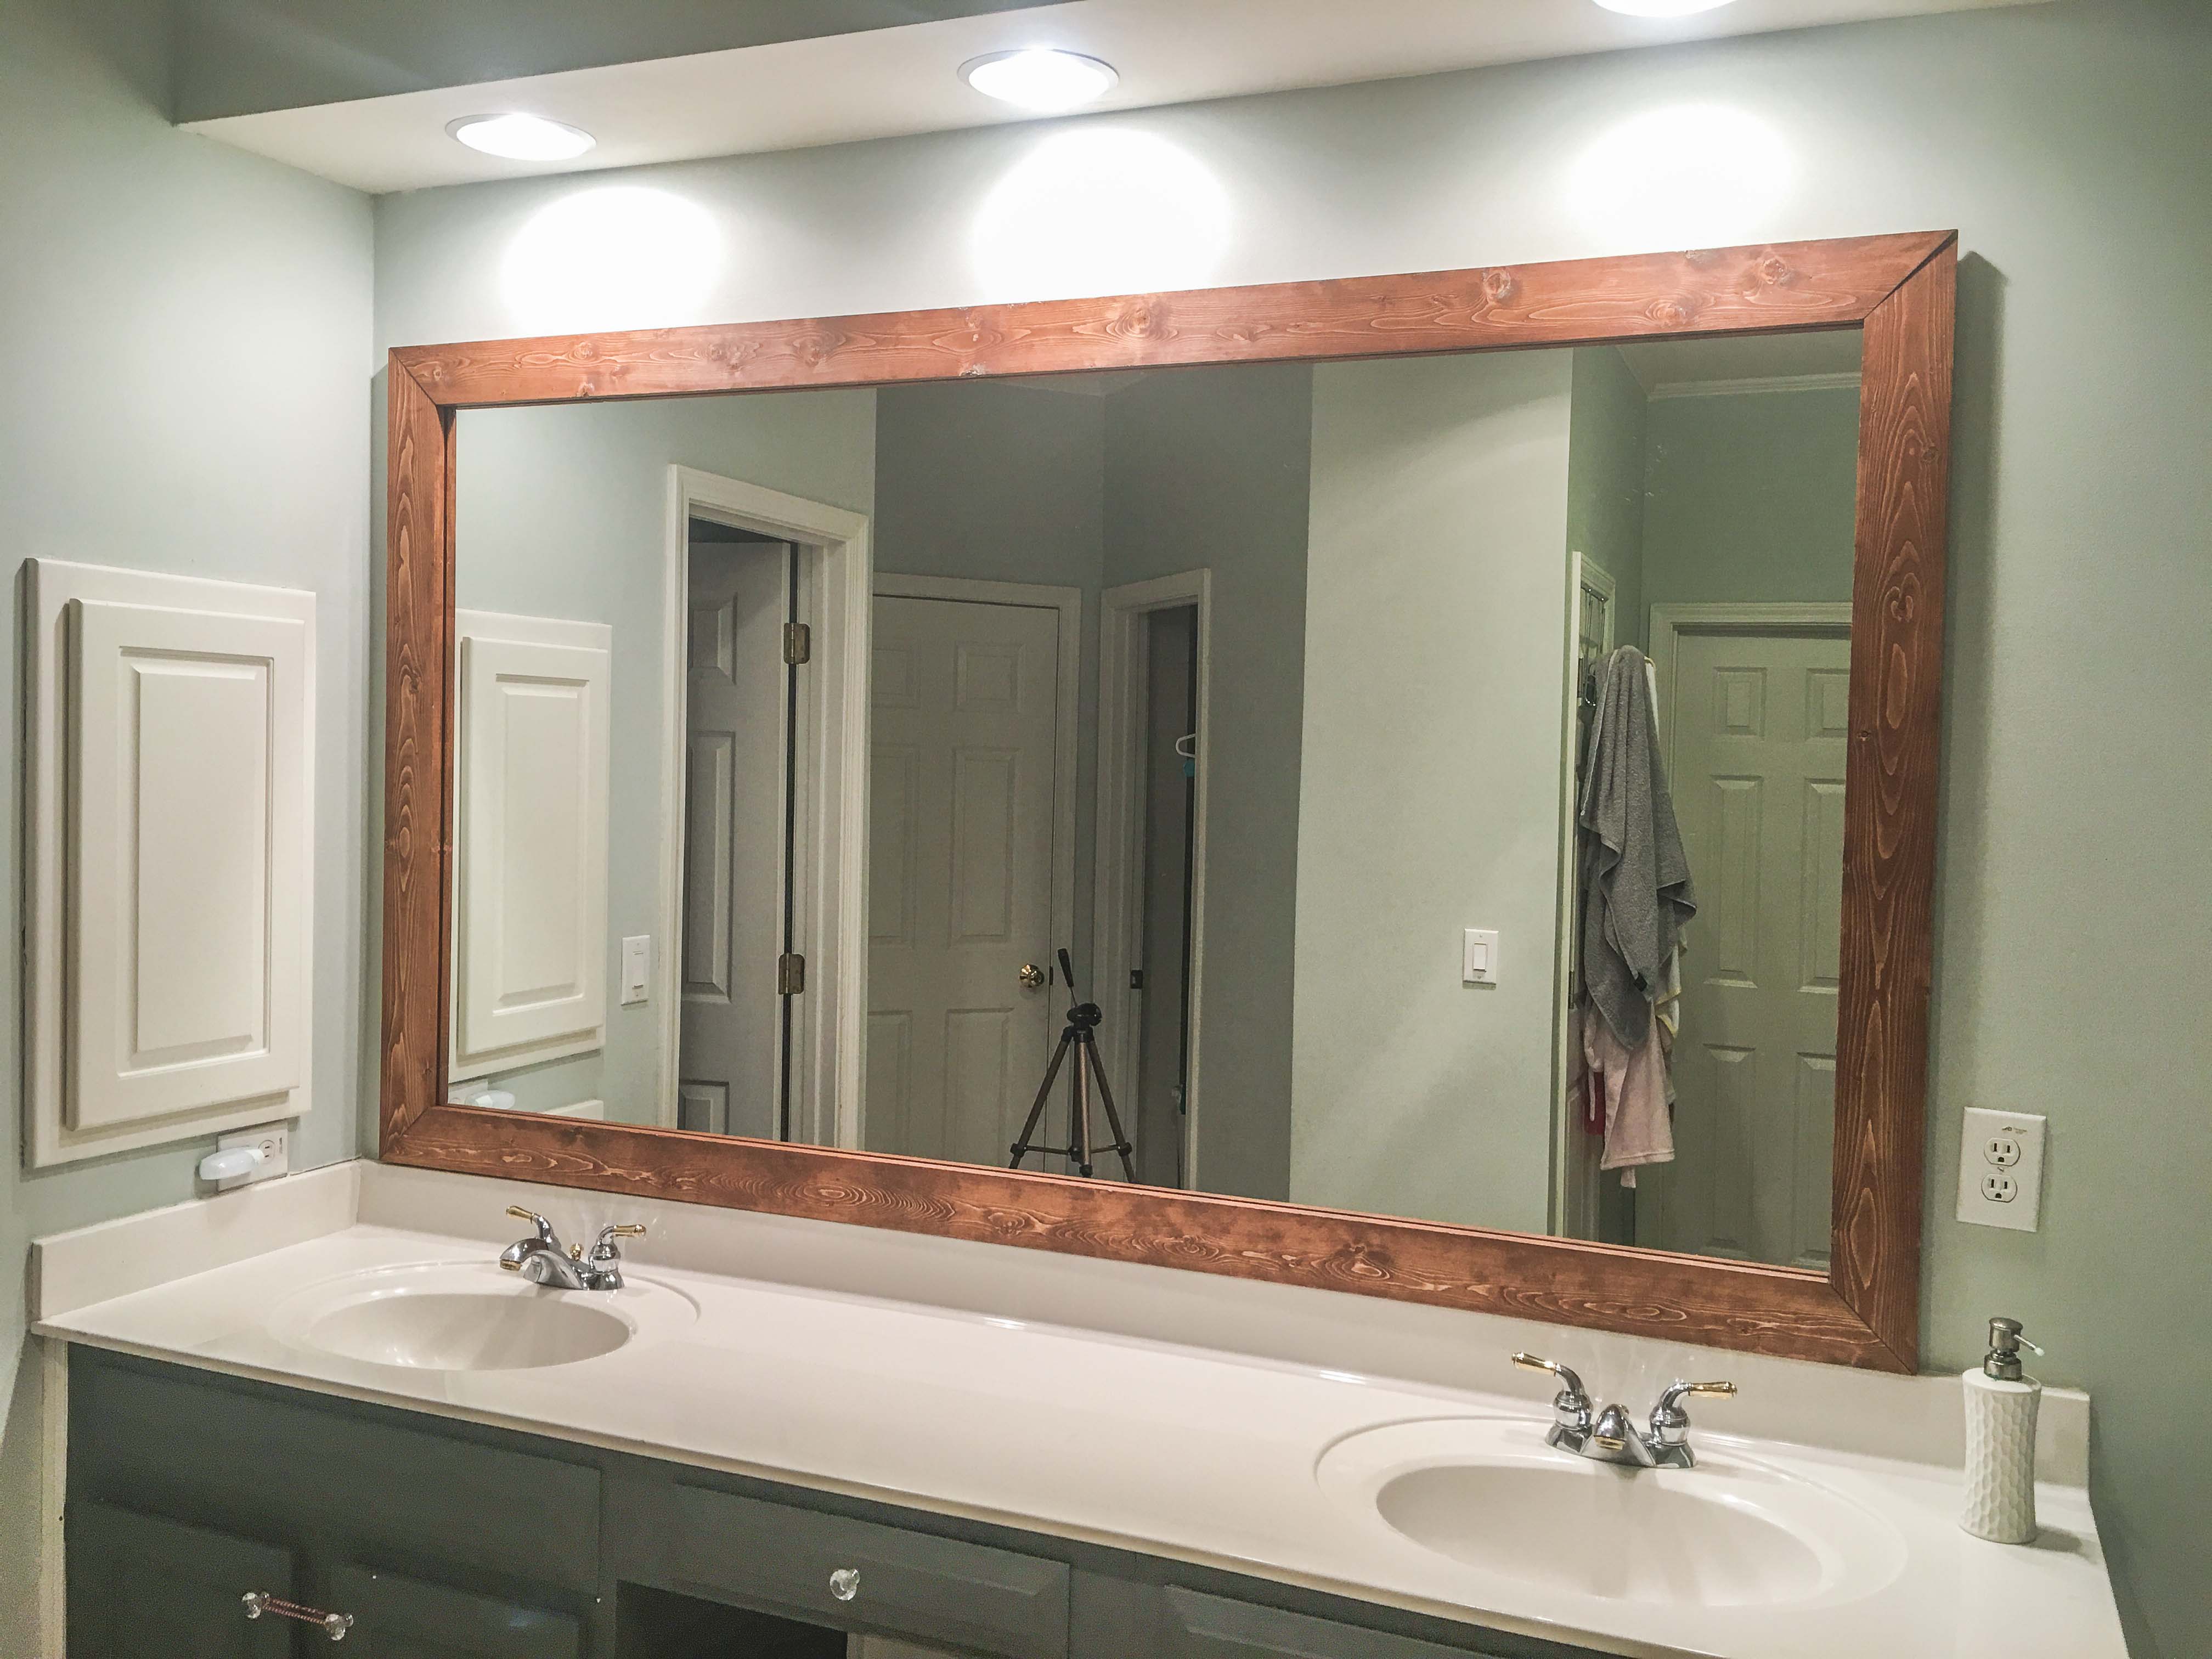
Your bathroom just got way prettier.
What an upgrade, friend. We hope it’s the first of many bathroom DIY projects in your lovely home. What width of common boards did you choose? 1x4s like ours? 1x3s for a minimal vibe? 1x6s or 1x8s for a beefier design aesthetic?
What project is up next? We have a few excellent ideas to throw in the mix. Cheap and charming is the name of the game. With top-notch quality, of course. I mean, you’re the craftsman or craftswoman skillfully building these wow-factors, right?
Creative DIY Ideas.
Bathroom or laundry room renovation ideas.
- How to Make Crates out of Wood Pallets.
- How to Make DIY Shiplap.
- How to DIY Install Floor Tile.
- How to Saw Your Door Bottom to Fit Over the Threshold.
- How to Make & Install DIY Stained Wood Shelves.
- How to Change a Wall or Ceiling Light Fixture
- How to Dry Brush Reclaimed Pallet Wood with Paint.
Bedroom renovation ideas.
- How to Build & Install a Sliding Barnwood Door.
- DIY Restoration Hardware Copycat Headboard.
- DIY Herringbone Headboard.
- Custom Calligraphy Wall Decor.
- Pallet Wood Storage Crates.



Fabulous instructions, thank you!
Super appreciate that, Heidi!
Hello,
I loved doing this project, thanks so much for the instructions. I wanted to reposition a piece of wood that’s cured on. (Did this a few days ago)Is there a way to get the wood off without damaging the mirror?
Hi, Jane! That’s a great question. Unfortunately, all construction adhesives are considered permanent. If you use a less durable adhesive, the wood may not hold long term. You might be able to remove the wood without damaging the mirror, but it will leave huge chunks of adhesive residue with are impossible to fully clean up.
I would recommend attempting this project if you’re not ever planning to change it.
You might be able to reposition the wonky piece. But you’ll likely have to score the adhesive with a blade and pry it off with a rigid plastic pry bar. Then be ready to apply another sinusoidal bead of construction adhesive. Although the final piece may stick out more than the others due to adding wet adhesive on top of dried adhesive.