Fall is coming, fall is coming! Real talk: it’s here, even if the weather doesn’t agree with you.
Whether you are short on cash, just take delight in seeing how little you can spend on cute home decor or want to ensure you have unique, handmade decor that doesn’t look like you just pulled it off the shelf at the nearest big box store – crafting unique DIY fall decor is for you!
I like a little fall color, but don’t want to go overboard. A little traditional orange, red and yellow mixed in with neutrals, burlap, wood and an old window or two are my go-tos.
Our top 8 fall decorating ideas.
Like our style? Here are some sources for you (and some tutorials for all the super easy DIY decor too):
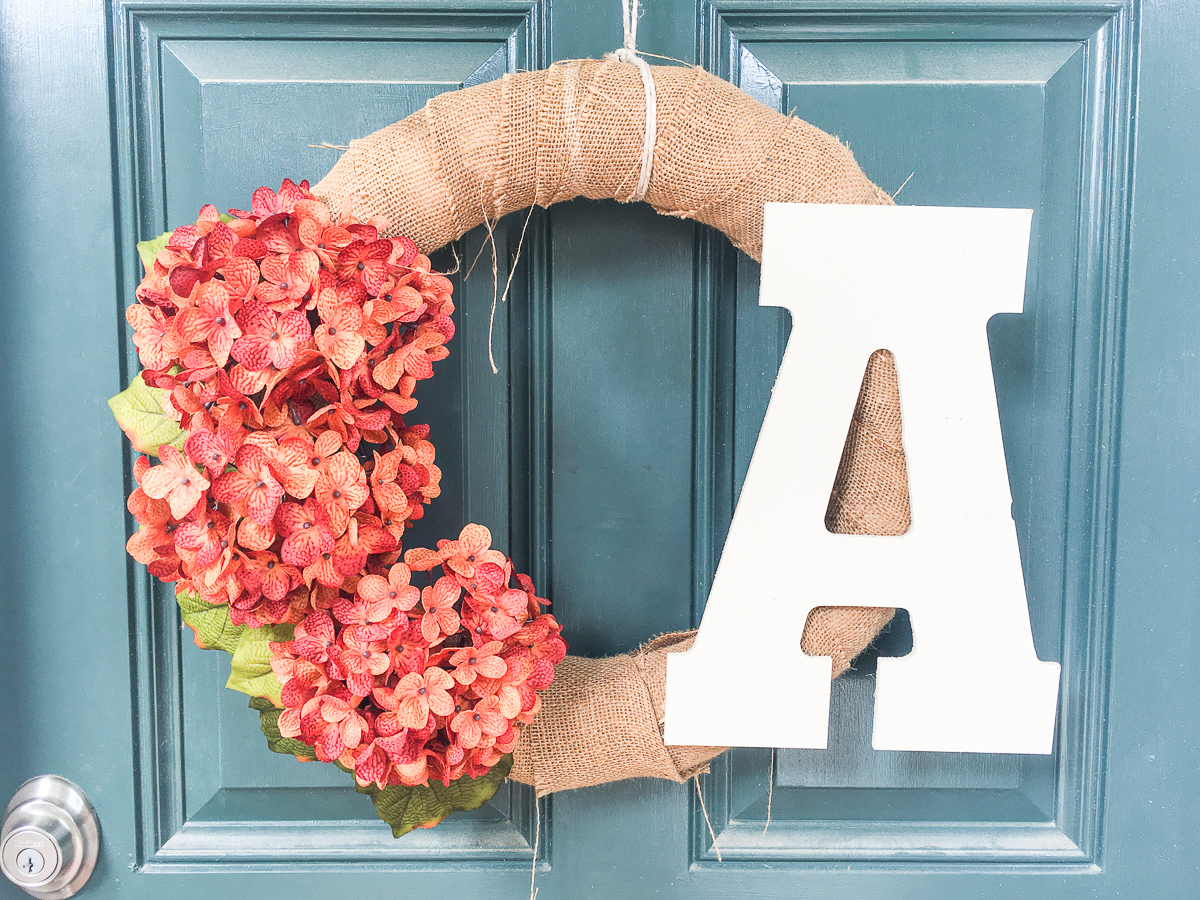
- Fall wreath (DIY tutorial below).
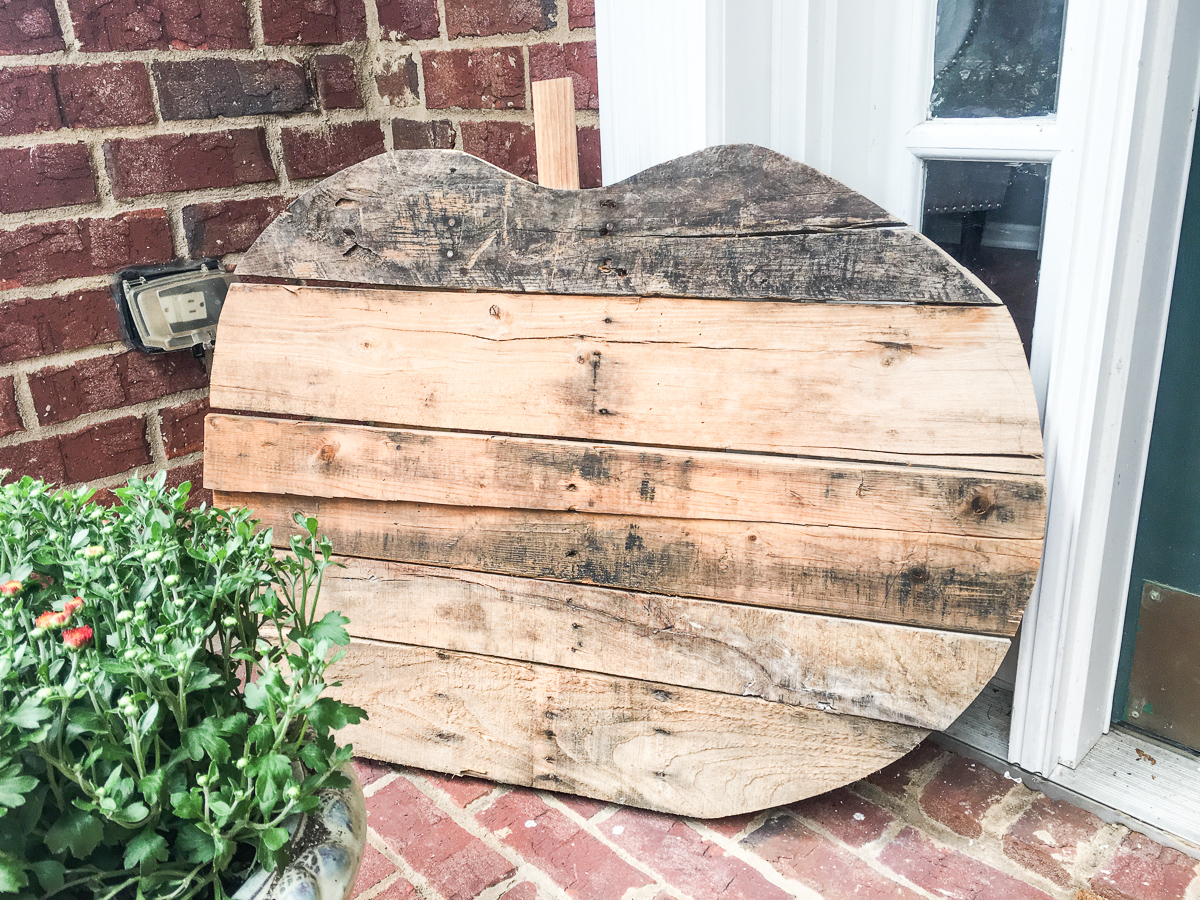
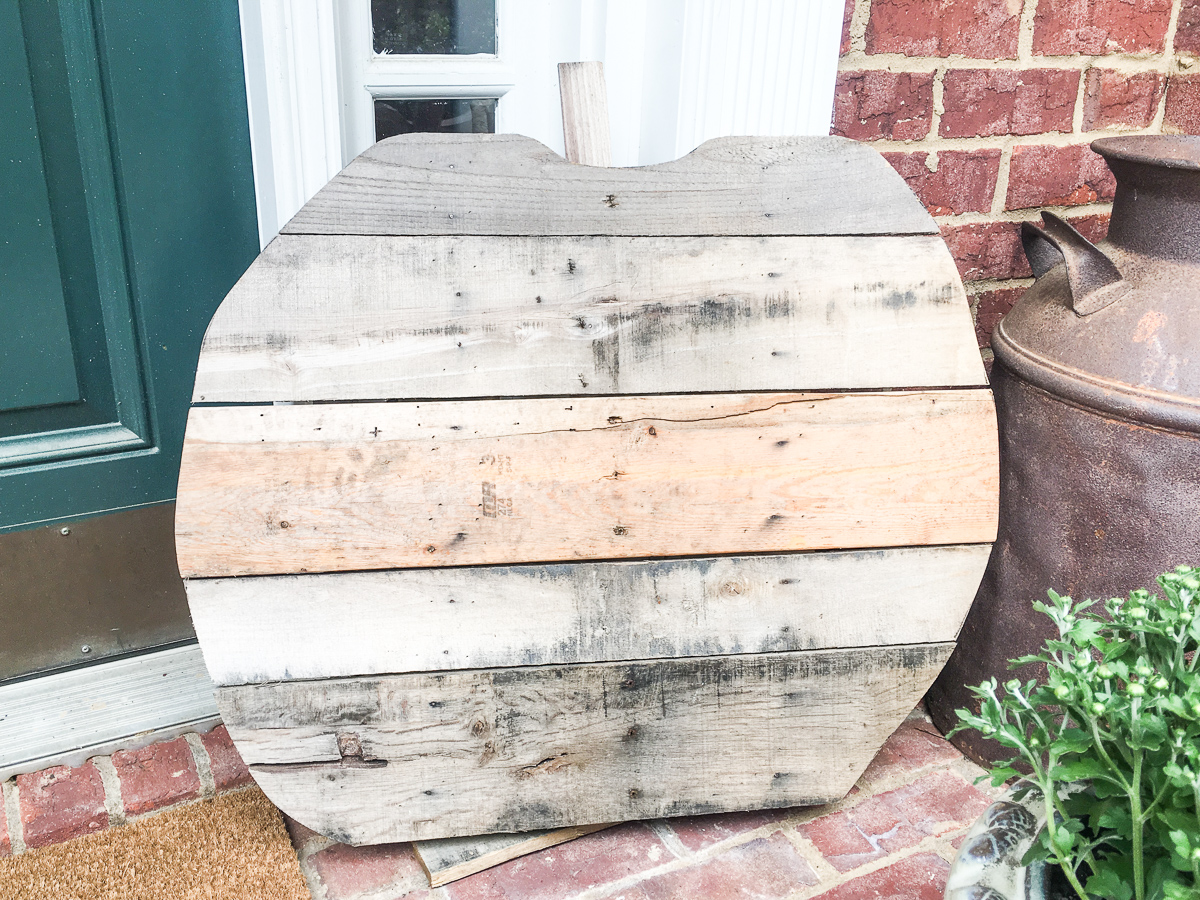
- Wooden pallet pumpkins (DIY tutorial linked).
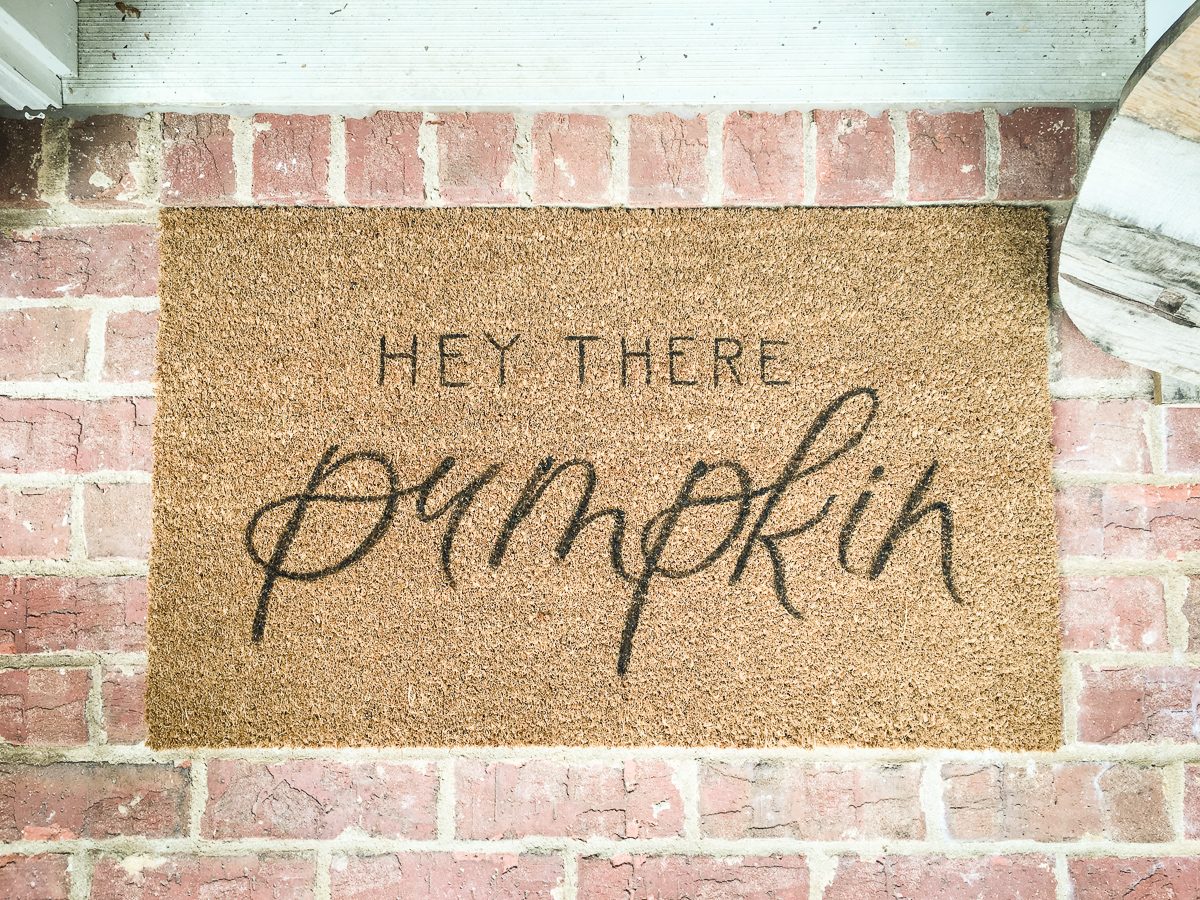
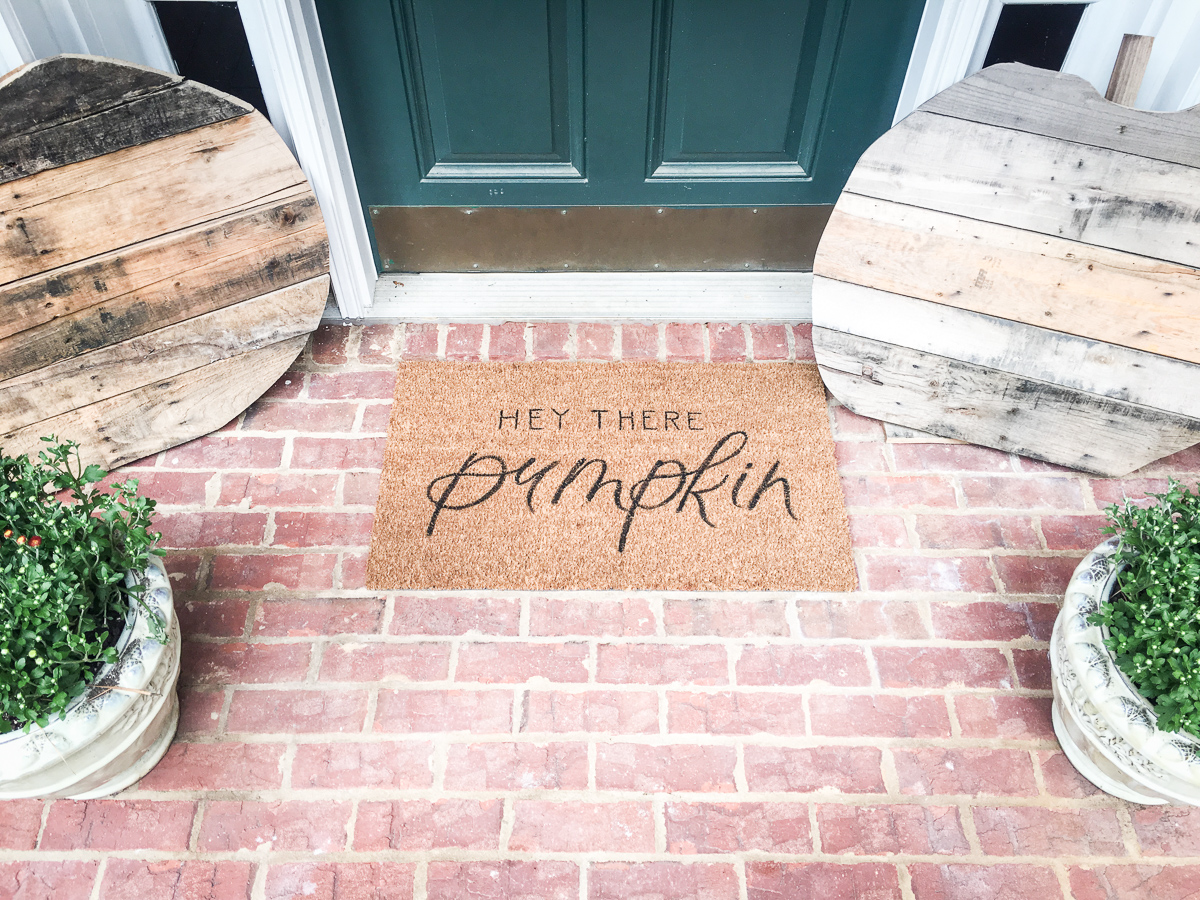
- “Hey there pumpkin” doormat, calligraphy by SunkissedScripts on Etsy.
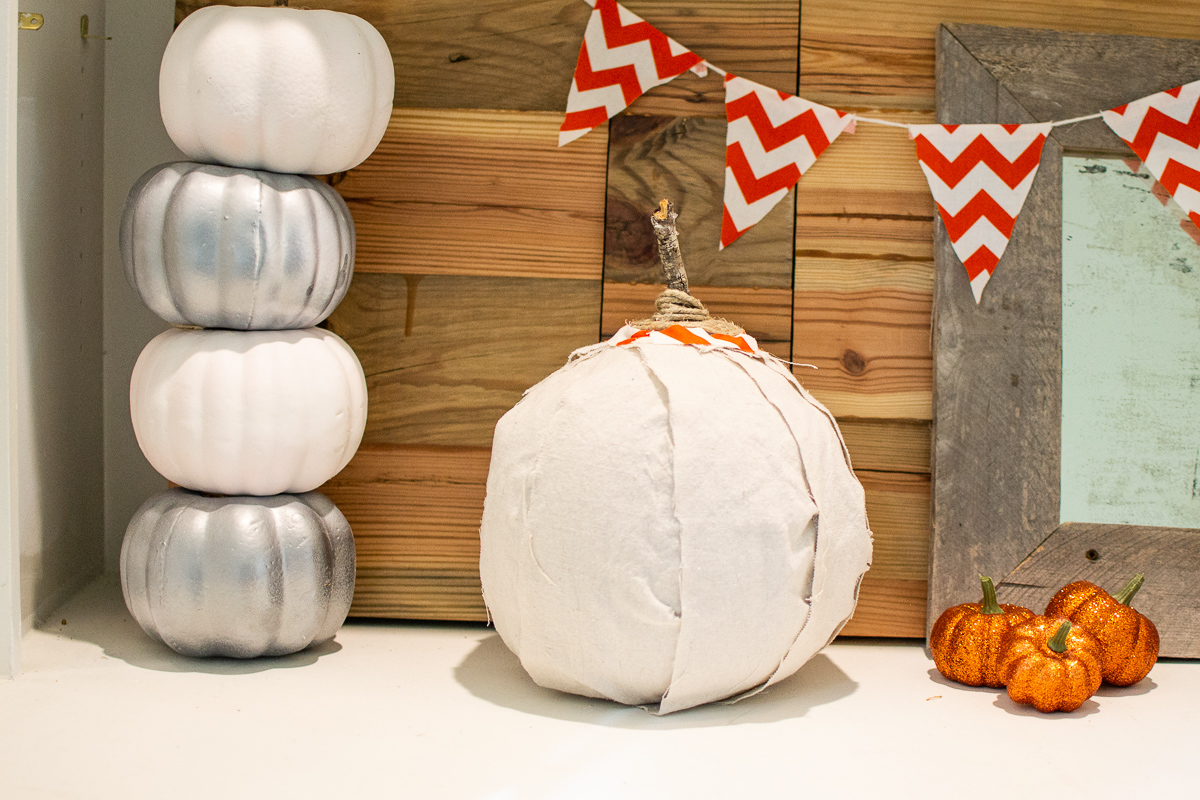
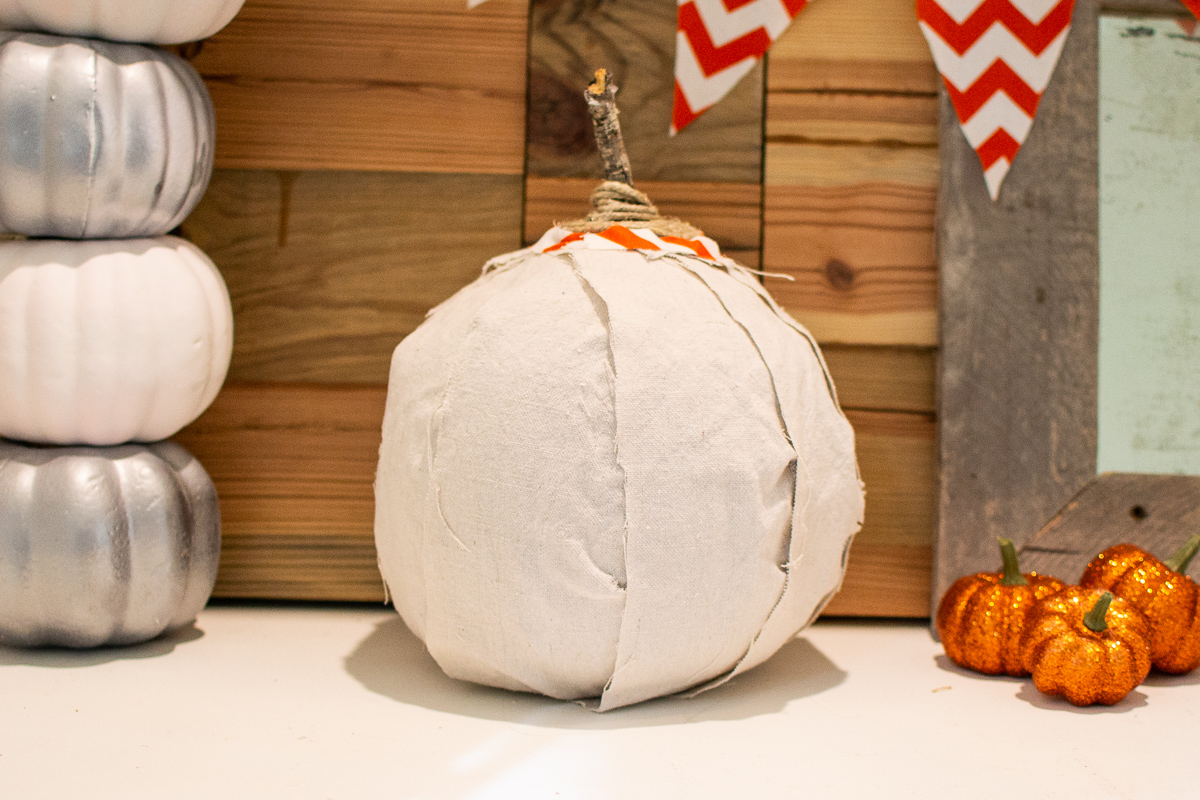
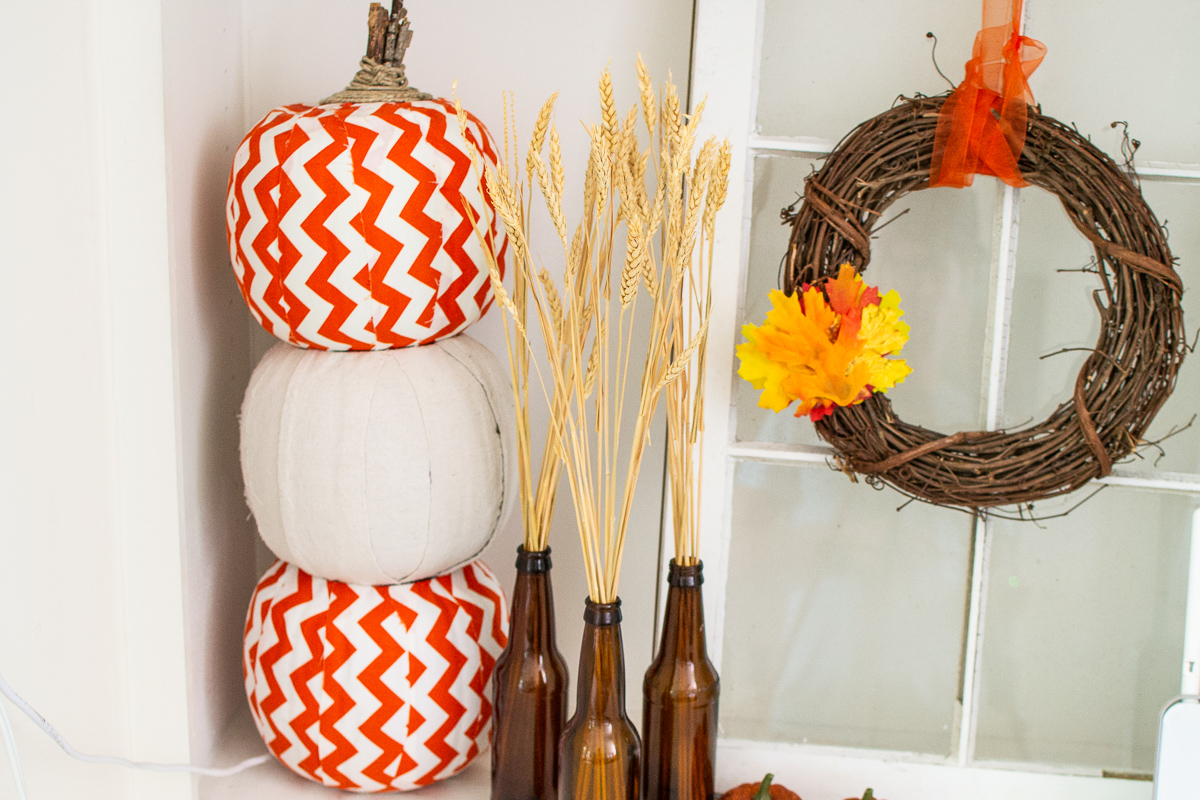
- Large fabric pumpkins and pumpkin topiary (DIY tutorial below).
- Mini pumpkins and mini pumpkin topiary (DIY tutorial below).
- Wheat in bottles (DIY tutorial below).
- Fabric and burlap banners (DIY tutorial linked).
- Centerpiece pallet wood box (DIY tutorial linked).
- Purchase: Mini pumpkins and gourds we LOVE.
- Purchase: Fall leaves.
1. Fall wreath.
You need:
- Foam wreath & burlap ribbon (non-wired) OR 24-inch Grapevine Wreath.
- Letter (We did A for “Alvarez”).
- Paint for your letter and a paint brush OR spray paint.
- Fake hydrangeas (3-5 depending on the look you like).
- Door hanger.
- Ribbon, twine, yarn or anything you can string through the wreath to attach to the door hanger.
- Hot glue gun and glue sticks.
Paint your letter and let it dry.
Get your foam wreath form and burlap ribbon. Use your hot glue gun to attach the burlap ribbon to the back of the wreath form. Tightly wind the ribbon around the wreath, overlapping slightly until the entire foam wreath is covered in burlap. Secure with a dab of hot glue on the backside of the wreath every so often. When the whole wreath is covered, secure the end piece with a big glob on the back of the wreath.
This would also be pretty with a grapevine wreath instead of the foam wreath form + burlap.
Layout your fall hydrangeas and clip off the stems. Arrange the letter and the hydrangeas on the wreath where you want them. Using big ole globs (that’s a technical term), hot glue the letter and the hydrangeas to the wreath, pressing them down until dry.
Tie your ribbon, twine, or yarn around the top of the wreath to make a loop to hang on the door hanger.
You can make a smaller version of this wreath (like I have hanging on my old window) by buying a smaller 8-10 inch grapevine wreath. I went simple and just layered some leaves, hot glued them together and hot glued them to the wreath.
2. Wooden pallet pumpkins (tutorial).
Check out our “How to Build a DIY Pallet Wood Pumpkin for Fall Decor“ post for a step-by-step tutorial. These pallet pumpkins are VERY cost effective, easy to make and add the perfect shabby chic touch to your front porch, foyer or family room.

3. “Hey there, pumpkin” doormat.
One of my besties is SUCH a talented calligrapher and has the most adorable Etsy shop, SunkissedScripts. She makes doormats and you can customize the saying, the font and they’re hand-written! They are seriously amazing.
4. Large fabric pumpkins and topiary.
You need:
- Plastic pumpkin trick or treat pails.
- Packing or duct tape.
- White spray paint (if your fabric is light colored or see-through at all).
- A couple yards of your favorite fall fabric (see below for options).
- Twine.
- 1-3 twigs 3-5 inches long (find them in your yard).
- Hot glue gun and glue sticks.
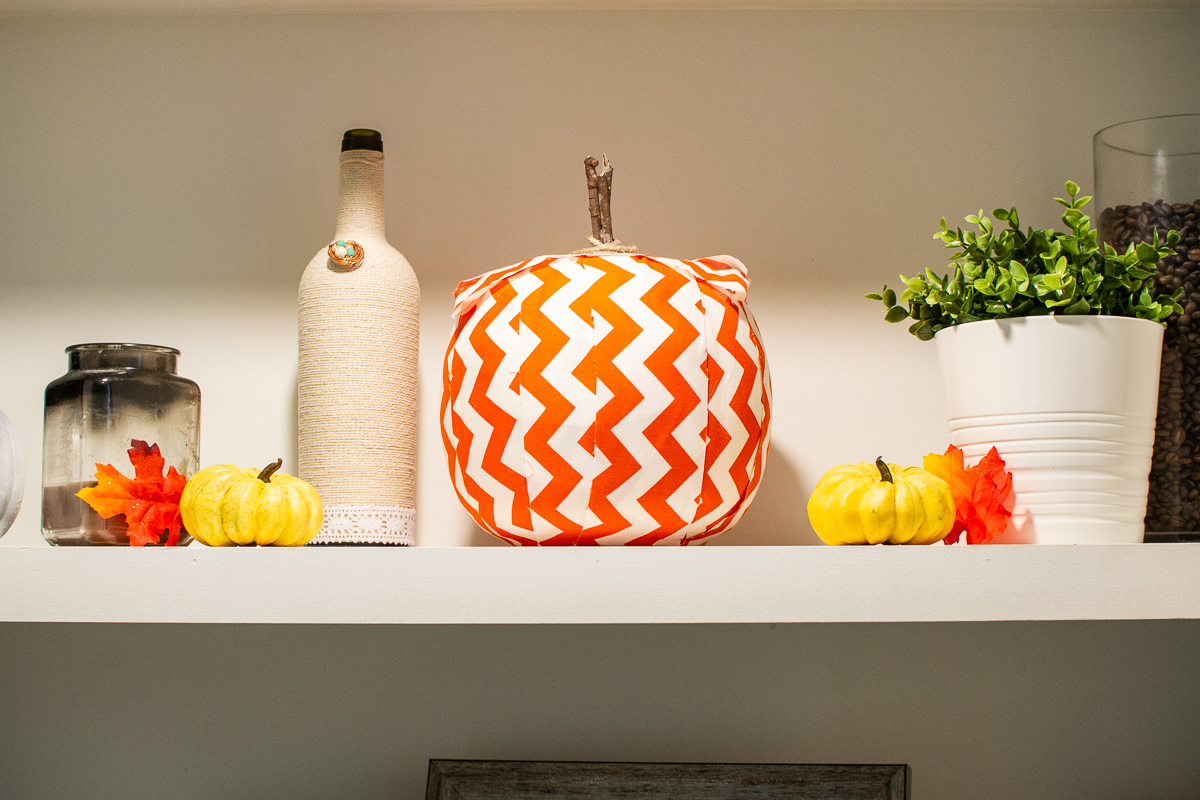
We used an orange and white chevron fabric and cut strips of a canvas drop cloth for our pumpkins here. Some fabric options we love:
- Canvas cloth.
- Chevron orange & white fabric.
- Gray & white chevron fabric.
- Orange & White 1/8″ Gingham Check Fabric.
- Orange Tonal Bubbles Cotton Calico Fabric.
- Gray & White Triangle Apparel Fabric.
- Black & White Plaid Apparel Fabric.
To make an individual pumpkin OR the top pumpkin in the topiary:
Remove the handle from the plastic pumpkin trick or treat pails and tape over the top of the pumpkin so it provides a flat surface across the top (duct tape, packing tape or another sturdy tape will work).
If your fabric is light colored or see through at all, spray paint your pumpkin white. It doesn’t need to be perfect. It’s just providing a light-colored, neutral base so you don’t see the crazy colors through the fabric.
Cut your fabric into strips ~1-2 inches wide and long enough to reach from the bottom of the pumpkin all the way to the middle of the top
Fire up your hot glue gun and go to town: place a strip of glue as wide as the strip of fabric on the bottom of the pumpkin. Attach the strip of fabric to the bottom of the pumpkin. Allow to cool enough be solid, stretch up to the top until it’s tight and hot glue it at the top.
Once your fabric part is finished, place your twig or twigs in the center of the top of the pumpkin. Stick a giant glob of hot glue in the center and push the twigs in. Hot glue around the base of the twigs as well to help with stability. Hold them in place until the hot glue dries. Wrap your twine tightly around the twigs and hot glue in place as you go to hold the twigs in place. Continue to spiral the twine around, adding a dot of hot glue every quarter turn to hold it in place as you go.
To make the bottom and middle pumpkins in the topiary, repeat these steps, but do not tape over top of the pumpkin or add the twigs and twine to the top. Instead, glue the fabric strip to the bottom of the pumpkin, allow to dry then stretch it to the top and glue it inside the top edge of the pumpkin. This should allow the base of the top pumpkin to fit into the top of the next pumpkin down and so on.

5. Mini pumpkins and topiary.
You need:
- Dollar store “carvable” pumpkins.
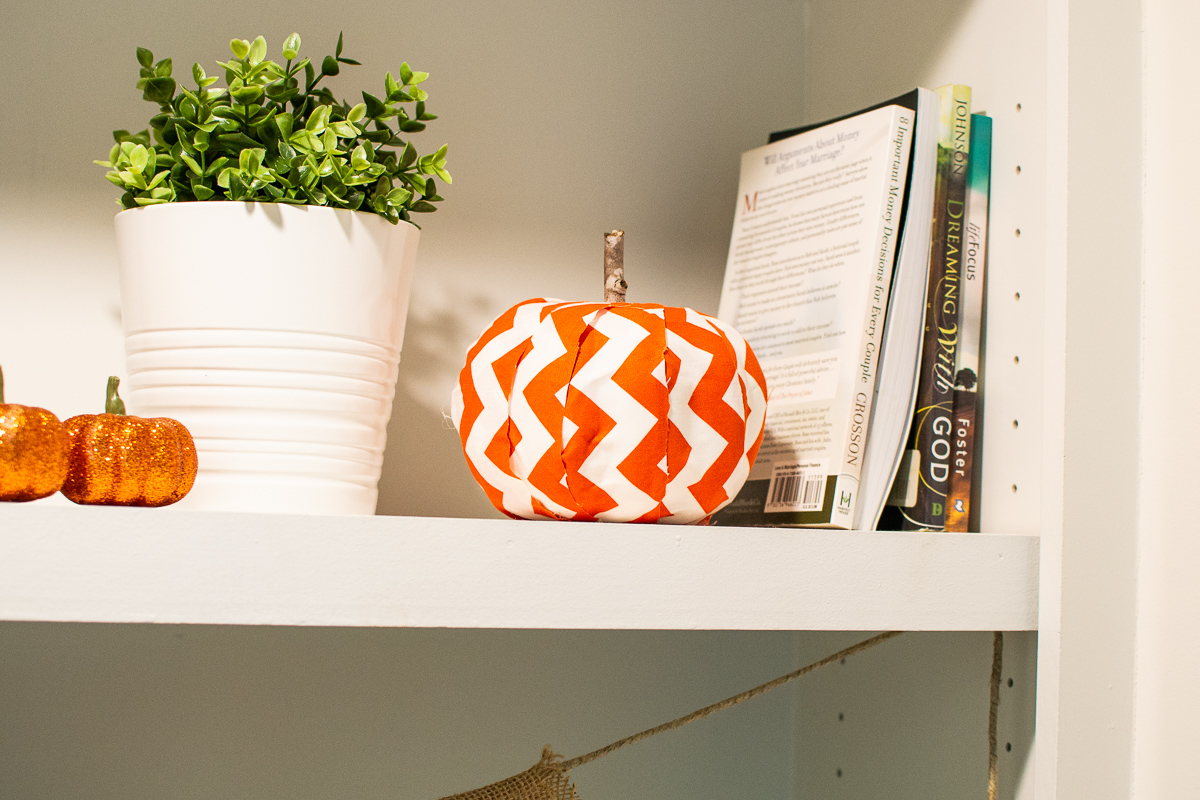
- Spray paint or fabric or whatever you’d like to cover your pumpkin with (I’ve seen people use book pages, sheet music or strips of twine). Some fabrics we love in tutorial #4 above.
- A 2-4 inch twig (find one in your yard).
- Hot glue gun and hot glue sticks and/or duct tape.
Pop the little “stem” off your pumpkin – you won’t be needing it.
If you’re using fabric to cover your pumpkin, follow the steps above. If using spray paint, spray the pumpkins all over with a light coat. (A heavy coat will take too long to dry and you will get drips…no-go). Allow to dry and repeat. Apply 2-4 light coats all over.
Once the pumpkins are painted or covered, take your twig and stick it into the top of the pumpkin. These pumpkins are soft so the twig should go in easily.
If you’re building a topiary, stick the twig in as a “stem” only on the top pumpkin. Stack the other pumpkins below. You could do a topiary of 3-4 pumpkins. I like the look of having them off-center. Use a circle of duct tape and/or a glob of hot glue to attach the pumpkins to the others in the topiary.
6. Wheat in bottles.
You need:
- Beer bottles (or any other amber-colored beverage bottle).
- Wheat with stems intact.
Remove labels from any amber-colored beverage bottle (and run through the dishwasher to ensure they are clean and won’t attract bugs when they go back into your storage until next season).
Let dry completely and add decorative wheat.

7. Fabric and burlap banners.
Here’s our step-by-step tutorial on making your own DIY fabric AND burlap banners for fall or any season. The perfect interior decoration & display piece to round out your mantle, built-ins entryway, decorative wall window or gallery wall.


8. Centerpiece pallet wood box.
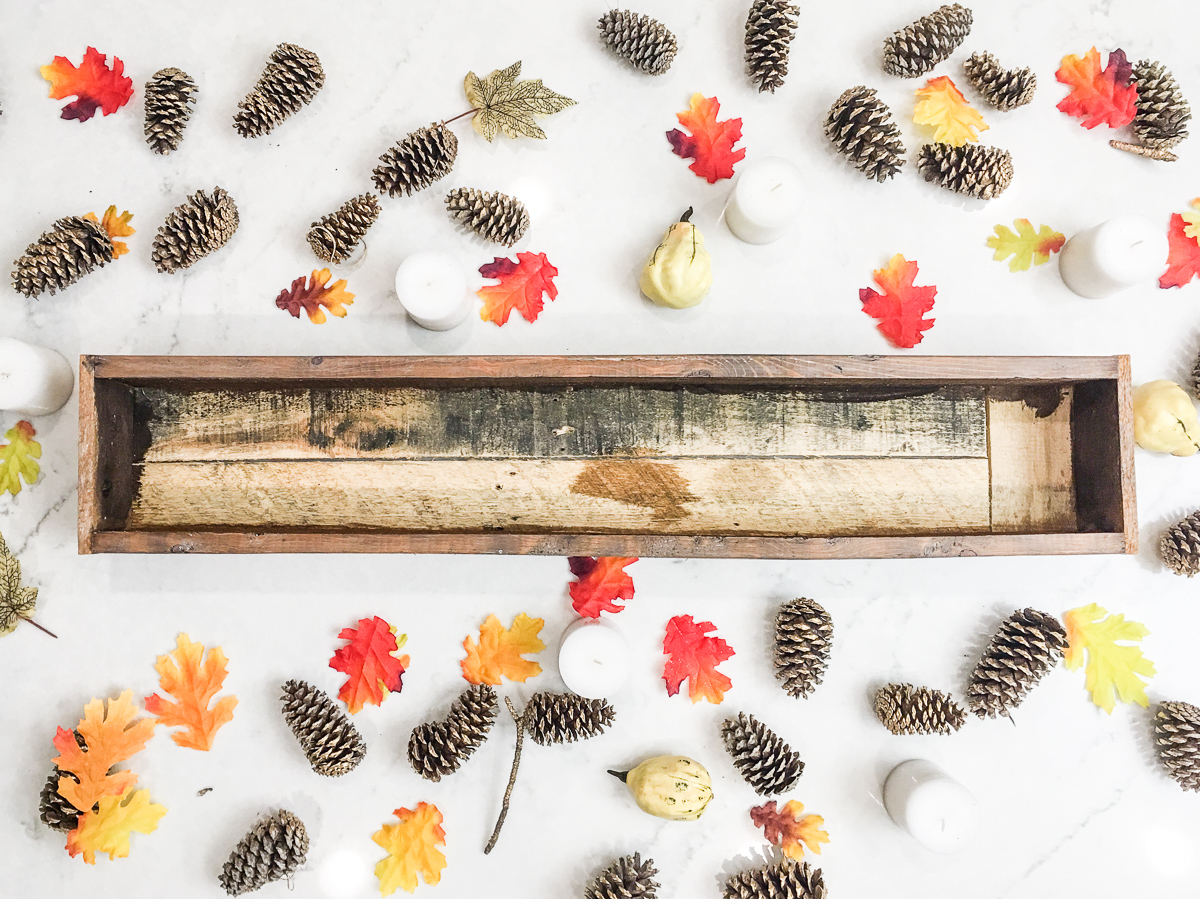
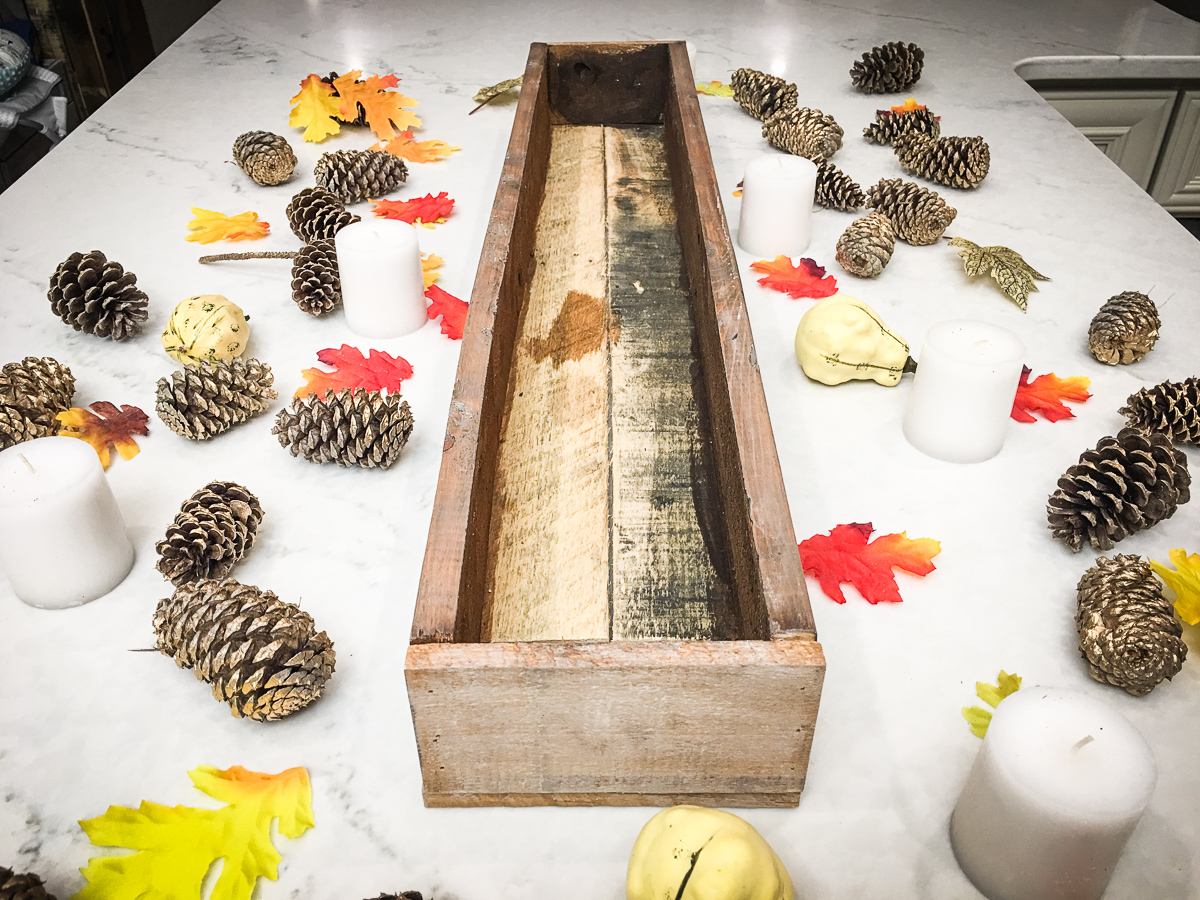
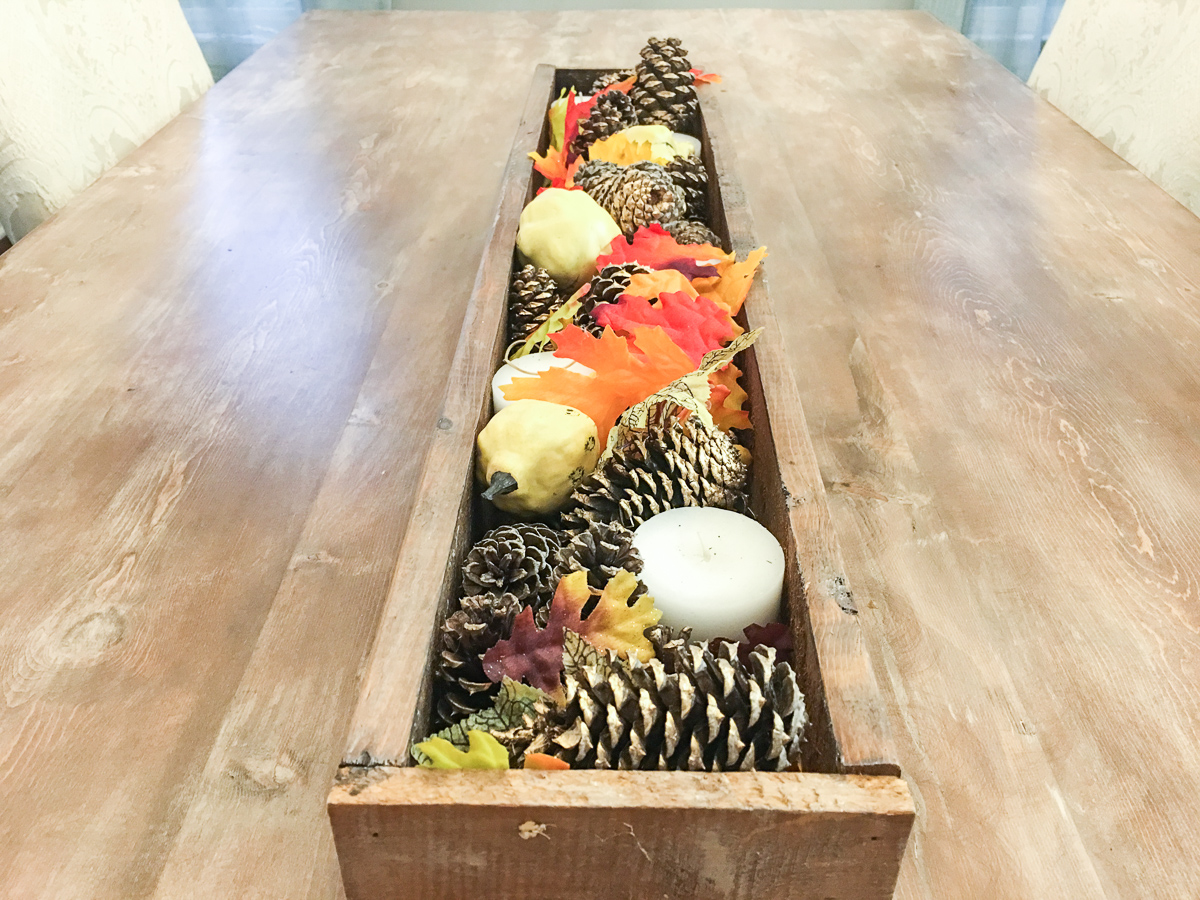
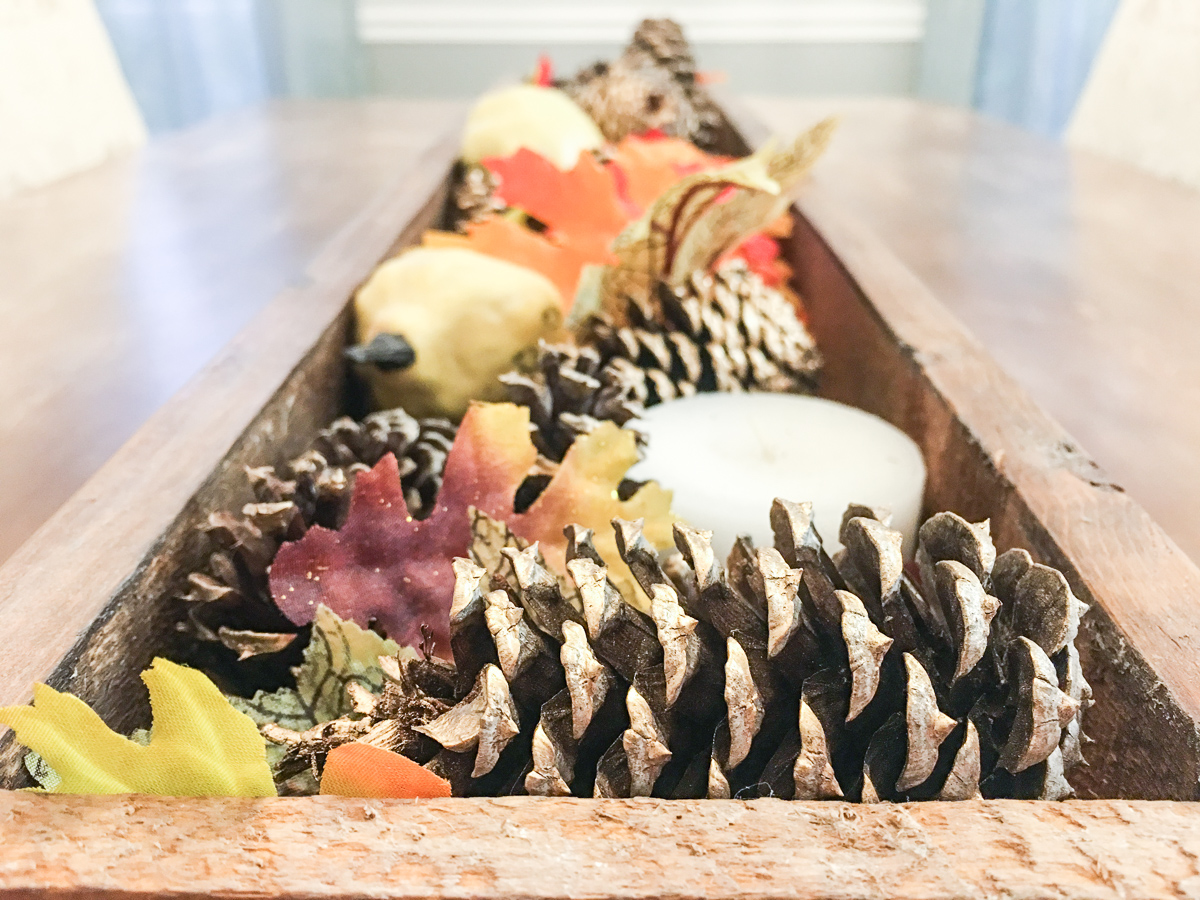
The perfect reclaimed wood centerpiece for your community table. Don’t miss our detailed post covering exactly how you can make this very low cost decorative gem. Simply trade out your current design items to accommodate the upcoming season. Customize the box arrangement for every party, shower, holiday and themed get together.
