You love some modern design.
Especially mid-century. The clean lines. The sleek form, functionality and gradual curves. Minimal aesthetic. Wood, metal, plastic, glass and all the alternative materials. You know you’re a furniture junkie when you drool while reading this paragraph.
Here’s a fun challenge for you, master of design: Stop spending stacks on stacks for brand new or actually vintage pieces, and start hand-crafting your own. Tour the ins and outs of this build below:
The build.
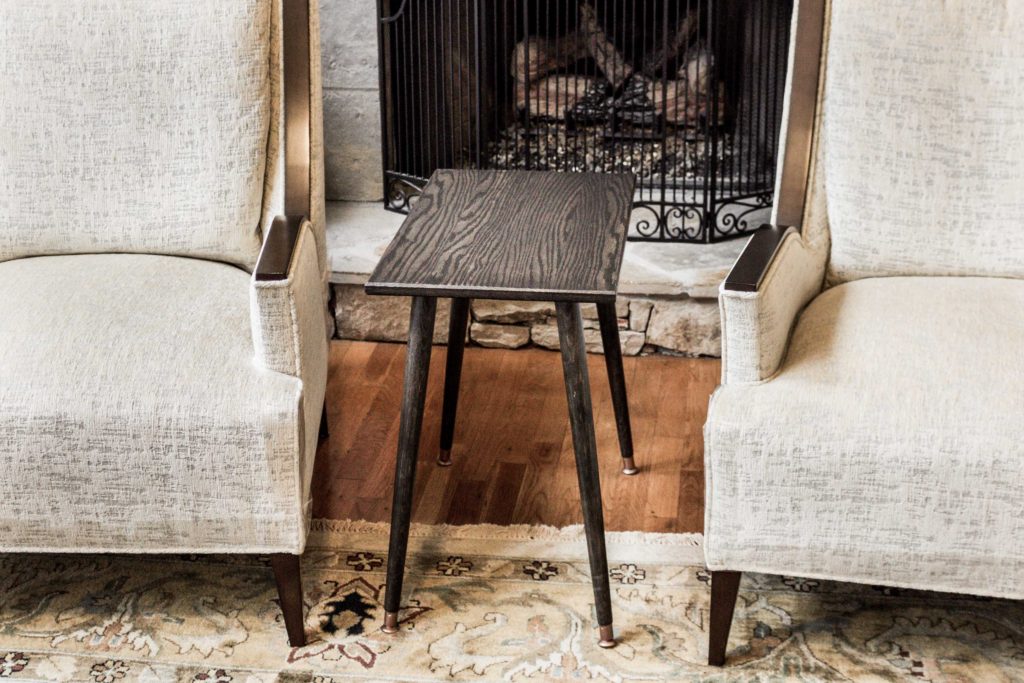
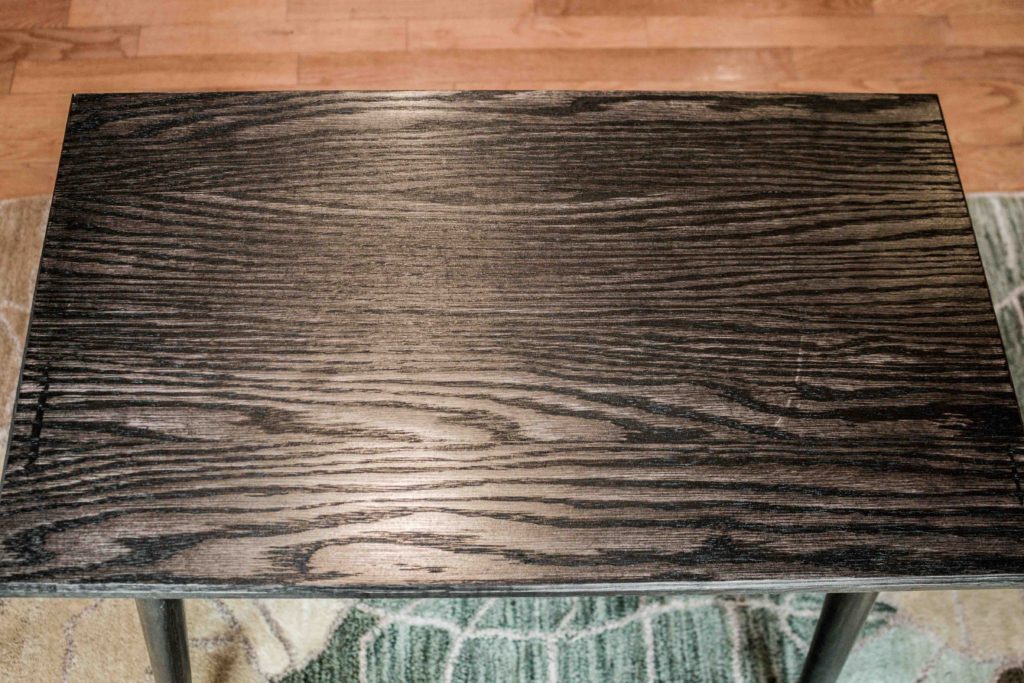
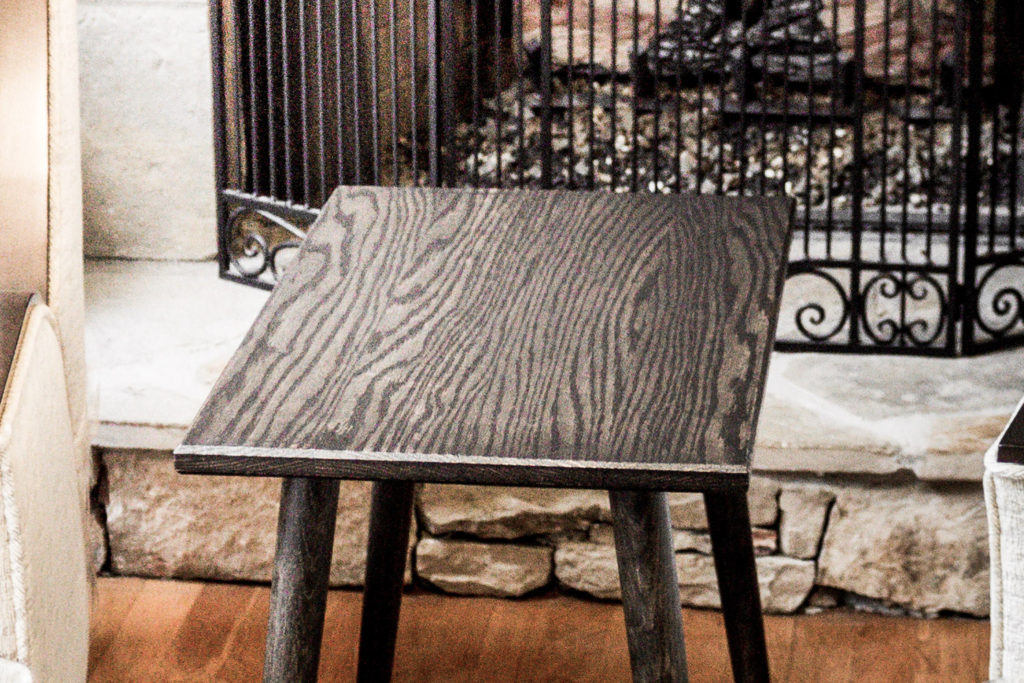
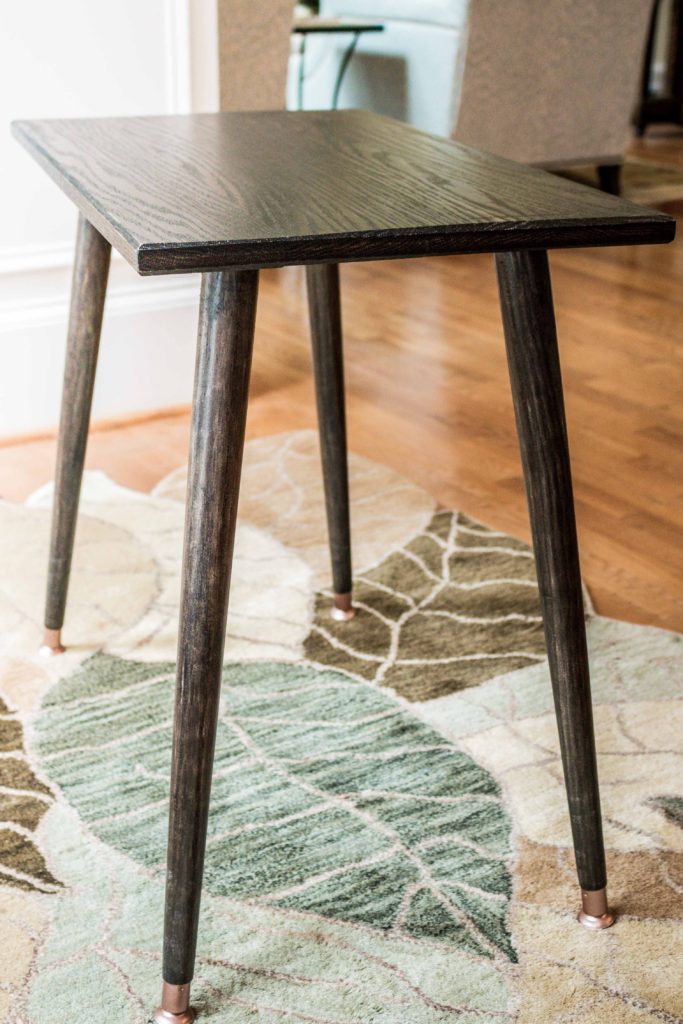
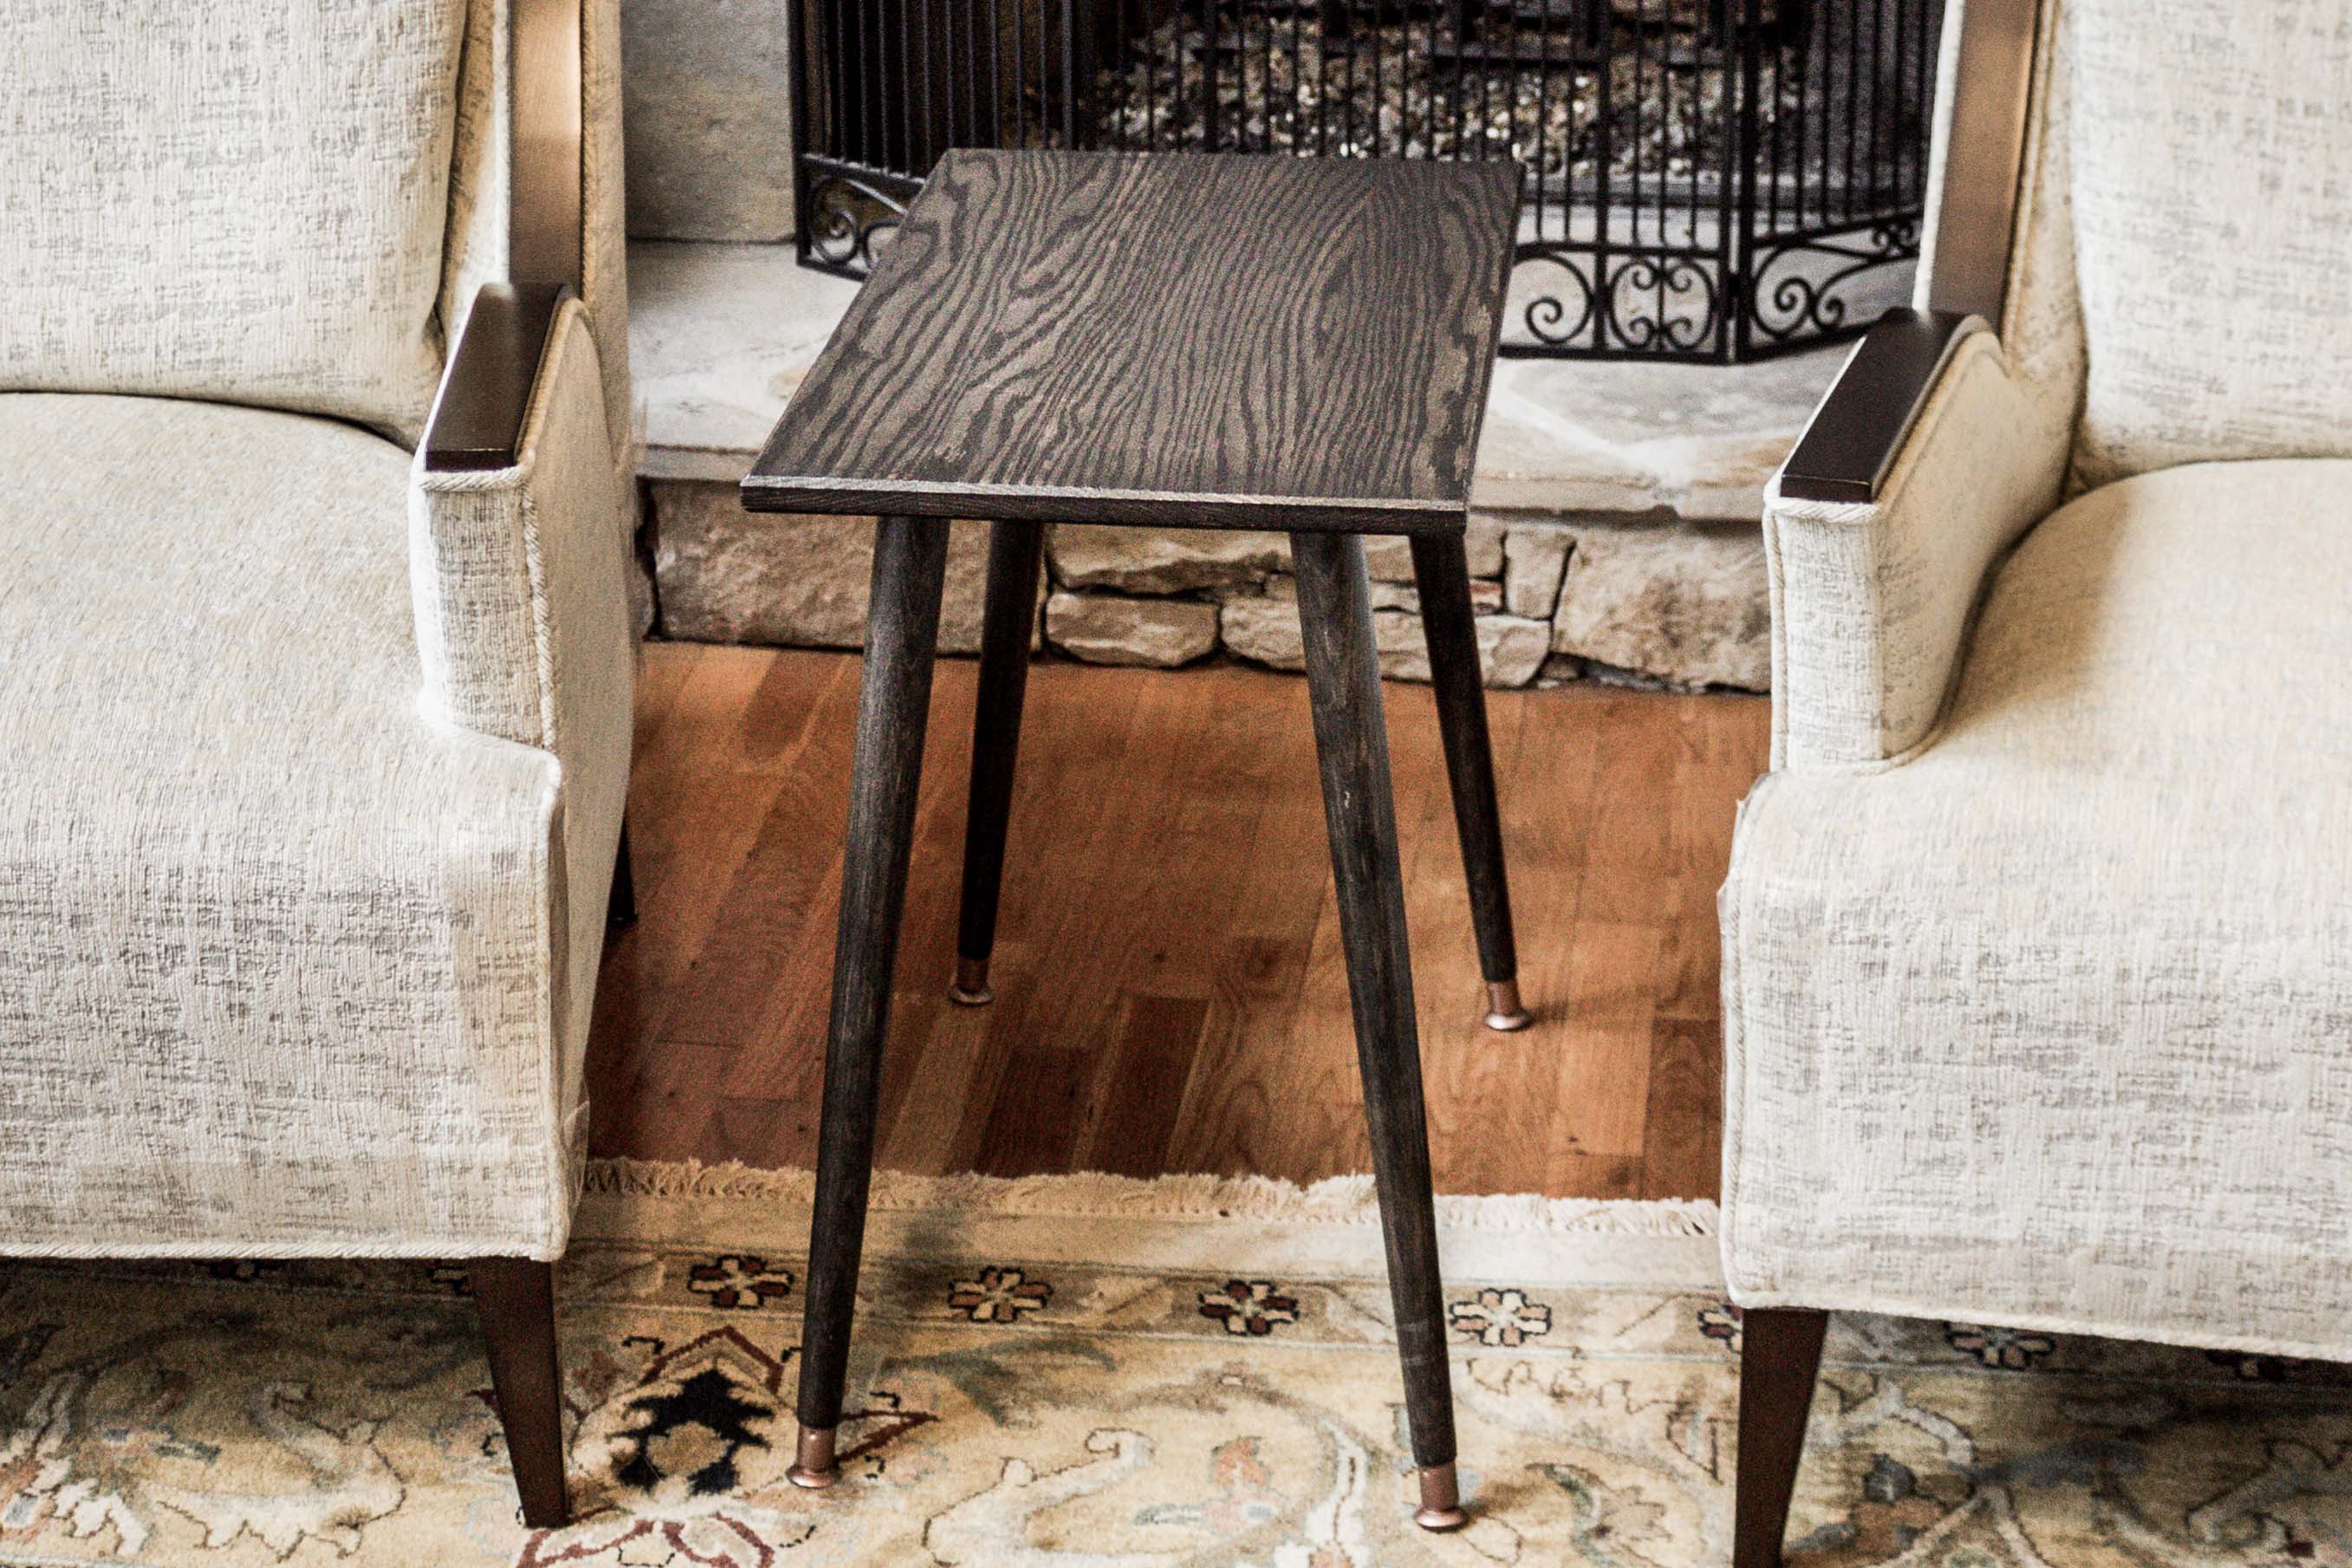
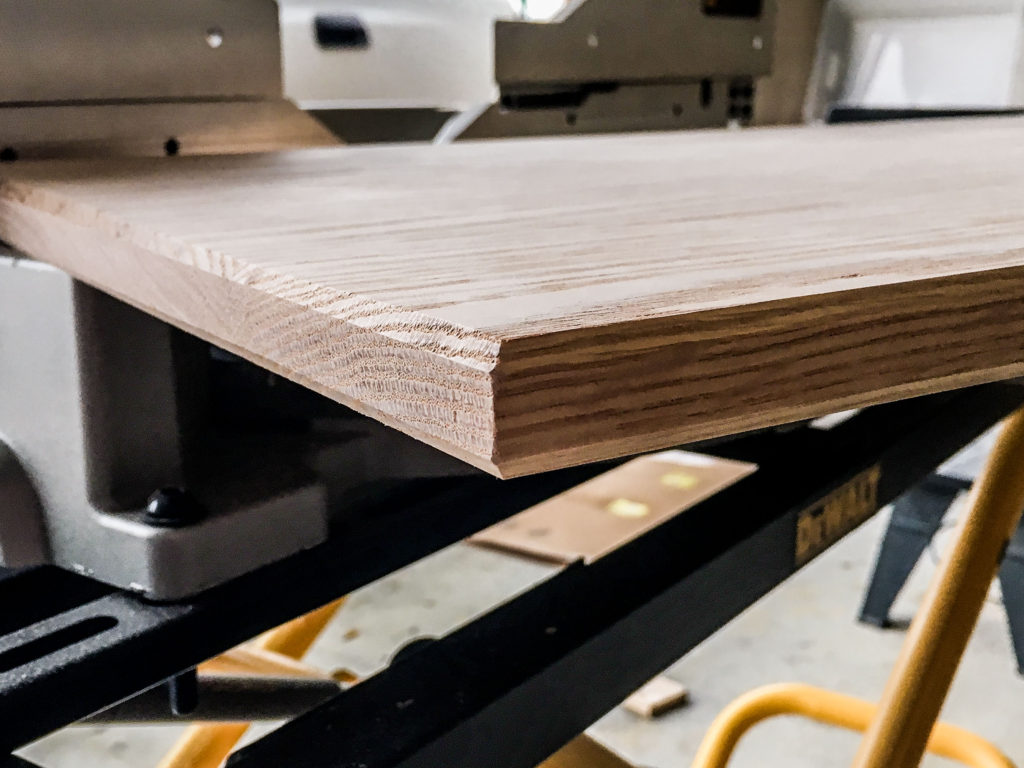
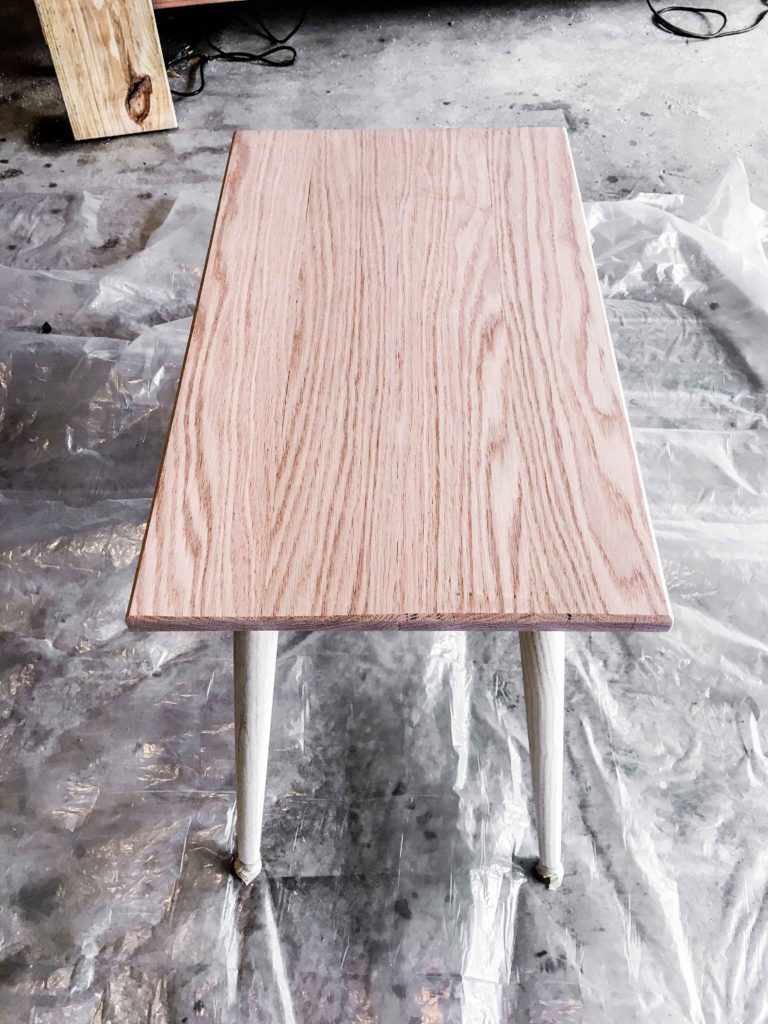
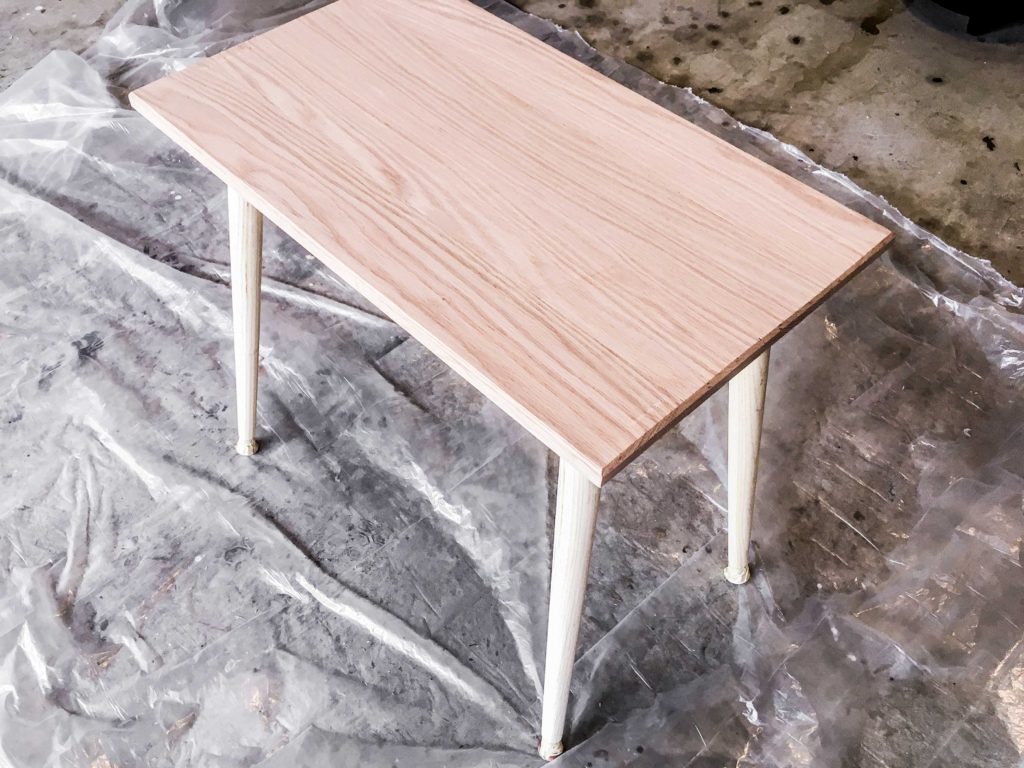
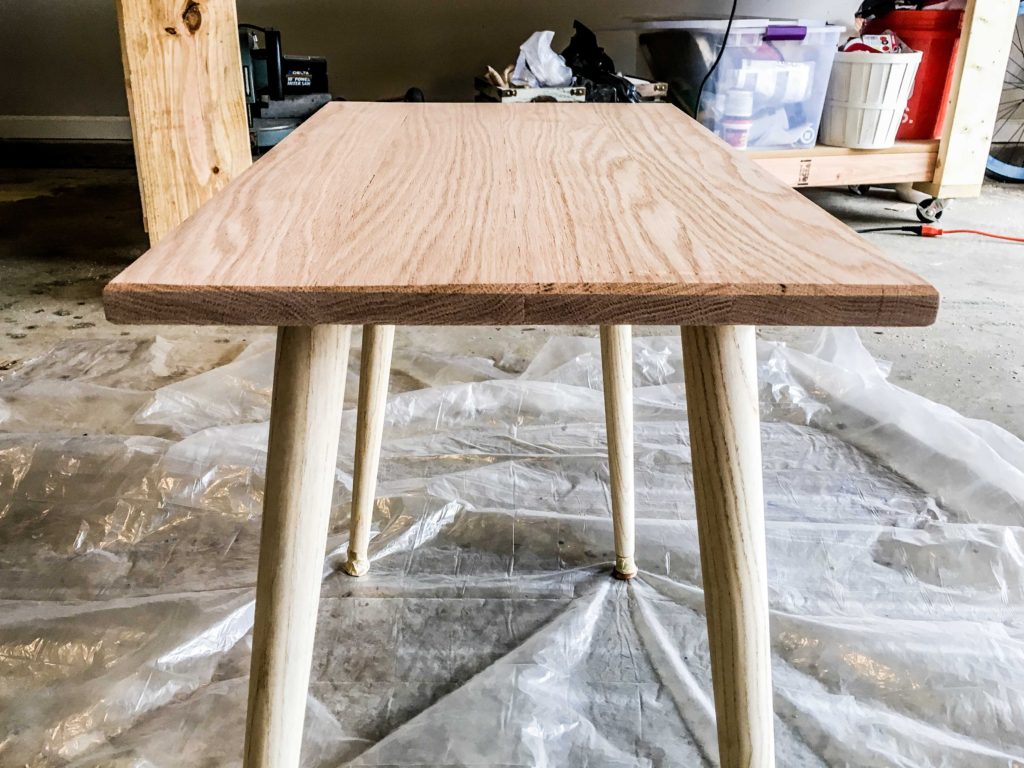
The tabletop is solid oak. ¾ inches thick. Tight seams. Sanded until perfectly smooth. Routed with a bevel bit on the top and bottom edges.
Pine is the mainstream wood used for DIY builds. Why? It’s very cost-effective, soft / easy to work with, and readily available at every hardstore. We used oak because it’s more dense, less dentable, offers a higher-end vibe and absorbs stain WAY more evenly than pine.
The 22” tall hardwood legs create a 23” tall side table – ¾” thick oak top + ¼” thick top plates. The steel top plates allow the legs to screw into the tabletop. They’re angled at 10º for a visual interest. If you choose a different wood for the top or another product for the legs, be sure that the wood grain pattern of one matches or compliments the other for staining purposes.
Now it’s your turn to make one of these beauties. Here’s how:
Side table of content.
- Materials.
- Tools.
- Budget.
- Step 1. Order your materials on Amazon.
- Step 2. Cut list.
- Step 3. Pre-drill pocket holes.
- Step 4. Glue & screw the boards together.
- Step 5. Scrape & sand.
- Step 6. Route your edges (optional).
- Step 7. Attach the angle top plates.
- Step 8. Screw on the legs.
How to construct your sleek side table.
Materials.
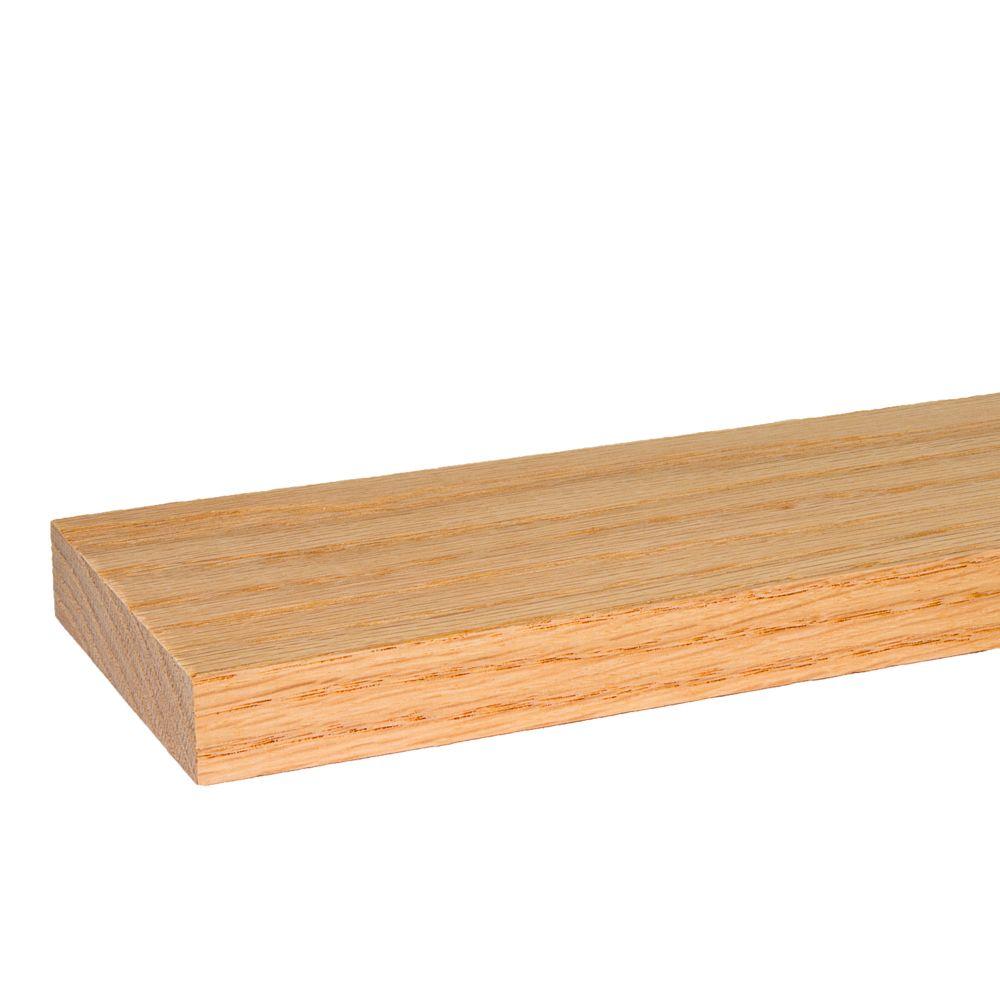
- 1x4x8 oak board. ~$30 at Home Depot.
- 4x tapered wood legs at 22” length (link is a 1-pack). ~$6+ per leg. ~$25 total.
- 4x steel angle top plates (link is a 1-pack). $4 a piece. $16 total.
- Box of 1-¼” pocket hole screws. ~$4 for a 100-pack.
- 16x hex drive screws at 3/4” long. ~$7 for a 100-pack.
- Wood glue. ~$4 for an 8 oz.
Tools.
- Miter saw OR hand saw with miter box OR circular saw.
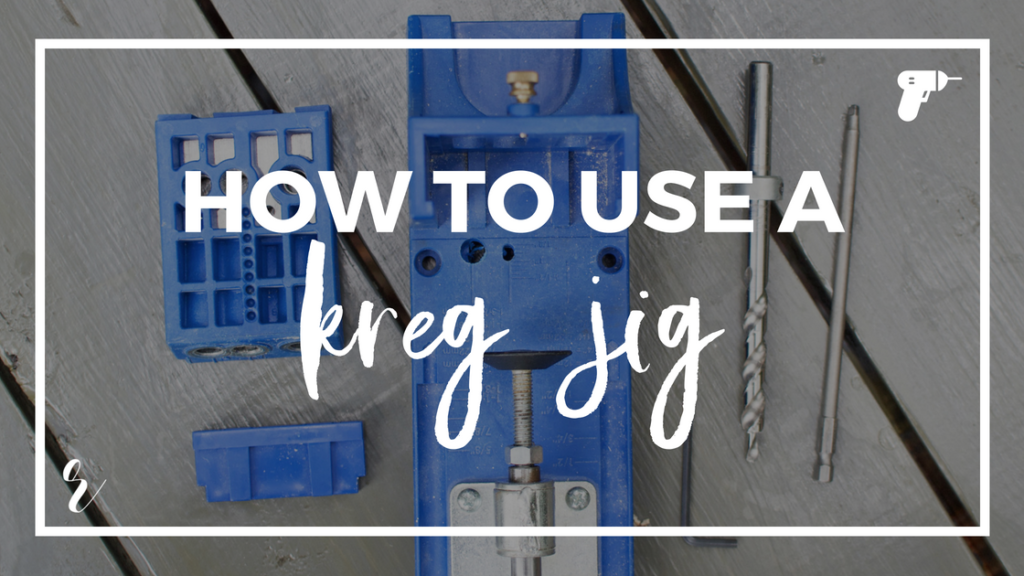
- Kreg Jig System – to drill pocket holes that hide screws and join wood together. Here’s our Kreg Jig tutorial.
- Cordless drill / driver with clutch.
- Orbital sander.
- Paint scraper.
- Measuring tape.
- Level.
- Pencil.
- Ear plugs.
- Safety glasses.
- (Optional) Belt sander. For the tabletop only.
- (Optional) Router. To bevel the edges.
- (Optional) Trigger clamps. To hold the boards when screwing.
Budget.
- All materials cost = $86.
- All materials cost for DIY regulars = $78.
- For those who have pocket hole screws and wood glue on hand. Save even more if you use leftover boards and hex screws from previous projects.
Step 1. Order your materials on Amazon.
Note: you’ll need to snag your oak 1x4x8 at a local hardware store or lumber yard.
- Every item in the materials AND tools list (except for the oak 1x4x8) is linked to a high-quality product sold on Amazon. Order the items you don’t currently have before proceeding to the next step.
- 1x4x8 means 1 inch thick by 4 inches wide and 8 feet long. This is a nominal measurement. It’s actually ¾ inch thick by 3-½” wide and 8 feet long. The length should be actual, whereas the thickness and width of dimensional lumber are based on the nominal measuring system. Check out our Kreg Jig Tutorial for an explanation of nominal measurement.
- If a 23 inch tall side table isn’t the right height, then measure the side of your chair or the arm of your couch to assess for the ideal height. Here’s a 15-½” long leg alternative for an ottoman-height side table.
Step 2. Cut list.
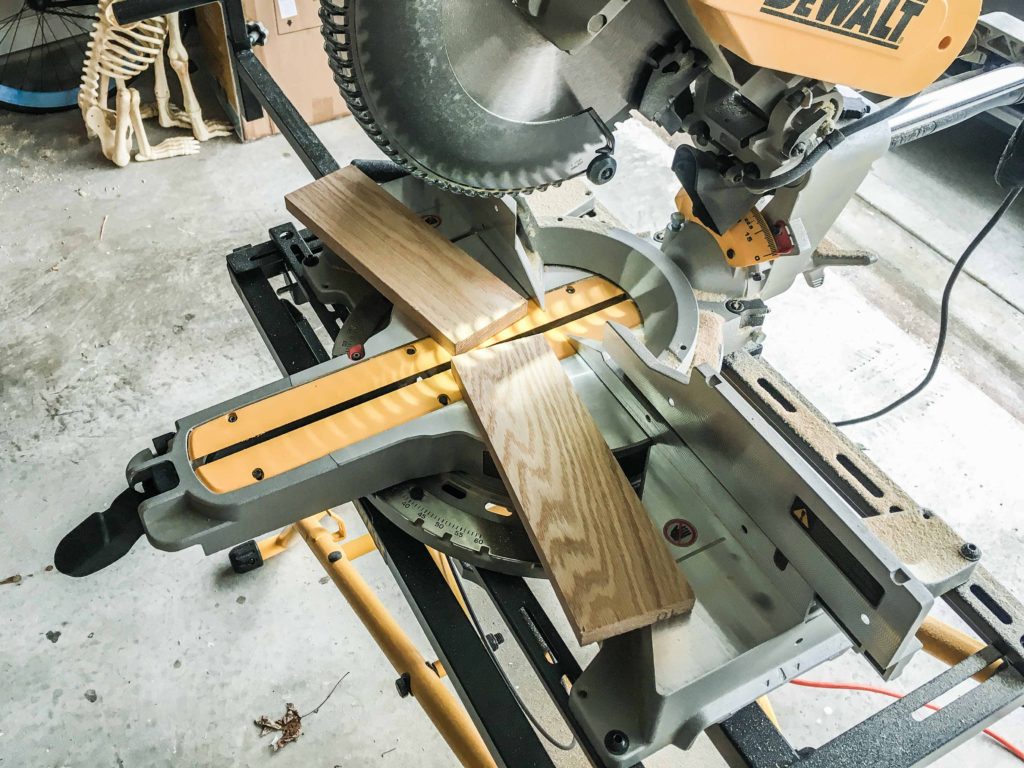
Note: you’re cutting your oak 1x4x8 into four equal-length pieces. Consistency is more important than precision for this build. Starting with exactly 8 feet will yield four 23-⅞” long pieces if you allot for the width of the miter saw blade.
Miter saw: if you don’t have a miter saw, use a circular saw or hand saw with miter box.
- 4 – 1x4x2
Step 3. Pre-drill pocket holes.
Note: alternative edge grain patterns per board. Look at the end of each board. If the board 1 makes a “u”, board 2 should make an “n”, 3 a “u”, and 4 an “n”. Alternation ensure that your tabletop will be as flat as possible, and will remain that way over time.
- Break out your Kreg Jig System.
- Set your Kreg drill guide to ¾, since your 1×4 oak board is a nominal measurement. It’s actually ¾” thick. Measure to be sure.
- Set your metal collar to the ¾” setting on the ⅜” stepped drill bit.
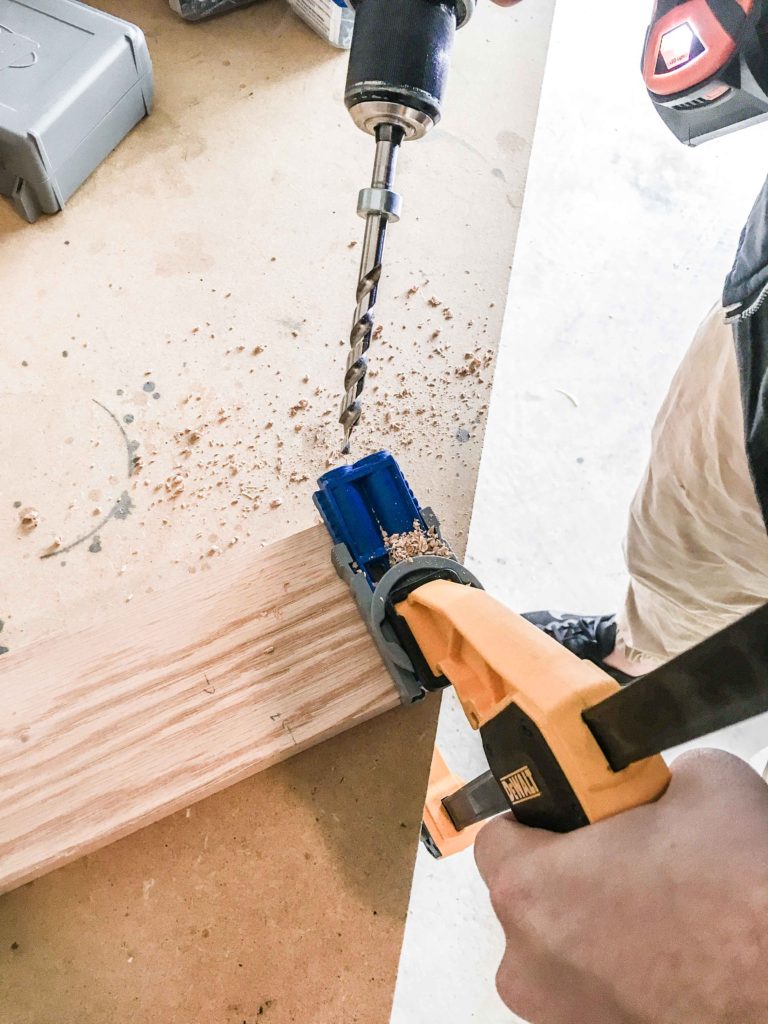
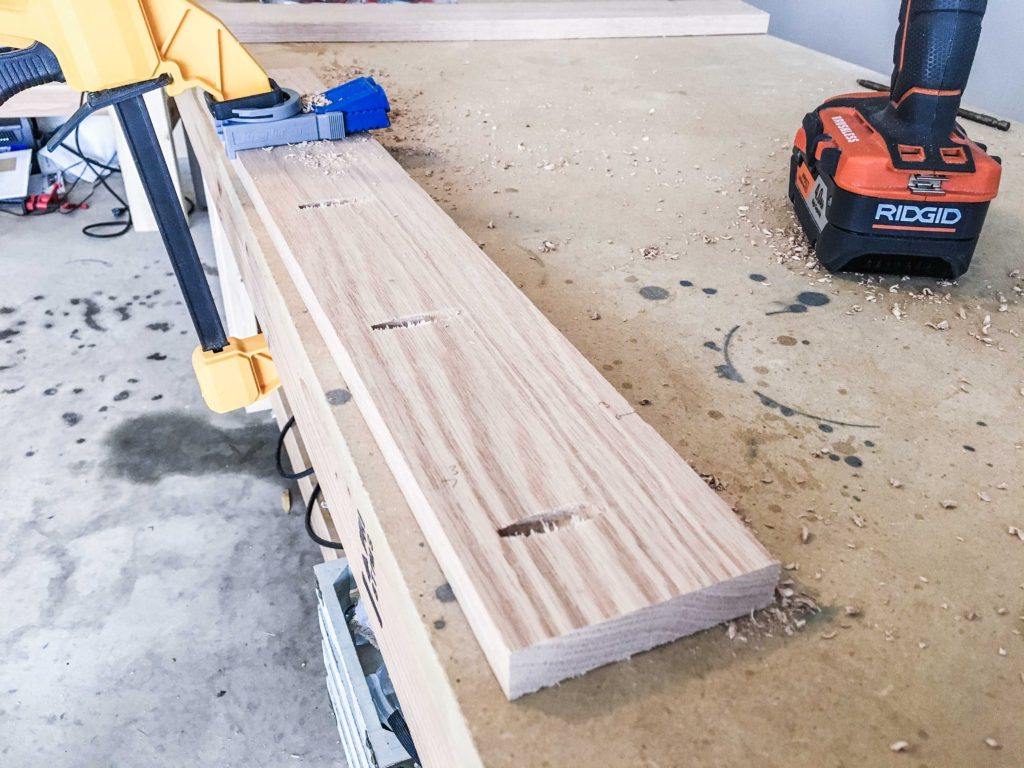
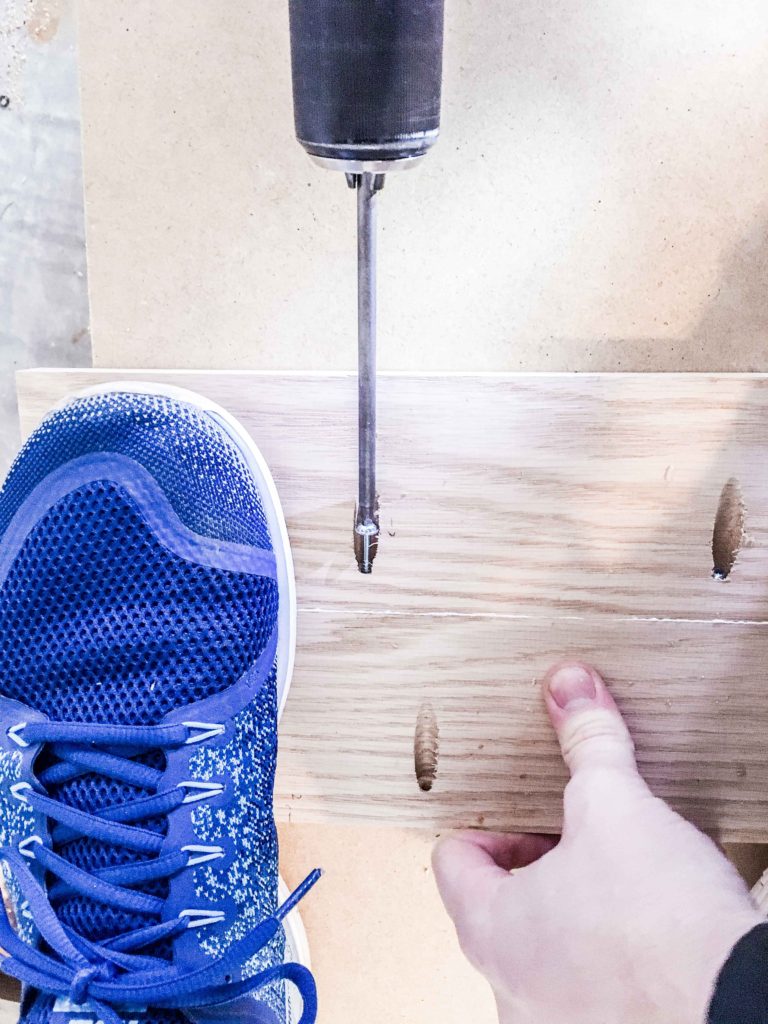
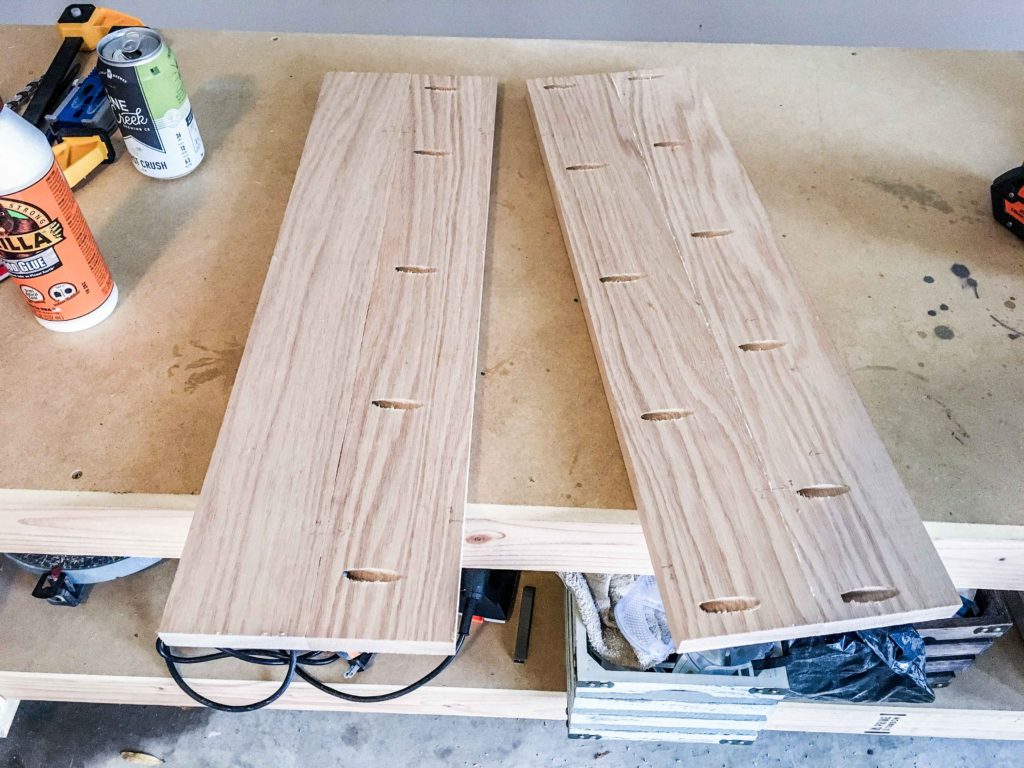
- Clamp your Kreg Jig to the first board. Predrill a hole 2” from the edge on both ends of the first oak piece. Space other holes no more 6” apart for strongest joinery.
- Repeat the second and third board. Do NOT predrill the fourth board. The third board will attach to the fourth with pocket hole screws that enter the third board.
Step 4. Glue & screw the boards together.
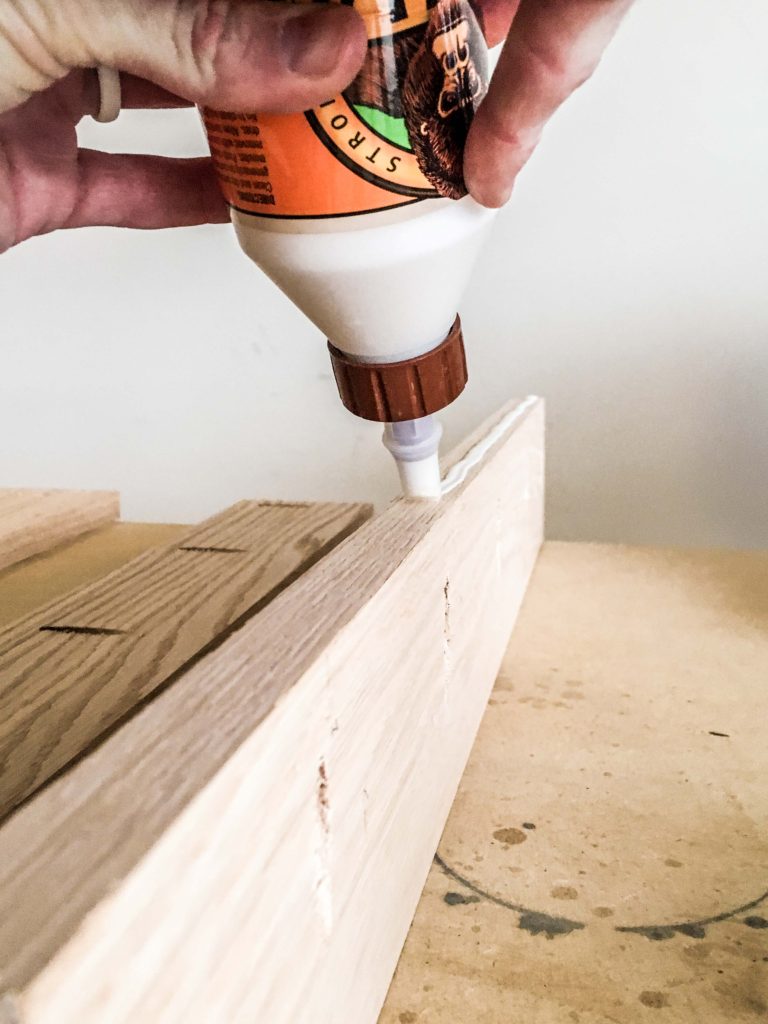
- Position all pocket hole screws into place BEFORE adding glue. Sink each screw ever so slightly without breaking through the side surface. Once glue is added, your time is very limited before the adhesive sets in.
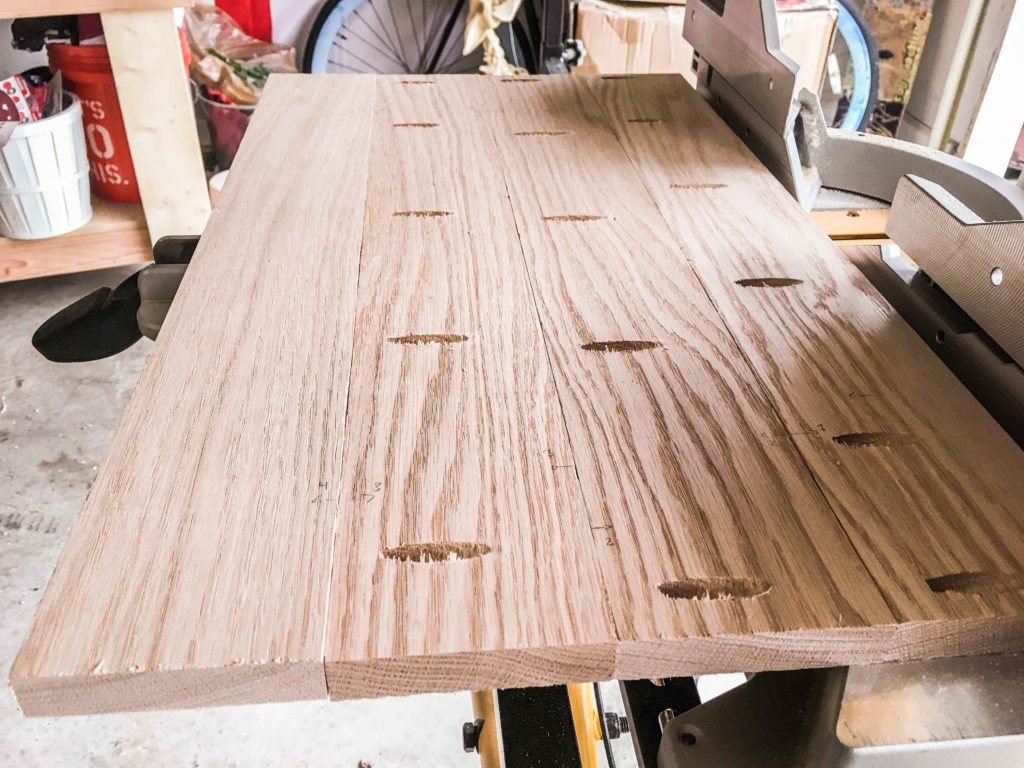
- Plan to attach tabletop board 1 to 2. And then 3 to 4. Finally attach each double board to each other.
- If you opted to use trigger clamps, use them to hold the boards together after glueing and while screwing.
- Turn the first board on it’s side. Squeeze a very straight bead of glue onto the middle of the board side. Place board 1 and 2 on a very flat surface and screw them together using your corded drill with clutch set in the middle range (between 8 and 14). Your 6 inch #2 square drive bit is ideal for pocket hole installation.
- If the boards do not create a tight seam, up the setting on your drill’s torque ring to allow the screw to sink deeper.
- Repeat for the other tabletop boards until all four are joined together.
- Let the glue cure for 24 hours.
Step 5. Scrape & sand.
Note: sand the bottom to ensure the top plates attach flatly to the underside of the side table. Otherwise, your uneven boards will yield a wonky table that requires some serious shims to regain levelness and prevent teetering.
- After the wood glue cures, scrape off the glue droplets with a paint scraper.
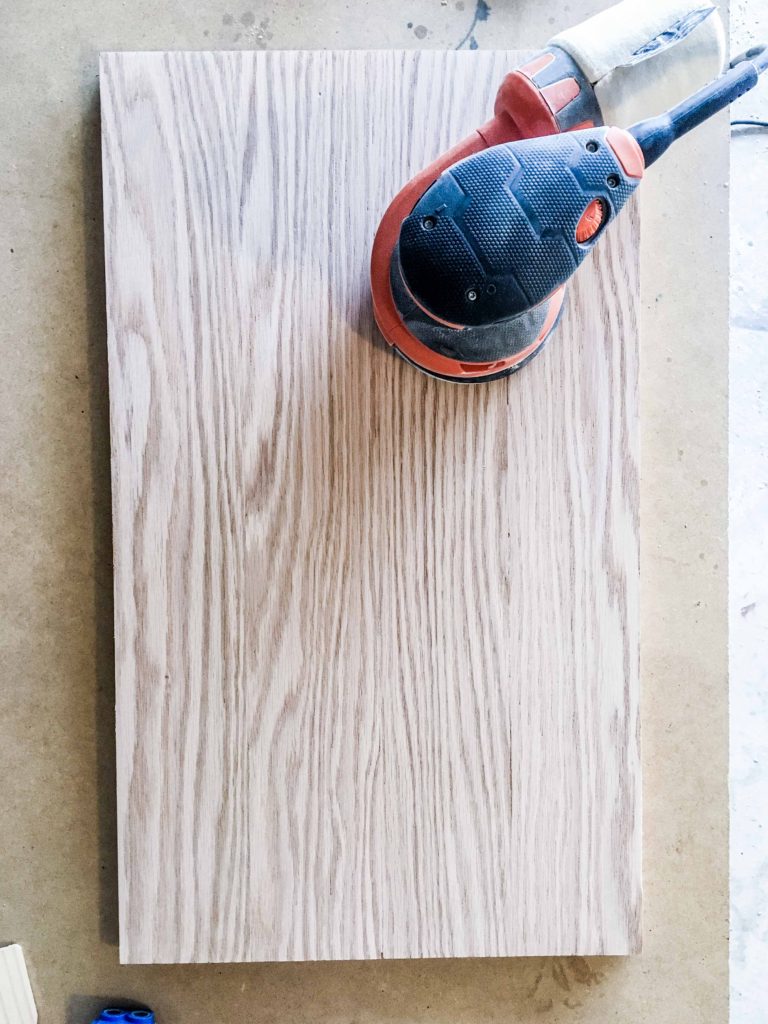
- Sand the top AND bottom of the tabletop piece with your orbital sander or belt sander.
- Carefully use 36 or 60 grit for heavy / efficient material removal. If you actively push the sanding disc or belt, you’ll likely create divots, scratches and unwanted grooves in the wood. Take your time.
- Next, use 100 or 150 grit to slightly smooth out the surfaces.
- Lastly, use 220 grit to completely smooth out the surfaces for even staining.
- Sand until you can’t feel the transitions between boards.
Step 6. Route your edges (optional).
- If you like a square side table edge, proceed to Step 7.
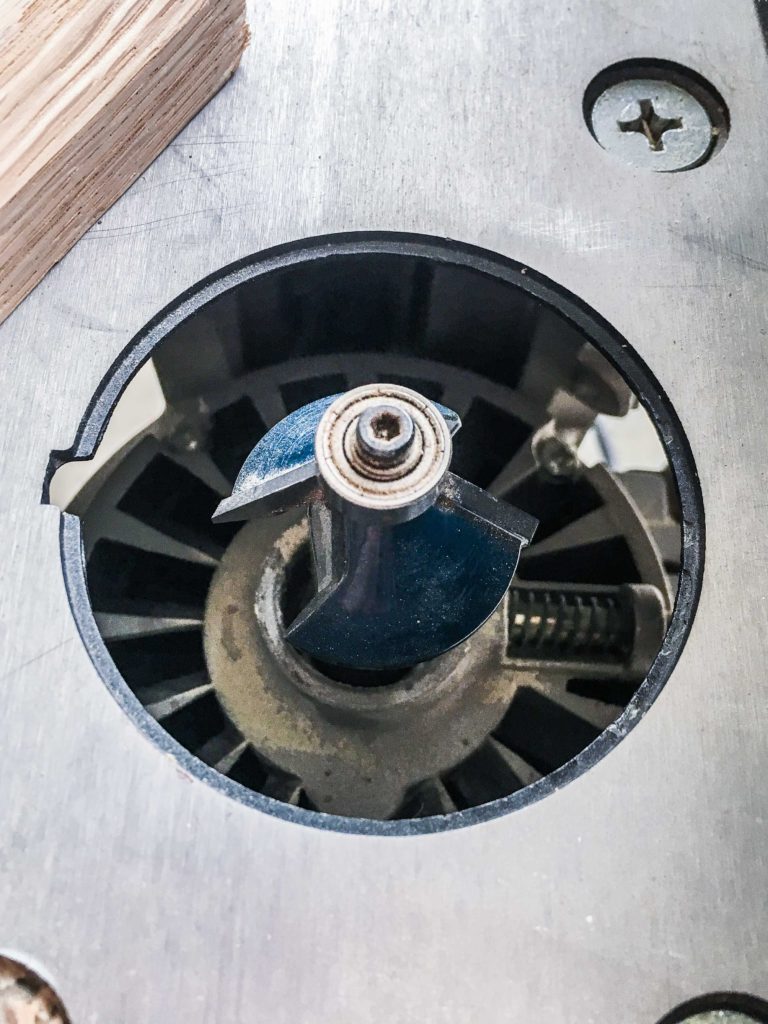
- We used a bevel trim router bit to create a 45º angle on the top AND bottom edge of the table.
- For a router table, feed the wood tabletop from right to left to maintain the most control. For a handheld router, route the edge of the wood from left to right. Test a few scrap pieces to get comfortable before routing the real thing.
Step 7. Attach the angle top plates.
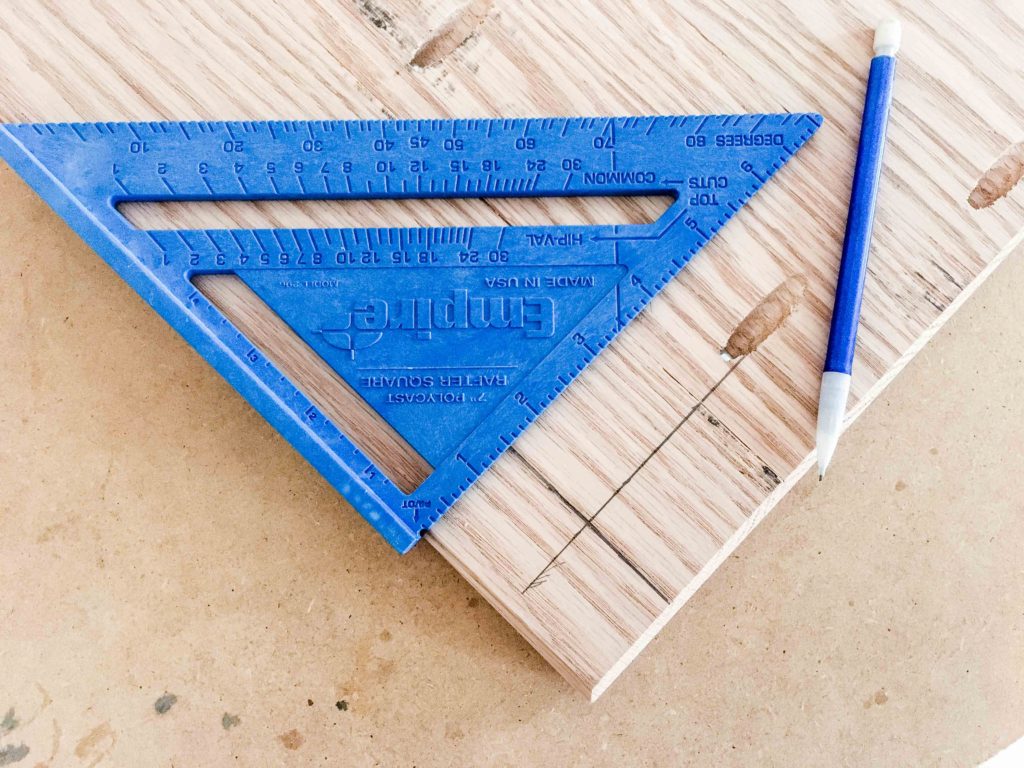
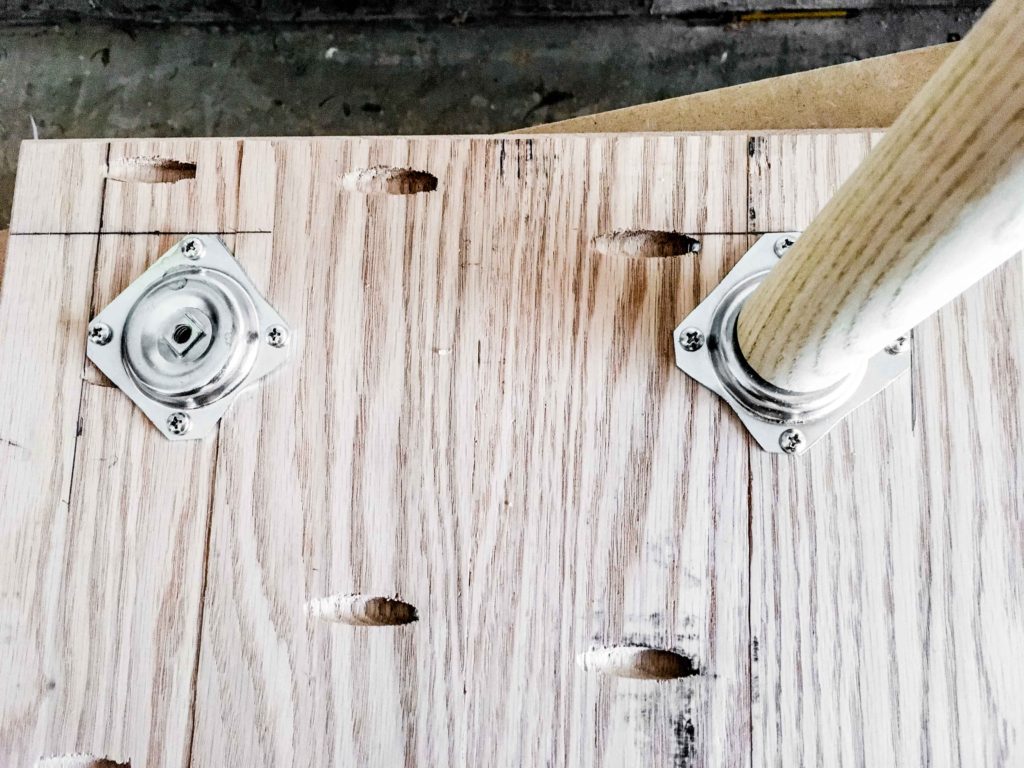
- The steel angle top plates should be inset from the underside edge of the tabletop.
- We placed our top plates ½” in from either side of the corner.
- Position the top plate to allow the leg to project outward from the table, in four separate directions. Our legs are aimed at each respective corner.
- While holding the top plates in place, mark each hole with a pencil.
- Remove the top plates and predrill a hole for each ¾” hex drive screw. Use a bit with a diameter that matches the diameter of the screw shaft, NOT the screw threads.
- Install all four top plates with cordless drill and ¾” hex drive screws.
Step 8. Screw on the legs.
- Once the top plates feel tightly attached to the underside of the side table, screw each leg into a top plate.
- Wiggle each leg to test for structural integrity. If any are movable, tighten the ¾” hex drive top plate screws and re-tighten the leg.
Wood finishing inspiration.
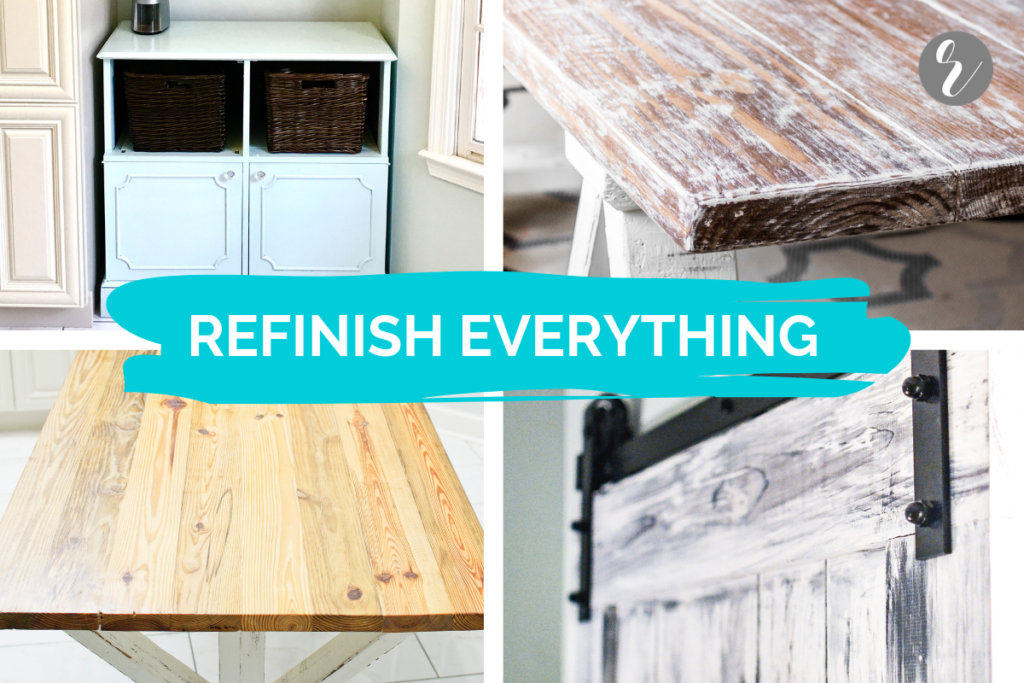
You build this little mid-centch beauty, but it’s still raw wood. Check out our favorite finishing techniques for a little home inspo. A custom build deserves a custom look.

