There’s never enough storage. Ever.
You’ve got the folded clothes down… somewhere. Well, crammed Downy with the power of your Arm & Hammer in some obscure plastic bucket. That is until you glance at your dirty clothes hamper dressed up as a mutant volcano lava monster. Guess the dirties haven’t developed AI and learned to wash themselves yet. *Sigh*.
Every drawer seemed to be perfectly designed for the exact amount of clothes you have – excluding that filthy heap of neglect. Fitting the rest would defy science. Where’s a Harry Potter drawer when you need one? Somebody please DM Marie Kondo before it’s too late. She’ll Cheer you up.
While you’re at it, you might as well wash a load of bed sheets. (If You Give a Mouse a Cookie just morphed into If You Give a Human a Hamper – sounds like a modern classic in the making.) You open the linen closet and get washed away by a Tide of poorly folded fitted sheets from frustration-past. Where the heck are All these bed coverings going to reside?? And blankets? Extra pillows? Winter comforter?
Create more storage this instant.
It sounds like you need a storage chest.
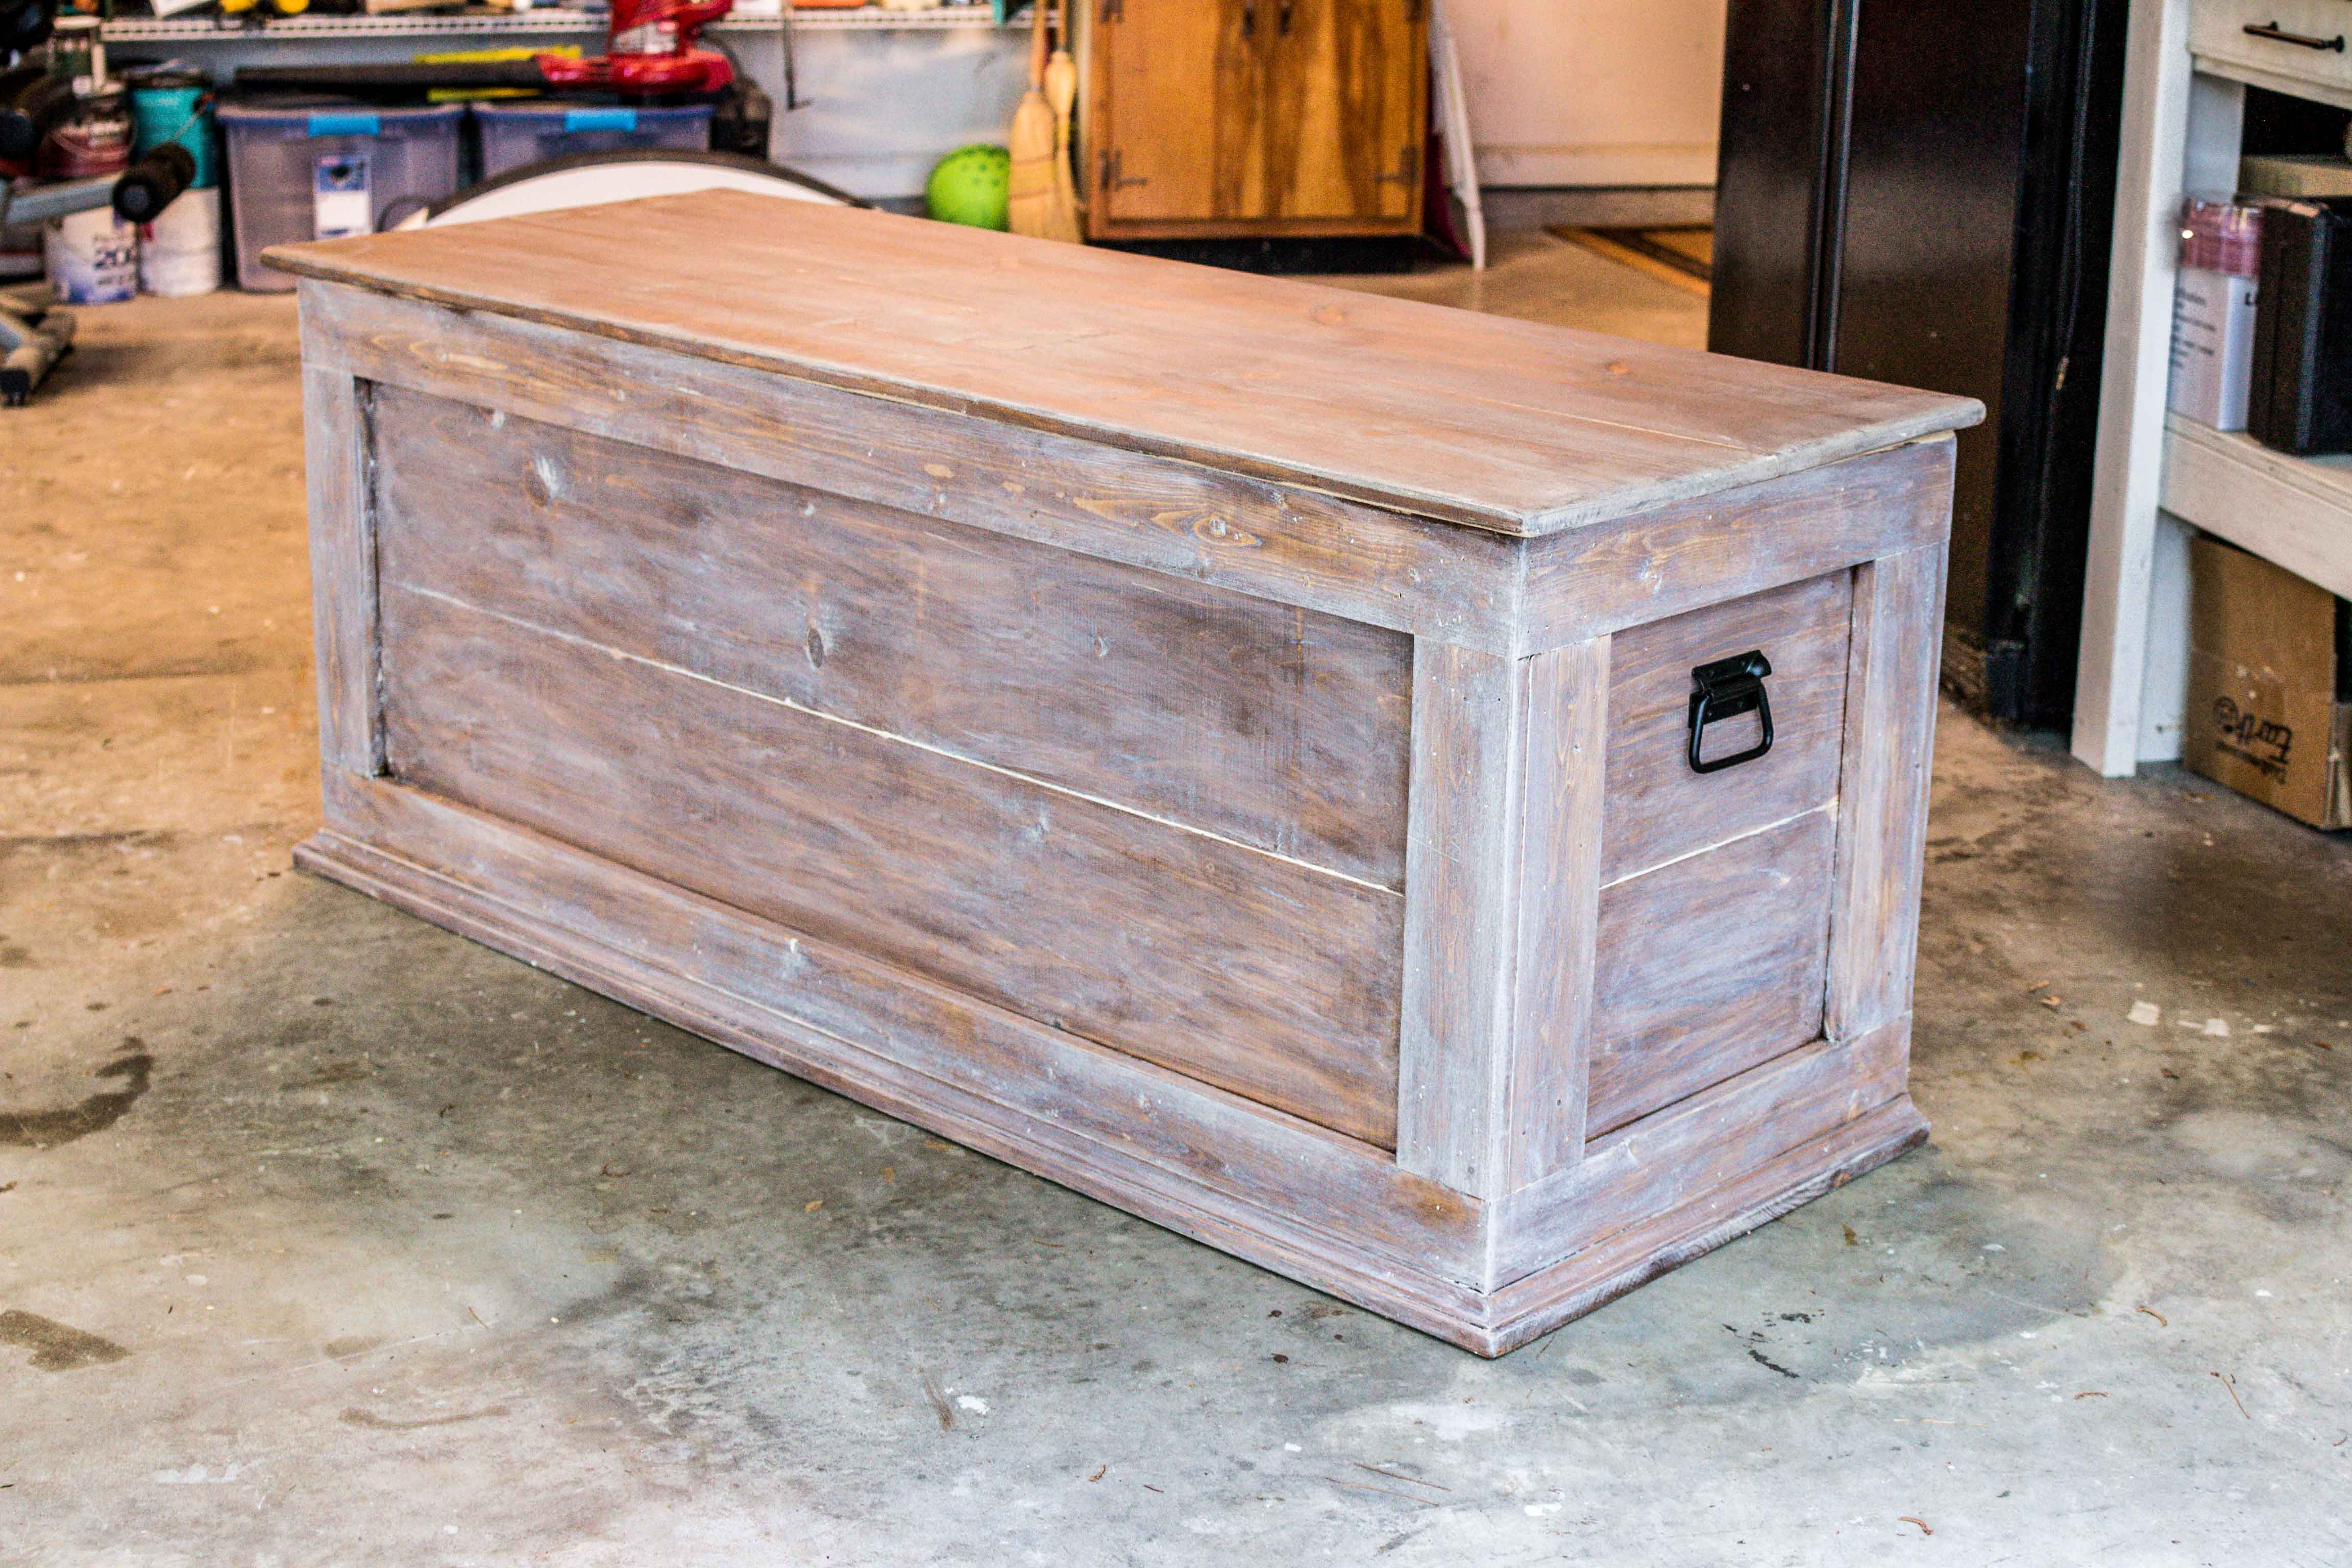
Beautifully designed to blend into your overall home aesthetic. Not another huge piece of furniture squeezed between dressers, windows and door casing. Carefully positioned at the end of your queen or king bed. Gain another linen closet worth of space without adding any square footage.

The build.
33% more volume inside compared to most storage chests on the market. 33% longer than the comparables, yet strategically made to fit at the end of your bed.
The chest is constructed with dimensional lumber (real wood) from your local hardware store. No cheap particle board. Or OSB. Or plywood. Glued and screwed together to last until the Seventh Generation after you.
This chest is built without a table saw. Only a miter saw is necessary. The lower risk approach to woodworking. With a high reward. Here’s how to do it:
Table of contents.
- Materials.
- Tools.
- Budget.
- Step 1. Order hardware on Amazon.
- Step 2. Hit up your local hardware store.
- Step 3. Cut list.
- Step 4. Kreg Jig the short sides.
- Step 5. Kreg Jig the long sides, top & bottom.
- Step 6. Create the box.
- Step 7. Trim the front, sides & back.
- Step 8. Attach the box bottom.
- Step 9. Install cove moulding.
- Step 10. Connect top with continuous hinge.
- Step 11. Install soft close hinges + handles.
How to construct your pretty wooden chest.
Materials.
- (8) 1x12x8 – $18.82 per board.
- (5) 1x4x8 – use furring strip boards for $2.49 each. Make sure they’re straight!
- 8’ piece of unfinished cove moulding ~$4
- Continuous hinge – $10.
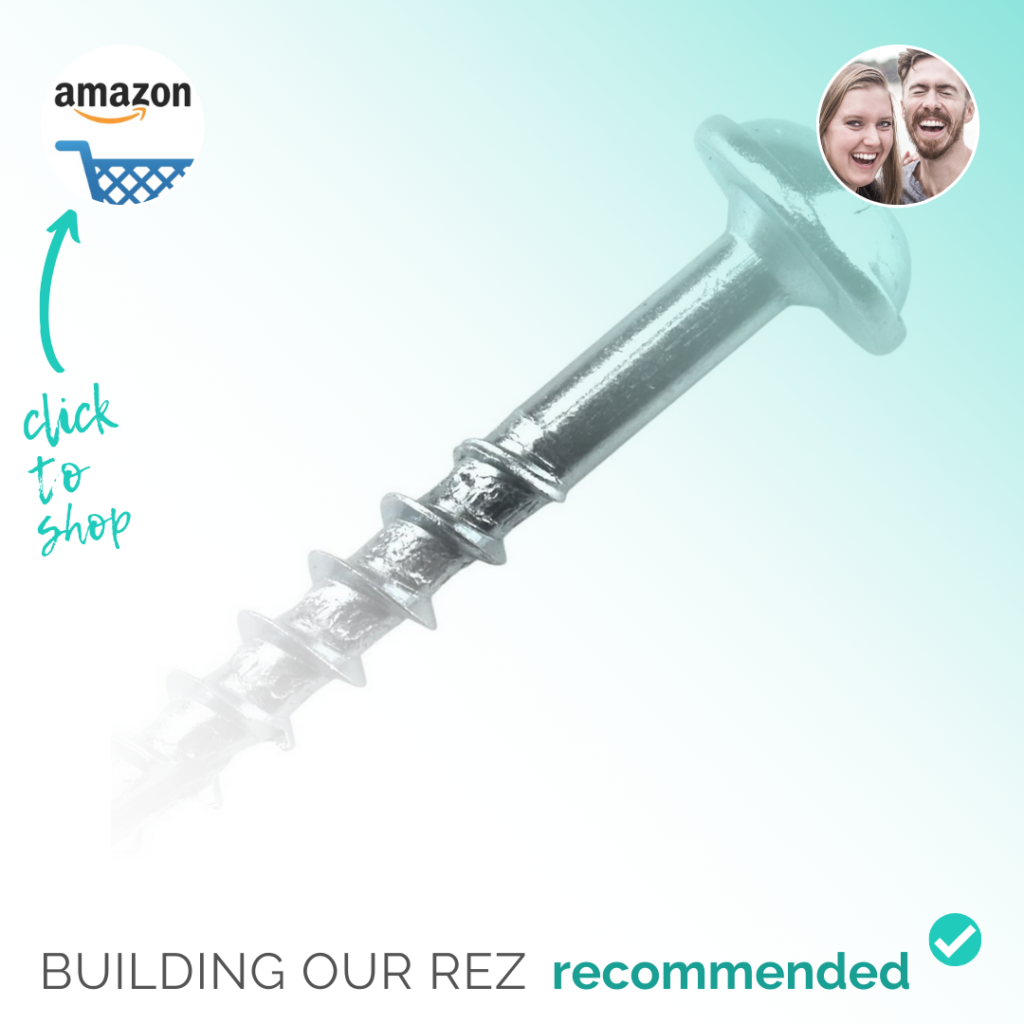
- 1-1/4” pocket hole (PH) screws ~$10 for a 250 pack.
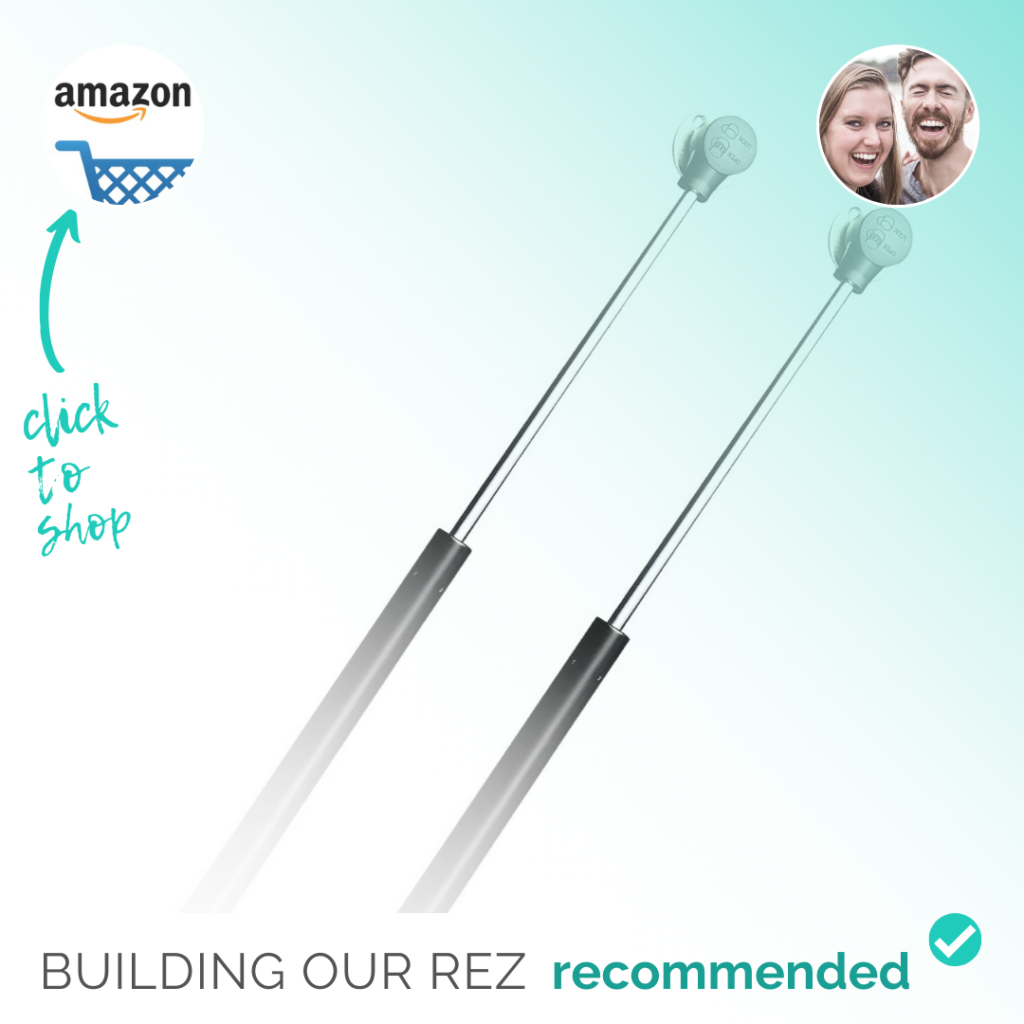
- Soft close hinges for chest – Amazon for $13.
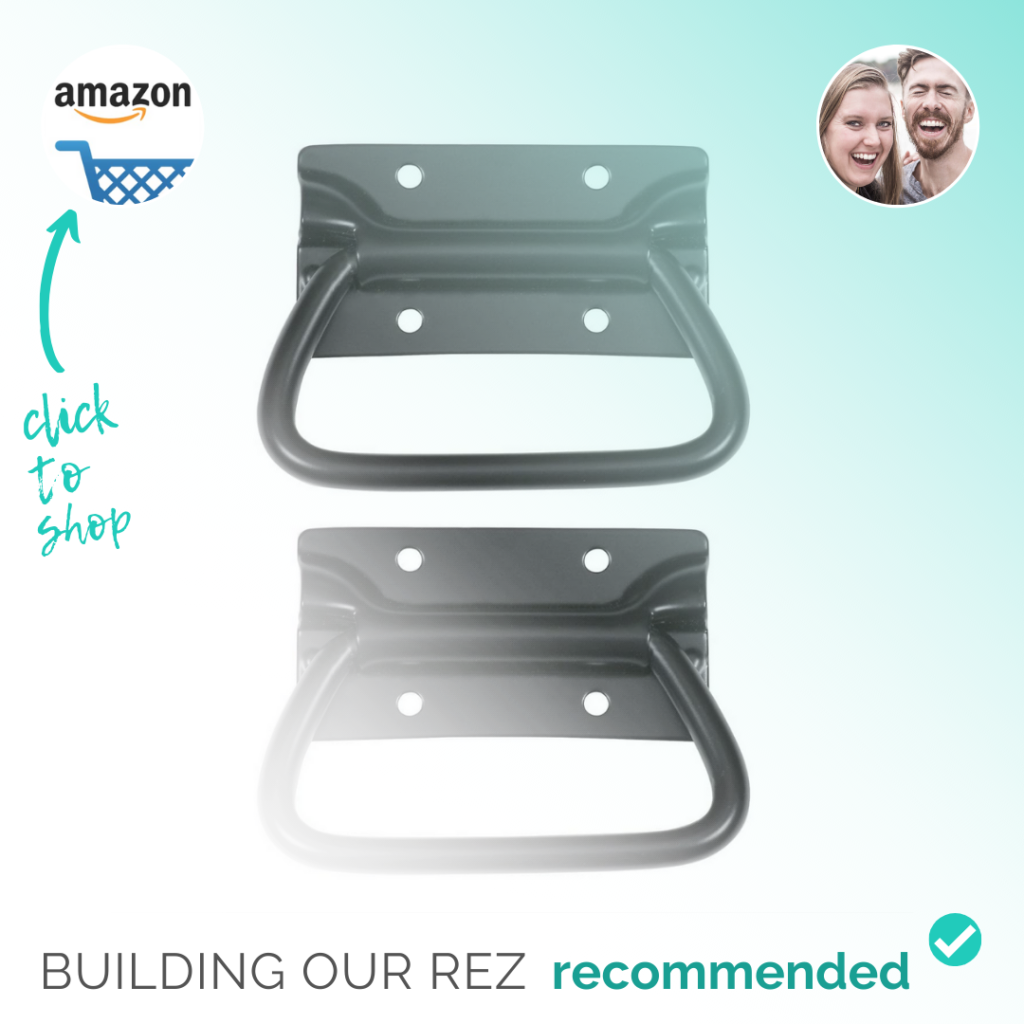
- Black chest handles 2X – Amazon for $6.
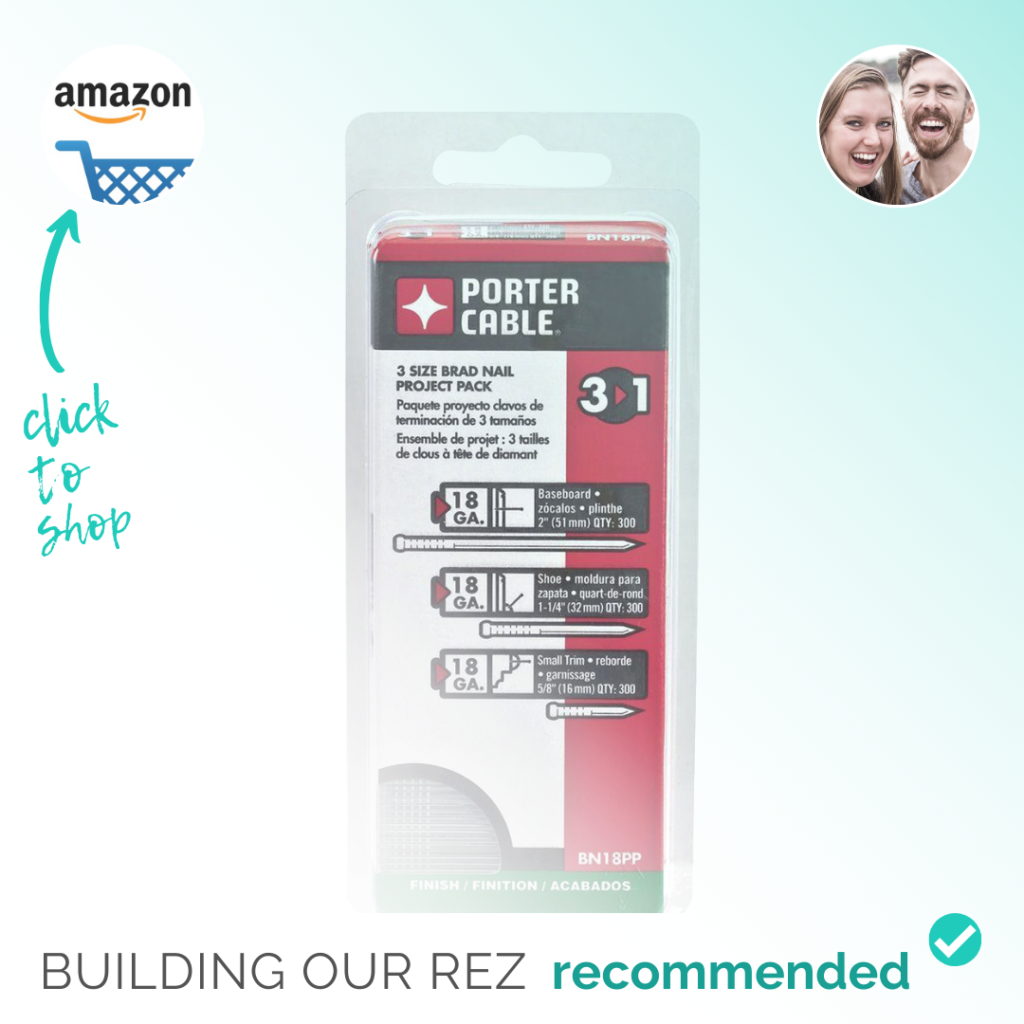
- 1-1/4″ brad nails at ~$3.13 for 900 (assorted pack).
- 2” brad nails included in the assorted pack above – for greater structural integrity.
Tools.
- Kreg Jig System – to drill pocket holes that hide screws.
- Cordless drill / driver with clutch.
- Miter saw.
- Air compressor & brad nail gun with nails (above). (Save cash buying them together).
- Measuring tape.
- Pencil.
- Hammer.

Budget.
- All materials cost = $209.14.
- All materials cost for DIY regulars = $196.01.
- For those who already have pocket hole screws + brad nails in the workshop or garage.

Step 1. Order hardware on Amazon.
- You may want handles for the sides of your storage chest. We bought these black ones on Amazon.
- Since this DIY chest is roughly 33% larger than store bought options and may weigh a little more (real wood), handles will make the chest much easier to move or reposition.
- Another item to consider is a pair of soft-close hinges. Avoid accidental slams late at night or early in the morning. If you have little ones like we do, you’ll definitely want to protect those itty bitty fingers with a locking mechanism, a spring loaded hinge, or soft-close hinges.
Step 2. Hit up your local hardware store.
- Home Depot, Lowe’s or your local lumberyard should have everything you need for this build. The only exception is the hardware and soft-close hinges.
- The widest board we choose is a 1×12 to eliminate the need for a table saw.
- 1x4s are used to trim out the entire piece. Vertical 1x4s are NOT mitered at a 45º angle since this would require a table saw. Butt the vertical 1x4s up to each other with a visible joint, or use table saw if you have one.
- Cove moulding is necessary, but provides visual interest to the space between the bottom wood piece of the chest and the 1×4 trim.
- The continuous hinge is also known as a piano hinge. It’s a super long hinge that prevents the need for multiple hinge installations.
- 1-1/4″ Brad nails are used to attach the 1×4 trim and cove moulding to the box. 2” brad nails can be used to connect the sides. Additional screws can be installed to connect the sides for super strong joints.
- The Kreg Jig System enables you to connect 1x12s to each other to build the sides and still hide the screws from view. Make sure all of your pocket holes are inward-facing.
Step 3. Cut list.
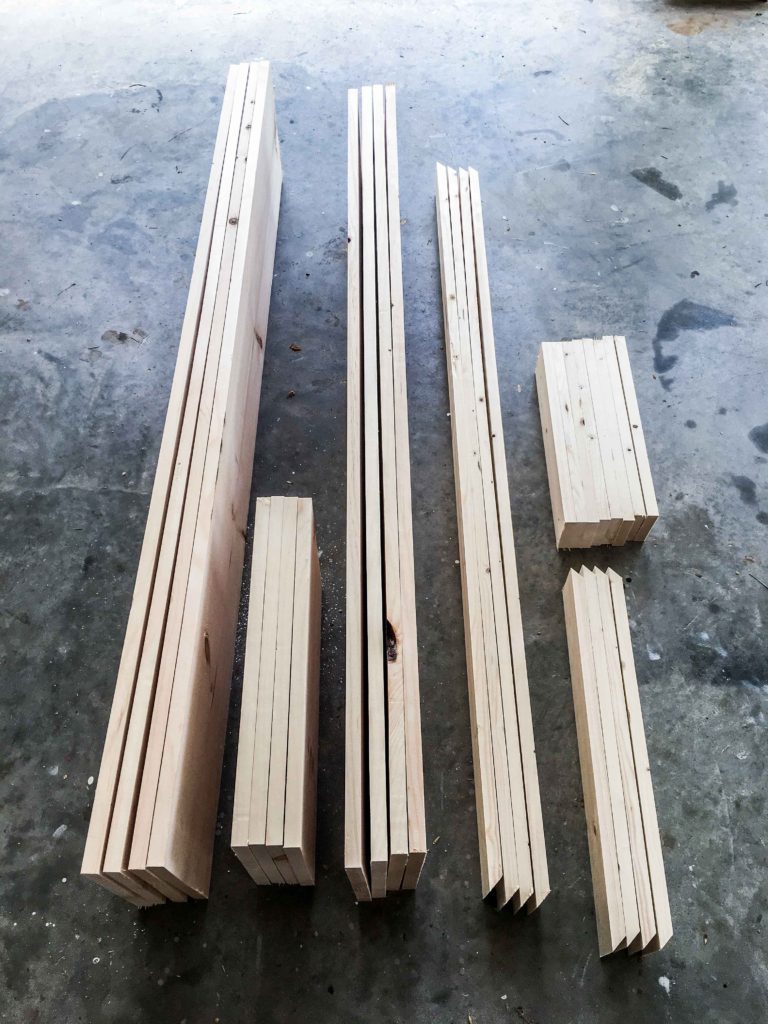
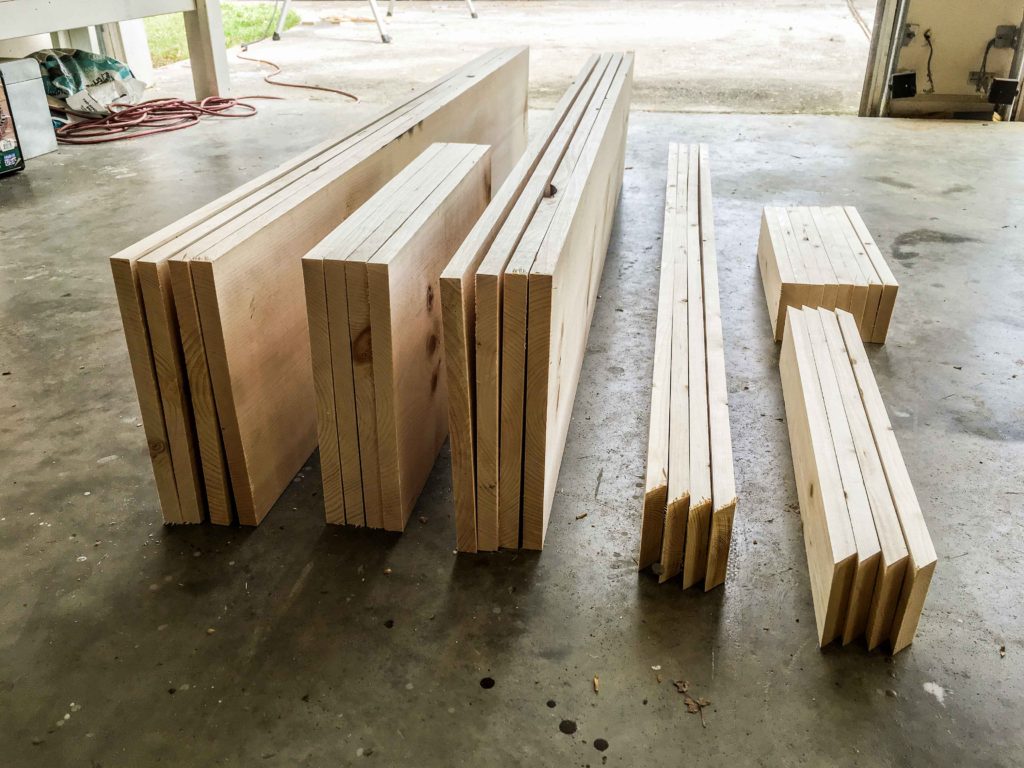
- (4) 1x12x60” – 2 for the top panel and 2 for the bottom panel
- (4) 1x12x18-1/2″ – side panels
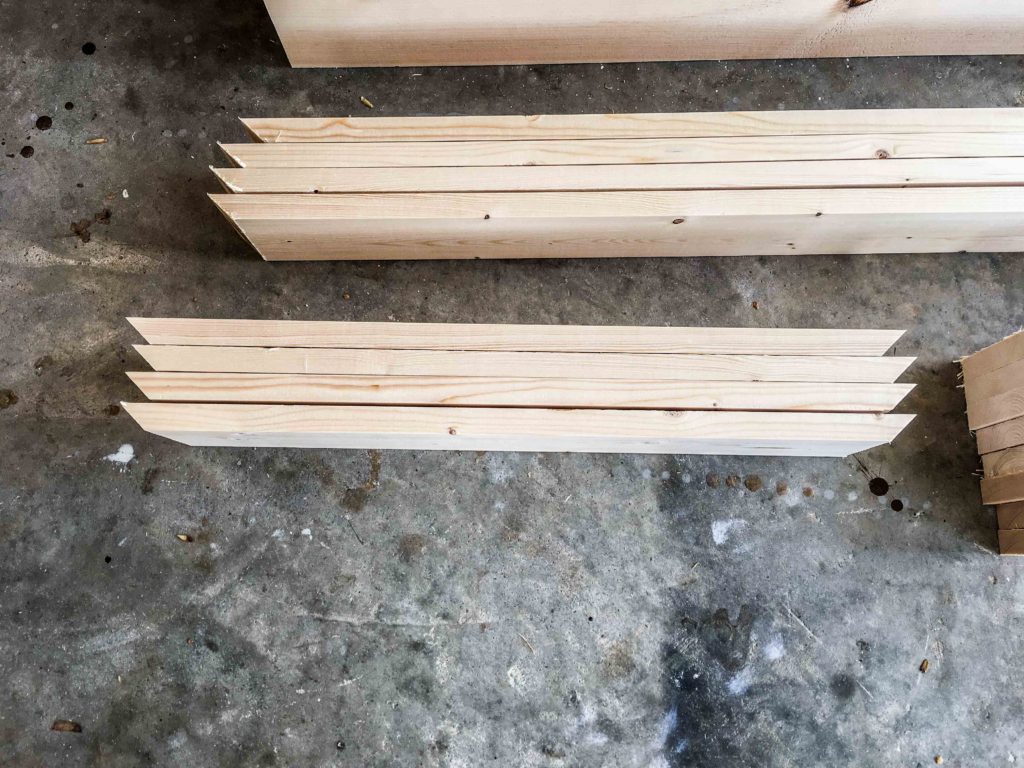
- (4) 1x4x58”, 45º non-parallel edges – horizontal trim for the front and back
- (4) 1x4x21-1/2″, non-parallel edges – horizontal trim for the sides
- (8) 1x4x15-1/2″ – vertical trim (cut to fit!)
- (4) 1x12x56-1/2″ – front and back panels
- 3 Pieces cove moulding on the footer – cut to fit!
- You only need these on 3 sides: front, left side and right side. The front piece should be mitered with non-parallel 45º angles. Each side piece should have a square (90º) cut facing the back and a 45º cut where they meet the front piece.
Step 4. Kreg Jig the short sides.
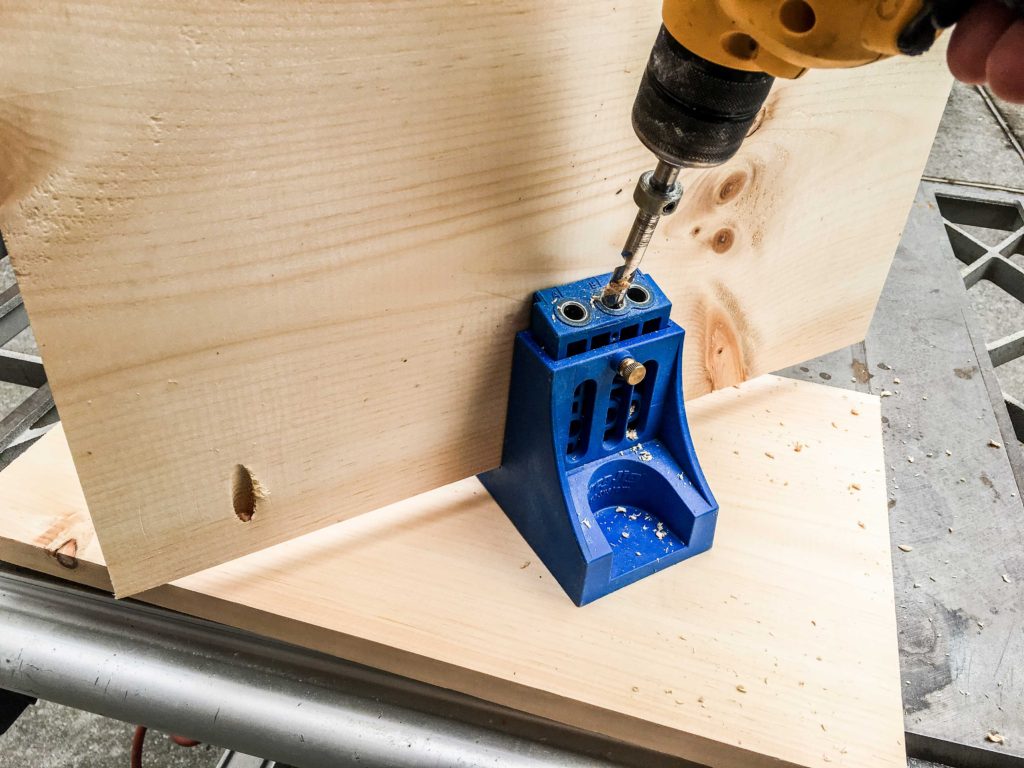
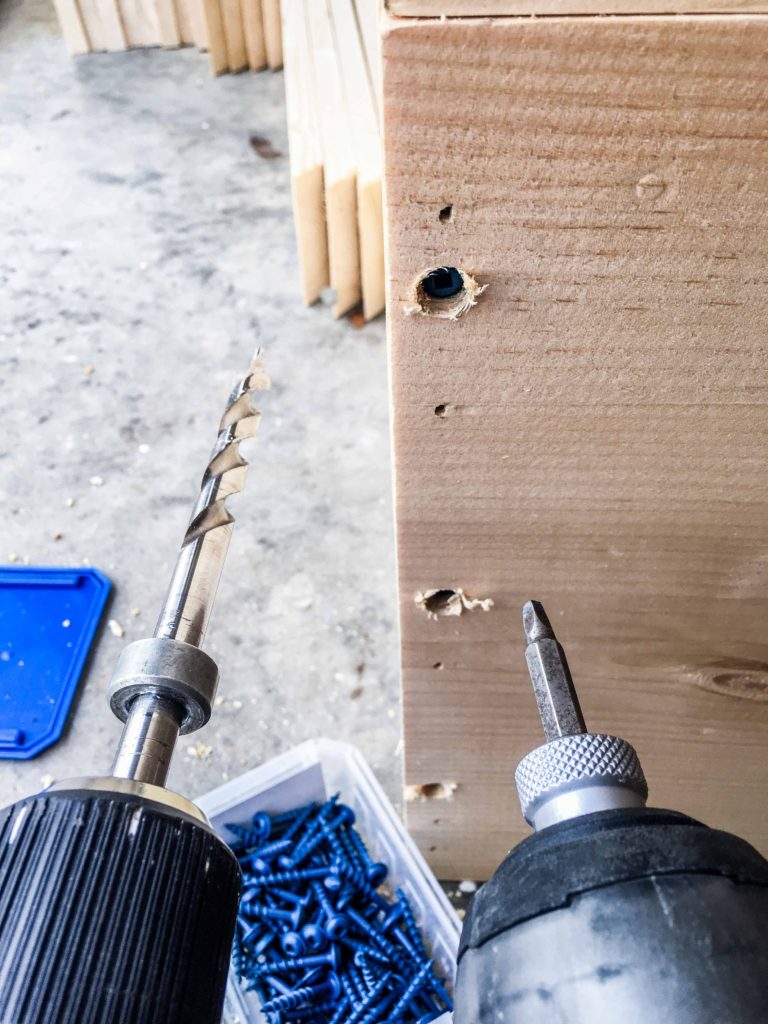
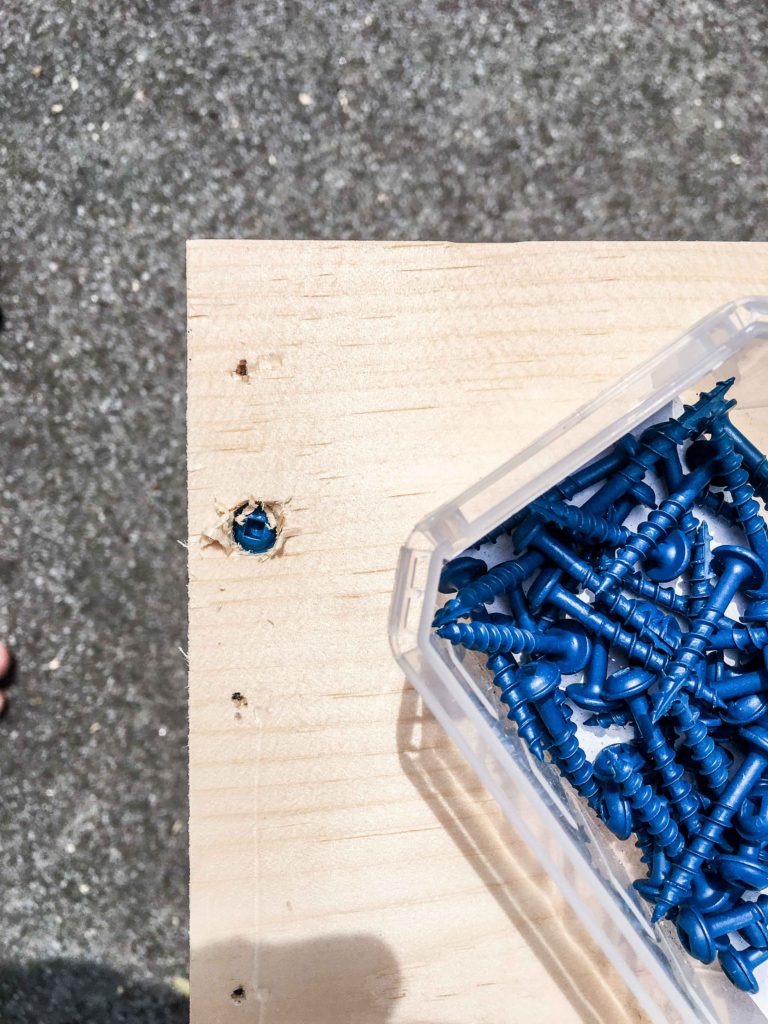
- Predrill pocket holes (PH) with your Kreg Jig on half of ALL 1×12 boards. Not just the short sides. Each panel will have a board with pocket holes and a board WITHOUT pocket holes. You don’t need PH in every 1×12.
- Start and finish pocket holes at least 2” from each board end. If you’re too close to the edge then joints may fracture or be too weak to provide structural integrity. Position pocket holes every 6-8 inches for a super strong joint.
- Place 1-1/4″ pocket holes screws in all 1×12 board pocket holes. Drill in each screw just enough to not fall out of the hole without allowing the tip to puncture the other end. This saves you time while gluing.
- Ready 2 of the 1x12x18-1/2″ boards, one with PH and one without.
- Place a bead of glue along the edge of one of the boards. Press the boards together on a flat surface and install the PH screws with your drill-driver + 6” long #2 square bit (part of the Kreg Jig System). Adjust the clutch somewhere between 8-14 and tweak as necessary. If the joints aren’t super tight, up the clutch setting until the screw seats deep enough to tighten the joints.
- Repeat for the other side panel.
Step 5. Kreg Jig the long sides, top and bottom.
FRONT PANEL
- Place a bead of glue along the edge of the 1x12x56-1/2″ board to build the front panel.
- Press 2 boards together on a flat surface and screw them together with your drill-driver with clutch between 8-14, using your 6” long #2 square bit.
BACK PANEL
- Place a bead of glue along the edge of another 1x12x56-1/2″ board to build the back panel.
- Press 2 boards together on a flat surface and screw them together with your drill-driver.
TOP PANEL
- Place a bead of glue along the edge of a 1x12x60” board to construct the top panel (lid).
- Press 2 boards together on a flat surface and install the 1-1/4″ PH screws you previously placed using your drill-driver with clutch adjusted accordingly.
BOTTOM PANEL
- The top and bottom panels are identical. Repeat the “top panel” instructions above for the bottom panel using the remaining (2) 1x12x60” boards.
Step 6. Create the box.
- Begin constructing the four sided box portion of the chest.
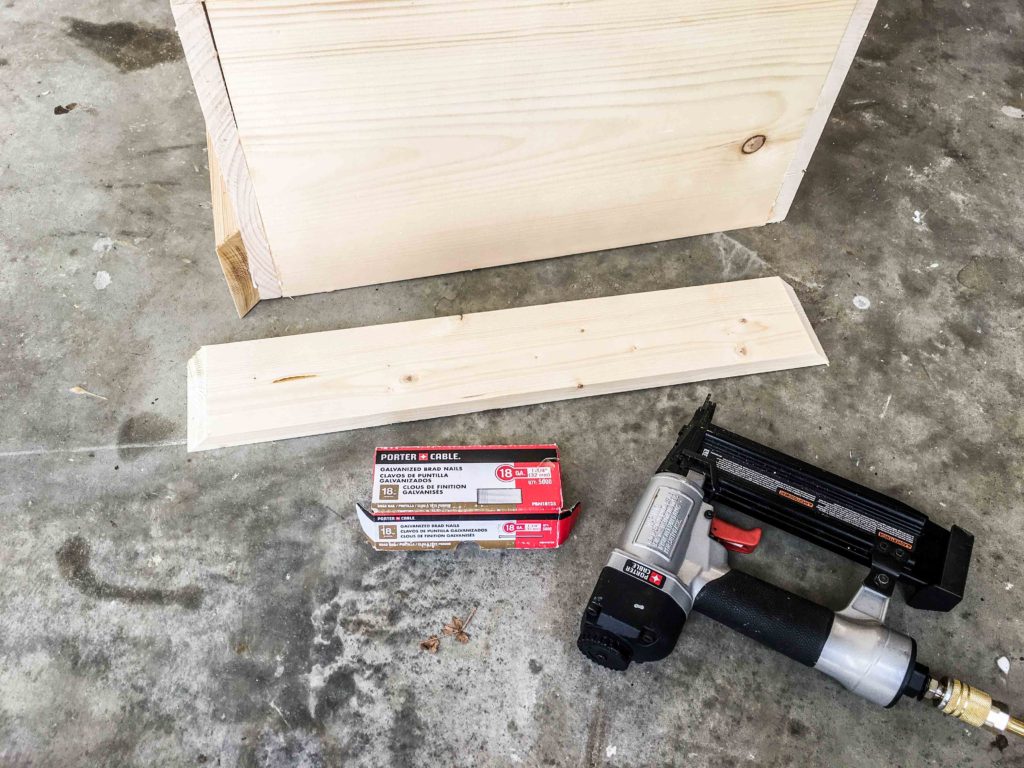
- Fire up your air compressor, nail gun.
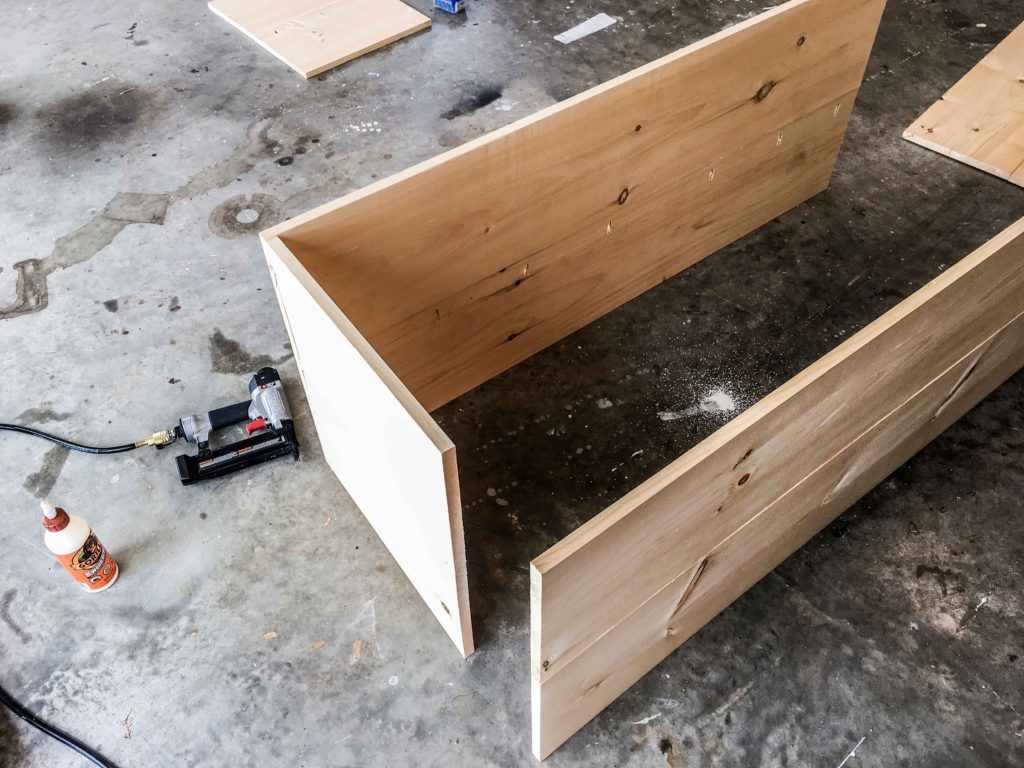
- Place a bead of glue along the edge of a side panel. Lay the front panel over the side panel edge at a 90º angle and connect them with 2” brad nails. This will yield an “L” shaped piece.
- Repeat the steps shown above with the remaining side panel and back panel (same as the front panel dimensions). This yields another “L” shaped piece.
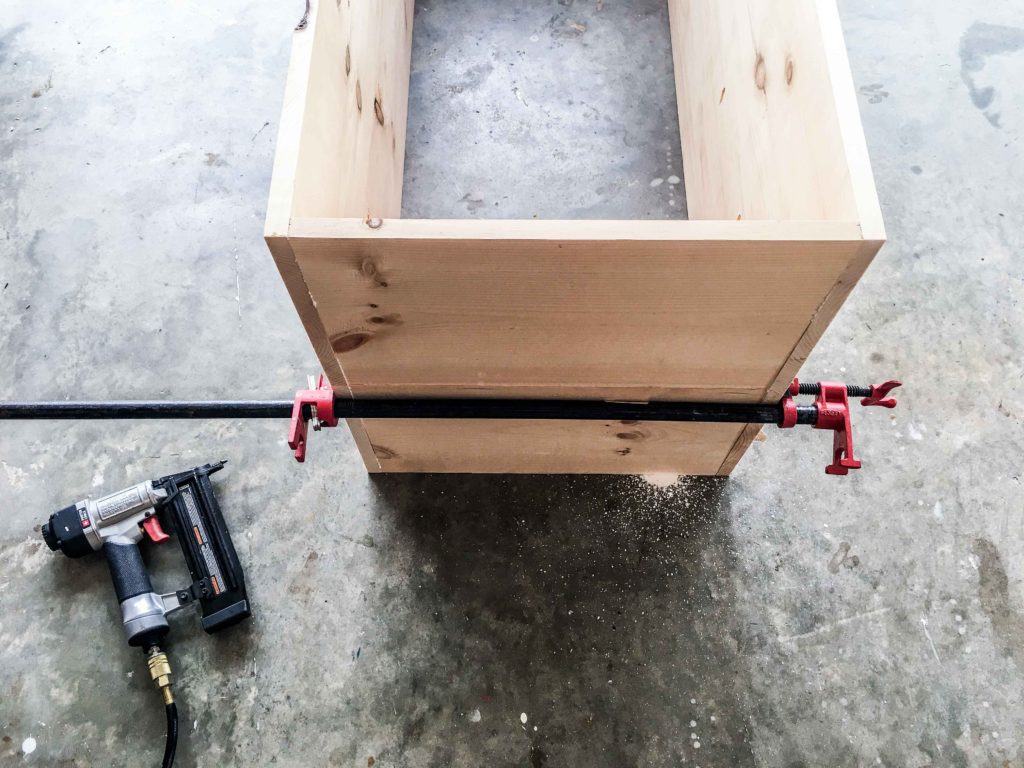
- Take the 2 “L” shaped pieces and connect them with a bead of glue and 2” brad nails.
- Consider creating stronger, tighter joints with screws. Be sure to predrill pilot holes to avoid splitting the wood.
Step 7. Trim the front, sides & back.
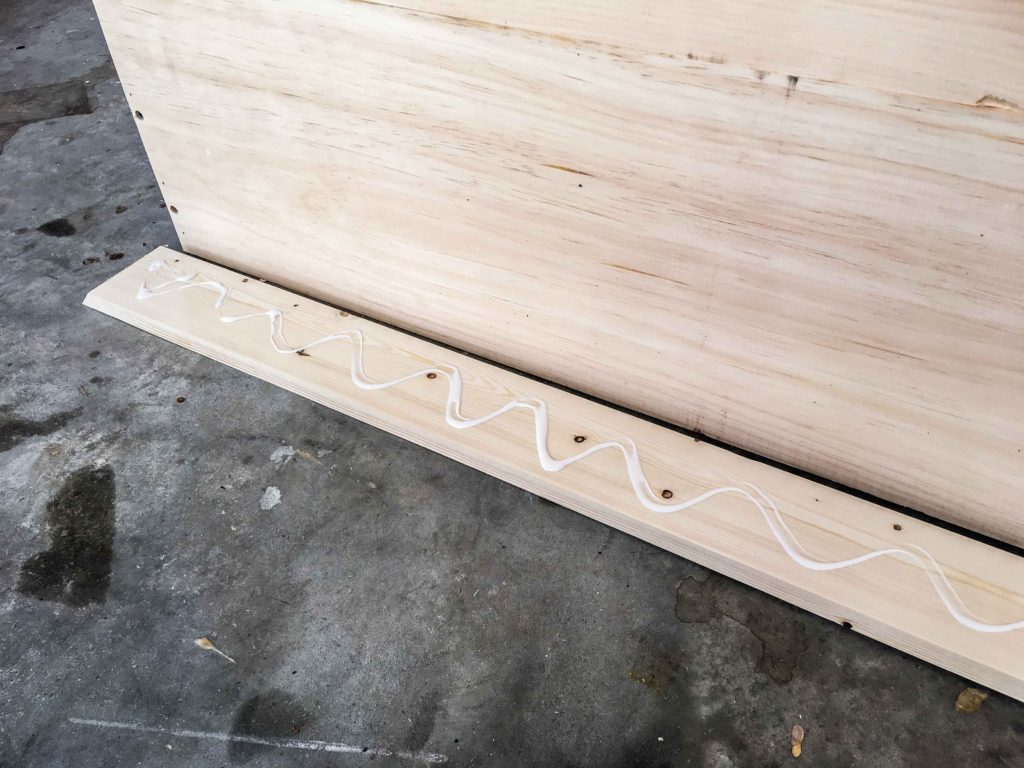
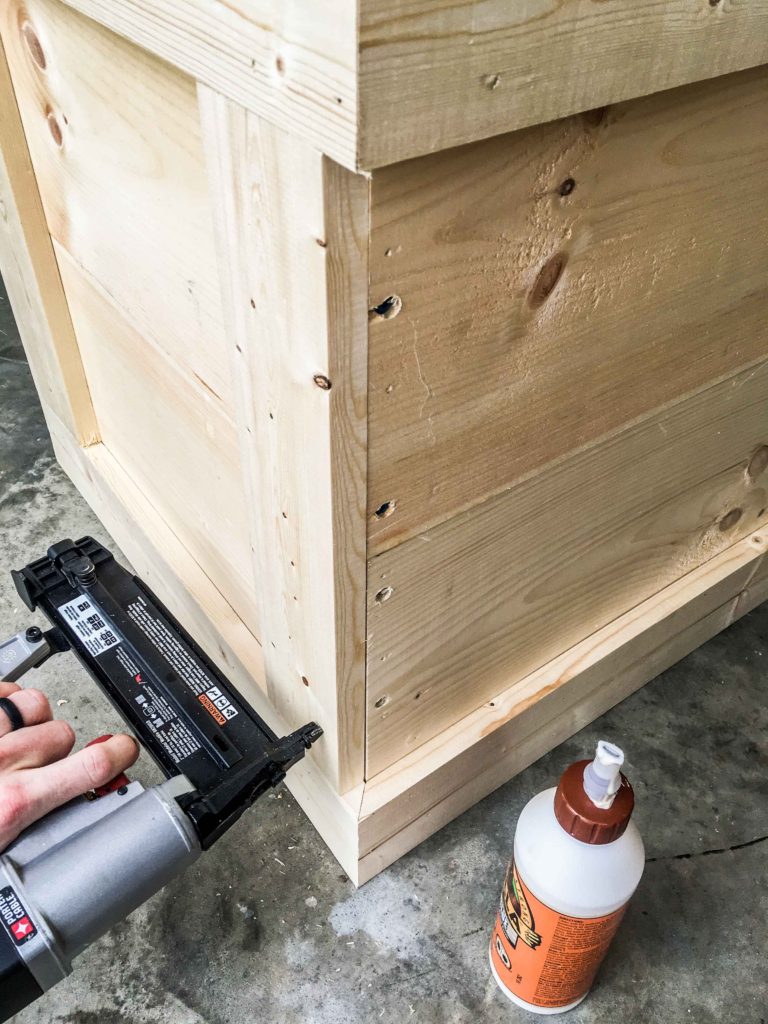
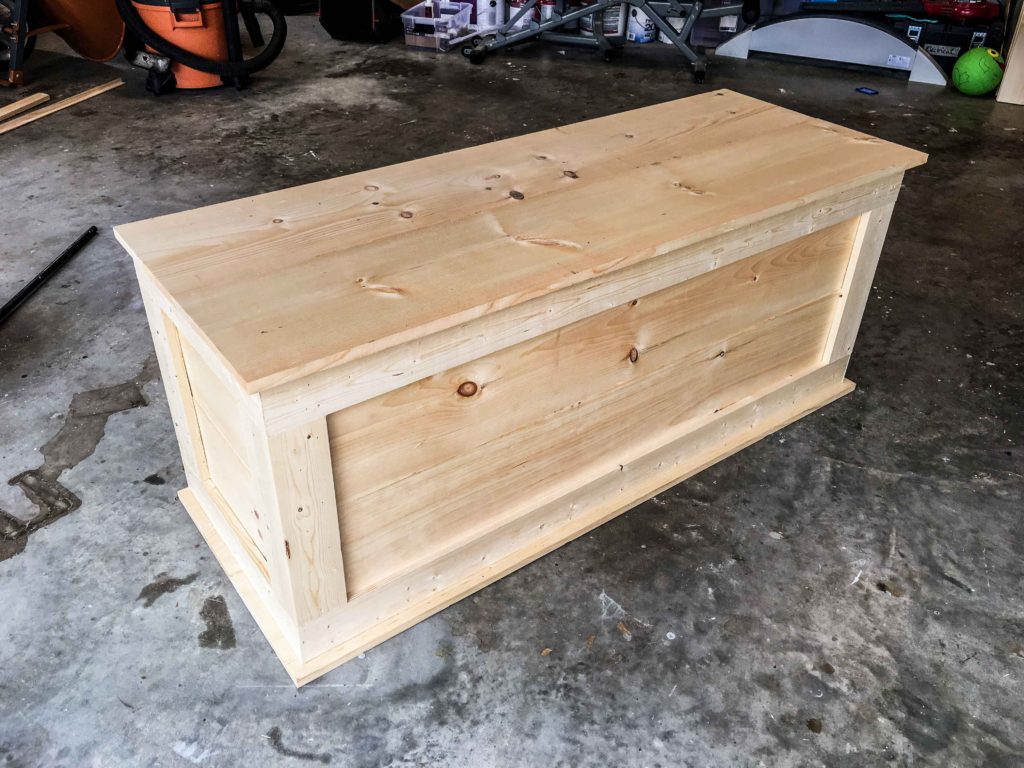
- Install the (4) 1x4x58” front and back trim pieces with wood glue and 1-1/4″ brad nails.
- Install the (4) 1x4x21-1/2″ side trim pieces with glue and 1-1/4″ brad nails.
- Install the (8) 1x4x15-1/2″ vertical trim pieces at every corner, perpendicular to the horizontal 1×4 trim pieces. Unless you ripped the edges at a 45º angle, each vertical trim piece will overlap the adjacent one. Dry fit to determine your favorite aesthetic. Use glue and 1-1/4″ brad nails.

Step 8. Attach the box bottom.
- Determine which way is up and position your four-sided box upside down.
- Place the bottom panel on top of your box. The bottom panel should overlap about 1” on the front and sides, but be flush with the trim on the back.
- Measure to center the bottom panel and mark with a pencil for quick placement after gluing.
- Remove the bottom panel and place a bead of glue along the top edge of the box.
- Carefully place the bottom panel on the box, flush the back edge, center the panel on the box and screw the bottom panel into the box. Insert a screw at every corner, and about every foot.
Step 9. Install cove moulding.
- Turn the box with bottom panel installed right side up.
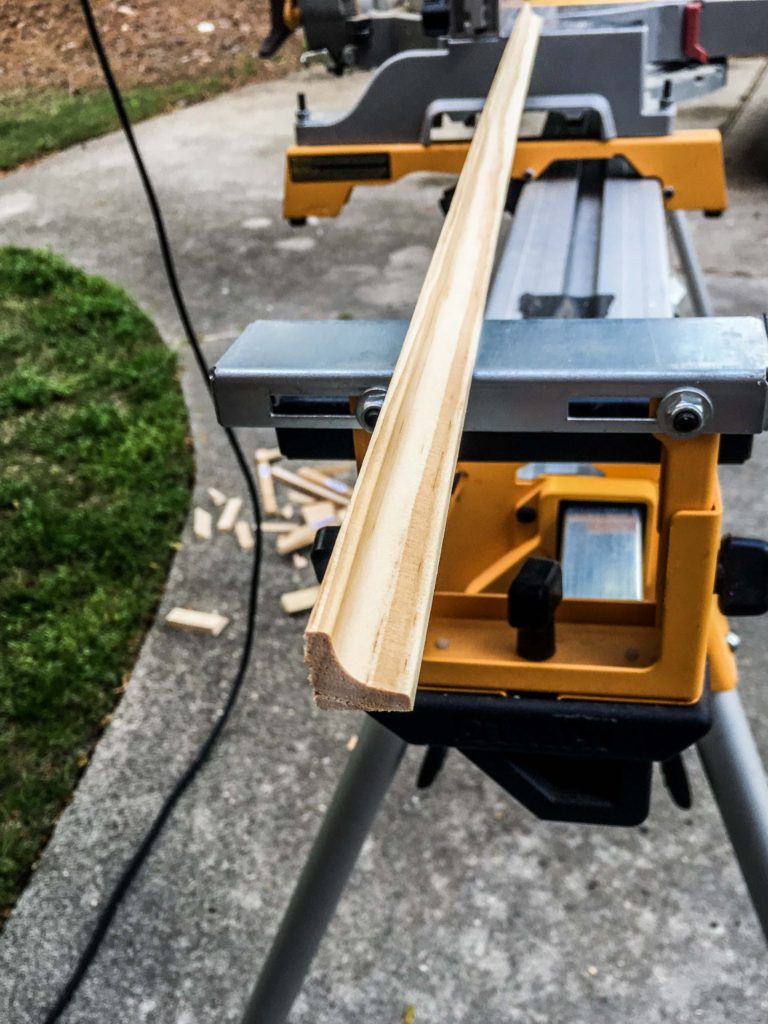
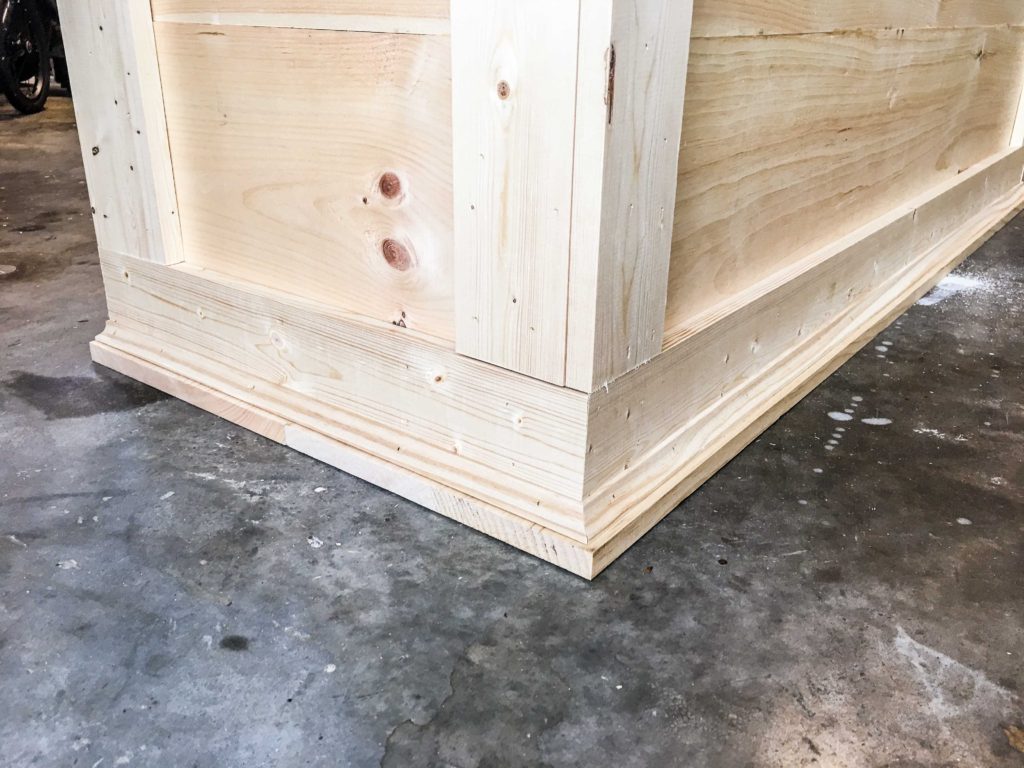
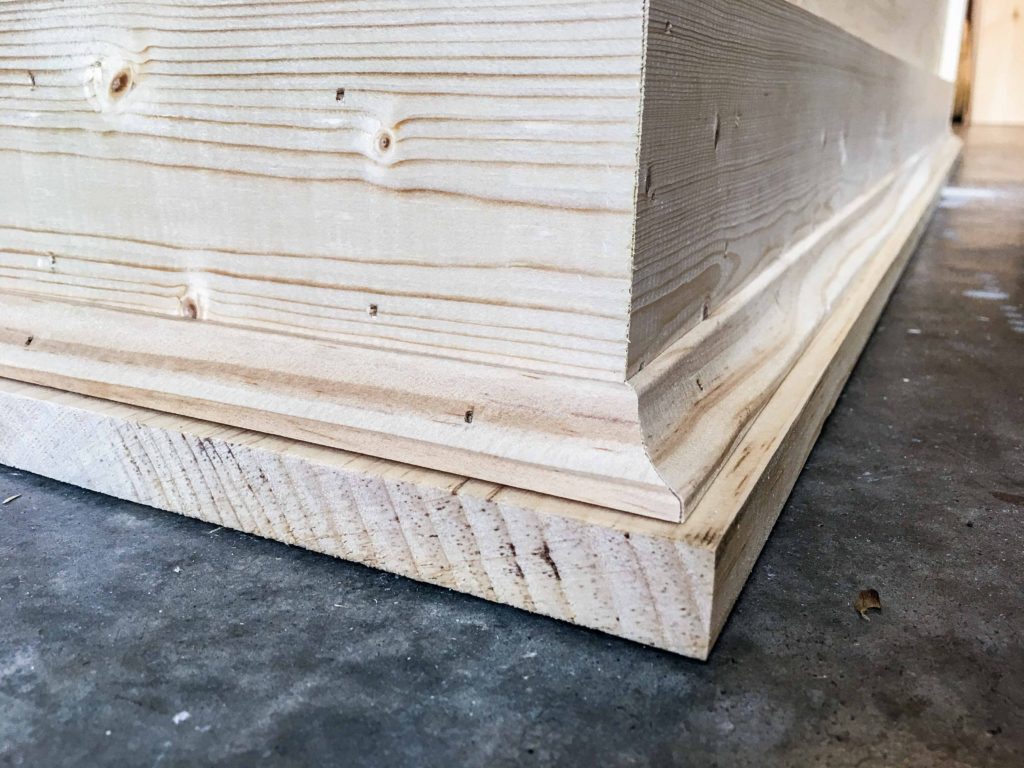
- Measure and cut the cove moulding to fit in the area where the 1×4 horizontal trim meets the bottom panel. The front cove moulding piece should have 45º ends, non-parallel.
- Each side cove moulding piece should be flush with the back of the chest using a 90º cut (square cut). The end of each side cove moulding piece that touches the front cove moulding should match the 45º angled cut.
- Install all (3) piece of cove moulding with 1-1/4″ brad nails.
Step 10. Connect top with continuous hinge.
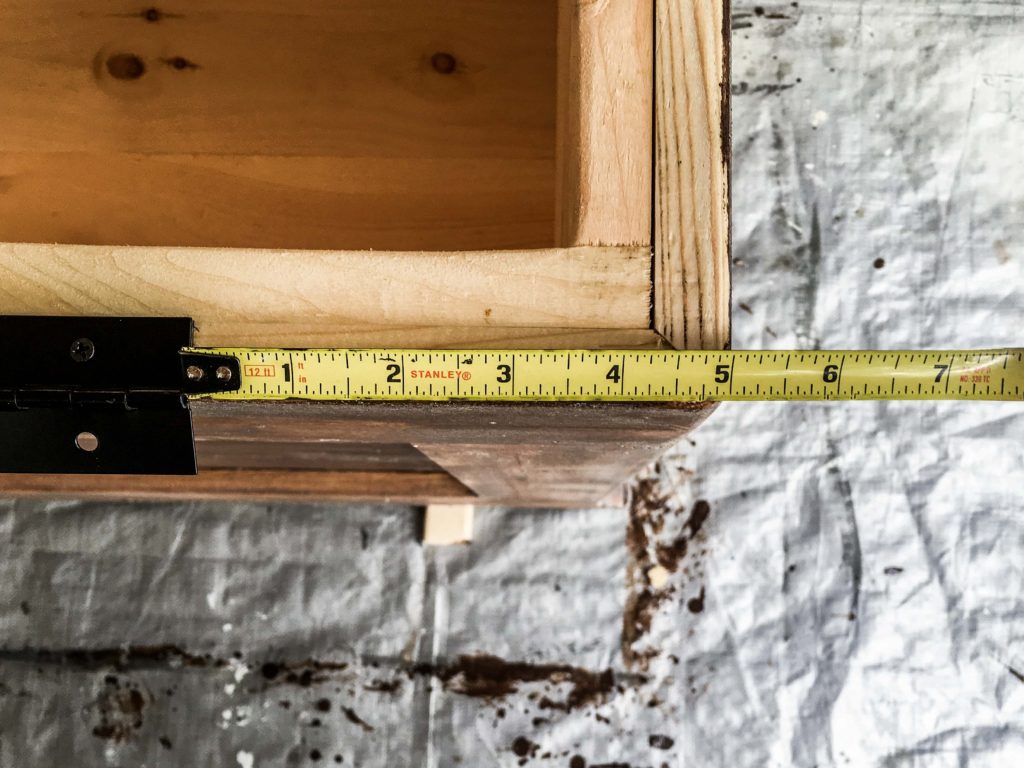
- Center the continuous hinge on the upper horizontal 1×4 trim piece on the back of the chest.
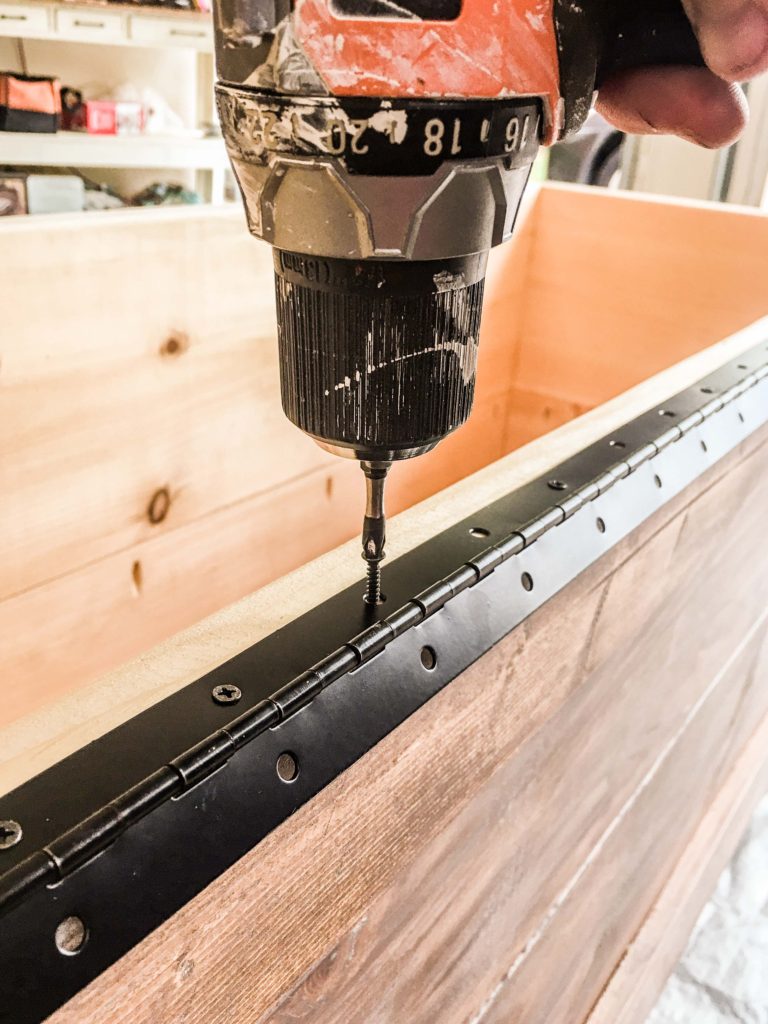
- Install the hinge with the included screws. It’s likely that a #2 phillips drill bit will suffice. Use your drill-driver and set your torque ring (clutch) to a low setting to prevent tearing out the wood and “spinning” the screws.
- After installing every screw on one side of the hinge, place the entire chest on its side with the unused part of the hinge facing up.
- Measure to center the top panel on the hinge.
- While holding the top panel vertical on the chest, install a few of the tiny screws.
- Once the top panel is secure enough, place the entire chest upright again and lean the top panel again a wall. Finish installing all of the hinge screws.

Step 11. Install soft close hinges + handles.
- Follow any manufacturing instructions for the soft close hinges.
- Install soft close hinges with the included screws.
- Measure to center the handles on the upper part of the sides and install each handle with the included screws.
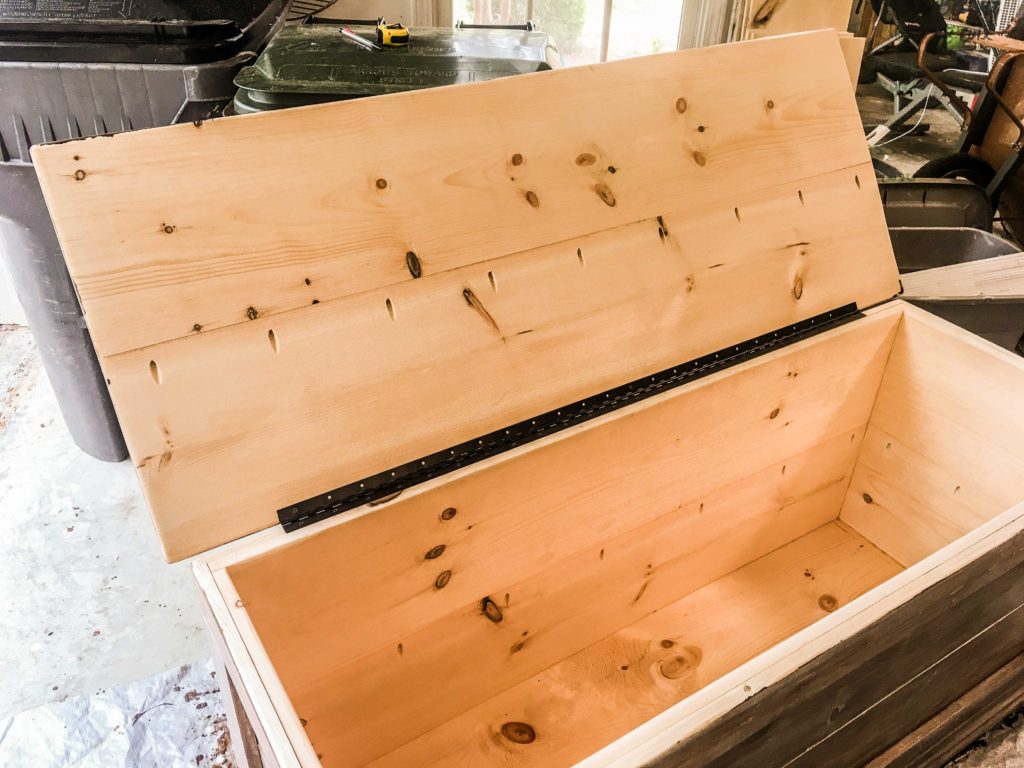
So much storage.
You just gained a ton of storage for your clothes, towels, sheets, blankets and comforter. Don’t forget to finish the storage chest with a little paint, stain, whitewash, distressing or all of the above.
Custom builds are fun, right?? You learn a few new skills, get the satisfaction of creating something beautiful from scratch and the functionality of your home increased by a reasonable percentage. If you’re looking for more form + function, try a few of our creative wood-craft ideas below. You’re well on your way to the ultimate homemade household, friend.


I love the chest and had a blast making mine. Thanks for sharing your plans!!
Thank you so much, Sherri! Glad you enjoyed making it. It has beyond replaced our linen closet storage, so we’re stoked as well.
Awesome design. I was wondering if you could share the inside storage dimensions? I have a project this wold be great for but may need to tweak the cuts based on the storage capacity. Thanks!
Hi, Mike! Excellent question. The internal dimensions should be 58.5″ (l) x 18.5″ (w) x 22.5″ (d). These equals about 14.1 cubic feet.
Really cool design. I just built this yesterday for Mothers’ Day! Thanks for the instructions and pictures; very helpful!
So glad you liked it, Steven! I’m sure mama will absolutely love it.
I love this diy!! Super cute for my room in the new house. Do you mind saying the stain or paint you guys used on this (the brand & color)? I love the shade of it!!
Hi, Rebecca! Super appreciate that. Pretty confident we stained it first with Varathane Early American Wood Stain. Apply a heavy coat, wait 5 minutes, then remove it with a fresh rag or blue shop towel (low lint). Let it dry for over an hour – depends on instructions on the can and the temp/humidity.
Then buy/open a can of Minwax Paste Finishing Wax (Natural), scoop out ~2 tbsp in a plastic container, and mix with a drizzle of your favorite paint. We used Benjamin Moore Simply White, but any white will do. If thoroughly stirred together, apply it rigorously with a rag. Wax is amazing because it dries in like 15 min. If it’s too white and you want more gray tones, get some fresh wax and mix it with Benjamin Moore Stonington Gray. Stonington is a bit cooler, neutralizing the slight warmth of the Early American stain.
Alternatively, see if you like our stained and whitewashed farmhouse table finish. Or our stained, dry brushed and waxed coffee table.
Hope this helps! We tend to experiment with most of our finishes until they look perfect.
~Austin~