You LOVE your table. It may not be perfect, but it symbolizes most of the things you deeply care about. Family. Friends. Feasting. Real talk. Making meaningful new connections. Winning at games. Hospitality at its most authentic. Not just a house, a home.
But does it feel a little… plain jane? Lackluster? Same old, same old?
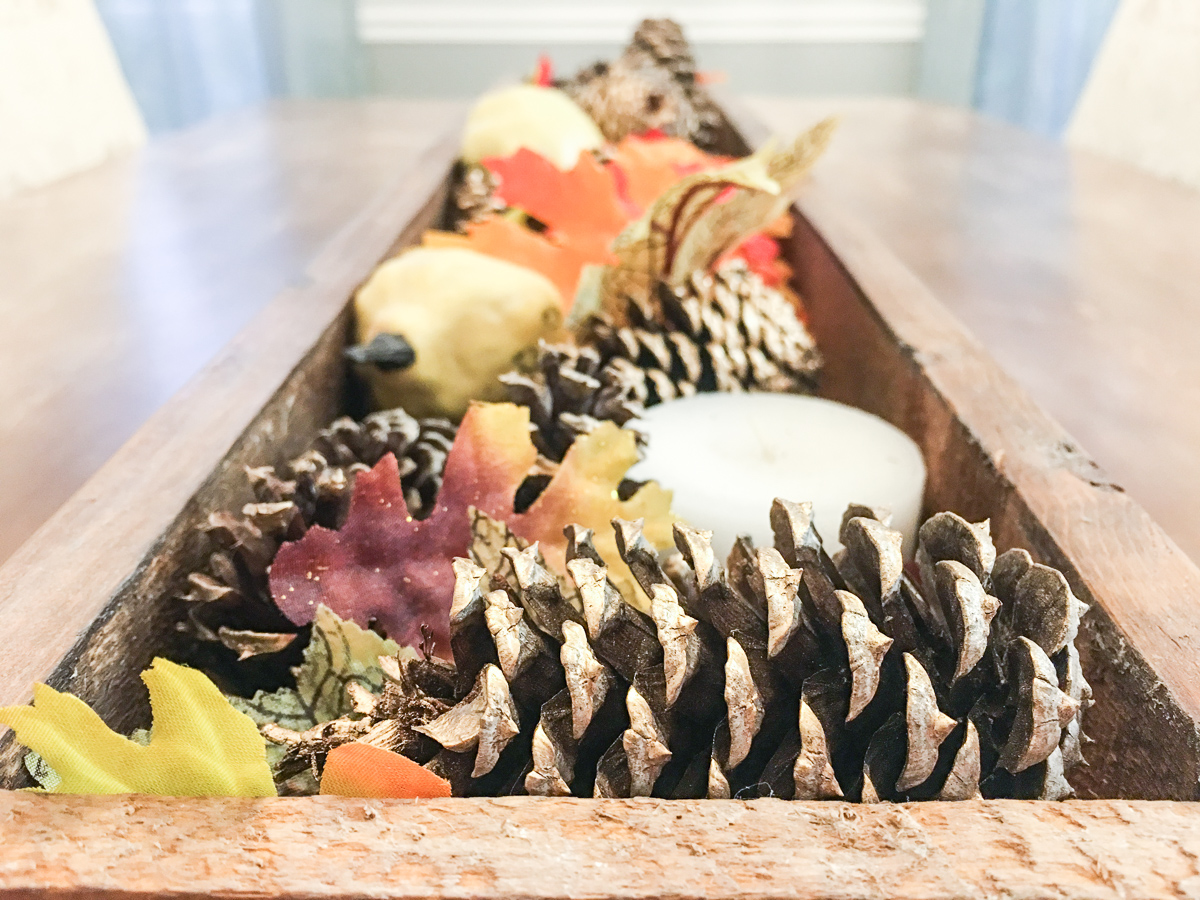
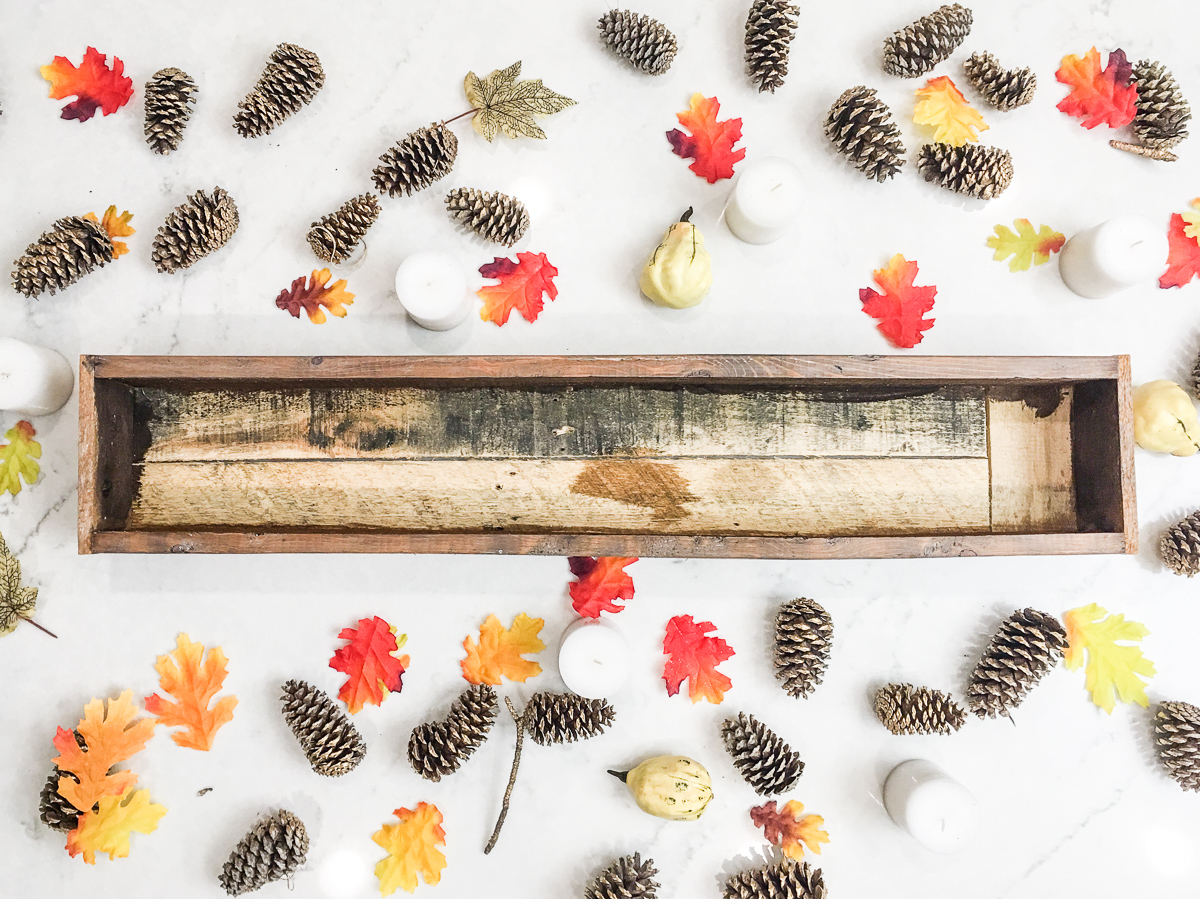
Let’s up your tabletop design game with a centerpiece. This long, handcrafted wooden box can change with the seasons to have a totally different look from spring to fall to winter. We’re talkin’ rustic chic. Reclaimed & certainly repurposed. The proverbial silver platter that never leaves the table – so fancy. The holder of all things pretty, arranged to capture the eyes of every familial passerby-er.
We’re kind of obsessed with pallets.
Why the heck are pallets all the rage right now?? I’ll tell you why.
- They’re FREE.
- Reused & recycled.
- Each slat and support stringer has an iconic weathered gray, antiqued, rain-wrecked & sunkissed patina.
- Oh the countless untold stories each world traveling shipping pallet could share with you.
- The wood type variability: some are all pine, some all oak and others offer a mixture of hardwoods and softwoods.
What better use than create a centerpiece out of all this unique wood? Here’s what you need:
How to make a reclaimed centerpiece for your table.
Materials.
- One wood shipping pallet per centerpiece.
- 1 ¼” brad nails at $4.02 for 1,000 – for 3/8″ to 1/2″ thick pallet slats. Buy 2” brad nails if your pallets have thicker wood. Or 1 ½” finish nails if no compressor or nail gun.
- (Optional) wood & nail cutting reciprocating saw blades. Single blade for ~$3.
- (Optional) wood glue. We love Gorilla brand.
Tools.
- Reciprocating saw (or) crowbar – to break down pallets.
- Miter saw (or) hand saw with miter box.
- Hammer – the 20 oz. head makes a mean demolition tool.
- Compressor & brad nail gun with nails (in materials list above).
- Nail punch – to remove nails from pallets.
- Measuring tape. (Mini-version for ease of use on smaller projects like this. Use a 26+ ft measuring tape for rooms, framing, joists, etc).
- Pencil.
- Ear plugs.
- Safety glasses.
Budget.
- The manual labor pallet party. FREE pallet + $20 crowbar + $3.72 finish nails (hundreds) + $8 hand saw & miter box = $31.72.
- The power tool pallet party. FREE pallet + $4.02 brad nails + $3 recip blade = $7.02.
Step 1. Inventory your garage or shop.
- Determine your plan of attack. Will you attempt the “manual labor” tactic, utilizing brute force and raw strength? Or the “power tool” tactic, leveraging electricity, 2 saws and an air compressor?
- Have a few items from the “manual labor” AND “power tool” pallet parties? Not to worry. As long as you have a way to remove the slats from the shipping pallets, cut them and nail them together – you’re in excellent shape, friend.
Step 2. Hit up Home Depot or Lowe’s.
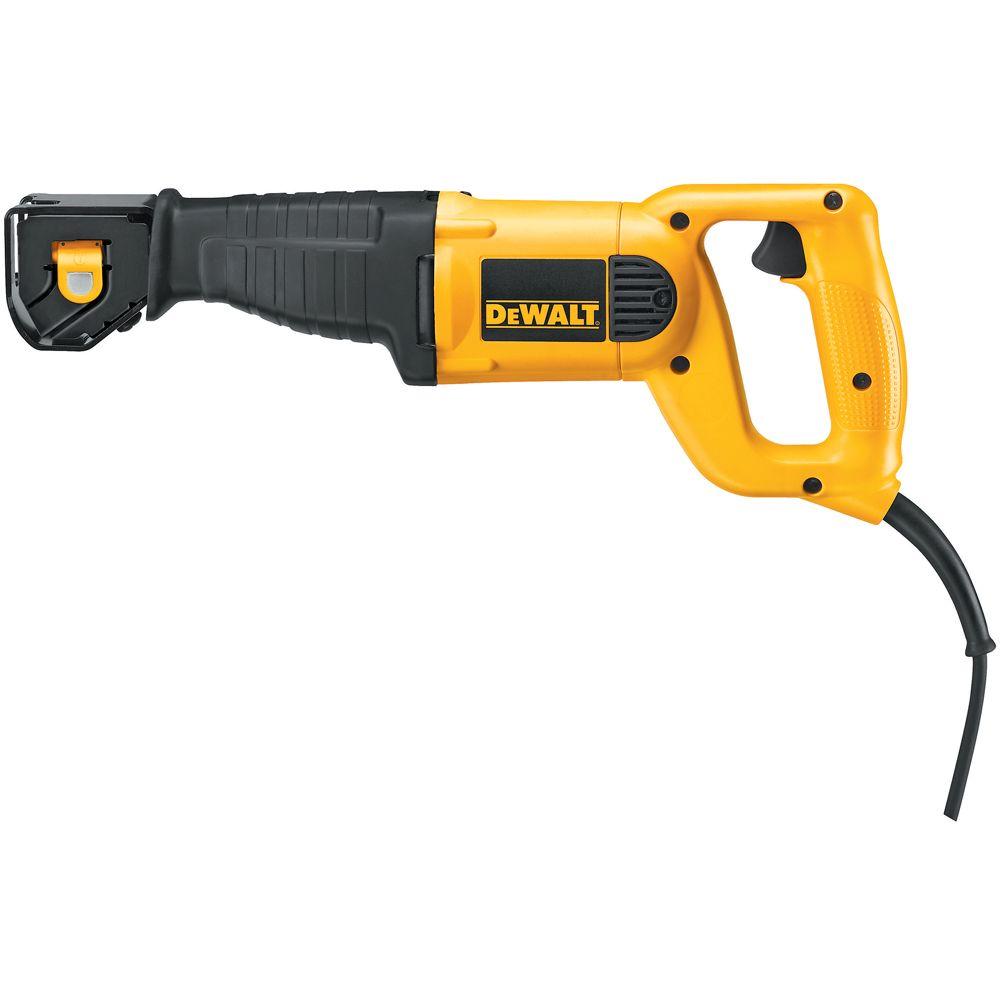
- Recip saw. One of the DemoDay favorites. Best used to break down anything made out of wood, to cut metal and harvest wood slats from pallets. Yardwork, renovation, any scale DIY projects, plumbing, stud removal and the list goes on forever.
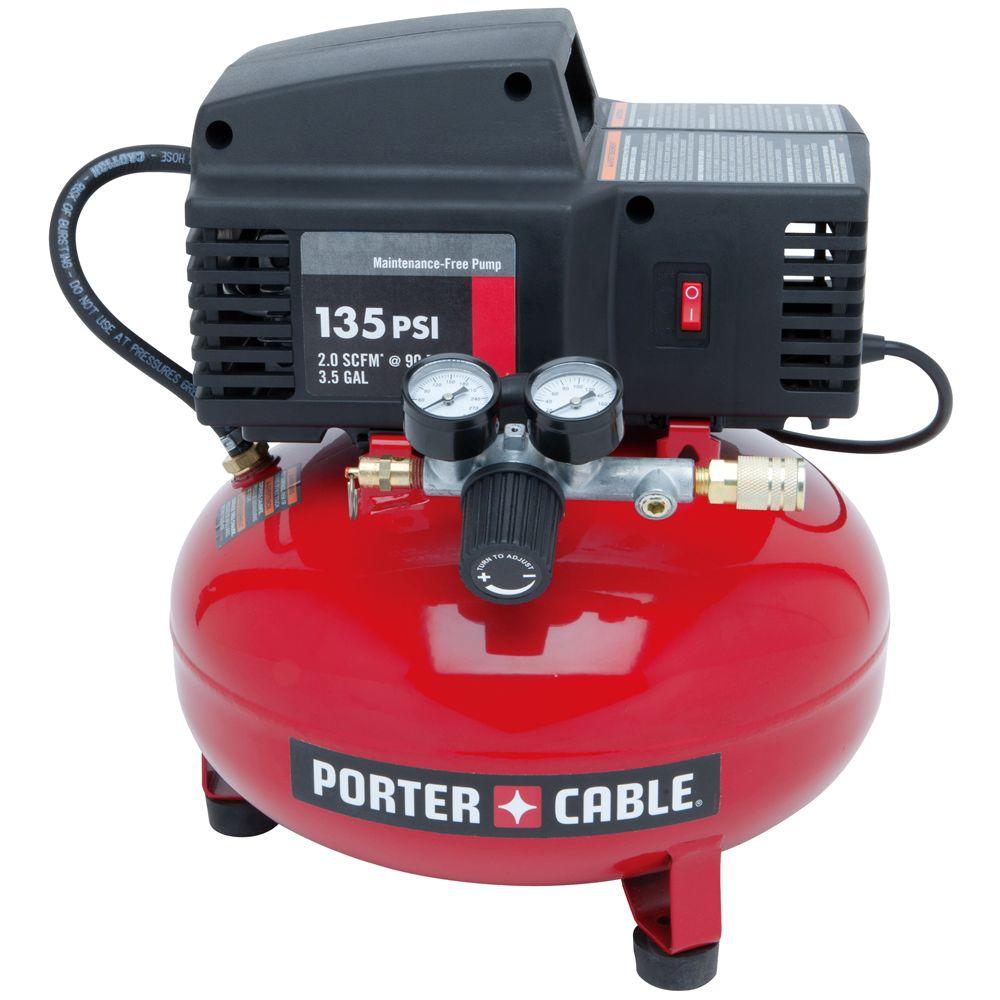
- Compressor. The multiuse, portable air compressor for light residential use. Pneumatic nail guns, spray painting, equipment or tool cleaning, staple guns and filling up tires. Install moulding, frame your new wall or paint all of your kitchen cabinet doors.
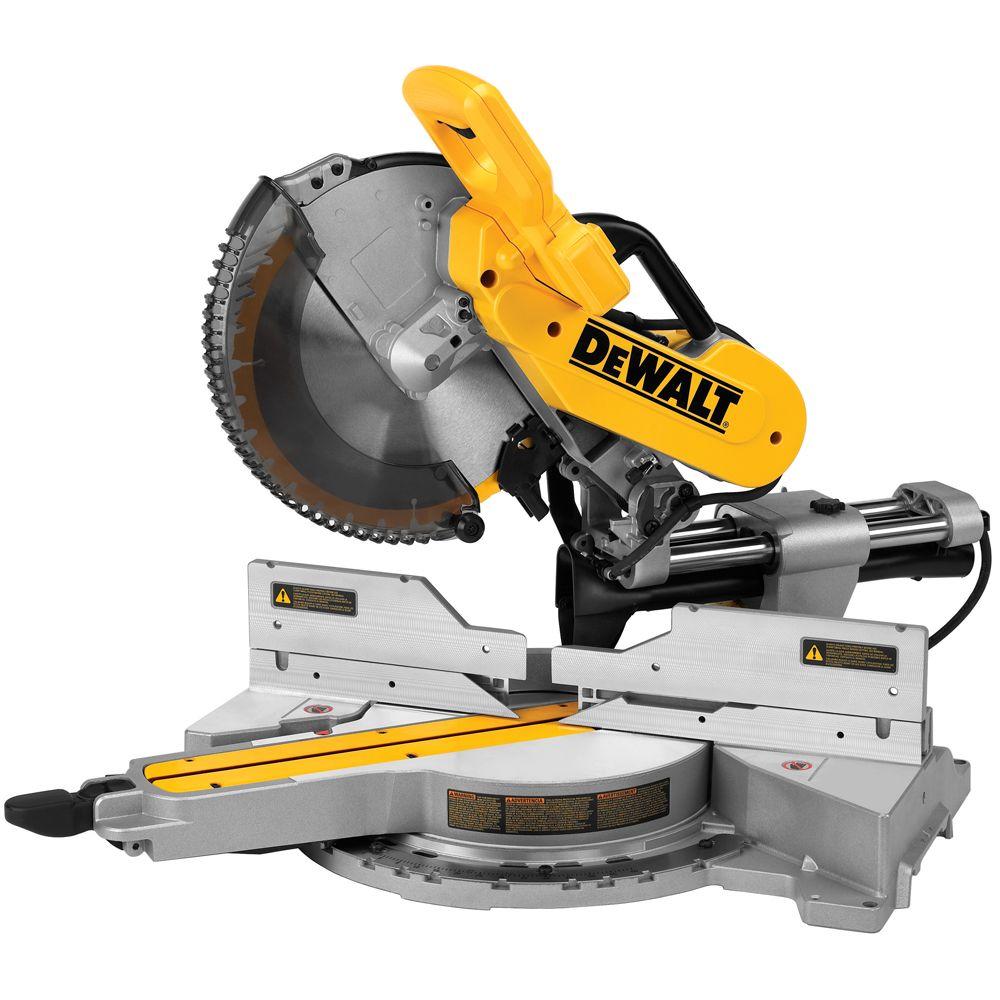
- Miter saw. Like a hand saw, but exponentially faster and straighter. The contractor, construction guru, DIY regular and woodworker’s most used piece of equipment. If you’re budgeting to take your DIY to the next level, then you need to consider the miter saw.
Step 3. Go find some free wood shipping pallets.
- Facebook Marketplace. Search for “pallets” or “pallet wood” and turn on notifications.
- Don’t steal from: Home Depot, Lowe’s, grocery stores and large retailers. Sizeable companies pay for a delivery & pallet pickup program.
- Smaller retail dumpsters. When you find a dilapidated pallet next to a dumpster, ask the store manager if it’s up for grabs.
- Construction sites. Notice piles of dirty pallets near the streetside? Ask one of the subcontractors if they’re trash and available for personal use.
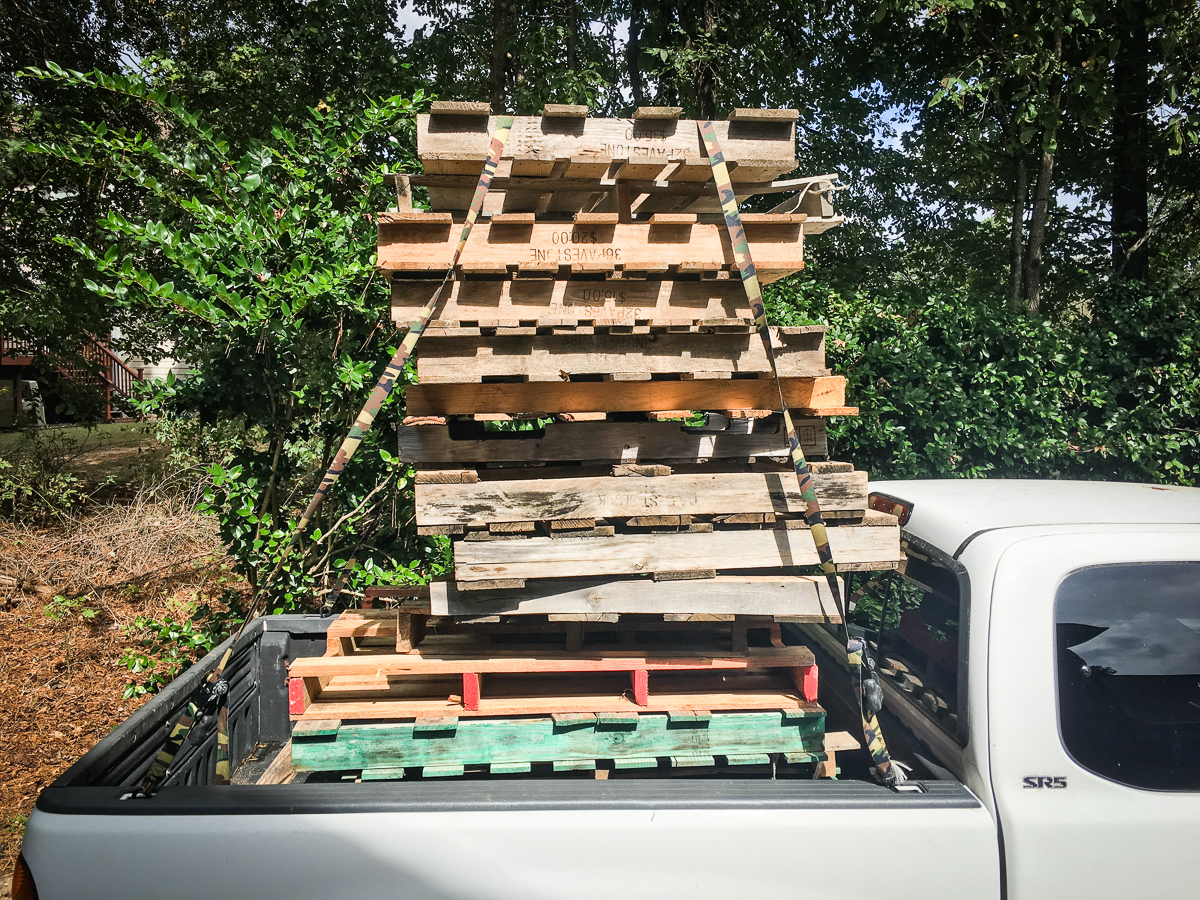
Step 4. Break down your pallet(s).
Note: there are 2 main parts of a shipping pallet. The slats and the stringers. The outer slats on the top and bottom sandwich the stringers or structural support pieces. The slats are often 3/8″ to 5/8″ thick, whereas the stringers are often 2x4s (1-½” x 3-½”).
- Gear up! Safety glasses + ear plugs.
- Wielding your reciprocating saw.
- Position your pallet vertically, possibly up against a wall or table saw for stability.
- Cut directly through the nails that connect the slats to the stringers. This yields a full length, intact pallet slat.
- Remove every slat from the stringers.
- Wielding your crowbar + hammer.
- Harness your inner blacksmith. Sort-of.
- With your pallet flat on the ground, place the chisel end of the crowbar between a stringer and a slat. Hammer the night away.
- Once the chisel end has sufficiently wedged itself between two pieces of wood, begin to pry the boards apart using the bar as a lever.
- Remove every usable slat from the 3 stringers.
- Remove the nails.
- With a nail punch and hammer, extract every nail fragment from the boards.
- The nail punch acts as a flat-ended spike to drive nails through the other side of the wood.
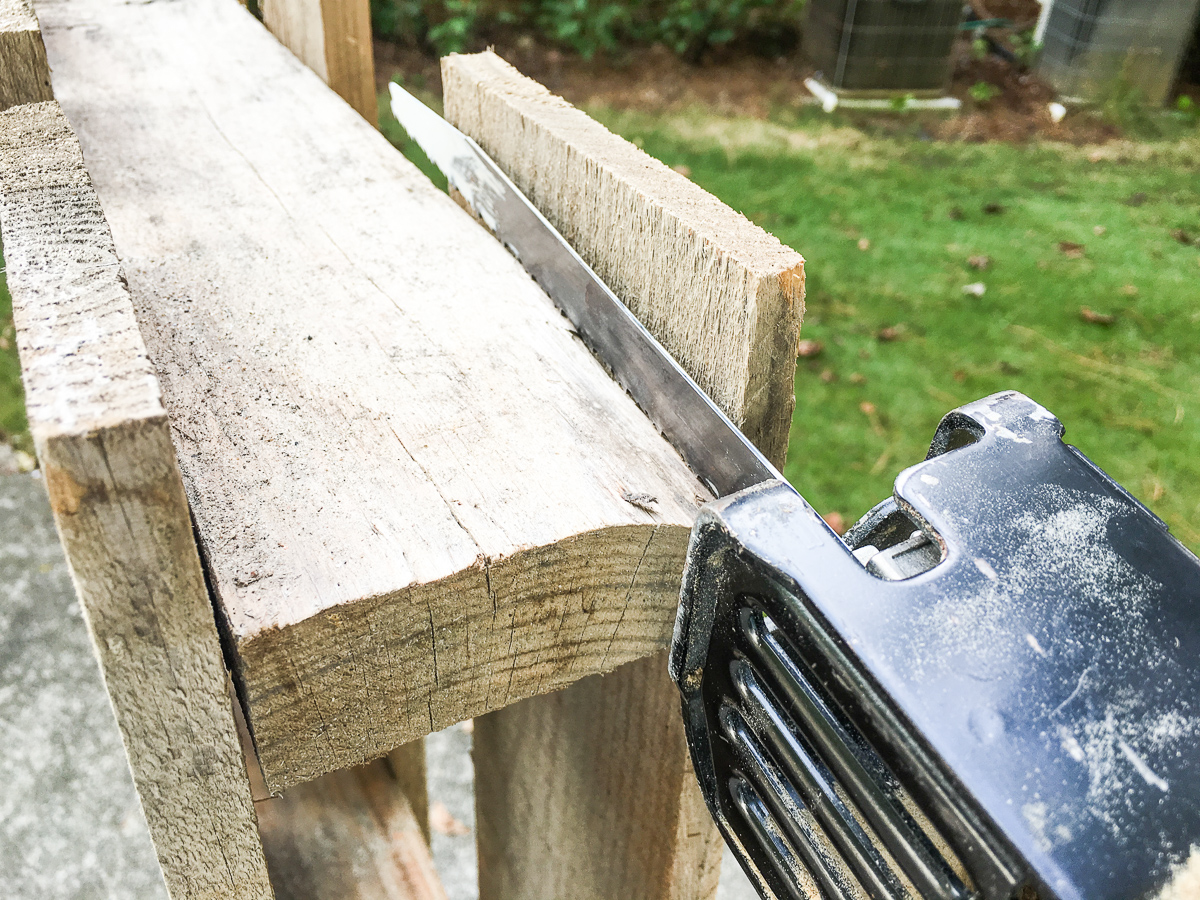
Step 5. Cut the slats with your miter saw.
Each centerpiece box contains the following slats (no stringers):
- 2 – 33-⅛” side slats.
- 2 – 6-½” end slats. **Cut to fit!**
- 2 – 34” bottom slats. **Cut to fit!**
Cut list note: “cut to fit” means to base your measurement off of the actual size of the boards. The length of the end slat should be the exact width of two boards.
The length of the bottom slats will depend on the thickness of your end slats. If your end slats are ⅜” thick, and you cut the sides at 33-⅛” then the bottom slats should be cut to 33-⅞”. This is because 33-⅛” + ⅜” + ⅜” = 33-⅞”.
If your bottom slats are 3-¼” wide, then your end pieces should be cut to 6-½”. Here’s why: 3-¼” + 3-¼” = 6-½”.
Step 6. Assemble your centerpiece box.
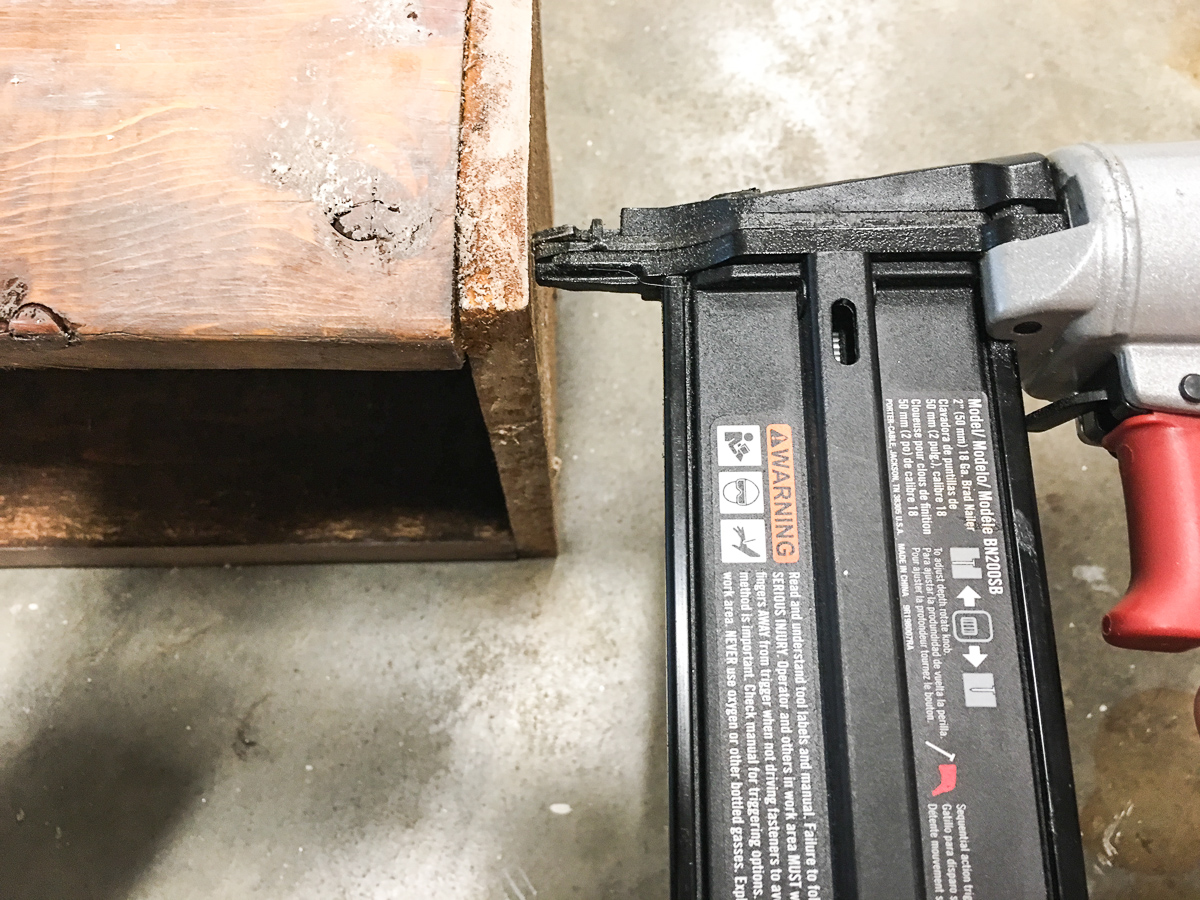
- Fire up your compressor and brad nail gun.
- For a SUPER sturdy hold, apply a bead of glue before nailing the boards together.
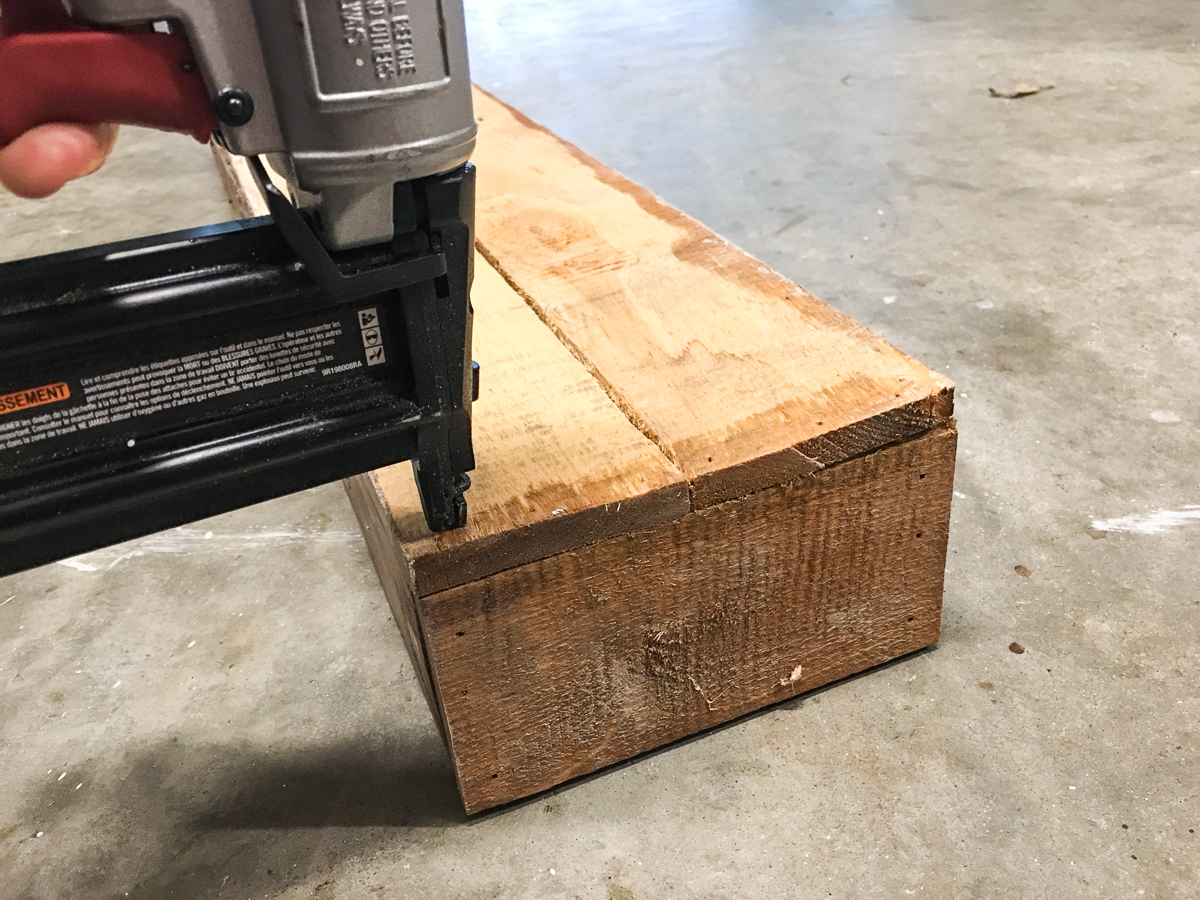
- Attach one end slat to a side slat with brad nails. Then attach the other end slat to the same side slat.
- Position the other side slat just inside both end slats. Nail it together to complete the box without a bottom.
- Decide which opening is the top and which opening is the bottom. Attach the two bottom slats with brad nails.
- (Read like a superhero narrator) Centerpiece. Box. ASSEMBLED.
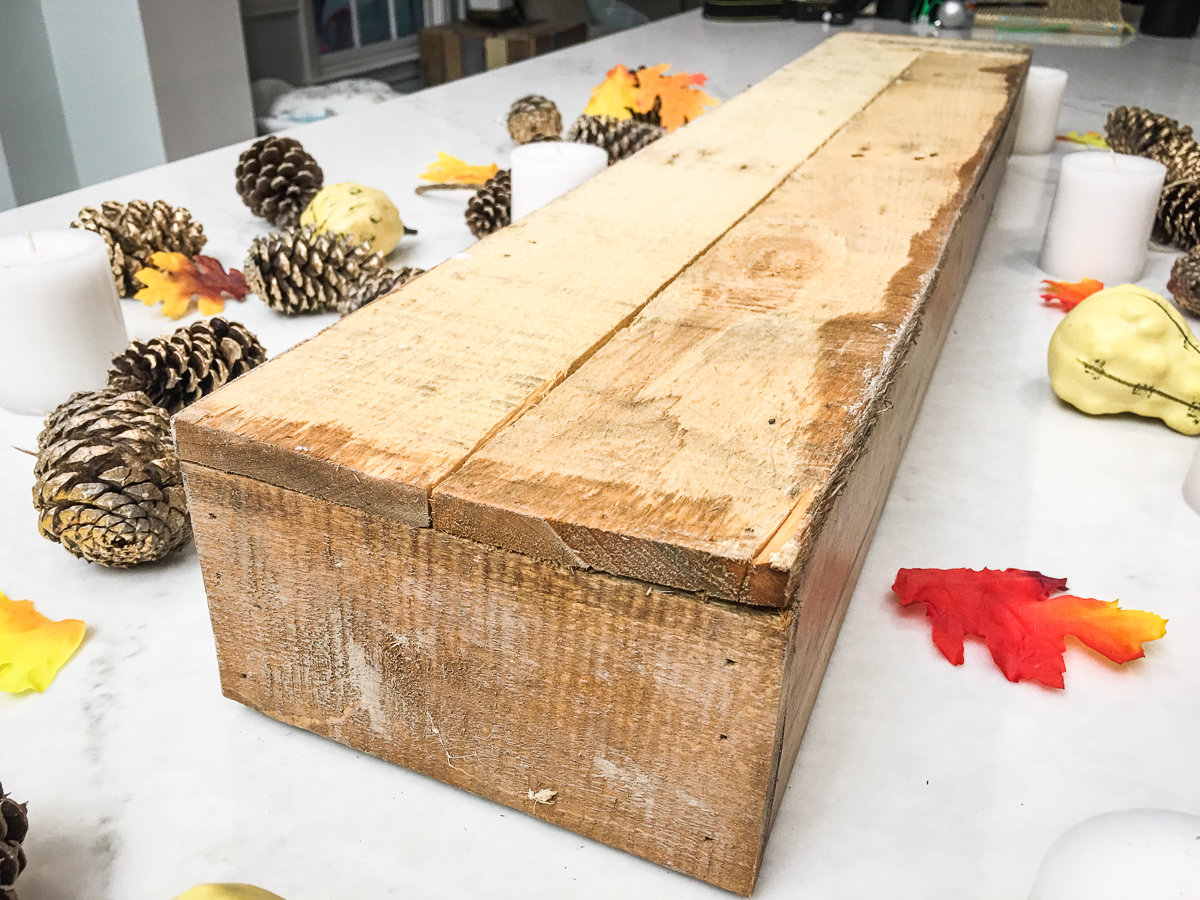
Step 7. Finish your box with paint, stain or wax.
- What finishing aesthetic did you decide on? Stain? Paint? Both? Boiled linseed oil? Tinted wax? Whitewashed? Distressed? Antiqued?
- We stained ours with Varathane Dark Walnut. And let dry for at least 1 hour.
- Then we waxed it with a white painted tinted wax.
- Thoroughly mix ¼ cup paste finishing wax with a tsp of white paint. Use an old & clean plastic container.
- Vacuum & wipe ALL dust with a shop towel or old rag.
- Apply a generous amount of wax to another shop towel or rag. Rub the wax into the wood. Cover the entire piece as desired within a few minutes.
- Let dry for 15 minutes.
- Consider a second coat if needed.
- After dry, polish the wax with another clean shop towel or rag. Use very quick, gentle hand motions to bring out the shine.
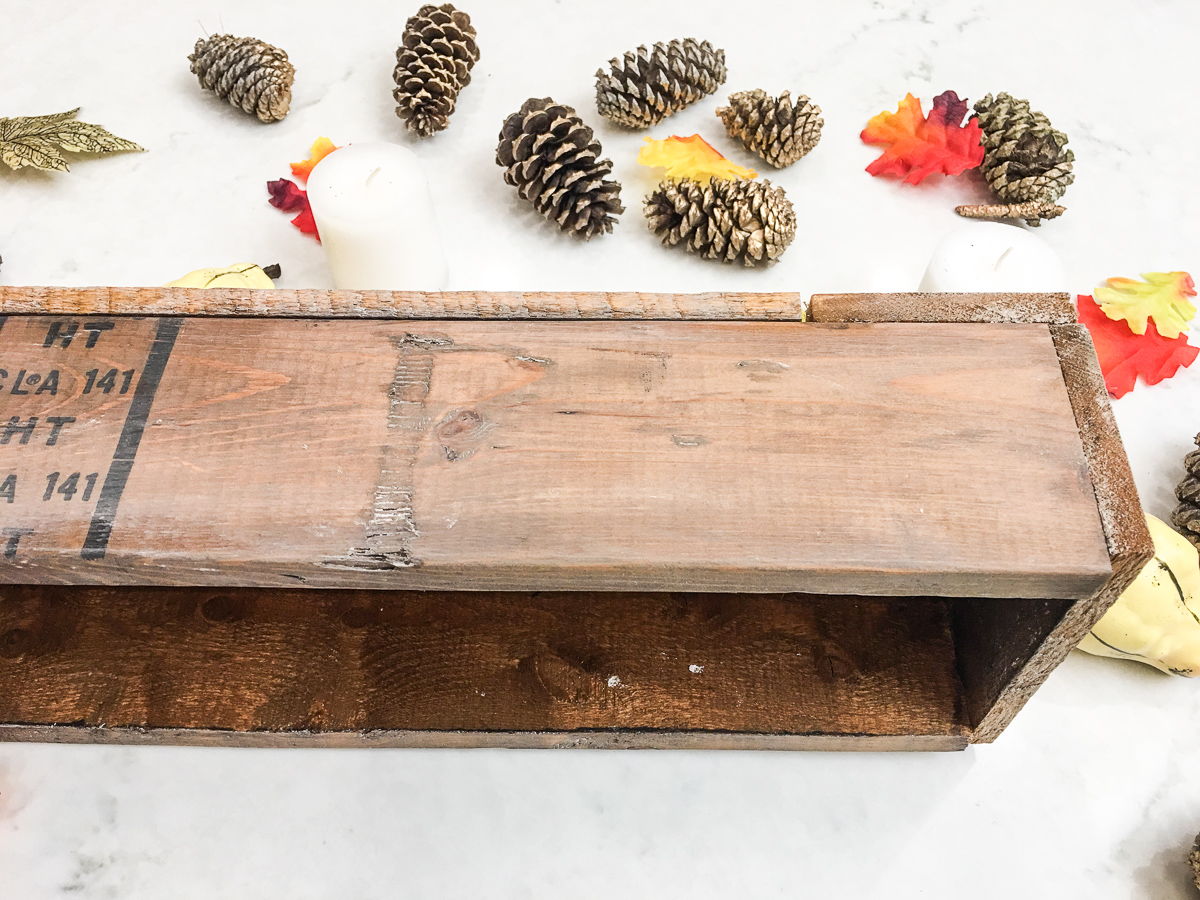
Centerpiece-out.
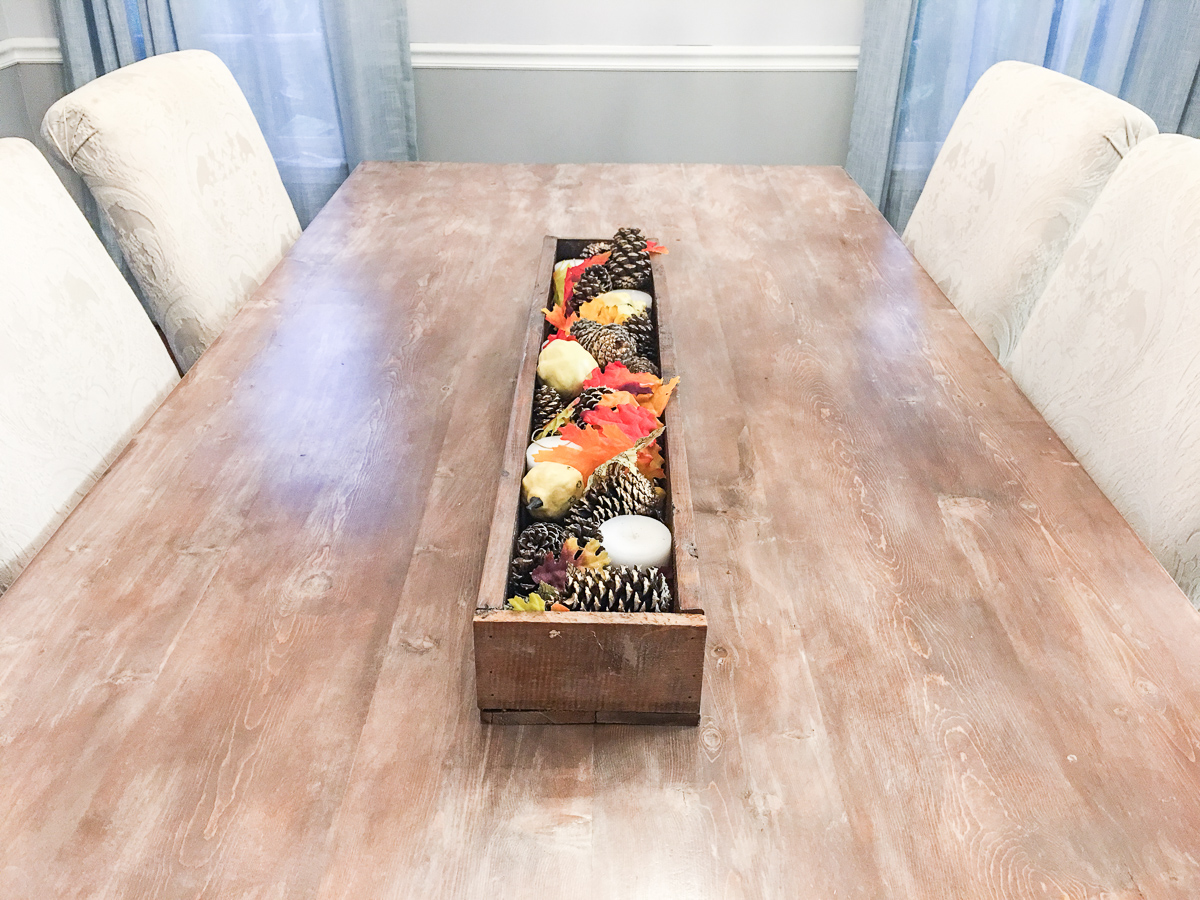
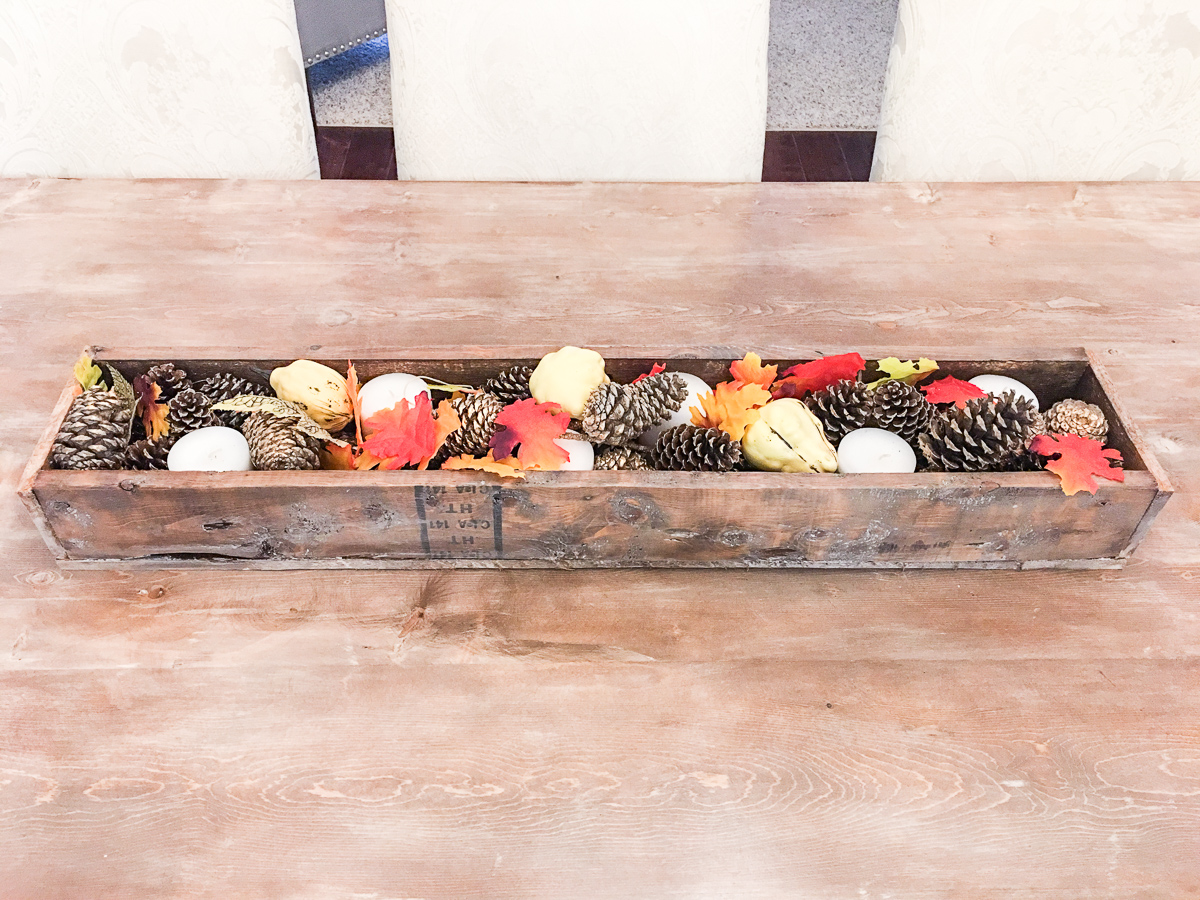
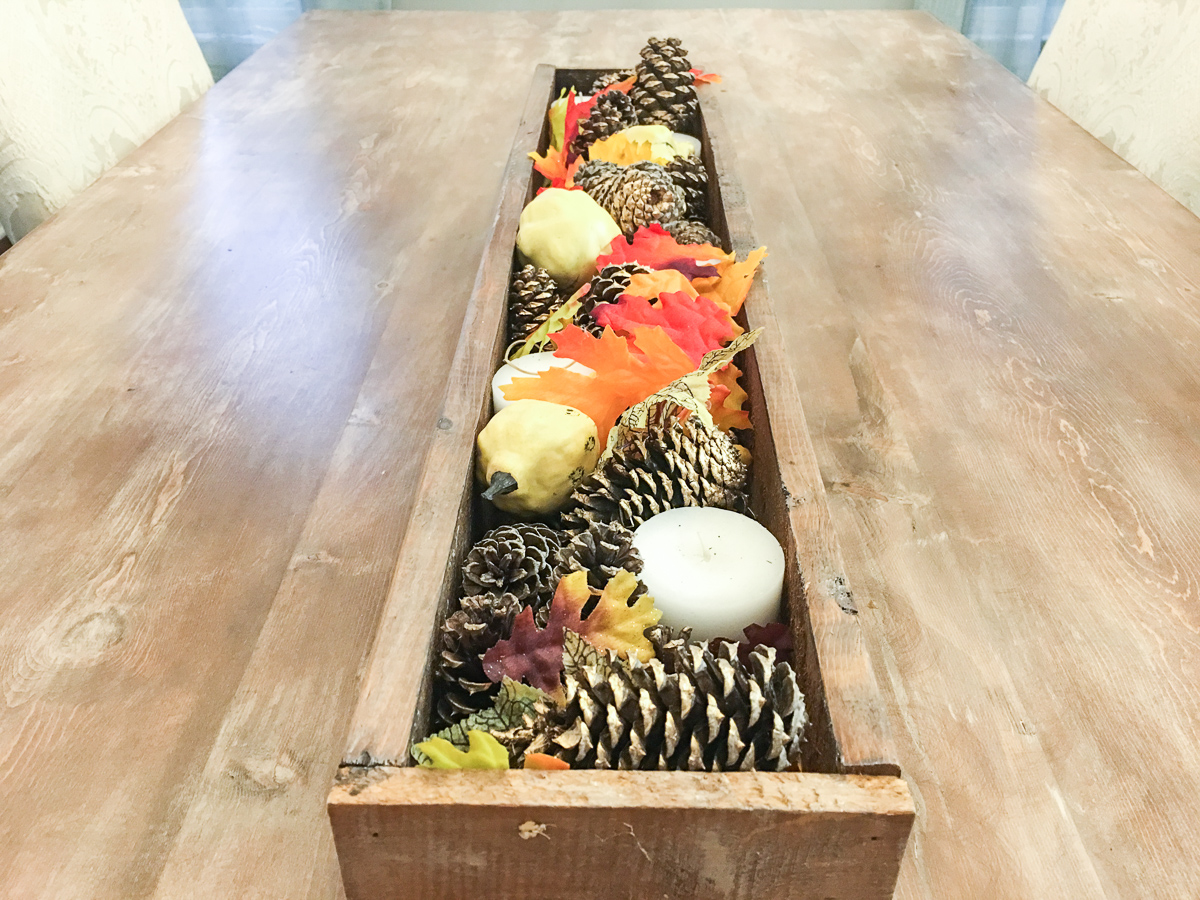
You’ve successfully built a shabby chic, rustic modern pallet wood centerpiece for your community table. Smashing, if I do say so myself. You’re a natural. A DIY champ. So when do you open up your handcrafted furniture & decor store? How about an Etsy shop for all of your lovely creations?
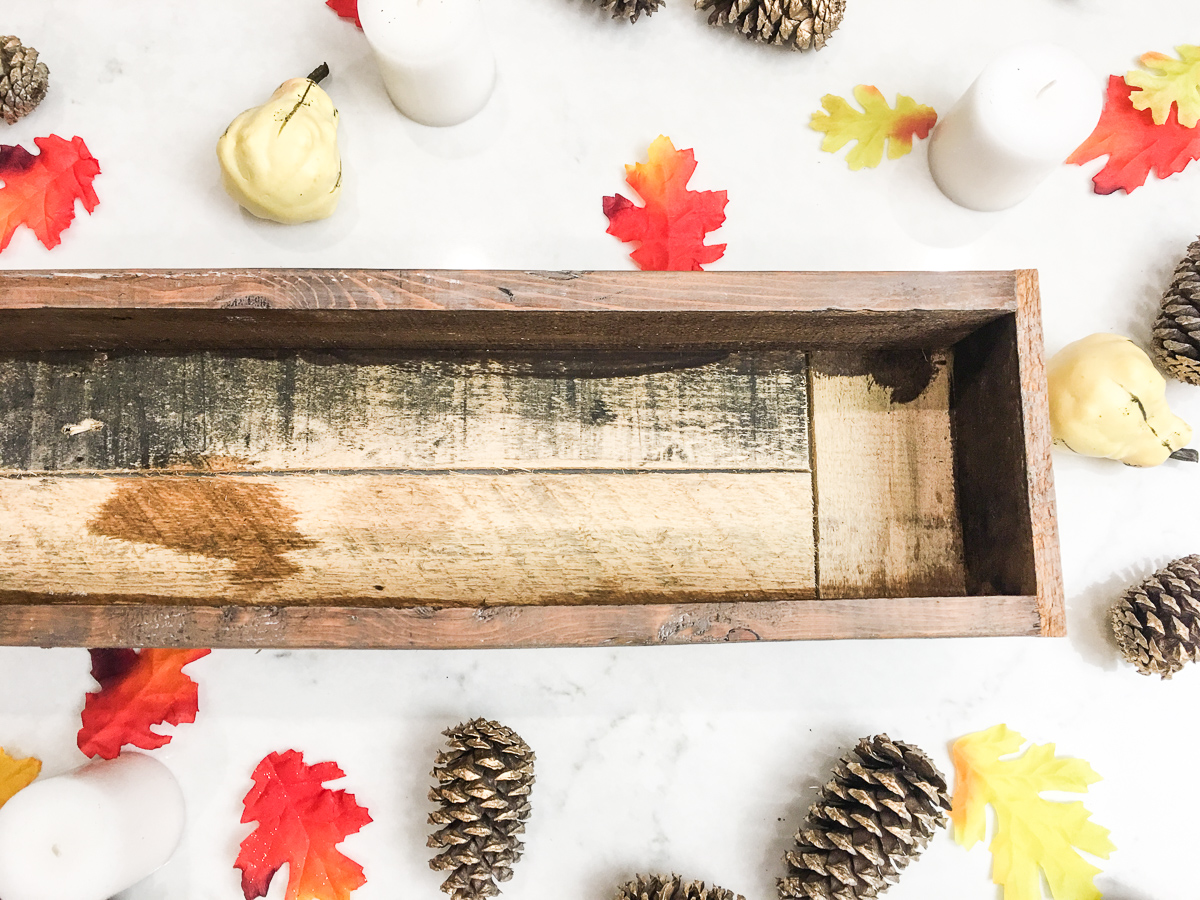
Now it’s time to fill the box with design elements that play off the character and color palette of your home. Spring or summer? Dress it with all things light, airy, whimsical, playful, bright, blues, soft grays, maybe a pop of yellow or a coral. Fall or winter? Check out: “How to DIY decorate your home for fall on a budget.”
In the meantime, here are some wood finishing tutorials to inspire you. No reason to limit to a white tinted wax if you love a different aesthetic. The beautification options are endless.
- Our reclaimed tabletop has a saturated, natural wood look. Start with some sanding, boiled linseed oil, mineral spirits and polyurethane to make it pop.
- Scope out our Restoration Hardware copycat headboard trim finish. We did a layer of brown tinted wax THEN a layer of white tinted wax.
- This DIY sliding barnwood door begins with stain on the slats, whitewash and vigorously wiping the whitewash off for a very worn and distressed aesthetic.
- Our fancy X farmhouse table & legs: stain the slats, apply 2 coats of white paint and then unevenly sand and distress to allow the dark stain to show through.
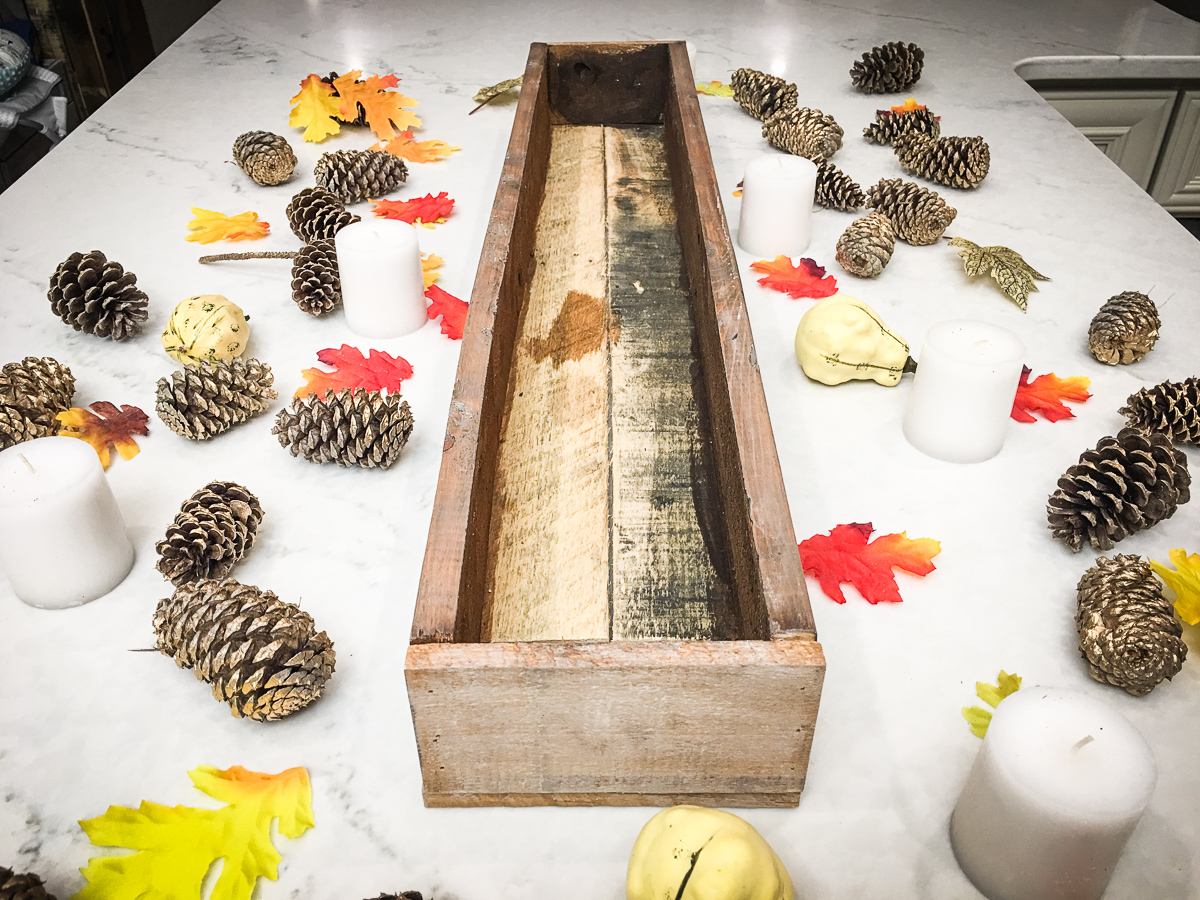


This looks just amazing, I love it! Absolutely beautiful piece. You did amazing job!
Super appreciate the affirmation, Susan. Any other DIY projects you’d like to see plans for?
Could you please give final measurements of your fabulous centre piece. 33 inches length x width and depth. Thank you.
Regards
Jane
Great question, Jane. See Step 5 for a rough estimate. 34″ long x 6-1/2″ wide x 3-5/8″ tall. It all depends on the pallet slats you’re using. I’ve found some slats that are 3/8″ thick to 3/4″ thick, with a width of 3″ to 5″+.
If you place the 2 bottom side by side, measure their collective width to determine width of the entire piece. Estimate height by holding any side-piece on top of a bottom piece and measuring to the top. Hope this helps!