You love coffee. I mean loooove the smell of fresh brew in the morning. Or afternoon. Or every possible time of consciousness.
If you could drink coffee all day long and still sleep and not have heart palpitations / extreme anxiety, you would do it in a literal heartbeat. Let me guess: you’re pretty selective when it comes to beans. And brewing methods. Your friends call you the coffee snob aficionado (to your face).
Why not up your game and roast your own beans?
Top 7 benefits of home roasting coffee.
Not totally sold yet? Here are the top reasons to roast at home.
- Cost. It’s WAY cheaper than buying roasted coffee. Direct trade whole bean roasted coffee is $20-$25 bones per pound. Direct trade unroasted is only $6-$9 per pound. Three to four times cheaper.
- Taste. You choose the exact roast you prefer. Light, medium-light, medium, medium-dark, dark, straight charcoal.
- Freshness. Some of the top coffee roasting brands may offer week old coffee. When you home roast, your coffee is day-of fresh. The shelf-life is longer and the flavor is at its peak. You can literally see the difference when you brew fresh coffee. Look for the massive, bubbly CO2 release when brewing recently roasted coffee, called the “bloom.”
- Enjoyment. Learning a new craft is fun. Especially when the craft enables you to efficiently, cheaply and easily create something better than what you buy in stores.
- Limitless origins. When you buy green, unroasted coffee beans, you choose the origin of every bean you roast. E.g. Kenya, Indonesia, Brazil, Yemen, Hawaii, Costa Rica, Ethiopia, Colombia. An importer / supplier like Sweet Maria’s will always offer more origins than even the most hipster, urban coffee shop. Each specific location has its own set of farming techniques and washing and drying processes that have a dramatic effect on the taste of the coffee. Experience the wildly unique flavor profile of every country, sub-region, city, estate and farm.
- For gifts. Roasted coffee is a fantastic gift for all your coffee fanatic friends. Coffee you carefully selected and roasted just for them is next level thoughtful.
- The fragrance. When you roast, toasty caramel fragrances fill the air. Be the home that smells cozy and delicious like your favorite coffee shop. Liz disagrees, but to each their own.
Now you’re sold? It’s okay to be a bit nervous though. Every award-winning chef was probably unsettled while training in culinary school. All successful entrepreneurs felt their stomach drop when they took the initial plunge.
I have good news for you, friend: this is just a $7 bag of beans and a $25 roaster. Your risk is super minimal. It’s time to go for it.
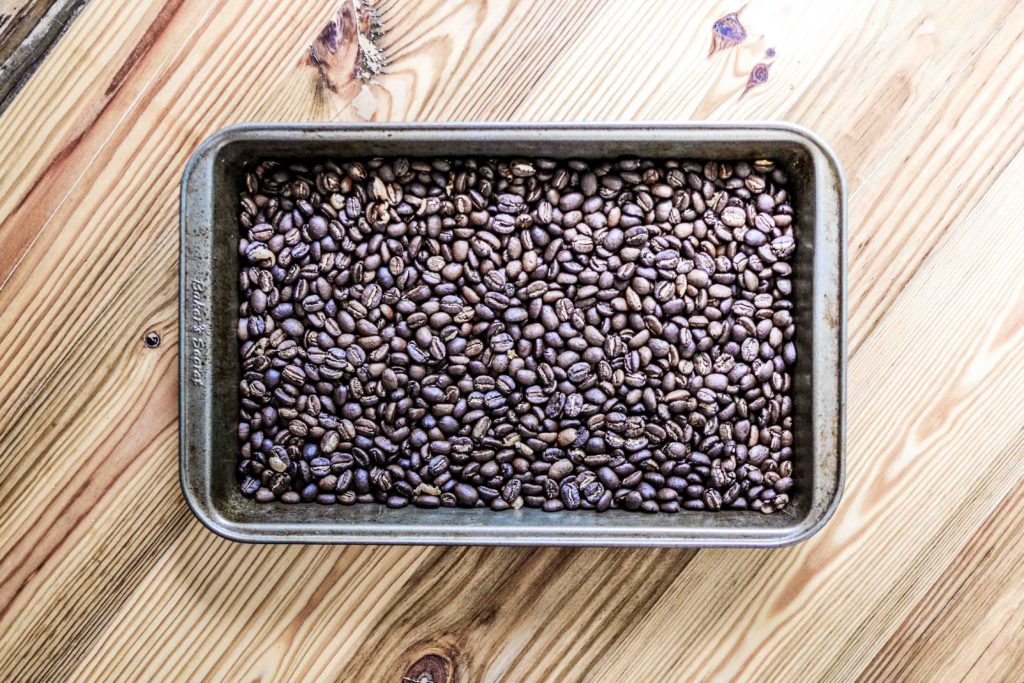
Table of contents.
- Roaster options.
- Green coffee beans.
- Budget.
- Accessories.
- Roasting method #1: the “Nostalgia” air popper.
- Step 1. Order air popper + green beans.
- Step 2. Add green beans & go!
- Step 3. First crack begins.
- Step 4. First crack ends.
- Step 5. Second crack begins.
- Step 6. Second crack ends.
- Step 7. Dump, cool & store.
- Roasting method #2: the stovetop “WhirlyPop”.
- Step 1. Purchase a WhirlyPop + green beans.
- Step 2. Add green beans & crank!
- Step 3. First crack begins.
- Step 4. First crack ends.
- Step 5. Second crack begins.
- Step 6. Second crack ends.
- Step 7. Dump, cool & store.
How to home-roast coffee.
Roaster options.
Note: coffee roasting requires both heat AND motion. Oven-roasted coffee beans means charcoal on the outside and perfection on the inside. That is NOT ideal. The roasting options below offer the perfect blend of both.
Why popcorn-popping equipment? It’s the coffee roasting hack of all hacks. Save over $100 on roasting by using an item designed for making killer popcorn, not coffee. No tutorial for the FreshRoast or Gene Cafe because they’re actually designed for coffee roasting.
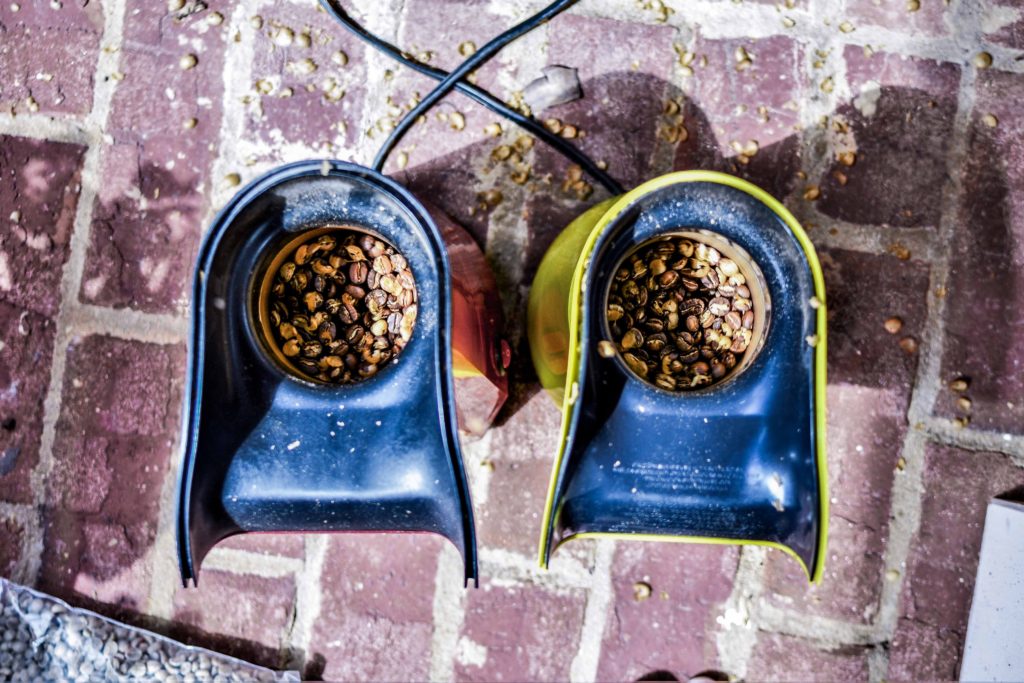
Nostalgia brand popcorn air popper ($22) – tutorial below.
Home coffee roasting made easy. Plug it in outside. Pour 2 oz of unroasted green coffee beans into the air popper and watch it roast coffee before your eyes. Green beans are cheaper than roasted beans of the same quality. For the artisan, experimenter, DIY type of human.
If you choose any other brand of air popper, make sure that the vents are NOT on the bottom of the roasting chamber. They must be positioned on the sides of the metal cylinder. Otherwise most of your green coffee will launch onto the floor.
2-2.5 oz capacity per batch.
Whirley-pop stovetop popcorn maker ($30) – tutorial below.
Another means of home coffee roasting. Pour up to 16 oz of unroasted green coffee beans into the hand-crank popcorn maker, pump up the heat on your stovetop or grill side burner and pour onto a sheet tray when done.
½ lb to 1 lb capacity per batch.
FreshRoast SR500 Automatic Coffee Bean Roaster ($179).
A glorified popcorn air popper specifically designed for coffee roasting. Provides better roast consistency than a popper. Tutorial not included in this post.
4 oz capacity per batch.
Gene Cafe CBR-101 Home Coffee Roaster ($625).
A miniature drum roaster. The tiny version of what professional coffee roasters use.
~½ lb capacity per batch.
Green bean suppliers.
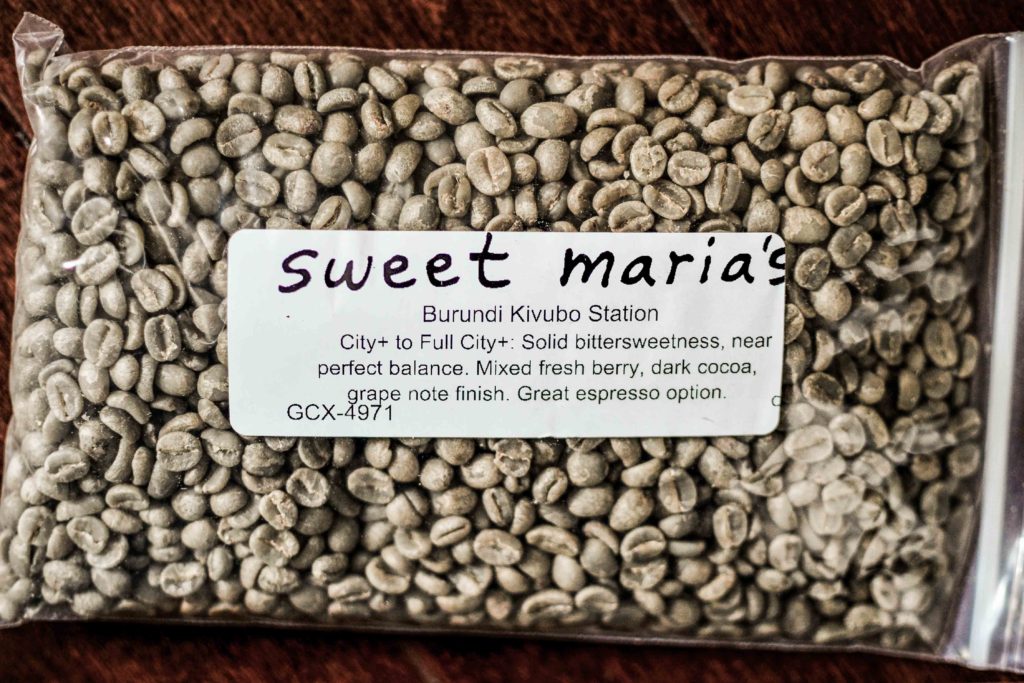
- Sweet Maria’s: the home coffee roasting hub.
- Think: home beer brewer’s one-stop-shop, but for all things coffee. Out of Oakland CA. Mostly direct trade coffees, eliminating the middleman and ensuring the coffee farmers, estates and cooperatives get the money they deserve. The leaders are tireless coffee scientists and experimenters, offering every roasting tutorial you could dream of. Be sure to buy your roasting method of choice (see above) along with the green beans! Unroasted coffee is NOT edible.
- Klatch Coffee.
- Popular online hub for roasted and unroasted coffee beans.
- Primos Coffee on Amazon.
- Amazon’s Choice for green coffee.
- Volcano Coffee Company on Amazon.
- Another popular green coffee option on Amazon. For those who buy everything they own from Amazon.com.
Accessories.
- Cookie sheet or baking pan – for cooling the freshly roasted coffee beans.
- An airtight container for coffee storage.
Budget.
Roasting method #1: the “Nostalgia” air popper.
Step 1. Order air popper + green beans.
Note: this method should be performed outdoors. An outdoor outlet is essential. Or consider running an extension cord outside from an interior outlet. The smoke released will likely set off interior smoke alarms. And chaff – the thin, paper-like coffee bean coating – will float into the air above the air popper and settle on the ground.
- Snag a Nostalgia brand popcorn air popper from Amazon.
- Order some unroasted green coffee beans from Sweet Marias, Klatch or Amazon.
Step 2. Add green beans & go!
- Head outside to avoid blasting your smoke alarm or billowing chaff through your home.
- Plug the air popper into an exterior outlet.
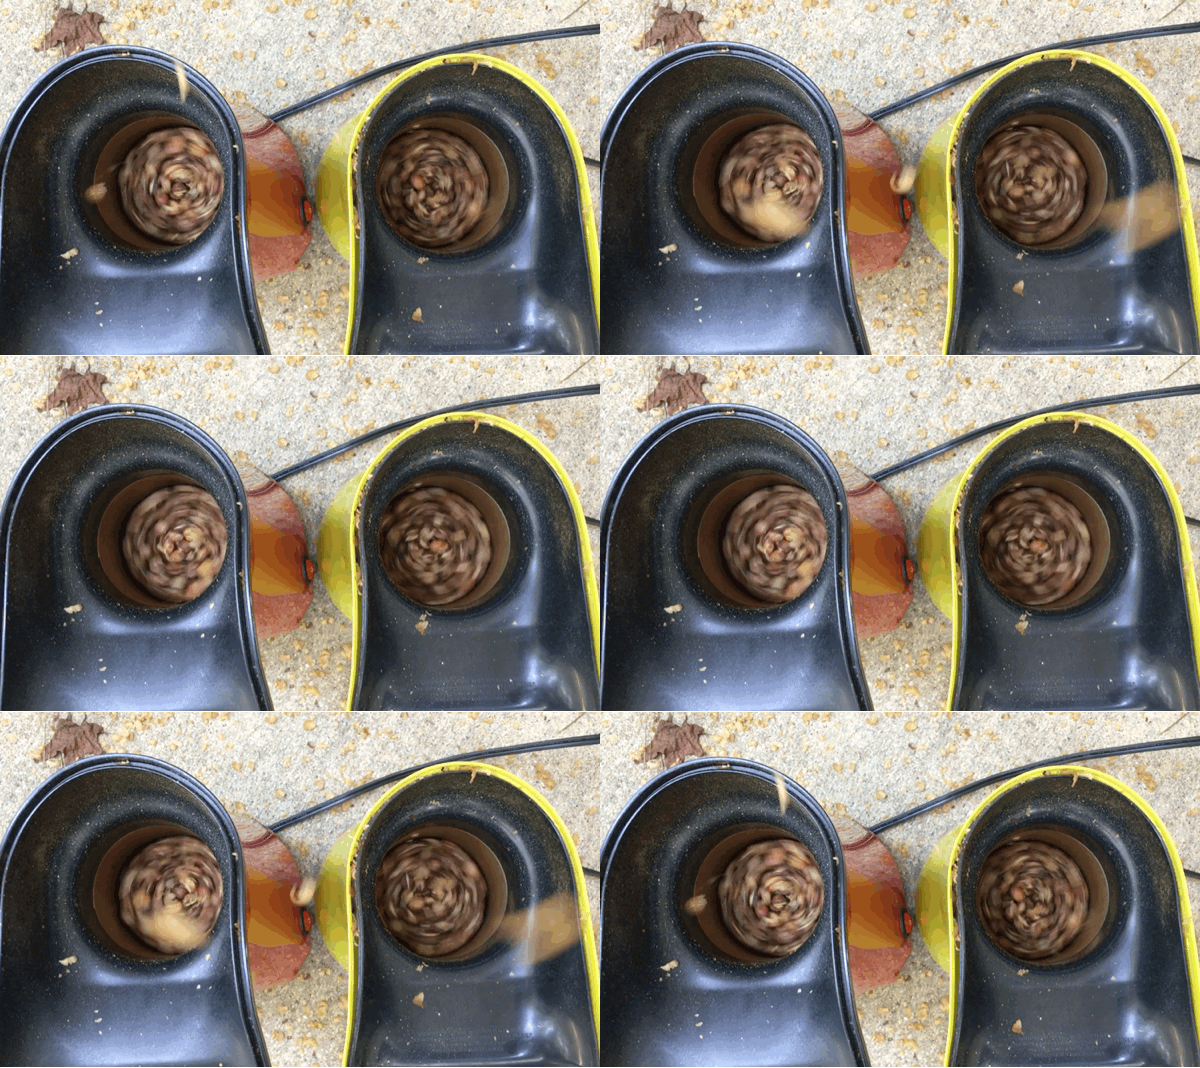
- Pour green beans to the line just above the air vents. If you’re unsure how much to add, then add very little, turn it on and continue to add green beans until the bean rotation slows down but doesn’t completely stop.
- Turn it on. Flip the heck out of that on switch and let the home roasting begin. Start a stopwatch.
- If the beans stop moving, carefully grab the machine by the end of the spout and shake it rotationally. Do this every 5-10 seconds until the beans begin to move again.
- Observe the smell now, and overtime as the beans cook. At first, it might remind you of toasted bread.
- Note the color and pigment change over time. They begin to turn pale yellow / light tan as they approach first crack.
Step 3. First crack begins.
- The beans will begin “first crack” after a few minutes. Sounds like popcorn popping, an itty bitty firecracker or a snap. It might smell more roasty and caramelized. The beans are now light to mid-tone brown.
- First crack is an internal bean temperature at which the beans expand or pop. Each bean must undergo this crack to taste like coffee.
- The moment first crack begins, your beans are extremely light roast. If you pull the beans at this point, you’ll end up with majority undercooked.
- Note the time first crack begins.
- Chaff will blow into the air above the popper. This paper-like substance coats each bean until a high enough heat is achieved.
Step 4. First crack ends.
- After the wave of first cracks settles down, note the time and pull it if you desire a light roast. They all happen at different times, climax like a bell curve and then decrescendo.
- The fragrance is a little deeper and more roasty. Pigment is mid-tone brown as it finishes first crack.
- Consider waiting 30 seconds, 60 seconds, and varying 30 second increments after the completion of first crack to see how the flavors develop and change. E.g. pull one batch 30 seconds after first crack, pull the next batch 1 minute after first crack, etc.
Step 5. Second crack begins.
- If your beans are too hot, they’ll begin second crack without a gap.
- If your beans are slowly building internal heat, there will be a gap between first and second crack.
- When another round of cracking starts, second crack has begun. This is roughly a medium roast. The slightest burnt smell will rise from the popper. mid-to-dark-toned brown usually marks a medium roast.
Step 6. Second crack ends.
- The beans may rapidly become medium-dark roast as second crack ramps up.
- Note the increase in burnt and over-caramelized aromas, along with a dark-toned pigment.
- Dark roast is imminent. The flavor body will thin out the longer the beans are roasted. Volatile aromatics are burned off and a general “coffee” taste is all that can be detected.
- The beans will release their oils on the surface. Even if you love some dark roast, be sure to pull it before it become bitter, brittle charcoal.
Step 7. Dump, cool & store.
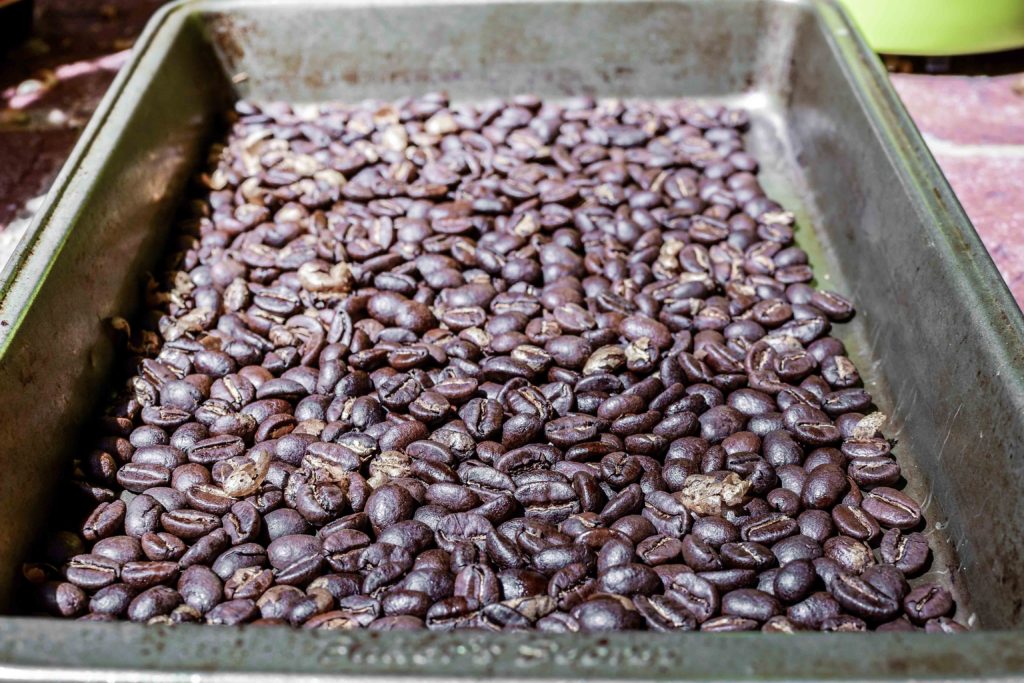
- Whenever you decide to pull the coffee from the air popper, pour it onto your cookie sheet or baking pan for cooling.
- Once the beans are room temperature, feel free to grind and brew them. Although many professionals suggest waiting a few days before drinking. This allows the carbon dioxide to be released, and the flavors to continue to develop.
- The only way to know how fresh you prefer your coffee is to taste the coffee at all time increments to determine your flavor preference. E.g. 30 minutes after roast, 1 day after, 2 days after, etc.
- Sweep away the chaff that settled on the ground.
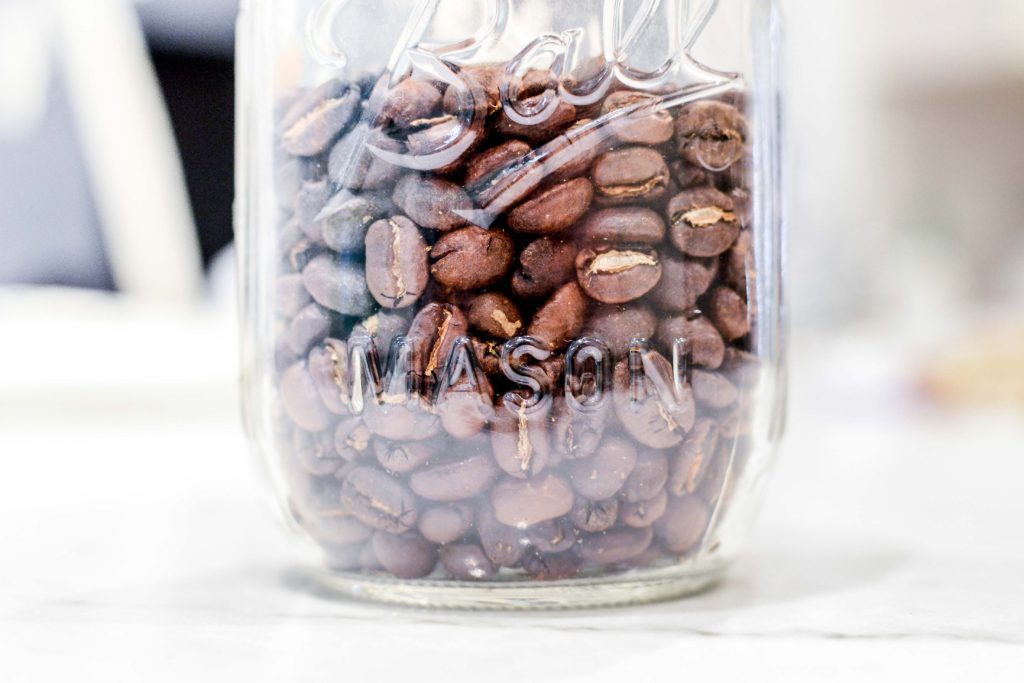
- Store the coffee in an airtight container to maximize shelf life and freshness.
- Be sure to crack open the lid every day for a few days after roast to allow the CO2 to gas off – we’ve never had a container explode, but we sure as heck aren’t going to risk it.
- Get ready for the best & freshest coffee you’ve ever had. If it sucks, don’t be discouraged. It may take a handful of roasts to get your groove. Tea-like brew is super light roast and should be roasted at least 30 seconds longer. Brew that tastes like ash, coal or a non-chewable vitamin is super dark roast and should be pulled in between first and second crack OR at the beginning of second crack.
Roasting method #2: the stovetop “WhirlyPop”.
Step 1. Purchase a WhirlyPop + green beans.
Note: you MUST have a functioning gas / electric range or gas / electric cooktop. Or a outdoor grill with side burner and sufficient propane or natural gas. For indoor use, a range hood vent is ideal for smoke removal. Your smoke alarms will likely be triggered otherwise. If no range hood or recirculating fan, consider placing a box fan in the nearest window to pull the smoke out of the kitchen. Good news: the chaff stays in the pot, unlike the air popper.
- Snag your WhirlyPop from Amazon. Whenever you audibly utter “WhirlyPop”, it needs to be to the melody and tone of “Pop” by *NSYNC.
- Order some unroasted green coffee beans from Sweet Marias, Klatch or Amazon.
Step 2. Add green beans & crank!
- Open your WhirlyPop and pour in ½ pound to 1 whole pound of green coffee.
- Place your cookie sheet or baking pan at the ready for easy transfer at the cooling stage.
- Turn on your stovetop burner to high. Start your stopwatch.
- Crank quickly and consistently through the entire roast. It’s crucial that the beans are constantly moving
- The beans will gradually change from pale green to pale yellow or light tan and smell like bread or toast.
Step 3. First crack begins.
- With proper heat, the first audible “pop” or crack will occur after 3-7 minutes.
- The color is light to mid-toned brown.
- Fragrance is a bit more roasty and caramelized.
- Pull now for an extremely light roast. Most beans aren’t cooked yet.
- All beans will experience first crack at different times like a bell curve. Infrequent at first, frequent in the middle, and infrequent nearing the end.
Step 4. First crack ends.
- Experiment pulling each batch of coffee at a different time increment after first crack begins to learn your ideal flavor profile. E.g. 30 seconds after first crack, 1 minute after, 2 minutes after, etc.
- Consider turning your burner to low or medium-low 30 seconds after first crack begins to avoid raising the heat to rapidly. If the beans get overheated, they’ll move into second crack without the desired time gap. Experiment with varying burner-temp drop times to dial in your stovetop. Every burner is different.
- The beans a likely mid-toned brown at this stage.
- Roasty fragrances continue to increase.
Step 5. Second crack begins.
- Ideally, you experienced a gap between first and second crack.
- Another wave of pops or cracks will begin. The start of the second crack.
- The beans are likely mid to dark-toned brown.
- Pull now for a medium roast.
- Burnt popcorn, charred toast and burnt caramel aromas fill the air.
- Another bell curve of cracks will erupt.
- You’ll reach medium-dark roast within 30 seconds to a few minutes after second cracks begins, depending on your heat source and heat level.
- Medium-dark is dark-toned brown. The burnt / charred aromas continue to build.
Step 6. Second crack ends.
- As second crack slows, you’ve reached a dark roast.
- The beans release their internal oils.
- Every beans is very dark-toned brown or almost black.
- Your beans are rapidly becoming a charcoal-like substance. Very bitter, thin bodied, and intensely charred. The flavor subtleties and volatile aromatics have burned off.
Step 7. Dump, cool & store.
- Whenever you decide to pull the coffee, carefully pour the roasted beans onto your cookie sheet or baking pan.
- Notice the heavy chaff build-up intermixed with the beans. The chaff will yield little to no flavor to the brew. To remove the chaff, carry the sheet tray or pan outside once it’s cool and blow the chaff into the wilderness from which it came.
- The freshly cooked beans are ready for grinding and brewing once they reach room temperature.
- Consider tasting the beans at every post-roast time increment to assess for your flavor preference. The pros recommend waiting 48-72 hours to allow the CO2 to gas off and the roasty flavors to soften to brew the ideal cup.
- Store in an airtight container. Crack the lid every day for the first couple days after roast to release the pressure built up by CO2. Don’t risk a coffee container explosion.
- Enjoy the freshest coffee of your artisan life. If the brew is tea-like, you’ve achieved a super light roast. Roast them at least a minute longer depending on taste preference. If the brew tastes like the bitterness of death, you’ve accomplished a very dark roast. Try pulling the beans between first and second crack for a medium-light roast.
