You have the sweetest piece of furniture in mind for your outdoor design aesthetic.
But if you place it outside as-is, the elements will wreak some serious havoc on your beloved piece. It will turn gray like a shipping pallet, disintegrate, and immediately become one with nature (or something less hippie).
How in the heck do you prevent your exterior-use furniture from literally dying? It must be destiny, because we’re about to walk you through a strategy that actually works.
Why do the elements kill your furniture?
Moisture.
- Water will weather and eventually destroy your piece. Rain, snow, sleet, morning dew, and any type of moisture pooled on top.
- Humidity accelerates the aging process. The percentage of moisture in the air is not your piece’s friend. A 90% average humidity location is far worse than a 20% average humidity location.
- When water gets absorbed, the wood swells. Then the water evaporates and the wood cracks.
Sunlight.
- Direct sunlight is NOT good for your furniture.
- Your colors will fade. The remaining moisture will be wicked out at a very inconsistent rate, causing the wood to bow, warp and twist.
Insects.
- Bugs are always looking for prime real estate.
- Your furniture piece will be the home to creepy crawlers if you leave it raw and unfinished, or only stained.
Fungi.
- Mold thrives on moisture.
- The constant humidity and precipitation create the perfect environment for mold growth.
So what do I do to prevent moisture, sunlight, insects and fungi from rocking my piece?
The weather-proof finish.
Wood stain helps protect your piece from the natural swelling and cracking that may occur.
If you only apply finish to the very top of your furniture, ONLY the top will not weather. Not a good idea. Cover every single inch with stain. We LOVE Rust-Oleum’s Varathane products. Wipe it on, let it get absorbed into the wood grain for 5-10 minutes, and then wipe it off. Stain seeps into the wood and dries.
Paint is a level above wood stain. A thick, even coat of paint makes the wood hydrophobic – aka water repellant. It dries on top of the wood. Moisture will sit on the surface instead of seeping into the grain. Paint is a sunlight barrier, maintaining the integrity of the wood underneath.
Insects and mold are less likely to make their home on a painted surface. However, paint will eventually deteriorate, so another layer of protection is necessary for outdoor use.
An exterior-grade, oil-based polyurethane is ESSENTIAL. Poly is equivalent to plastic. 4 or more layers of poly acts like as a clear film between your piece and the elements. The most water repellant of the aforementioned products. Another protective layer for bugs & molds to penetrate. Many poly’s absorb the sun’s UV rays.
Outdoor poly, like outdoor paint, is more elastic than the interior alternative. Temperature and moisture changes can cause finishes to crack and warp – outdoor versions include additional resins + oils that allow the finish to flex, expand and contract.
Enough said. It’s time to add this protective coating to your go-to outdoor furniture piece right now. Here’s how.
Table of contents.
- Materials.
- Tools.
- Budget.
- Step 1. Sand your furniture piece.
- Step 2. Apply wood stain.
- Step 3. Apply exterior paint.
- Step 4. Apply second coat of exterior paint.
- Step 5. Exterior polyurethane, coat #1.
- Step 6. Exterior polyurethane, coat #2.
- Step 7. Exterior polyurethane, coat #3.
- Step 8. Exterior polyurethane, coat #4.
- Wood finish home inspiration.
How to finish your outdoor piece to beat the weather.
Materials.
- Exterior paint. Choose your favorite color. Cautioning: oil-based poly will add an amber hue to ALL stain / paint pigments, especially visible over lighter colors. ~$30 per gallon, ~$15 per quart at your hardware store.
- Wood stain. Varathane Dark Walnut stain. ~$20 on Amazon or ~$10 at Home Depot per quart.
- Poly. Exterior oil-based polyurethane (exterior, satin). ~$25 per quart on Amazon or ~$17 at Home Depot.
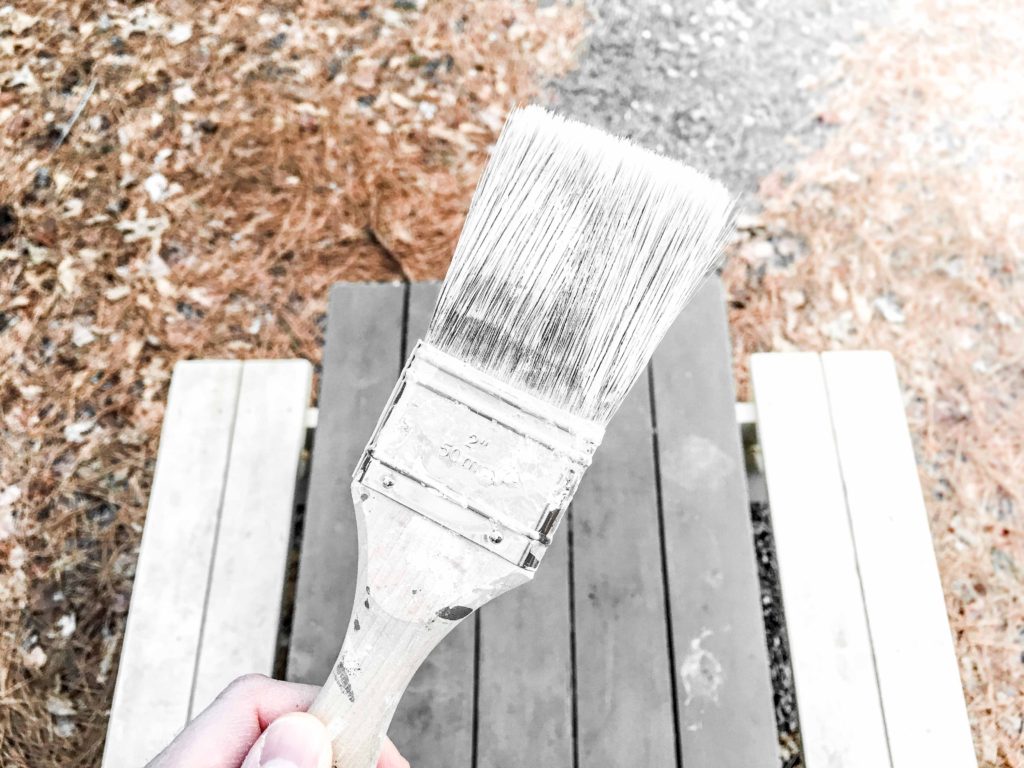
- Paint brush. 5-piece kit for ~$9.
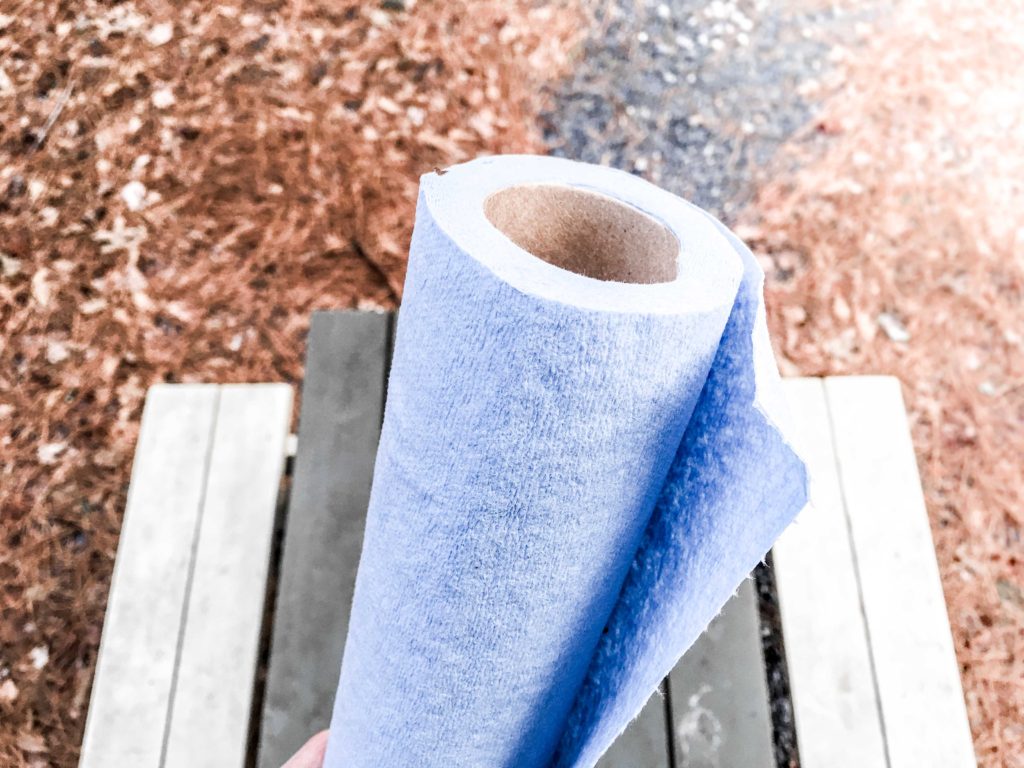
- Blue shop towels. ~$2 per roll.
- Nitrile gloves. ~$0.20 per pair.
- Sandpaper sheets. ~$6 for an assorted 5-pack.
- (Optional) Mineral spirits. Form of paint thinner used for oil-based product clean-up.
- (Optional) 8’ x 10’ Tarp. <$10.
Tools.
- (Optional) Orbital sander + sanding discs.
Budget.
- All materials cost = $60.
- All materials cost for DIY regulars = $15-30 for paint only.
- Save money if you already have stain, poly, paint brushes, shop towels, nitrile gloves and sandpaper.
Step 1. Sand your furniture piece.
- If your piece is a DIY build, you must sand it. Rough-sawn lumber is NOT smooth. It absorbs stain in varying amounts and provides more grooves for water to sneak into.
- If you’re refinishing a furniture piece for outdoor use, make sure to remove ALL pre-existing paint, stain, poly, etc. Spots of these substances lingering on the surface will prevent your stain from proper absorption.
- An orbital sander is exponentially faster than using sandpaper by hand. Belt sanders are designed ONLY for completely flat surfaces.
- Start with 36-60 grit for heavy removal.
- Transition from rough to smooth with 100-150 grit.
- Complete the sanding process with 220 grit to yield a very smooth feel. This will provide a uniform surface for the stain to seep into and for paint to dry on top of.


Step 2. Apply wood stain.
- Put on your nitrile gloves to prevent staining your hands for an exceptionally long time. Think: industrial strength permanent marker.
- Open you can of wood stain and thoroughly stir with a wooden stir stick for at least 1 minute.
- There’s no need to test your stain, as you normally would. It will be covered by paint and lose all visibility.
- Rub a generous amount of stain into every square inch of the wood with a blue shop towel. Top, edges, sides, corners, underside, etc. You may need to stain the places you can’t reach after you apply and remove the first coat.
- Allow the stain to penetrate the wood grain for 5-10 minutes.
- Remove ALL excess stain with a fresh shop towel.
- Let dry for at least 1 hour. Plan for a longer dry in nonideal conditions, i.e. humidity above 50% and a temperature below 70ºF.


Step 3. Apply exterior paint.
- After the stain has completely dried, apply your first coat of exterior paint with a quality paint brush.
- Open your can of paint and thoroughly stir with a wooden stir stick for at least 1 minute.
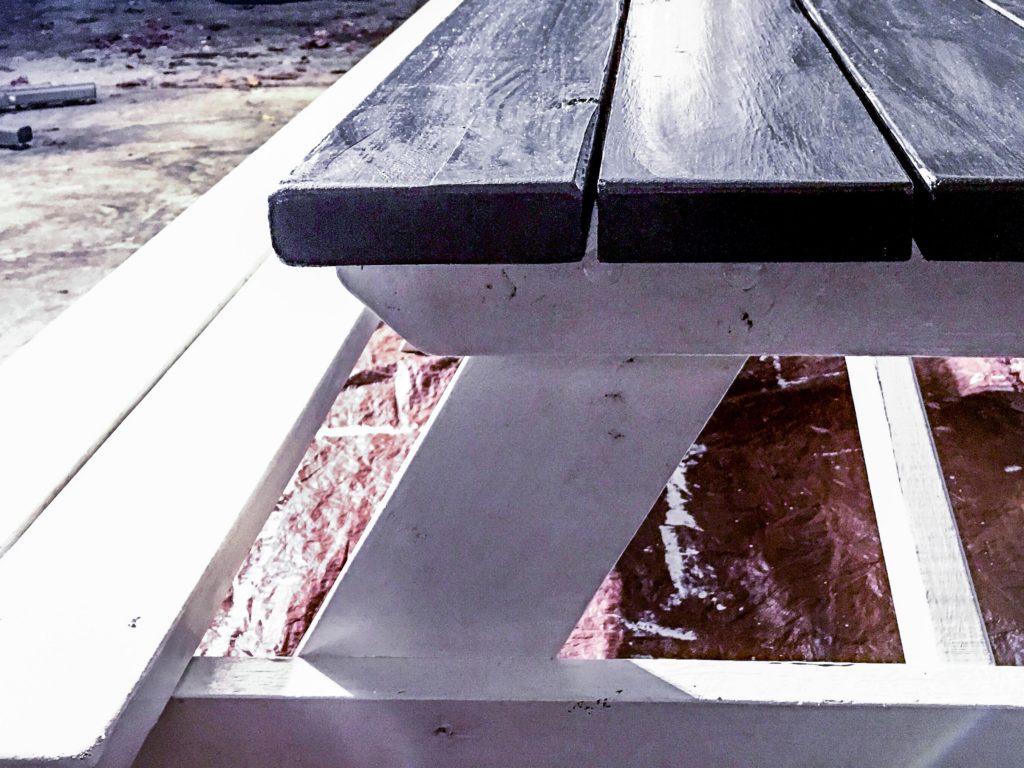
- Apply a medium coat to every part of the furniture piece. If you neglect the underside, then the underside will deteriorate dramatically faster than the top.
- After you finish the first coat, examine your work. Remove all paint drips and droplets as needed.
- Let dry for 4 hours or according to the manufacturer details.


Step 4. Apply second coat of exterior paint.
- After the first coat of paint has completely dried, apply a second coat.
- One coat is rarely sufficient for even visual coverage. Even more so to protect your piece from the elements.
- Let dry for 4 hours. Check the manufacturer details to be sure.
Step 5. Exterior polyurethane, coat #1.
- Open your can of polyurethane and thoroughly stir with a wooden stir stick for at least 1 minute.
- Apply a thin, even coat with a new shop towel. Smooth out the coat, but do NOT rub it in. Cover every part of the piece.
- Let dry for at least 8 hours, or longer if conditions are not ideal.


Step 6. Exterior polyurethane, coat #2.
- Put on a new pair of nitrile gloves.
- Before applying your second coat of poly, lightly sand the first coat with 220 grit sandpaper by hand. The second coat needs help adhering to the first coat.
- Wipe away all poly dust with a new shop towel.
- Apply the second coat of poly with another new shop towel.
- Let dry at least 8 hours.

Step 7. Exterior polyurethane, coat #3.
- Repeat Step 6 for the third coat of poly.
- A minimum of two coats is recommended by Rust-Oleum, but we want maximum protection.
- Let dry at least 8 hours.
Step 8. Exterior polyurethane, coat #4.
- Repeat step 6 for the fourth coat of poly.
- Do not sand after the fourth coat.
- Your furniture piece will be ready for light indoor use in 24 hours.
- Allow the poly to cure for 3 days before normal outdoor use.

Wood finish home inspiration.
If you’re looking for more home decor ideas & inspo, check out our DIY wood finishing & refinishing tutorials below. Learn how to get that custom look you’ve be dreaming of.


Hi! We have a solid wood table that was custom made for us many years ago. It was our dining room table, but we moved it outside several years ago. It’s under our patio, so it has been protected from sun damage but the weather has beaten it up pretty well. We would like to paint it, protect it, and leave it outside. I love this particular idea: we are planning to paint the table using your specs and colors. My question: since the table was already stained when we got it years ago, even though it looks pretty weathered, my husband says we have to sand it down first. Your thoughts?
I am building a fish cleaning station for my son in law; and I want to protect the wood from the weather and bugs. What is a safe, durable finish i can apply, that will last for a long time? I have purchased an old cast iron/porcelain sink to use in the station, but I know he will also cut on the wood surface– not just the porcelain deck. Do you have any recommendations? Thank you.
Great question, Mary Jane! We definitely recommend using a food grade clear coat. Standard polyurethane will release toxins into your fish, and could contribute to long term health issues. Our favorite is General Finishes’ Wood Bowl Finish. It’s an oil-based urethane, providing high durability without the need to recoat in the near future. They suggest applying 3 coats, waiting 24 hr between each coat, drying it for 7-10 for light use, and 30 days for a full cure.
WATCO Butcher Block Oil will suffice, but requires a recoat on a regular basis. Howard Butcher Block Conditioner is sufficient as well, combining food grade mineral oil + waxes. However, you’ll need to recoat it regularly. Hope this helps!
General Finishes – wood bowl finish.
Hi! Love this post. We are getting ready to build a 7ft farmhouse table with two benches for our outside patio. I’m wondering if you think a quart of each product will be enough for a large table or if we will need a gallon of any of the three. Thanks!
Hi, Kailey! So glad you love it and you’re getting after it.
If you opt to stain, a quart should be sufficient for a single coat on the table + 2 benches. If you need to make the tone darker with another coat, get 2 quarts of stain. Or a full gallon if you regularly use that stain.
If you choose to paint, stain might not be necessary. I opted for every possible protection. Paint + poly should be sufficient. I’ve been recently using a waterproofing-stain-and-sealer-paint. It’s phenomenal. One coat on my farmhouse shutters + front porch and they show no wear after like a month of downpour. If you’re trying to save some coin, grab a gallon of this paint and apply two coats – that stuff alone will protect your deck, no problem.
If you’re budgeting for paint + poly, I would take the same approach as the stain. 1 quart will get you two coats, but it’s safer to grab 2 quarts and just return the extra if you don’t use it. Varathane actually has a water-based exterior poly that is super strong, but dries faster that oil-based. More coats means more protection.
Hope this helps! Glad to clarify as needed.
–Austin–
Should I pressure wash my picnic table or sand it?
Hi, Rikky! If you’re finishing or refinishing a picnic table that you actually use, then there will be a lot of grime to remove.
(1) I would definitely recommend power-washing and letting it fully dry. If not, your sanding pad will be rendered useless within 15 seconds. If you haven’t used the picnic table yet, then skip to (2) below.
(2) Using a paint scraper, remove all loose wood + paint.
(3) Sand with 60 grit for high removal, then 150 grit, and do a final pass with 220 grit for a smoother surface. If you’re going to stain the table, you’ll need to remove ALL paint / poly / existing stain. If you’re going to paint the table, you may only need a couple passes with 220 grit to allow for better paint adhesion. If a clear coat like polyurethane is still present when you apply paint, it might not adhere properly. Consider a belt sander for all flat surfaces and an orbital sander for everything else.
Hope this helps. Happy finishing!