If you’re into saving a lot of money on furniture, custom designing your home, testing out a new creative hobby or bringing new life to old things, then refinishing is your game.
Do you splurge on brand new furniture for top dollar at the literal expense of your budget? Or buy poorly-made furniture for cheap and regret it a few years later as paint chips and pieces break?
Consider this: you can hit the local thrift store and snag high quality, real wood pieces for a fraction of the price. They only need a little love to be completely revitalized. Good as new. Actually, it’ll be better than new as the upgraded aesthetic will perfectly match your texture / color palette.
Is your design cohesive?
Take a look around your home.
Your feasting table, chairs, side tables, coffee table, desk, shelves and wooden wall decor are mismatched. Eclectic at best.
Do you buy all new items to achieve visual harmony? Or can you refinish a few of these babies instead? I swear I just heard your credit card say “thank you” from the other room.
If they can do it…
Perhaps you’ve watched all the design shows on HGTV and Netflix.
Your inspiration level is through the tin roof, but your confidence is a little thin. Is it as fun as it appears on television? Yes. Can anyone refinish furniture? Absolutely.
The only catch – it might take slightly longer than 5 minutes. Paint and stain only insta-dry for famous people.
For humans just like you, we created a 101 approach to finishing and refinishing furniture and design pieces. All the crucial steps clearly laid out below. Dive in before you make another design decision for your cozy space.
Repurposed table of contents.
- Material to have on hand.
- Wood stain.
- Clear coat.
- Tools.
- Step 1. Build or find your piece.
- Step 2. Sanding.
- Step 3. Prepare your finishing area.
- Step 4. Stain or paint or both.
- Step 5. Rustic techniques.
- Step 6. Clear coat.
- Your finishing & refinishing inspiration.
- DIY furniture & home decor building plans.

Materials to have on hand.
- Paint. Choose what colors you love that match your design aesthetic.
- Wood stain. *See details below.
- Clear coat. *See details below.
- Painter’s tape. ~$4 per roll.

- Paint brush. 5-piece kit for ~$9.

- Blue shop towels. ~$2 per roll.

- Nitrile gloves. ~$0.20 per pair.

- Sandpaper sheets. ~$6 for an assorted 5-pack.

- Tarp. 8’ x 10’ for <$10.


Wood stain.
Our most-used stains. ~$20 on Amazon or ~$10 at Home Depot per quart.


Clear coat.
Our most-used protective, transparent coatings. Poly’s are ~$16-$25 per quart. Wax is ~$10-$15 per pound. Oil & Urethane mix is ~$20-$26.
- Water-based polyurethane (interior, satin).

- Oil-based polyurethane (interior, semi-gloss).

- Oil-based polyurethane (exterior, stain).


Tools.
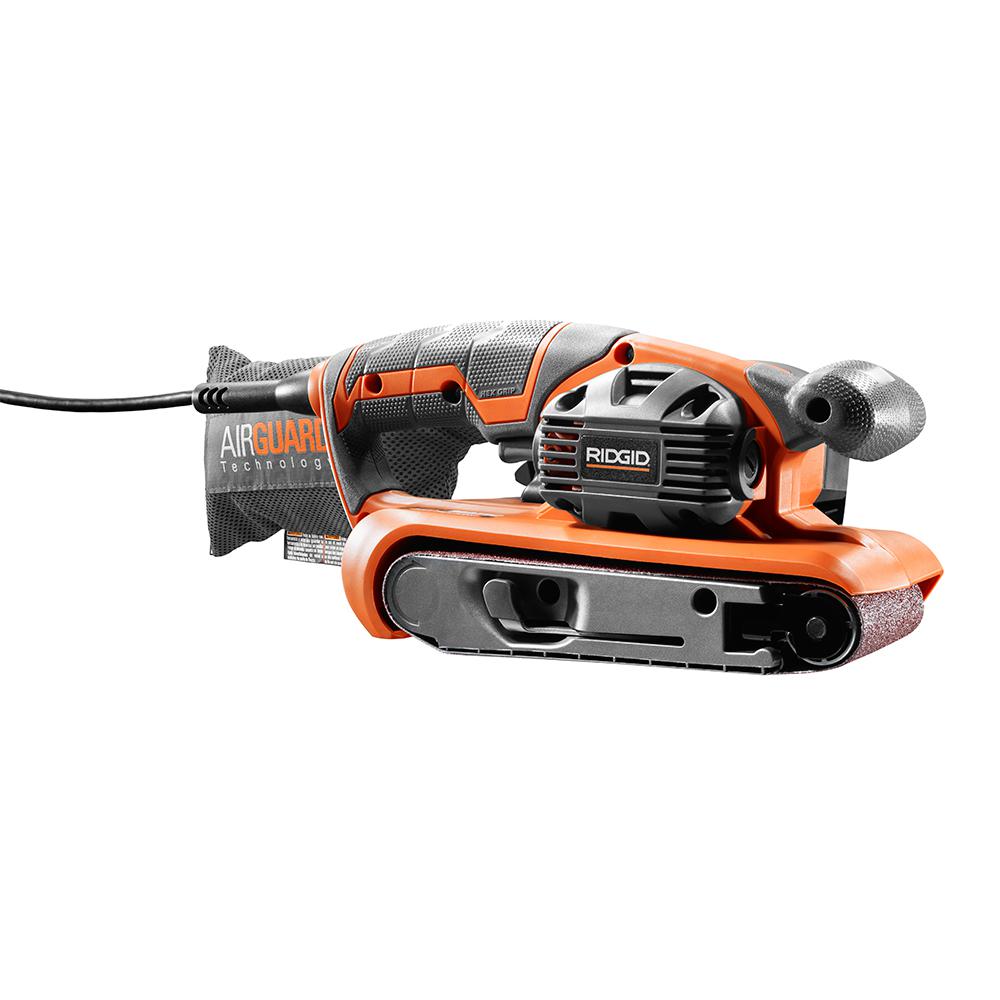
- Belt sander for tabletops.
- Tape measure – assess the size of piece you need.

- Putty knife (flexible).
- Paint scraper (not flexible). Both the knife and scraper in a kit below:


Step 1. Build or find your piece.
Before you decide on a plan or leave for the thrift store or estate sale, get a clear idea of what you need and what dimensions it must be to fit your space.
Allow extra time if you need something very specific. Do not expect to find the exact type of piece and the exact dimensions on the first thrift store trip.
Pro-tip: inspect the piece of furniture or home decor for “good bones”. That’s buzzword-slang for having structural integrity even though it’s a cosmetic mess. Do the doors and drawers actually work? Does the craftsmanship seem solid or piece-of-crap-esque? Do you need real wood for restaining, or can you settle for painting MDF, particle board, plywood or laminate? Do the legs teeter with pressure or remain straight? Will you replace the knobs and pulls or use the existing ones?
Bring a tape measure with you when you go to look at pieces to ensure it will fit in your space.
Before you start removing doors and drawer, label with masking tape.
Remove hardware and put in a safe place. We like to use a solo cup or other plastic container. If you’re refinishing multiple pieces at the same time, make sure to separate the hardware for each piece so you don’t get confused.
If removing knobs, we like to hand screw the bolts back into the knobs before placing in the container. You don’t need to screw them all the way tight – just enough so that they stay together. It helps keep everything straight and ensures that the bolts don’t get mixed up.
If you’re changing out knobs and pulls, verify that your new knobs / pulls are the same dimensions. If so, proceed. If not, you’ll need to fill the holes with wood filler + putty knife before moving on to the next step. After the filler dries, sand until smooth with sandpaper. Consider another application of filler if the area feels like a divot.

Step 2. Sanding.
Belt sander.
Sand flat tabletops / surfaces with a belt sander to save time. Start at lower grit numbers for faster / more aggressive removal. 36 or 60 grit will remove large amounts of material. 100 or 150 grit are used once the piece is completely stripped of either its clear coat or stain. Complete any sanding with 220 grit before staining or painting for a smooth feel.
Orbital sander.
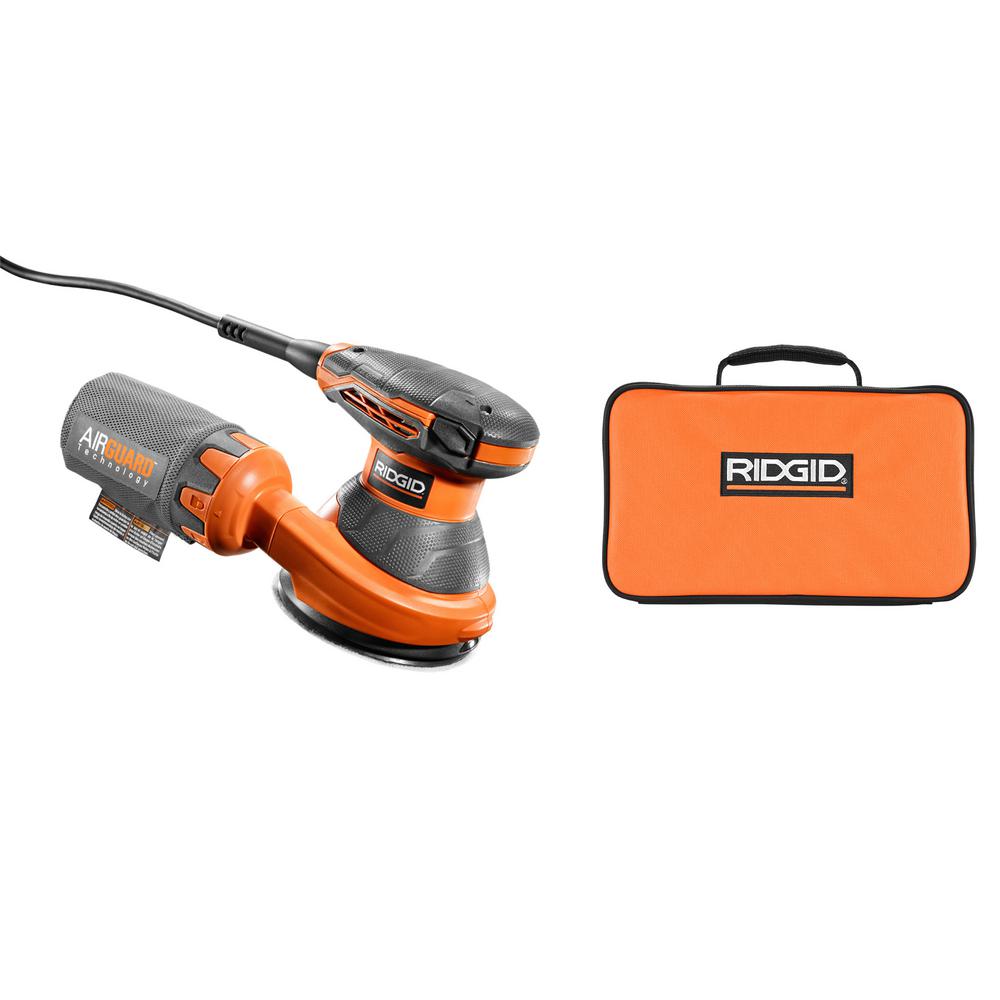
Sand any type of wood surface with an orbital sander wherever possible. Move from low grit number to higher grit number once sufficient removal of material has been achieved (as mentioned above). Hand-sand the areas that aren’t accessible using a belt or orbital sander.
Planning to stain wood?
- Make sure that your material is actually made of wood, not MDF, particle board or the like. Only real wood is stainable.
- Sand the surfaces until the clear coat and stain are completely gone. This reveals raw, unstained wood. Even the smallest remnant of stain or poly will be non-stainable.
- Consider using a heavy paint thinner for thicker clear coats instead of sanding the top layer. With gloves on, evenly apply thinner to the surfaces that contain polyurethane, shellac or lacquer. Allow the thinner to sit long enough to sufficiently destroy the top layer. Scrape off all excess with a paint scraper. Let dry before continuing to sand.
Planning to paint wood?
- Sand or apply a paint thinner to remove only the top layer of poly, shellac or lacquer.
- Once the top layer has been sufficiently removed, it will reveal a layer of either stain or paint. Proceed to paint directly on top of this layer. Paint will NOT adhere properly to a clear coat, but WILL adhere to existing stain / paint.
- Reminder: always complete your wood sanding session with 220 grit for a smooth feel. For a more rustic or weathered or distressed aesthetic, complete your sanding with 60 or 100 grit.

Step 3. Prepare your finishing area.
- Thoroughly wipe off the pieces after sanding so no dust is left. Use a clean shop towel.
- Spread out a tarp in your driveway, garage, shop or wherever you are planning to refinish the piece(s). This helps catch drips or splatters. We have a designated paint tarp that we always pull out for projects like this.
- Lay out your furniture and all the doors, drawers, etc. on the tarp. Make sure you leave enough room between each piece that you can walk around them when painting.
- For better leverage, consider placing pieces on sawhorses, a covered workbench, a covered table saw, etc. Don’t strain your back if you don’t have to.

Step 4. Stain or paint or both.
STAIN.
- You’ll notice water based, oil based and gel stain. In general, oil based products take much longer to dry, but offer a hardier coat. Dilute water based stain with water, or oil based stain with mineral spirits if needed for your project.
- Choose your favorite stain and test it BEFORE the final use. Find a scrap piece of wood to be sure it’s the exact pigment you’re looking for. Varathane fast drying oil-based stains should be wiped on, allowed to penetrate the wood grain for 5-10 minutes before thoroughly removing with a fresh shop towel.
- Consider mixing different stains OR apply one stain and layer it with another stain after the first dries.
- Apply your stain using gloves and a new shop towel – these are low lint towels that won’t leave residue on your piece.
- Allow the stain to penetrate the wood grain for 5-10 minutes. Then thoroughly remove with a new shop towel.
- Wait 1 hour before applying an additional stain or paint or clear coat.
PAINT.
- Choose interior or exterior paint. Interior paint is more rigid, while exterior is more elastic. Exterior paint is mixed with additives that help prevent the growth of mold / mildew, reduce color fading and staining. The elasticity enables the paint to survive freezing temperatures without being compromised.
- Choose your sheen. Here are your options from least shiny / protective to most shiny / protective: matte / flat, eggshell, satin, semi-gloss, high-gloss.
- Primer. Use this material BEFORE applying paint for better adhesion. This is ideal when painting a piece of furniture that you just sanded. Choose water-based primer with water-based paint and vice versa.
- Self-priming paint. This is just a thicker paint, NOT actual primer. Primer is better suited for refinishing furniture.
- Water-based (latex) vs oil-based paint. Oil-based has greater durability, takes MUCH longer to dry, and can be cleaned up with mineral spirits. Water-based paints are easier to apply, dry quickly, offer less durability and can be cleaned with water.
- Choose your paint applicator. Natural hair paint brush is ideal for oil-based paint. Synthetic hair paint brush is ideal water-based paint. Rollers are perfect for flat surfaces – they increase painting efficiency, help prevent visual streaking and yield a very even coat. Paint sprayers save the most time and may offer a very even coat, but require a detailed setup and sometimes careful dilution. Low volume high pressure sprayers (compressor based) are more efficient than high volume low pressure sprayers (HVLP), but may causes inconsistencies as the stream will over or under-apply paint. Airless sprayers don’t require a compressor and are ideal for large-scale, professional painting jobs.
- If you decide to paint instead of stain, open and stir your paint with a wooden stir stick for at least 1 minute.
- Apply paint to your piece with a quality paint brush. Consider two applications for thorough coverage. Be sure to wait until paint completely dries before recoating or moving on to the next step.
STAIN + PAINT.
- Our favorite furniture aesthetic uses a mixture of stain and paint.
- Stain the entire piece. Remove excess after 5-10 minutes.
- After dry, paint the bottom with a 2 coats of a lighter colored paint (e.g. white or off-white).
- Paint the top with a light colored whitewash (diluted paint) or dry brush (removes most of the paint before applying to create a streaky, textured aesthetic).
- Once dry, sand down parts of the bottom to reveal the stain underneath for a visual contrast.
- Sand down the top to help blend the lighter whitewash or dry brushing into the stain underneath.

Step 5. Rustic techniques.
SANDING.
- In our favorite stain + paint approach above, we hand-sand the whitewash or dry brushing with 220 grit sandpaper to help blend it with the stain underneath.
- Sand away paint on corners and edges to offer an aged feel.
- Be careful sanding stain. A light, even sanding with 220 grit will yield a soft fade. A heavier sanding with remove the stain and expose the raw wood underneath.
GLAZE.
- After you’ve applied at least one layer of clear coat (e.g. poly), you can apply a glaze.
- The glaze offers color variance and visual interest. It doesn’t get absorbed into the wood – it dries on the surface of your clear coat.
- Choose a pre-mixed glaze OR choose a glaze base that can be colored with paint for a custom look.
FAUX GLAZE.
- Before your clear coat (e.g. poly), dilute a stain and wipe it onto your piece. Water for water-based stains and mineral spirits for oil-based stains.
- This fake glaze will slightly change the color or tone of your piece.
- Be sure to allow the diluted stain to dry.
DISTRESSING.
- Beat the heck out of your piece with various objects.
- This is a form of antiquing your piece, i.e. making it look like it’s been around for 100 years.
- Sand it. Hit it with chains, hammers, rocks and/or pieces of metal.
- Drag it behind your car (not on an actual road).

Step 6. Clear coat.
CLEAR COAT OVERVIEW.
- A mostly transparent, protective outer coating for your furniture or decor piece.
- Moisture, sunlight, temperature variance, fungi and insects deteriorate wood over time. Dramatically slow the aging process by coating your piece with a substance that protects against the items above.
- Some clear coats add less visual change and protection. Others add an amber hue to the piece and provide exceptional protection. Choose appropriately!
- Choose your sheen to match your design aesthetic. From low shine to high shine: matte, satin, semi-gloss and gloss.
OIL VS WATER-BASED POLY.
- Oil-based polyurethane is considered one of the strongest protective clear coats on the market. It often takes each coat at least 4-6 hours to dry, and adds an amber hue to your piece. Not recommended over lighter colored paints and stains. Best for heavy traffic areas like floors.
- Water-based polyurethane offers solid protection, but less than an oil-based alternative. It can dry as quickly as 2 hours, and usually adds very little color variance. Ideal for white or light colored paints and stains.
PASTE FINISHING WAX.
- Offers a warm luster.
- Less protection than water-based poly. Not appropriate for dining tables.
- Dries in 15 minutes. May only require 2 coats.
OIL + URETHANE MIXTURE.
- Offers the natural look of oil with the high protection of polyurethane.
- When used on raw or lightly stained woods, the oil saturates the existing colors of the wood for a richer look.
- The urethane creates a “plastic” barrier, helping prevent wear and tear with regular or heavy use.
- If you’re using a hardwood that’s already too pretty to stain, then add oil + urethane. Ideal for hardwood-topped dining tables, or heavily used desks, coffee tables and side tables.

Your finishing & refinishing inspiration.
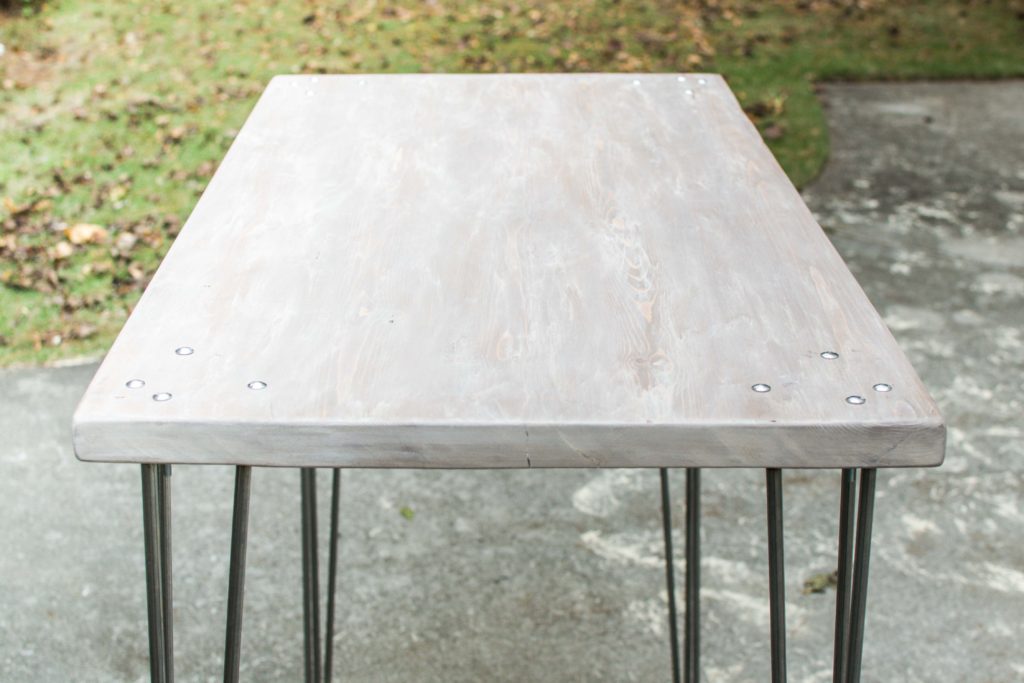
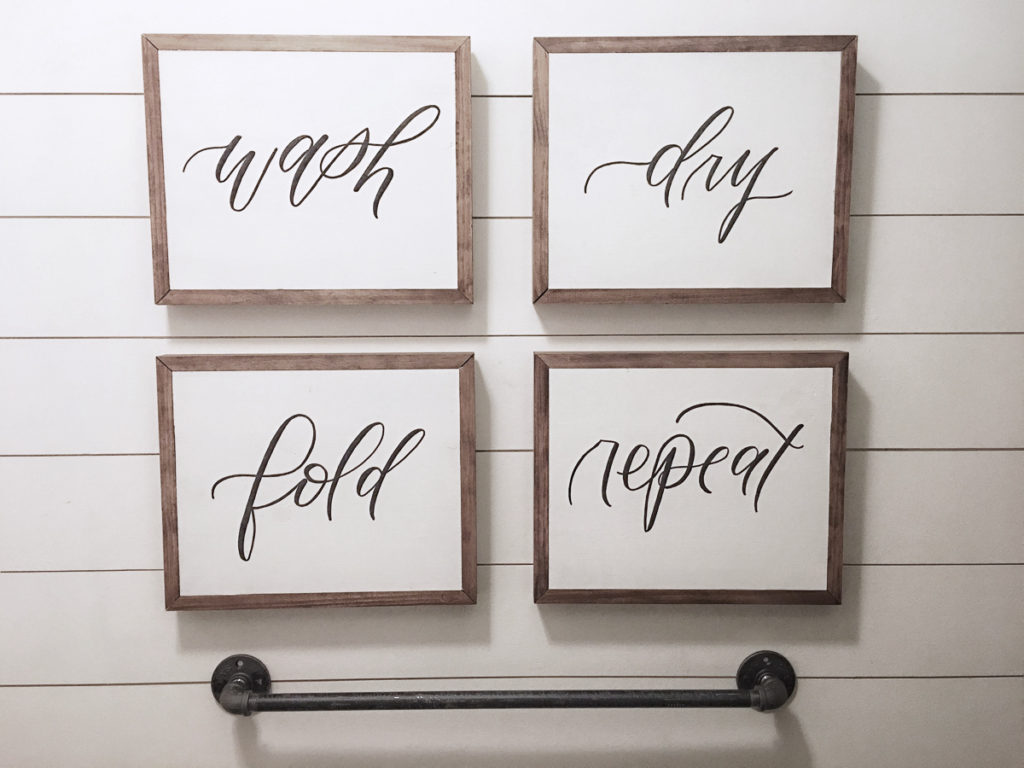
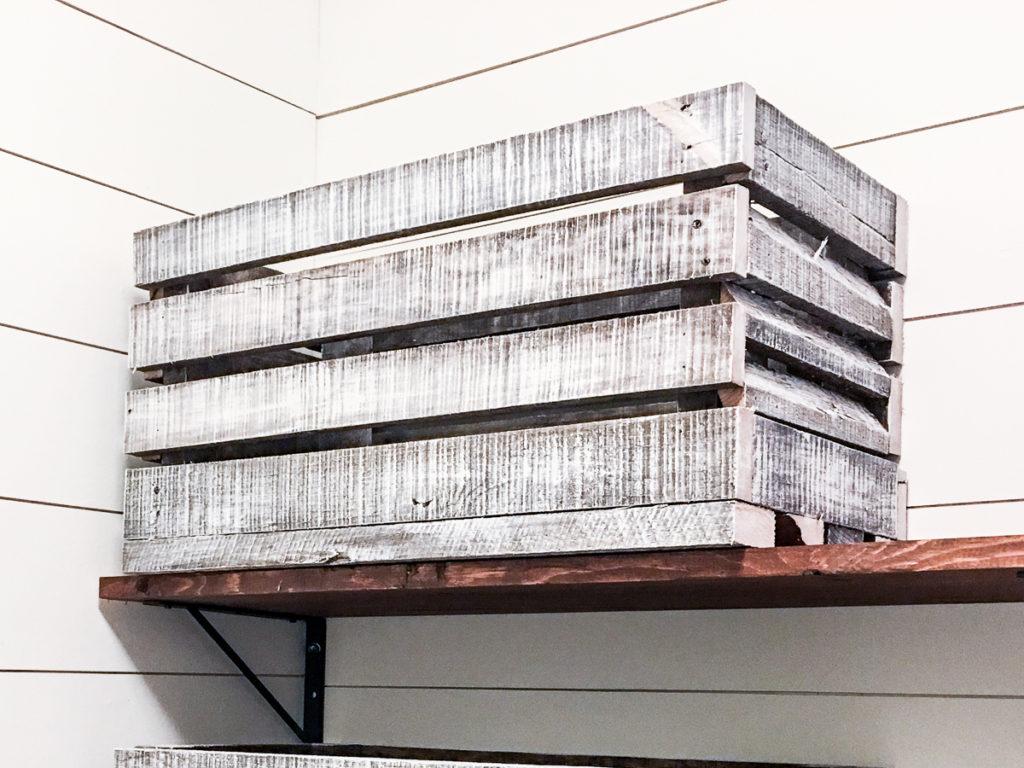
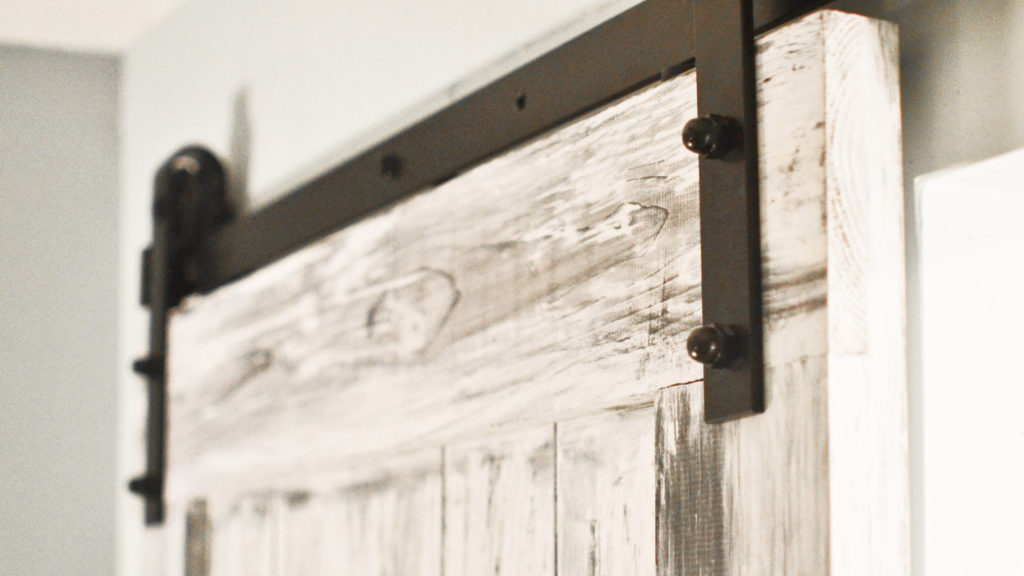
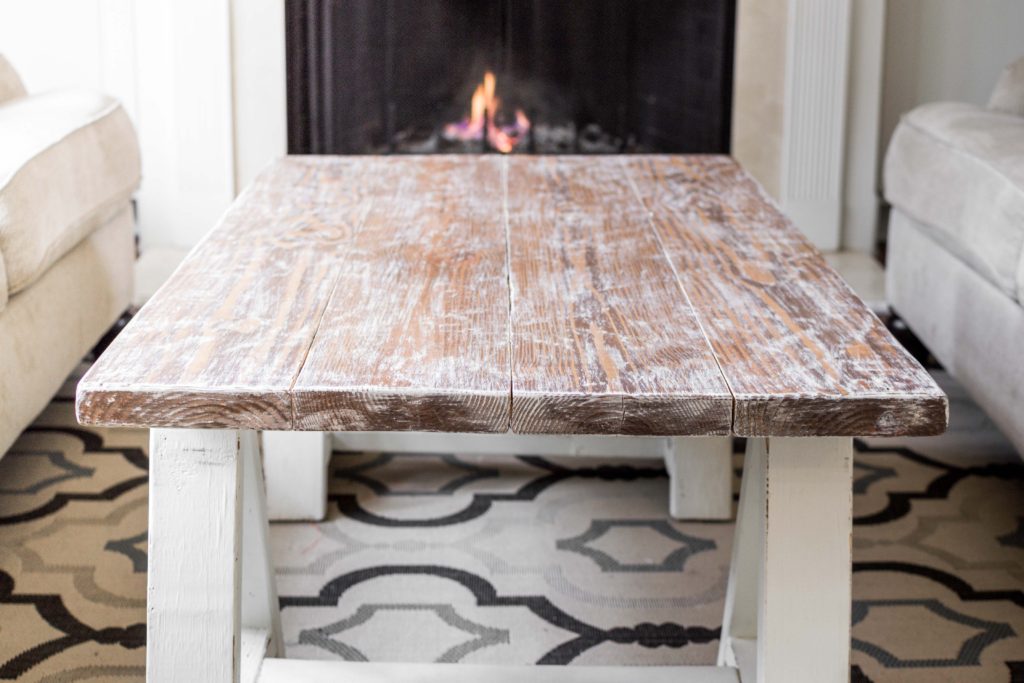
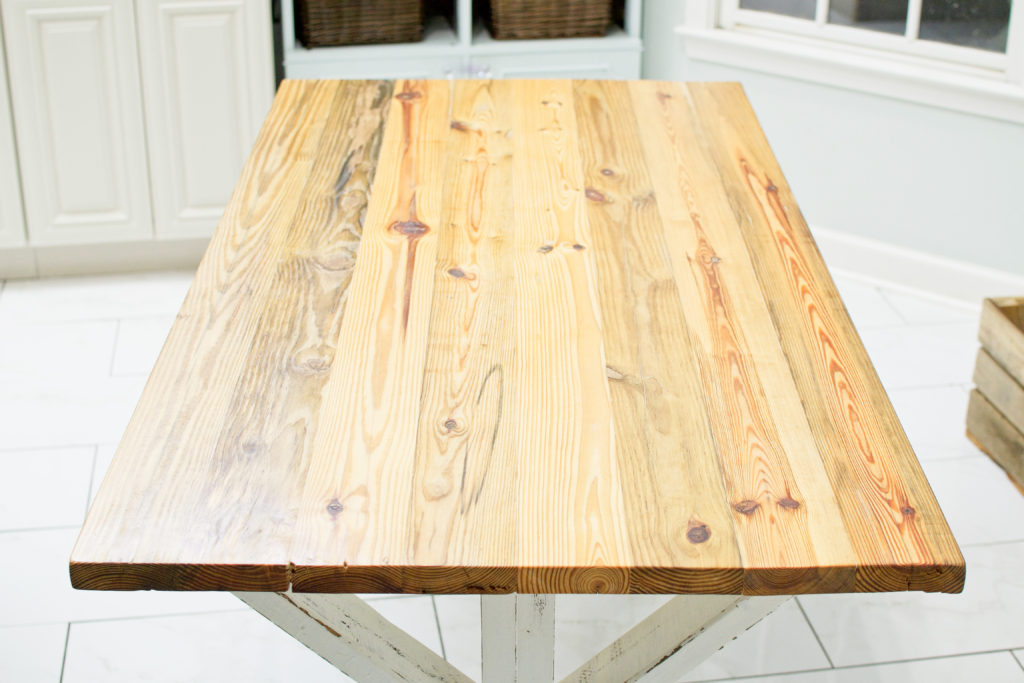
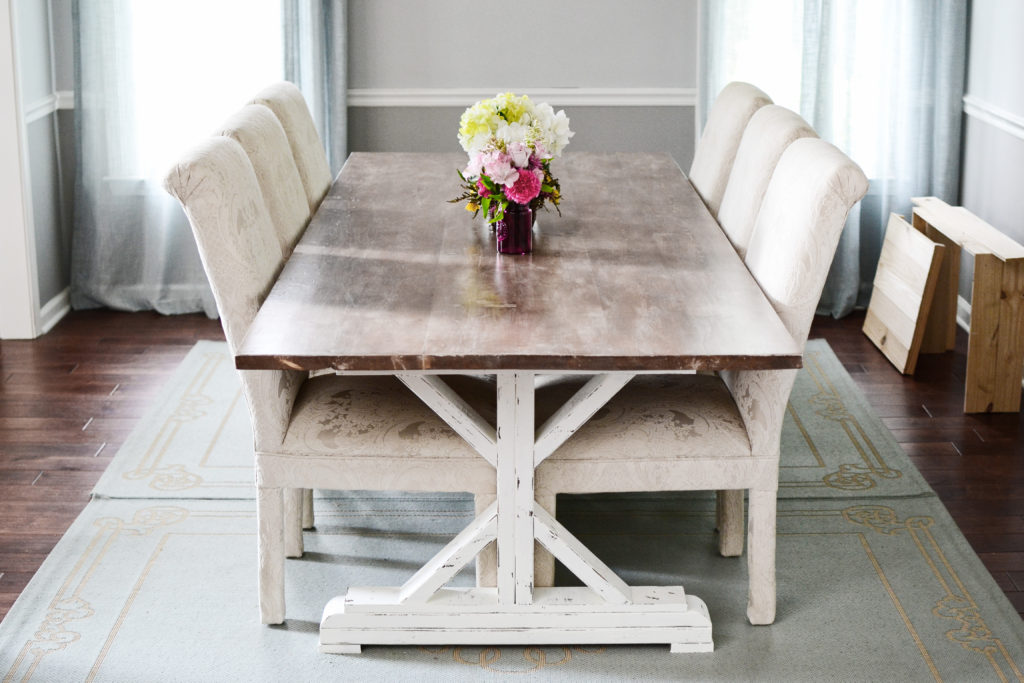
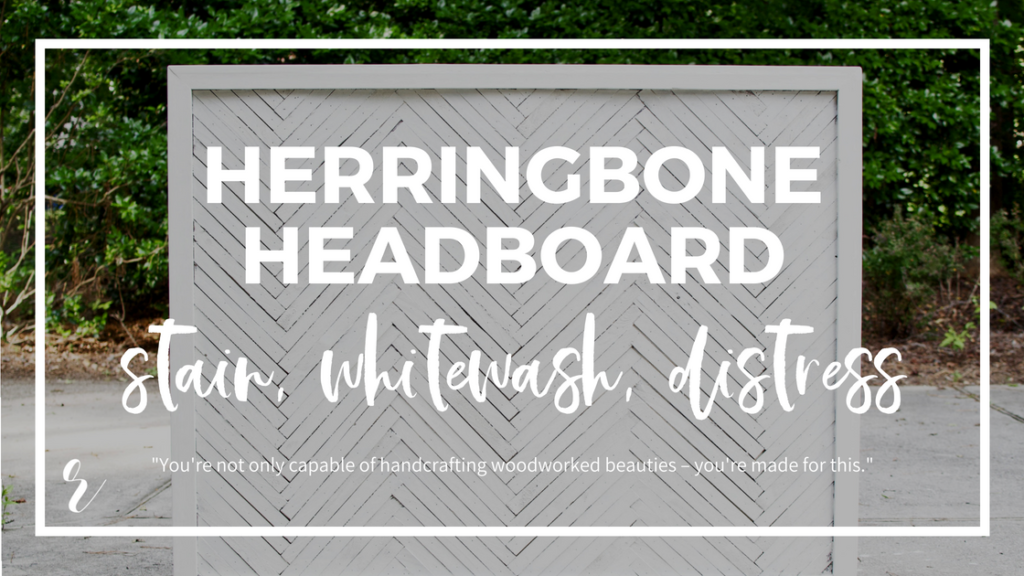
Here are the favorite pieces we’ve finished or refinished with stain, paint, whitewash, dry brushing, distressing, poly, wax, oil or some mixture therein. Have at it.

DIY furniture & home decor building plans.
Our favorite builds. They’re clean and simple. Each pairs with a rustic modern or farmhouse design aesthetic. Make ‘em all.
