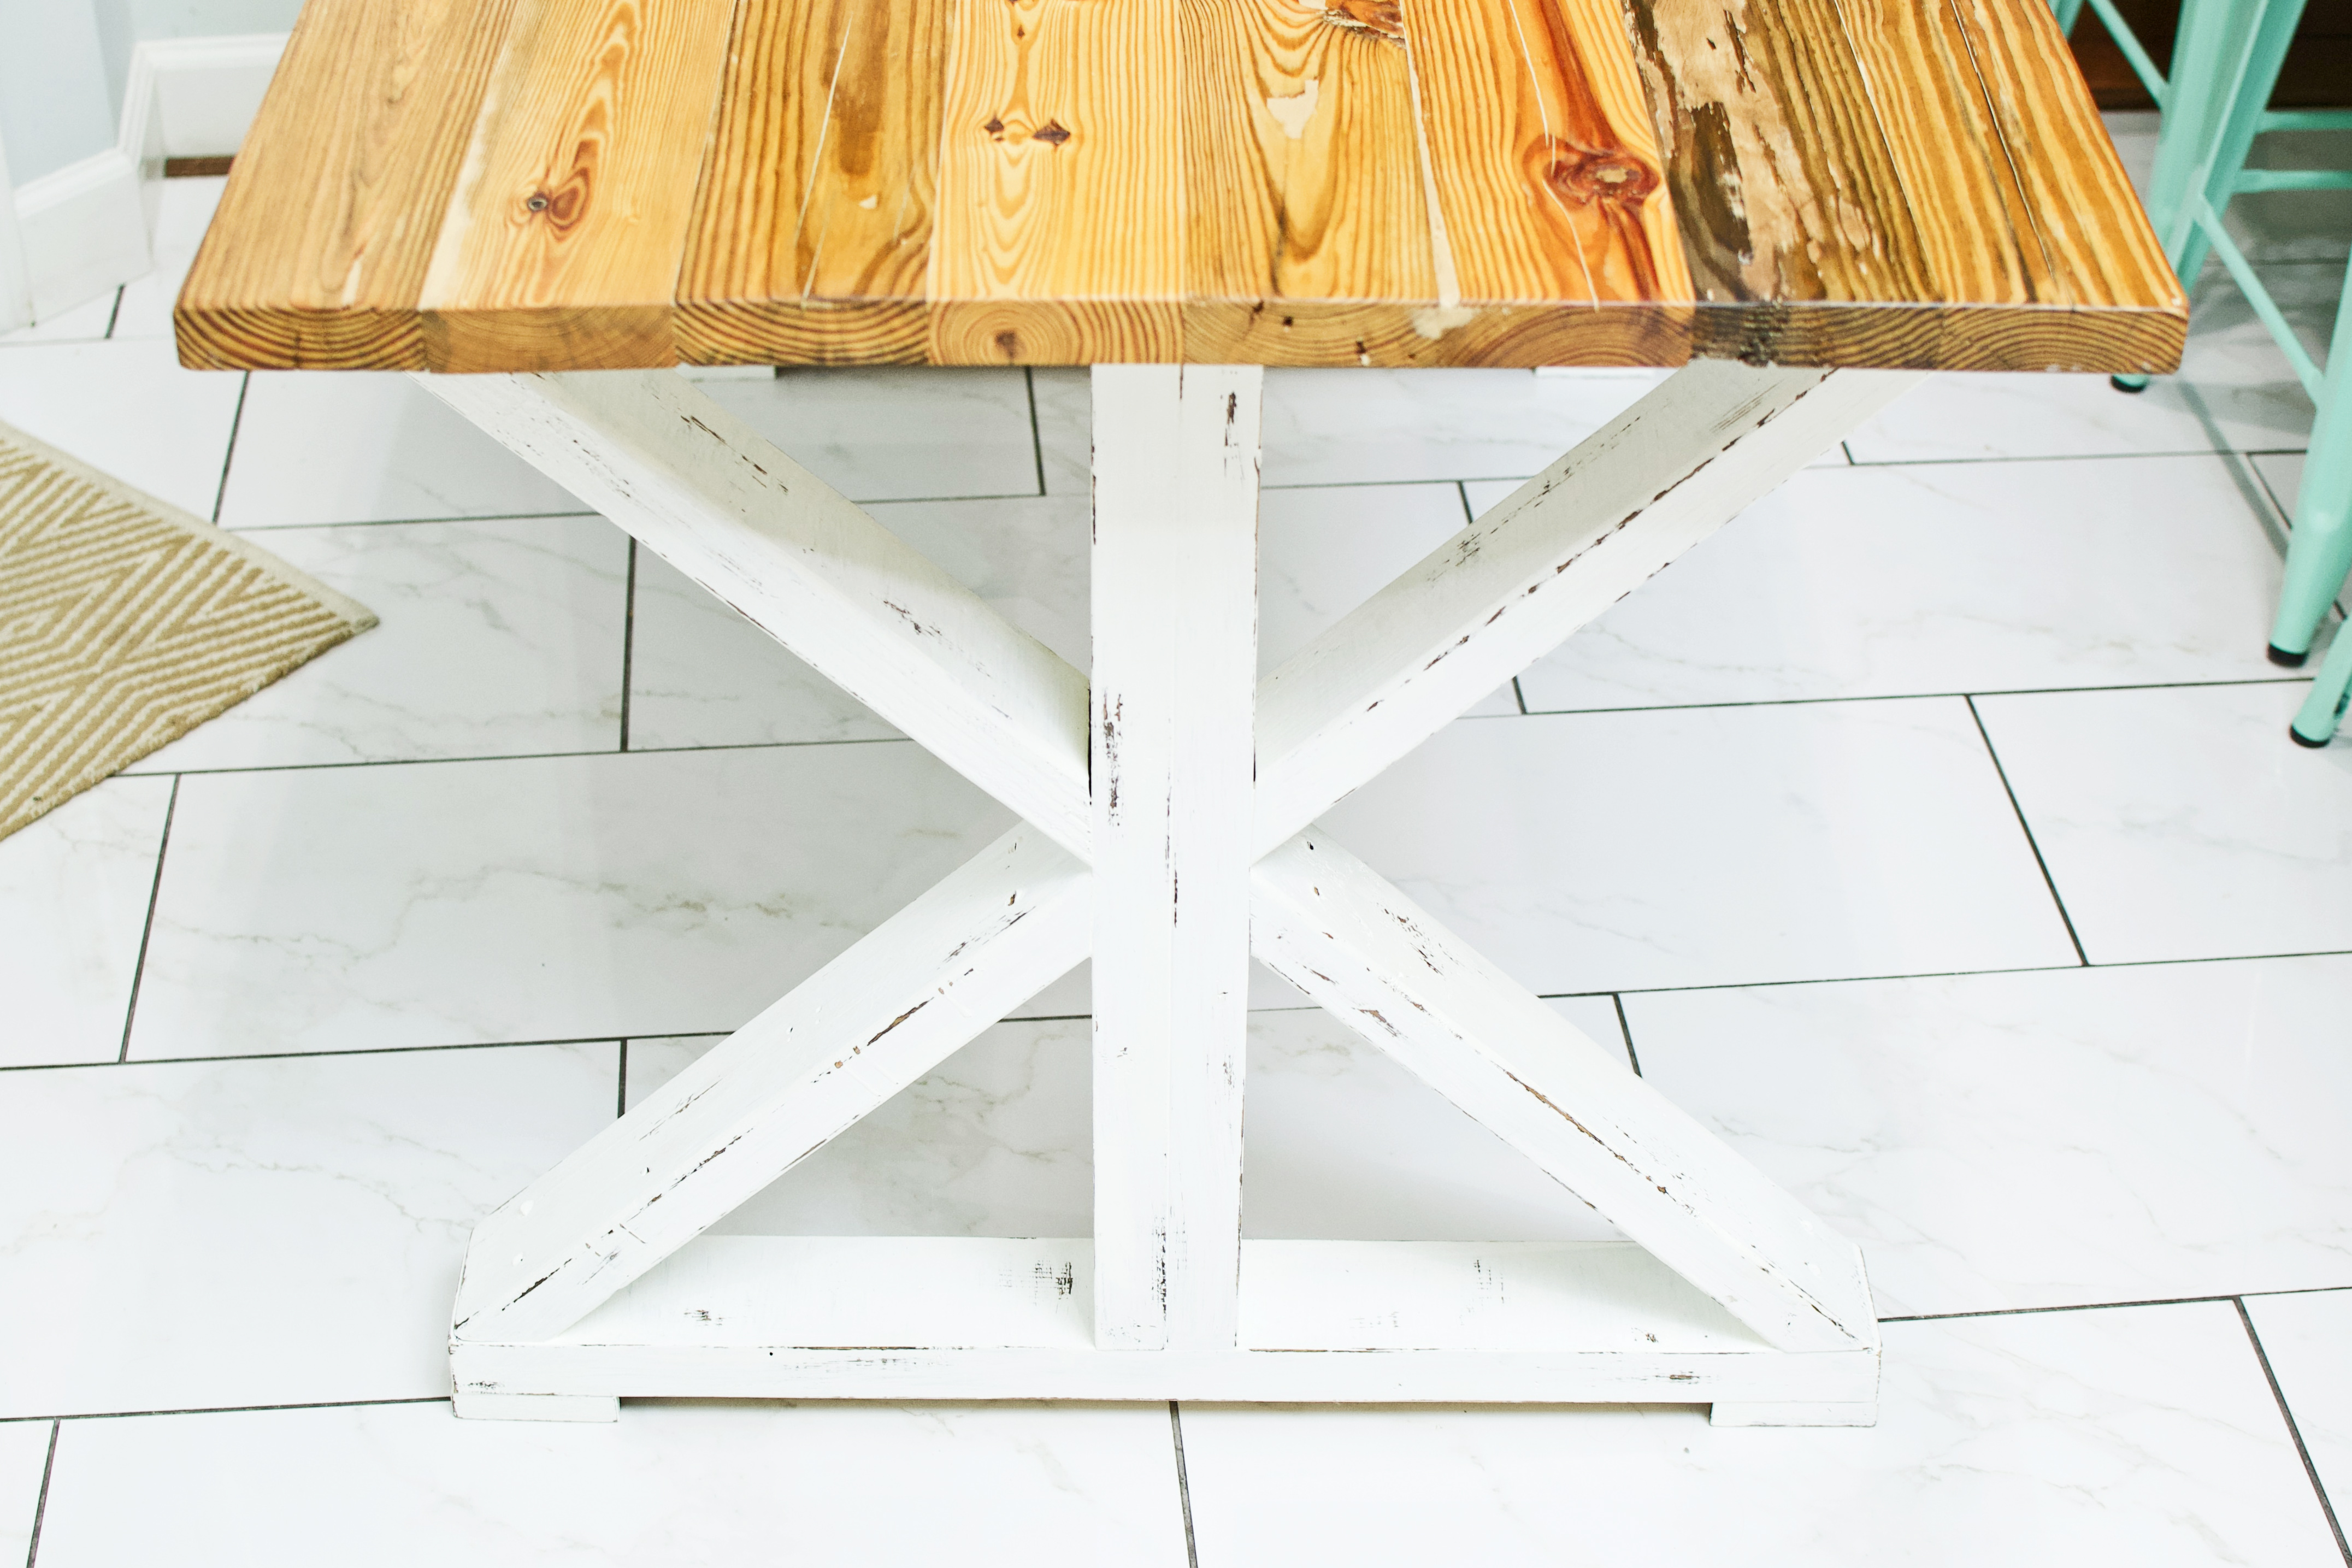
Handcrafting a gorgeous table, but wanting to save some cash in the creative process? 100% hardwood tables cost the prettiest of pennies. 100% soft dimensional lumber-made tables are THE most cost effective, but are usually stained on top to yield a more expensive aesthetic – to mimic an all hardwood top. Why not attempt a blend of both?
Soft dimensional vs. reclaimed lumber.
We LOVE using soft dimensional lumber for our table legs to save money, and reclaimed lumber for our tabletops as an accent piece and conversation starter. I called 10 locals wood retailers / lumber yards / hardwood specialty shops and found 200 year old heart pine from an old bourbon distillery’s flooring (decking). How’s that for a cool story?
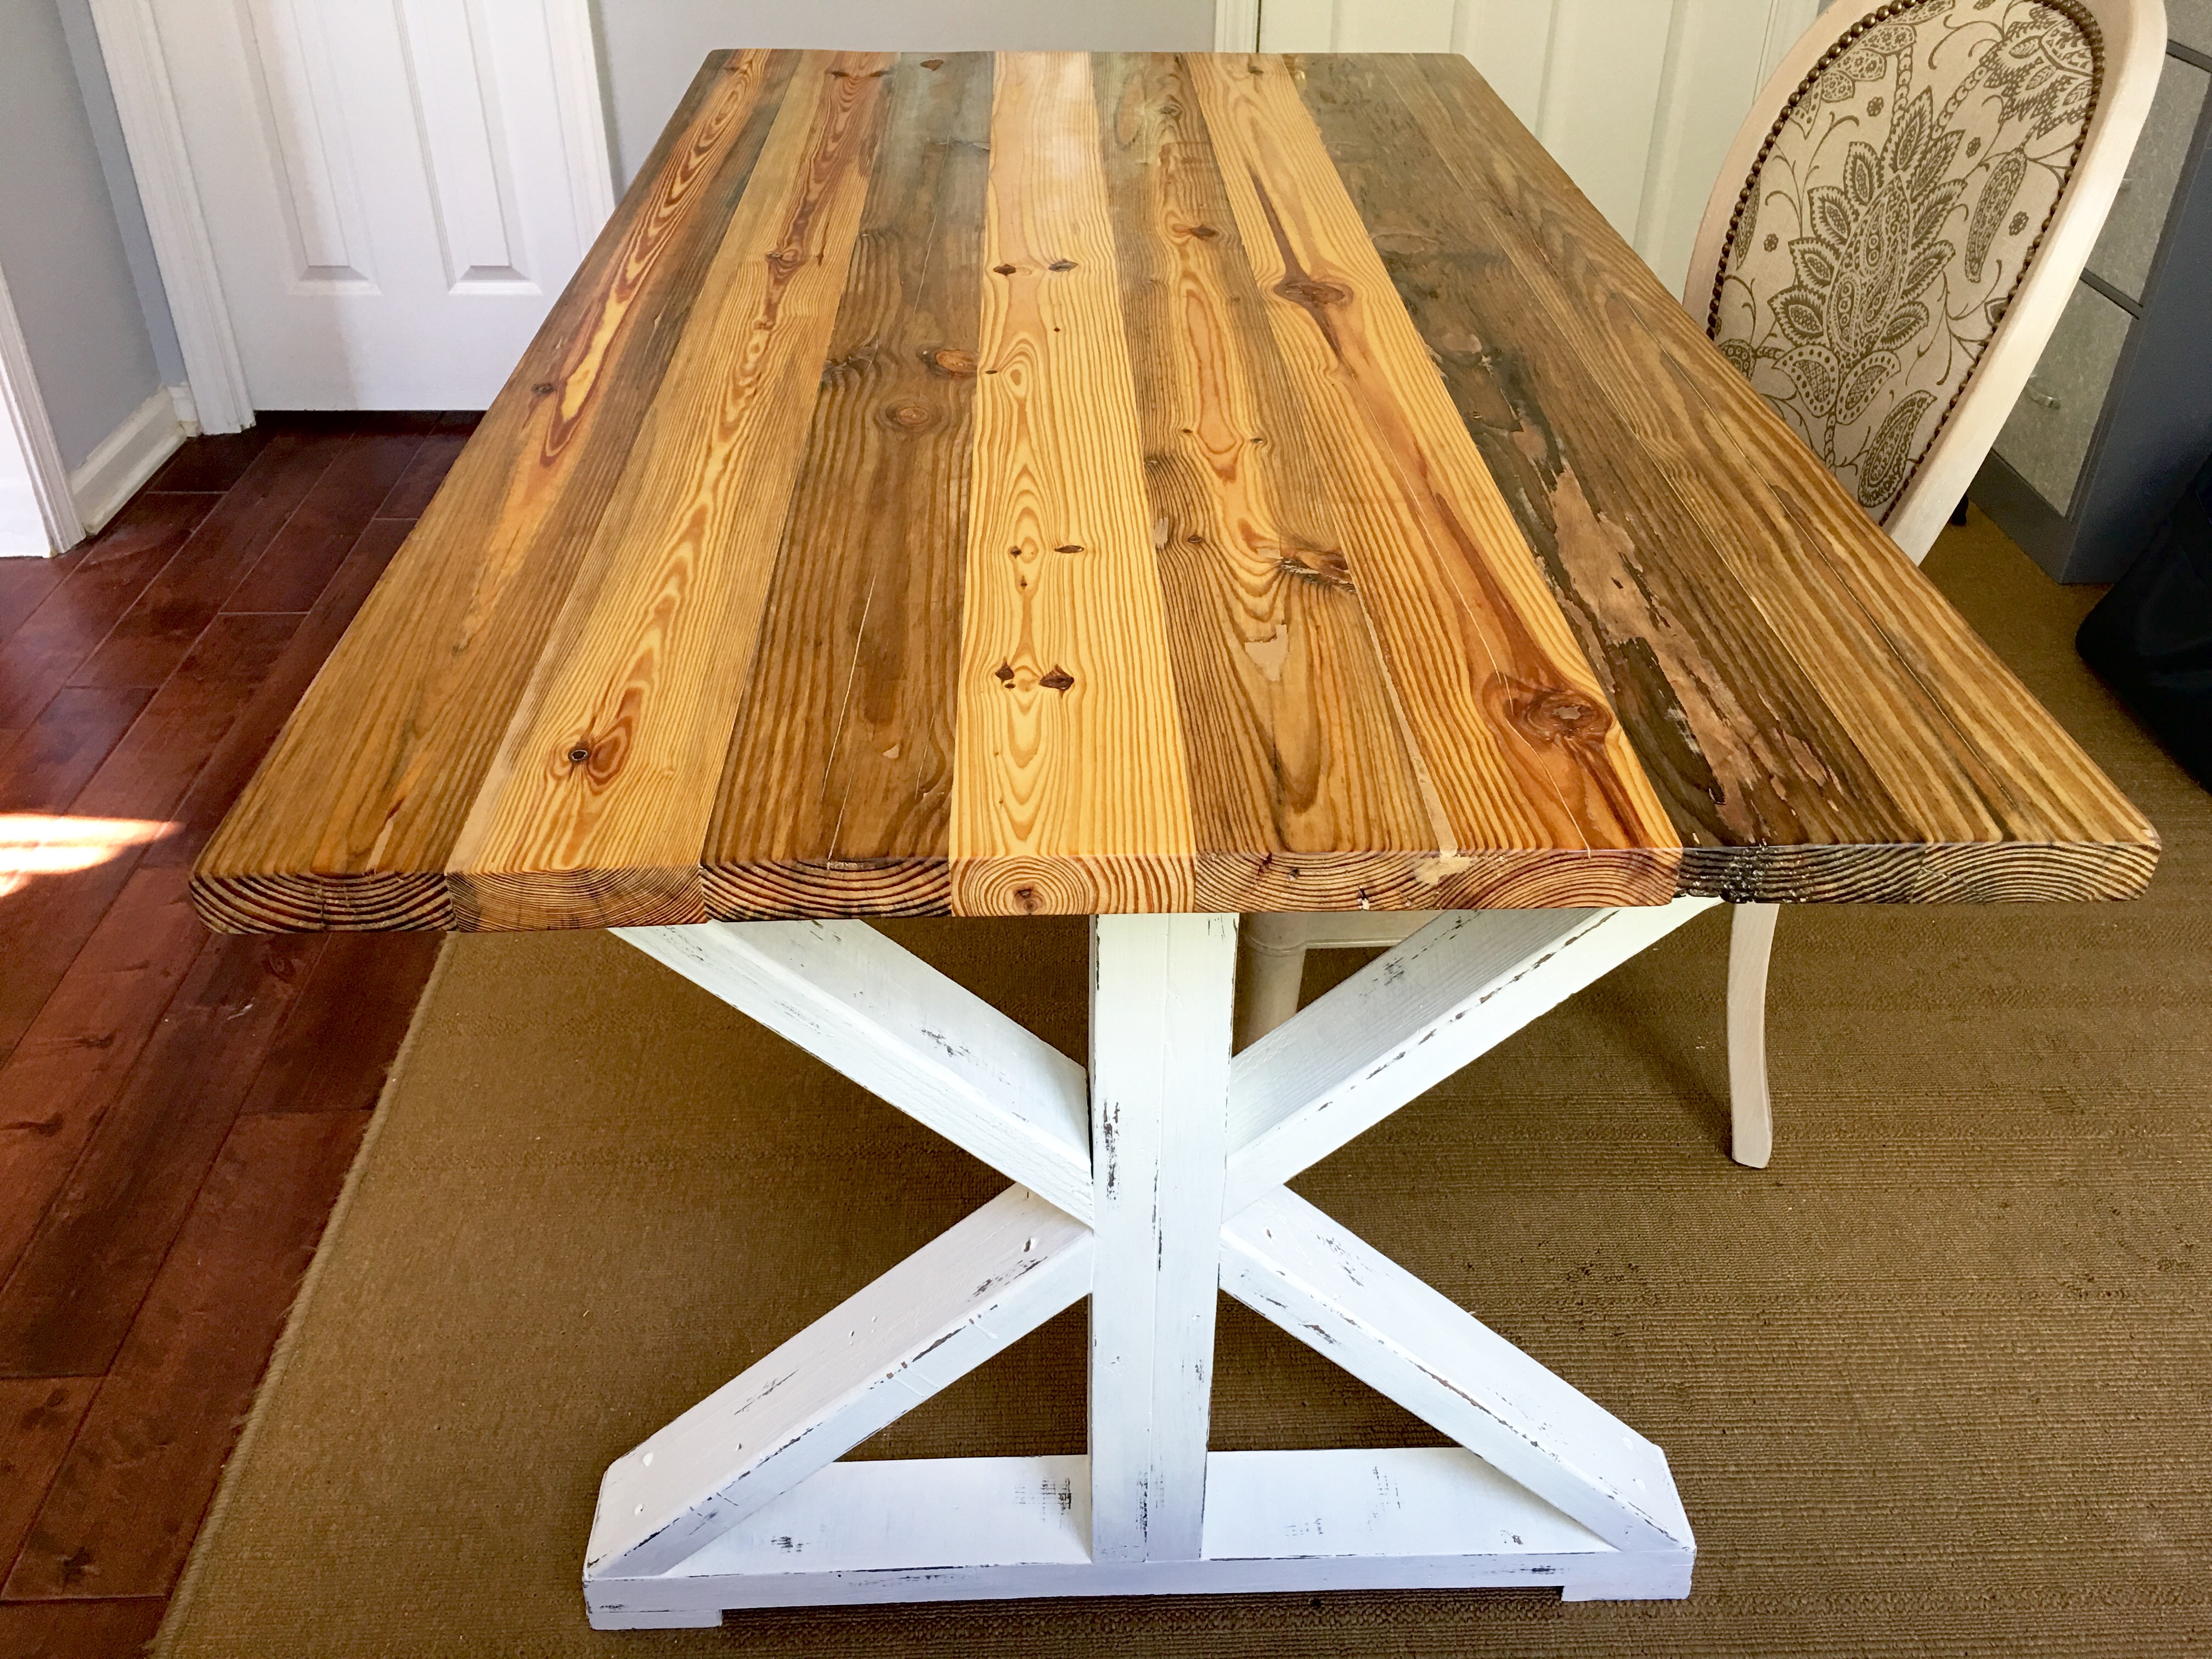
Heart pine.
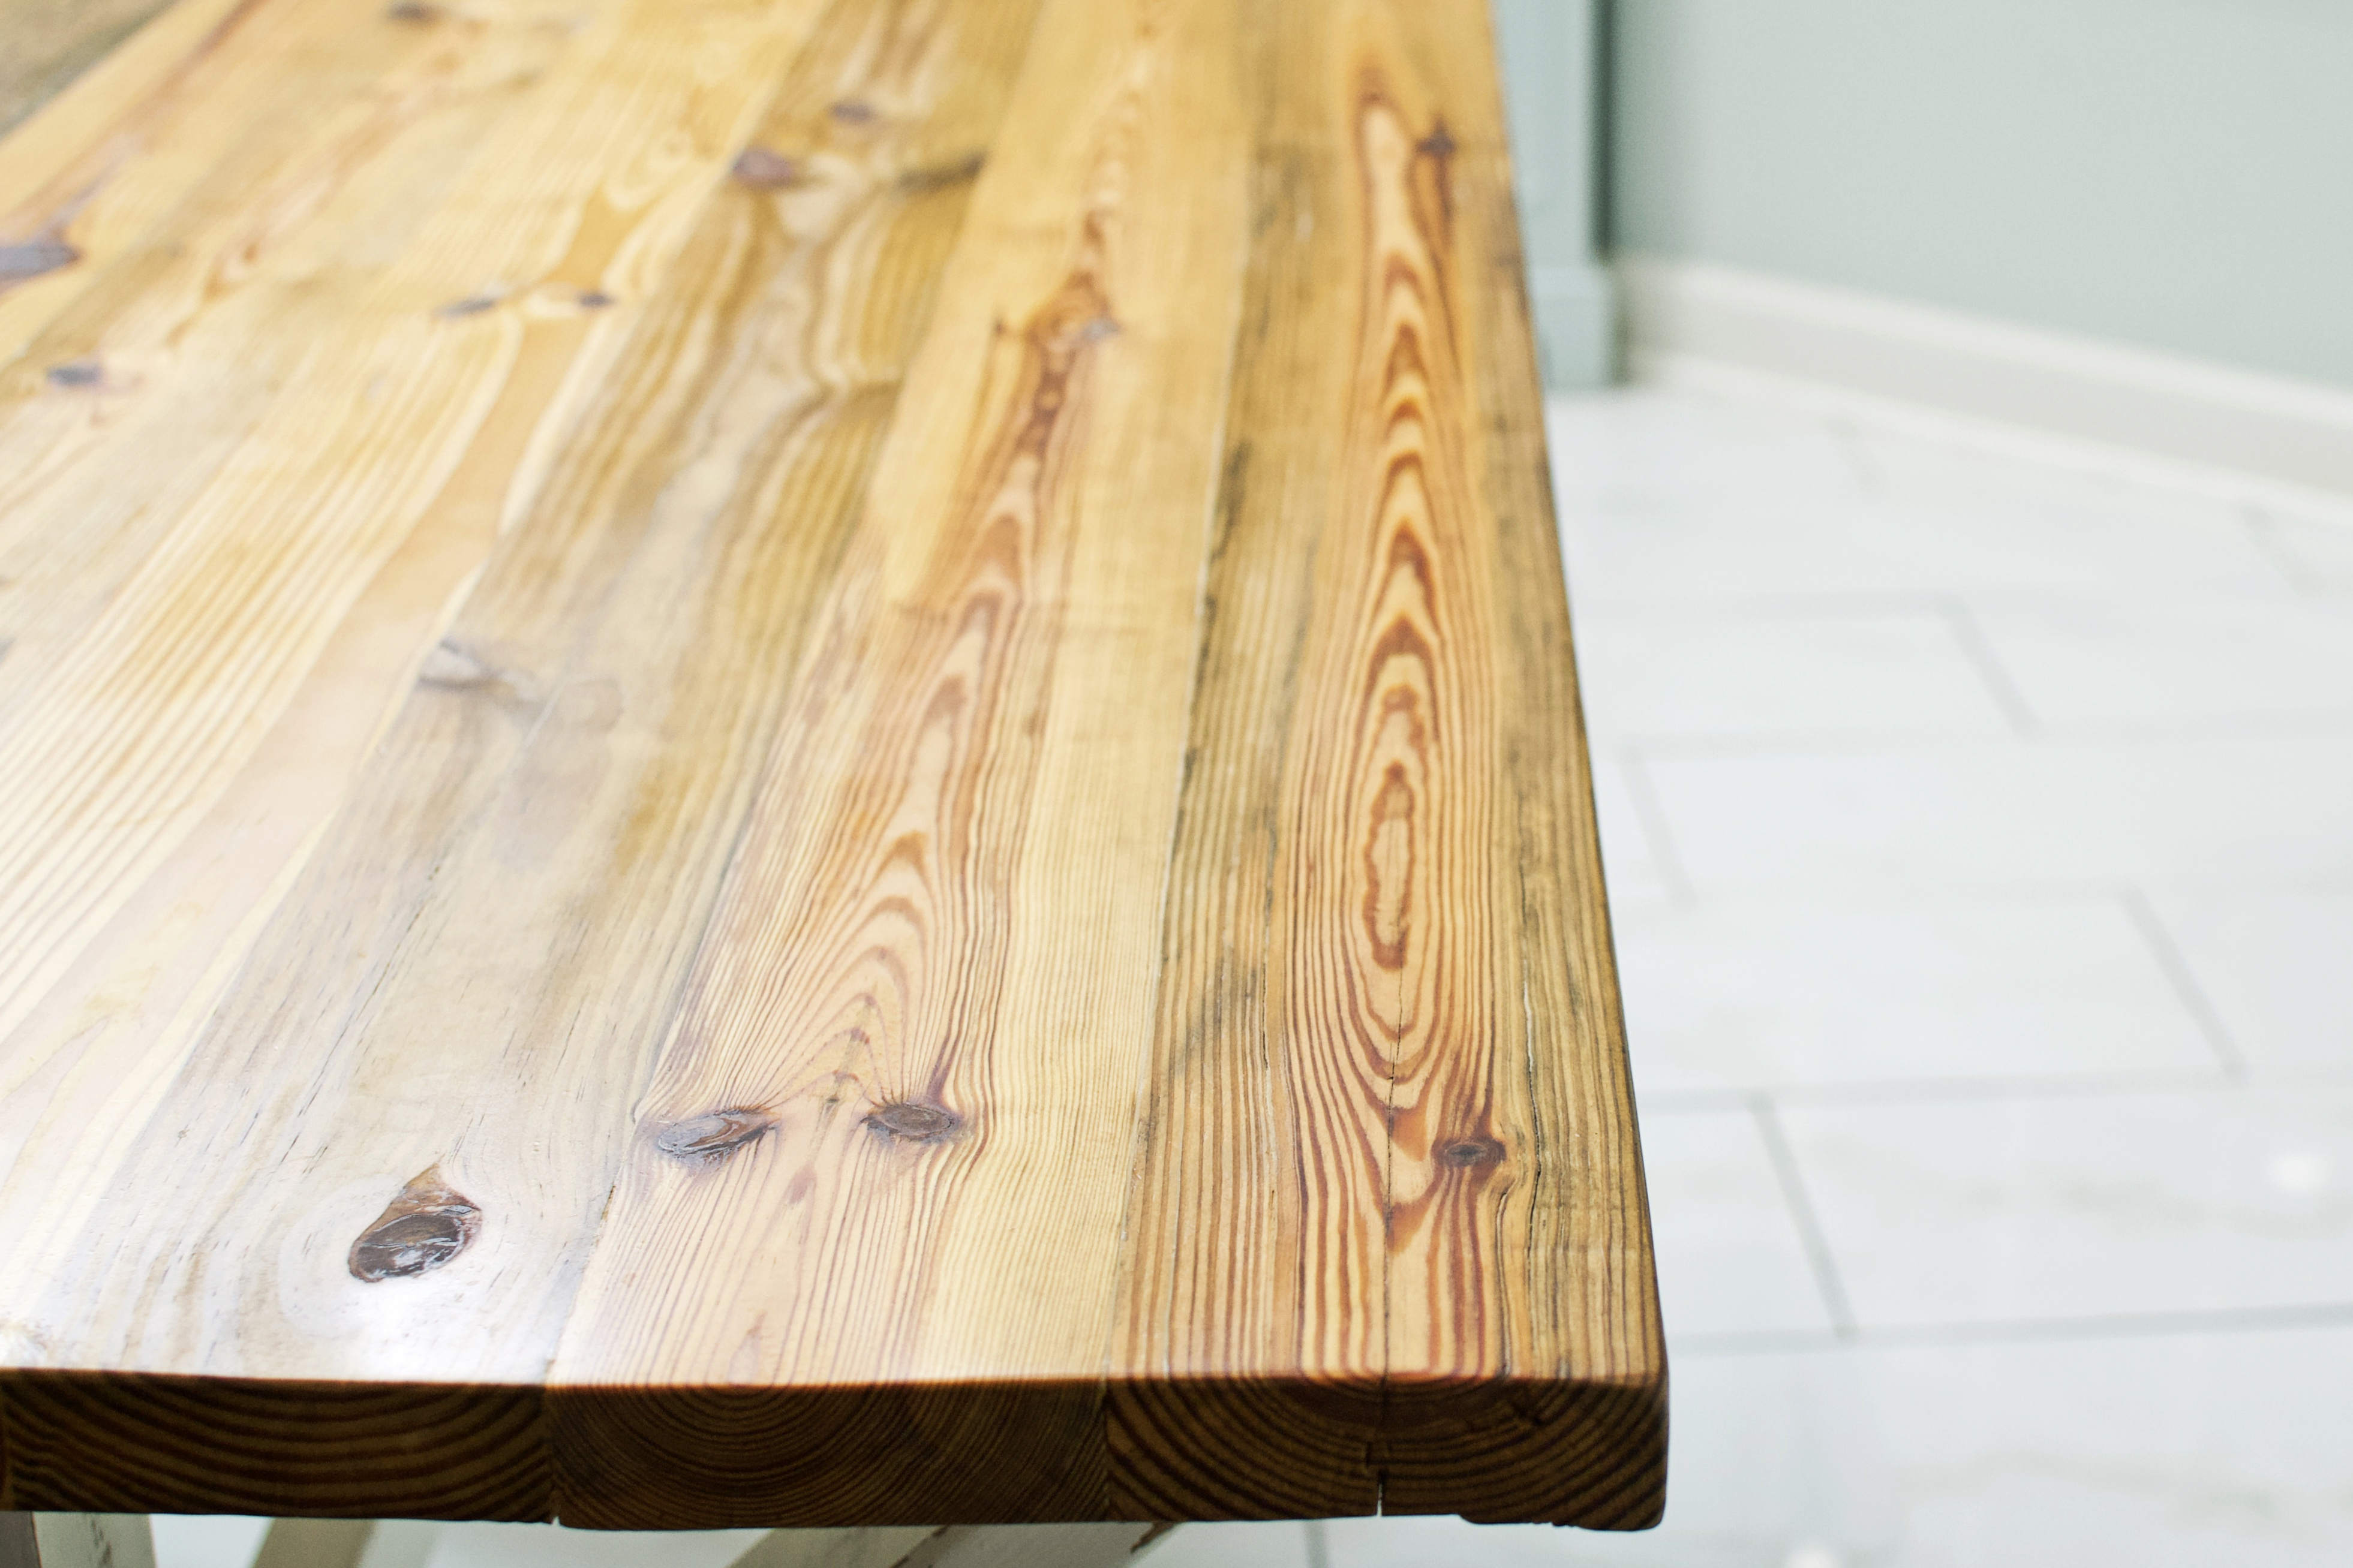
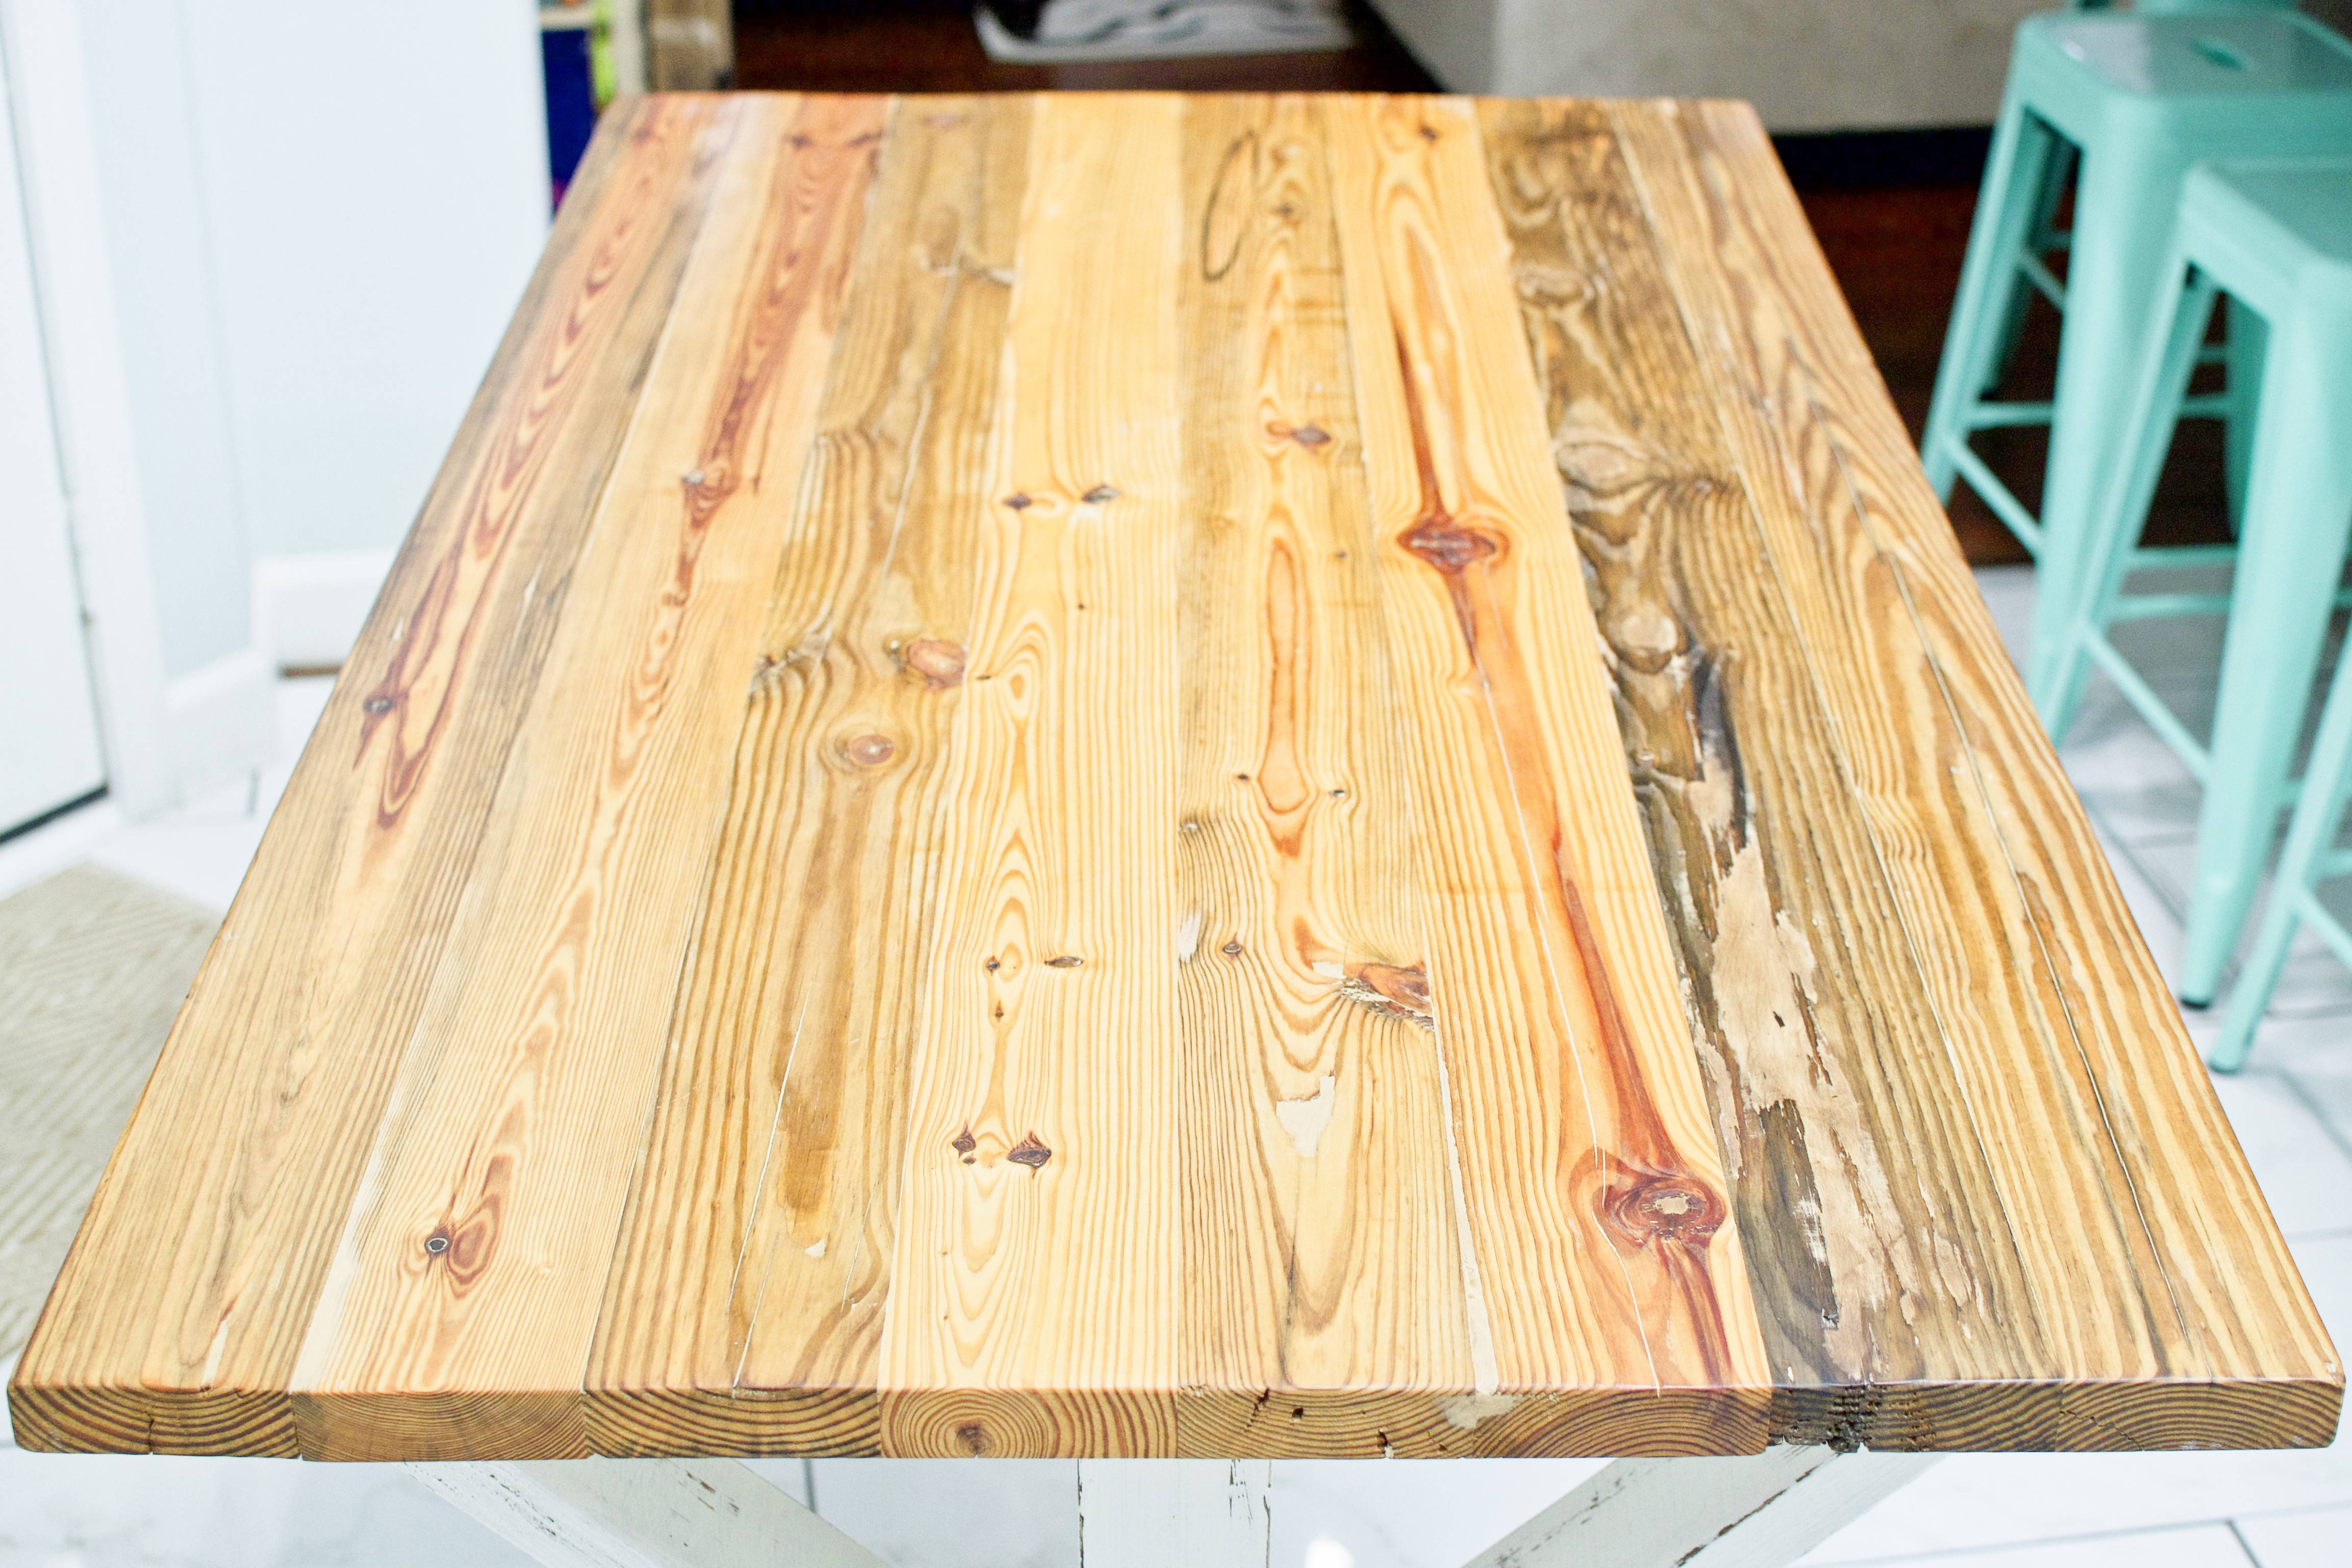
Heart pine. In the days when pines were allowed to grow much, much larger and wider (in the wild), the center or “heart” of the tree was the cream of the crop. The heart was the most dense, highest quality part of each tree. Their age helped develop rich yellow, orange and red veining with awe-inspiring color variations.
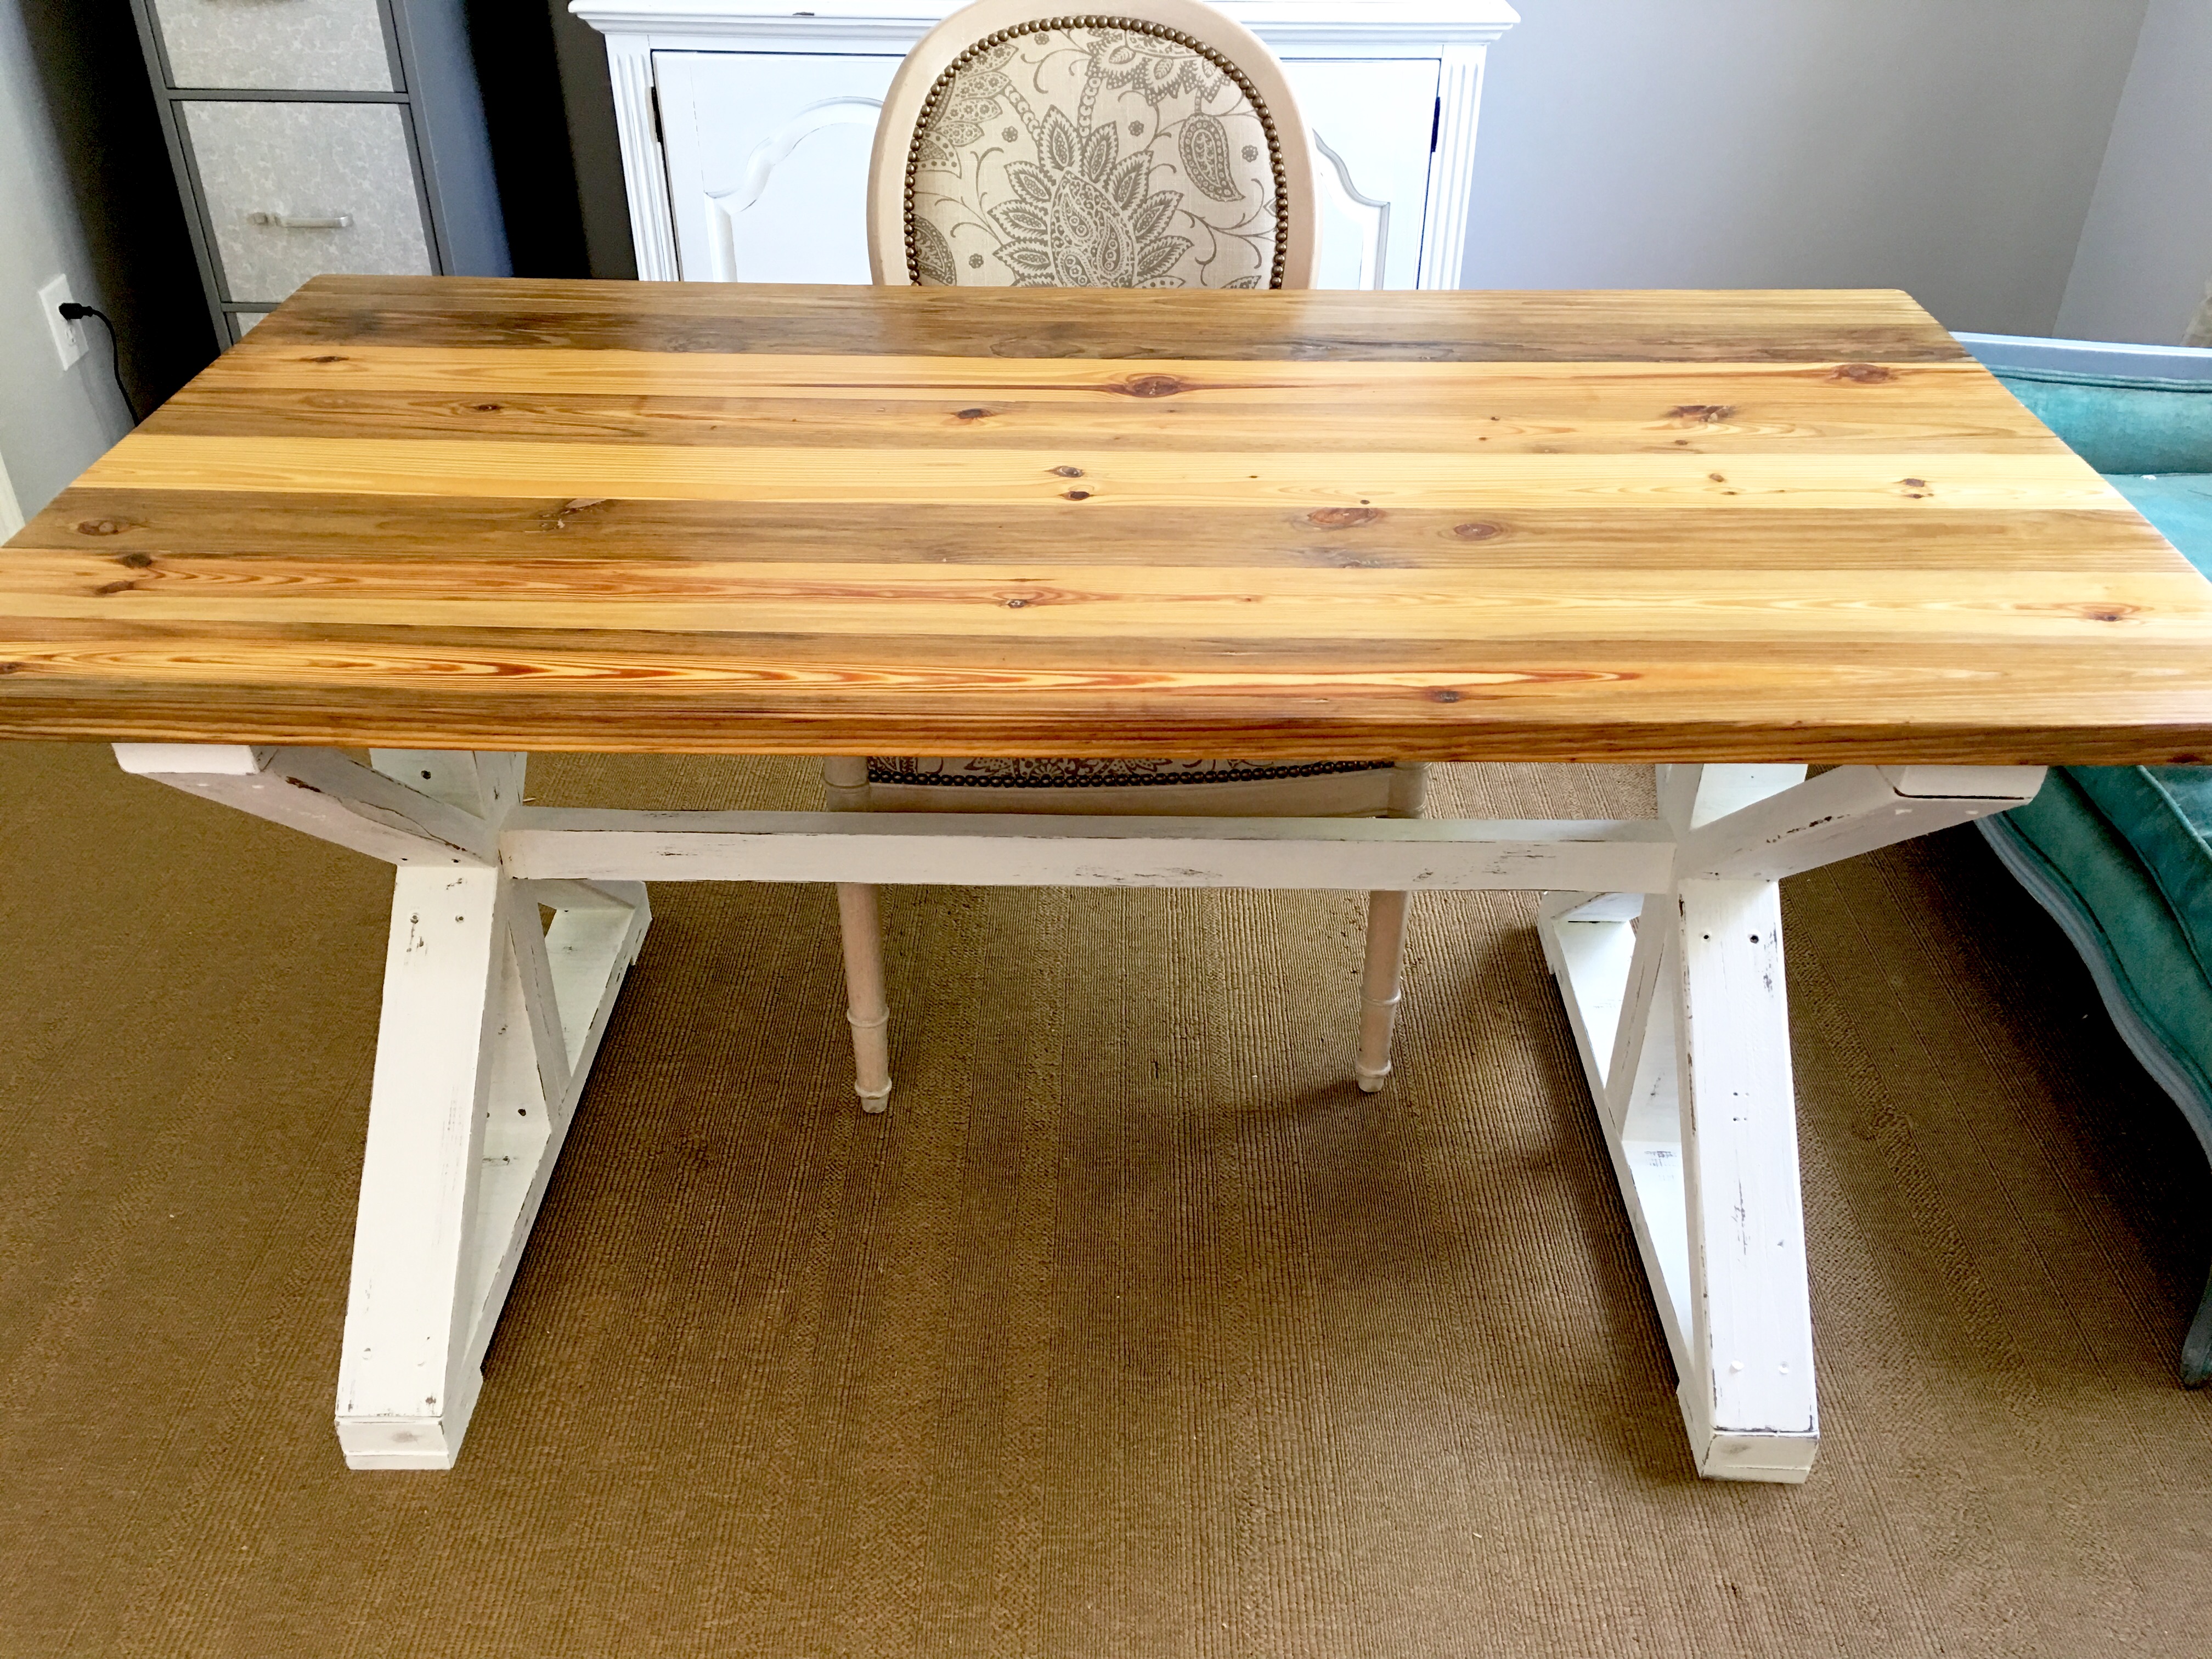
Boiled linseed oil.
Best protective clear coat for fancy woods? Boiled linseed oil (BLO). No stain necessary – the varied wood grain coloration + a little oil to bring out the beauty and saturate the pigments. Two downsides: (1) BLO takes at least forever to dry (24-72 hours), and (2) BLO isn’t the most protective top coat. It’s sufficient to slow natural aging and prevent very minor wear and tear. Here’s the upgrade: mix BLO with polyurethane for the strongest indoor-worthy clear coat. Though it’s still never going to dry. Then throw in 1 part mineral spirits aka paint thinner to dramatically accelerate the dry time. Minerals spirits dilutes oil based applications. Water dilutes water based applications.

The table top joinery.
I ran each piece through a jointer (blade on bottom), facing the board bowing downward. Then through a planer (blade on top) for uniform thickness. Then ripped through a table saw to finish squaring off the boards for proper joinery. Biscuit joiner to join the boards to minimize sanding. Sand for at least 1 hour with a belt sander. Then dive right into the beautification process.
How to beautify your reclaimed X leg table.
Materials
- Boiled linseed oil (BLO). 1-qt for $7.98.
- 1 quart Varathane Dark Walnut wood stain. Link is a 2-pack for $15.54. Otherwise budget $8.84 for 1 can. You could also choose any red-free brown aka a colder tone.
- 1 quart flat white paint. Our #1 is Heirloom White, color matched, flat sheen. Slight antique vibe. Budget ~$10.86.
- Mineral spirits, $22.38 for (2) quarts. Allot $11.19.
- Blue shop towels for staining (or) old rags. Roll of shop towels costs $6.57. We always keep these on hand. Low lint for low residue. (Cheaper at Depot).
- Nitrile gloves to avoid the everlasting stain residues on your hands. $16.88 for a 150-pack. Or 100 pack on Amazon for $9.99.
- Sand paper. 100 grit sand paper is $4.27 for 6 sheets – distressing. 3-pack of 220 grit for $3.69 – between tabletop clear coats.
- Paintbrush. (Cost effective 3-pack of paintbrushes at Home Depot for $6.93). To apply paint to the legs.
- Paint sticks for stirring paints & such.
- Old plastic containers with lids (2X). To mix BLO + urethane + mineral spirits.
Tools
- (Optional) Orbital sander. Proceed with caution! See Step 6.
- (Optional) 2 saw horses. To hold your tabletop while it dries. Husky 2-pack holds 750 lbs for $24.97.
Budget
- ALL materials cost = $70.32.
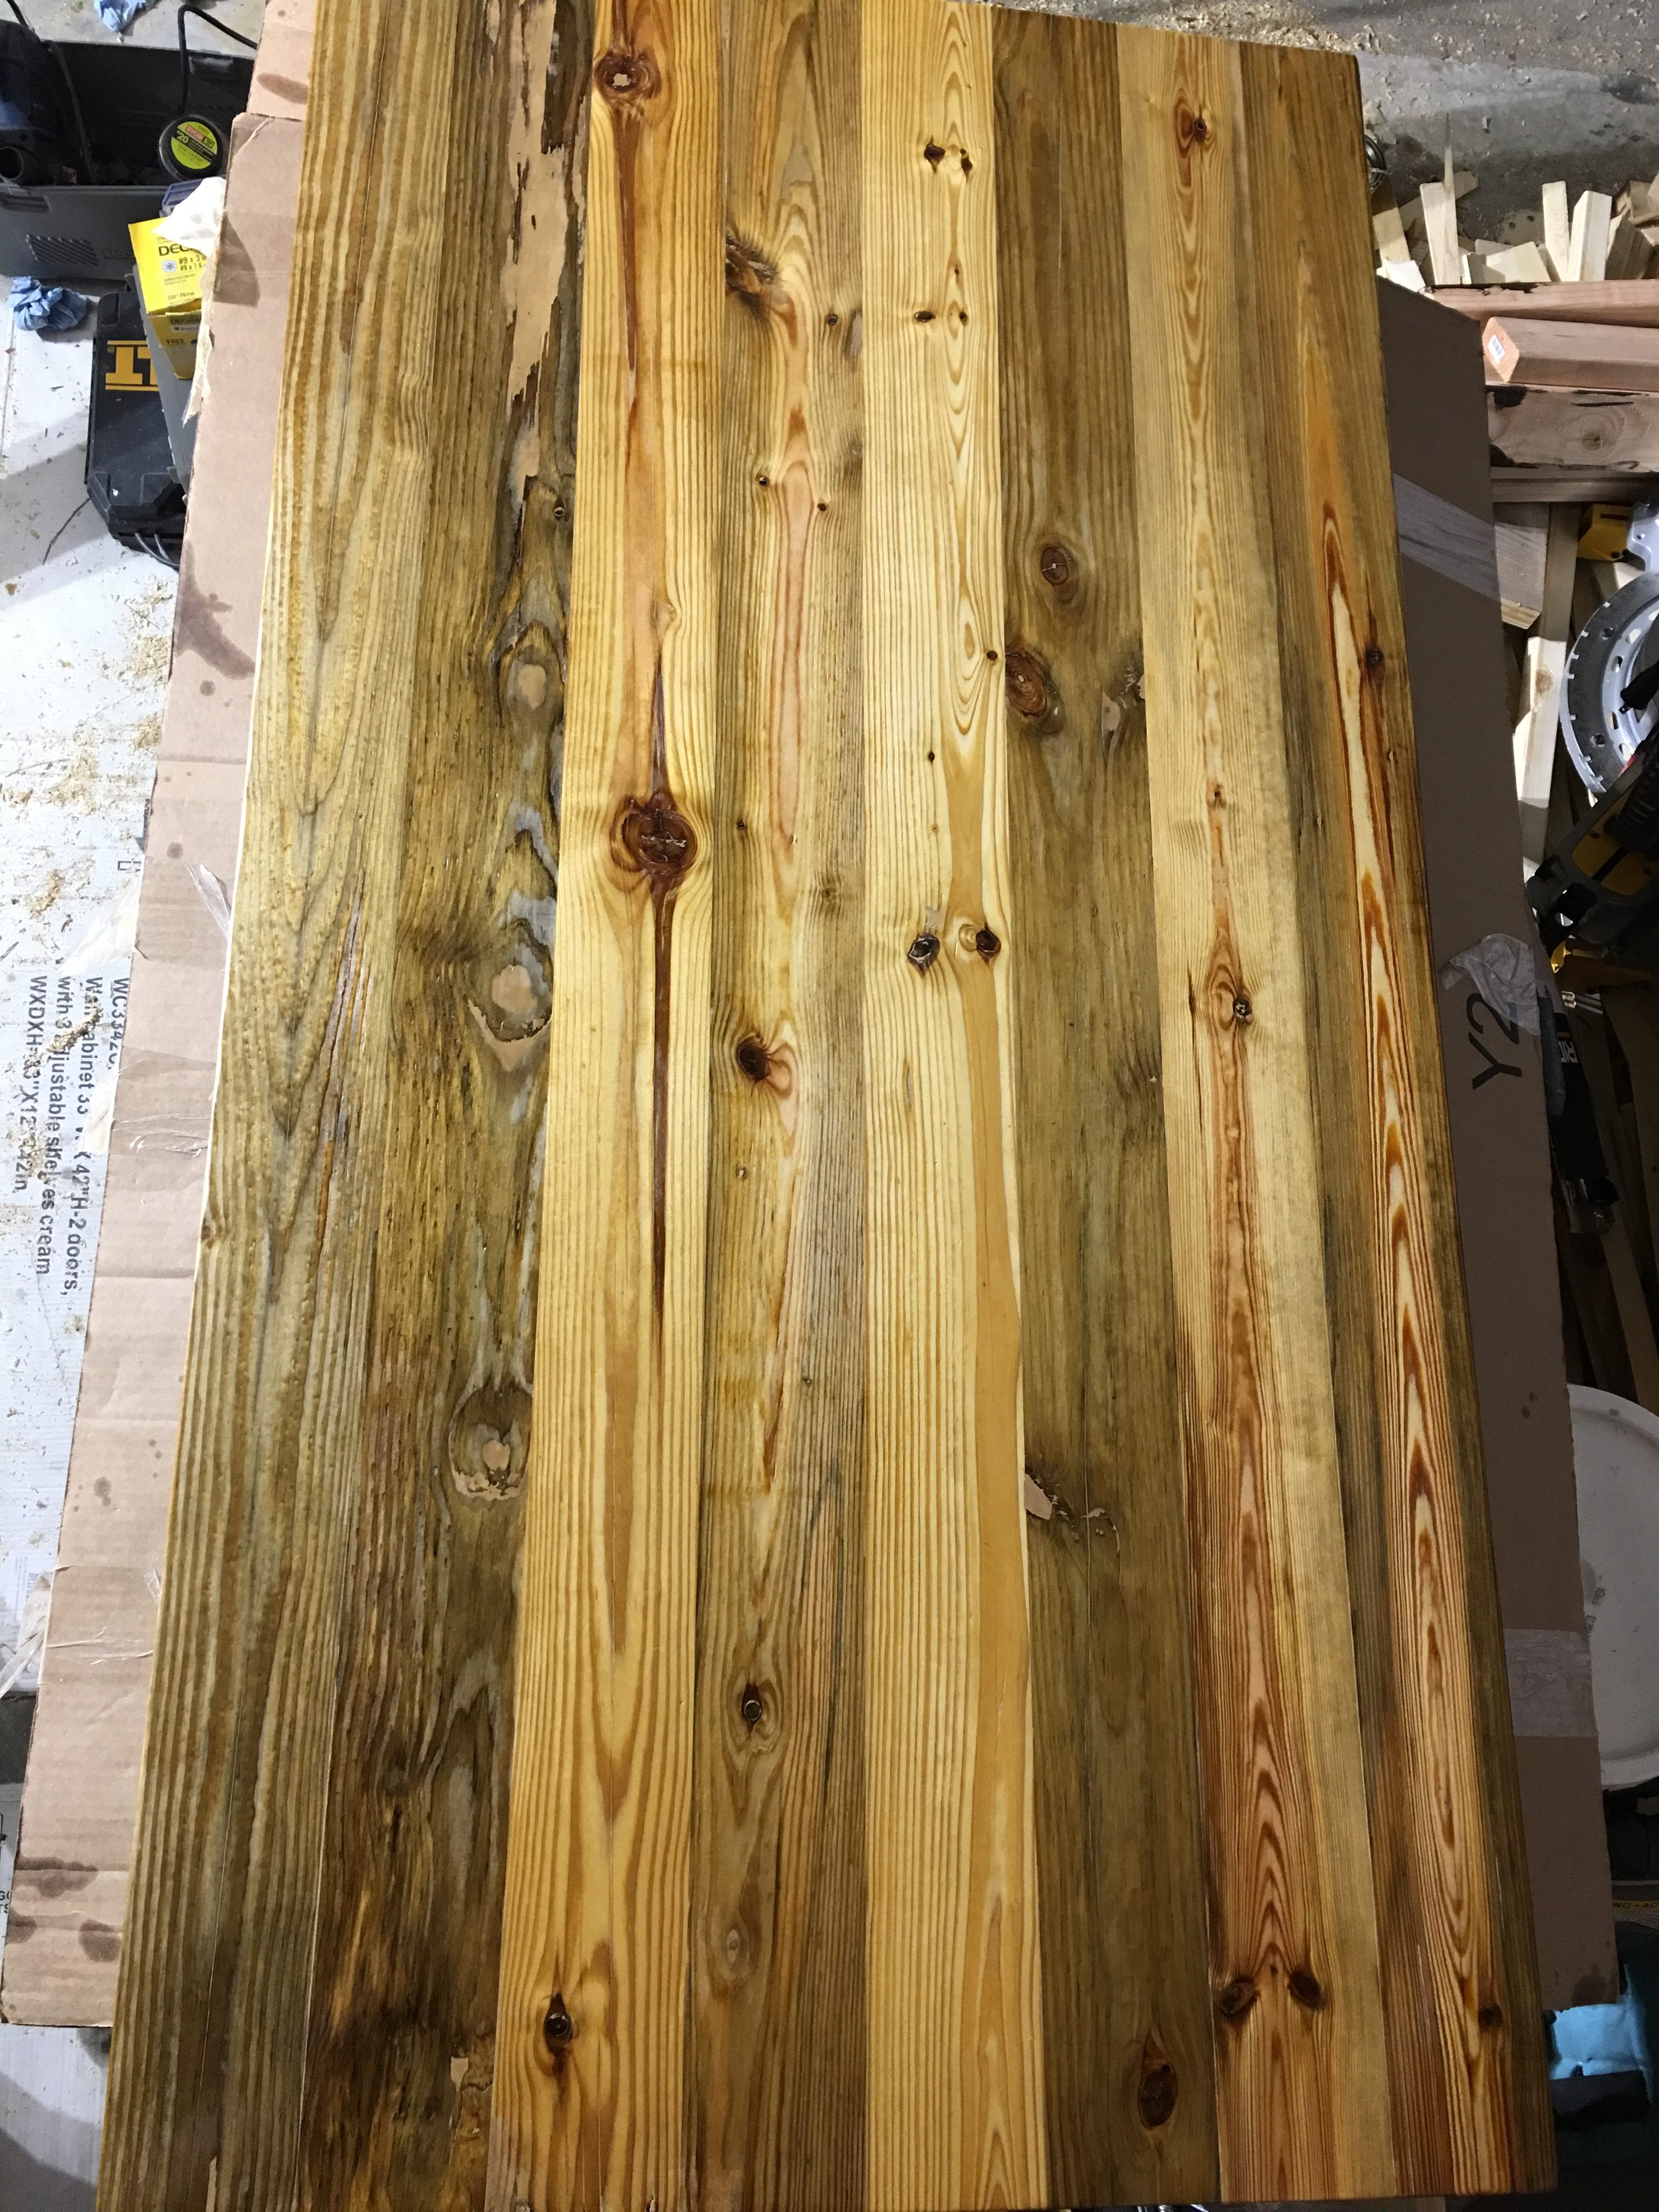
Step 1. Seal your reclaimed tabletop.
- Combine 1 part boiled linseed oil (BLO), 1 part mineral spirits (MS), 1 part polyurethane in a plastic container and mix thoroughly with a wooden paint stirrer.
- Apply blend to your reclaimed table top only. Use a blue shop towel for low lint residue, or an old rag. Allow to soak into the grains for 5-10 minutes, then wipe off all excess oily mixture with a clean shop towel or rag.
- Allow coat #1 to dry for 24 hours. Theoretically, the mineral spirits (MS) should speed up the dry time of the mixture, but BLO usually needs at least 24 hours to dry at a normal humidity and temperature.

Step 2. Stain the legs & apron.
- Crack open your can of Varathane Dark Walnut Wood Stain. Thoroughly mix with a wooden paint stir, making sure to scrape concentrated stain from the bottom of the can.
- Throw on a pair of nitrile gloves, unless you want week-long stained hands. Apply a coat of stain to the legs & apron using a blue shop towel or old rag.
- Allow stain to penetrate the wood grains for 5-15 minutes, then snag a new towel or rag and vigorously remove ALL left over stain. Stain that isn’t wiped off will dry on the surface and potentially compromise your upcoming coat of white paint.
- Allot 1 hour for stain dry time if your conditions are close to 70ºF and no more than 50% humidity. Plan for a longer dry time for lower temps and juicier air.
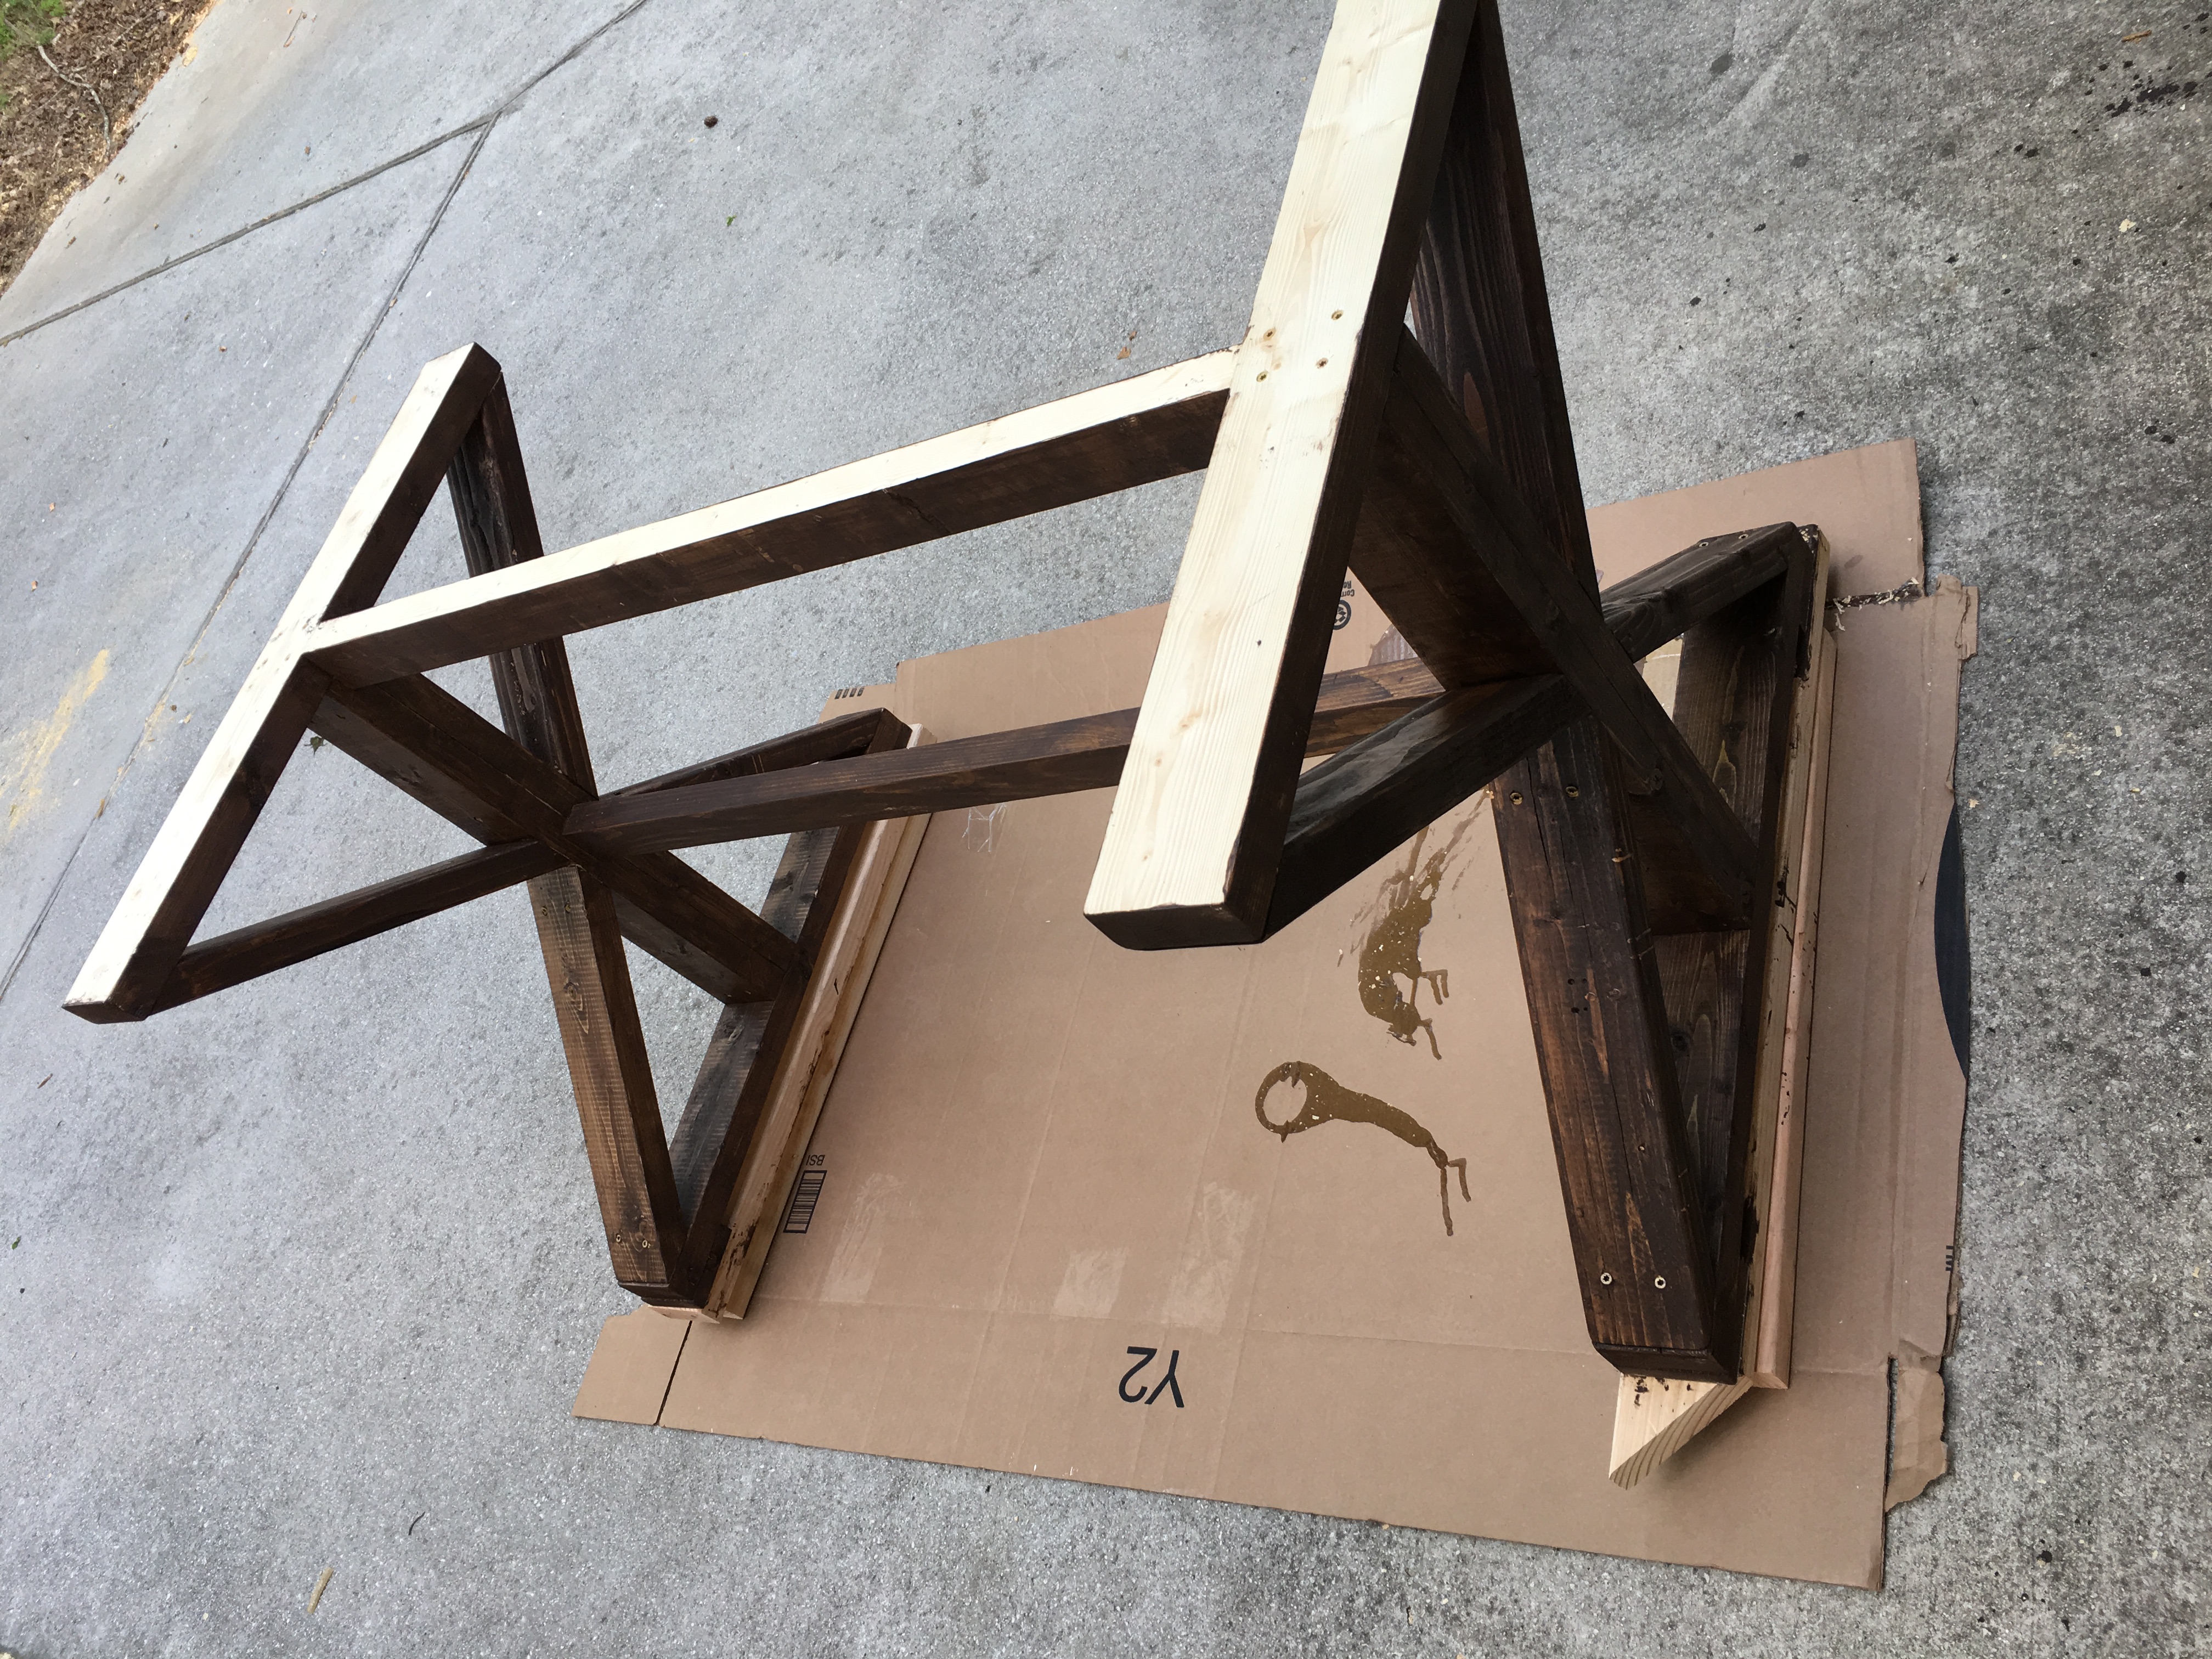
Step 3. Paint the legs & apron, first coat.
- After at least an hour of stain drying time, ready yourself for paint. Grab your paintbrush, can of Heirloom White color-matched flat paint, and paint stirrer. Mix your can of paint with the wooden paint stirrer, until fully incorporated or at least 1 minute.
- Apply a medium-thick layer of paint to your legs & apron with your paintbrush. Coverage doesn’t have to be perfect as you’ll be applying one more coat.
- Always perform a final visual pass to even out all paint globs and visible drips.
- 1 hour dry time in normal conditions.
Note: once your 24 hour tabletop dry timer is up, feel free to skip to Step 5. Otherwise, proceed to Step 4.
Pro Tip: to avoid cleaning out your paintbrush with huge amounts of water in between coats, place the brush in a plastic bag in your fridge. The low temp and high humidity will prevent the paint residue on the brush from drying.
Step 4. Paint the legs & apron, second coat.
- Check your table legs & apron for tackiness. If fully dry, apply your second and final coat of white paint with the same paintbrush.
- Make sure your table’s bottom half has total coverage. You don’t want to see stain peeking through the paint at any angle. Sanding will provide an authentic aging aesthetic that a poor or uneven paint coat can’t offer.
- 1 hour dry time in normal conditions.
Step 5. Second coat table top sealant.
- After 24 hours dry time since the first tabletop coat, assess the top for dryness vs. tackiness.
- If fully dry, bust out your 220 grit sandpaper. Lightly and evenly sand the tabletop and top edges to remove to graininess, and to allow the next clear coat to properly adhere to the first. Remove dust with another rag or shop towel.
- Apply your second coat of BLO / urethane / MS mixture with a fresh shop towel or unused old rag. Wipe off after 5-10 minutes.
- 24 hour dry time.
Step 6. Sand the legs & apron.
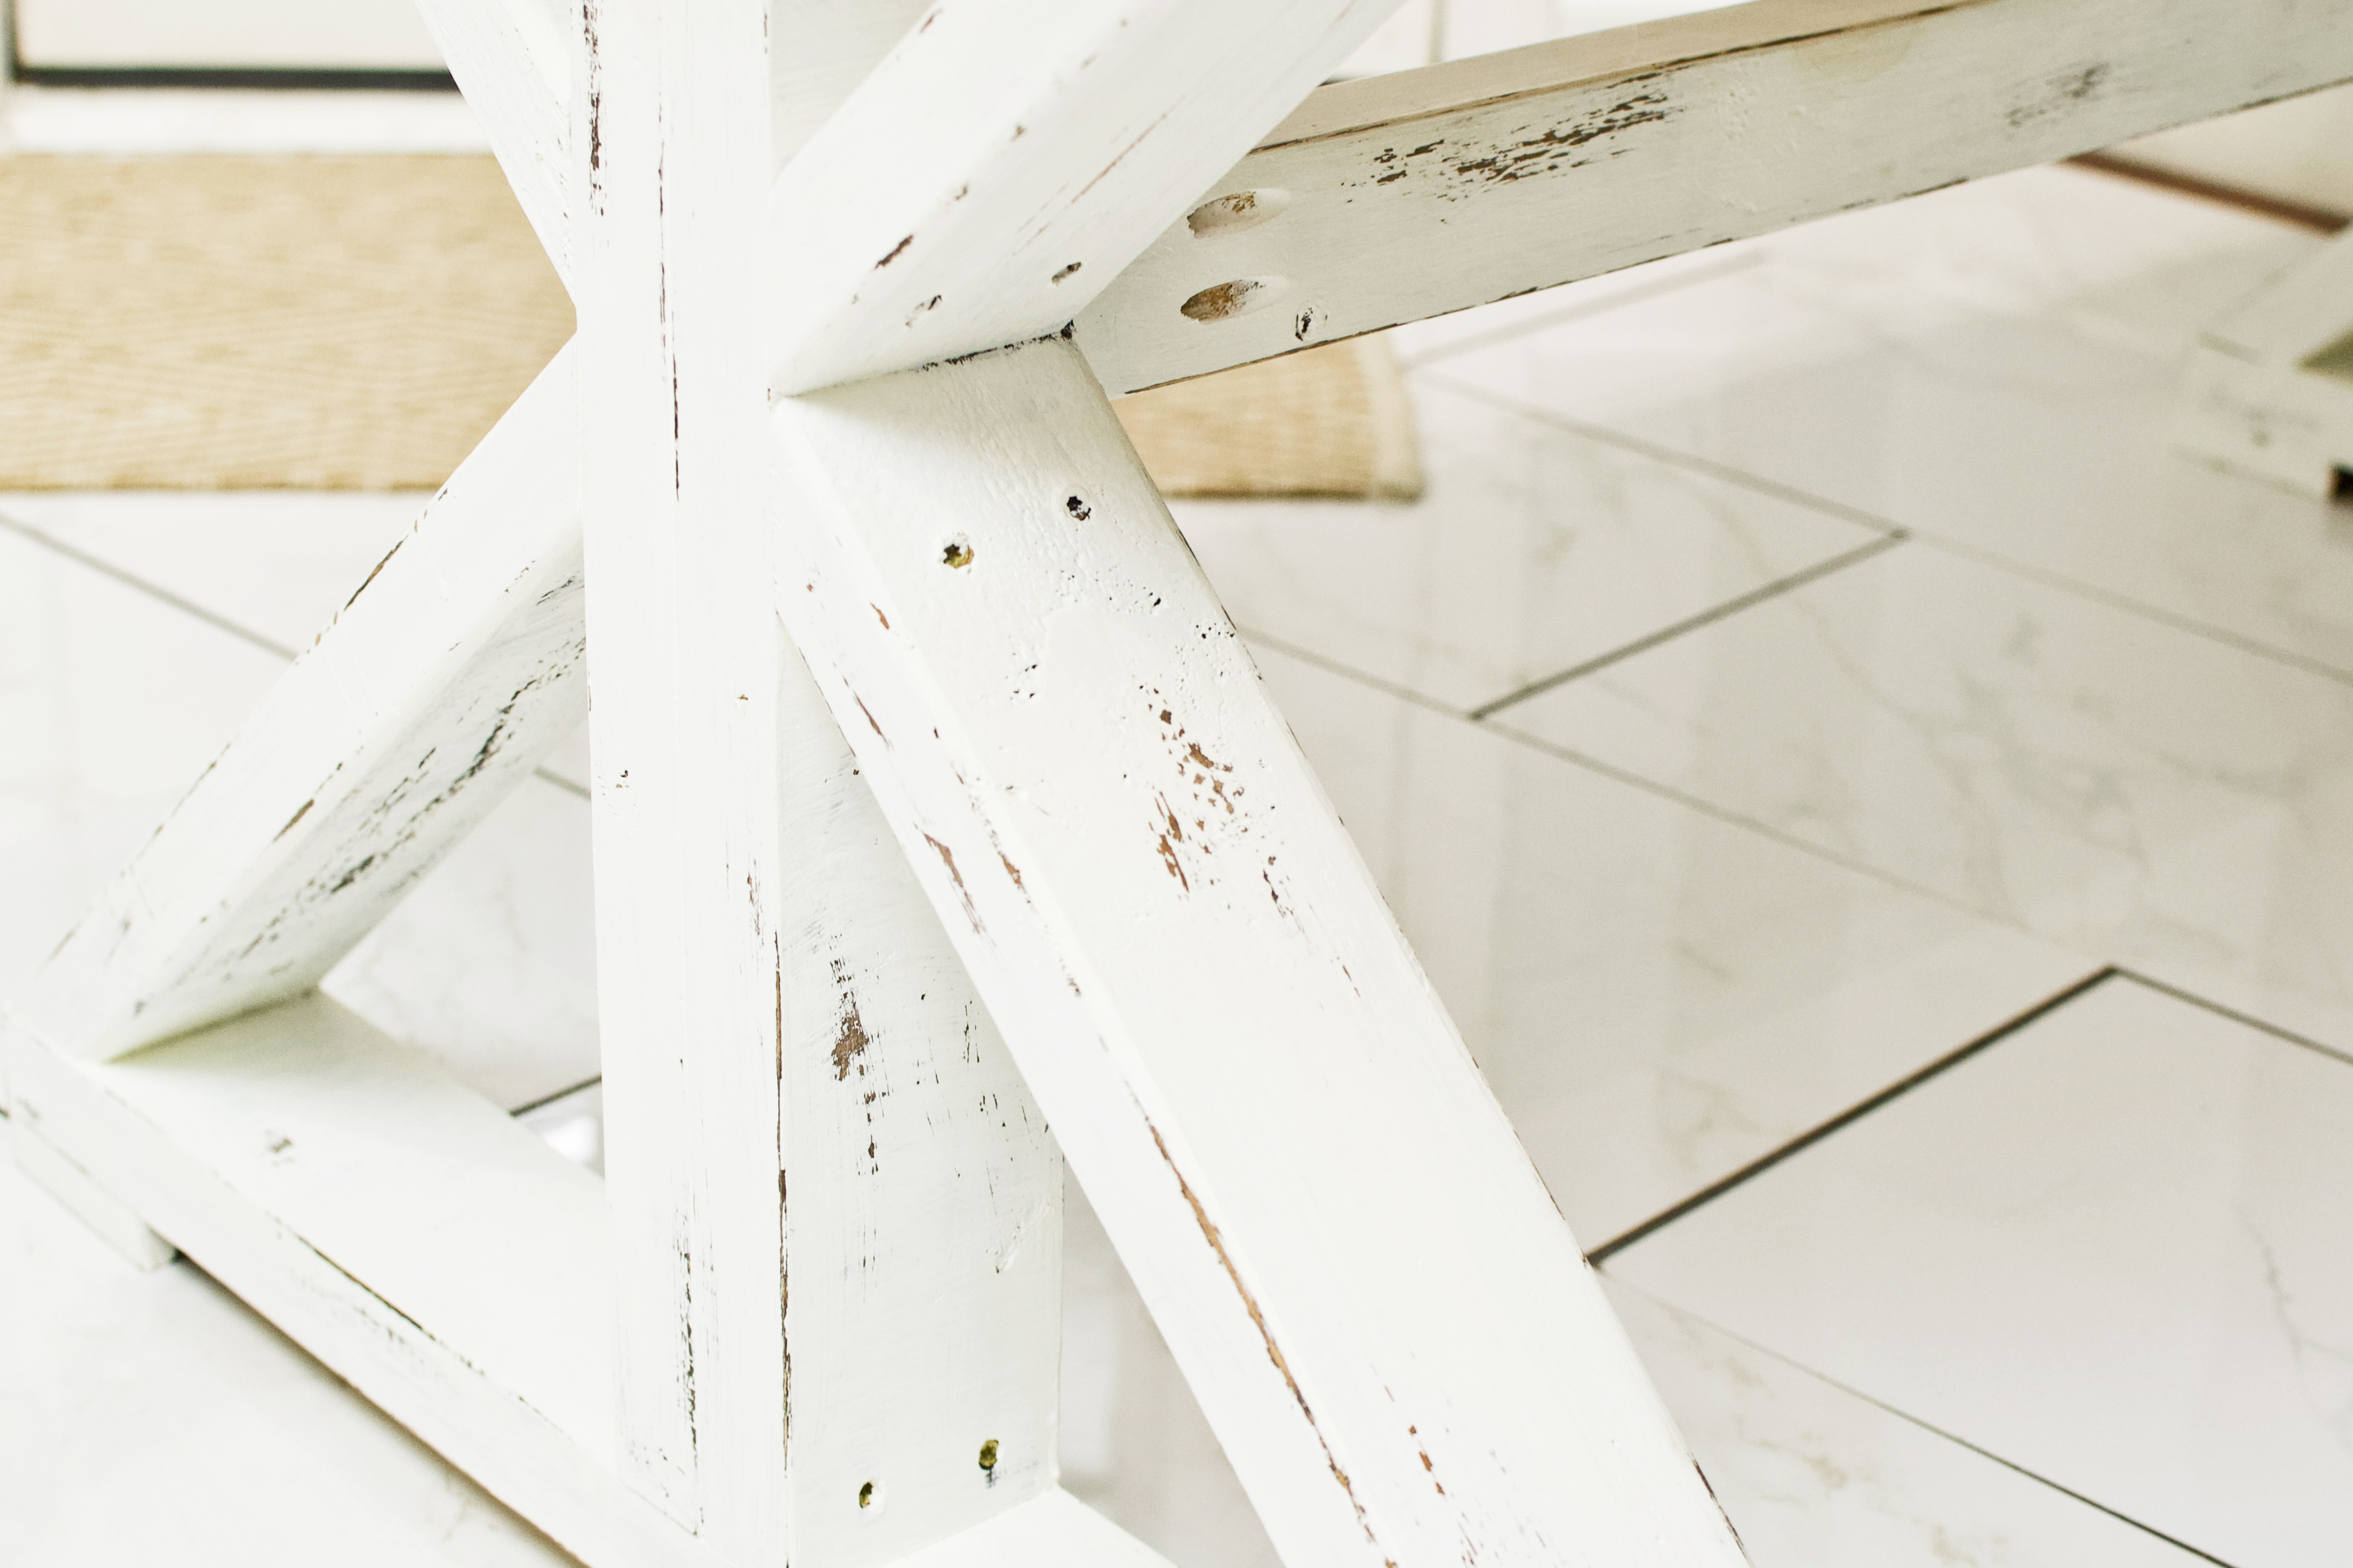
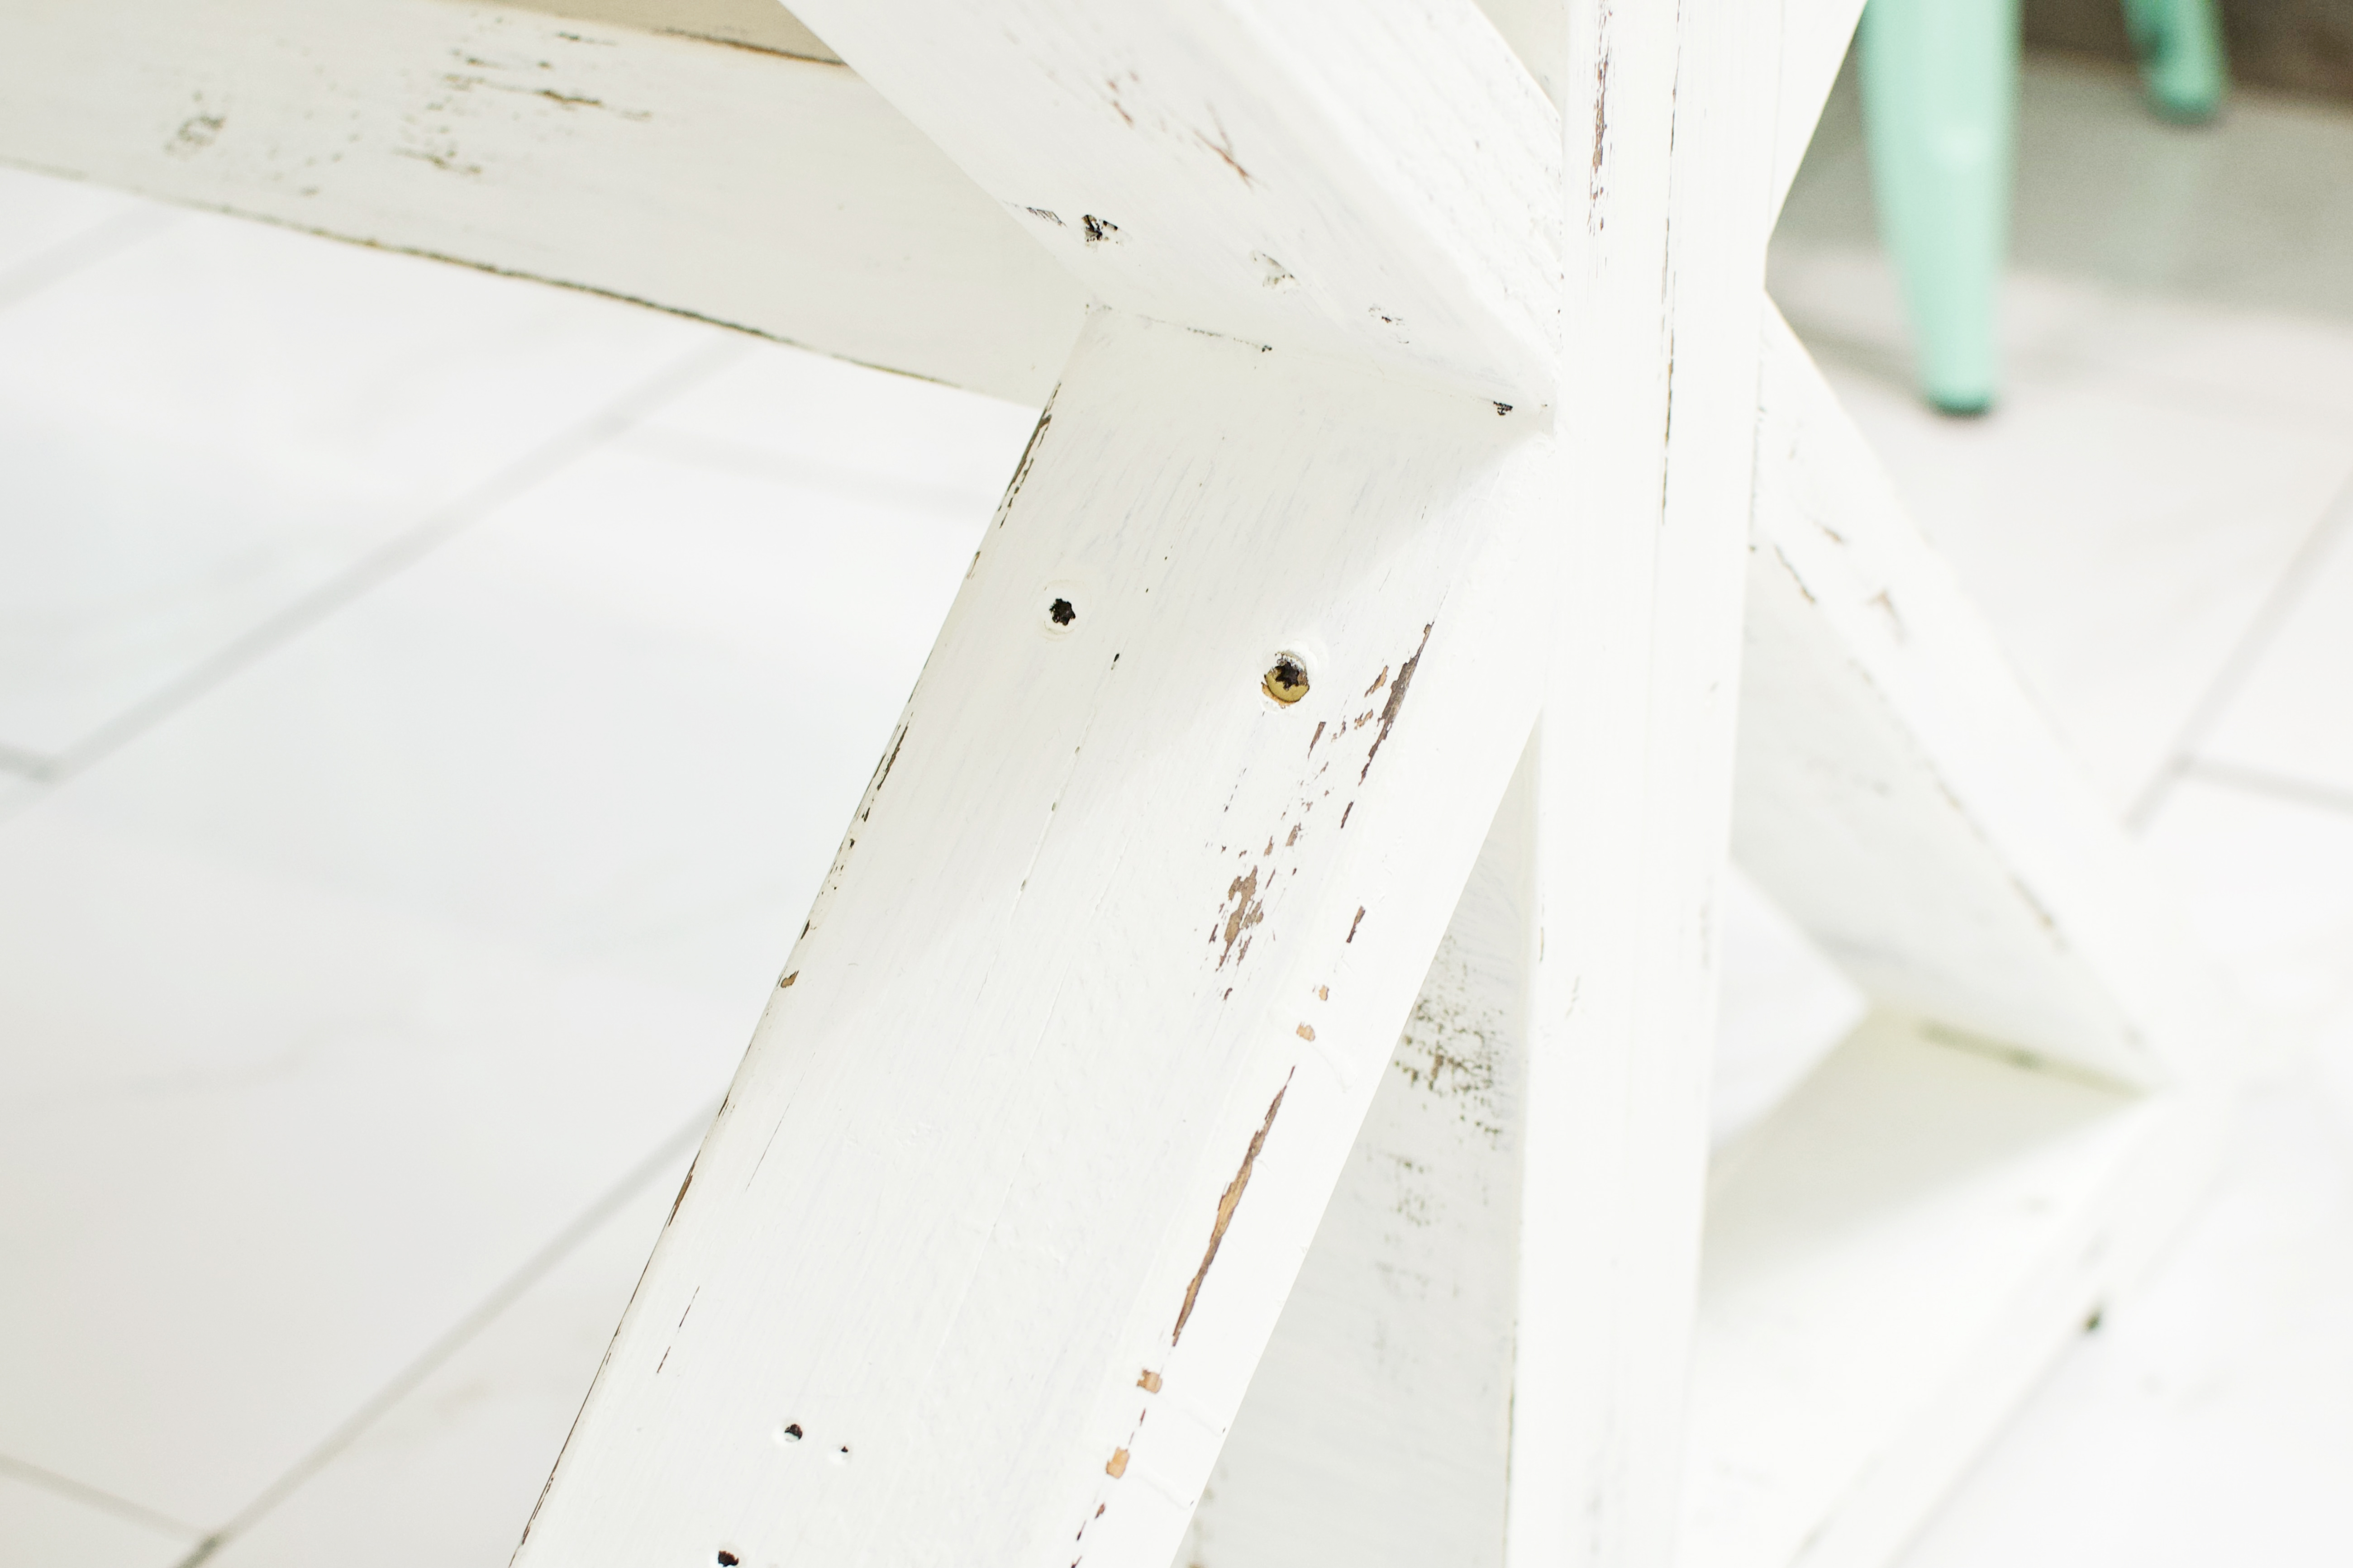
- It’s de-stressing time because it’s time for a little distressing! (Dad jokes on point). Snag your 100 grit sandpaper. Use a sanding block, or cut it into quarter sheets for free-hand use.
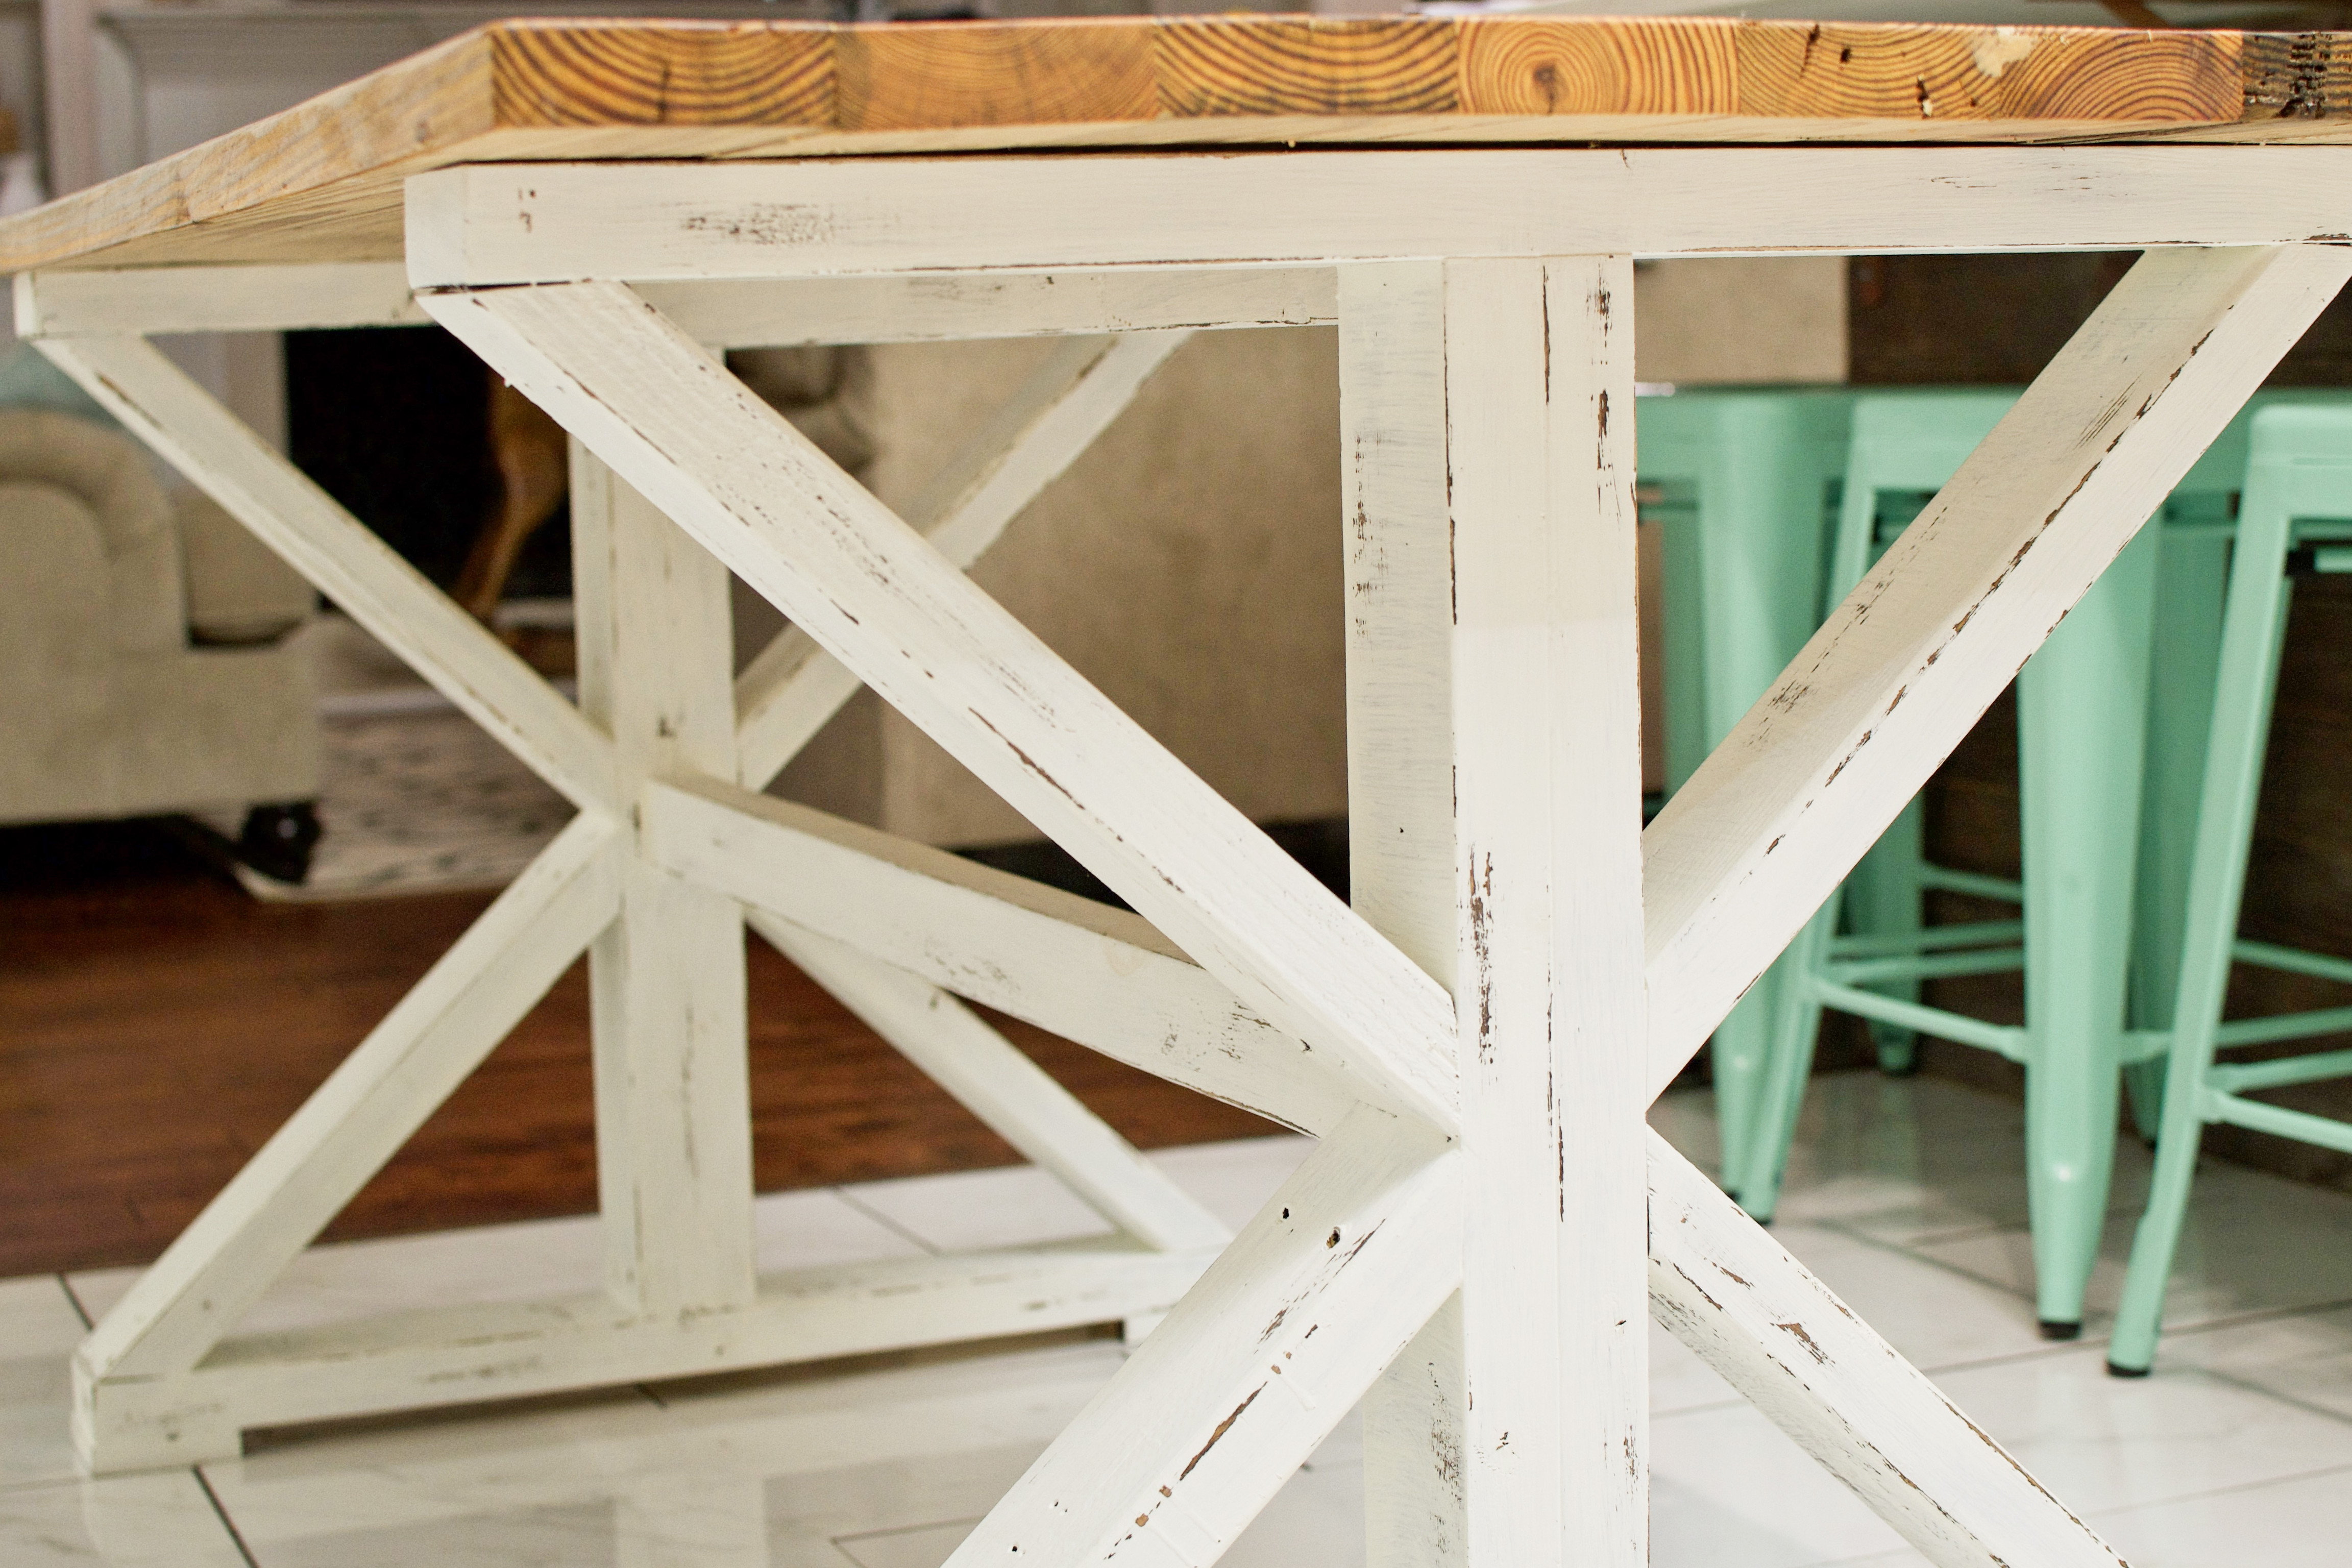
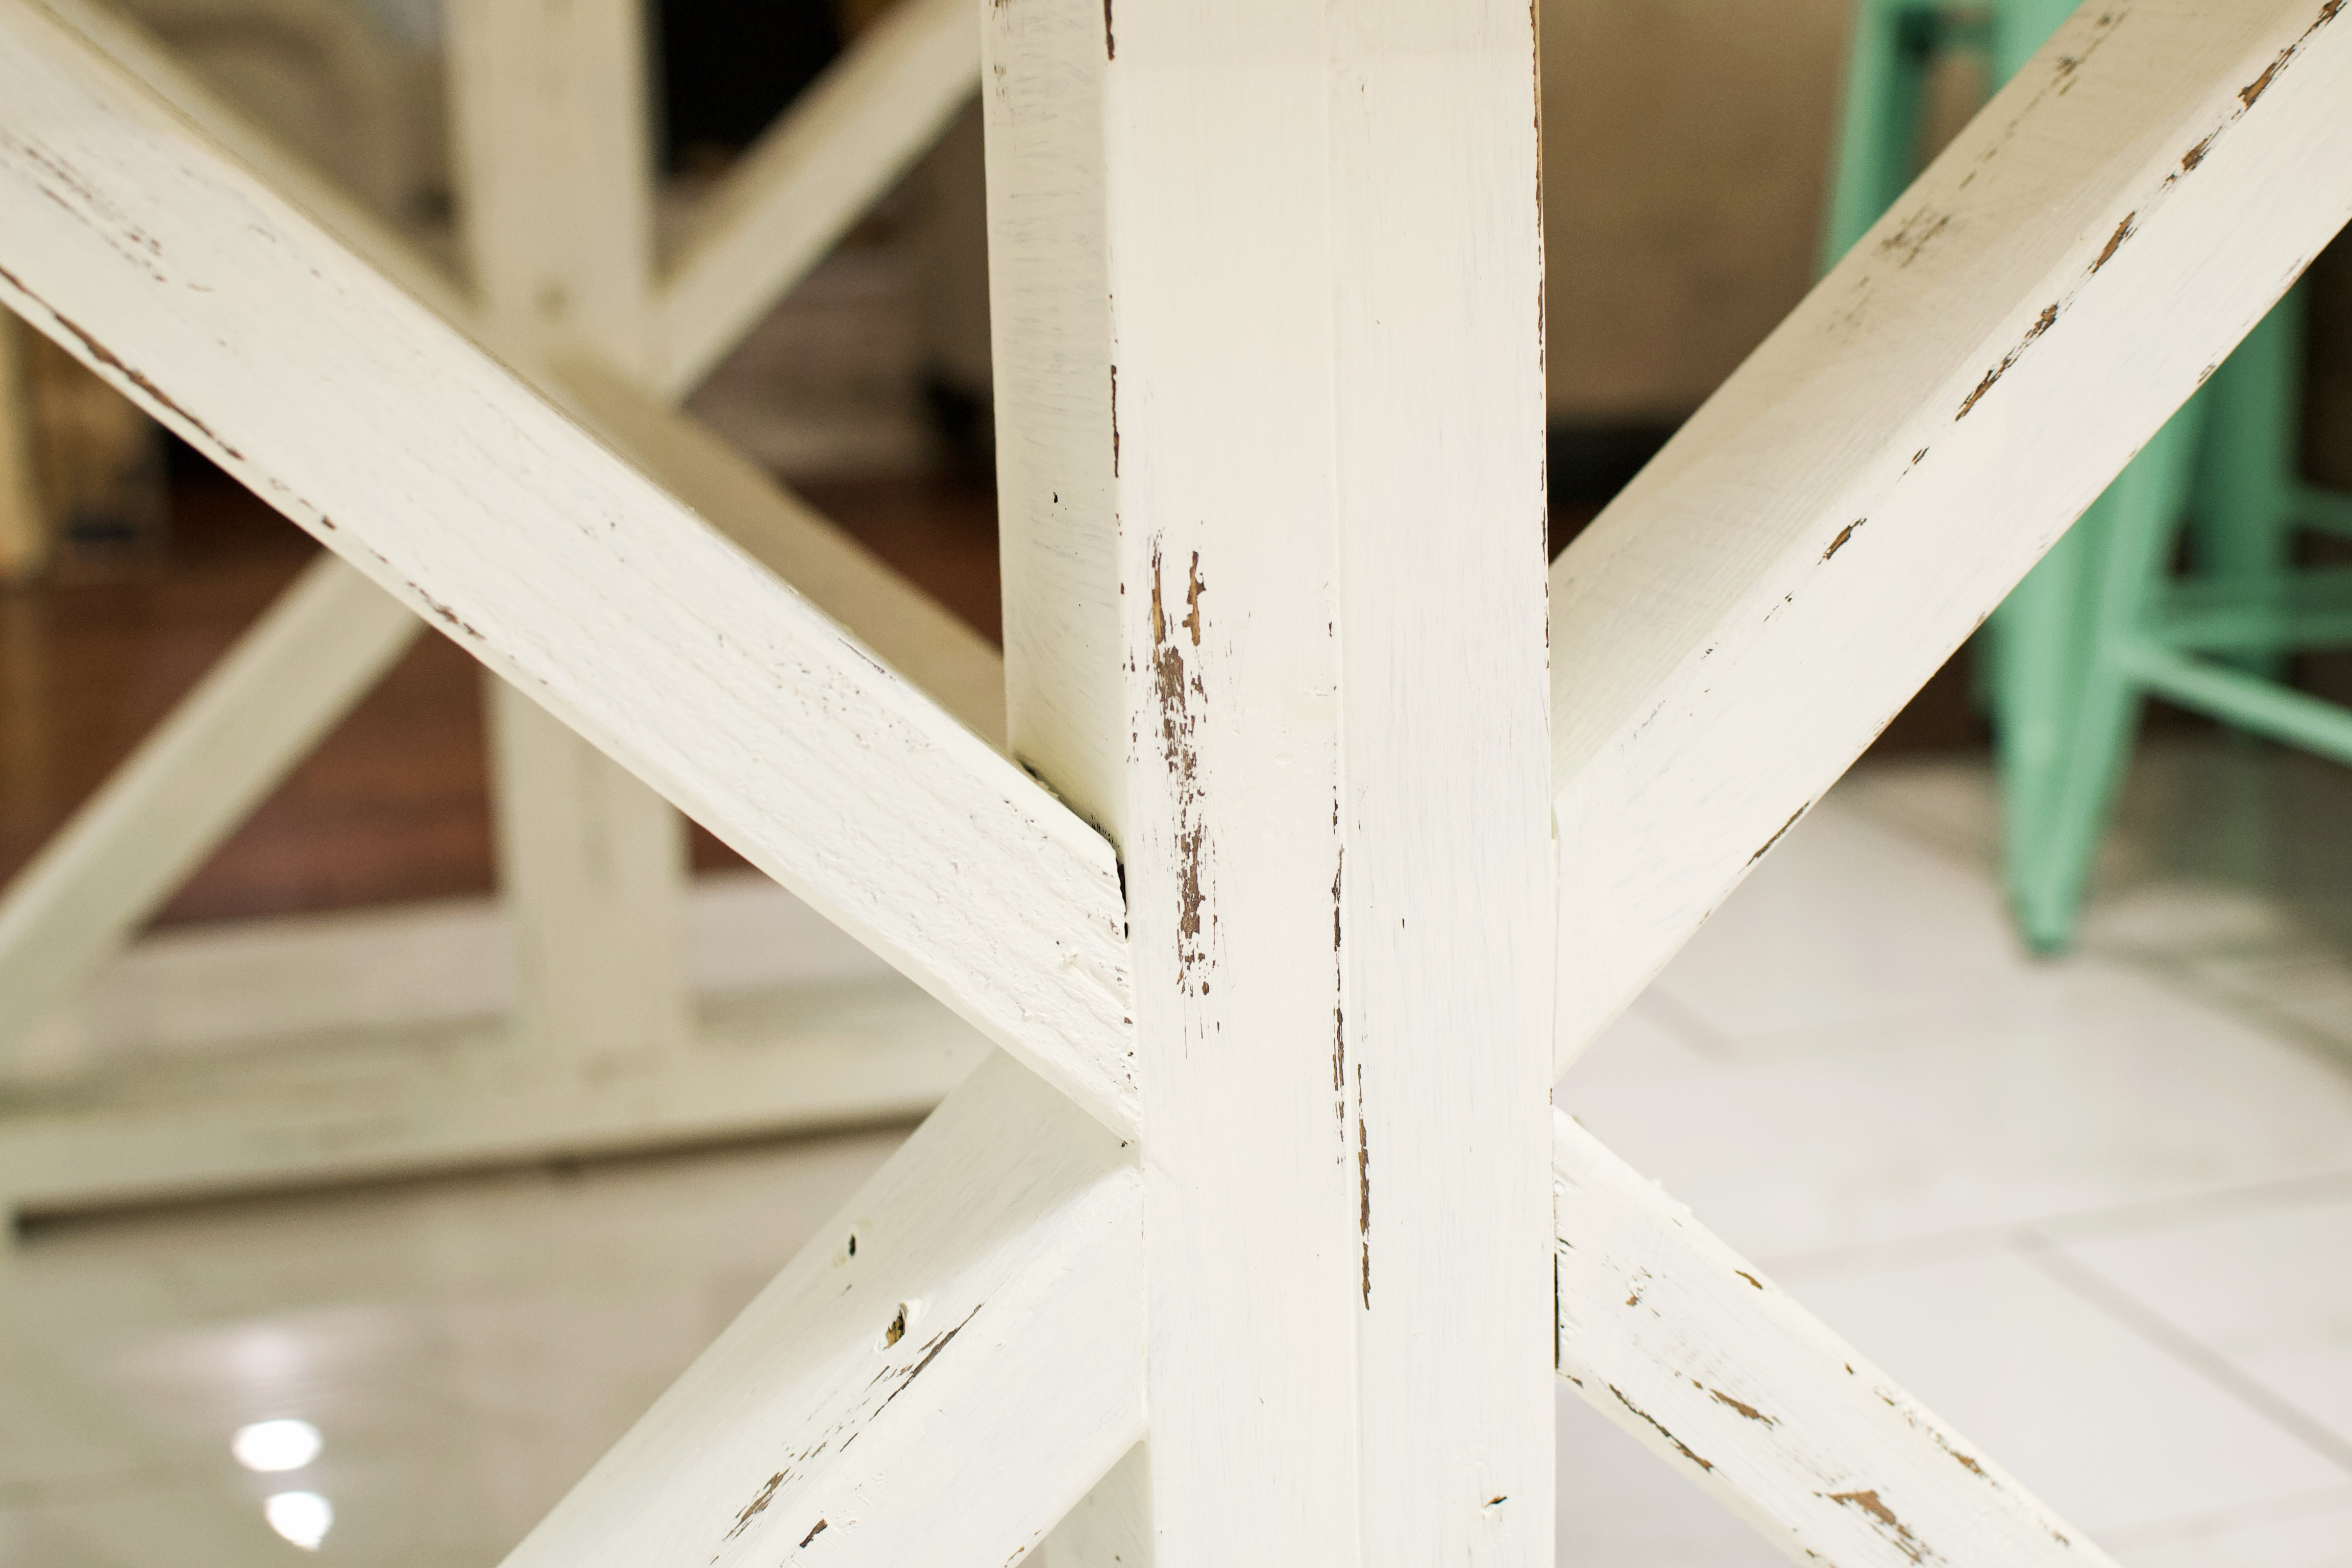
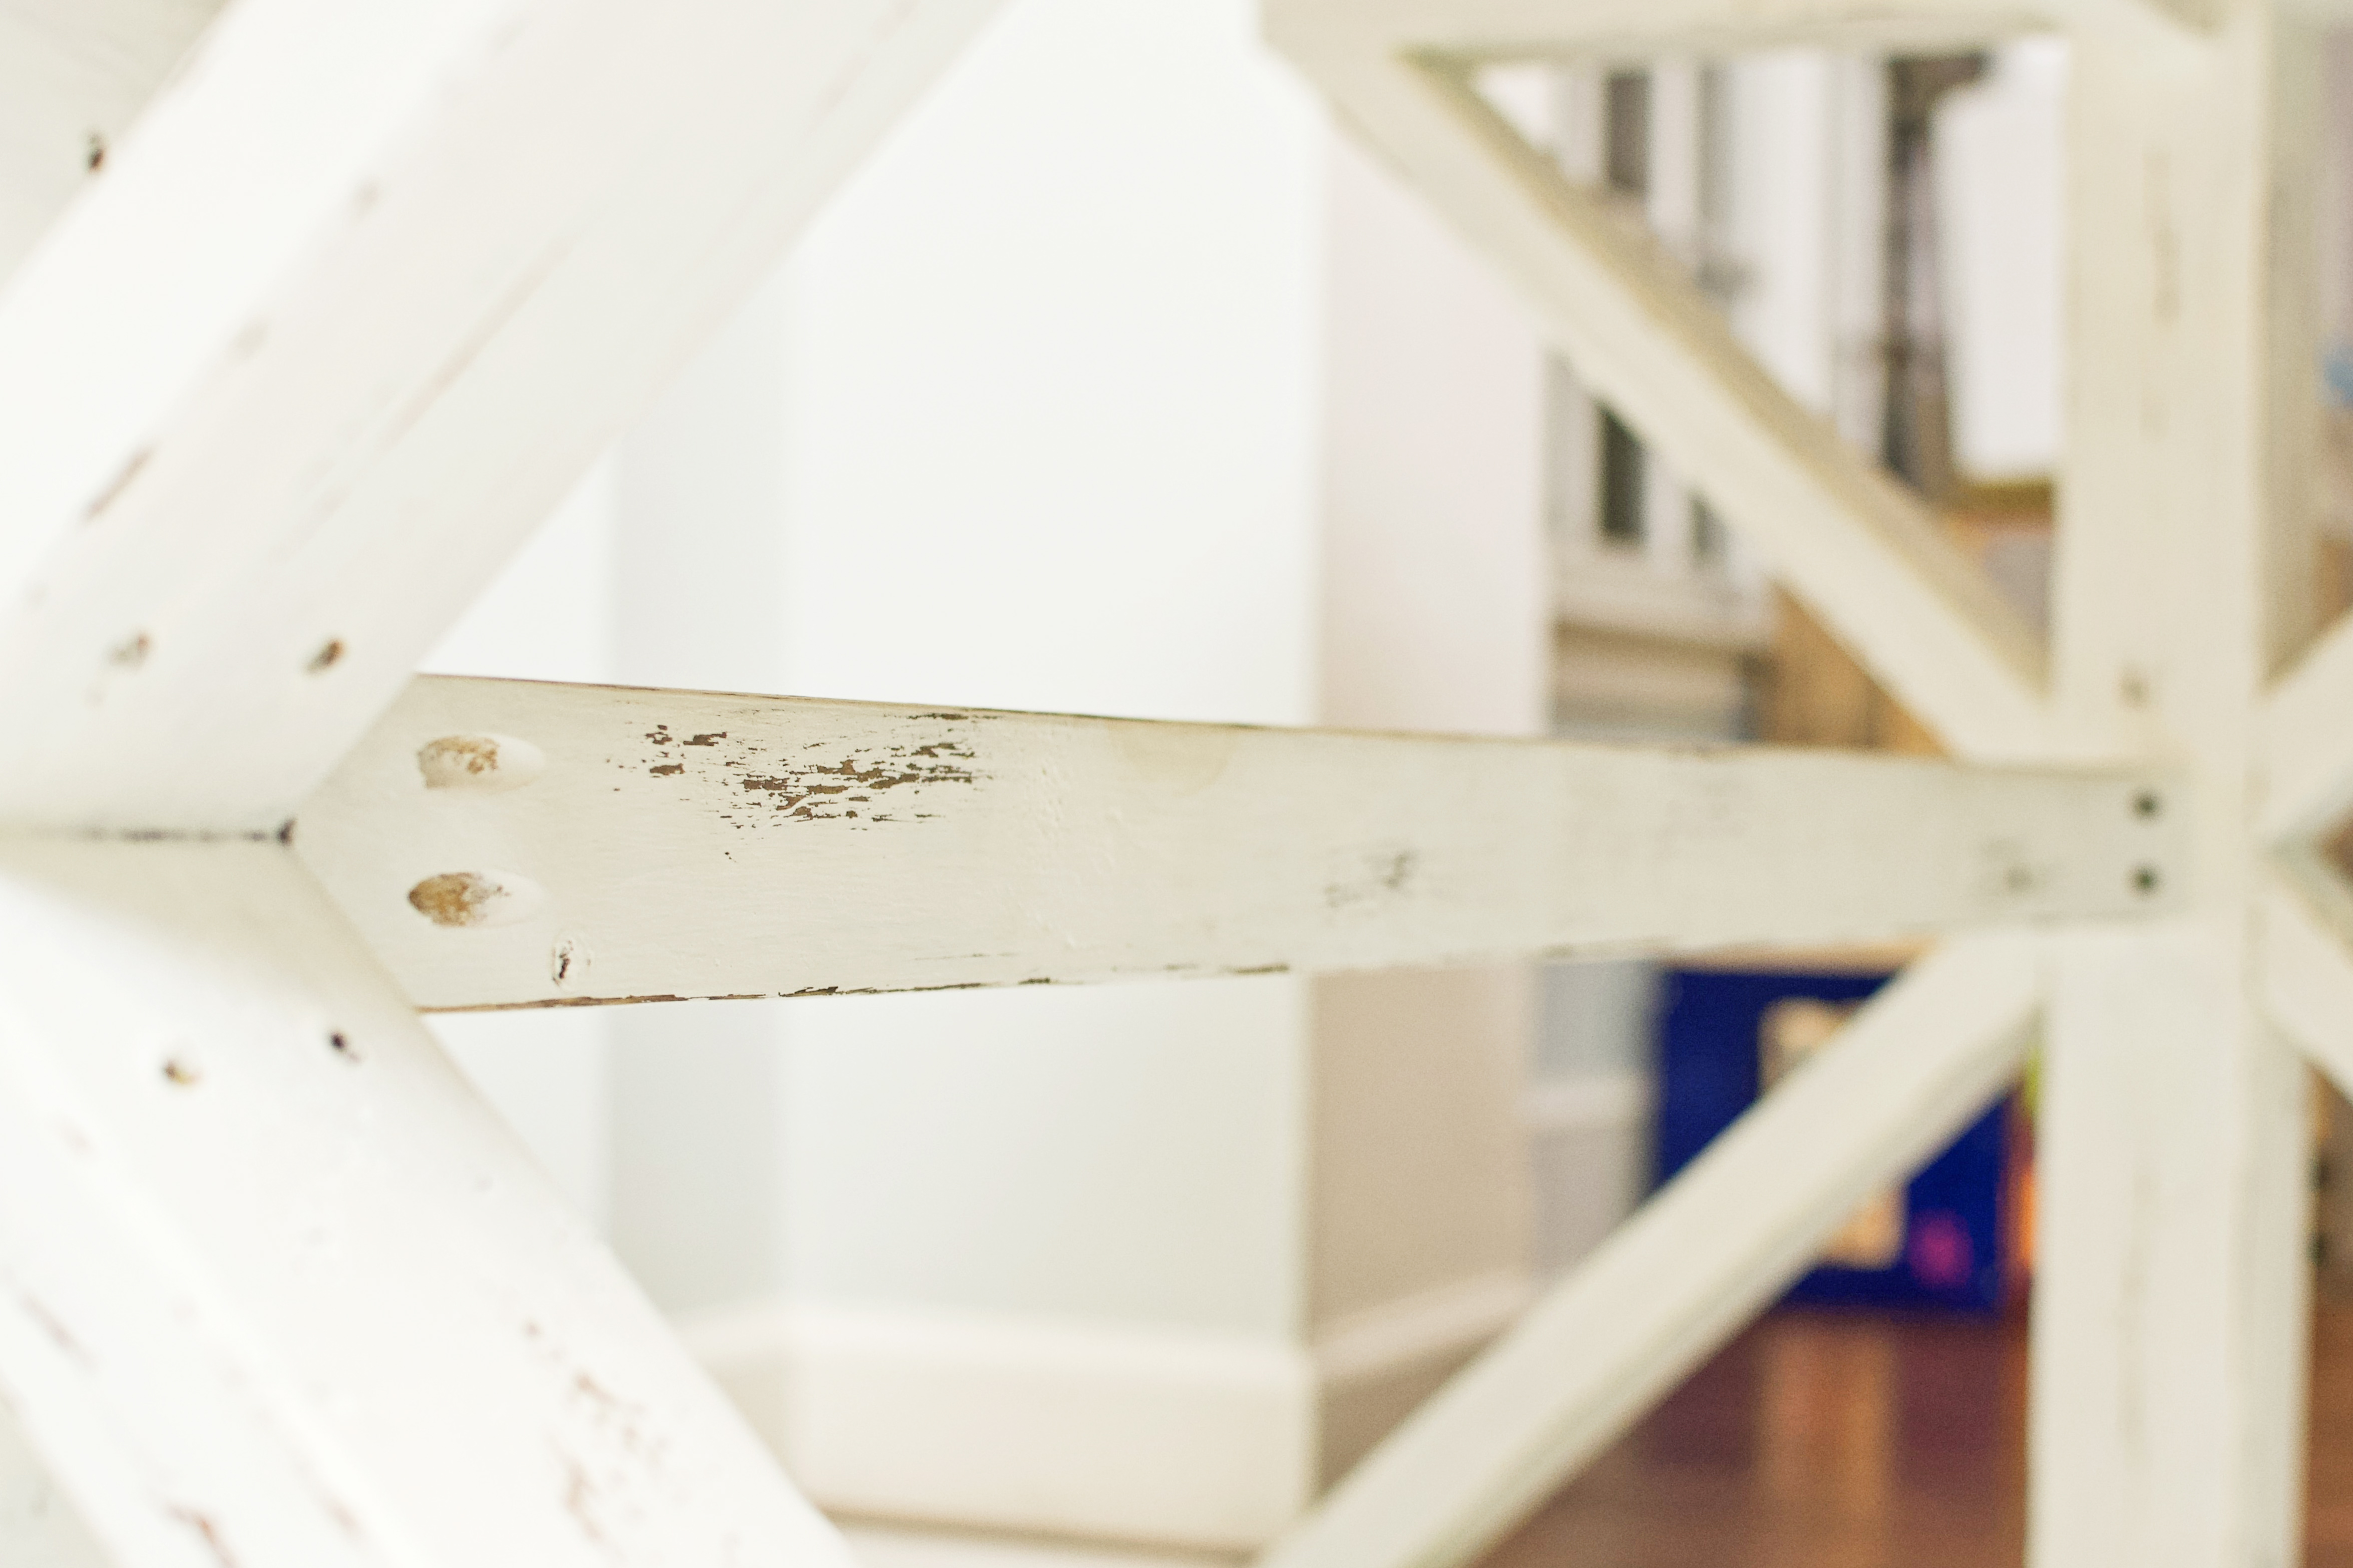
- Sporadically and unevenly sand the edges of the your table legs, just enough to reveal the dark brown stain underneath the two coats of white paint. Consider that natural wear, tear, moving and aging will begin to remove paint from all corners, and much less so from the faces of each board. That’s why we always like to start by spot sanding corners and edges before considering face-sanding if we want an even more distressed look.
Note: using an orbital sander is free game at this stage. However, it takes a tremendous amount of precision and finesse NOT to make divots or circular sanding patterns on your table legs. If you opt to use one, proceed with caution. Consider a trial run in a hidden area or using a dummy board for practice. We much prefer hand-sanding for this distressing.
Step 7. Third coat table top sealant.
- When polyurethane is involved, 2 coats are sufficient, but 3 coats are ideal. Repeat Step 5, assessing for dryness after 24 hours.
- Lightly sand the tabletop with 220 grit. Remove dust with a clean, old rag or shop towel. Gloves on. Apply your third and final coat of BLO / urethane / MS.
- Wipe off after 5-10 minutes.
- 24 hour dry time before light use.
- 72 hour cure time before heavy use.
Note: adding a clear coat to your legs & apron is optional. We opted out as the wear continues to add character to our table base and didn’t want a glossy look on the table base. If you’re concerned about paint wearing off and want to maintain the exact aesthetic you have now, consider adding 3 thin coats of water-based poly to the base. Water-based will NOT amber over time, leaving your whites actually white.
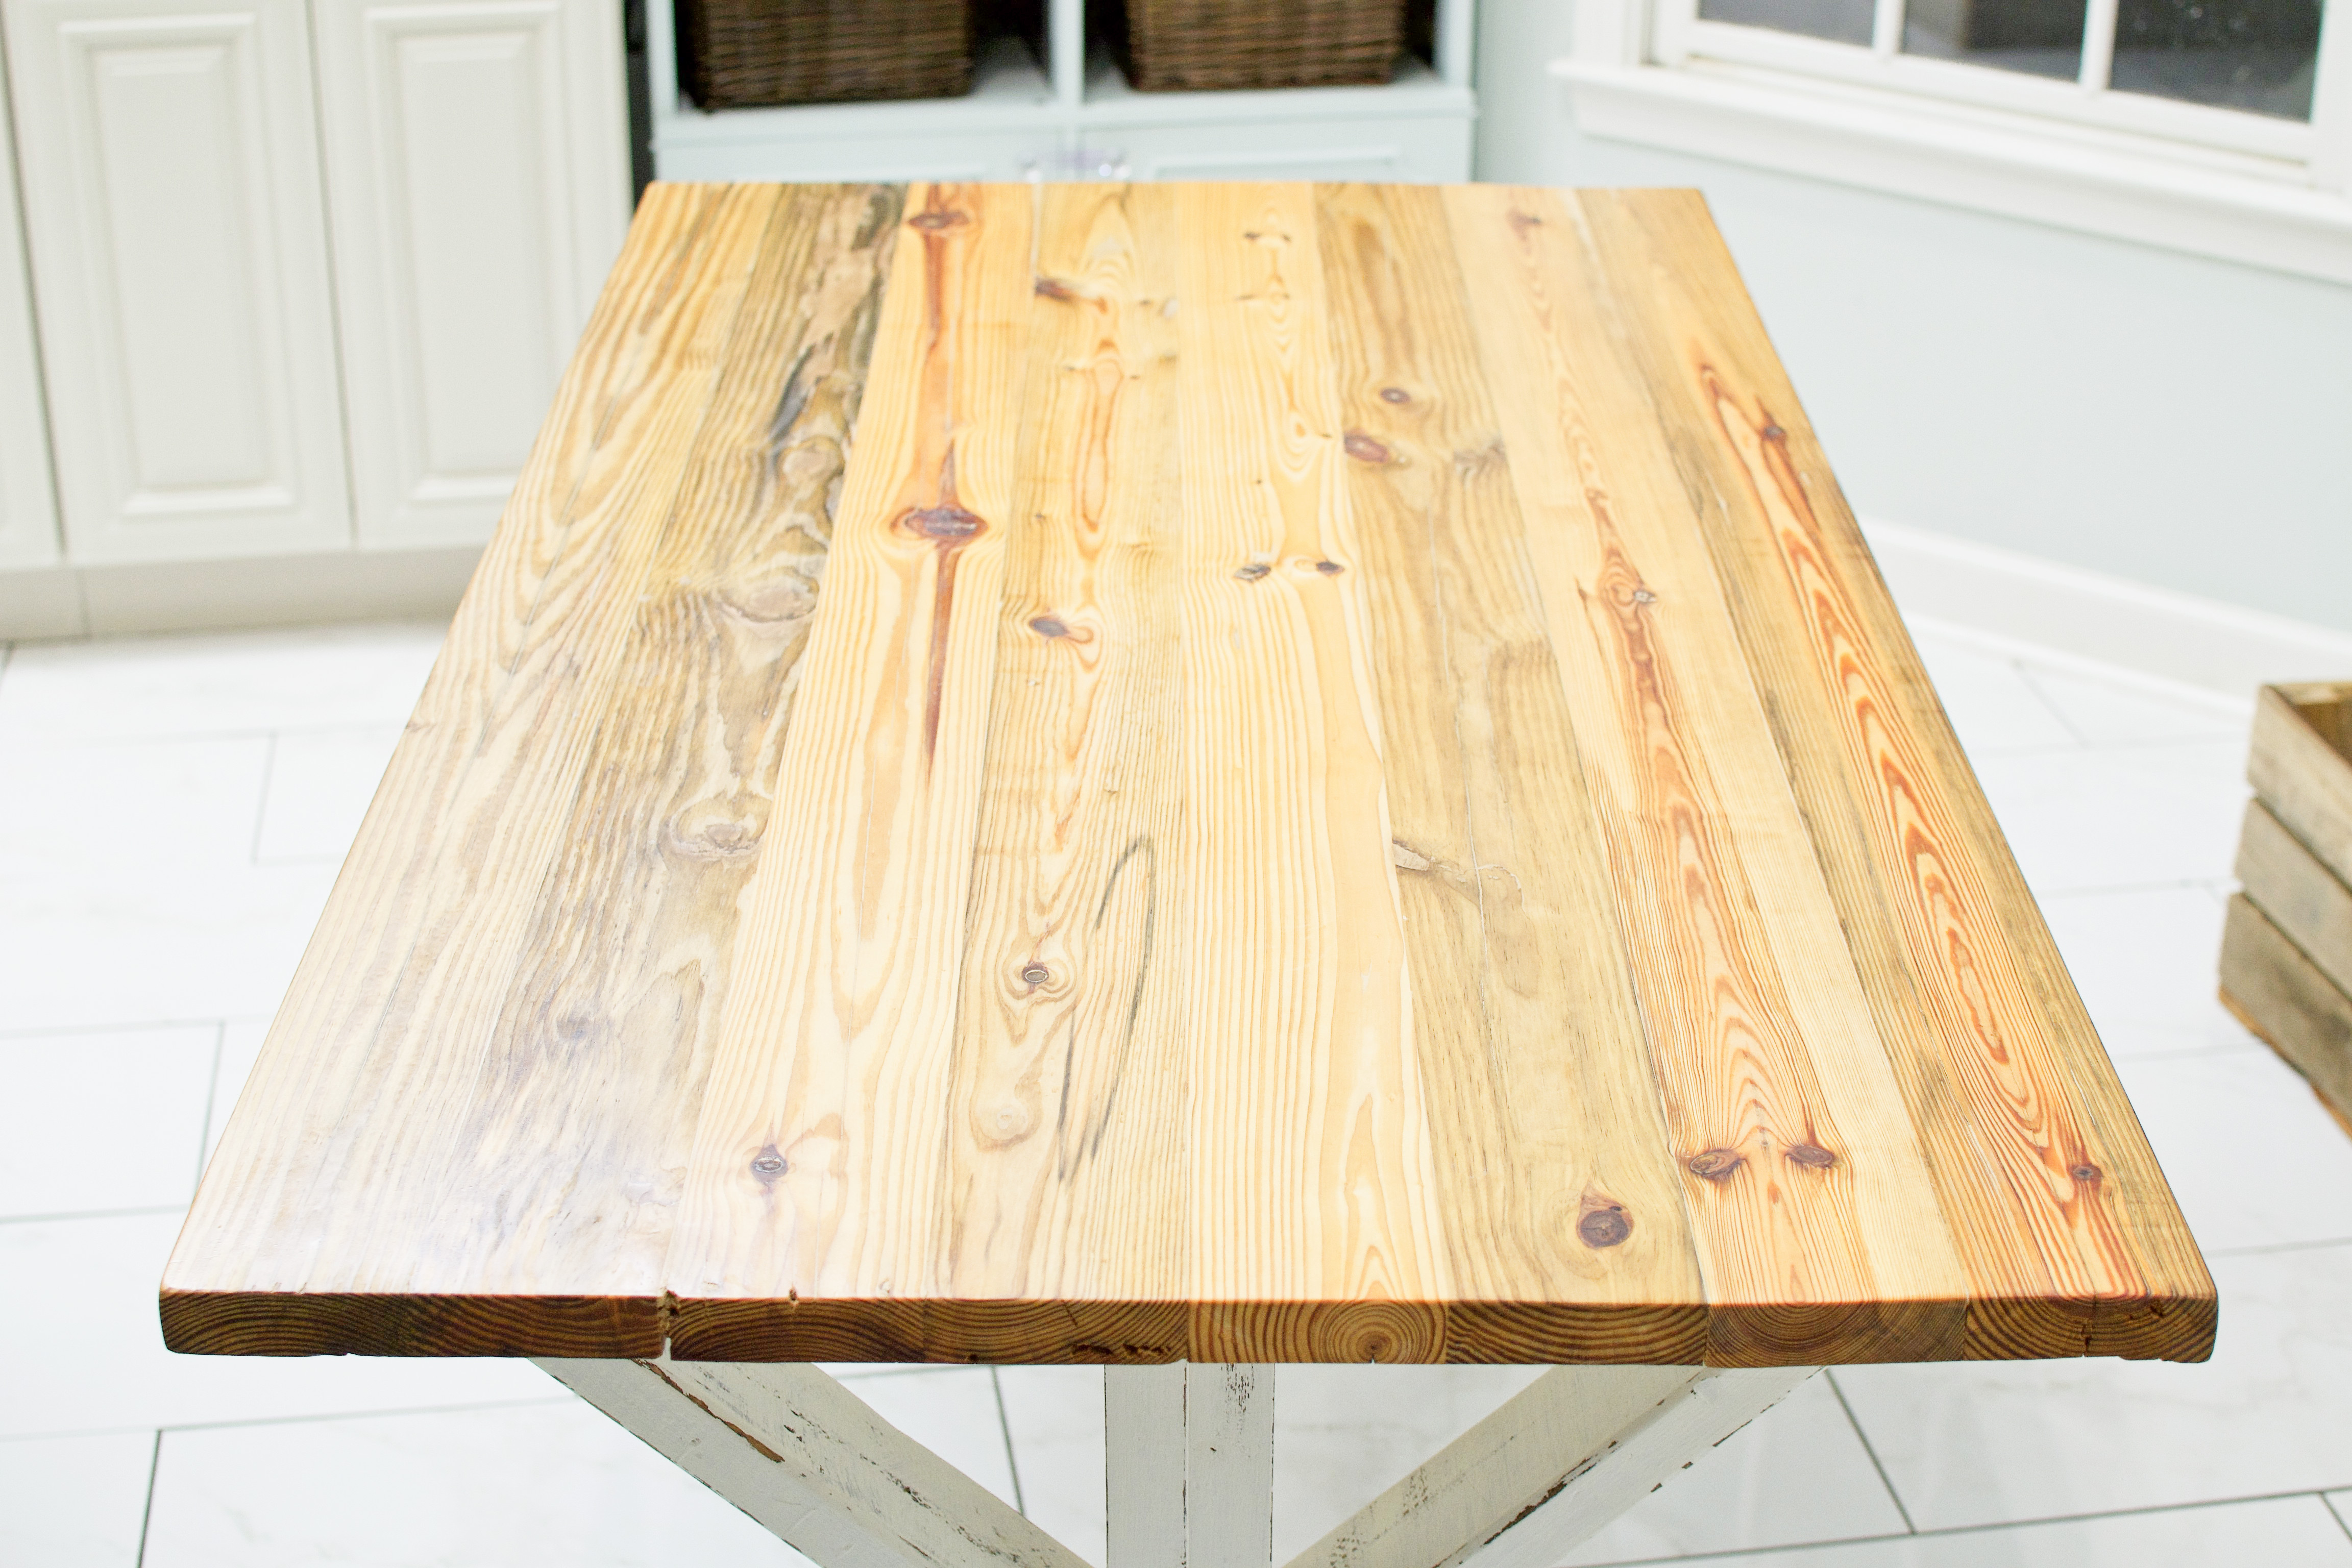
Love that artisan table, Friend.
An artisan finish for an artisan table. High five for taking the craftsman approach. Your table should be ready for heavy / normal use after a 3 day cure time. This ensures that the urethane in the mixture is able to solidify enough to prevent dents. How did it turn out? As good or better than you expected? We’d love to hear all the details. Send finished pictures for some mutual inspiration. Can’t wait to see ’em.
