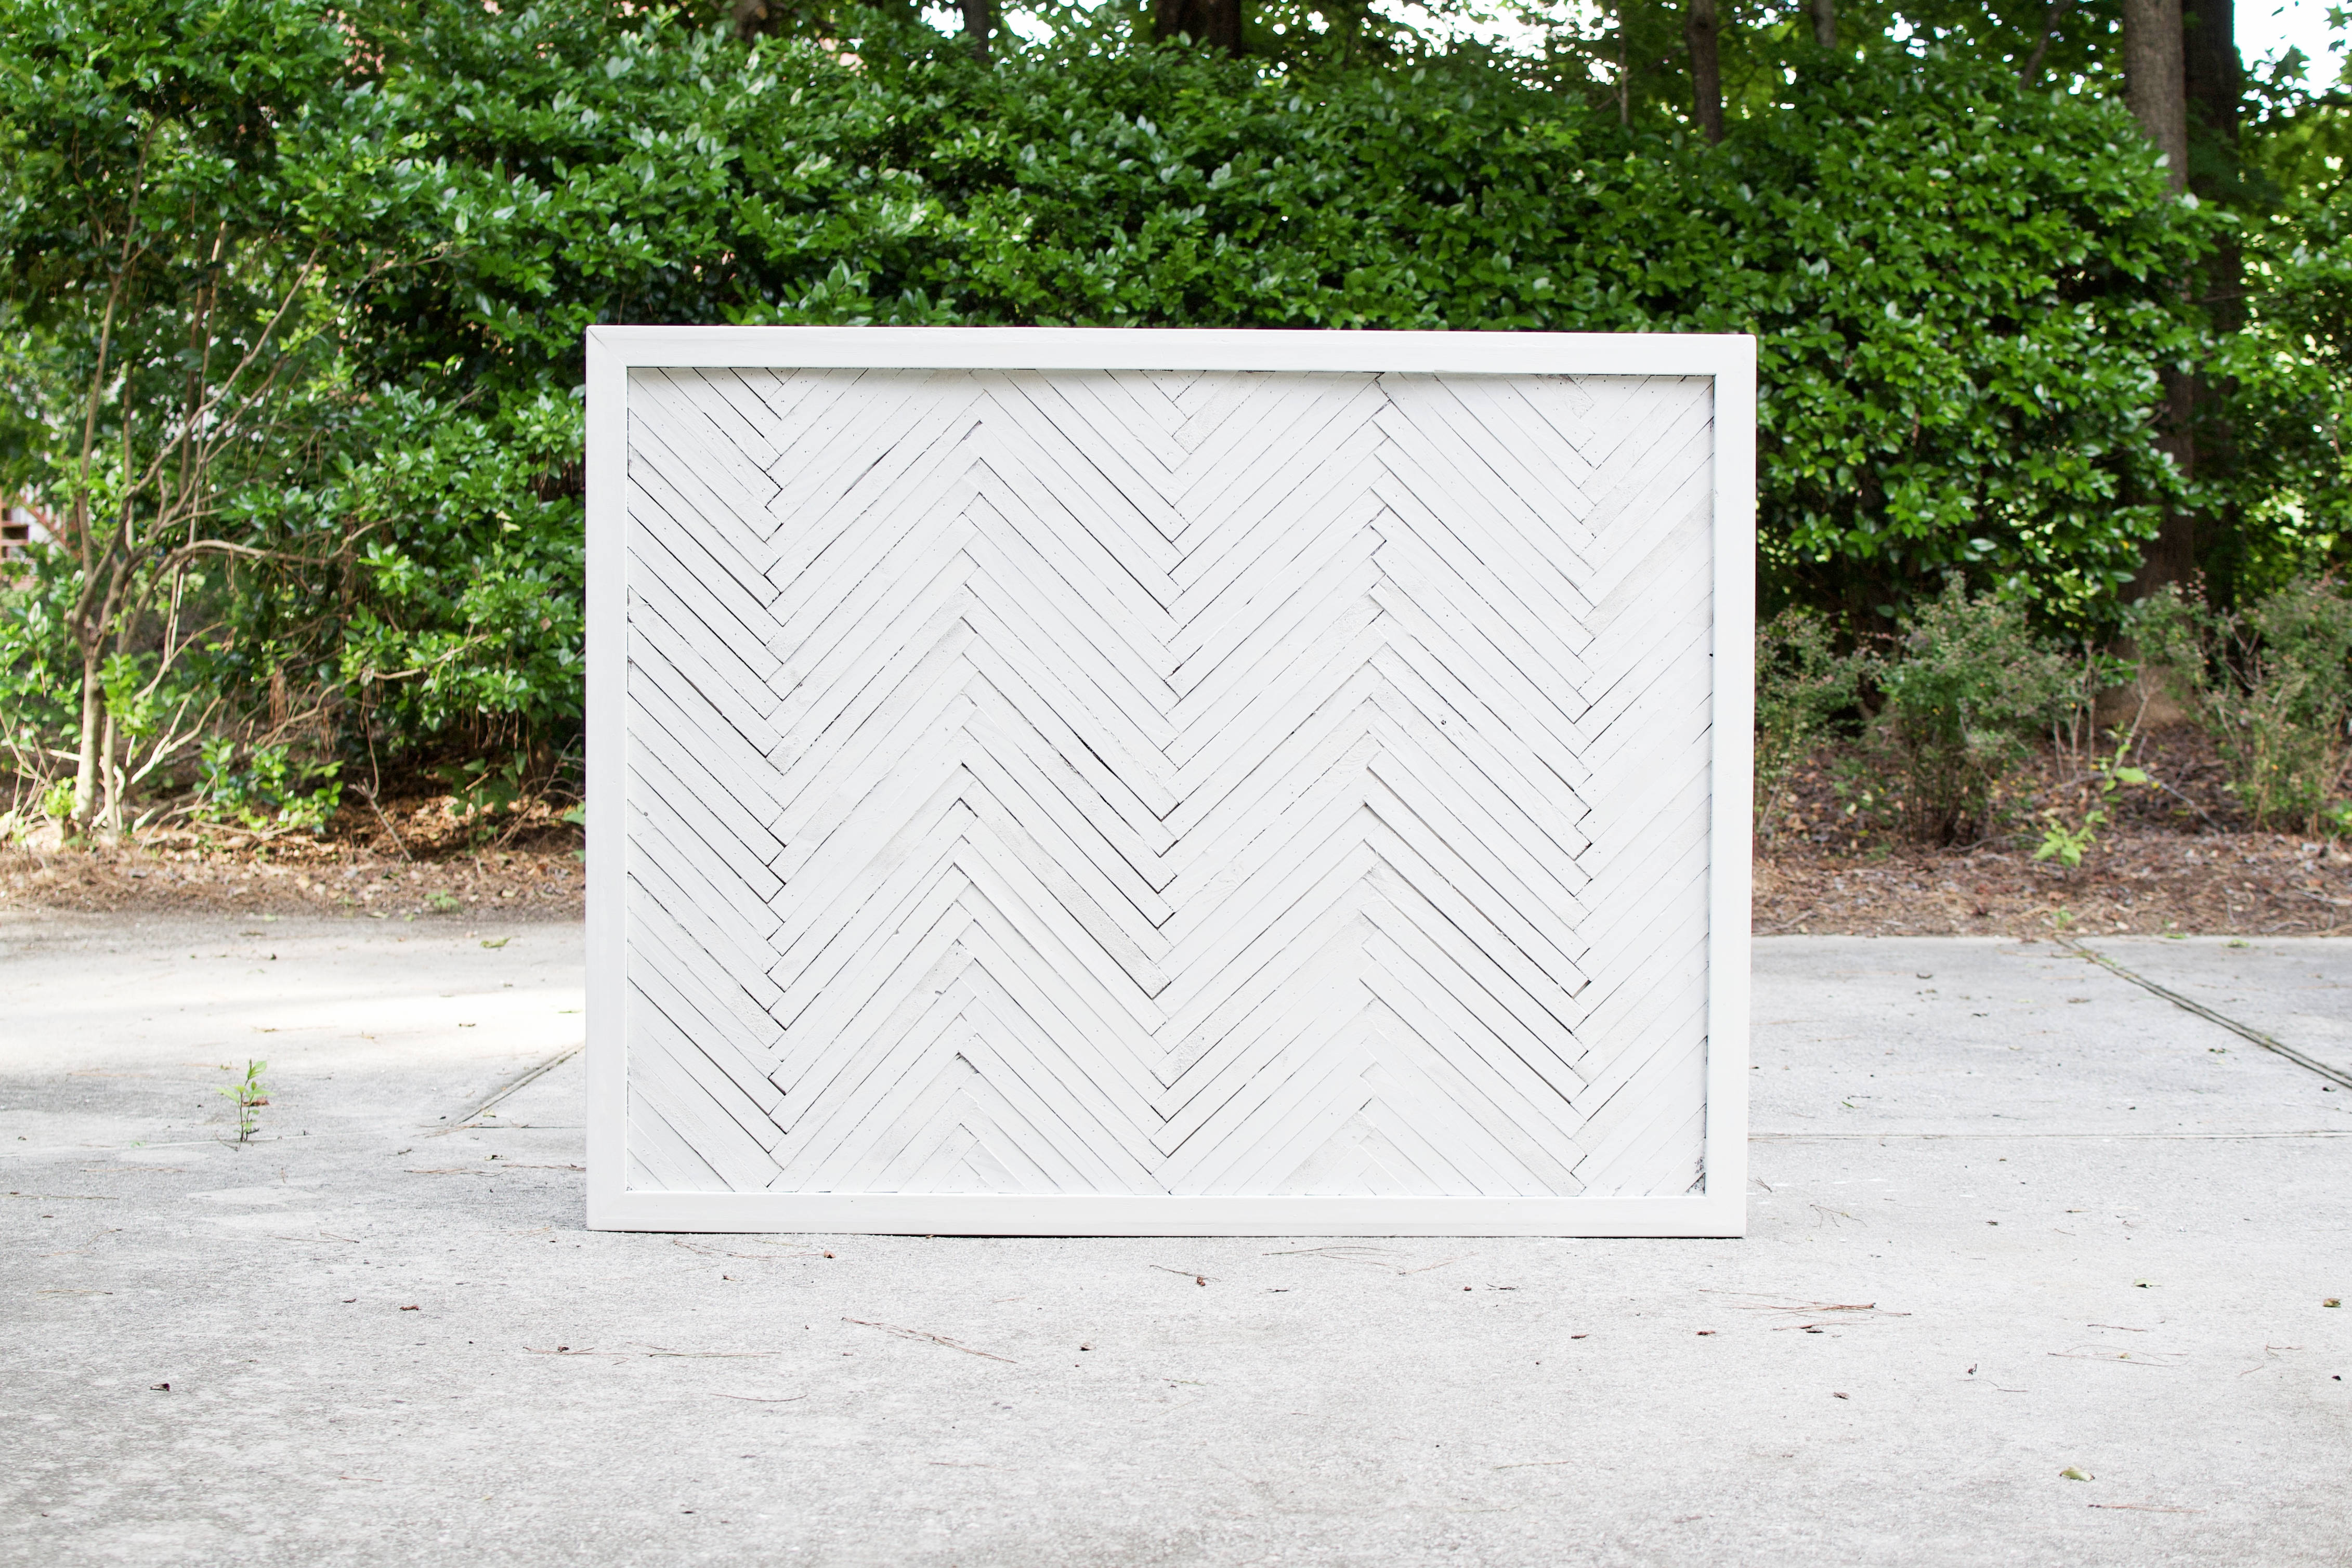
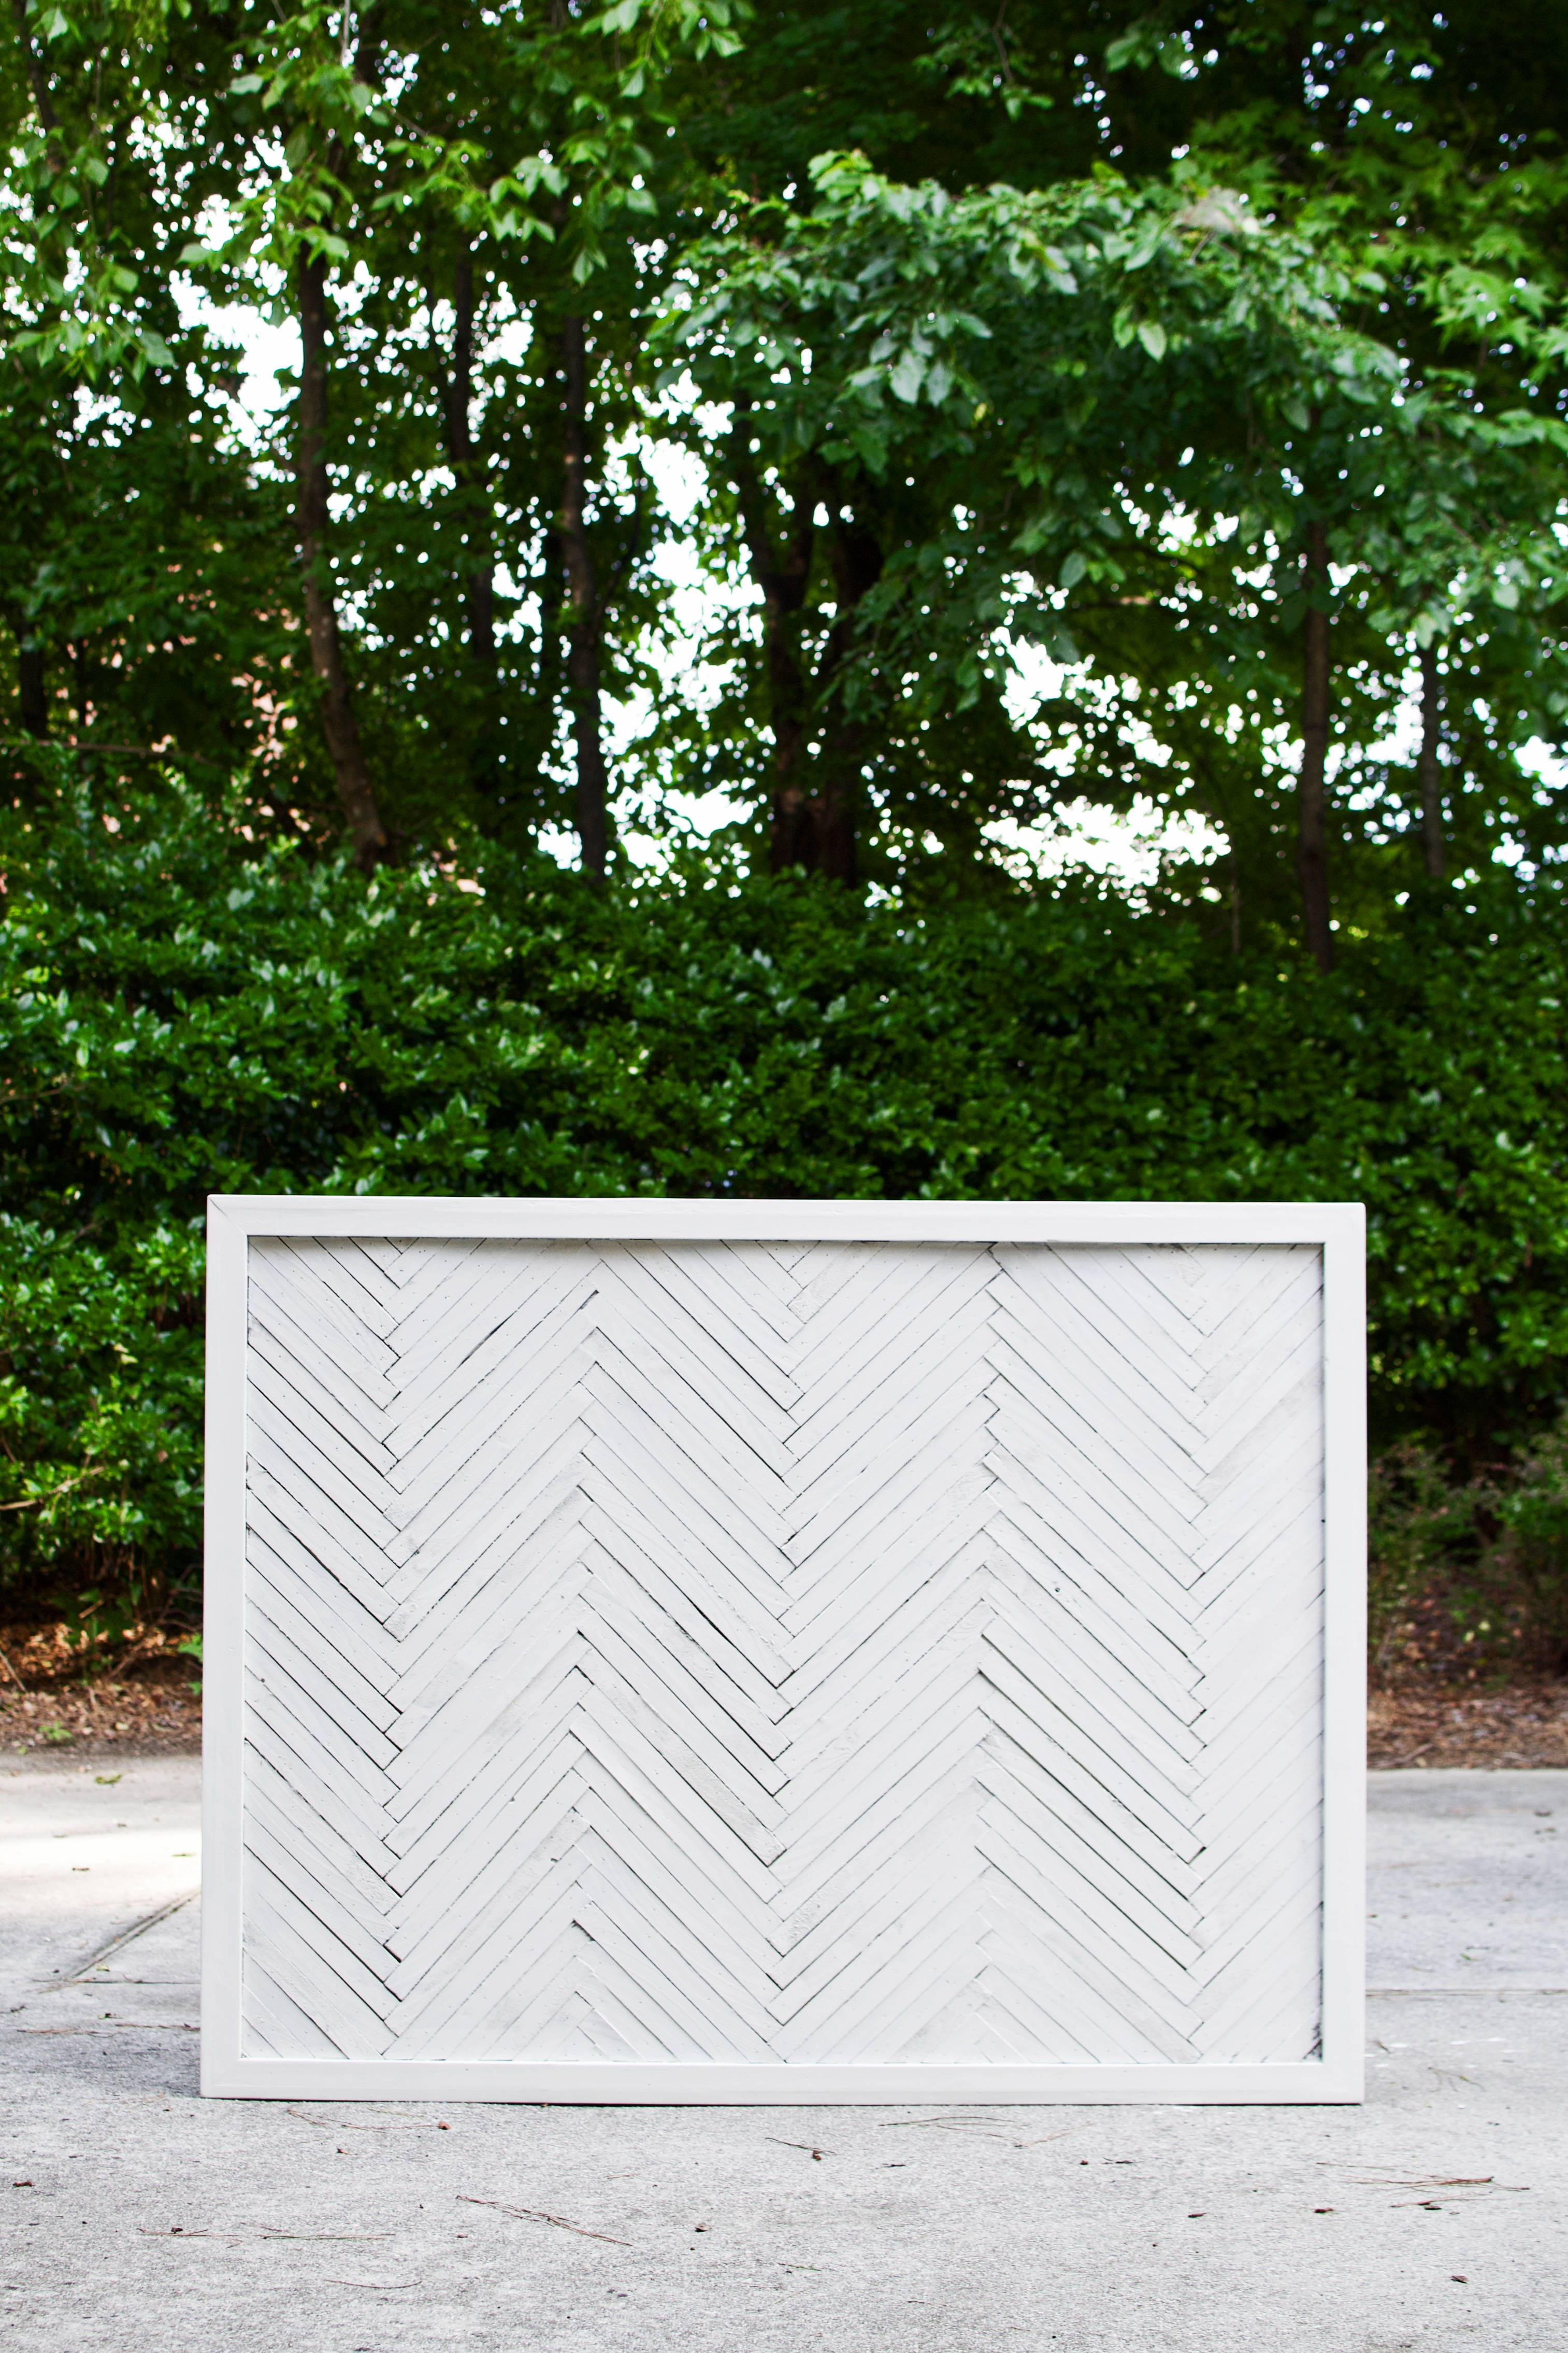
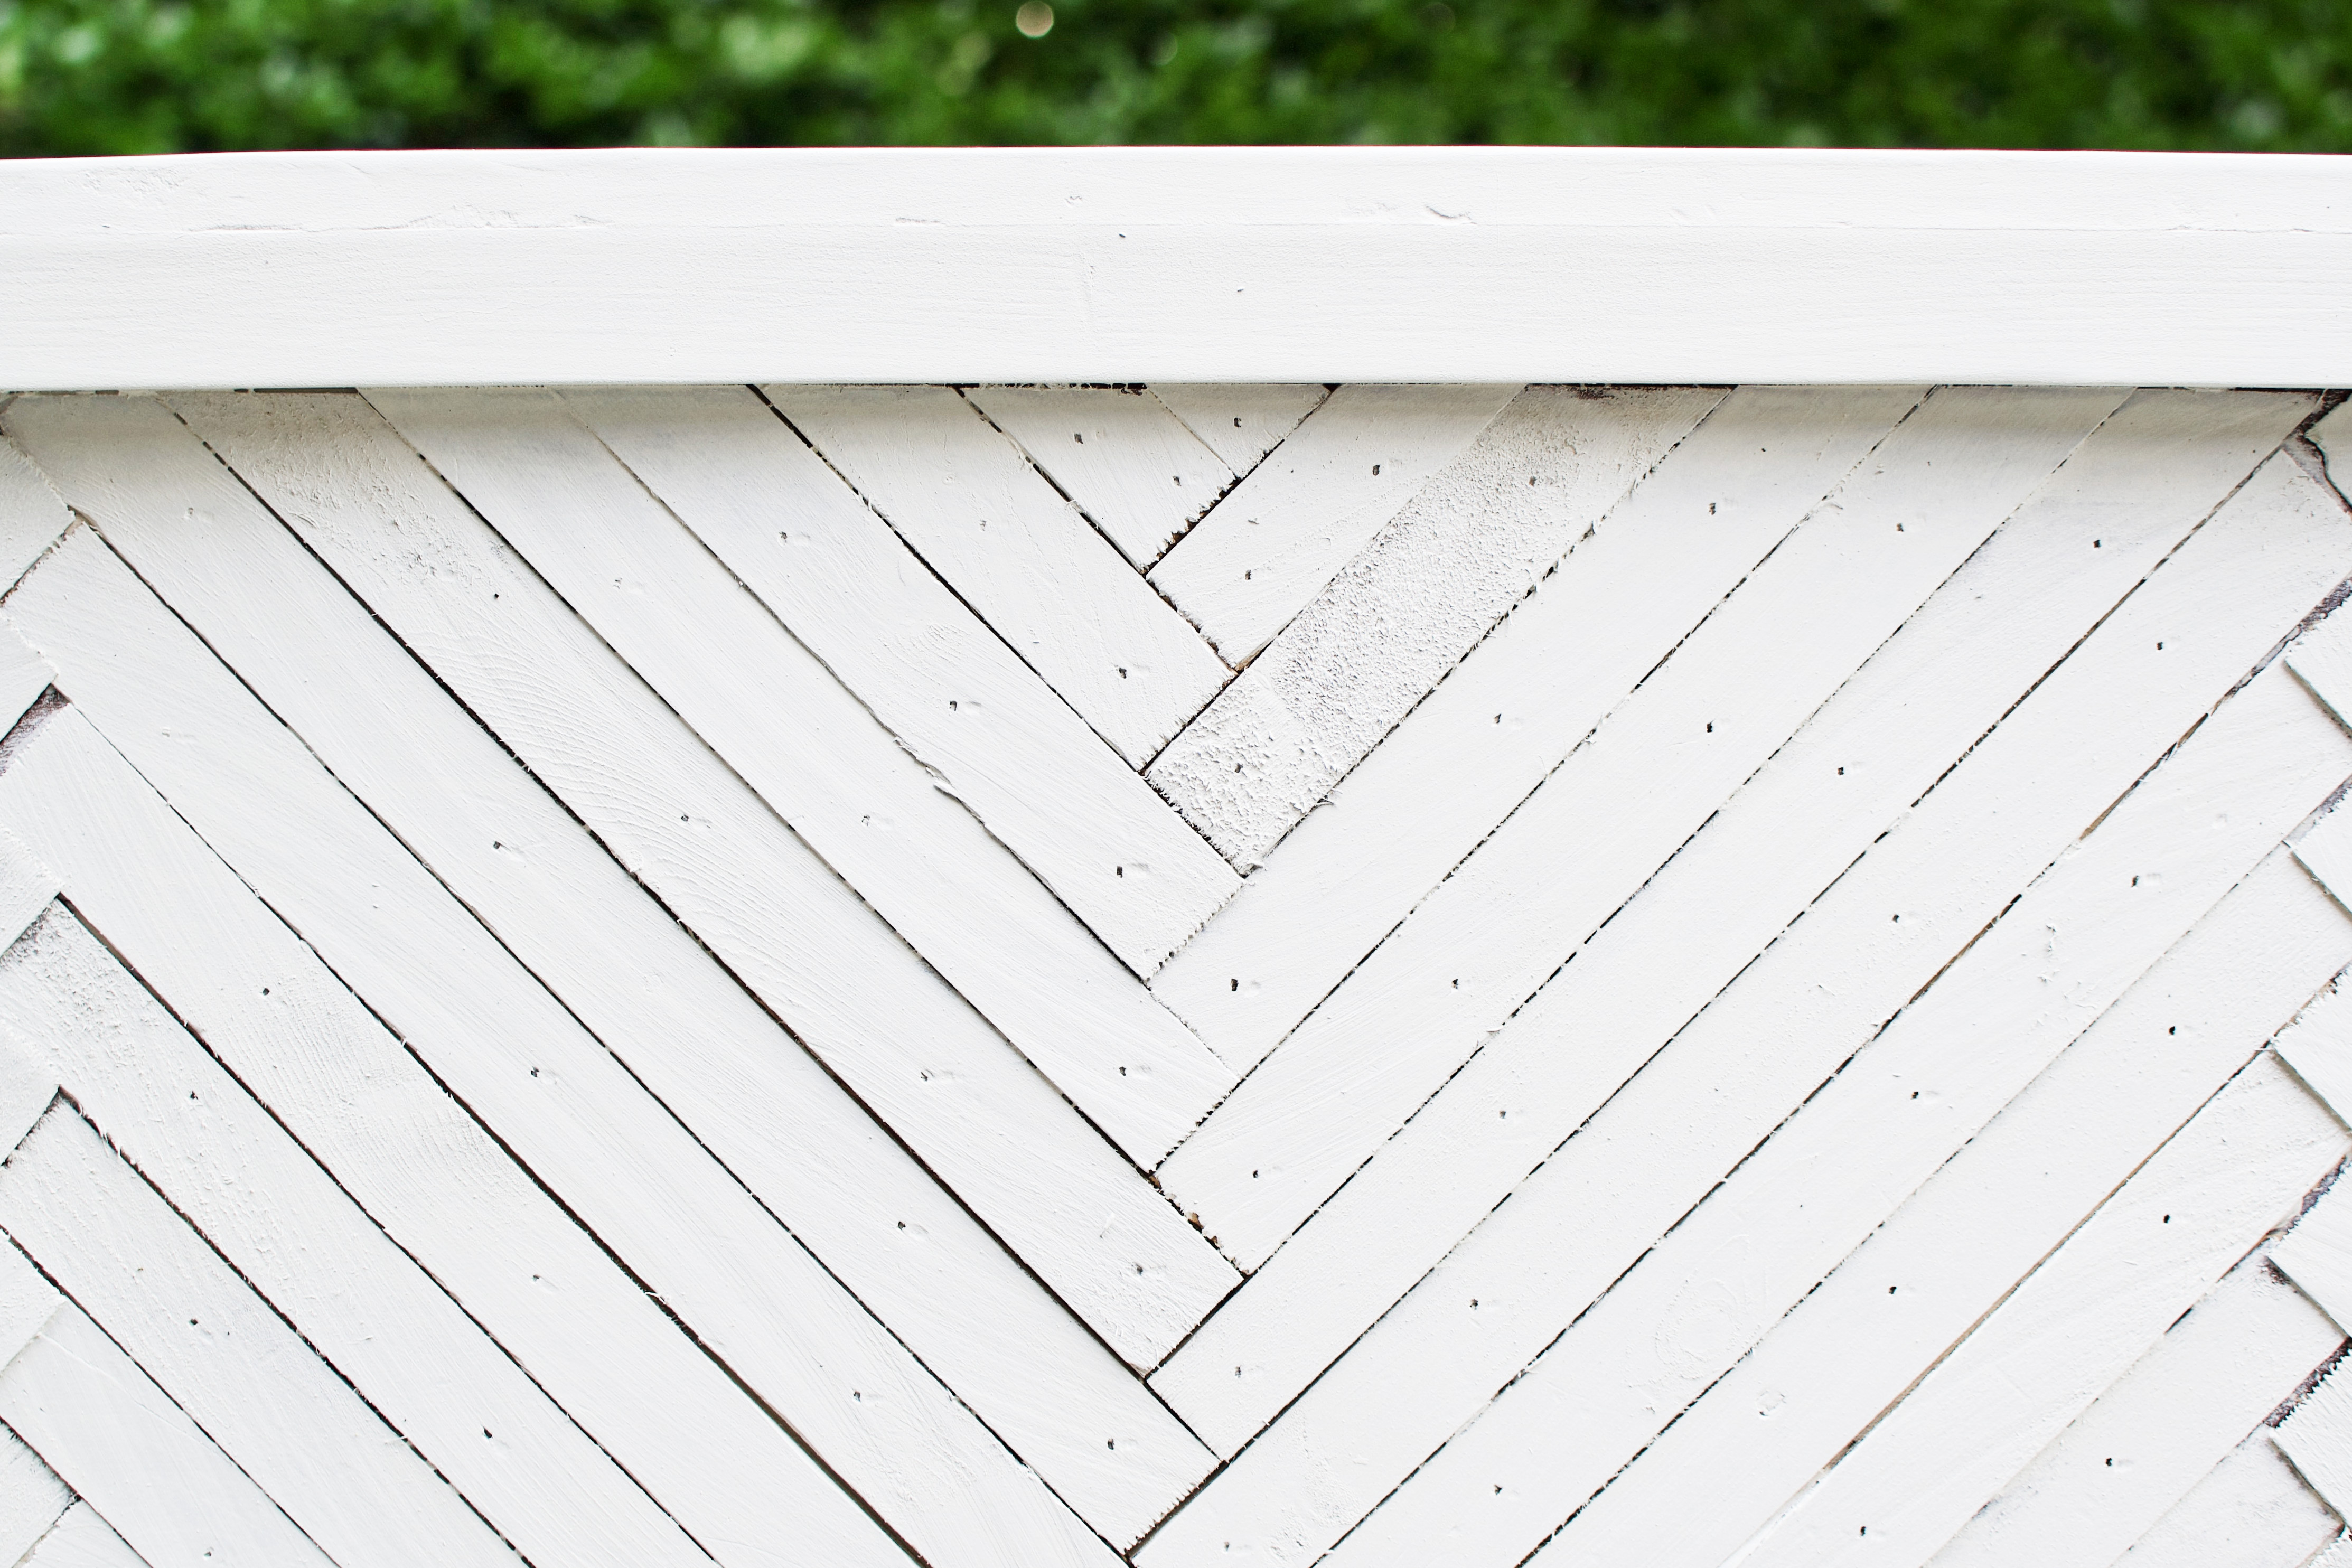
Welcome to the Rez, friend! We’re super glad you stopped by to try your hand at beautifying your custom piece of woodworked art we like to call a headboard. But feel free to use this finishing technique on any and every piece of wood you just thrifted, consigned, bought at Depot, or walk by everyday in your home and can’t stop dreaming about. Just [internet] browsing and interested in building one for you bedroom? Here’s the recap:
Recap of how to build it.
With wood and nails and stuff. Maybe a saw or two. Alright, enough shimming around. We’re talking 3/4″ plywood, 1×2 face trim, 1×2 side trim, glue & brad nails, and (5) packs of 15″ long contractor cedar shims. Still thinking about making it yourself? Done. Well, you still have to actually build it, but consideration is all the confidence and inspiration you need. Skills are for resumes. It’s way more exciting to learn as you go. That’s what I did. DIYnot? Wood I misguide you?
If you’re into saving money, let’s compare.
- $2,695 = Restoration Hardware’s herringbone platform bed & headboard.
- $1,000 = If they sold the headboard separately, I’d estimate it to be listed for at least $1,000 or more.
- $550 = Magnolia Home by Joanna Gaines herringbone bed frame. Perhaps the headboard alone would be at least a couple hundred.
- $389.99 = Heirloom By Design’s whitewashed herringbone headboard for sale on Etsy.
- $119.75 = We built one for less than $120 bones, ALL materials included.
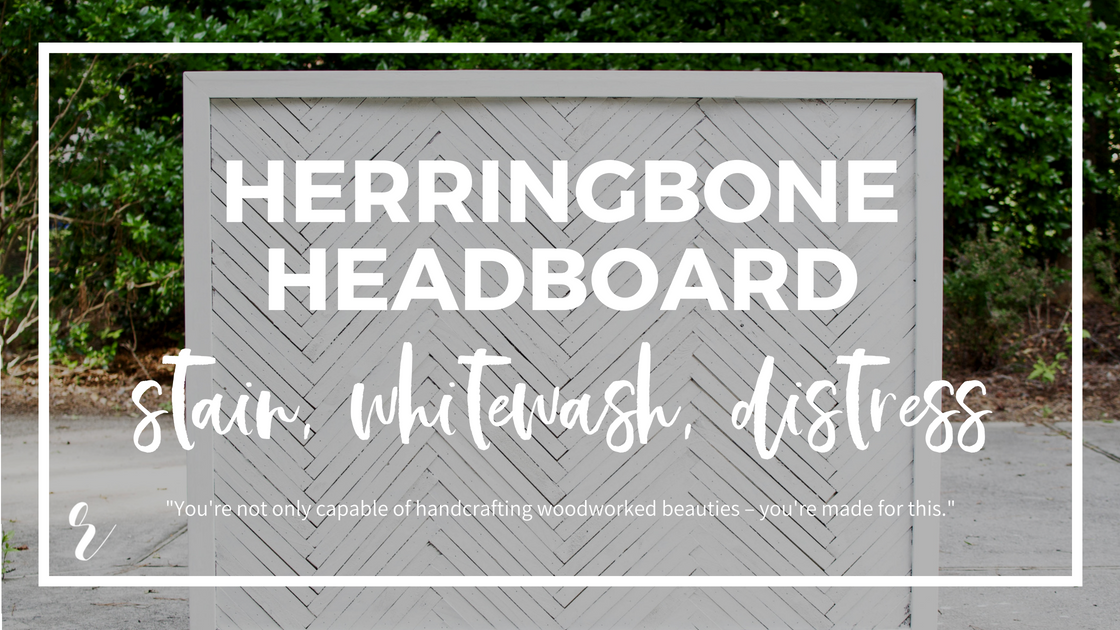
How to stain, whitewash & distress your headboard.
Materials
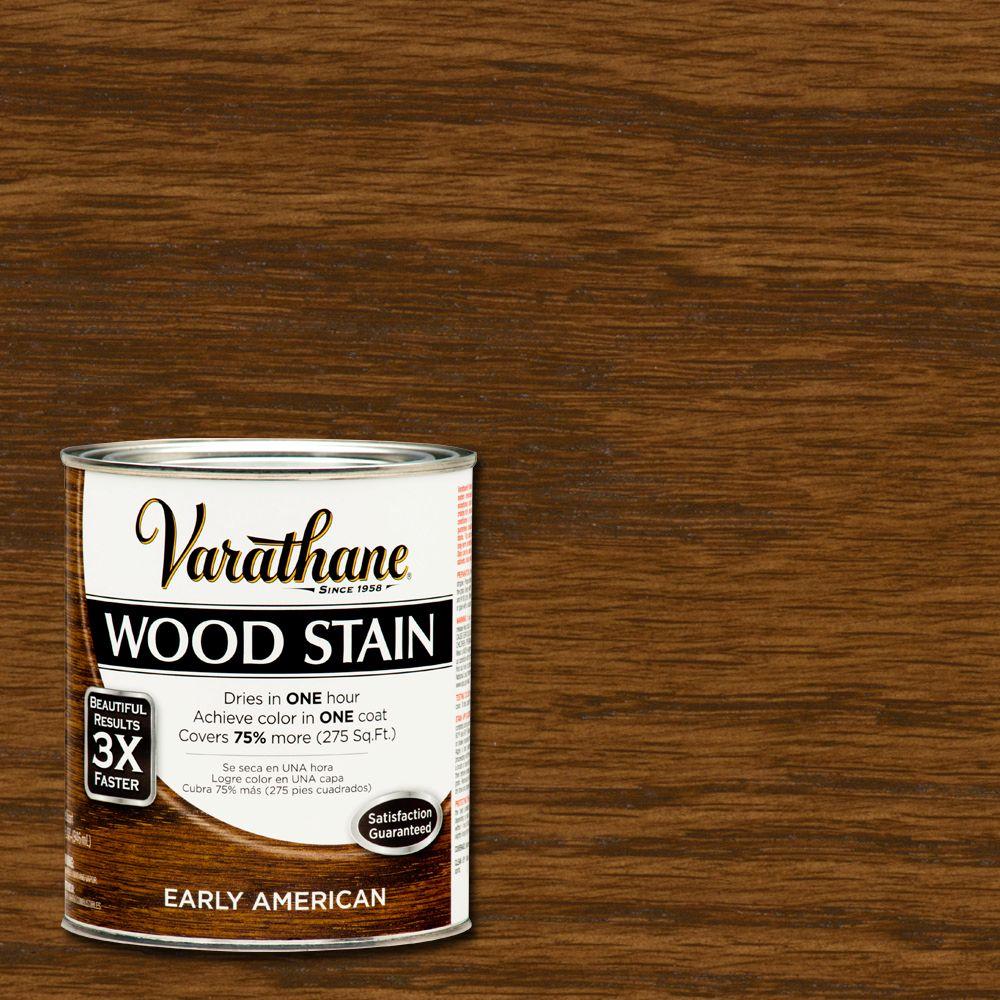
- 1 quart Varathane Early American wood stain. Linked a 2-pack for $15.54. We’ll budget it at $8.84 for 1 can. Any brown will do. We chose Early American for future applications. it’s one of our favorite stain colors. This will be covered by whitewash, but the stain will ever so slightly show through.
- 1 quart flat white paint (our favorite color is Heirloom White (color match). *See step 1 below for details. Budget ~$10.86.
- Blue shop towels for staining (or) old rags. Roll for $6.57. We always keep these on hand. Low lint for low residue. (Cheaper at Depot).
- Nitrile gloves to avoid the everlasting stain residues on your hands. $16.88 for a 150-pack. Or 100 pack on Amazon for $9.99.
- Sand paper. 100 or 150 or 220 grit equivalent. The rustic aesthetic doesn’t need a perfectly smooth finish. 100 grit sand paper is $4.27 for 6 sheets.
- Paintbrush. (Cheapest 3-pack of paintbrushes at Depot for $6.93). To apply the whitewash.
- Paint sticks for stirring.
- Old plastic container. For mixing the whitewash.
- (Optional) 1x4x12 for a cleat style installation. Tutorial here.
Tools
- Orbital sander.
- (Optional) 2 saw horses. Functions like a portable workbench. I used my table saw for this purpose.
Budget Recap
- Finishing the headboard costs = $47.46
- Finishing the headboard for DIY regulars costs = $0. It cost us a total of $8.84 since we had everything except the stain.
- Building the headboard costs = $119.75
- Total to build & finish = $167.21
- Total to build & finish for DIY regulars = $81.20
Note: DIY regulars should be able to subtract up to $38.55 from the total cost per already having on hand standard household building materials, and up to another $47.46 for standard finishing materials.
Step 1. Adventure to Home Depot.
Take a journey to the hardware store. Tip: To save time, order up your paint first once you arrive then you can shop while they mix it since it takes about 10 minutes. For the Heirloom White, choose flat or matte sheen unless you want it to shine. No glimmer ’round here. This pigment only comes in Rust-Oleum spray paint. We ask the nice associate in the paint department to color match it to the spray paint. It’s our favorite off-white for furniture use: slightly creamy, but still very neutral and understated. Avoid using bright whites or primer, otherwise your headboard might make your white bedroom moulding / trim look off-white. It should blend in, not visually scream like a hangry toddler in the busy grocery store.
A note about Minwax: I’ve thoroughly enjoyed using it in the past. However, it’s consistently MUCH thinner than Varathane brand stains. The Depot associate confirmed my hunch with a gracious side-by-side comparison. My exception: consider choosing color above brand when stain is the final visible finish. Both of these brands offer an Early American, but the Minwax was way more red-tinted.
Pro-tip for assessing stain: apply every stain you have onto a piece of wood that is identical to the actual piece you’re staining. Rub it into small square shapes and wipe off after a few minutes. Observe the differences between each stain color and brand, take a picture for future reference, and choose your favorite.
Pro-tip for staining pine: when stain is the final visible finish, it’s needs to actually look good. Softwoods like pine absorb stain unevenly, often yielding a blotchy / splotchy appearance. To even out the absorption rate and provide visual consistency, apply a pre-stain / wood conditioner first. Not necessary in our case – whitewashed paint will almost entirely cover the stain.

Step 2. Orbital sanding session, let’s do this.
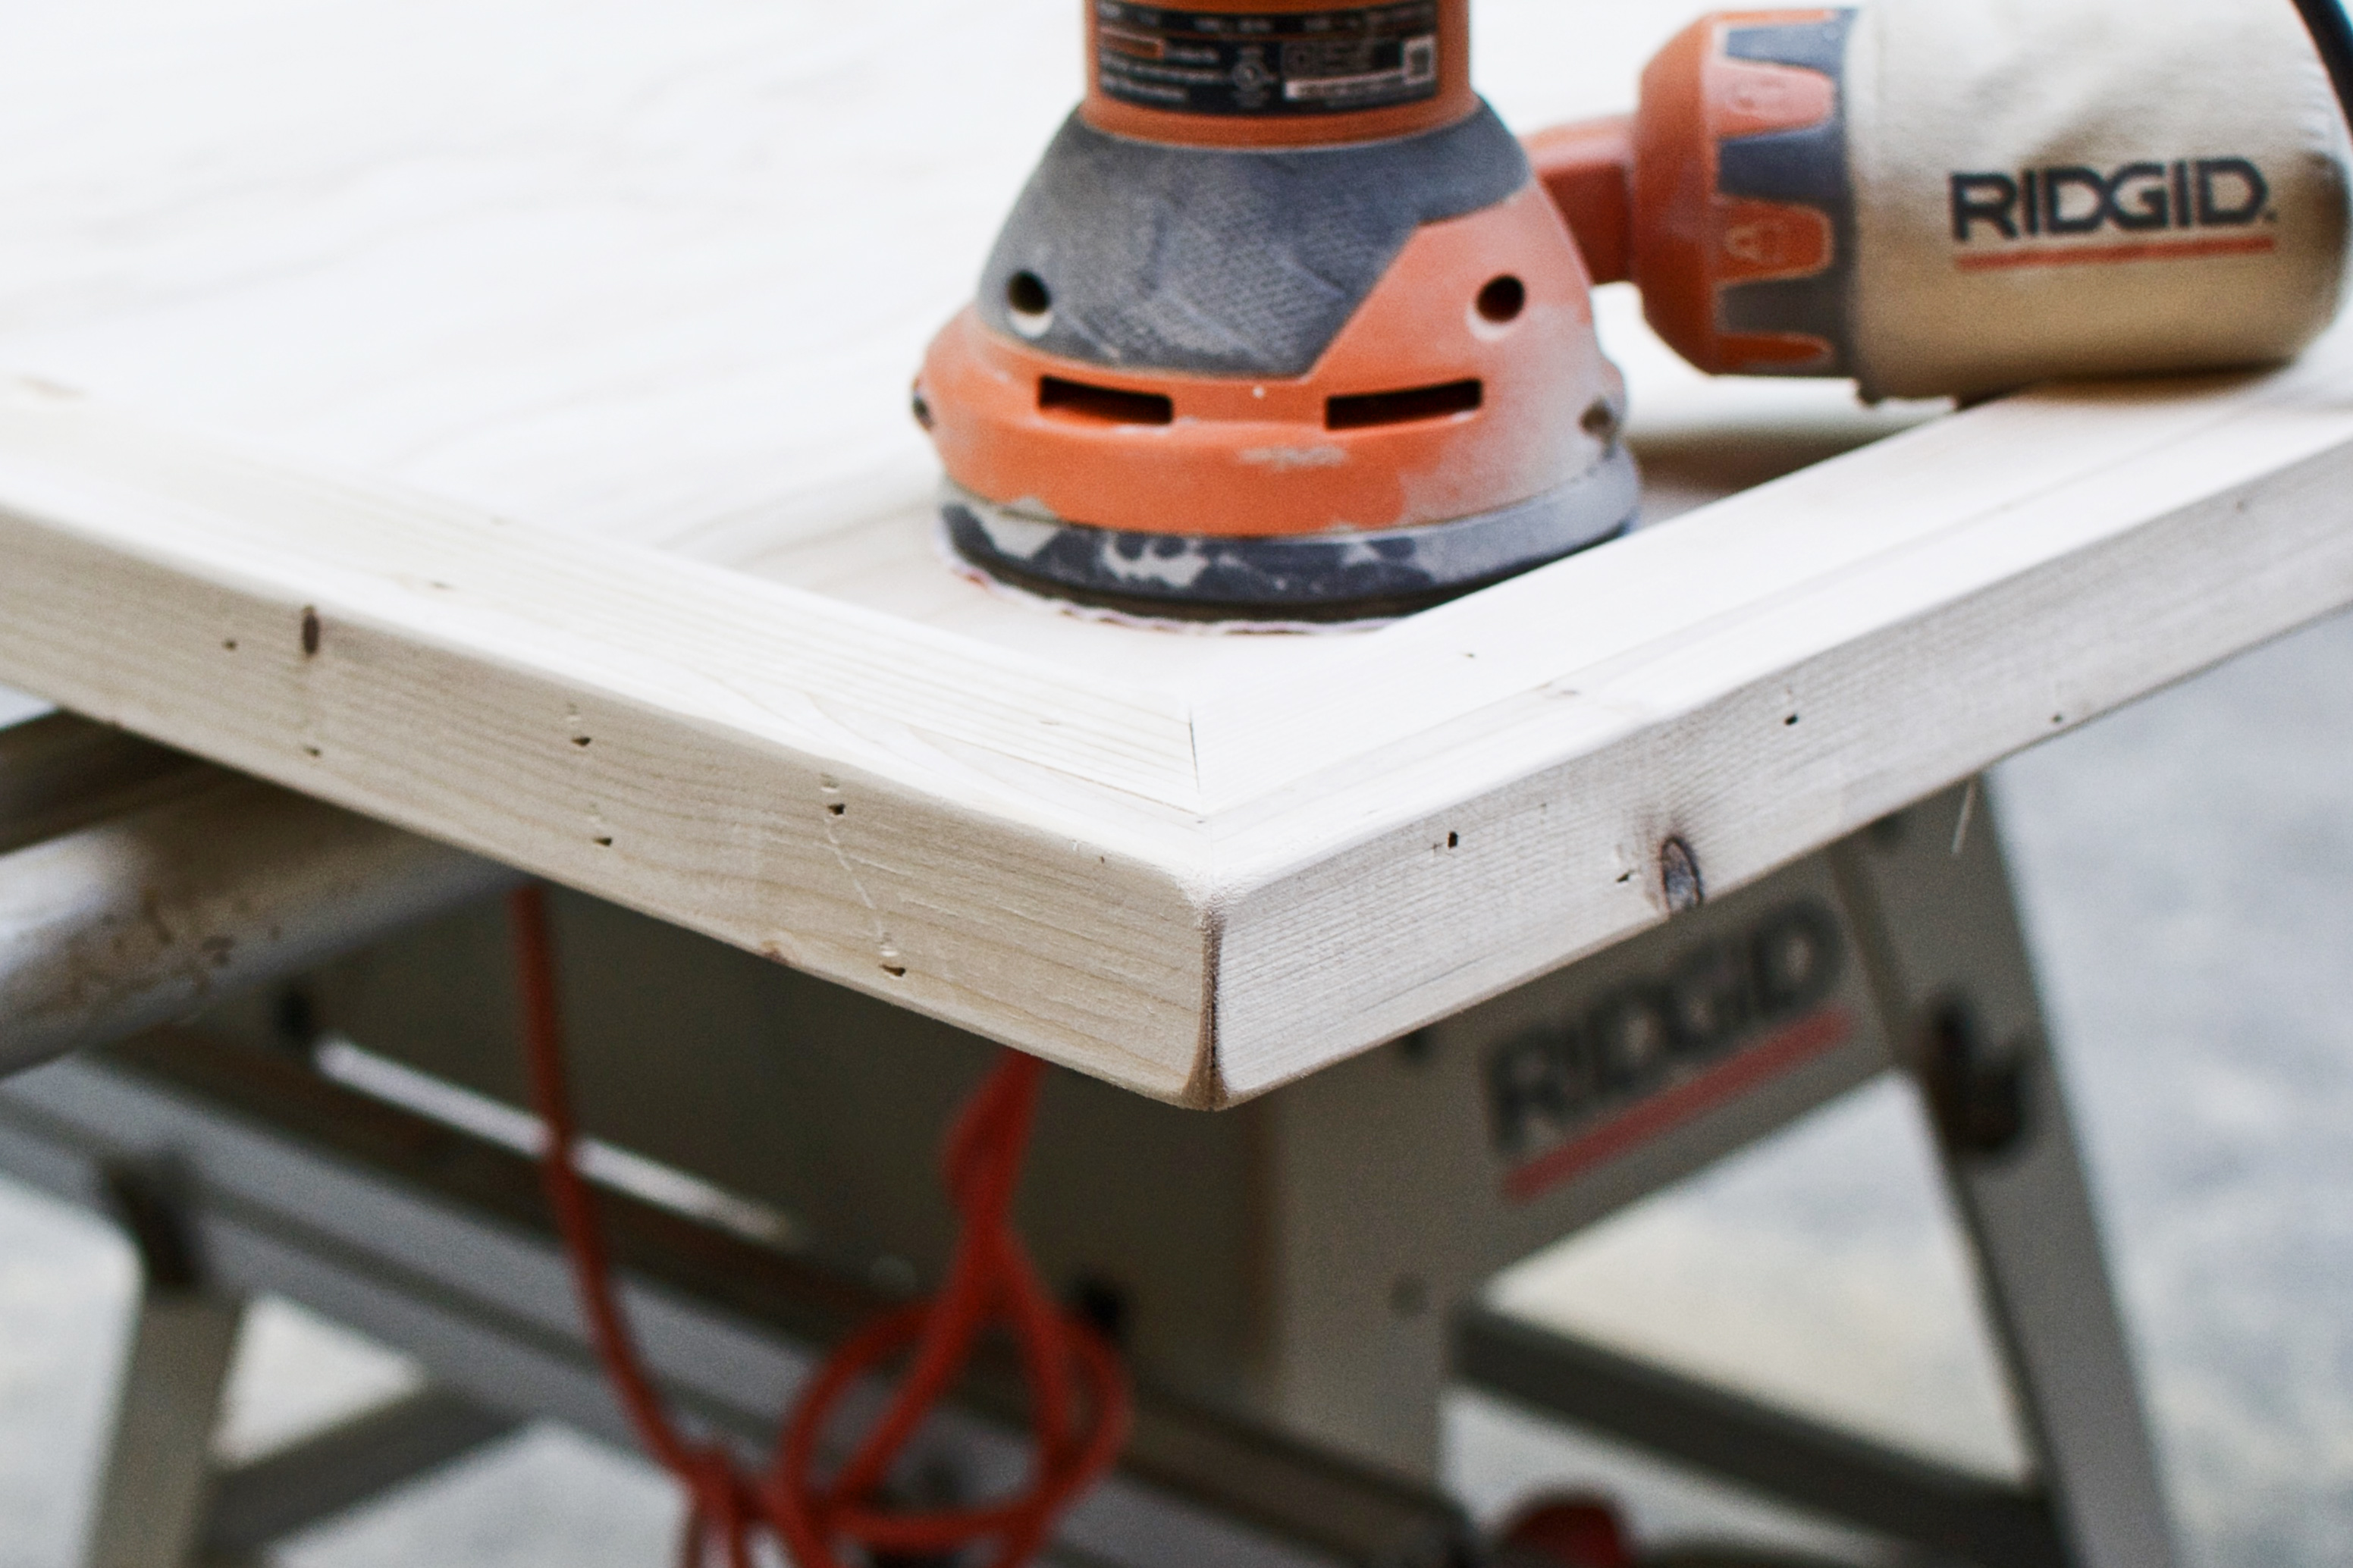
If you skipped this step in building your headboard, or simply like our finish for another furniture piece, it’s time to sand. All furniture that will be touched at some point needs to have non-sharp edges, unless you like a very modern square vibe. You can sand all of the trim edges (including the back edges) by hand, but an orbital sander will dramatically increase your efficiency and reduce your hand-ache.
Choose size-appropriate, orbital-specific sanding discs anywhere between 100 grit and 220 grit. Less than 100 grit will take off an enormous amount of wood, which is very challenging to control on small surface areas. It’s all too easy to “whoops” and dig a notch out of your trim’s edge. Greater than 220 grit will take longer, and offer an overly smooth finish for our application.
Step 3. Stain.
You may be thinking: why the butt-stain am I staining just to cover it with whitewashed paint? Here’s why: Diluted paint allows the pigment underneath to slightly show through. In our opinion, white over midtone or dark wood looks far better than white over pale wood. Plus, as you distress the edges, there’s immediate visual contrast between light on top and dark underneath.
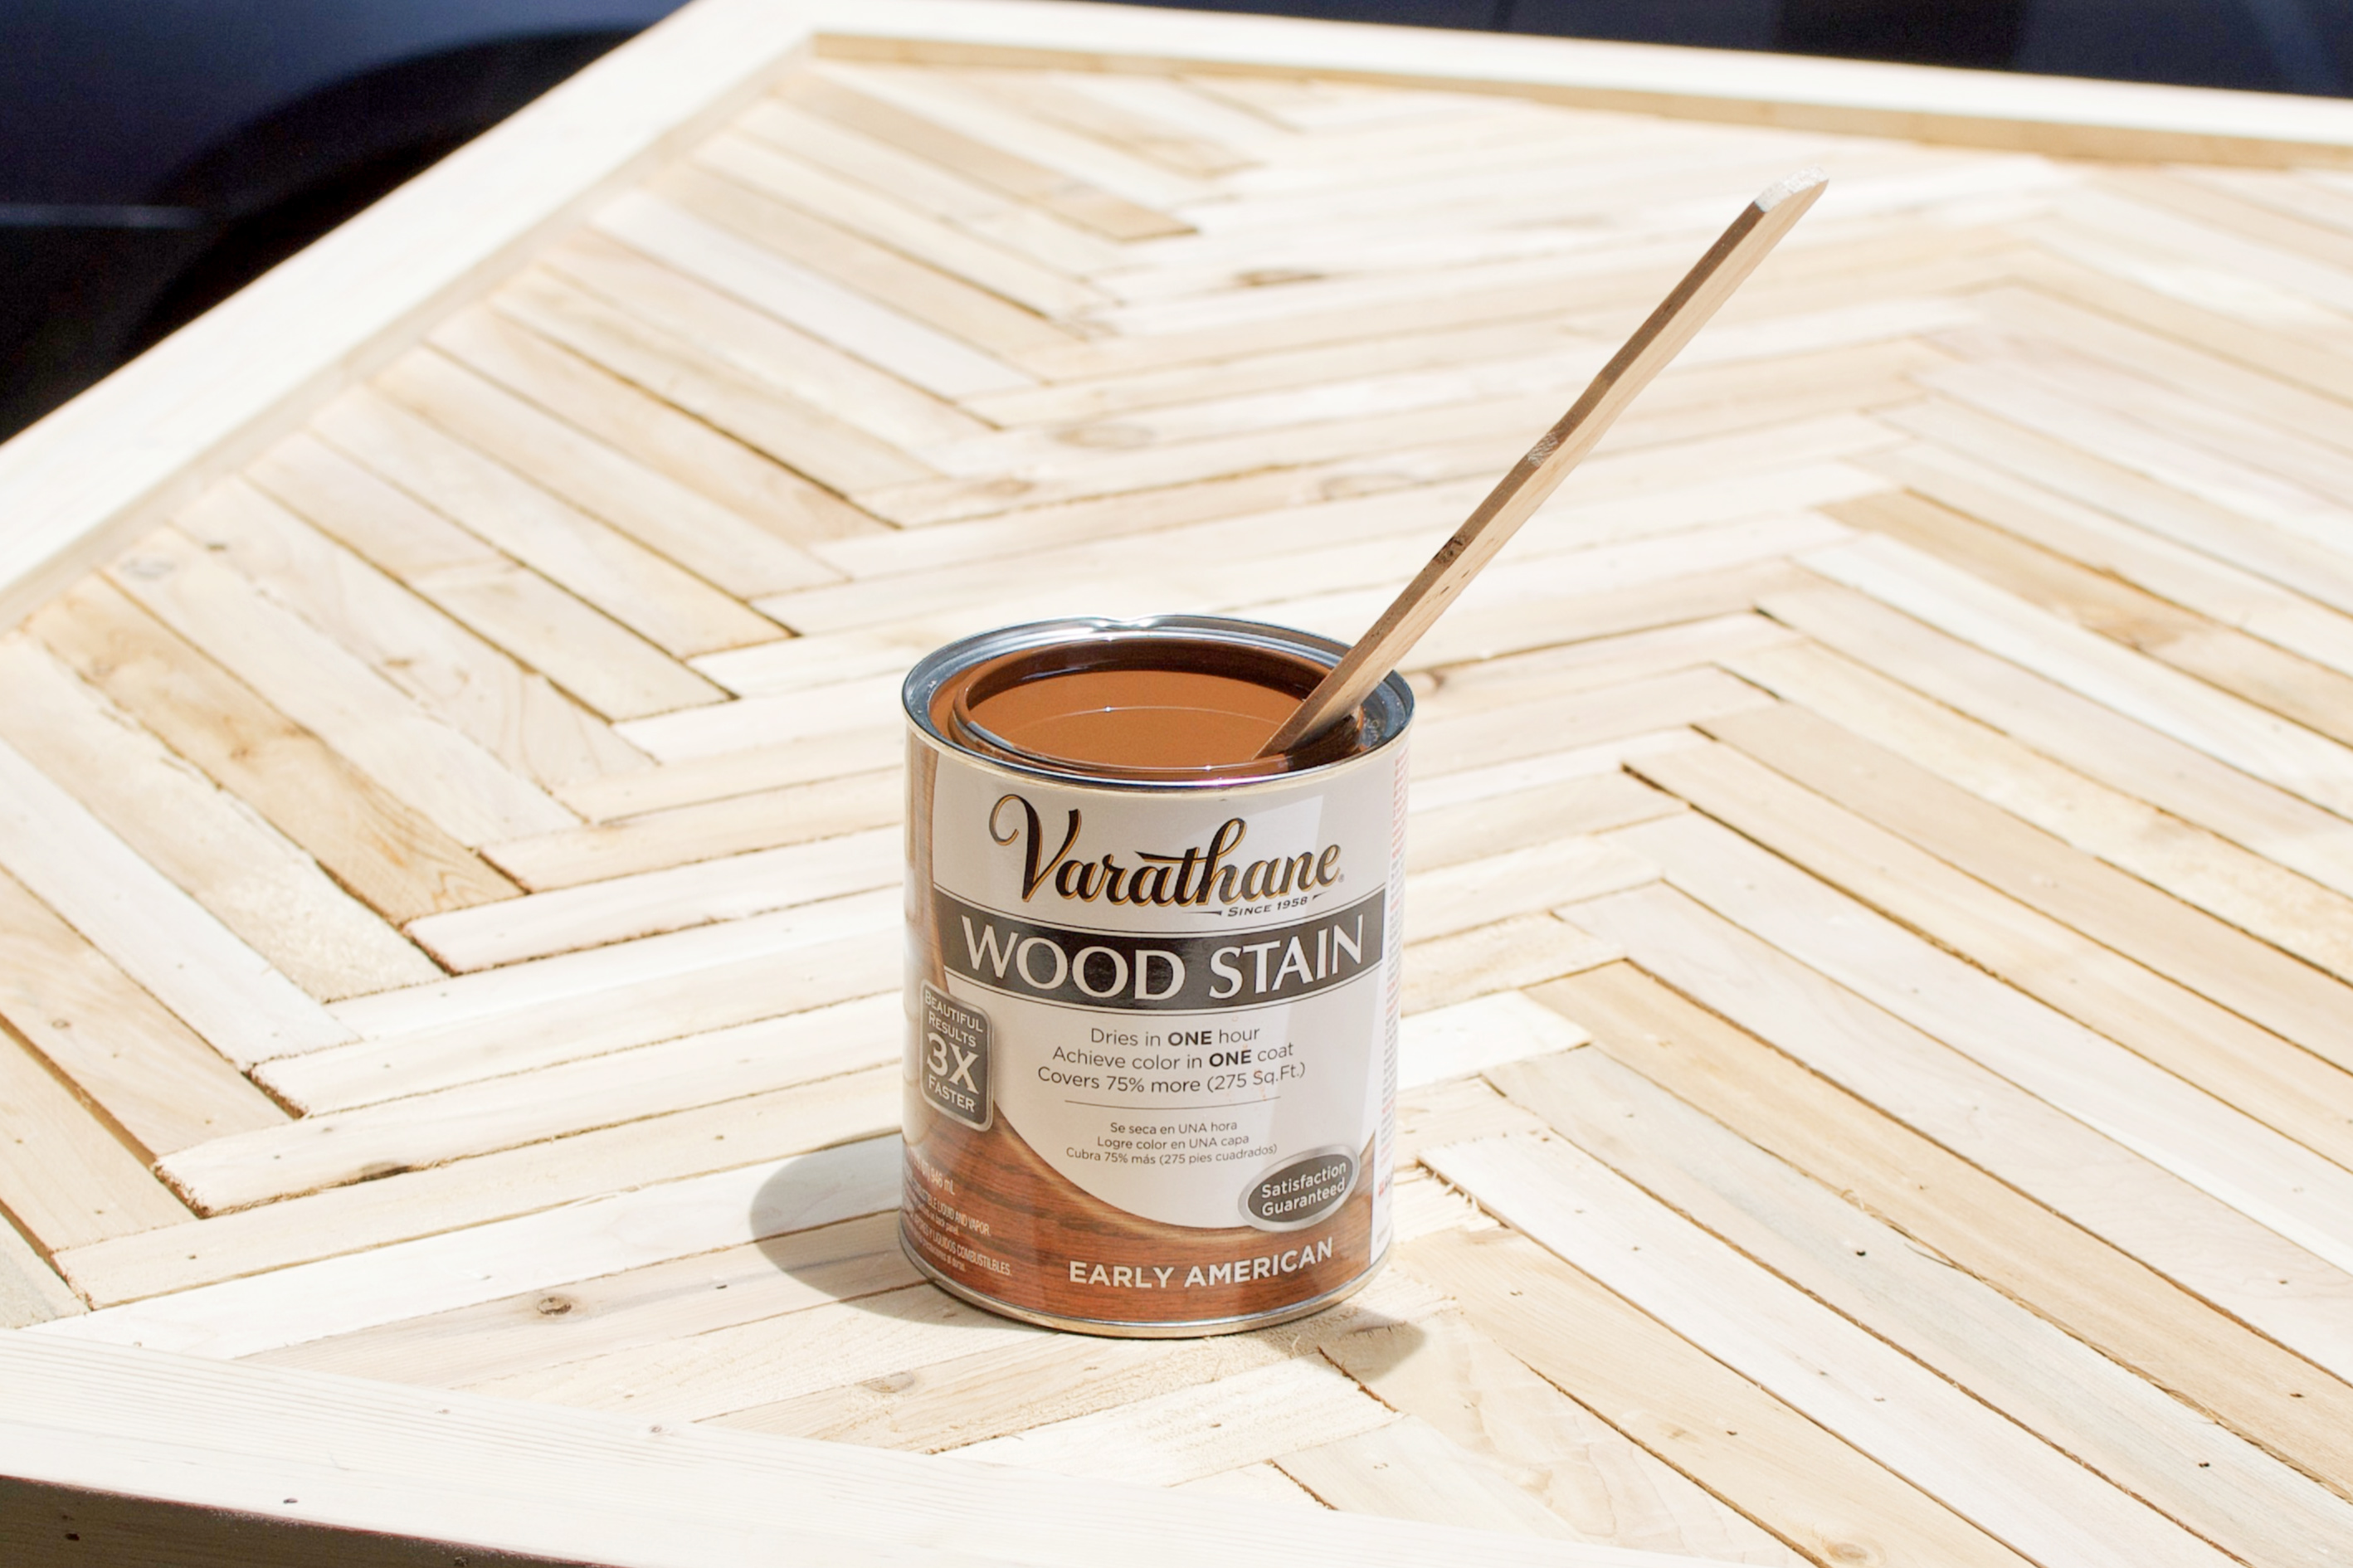
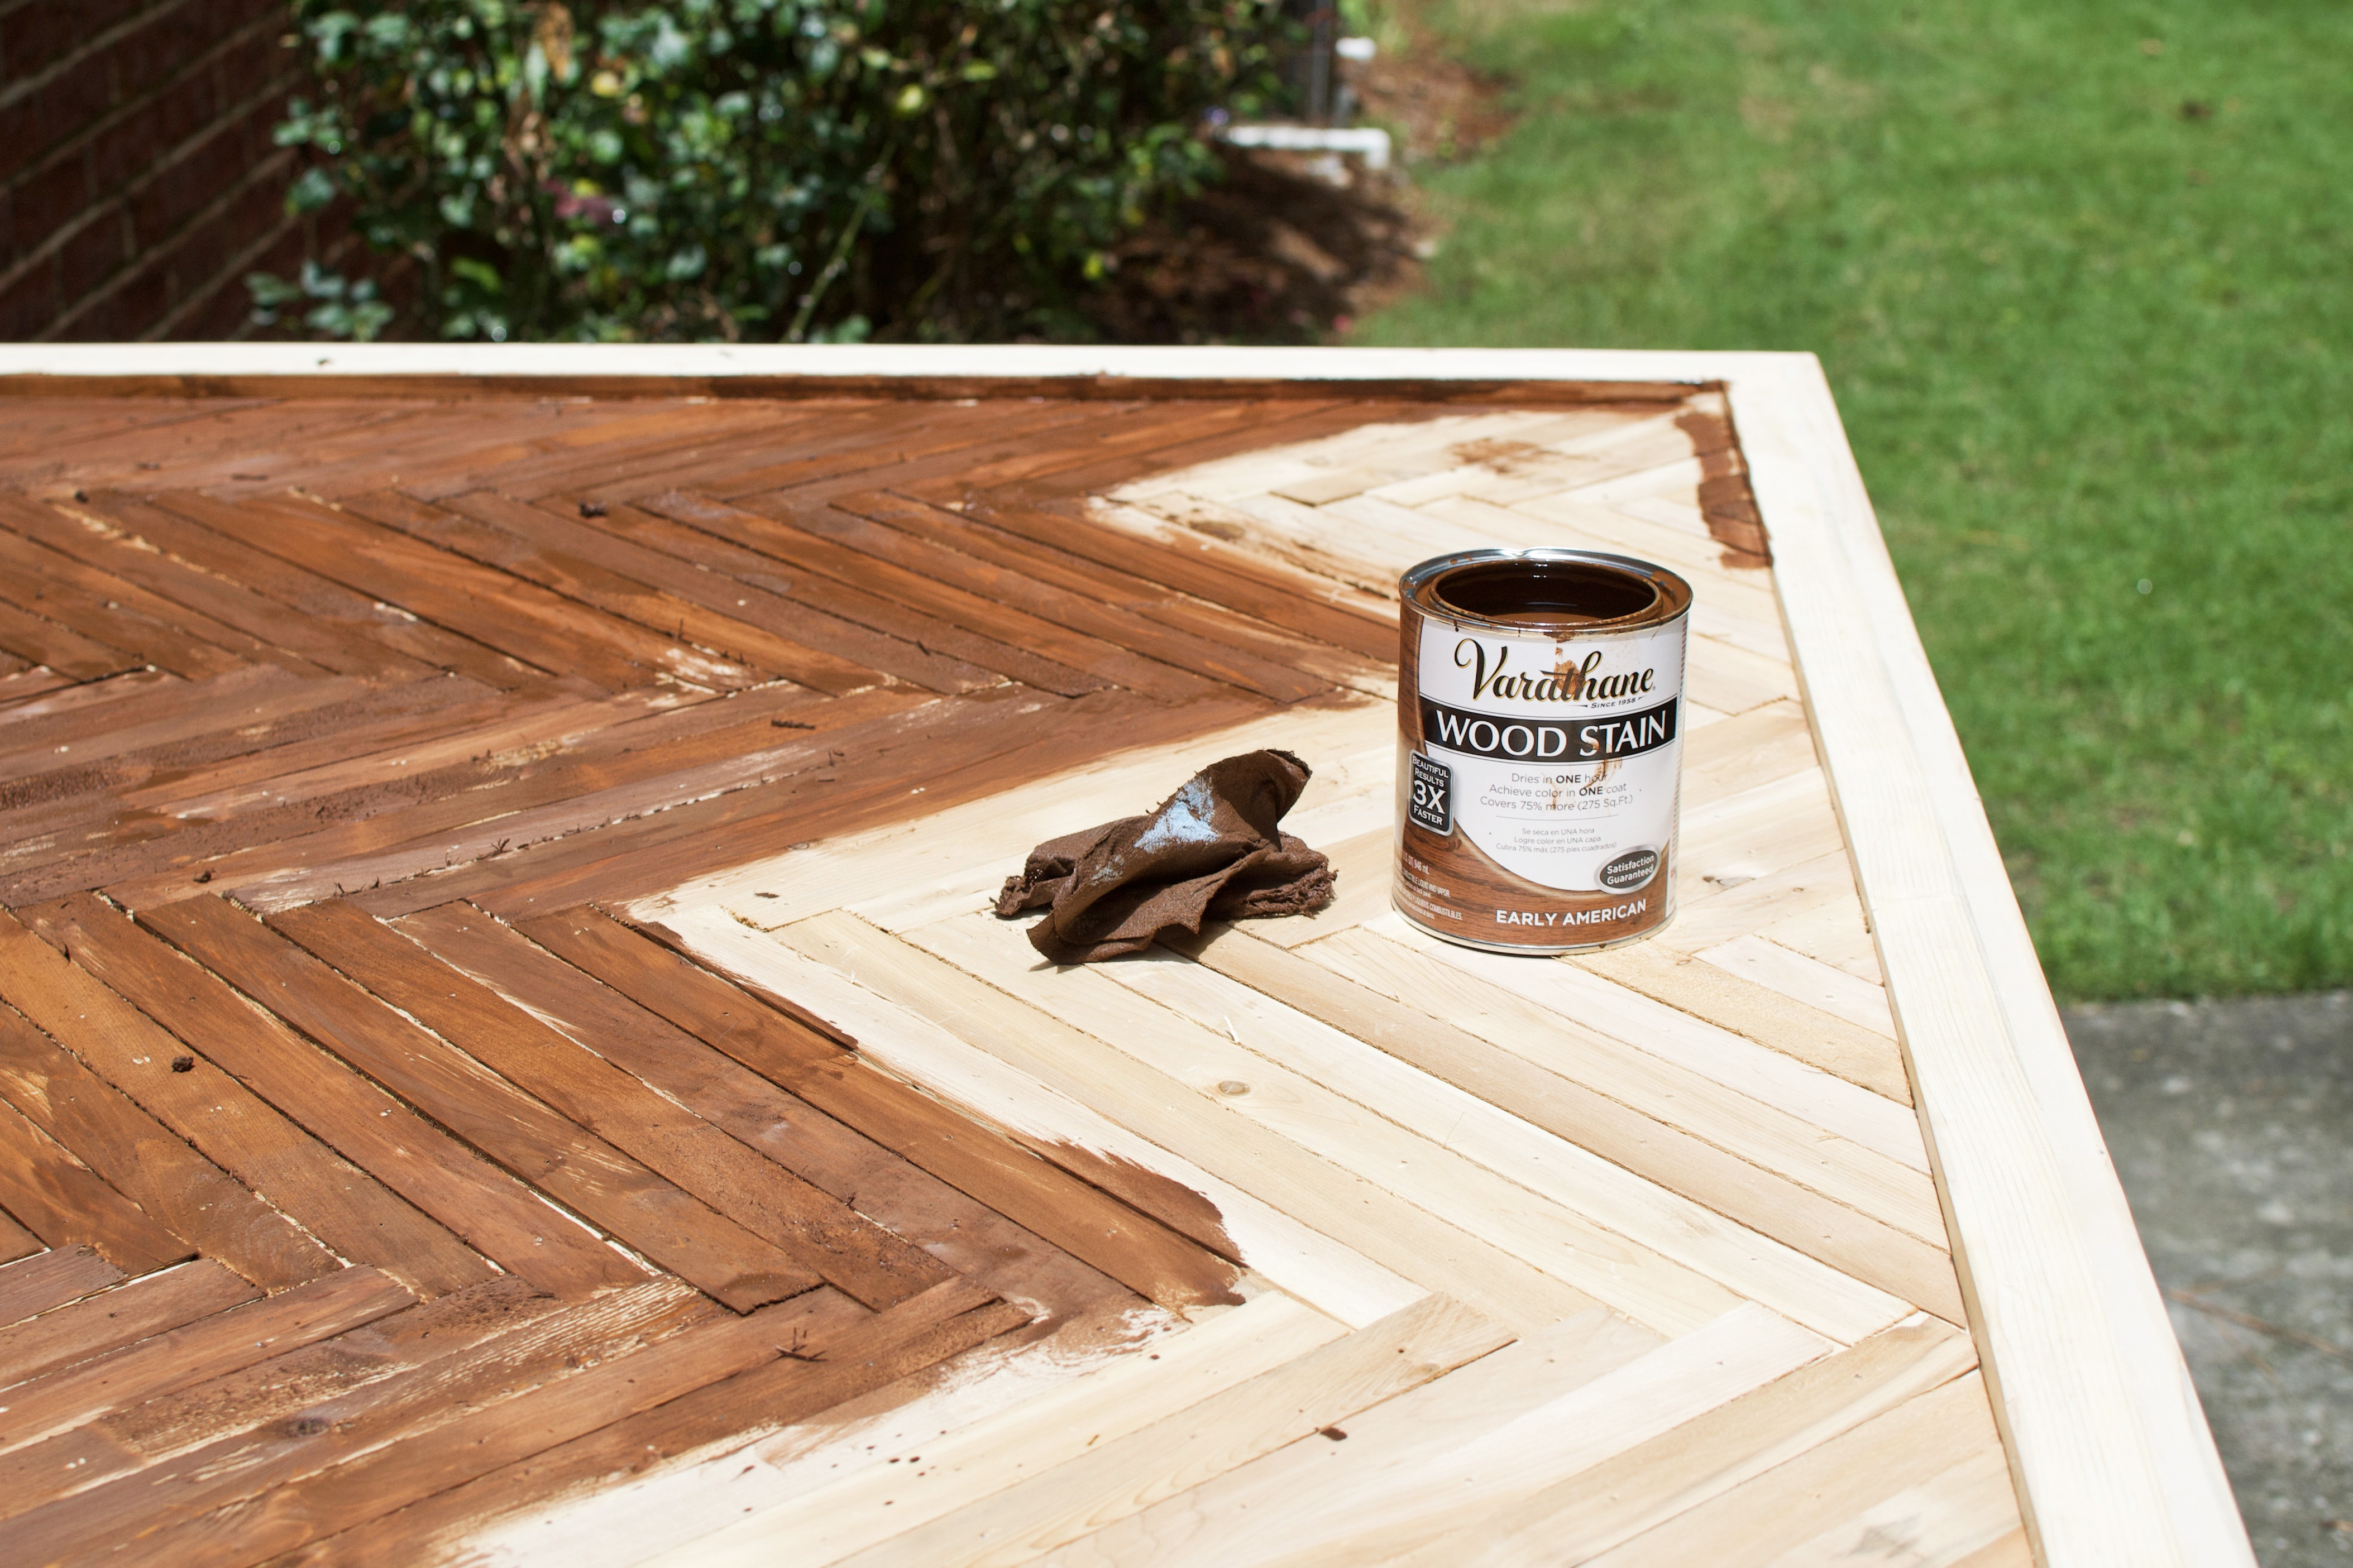
Open up a can of (whoop) stain. Any shade of medium-dark brown will likely match our aesthetic, although we avoid red-tinted browns whenever possible. Gloves on! Or else risk the skin mark of relative permanence. Stain outside or wear a chemical-grade mask. Before you go ham, let’s do a trial piece. Snag a leftover 1×2 scrap trim piece or some pine laying around, along with an extra cedar shim and apply stain using your blue shop towel or old rag. “Old” aka washed many times is key to avoid lint residue on your headboard. Notice that rougher cut woods absorb stain more readily and get darker. Like what you see? Carry on my way-stirred son.
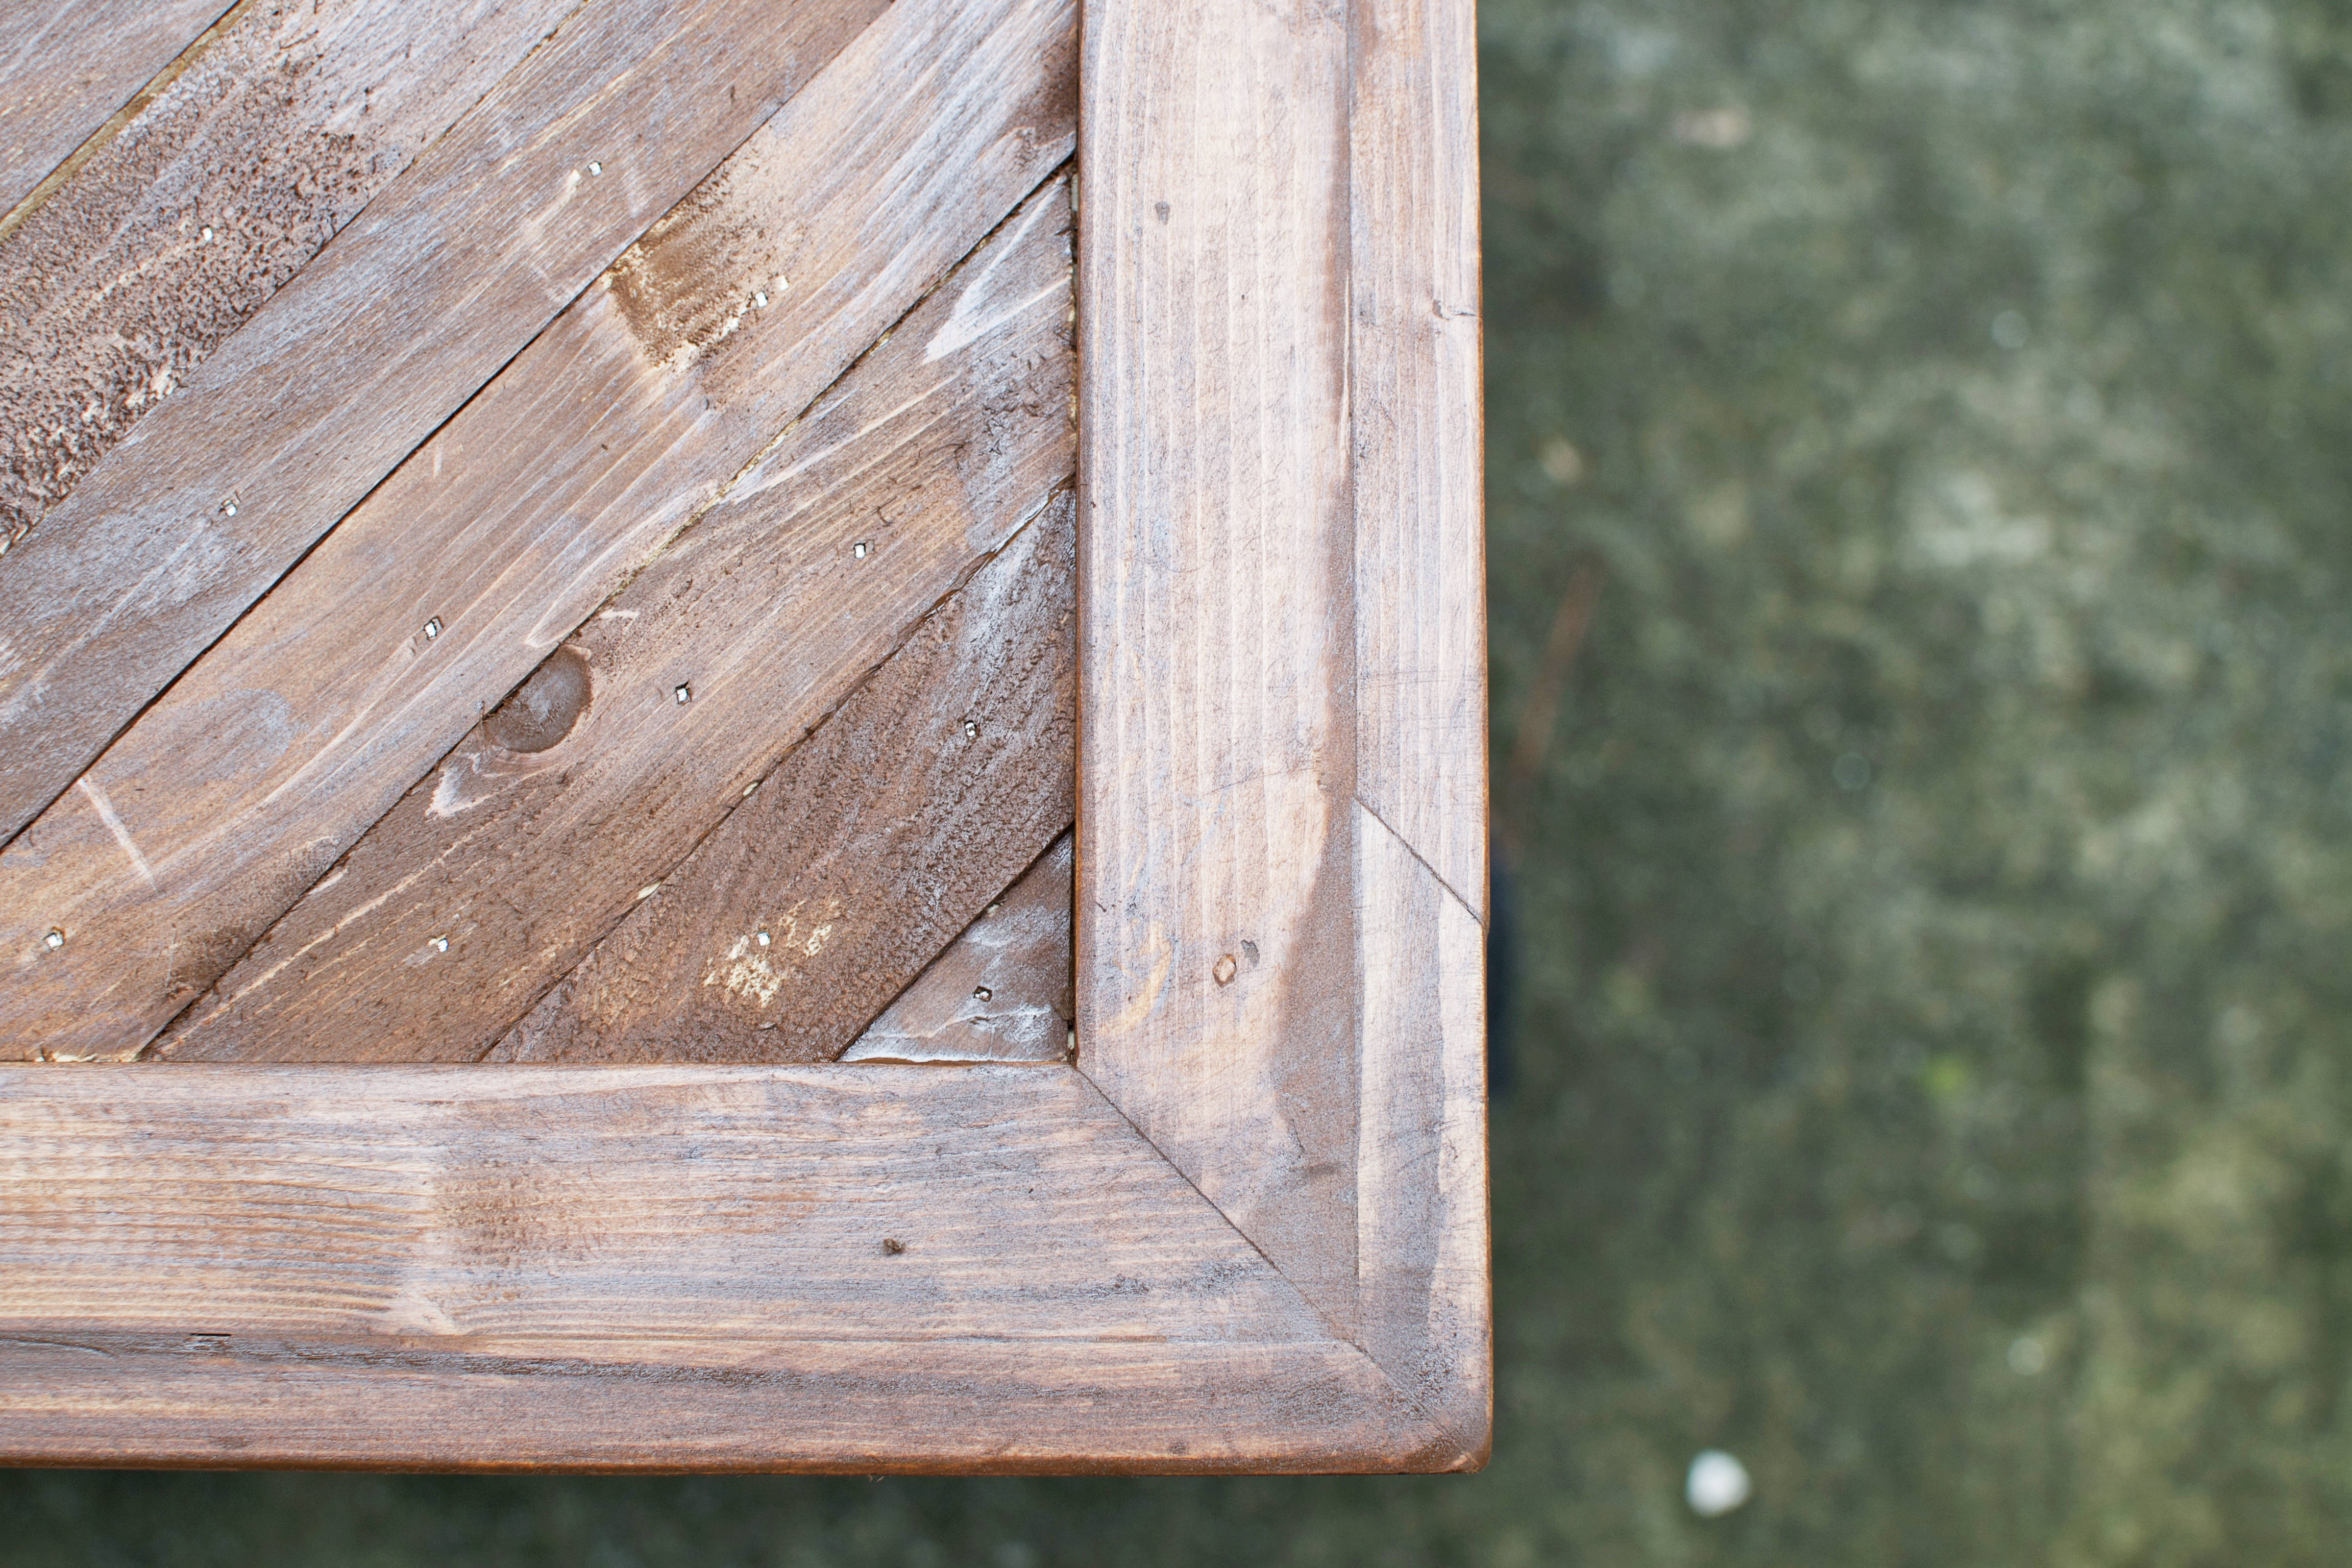
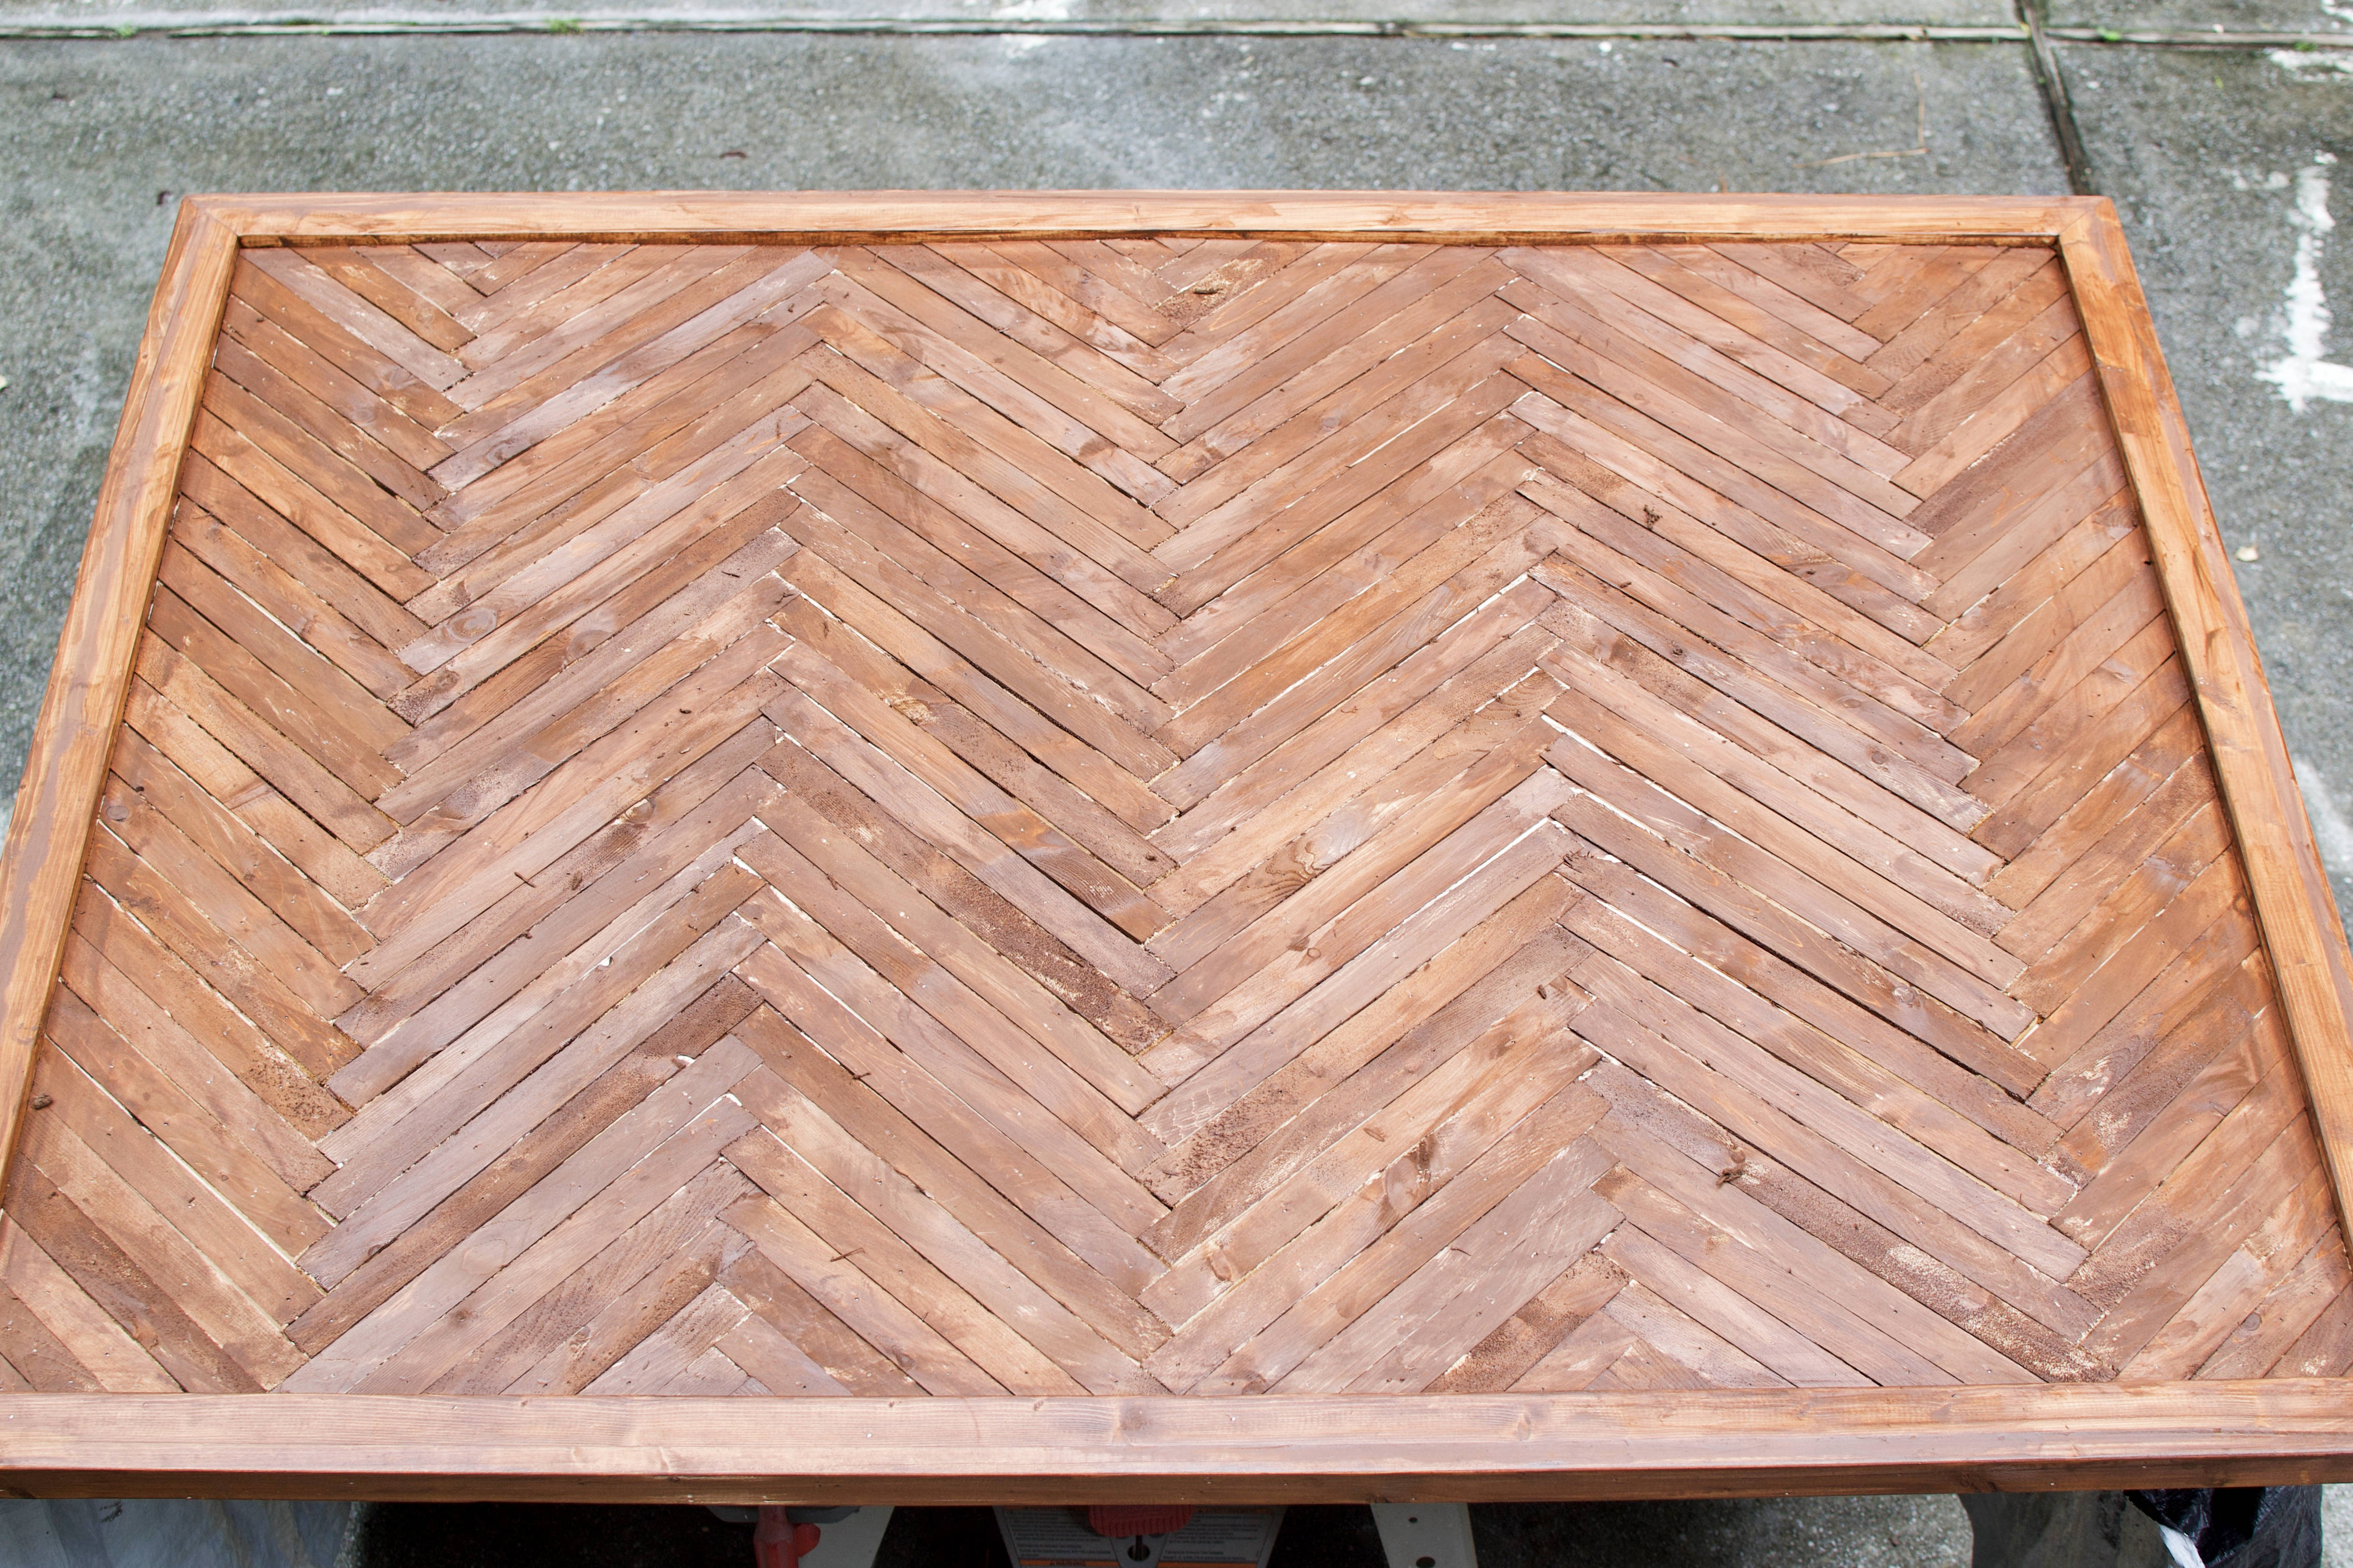
Apply a generous amount of stain to every nook and cranny of the headboard. Rub it in! Perfection isn’t necessary before whitewashing, but a relatively even coat is ideal. After the stain has sat patiently for 5-10 minutes, rub it off. With the unction of Tim The Toolman Taylor. Don’t allow any stain to fully dry on the surface of the wood – it stays tacky for hours & hours, and it may mess with your whitewash coat. Allow to dry at least one hour, or much longer if the temperature is below 70º and/or the humidity is higher than 50%.

Step 4. Whitewash.
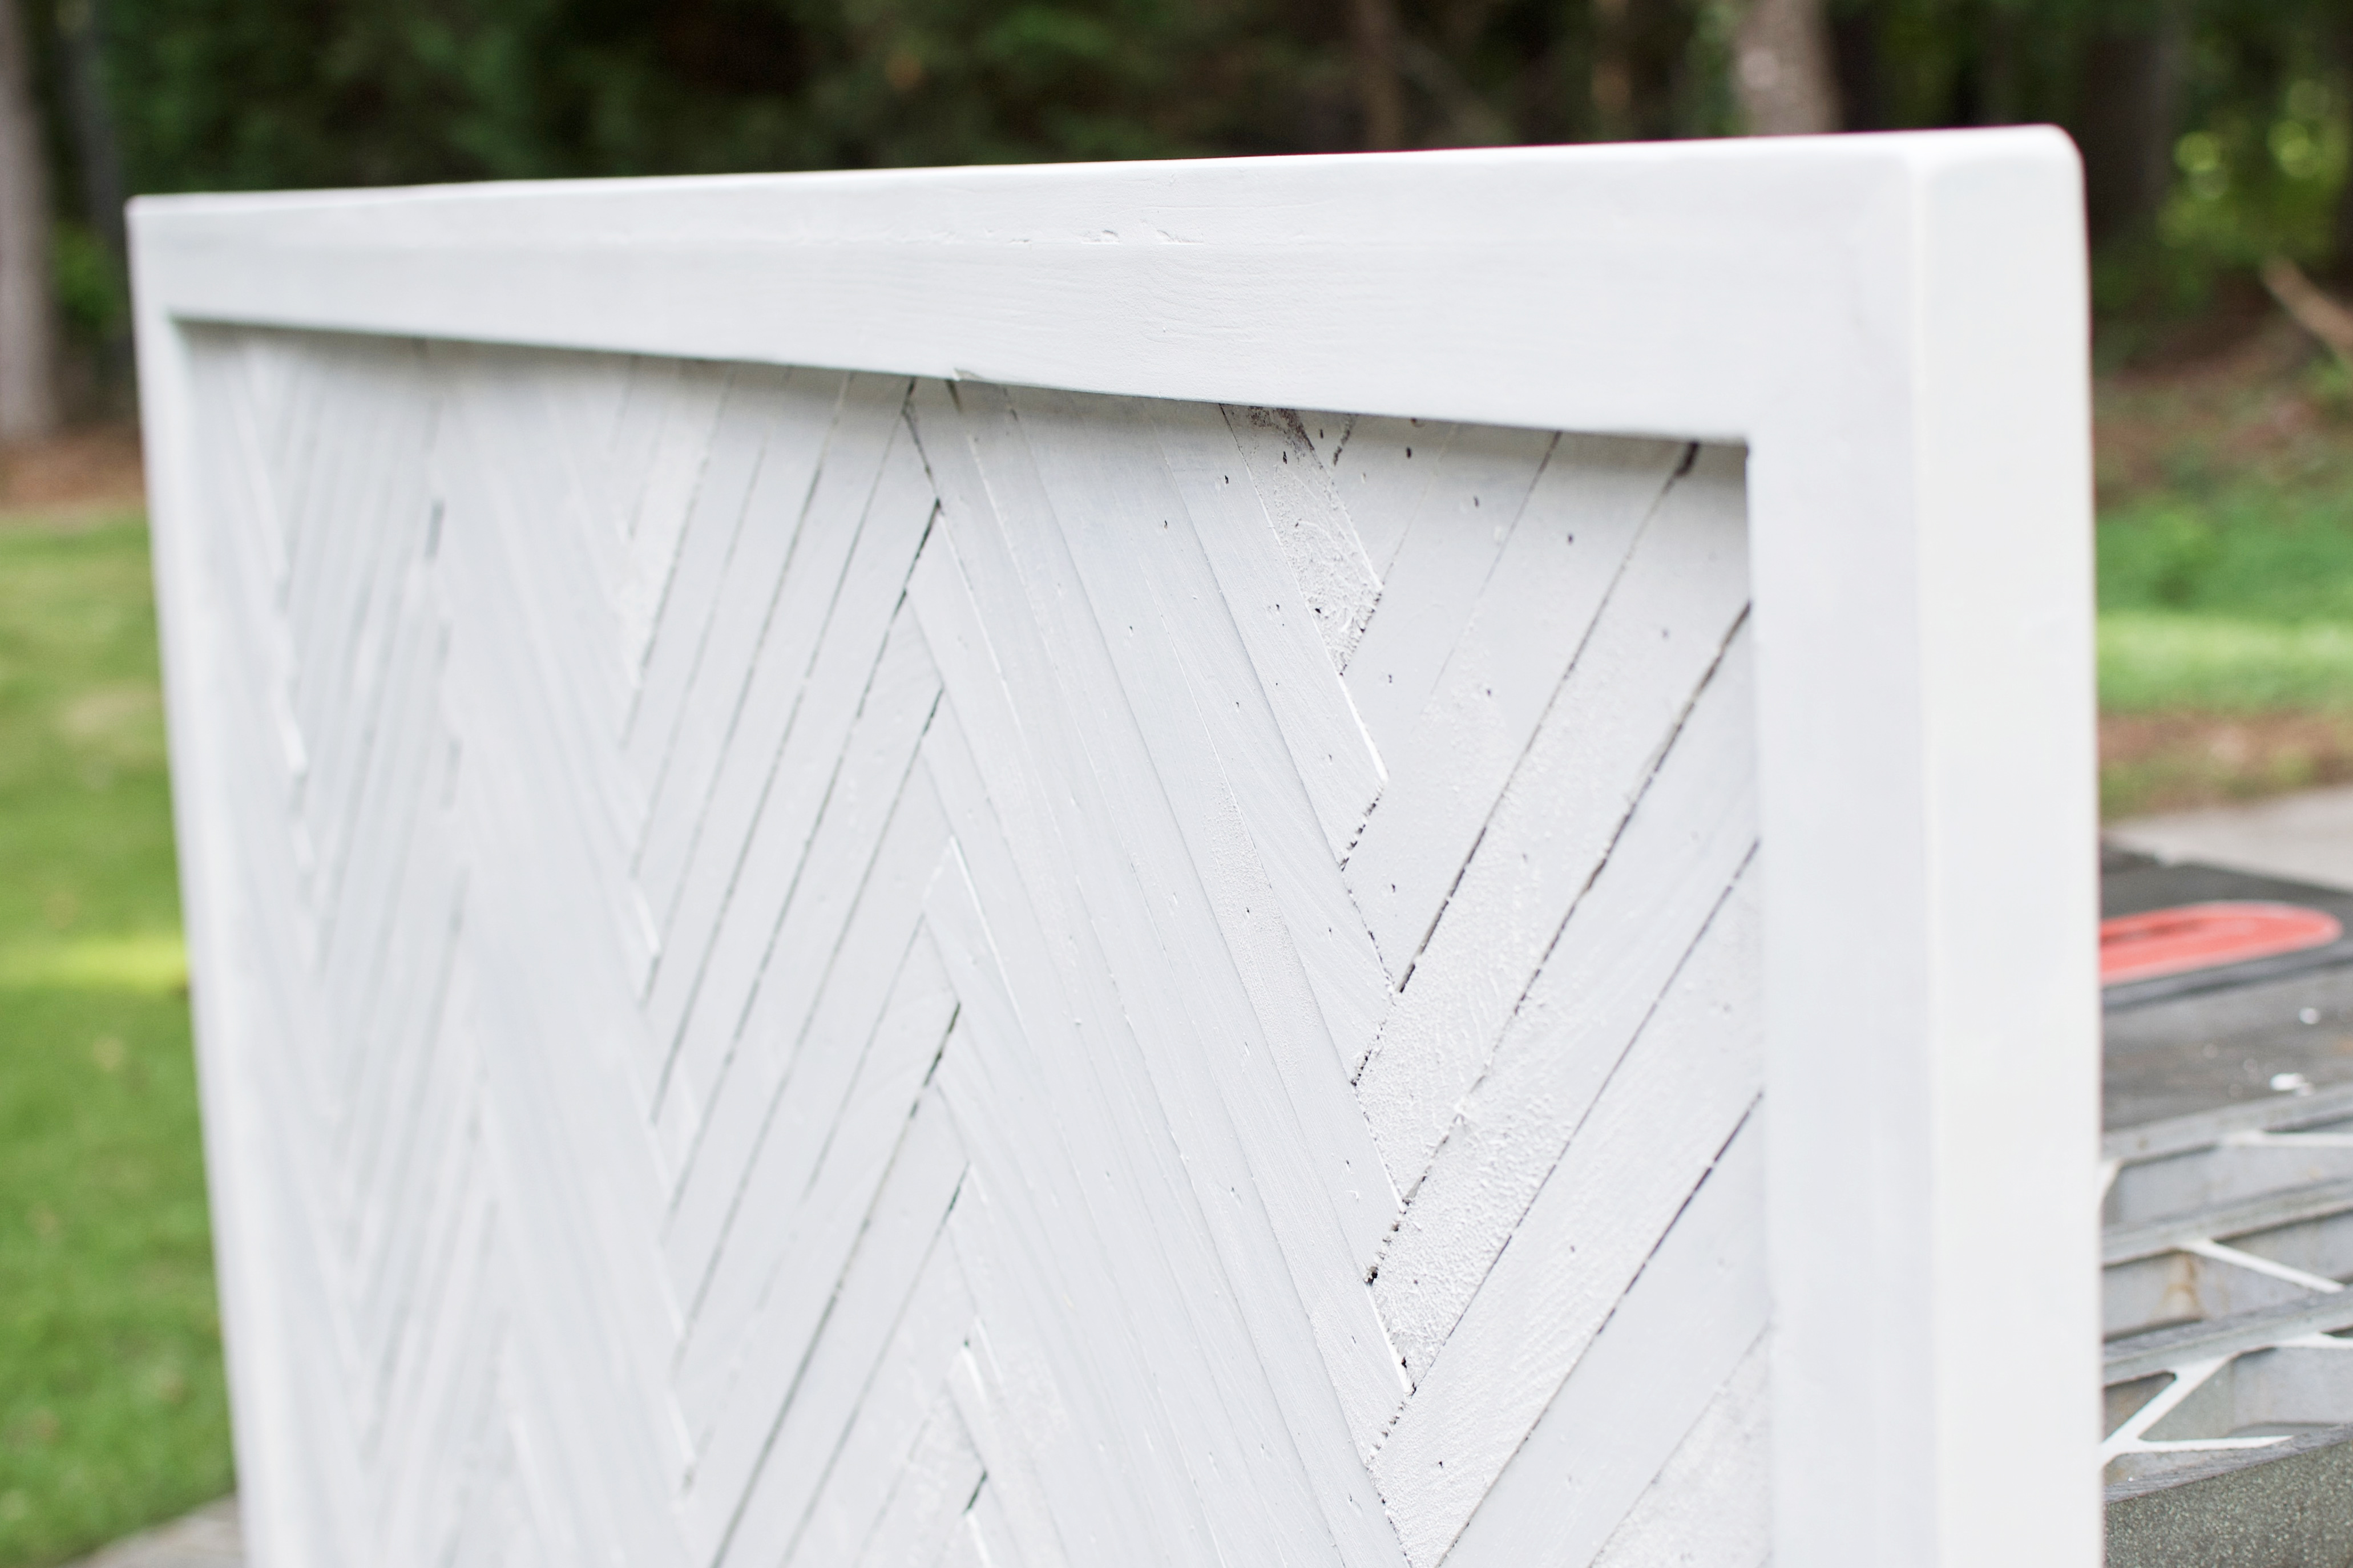
Find an old plastic container you’re willing to part with forever. Default to a 50% white paint to 50% water mixture. Feel free to blend a very small amount and apply to your stained scrap piece of wood with a paintbrush. If you dig it, press on toward the goal to win the [woodworking] prize.
Apply the 50-50 whitewash until the stain is completely covered. The diluted paint should dry very quickly. Wait at least 30 minutes. If you’re satisfied with the coat, dive into step #5. If it seems too light, and you want a heavier coat, either apply another coat of 50-50 whitewash OR make a new batch. Consider using 2 parts paint to 1 part water.
Step 5. Touch ups.
I noticed unstained / unpainted plywood showing through the cracks in between the cedar shims. Grab a very small paintbrush and add whitewash to the gaps until the overall headboard aesthetic is consistent. Be sure to stand back, observe any remaining inconsistencies in the trim or shims and retouch as necessary. No small paintbrush? Use a rag or shop towel and prepare for paint to go everywhere.
Step 6. Hand sanding.
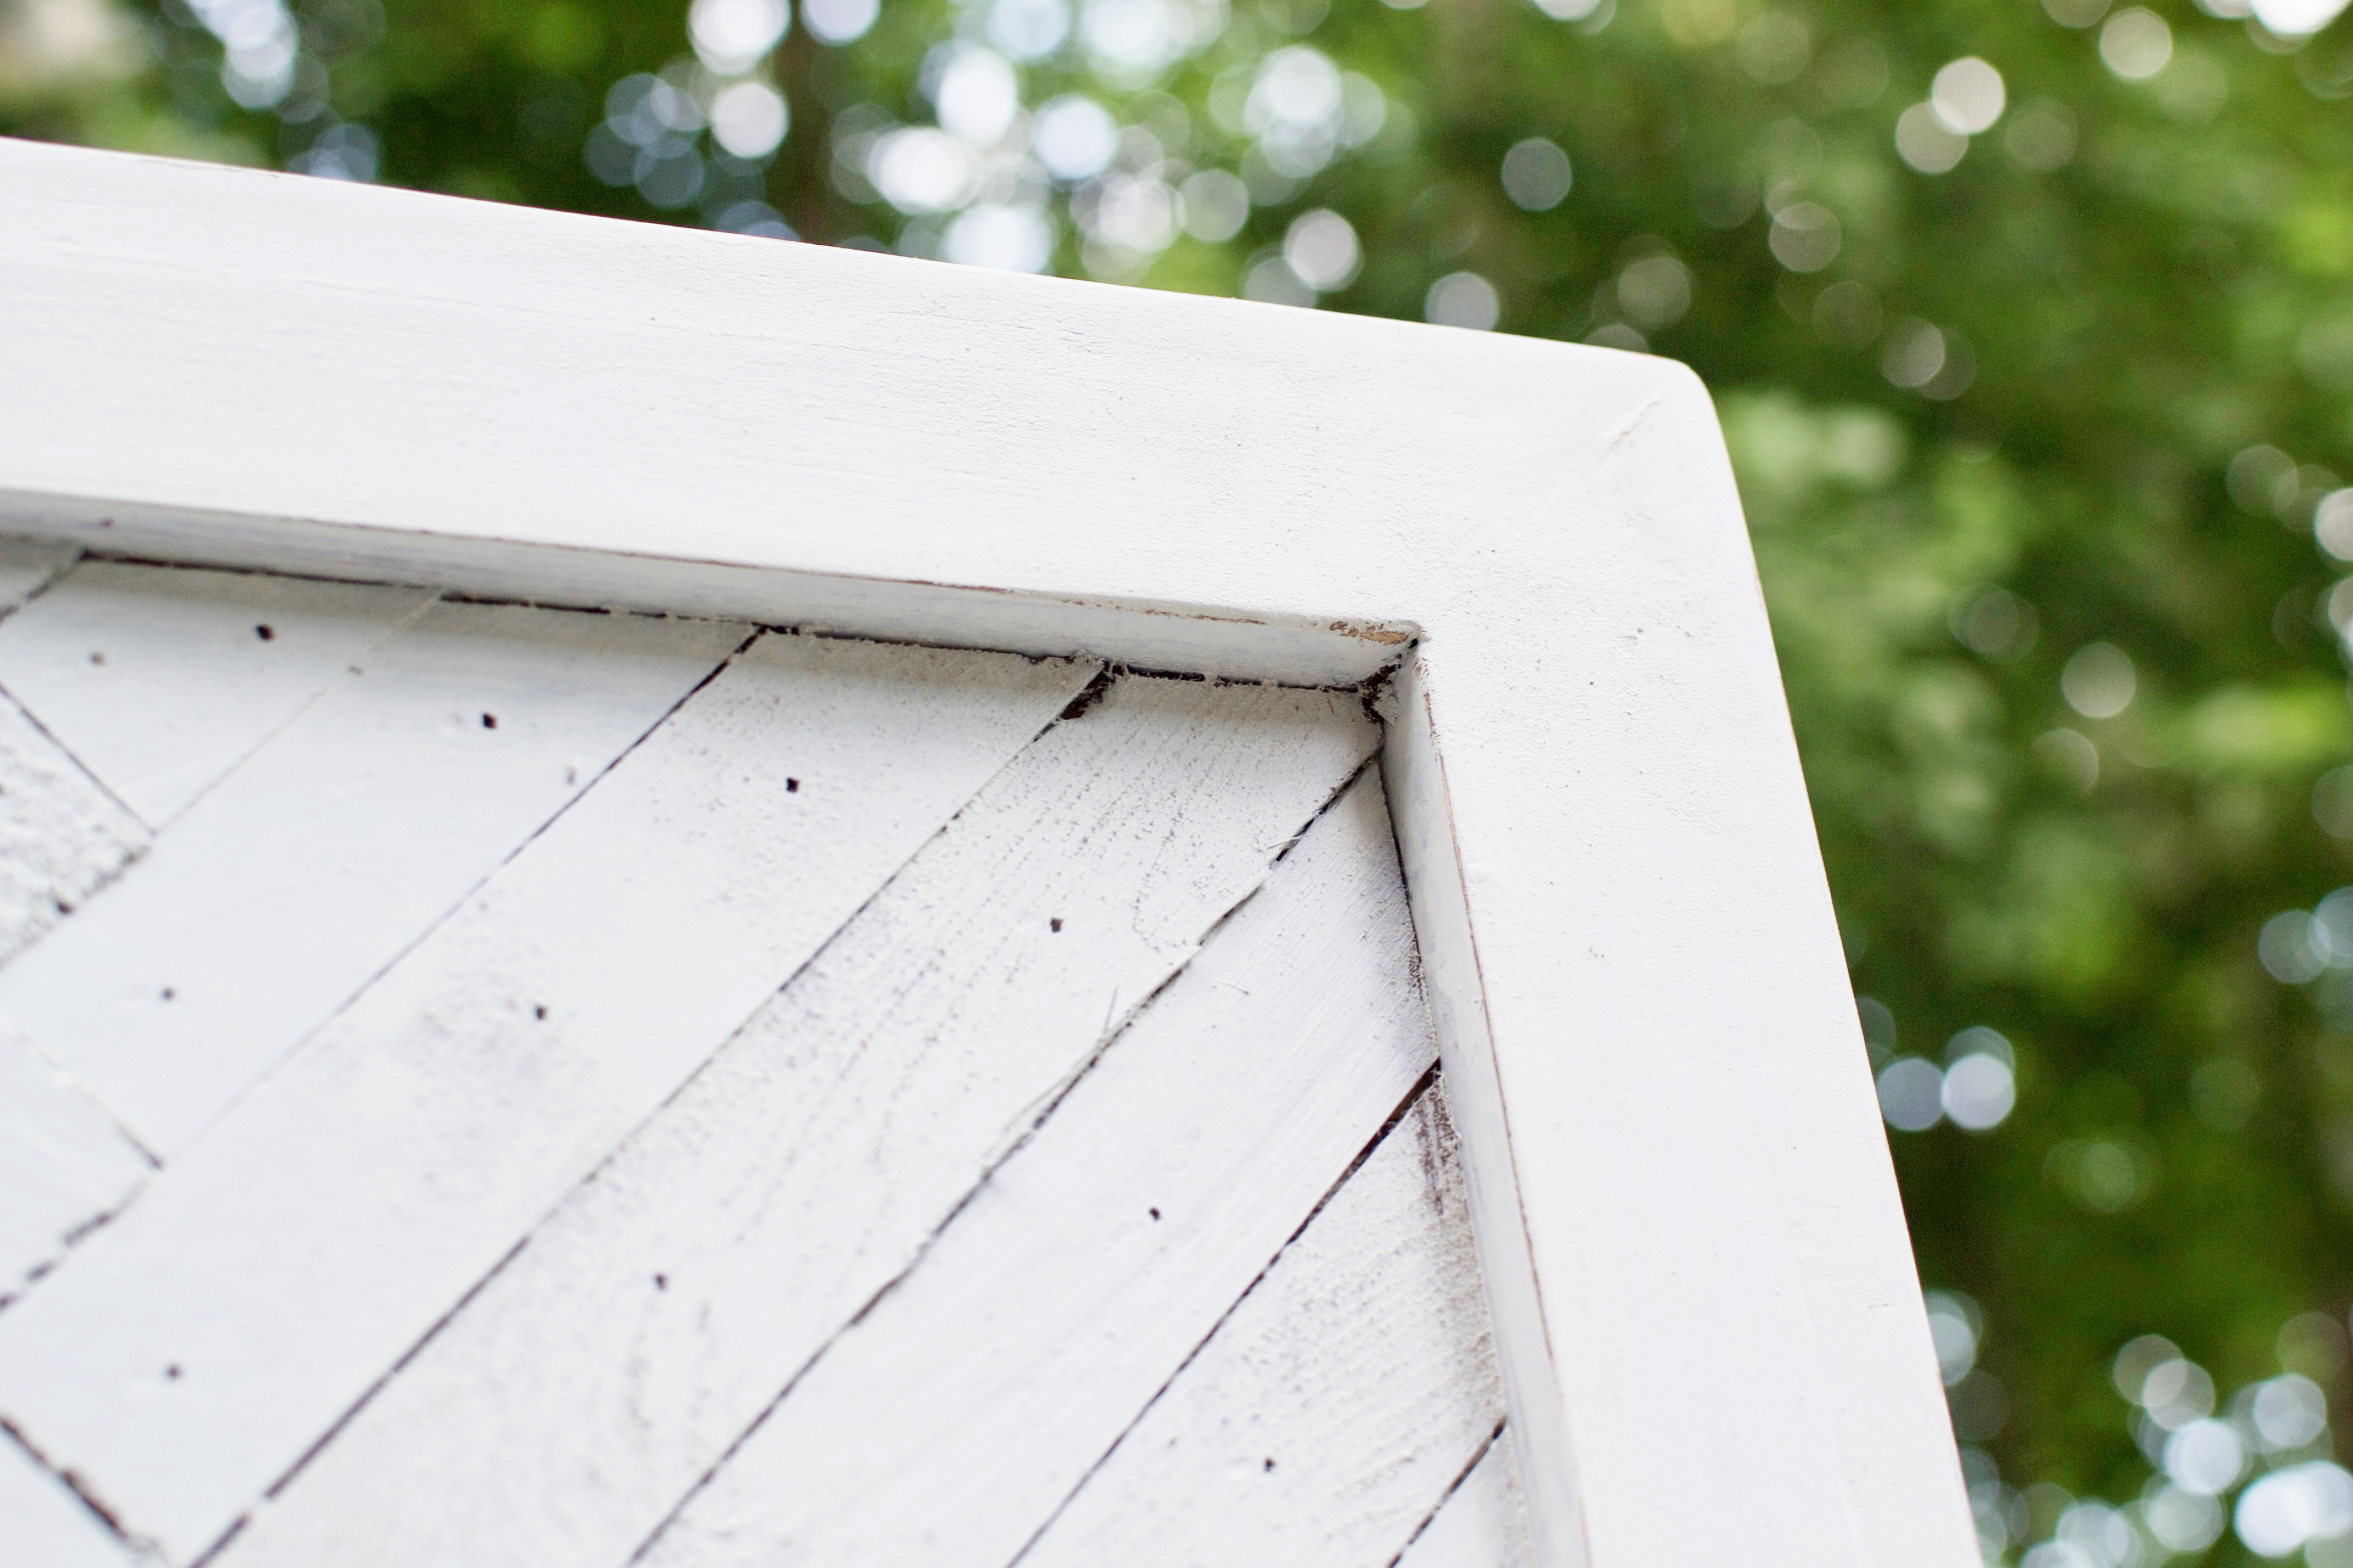
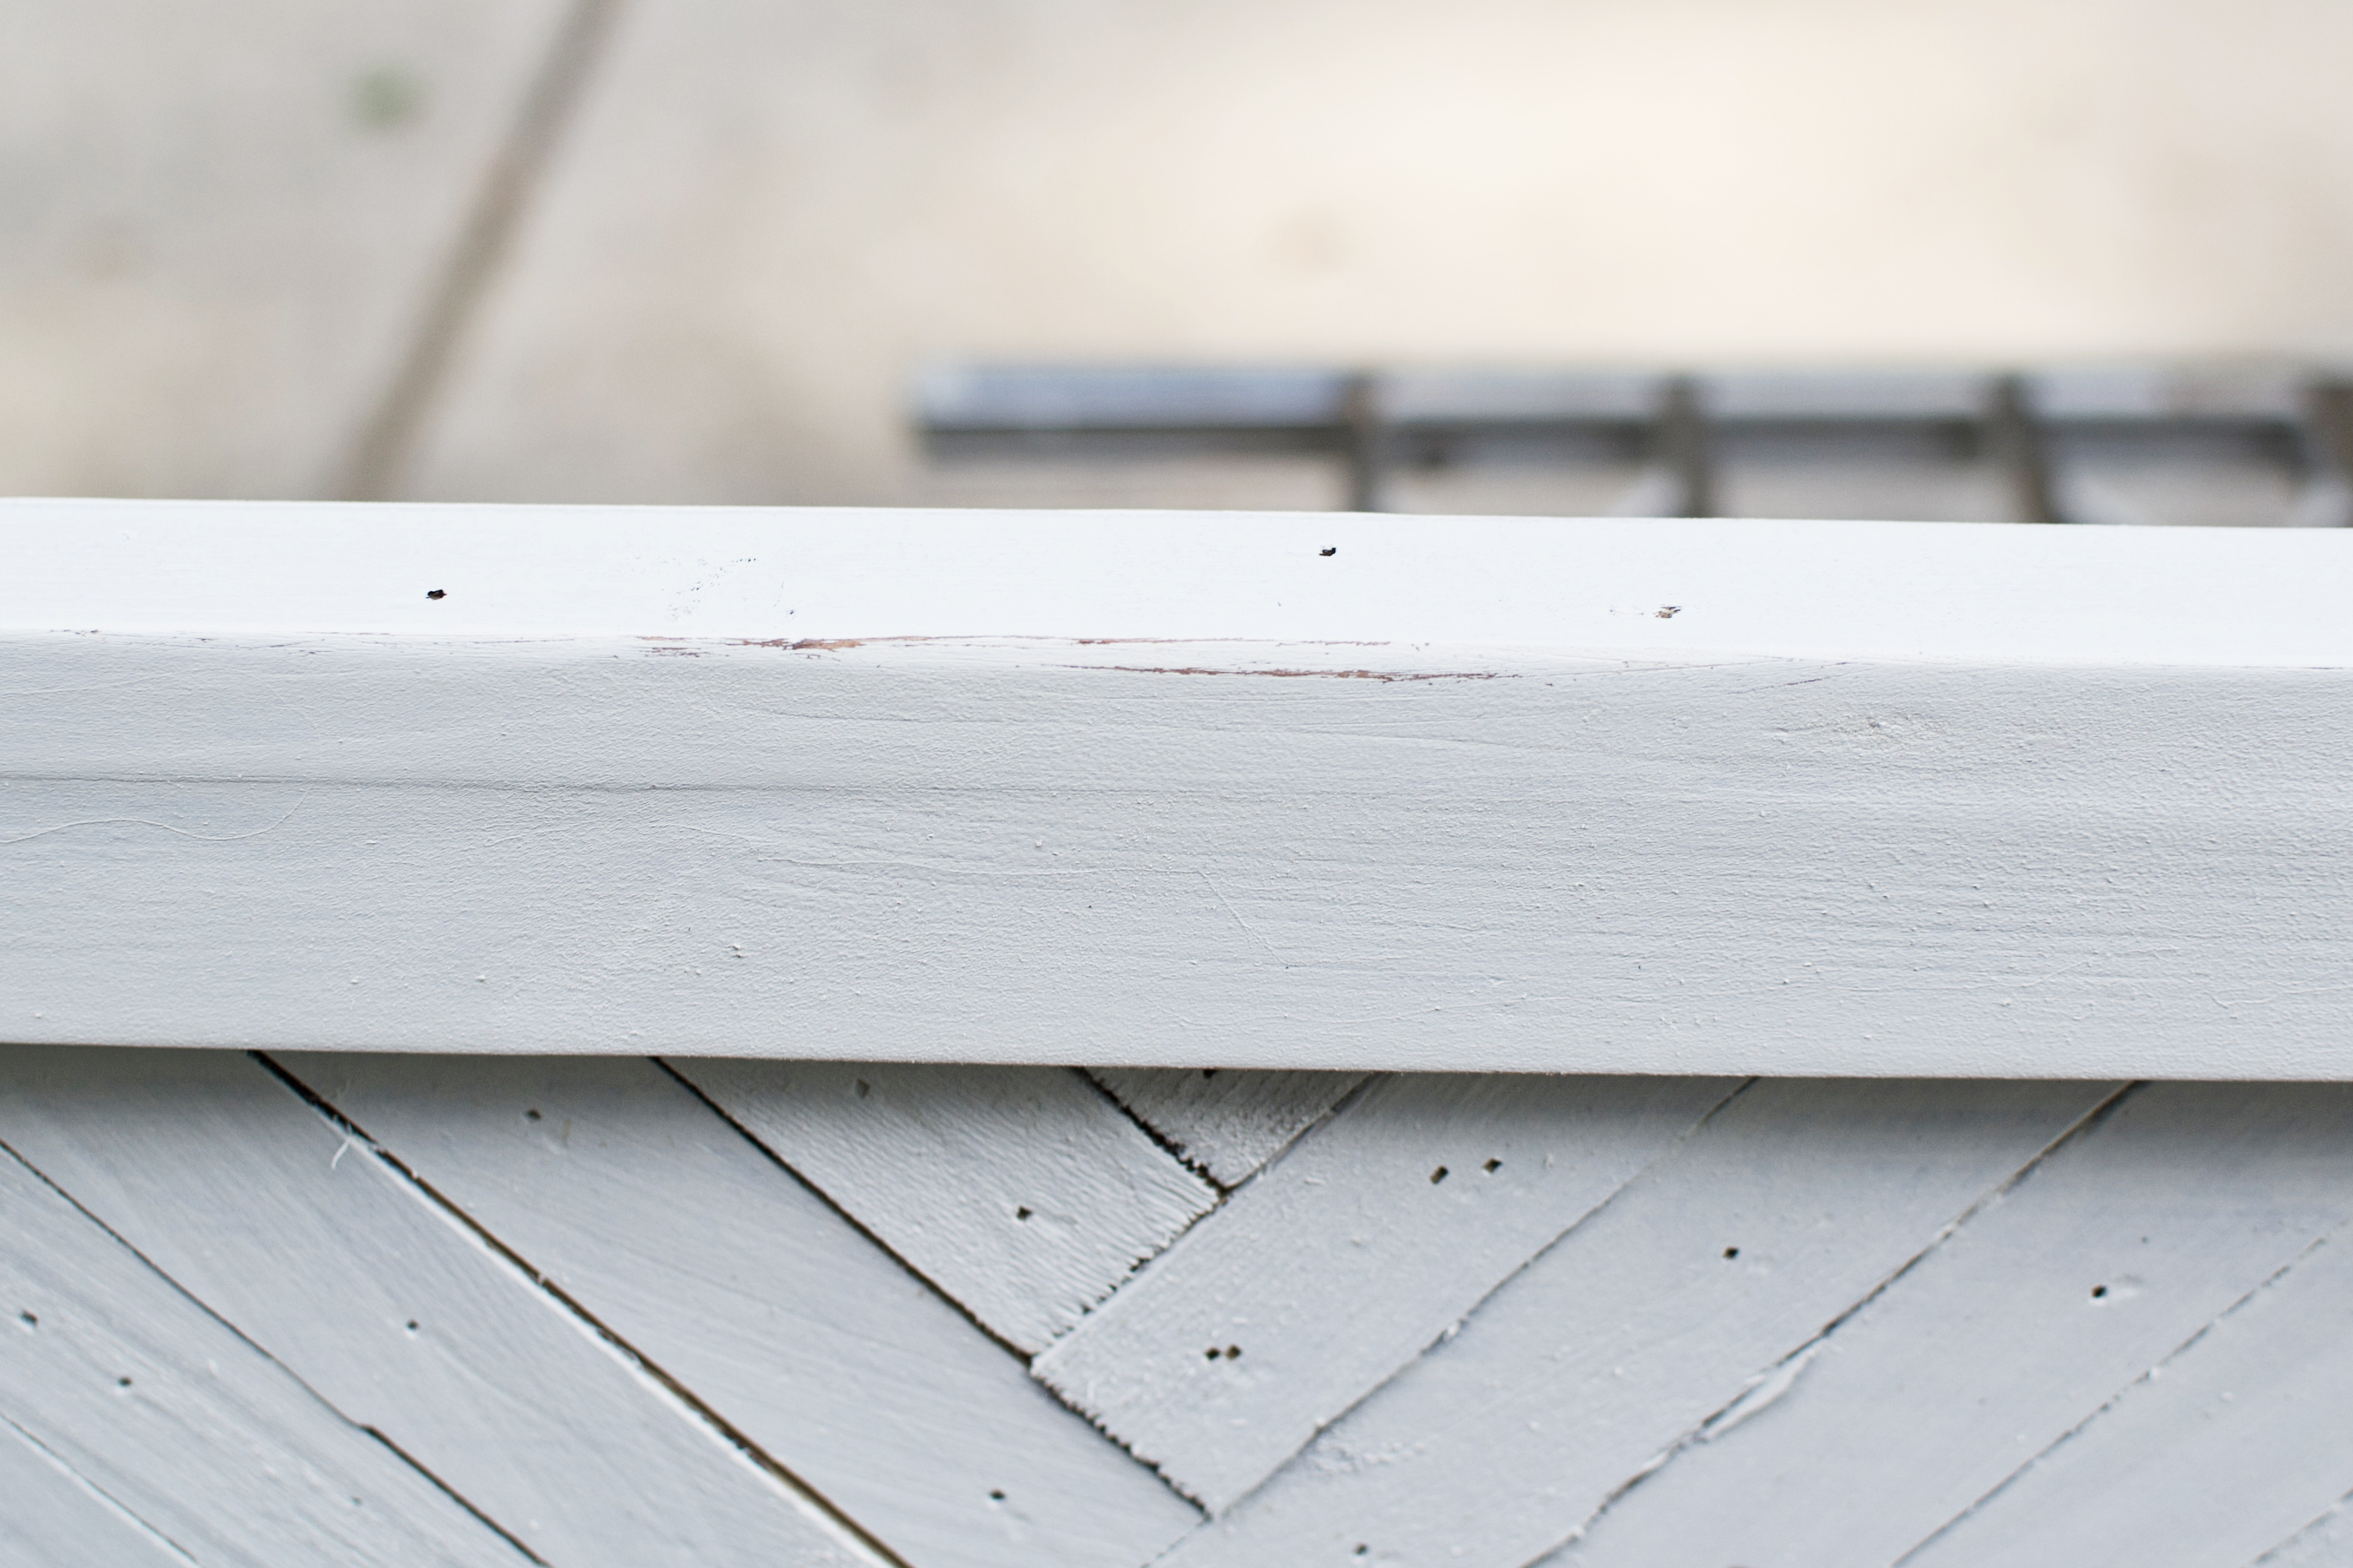
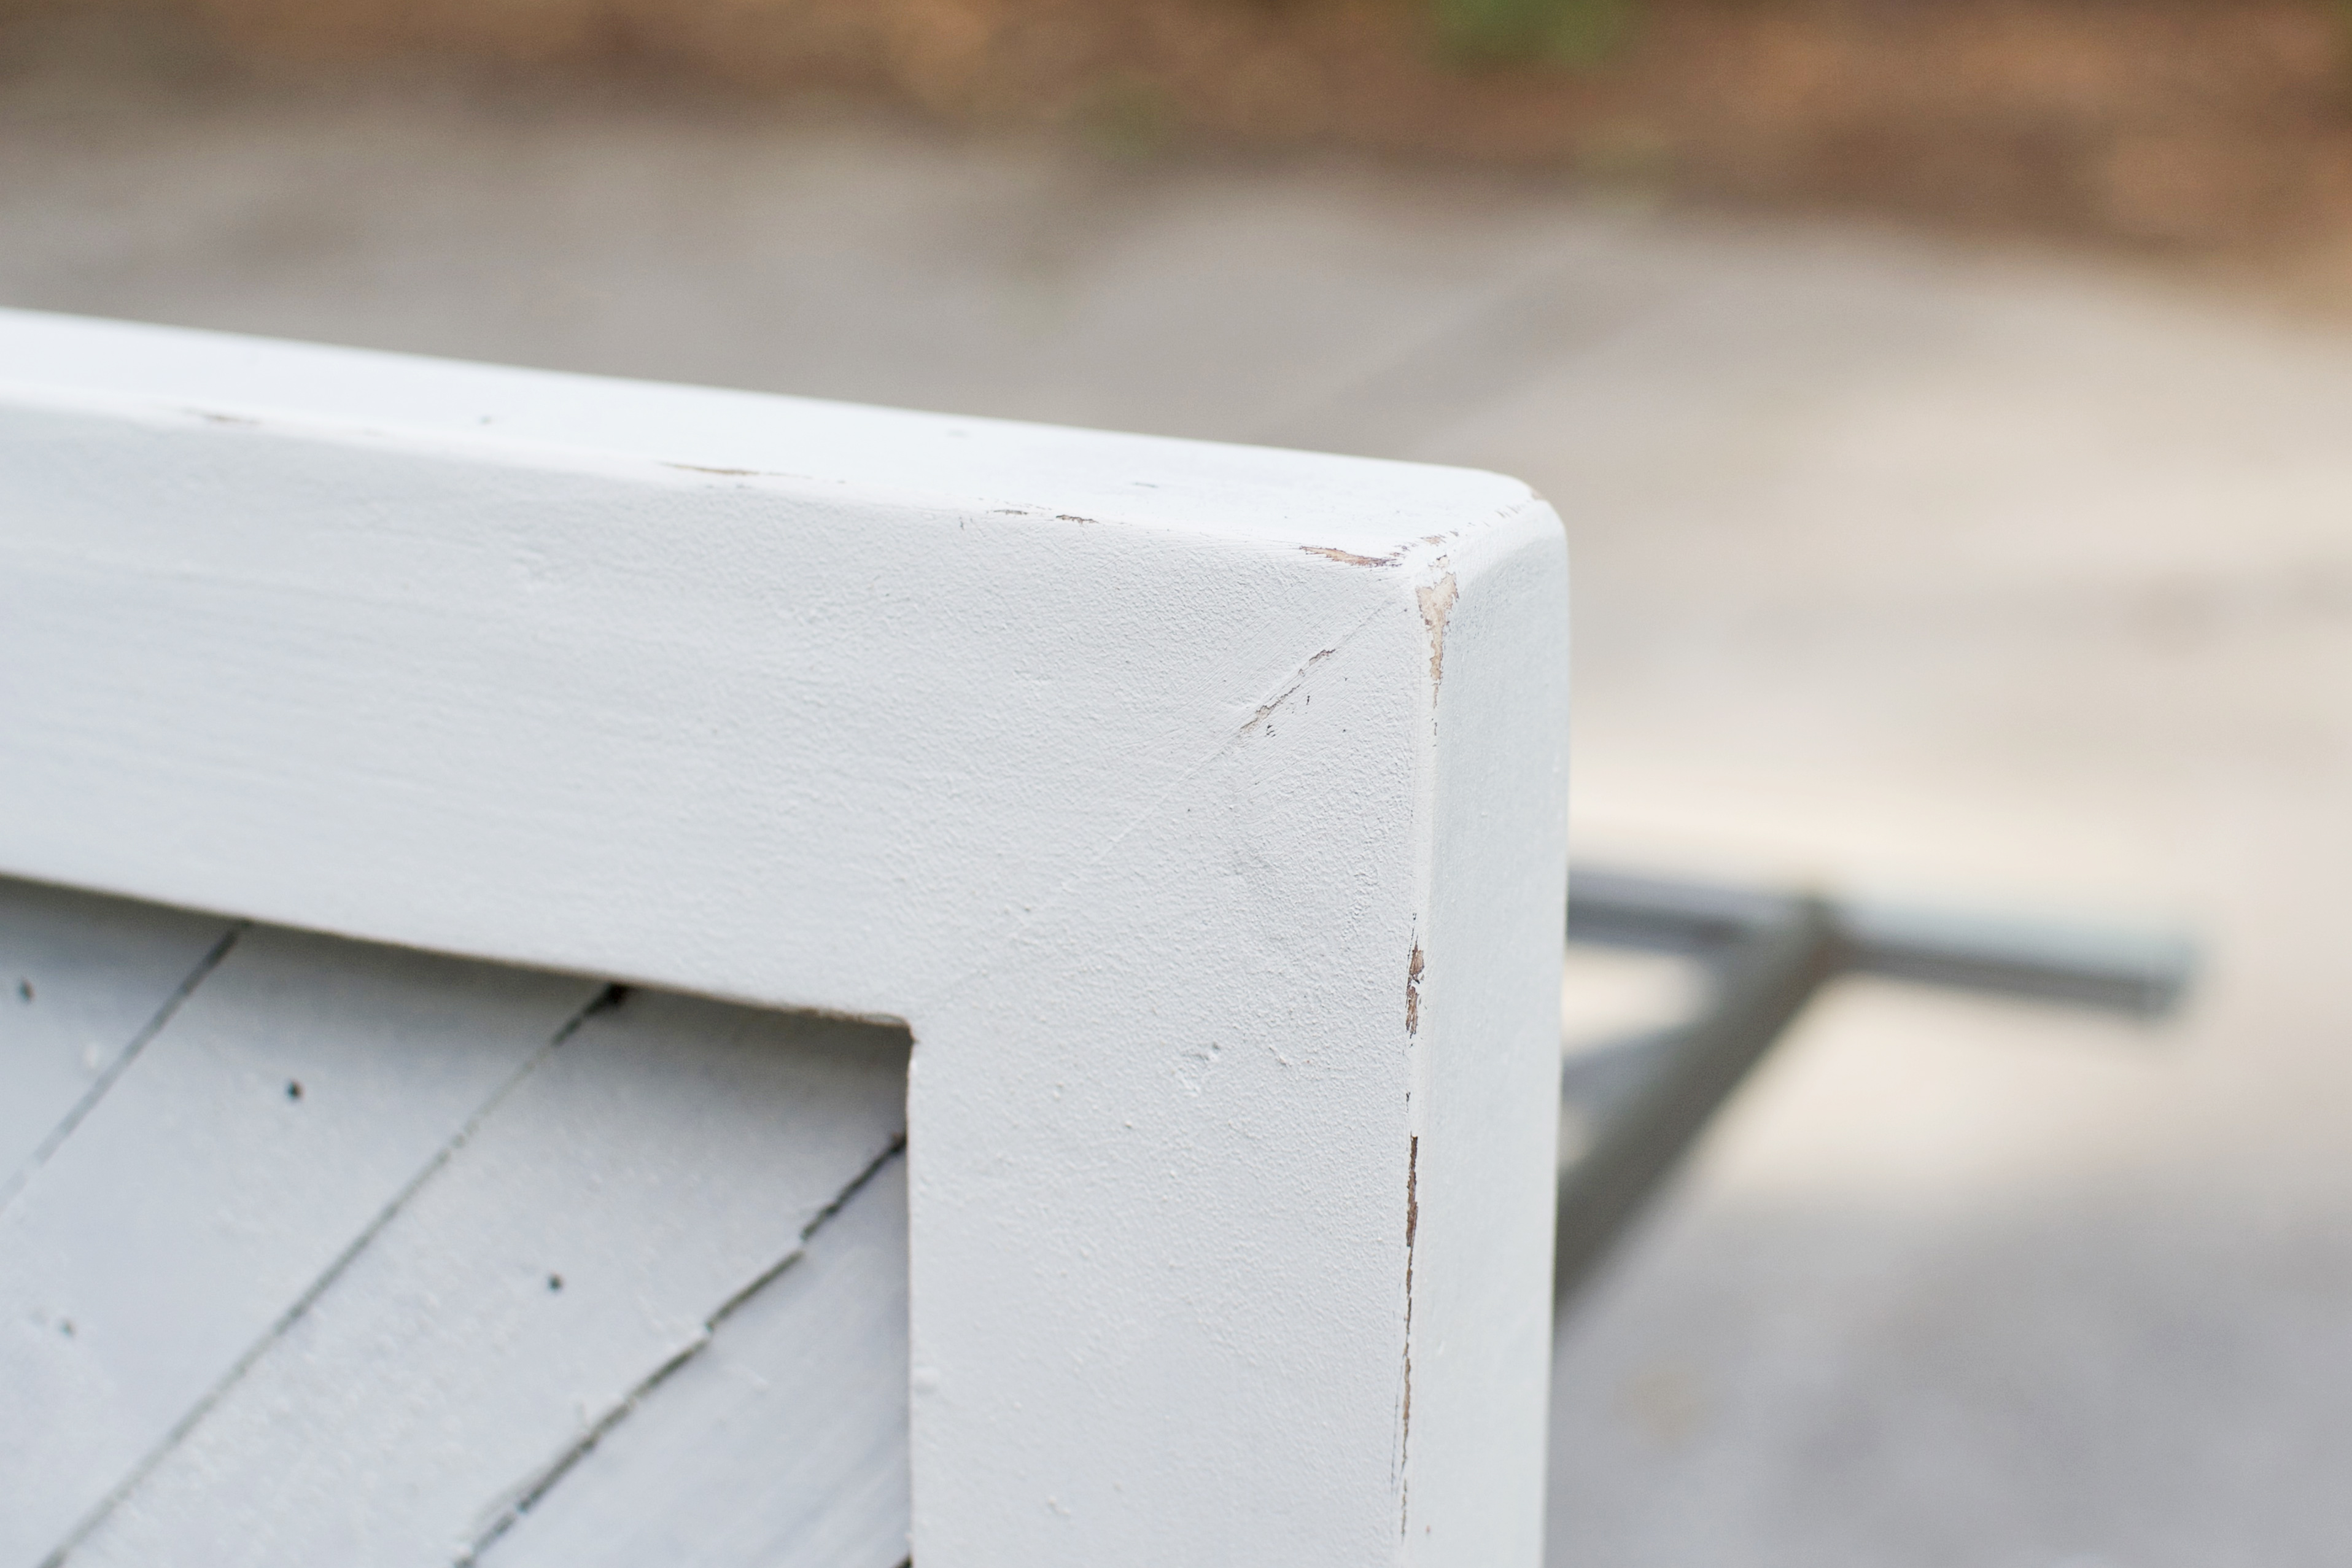
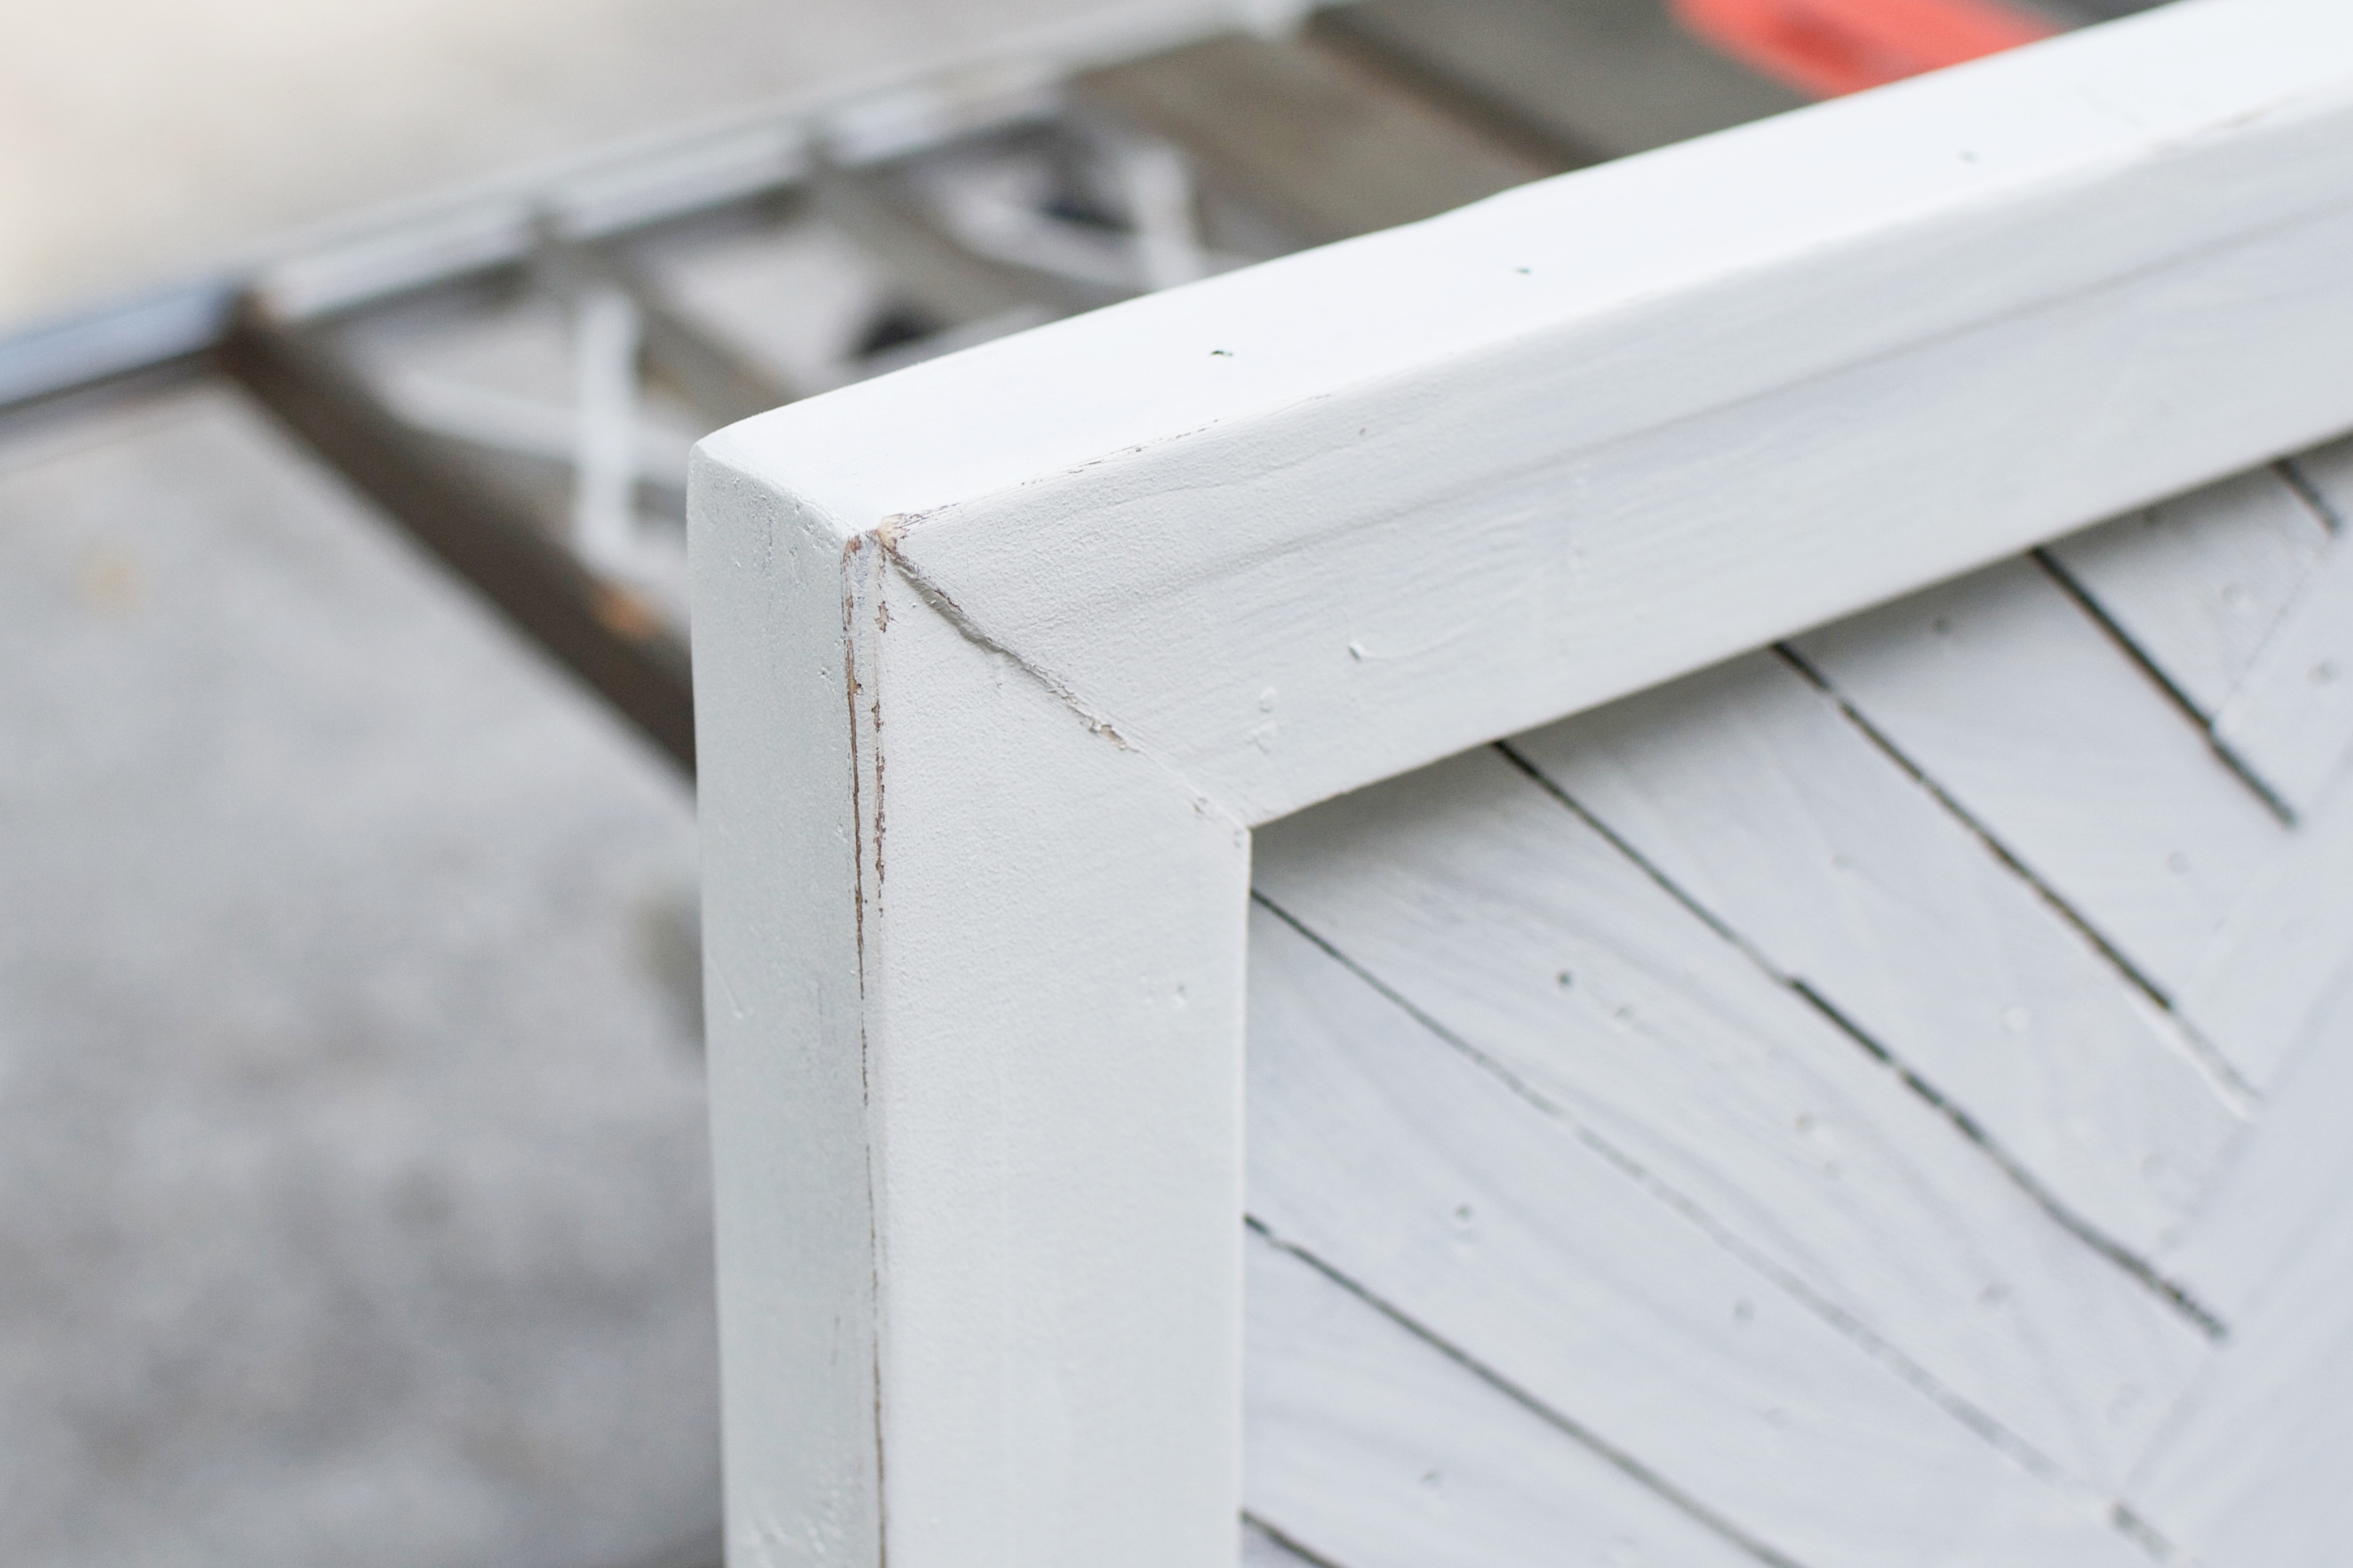
Cause your headboard distress. In less personified normal people words, distress your headboard with a sheet of 100 grit sandpaper (or whatever you have). The lower the grit number, the more visible & rustic the sanding marks will be. Consider 60 grit for a very scuffed finish. Avoid using your orbital sander as it will remove too much paint too quickly, revealing the raw wood underneath instead of the stain.
Sand the edges of the trim unevenly, sporadically and lightly. Continue until desired look is achieved. We did NOT sand the cedar shims, but you’re welcome to, friend. The cedar is so roughly sawn that it already appeared distressed after whitewashing. If you opt to sand the shims, be careful to not chip off the thinner ends.
Step 7. Other creative options.
We’re pleased with how ours turned out, as is. If you want to create more visual interest and variance, here’s a quick list of creative options to consider. These can be applied over the whitewashed trim and shims.
- Antique glaze. Add some brown or dark-colored paint to any wood-specific decorative glaze product. Rub it on and then wipe off most of it, leaving the darker glaze in the cracks and crevices.
- Clear wax. Applied with an old rag or blue shop towel. For a soft shine.
- White-tinted wax. Tiny bit of white paint mixed with clear wax. For a soft shine and a little more white.
- Color-tinted wax. Soft shine & more of that color spread throughout.
- Diluted oil based stain with mineral spirits for a faux glaze. Give the piece a patina. Antique vibe.
- Dry-brushed colored paint, then sanded down to soften the streaks. Another antique-ing technique.
- Dry coffee grounds. Rubbed into the wood. For a very rough, light brown “stain.”
- Strongly brewed coffee. For a yellow-tinted light brown “stain.”
- Vinegar dissolved steel wool. Like a weathered brown stain.
- Next level distressing with hammer, nails, chains, dragging through gravel, etc.
Let’s install this bad boy.
We’re installing ours with a cleat on cleat system. Here’s our Restoration Hardware copycat headboard installation tutorial for a step-by-step guide. If you built your headboard like mine, it weighs exactly one metric butt-ton. In my years of ripping things off walls, I haven’t found a stronger / more secure method for headboard install. It helps me literally sleep at night. I can rest easy knowing the headboard won’t replace my alarm clock. Or high-five me in the forehead at the break of dawn. You get the picture [frame]. Now get after it, DIYer!
