What does your table stand for? Is it only functional, or does it serve a deeper purpose?
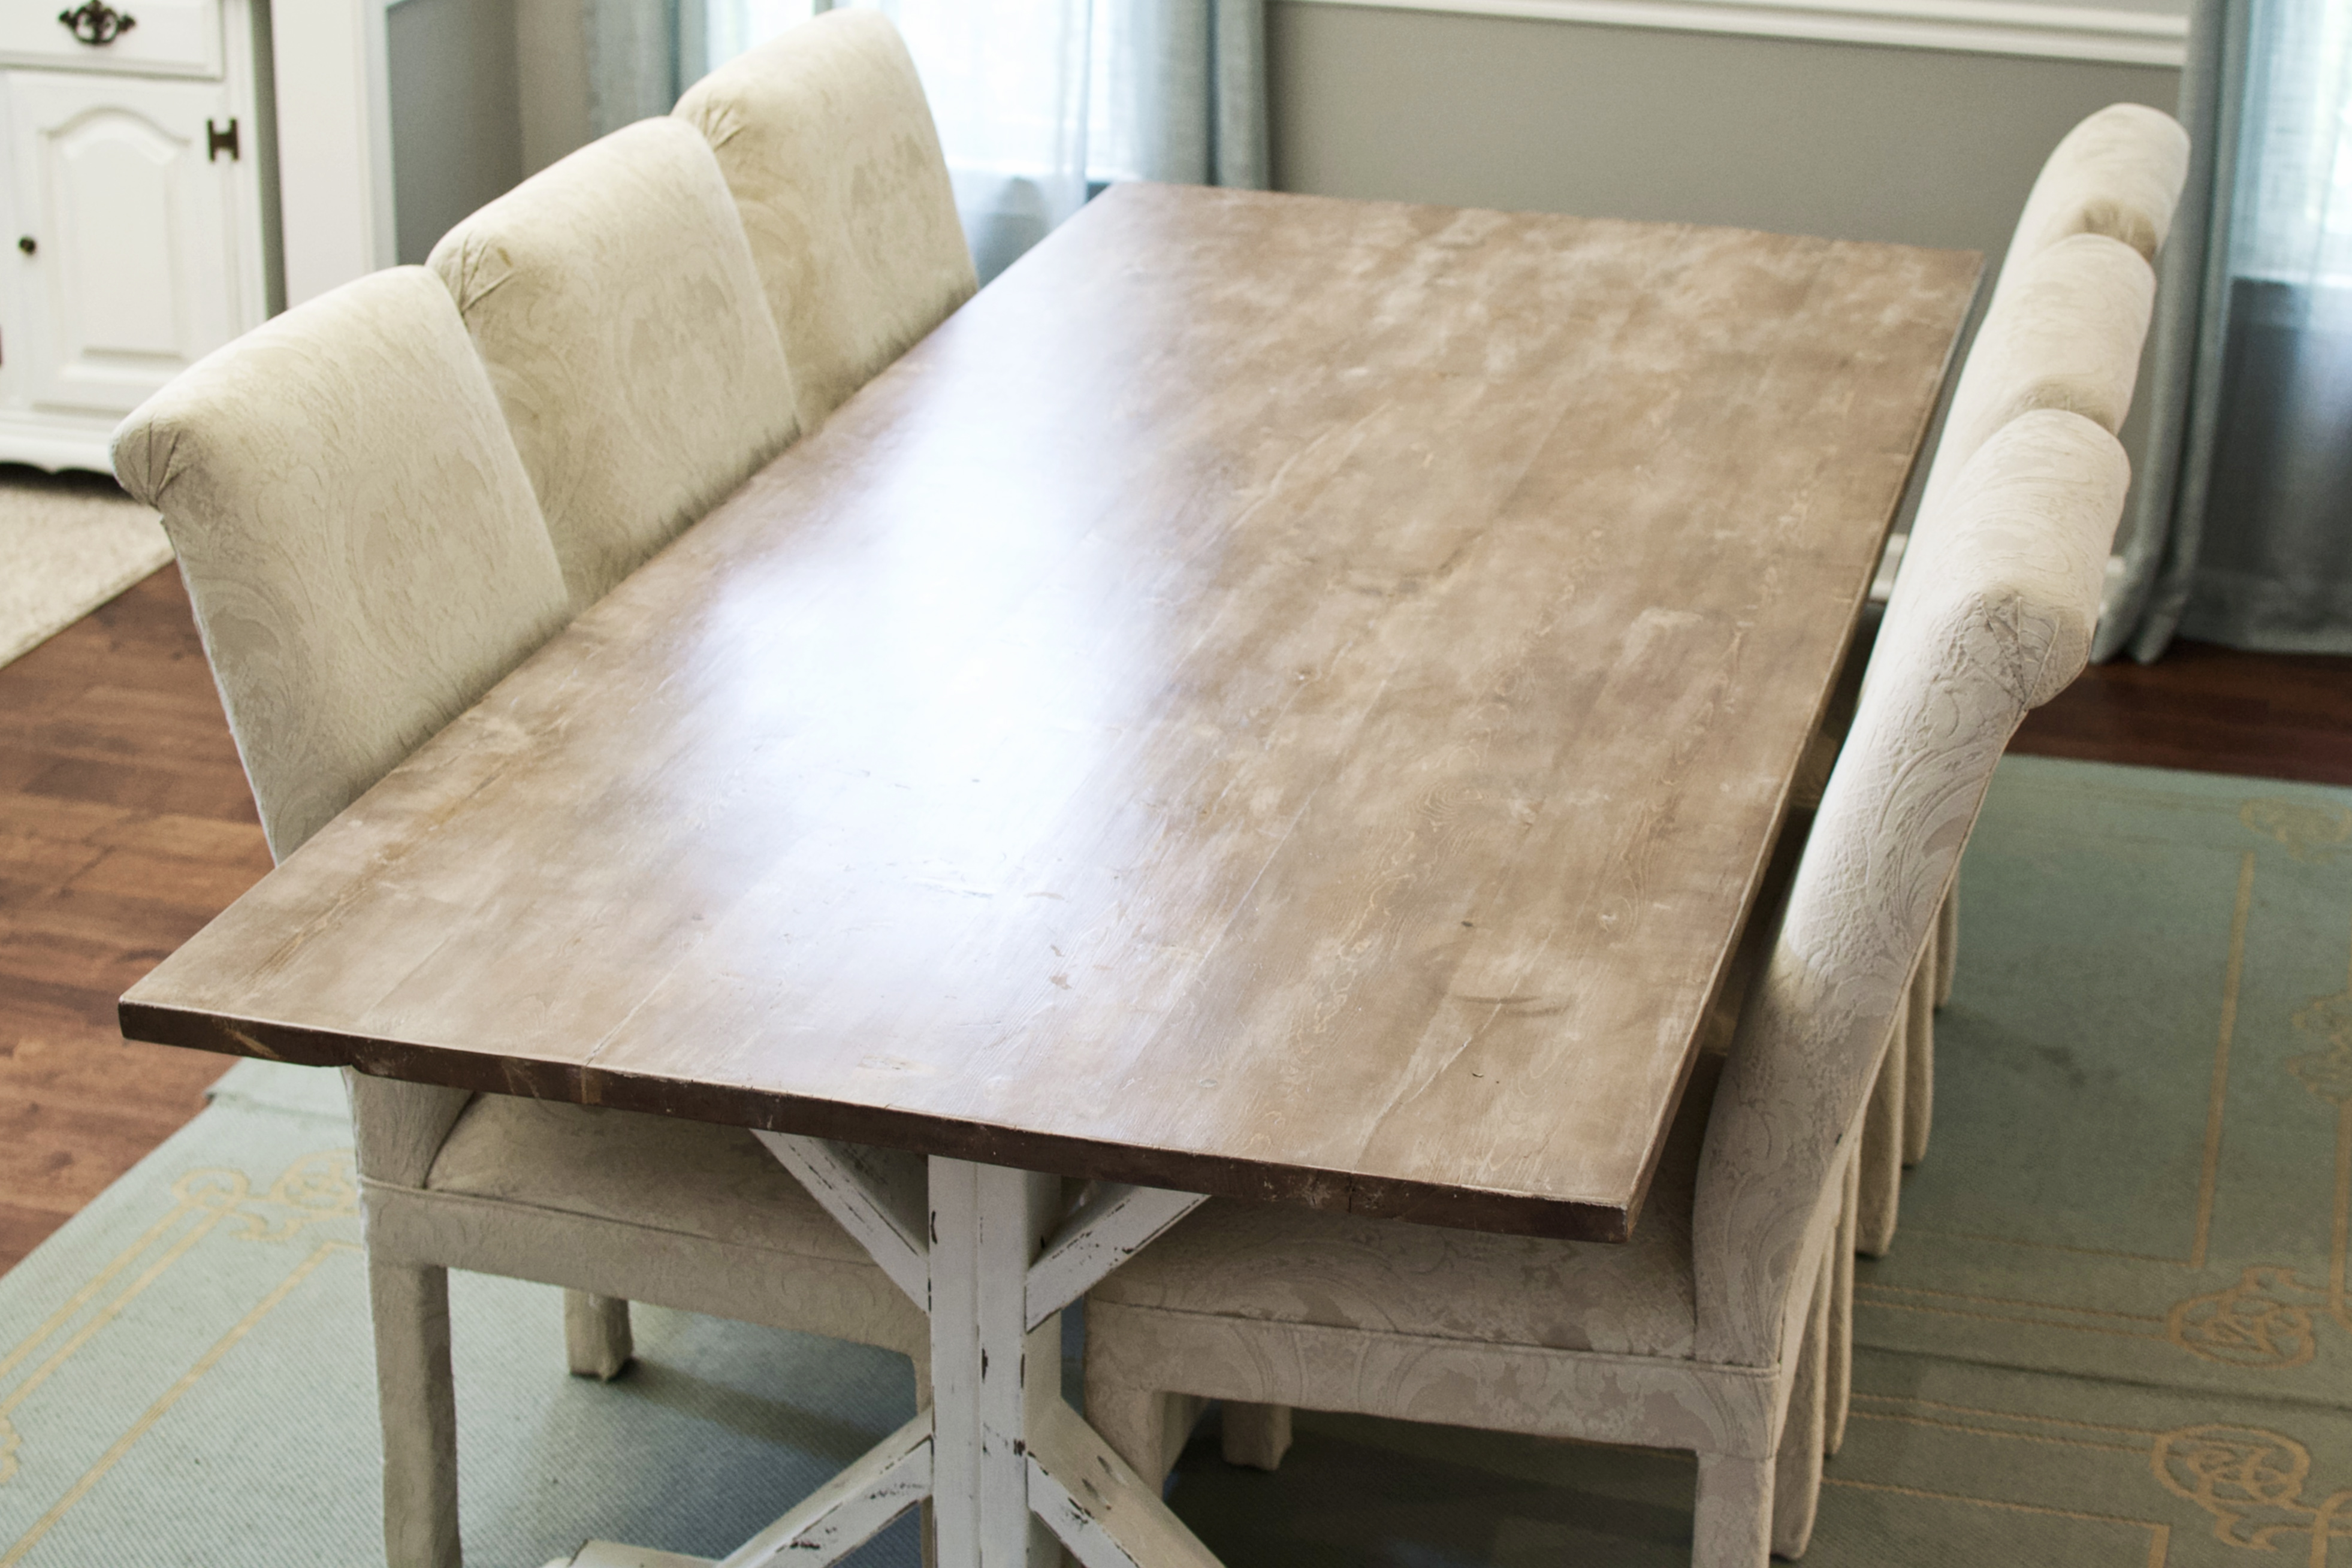
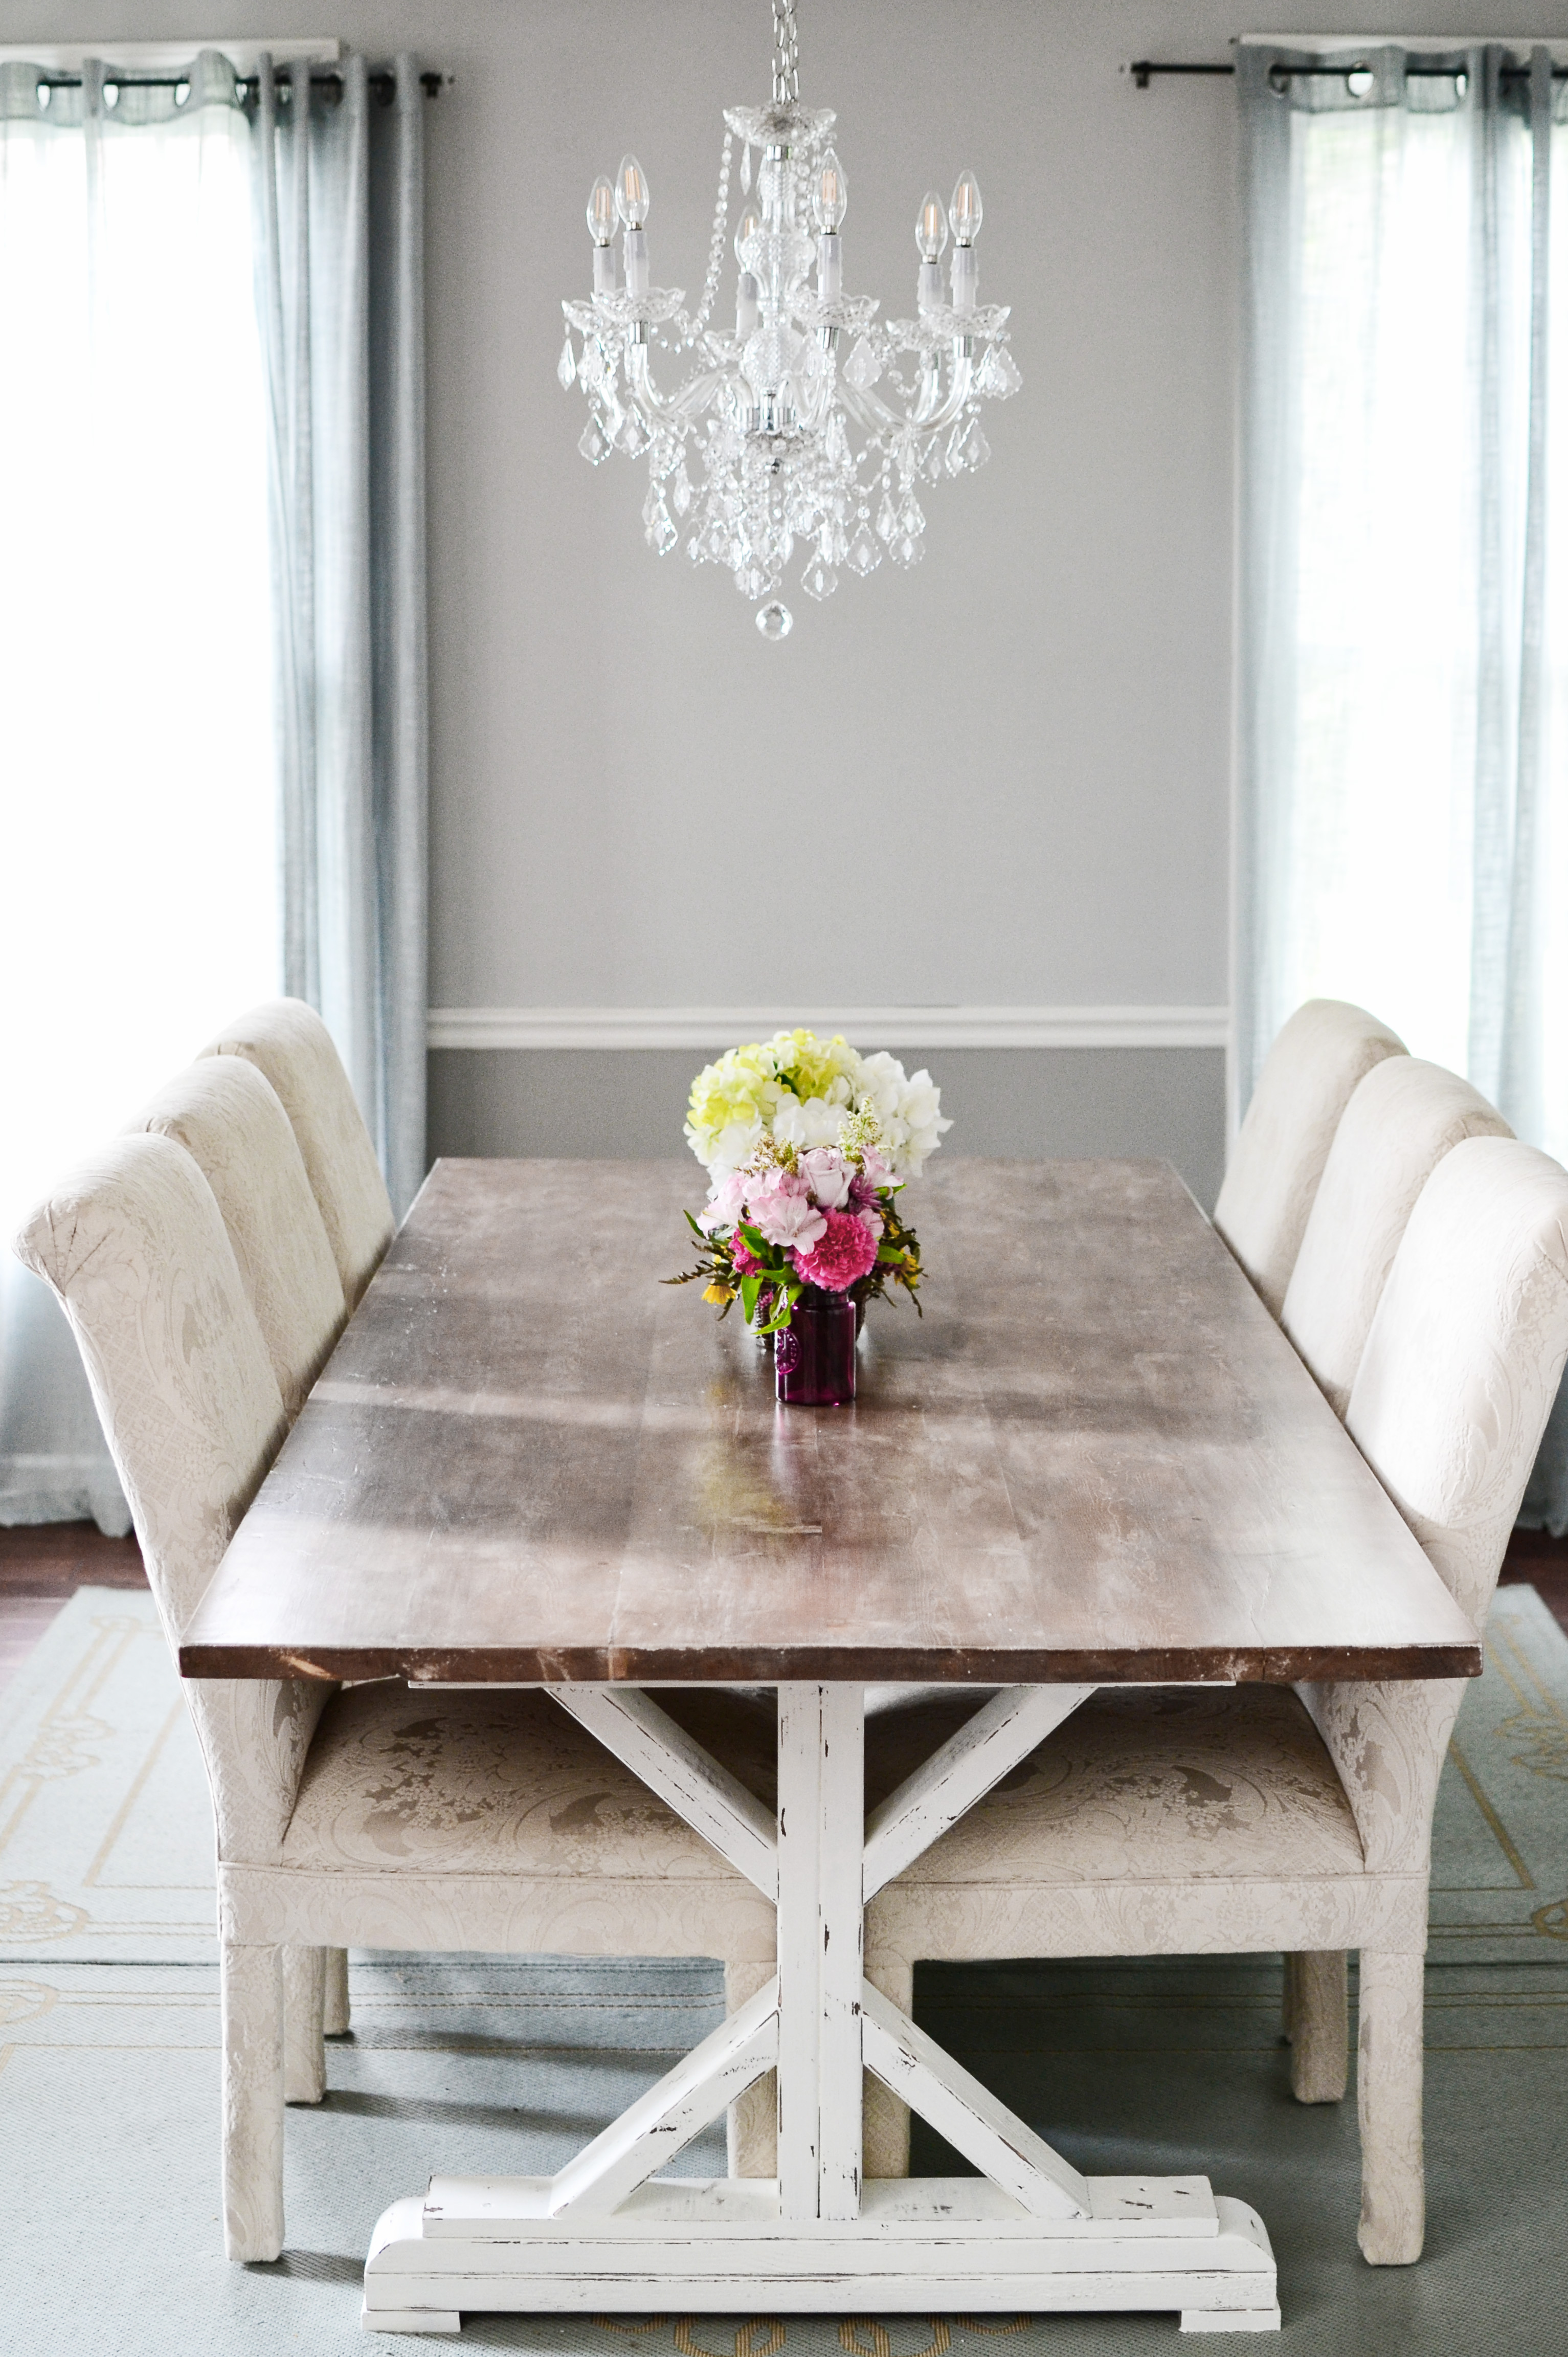
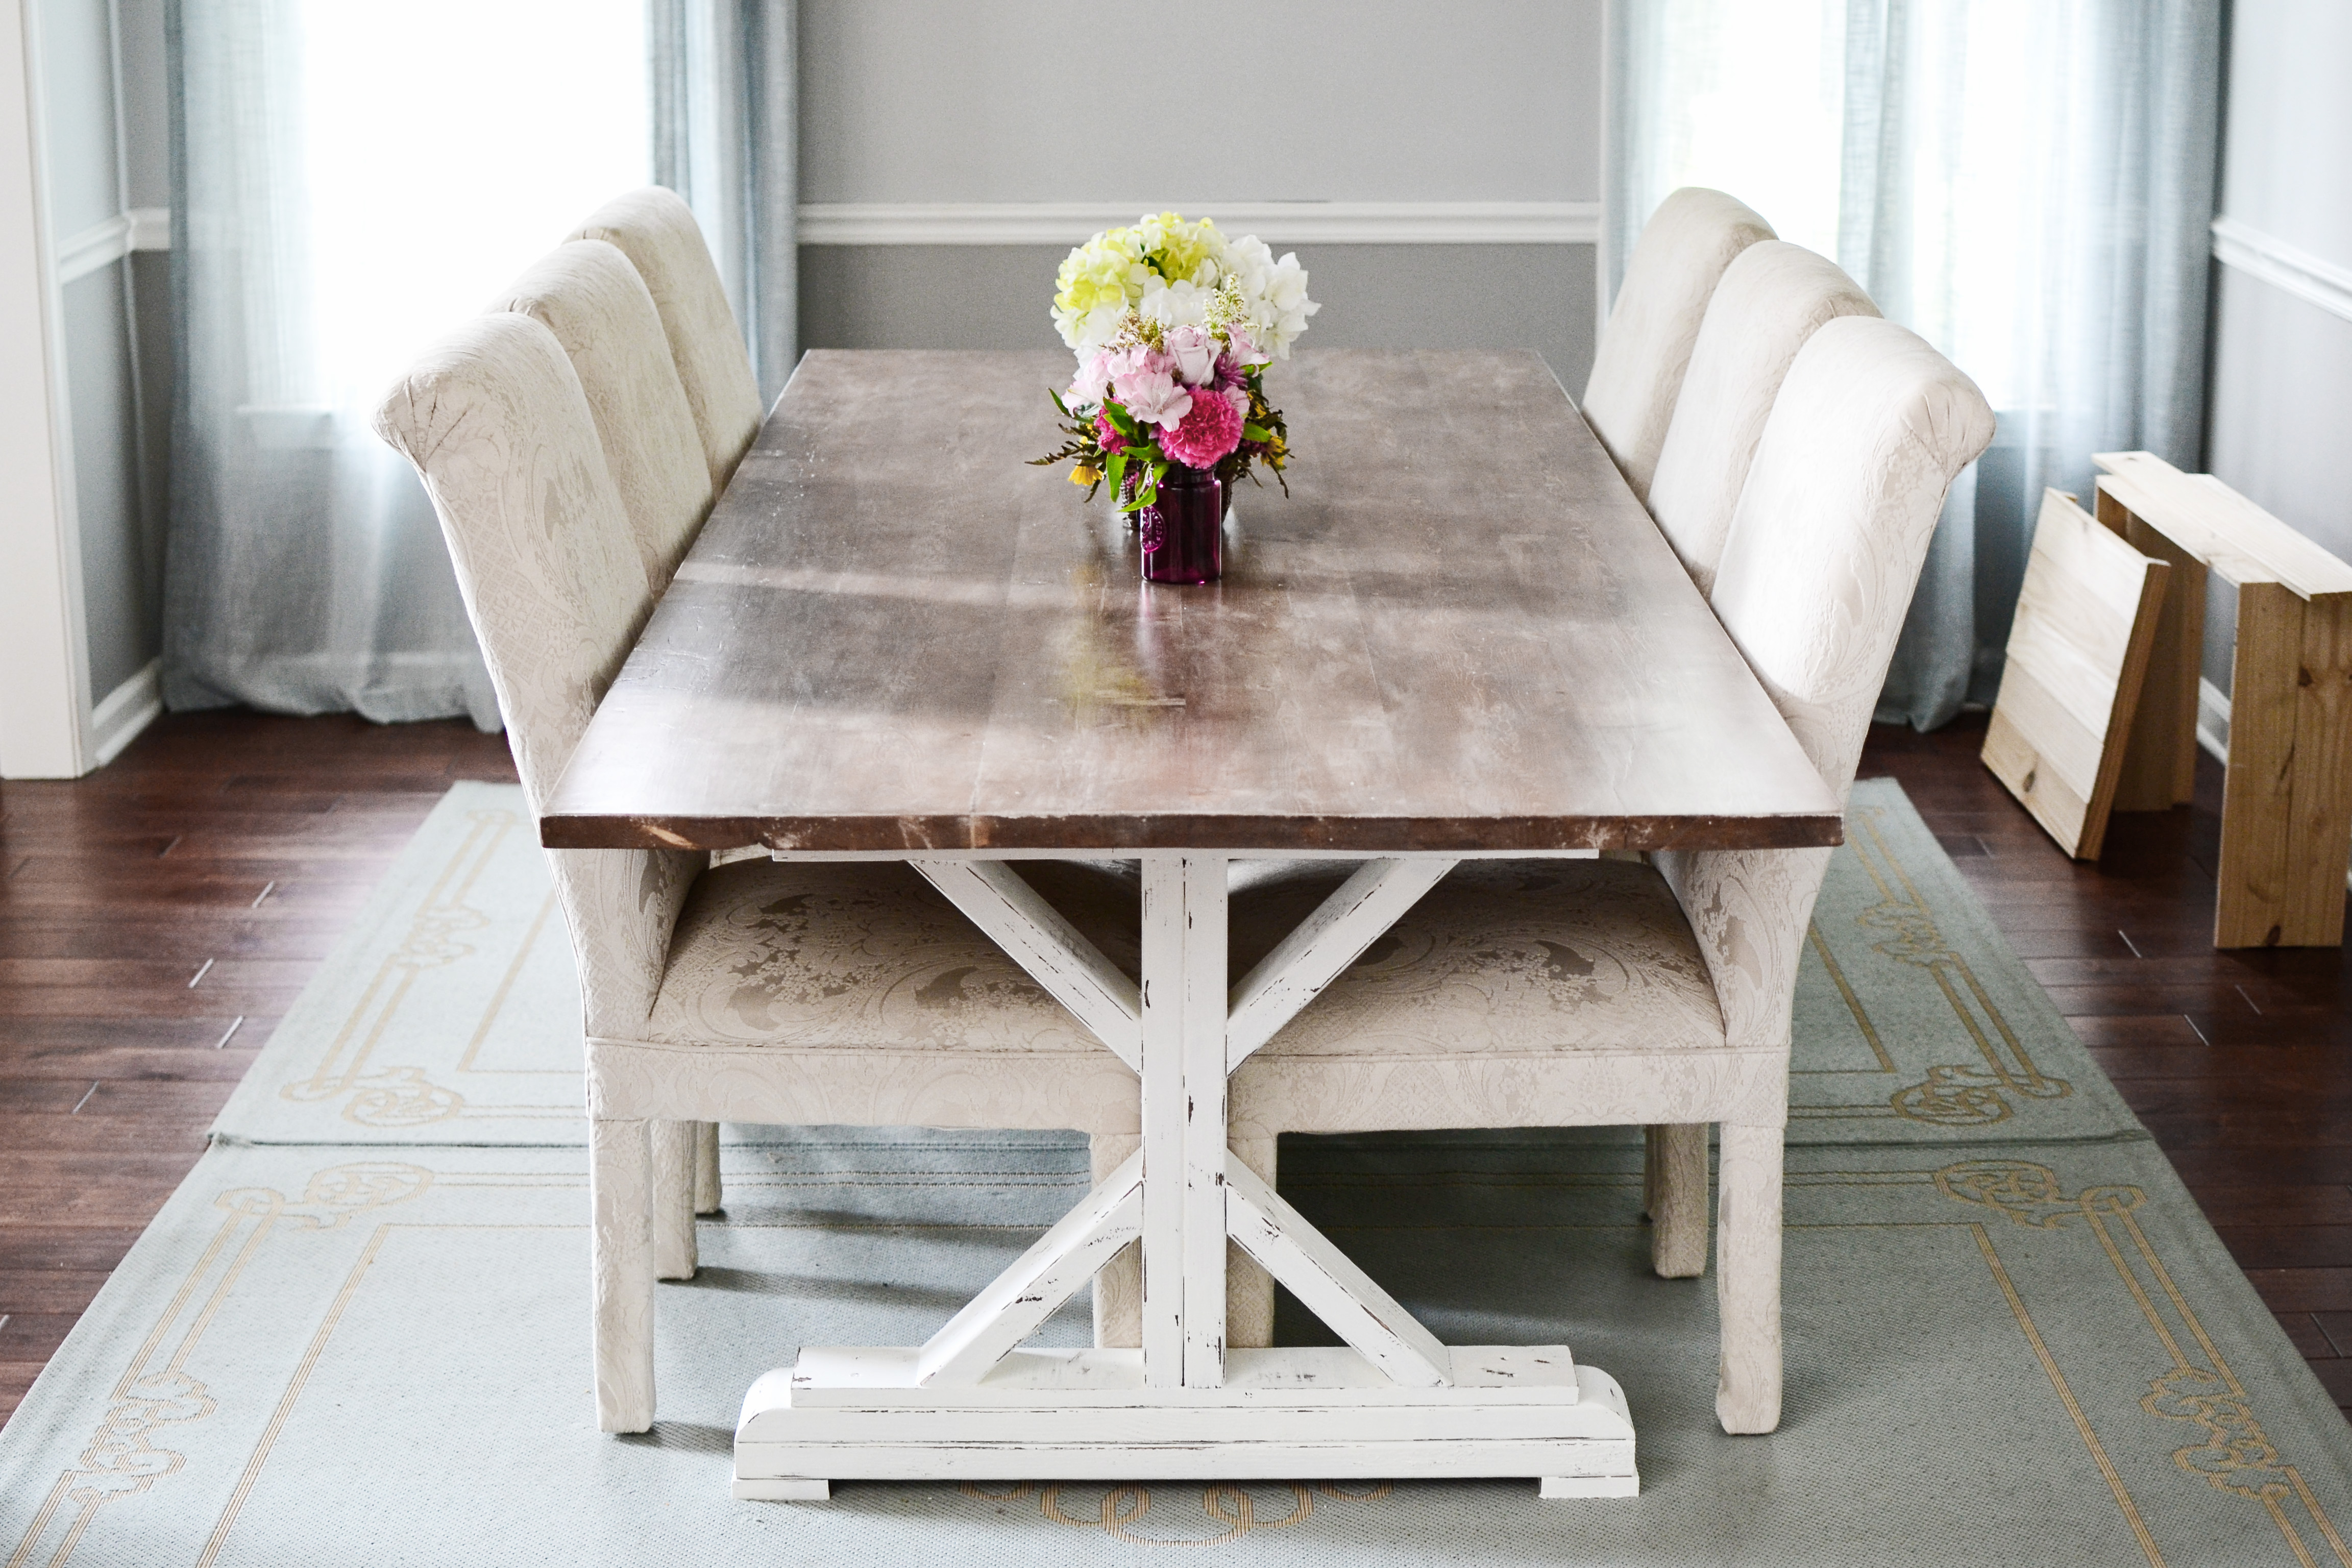
Farmhouse tables beautifully represent what our family stands for. Building local community. Gathering with new friends, old friends and family over a home-cooked feast or potluck. 8 feet is often too short to accommodate all the butts.
What’s the go-to cuisine served at your table?
Palates are graciously stretched. The cuisine is an ever-changing adventure, from Thai to Indian, Mexican to modern American. This month is vegan or vegetarian, next month is Whole30 or cavewoman inspired. Southerners, be won over – no need to beware. Inclusivity & invitation is the culture, not the exception.
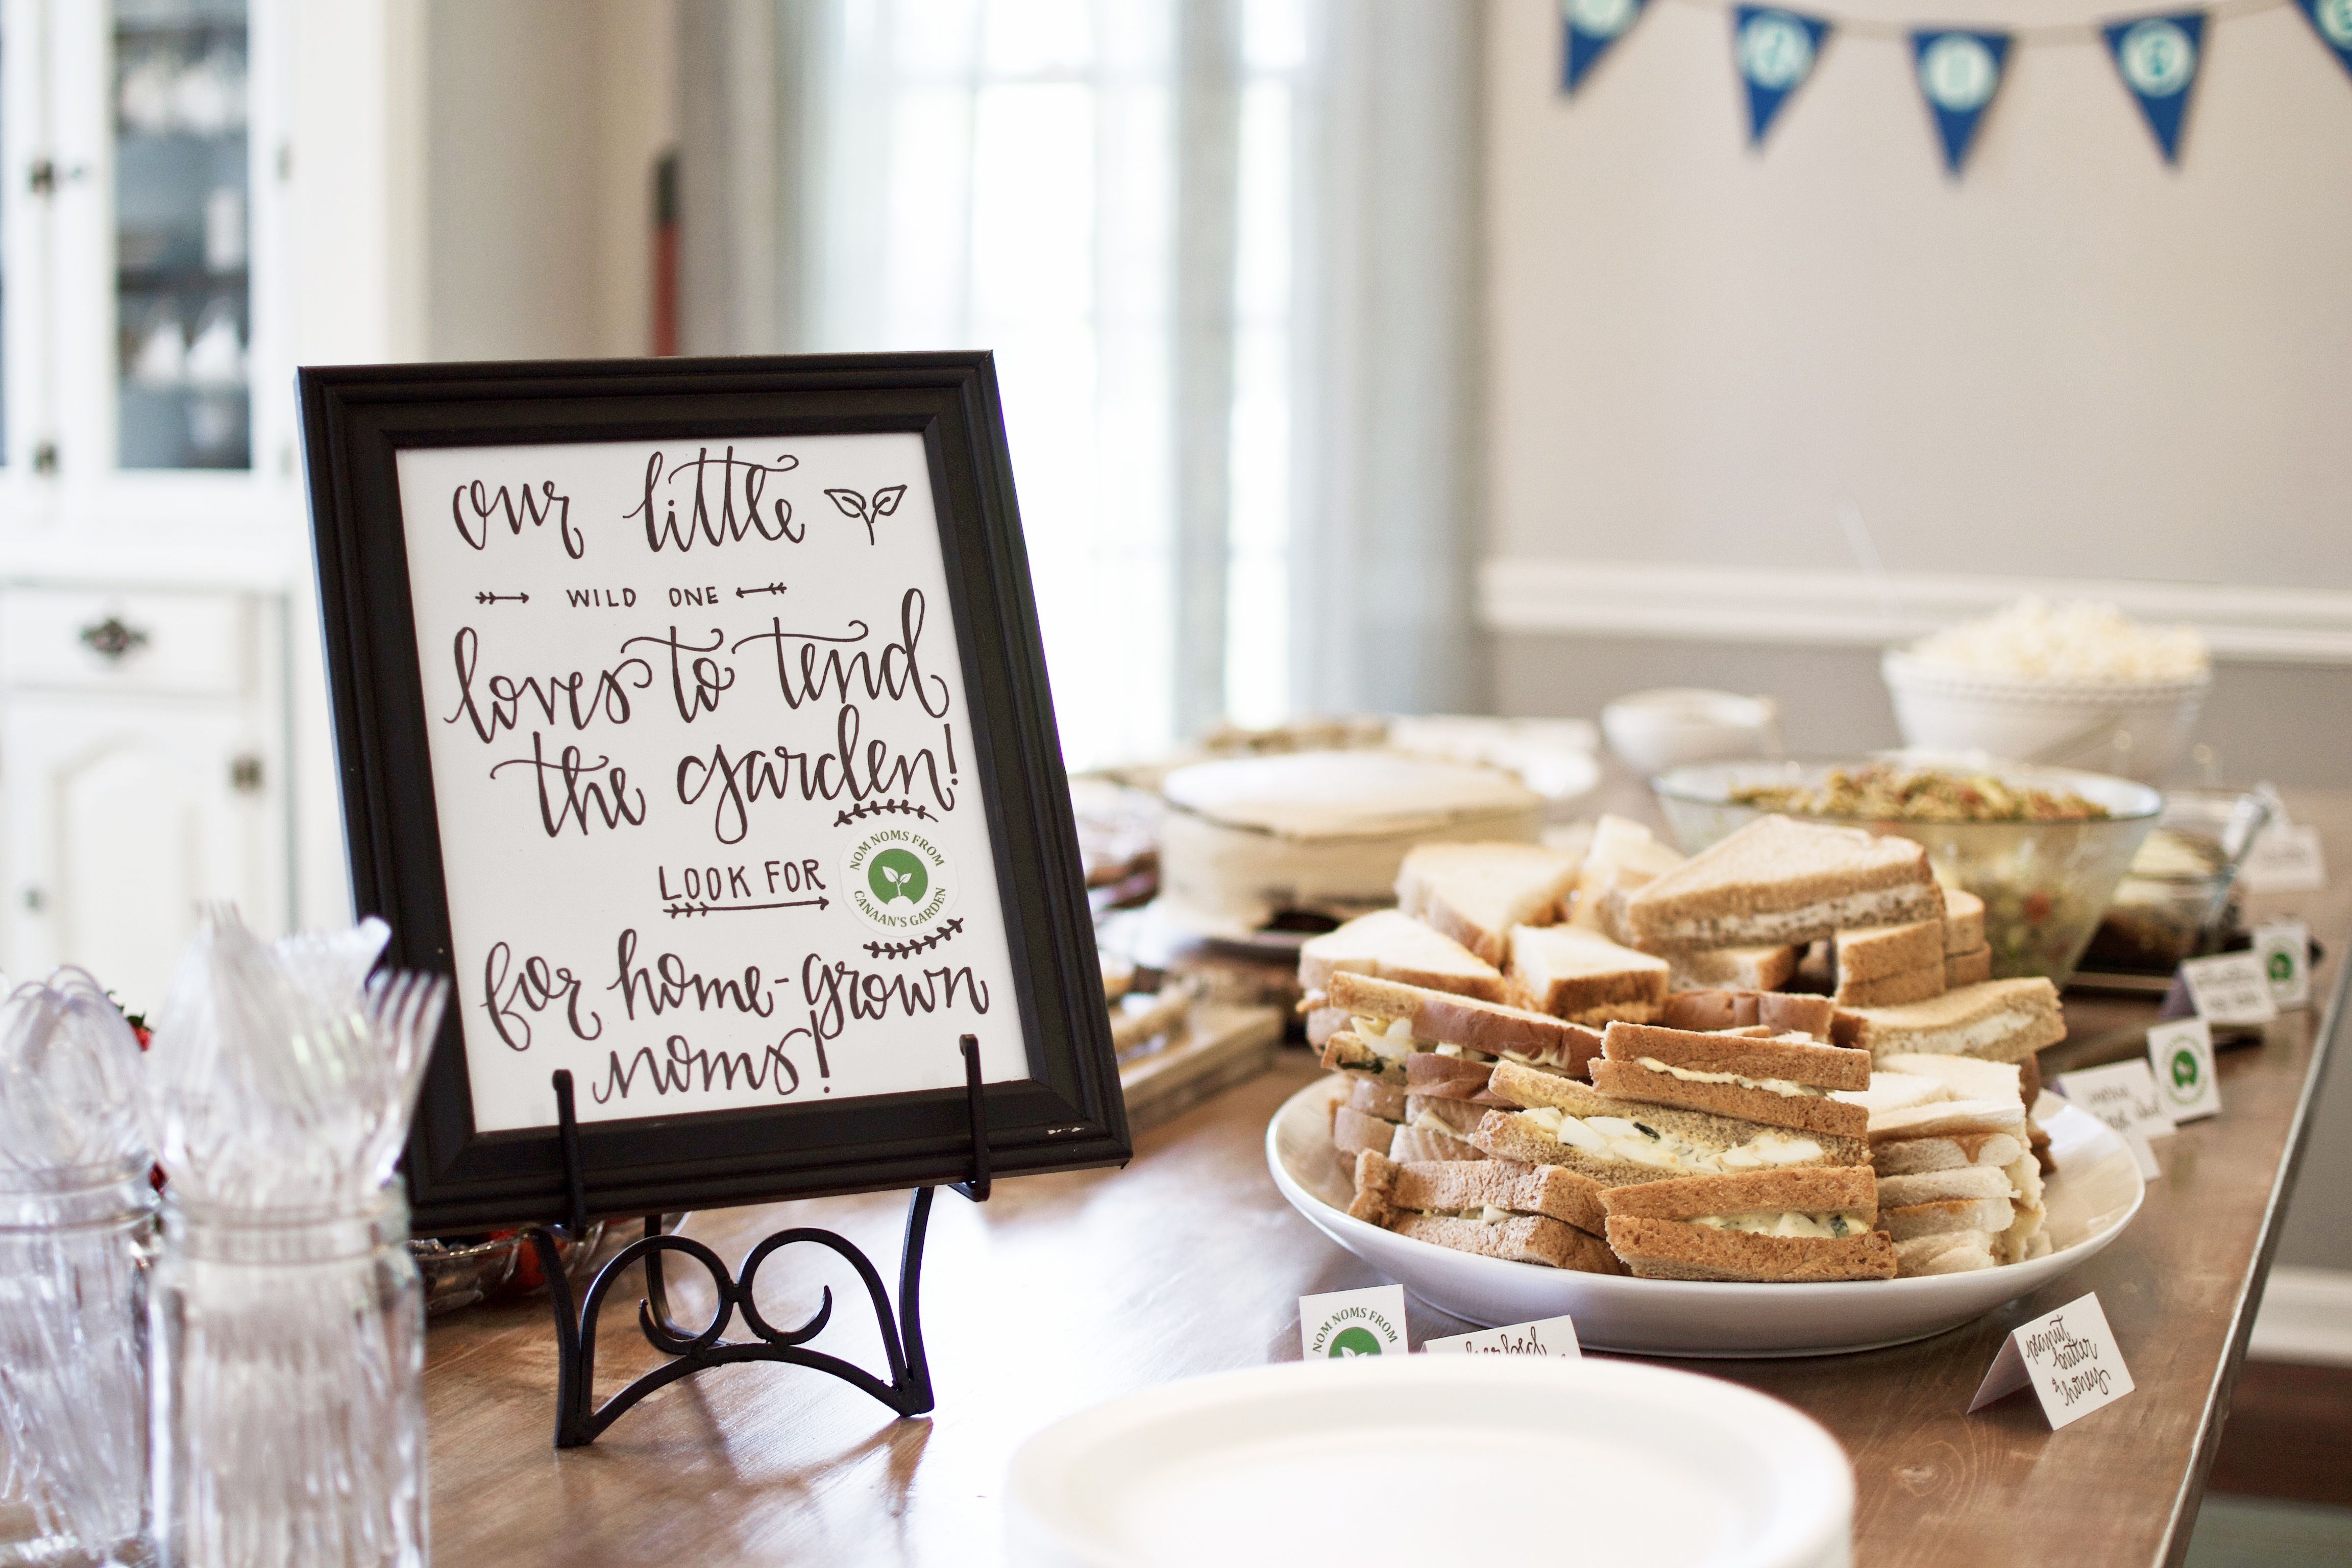
Who do you feast with?
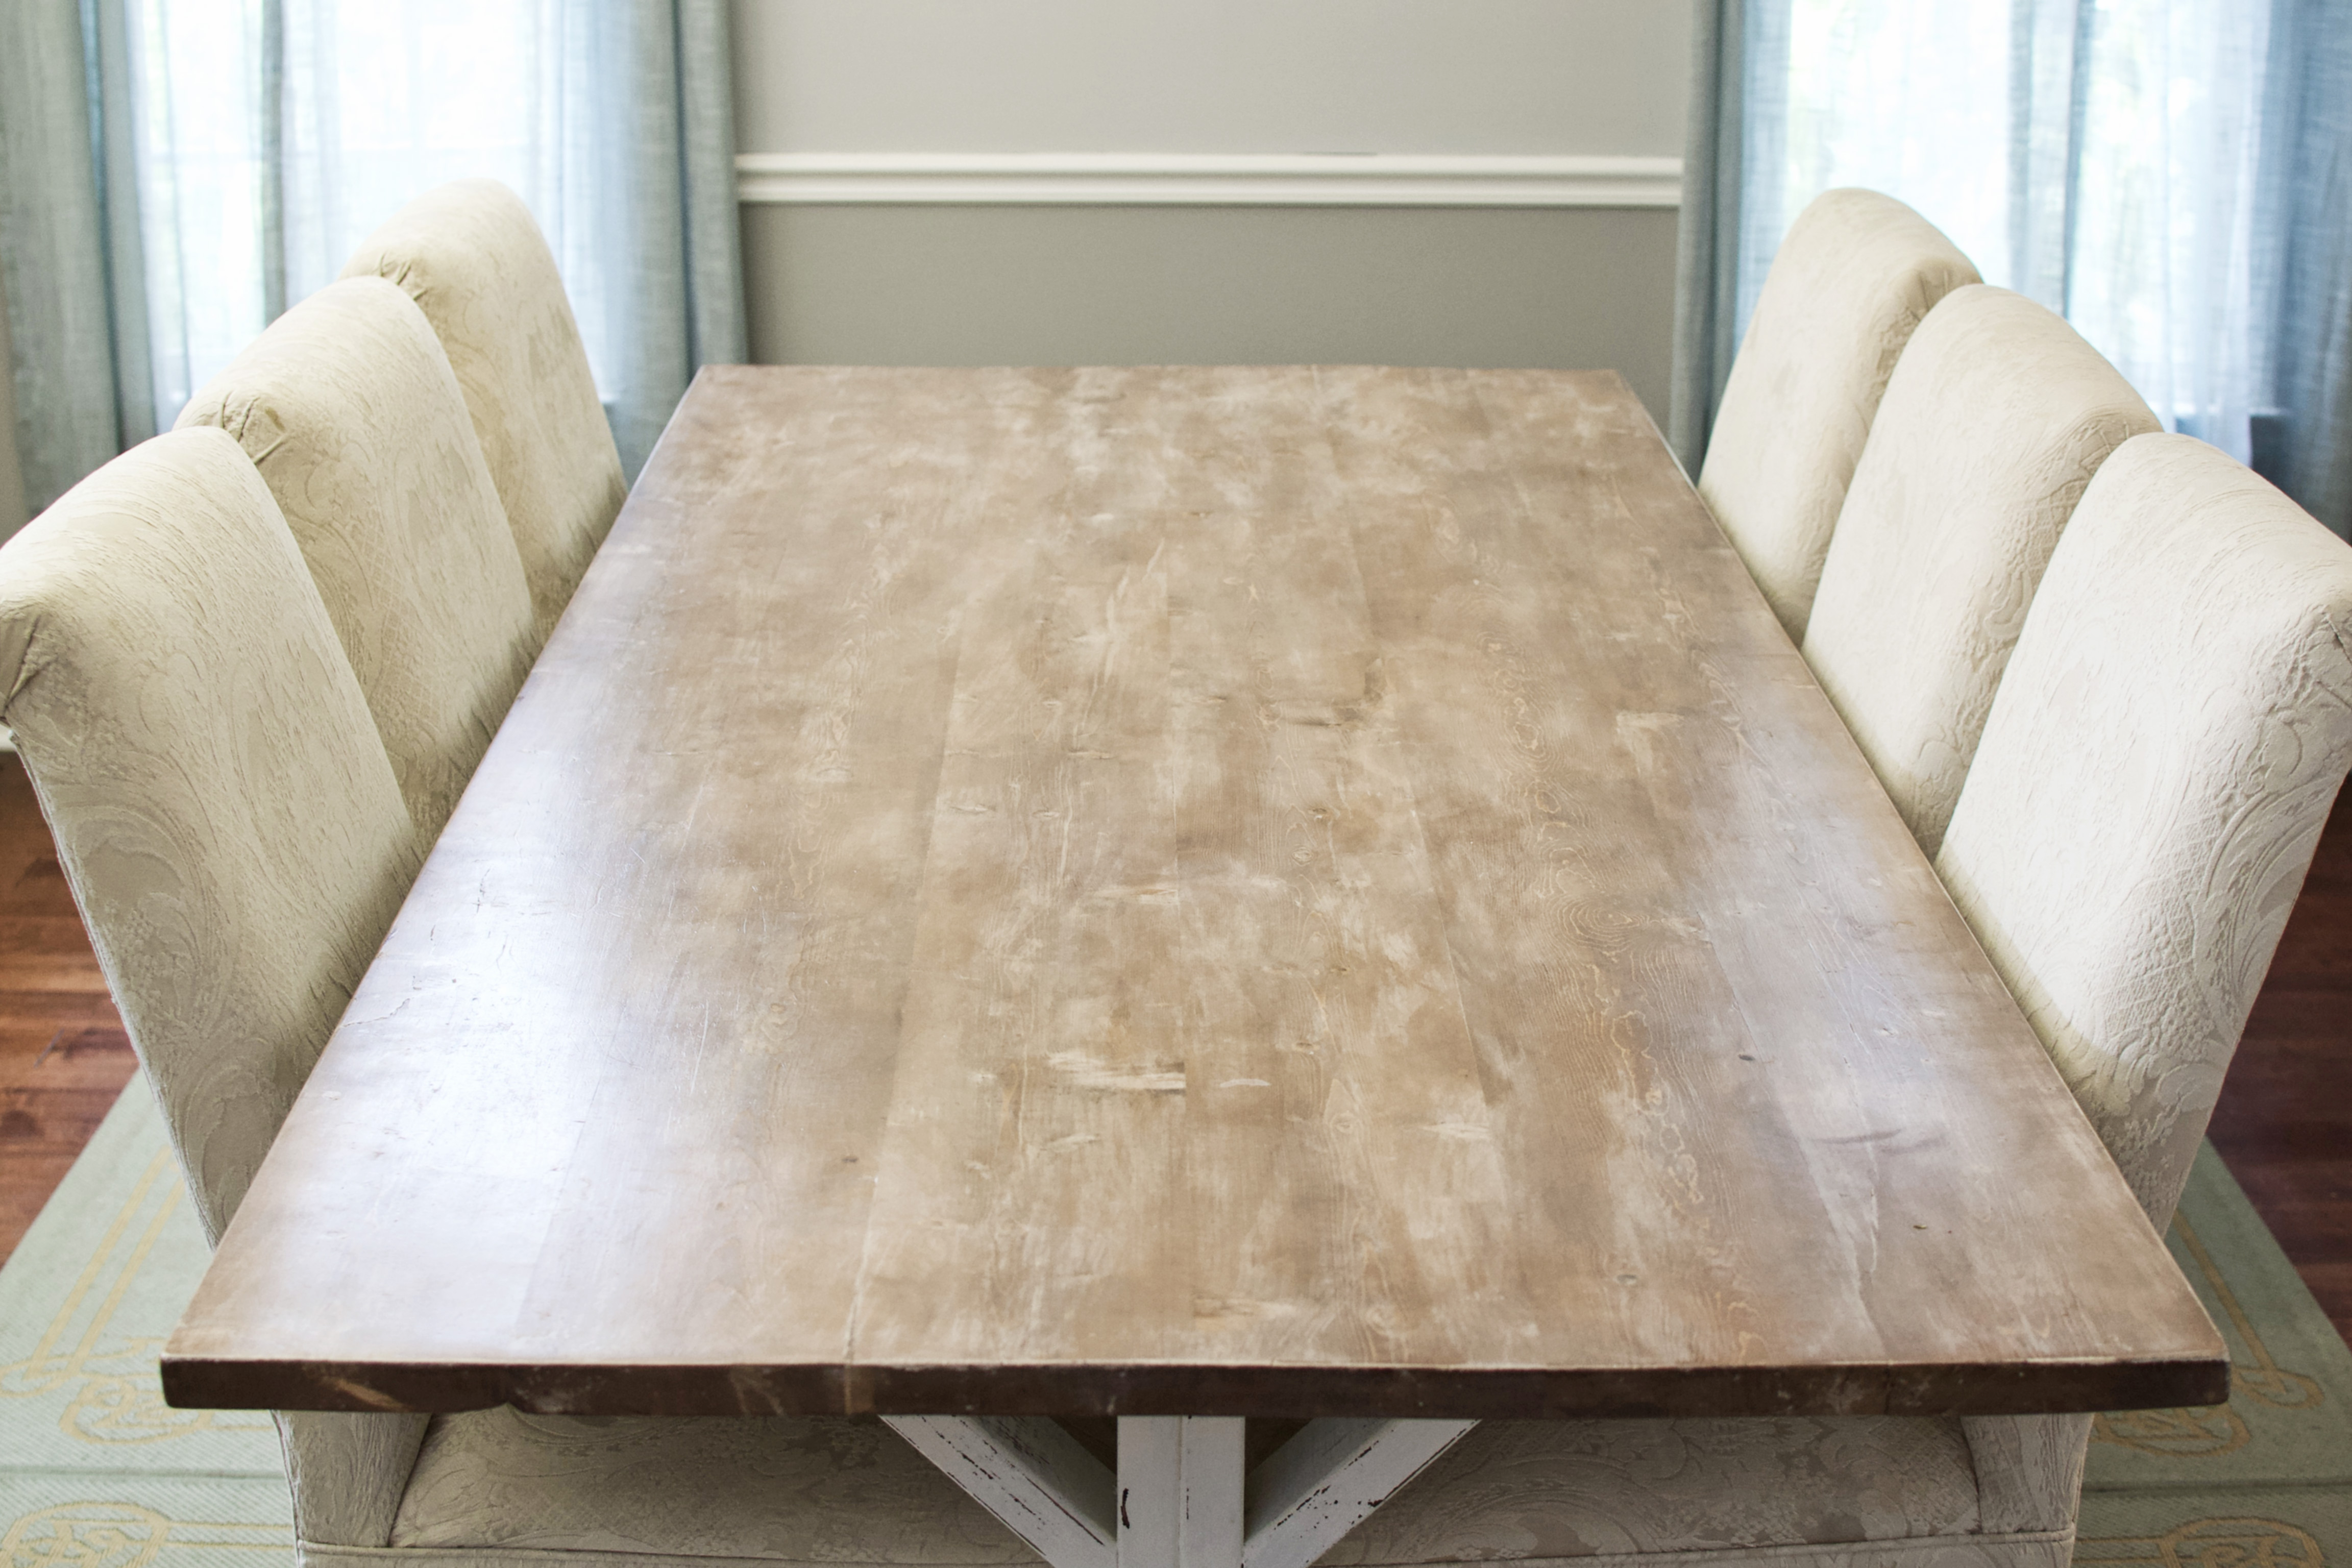
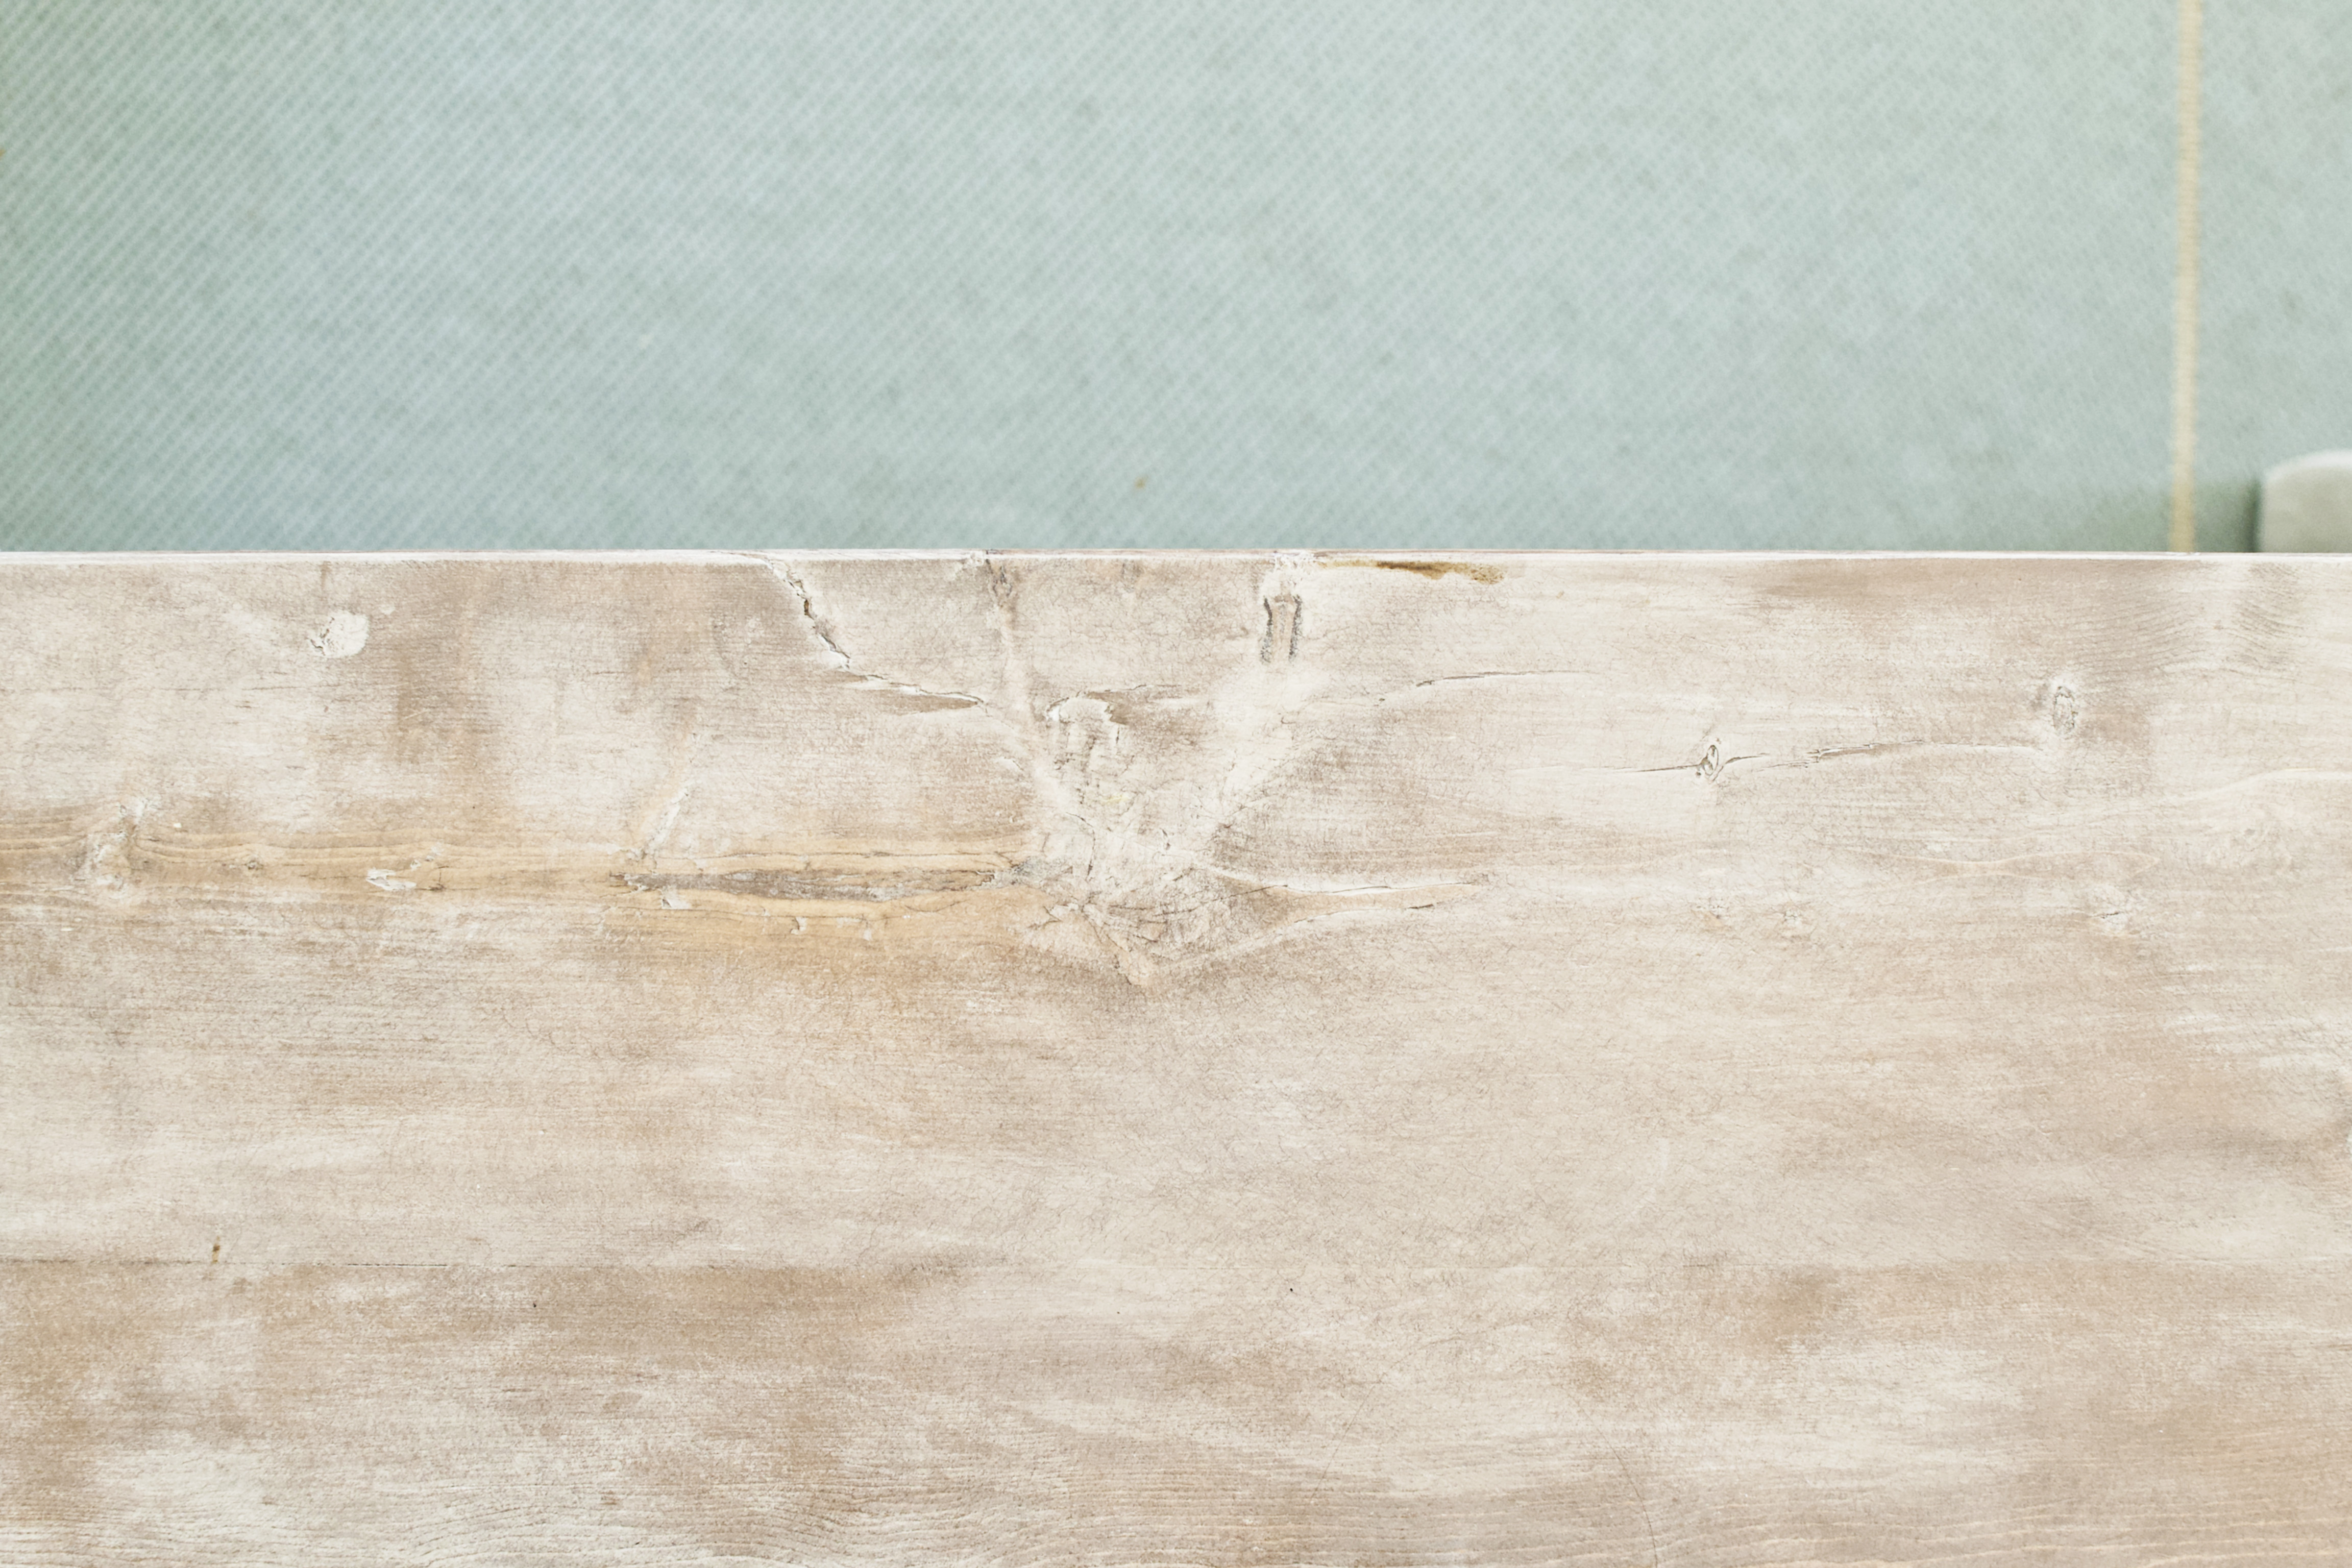
The initial space where commonality is built, stories are told, inhibitions are softened and lasting bonds are formed. Farmhouse implies rustic, where creative messes are made, crumbs are scattered, tables are dented and scratched, and guests are comfy to be themselves. The Rez equates authenticity. A home is meant to be lived in, and this table is meant to be used. No coasters required.

Game Hard.
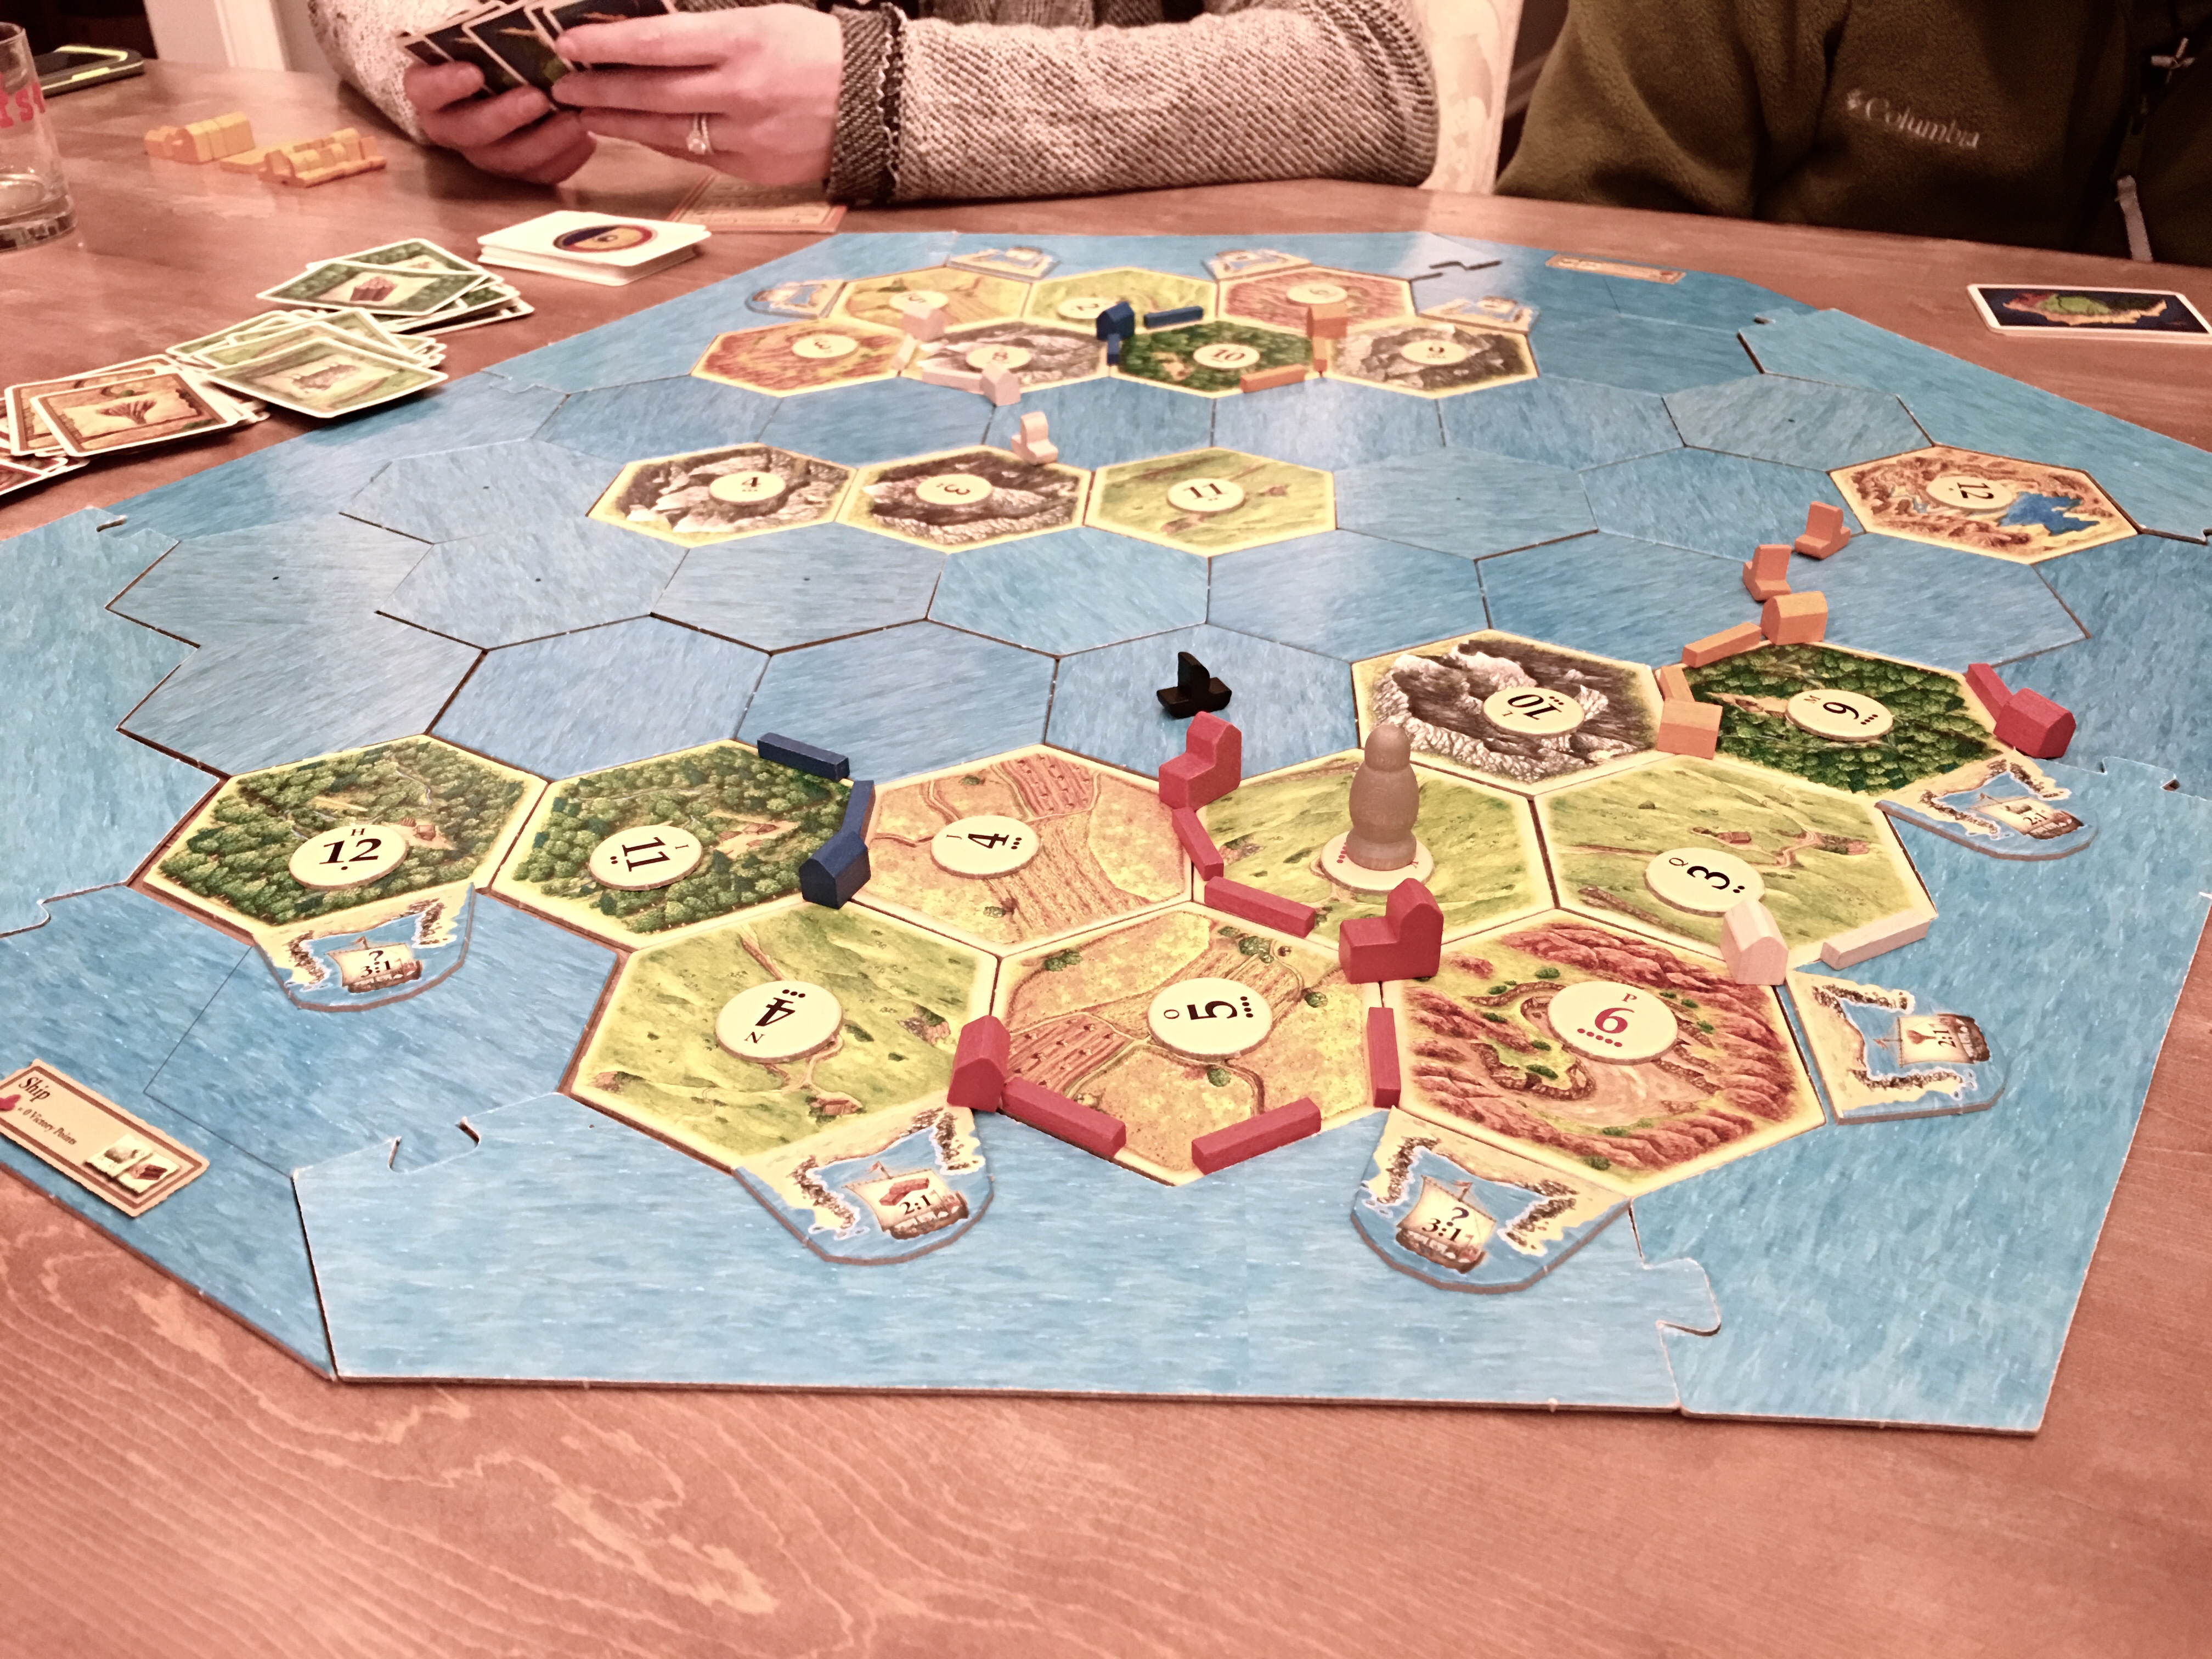
Game nights are held. Catan, euchre, spades, exploding kittens, nerts and speed scrabble are played late into the night over craft cocktails and all you can eat desserts (sorry fellow nutritionists) as connections are deepened and the competition unifies the room. We fight for the newbies and the underdogs. Belonging trumps winning every time (well… for most of us).
The Build.
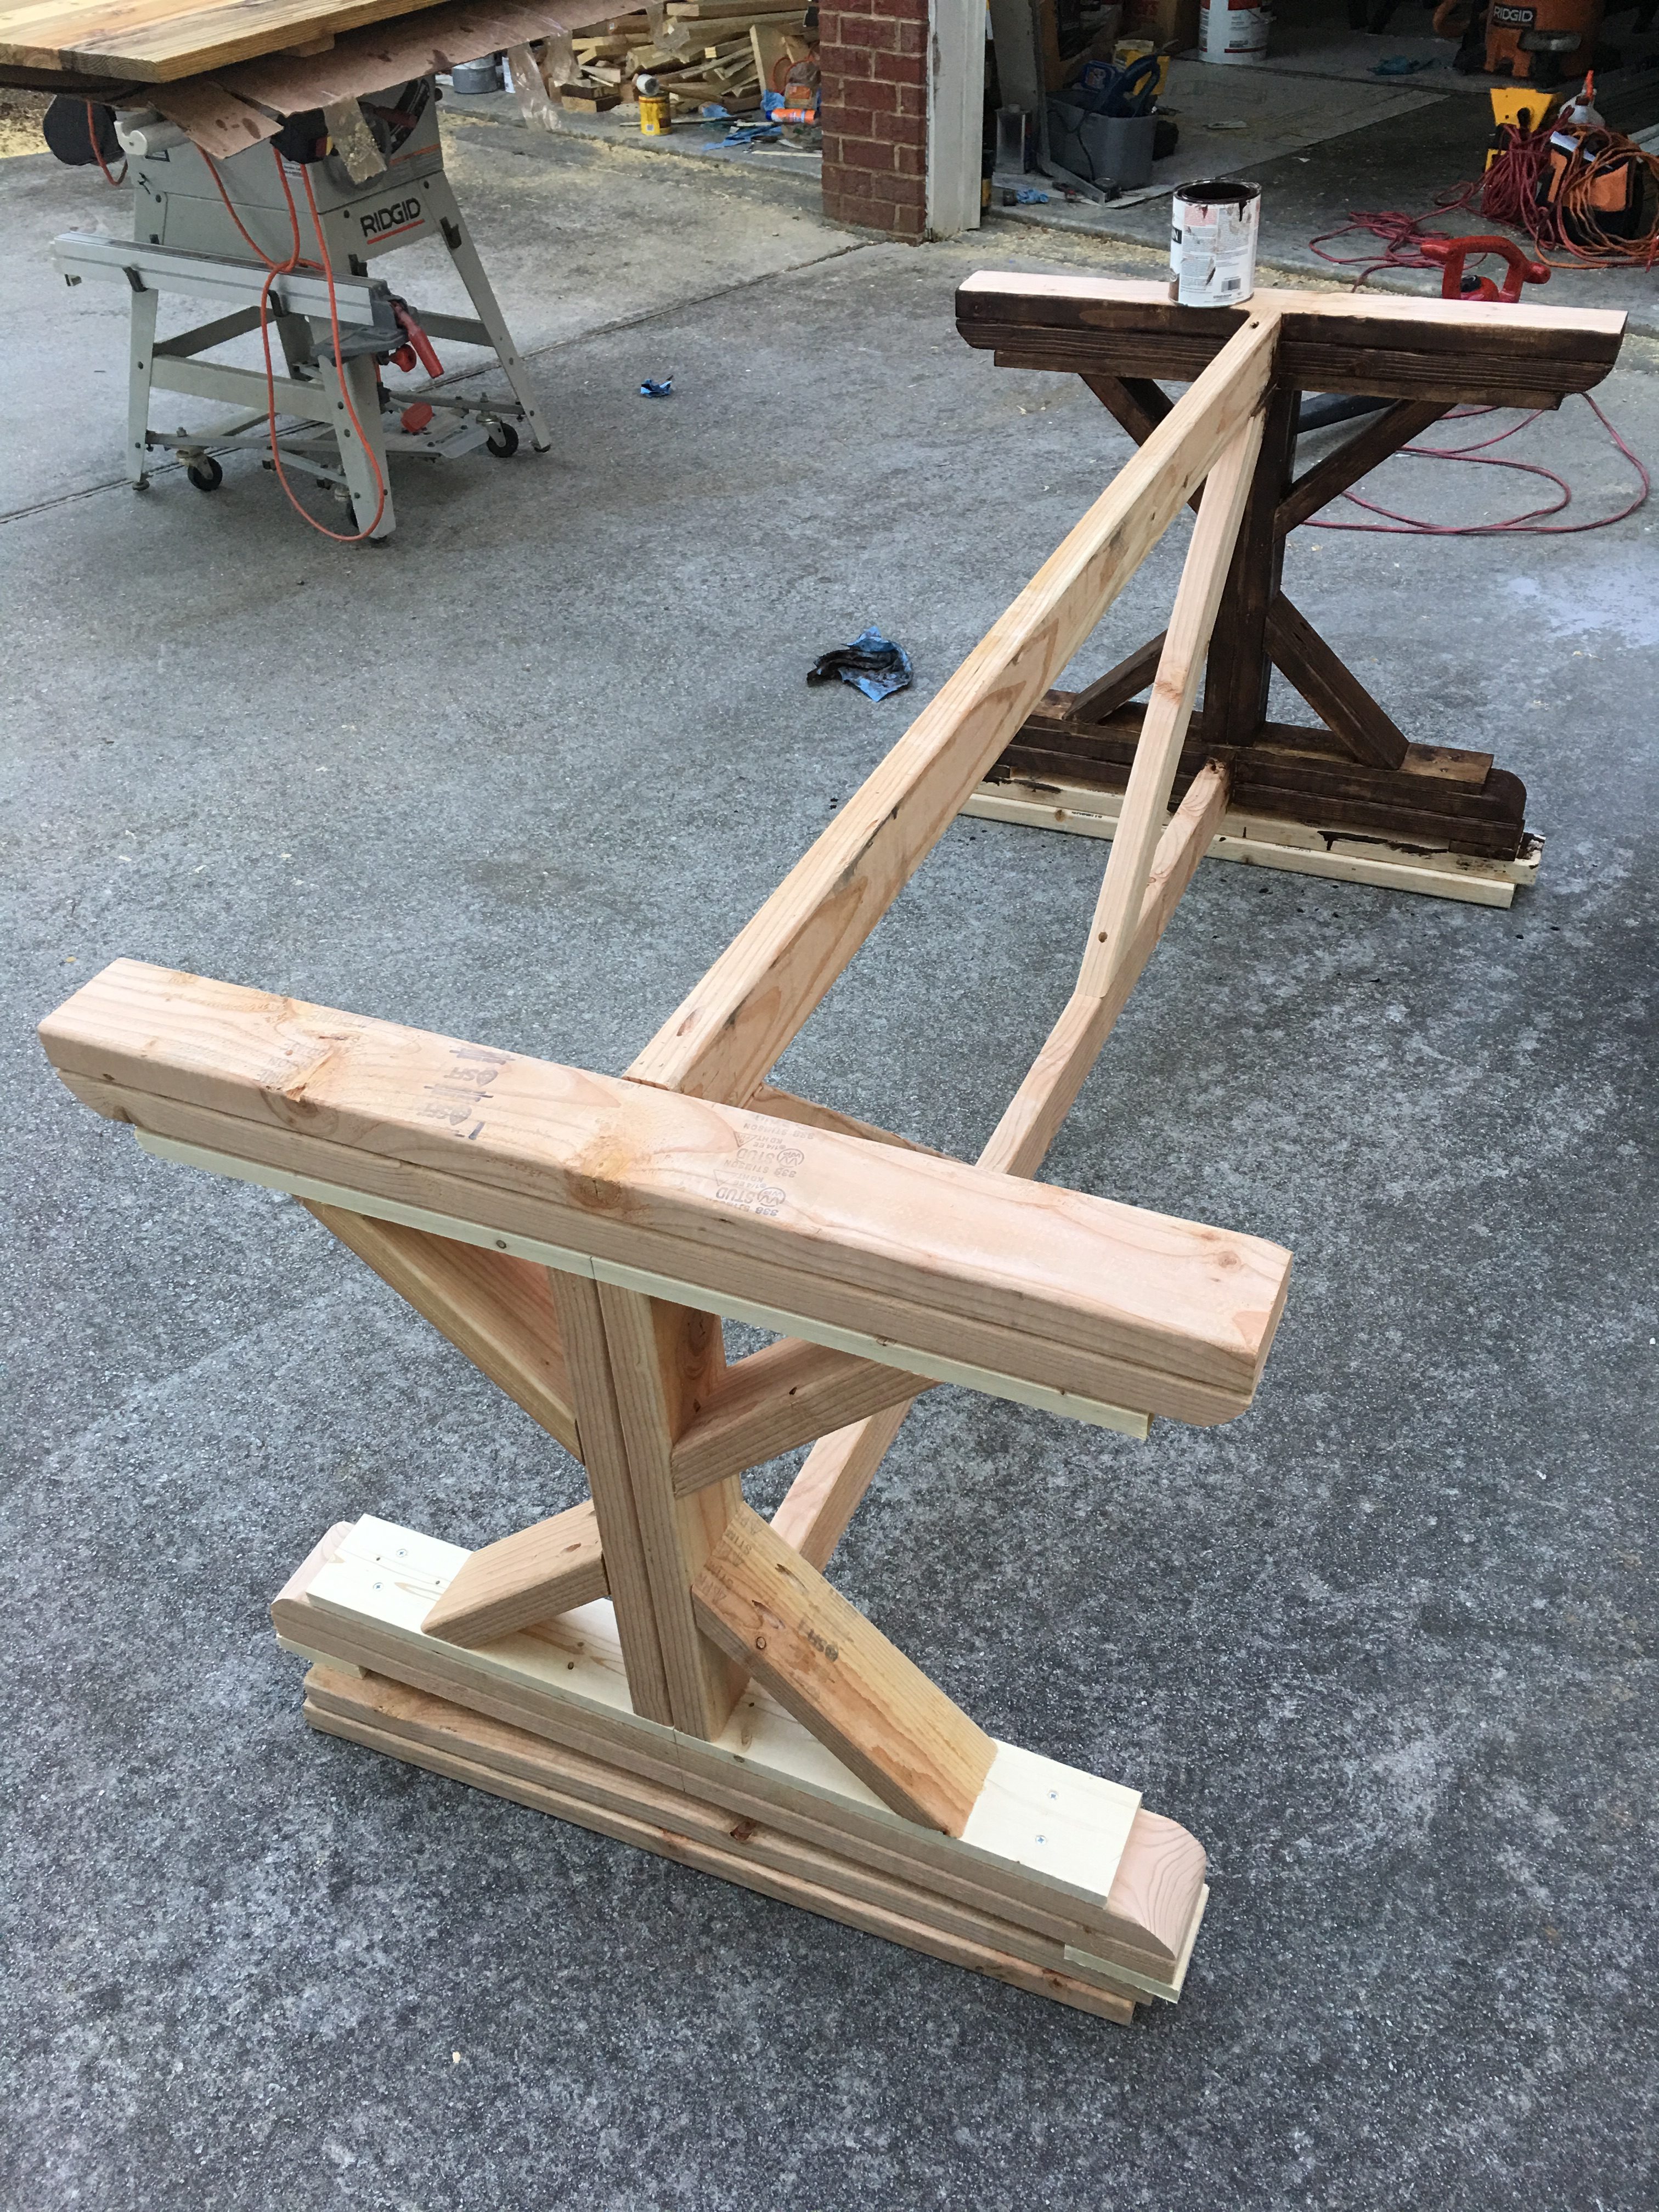
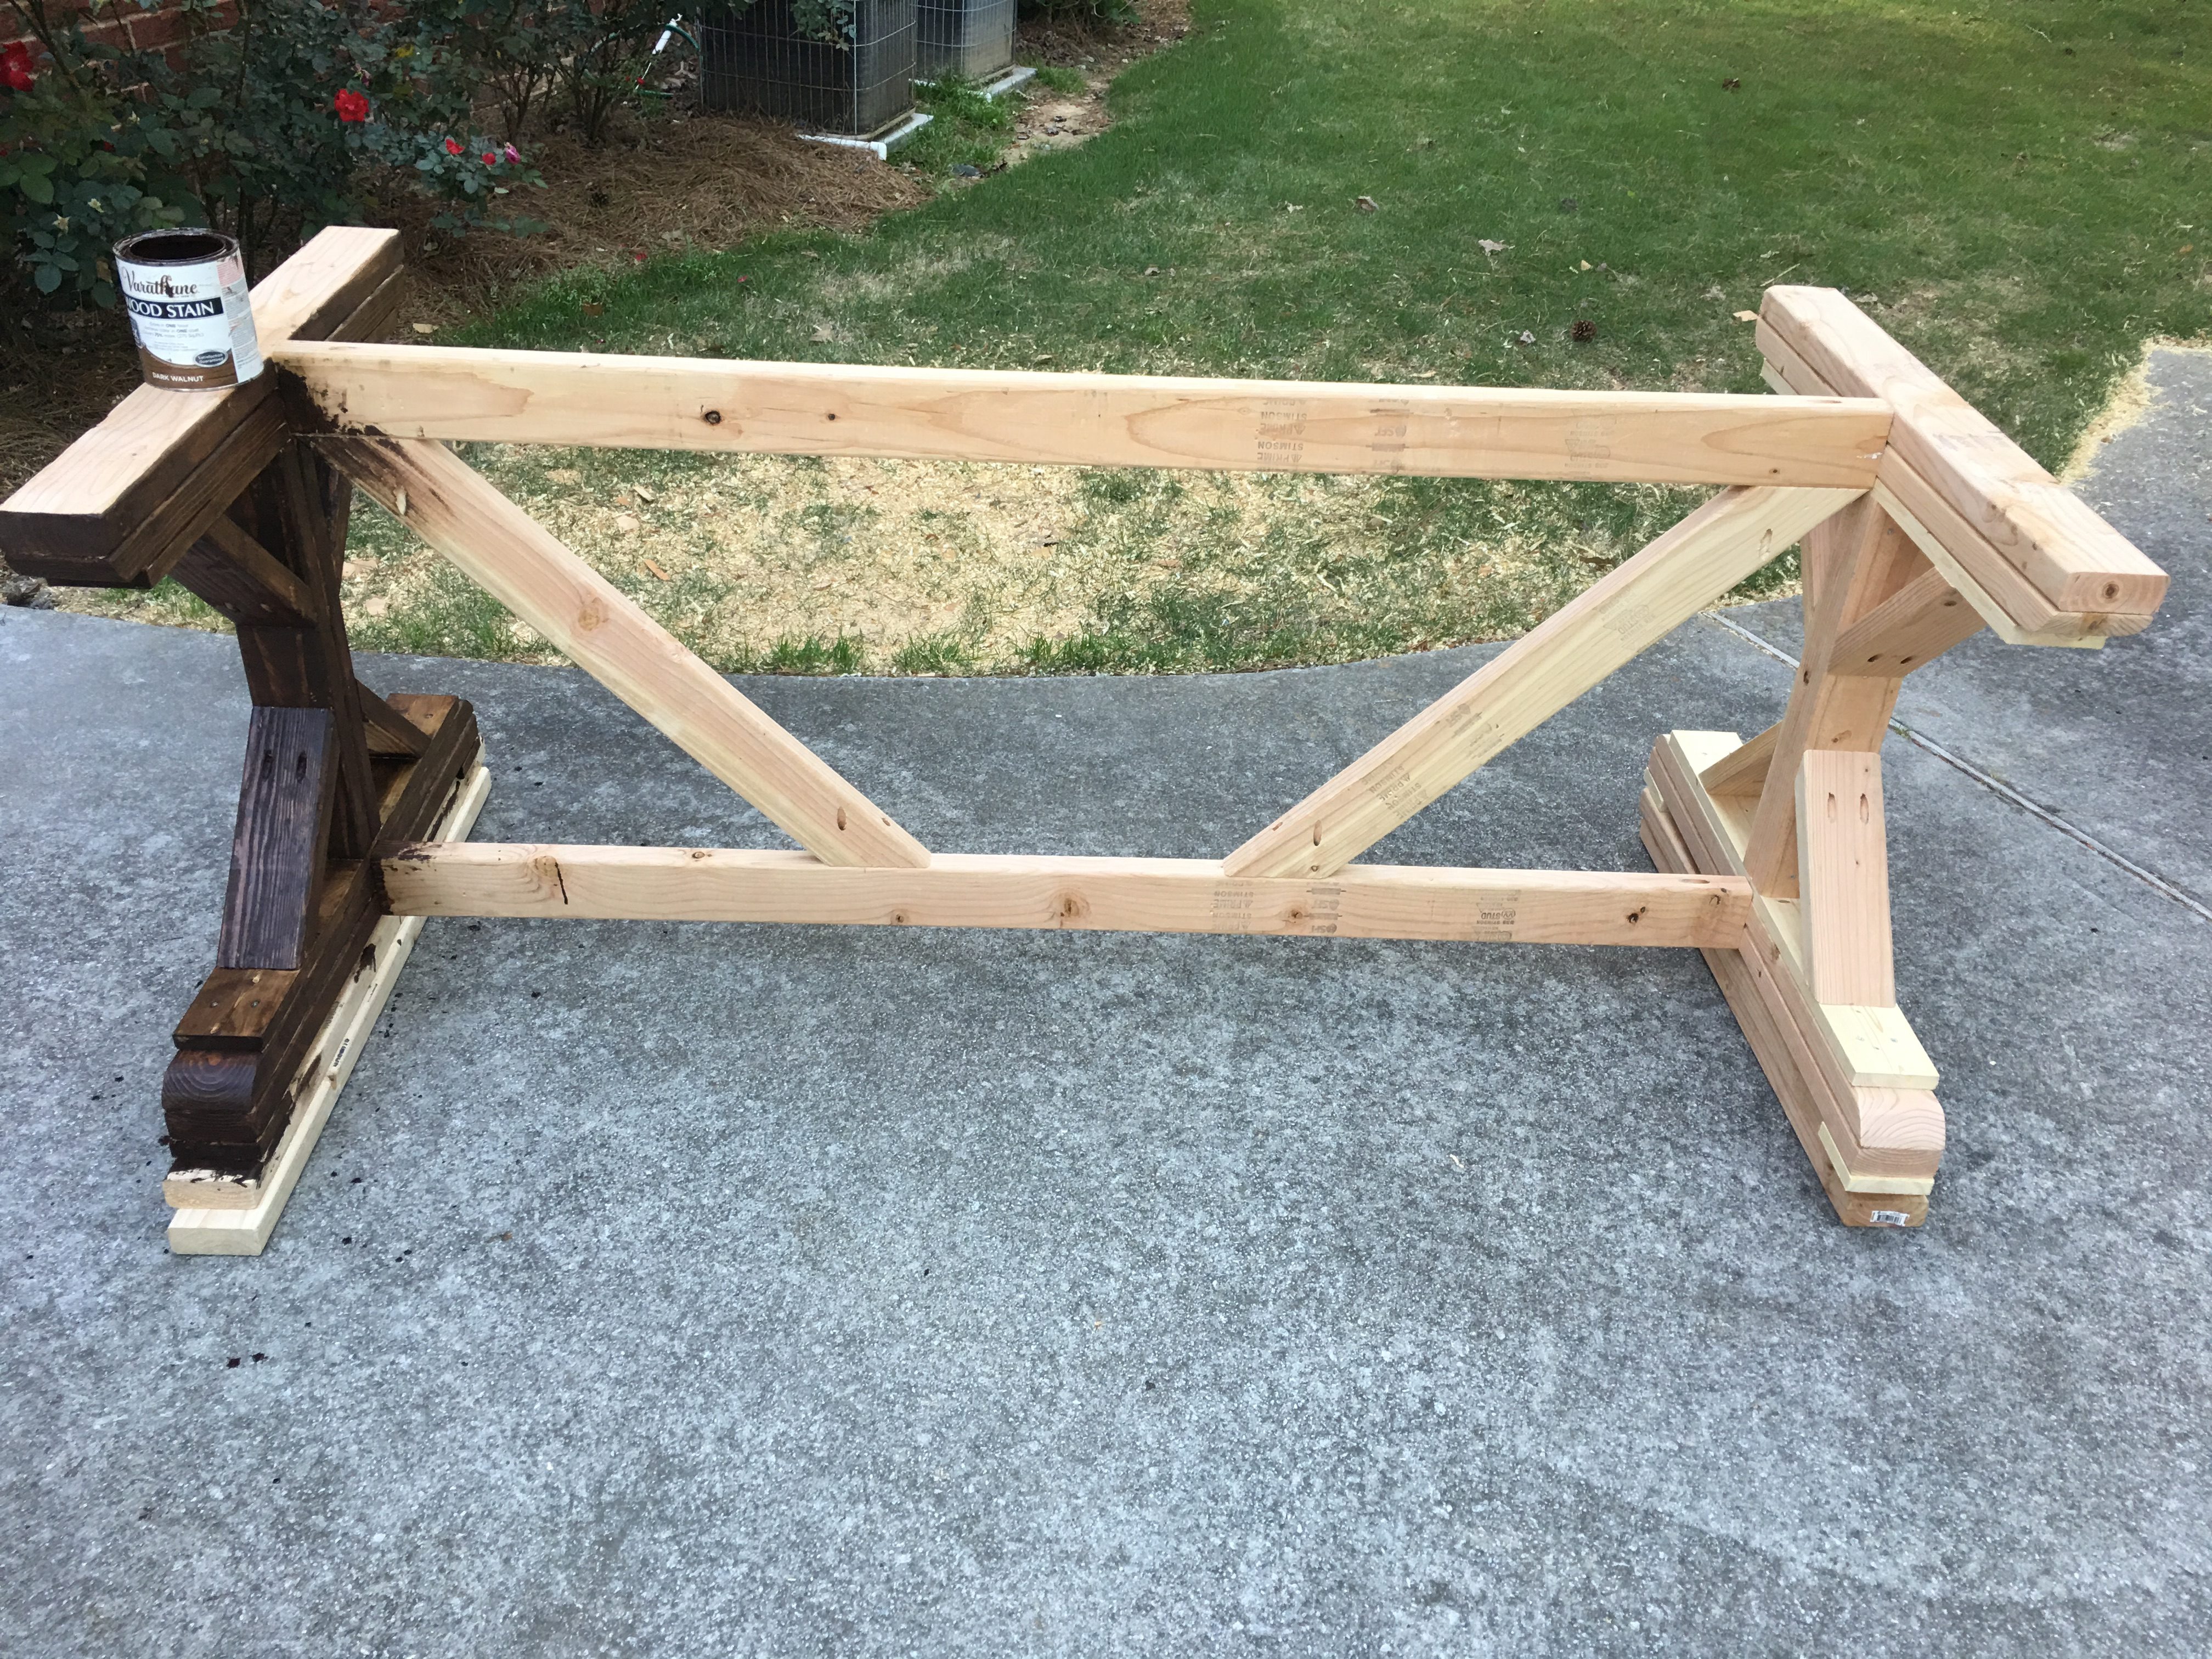
In a fervent search for DIY furniture, we stumbled upon Ana White’s Fancy X Farmhouse Table making plan and LOVED it. We’ve built modified versions of it twice now. The legs and apron are identical. This tabletop is custom length and width made from leftover ceiling joists from our kitchen renovation. Each top board is planed, jointed and seamlessly joined using a biscuit joiner and a preschool worth of [wood] glue. Sanded for hours for a crease-free vibe – when little man eats, food ends up in every inanimate (and sometimes human) crevice within a 5 foot radius.
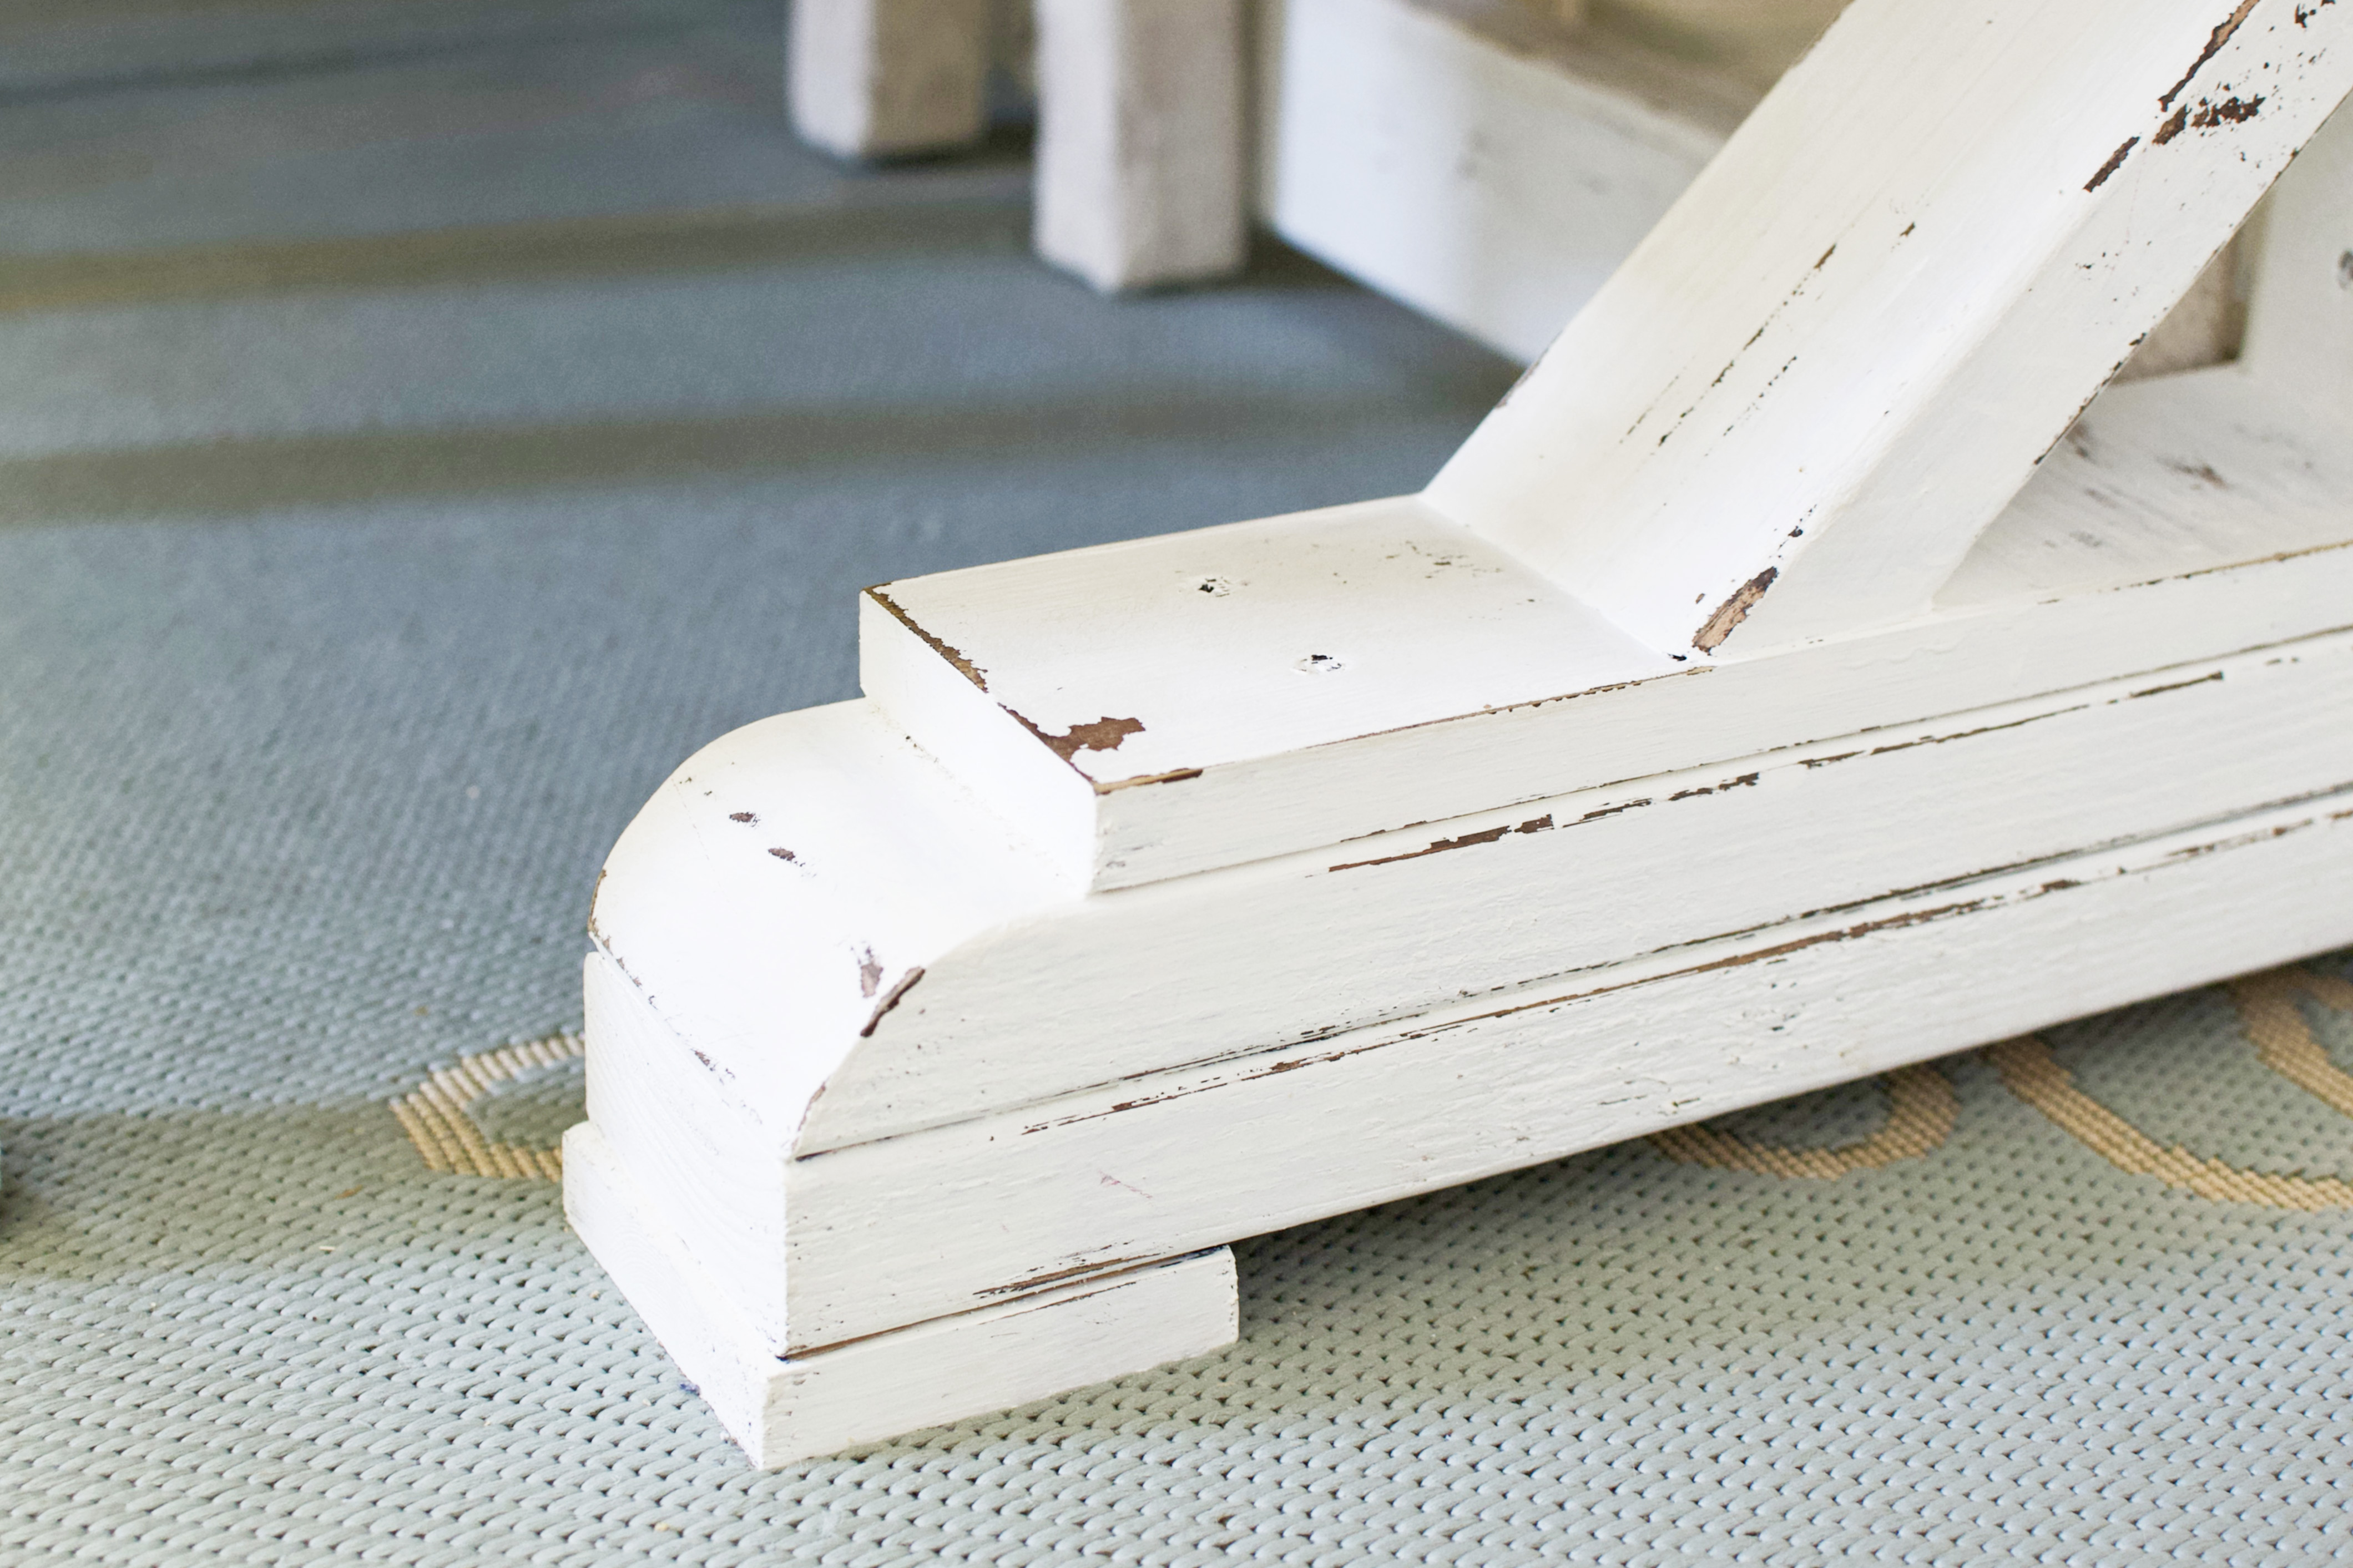
The Finish.
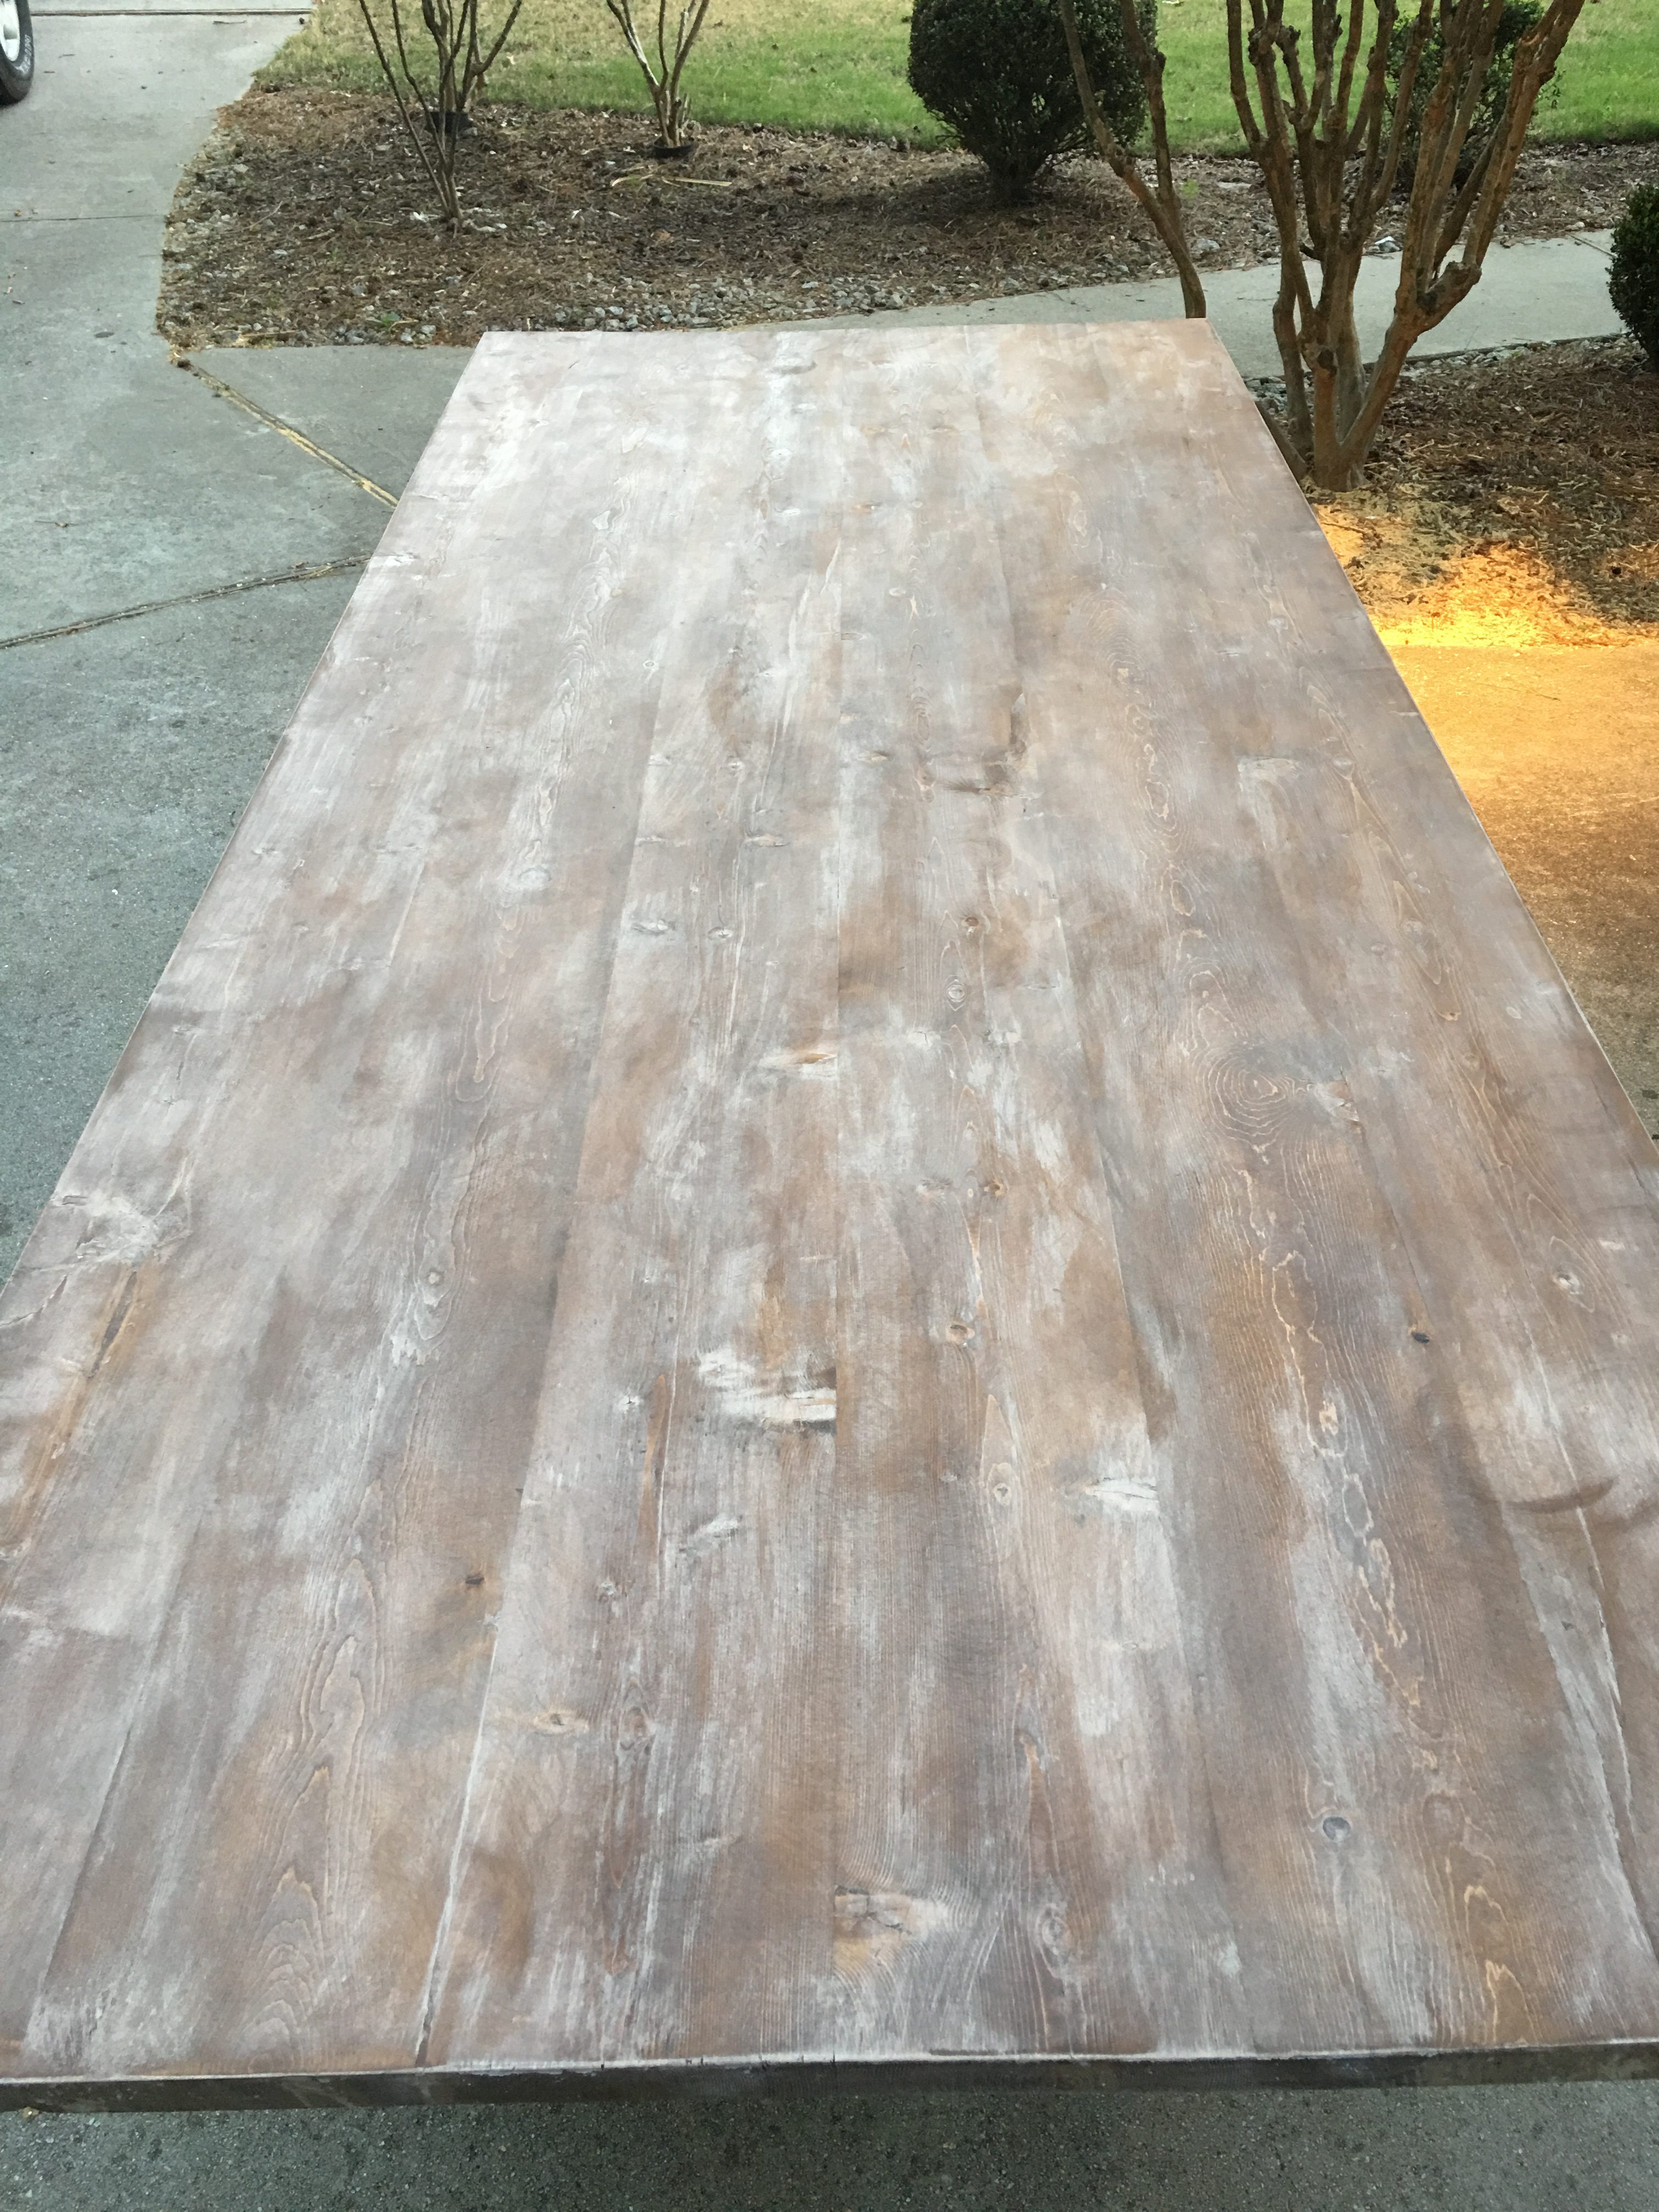
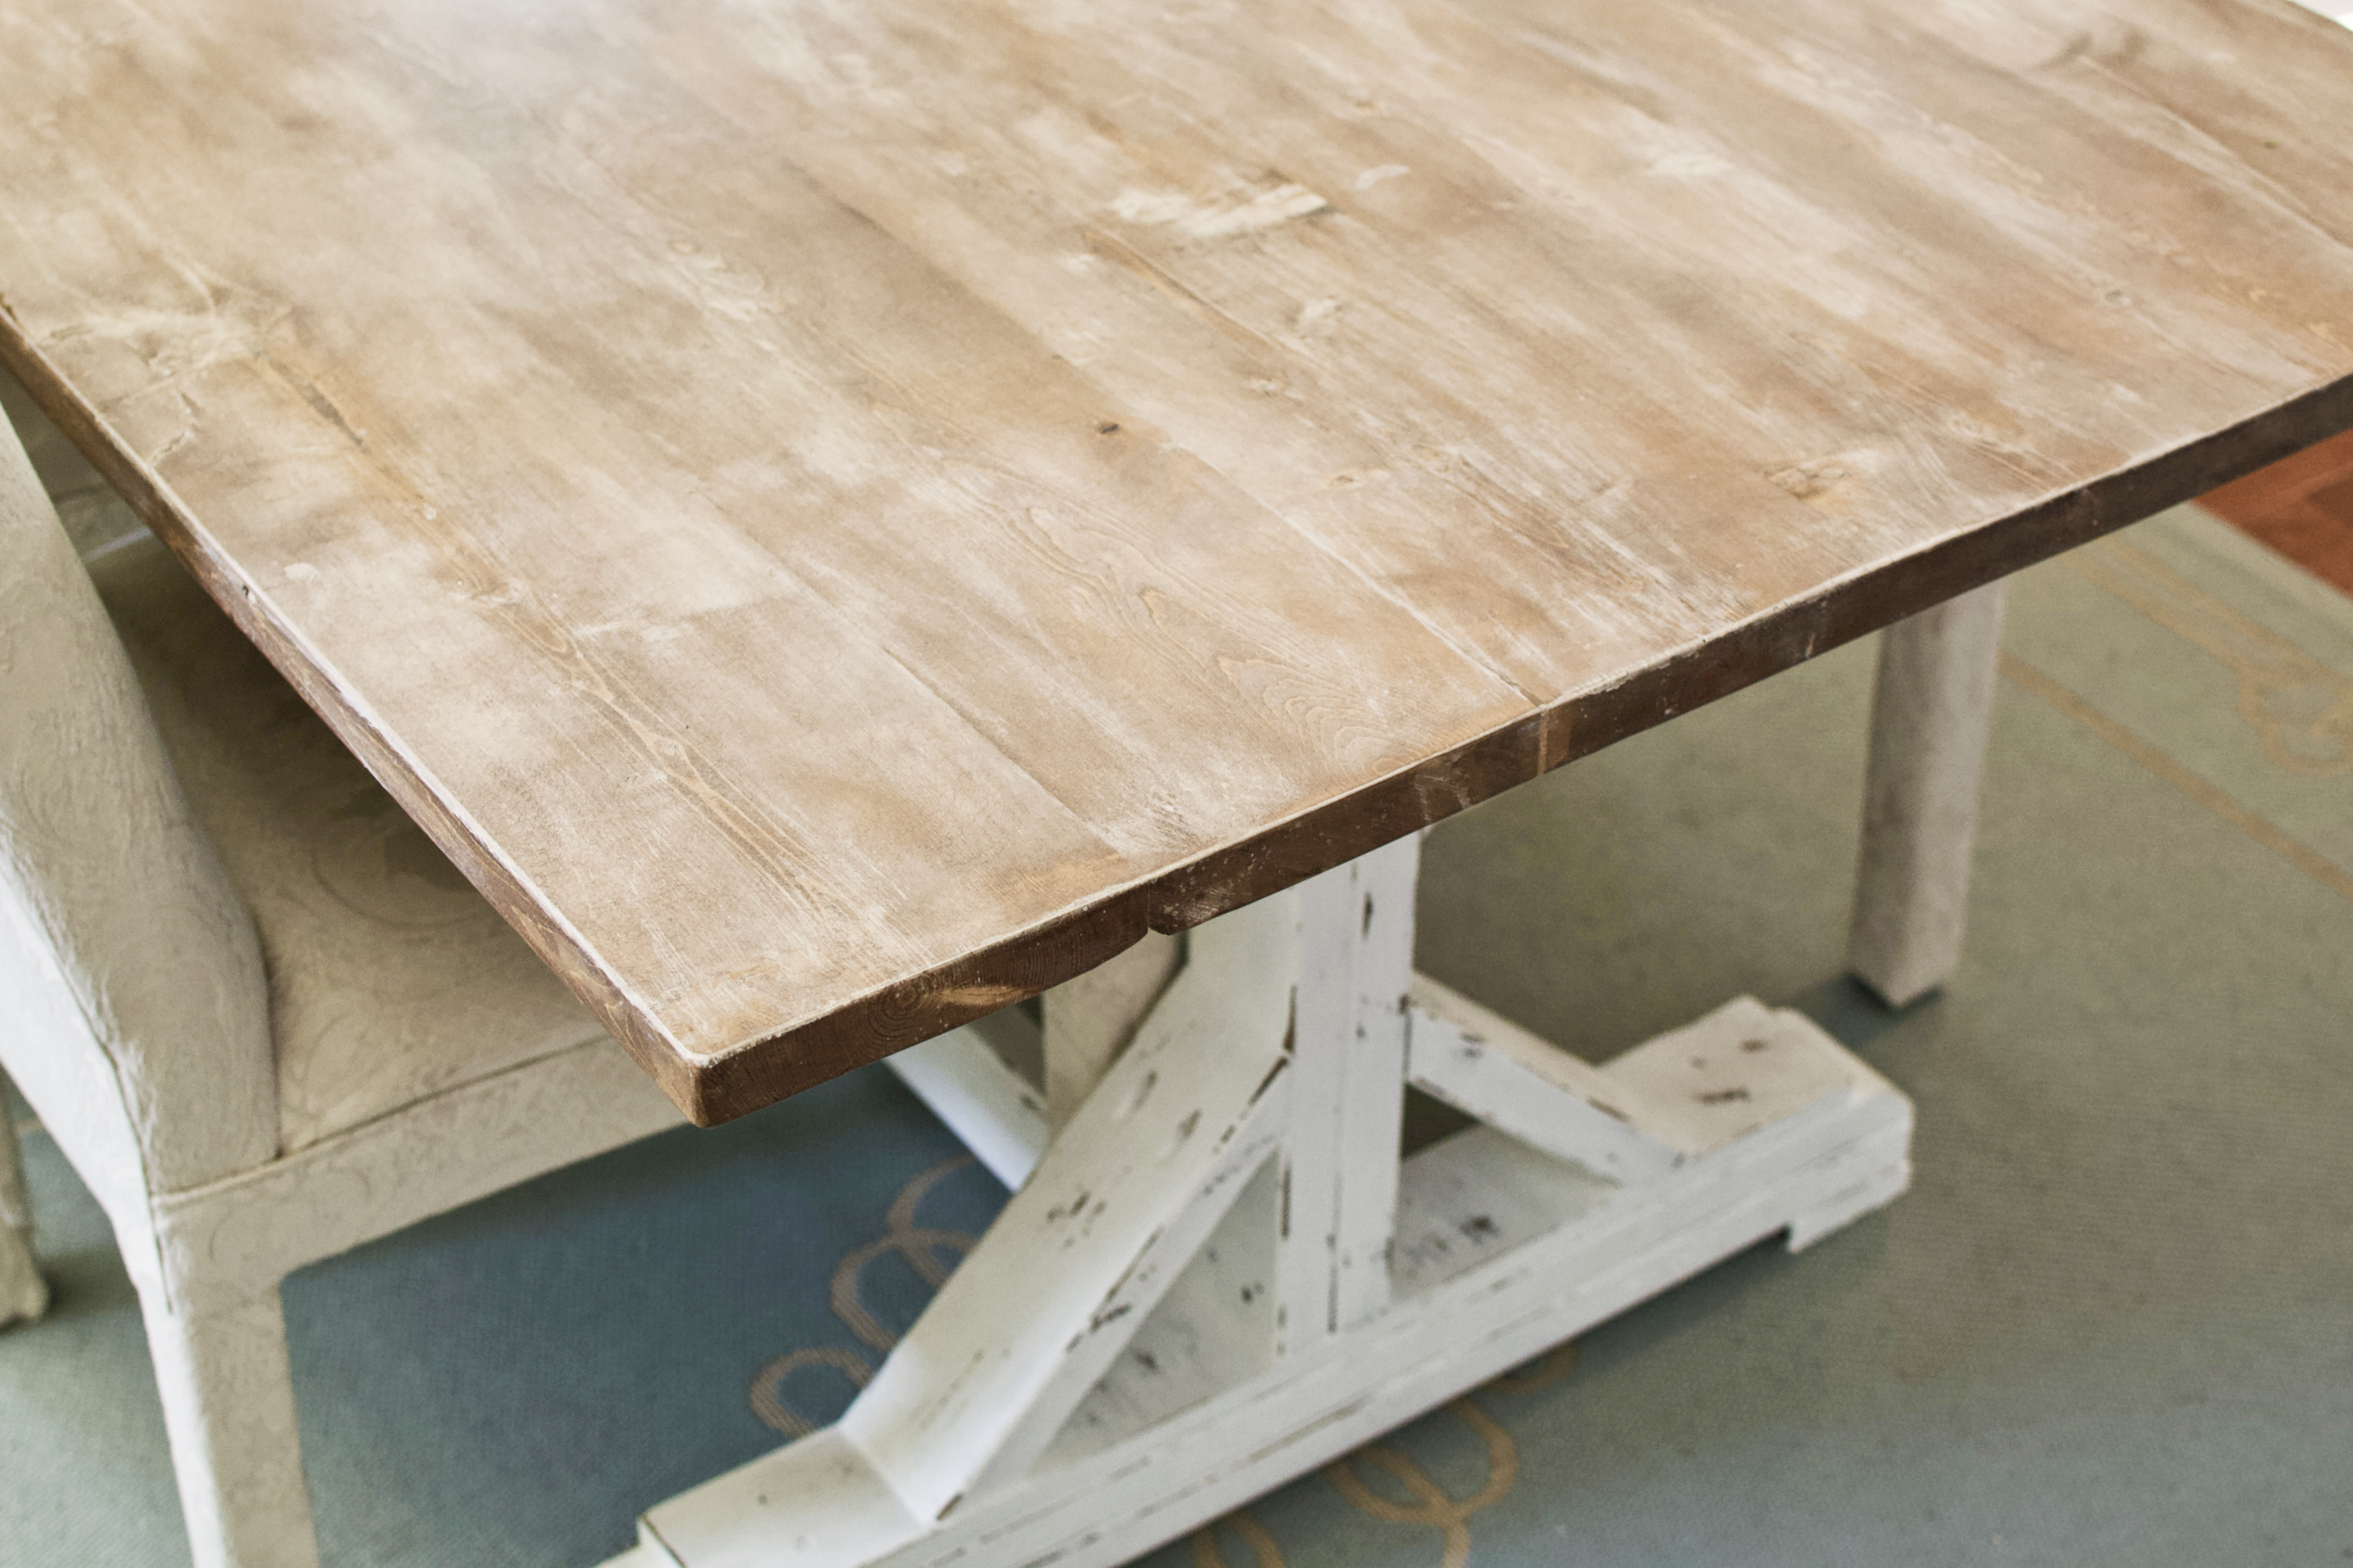
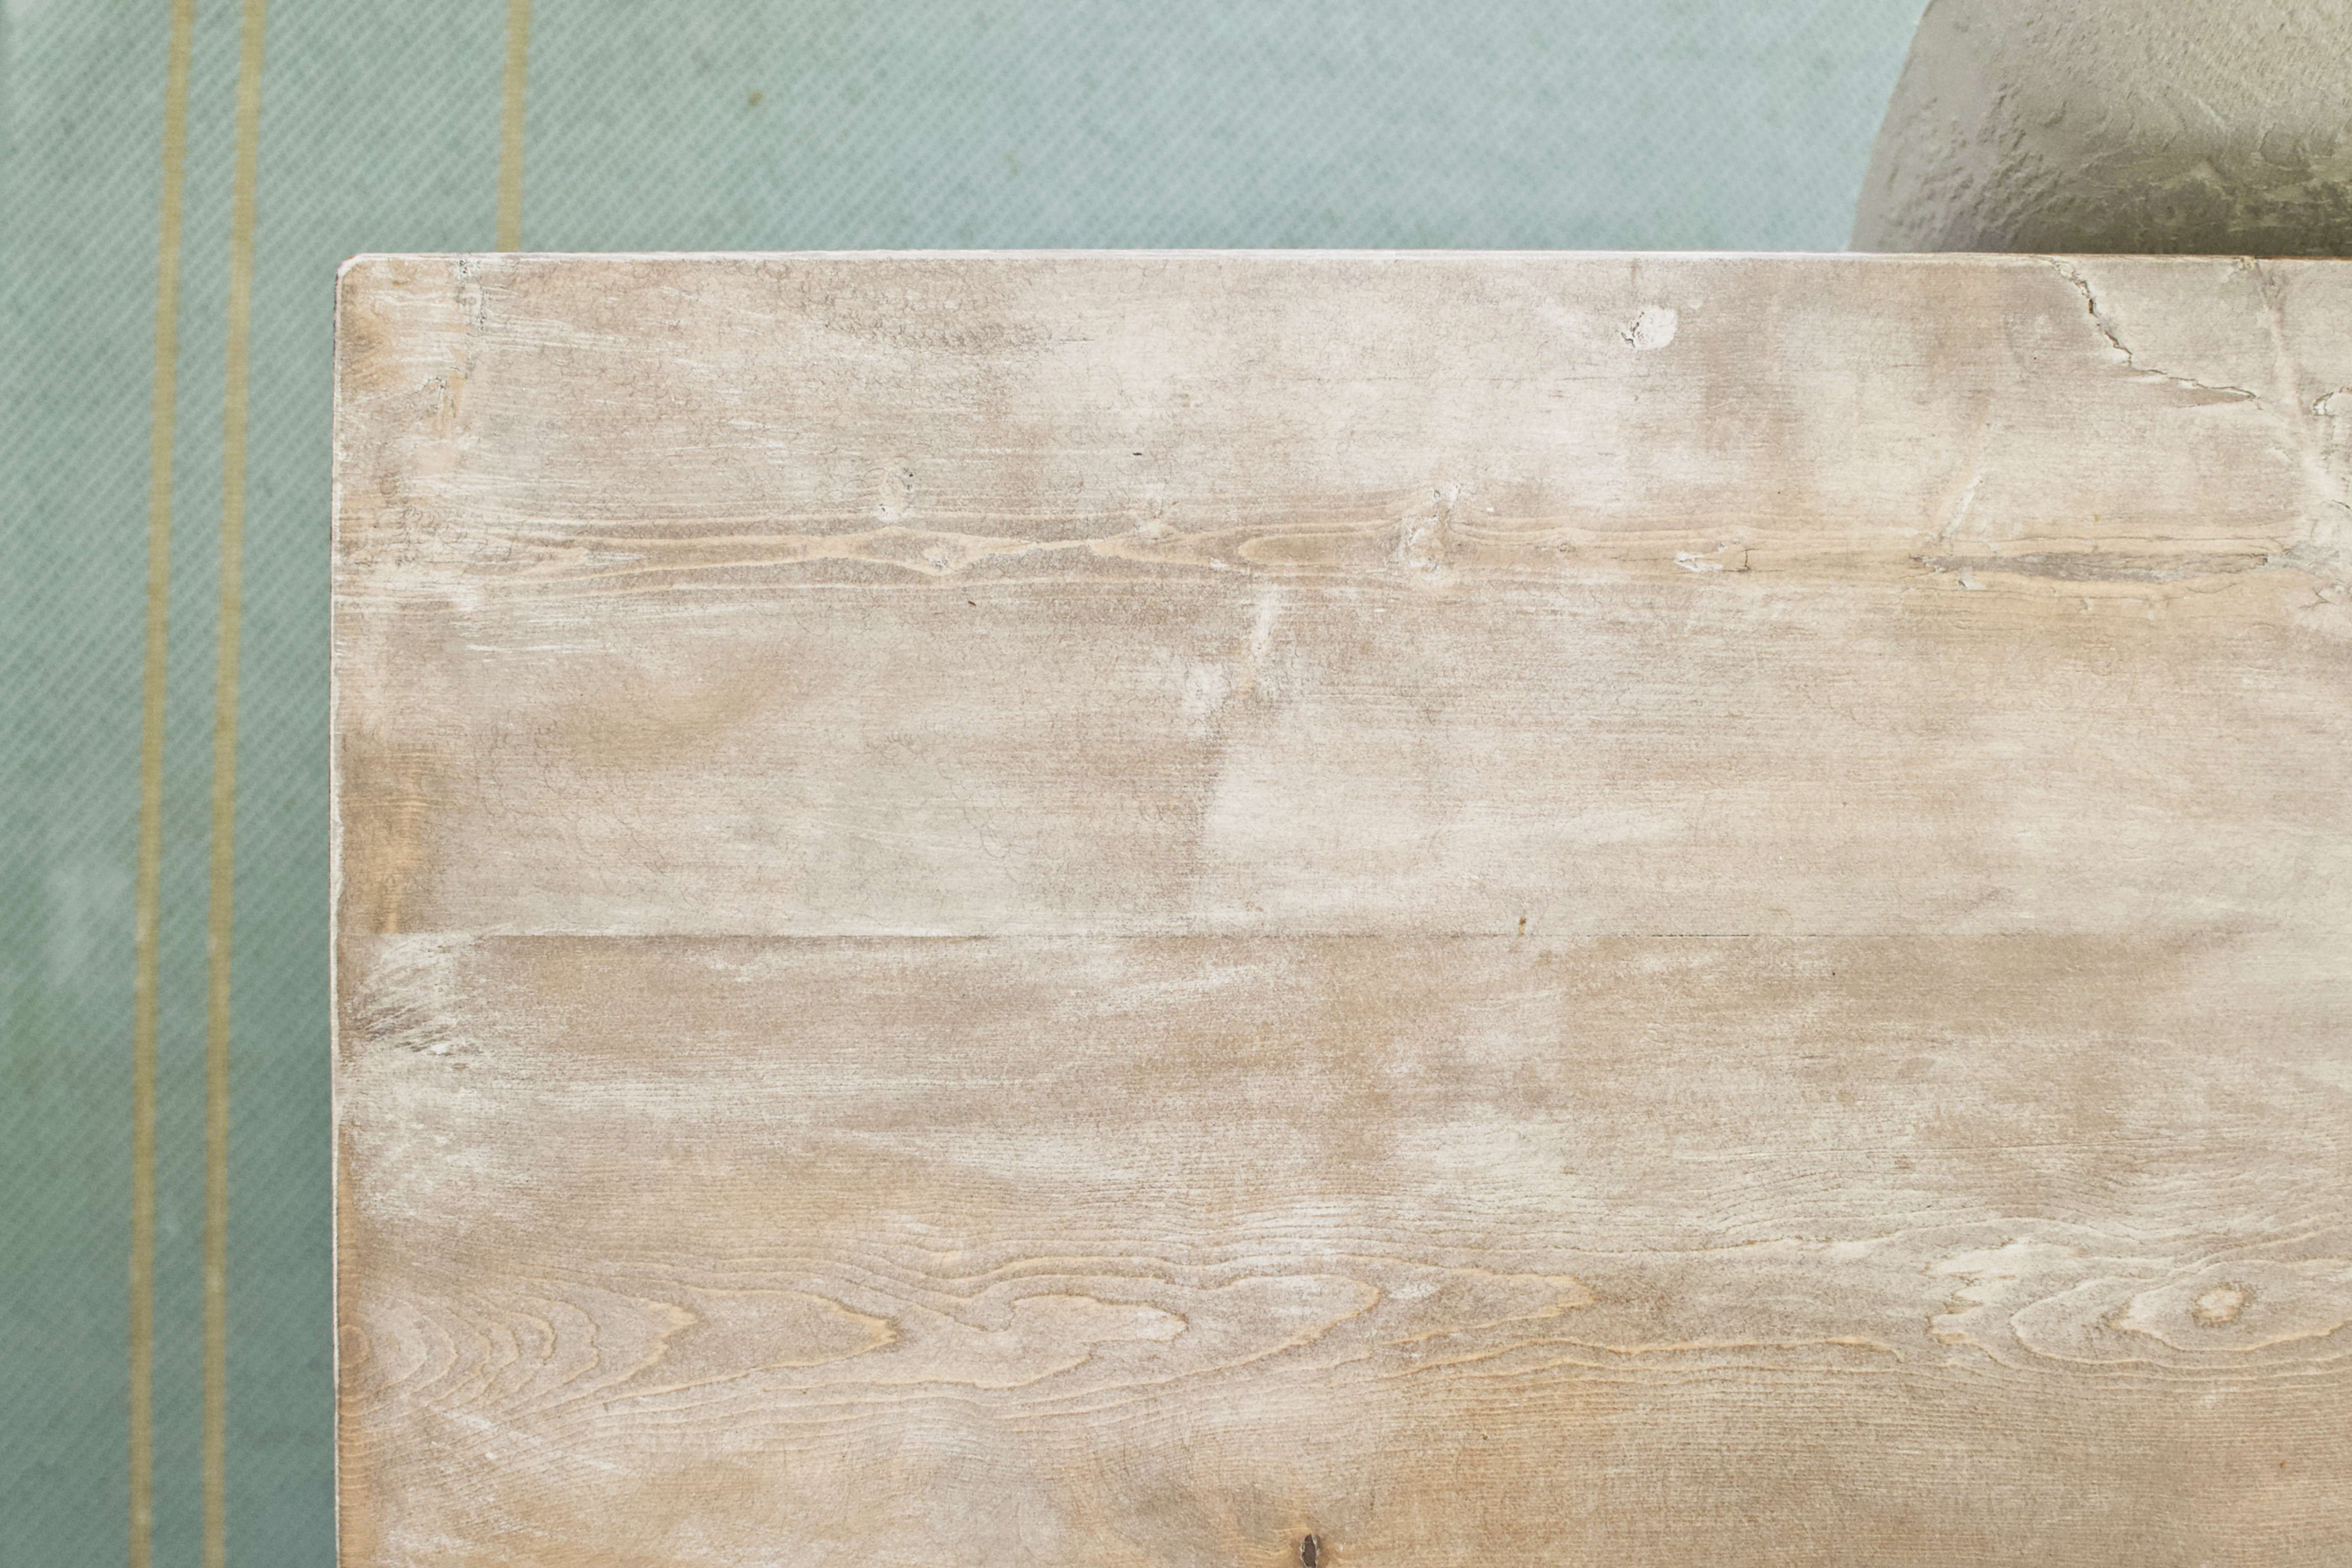
The finished aesthetic was predominantly experimental, but ended up EXACTLY what we stoked for (doesn’t always happen). Heavy stain on the legs and apron followed by 2 coats of white paint, sanded and scuffed. On the top: 1 coat of pre-stain wood conditioner, 2 coats of stain, 1 dry brushed application, sanded, whitewashed, sanded, faux glazed, donzo. The creamy-dreamy brown contrasts the rustic white bottom. The stain doesn’t appear to be inked wood or splotchy & blotchy. Mixing various pigment mediums with sanding is the jam, folks. Giving it a try? Here’s how:
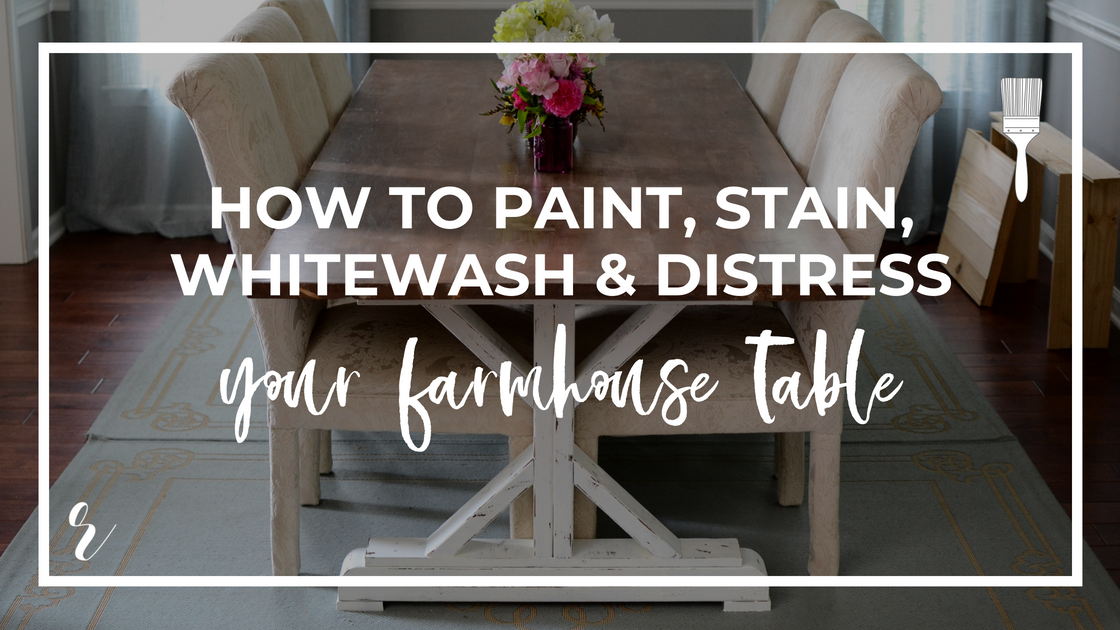
How to paint, stain, whitewash & distress your table.
Materials.
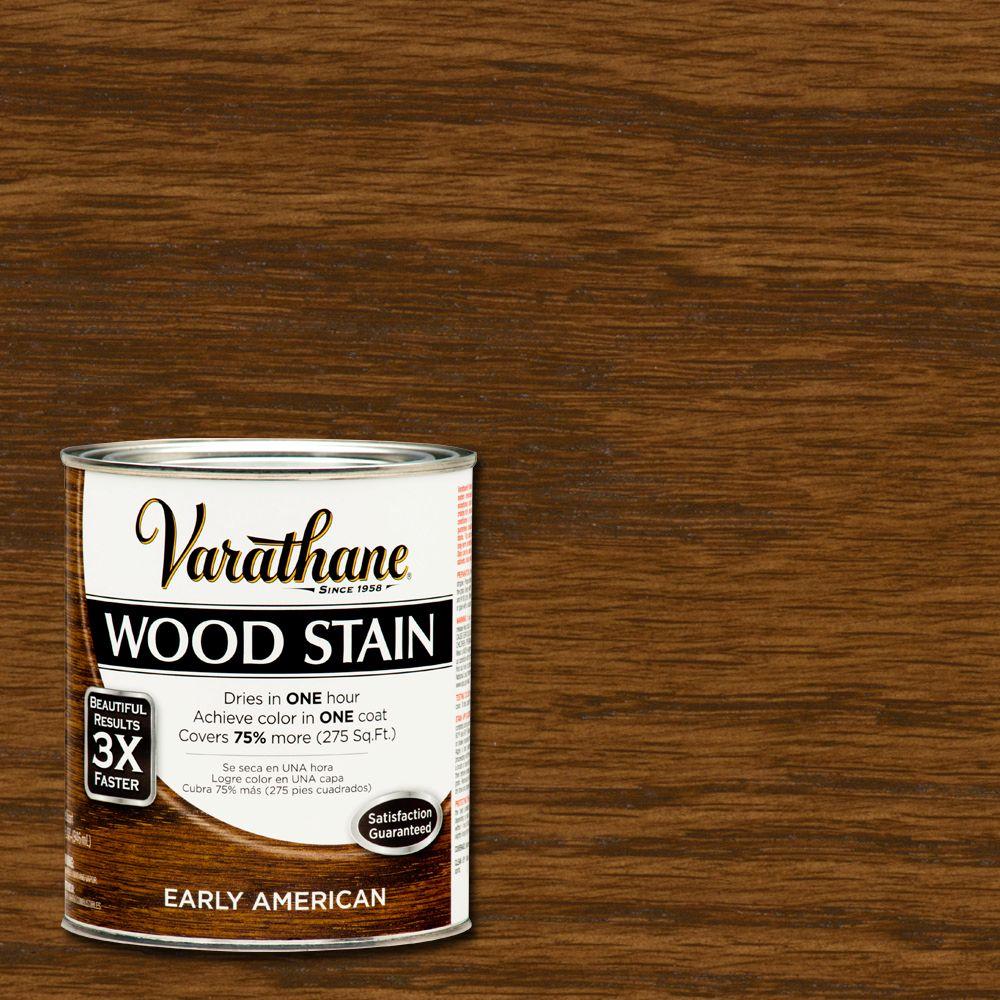
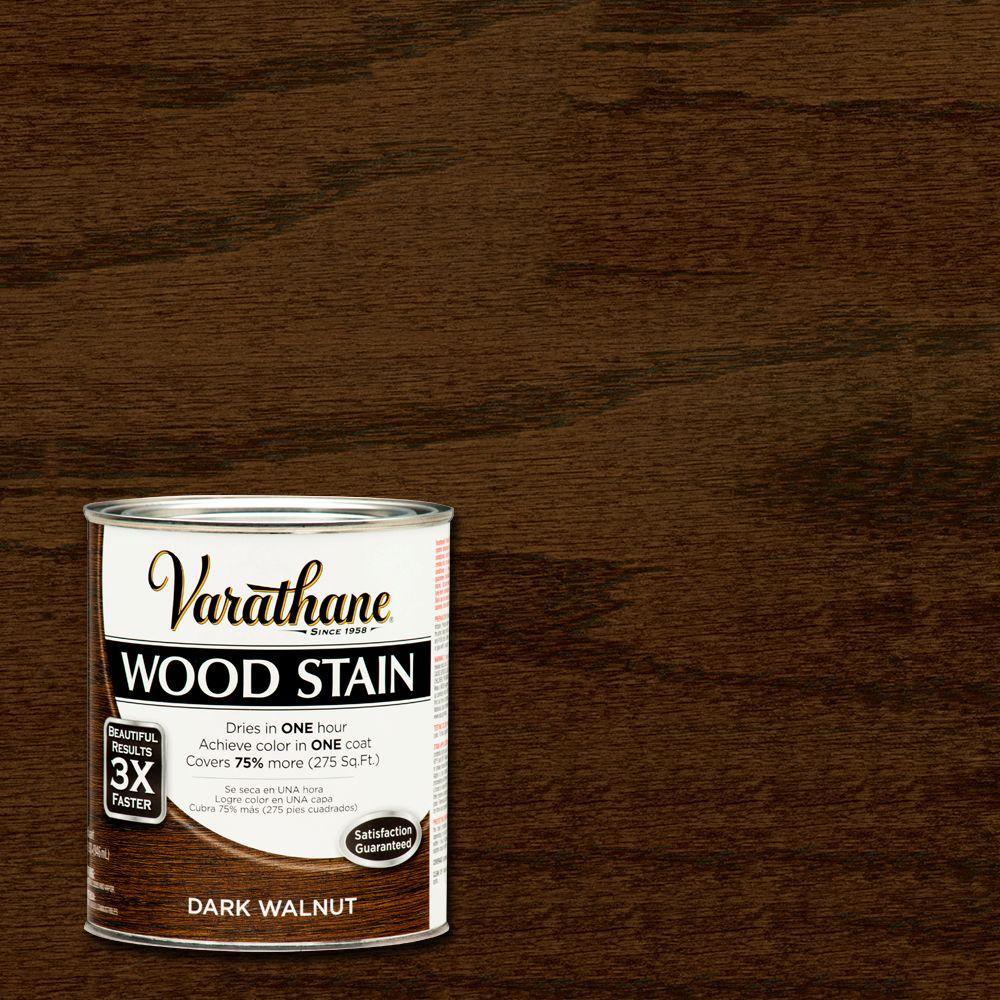
- 1 quart Varathane Early American wood stain. Link is a 2-pack for $15.54. Budget $8.84 for 1 can. Any red-free brown will do. We chose Early American for future applications. Ideal for the top. Consider using dark walnut stain on the legs and apron for higher contrast as you sand off the white paint.
- 1 quart flat white paint. Our fave is Heirloom White, color matched. Budget ~$10.86.
- Mineral spirits, a form of paint thinner. Or any thinner you have lying around. To dilute your final application of oil-based stain as a faux glaze. Choose a darker stain and dilute heavily.
- Oil or water based poly, whichever you have at home. Oil based: allot $13.97 for a quart or $33.98 for a gallon. Water based: allot $15.97 for a quart or $47.98 for a gallon. Explanation in Step 13. Excluded from the budget since table making is not likely your first rodeo.
- Blue shop towels for staining (or) old rags. Roll for $6.57. We always keep these on hand. Low lint for low residue. (Cheaper at Depot).
- Nitrile gloves to avoid the everlasting stain residues on your hands. $16.88 for a 150-pack. Or 100 pack on Amazon for $9.99.
- Sand paper. 100 grit sand paper is $4.27 for 6 sheets. If you haven’t sanded your raw wood, inventory your orbital sand paper – 60 grit for heavy removal, 150 grit to even it out, and 220 grit for a smooth feel just before finishing with stain / paint.
- Paintbrush. (Cheapest 3-pack of paintbrushes at Depot for $6.93). To apply paint & whitewash.
- Paint sticks for stirring.
- Old plastic containers (2X). For mixing the paint and water to make whitewash, and diluting your stain for a faux glaze.
Tools.
Budget.
- Finishing the table costs = $47.46.
- Finishing the table for DIY regulars = $8.84.
Note: DIY regulars likely already have white paint, mineral spirits (paint thinner), shop towels, nitrile gloves, sand paper and paint brushes.
Step 1. Hardware store.
- Inventory your garage, shed or workshop in case you have any above items on the “DIY regulars” list.
- Stain. Varathane Early American offers a mid-tone brown, whereas Dark Walnut is darker toned (as it sounds). Request that your store associate visually compare stains on paint stirs for a side-by-side assessment.
Pro tip: always test out your choice of stain on a comparable piece of wood. E.g. if your tabletop is made of pine 2x6s, then snag a scrap piece of 2×6 and stain it before finishing your furniture. Don’t forget to use pre-stain if it’s a softwood! Pre-stain wood conditioner reduces the blotchy, splotchy, staining inconsistencies that result from staining softwoods like pine.
- Paint. The Rez go-to for an off white is Heirloom White by Rustoleum. It only comes in a spray can, but your associate can color match digitally. No need to bring in a sample. This white is the quintessential antiqued light cream – no tans, no red hues, only a neutral patina. We usually purchase an entire gallon for multiple uses.
- Paint brushes. New ones aren’t necessary in this case. The top will be whitewashed with a brush and sanded off. The legs and apron will be painted with a brush and scuffed / sanded. Save your new brushes for final coat applications, e.g. moulding, edging walls, solid color pieces.
Step 2. Sanding for days (not actually).
- If your piece of furniture or table needs to be smoothed out, hit it with your orbital sander. 60 grit to remove more material, but always finish your sanding session with 100 or 150 grit, followed by 220 grit. Our Fancy X only needed a very brief 60 grit on areas where wood was chipping, fraying or splintering.
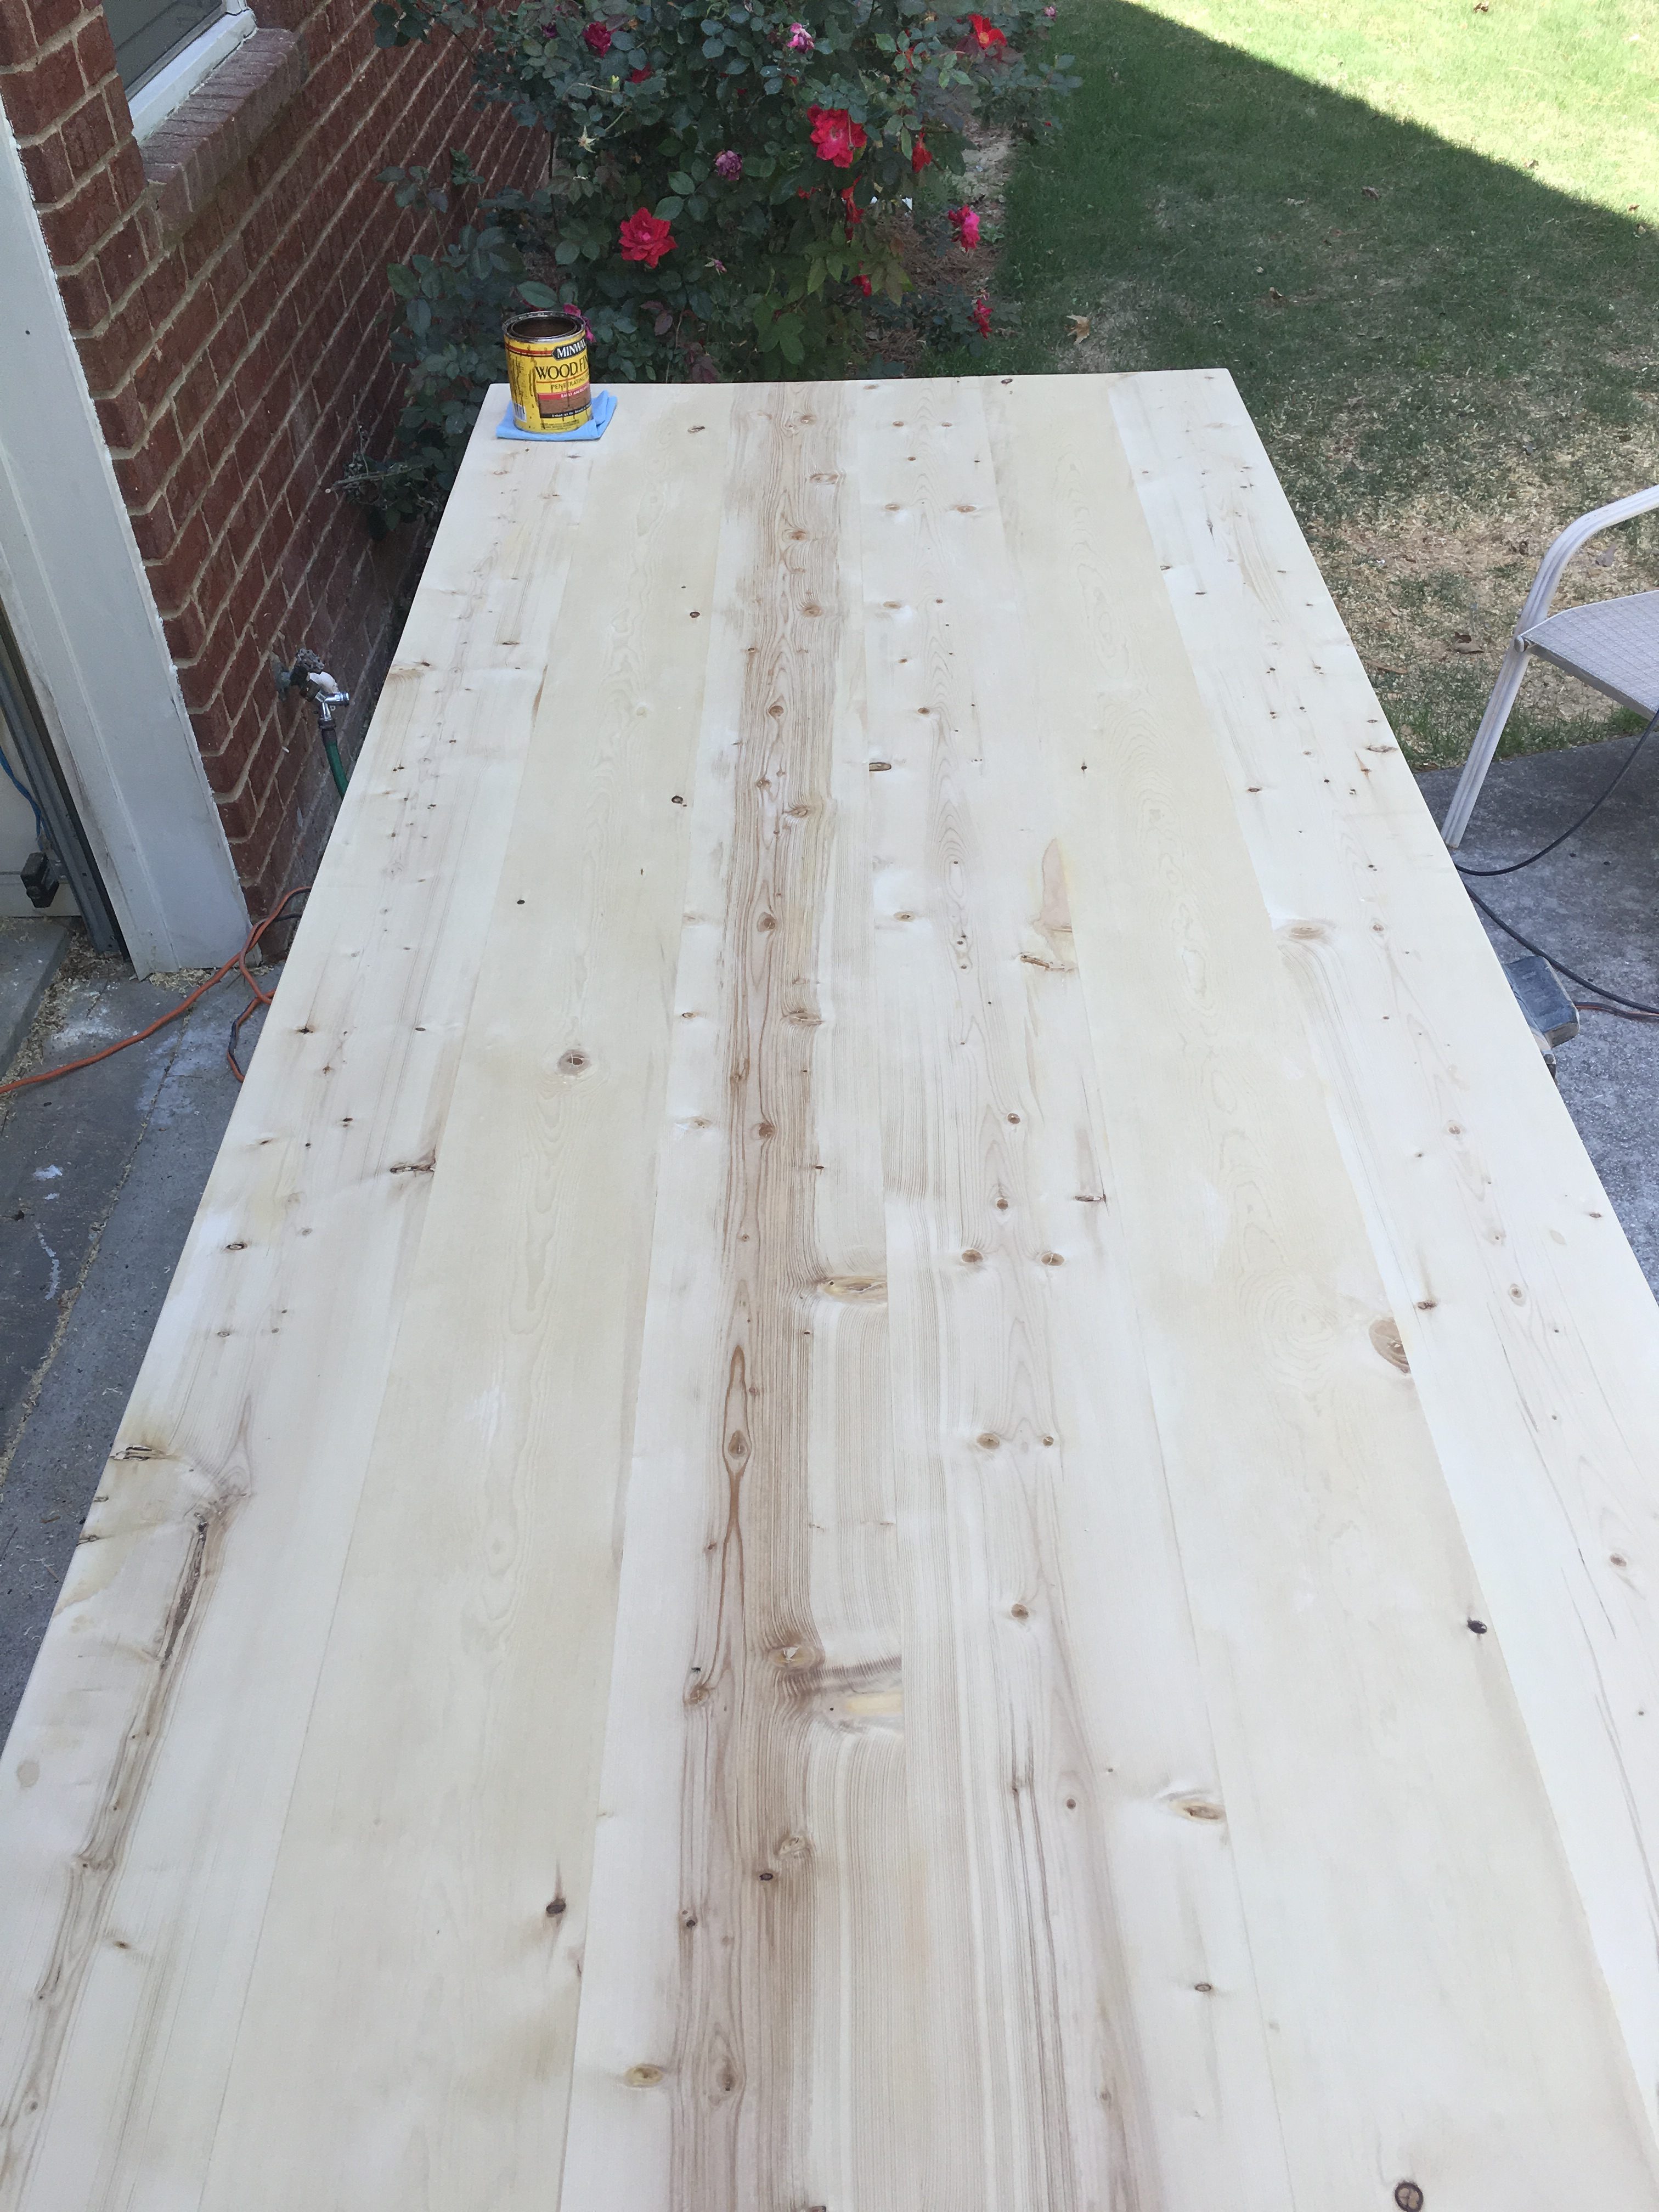
- Our tabletop used dimensional 2x6s and needed some serious flattening. 60 grit for an hour and a half, 150 grit for 15-20 minutes, and 220 grit for 10 minutes. Make sure to add a slight curve / round-over to your tabletop edges. Here’s the feel test: can you comfortably place your forearms on the top edges for 30 minutes at a time without chaffing? This simulates meal time. If not, keep sanding.
Step 3. Stain the legs / apron.
- Follow the progression, from step 3 to step 11. It allows a back and forth approach between staining/painting/etc the bottom and tabletop. The bottom will dry as you coat the top. Then the top will dry as you coat the bottom. There may be necessary wait time in between, but staggering will save time overall.
Time saver: separate your top and bottom during this finishing process for better leverage, body positioning and saved time. Throw your tabletop on 2 saw horses, table saw or workbench, and legs / apron on floor spacers or more saw horses to prevent bending over.
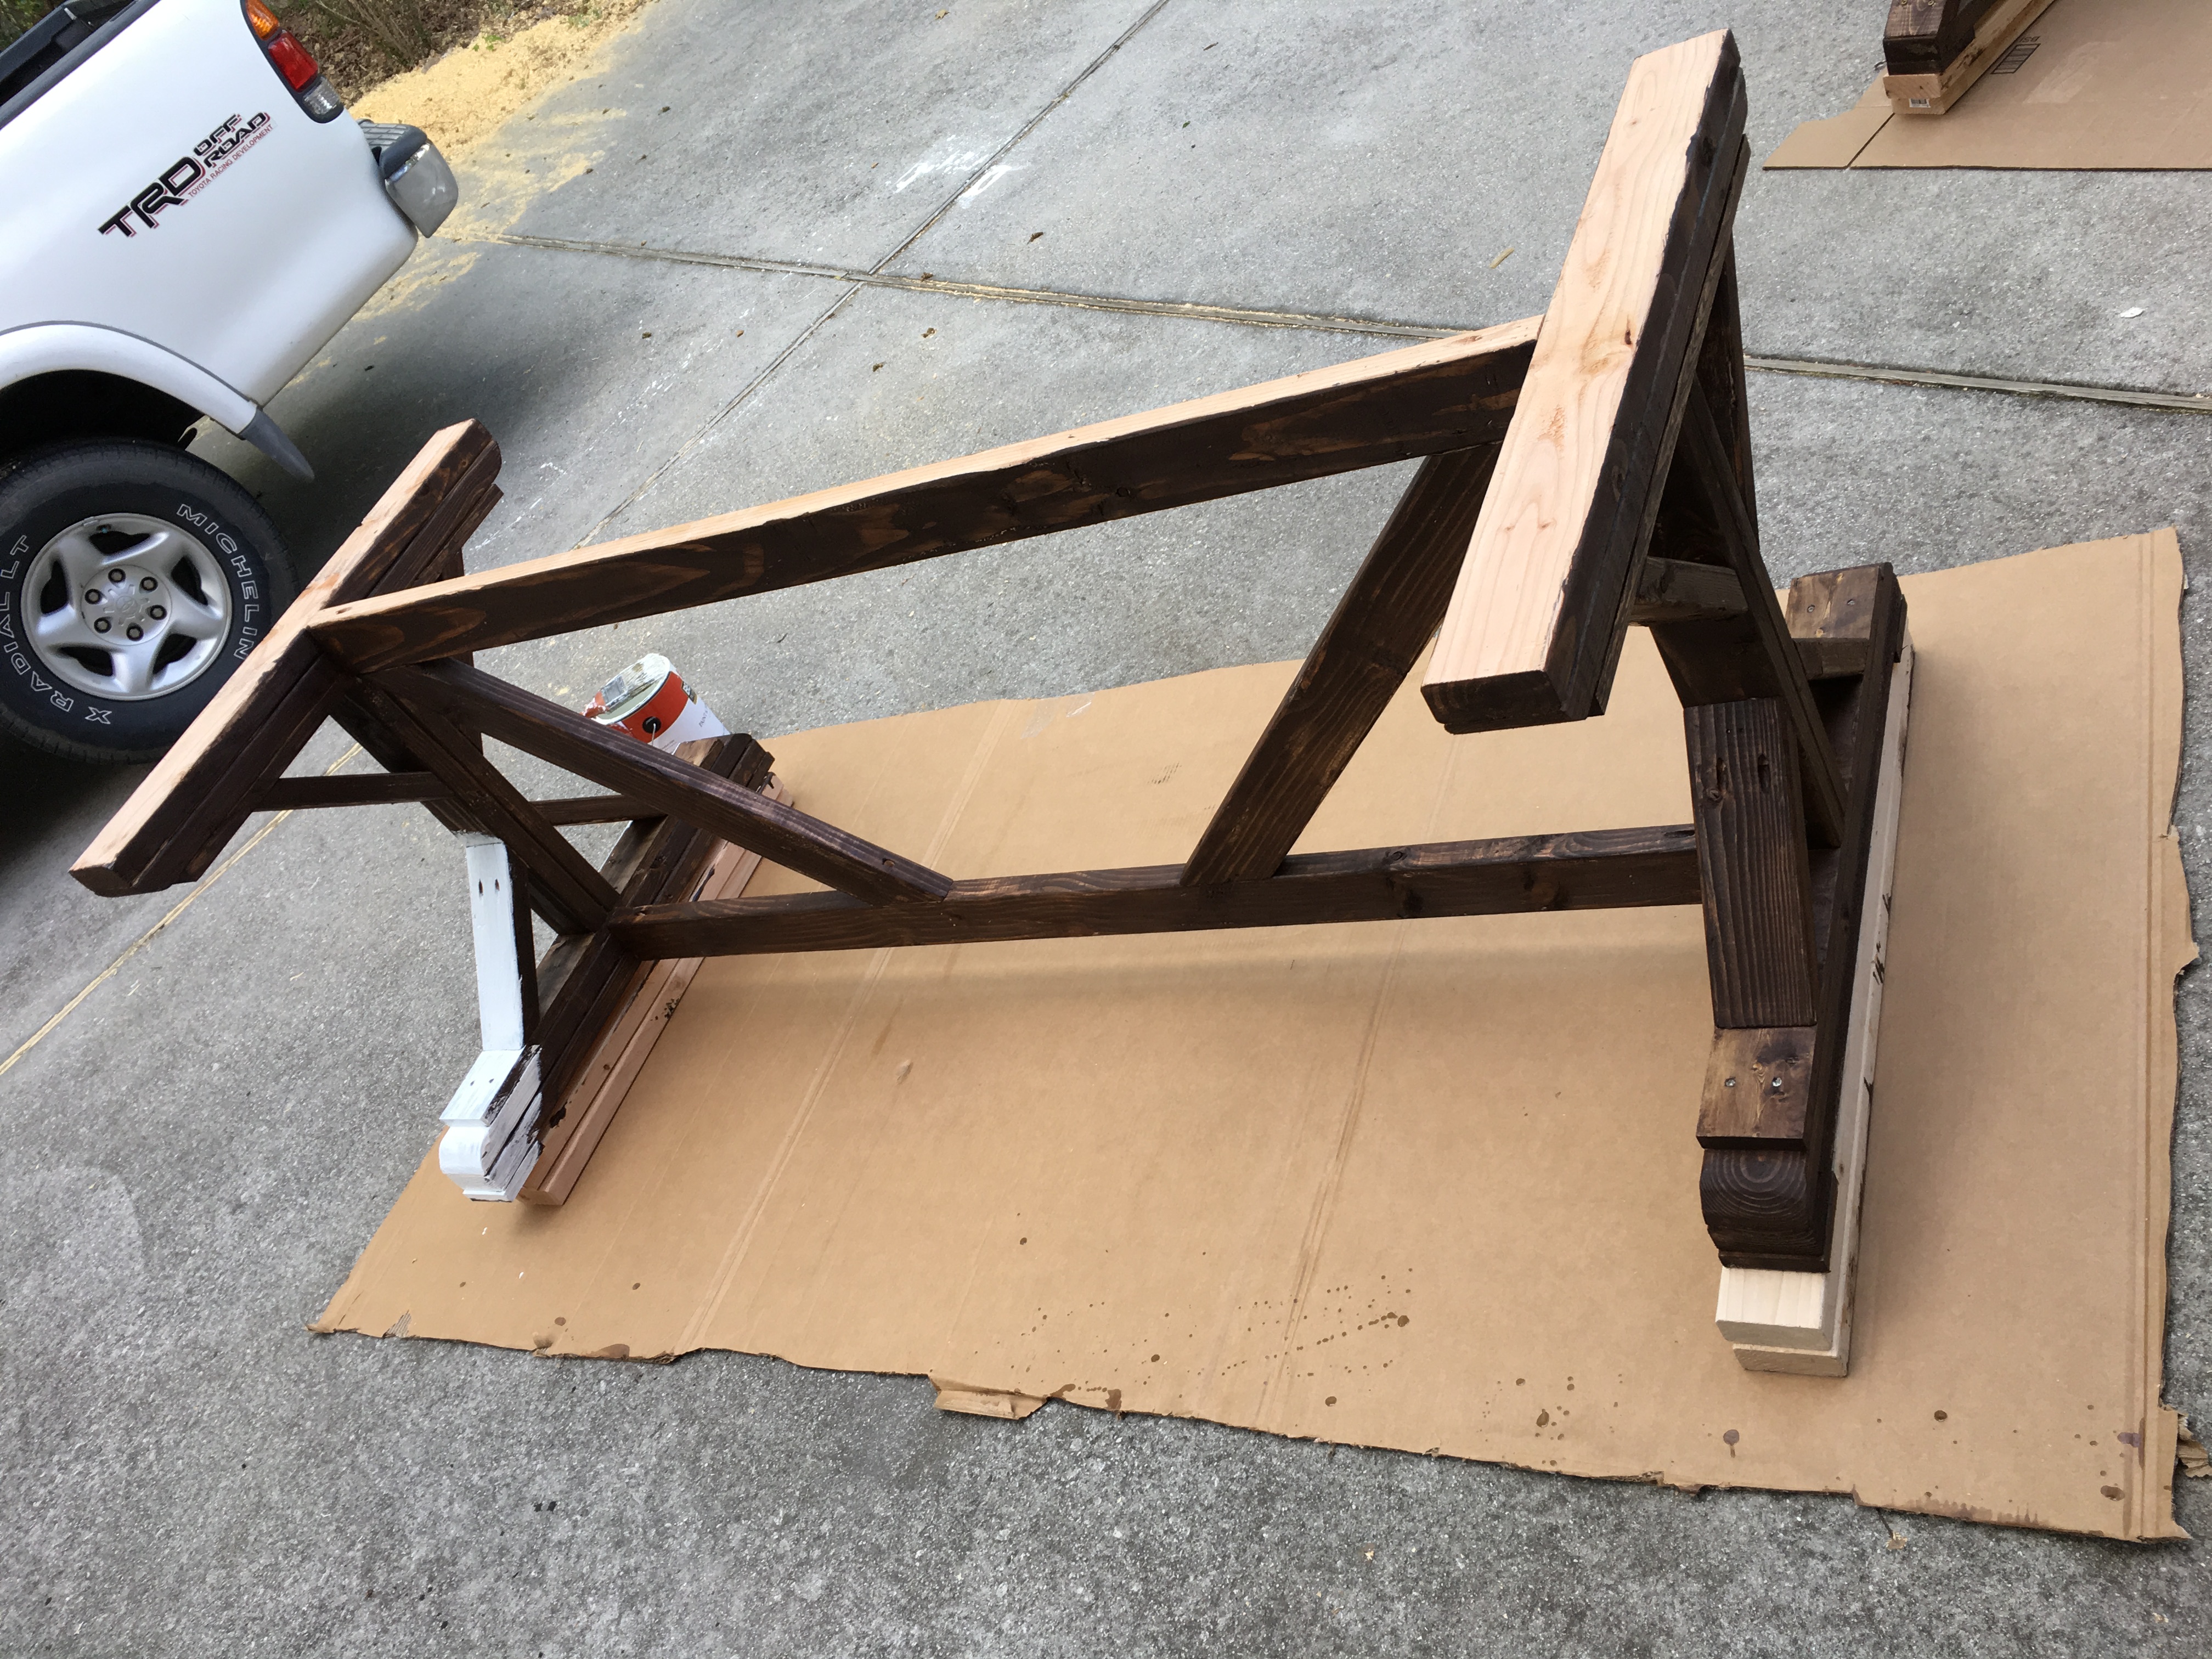
- Open up your stain, put on gloves and thoroughly mix with a wooden paint stirrer. Apply stain to the entire bottom half of your piece of furniture. Rub it in to allow proper penetration of the grain.
- Wait for 10-15 minutes for stain absorption, and then vigorously rub the excess stain off with a clean blue shop towel or old rag (low lint residue). Any wet or sticky stain should be completely removed – if it dries on the surface of the wood, it may compromise your whitewash / clear coat.
Step 4. Stain the tabletop.
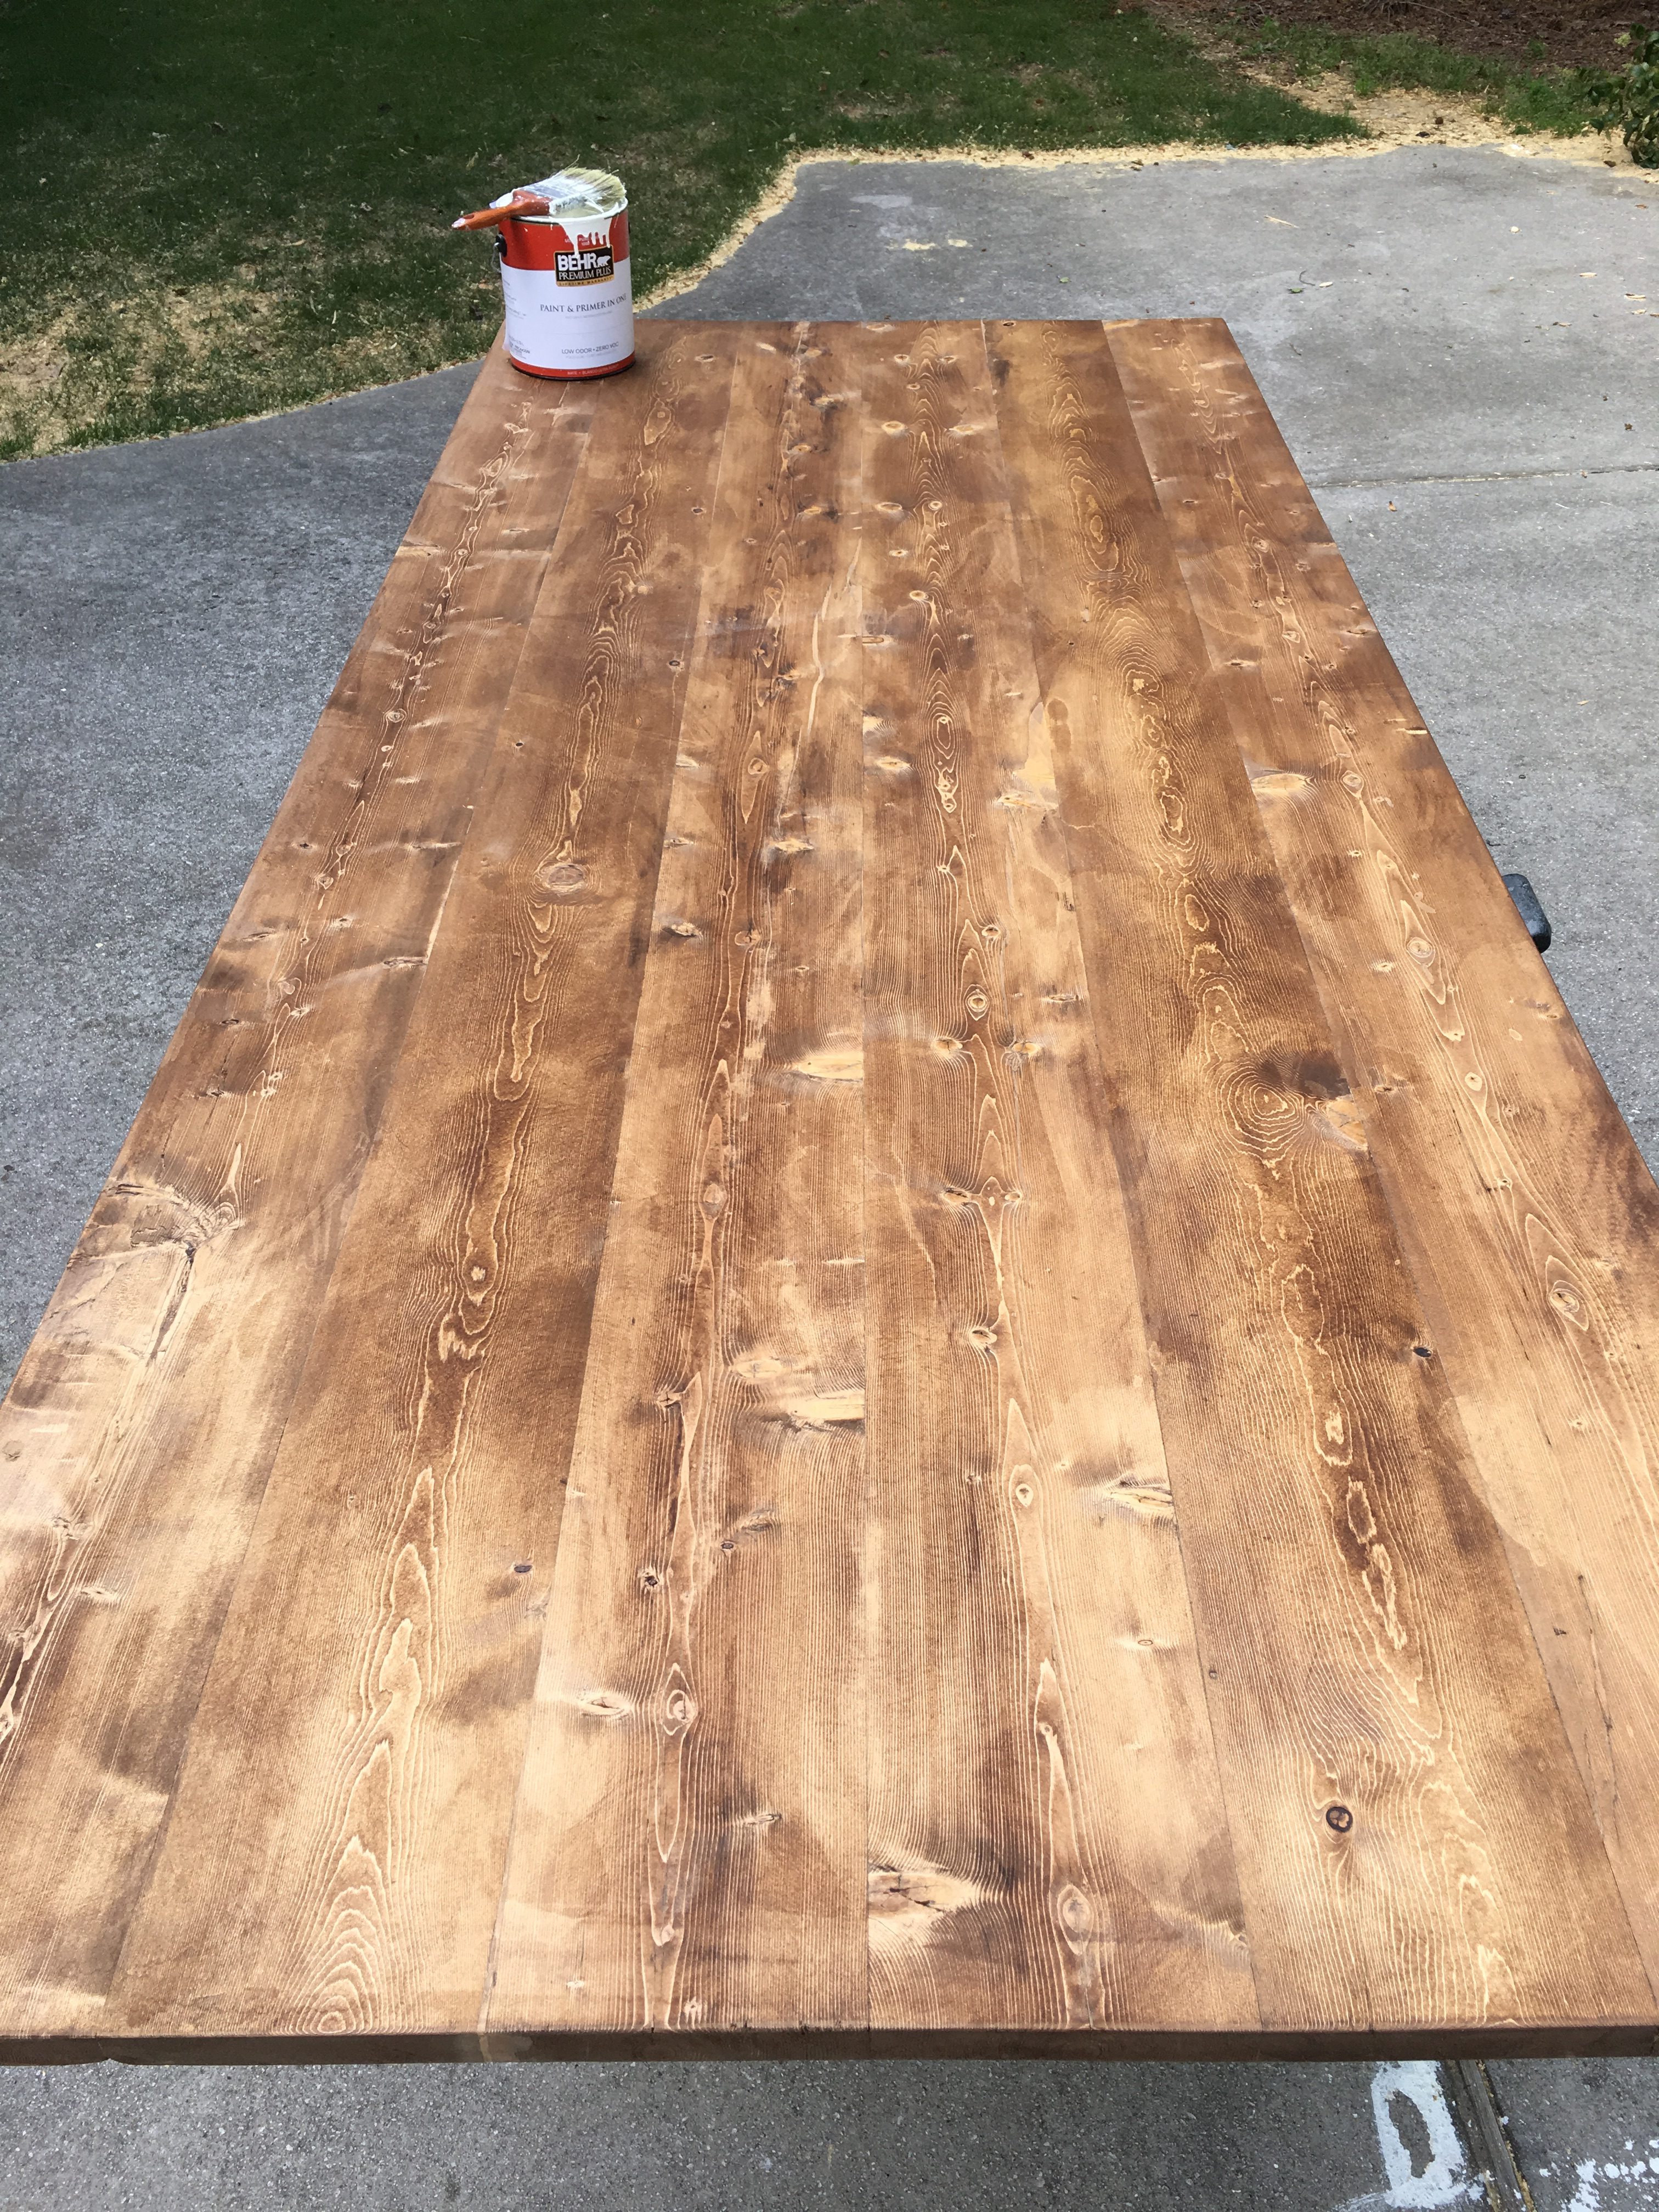
- Apply stain to the top and top-edges of your table following the guidelines in Step 3.
- Both stain applications will need a minimum of 1 hour to dry at 70º F and 50% humidity. Allow longer dry times in colder or more humid areas.
Step 5. First coat of Heirloom White paint on the legs / apron.
- Once the stain on the legs and apron has dried (at least 1 hour), bust out your new or old paintbrush and apply a medium coat of Heirloom White to the entire bottom.
- We chose 2 medium coats for complete coverage to allow the scrapes, scuffs and rough edge-sanding to shine through. The darker stain underneath peaks through and contrasts the lighter white paint.
Pro tip: save time on washing your brush out between steps. Place the paintbrush in a ziplock bag or wrapped in a grocery bag inside your fridge. Otherwise risk paint drying on your brush and dramatically shortening its lifespan. Brushes ain’t cheap!
Step 6. Stain tabletop again if necessary.
- Assess the fully dried first coat of stain on your tabletop. Is it dark and rich enough? Did the grain absorb enough of the pigment? If not, apply another coat of stain. Don’t worry about making it too dark: the upcoming whitewash coat will lighten and blend it multiple shades lighter than what you’re seeing. Dig our aesthetic? Then consider a second coat of stain.
- Be sure to follow the staining instructions in step 3.
Step 7. Second coat of paint on the legs / apron.
- Check for the dryness of your first coat. If it’s not at all tacky to the touch, proceed!
- One coat of paint often has the slightly splotchy appearance of primer. A second coat will even it out for a very clean look. Remember: paint can be sanded off. But once it’s in your house and under heavy daily use, it’s highly unlikely that you’ll want take it back outside and modify it again.
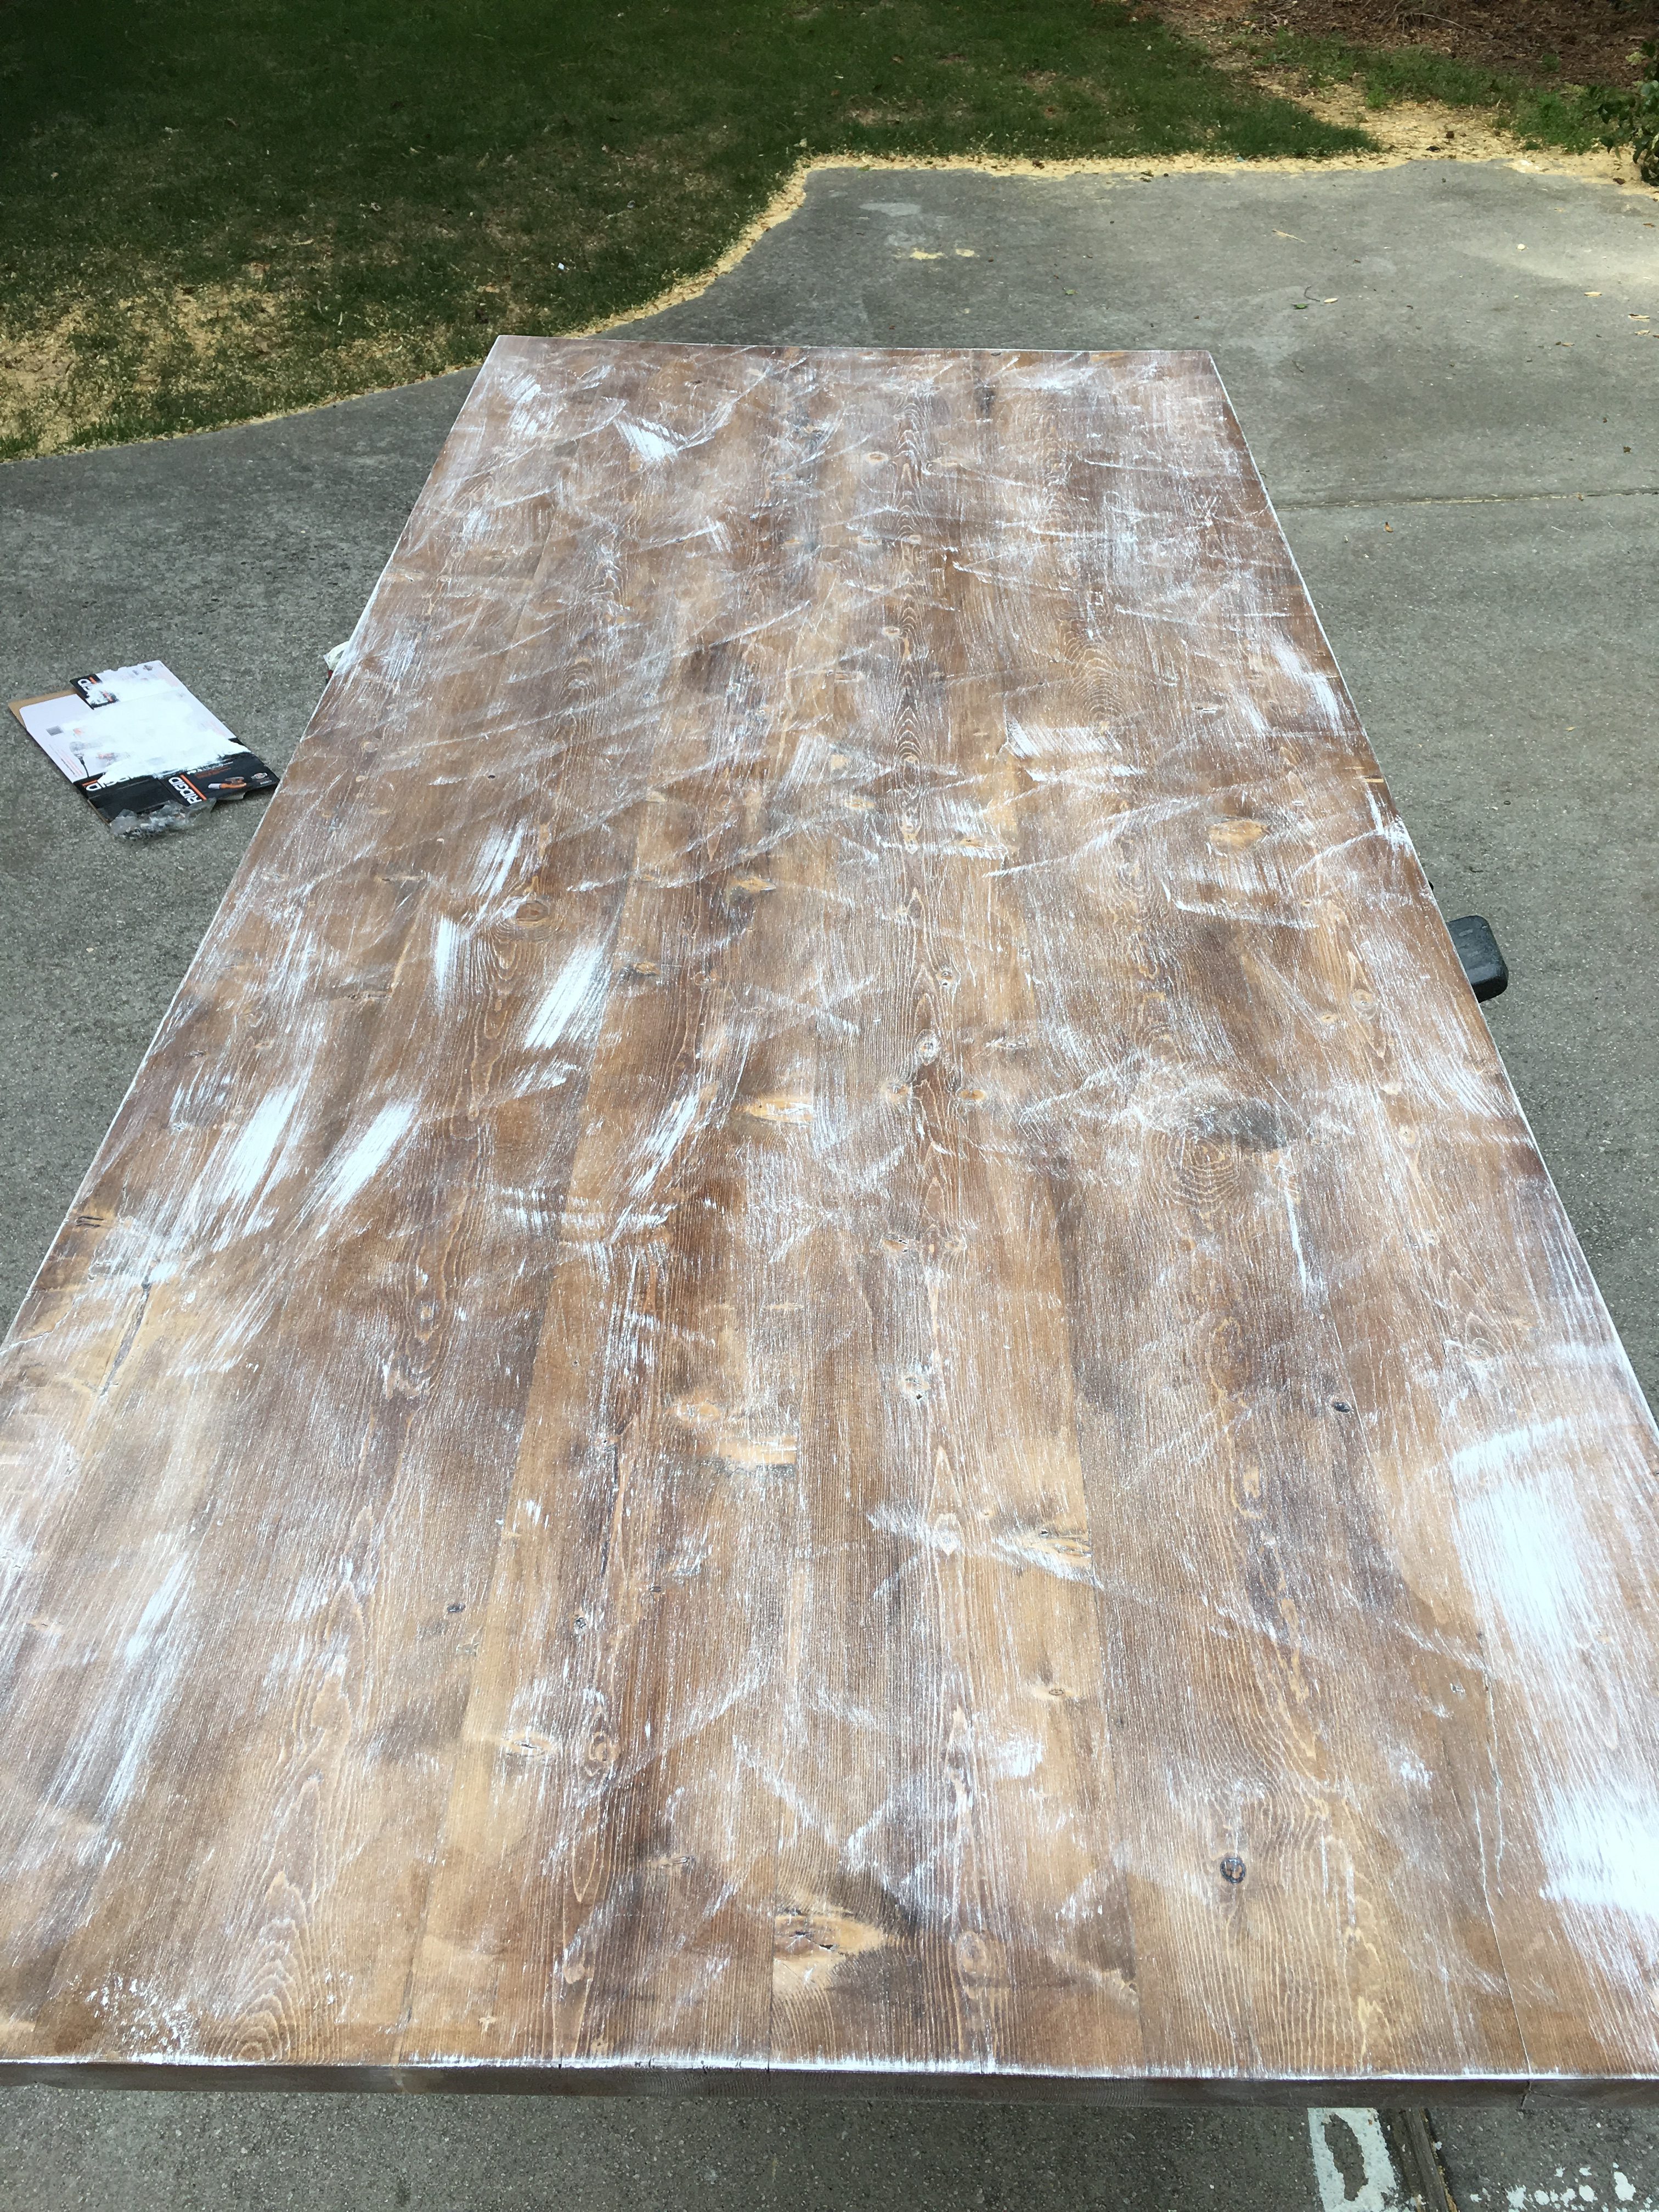
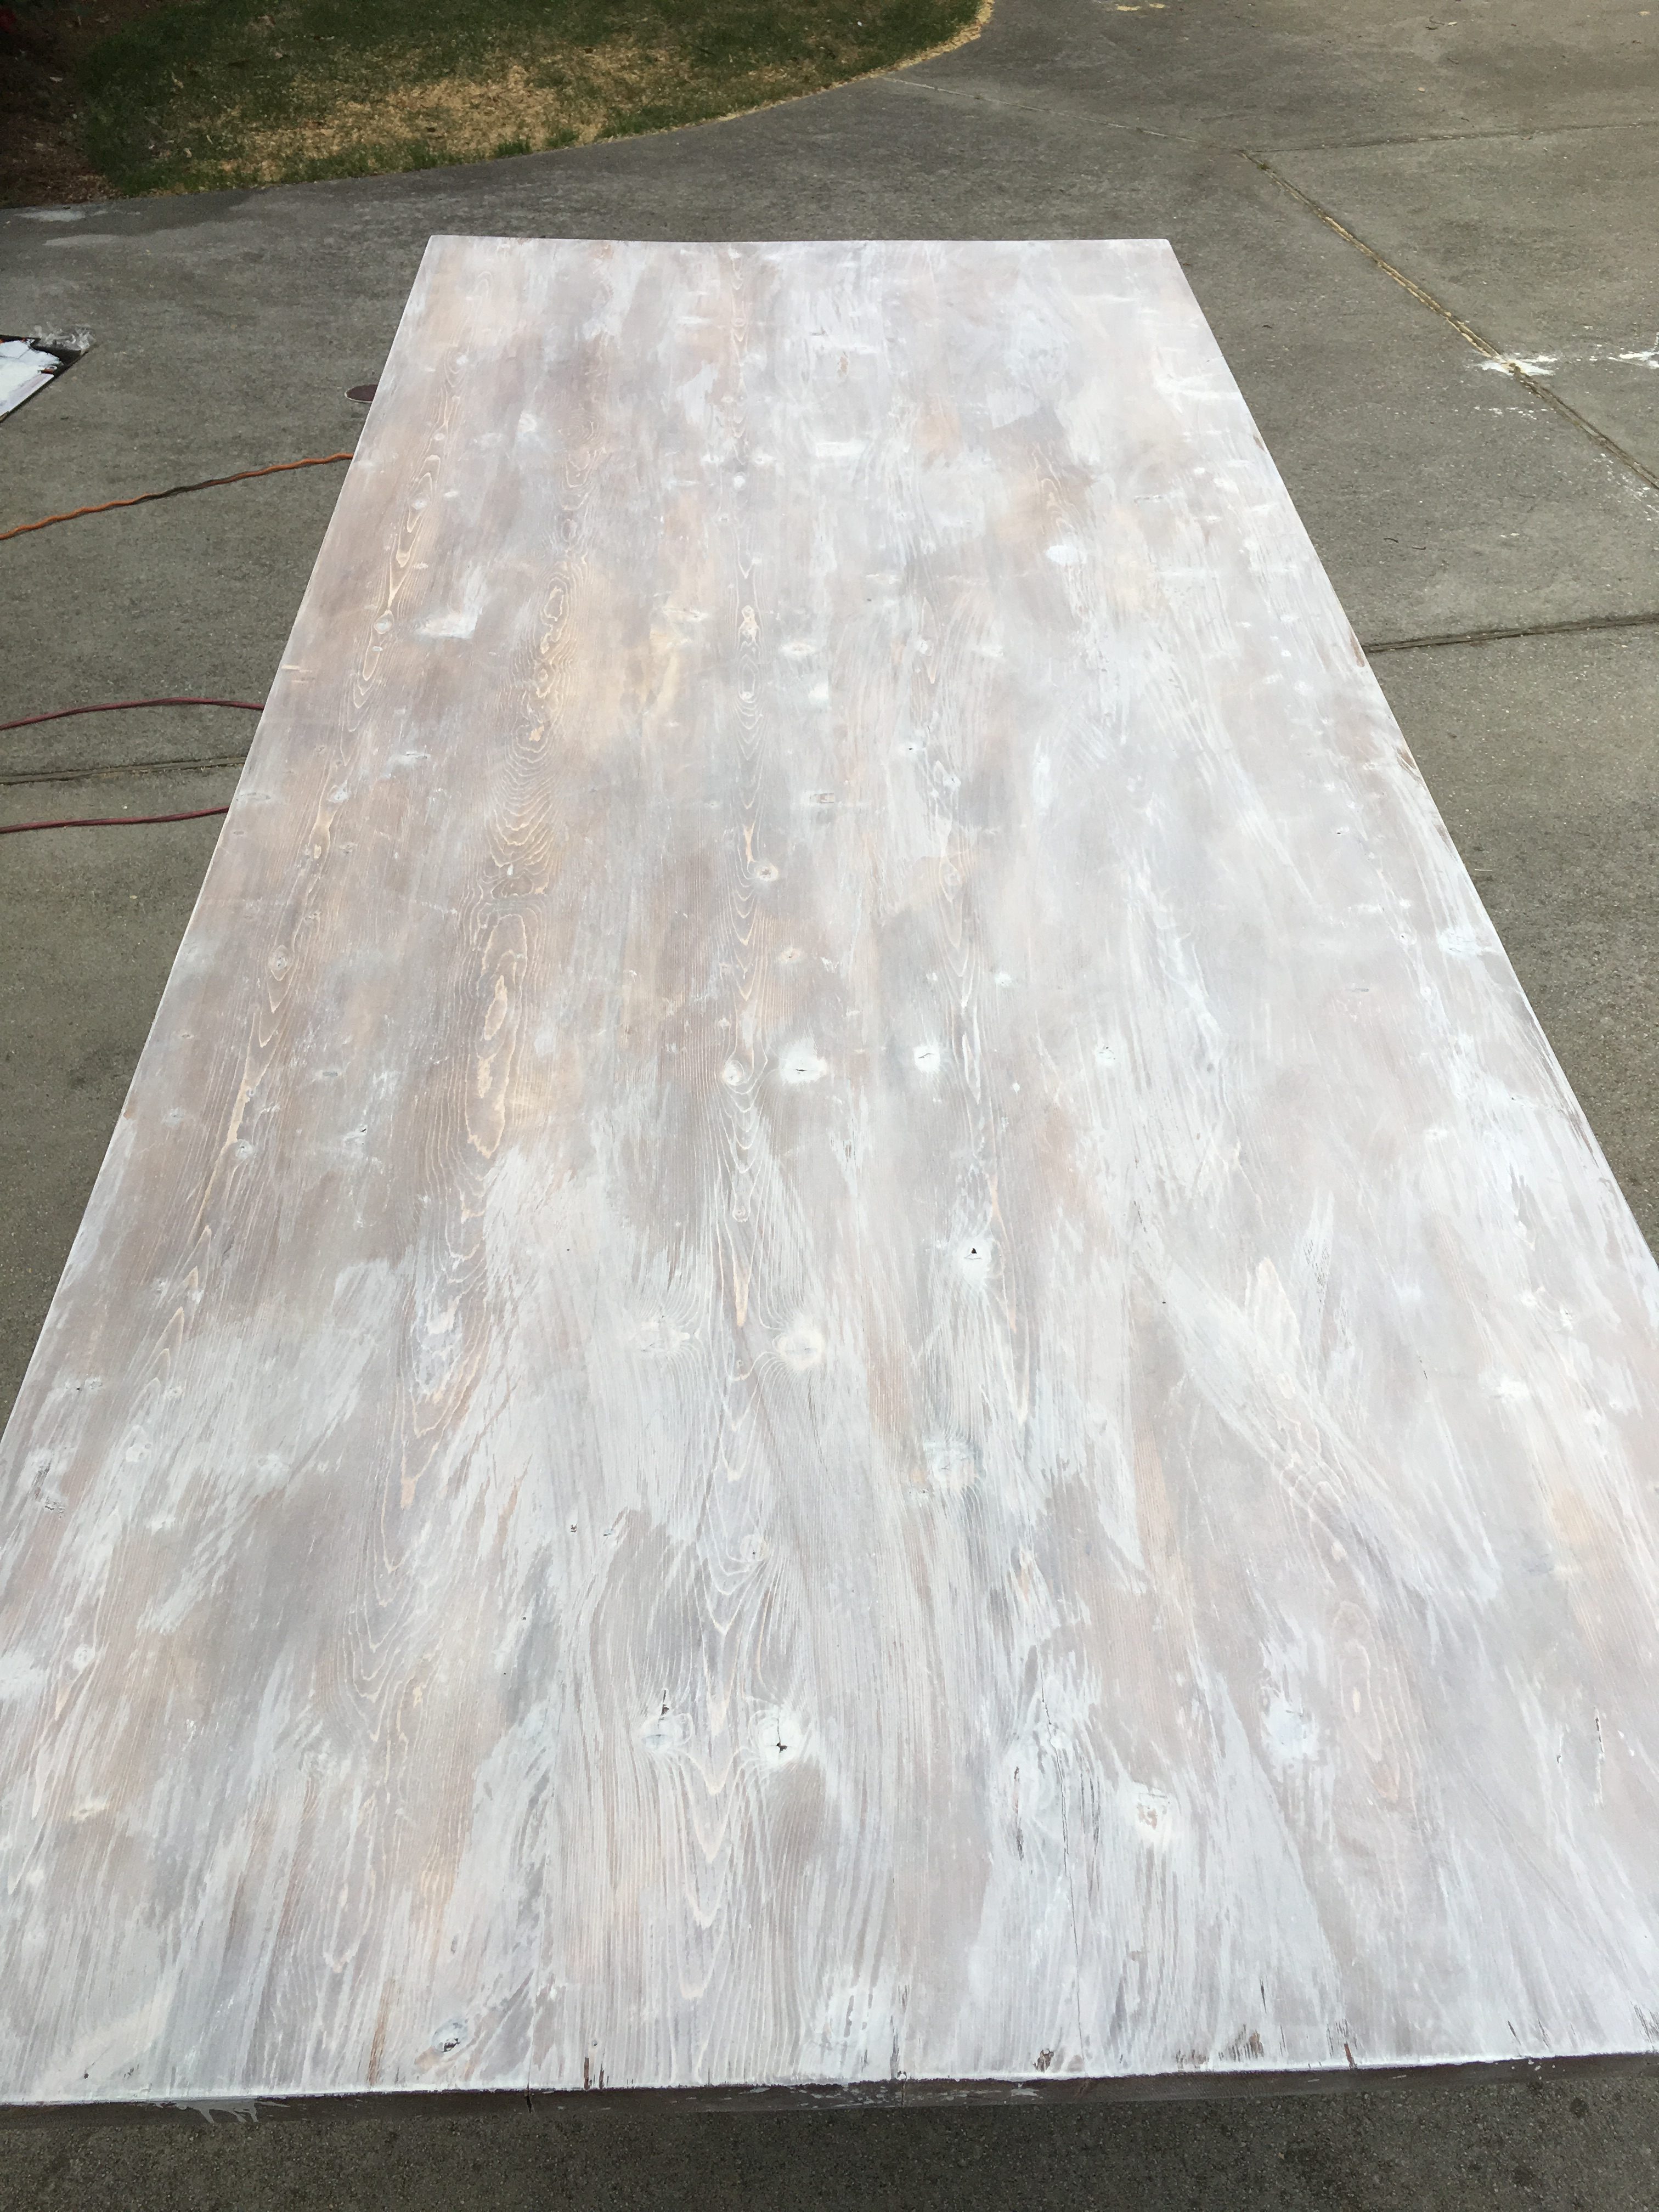
Step 9. Whitewash the top.
- Snag an old plastic container. Begin by mixing 50% paint with 50% water. Combine with a wooden paint stir stick.
- Apply the whitewash with your paintbrush. It will probably make a HUGE mess.
- Let it dry OR begin to wipe it off while still wet for a very rustic look. We used this technique on our DIY barn door over a kona stain (almost black).
Step 10. When dry, distress the legs.
- Has your second coat of Heirloom White paint dried on the bottom part of your table? Touch to assess tackiness. If not totally dry, wait! If it’s dry:
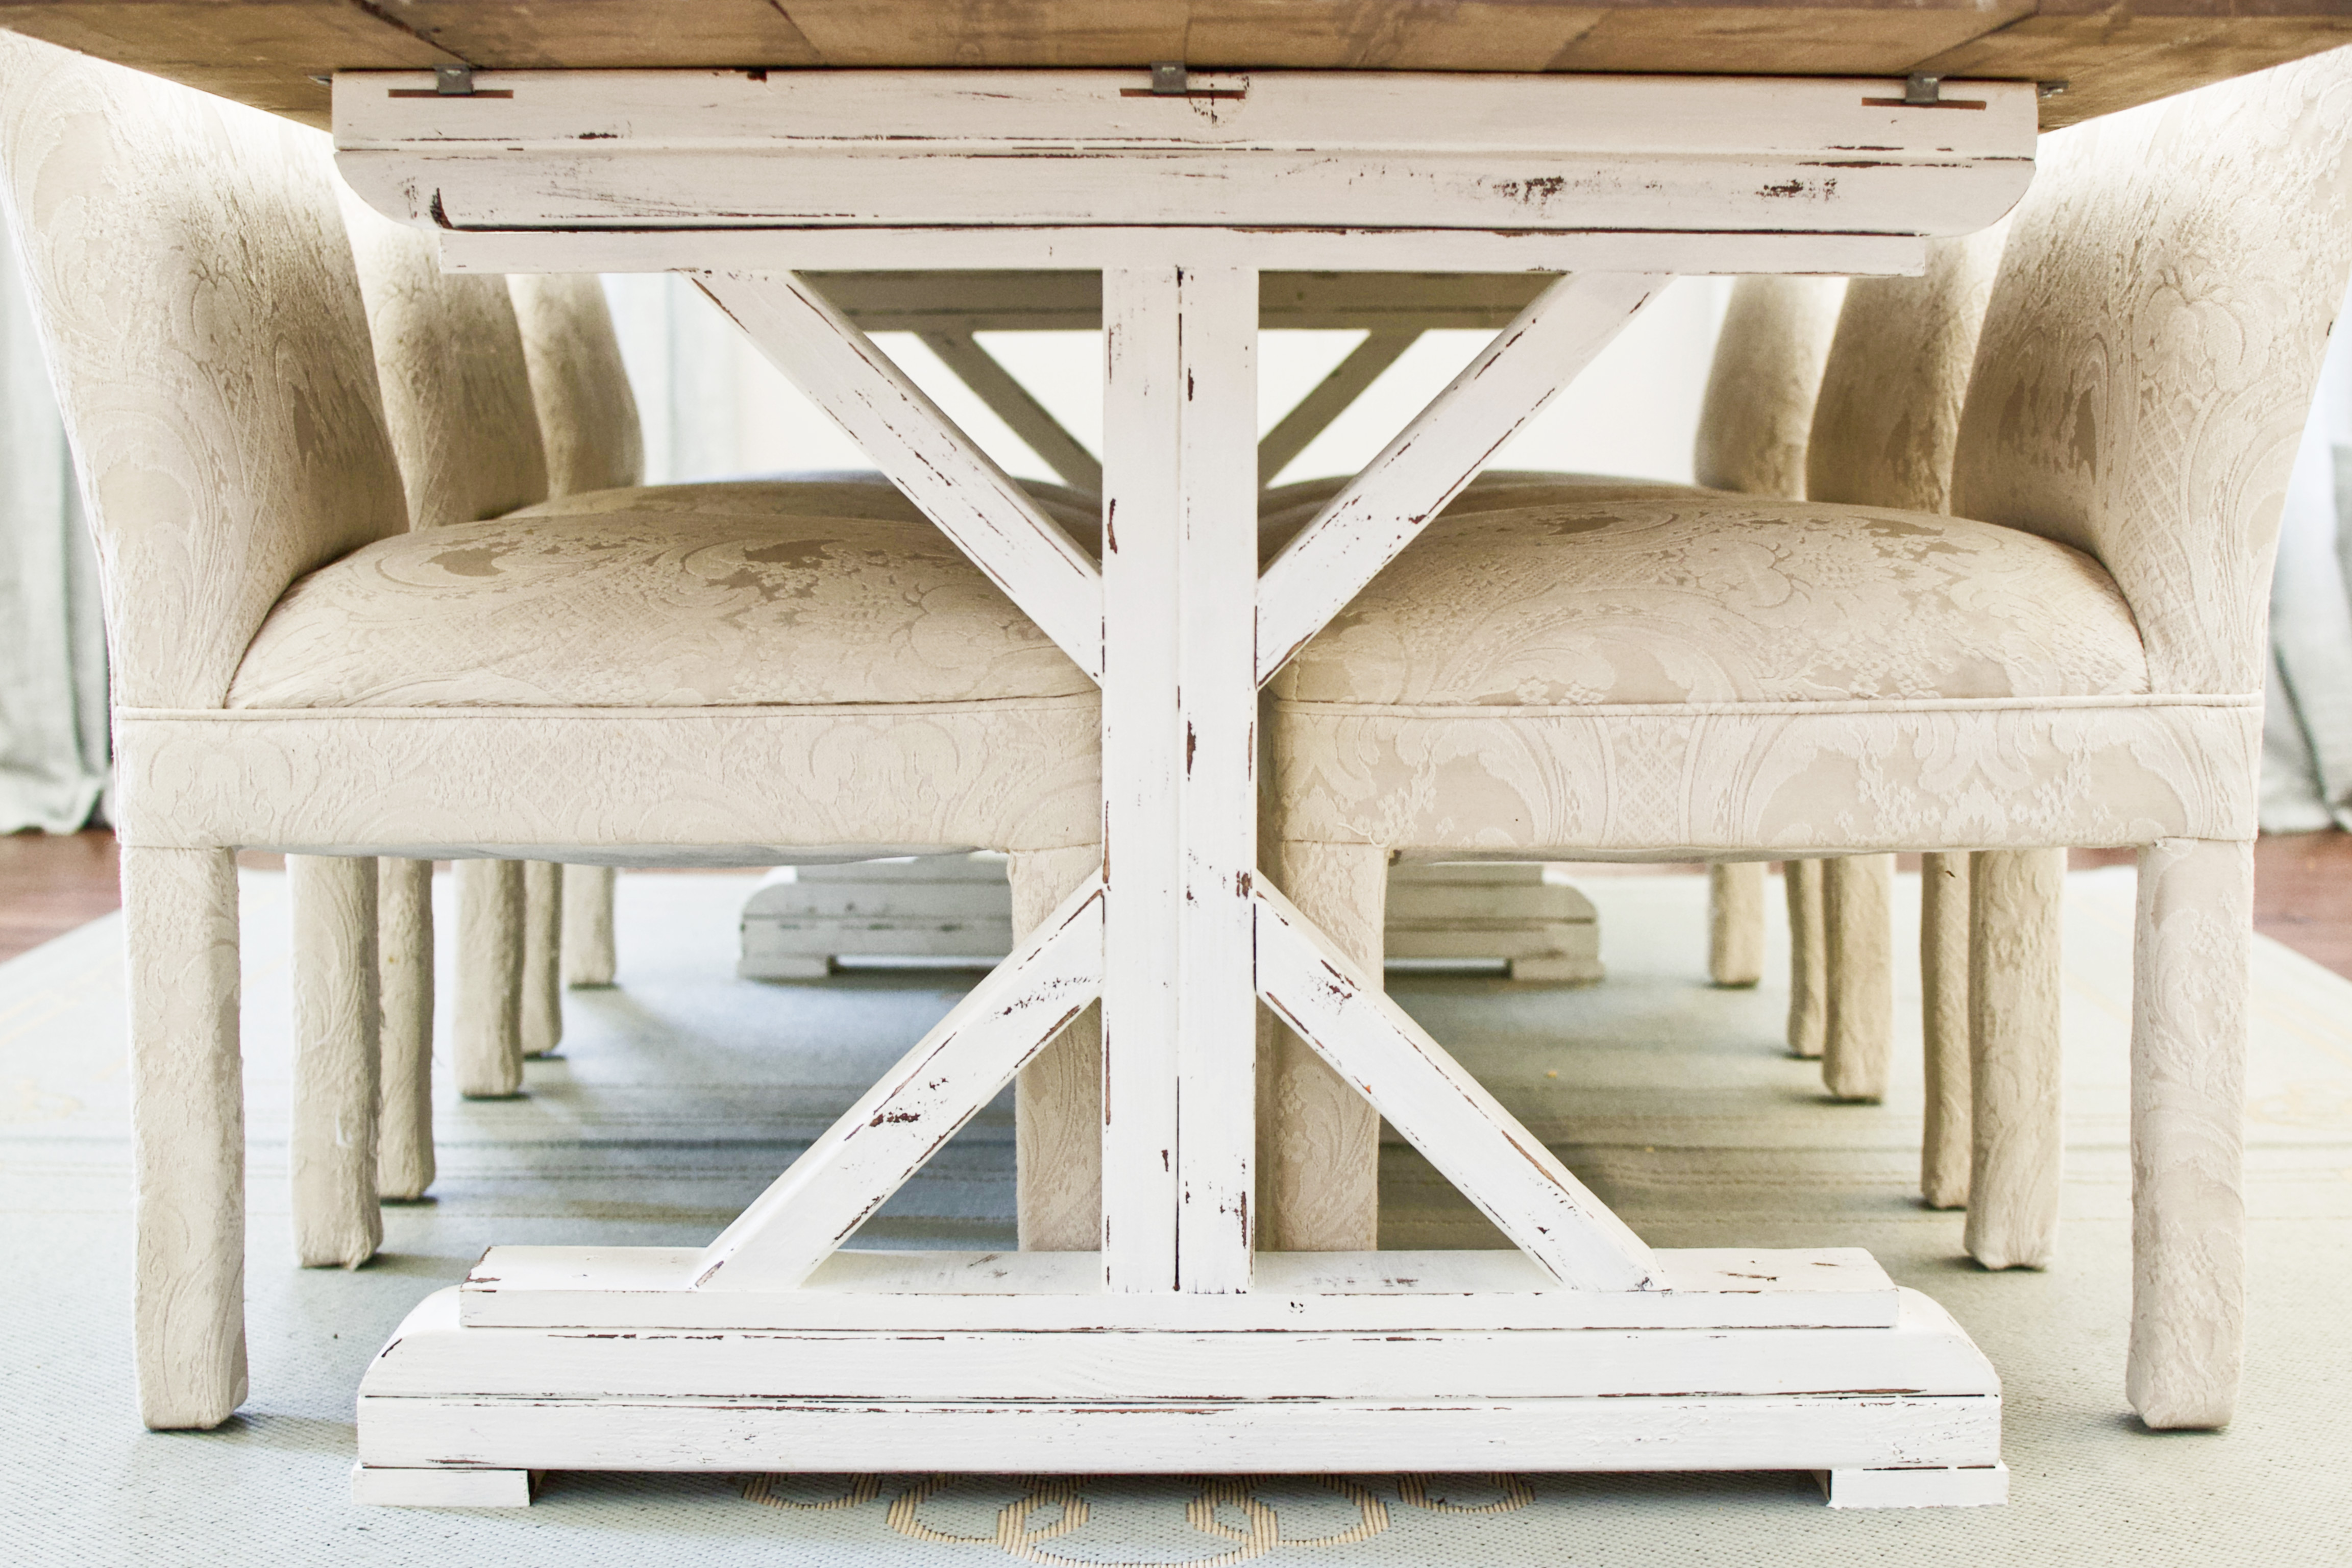
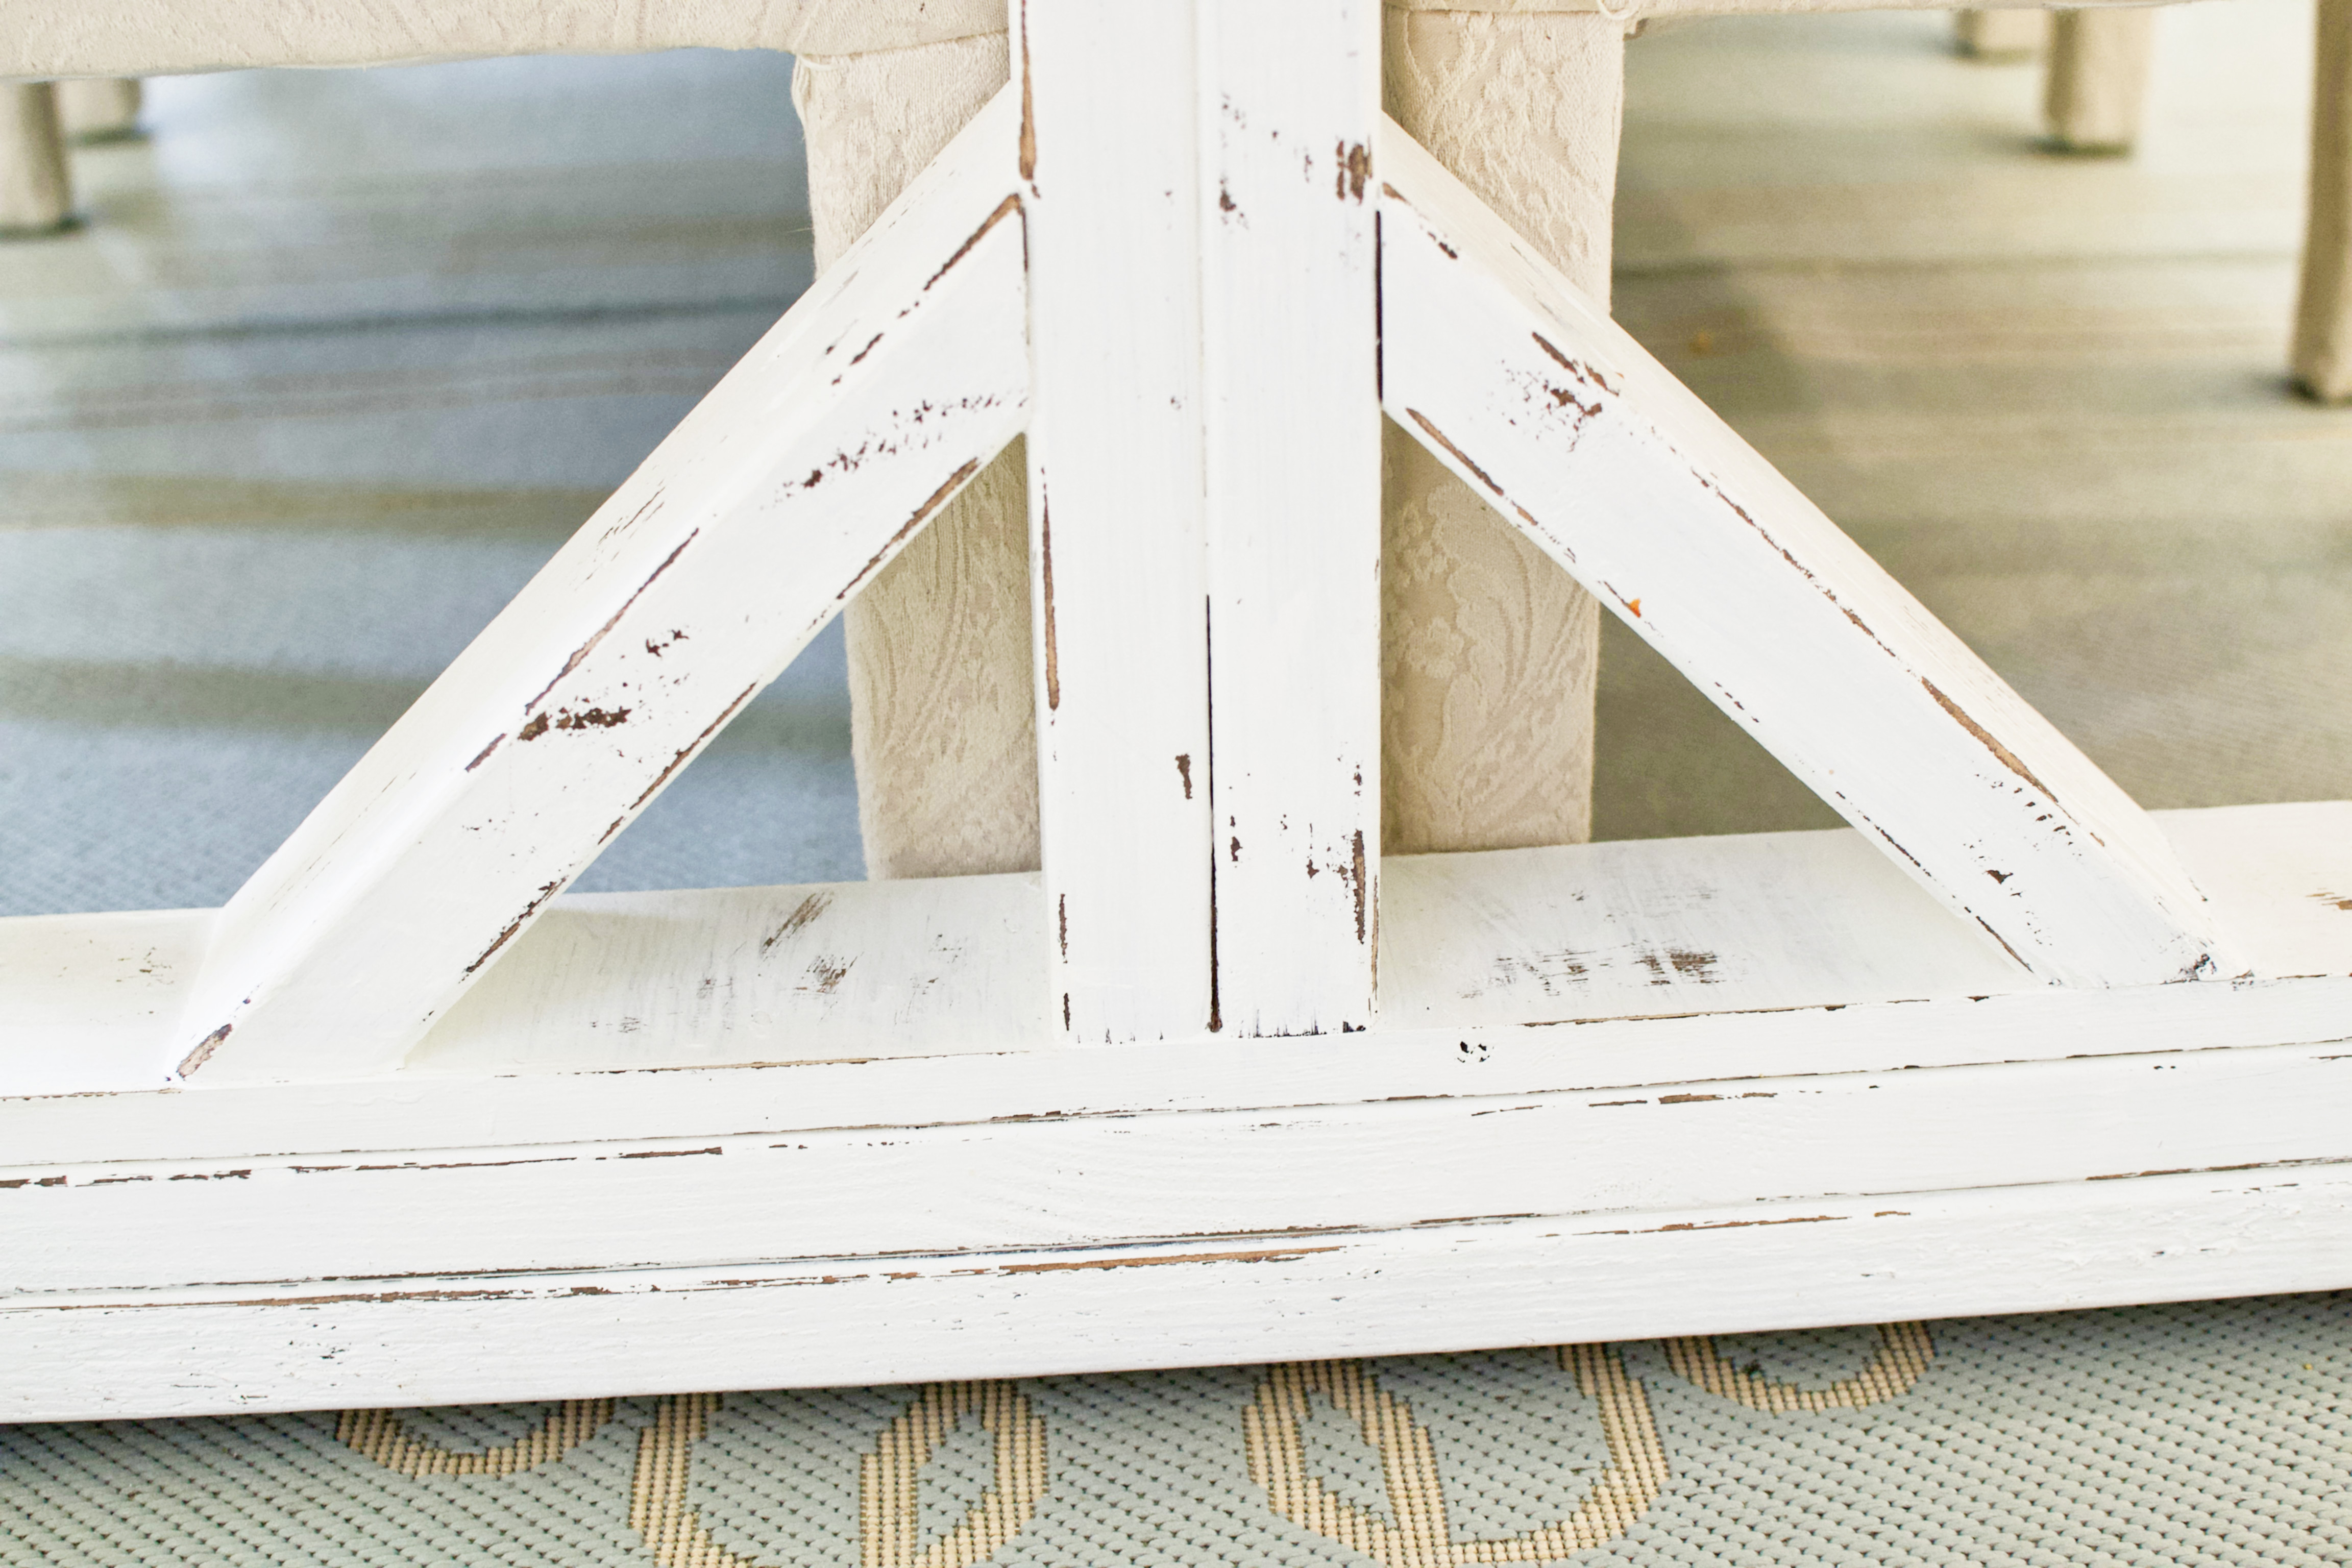
- Grab a sheet of ANY grit sandpaper. We often the first three on the same piece for variability. Each yields a different visual:
- 60 grit. Discernable scratch marks. The most rustic. Beats the heck out of your furniture piece.
- 100 or 150 grit. Semi-visible scratches. Blends into the overall piece a little better.
- 220 grit. A very smooth sanding. Scratches and scrapes are invisible to the naked eye, unless your design-minded friend is up in your table’s business. Ideal for softly revealing stain underneath the paint.
- 320 grit+. Considered a very fine sandpaper. Perhaps overkill for this DIY application. Any higher and the process becomes inefficient, or at 1000 grit simply polishes the paint.
- Note: the orbital sander. Go for it! But be warned. Even the lowest setting with a 220 grit pad can instantly remove the paint and stain and show raw wood – not ideal. If you’re looking to save time and elbow grease, attempt the orbital in a hidden area and assess. Be careful not to push too hard to avoid showing circular patterns if you opt to sand the face of each piece of wood.
- Where to focus. Our goal is to mimic the natural aging process of painted furniture. This often begins with scuffmarks on the edges and corners, and occasional scuffs on flat surfaces.
- Love it already? No need to sand or faux glaze. Skip to Step 13 for a clear coat application.
Step 11. Sand the top.
- See the orbital sander note in Step 10. We highly recommend you hand sand to avoid circular sanding marks and exposing raw wood. We used 220 grit sheets to blend the whites into the browns. Allot 1 hour.
- Sanding block. One of these lovelies may come in handy, literally. However, I strangely prefer the total control of a sheet of sandpaper in my hand. Although it does burn the flesh a little.
- Step back and reassess! Is the white to brown ratio perfect? Then skip to Step 13. Otherwise, let’s glaze.
Step 12. Faux glaze the top.
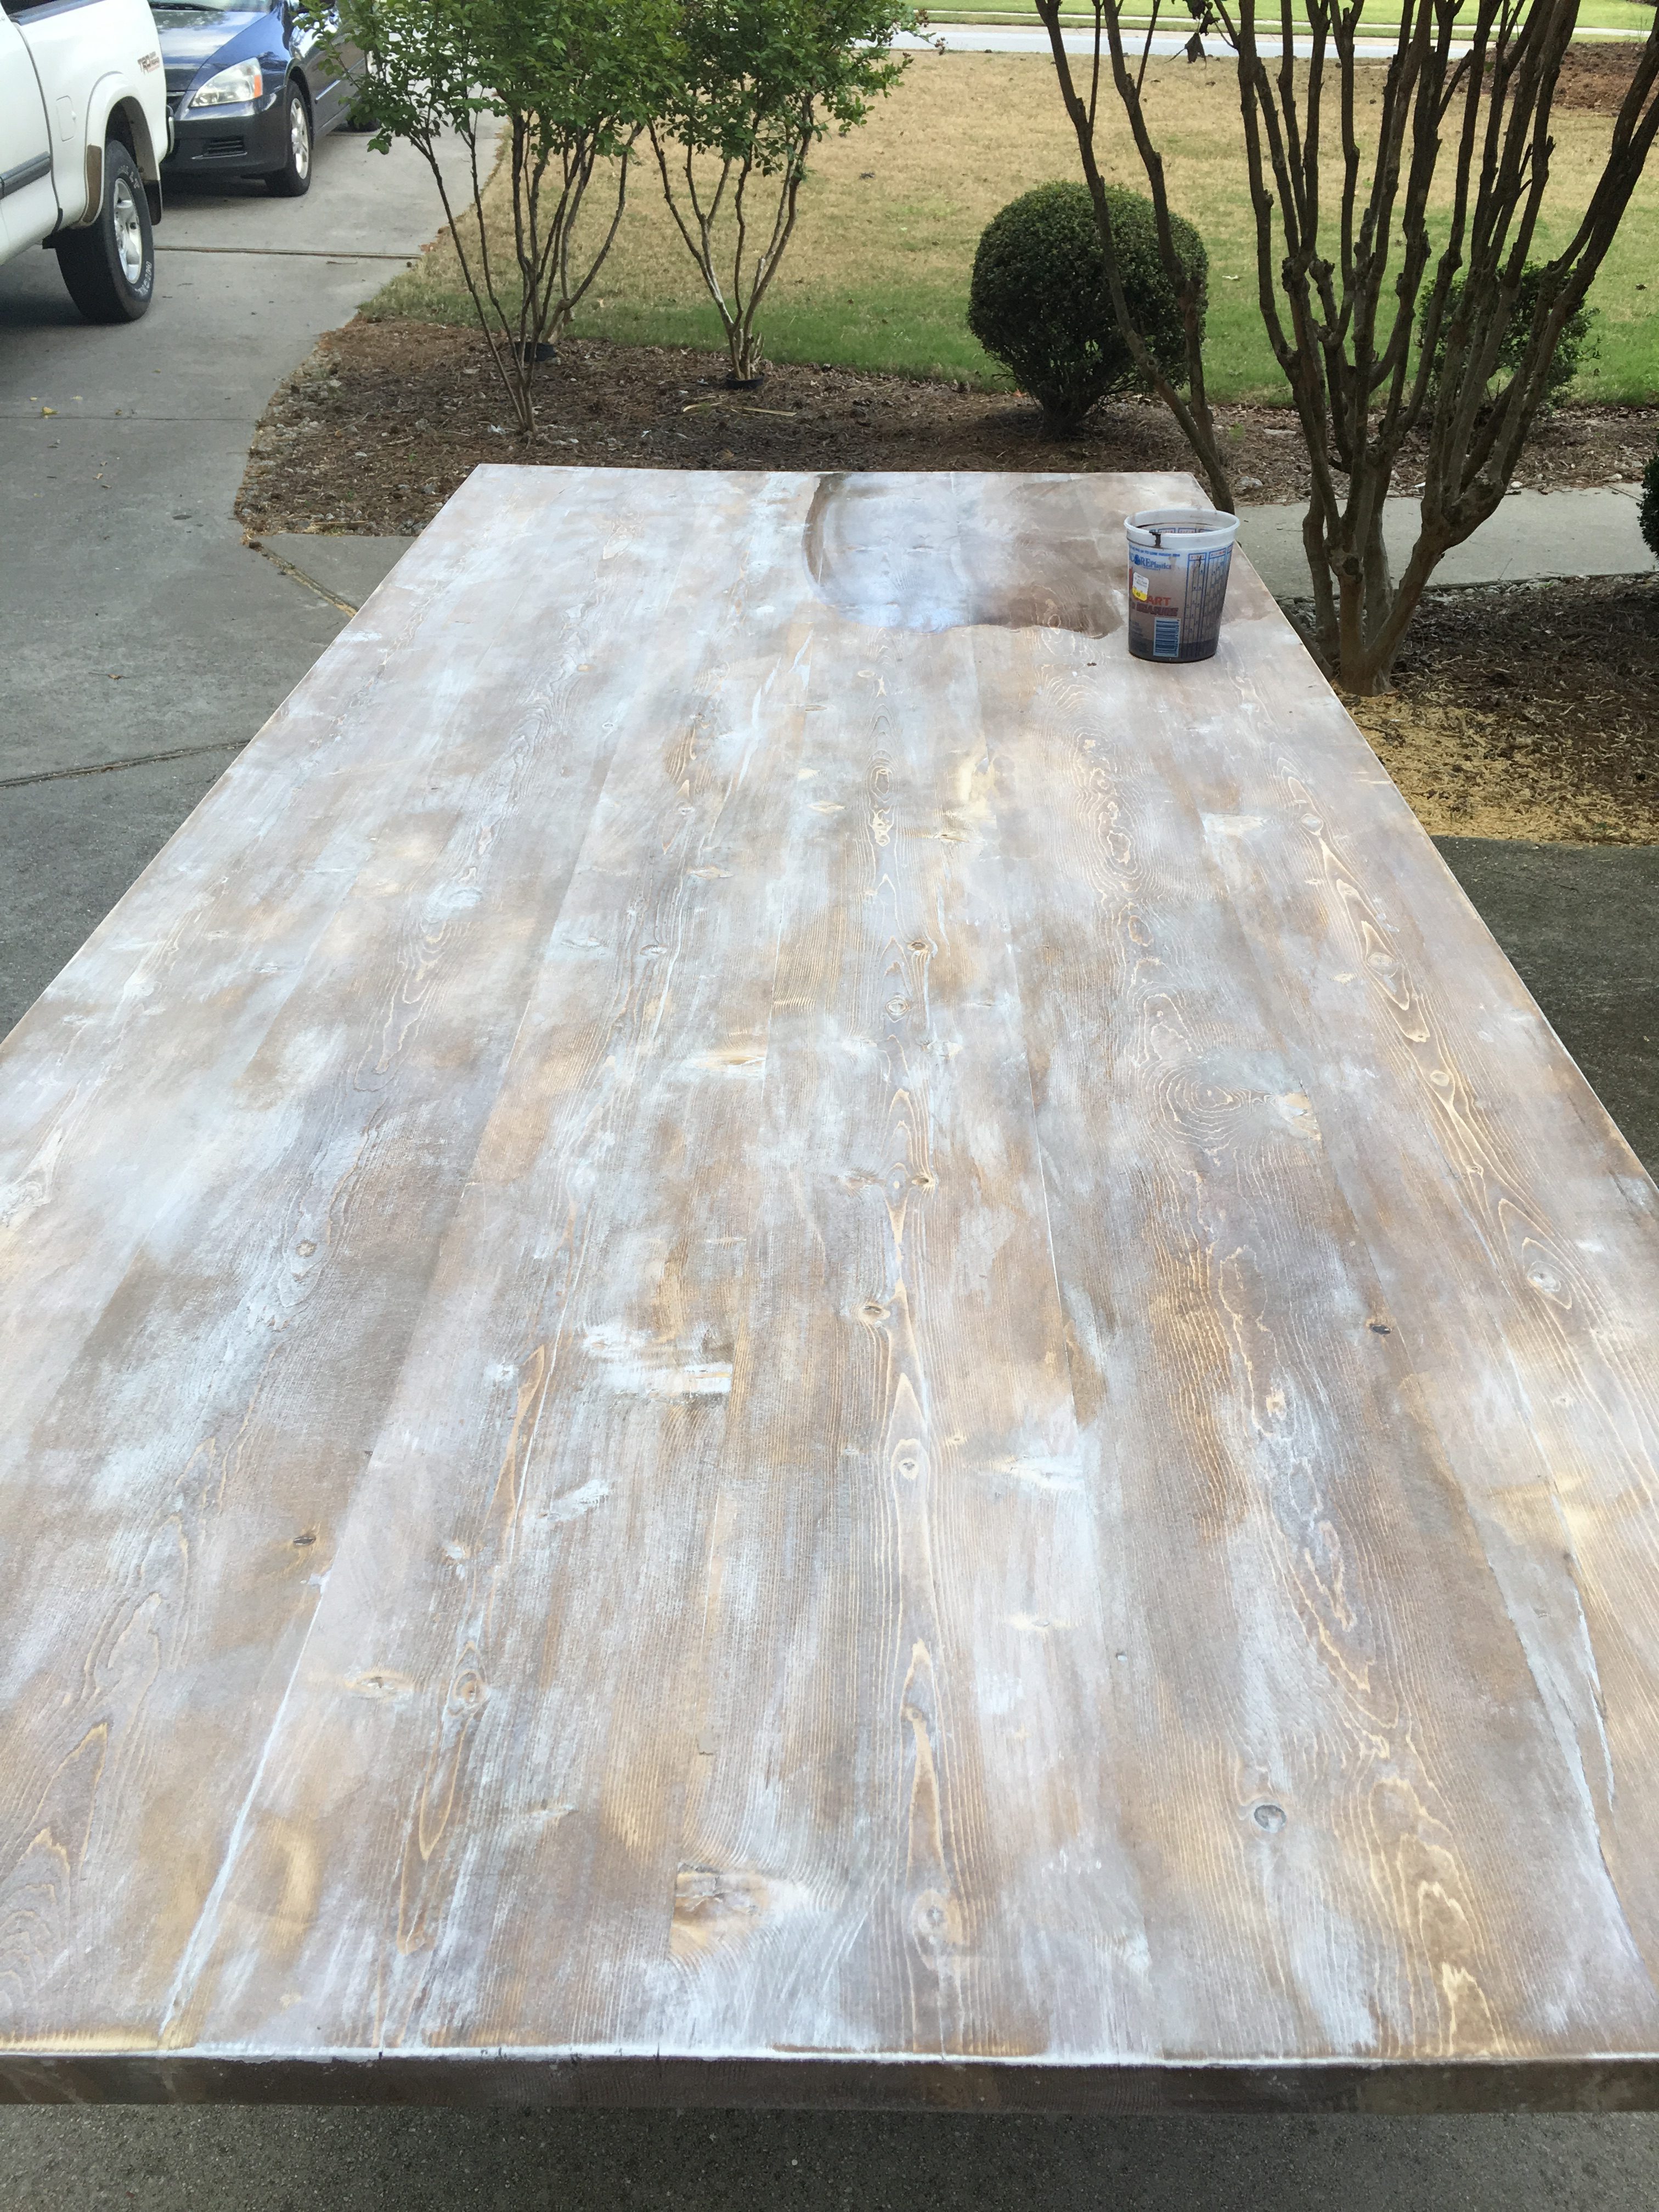
- This step will slightly darken your overall color tone, one or three shades. Creates more variance from light to dark. If the white is still too white, glaze it.
- Faux glaze because we’re not actually using glaze. In another plastic container add a small pour of your stain of choice – we used dark walnut. Add equal parts mineral spirit or any paint thinner. Oil-based stains require mineral spirits for proper dilution. Mix with a wooden paint stir.
- Put on your nitrile gloves and apply diluted stain with a blue shop towel or old rag. Scrub it in until the coverage is even. Wipe it off after a few minutes. Not dark enough? Immediately apply a heavier coat and wait 15 minutes to wipe it off. Let dry for 1 hour or more. Note: mineral spirits may decrease dry time.
Step 13. First clear coat the top.
- Why add a clear coat to finish off your table or any wooden surface?
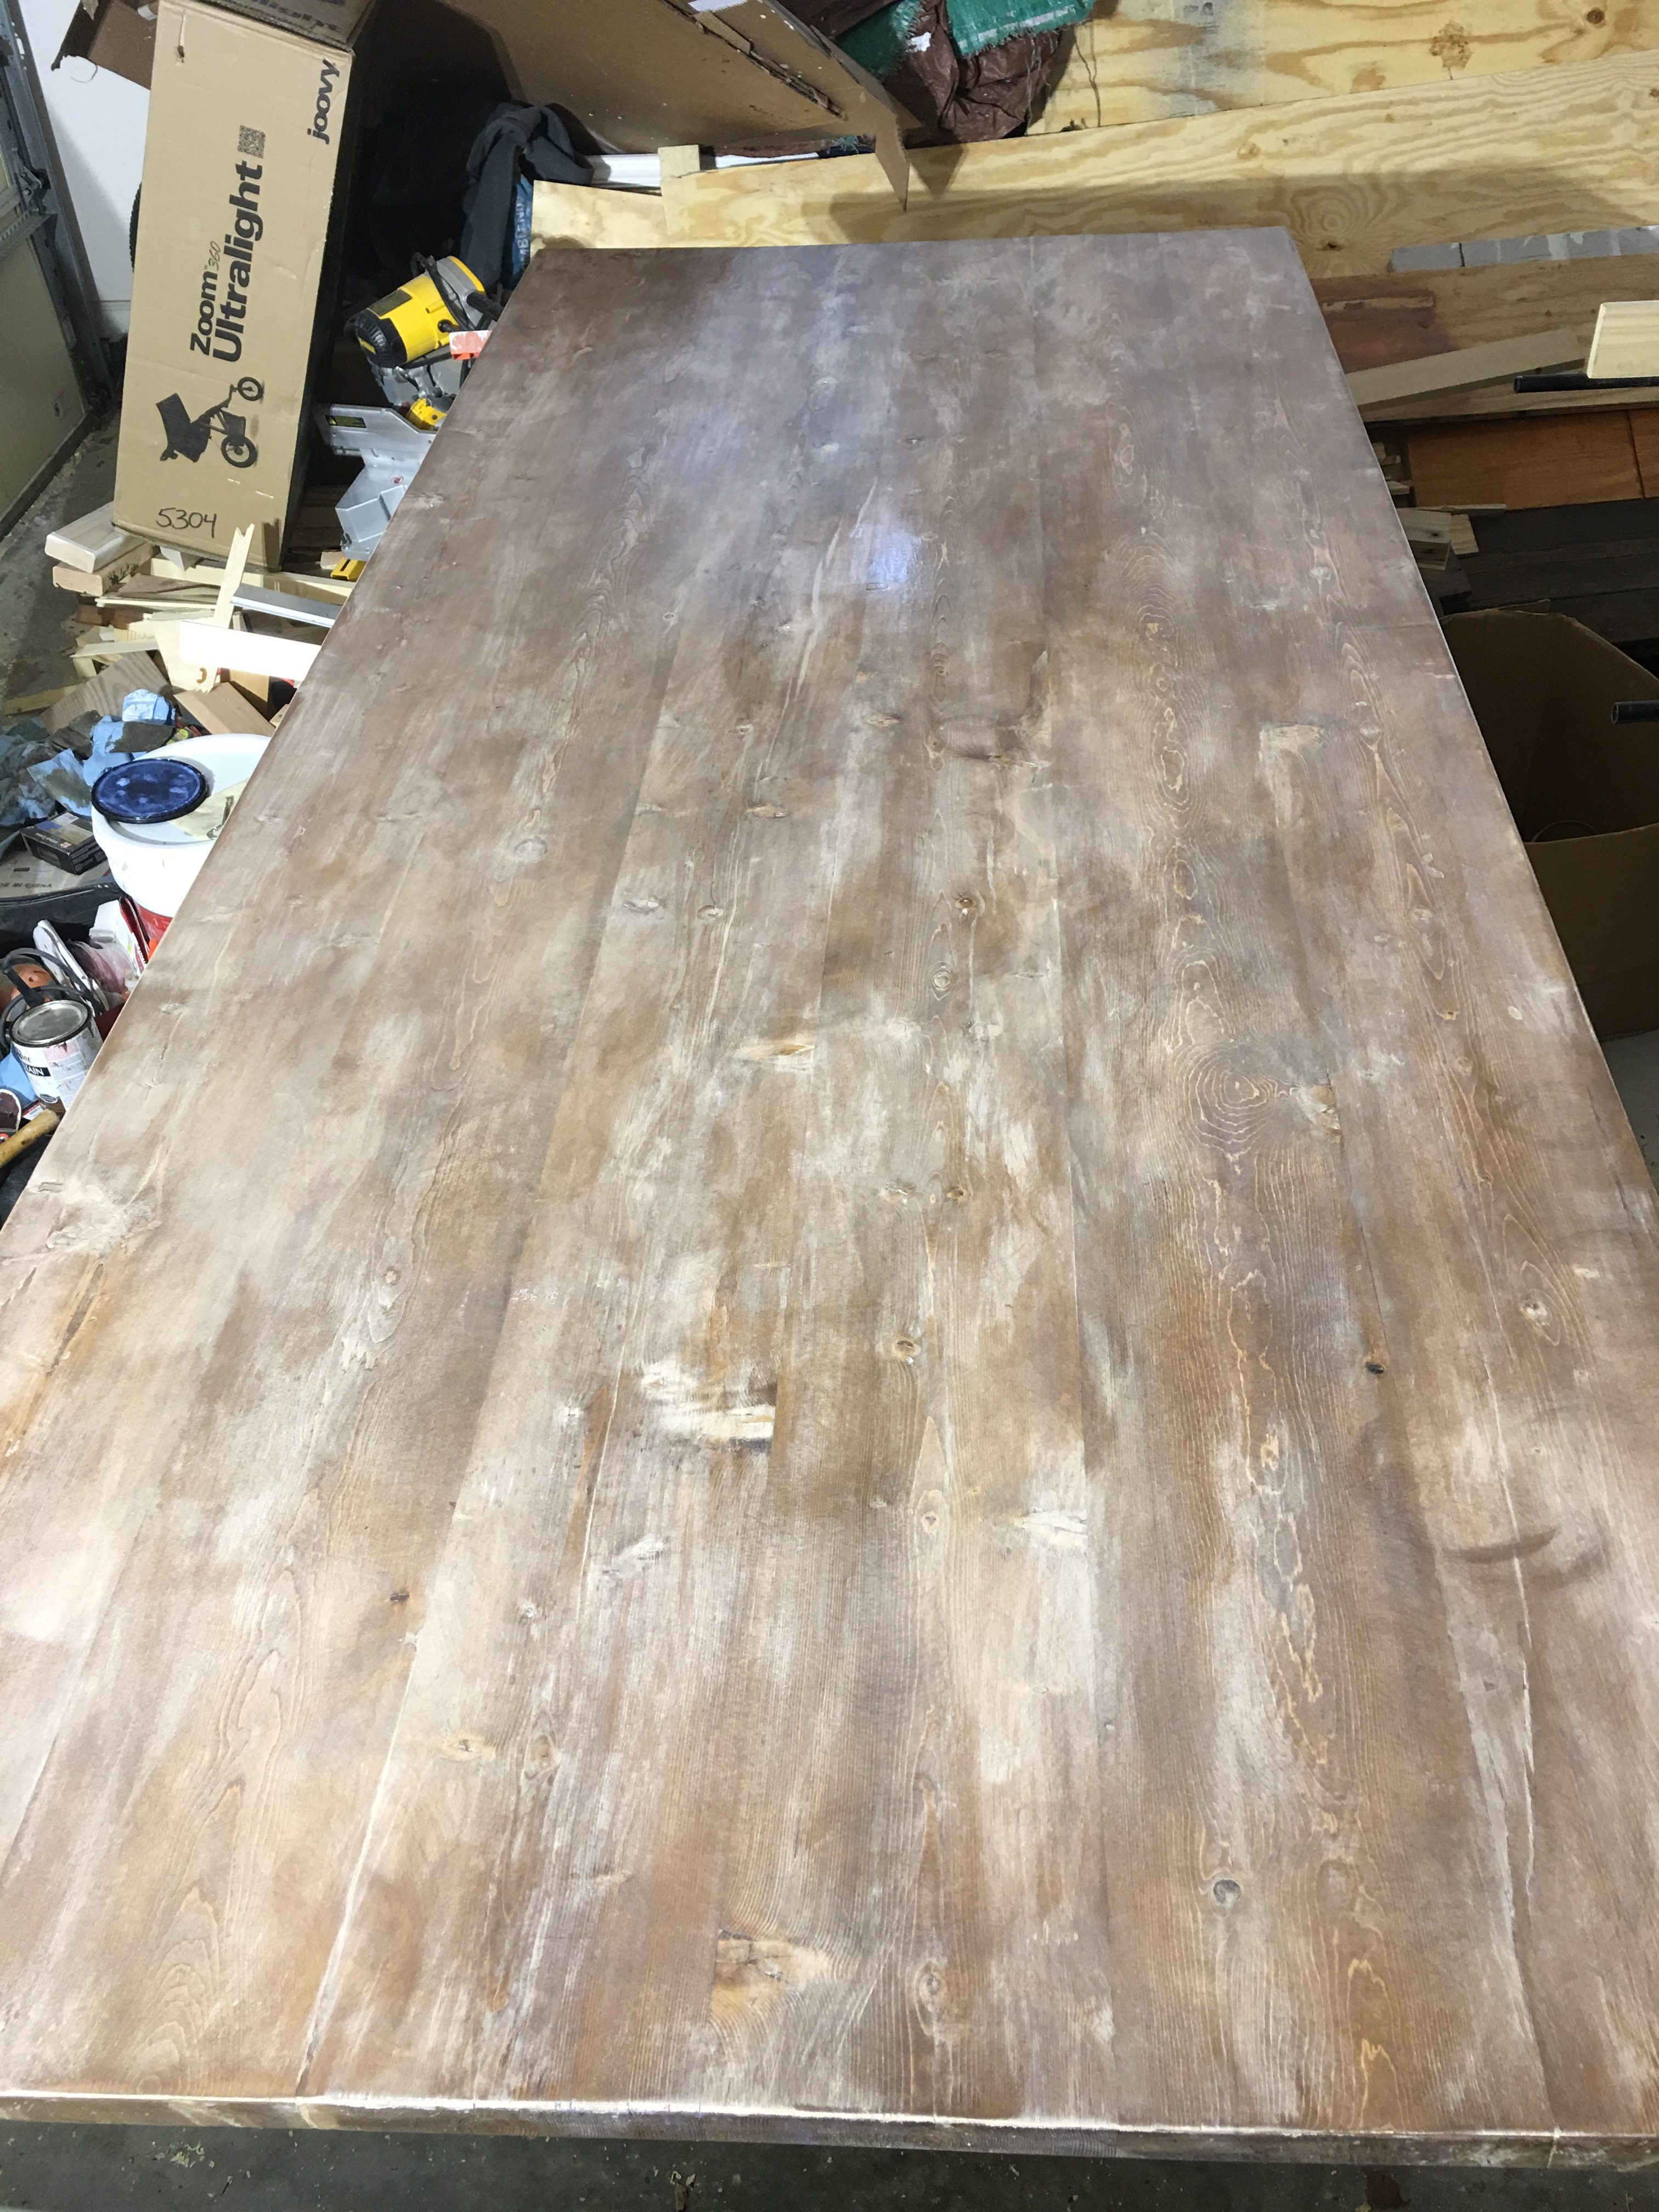
- Protection. You’re essentially adding a coat of plastic on top of your wood piece. The paint / stain aesthetic is frozen in time – wear and tear won’t remove or chip or knick or scuff your art piece.
- Clean-ability. Most woods are very porous and NOT antimicrobial. Your table will gather and grow bacteria with regular use if it’s not sealed properly. Avoid the funk. Also, consider the last time you attempted to clean unsealed wood. It absorbed half of your cleaning solution, effectively cleaned off part of the wood, splintered and got stuck on your rag, and maybe even removed some of the paint or stain in the process. Poly fills in the pores and creates a wipe-able surface.
- Oil based vs. water based polyurethane.
- Oil based poly is stronger, but takes at least 4-6 hours to dry in normal conditions. It’s regularly used on floors and other high traffic areas for its durability, but will ALWAYS add an amber-colored hue to the wood it’s sealing. DO NOT use this on any form or white or visible white area unless you want it a few shades toward gold. Ambering may happen immediate, but will always deepen over time. Especially with sun exposure.
- Water based poly isn’t quite as strong as oil based, but it’s dry time can be as short as 2 hours. Don’t use on high traffic areas. My favorite part: it doesn’t turn wood amber! this makes it ideal for use on white-painted wood. The downside: it costs a little more.
- How to apply. Gloves on. Blow and wipe off your tabletop to ensure it’s super clean and free from dust and debris. Use a blue shop towel or old rag to add a thin, even coat of poly to your top. Don’t wipe it off. Check for drips. Let it dry for 2-4 hours (water based) or 6 hours (oil based). Read your cans’ instructions and adjust as needed.
- Note: we did not poly the bottom of our table. If you’re making an outdoor table, consider using an outdoor polyurethane or varnish. And be sure to coat every single surface or risk wood rot and a dramatically reduced lifespan.
Step 14. Second clear coat the top.
- Light and evenly sand the entire top and edges with 220 grit by hand.
- Blow and wipe off excess dust formed by the sanding.
- Feel how gritty the tabletop has become. This necessitates a second coat.
- Apply a second coat using Step 13 as a reference point.
Step 15. Third clear coat the top.
- 2 coats is the absolute minimum. Run your hand across the top before applying a third coat. How much “plastic” is covering your tabletop? We recommend applying another coat of poly for optimal protection and clean-ability.
- Repeat Step 14 as you apply your third coat.
- Let it dry accordingly.
- 2-6 before carefully handling.
- 24 hours before light use.
- Multiple days to allow the surface to cure before regular use. Read the label on the can for an exact amount of time.
Done. Go throw a feast.
You shouldn’t be distressed, ’cause you just nailed it! Pleased with the outcome of your finishing prowess? You should be. Share it with the world and feel free to comment below or give us a shout out on social. Not go use your beautiful piece of furniture to build some community, serve your favorite home cuisine, connect with old and new friends, and host all the game nights ever. Cheers to that!


will lacquer leave the same amber colored hue as an oil based polyurethane ? Id like a surface that’s tough, and won’t mark when wiped off with water
Great question, Ken. Some lacquers have an amber hue. Some don’t. Finisher’s Warehouse has an excellent breakdown of all common types.
I find water-based polyurethane to be quite durable, especially for wipeable surfaces. This is my favorite clear coat for all tables. It dries very quickly, and is hydrophobic.
If you need the highest durability on the market, consider using water-based exterior polyurethane. Hope this helps!