Your wall is bare. Too bare. Not modern minimalist. More like backcountry bachelor. In the words of the Barenaked Ladies, it’s been one week since you looked at the gaping negative space. It’s time for a little visual interest. Let’s make something beautiful.
Functional & fabulous.
Shelves would fill that negative space perfectly. Not only offering (1) a pretty contrast from the wall with a mid-tone stain, (2) providing an area to display handmade trinkets or pictures, but (3) creating a functional platform to store easily accessible items for daily use. What’s the best use for your wall?
Our laundry room renovation.
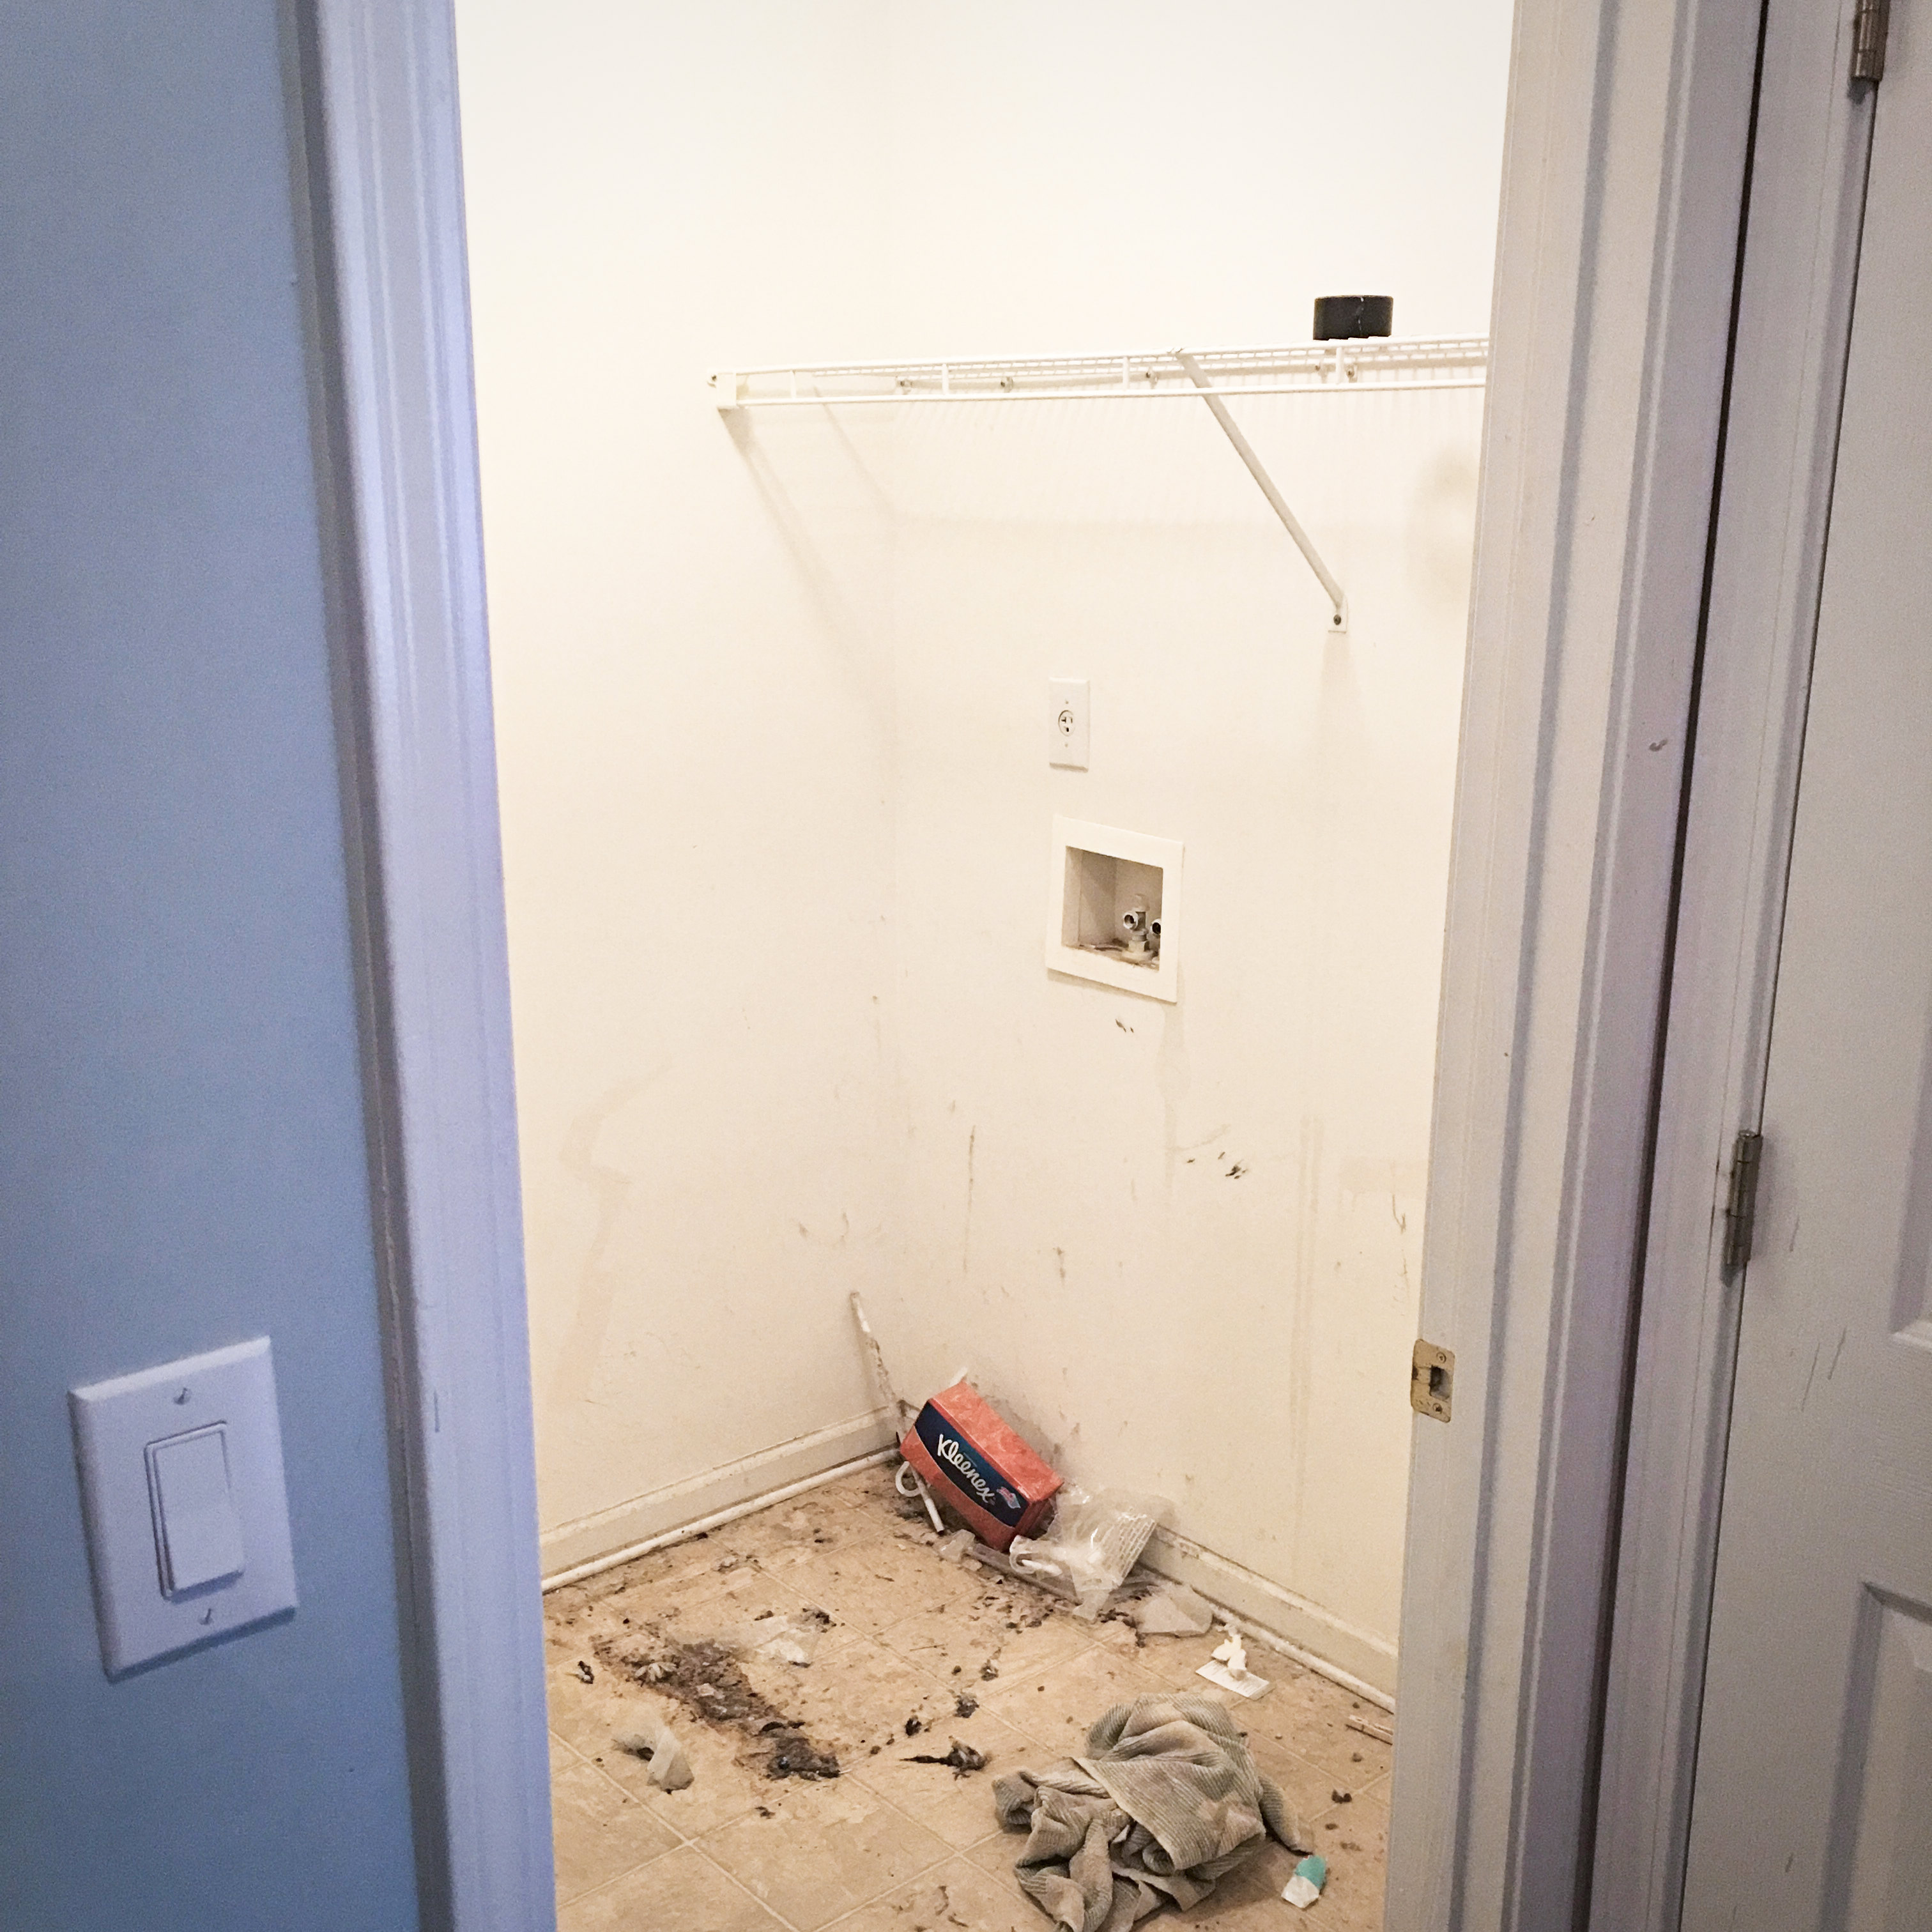
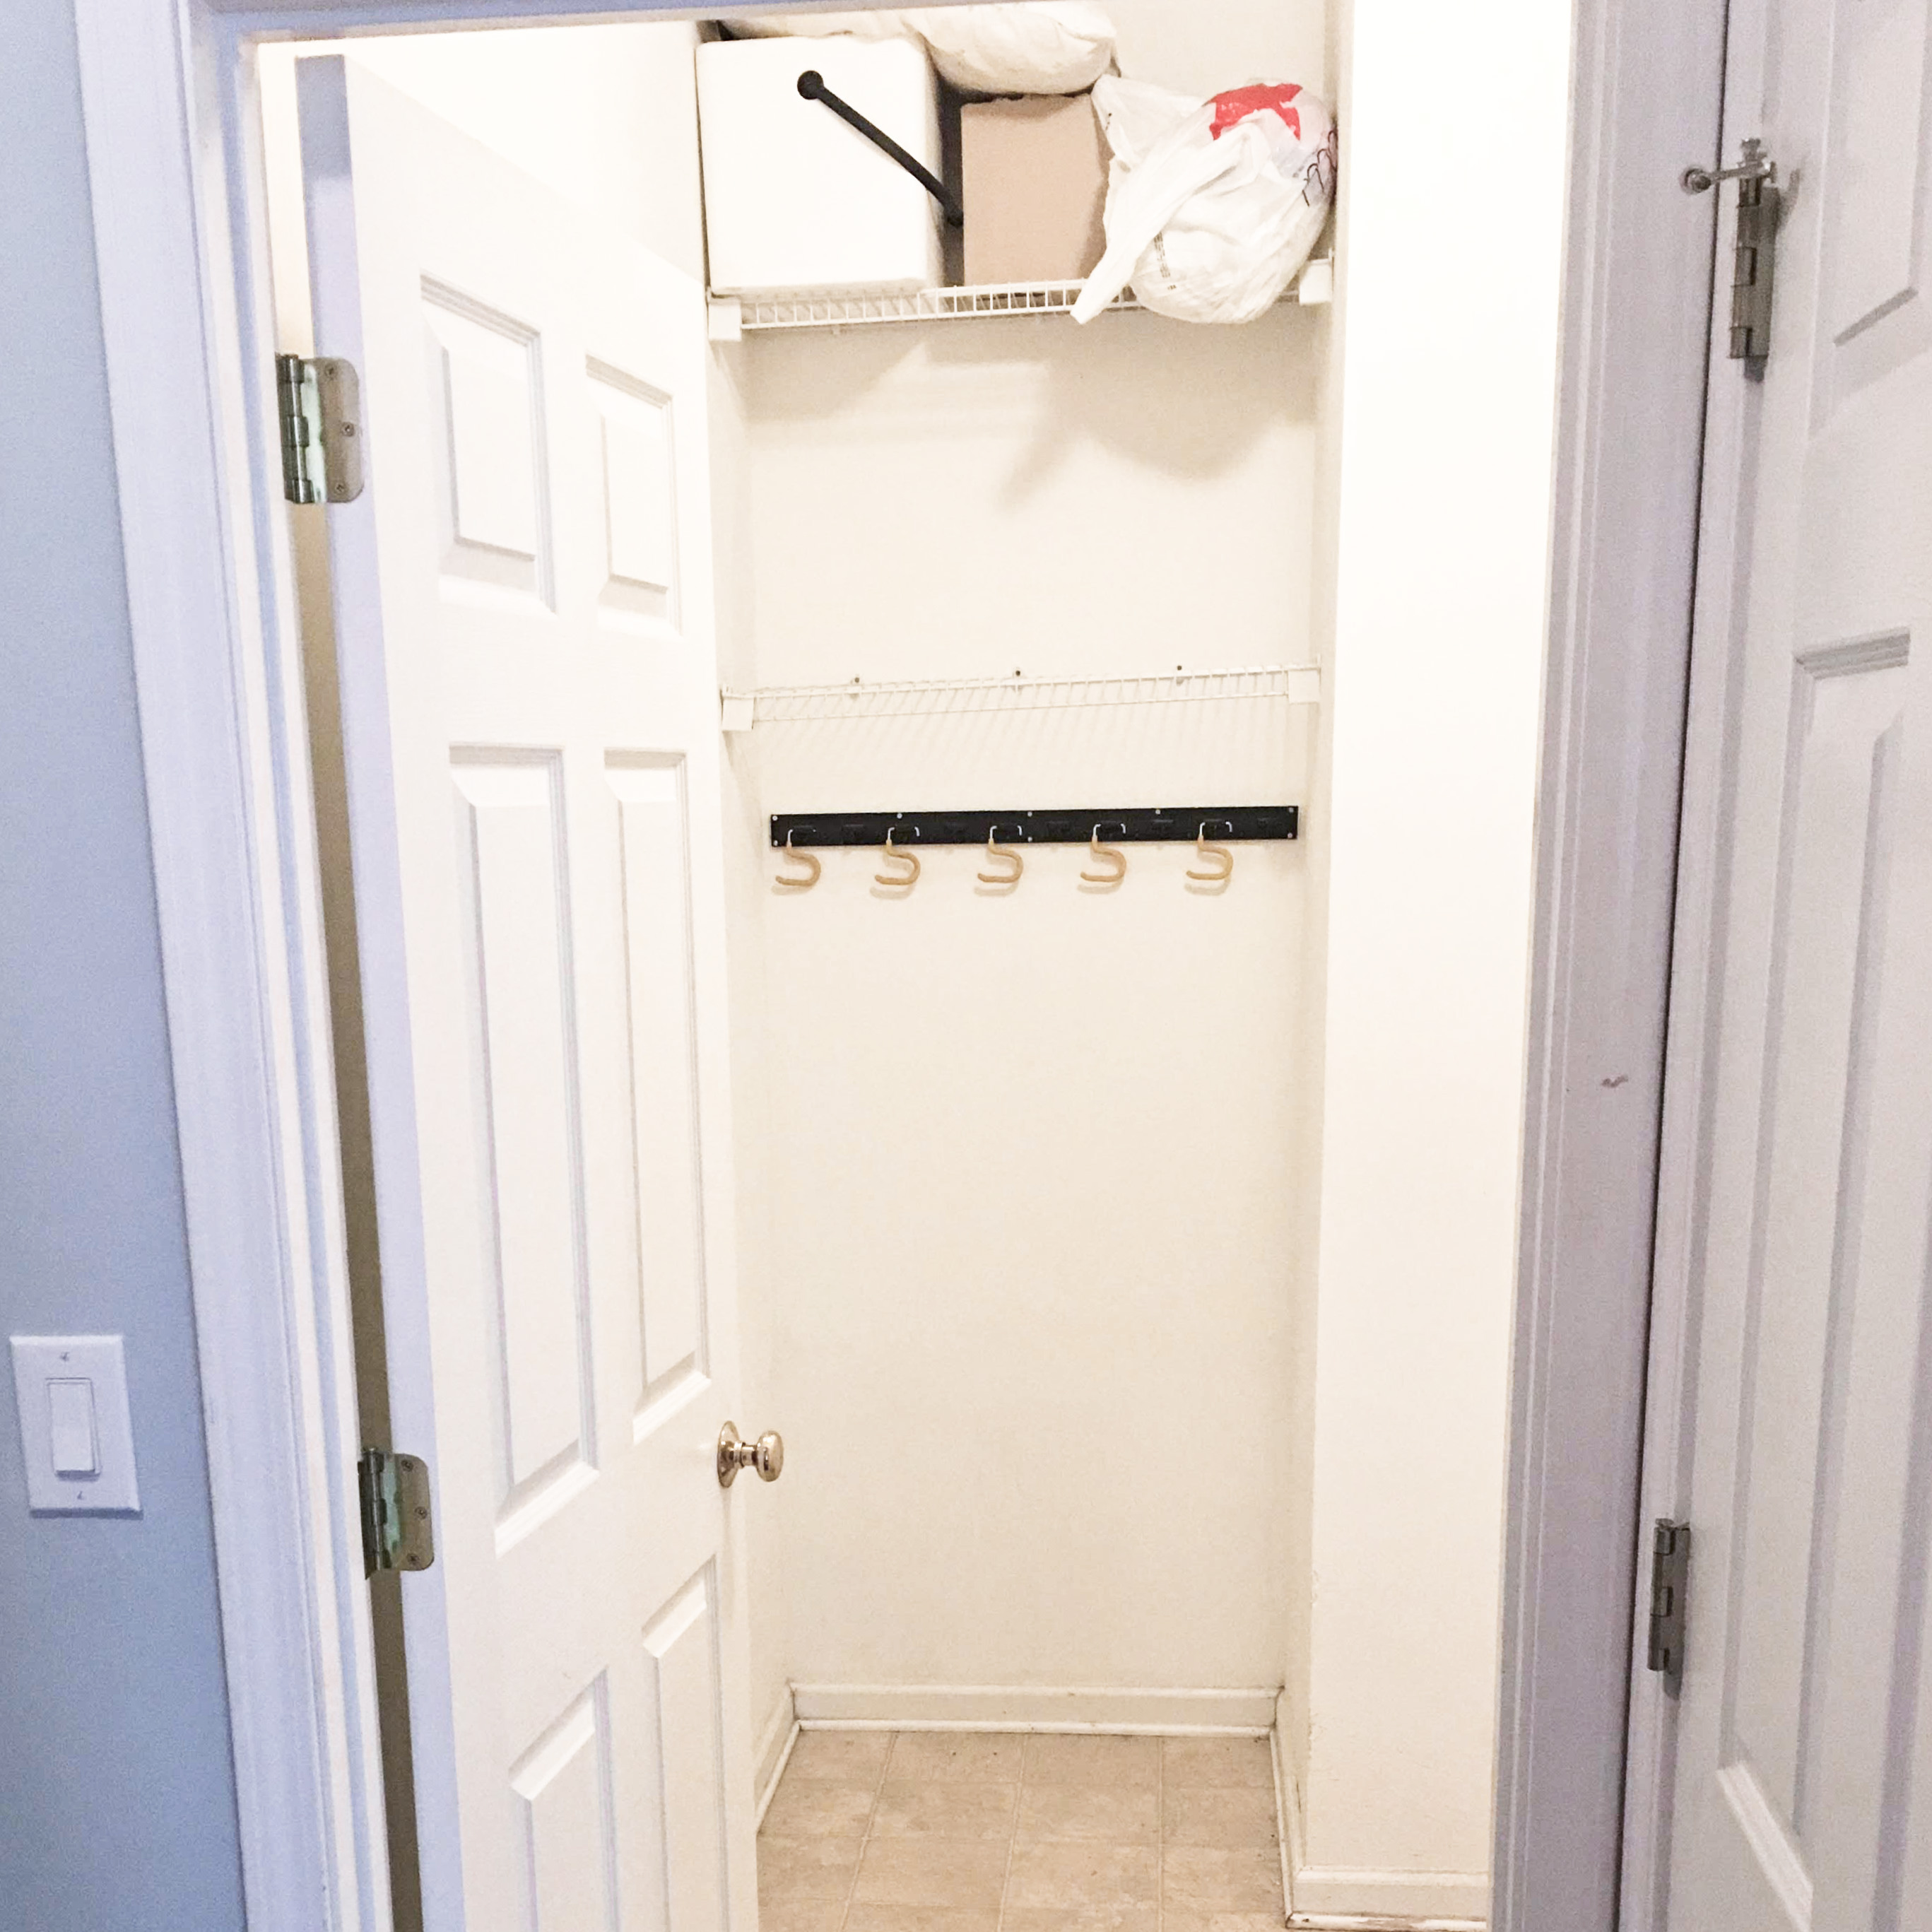
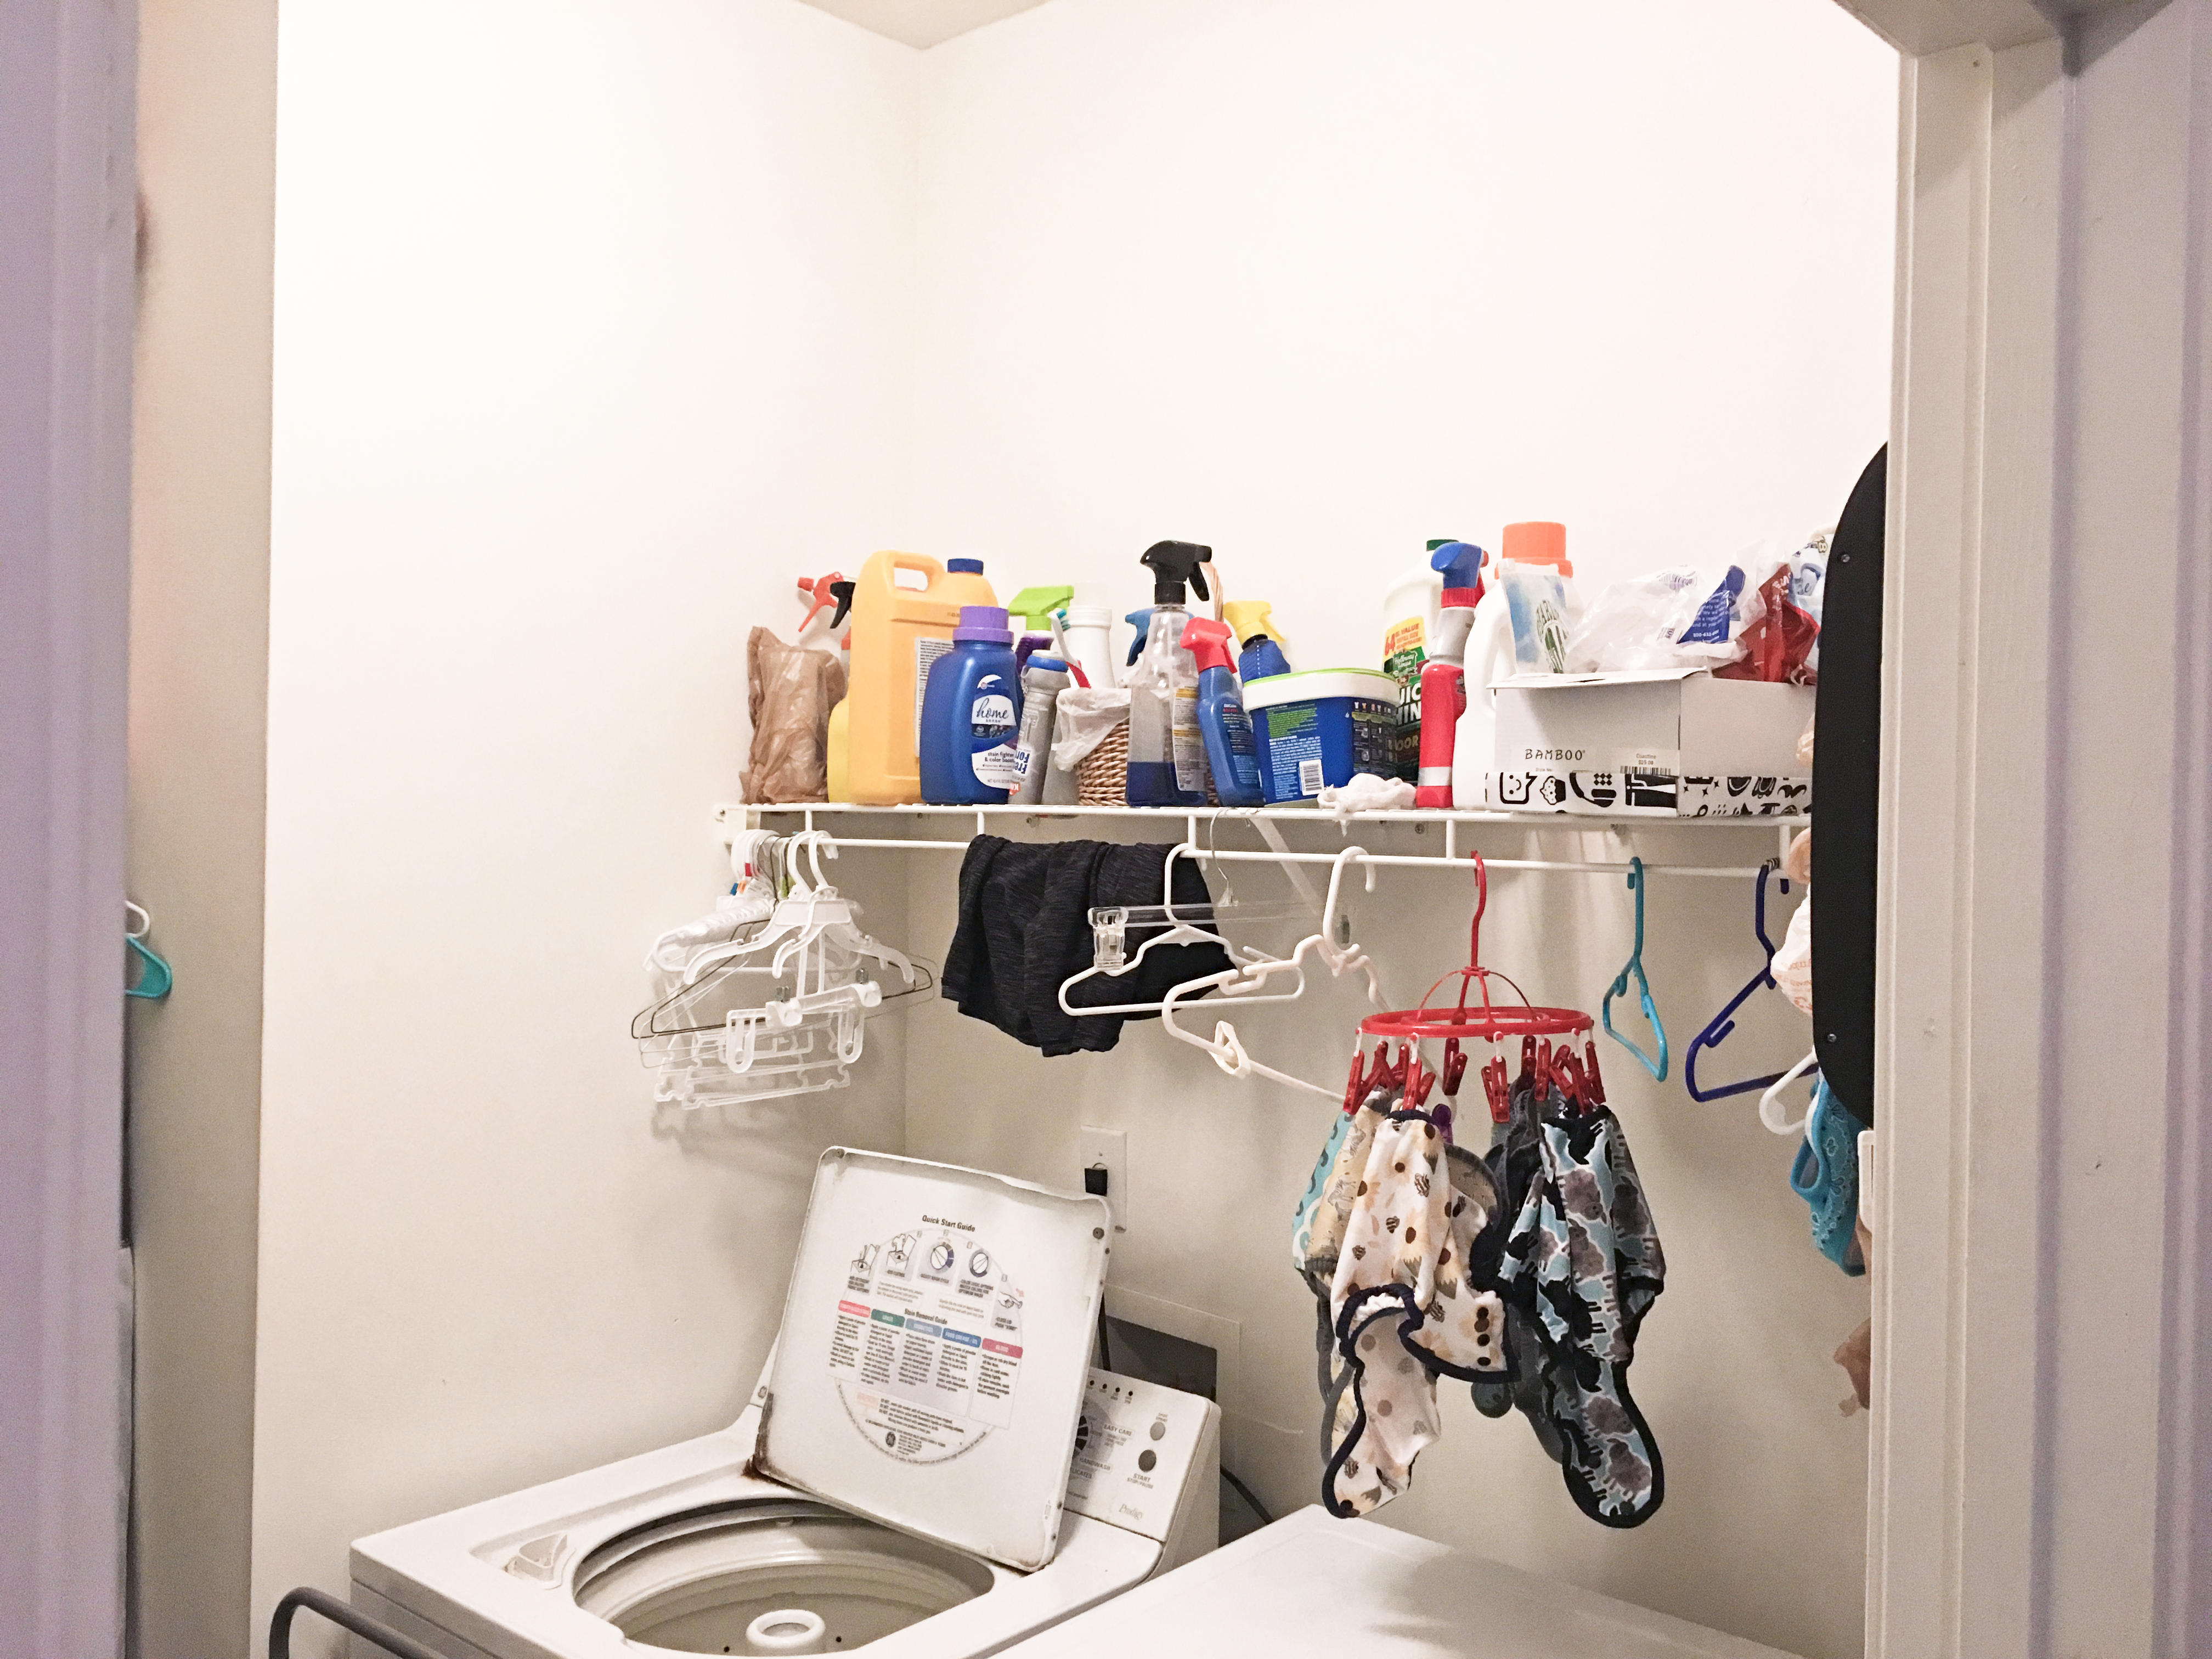
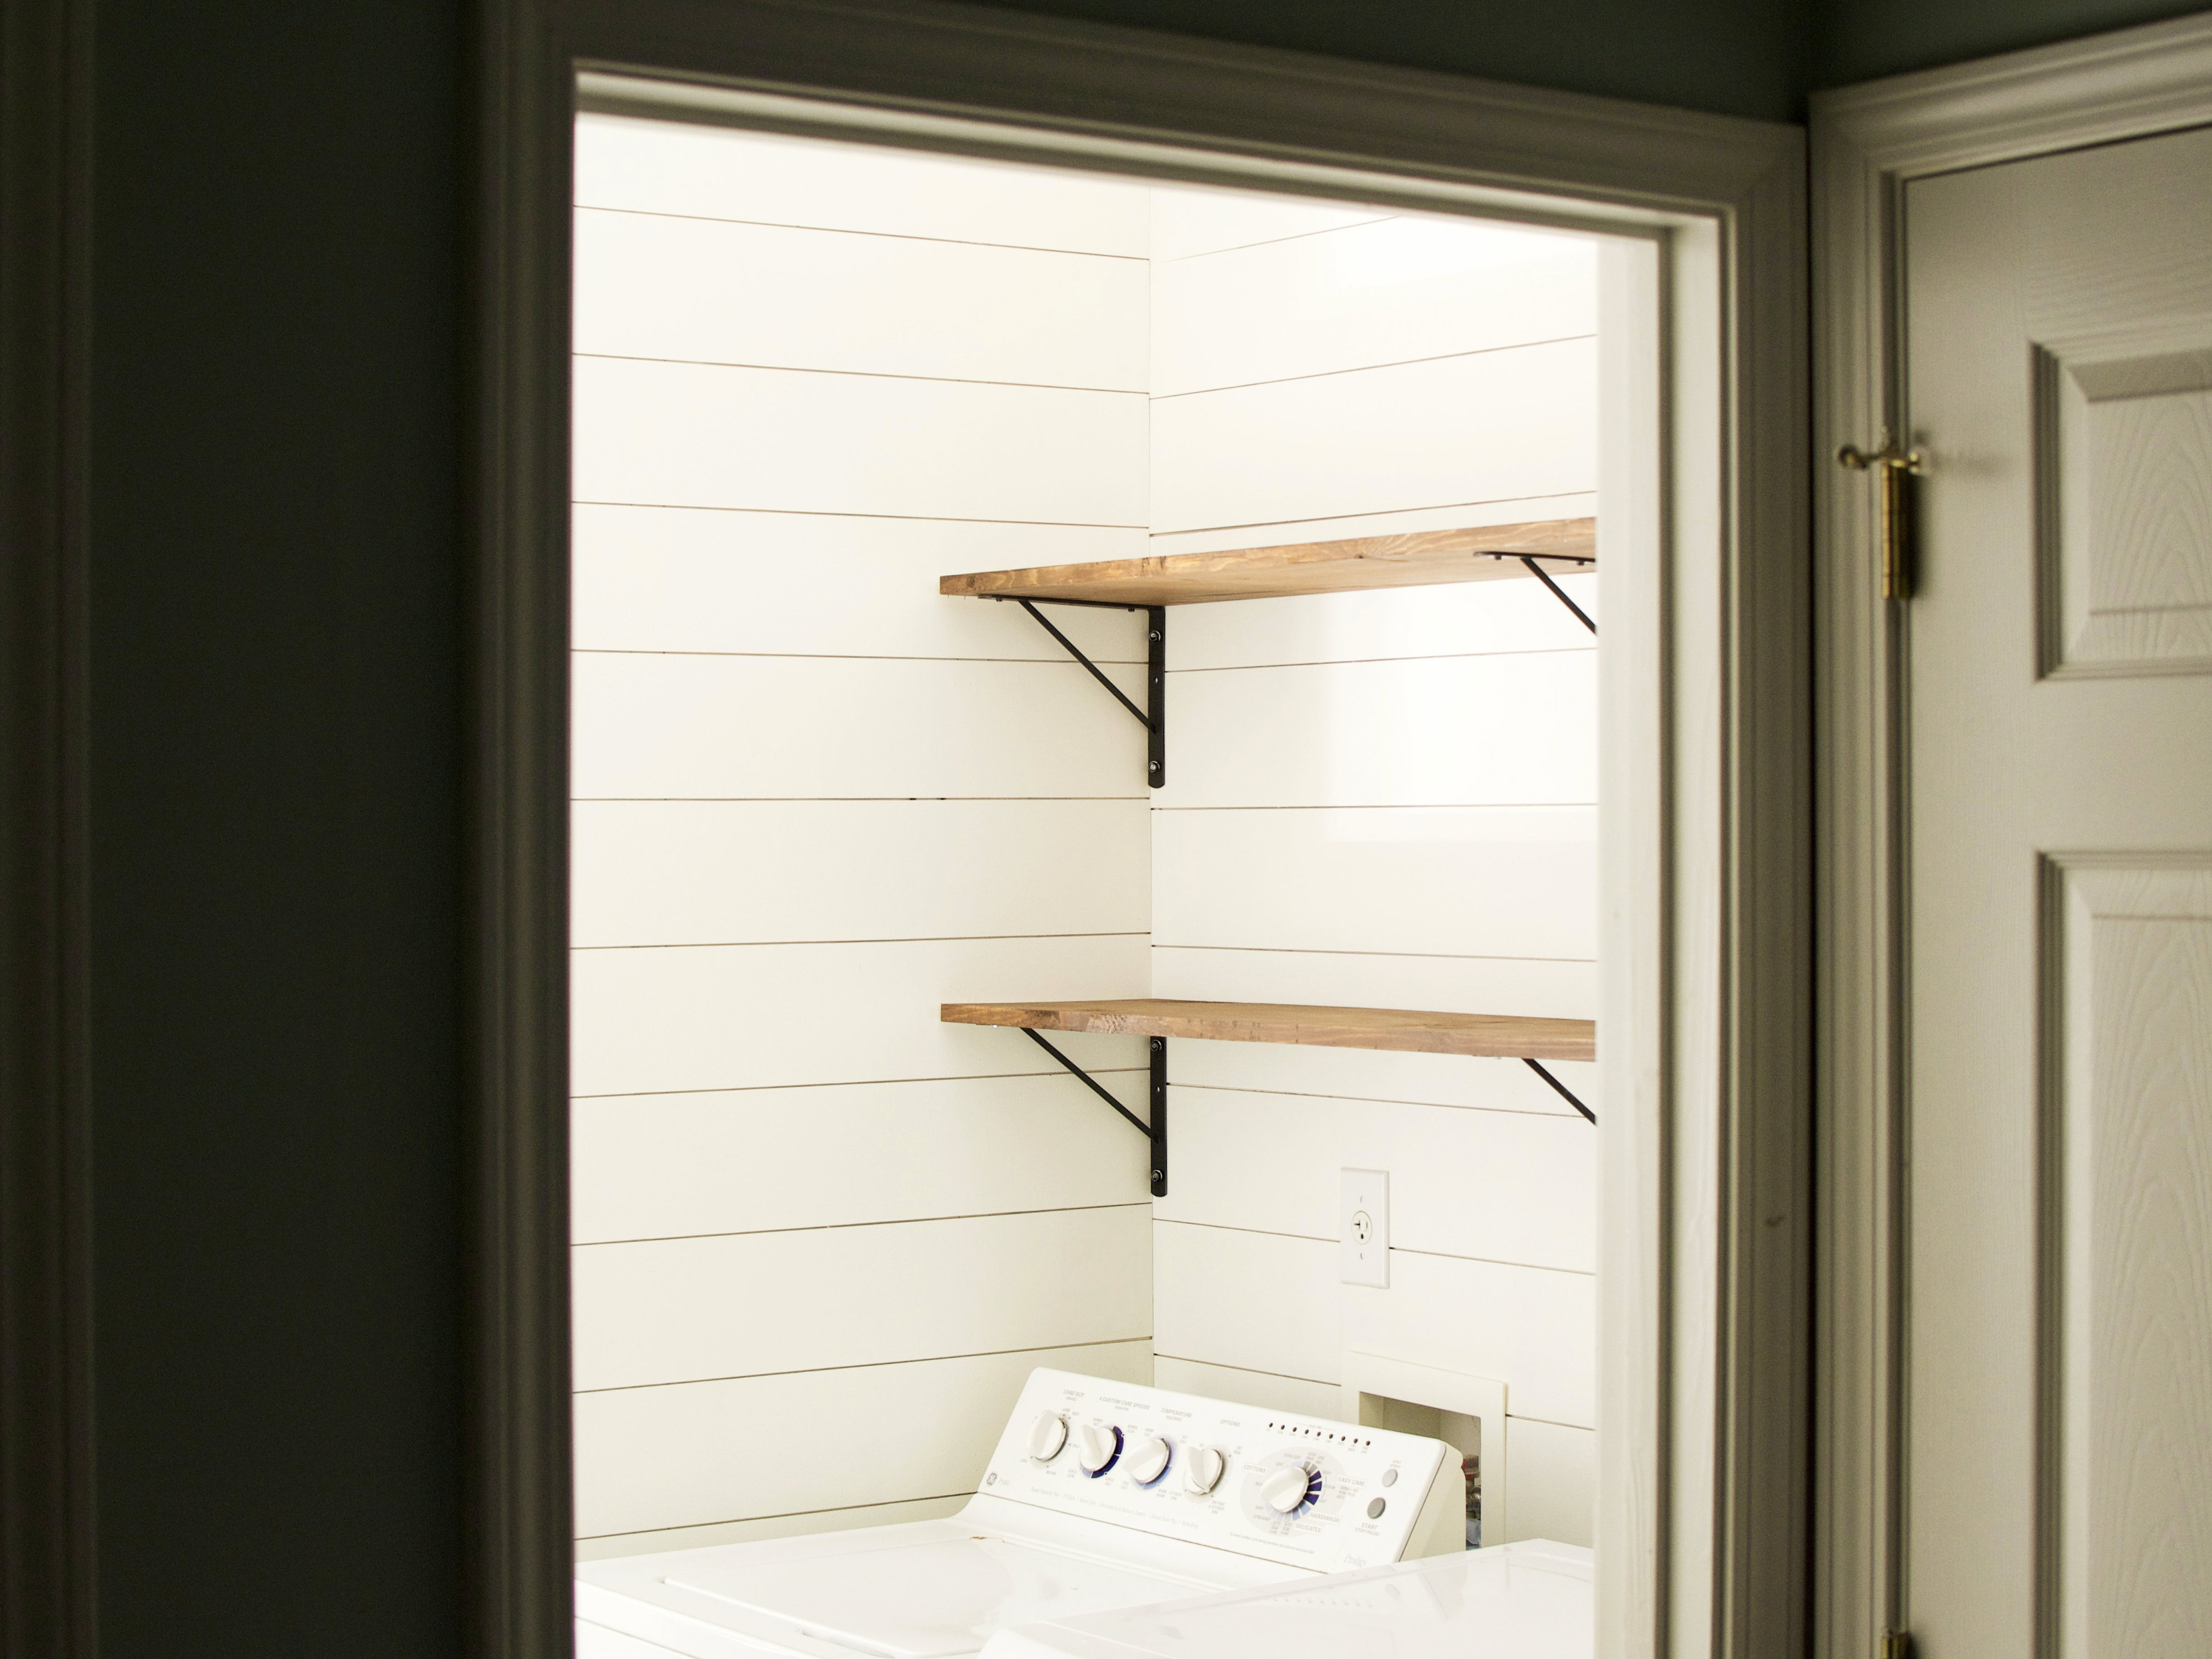
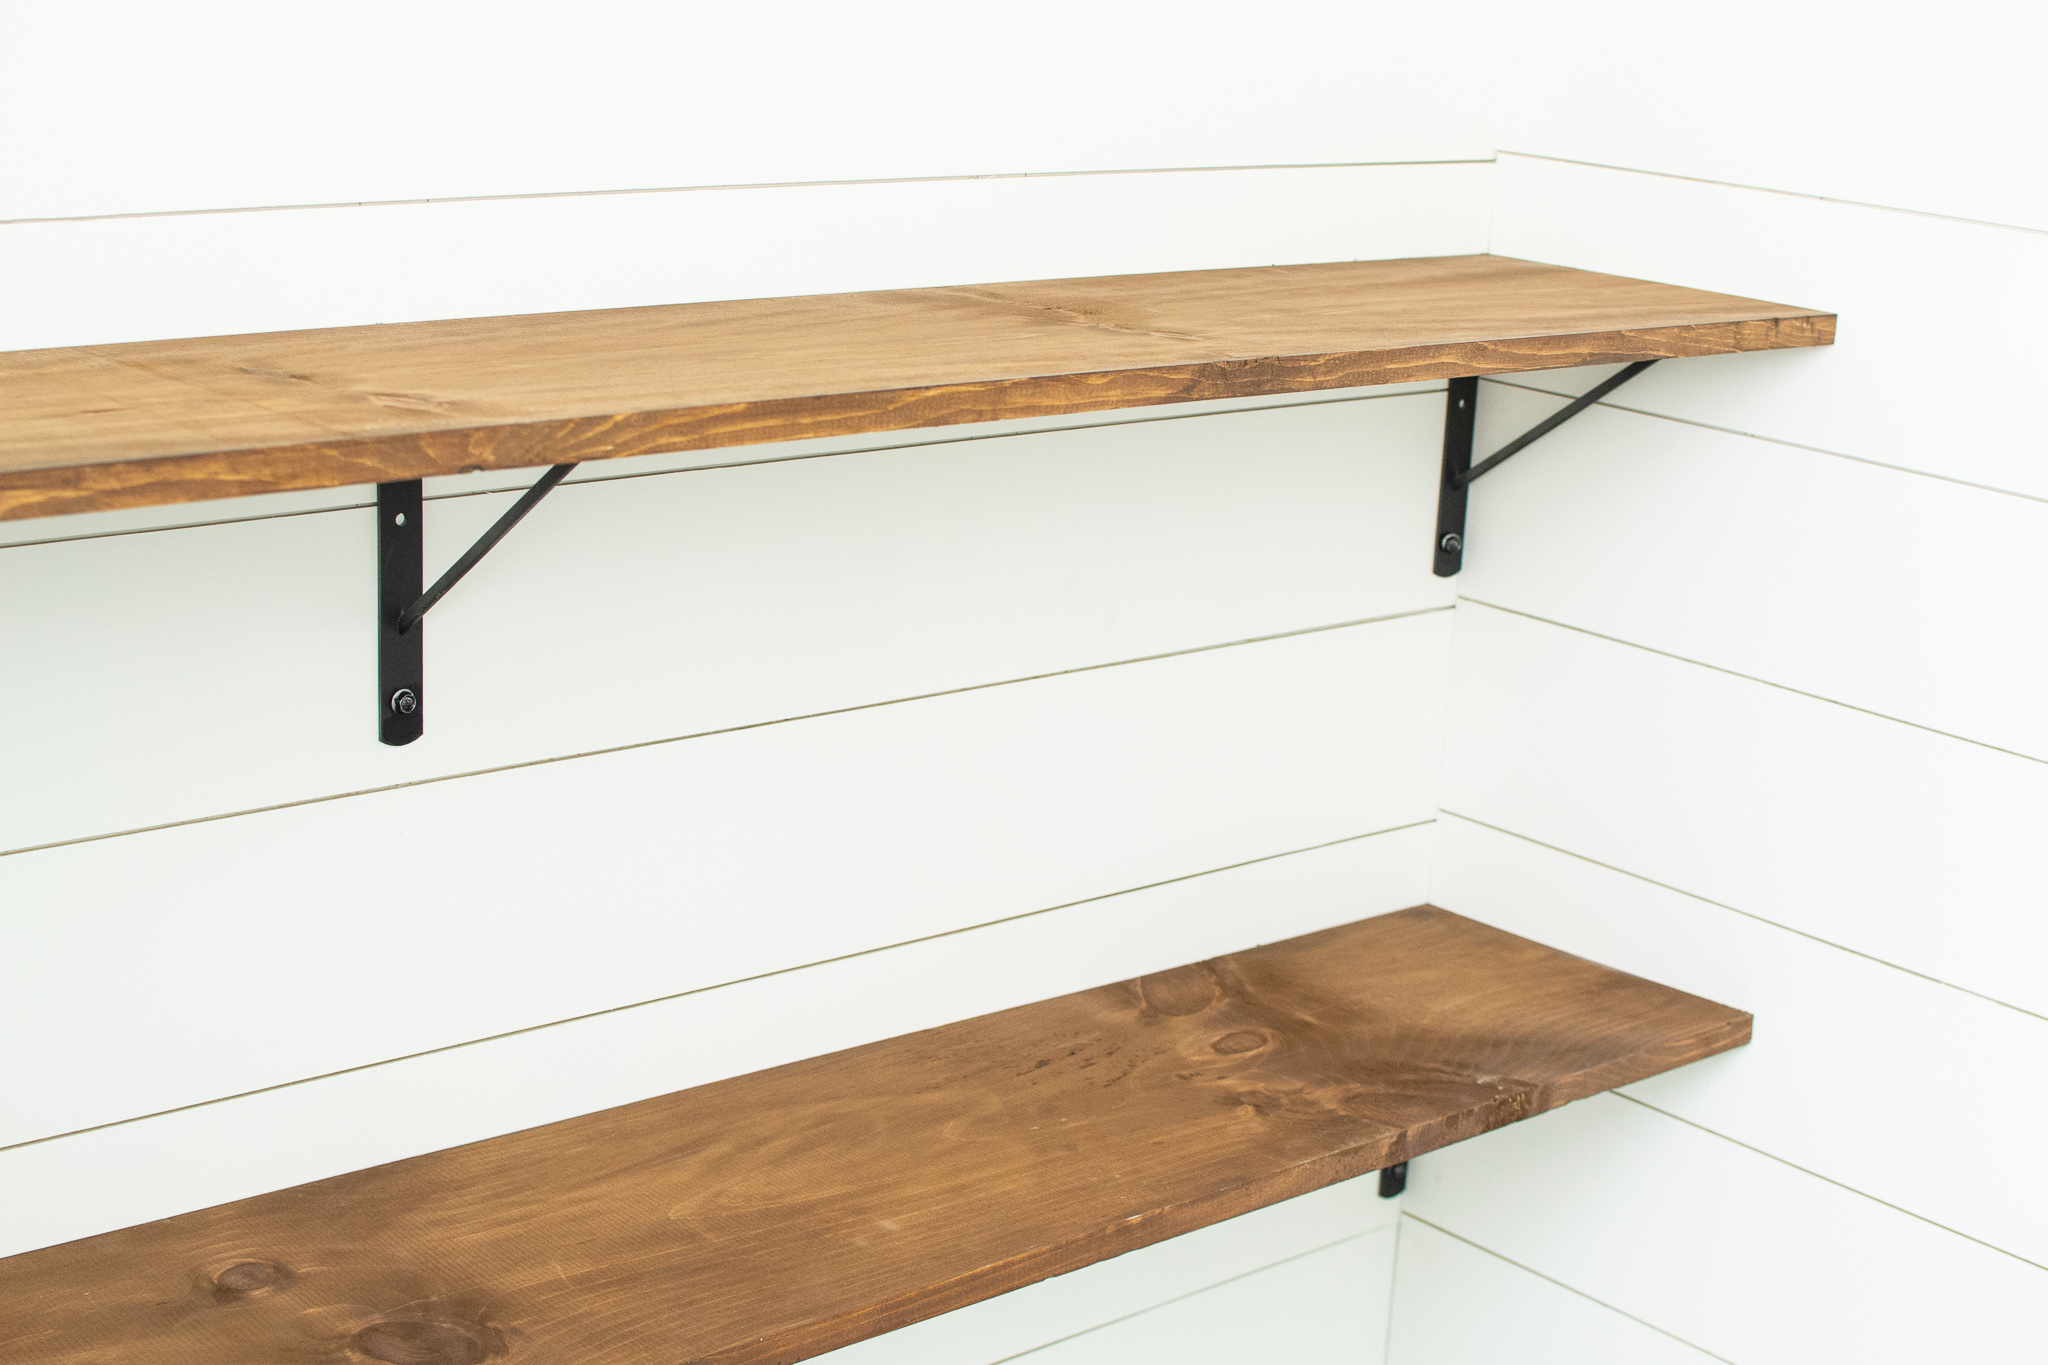
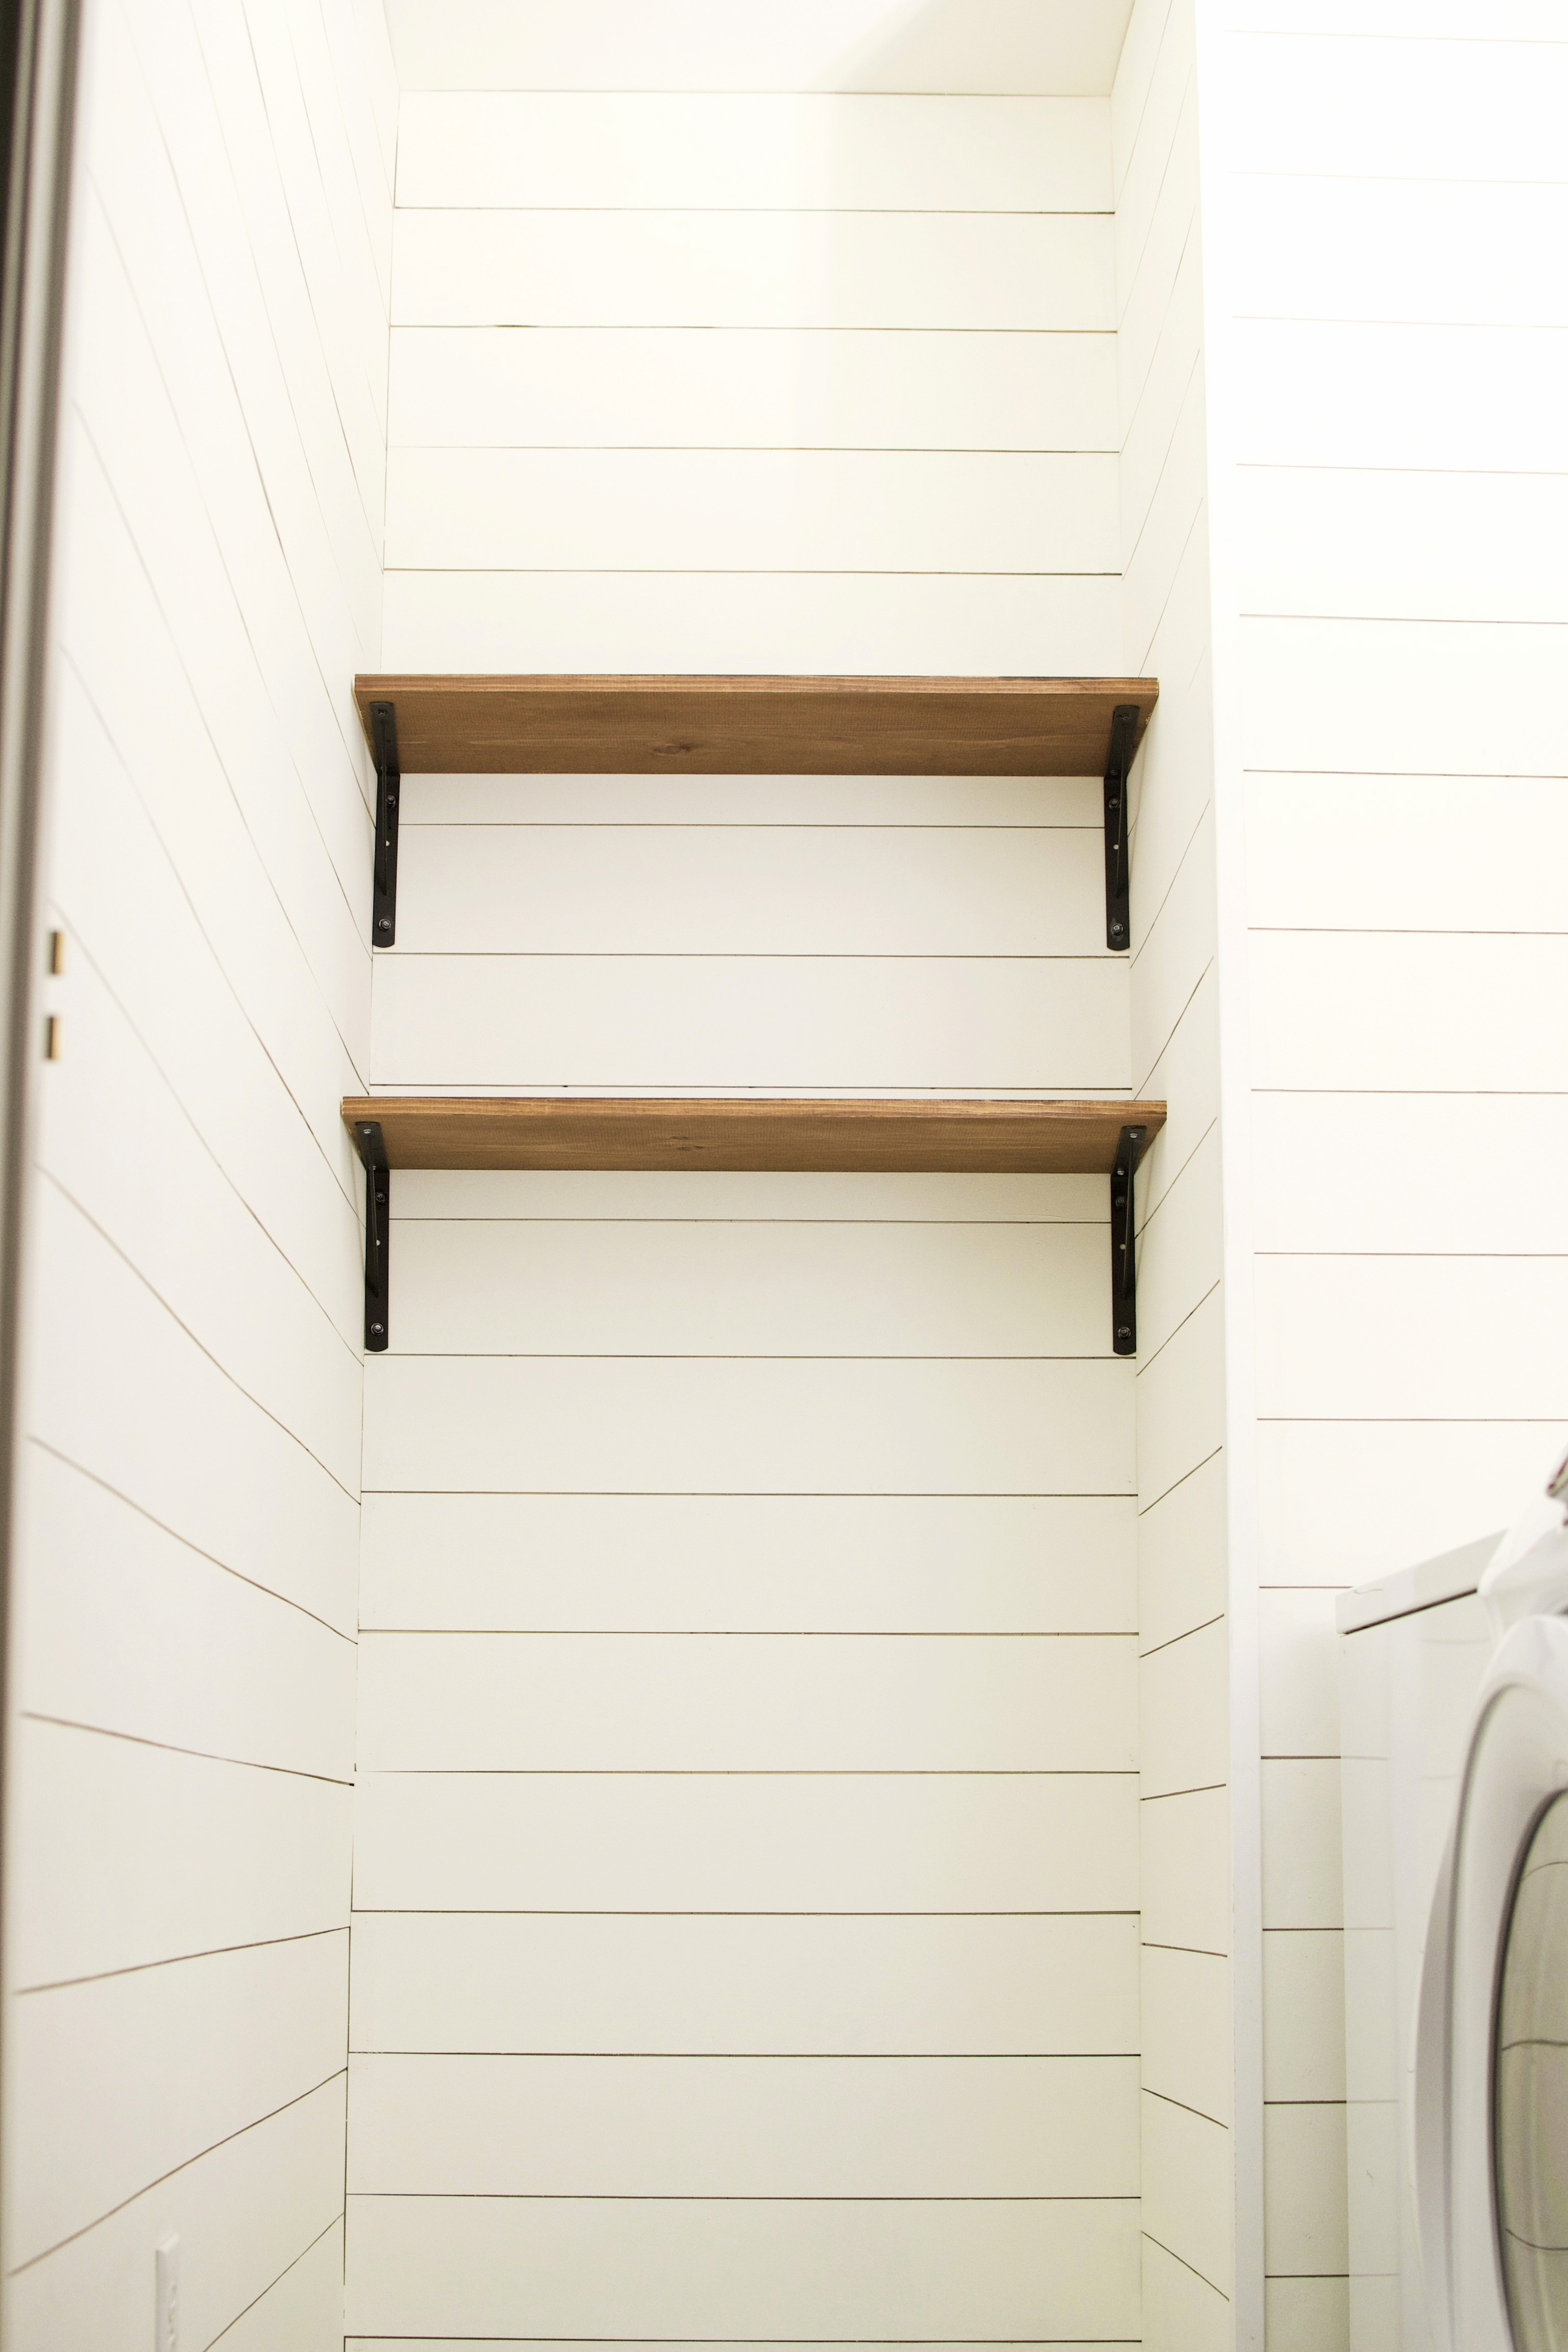
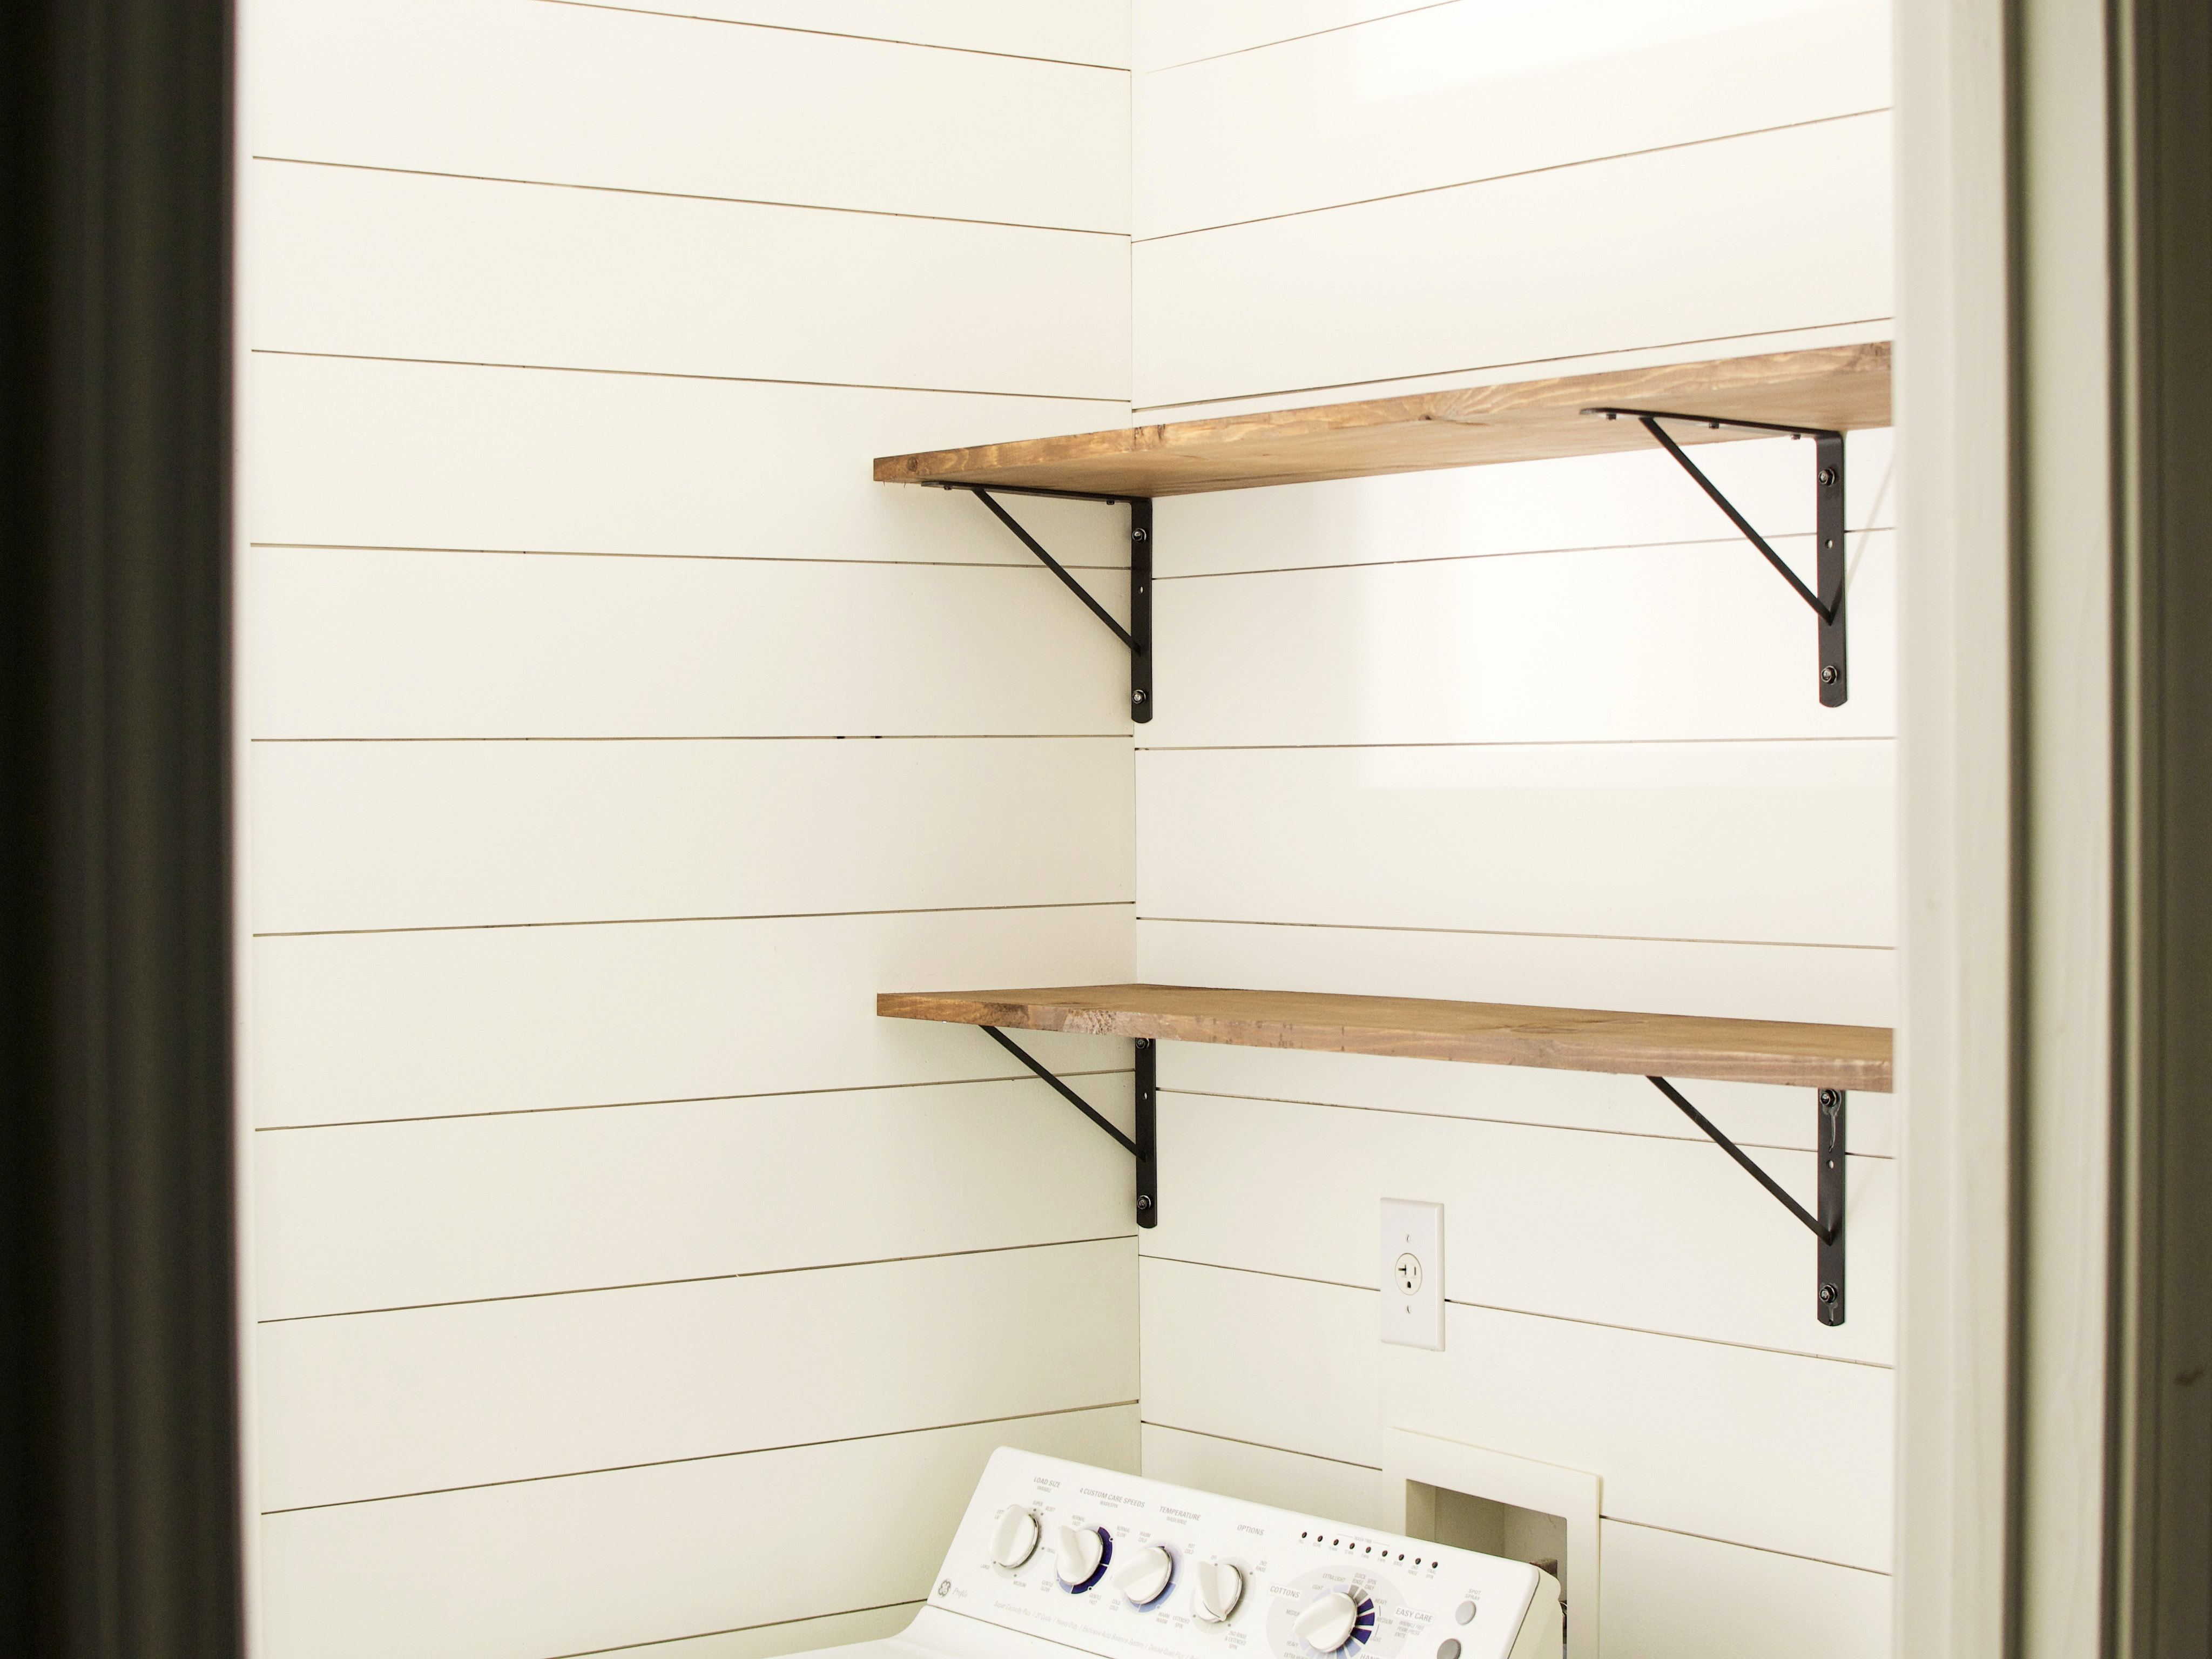
Our space is the laundry room. Before we renovated it, there were three wire shelves. Now we have four custom wood shelves. Our modern farmhouse approach helped us compliment our handmade Moroccan-style cement tile (Home Depot Twenties Classic ceramic) and DIY shiplap-covered walls with Early American (our recent favorite stain color) stained 1×12 shelves. Topped off with our dry brushed pallet wood crates. We almost doubled our storage space for cleaning products, old rags, reusable grocery bags and clothes hamper.
Plus, our laundry room design has been brought into the 21st century. Helpful AND handsome (*insert hyper-confident DadJoke*). Are you ready to take your wall to the next level? (Unless you’re on a ranch… where there isn’t a next level… I’ll go in my corner). Here’s how to make these beneficial beauties:

How to build DIY wood shelves.
Materials.
- 1×12 – dimensional lumber. Measure the length(s) you need. We used (2) 1x12x10 common boards totaling $46.96.
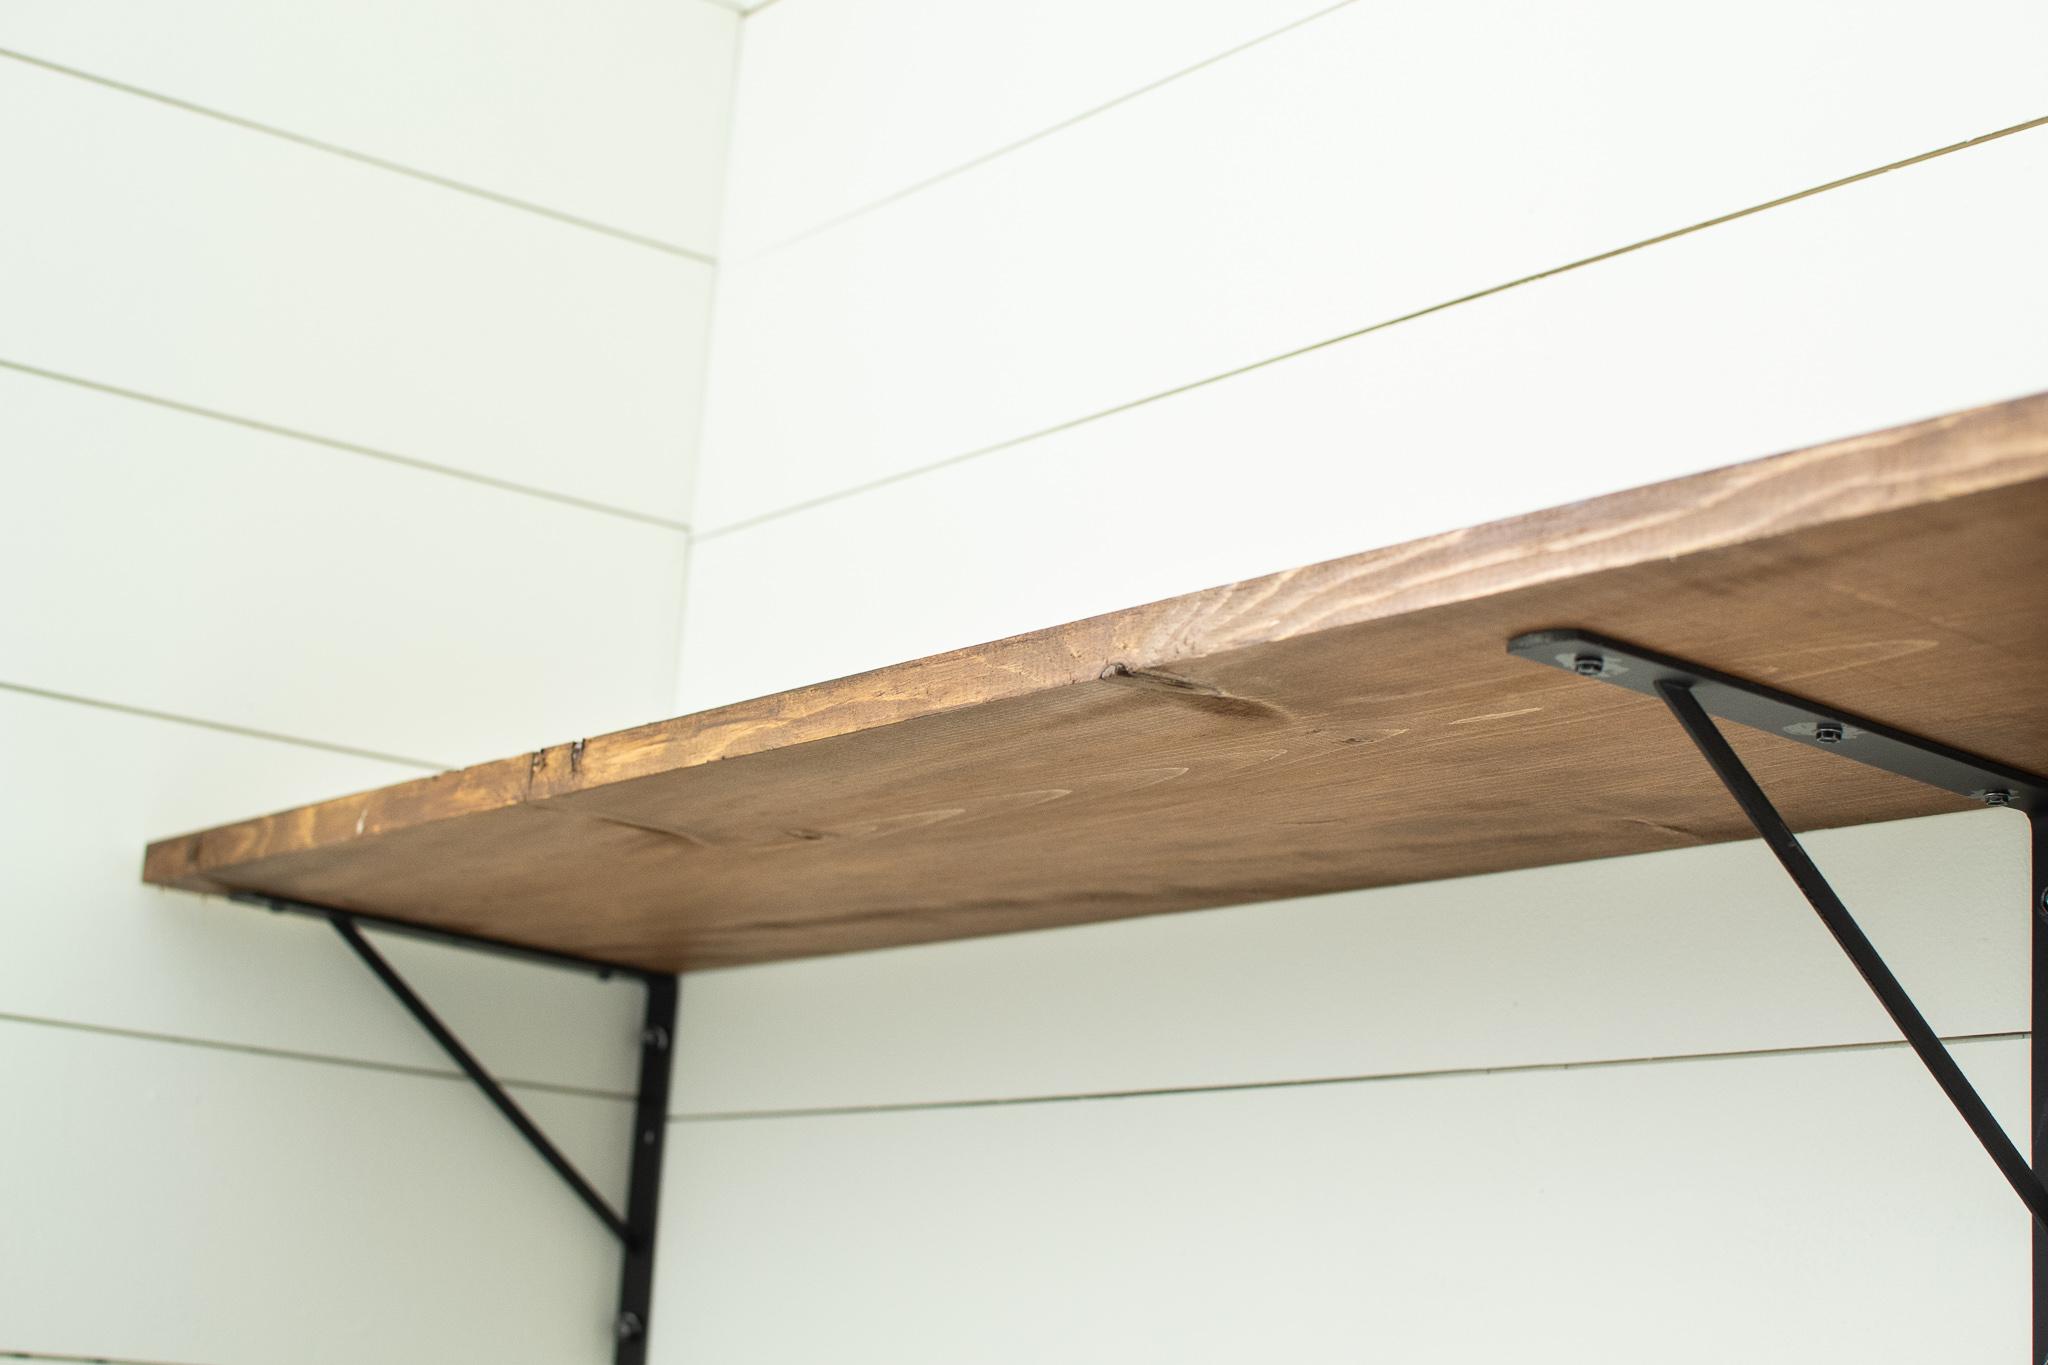
- 10” x 8” black medium duty shelf brackets. $4.78 a piece. We used 10, totaling $47.80.
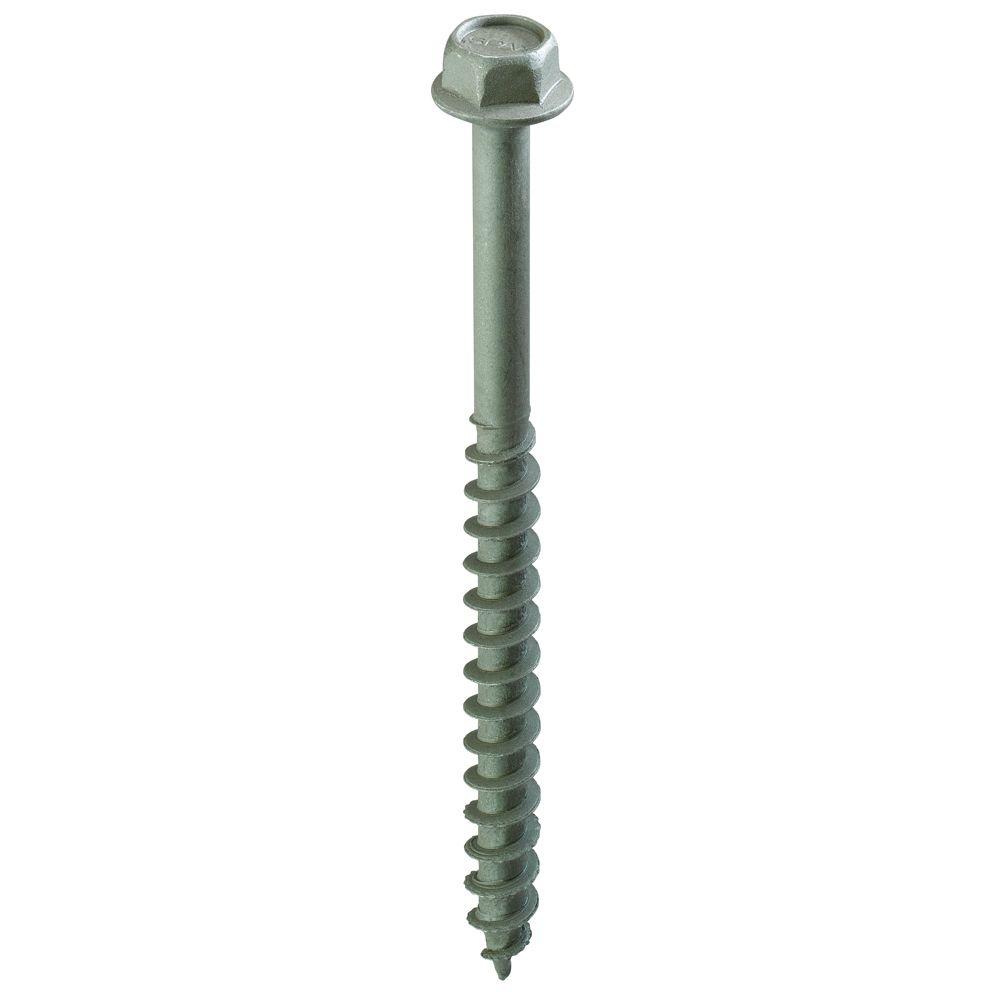
- 1/4″ x 3” Lag screws. 2 per bracket. $15.07 for a box of 50 screws.
- #6 x 1/2″ Hex screws. To secure the wood shelves. 100 for $5.58.
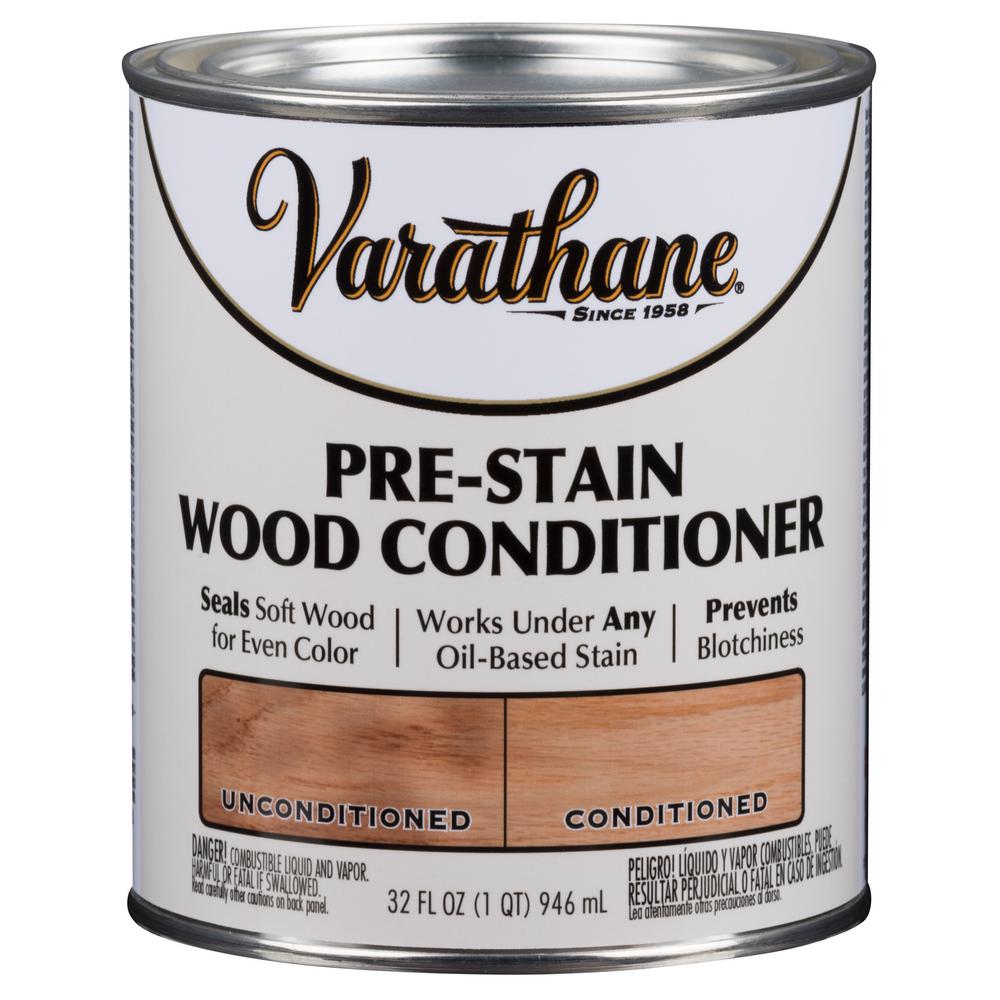
- Pre-Stain Wood Conditioner. Goes on softwoods (like pine) before staining. Linked 2-pack (1 qt. each) for $25.34. Buy one can for ~$12.67.
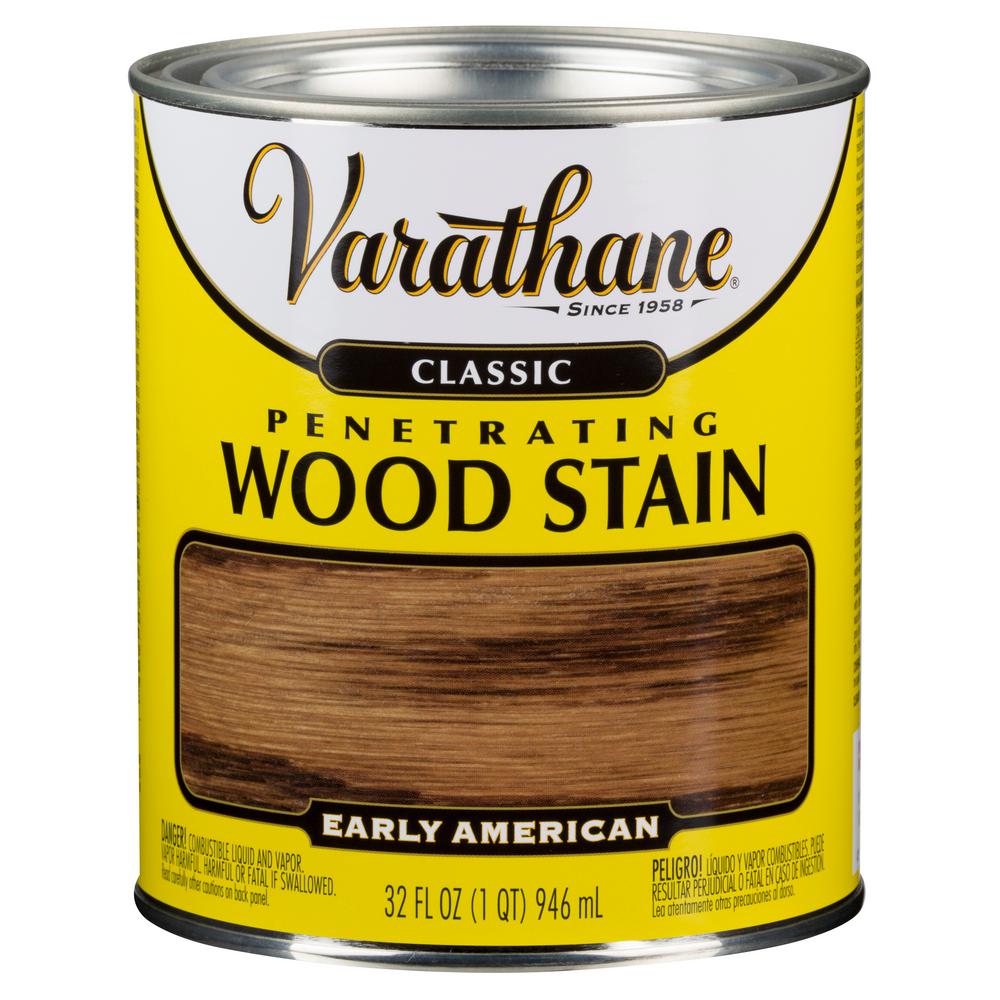
- Wood stain. We used Varathane Early American. Linked 2-pack (1 qt. each) for $15.96. Buy one can for $8.98.
- Blue shop towels. Linked 6-pack for $11.98. 3-pack for $5.98.
- Nitrile gloves. 50 for $4.97.
- (Optional) Spray paint for the brackets. We bought gray brackets and sprayed them black.
Tools.
- Miter saw. Or circular saw.
- Impact driver (or) corded drill/driver with a clutch. Save money on a combo kit.
- Nut drivers (bits) for the lag screws & 1/2″ long hex screws.
- Orbital sander.
- Measuring tape.
- Stud finder.
- Level.
- Pencil.
- Ear plugs.
- Safety glasses.

Budget.
- (2) 1x12x10 + (10) 10” x 8” black medium duty shelf brackets + 1/4″ x 3” lag screws + #6 x 1/2″ hex screws + 1 qt. pre-stain wood conditioner + 1 qt. Varathane Early American wood stain + blue shop towels + nitrile gloves…
TOTAL = $148.01.
- Already have the pre-stain, stain, shop towels & nitrile gloves? (2) 1x12x10 + (10) 10” x 8” black medium duty shelf brackets + 1/4″ x 3” lag screws + #6 x 1/2″ hex screws…
TOTAL for DIY regulars = $115.41.
Before photos of the laundry room.
Step 1. Determine the stain & bracket color.
- If you love the modern farmhouse vibe, we recommend choosing a stain that contrasts your wall color. We installed DIY shiplap that we painted white. Varathane’s Early American offered a mid tone brown that offered visual juxtaposition against the white shiplap but isn’t too dark.
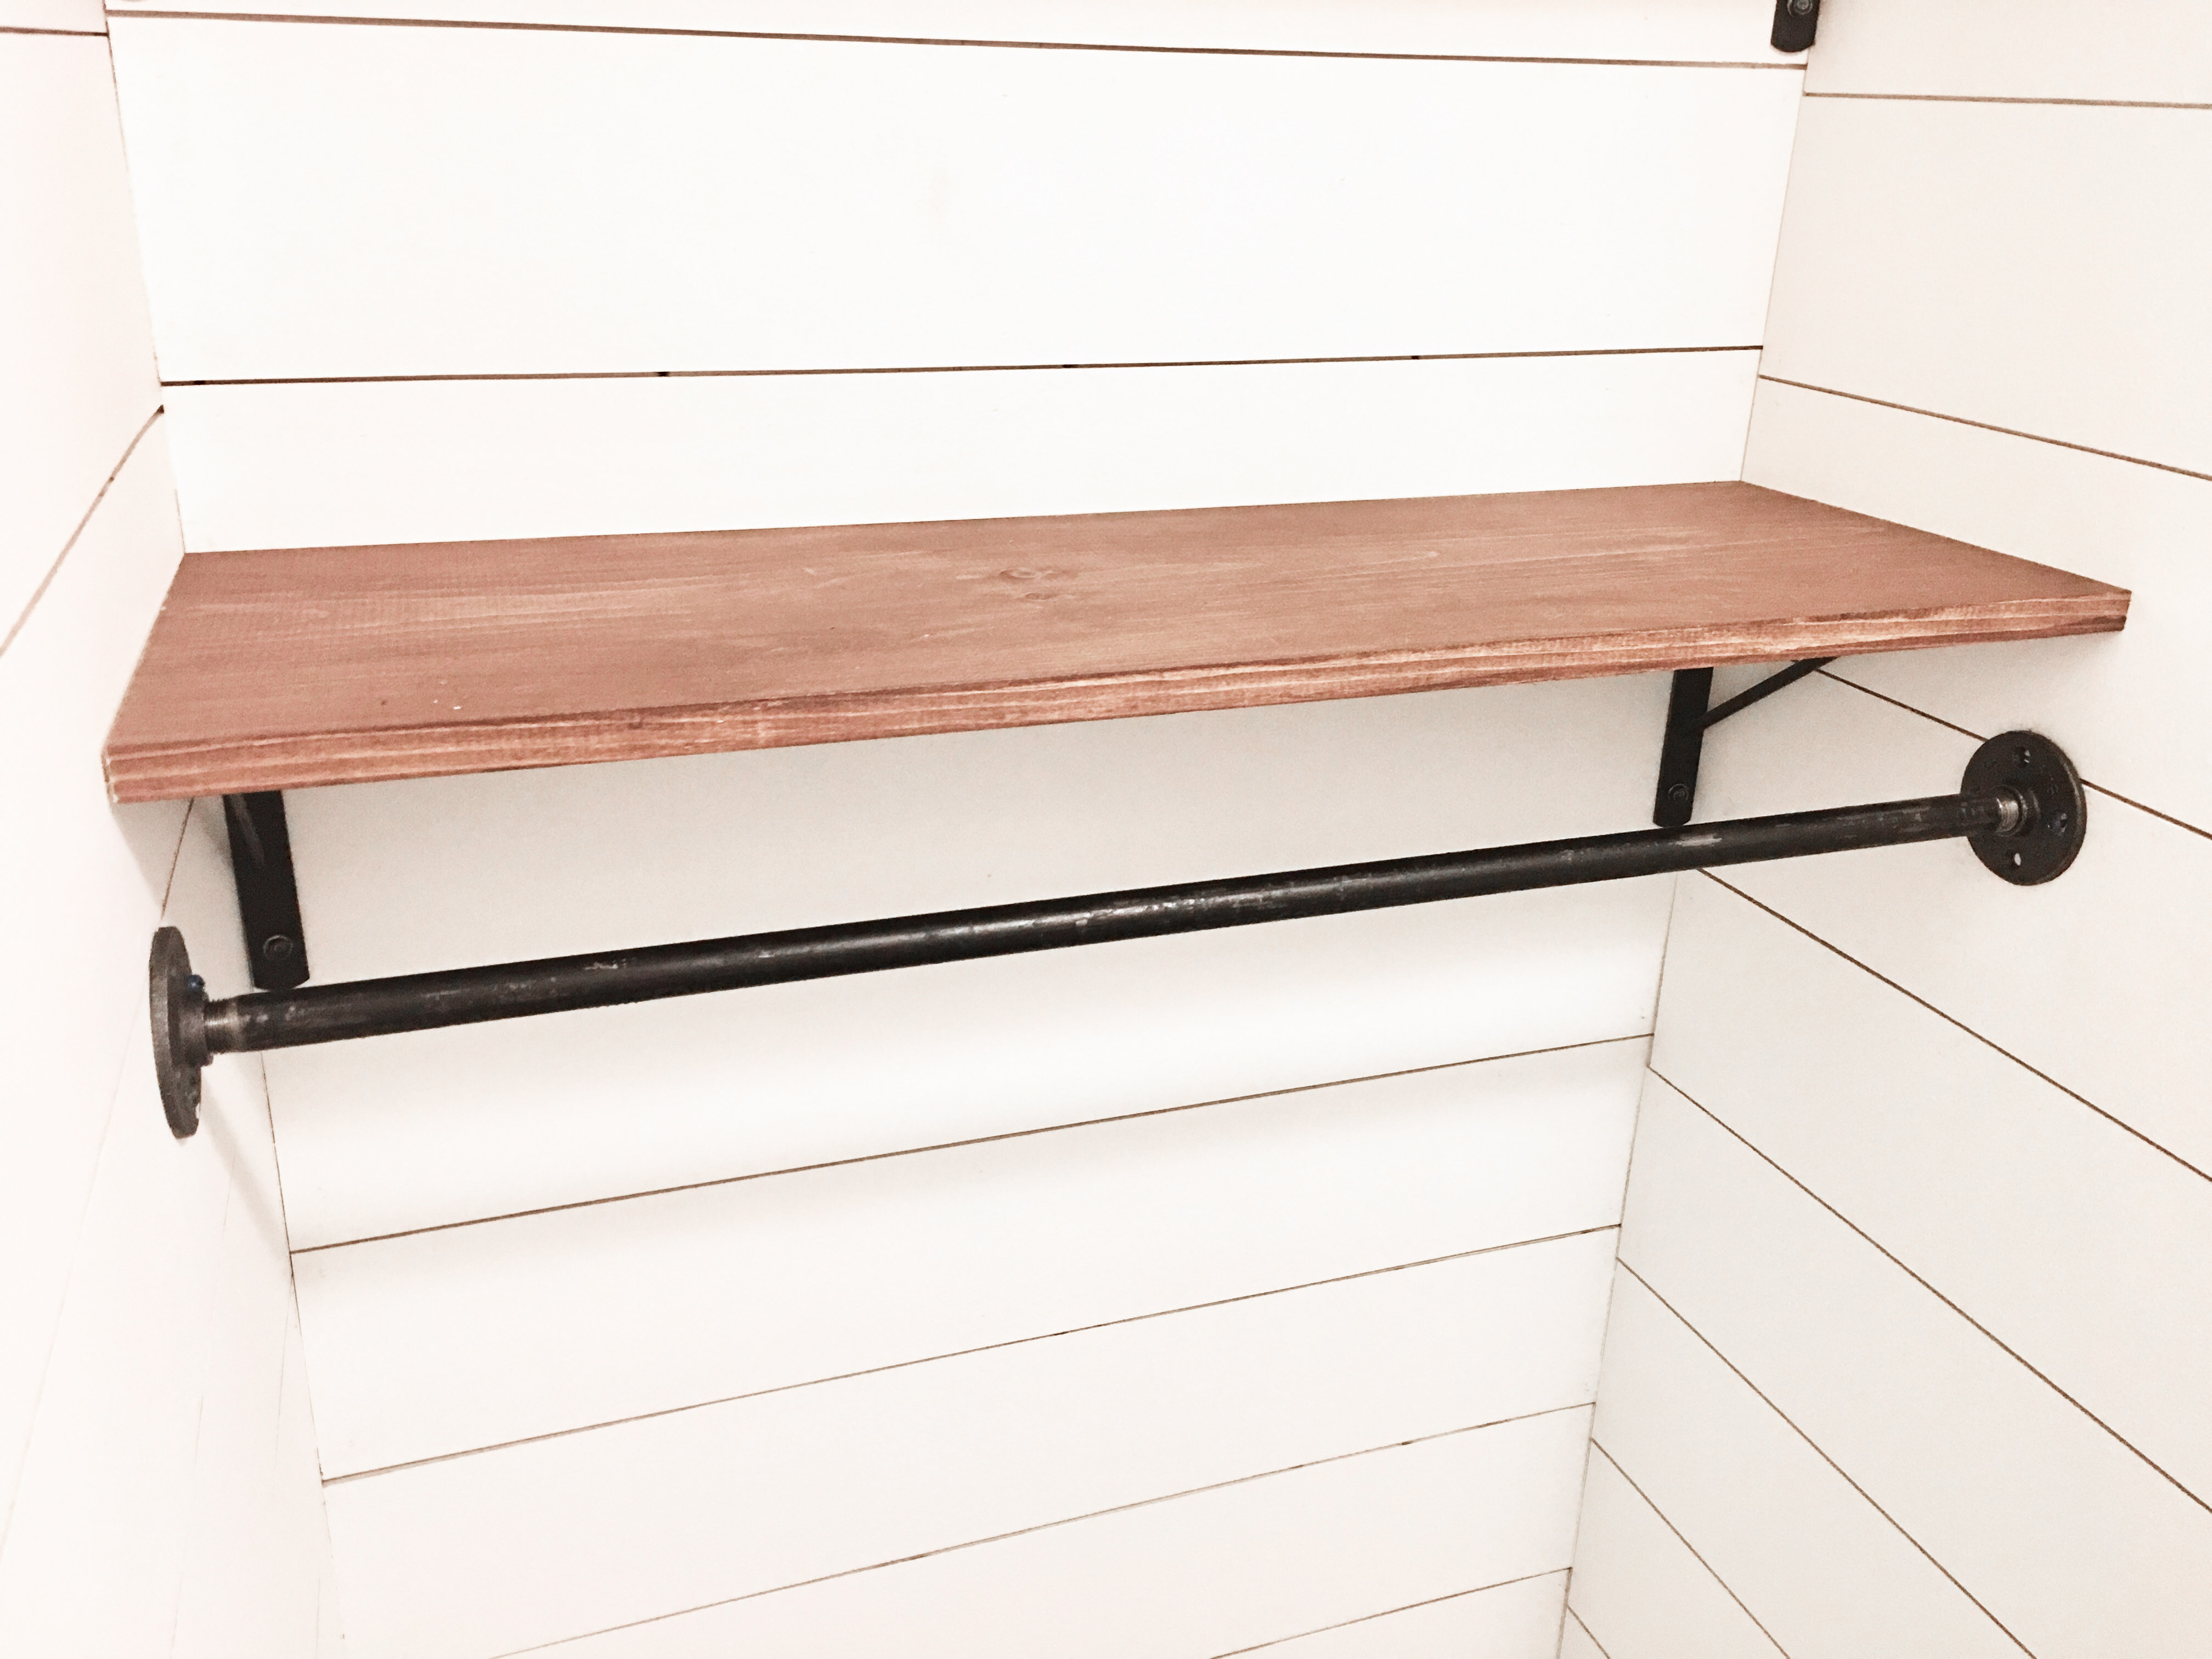
- With white shiplapped walls, we decided on black brackets and black pipes to support clothes hangers for contrast and a gray and white patterned floor tile. These are offset by our DIY pallet wood crates set upon the shelves to hold laundry room accoutrements. We love the contrast of the white and black along with the natural wood tones.
Step 2. Inventory your garage or shop.
- Before you take a trip to the hardware store, inventory the materials and tools you already have.
- If you’re a regular DIY kind of human, do you have some leftover pre-stain wood conditioner? Mid-tone wood stain? Shop towels? Gloves? Any extra 1 inch thick common boards to use for your shelves?
- Be sure to borrow the tools you don’t currently have if you need to assess their long term value to you.
Step 3. Hit up the local hardware store.
- Lag screws. Why lag above a standard thickness screw? Structural integrity. We needed the peace of mind that anything we store on our shelf will hold without question.
- Pre-stain wood conditioner. Is it really necessary? The answer is yes. Softwoods like pine do NOT absorb stain evenly, resulting in a splotchy, streaky, uneven pigment. Pre-stain helps the wood absorb the stain more evenly, resulting in a more even coat.
- Blue shop towels. Wouldn’t any old paper towel work? No way. The lint level of a standard paper towel is through the roof. Lint heavy materials will end up covering your wood stain with thousands of tiny paper fibers. They also break way more easily.
- Impact driver. It’s the cordless drill with enormous amounts of torque, aka rotational force. When your standard cordless drill/driver wears out on a lag screw, install it with an impact driver.
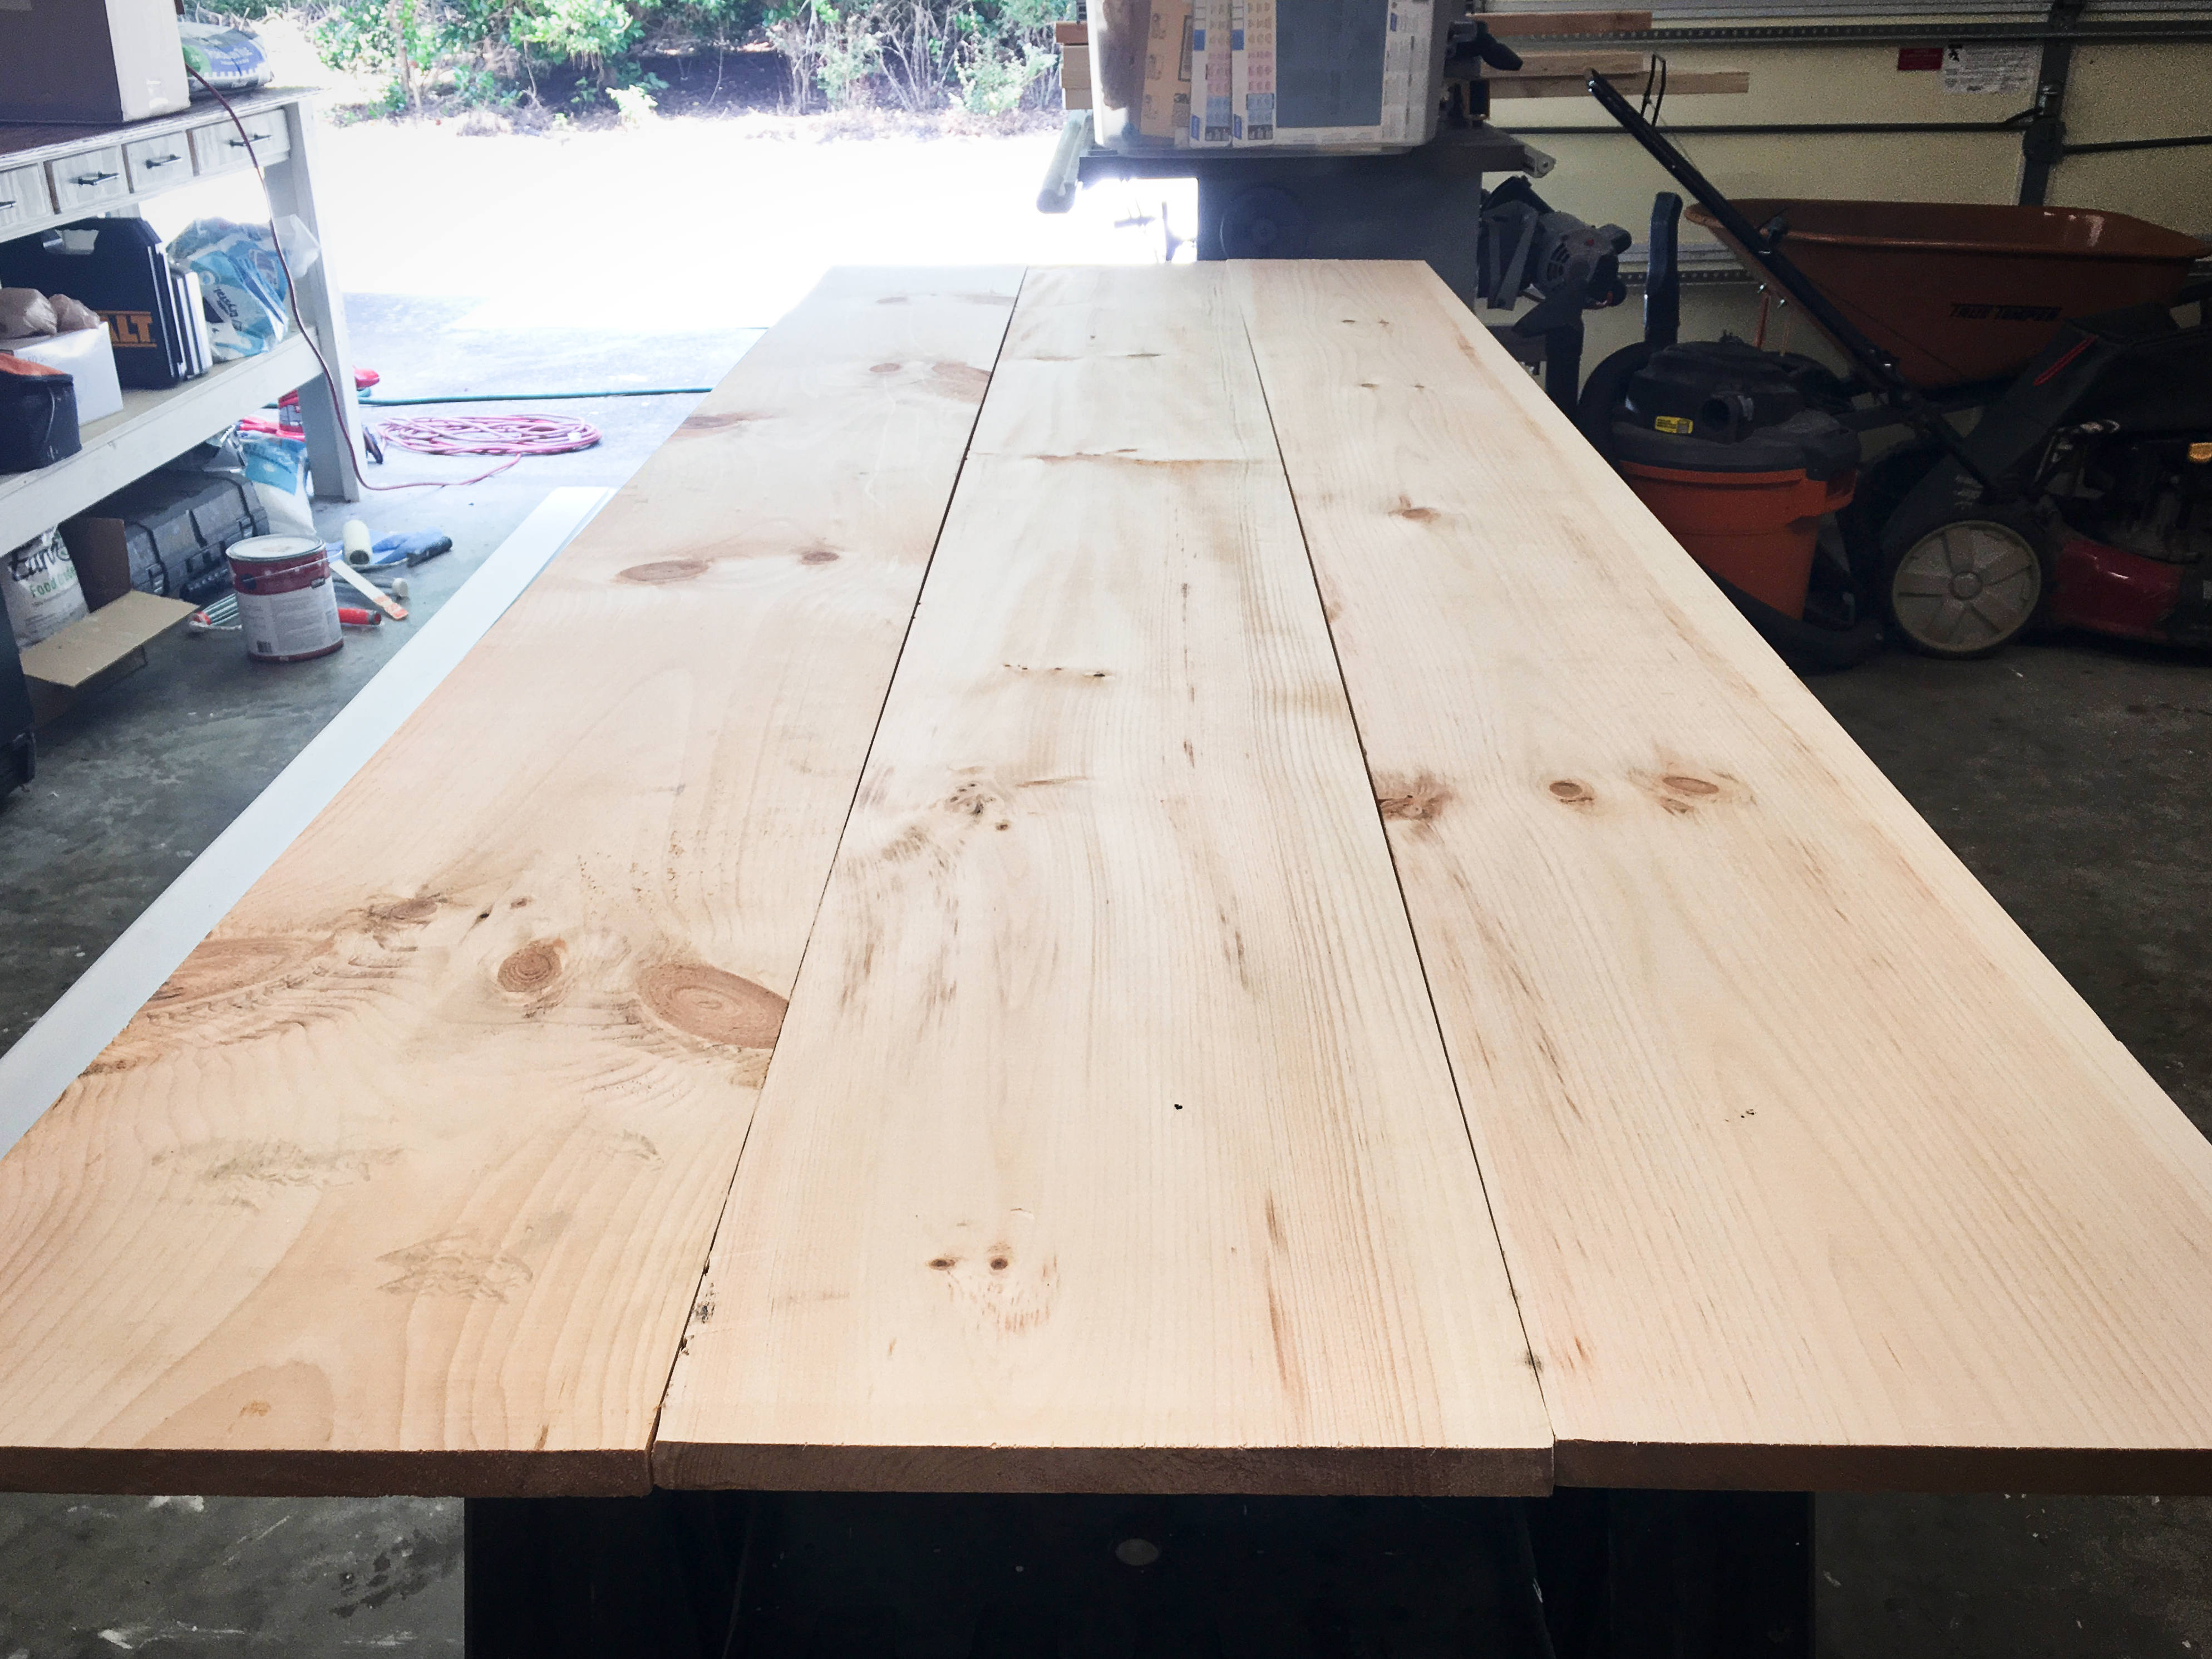
Step 4. Pre-stain your wood 1x12s.
Note: we pre-stain our full length, uncut 1x12s to save time. Pre-staining two pieces is much faster than pre-staining four pieces.
- Open your pre-stain and stir with a wooden paint stirrer for at least 1 minute.
- Snag some nitrile gloves, shop towels and your 1×12 boards. Apply a generous amount of pre-stain to the wood, rubbing it in and wiping off the excess.
- Wait about 15 minutes to allow the pre-stain to fully penetrate the wood grain.
- After 15 minutes, be sure to remove ALL pre-stain on areas that are still moist.
Note: now is a fantastic time to spray paint your shelving brackets if necessary. Depot was mostly out of black brackets, so we bought gray brackets and spray painted them black. For a strong coat, choose an enamel paint. Post up on some newspaper or old plywood. Do a light sanding with 220 grit sandpaper. Shake the can for 1 min. Apply a thin, even coat at 10 to 16 inches away. Make sure to complete uninterrupted left-to-right and right-to-left passes. Shaking your hand back and forth while applying will form drips and inconsistencies. 2-4 coats should suffice, allowing 1 hour dry time between coats.
Step 5. Stain your wood 1x12s.
Note: as mentioned in Step 4, we stained our full length, uncut 1x12s before cross-cutting to length to save time.
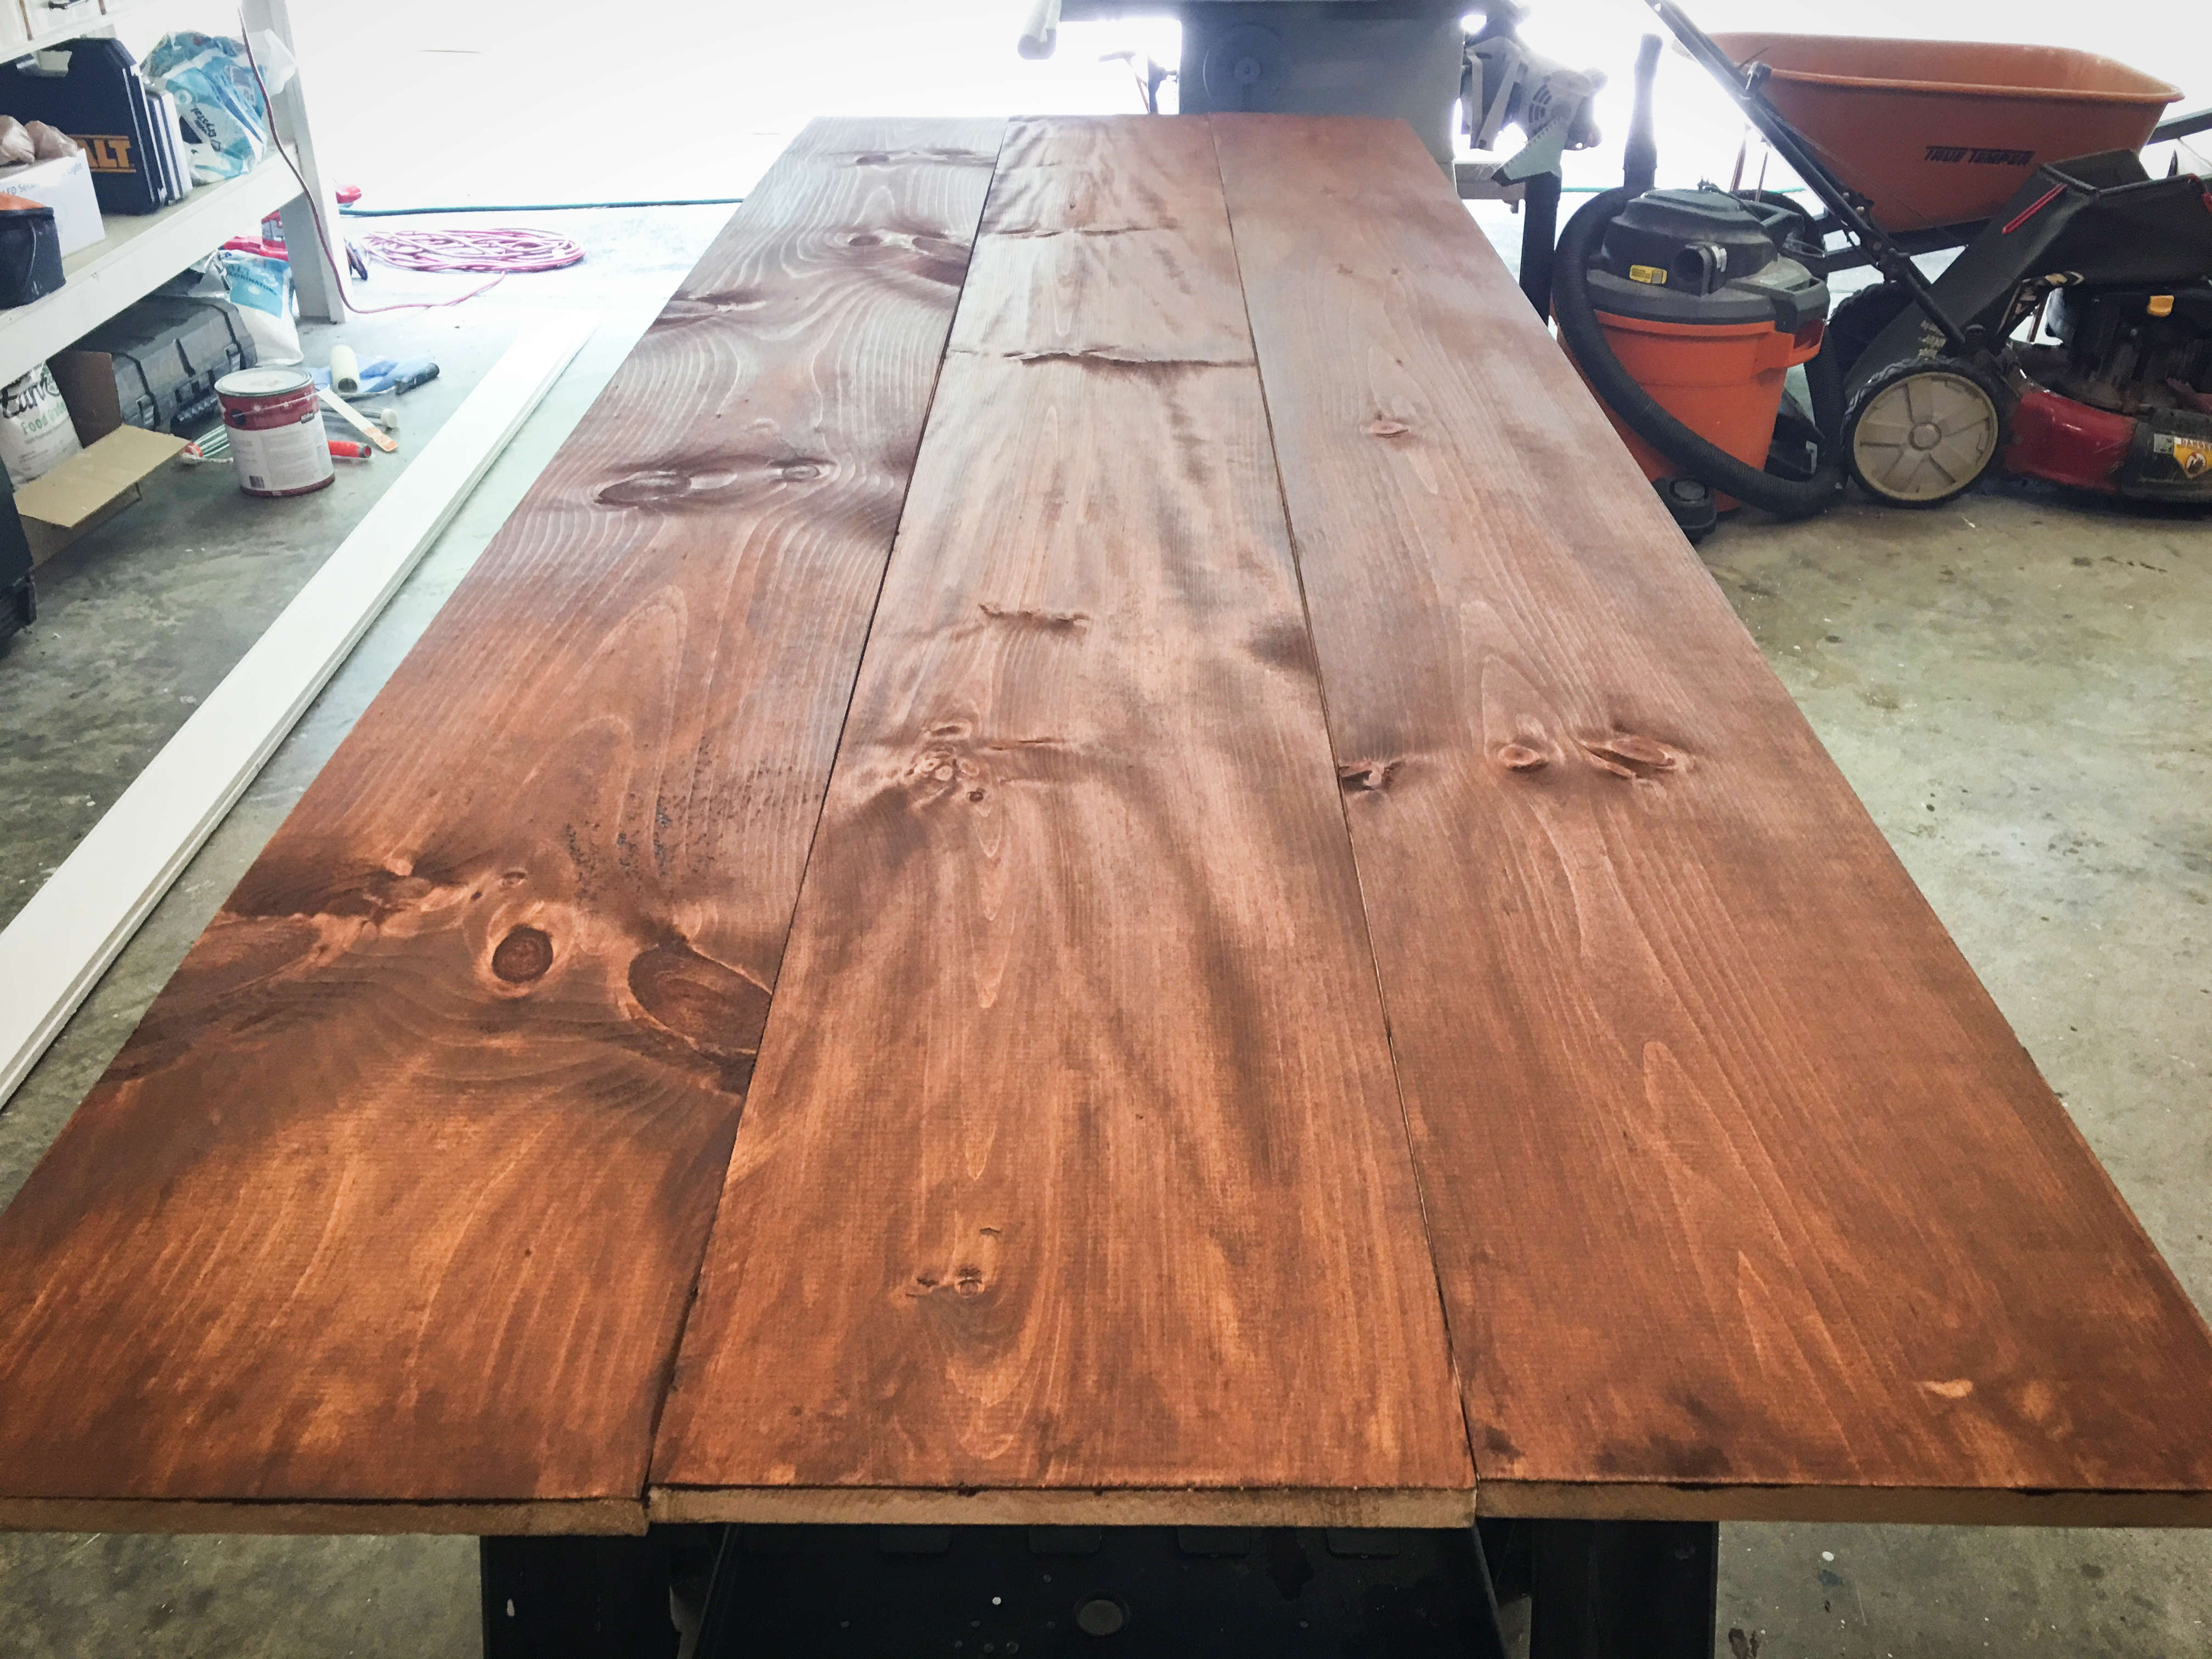
- With gloves still on, open up and stir your can of stain with a wooden paint stir.
- Apply an even coat of stain to the 1x12s using a new blue shop towel.
- Allow the stain to penetrate the grain for 5 to 15 minutes.
- Using a new shop towel, vigorously wipe the 1x12s to remove any and all wet stain still lingering on the surface of the wood.
- If the stain is too light, repeat the same application process after an hour of dry time.
Step 6. Find the studs and mark your bracket locations.
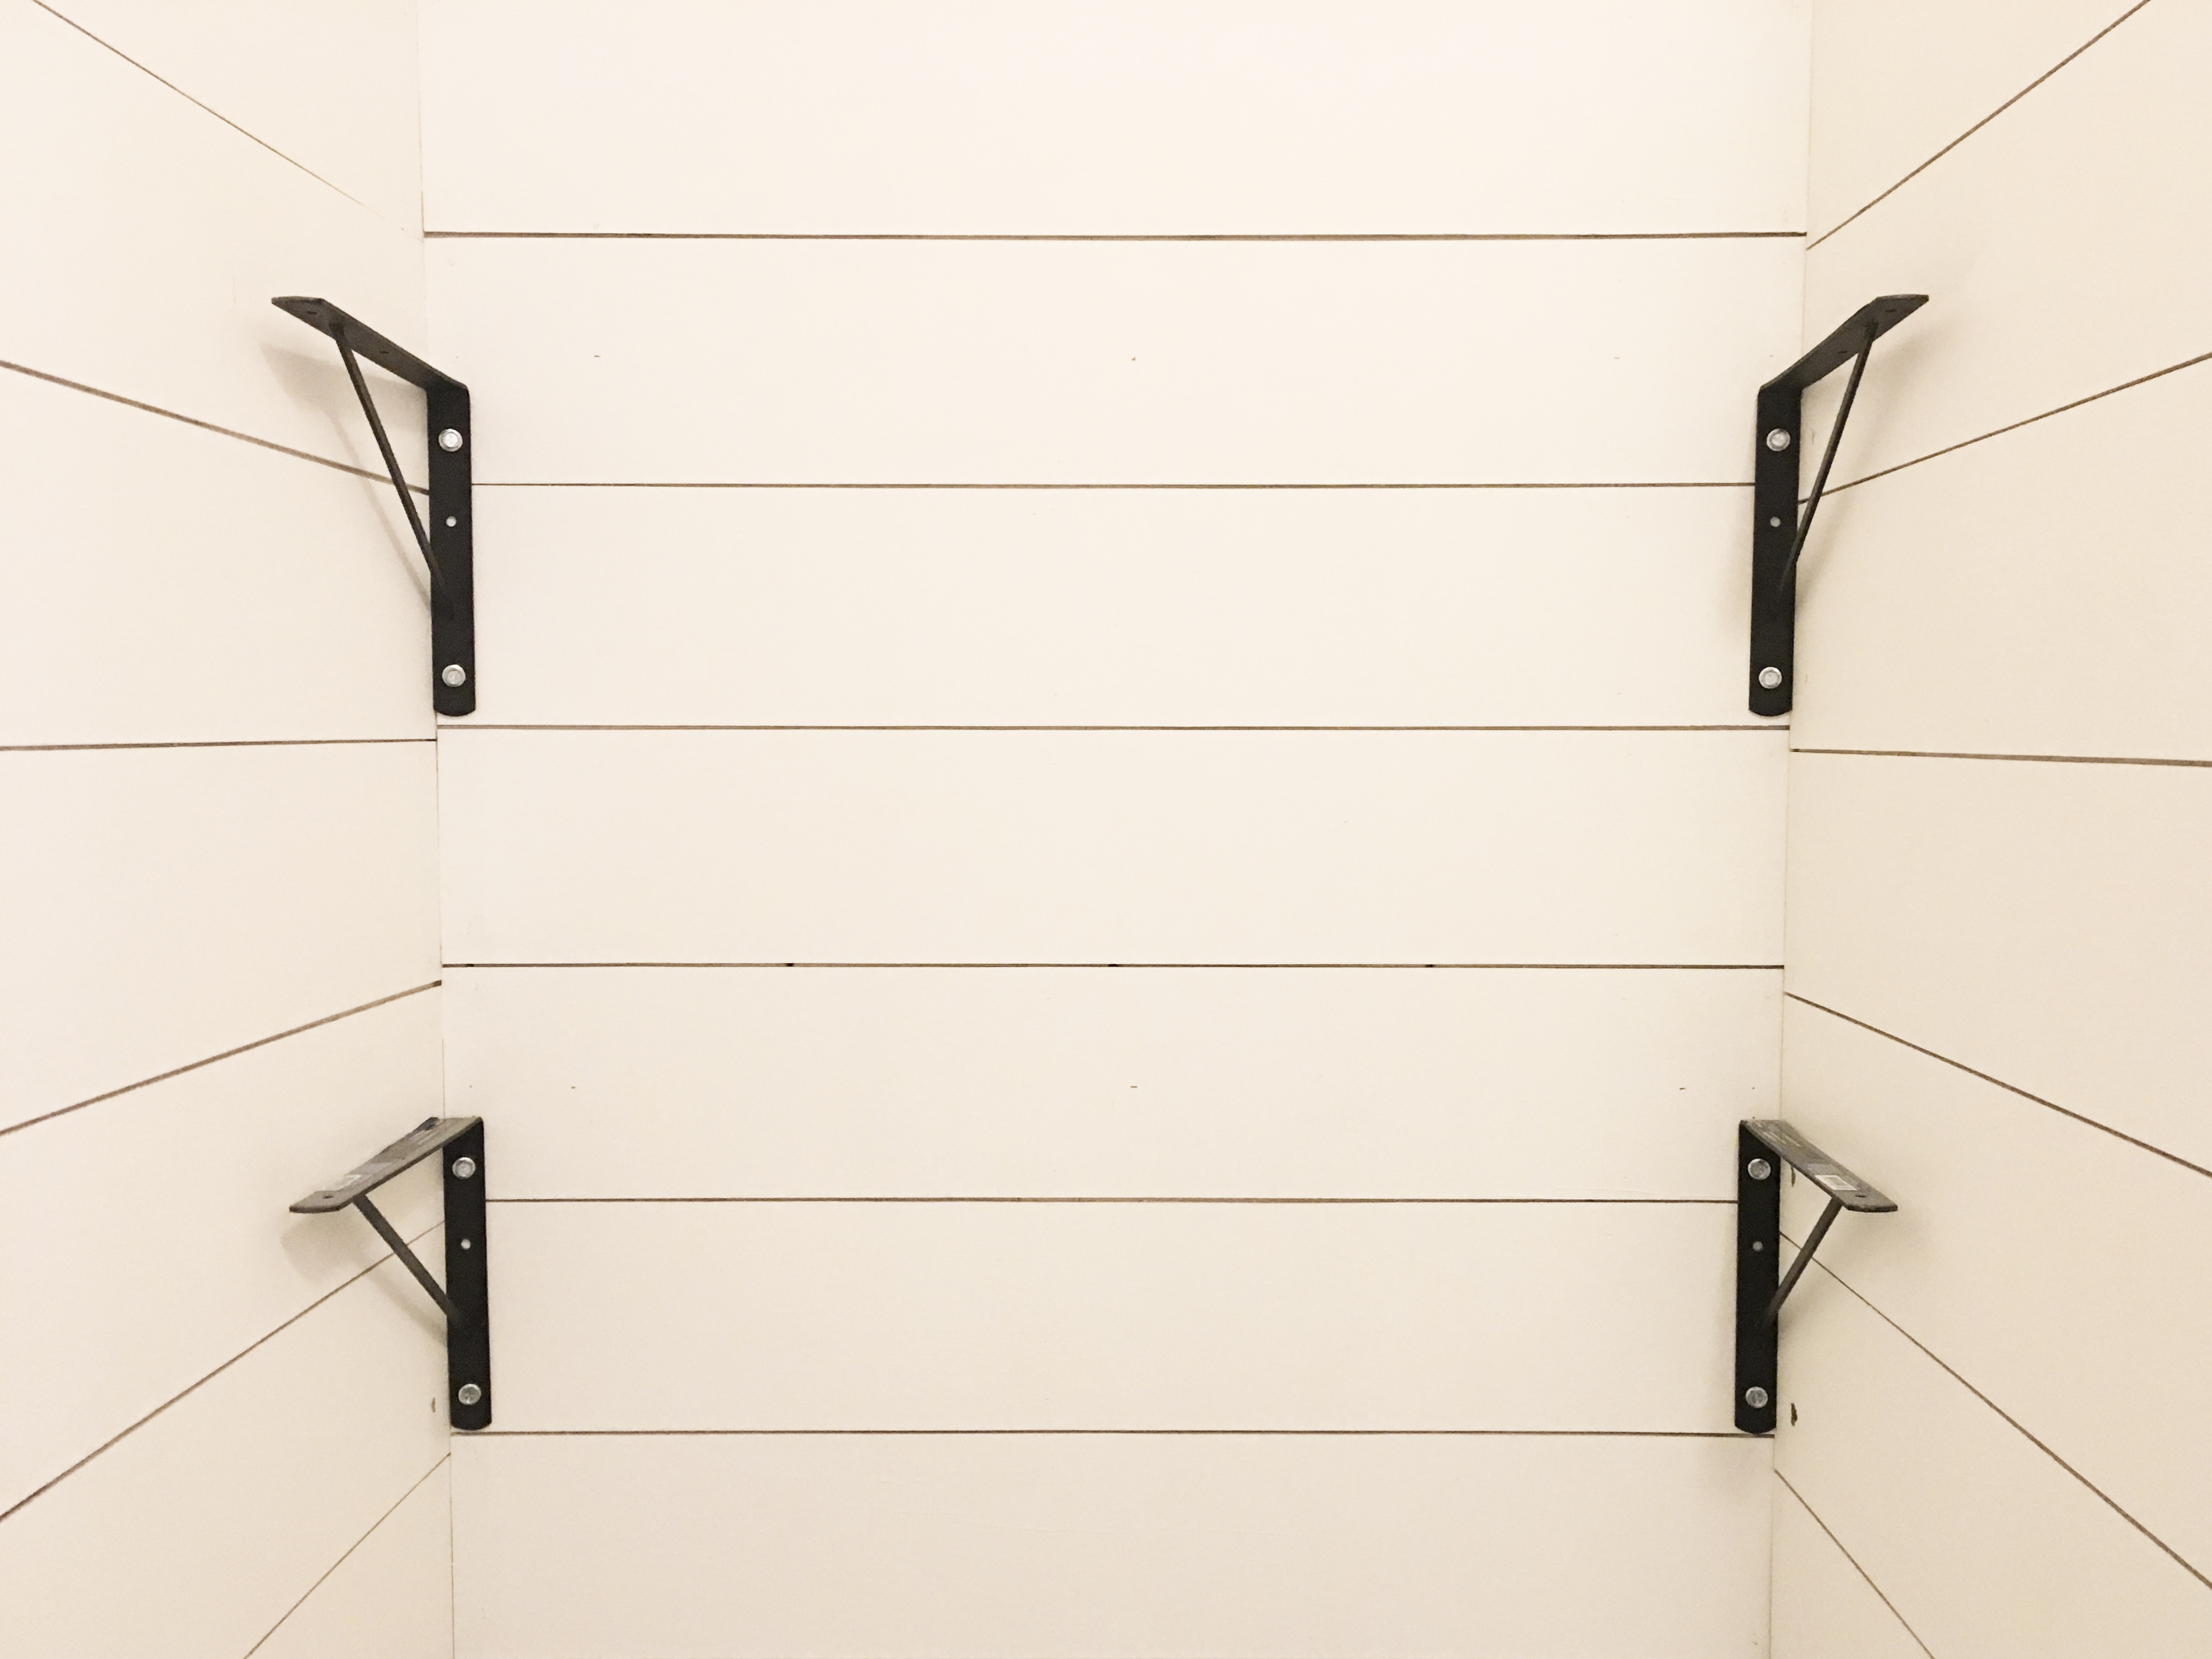
- Determine the ideal height of your shelves and make a tiny pencil mark in the center of the wall at that height.
- Bust out your stud finder and mark where the studs are, at the height of the shelf you’ll be installing.
- Separate your brackets by no more than 32 inches. Wall studs are either 12 or 16 inches apart. Aim to add a bracket to every other stud, otherwise your 1×12 shelf will begin to bow as the added weight increases.

Step 7. Install your shelving brackets.
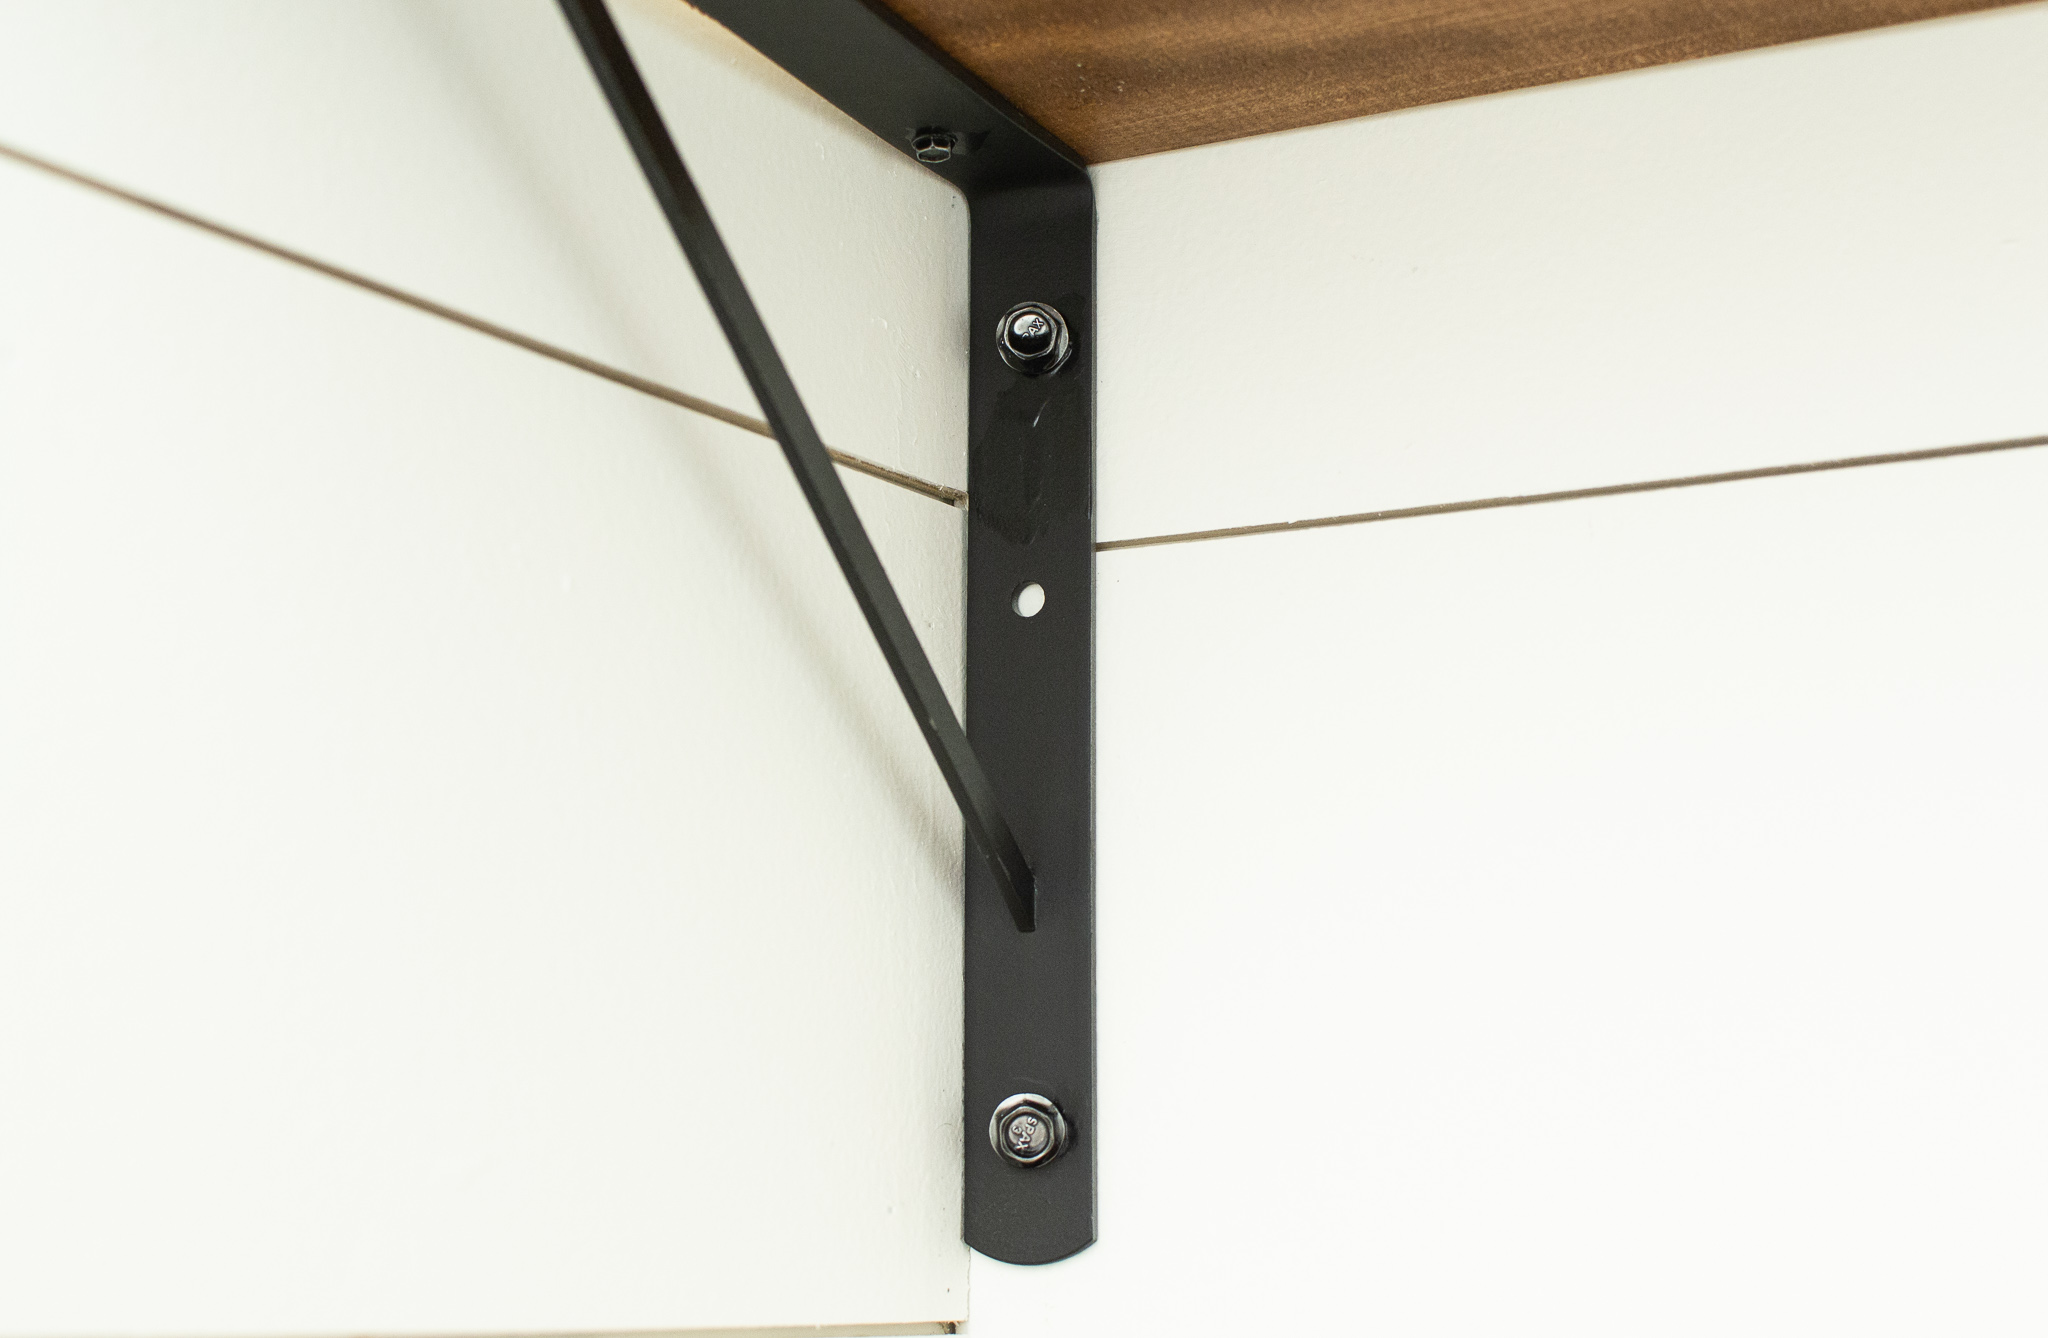
- Install all of your support brackets with your impact driver, the appropriate size nut driver and 2 lag screws a piece.
- Tip: the outer edges of your wall will very likely have accessible studs for the drywall to connect to. If your shelf is wall-to-wall, consider starting with outer edge brackets and space out the other brackets as evenly as possible.
Step 8. Measure your wall for an exact shelf measurement.
- We wait to measure the ideal shelf length until now to ensure the exact wall-to-wall distance. No wall is plumb, and measuring the length a few inches higher or lower could alter the fit.
- If the shelf is on an open wall without perpendicular walls to accommodate, it’s still wise to wait until now to measure to allow a proper dry fit. You can always cut the shelf shorter if the dry fit seems oversized.
Step 9. Cut your 1x12s with a miter saw.
- After determining your ideal 1×12 length, cut it with a miter saw or circular saw or hand saw.
- If you’re installing the shelf on an open wall without perpendicular walls, be sure to take the 1×12 outside and stain the outer ends with Varathane Early American (or your stain of choice). Let dry 1 hour.

Step 10. Dry fit your 1x12s on the brackets.
- Dry fit the shelf after your first cut to assess actual fit.
- Recut if the shelf is too long.
- Shed a tear of regret if the shelf is too short. Remember to always measure twice, cut once to ensure you are measuring correctly.
Step 11. Install your 1x12s.
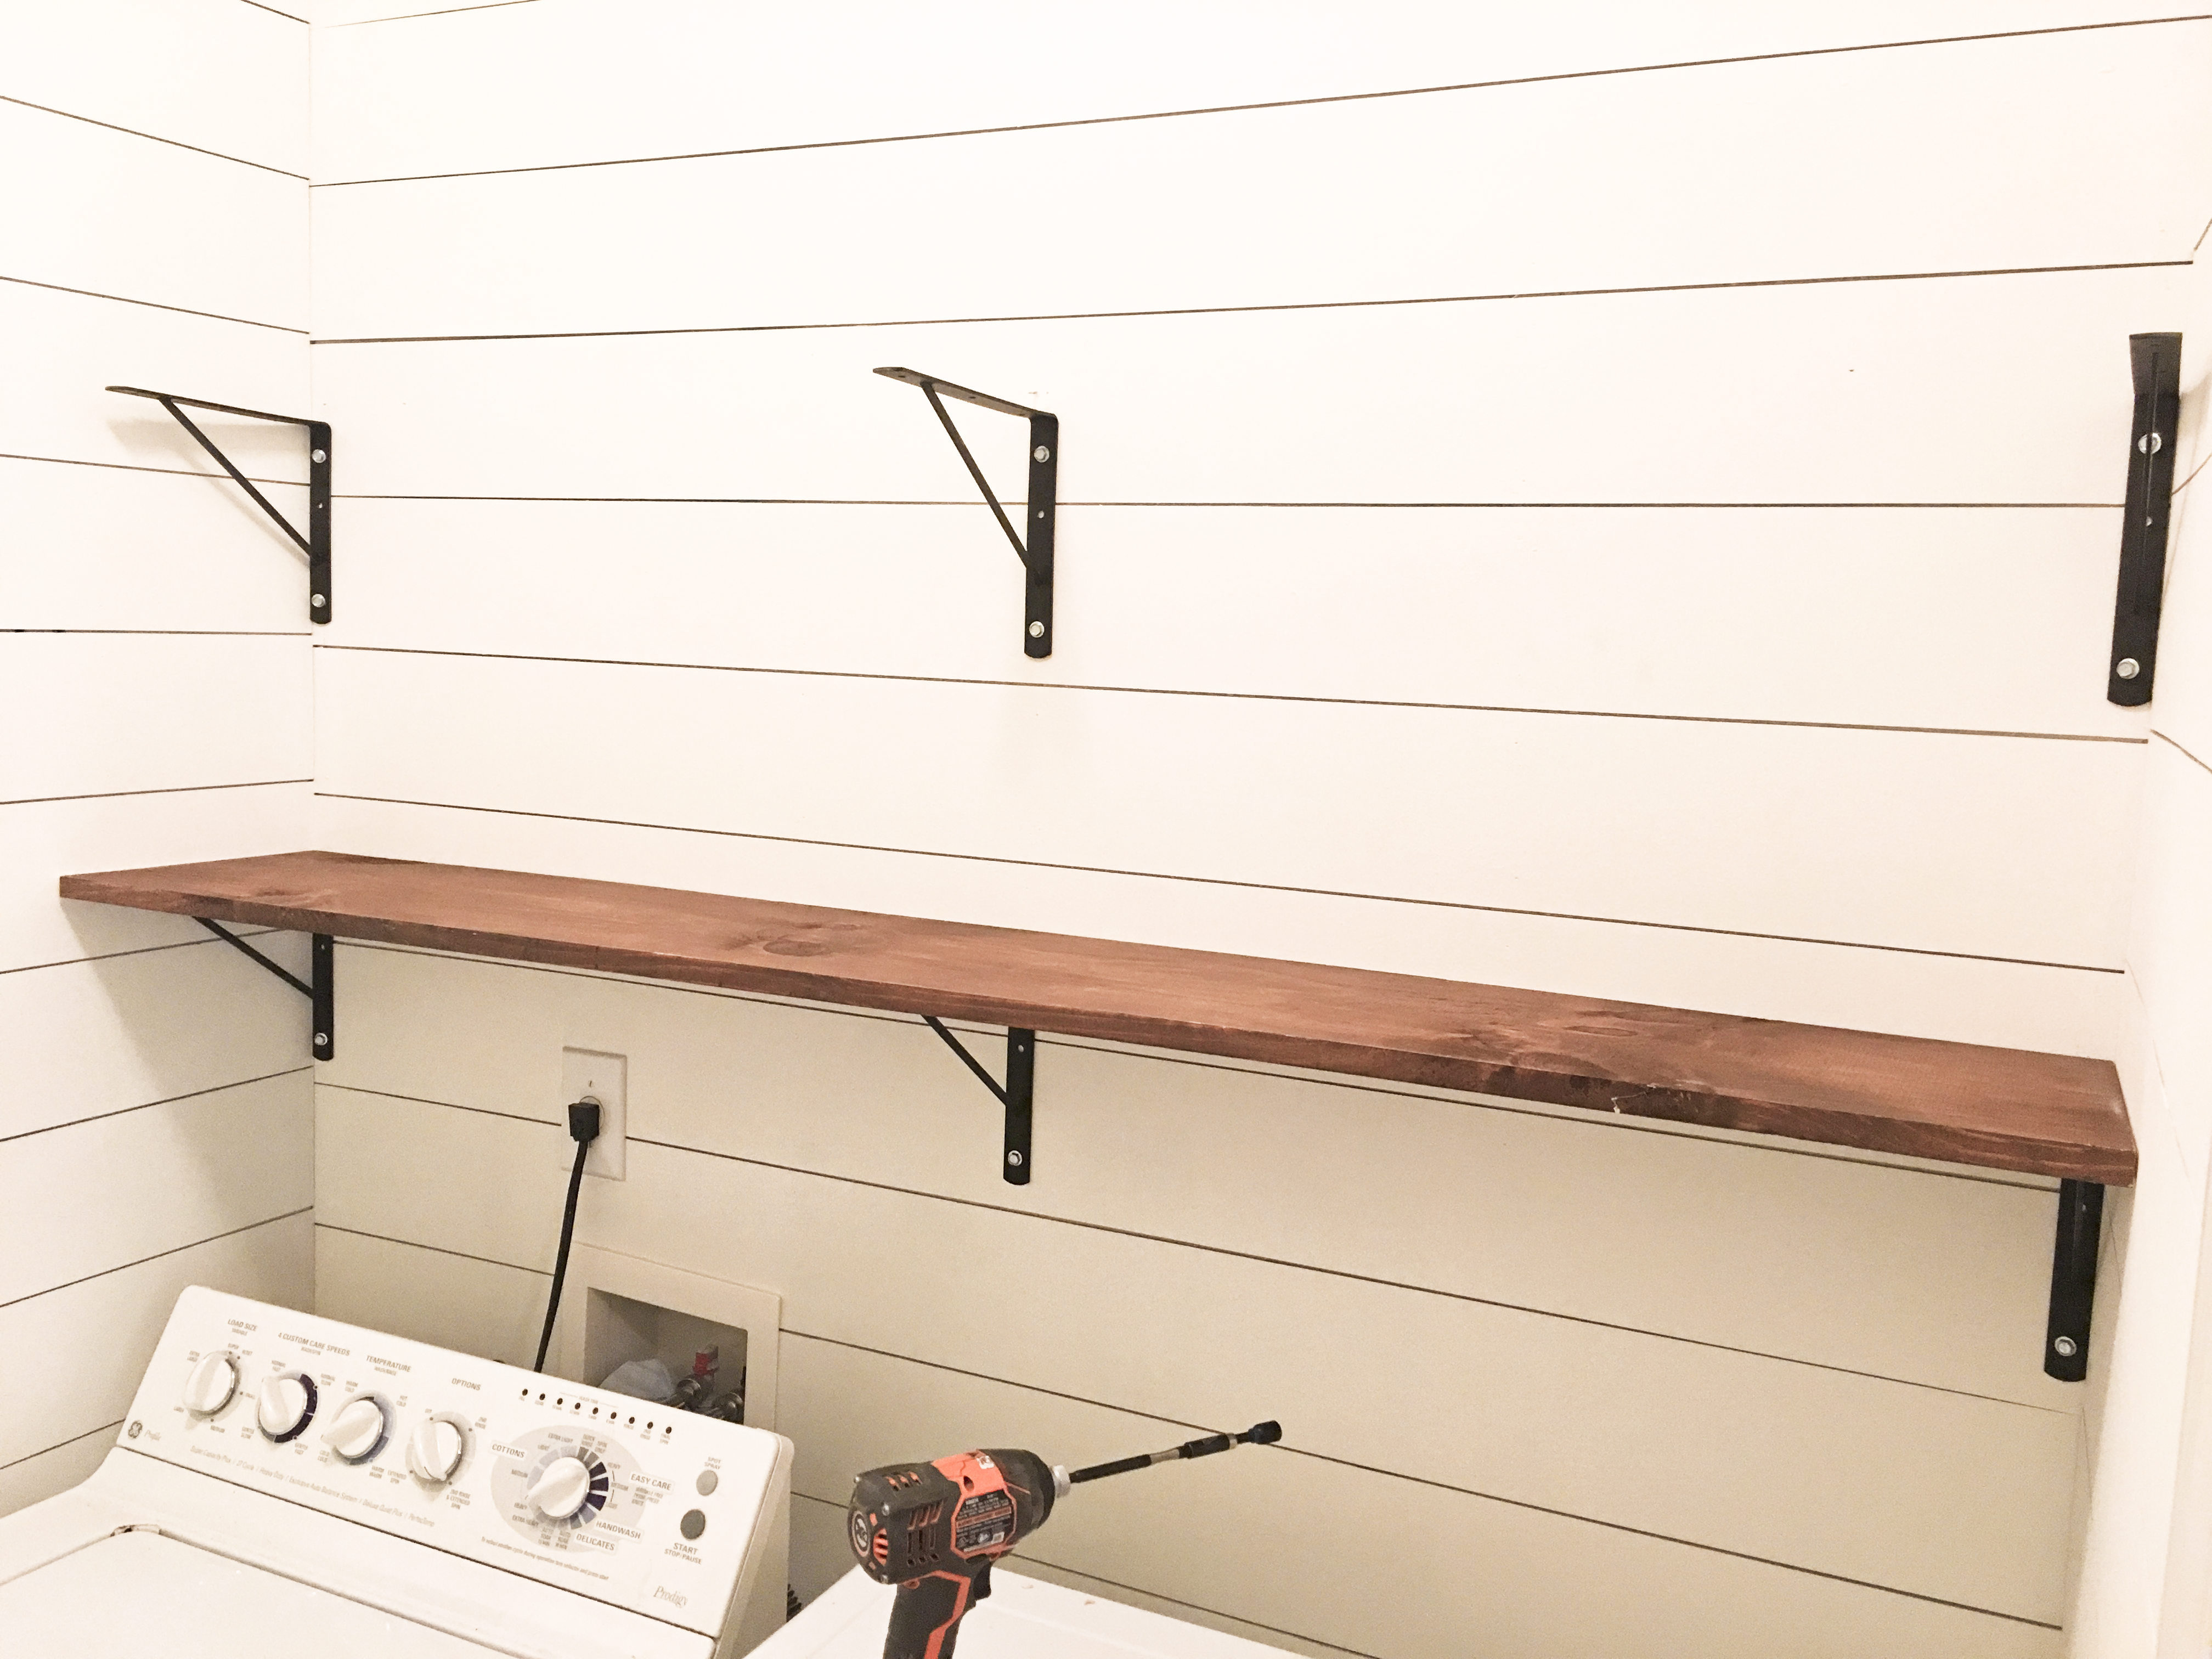
- Place your perfectly sized, stained wood shelf onto your brackets.
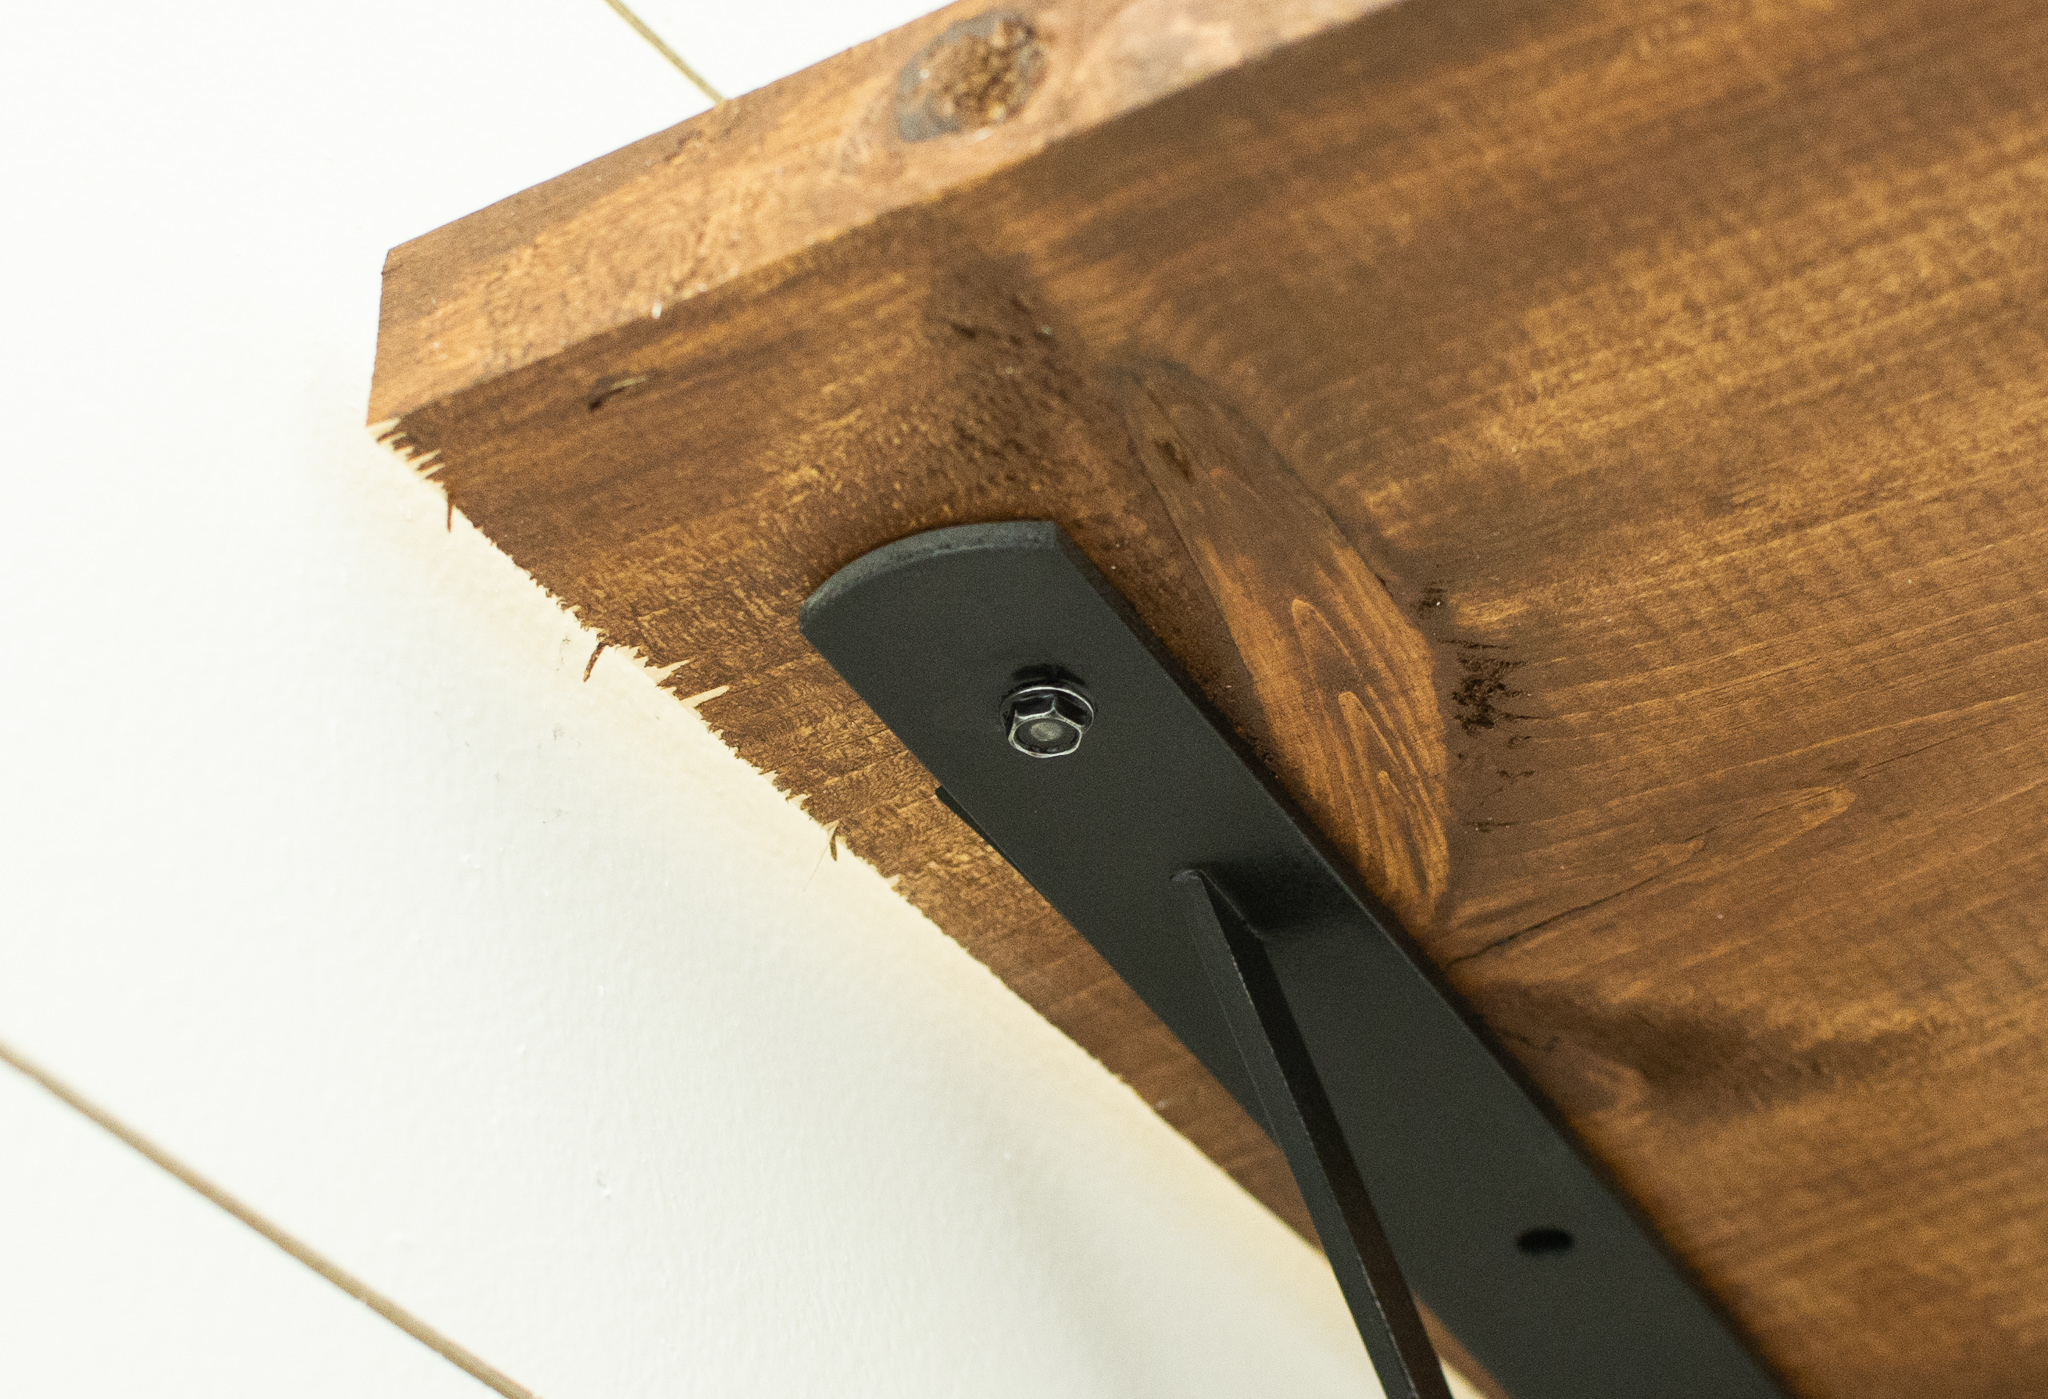
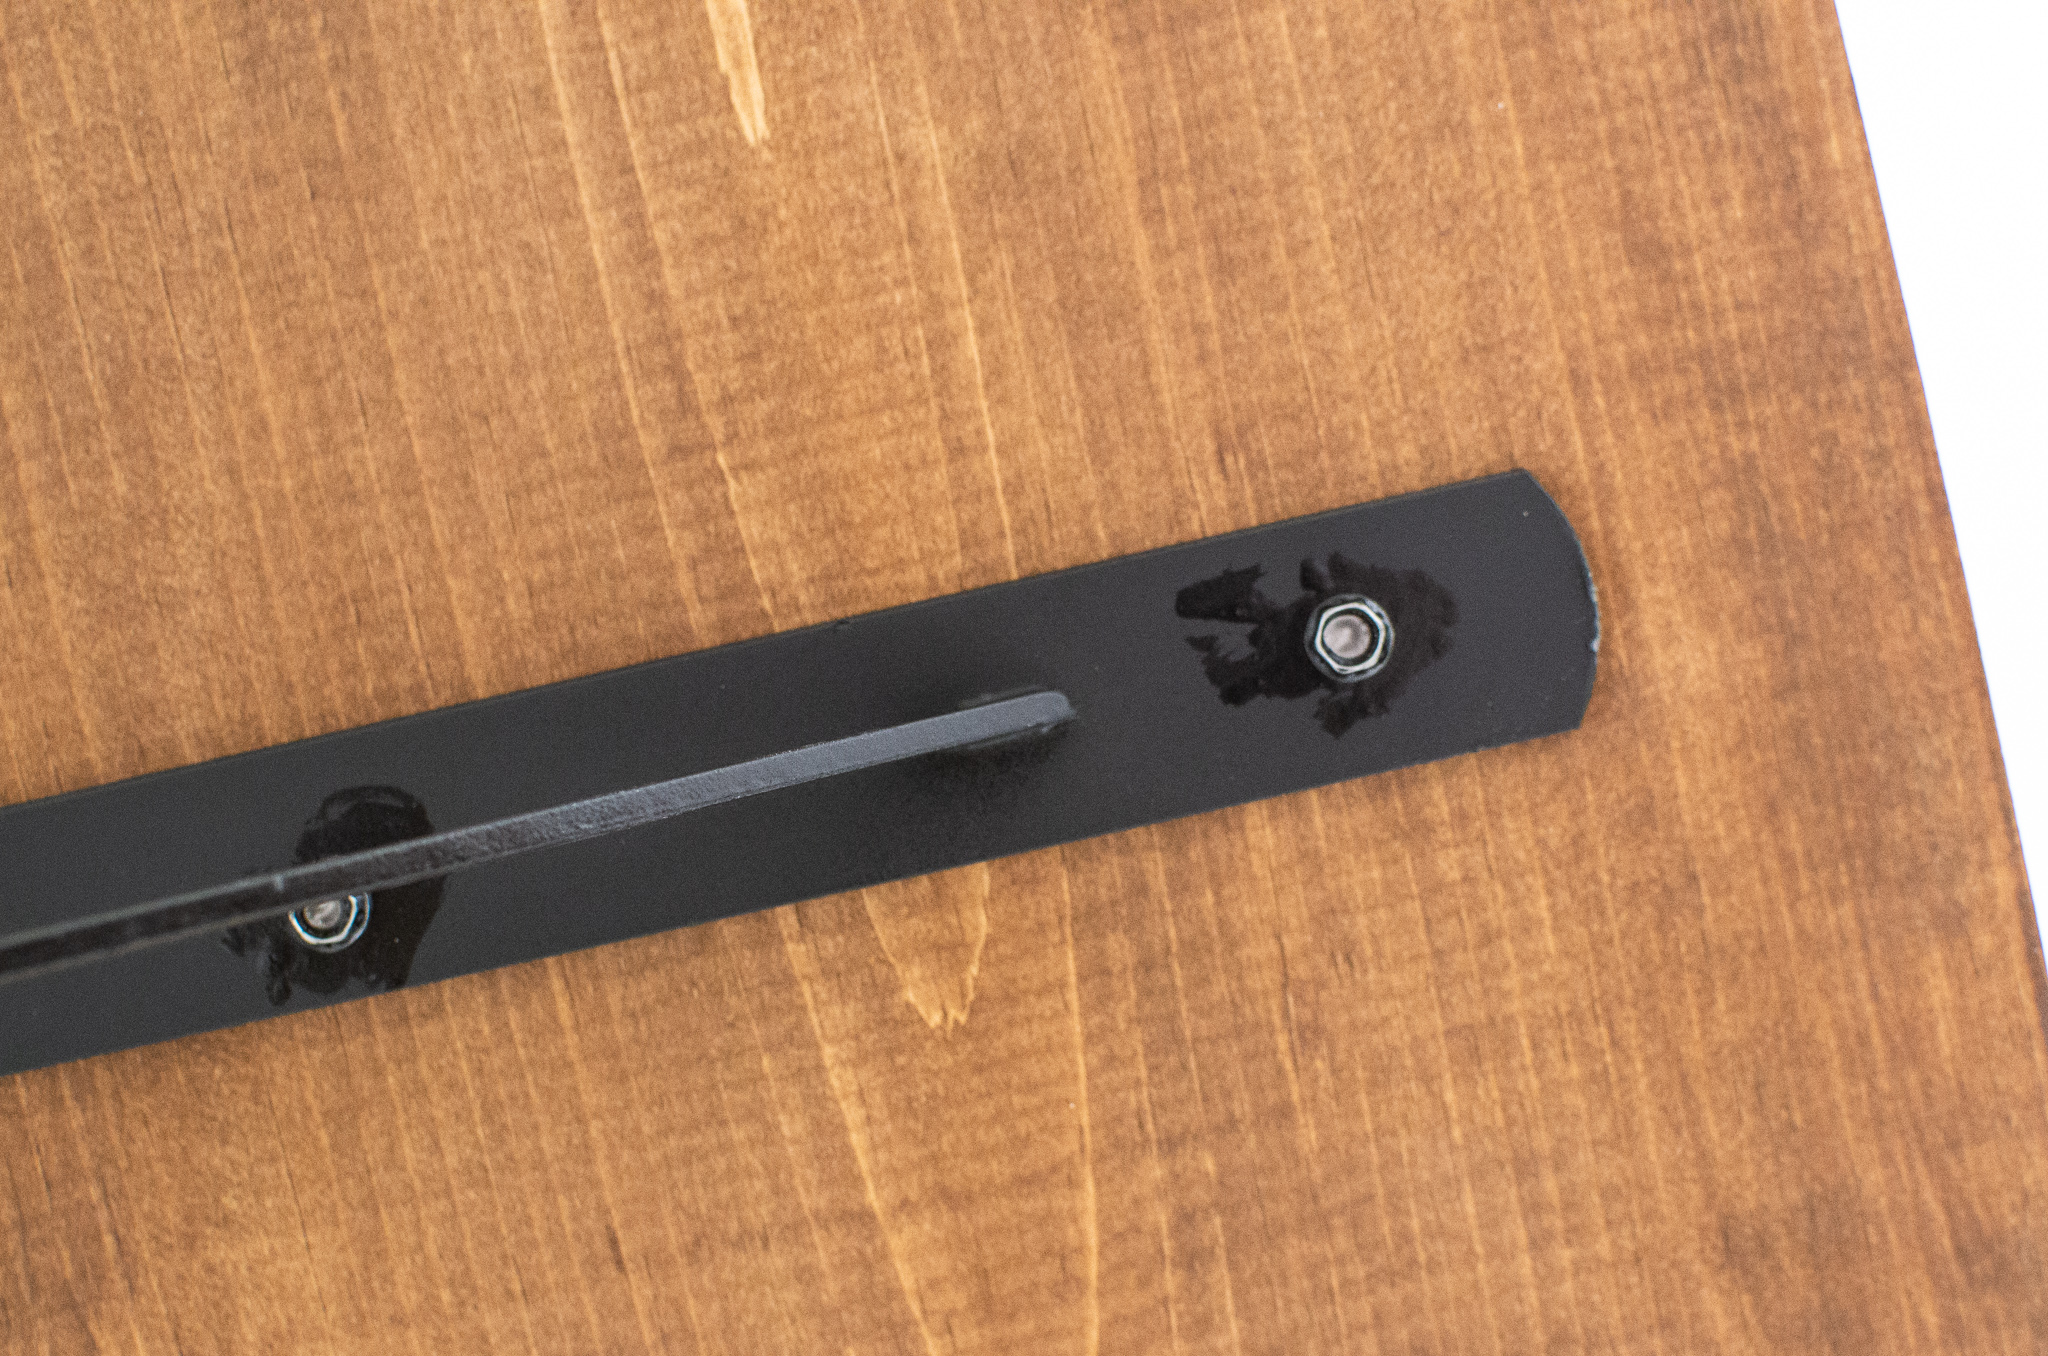
- Fasten the shelf to the brackets by means of #6 x 1/2″ hex screws from the underside.
- Wanting to hide the silver lag screw and smaller hex screws? Spot paint them the same color at the brackets with a small tipped paint brush. Let dry 1 hour and apply a second coat to ensure full coverage.
Love the custom shelves, friend.
Your wall is officially upgraded, beautified and the talk of every spicy suburban social (do those even exist?). Miters, drills and stains OH MY. Cheers to learning new woodworking skills! Or honing them in. Sharpening your DIY abilities (way too many puns, sir). Now go inspire your family, neighbors, small group and the internet with your before and afters.
What room did you make shelves for? How did it turn out? Any snags or all butter? Stoked to hear all about it.


What type of wood did you use for your shelves?
Hi, Heidi! I used common boards. These could be a softwood like pine, spruce or fir. These might also be called pine common boards. This is the most cost effective option. For a harder, super durable wood, use oak 1x12s (more expensive).