You’re in love with that cottage-y, modern farmhouse look. So are we. The epitome? Shiplap, thanks to the influence of Chip & Joanna Gaines. But, unless you moved into a century old fixer upper, you’re not likely to find shiplap hiding underneath the plaster or drywall. Sad day.
What about buying some from the local hardware store and installing it yourself? Totally doable. Still pretty expensive. Here’s an idea: rip your own shiplap boards from a sheet of ¼ plywood, paint ‘em white, and slap those babies on the wall. Now we’re talkin’. Custom farmhouse design? Yep. For mad cheap? Double yep. Here’s how to do it.
How to make DIY shiplap from scratch using plywood.
Materials.
- 4’x8′ sheet of ¼ inch plywood for $13.98. Measure your wall space in square feet and buy an extra 10-20% in plywood.
- Outside corner moulding. To cover the unfinished 90º wall corners that jut out. ~$1.73 per linear foot. With only one outside corner and 9 foot ceilings, it cost us ~$16. See Step 8.
- 1-1/4″ brad nails at $4.02 for 1,000 – shiplap install.
- 2” brad nails – new or old baseboard & all moulding install. $3.12 for 1,000.
- White caulk for $2.98 per tube. To fill the cracks at the crown moulding, baseboard and the brad nail holes.
- White paint. We used Behr paint from Home Depot and had them color match it to the Benjamin Moore color Simply White. Interior, flat (matte) sheen. Or any leftover white paint that you like. ~$30 for a gallon.
- Paint roller covers. 3-pack for ~$8.74.
- Paint roller frame.
- 1/8th inch spacers you have lying around (or) a few nickels.
Tools.
- Miter saw (or) hand saw with guide. (My fave: Dewalt 12″ double-bevel sliding miter. Best for the price: Ryobi 10″ sliding miter).
- Table saw (or) circular saw. (Linked the table saw I currently use & love).
- Compressor & brad nail gun with nails (above). (Save cash buying them together).
- Caulk gun.
- Stud finder.
- Level. 12” length is a great start for shorter projects. It’s magnetic & attaches to any metal you’re working on for a hands-free approach.
- Measuring tape. (Mini-version for ease of use, 12 ft max length. Up to a 26+ ft measuring tape to for rooms, framing, joists, etc).
- Pencil.
- Utility blade.
- Pry bar.
- Hammer.
- Yardstick or T-square.
Budget.
- Our 200 sq ft of laundry room wall space required (8) – 4×8 sheets of 1/4 plywood at $13.98 a sheet. $16 for 9 ft of outside corner moulding. $4.02 + $3.12 for brad nails. $2.98 for a tube of caulk. $30 for a gallon of white paint. $8.74 for (3) paint roller covers. Totaling $111.84 in plywood + $16 in moulding + $48.86 in materials = $176.70.
-
- DIY TOTAL = $176.70 – for 200 sq ft of wall space.
- Cost of Home Depot premade shiplap = $7.68 per 12 foot board at 5.25 sq ft.
200 sq ft of wall divided by 5.25 sq ft per board = 39 boards, not including the extra 10-20% contingency. 39 boards x $7.68 = $299.52. Including a 15% contingency, the total comes to $344.45. Plus $16 for 9 ft of outside corner moulding. Plus another $48.86 in materials (listed above) = $409.31.
Way more than double the DIY price. Want to save $232.61? I do.
-
- STORE BOUGHT TOTAL = $409.31.
Step 1. Snag your supplies at the hardware store.
- Make sure to read through our “materials” and “tools” lists before heading over to Home Depot or Lowe’s.
- Double check the pricing on your plywood, as other types can bump the price up to $22 or $28.
- Measure the square footage of your wall(s). Add on an extra 10-20% to allot for loss of material via mitered cuts. Closer to 10% if you’re a DIY regular and you’re opting to install your shiplap in a pattern. Closer to 20% if you’re either newer to the DIY game or you’re planning to use full length slats on all walls.
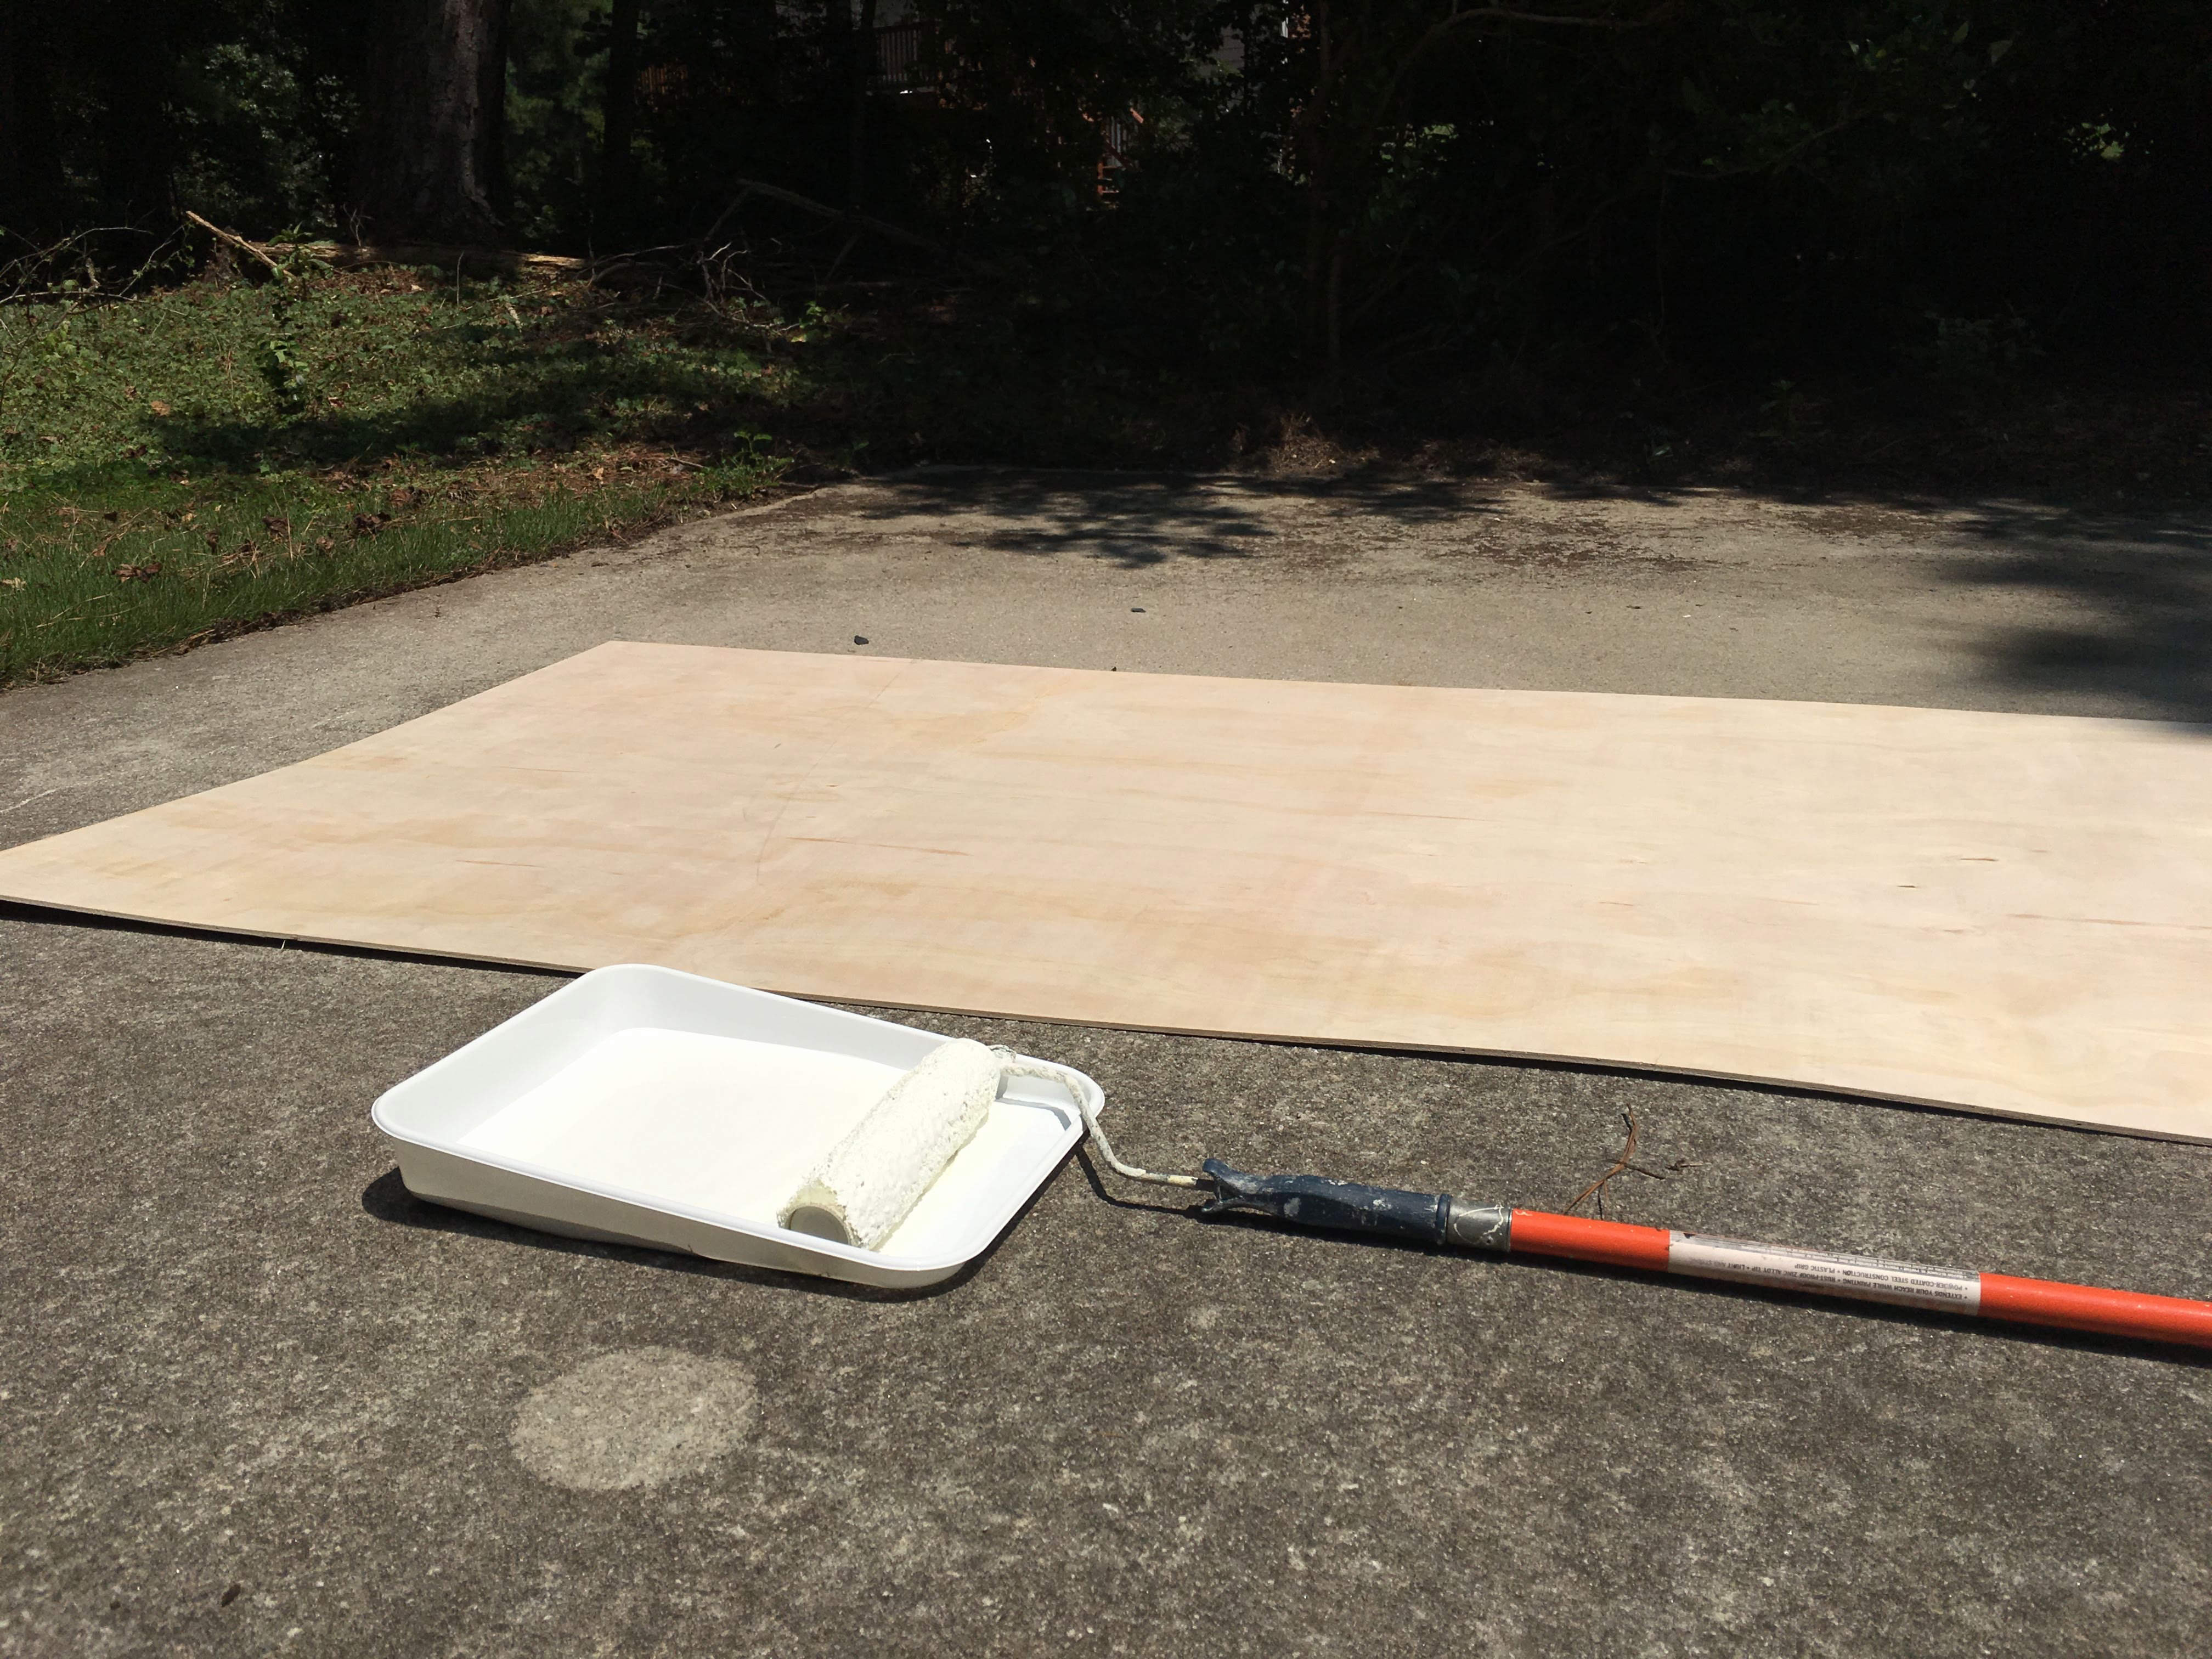
Step 2. Paint the plywood.
- Break out your paint roller frame and attach a new paint roller cover.
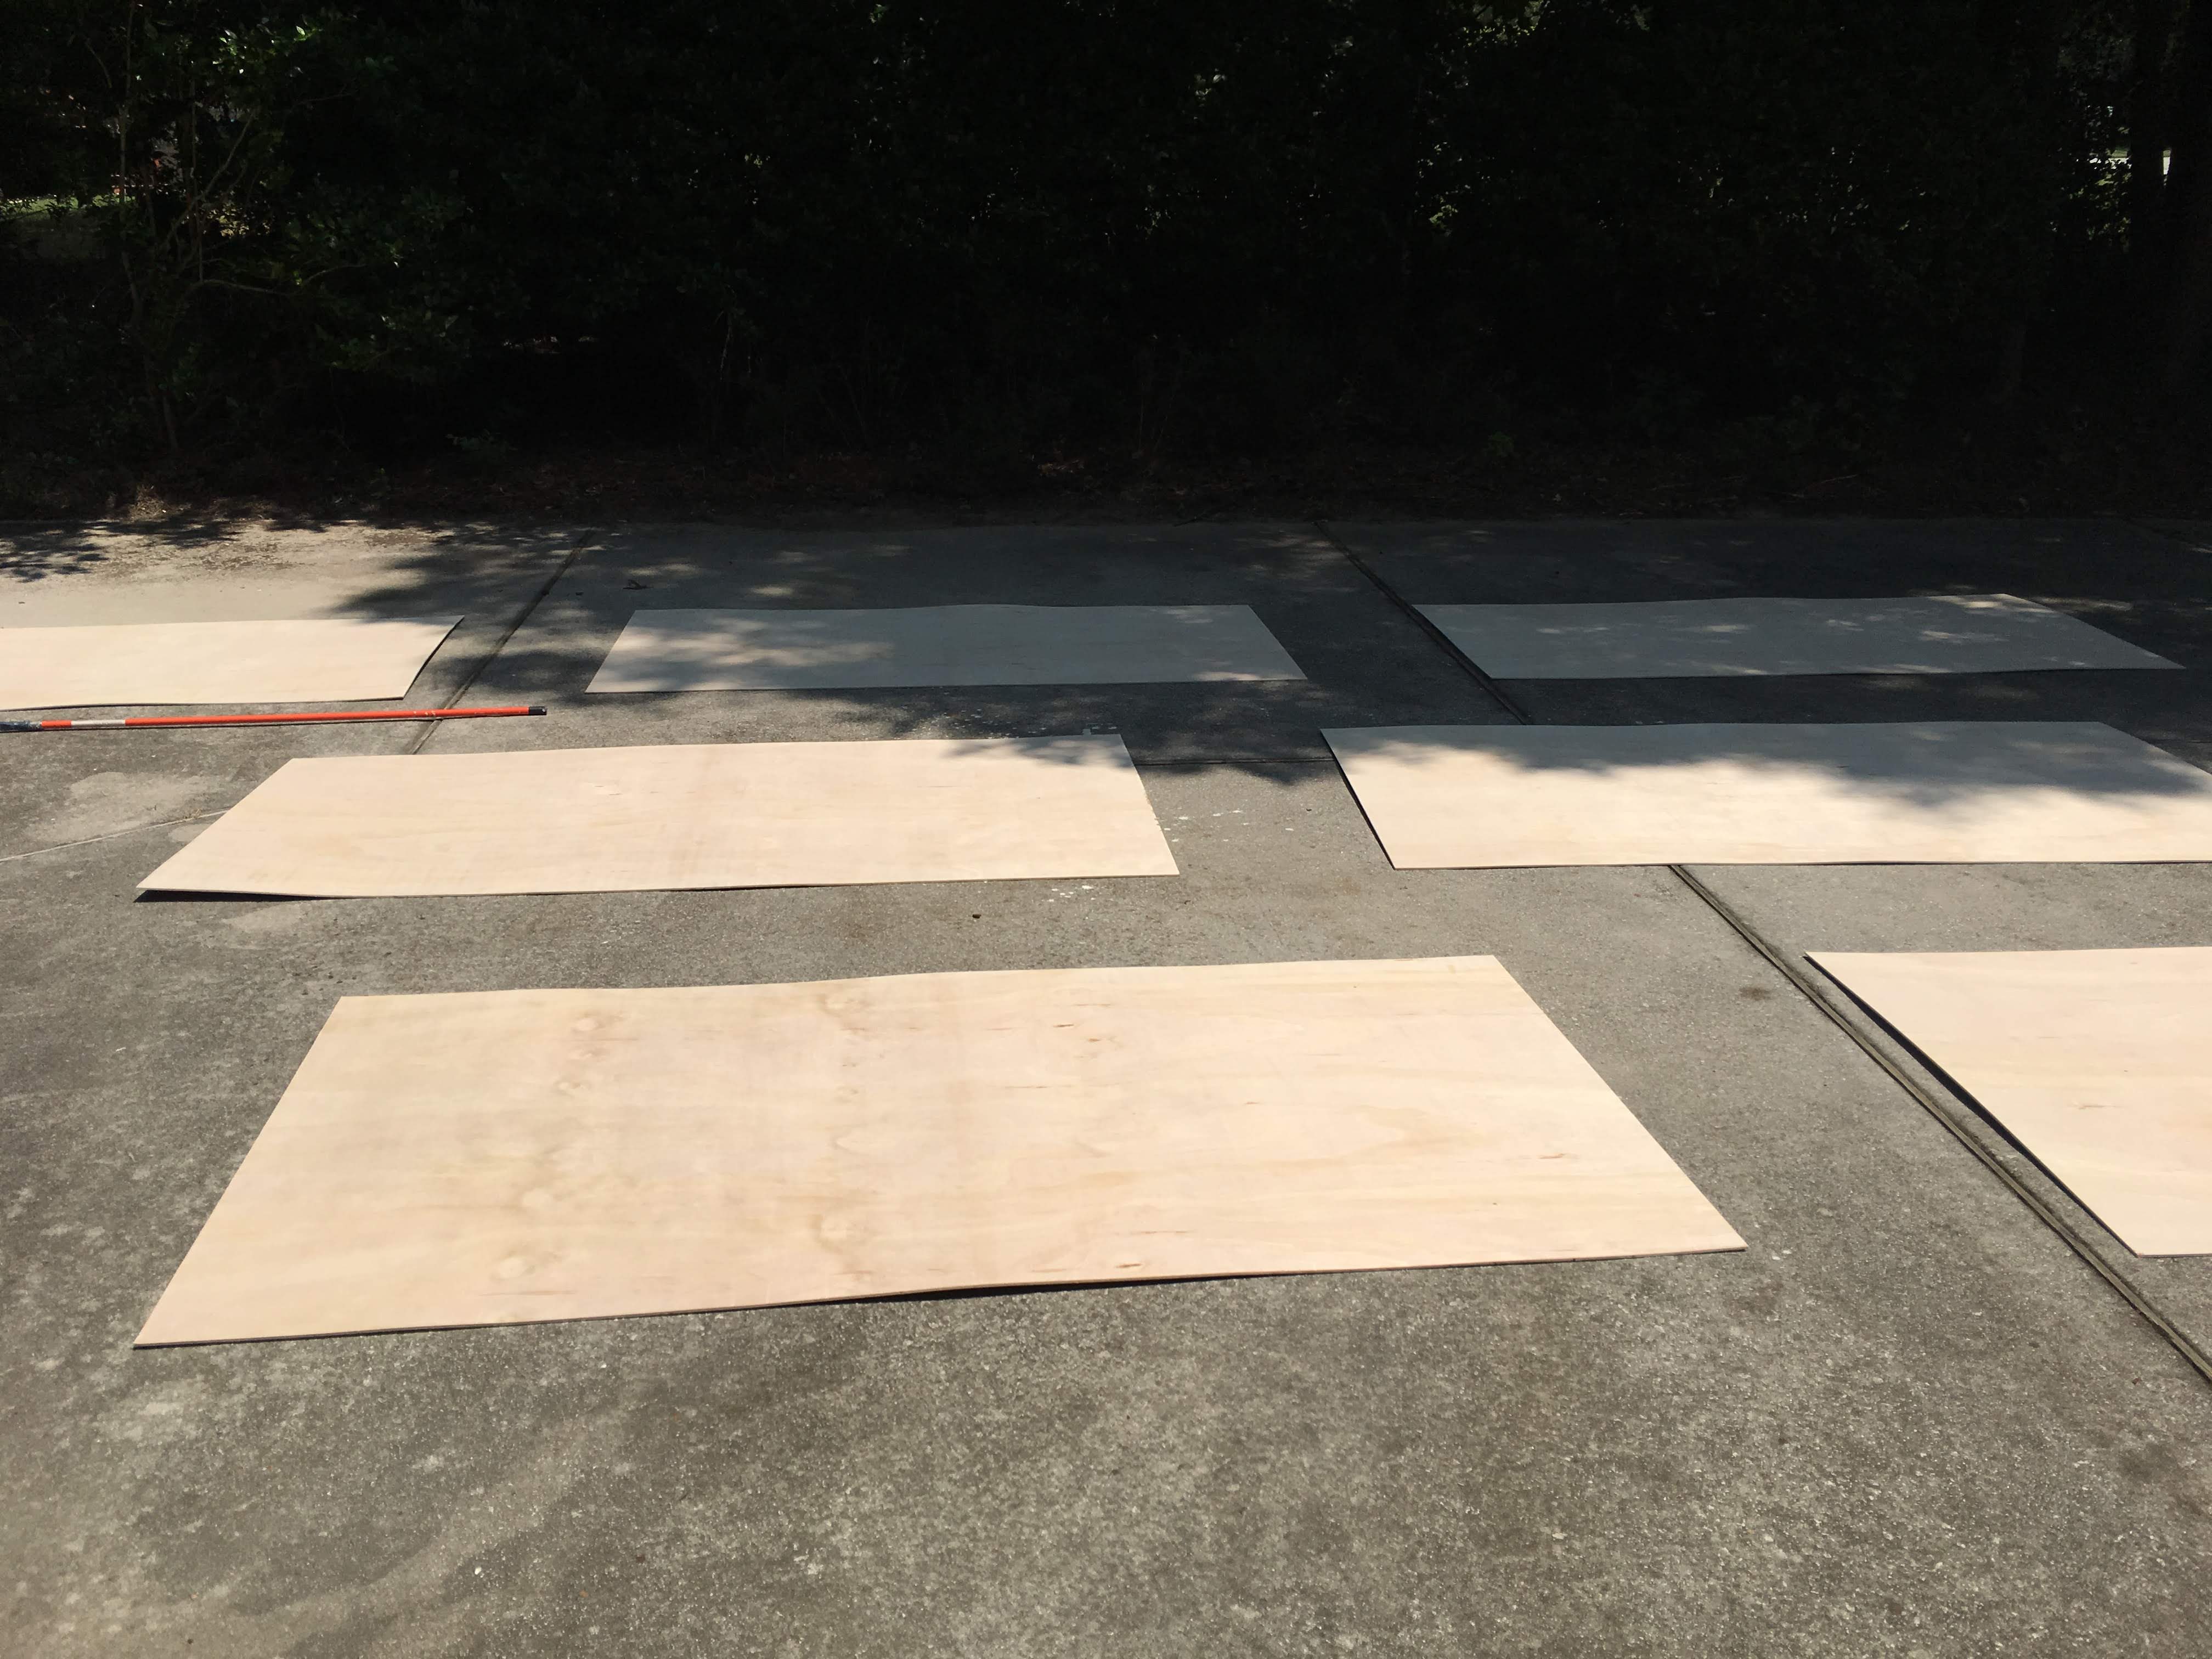
- Lay out your 4×8 sheets of plywood in your garage, workshop or driveway.
- Stir your gallon of white paint with a wooden paint stir to thoroughly mix the components. An undermixed can will create shiny visible splotches on your shiplap.
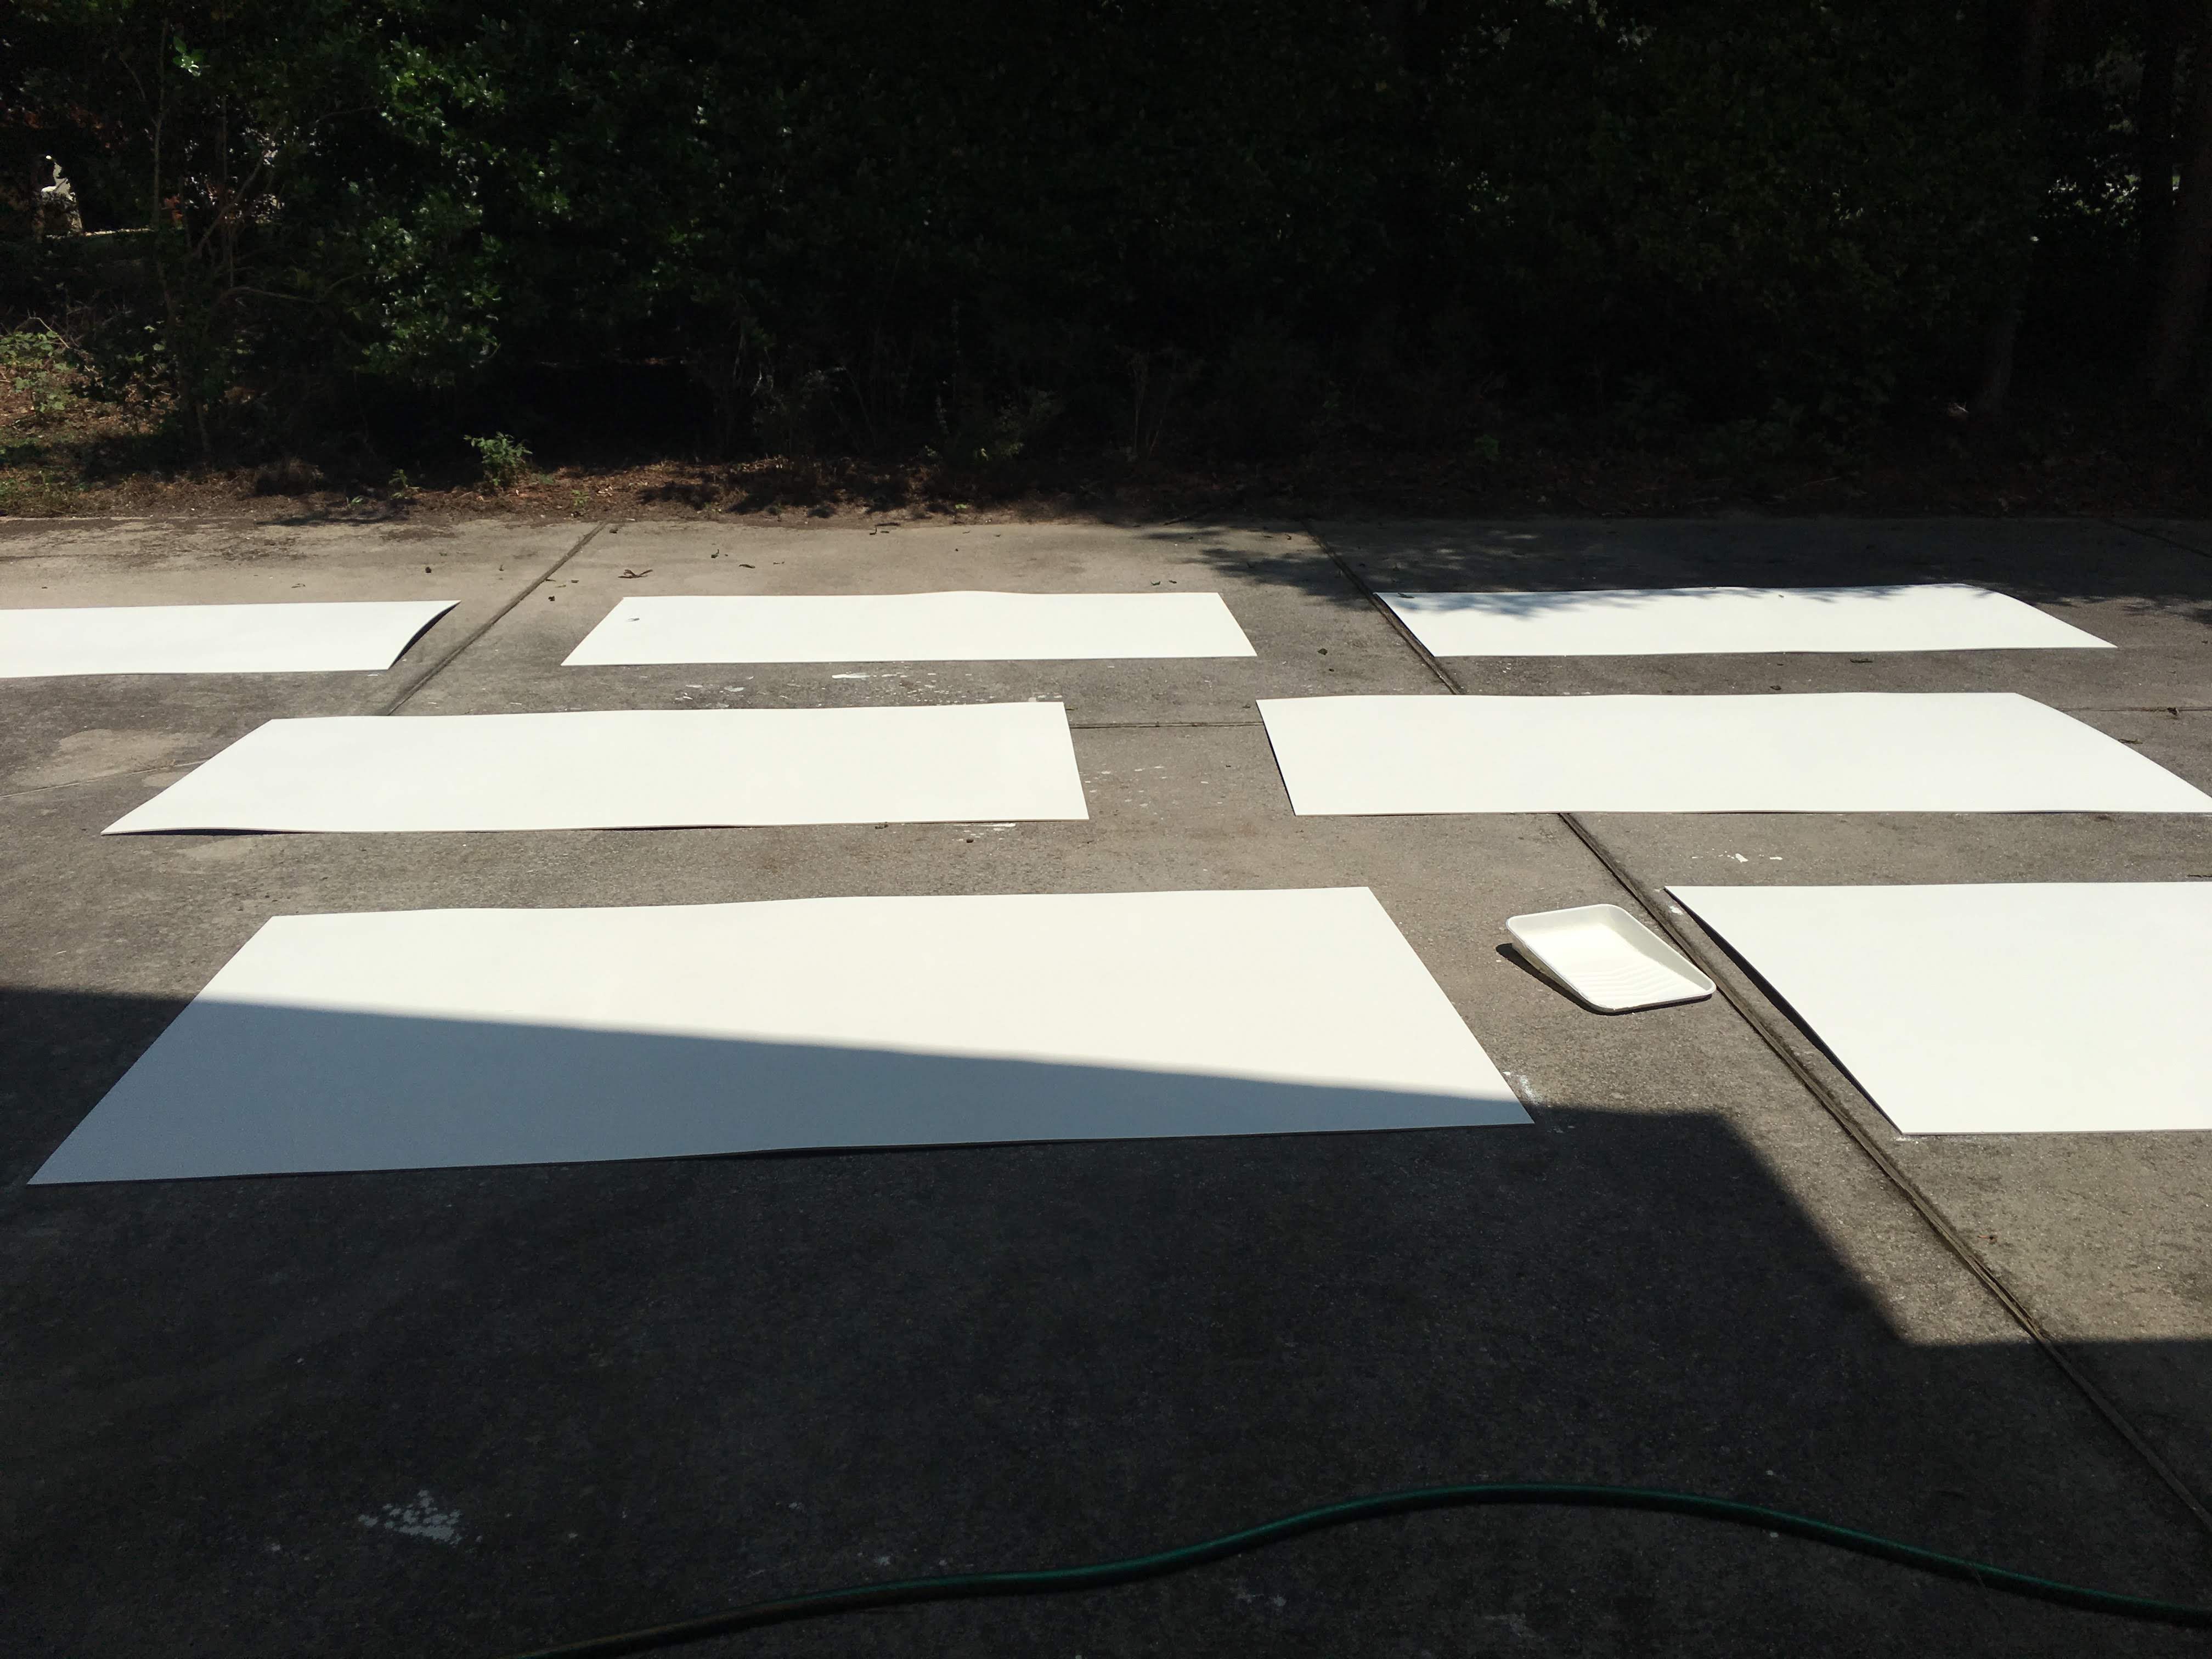
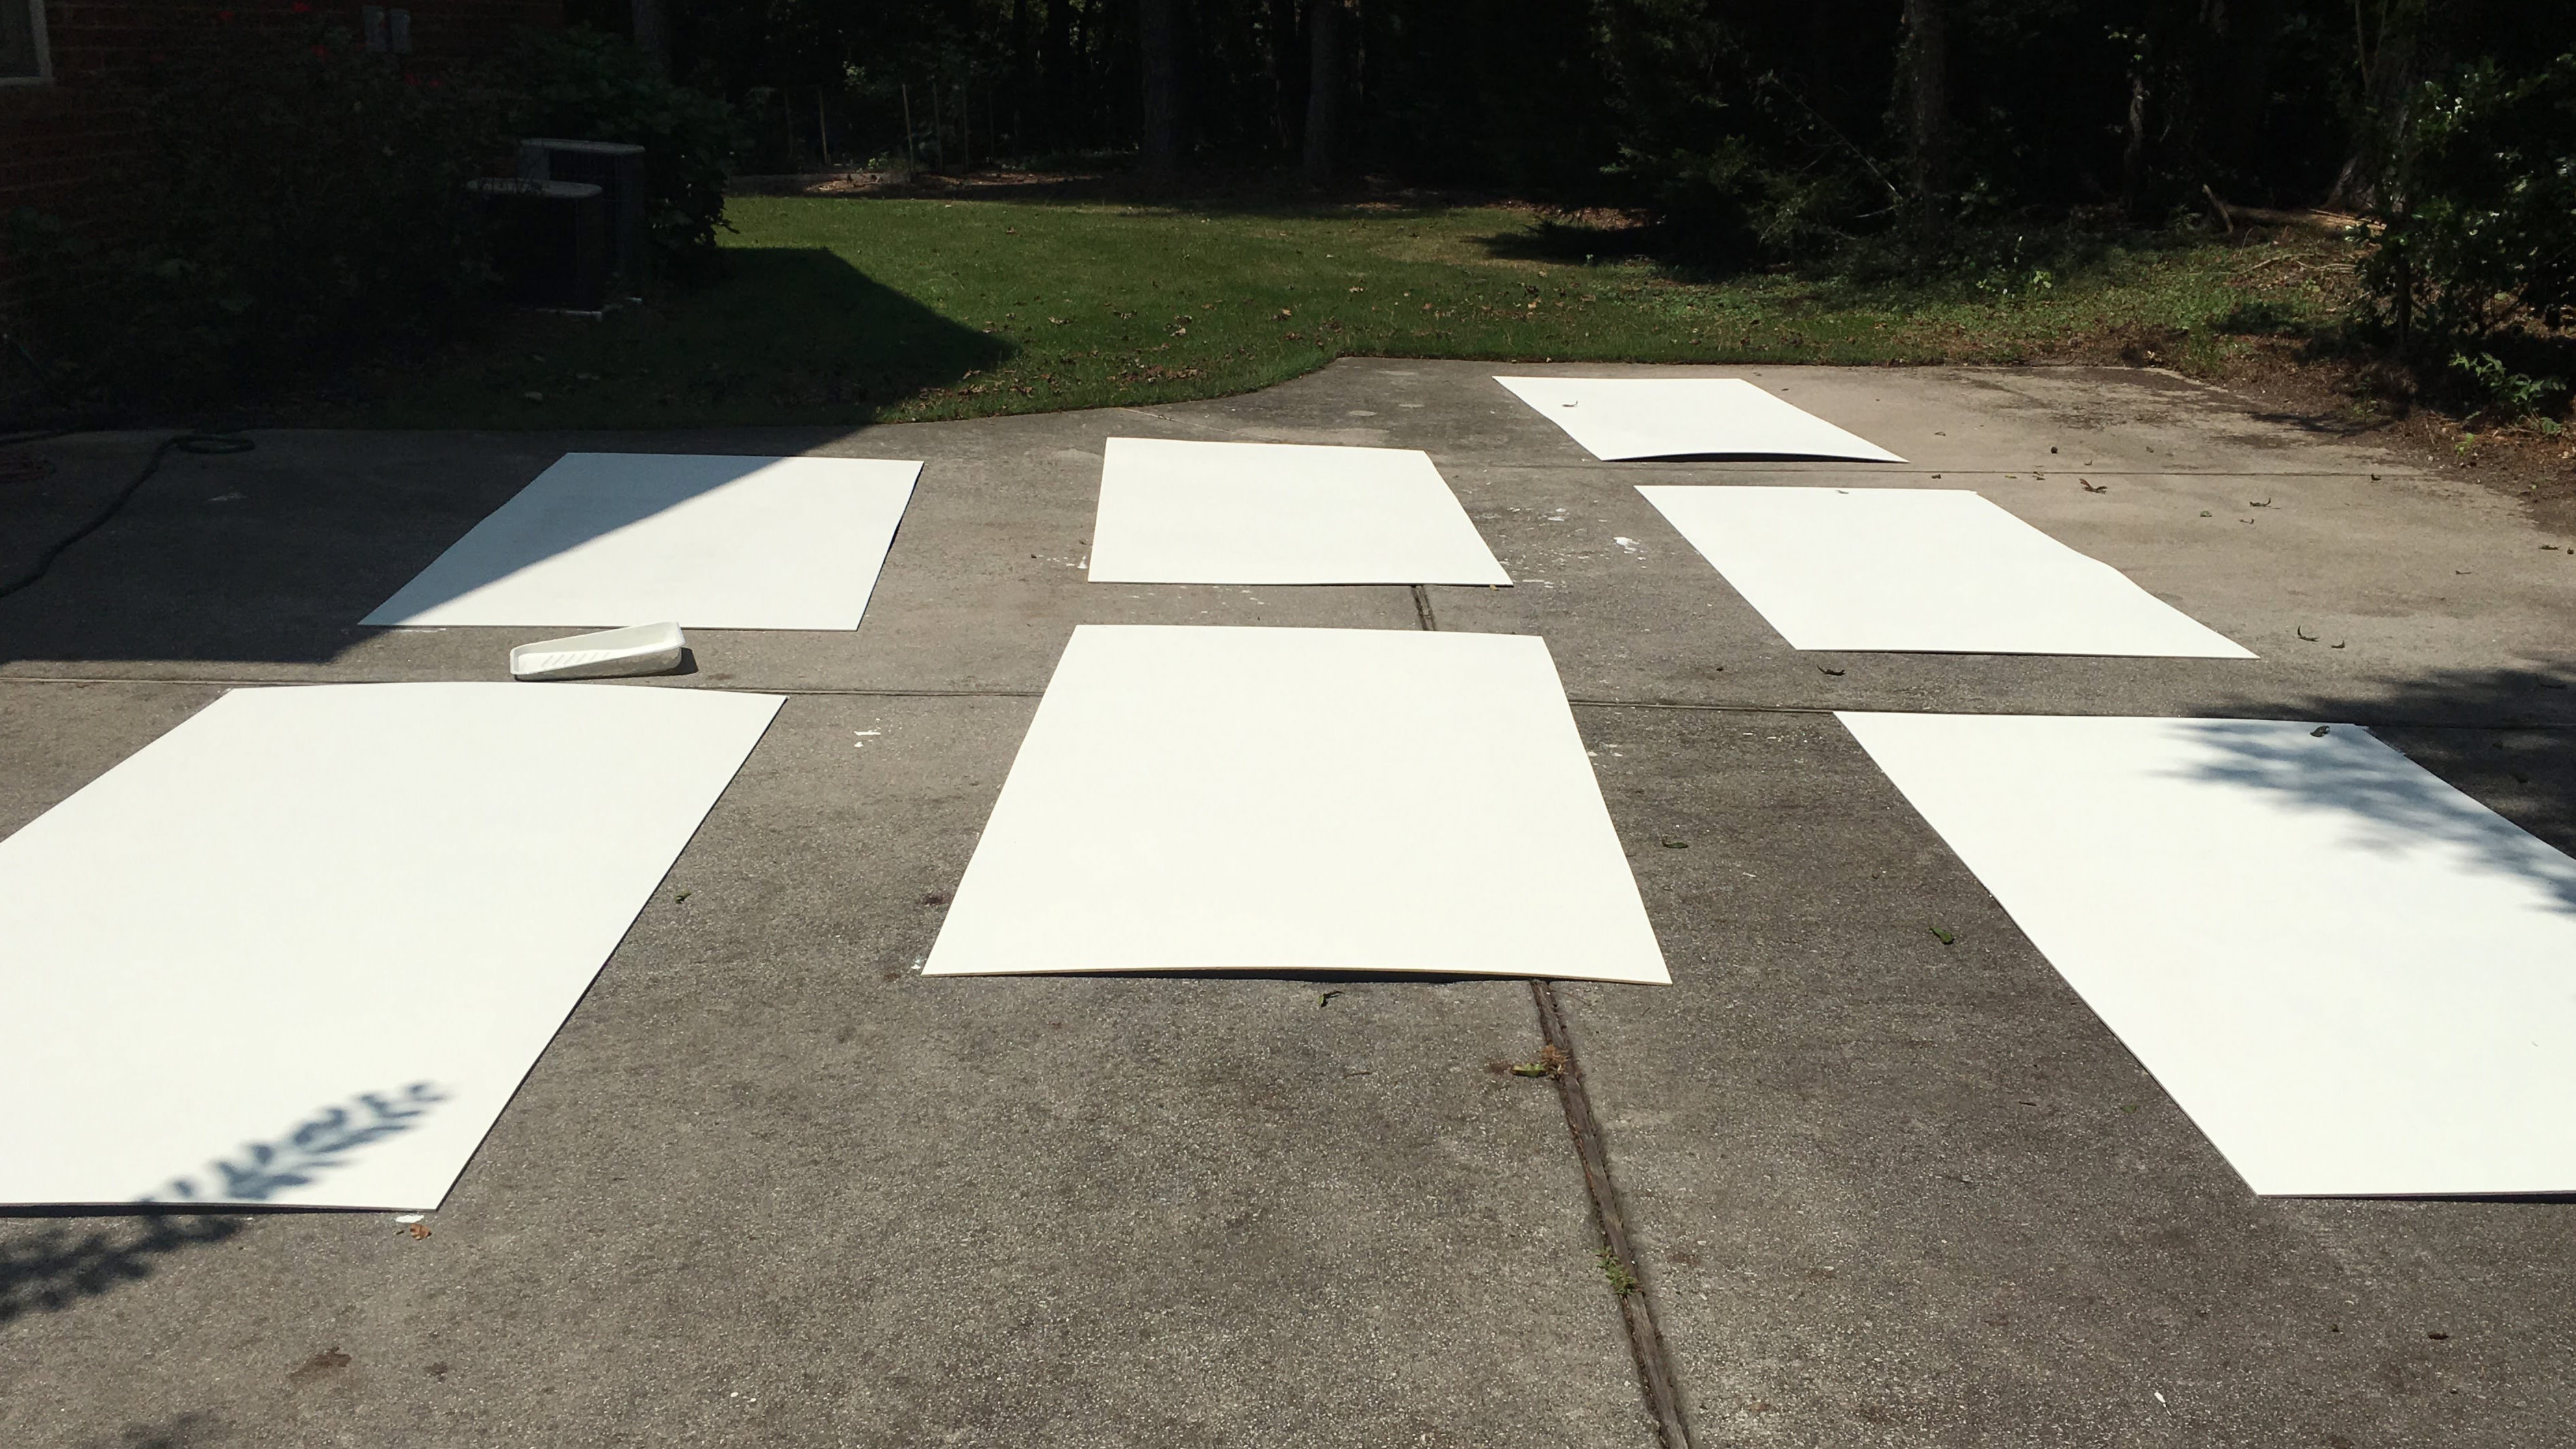
- Apply a medium coat of paint to one side of ALL your sheets of plywood. This type of ply is very absorbent and will likely need a second coat of paint for a clean and even look. Otherwise, consider whitewashing the ply instead with a 50-50 dilution of white paint to water. Apply the whitewash to a tester piece – if the coat is too light, create a heavier whitewash using 2 parts white paint and 1 part water.
- Let dry for at least 1 hour or until the tackiness has subsided.
Note: while your paint supplies are out, you should consider painting your new or old baseboard, new corner moulding and any others with your home’s leftover trim paint. Or color match the remaining trim paint.
Step 3. Remove your existing moulding.
- The decision to make: leave the moulding and install shiplap around it, or simply remove it? We opted to remove our baseboard because it was a nasty 20 years old. We replaced it with brand new baseboard after the shiplap install to hide the imperfections.
- While your first coat of paint or whitewash is drying, remove your baseboard, quarter round or shoe mould, crown moulding, chair rail, etc. Score the edges of your mouldings with a utility blade to cut the existing caulk and prevent undesirable removal of drywall paper.
- Using your hammer and pry bar, carefully remove all necessary mouldings. Hammering the pry bar in alignment with studs will prevent your drywall from cracking and breaking.
- If you’re reusing the old mouldings, manually remove the nails from every board and set aside. New boards will likely require 2” brad nails for proper adhesion.
Step 4. Mark your studs.
- Bust out that stud finder and pencil and mark every stud. Mark each stud multiple times (vertically), at least 2 feet apart and use a yardstick or T-square to connect the lines.
- Once complete, you’ll have vertical lines showing stud locations at every stud, from ceiling to floor. This makes for a quick, easy and structurally sound install.
Step 5. Rip your boards.
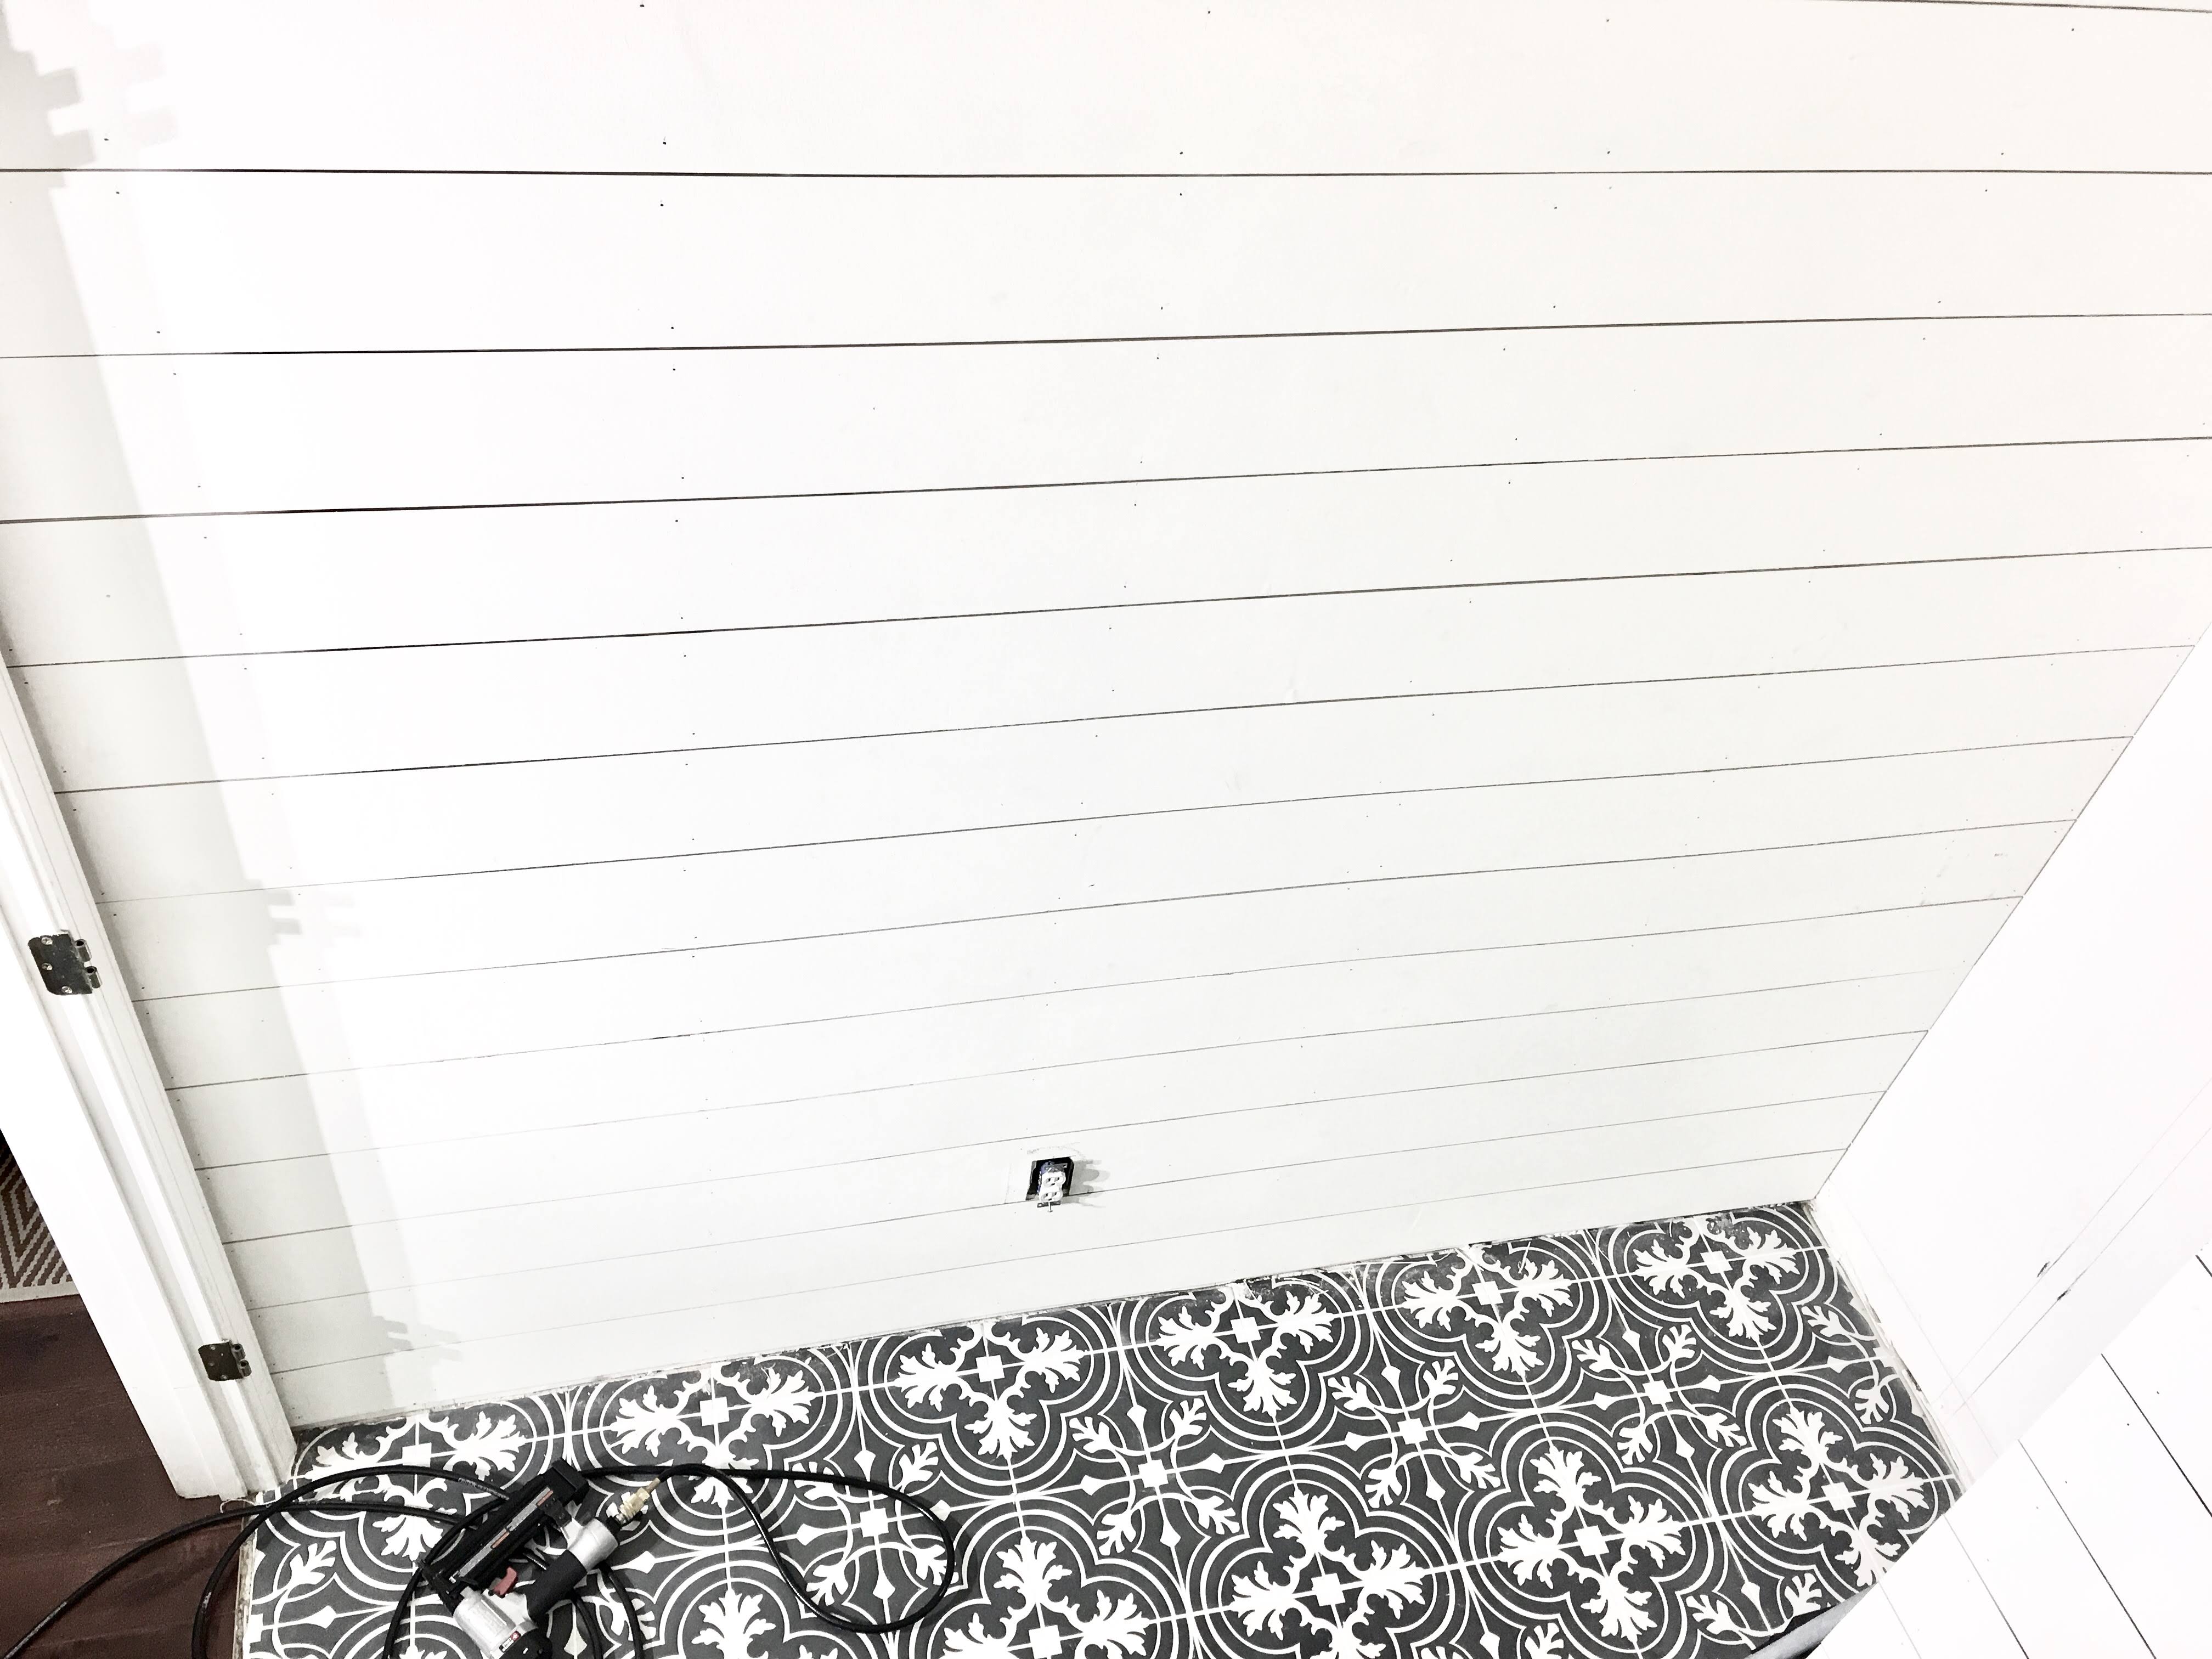
- Decide what width you want your shiplap boards to be. Using a 4×8 sheet of ply, the easiest rips are at 6 inches (8 pieces) and 8 inches (6 pieces). We opted for 6 inch wide boards.
- Allot ~1/8 inch for your table saw blade. For 6 inch wide boards, measure 5-7/8″ from the fence to the inside-most carbide tip of your blade. It’s beneficial if your last board ends up being a little wider than 5-7/8″ so you can rip it to match all the others.
- Setup your infeed AND outfeed tables. Or rig one up on both ends to ensure your flimsy 4×8 sheets of ply don’t bend too far upward or downward and shift off of the blade. We used our homemade workbench for the “out”, and a portable work stand on top of a wooden box for the “in”. Or borrow a friend, neighbor or spouse to catch your boards as your feed and cut them.
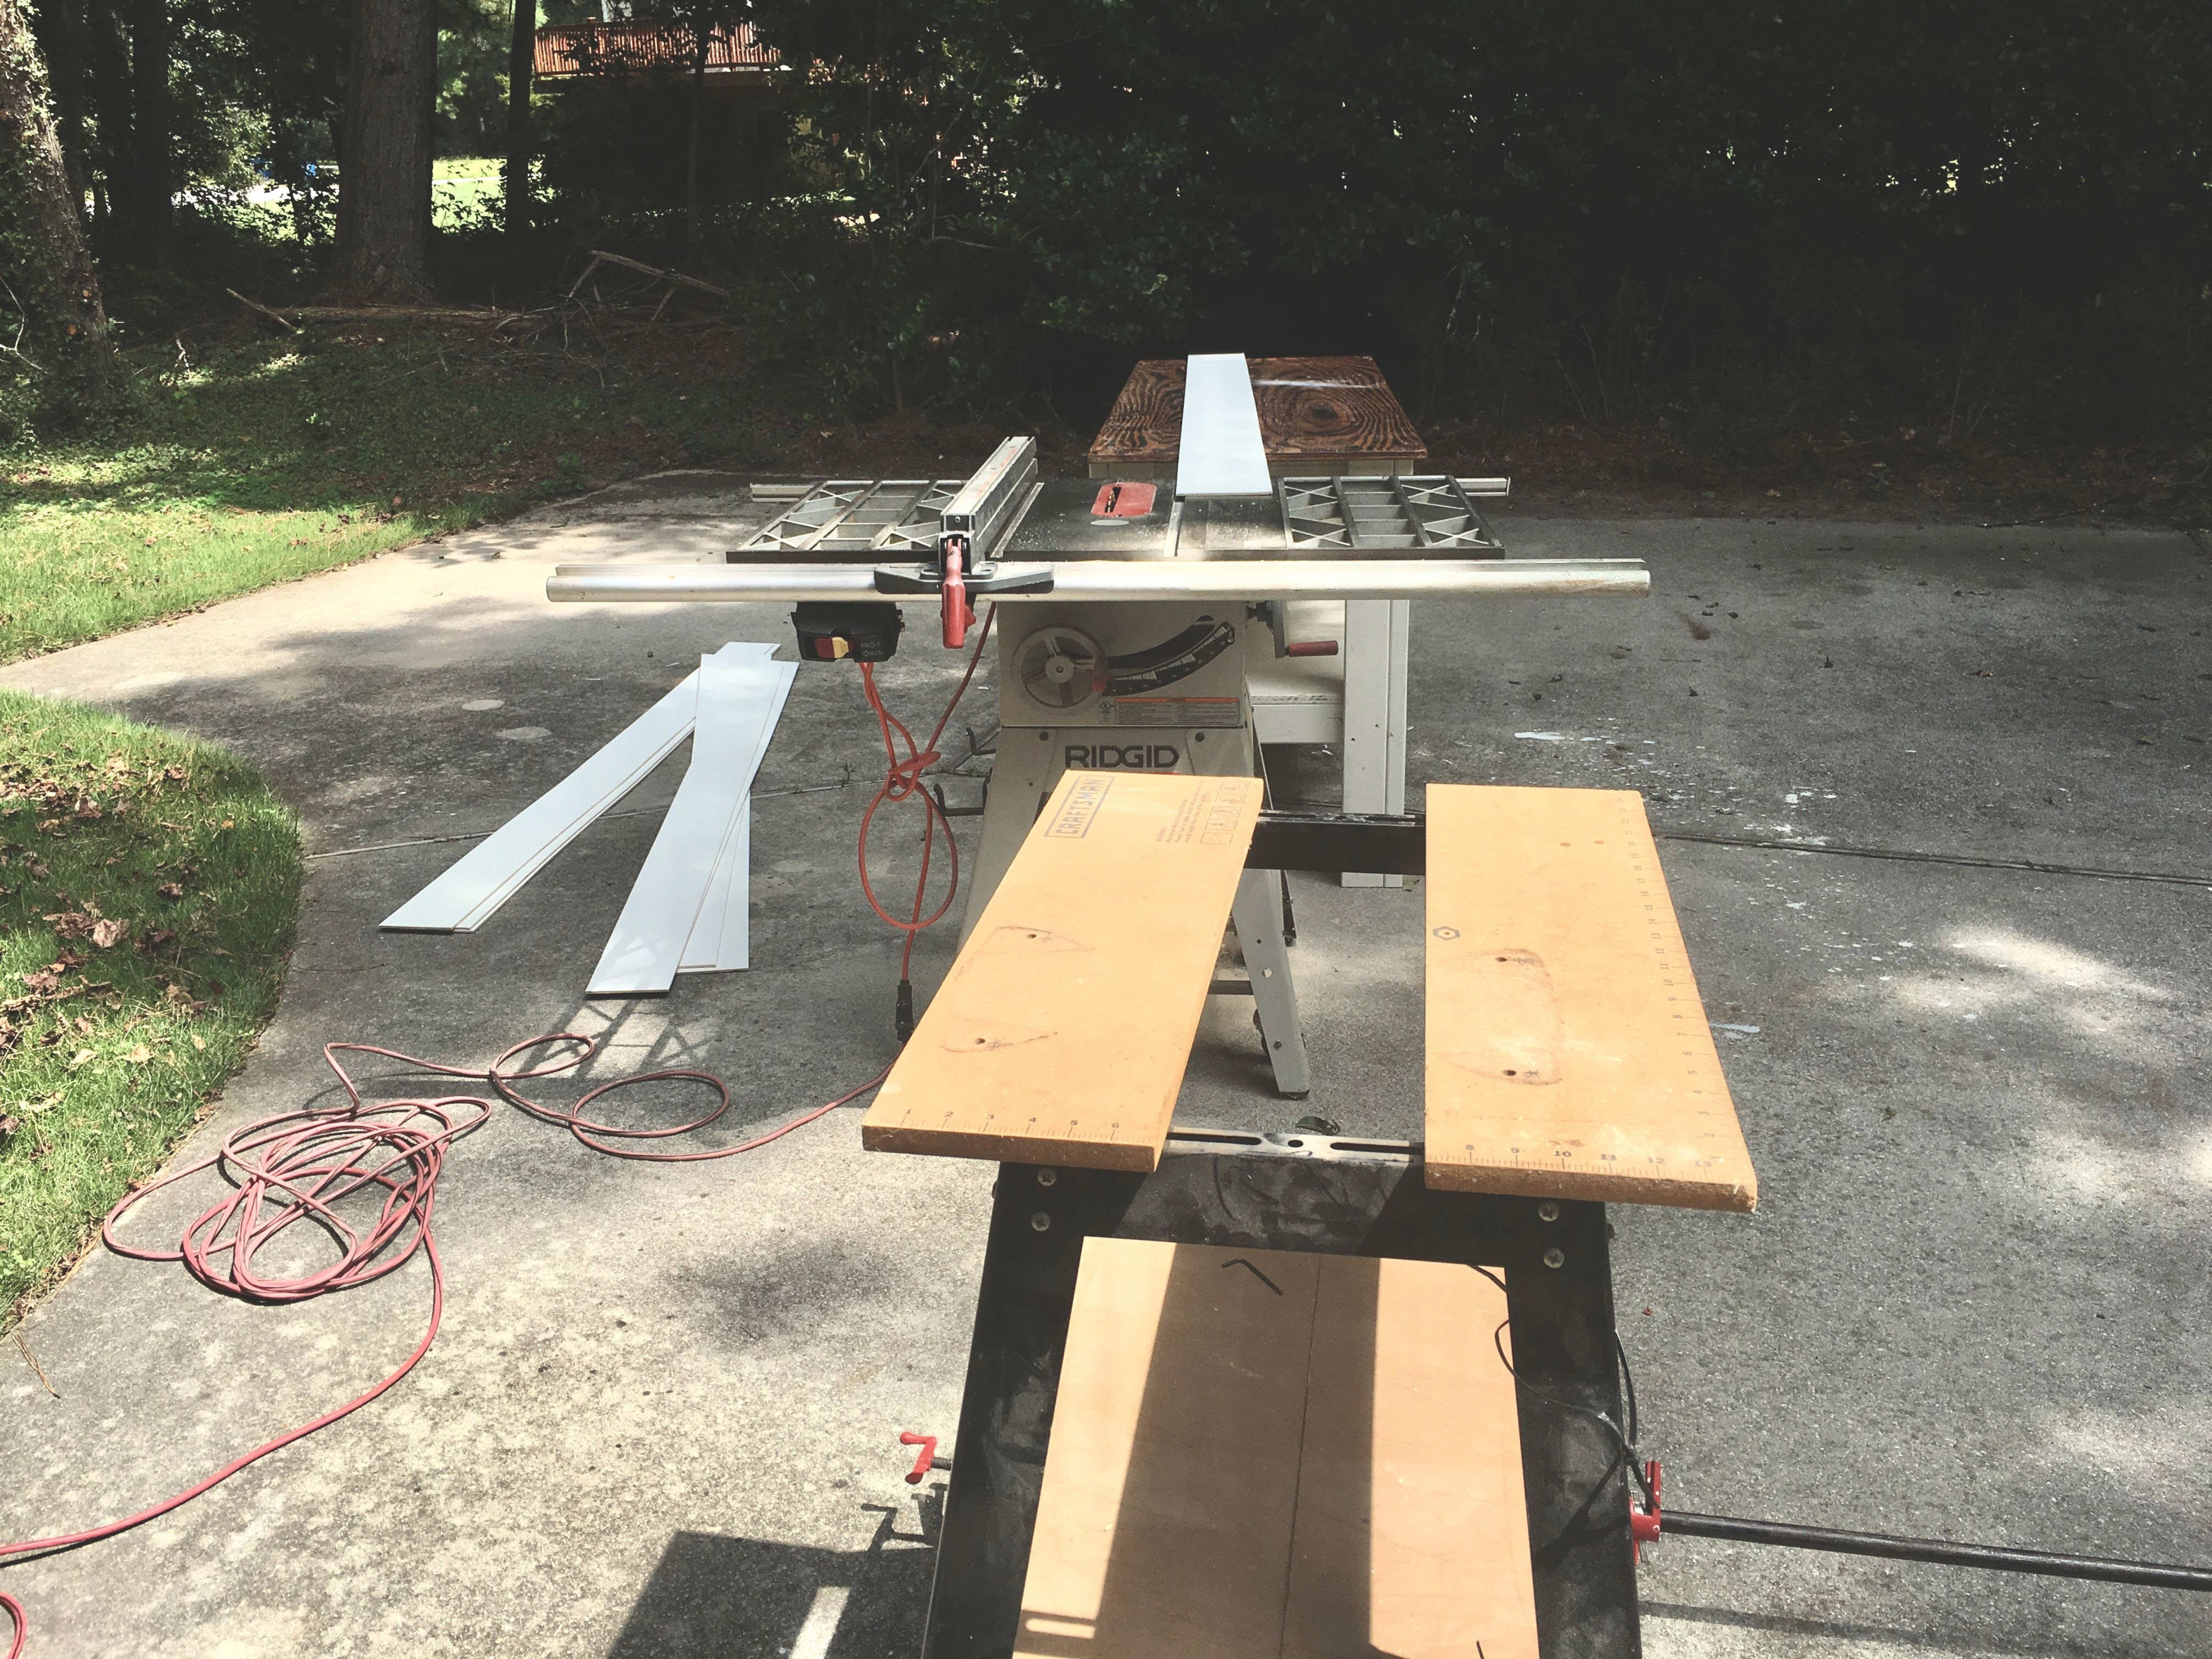
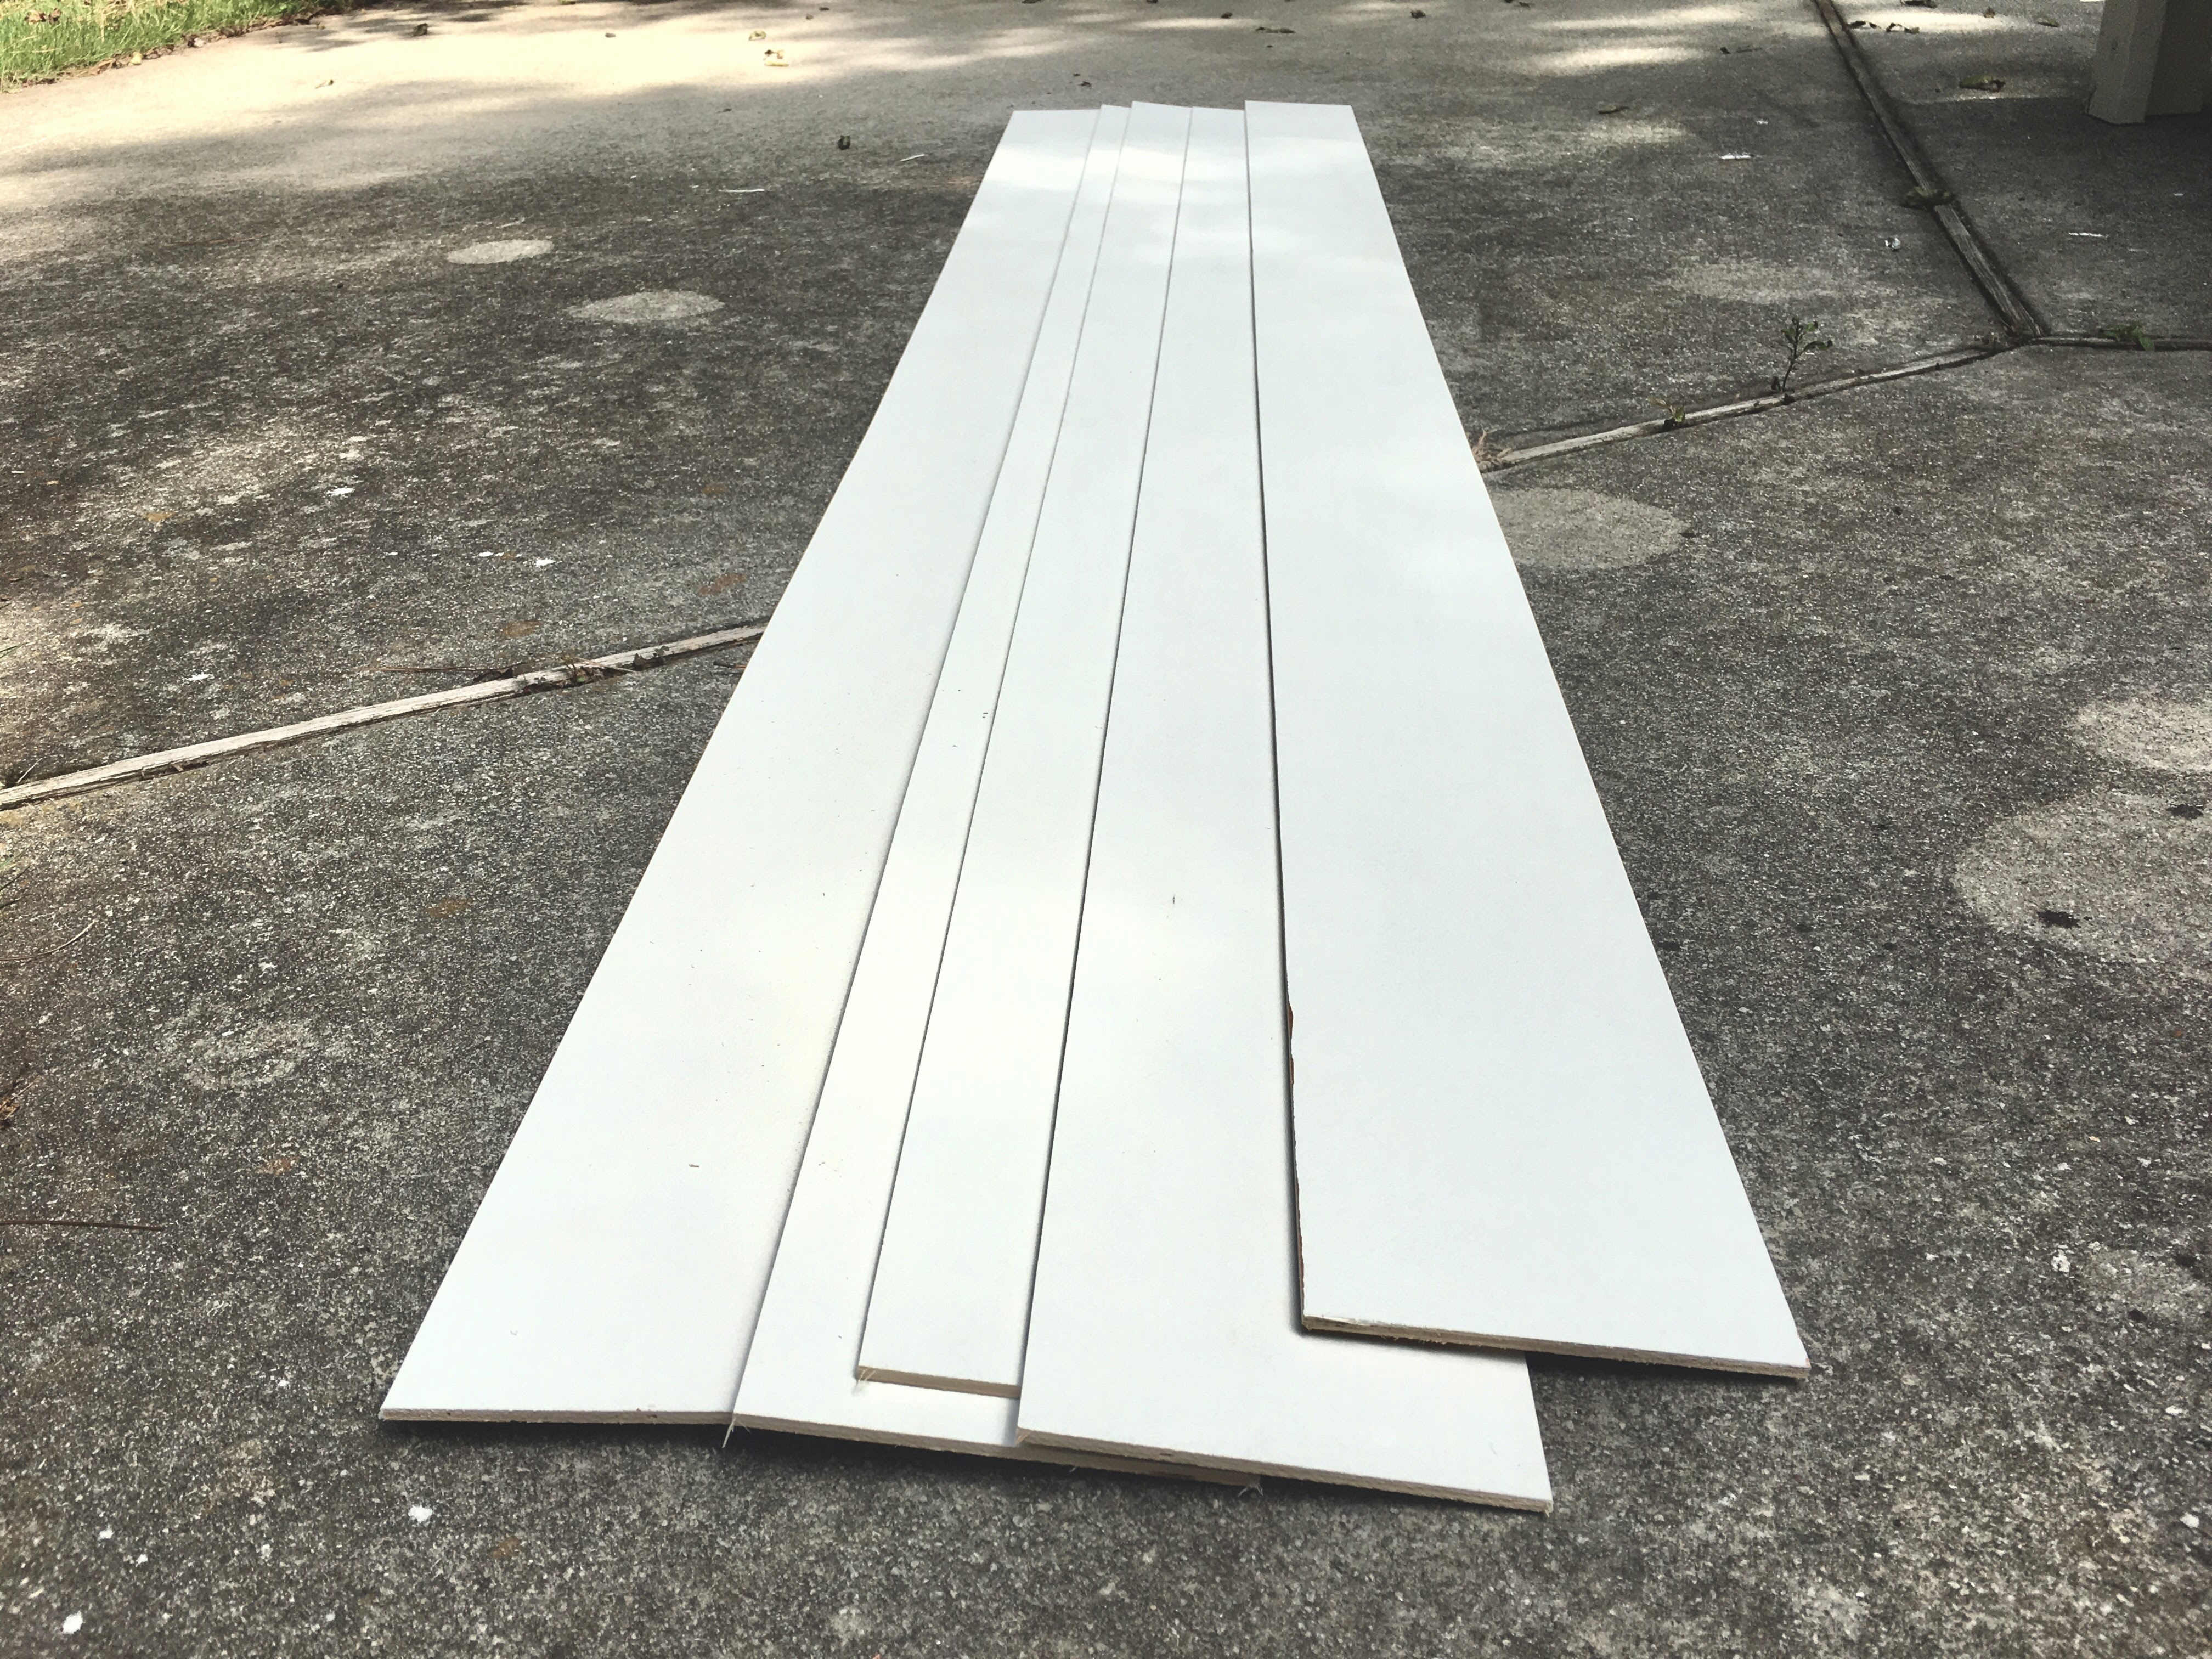
Step 6. Miter & install your boards.
- If you wall is fully prepped and ready to receive shiplap, then it’s time for the big install.
- Decide: will you install your boards from the bottom up or from the top down? Our laundry room doesn’t have (or need) crown moulding, so we opted to do the top down install to allow the baseboard to hide the uneven bottom board. Otherwise, we’d need to rip a piece of shiplap at an angle since nothing in a house is ever perfectly square. In our case, gravity was NOT on our side. It required more force to keep each board on the wall during the nailing, but turned out perfectly.
- Measure from wall to wall where the middle of the board will land. The middle measurement will provide an “average” in case the wall is slightly bowed or bumpy.
- Note on the top board: your walls will likely bow inwardly at the very top corners from drywall inside corner trim plus mudding.
- Fire up your compressor, lubricate your nail gun and load in your nails of choice. Aim for the studs as you shoot the brad nails – 2 nails per stud per board.
- Other than your top board, all other boards will require spacers in between them. Ours are exactly 1/8 inch apart with the help of 2 plastic tile spacers. Nickels provide a gap that’s ever so slightly thicker than 1/8 inch. Want more or less? Find any spacer that suits your taste.
- For all boards beneath the top one: hold the board in place after sizing is perfected with the miter saw, squeeze in 2 spacers at a reasonable distance apart (1/4 board distance from either wall), tighten the board up against the spacers and fire nails into studs. Feel free to keep the spacers in place until you position the next board for ease of transfer.
Step 7. Reinstall existing moulding.
- If you yanked off your baseboards, chair rail, crown moulding or all of the above, go ahead and reinstall all of them. Make sure ALL of the nails have been removed. If any excess dried caulk is in the way, cut it off with your utility blade. You’ll be adding another bead of caulk at Step 9.
- Install the old (or new) moulding with 2” brad nails for a better hold. All boards will likely need to be slightly modified with your miter saw. The length of many walls will now be reduced by 1/4″ or 1/2″ depending on shiplap placement.
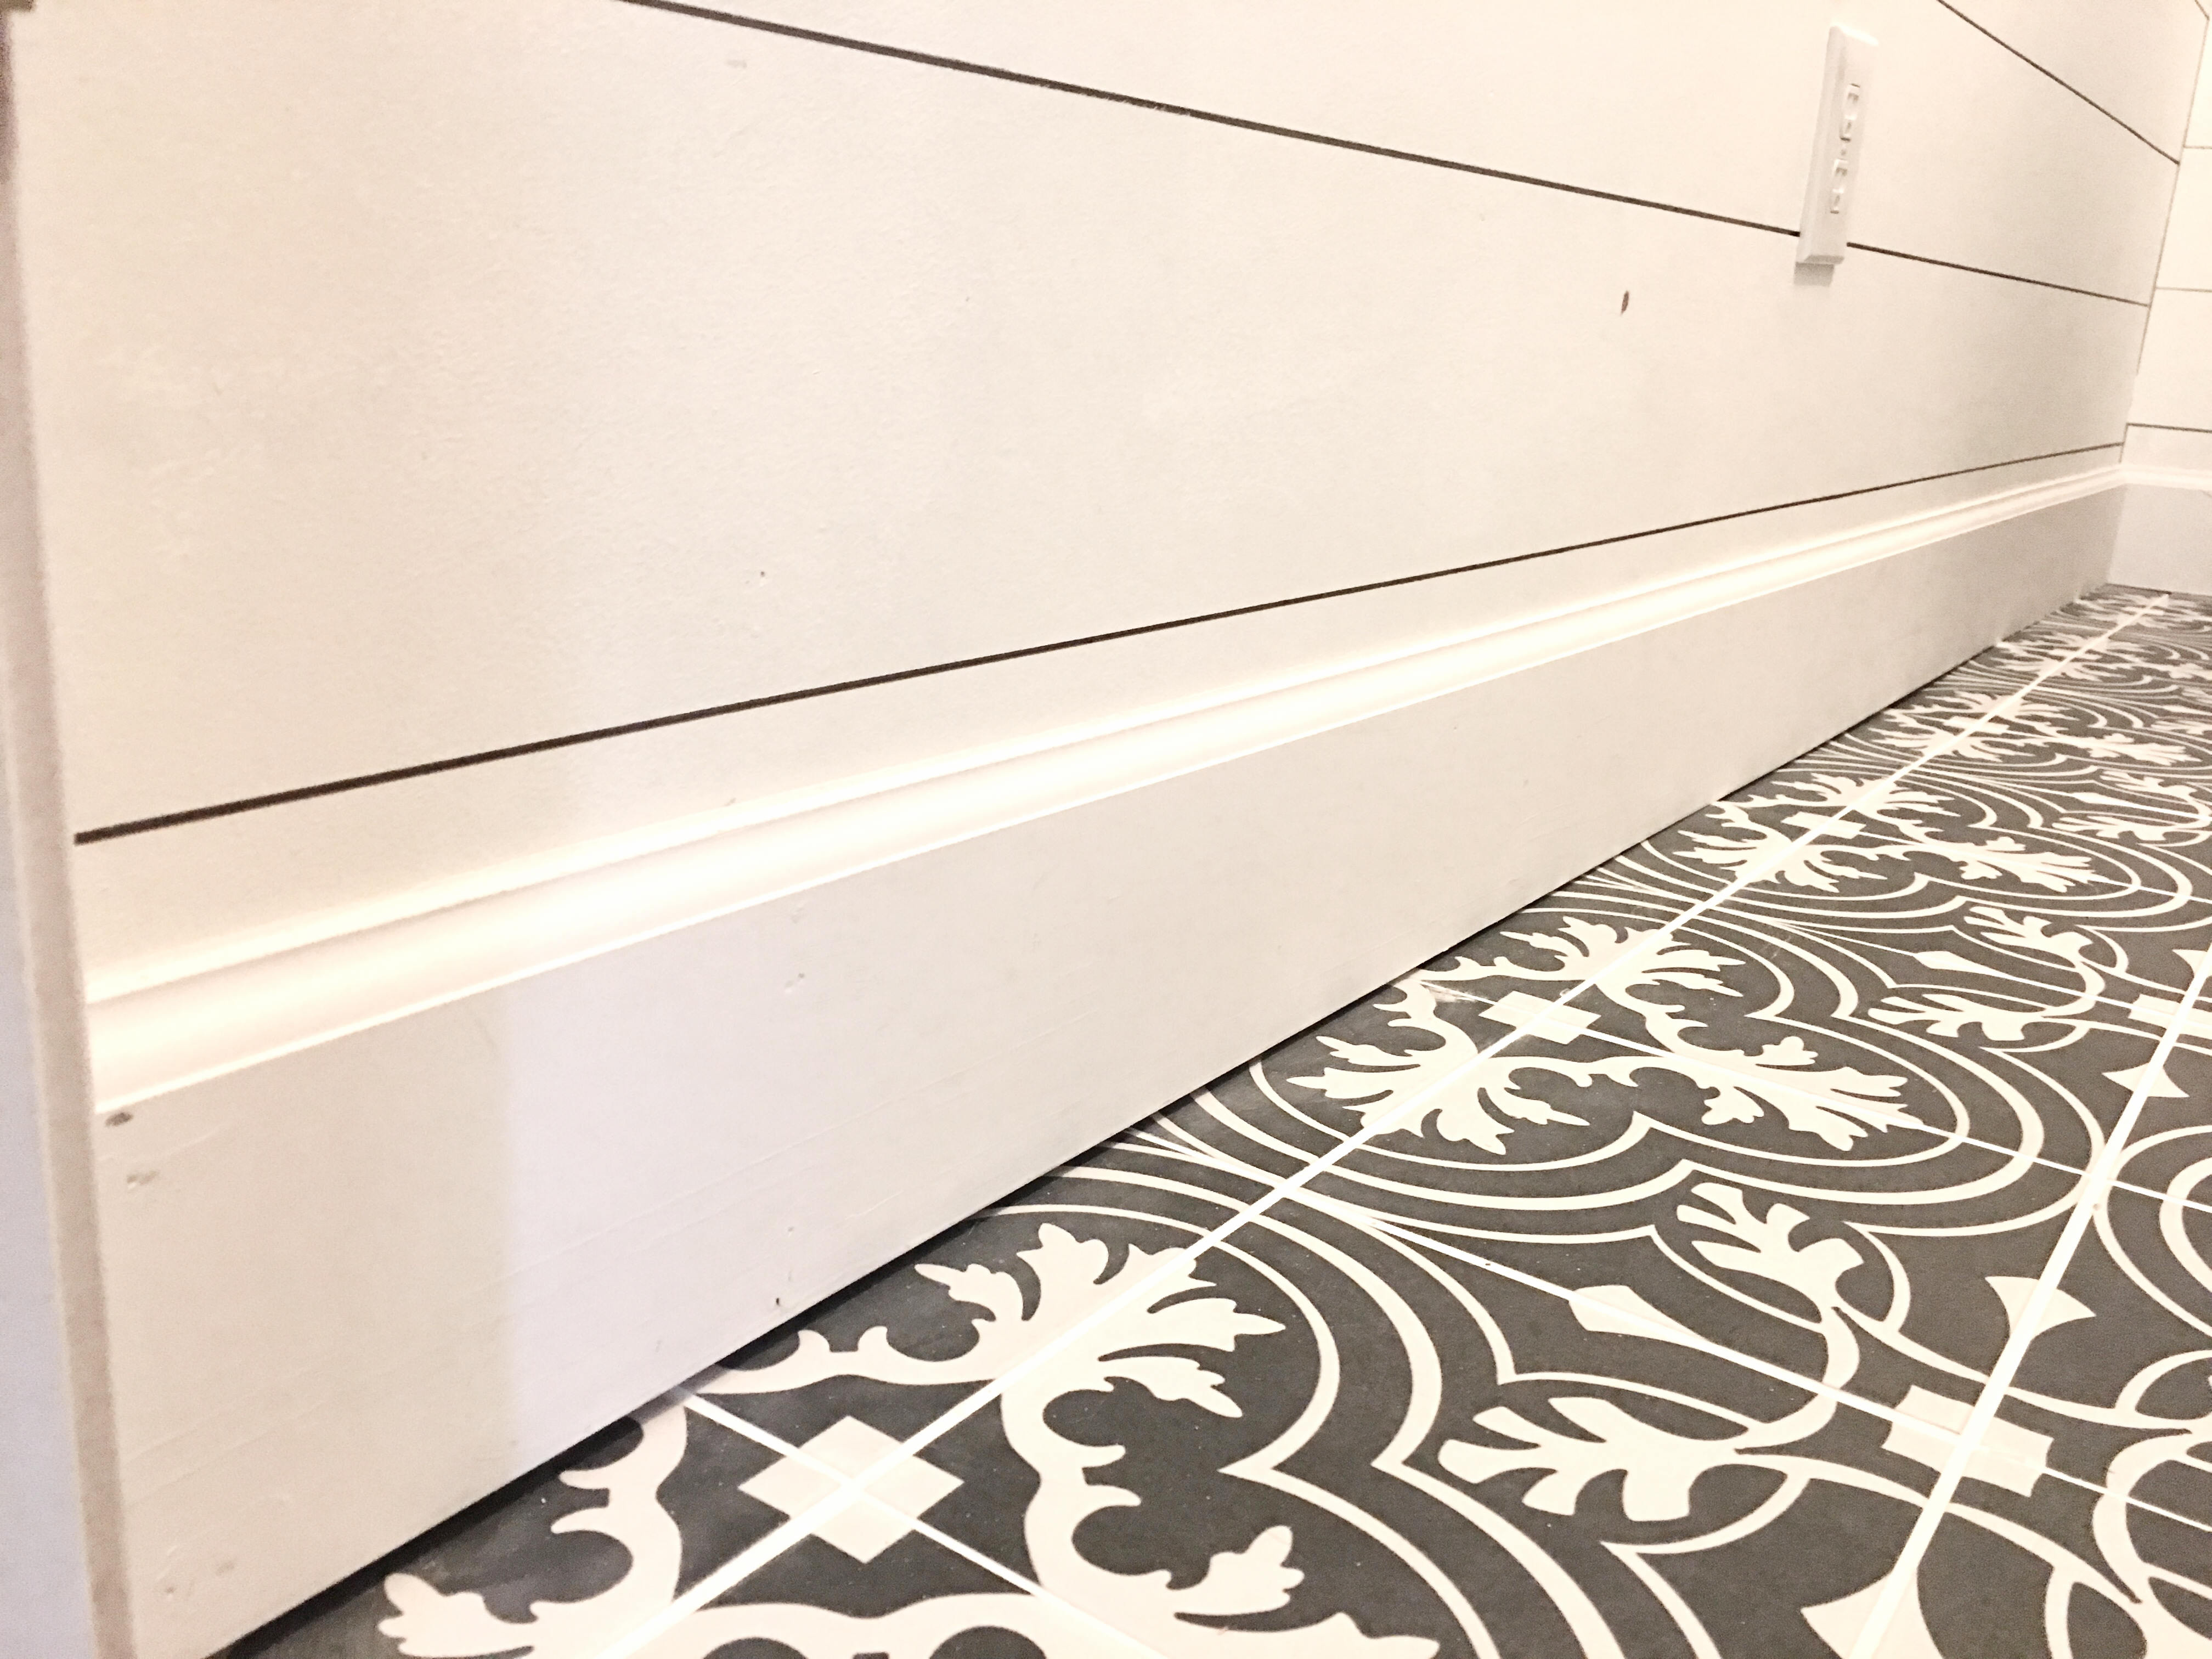
Step 8. Install outside corner moulding.
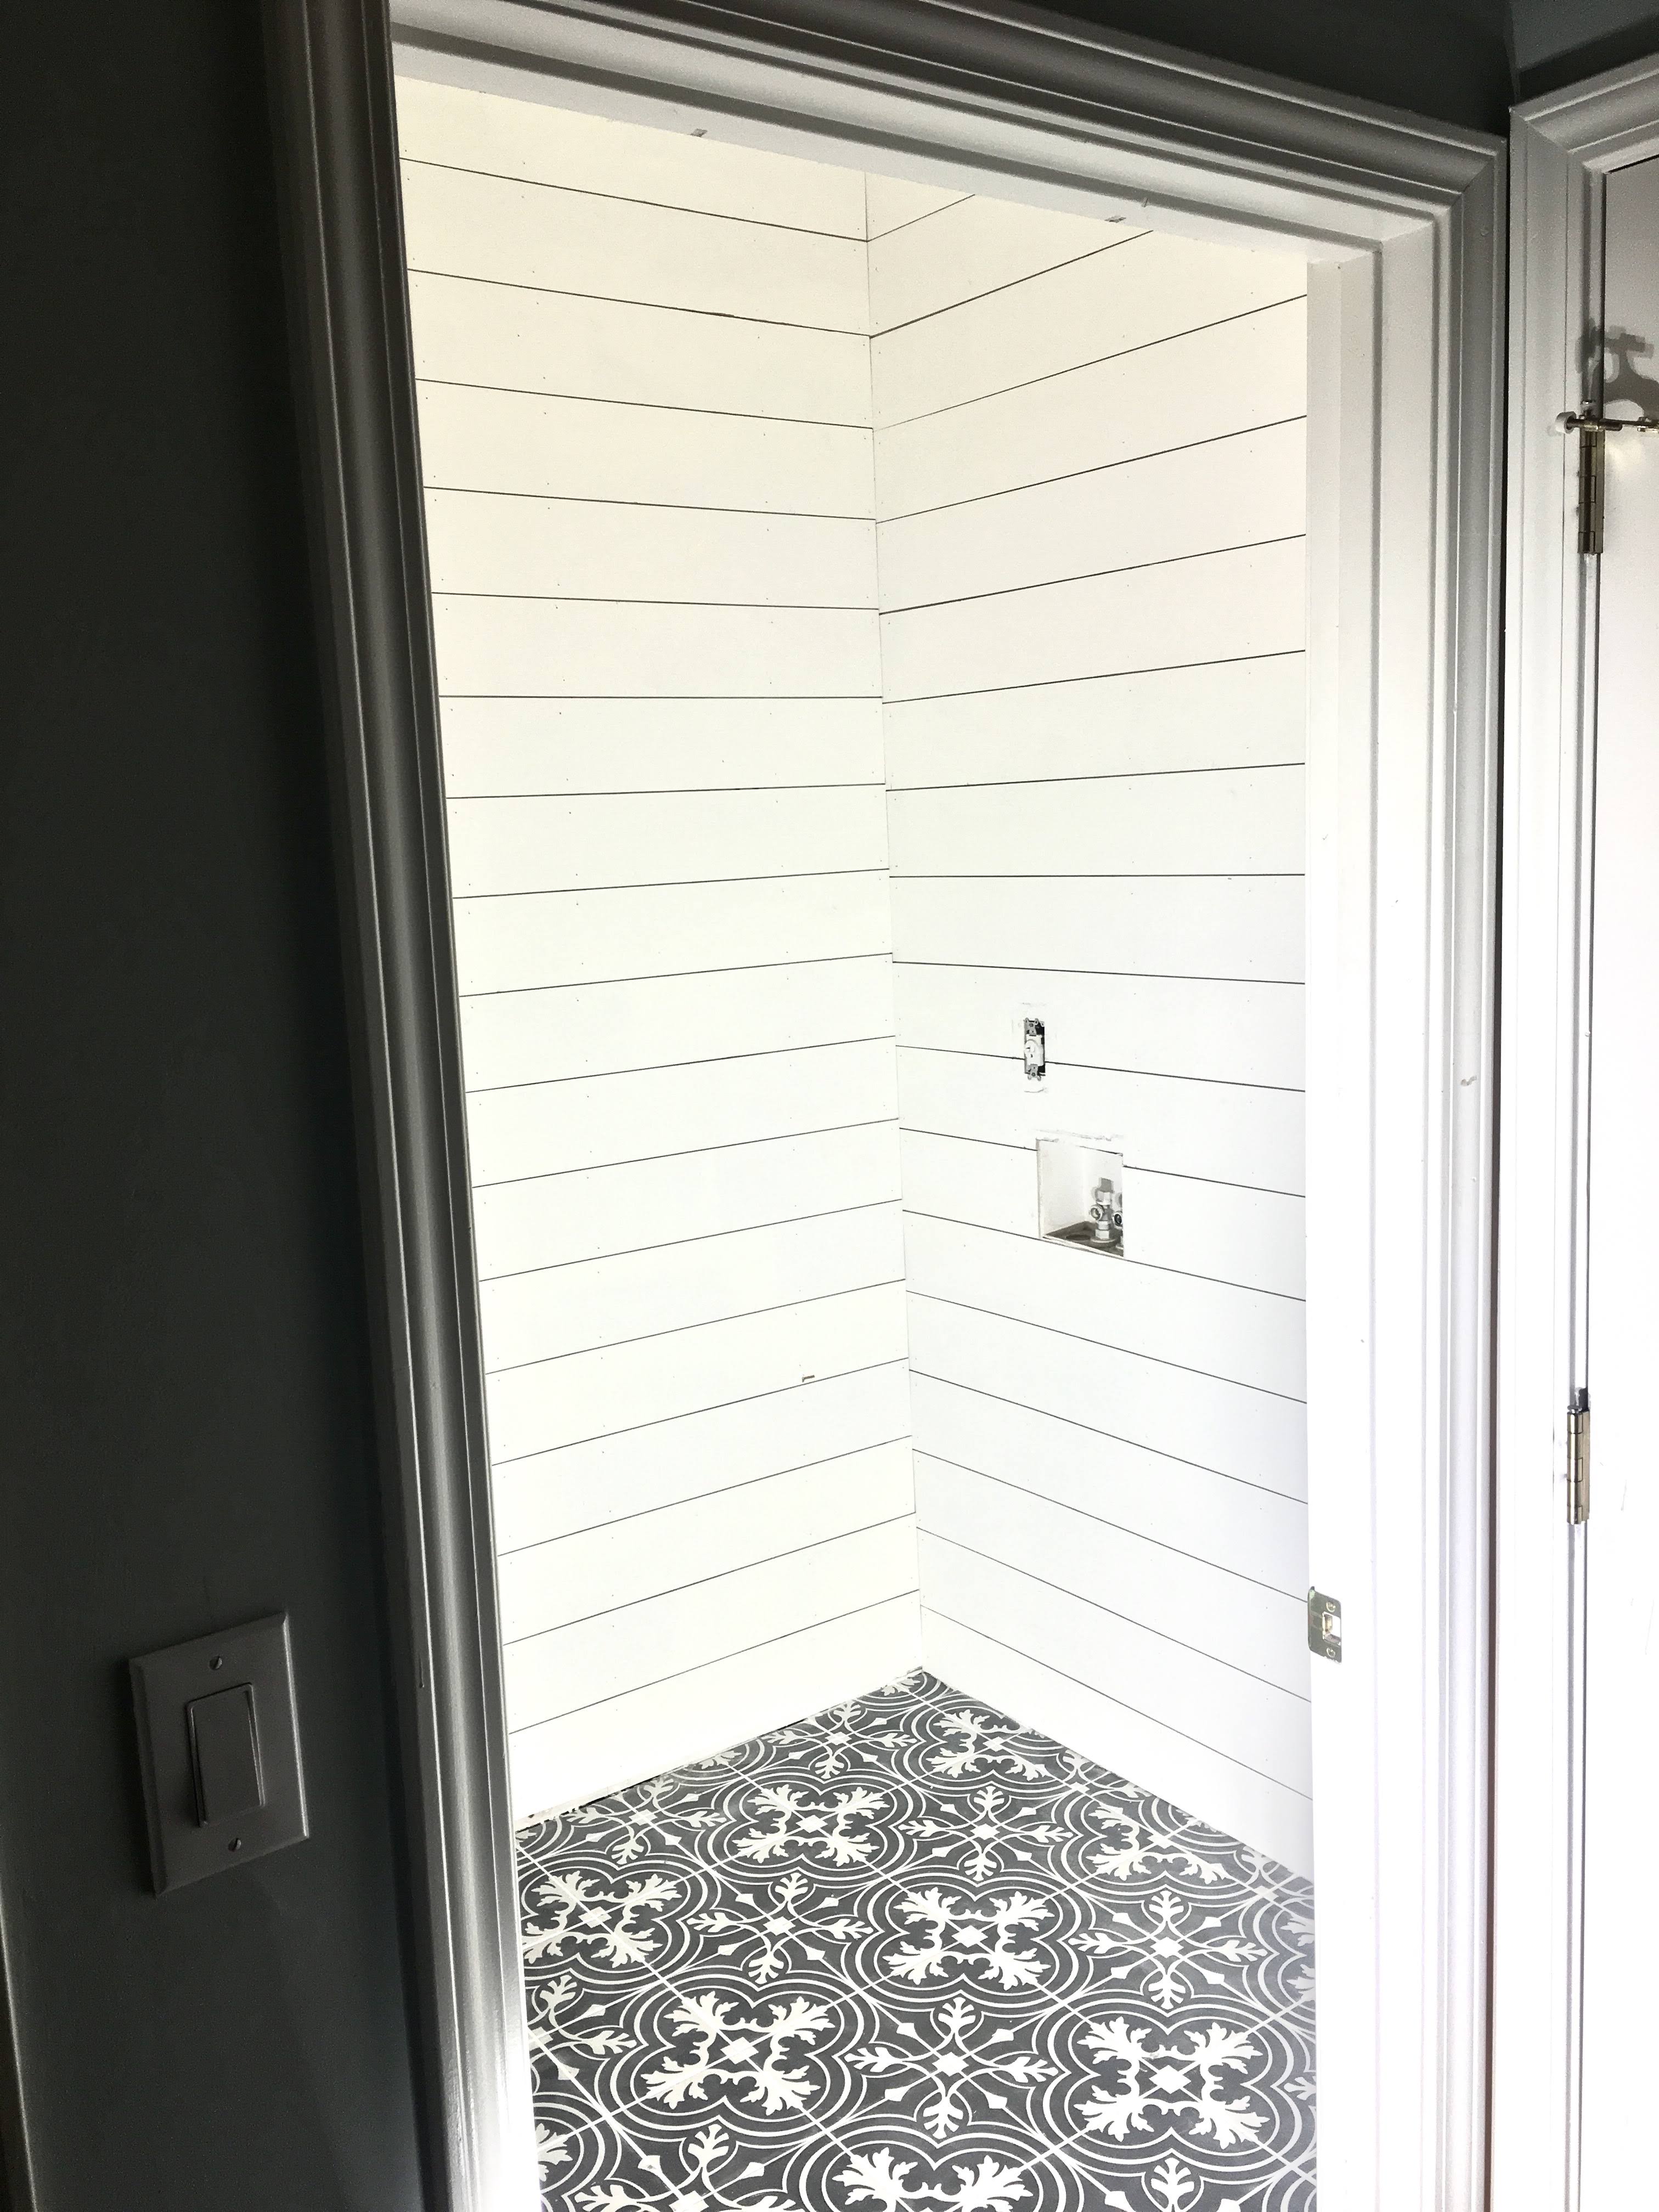
- We opted out of inside corner moulding. For a rustic chic aesthetic, we didn’t mind seeing the lines where the boards meet in the corners. Plus it’s almost impossible to get the boards to line up from wall to wall unless you remove the baseboard, snap a perfectly level chalk line on every wall, and begin your install off the ground. Still may be some variance.
- Measure from the top of your baseboard to the ceiling and cut your outside corner moulding. Install with brad nails.
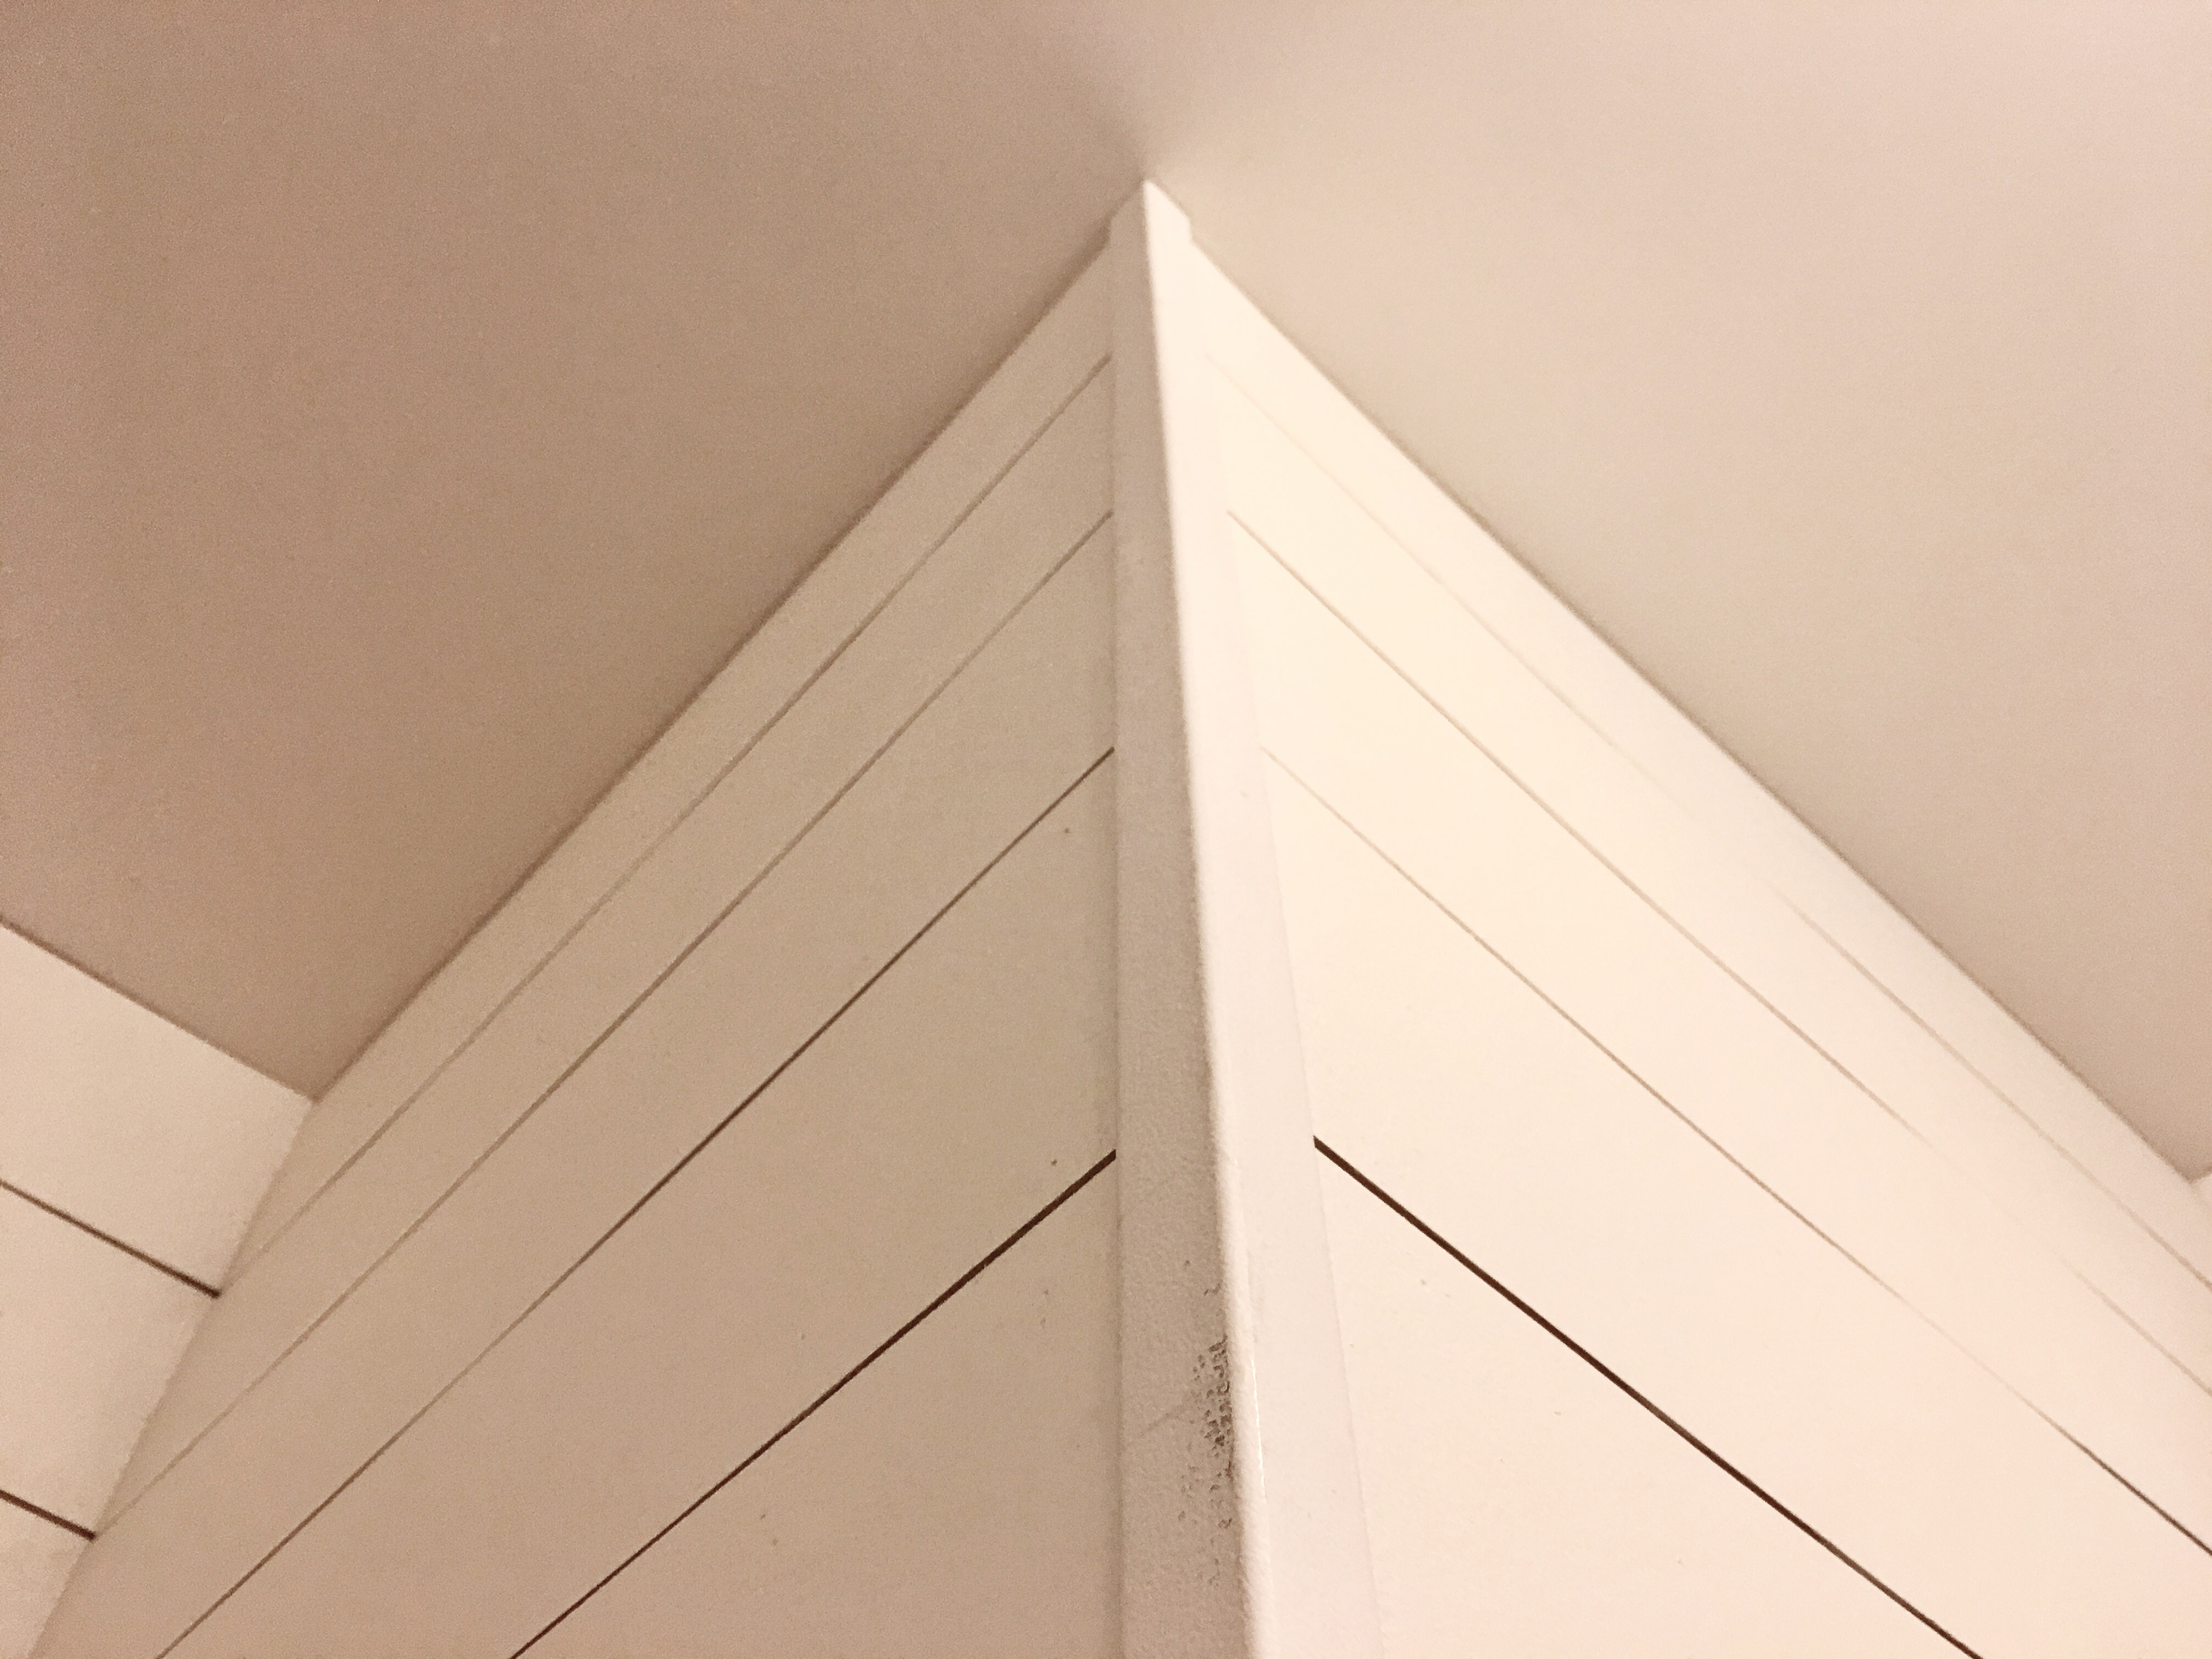
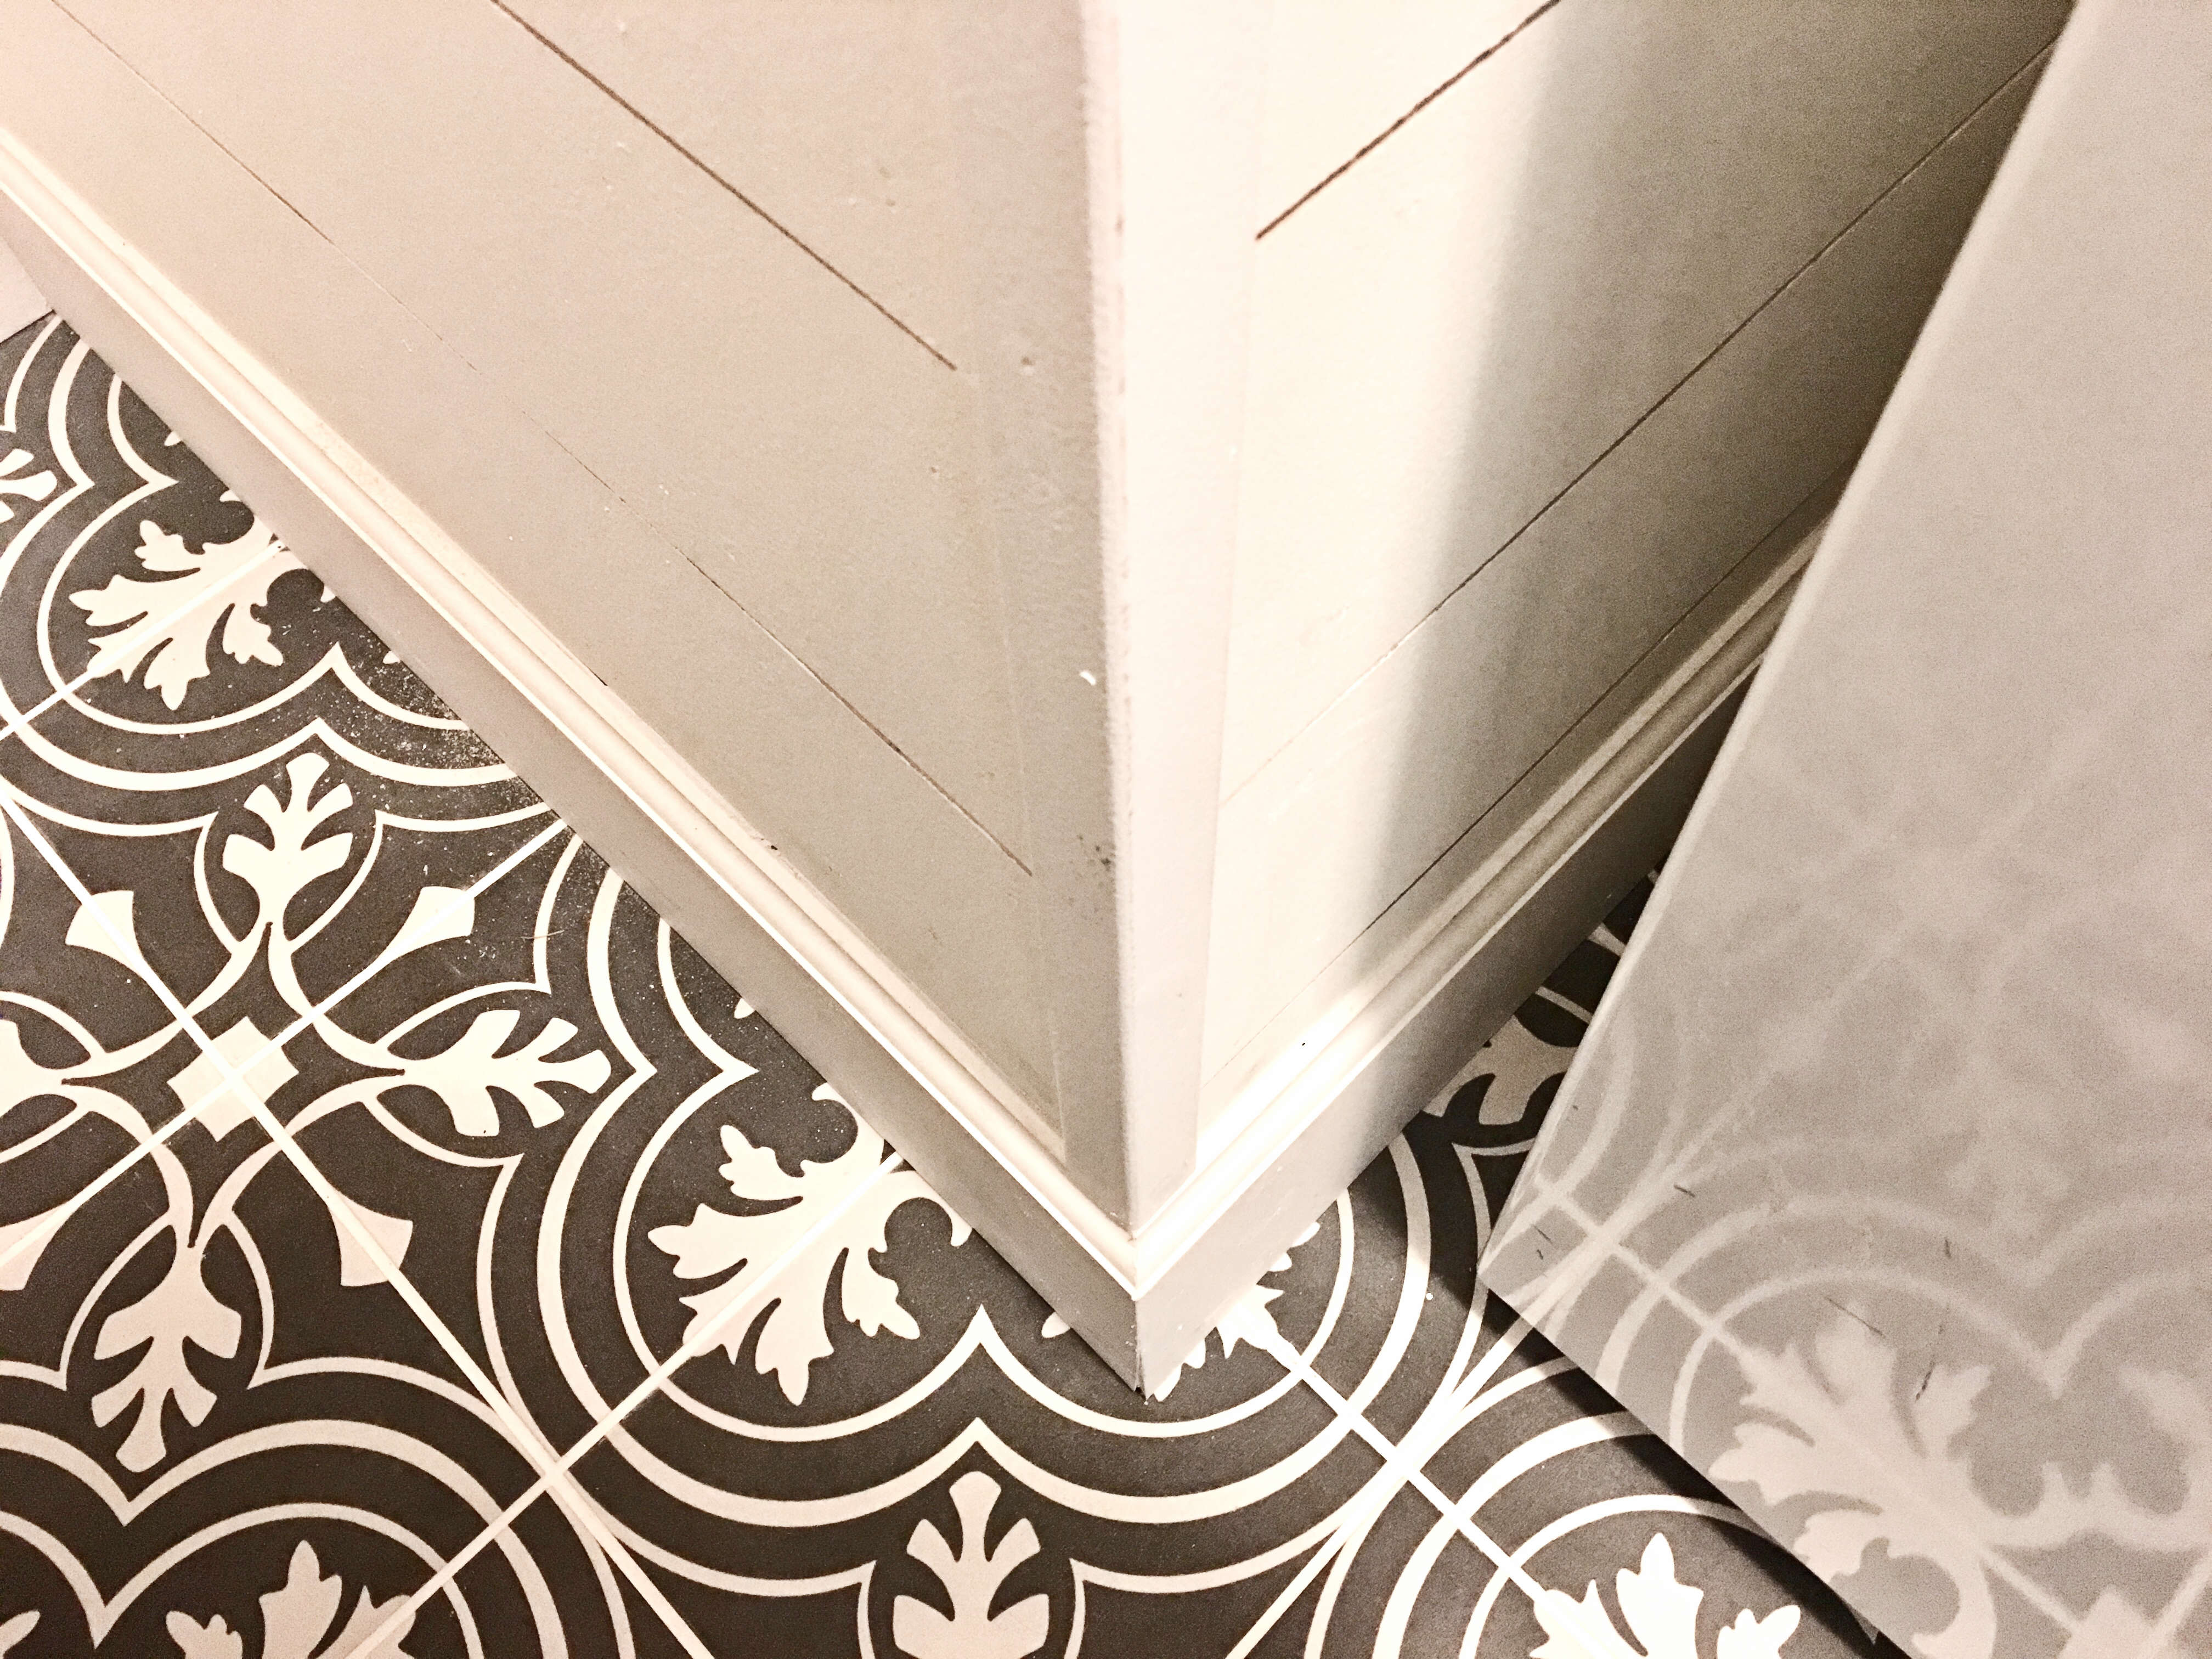
Step 9. Caulk moulding seams & nail holes.
Note: verify that your caulking is white and paintable.
- Cut off the tip of your brand new tube of white caulk with a utility blade. Place the long spike into the tip of the tube over and over again until the foil layer is fully breached to allow the caulking to stream through. The spike should be built-in to the end of your caulk gun.
- Load the tube into your caulk gun and apply a thin bead along the top of all baseboards. Using your finger, fill every nail hole with caulk and rub smooth. Feel free to fill any inside corners where a board may have been too short to hide the excessive gap.
- Let dry for 30 to 60 minutes depending on your brand and type of caulk.
![]()
![]()
Step 10. Touch-up paint.
- After your caulking has dried, apply touch-up white paint over all scuff marks, under-painted areas and caulked nail holes.
- If only one coat of paint was applied to the plywood sheets, assess if another full coat is needed.
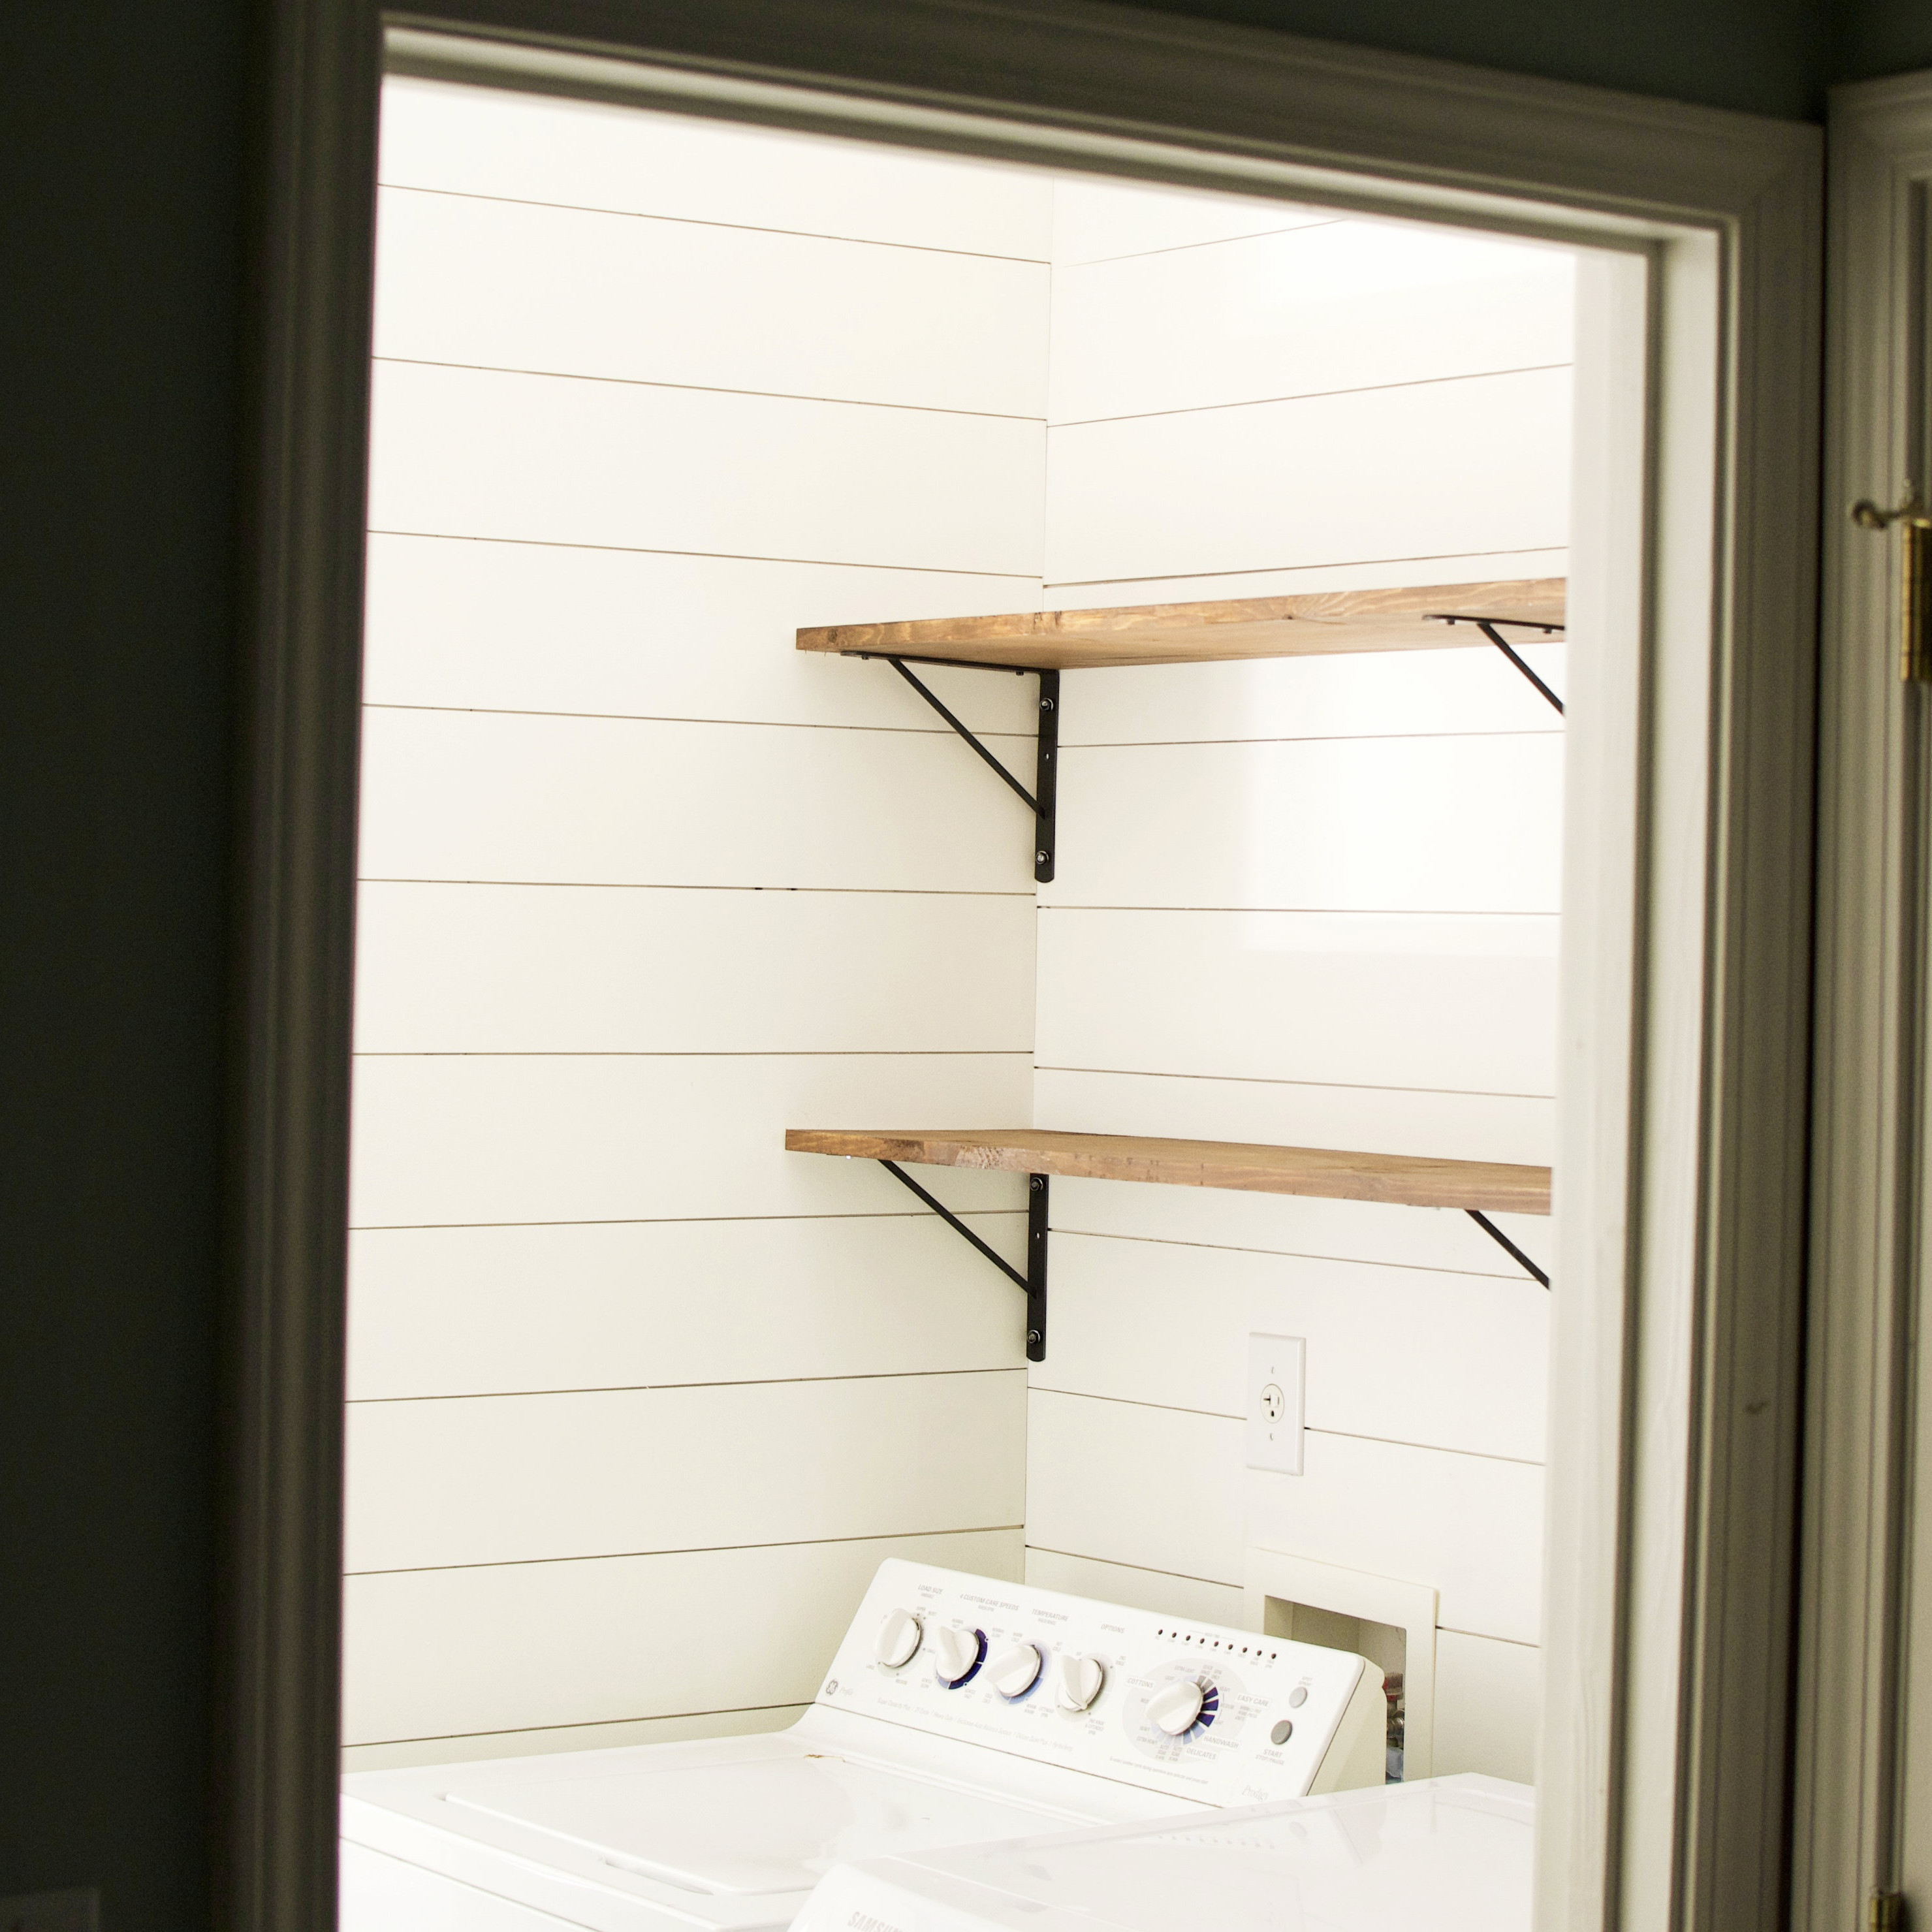
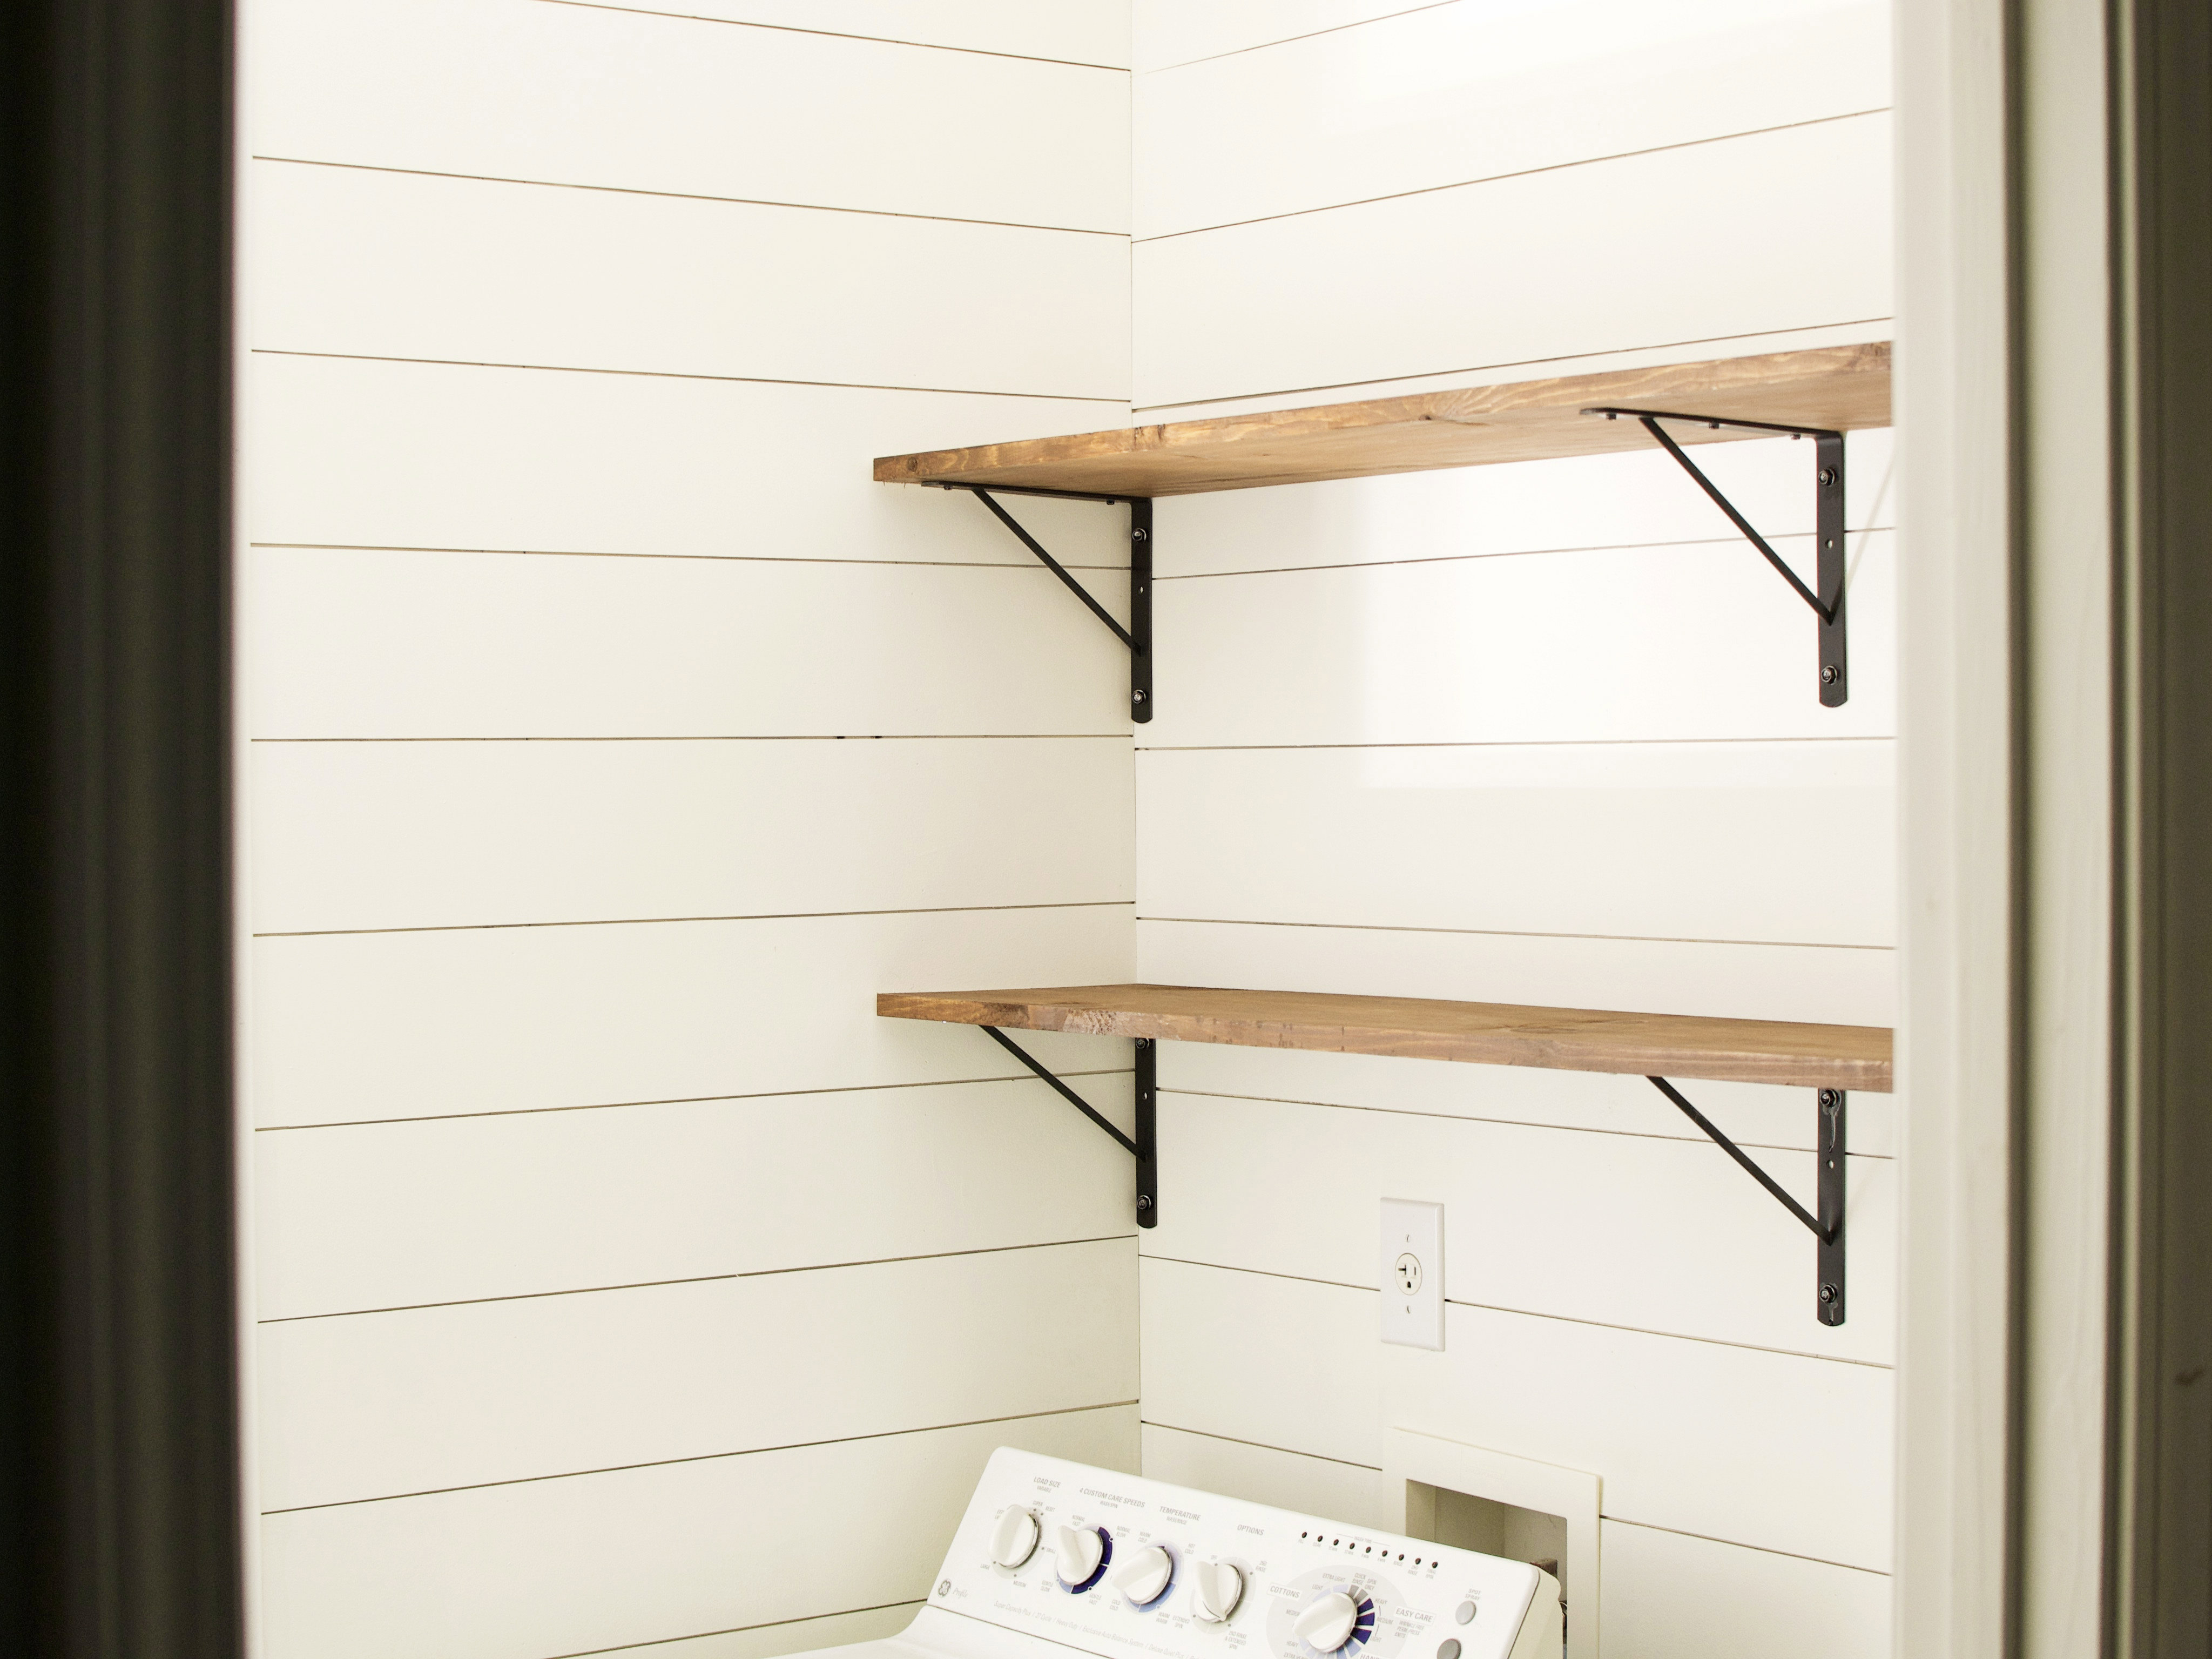
Gotta love that custom, craftsman vibe.
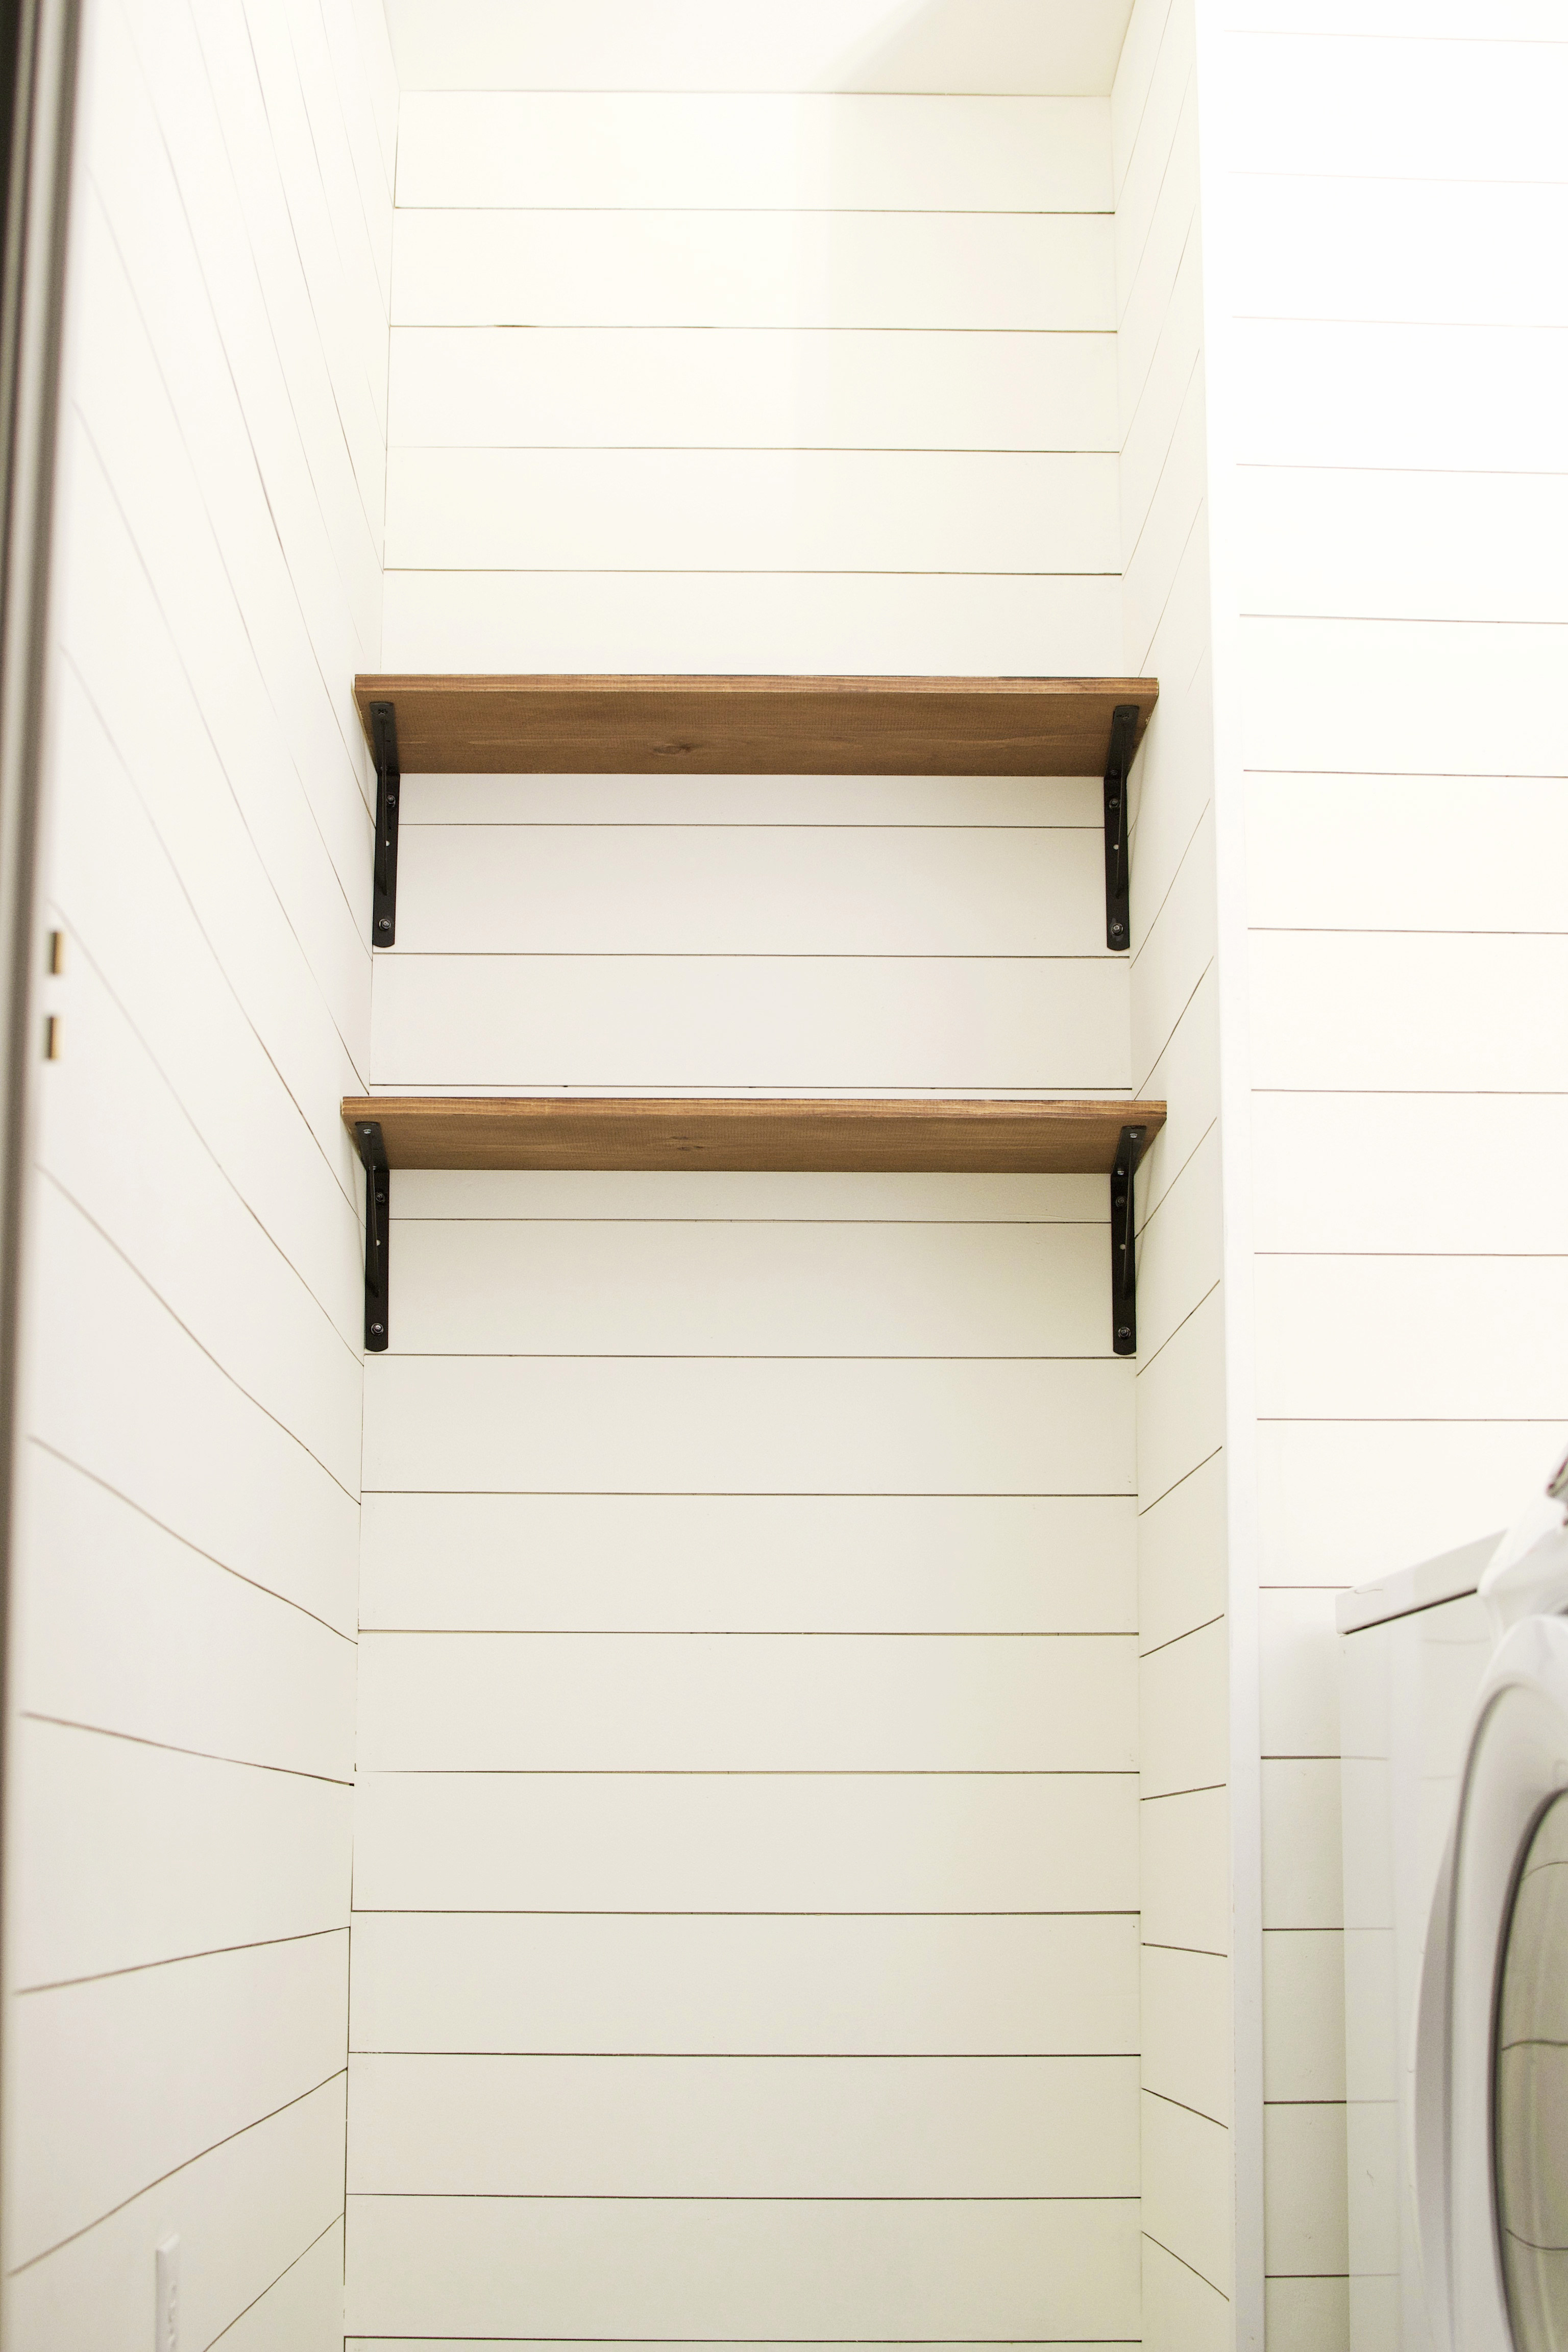
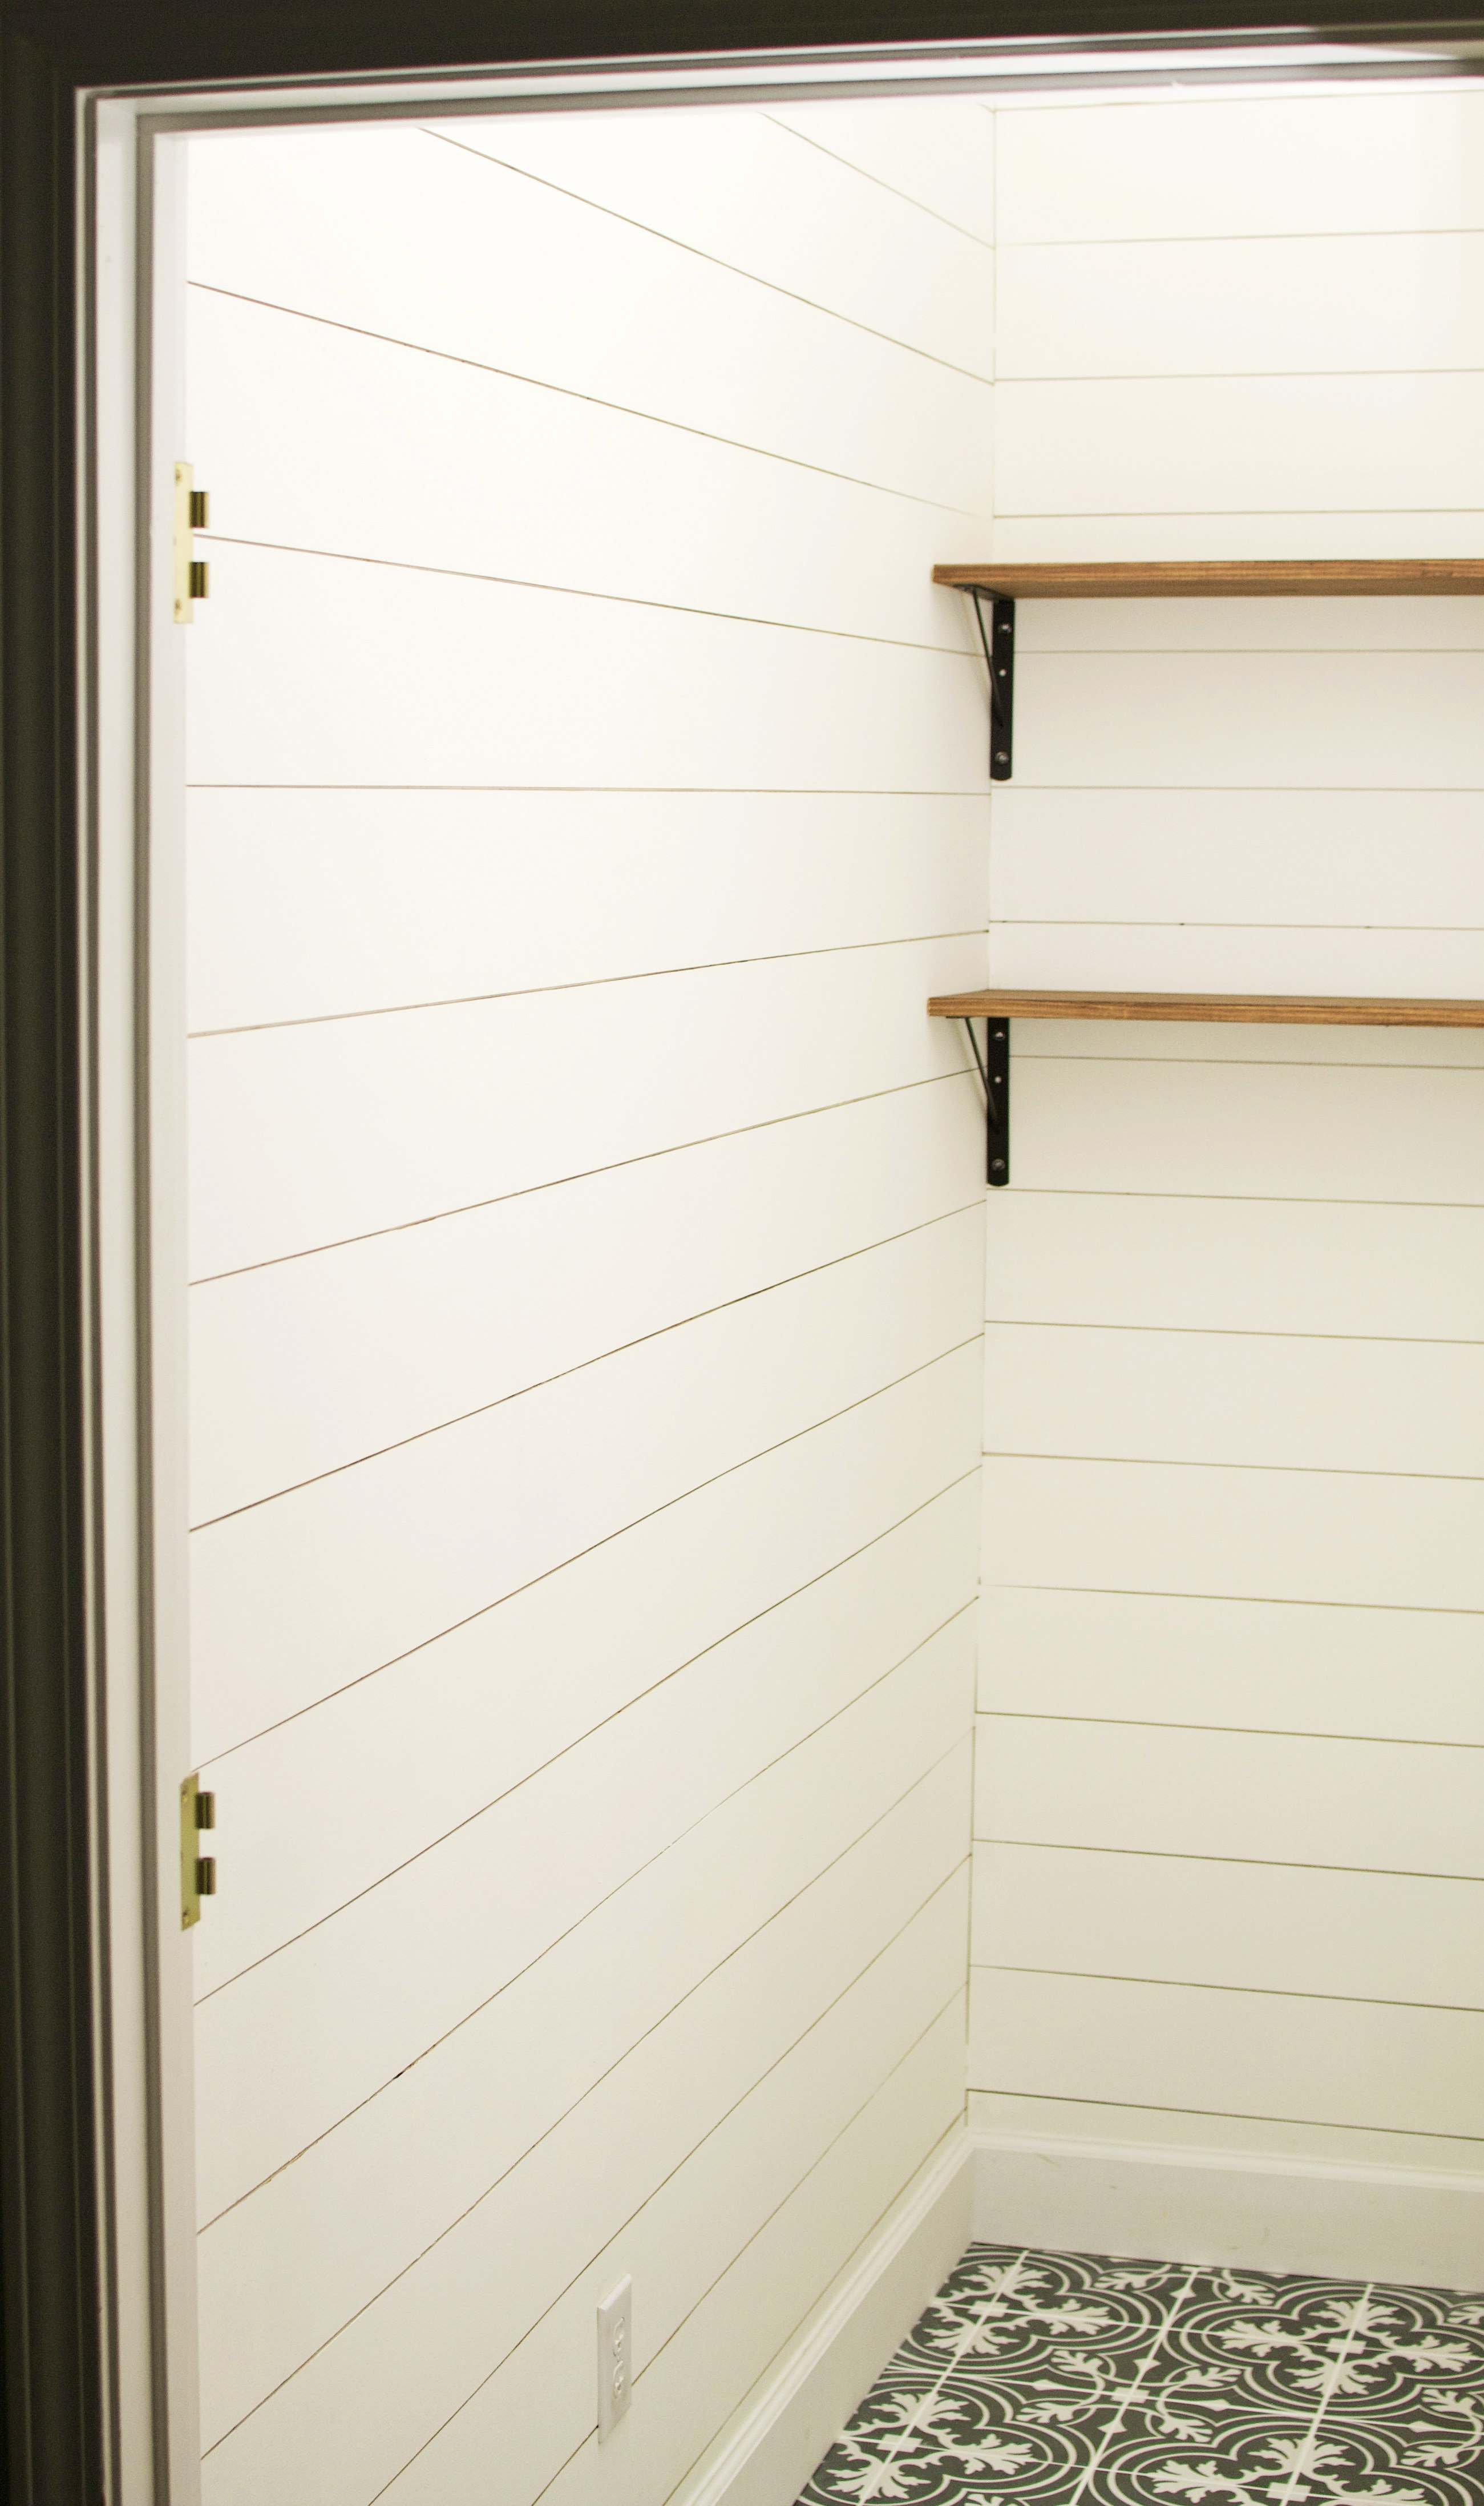
You just created your own artisan-level shiplap for $232 cheaper than using the premade stuff. Perhaps you saved even more cash if your wall square footage was more than our 200 sq ft. Such a dramatic upgrade from plain-old painted walls. Be careful though, or else your entire home will be shiplap’d if you don’t contain your stoke. What’s the next project to compliment the farmhouse vibe? Here are a few ideas to inspire you:
- Pallet wood crates.
- A fancy finish on your farmhouse table. White distressed legs with a stained / whitewashed / sanded aesthetic.
- Custom entryway piece for keys, wallets and coats.
- DIY herringbone headboard.
- DIY Restoration Hardware style headboard.
- Sliding barn door with a rustic chic finish.
- DIY pallet cladding your kitchen peninsula or island.


You make no mention on how to seal the plywood so the knots an wood don’t seep sap and stain the white. We’ve seen it happen to new baseboard we have painted white in the past. Did yours stain over time?
Hi, Shawn! Sorry to hear your plywood is leaking sap. I’ve read that this is a common problem, but haven’t experienced it personally. Perhaps the sap in your wood wasn’t brought to the proper temperature to set or crystallize the sap. Sap seems to be able to seep through stain and even polyurethane. Many woodworkers either kiln the wood to the right temp, or use shellac.
If the sap is fully dry, you can chisel or scrape or plane it off, then sand with 220 grit afterward. If it’s already on the wall and can’t be put in a kiln, you could use a heat gun the solidify the wet sap areas. You might be able to clean the sap residue with lacquer thinner, acetone, mineral spirits or murphy oil soap.
Just in case, make sure you’re not using pressure-treated plywood. It can leak sap, needs to dry out for weeks or months, and is a health hazard to have inside your home. If you compare all plywood types at your hardware store, aim for sheets that appear to be the driest.
Consider using primed baseboard instead of unfinished – it’s more likely to be sufficiently dry.
If you opt to wait for the sap to naturally stop leaking, it could take years, FYI.
I’m glad to answer follow-up questions if you need a hand! Hope this helps.