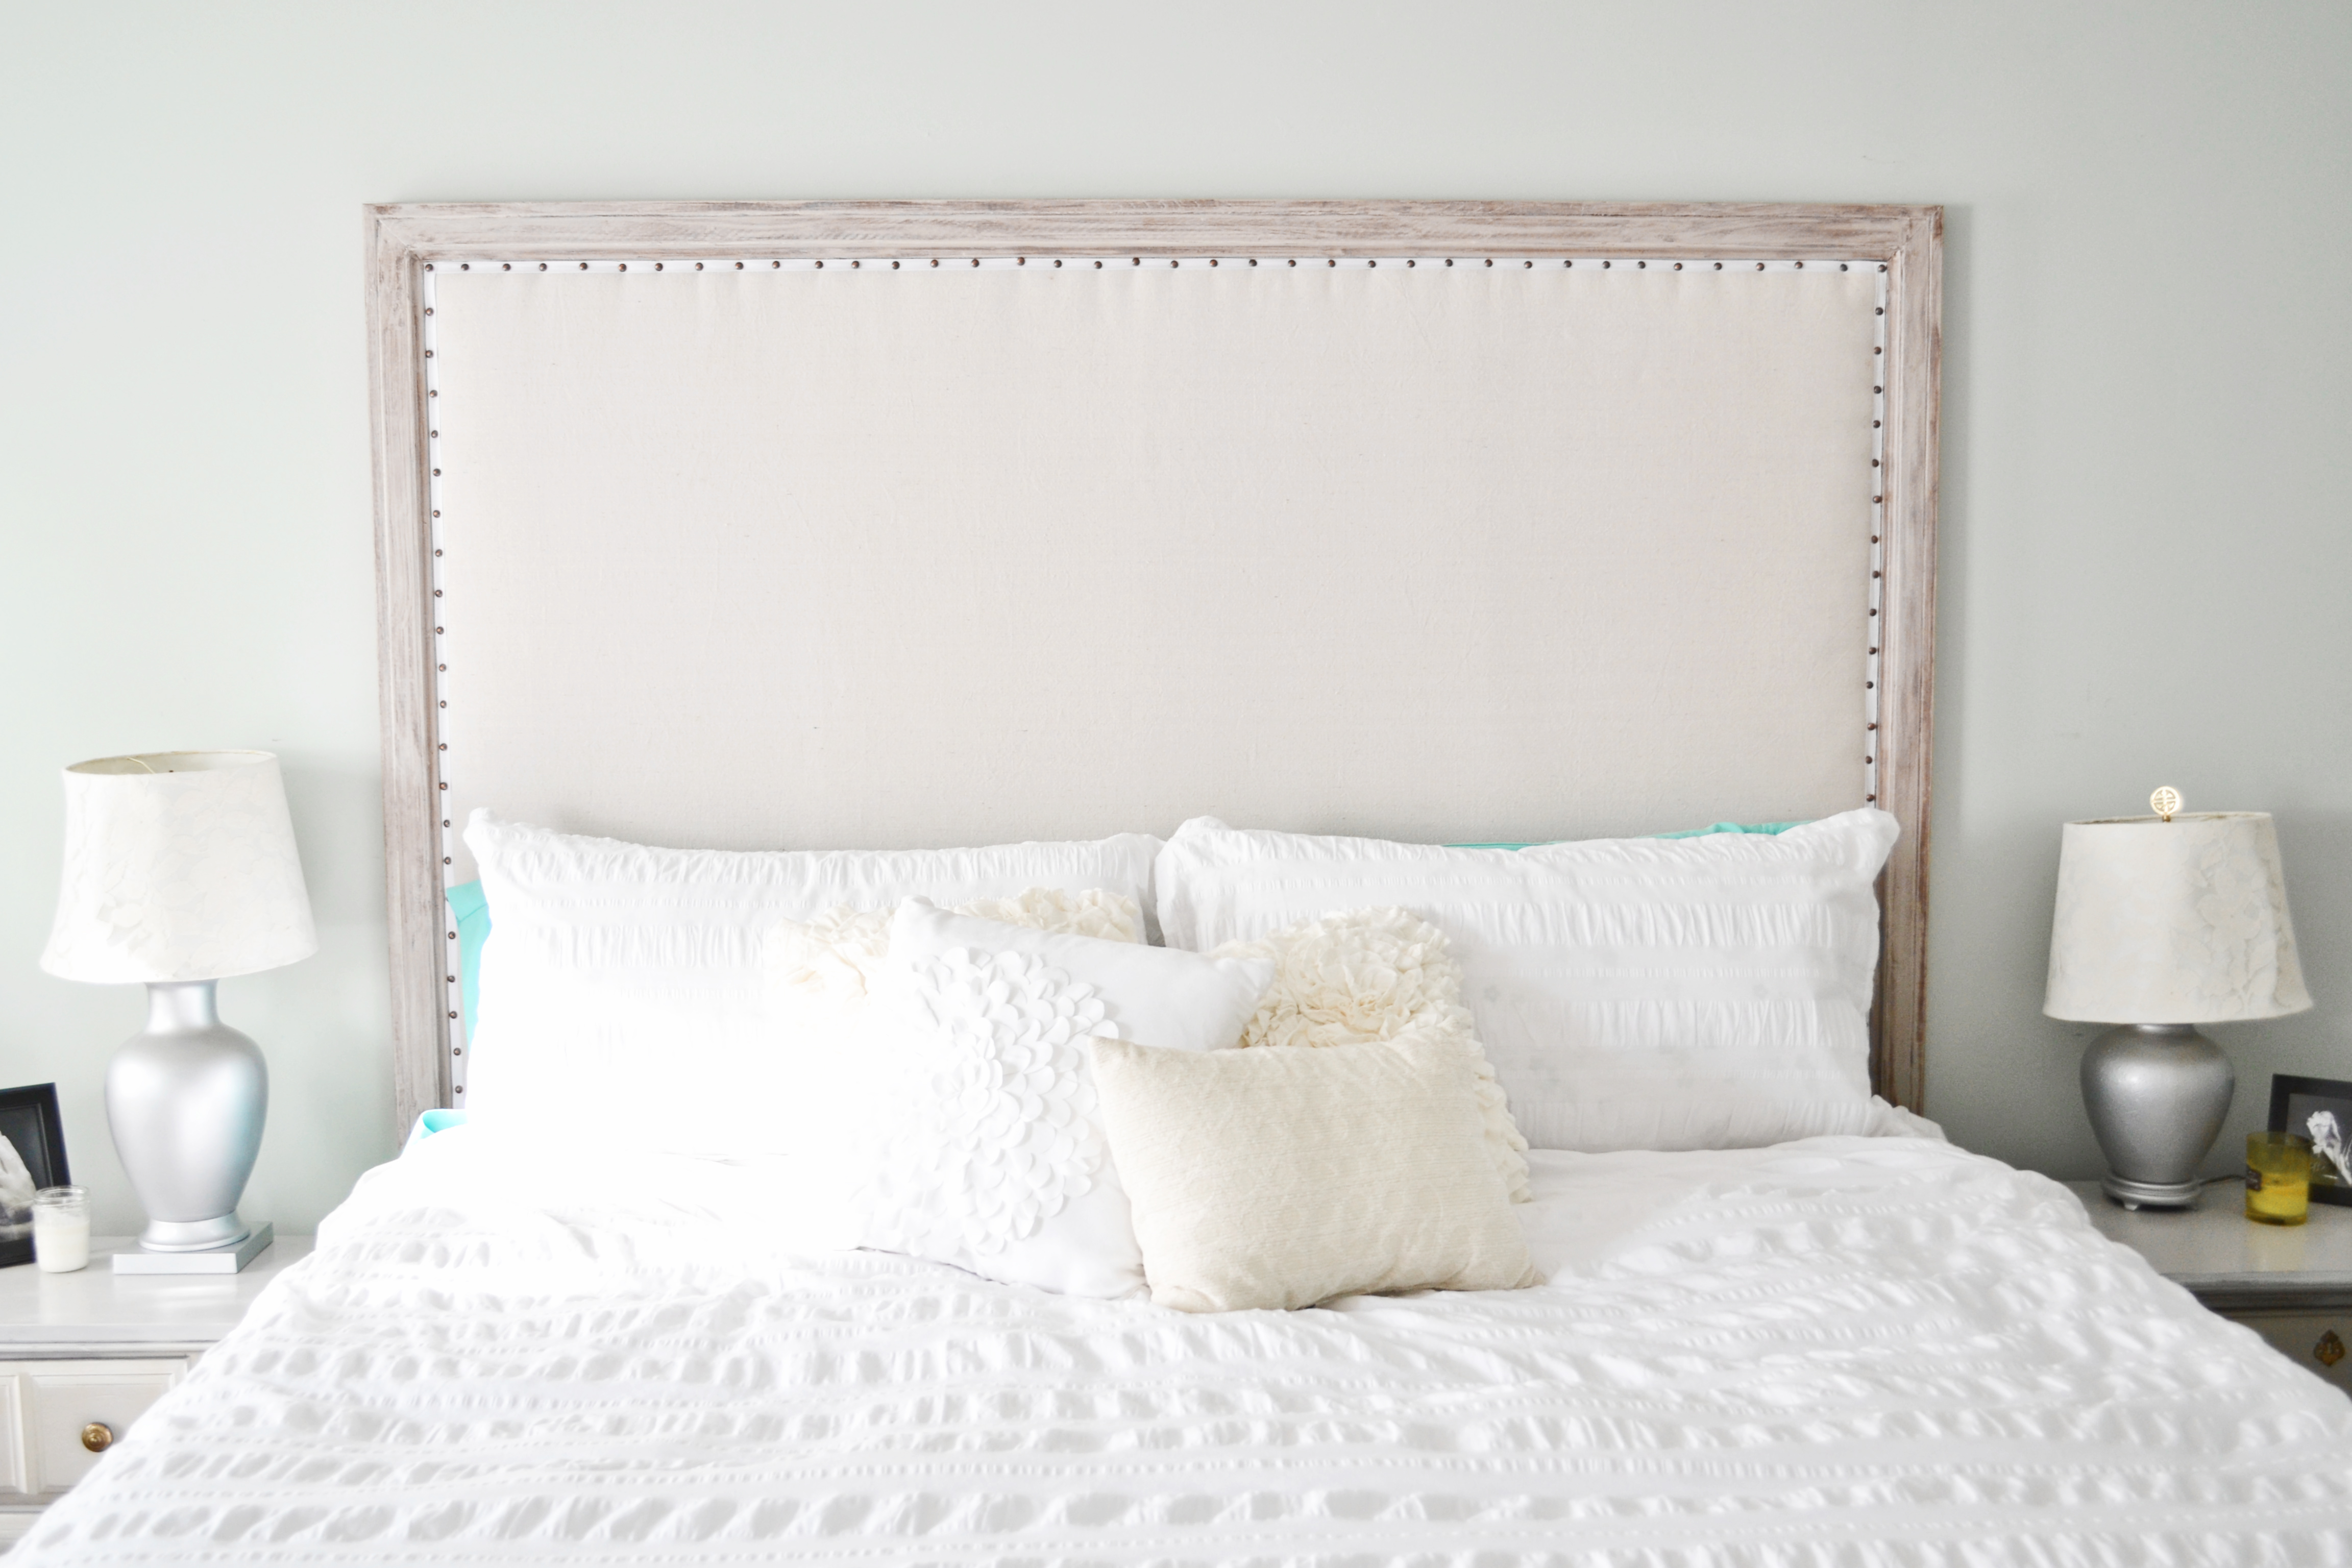
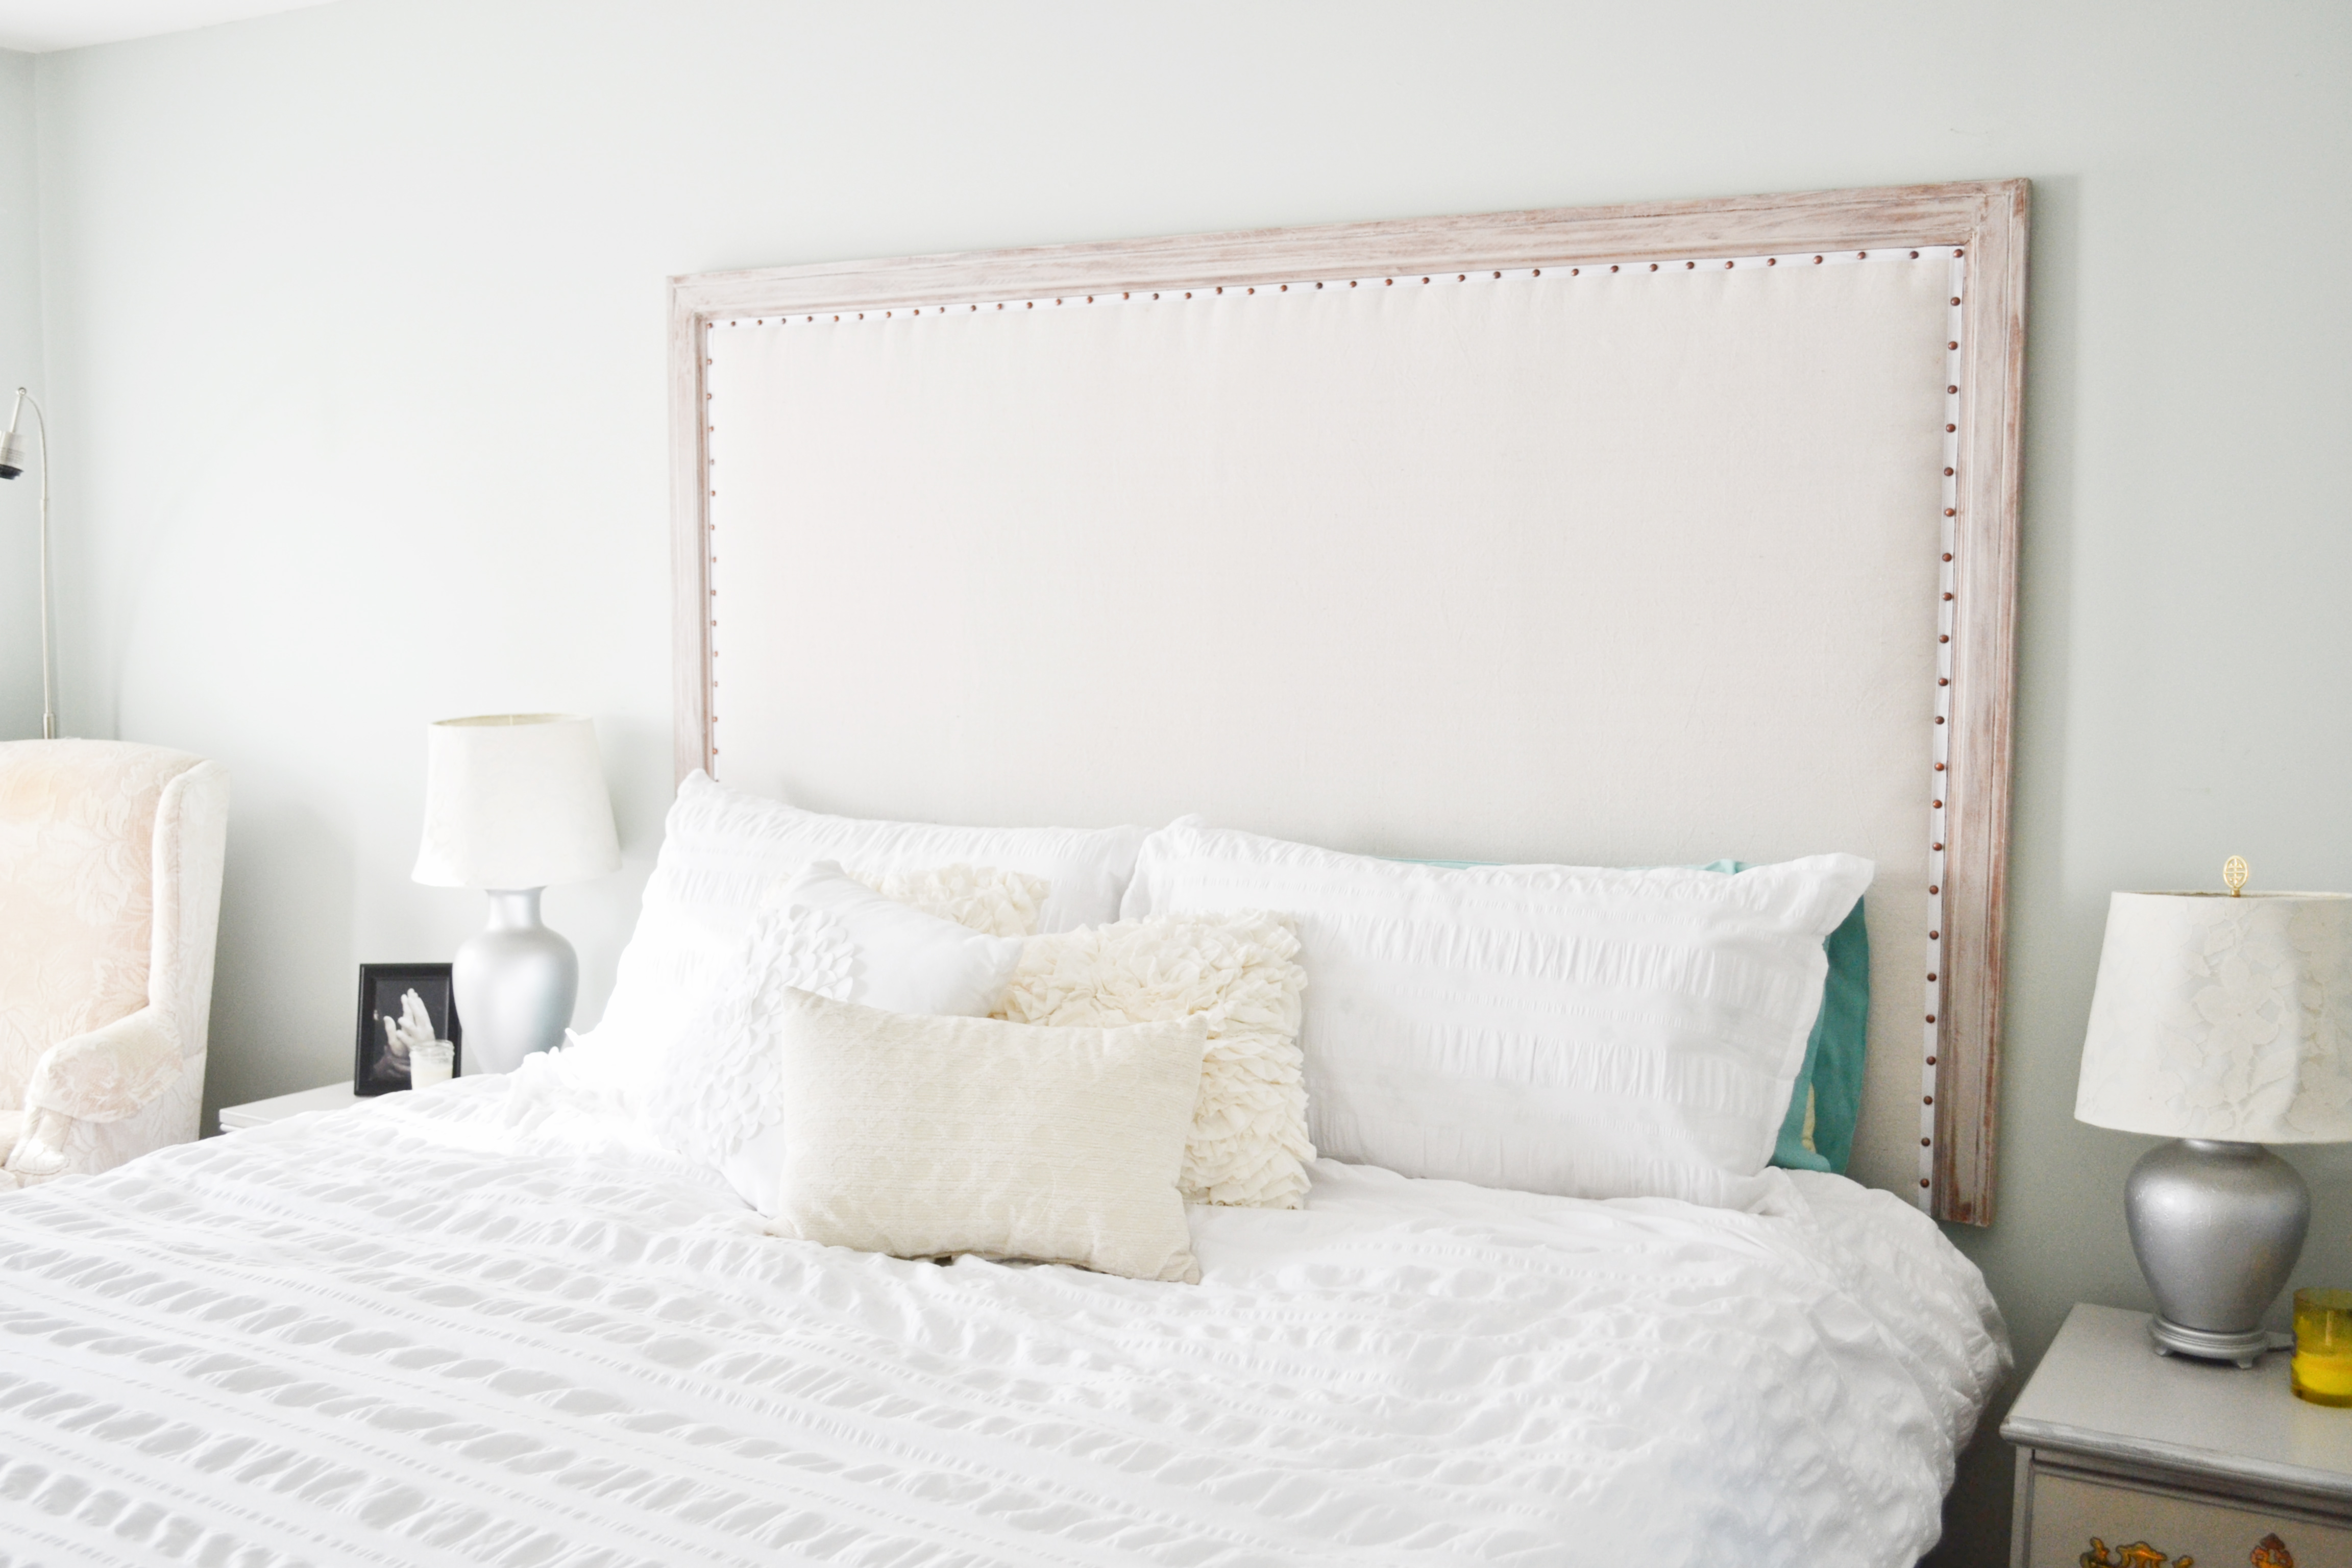
Part I – The Build? Crushed it. Part II – The Finish? Dominated. Now we’re ready for the finale: Part III – how to install this really friggin heavy piece of art you just created with your Behr hands (stuff never comes off). Let’s get you primed for the strongest cleat you ever did see… and better never see again.
For those of you want to learn the ways of the cleat for use in a project other than an Restoration Hardware copycat headboard, have at it, artisan person. There are very few wall hanging techniques that are faster, simpler, safer and more level than the wooden cleat. Don’t believe me? Let’s discuss all the details at your next meet & cleat at the local cleat ‘n’ three for some good ol’ cleature comforts. Might as well give it a go? Pleasure to cleat you anyway. Dad puns on point!
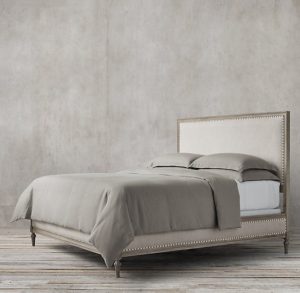

If you made our headboard from scratch, how much did it cost you? Comment on your numbers. I wonder who came in the lowest. If you jumped right in to part III to hone in your wall hanging skills, take a brief look at the cost comparison below for future inspiration.
Let’s price compare
- $2,595 = Restoration Hardware’s king-size Maison Upholstered Bed in Antiqued Grey Oak, including the bed frame and headboard.
- $1,000 = If they sold the headboard separately, I’d estimate it to be listed at $1,000 or more.
- $200 = We made one for less than $200 bones, ALL materials included.
How to install a rustic modern headboard
Materials
- (1) 1x4x12 dimensional lumber (pine) for $6.83. (Optional, but recommended for install as a cleat. See Part III post).
- Deck screws 3″ long, 73 for $6.93.
- Deck screws 1-1/4″ long, 184 for $9.48.
Tools
- Impact driver (or standard cordless drill). Avoids predrilling & prevents screw head stripping with insane amounts of pulsating torque. Here’s the Rigid drill/driver kit I love.
- Stud finder.
- Level. 12” length is a great start for shorter projects. It’s magnetic & attaches to any metal you’re working on for a hands-free approach.
- Use that miter saw above to crosscut the 1×4 cleats.
- Use that table saw above for a 45º rip of the 1×4 cleats.
Budget
- Part III (install) cost ONLY = $23.24
- Total project cost (part I, II & III) = $216.79
- Total project cost (part I, II & III) for DIY regulars = $152.98
Note: DIY regulars should be able to subtract up to $63.77 from the total cost per standard household building materials. E.g. brad nails, construction adhesive, caulk gun, staples, wax, screws and stapler.
Step 1. Cut the cleat(s).
If you didn’t cut the 1x4x12 in Part I, now is the time. Bust out your miter saw and make a cut every 4 feet, yielding (3) 4′ long pieces. Set aside one of the pieces to be used as a spacer on the back of your headboard.
Crank up your table saw and offset the saw blade 45º. Run (2) of the 4′ pieces through the saw to create one beveled edge on each. Aim to cut off just enough wood to produce a sharp edge at the tip of the bevel.
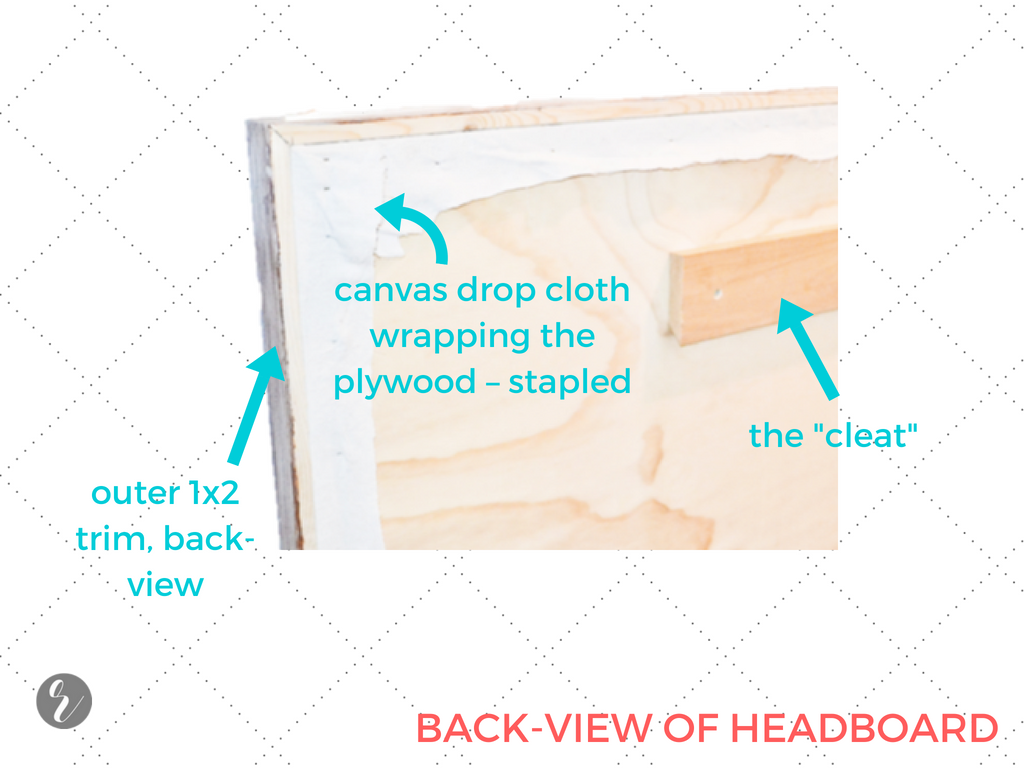
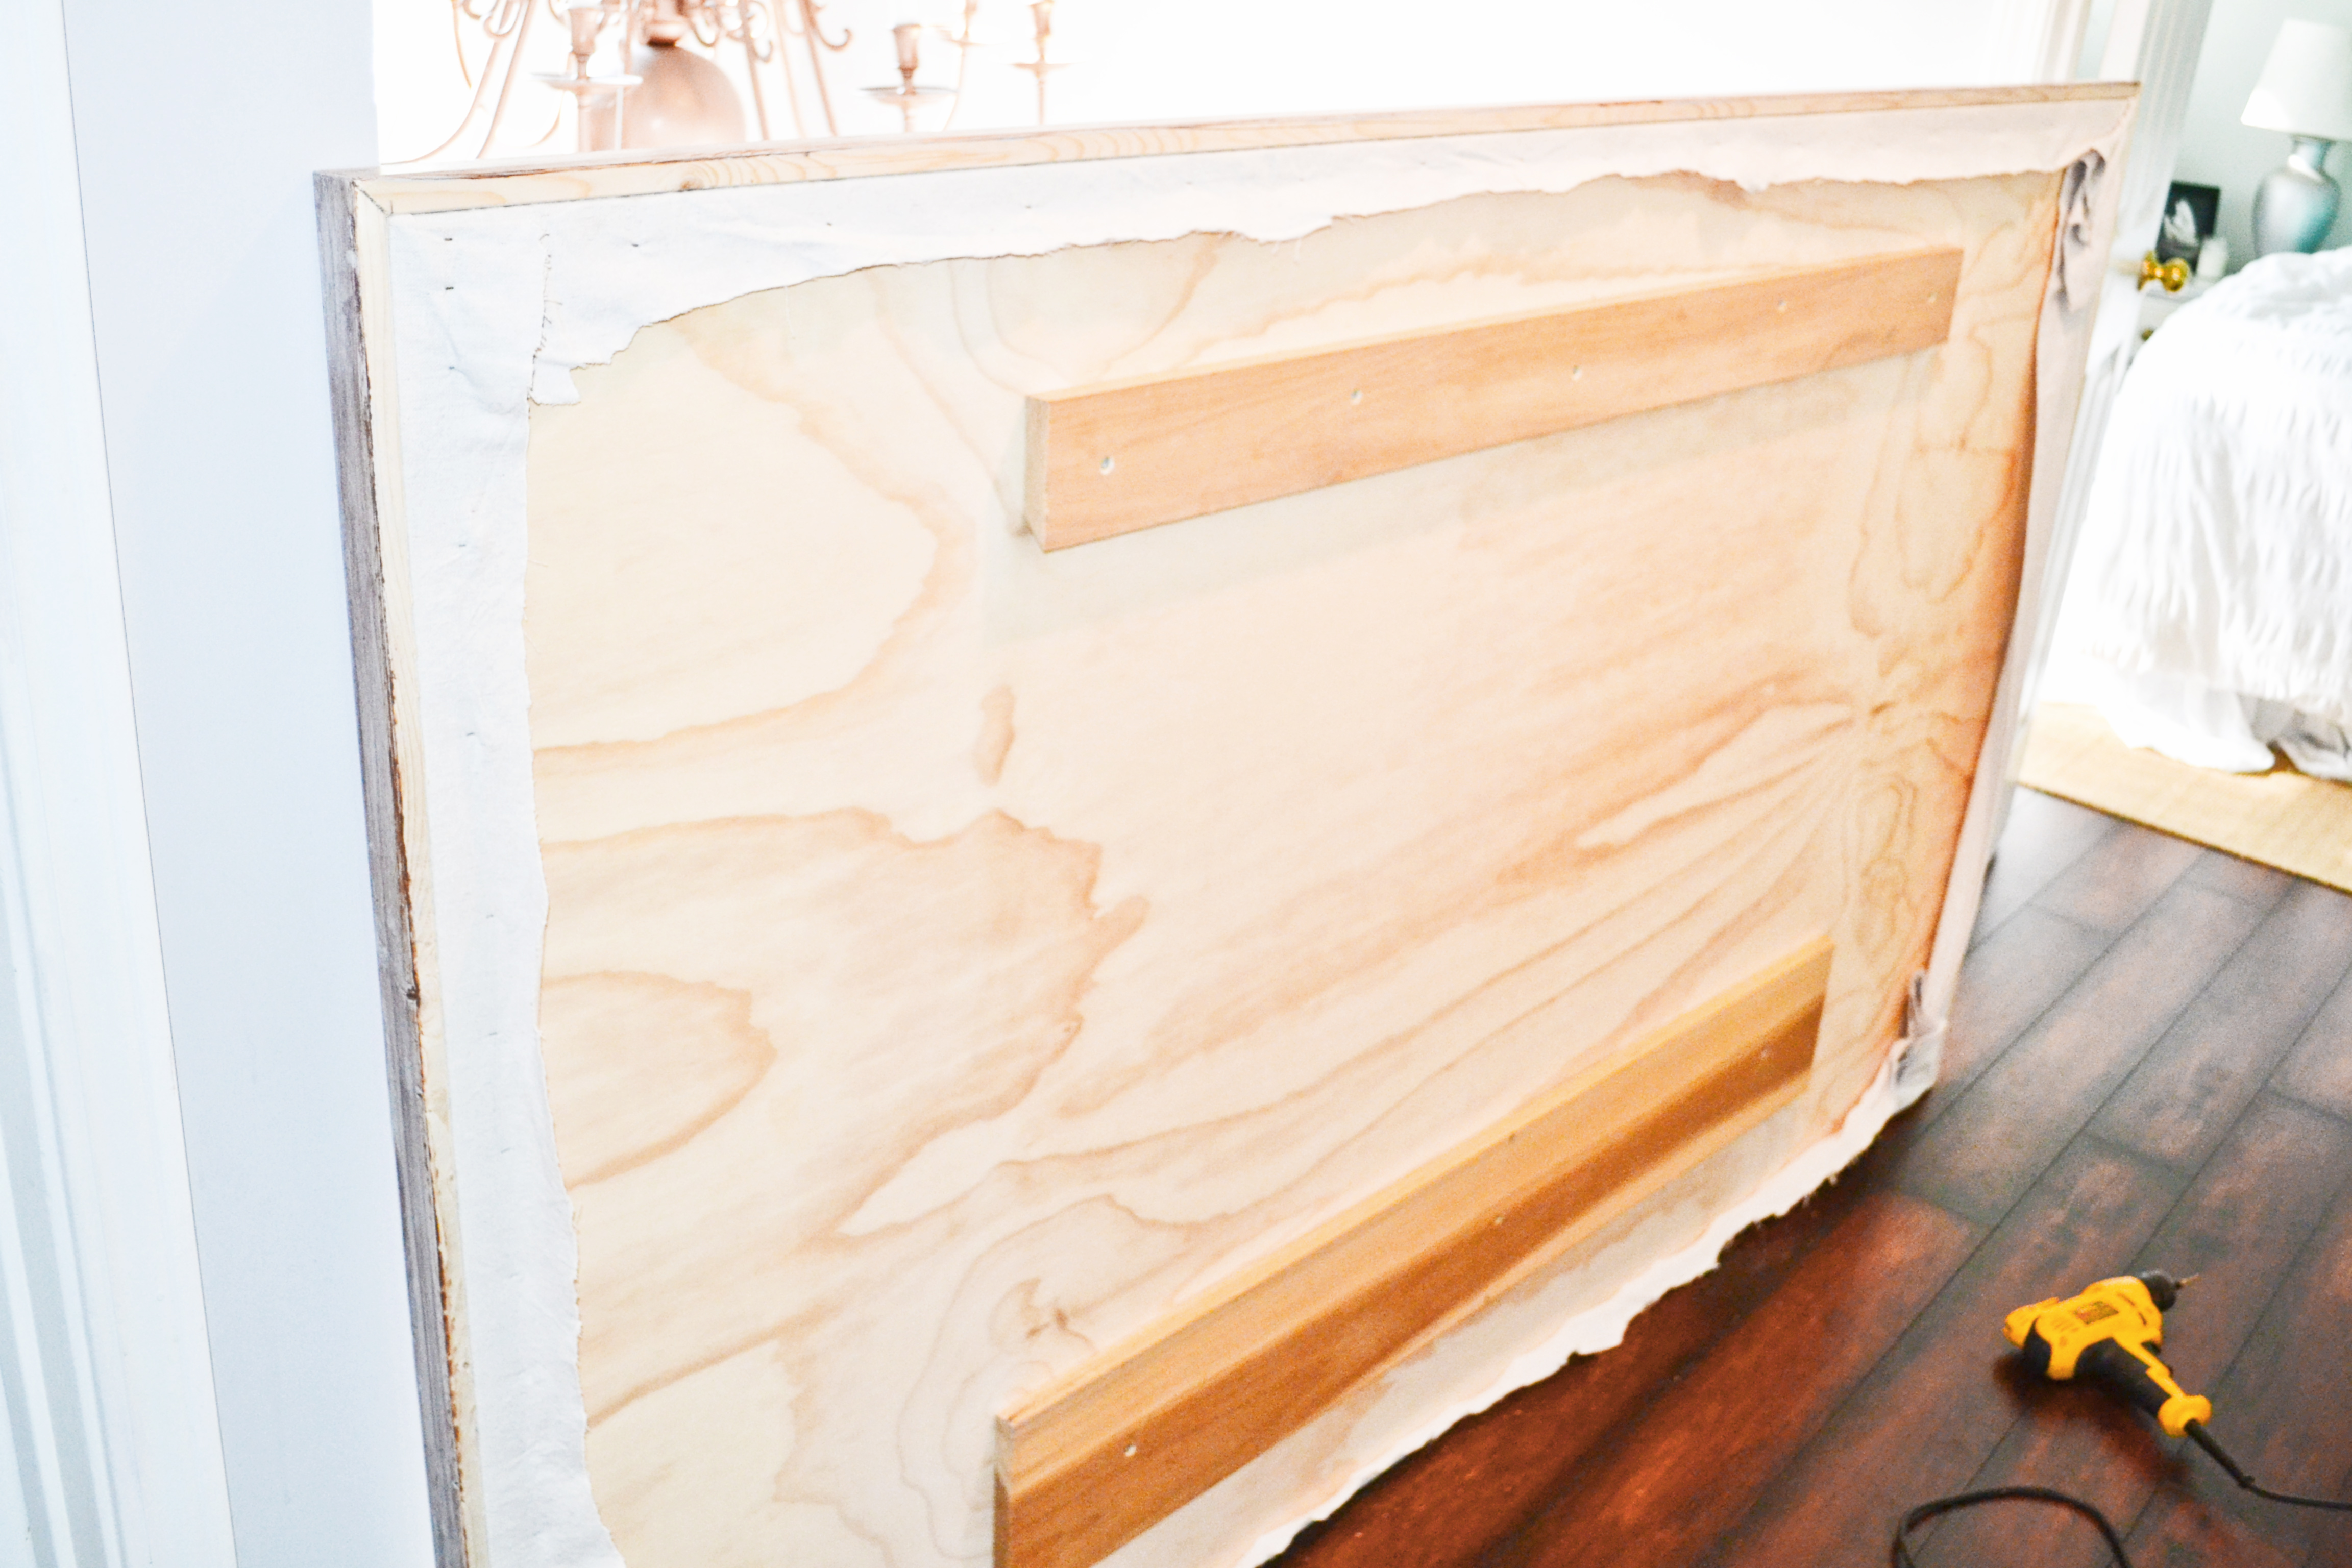
Step 2. Attach cleat #1 to the headboard.
Measure and mark the back of your headboard 6″ down from the top in multiple spots. Mark the center of your headboard on the 6″ down line, and the center of cleat #1. With bevel edge outward and downward, line up the top of the wood cleat with the 6″ notches you drew. Center it based on both of your center markings.
Prep your impact driver (or standard cordless drill) and open the 1/4″ deck screw box. Attach cleat #1 with at least 6 screws, offsetting or stacking their placement for greater holding strength.
Step 3. Dry fit the headboard on the wall.
This baby is HEAVY. Borrow 2 strong humans to dry fit the headboard for final positioning. Sweetly request that they hold your art piece, shuffle to and fro, and adjust side height for “roughly level” until they lose feeling in their forearms and verbally disclose their patience & readiness to serve you.
Step 4. Mark & measure for cleat #2.
Mark the wall alongside the top of the headboard with your pencil. Note the center. This is the final position – confirm that your bed mattress will cover the bottom of the headboard for a seamless aesthetic. Request that friends lovingly set aside the headboard facedown on your floor or furniture. Grab cleat #2 and dry fit in on the backside, locked into the cleat #1 with both 45º bevels touching each other.
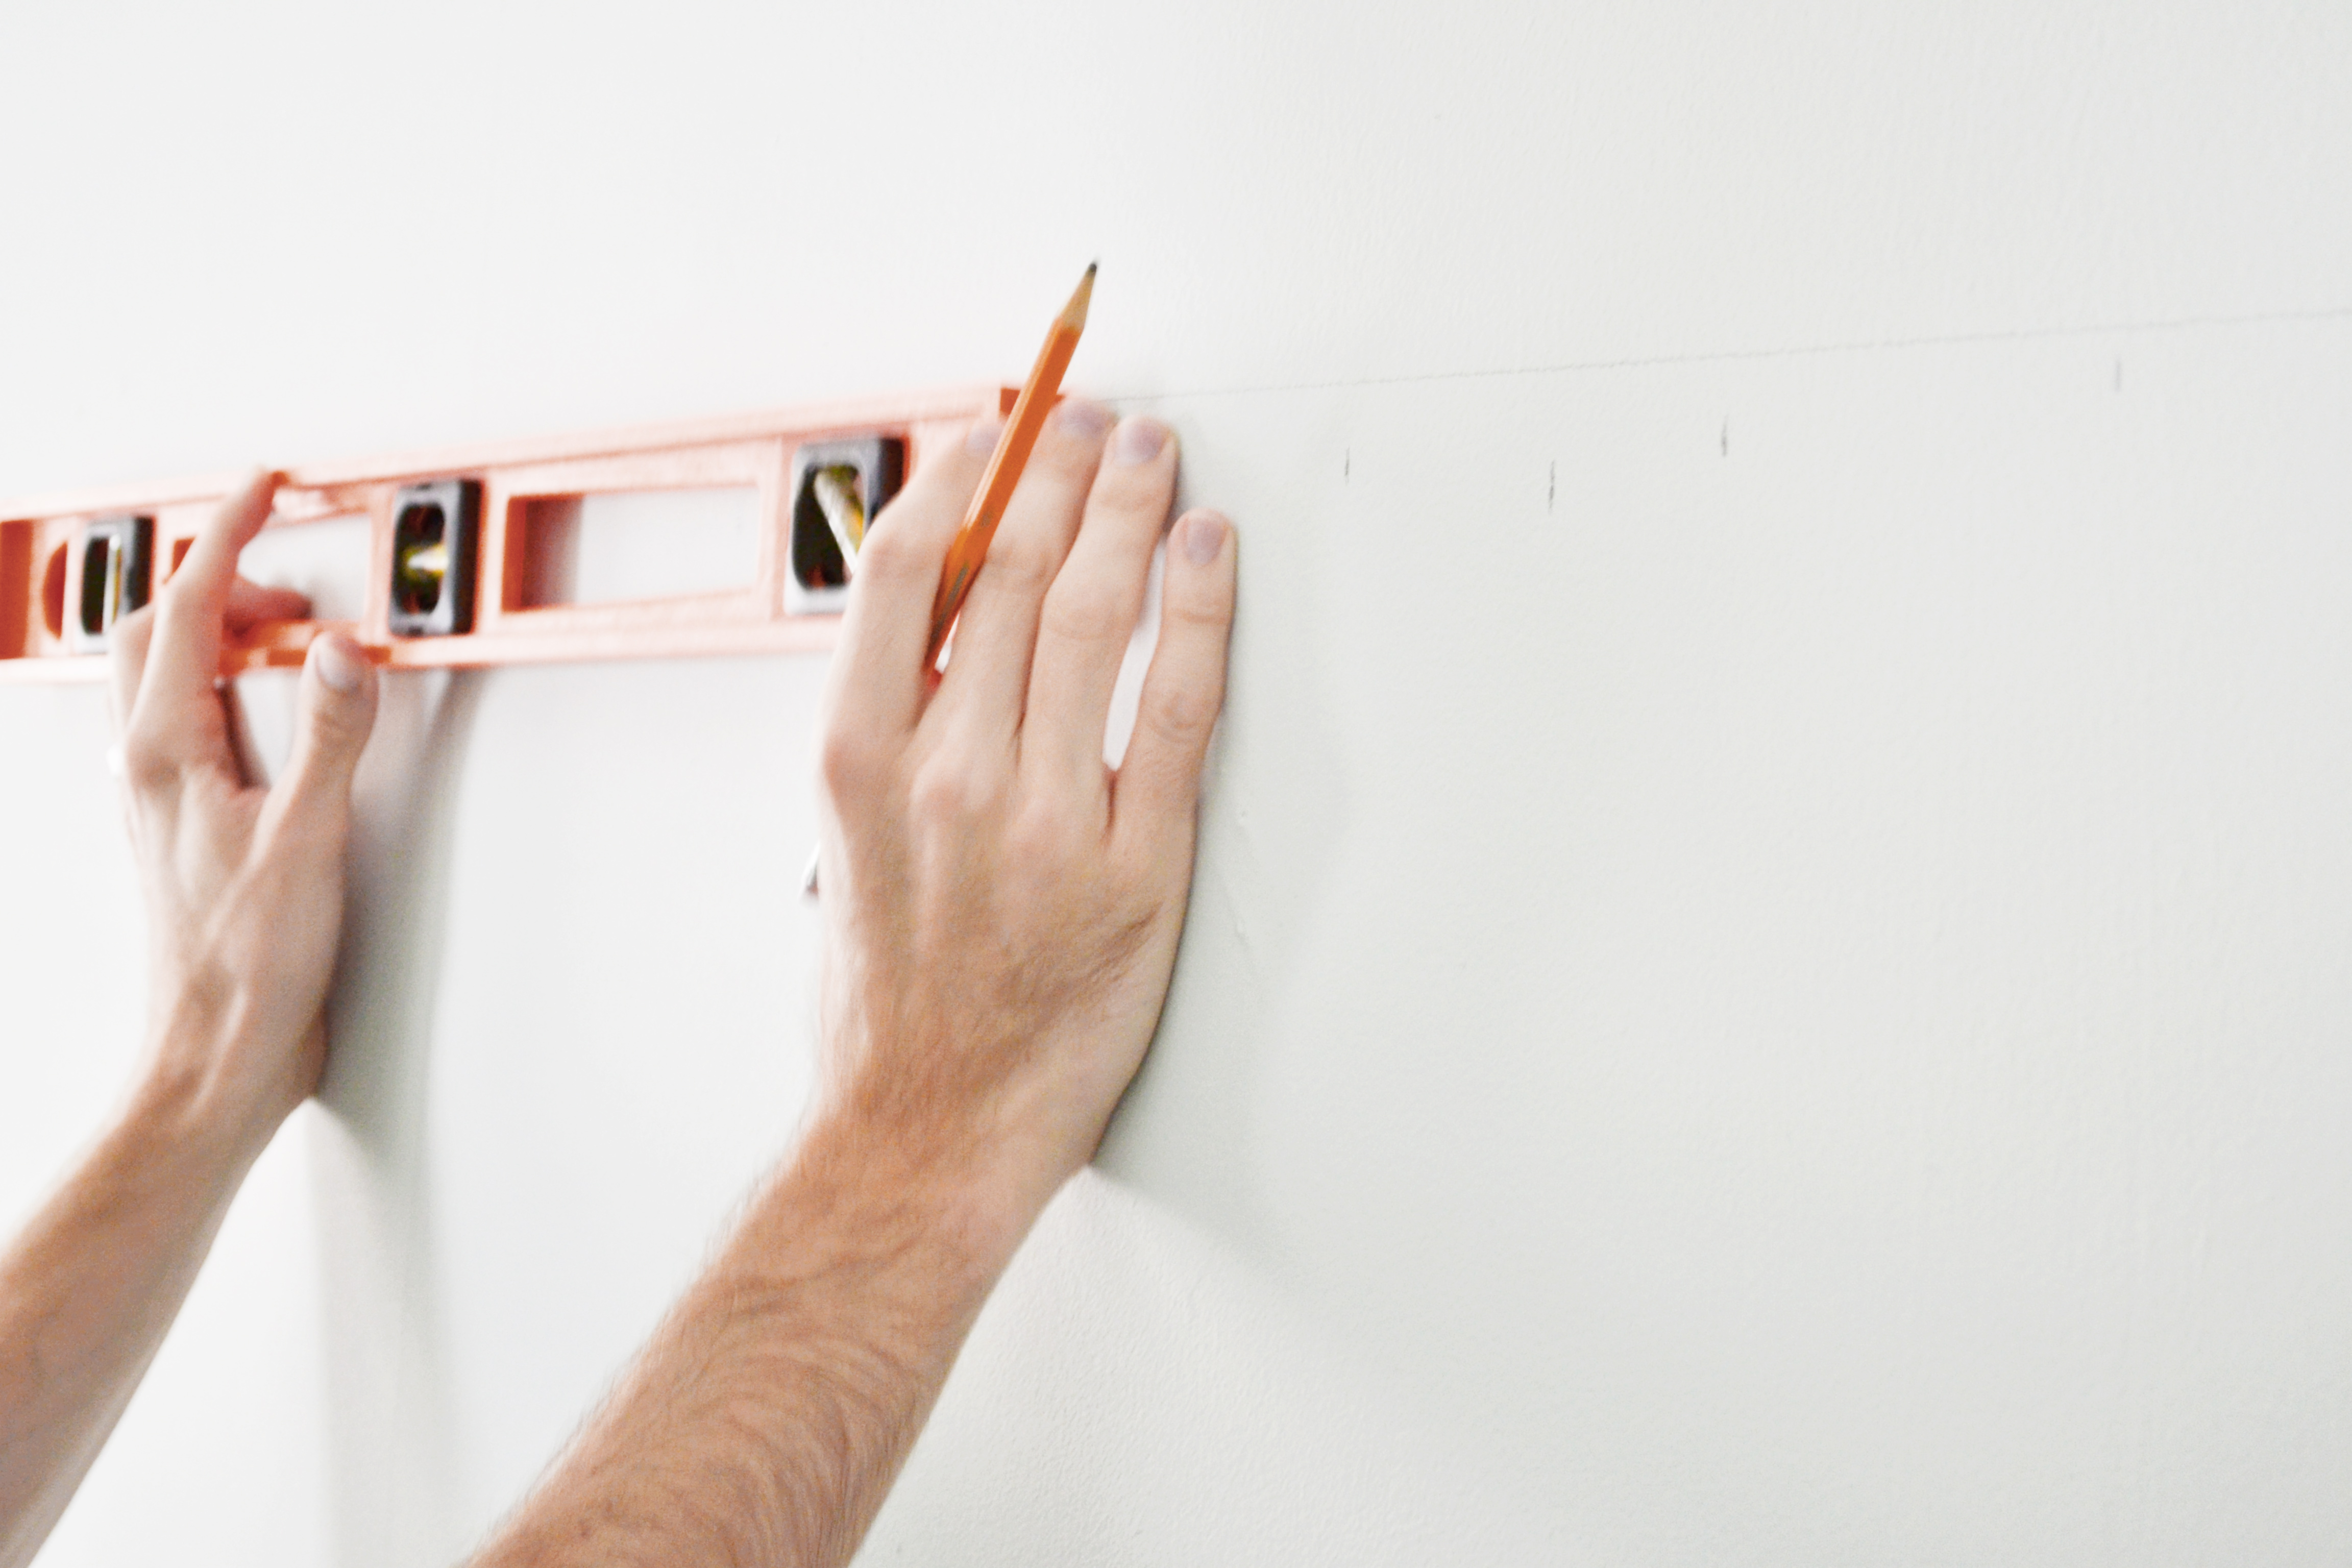
Measure the distance between the top of the headboard and the very bottom edge of the dry fitted cleat #2. Use this measurement to adjust your line downward on the wall downward. Make a new mark, level the mark to create a line, and match this line up with the bottom edge of cleat #2.
It’s stud-finder time. Hold up cleat #2 to the line and trace the far left and far right edge (short vertical lines). Identify and mark both sides of every stud along your horizontal line, within the bounds of the 2 vertical lines you traced.
Step 5. Attach cleat #2 to the wall & spacer on the board.
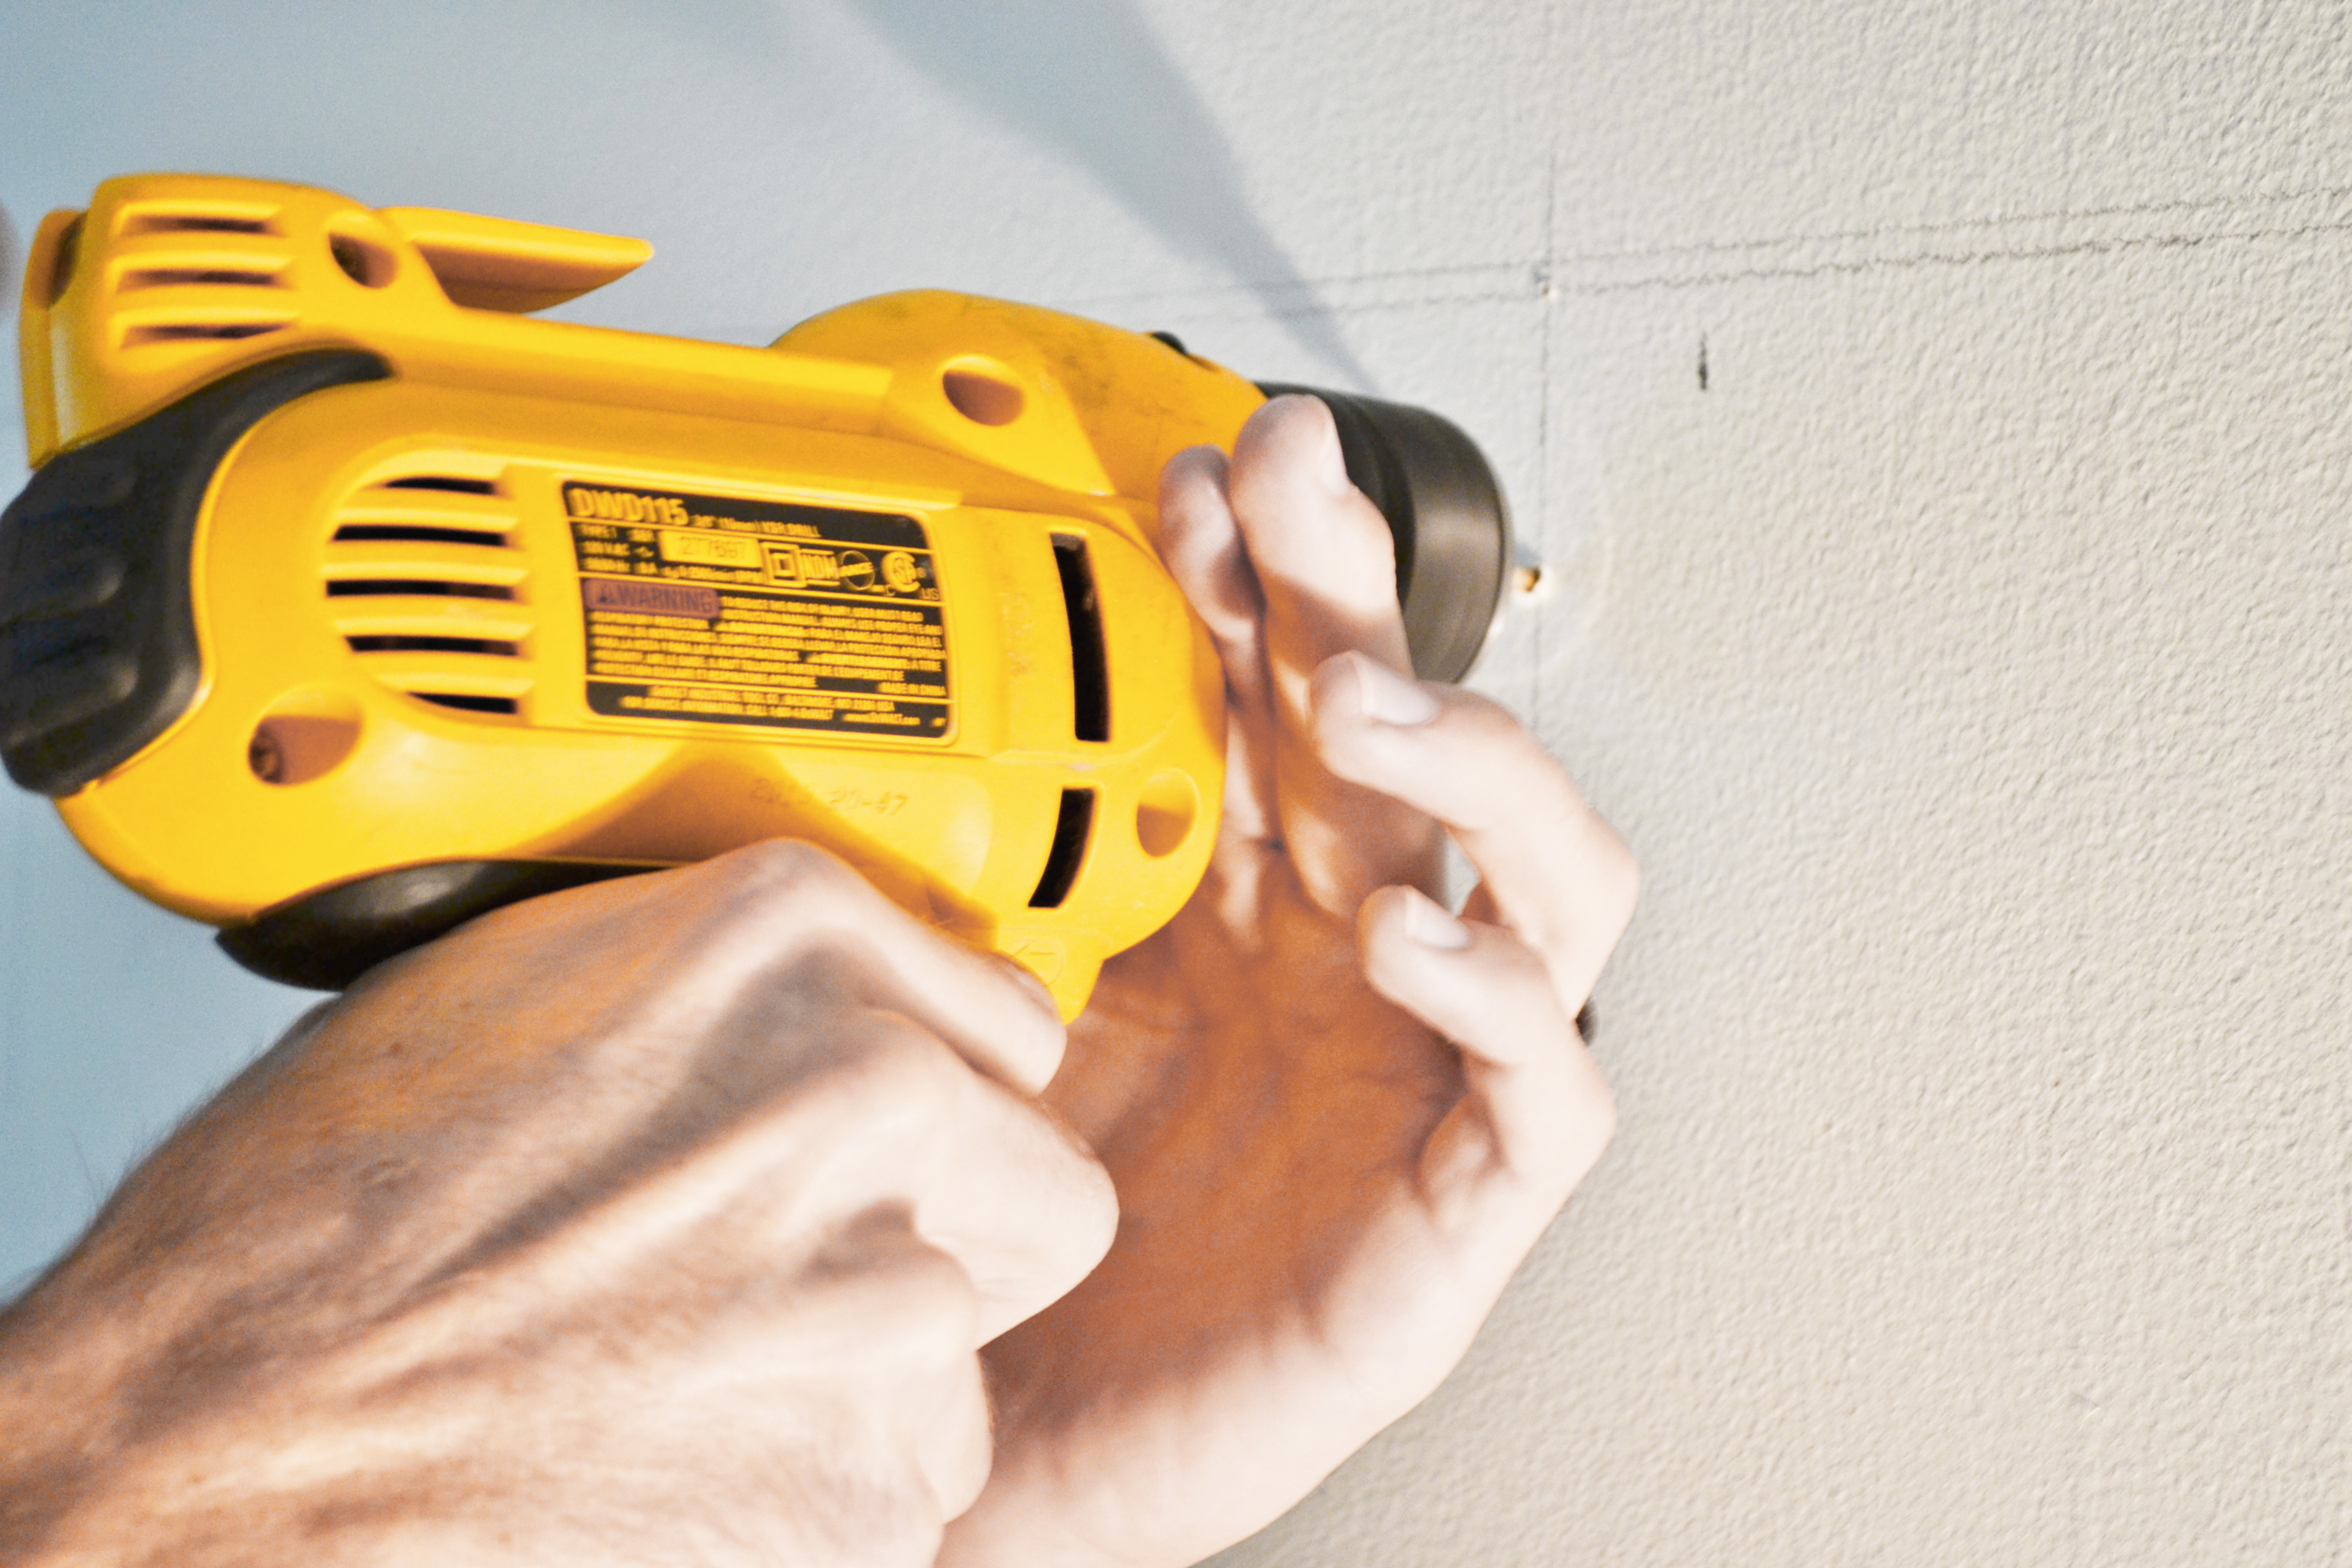
Wielding your impact driver (or cordless drill) armed with 3″ deck screws, install cleat #2 on the wall with the horizontal wall line along the bottom of the cleat. Center it. Add 6 screws to cleat #2, using 2 screws per stud. You could hoss a few pull-ups on this display of structural integrity. Go ahead… give it a shot. You’ve got health insurance, right?
The leftover 4’ long 1×4 with square edges will be used as your permanent spacer on the bottom, backside of your headboard. Otherwise, the cleat will push the angle of the headboard forward, rather than straight up and down. Screw in the extra 1x4x4 at least 6” from the bottom of the plywood with 1-1/4″ screws, relatively centered. No need to measure: it’s just a spacer that will never be seen.
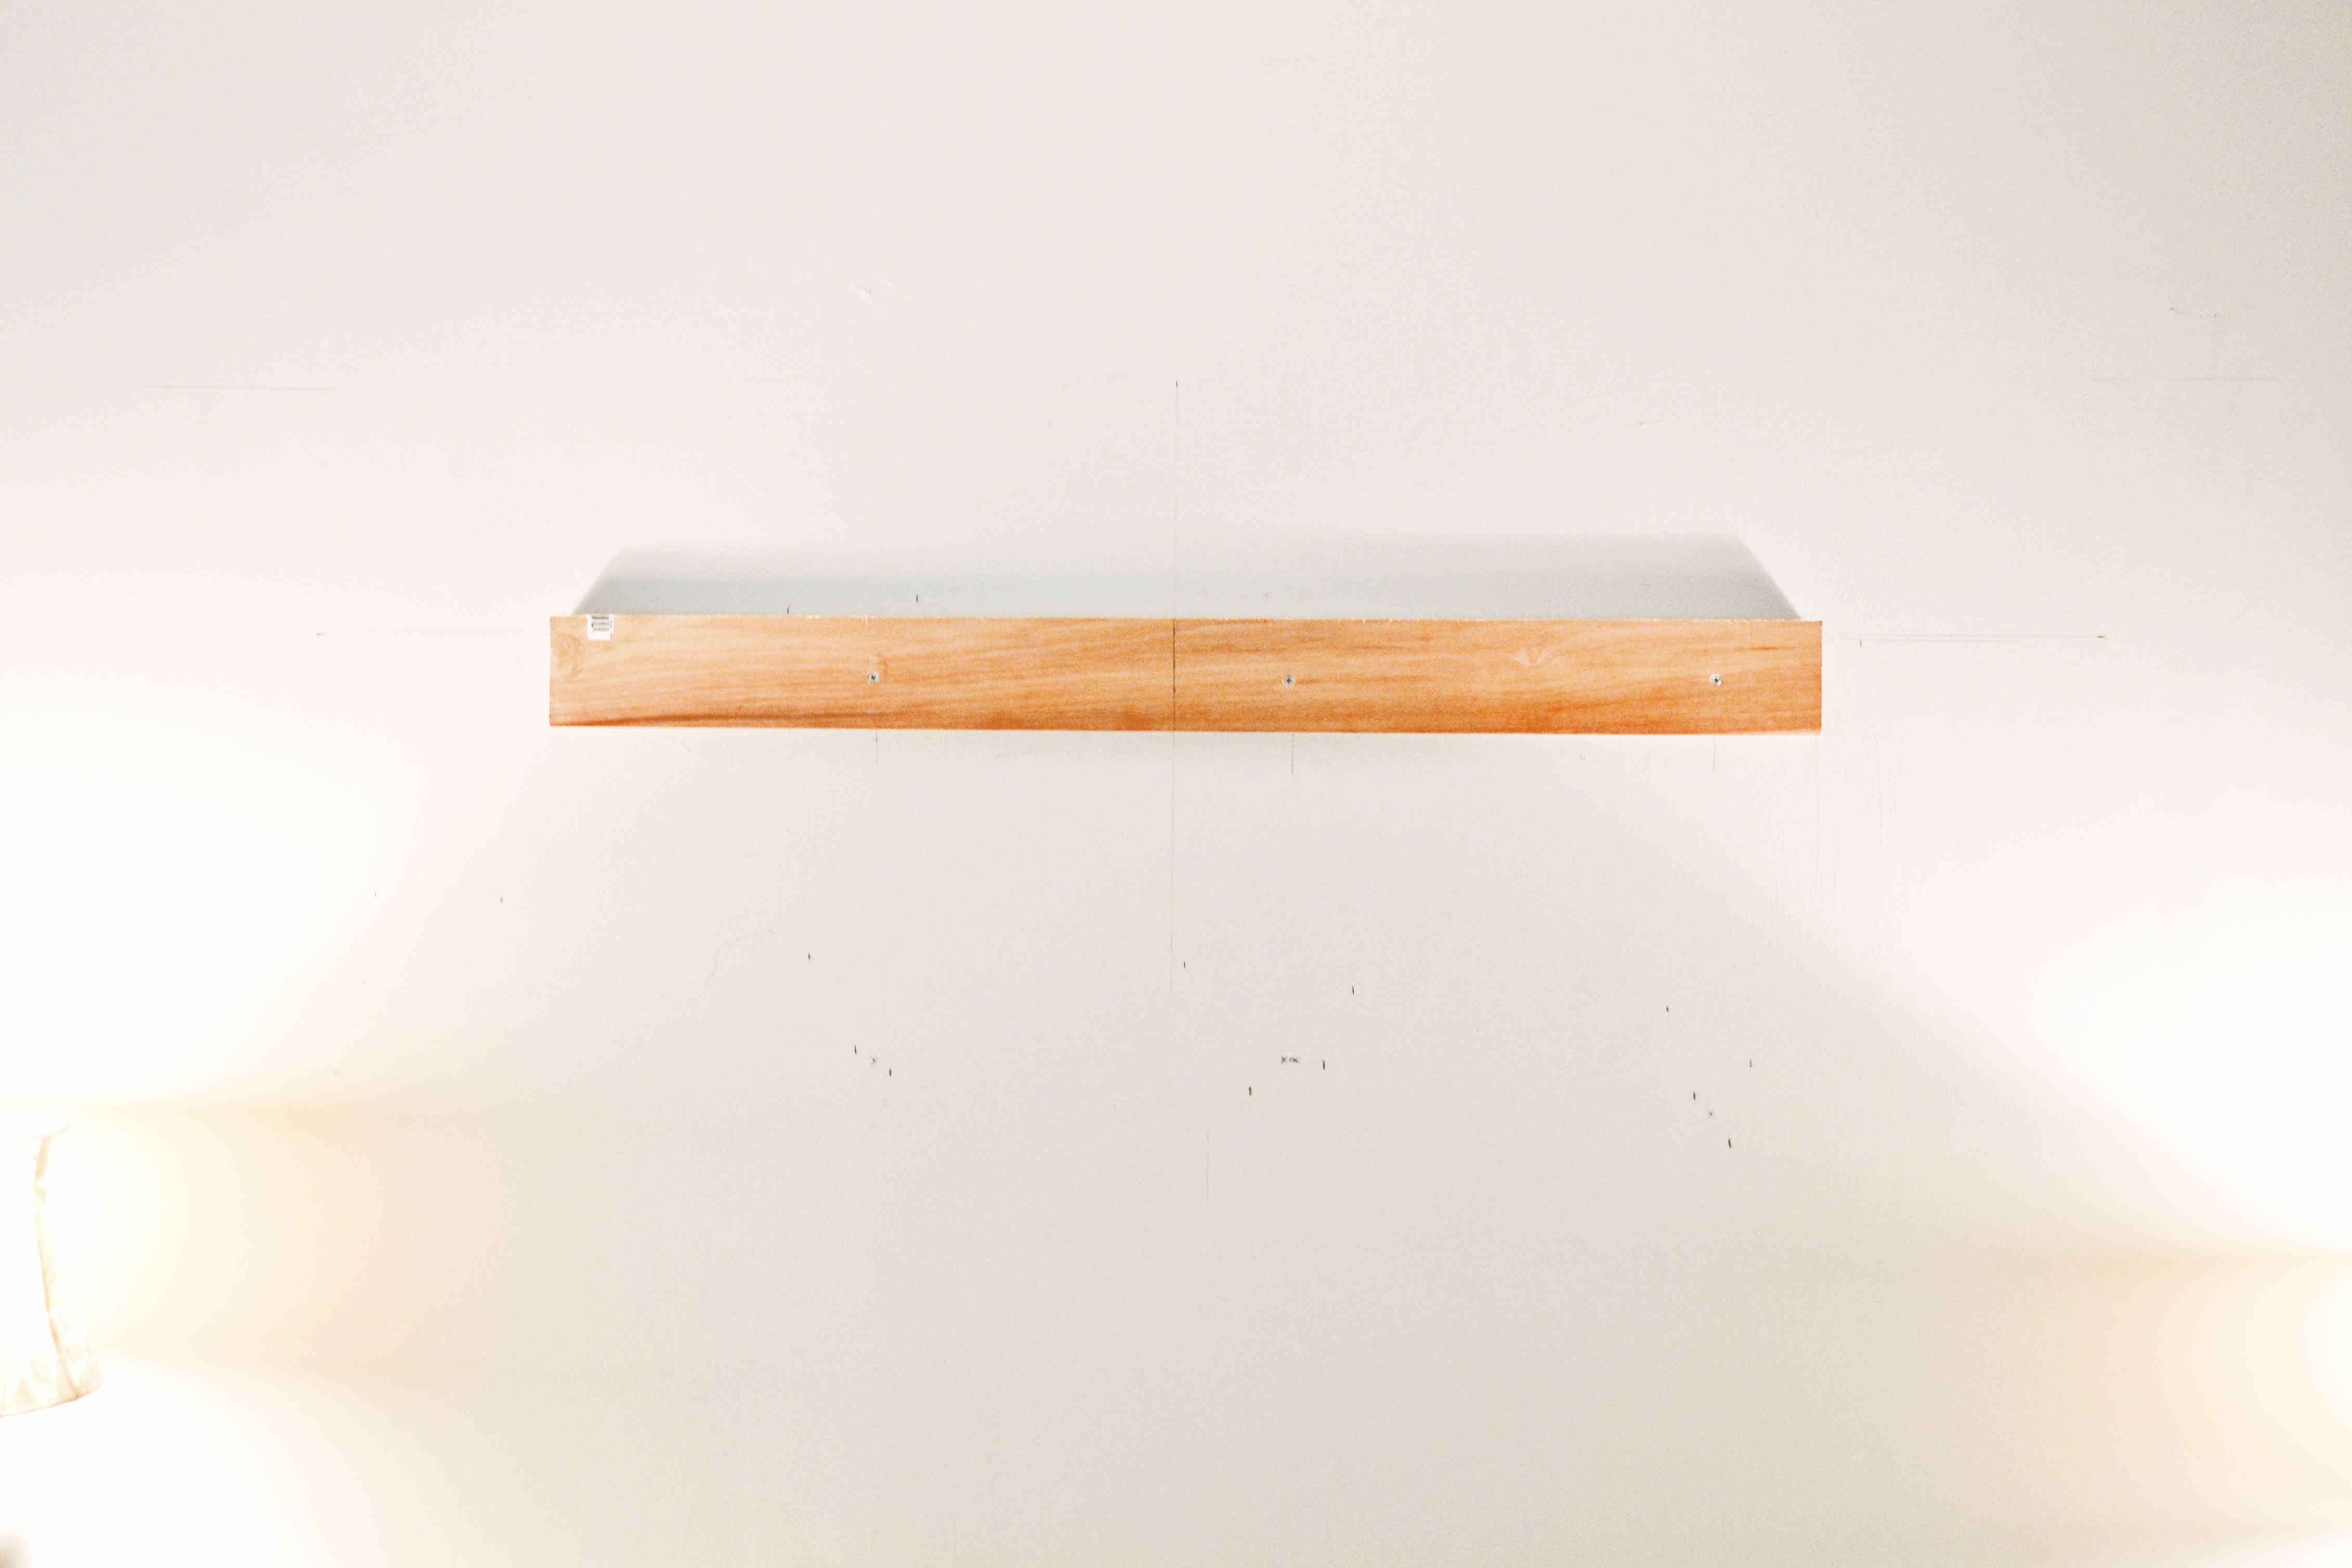
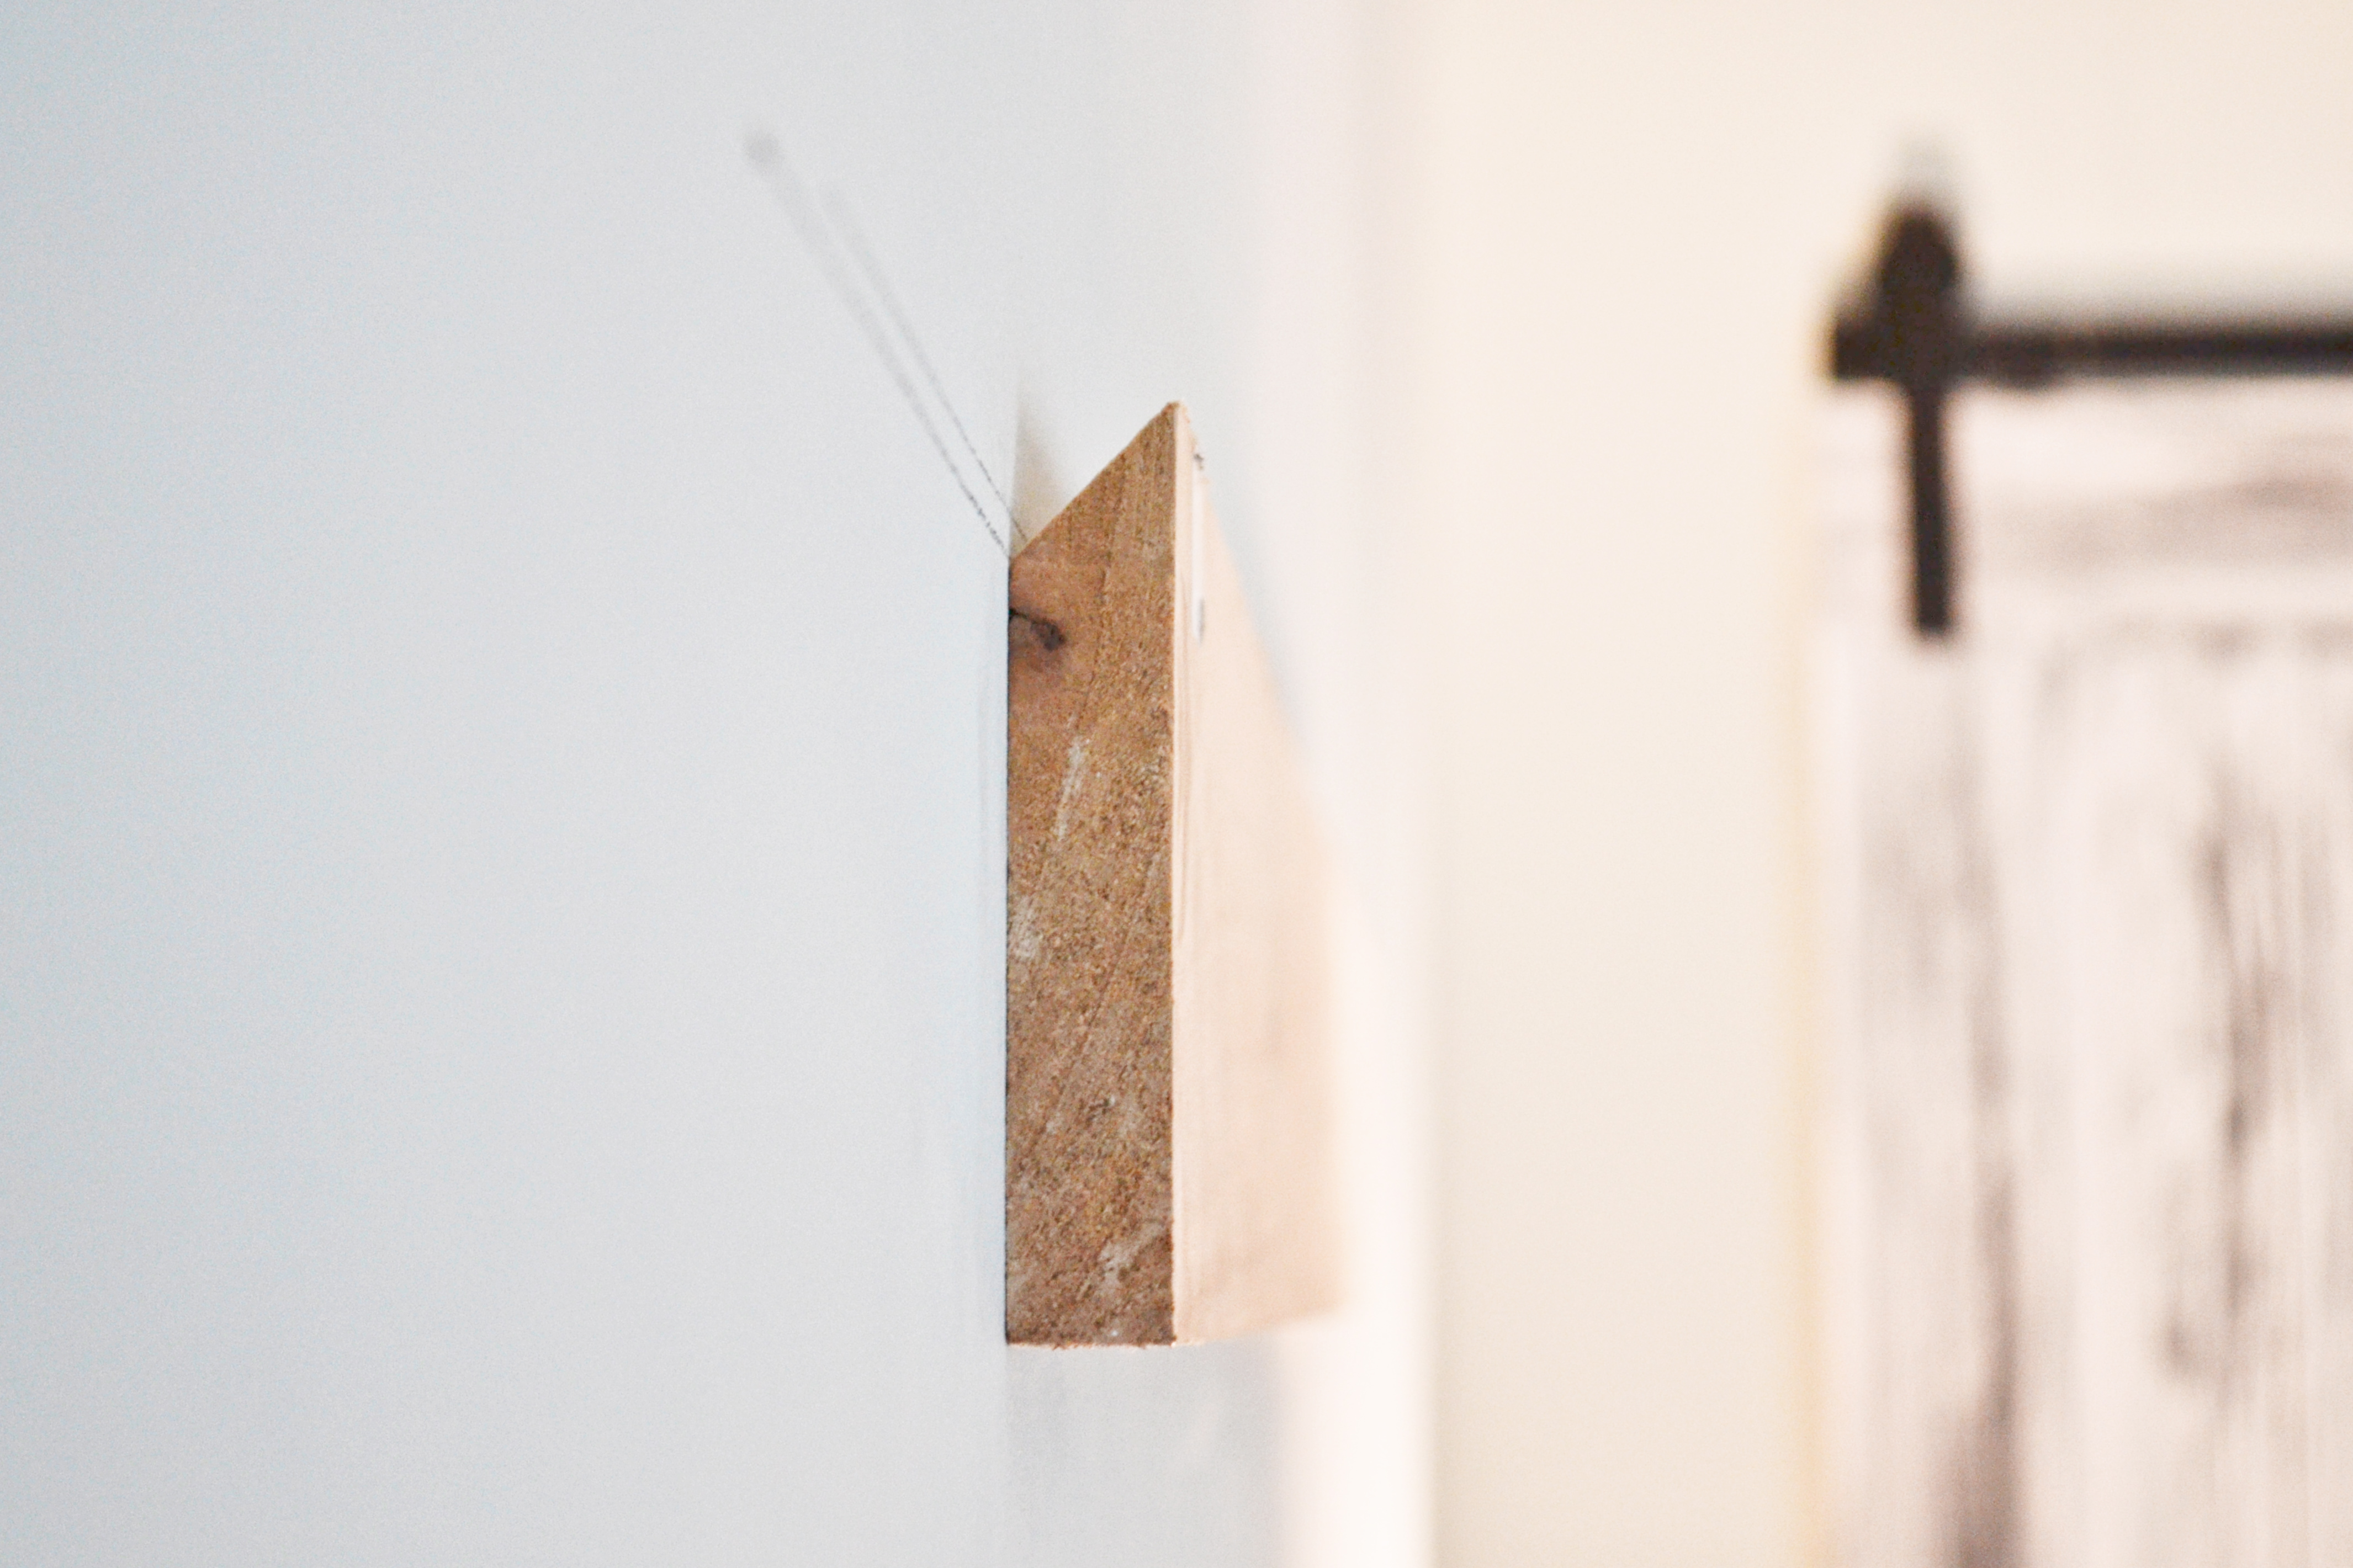
Step 6. Hang headboard on the wall.
Moment of truth. Hang your custom headboard on the wall, perfectly centered from cleat #1 to cleat #2. Put your cheekbone on the wall and sneak a peak of the cleats. Are the 45º bevels completely synced up with zero gaps? If your wall is flat (not always the case) and you were selective about a straight 1x4x12, then you should be golden. Pull on it a little. Assess how much pressure it would take to unhook your cleats. If you have any concern at all, consider adding a very weak adhesive to the space between the cleats. However, if you add a very strong adhesive like wood glue / construction adhesive / super glue, consider this installation permanent.
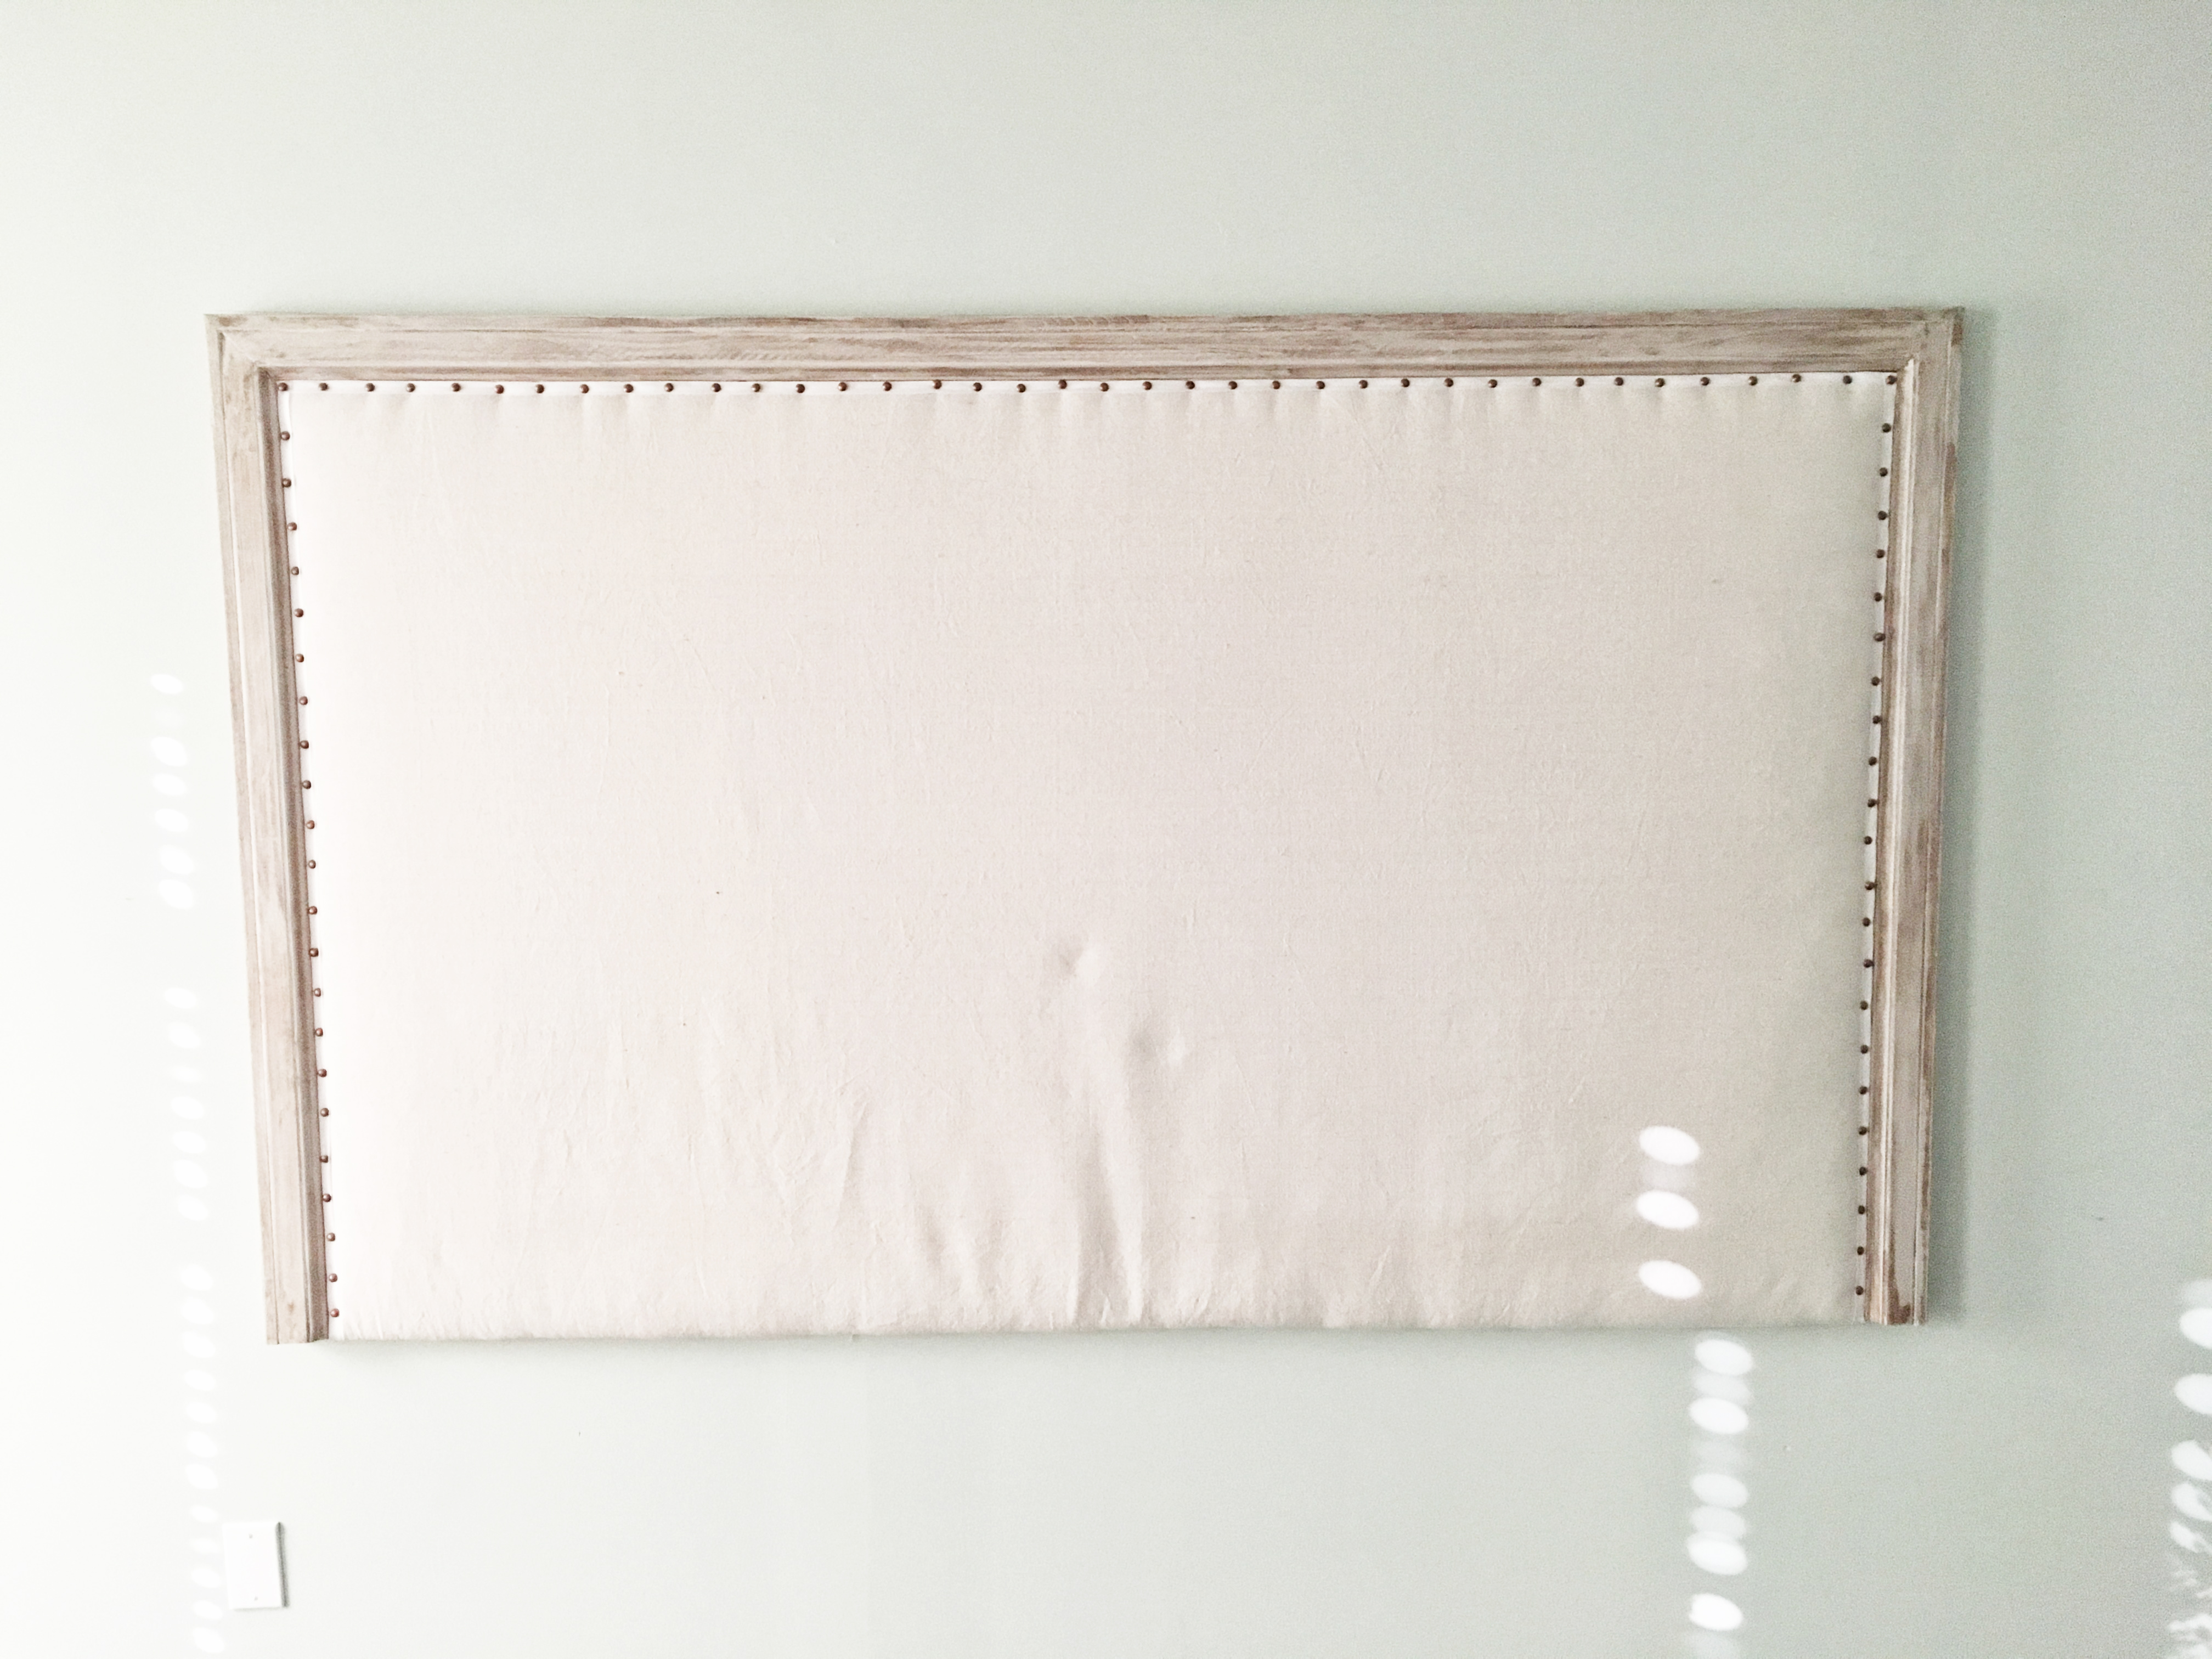
Done! Don’t nonchalantly gloat.
Mission accomplished! You’re an experienced DIYer. You just planned, custom built, beautifully finished, and professionally installed your Restoration Hardware copycat headboard like champ. How much wood could a wood champ champ? Take a gander, fellow artisan.
Your imminent next step is to show off your masterfully designed master bedroom to every single visitor that crosses your entry threshold. Close friends. Fam. Acquaintances. Colleagues. Walk-er-by-ers. The mailhuman. Home security sales solicitors. Nosy neighbs. But be particular – interview each person to assess their appreciation for home décor, specifically rustic modern creations. Don’t forget to ask all of them, “Do you want the tour?” at least 2-3 times a year. Small, localized updates to individual pieces require whole house walkthroughs. In reality, it’s your service to the community. Why not share your gift with the entire population of Disinterestedville in EvadeYou County?
