Like your marriage depends on it. Or committed relationship. Or sanity. Or monetary ROI. Or something far less overblown and dramatic. Well, your free time depends on it. And DIY prowess. And reputation among friends as being a handy-human. Not to mention your leveled-up joy when your kitchen, bathroom or laundry floor doesn’t suck anymore. Now we’re talkin’.
Tile vs. linoleum vs. vinyl flooring.
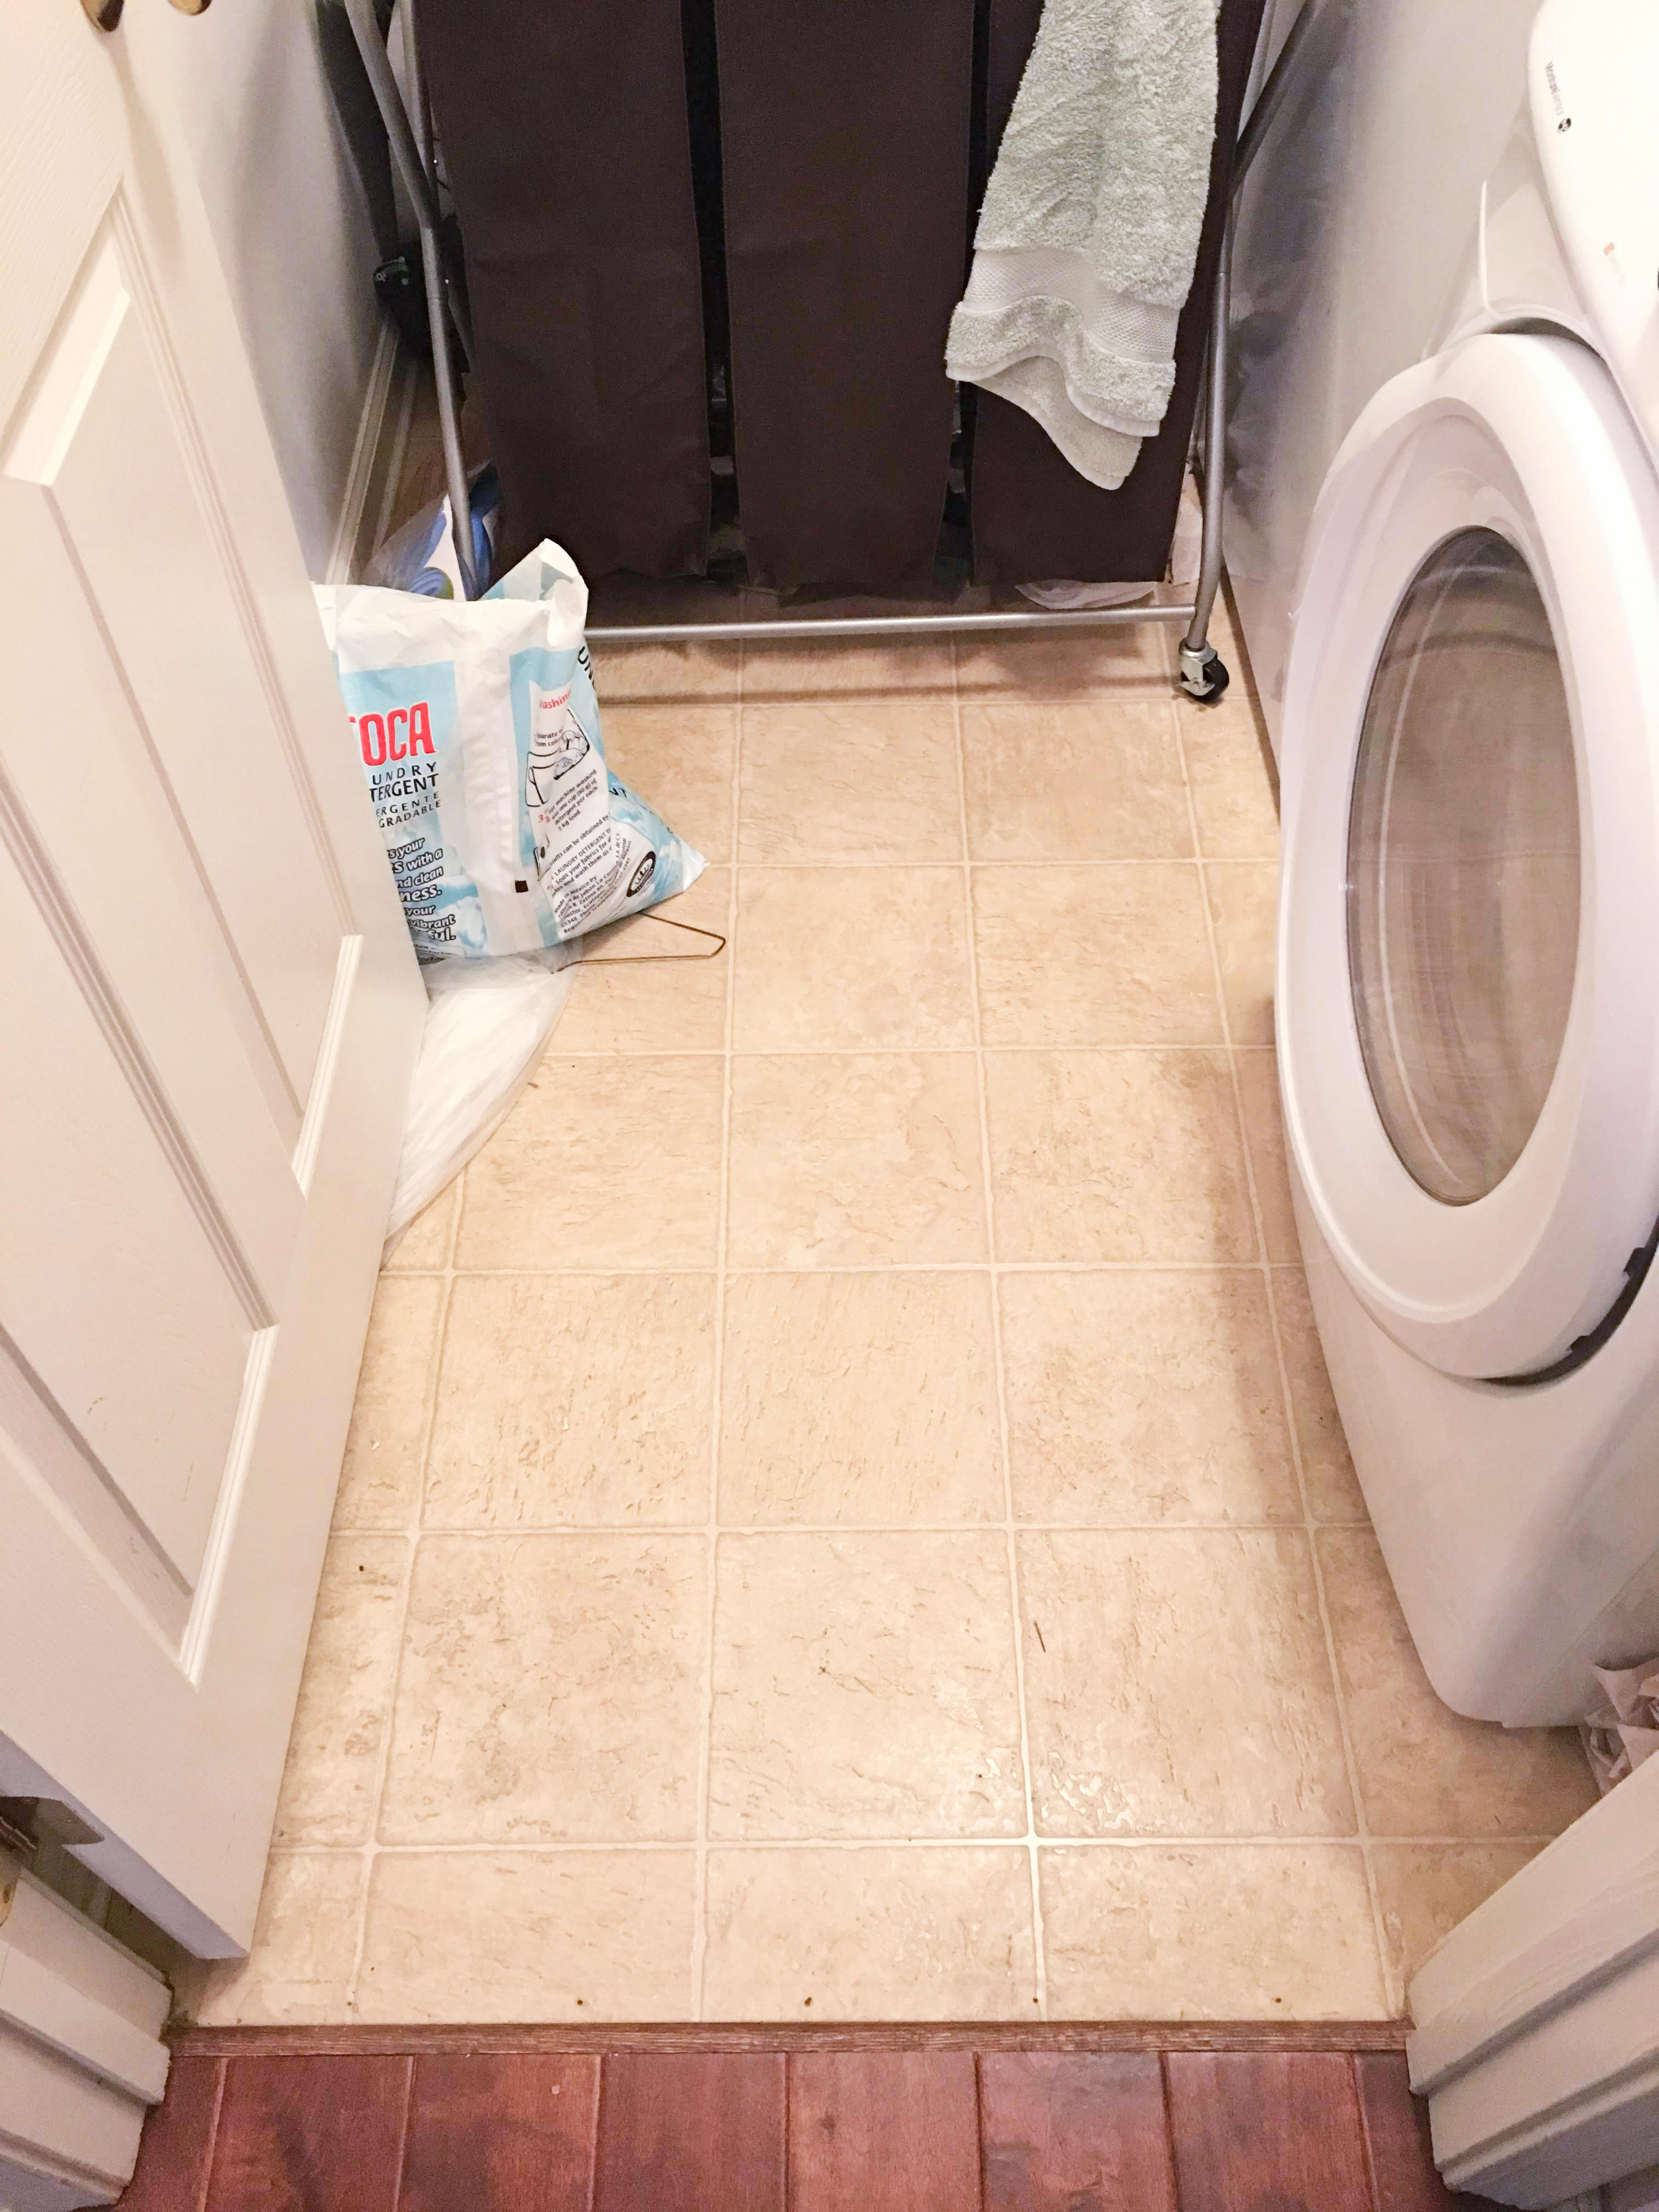
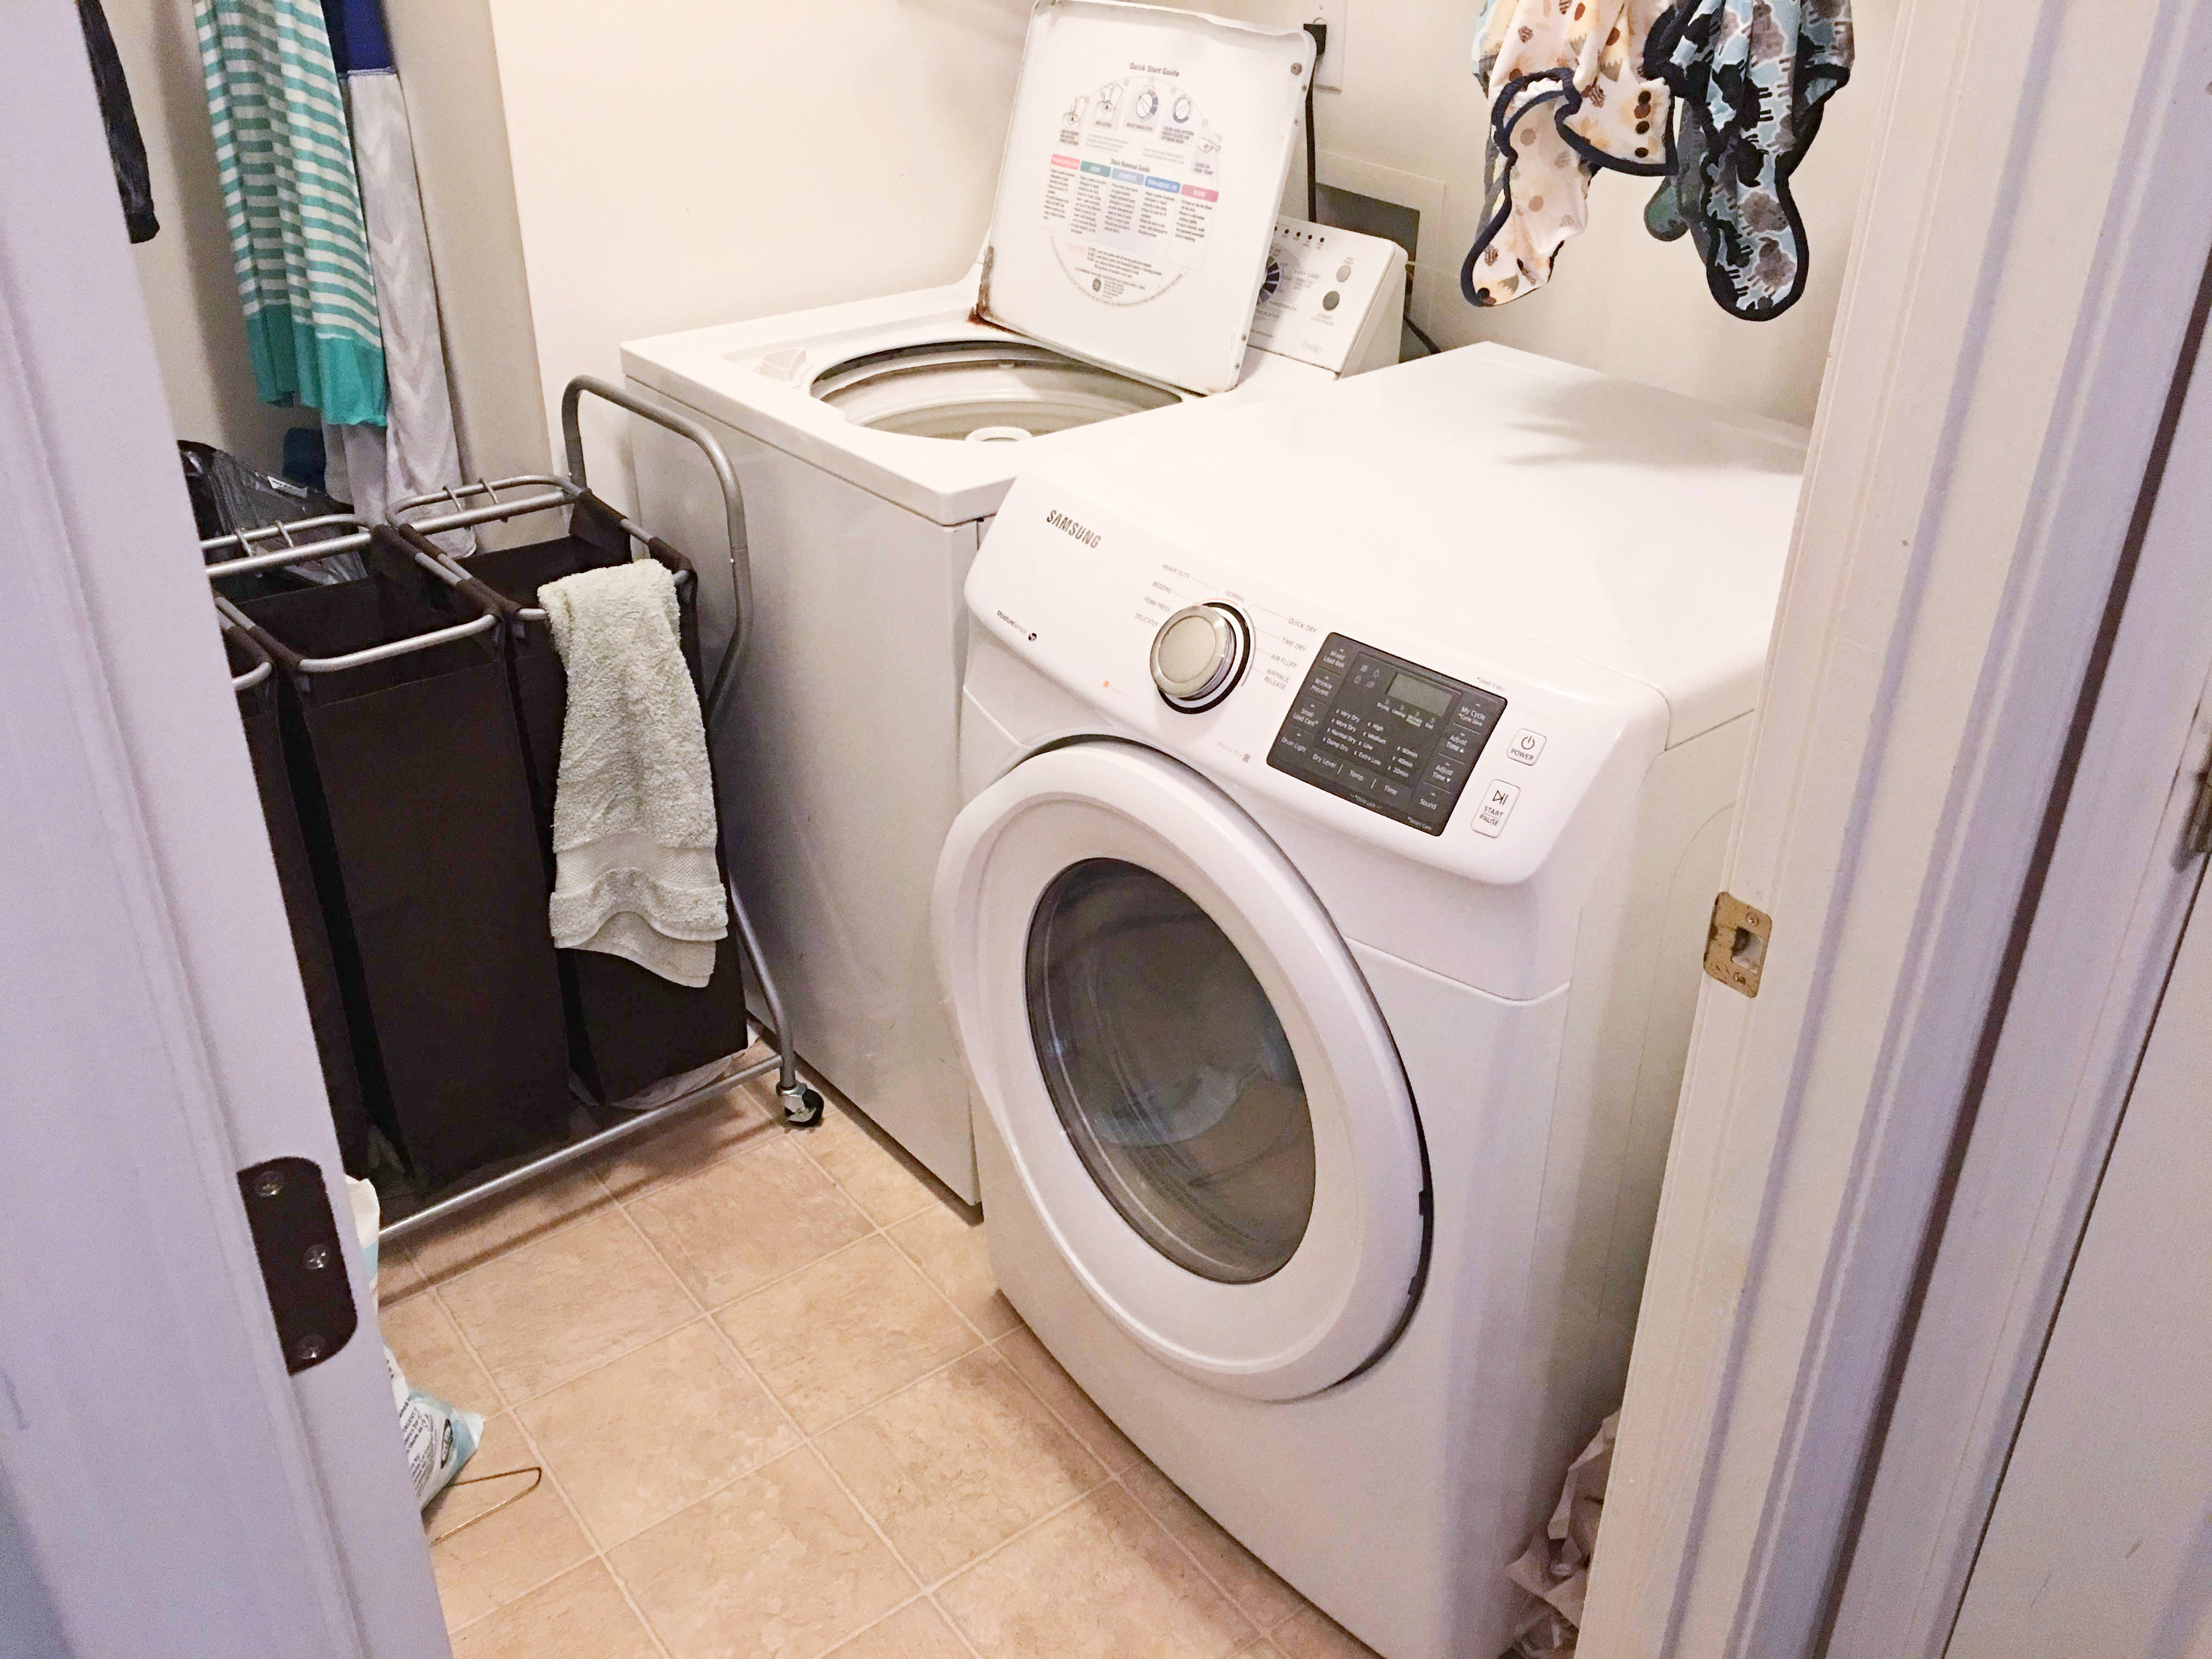
We removed the narsty (the “r” implies extra nasty) 20 year old linoleum sheet from our laundry room floor. There’s a good chance it was white after install. Yellow just ain’t gonna cut it. But before you nix linoleum or vinyl, let’s compare. Vinyl has come a long way in the last 2 decades.
Note: linoleum is naturally derived from flaxseed based linseed oil combined with cork, wood and/or rosin. Vinyl is the synthetic version derived from petroleum. Vinyl may be the only option available at hardware stores and flooring warehouses. [Source]
Vinyl sheets vs. vinyl tile vs. vinyl planks.
Vinyl is offered as either 12-13 foot wide sheets at any length, individual peel & stick tiles that mimic actual tile, or as peel & stick planks that mimic wide plank wood flooring. The sheets function like old school linoleum, but offer beautiful printed designs, colors and are made with the appearance of wood or tile. Both the peel & stick tiles and planks offer possibly the greatest ease of install of any flooring on the market.
Let’s compare solid tile vs. vinyl flooring.
| Solid tile flooring | Vinyl flooring |
| Types: ceramic, porcelain, stone, cement | Types: sheet, tiles, planks |
| $0.69 – $21.15 / sq ft | $0.53 – $3.37 / sq ft |
| Usually far more expensive than vinyl | More cost-effective option |
| Possibly greater ROI than vinyl | Greater ROI than old linoleum |
| Both offer creative designs | |
| Can mimic: wood | Can mimic: wood, solid tile, broken stone |
| DIY install time = half day to week | DIY install time = hour to multiple days |
| Dry time = 24 hrs for mortar + 24 hrs for grout | Dry time = none! |
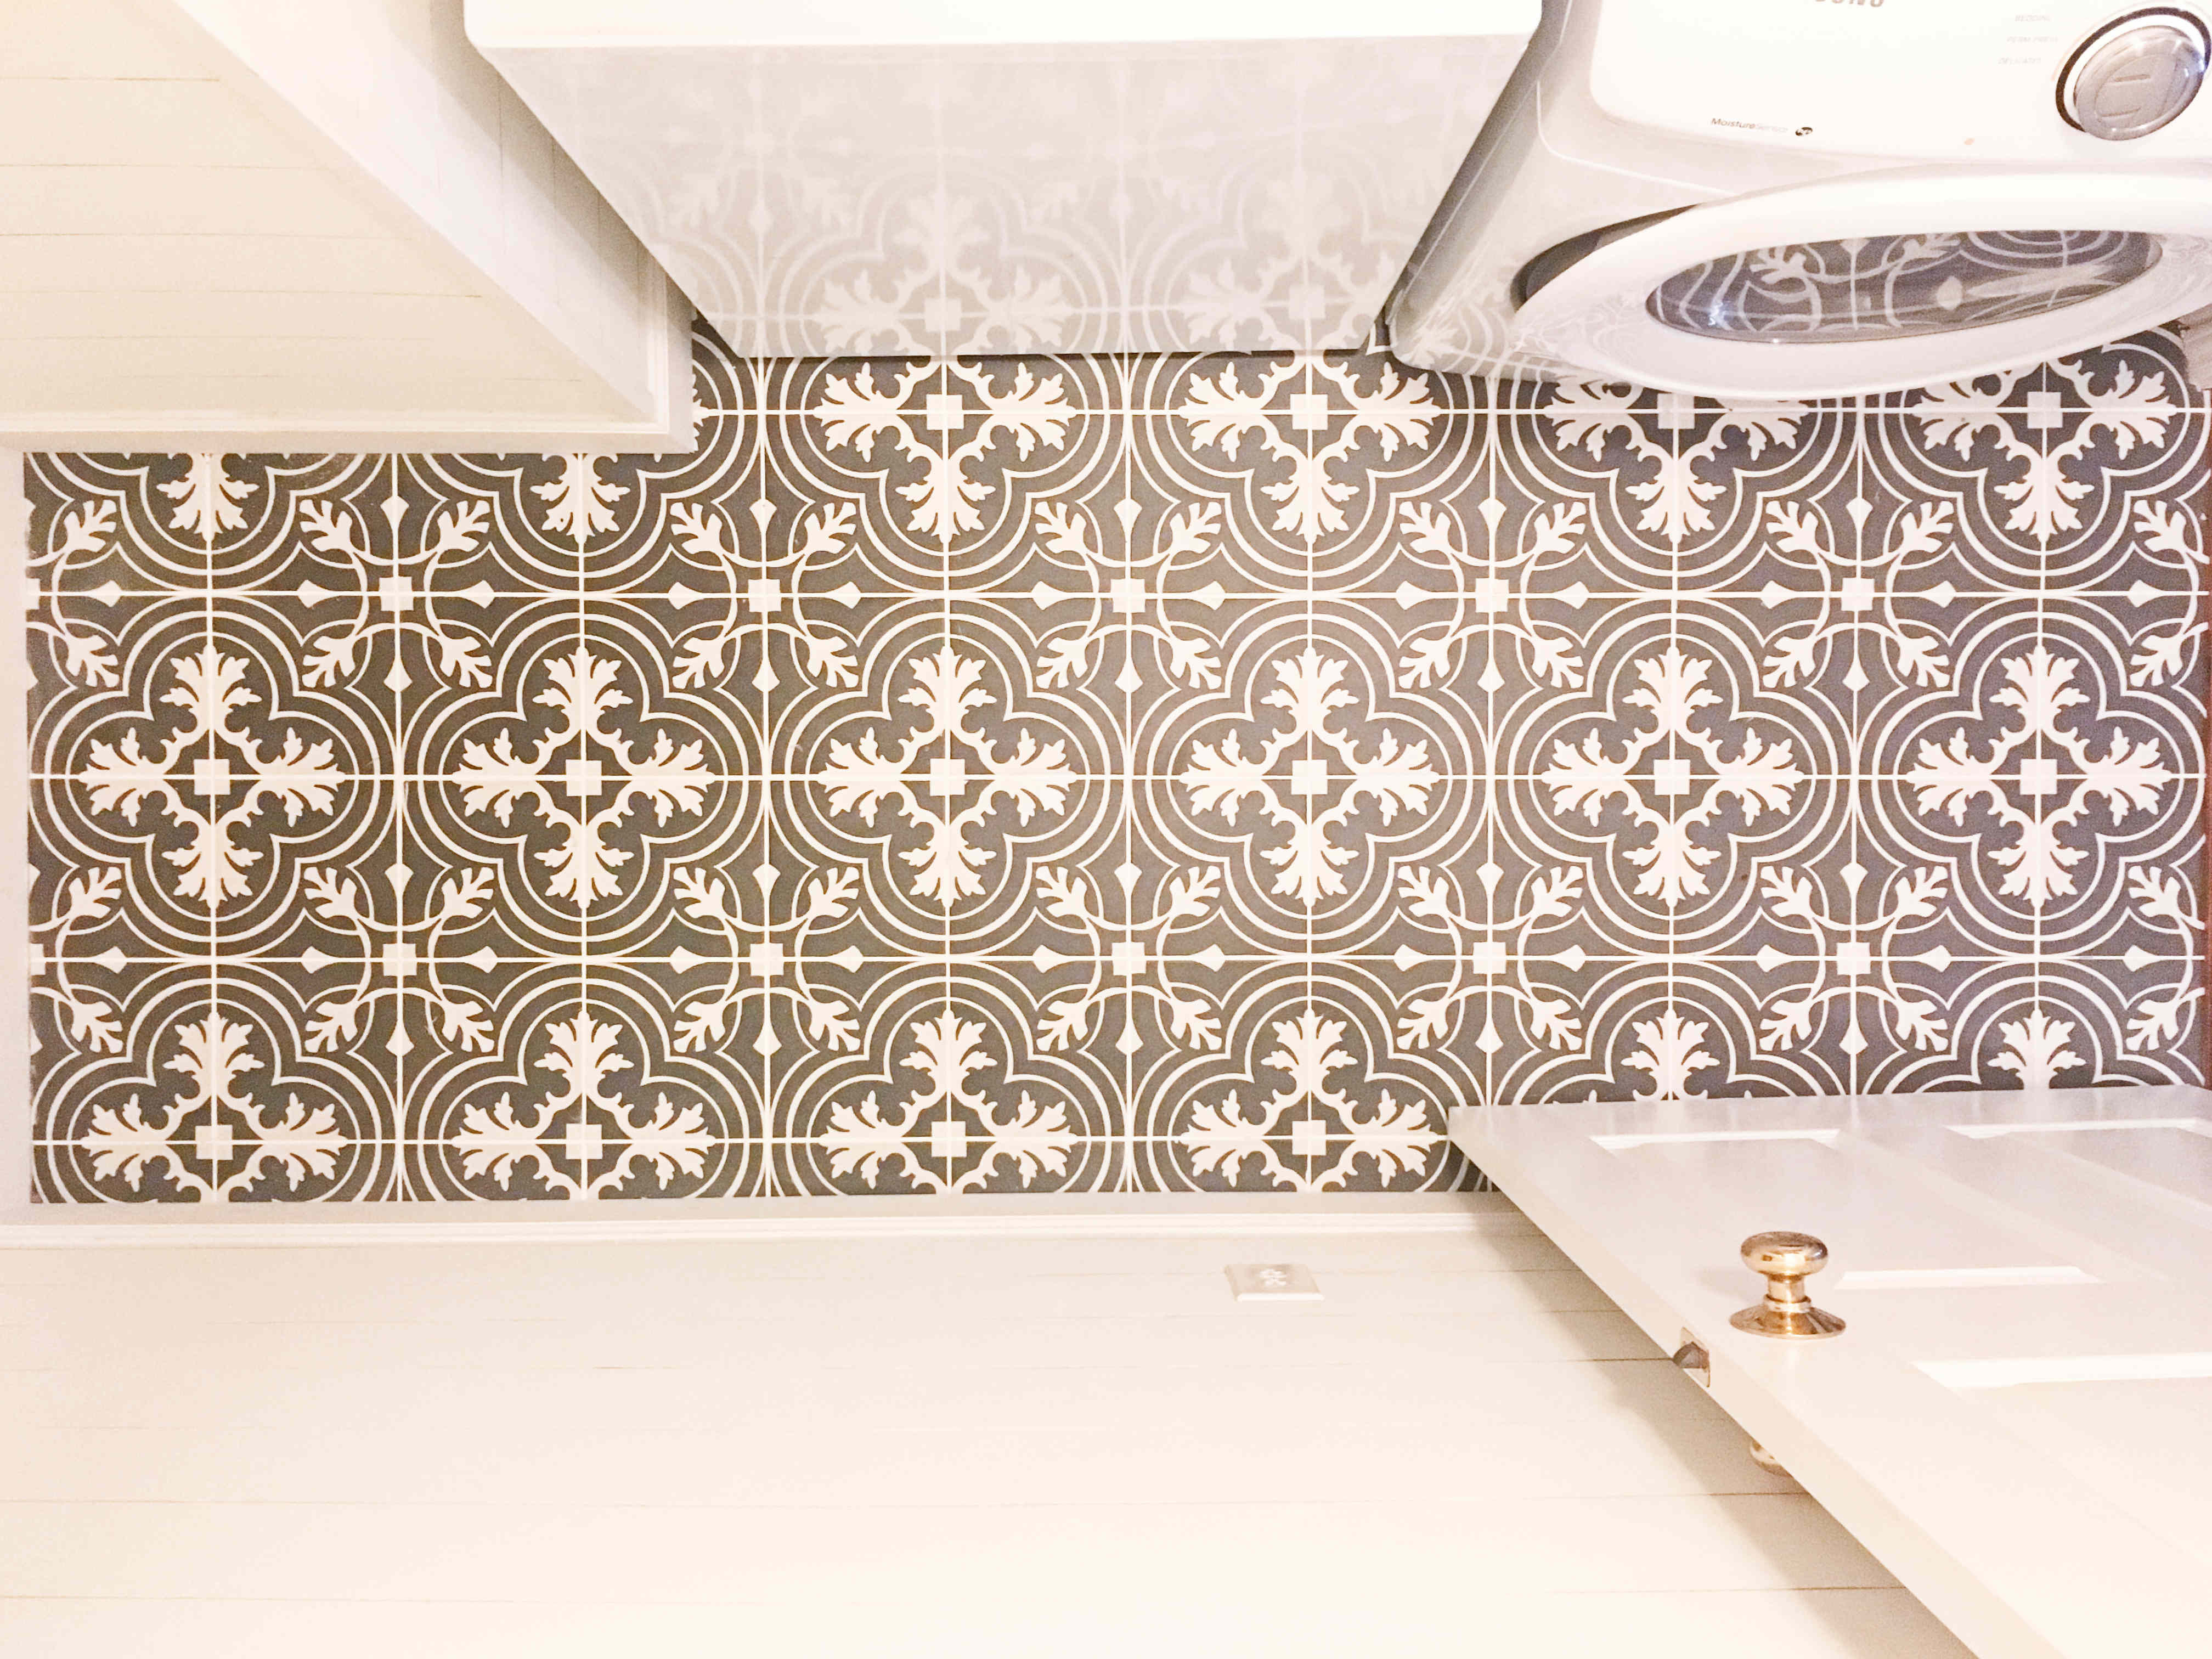
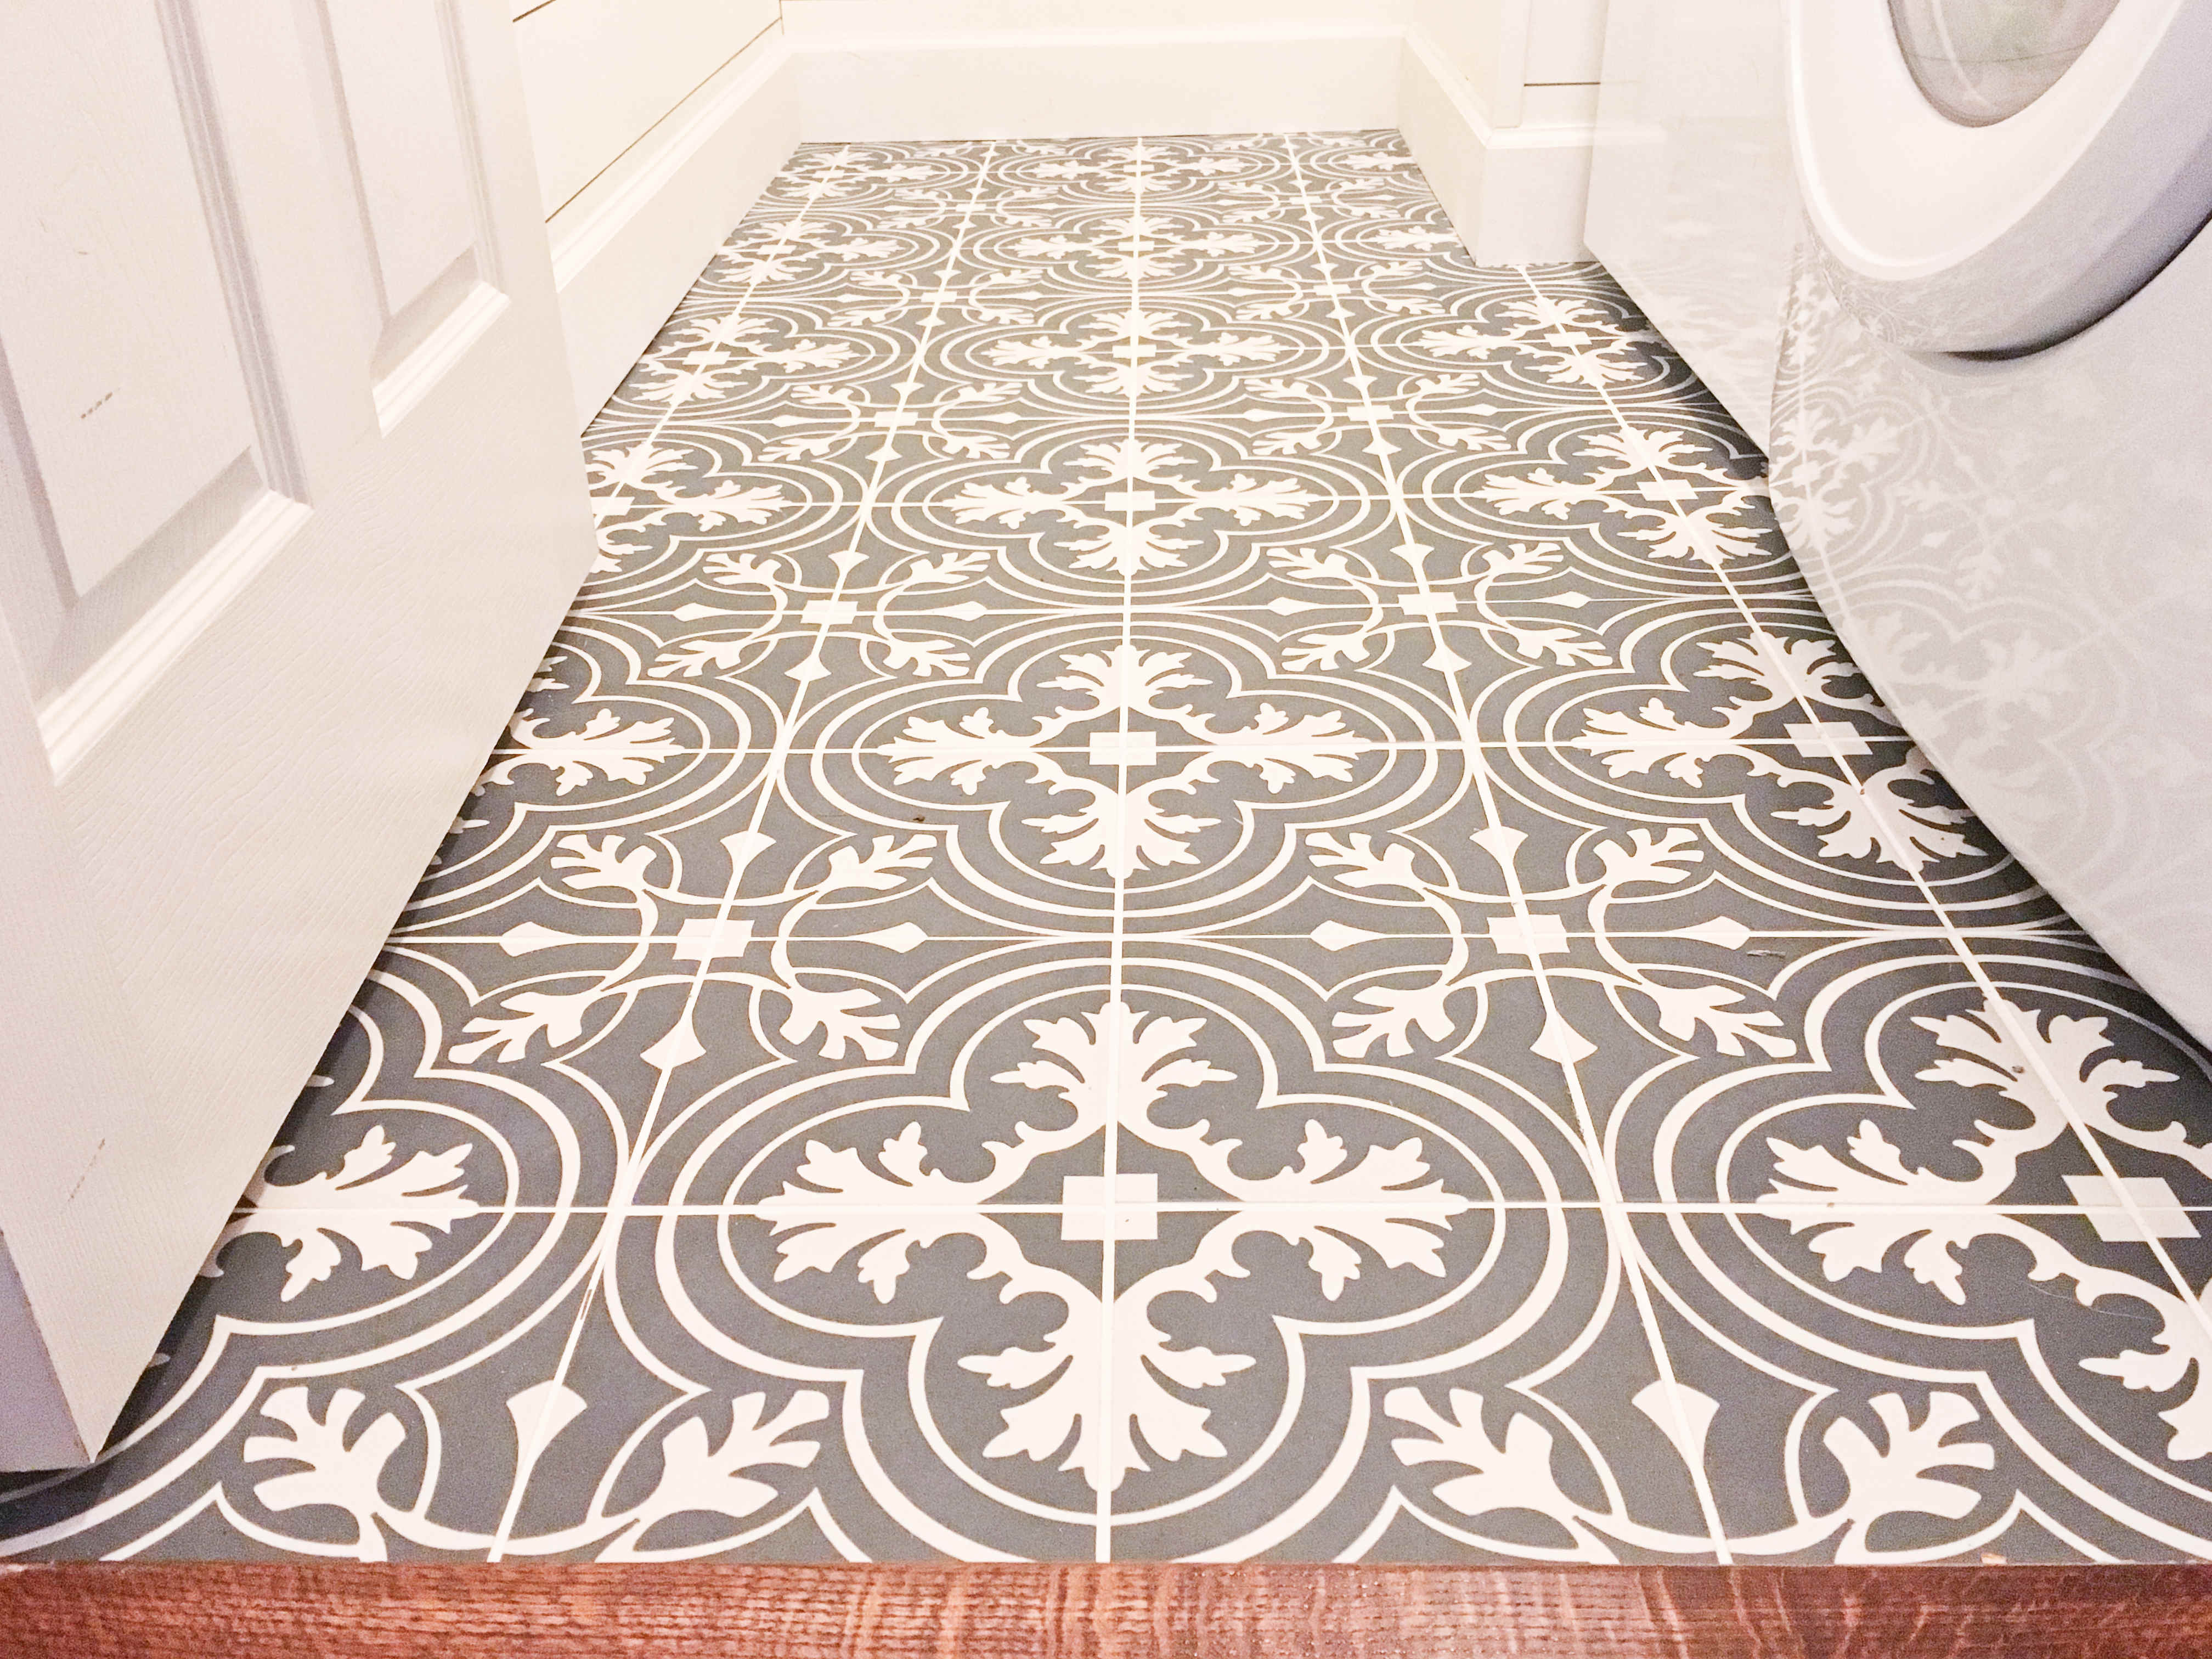
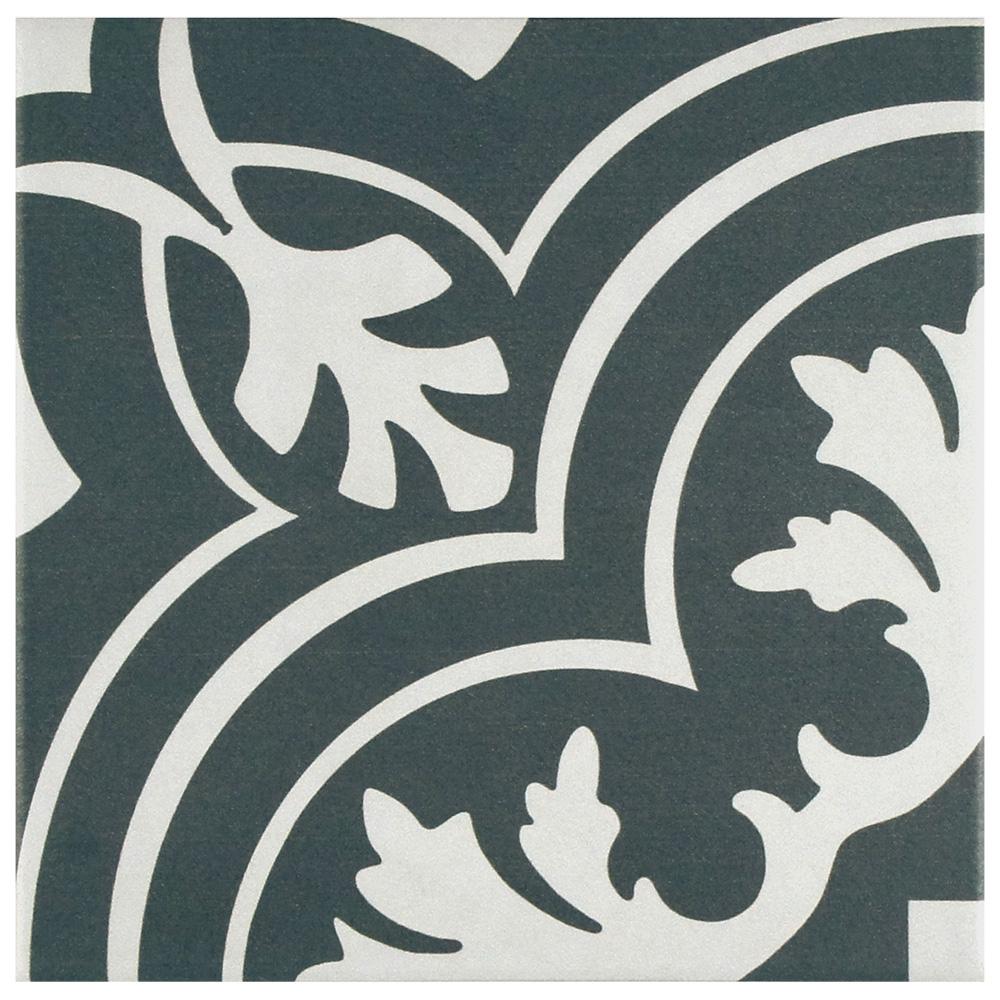
Note on our laundry tile: we chose Merola Tile Twenties Classic Ceramic at $3.97 / sq ft. The handmade cement tile look without the price tag. Our laundry room floor is approximately 39 sq ft. $3.97 x 39 sq ft = $153.83. Add another 20% for contingency = $184.60. See Step 1.
How to install floor tile like a boss.
Materials.
- Your lovely choice of tile. +10-20% more in sq ft to allot for error and cuts. $4.98 per sq ft for ours.
- Spacers. ~$7 per pack of 1,000 at 1/8″.
- Tile mortar mix (or premixed for more money). 50 lb bag for ~$23. Assess your space’s square footage for the amount you’ll need.
- Tile grout mix (or premixed). 25 lb bag of non-sanded for $14.47. Assess your space’s square footage for the amount you’ll need.
- Cement board – for subfloor only. Skip it if you’re on a slab. $13.24 per 3’x5’ sheet at ~1/2″ thick.
- Cement board tape – for the seams. Skip it if you’re on a slab. ~$6.
- Cement board screws. Skip it if you’re on a slab. 140-pack for $8.48.
- 5 gallon bucket $3.25 – to mix mortar & grout. Skip if yours are premixed.
- Blue shop towels or old rags. ~$12 for a 6-pack.
- Sponge. ~$5 for a 3-pack.
- 2 in. brad nails. 2,500-pack for ~$10. To reuse your old baseboard.
- White caulk. 12-pack link for reference. Our 39 sq ft laundry room required a 1/2 tube to cover ~20 linear feet. Each tube covers 55 linear feet. Calculate your needs!
Tools.
- Wet saw or angle grinder with diamond blade.
- Tile cutter – scoring tool. Cheap ones don’t cut straight.
- Tile nippers – like a tile wrench. No need if you have a wet saw or angle grinder.
- Cement & backerboard scoring knife. Skip if you’re on a slab. $7.59.
- Notched trowel. ~$3. We used quarter inch notches. Check your mortar instructions for sizing.
- Margin trowel. $3.43.
- Grout float. ~$5.
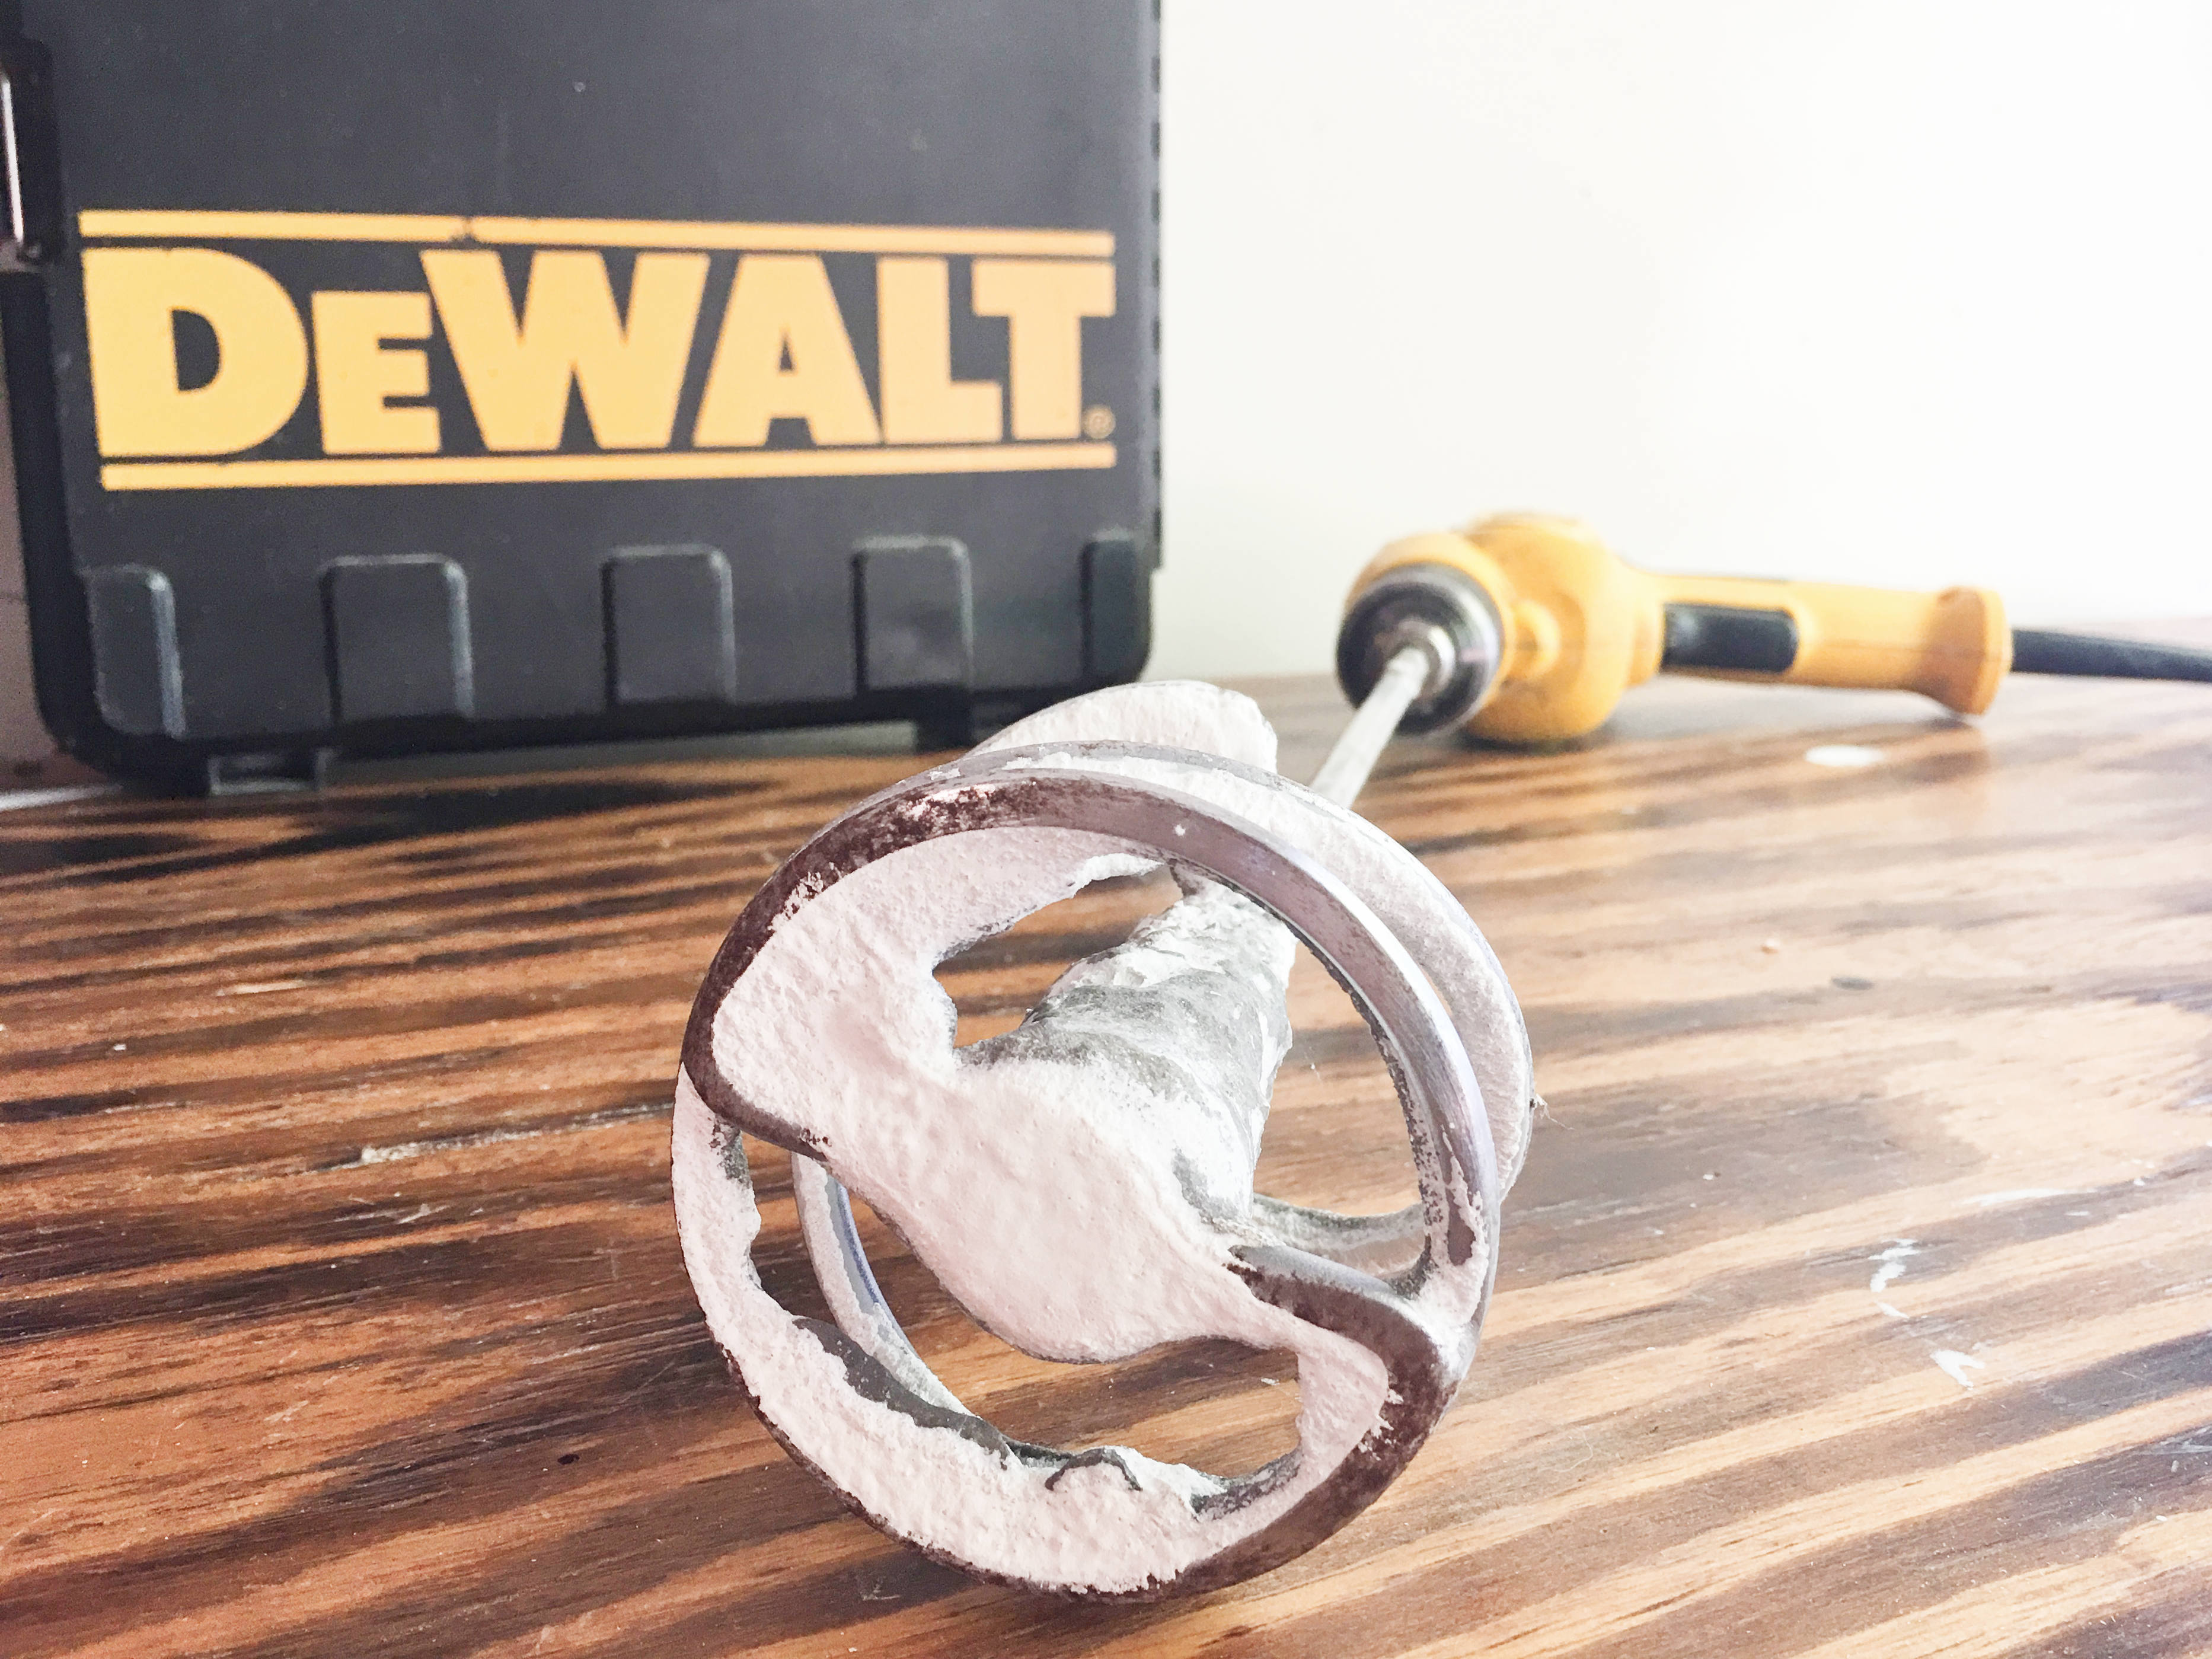
- Corded drill – to mix mortar & grout. Ignore if you bought premixed.
- Mixing paddle (bit) ~$12 – to mix mortar & grout. Ignore if you bought premixed.
- Rubber mallet. $5.72.
- Chalk reel with chalk – to make chalk lines. ~$10.
- Compressor & brad nail gun – baseboard install.
- Caulk gun – caulking baseboards. ~$4.
- Measuring tape.
- Level.
- Pencil.
- Protective eyewear.
- Ear plugs – if you’re using a wet saw or angle grinder.
- Medium to heavy duty gloves – we opted out and regretted it.
- Utility blade – to demo linoleum.
- Metal scraper – to demo linoleum.
- Pry bar – to remove baseboard.
- Jamb saw or jab saw or curved long teeth hand saw – to saw off enough door casing to allow tile to fit under it.
- Wet dry vacuum.
- Plastic bin – to clean the excess grout with sponge & water.
Budget.
Based on our 39 sq ft laundry room floor:
- SLAB: ceramic tile $184.60 + tile spacers $7 + one 50 lb bag of tile mortar mix $23 + one 25 lb bag of tile grout mix $14.47 + bucket $3.25 + shop towels $12 + sponges $5 + brad nails $10 + 1 tube of white caulk $2.38 + notched trowel $3 + margin trowel $3.43 + grout float $5 + mixing paddle $12 + chalk reel $10 = $295.13. Including (5) key tools from the “tools” list above.
- ALL MATERIALS COST (SLAB) = $295.13
- WOOD SUBFLOOR: ceramic tile $184.60 + tile spacers $7 + one 50 lb bag of tile mortar mix $23 + one 25 lb bag of tile grout mix $14.47 + cement boards $39.72 + cement board tape $6 + cement board screws $8.48 + cement board scoring knife $7.59 + bucket $3.25 + shop towels $12 + sponges $5 + brad nails $10 + 1 tube of white caulk $2.38 + notched trowel $3 + margin trowel $3.43 + grout float $5 + mixing paddle $12 + chalk reel $10 = $356.92. Including (5) key tools from the “tools” list above.
- ALL MATERIALS COST (SUBFLOOR) = $356.92
Step 1. Choose & order your tile.
- What’s your home’s overall design aesthetic? Consider what colors are in your palette, your balance with neutrals, textures and various materials like wood, metal, stone, plastic, composite, concrete, etc. What type of tile best suits your design? Ceramic tile? Porcelain tile? Stone tile? Cement tile?
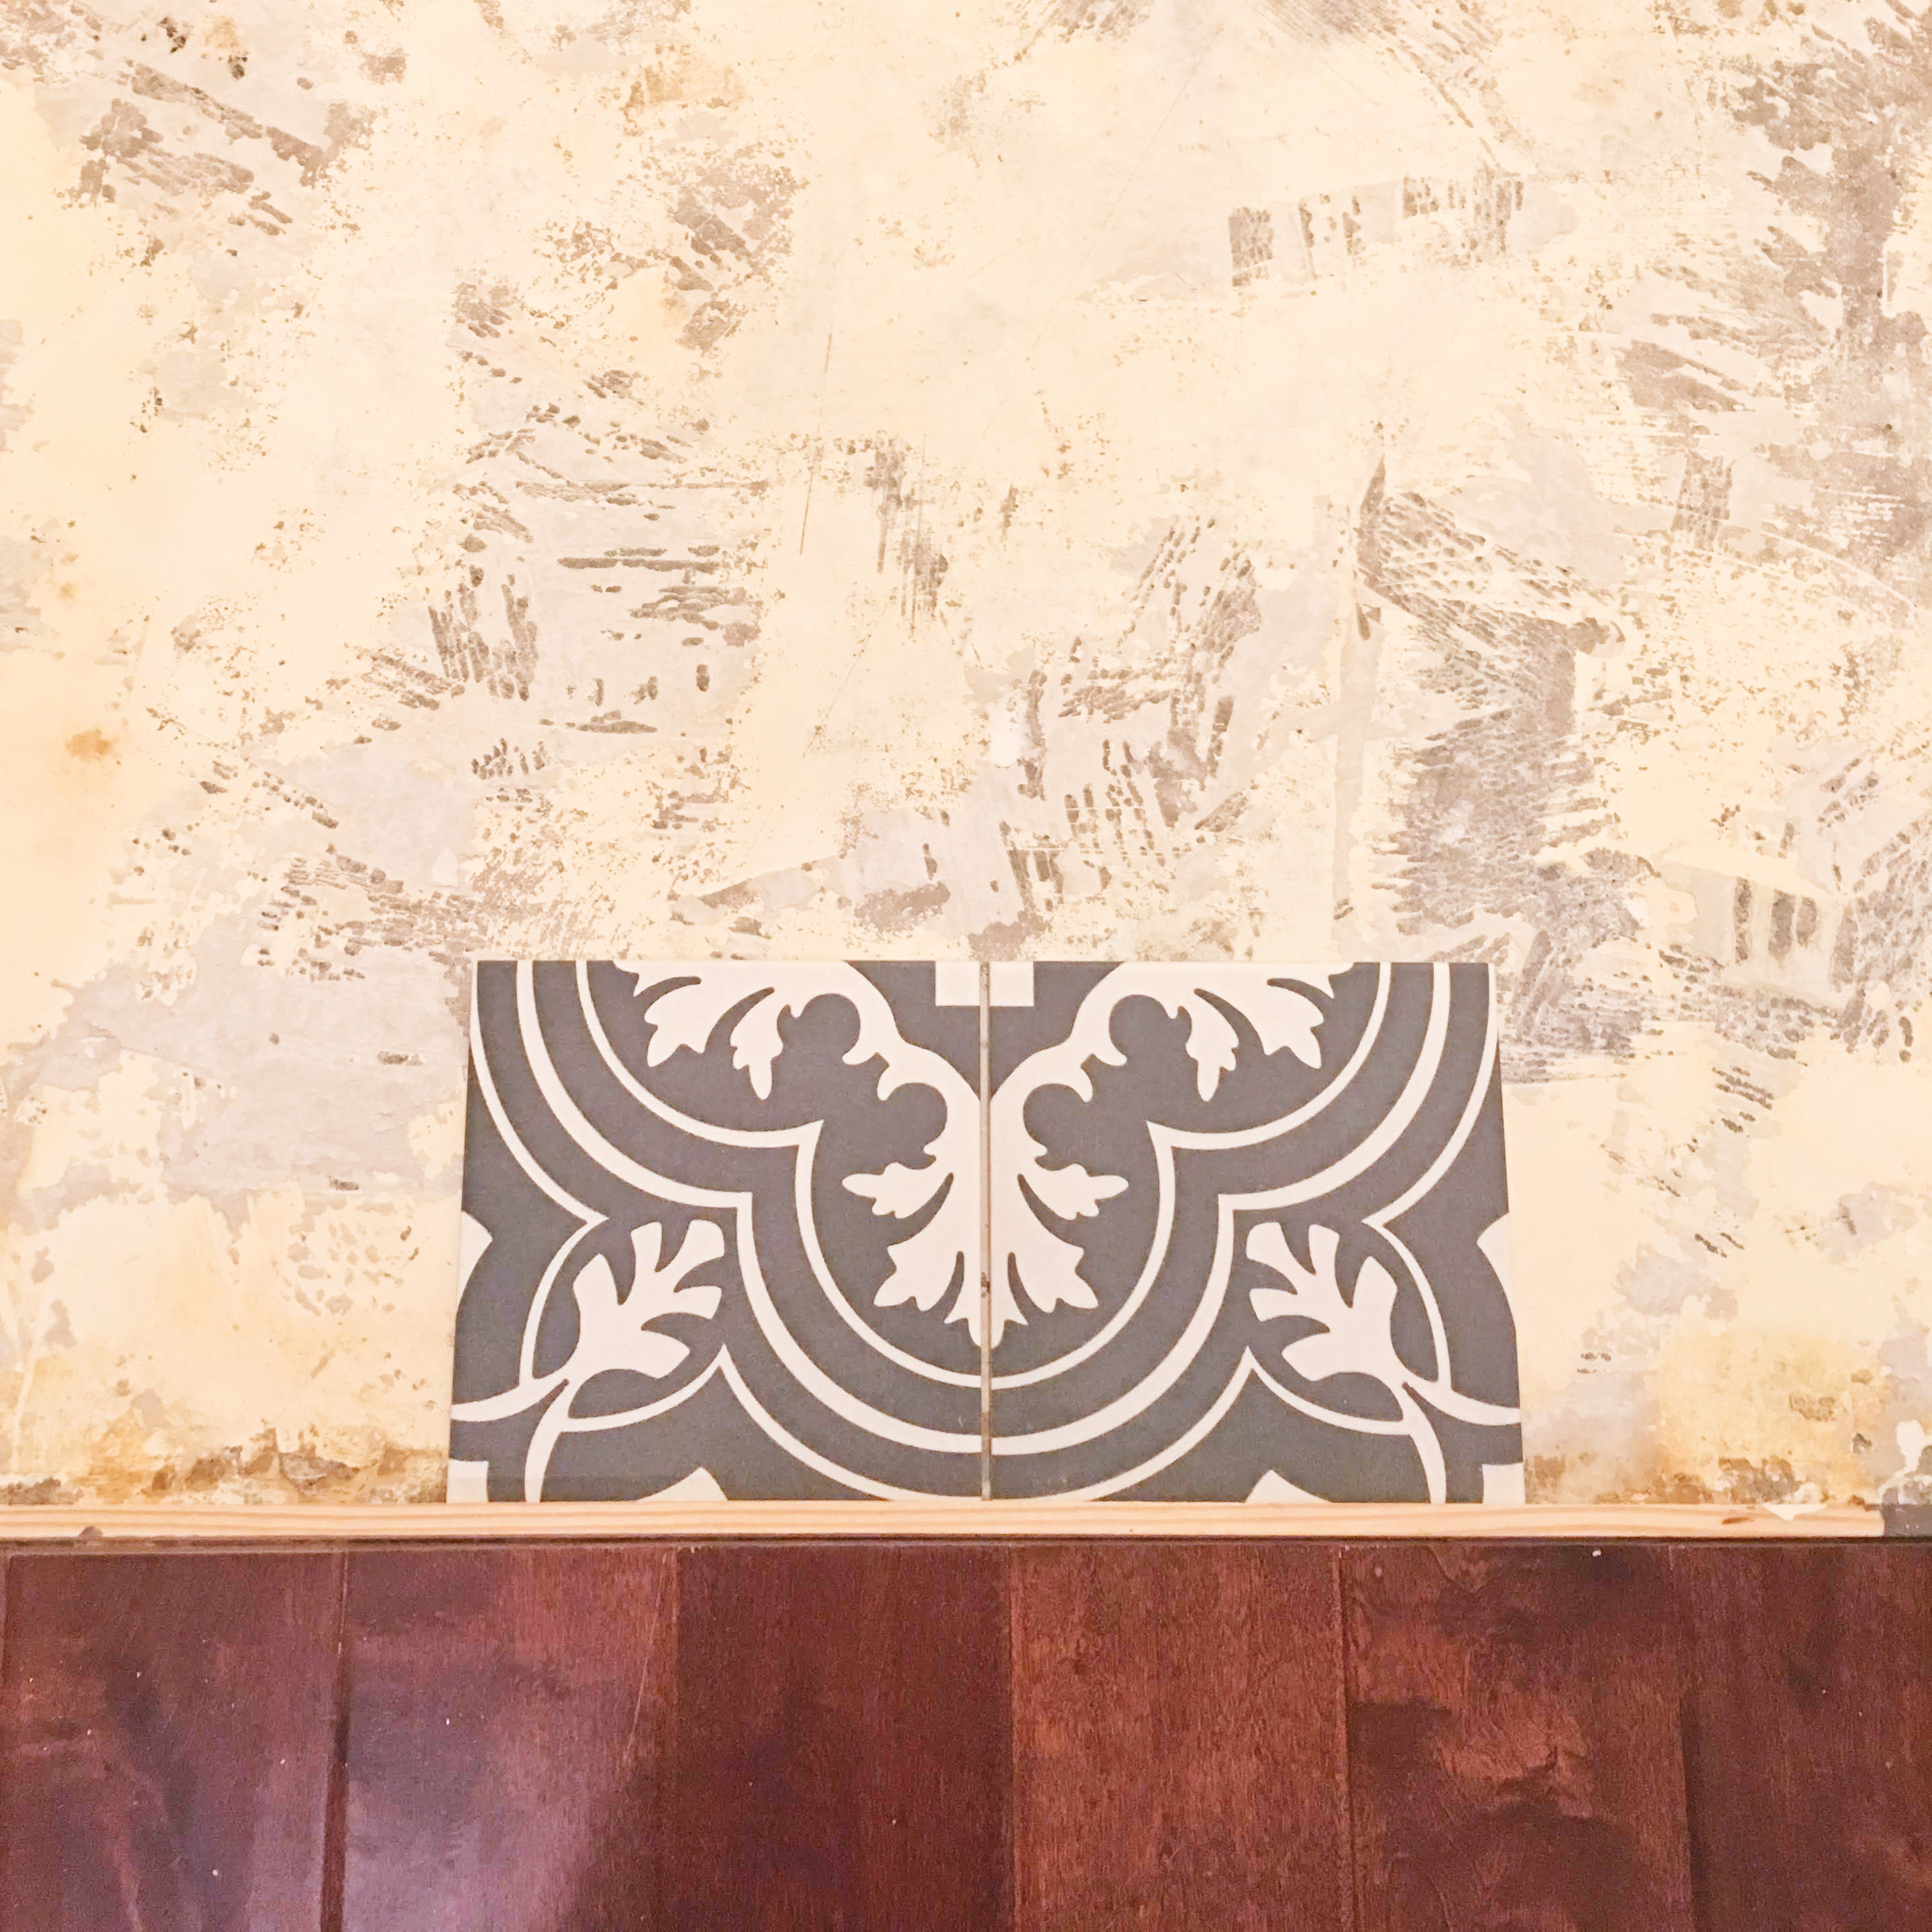
- Our aesthetic is classic-contemporary with touches of rustic farmhouse. We landed on a ceramic tile created to look like handmade cement tiles from Morocco without the artisan price tag. Merola Tile Twenties Classic from Home Depot at $3.97 per sq ft. Always check your local flooring warehouse for super competitive or even wholesale pricing.
- Plan your reno at least a few days to a week after the expected tile delivery date in case there’s a delay.
Pro-tip: purchase 10-20% MORE tile than what you need based on the exact square footage of your space. Tile will be cut to fit up almost against the drywall, so you must plan for waste. Some pieces can be reused when flipped around, but others will end up in the garbage.
10% for experienced tilers. 20% for newer tilers. 10% for smaller tiles (or) no patterns (or) identical symmetric patterns. 20% for larger tiles (or) patterned (or) asymmetrical patterns. Not sure? Then purchase 20%. Most stores will allow you to return what you don’t use. Running out of tile when you are about to cross the finish line is the WORST.
Step 2. #DemoDay!
Note: If you don’t have all the supplies you need for demo day, go to the hardware store first.
- Demo is the second best part! First place goes to the the deep sigh of relief and accomplishment when you complete the job. But don’t lose focus. It’s time to wreck stuff. Sweat equity as they say. Not sure who “they” are, but I couldn’t agree more – the more real estate focused renovations you do DIY style, the more net profit you’ll probably make on the sale of your home.
- Clear the floor of EVERYTHING.
- Remove your lower moulding, i.e. baseboard, shoe mould, quarter round, etc. Score the top of the baseboard with your utility blade to cut the line of caulk and detach the wood from the drywall. Use your mallet to hammer a pry bar in between drywall and baseboard. Aim for studs to reduce drywall damage and pry the sunken board nails from the wall. Set aside the baseboard for reuse or discard if you opted to install new moulding.
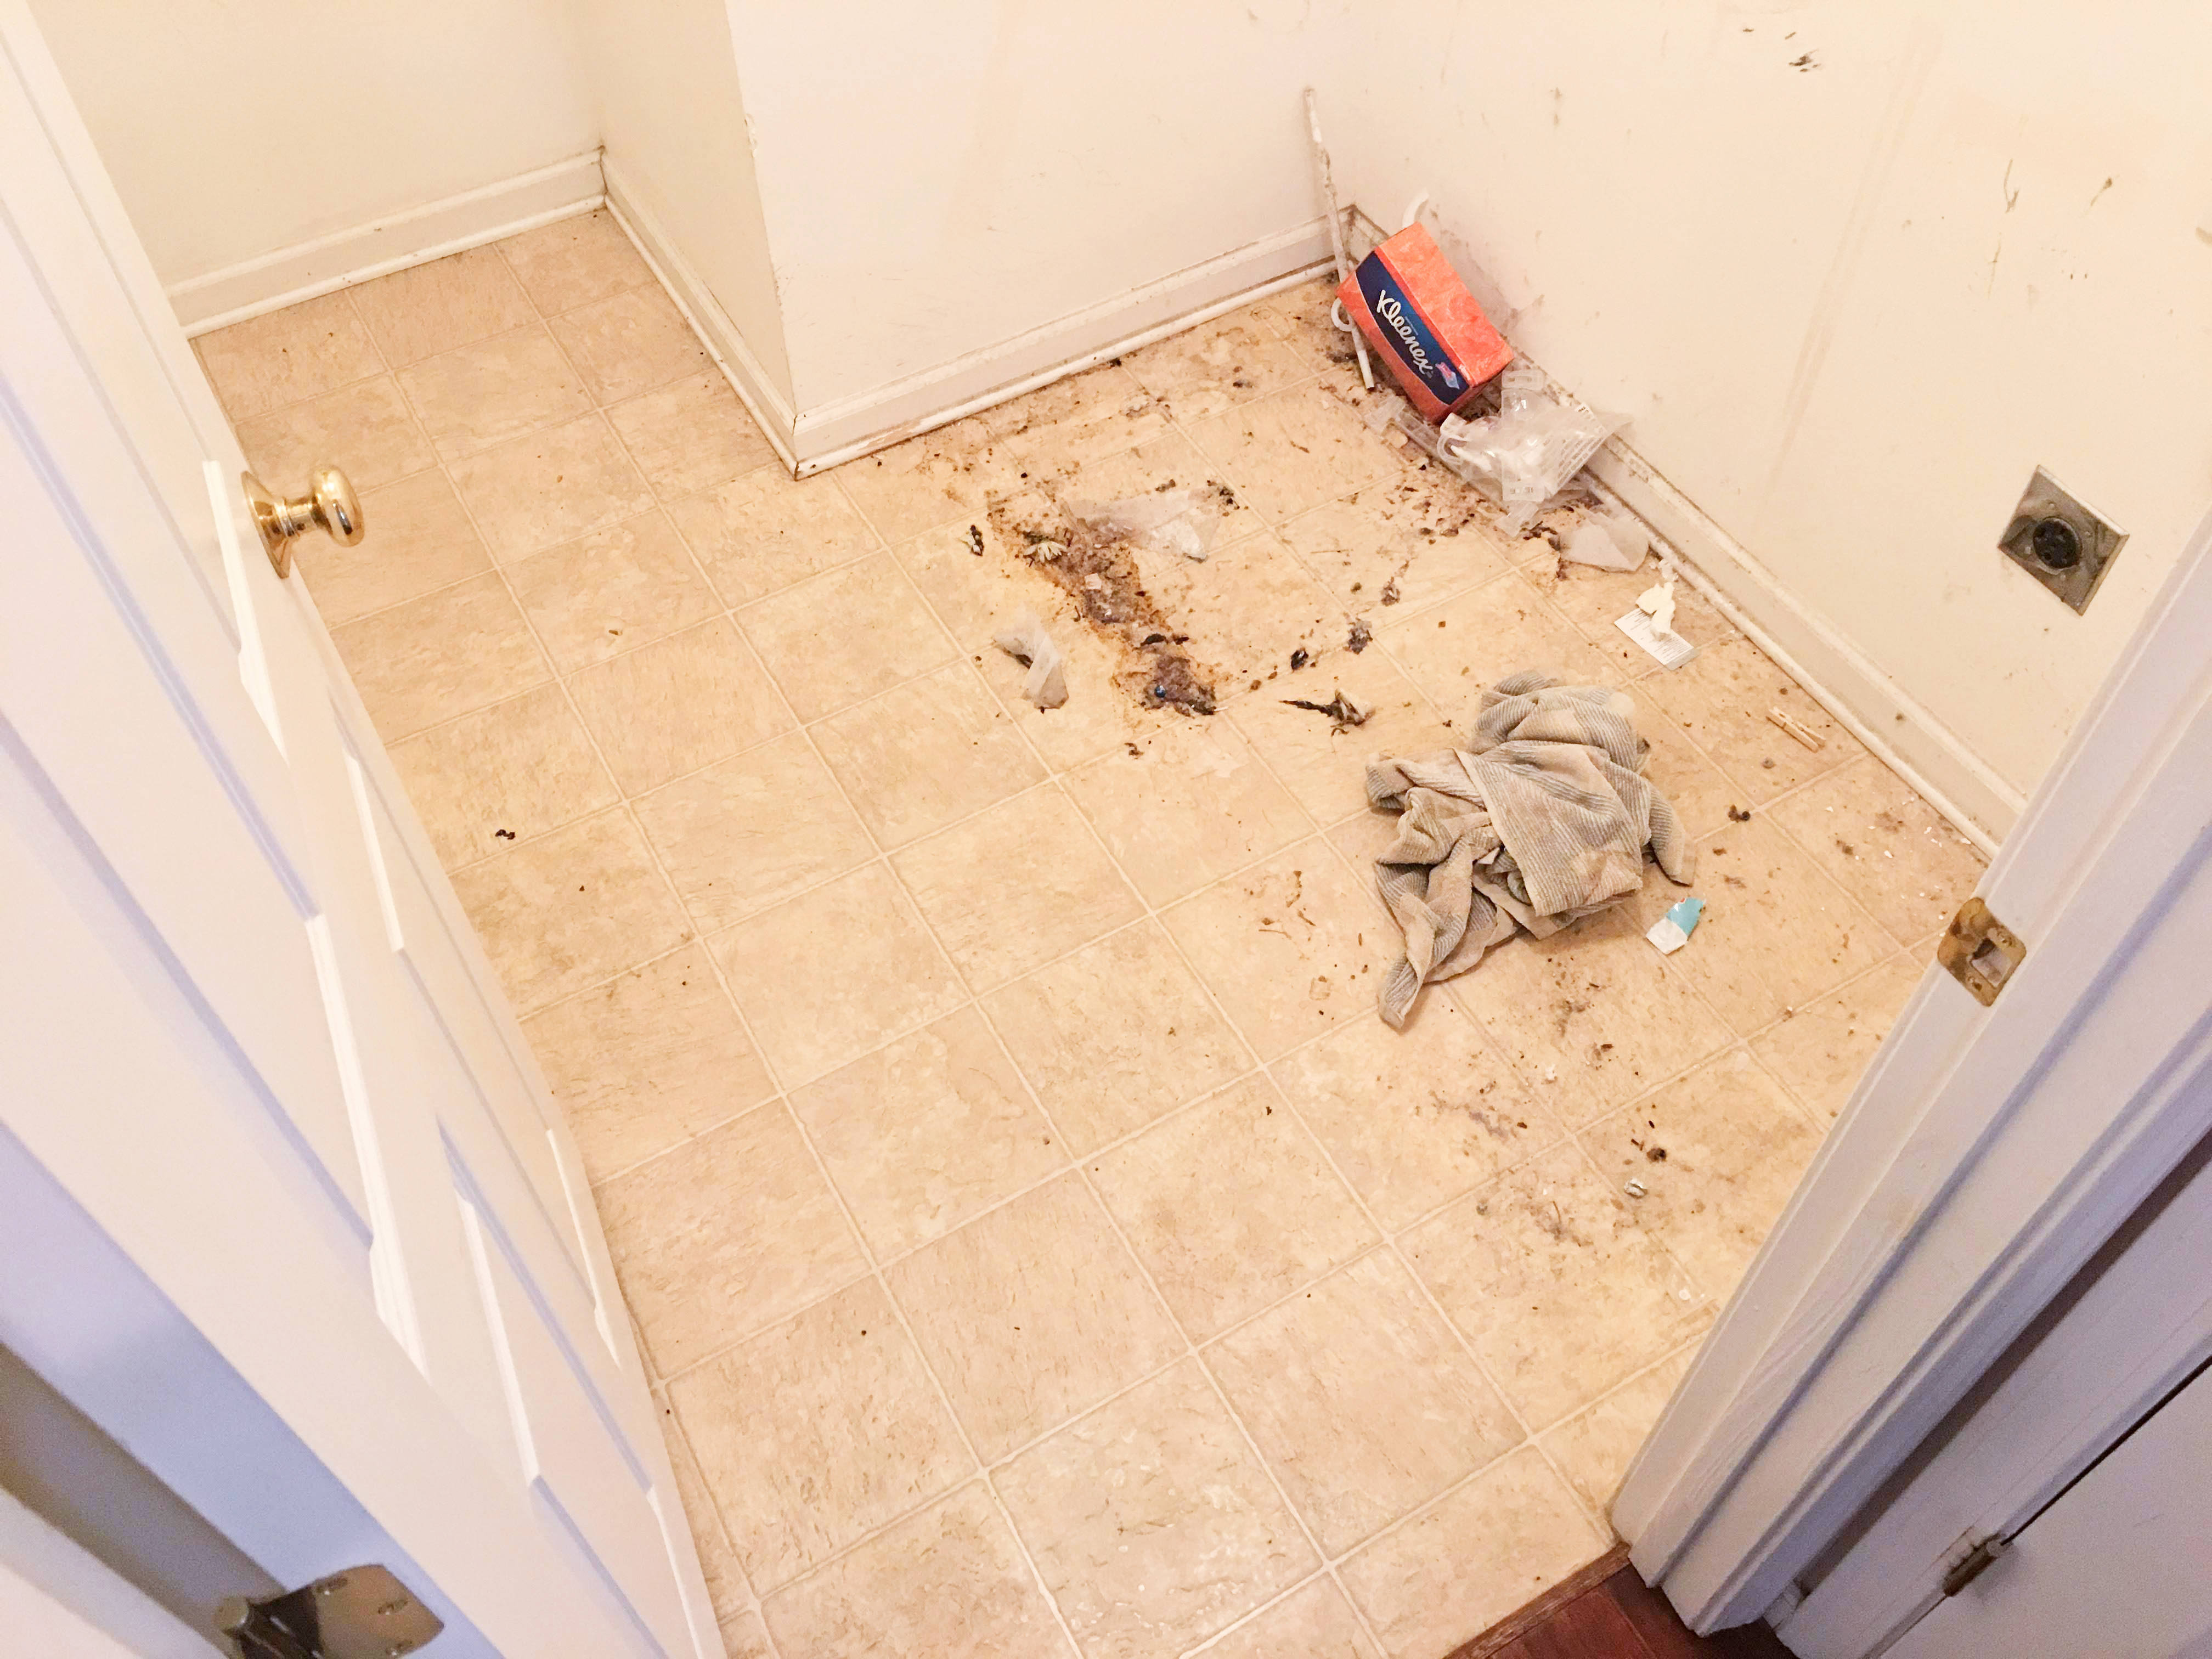
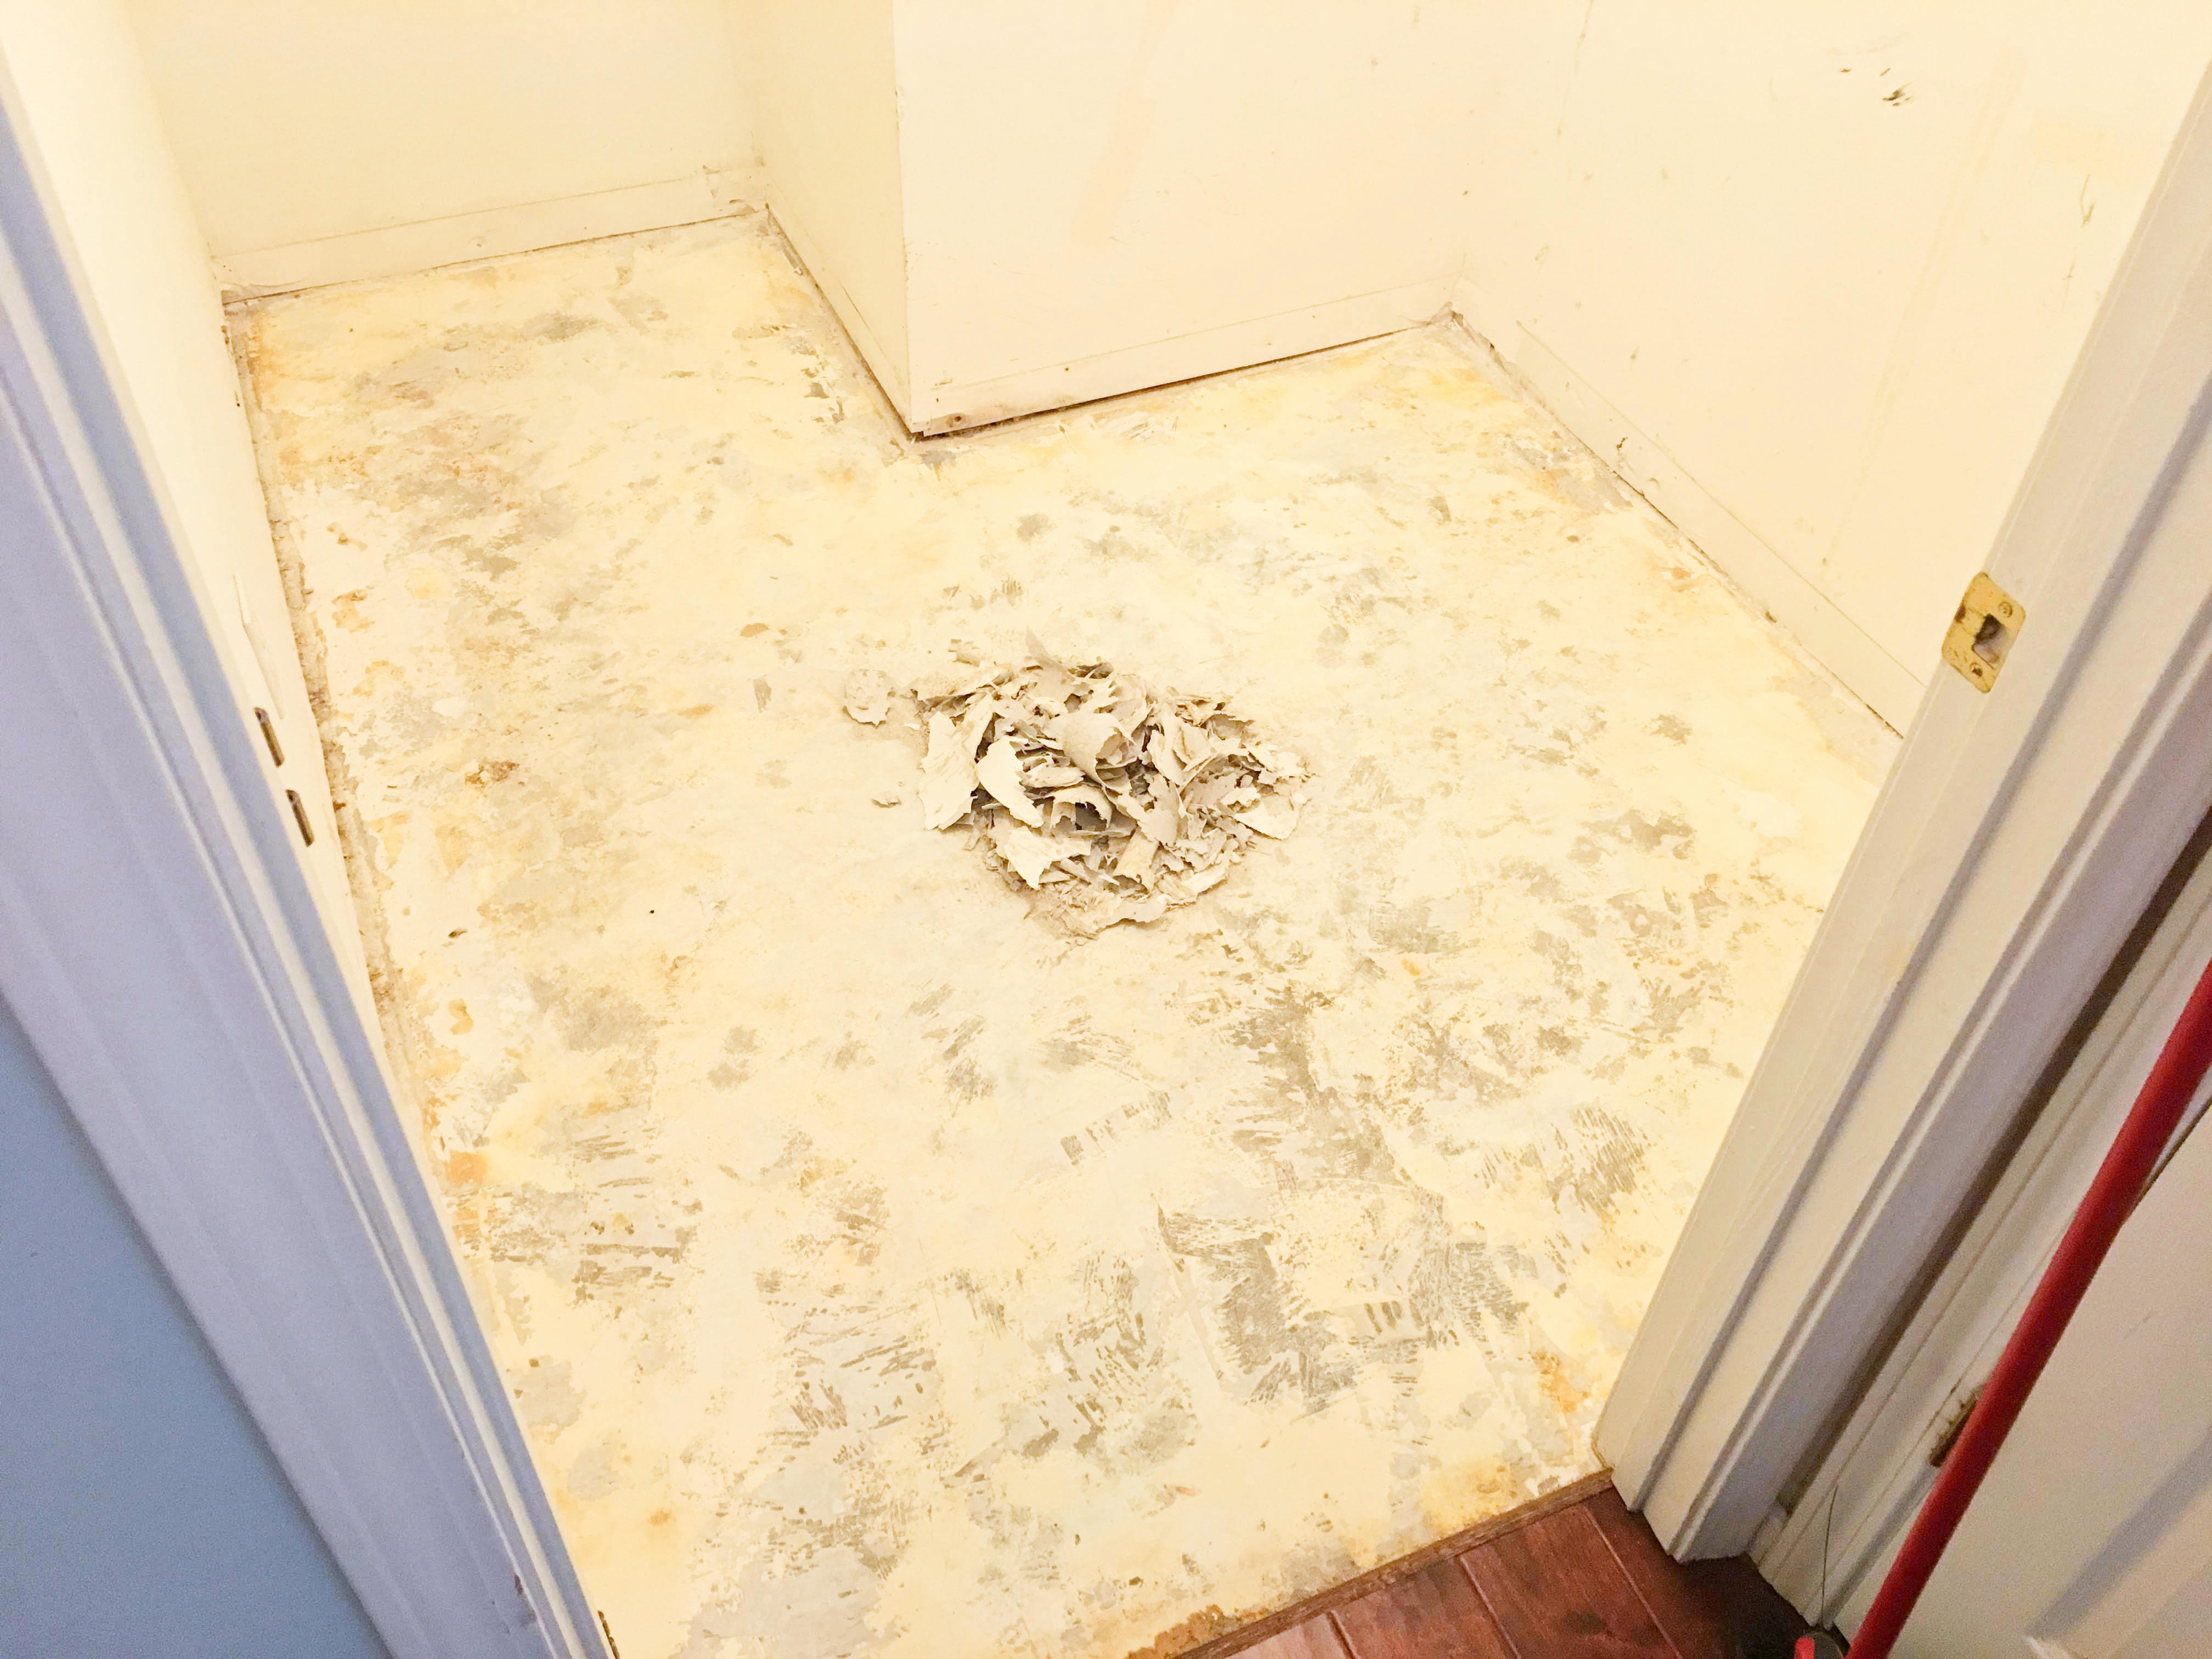
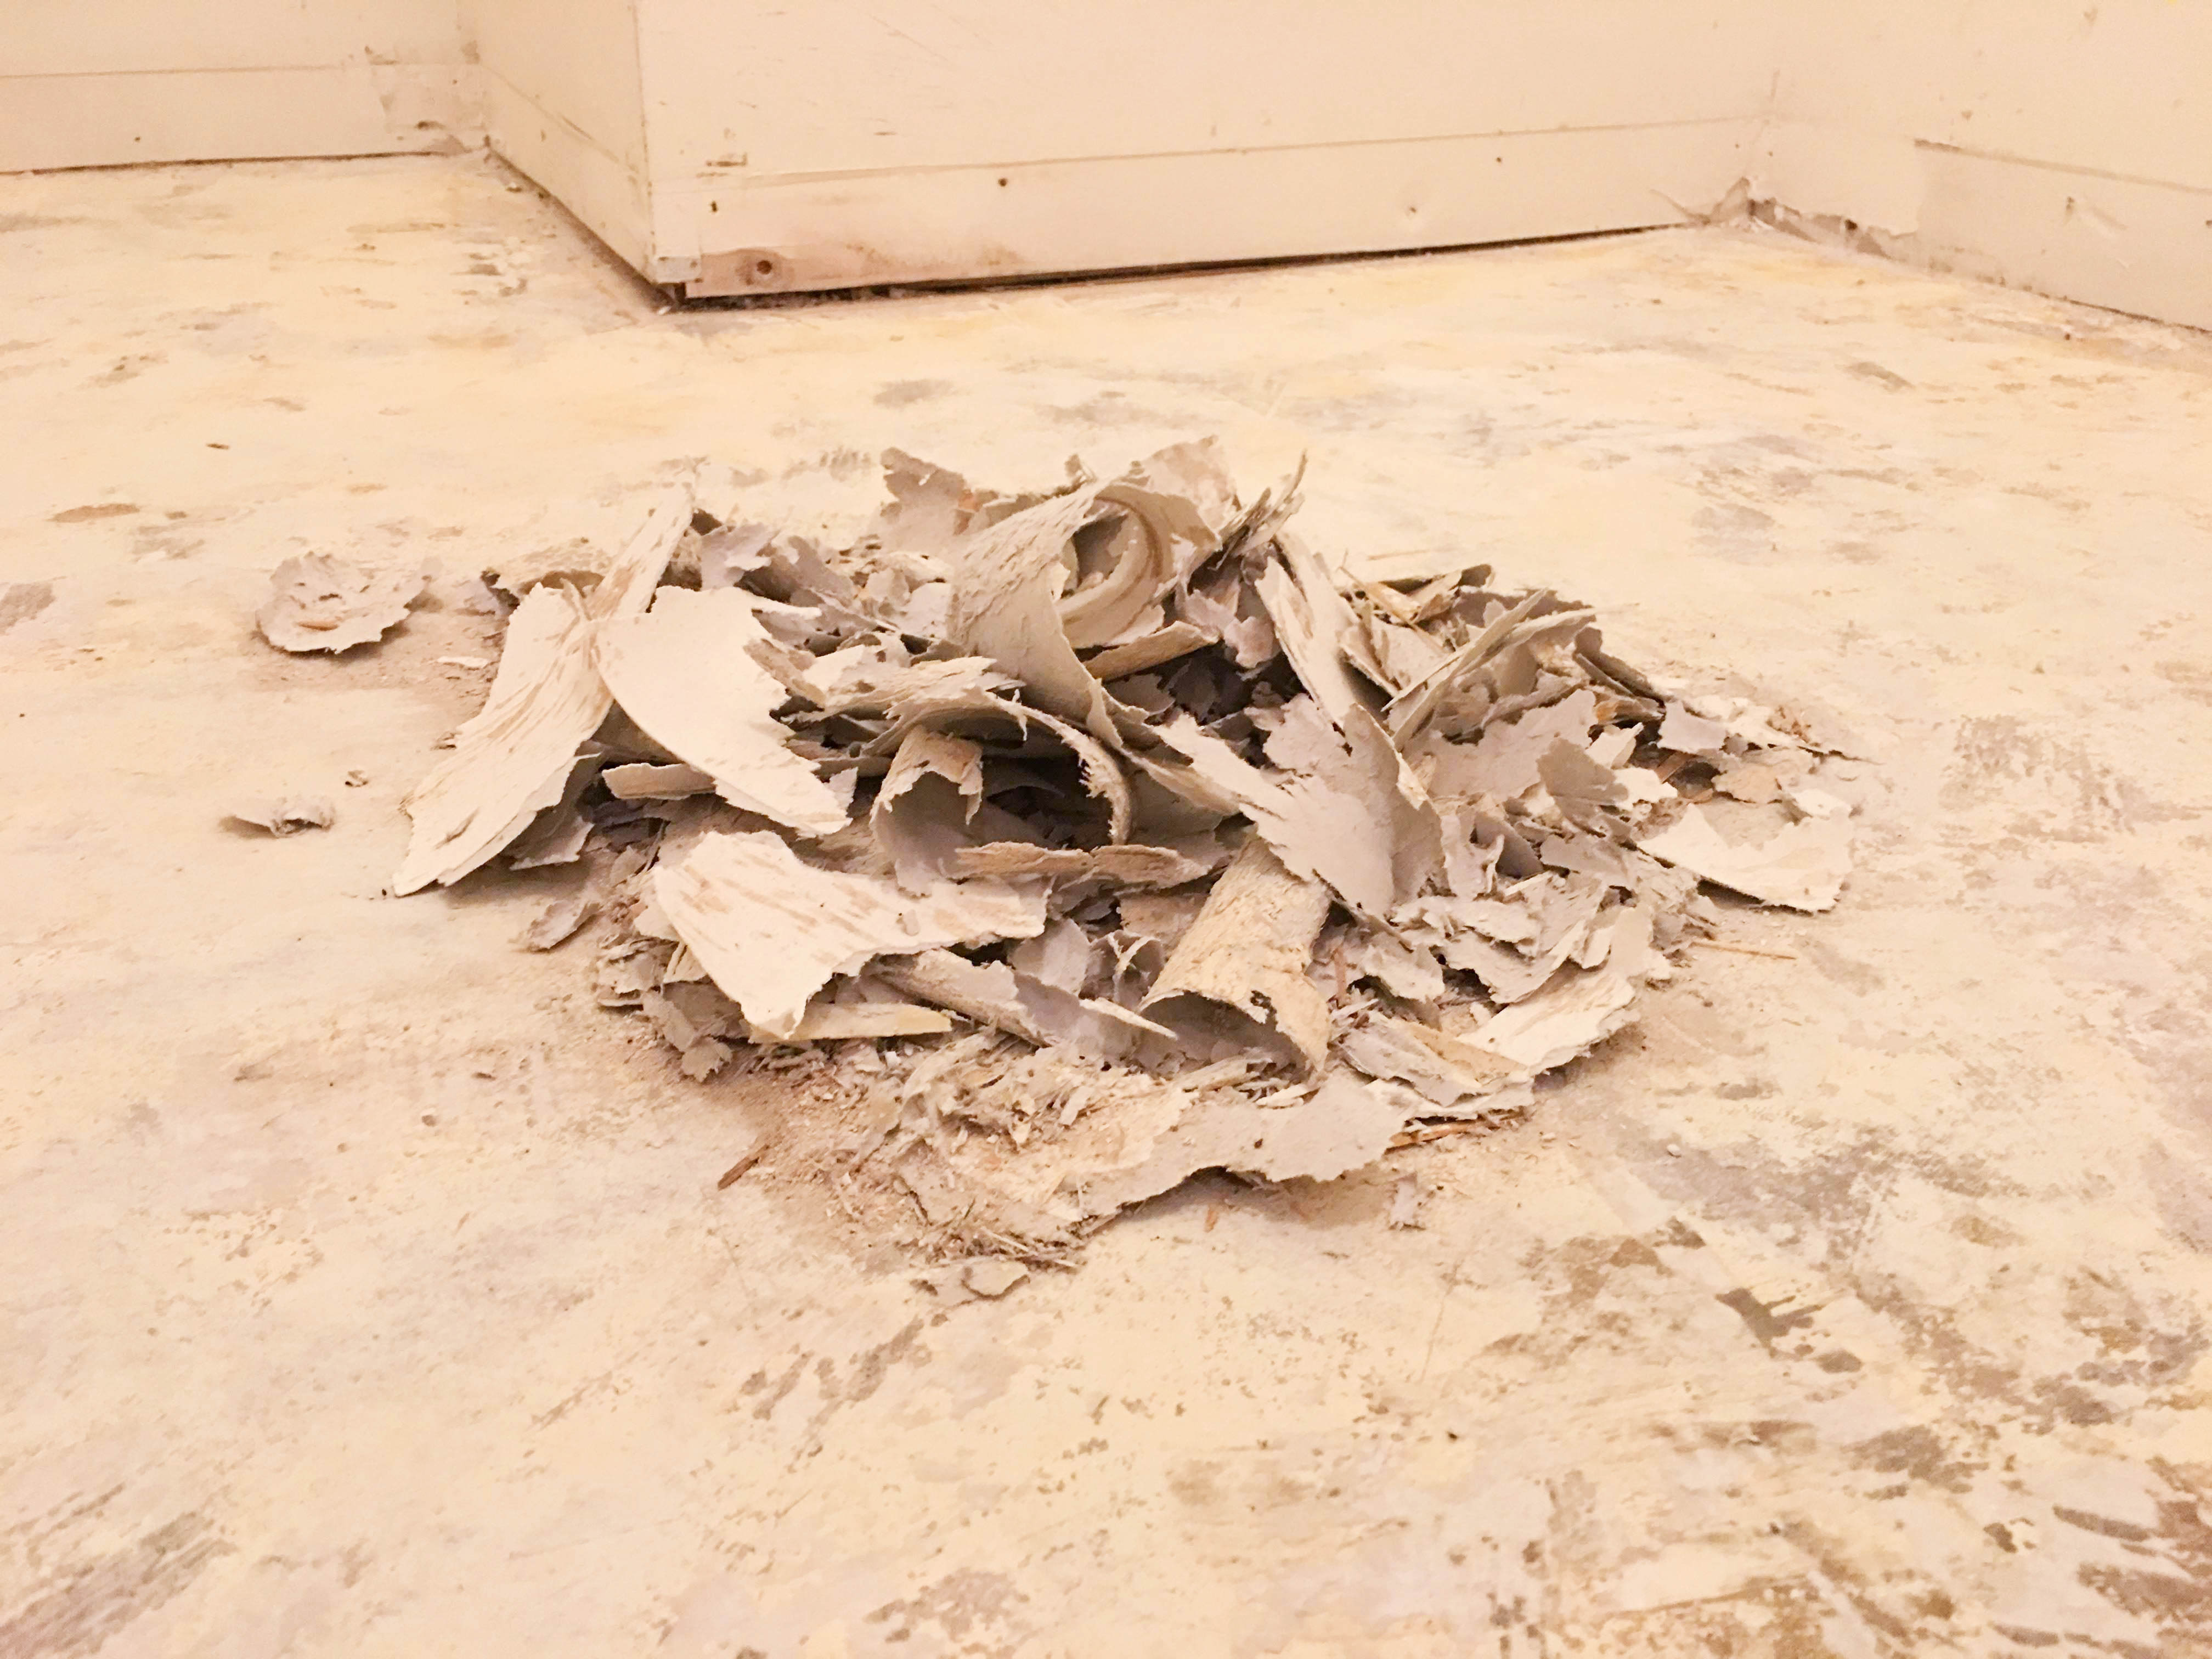
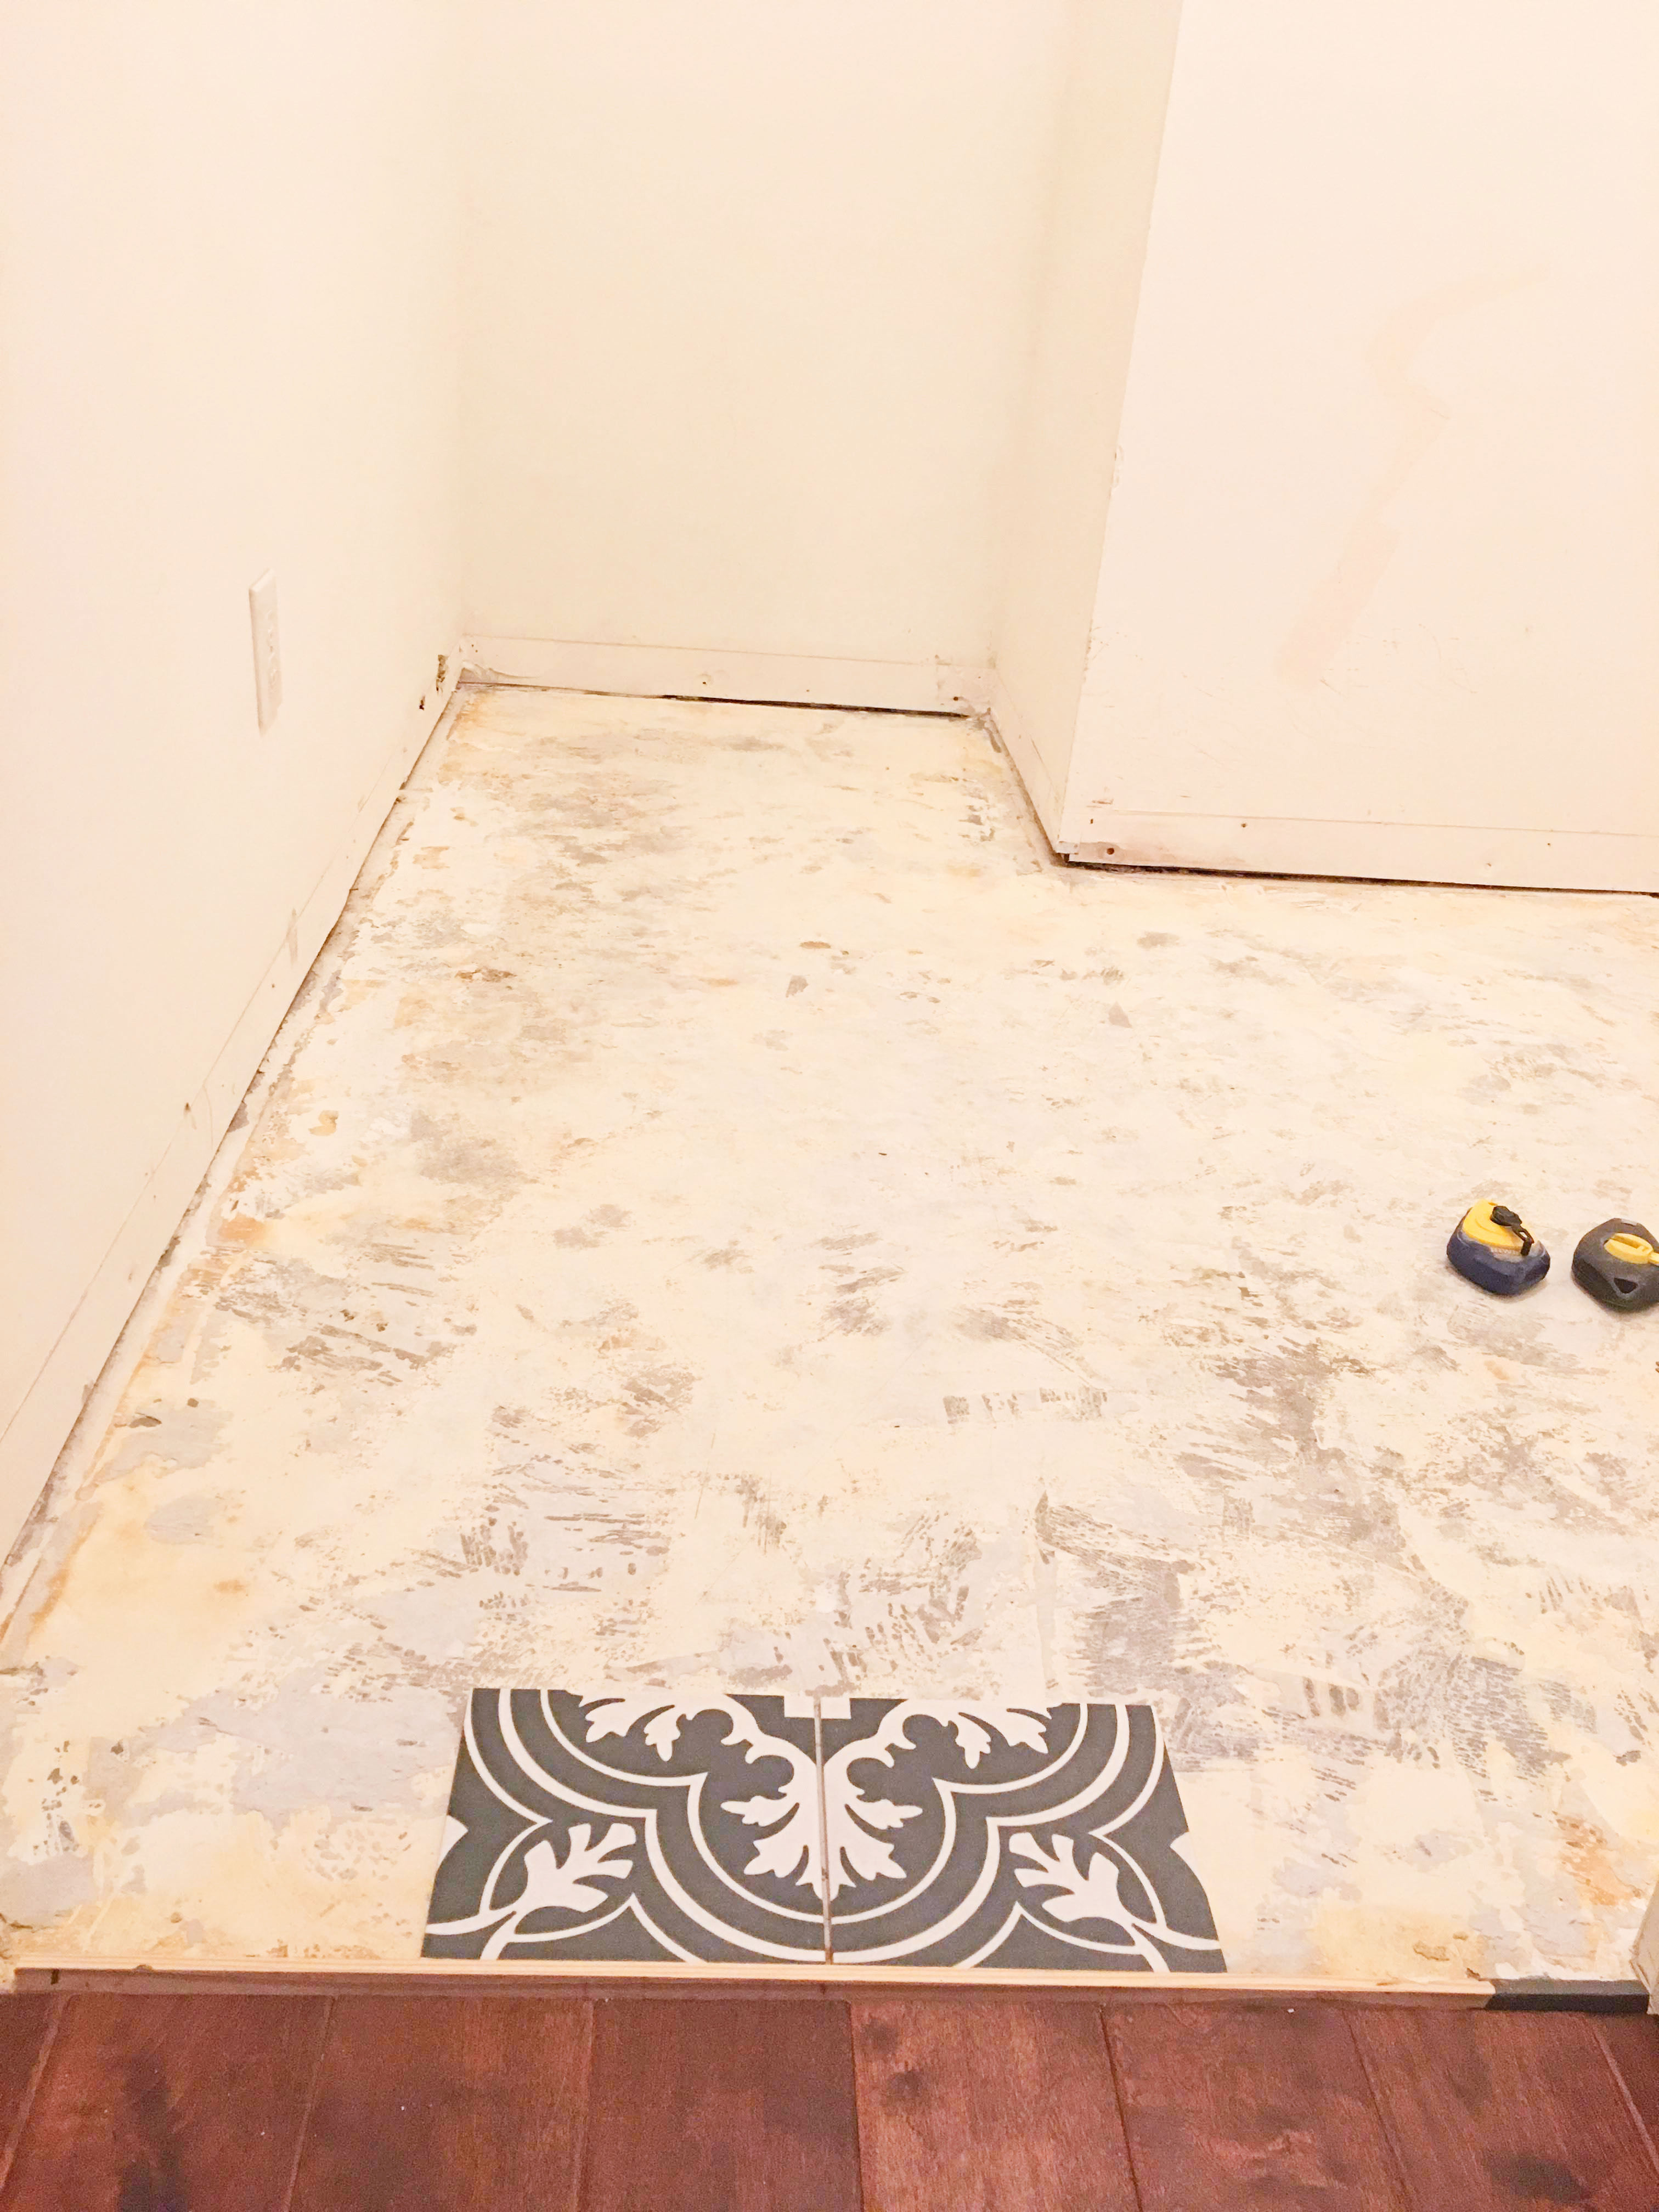
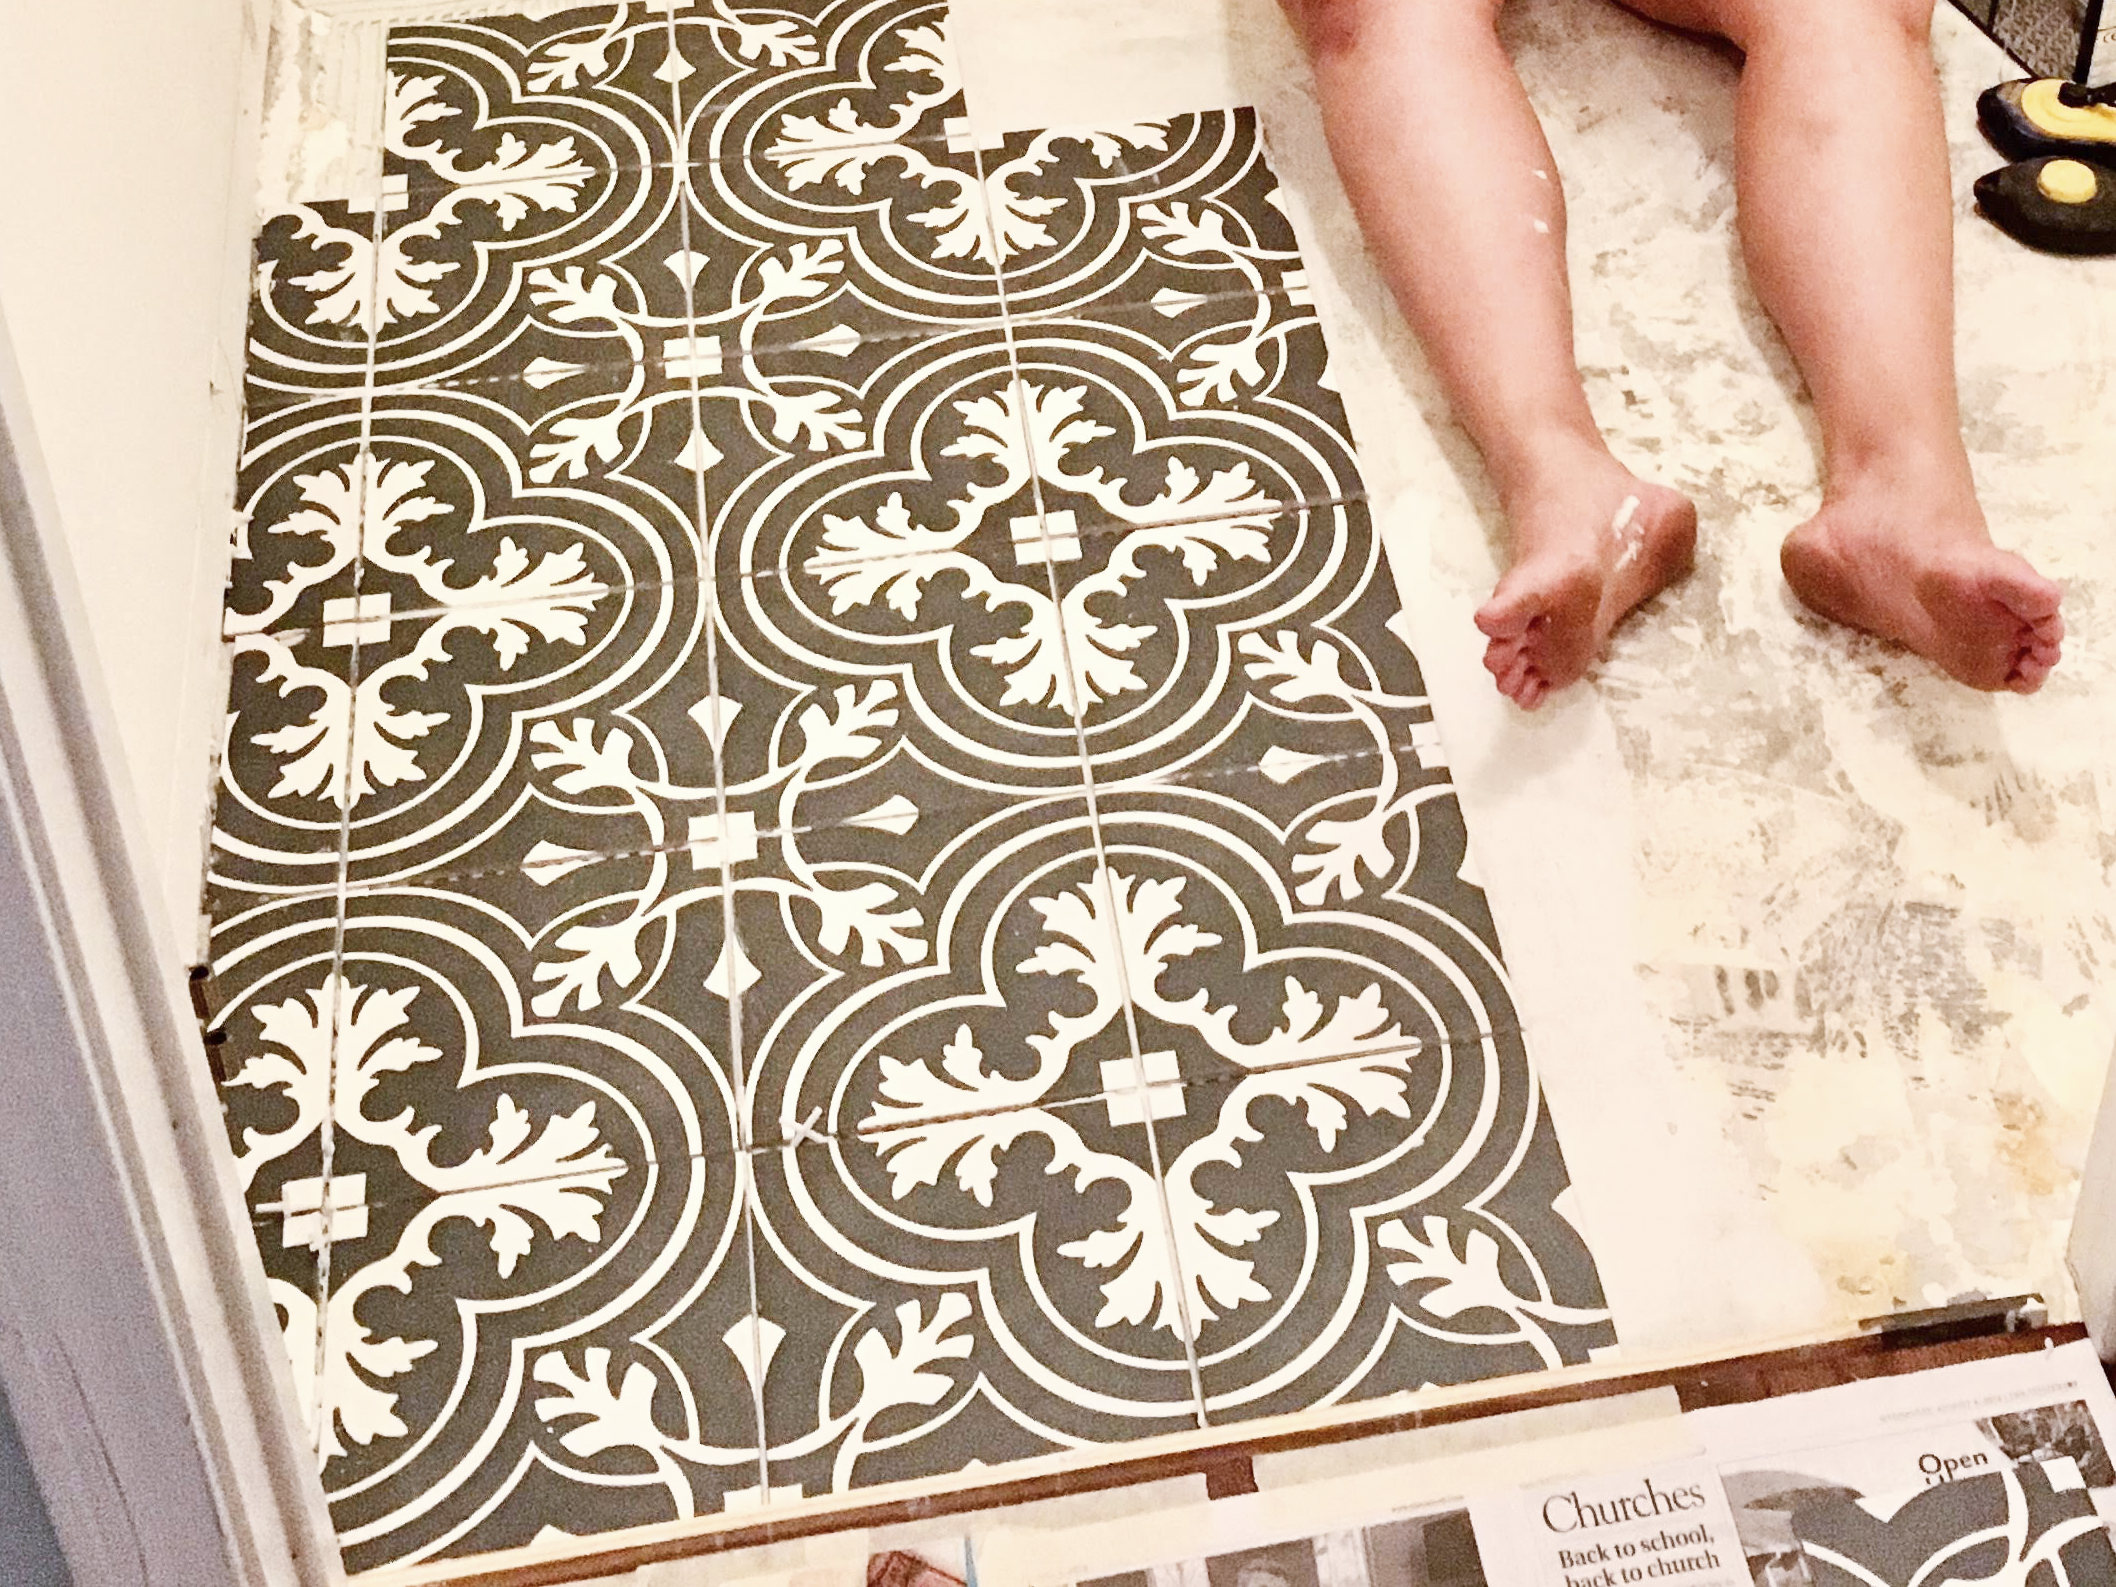
- Remove the existing flooring. Linoleum is usually glued directly onto a concrete slab or glued to a 1/4″ piece of plywood stapled to the wooden 3/4″ subfloor. Slice through the linoleum with your utility blade and begin to pull up fragments of the old material.
- Use a metal scraper and rubber mallet to remove the more challenging pieces of linoleum from the plywood or slab.
Note: assess what type of transition piece you’ll need to “seamlessly” connect different types or sets of flooring from room to room. We used a t-moulding because our engineered hardwood is a similar height to the tile. Use a reducer if the floors are at different heights. If you have a very clean break in the previous flooring, consider butting the tile up against the old floor and simply caulking the small break with a caulk that matches the color.

![]()
Step 3. Hit the hardware store.
Note: demo came first to save you the extra store run. Hopes of reusing baseboard can be shattered when the moulding breaks in multiple areas.
- Aim to borrow the tile cutting tools you don’t currently have, unless you’re planning to tile an entire house or multiple rooms.
- Tile cutter. By far the easiest way to cut tile. Score, snap and you’re done. However this ONLY serves up linear cuts. For outer corner wall cuts that require fragmented cuts within the same piece of tile, you’ll need a wet saw or angle grinder.
- Wet saw. The most expensive option, but more precise than the angle grinder. It can be super messy as the saw remains wet with water during every cut to prevent overheating and dulling. Helpful for fragmented cuts that a tile cutter cannot accomplish.
- Angle grinder with diamond blade. Also used for fragmented cuts when a tile cutter isn’t sufficient. Extremely versatile. Unlike the tile cutter and wet saw, the angle grinder can be fitted with various wheels / discs to cut through stone, brick, mortar, metal, concrete and the list goes on. It’s cheaper than the wet saw, but very loud, and creates some serious sparks. We’ve used a wet saw before, but opted to invest in the angle grinder game for its multiuse benefits.
- Notched trowel. The proper gap between each notch depends on the size of your tile. Check your bag of mortar / thinset for the ideal gap size.
- Tile grout. Choose sanded or non-sanded based on your choice of gap between each tile. Usually, the non-sanded is designed for gaps < 1/8″, and sanded grout is designed for gaps > 1/8″. Check the bag of grout and choose your spacers accordingly.
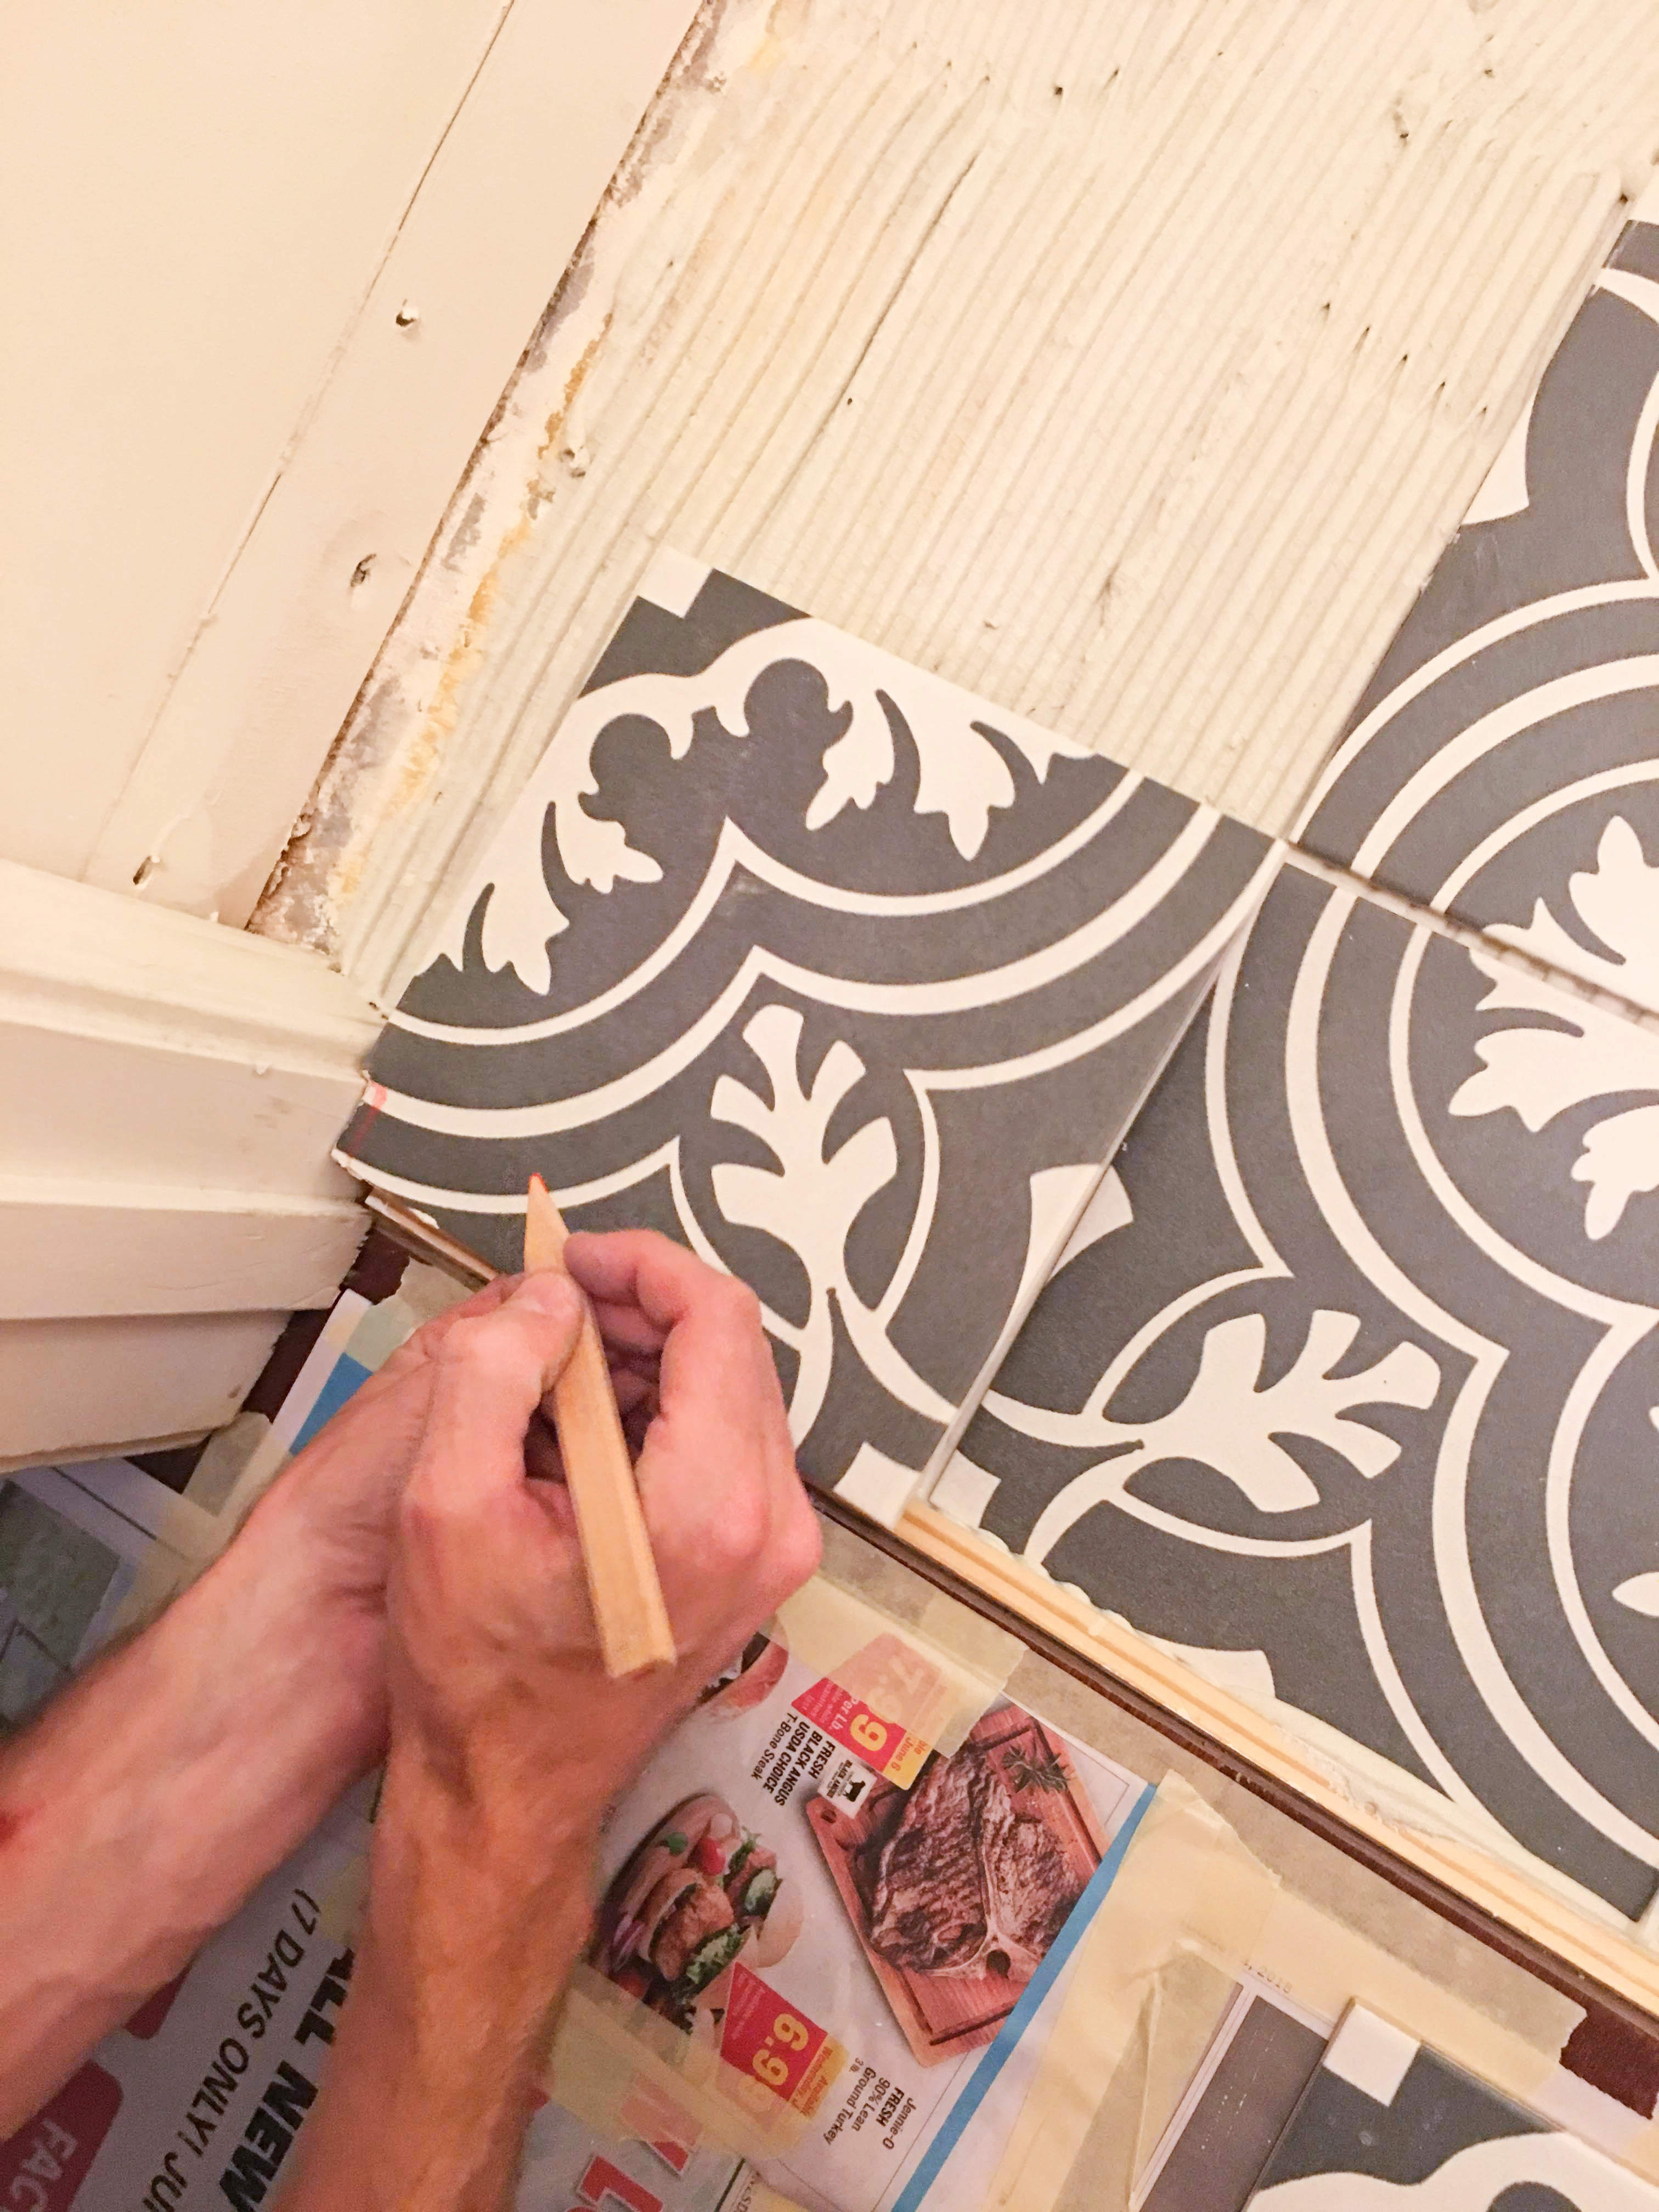
Step 4. Saw your door jambs.
- Break out your jamb saw or thin hand saw. You’ll need to remove enough of the bottom part of each door jamb (trim or casing) to allow tile + mortar to fit underneath. If you’re installing tile on subfloor, then you’ll need to fit tile + mortar + cement board underneath the jambs.
- Dry-fit a piece of tile (plus cement board if you’re on subfloor) up against the jamb, add up to 1/4″ for mortar depending on the size of your trowel notches, and mark a line in pencil.
- Saw the door jambs! Make sure not to venture beyond where the floor will actually lie.
- Vacuum up the sawdust and the rest of the entire floor to enable the cement boards or tile to lay flat.
Step 5. Cement boards on subfloor.
Note: on a concrete slab? Skip Step 4.
- Are you on a wooden subfloor? If you’re upstairs, or on the main floor over a basement, then the answer is “yes”. Or if you house has a crawl space underneath it. You need a moisture barrier under your tile, and a better means for your tile to adhere to the floor.
- Snag some cement boards based on your square footage with an added 10-20% to account for waste.
- Screw down the cement board with cement board screws, cutting pieces to fit using your cement & backerboard scoring knife.
- Apply the cement board tape to every joint until the gaps between cement boards are covered.
Step 6. Decide on your layout.
- Will your tile be square? If so, where will it start? In the center of the room? At the threshold? The only downside to starting somewhere other than the center is tile that will end up slightly angled once it reaches the other walls. No room is perfectly square. No wall is perfectly straight. Many people opt to start at the threshold (doorway) and start with one full piece of tile (if you’re using larger tiles) that you would step on when you enter the room.
- Instead of square, what about a diamond pattern? Or brick-style, alternating pattern? Or herringbone? The options are innumerable.
- To find the center of the room. Bust out your chalk reel. Using your measuring tape, identify the center of the room. Measure and make a mark at the center of each wall. With a friend, extend the chalk reel from one wall-center to the opposing wall-center. Pull the chalk line very tightly, pinch it with your fingers and allow it to snap downwards onto the floor. This should reveal a straight line of chalk across the slab or cement boards. Repeat with the other set of opposing walls so that you have two perpendicular lines which come to a point in the middle.
- Dry-fit your tile to assess ideal placement. For centered square placement, lay 1 tile in each of the four quadrants lined up with the center “plus” sign.
Step 7. Mix your mortar.
- Bring the 5 gallon bucket outside, along with your corded drill, mixing paddle (bit), bag of mortar and hose access.
- Slightly wet the bottom of the bucket to ensure mortar doesn’t begin to stick to the bottom.
- Pour 1/4 bag of mortar powder into the bucket. Cover with a small amount of water. Mix with your mixing paddle (bit) until a peanut butter consistency is reached. If it’s too thick and dry, add a little more water and continue mixing. If it’s too wet, add more mortar.
- Mix your mortar for 5 minutes. Allow it to rest and polymerize for a few minutes. Then remix for another minute or two.
Note: if you mix too much mortar at one time, it’ll end up starting to dry out or solidify inside your bucket instead of underneath your tile. Start with a conservative batch and notice how the mortar behaves as you lay the tile.
Step 8. Begin installing your tile.
Caution: do not step on tiles until dry – 24 hours. Before you start installing, think about the path you will take and how you will “tile your way out” of the room. Here is what we did.
- Gather your fresh bucket of mixed mortar, notched trowel, margin trowel, rubber mallet, level and your box of beautiful new tiles.
- Begin scooping mortar out of the bucket with your margin trowel onto the floor.
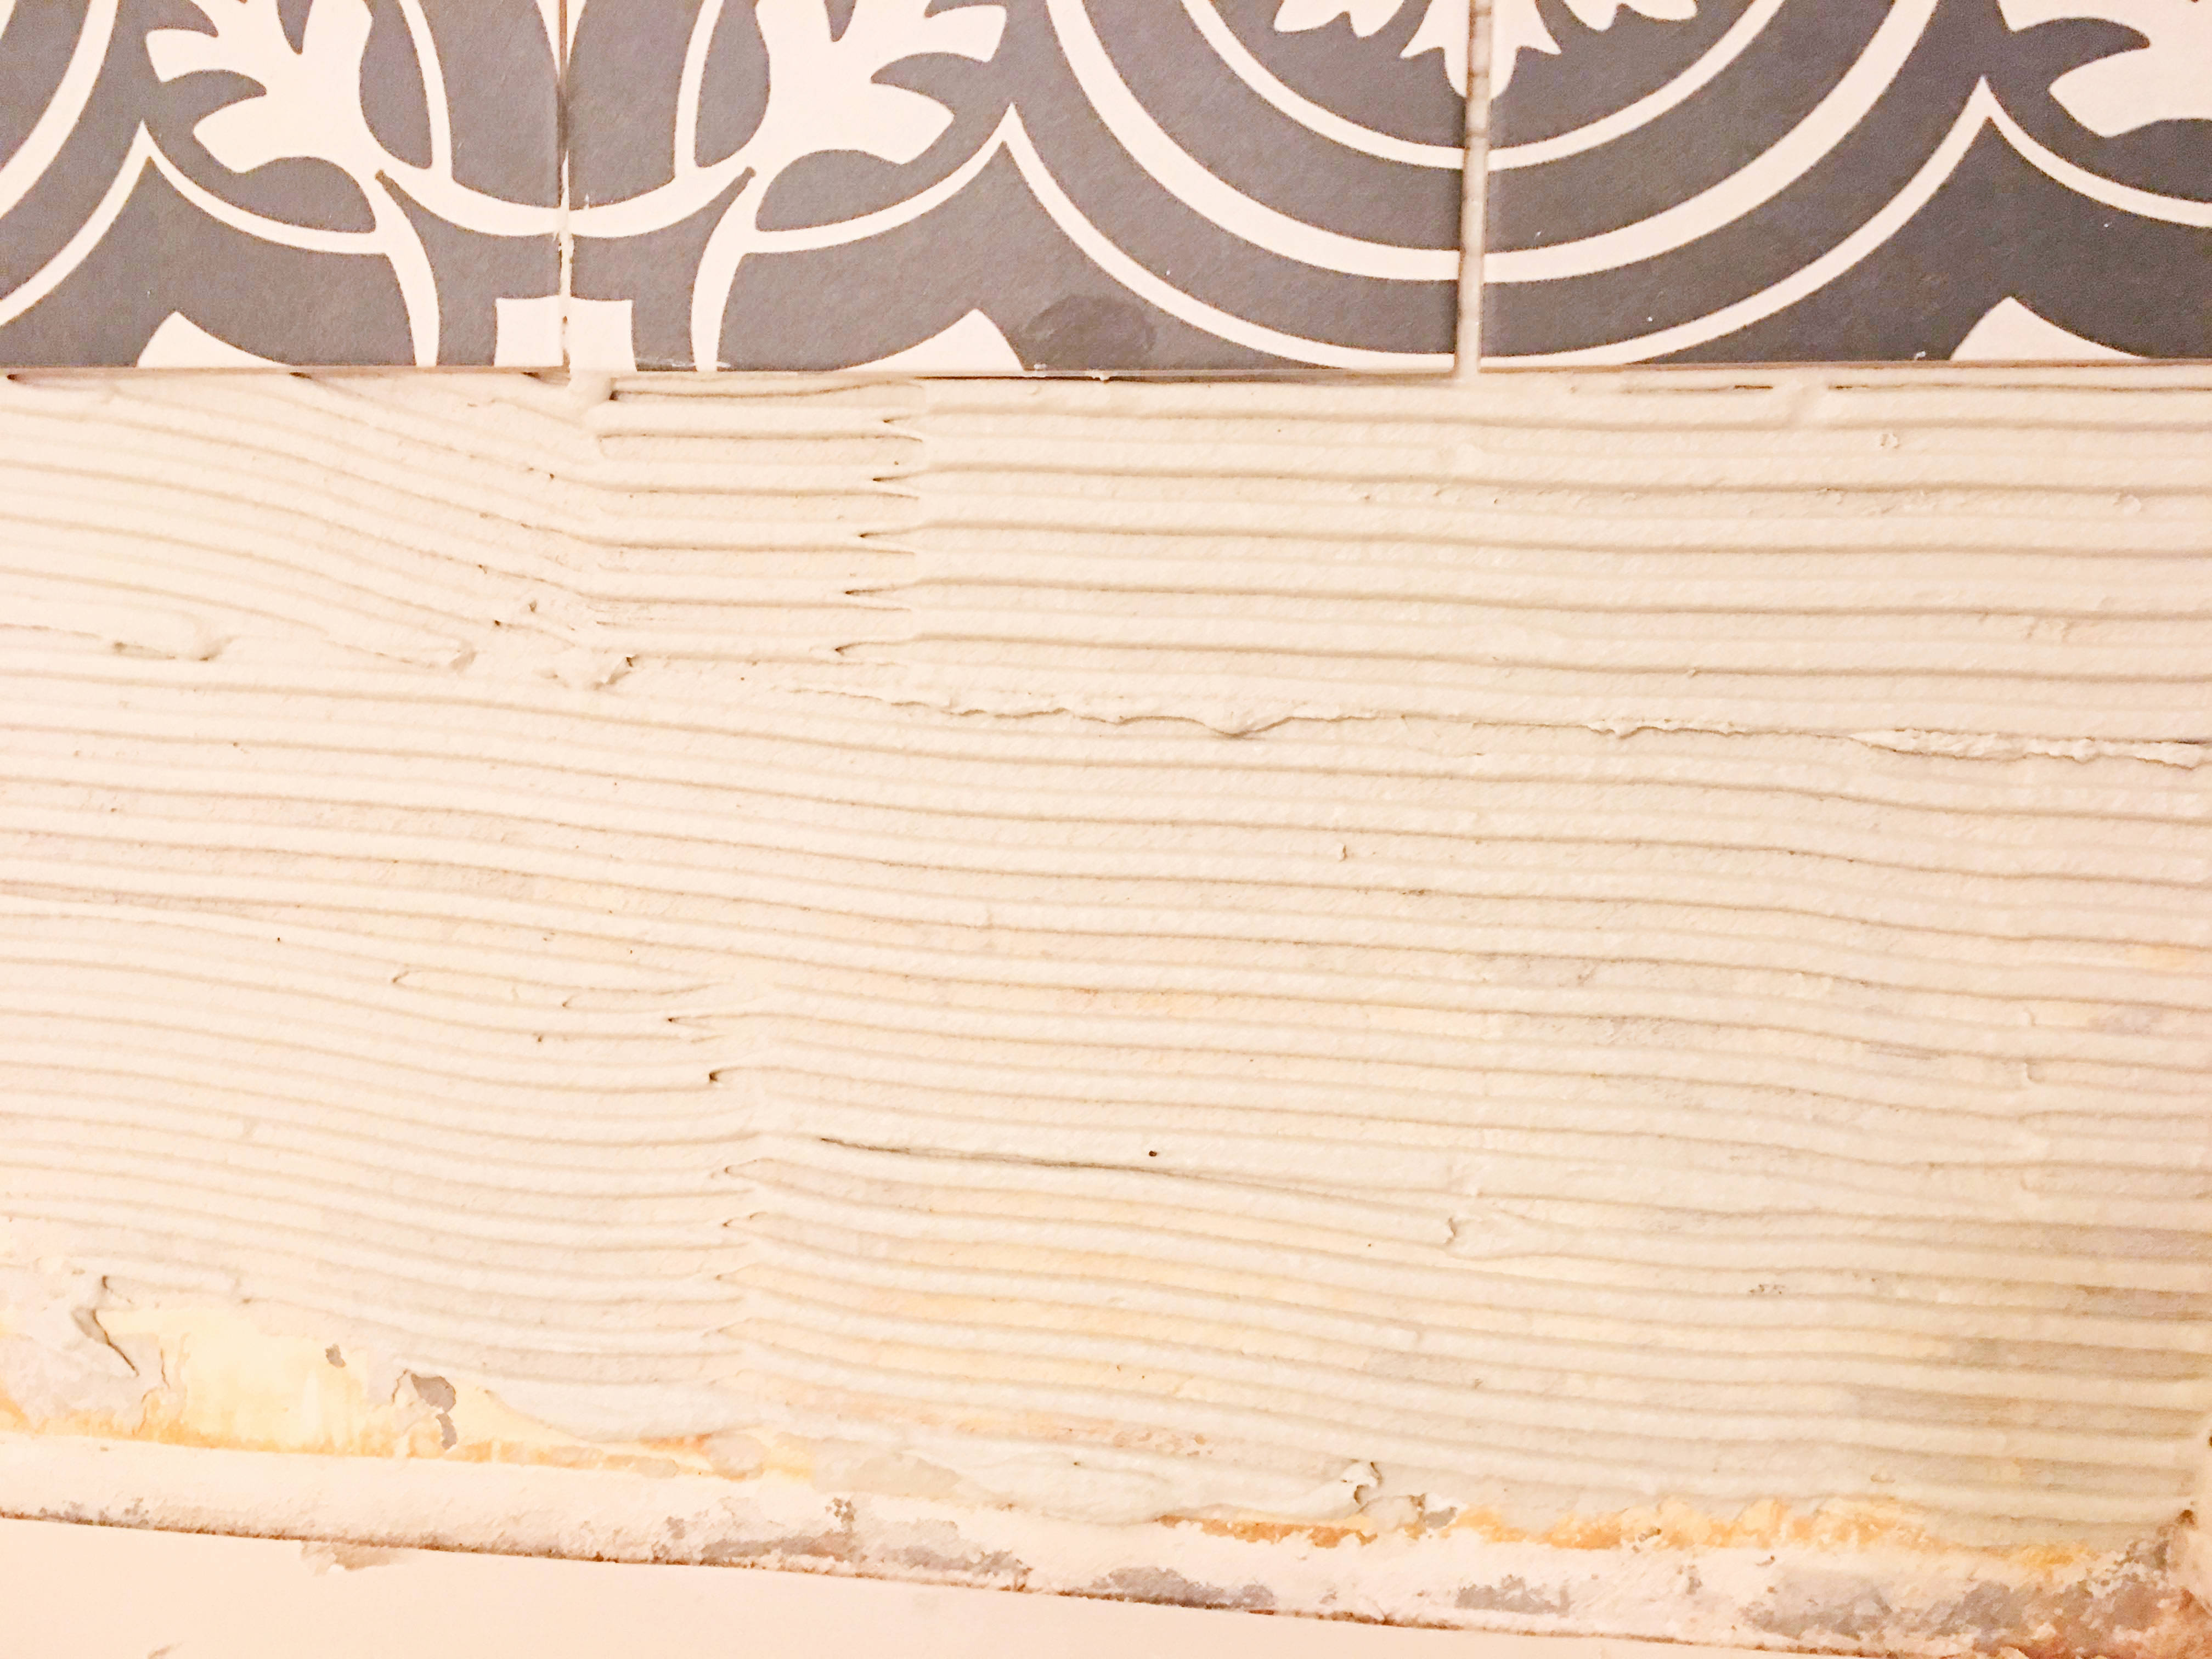
- Use your notched trowel on the long side at a 45º angle to spread the mortar on the floor where the tile will be. Spread just enough to sufficiently receive your first couple tiles. You want to spread the mortar just a little beyond where your tile will be so that the tile is laid completely on the troweled mortar.
- The lines do NOT need to be straight. Swipe / comb the mortar in any direction, including turns and curves. Add more mortar and re-trowel areas that have noticeable line breaks. These breaks will become vulnerable points in your tile – with excessive pressure, the tile could crack in these spots. Simply re-spread the mortar, or manually fill in the gaps with the margin trowel.
- Use your mallet and level to assess the smoothness from one tile to the next. If a tile is a little high in one area, softly tap the high area down with a mallet until flush. Don’t push it by hand! Note: avoid the mallet if your tiles are level. The key is in the trowel angle consistency.
- Place your spacers in between each tile. If you’re in the center of the room, carefully press each opposing tile against the other to ensure tight seams. Recheck your tile alignment to make sure they’re square with your chalk lines.
- Plan your escape route. Do NOT tile yourself into a corner. Our laundry room only has one door, so we installed tiles in a clockwise fashion. We finished installing our last few tiles while kneeling on the wood floor just outside the laundry room.
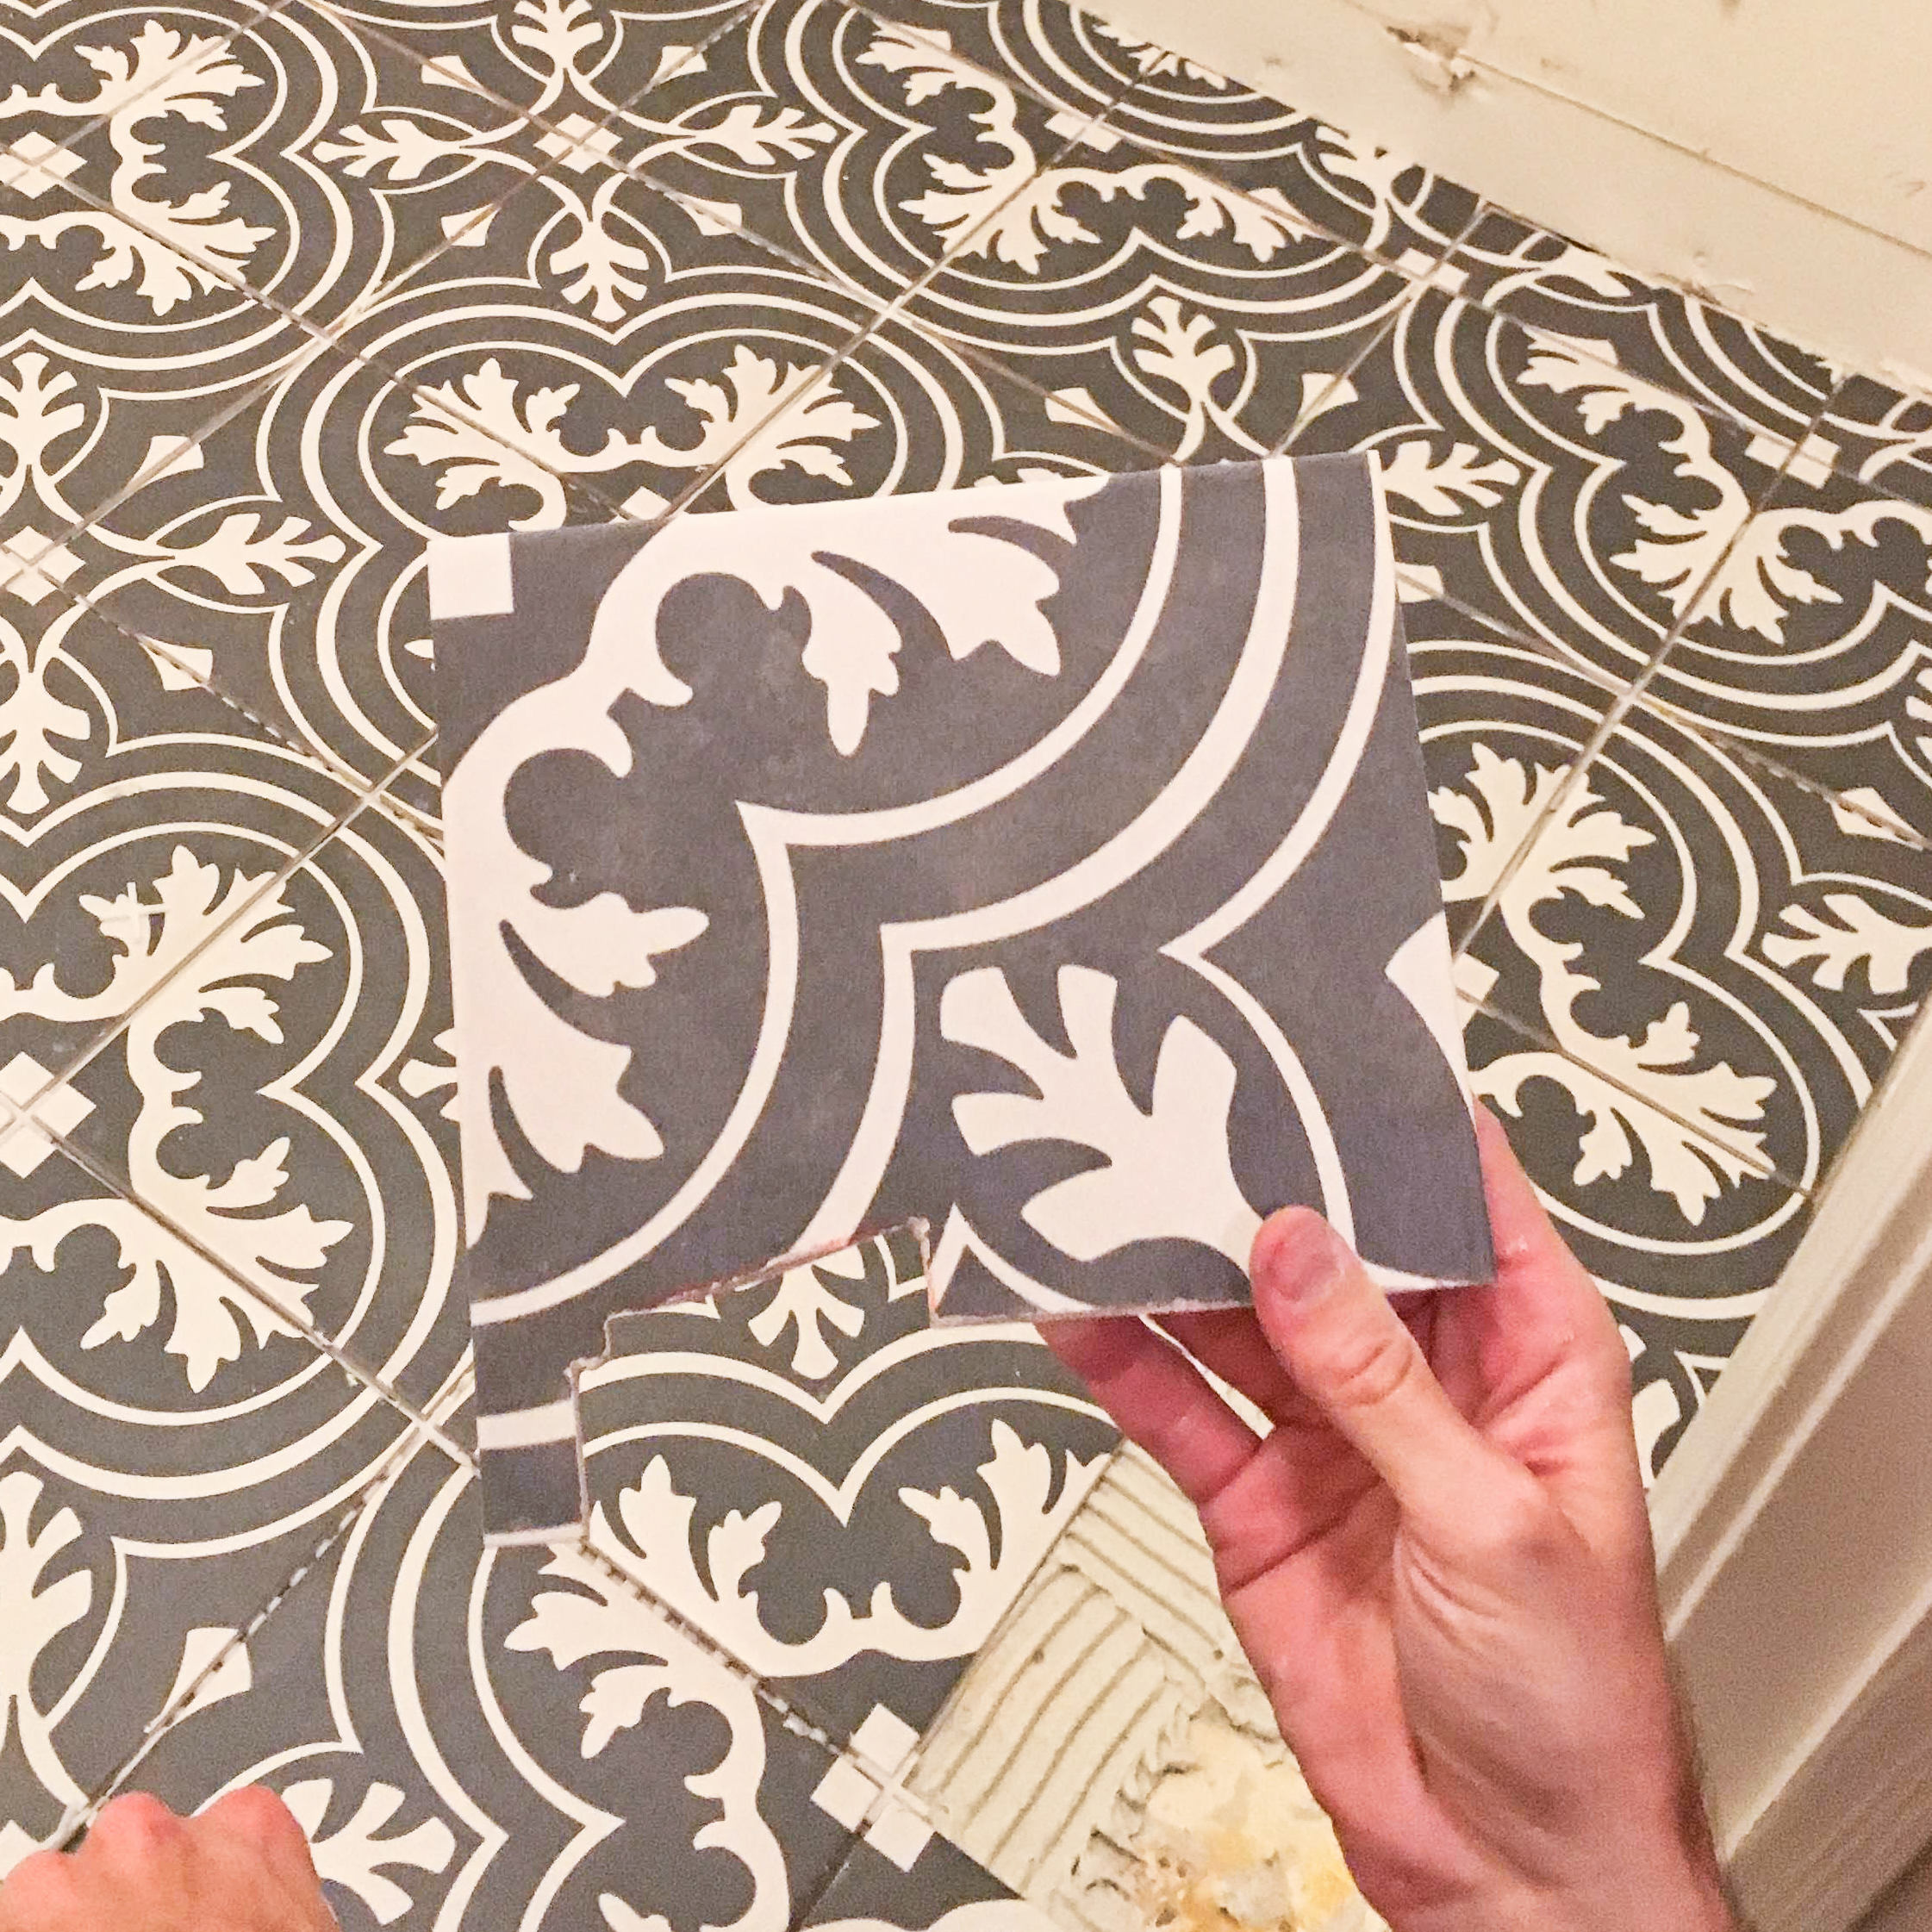
- Fire up your wet saw or angle grinder with diamond blade for all of those corner or door jam cuts.
- For tight spots (for example, fitting a tile in a corner piece), you can back butter the tile. Spread mortar directly on the back of the tile and then use your notched trowel to make notched lines across the mortar on the back of the tile at a 45º angle.
Note for taking a break: if you take a breather, be sure to remove ALL excess mortar surrounding every single tile. This is a good practice, even if you’re going nonstop, to ensure that the mortar doesn’t begin to dry in areas that won’t be tiled within the next 15 minutes.
Pro-tip: leave room for your t-moulding or reducer moulding at the threshold by placing a half inch thick board, crosscut to fit, between the existing flooring and the new tile. Remove it after the grout dries and install your transition piece.
Step 9. Clean up & let dry 24 hours.
- Be sure to scrape ALL excess mortar out of your bucket or else your bucket will die. Or live a very short life. Lots of water and scraping with your margin trowel, over and over again.
- Allow the tile mortar to dry for 24 hours before putting any weight on it. A well-deserved breather.
- If you opted to use new baseboard and don’t have it yet, snag it now. Or tomorrow after you grout.
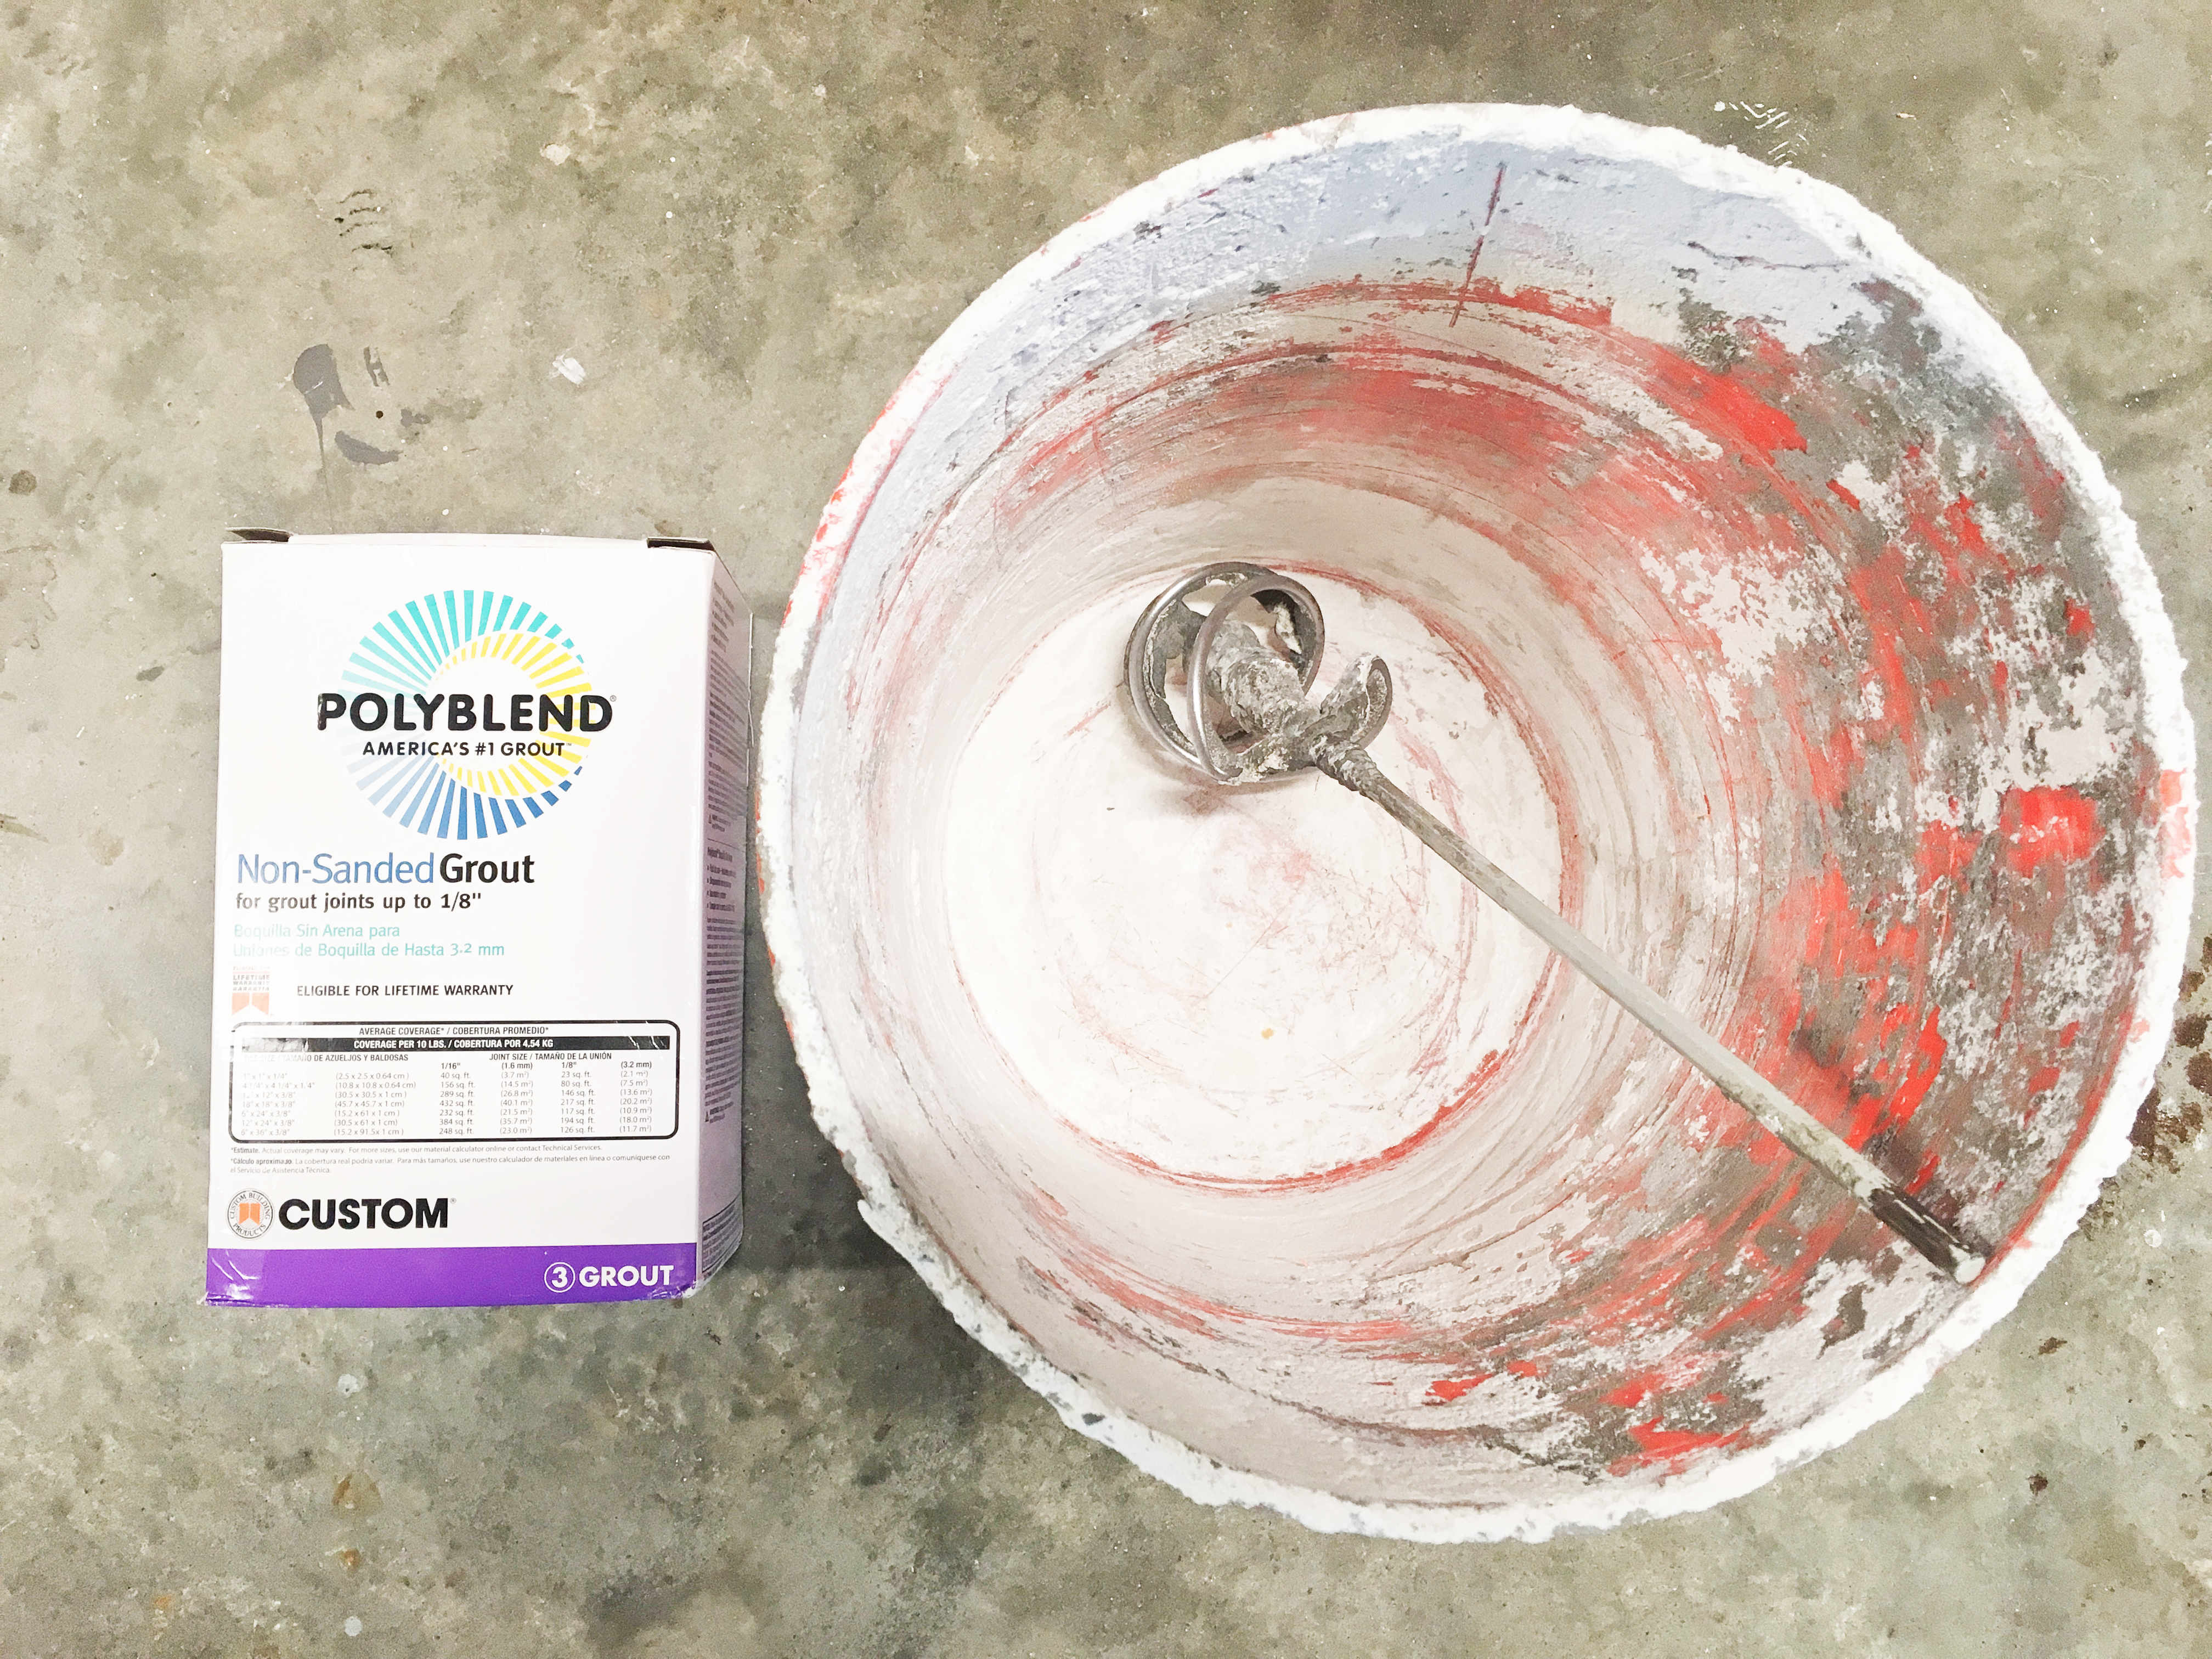
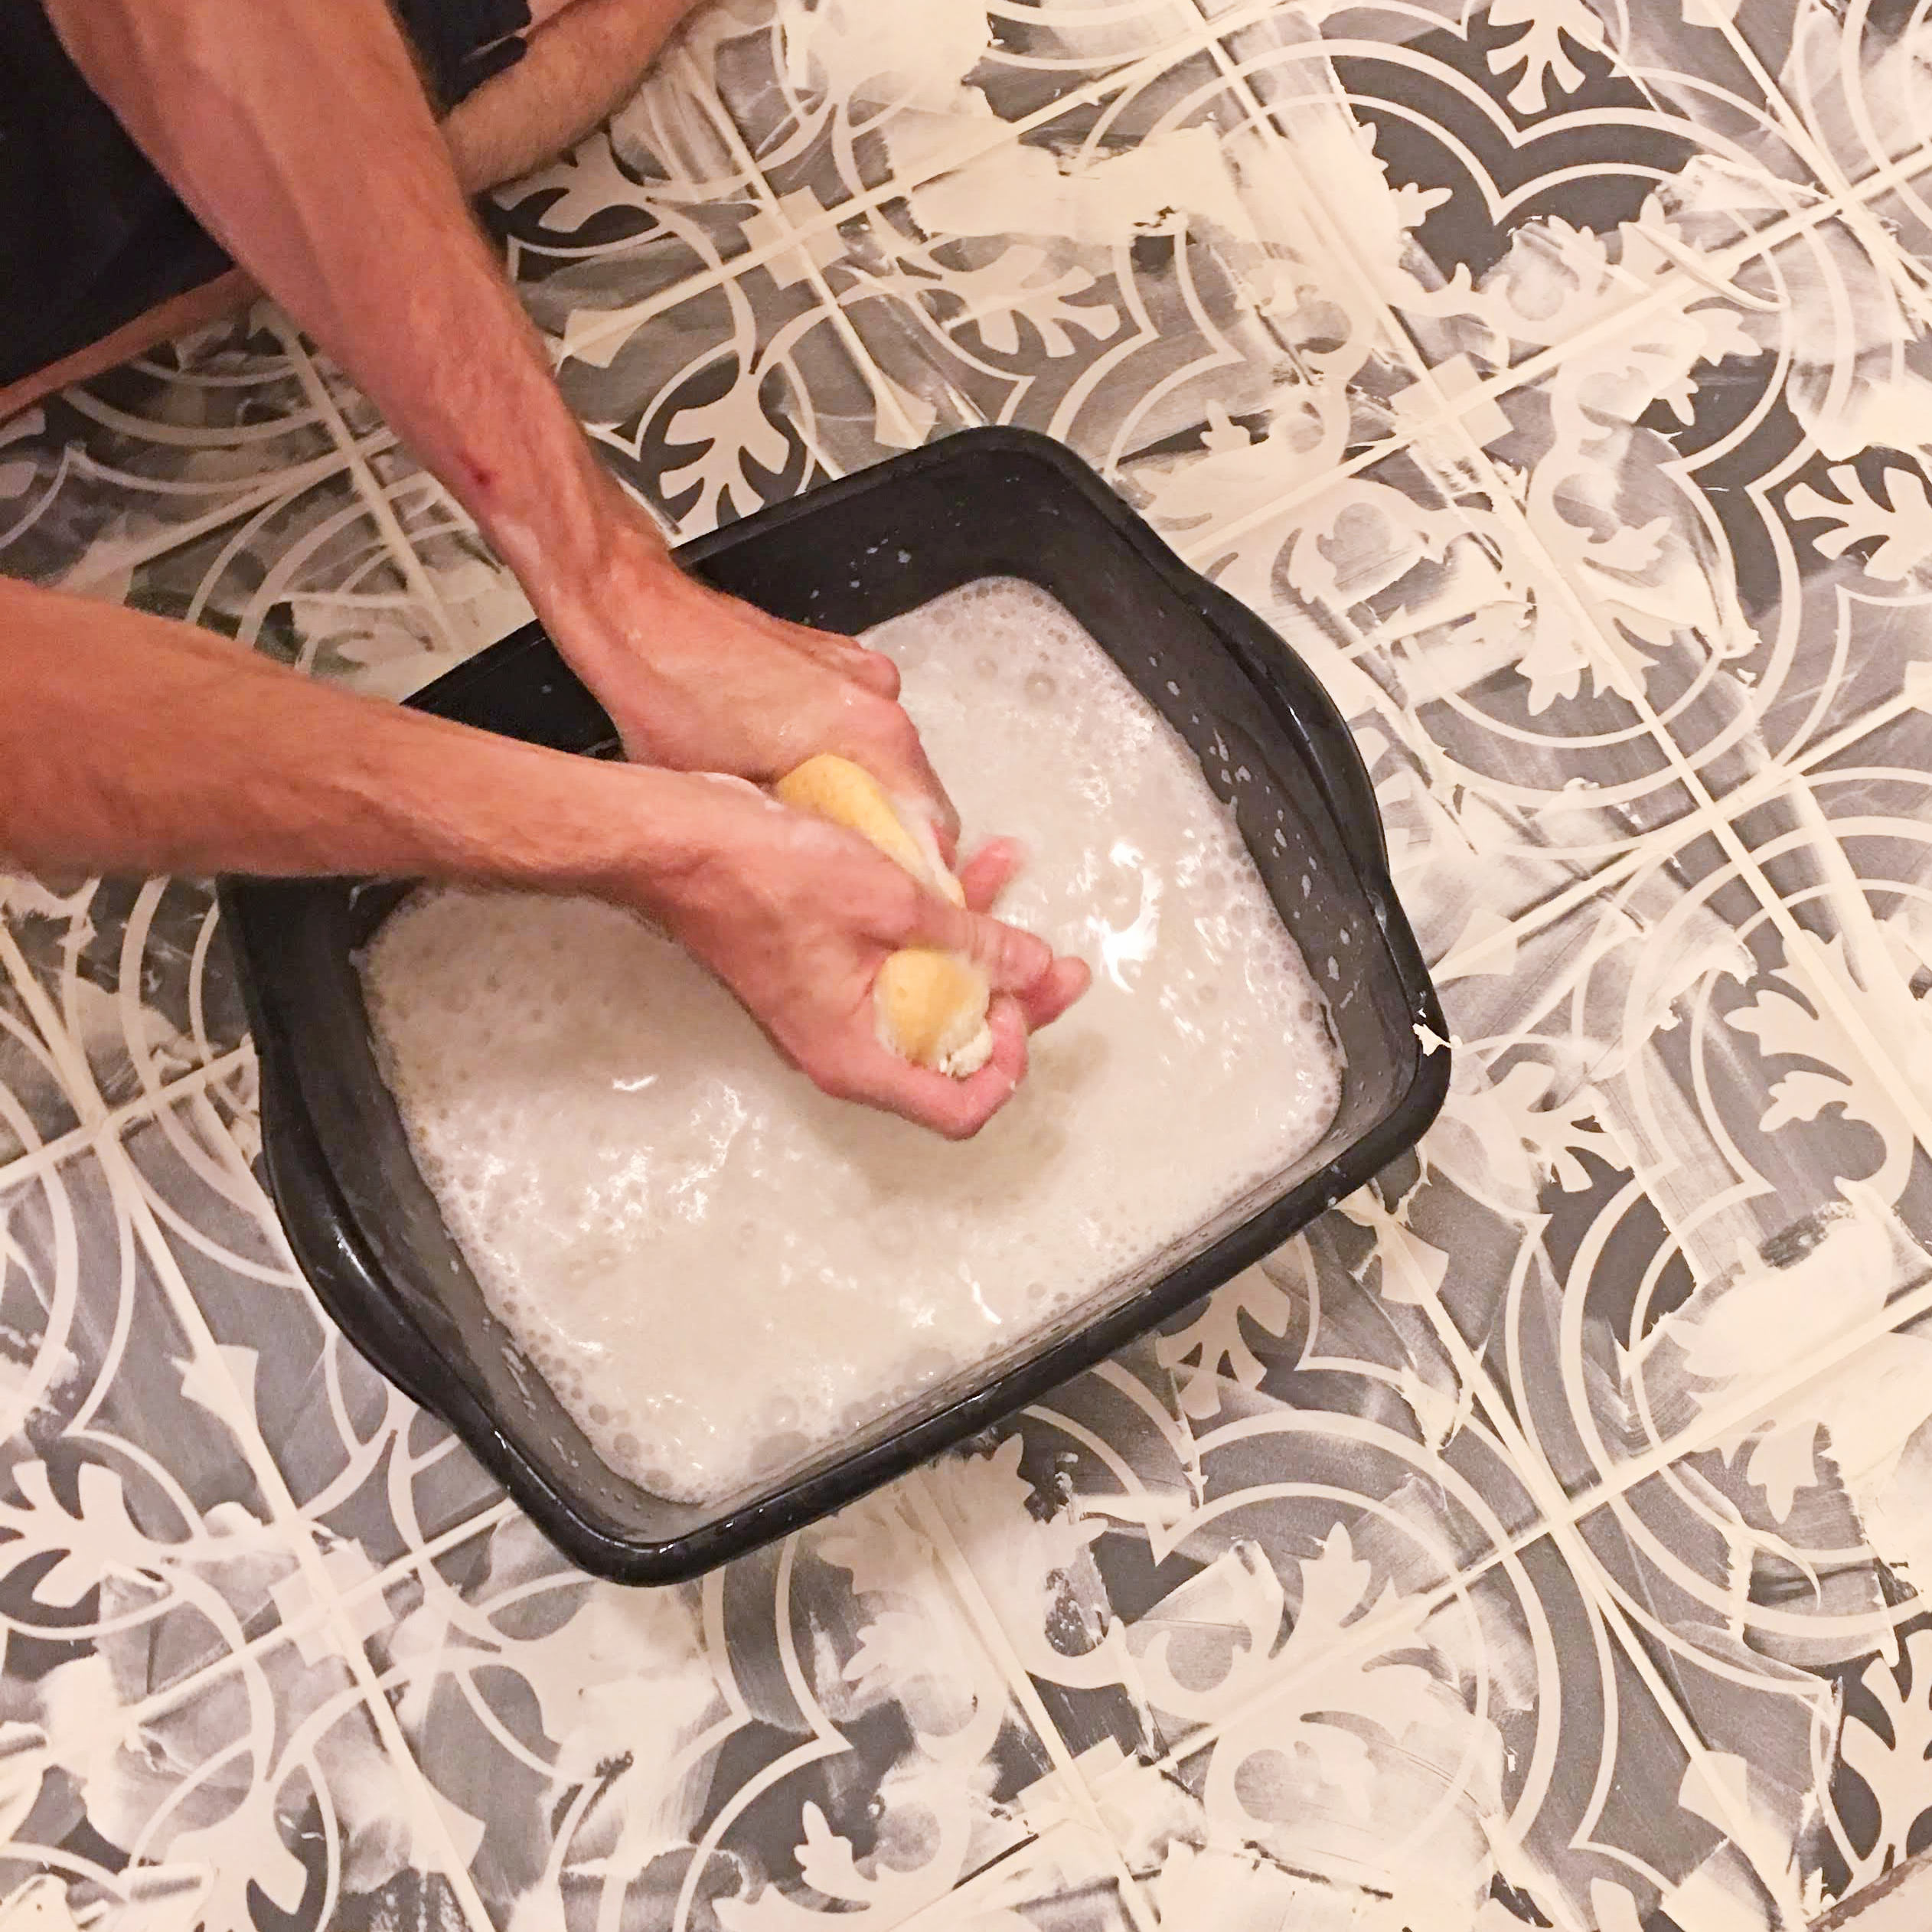
Step 10. Mix your grout.
- Masterfully wielding your corded drill and mixing paddle (bit), mix a little water with grout powder in your 5 gallon bucket. Aim for a peanut butter consistency. Don’t blend more than a half bag at a time.
- Follow the manufacturer instructions on the bag. Mix for 5 minutes, let it rest for a few minutes, then remix for another minute or two to ensure the compounds are activated.
Step 11. Apply grout.
Note: no need to add grout to the outer edges of the tile against the walls. These gaps will be hidden by the baseboard moulding.
- Apply mixed grout with your grout float. Press the grout into the seams in between tiles. Use opposing angles to ensure the grout fully permeates the gaps. It’ll make an outrageous mess. Don’t worry – that’s normal.
- As you move onto the next gaps, scrape some of the excess grout with your float close to 90º (vertical). Reapply the scraped grout to another gap.
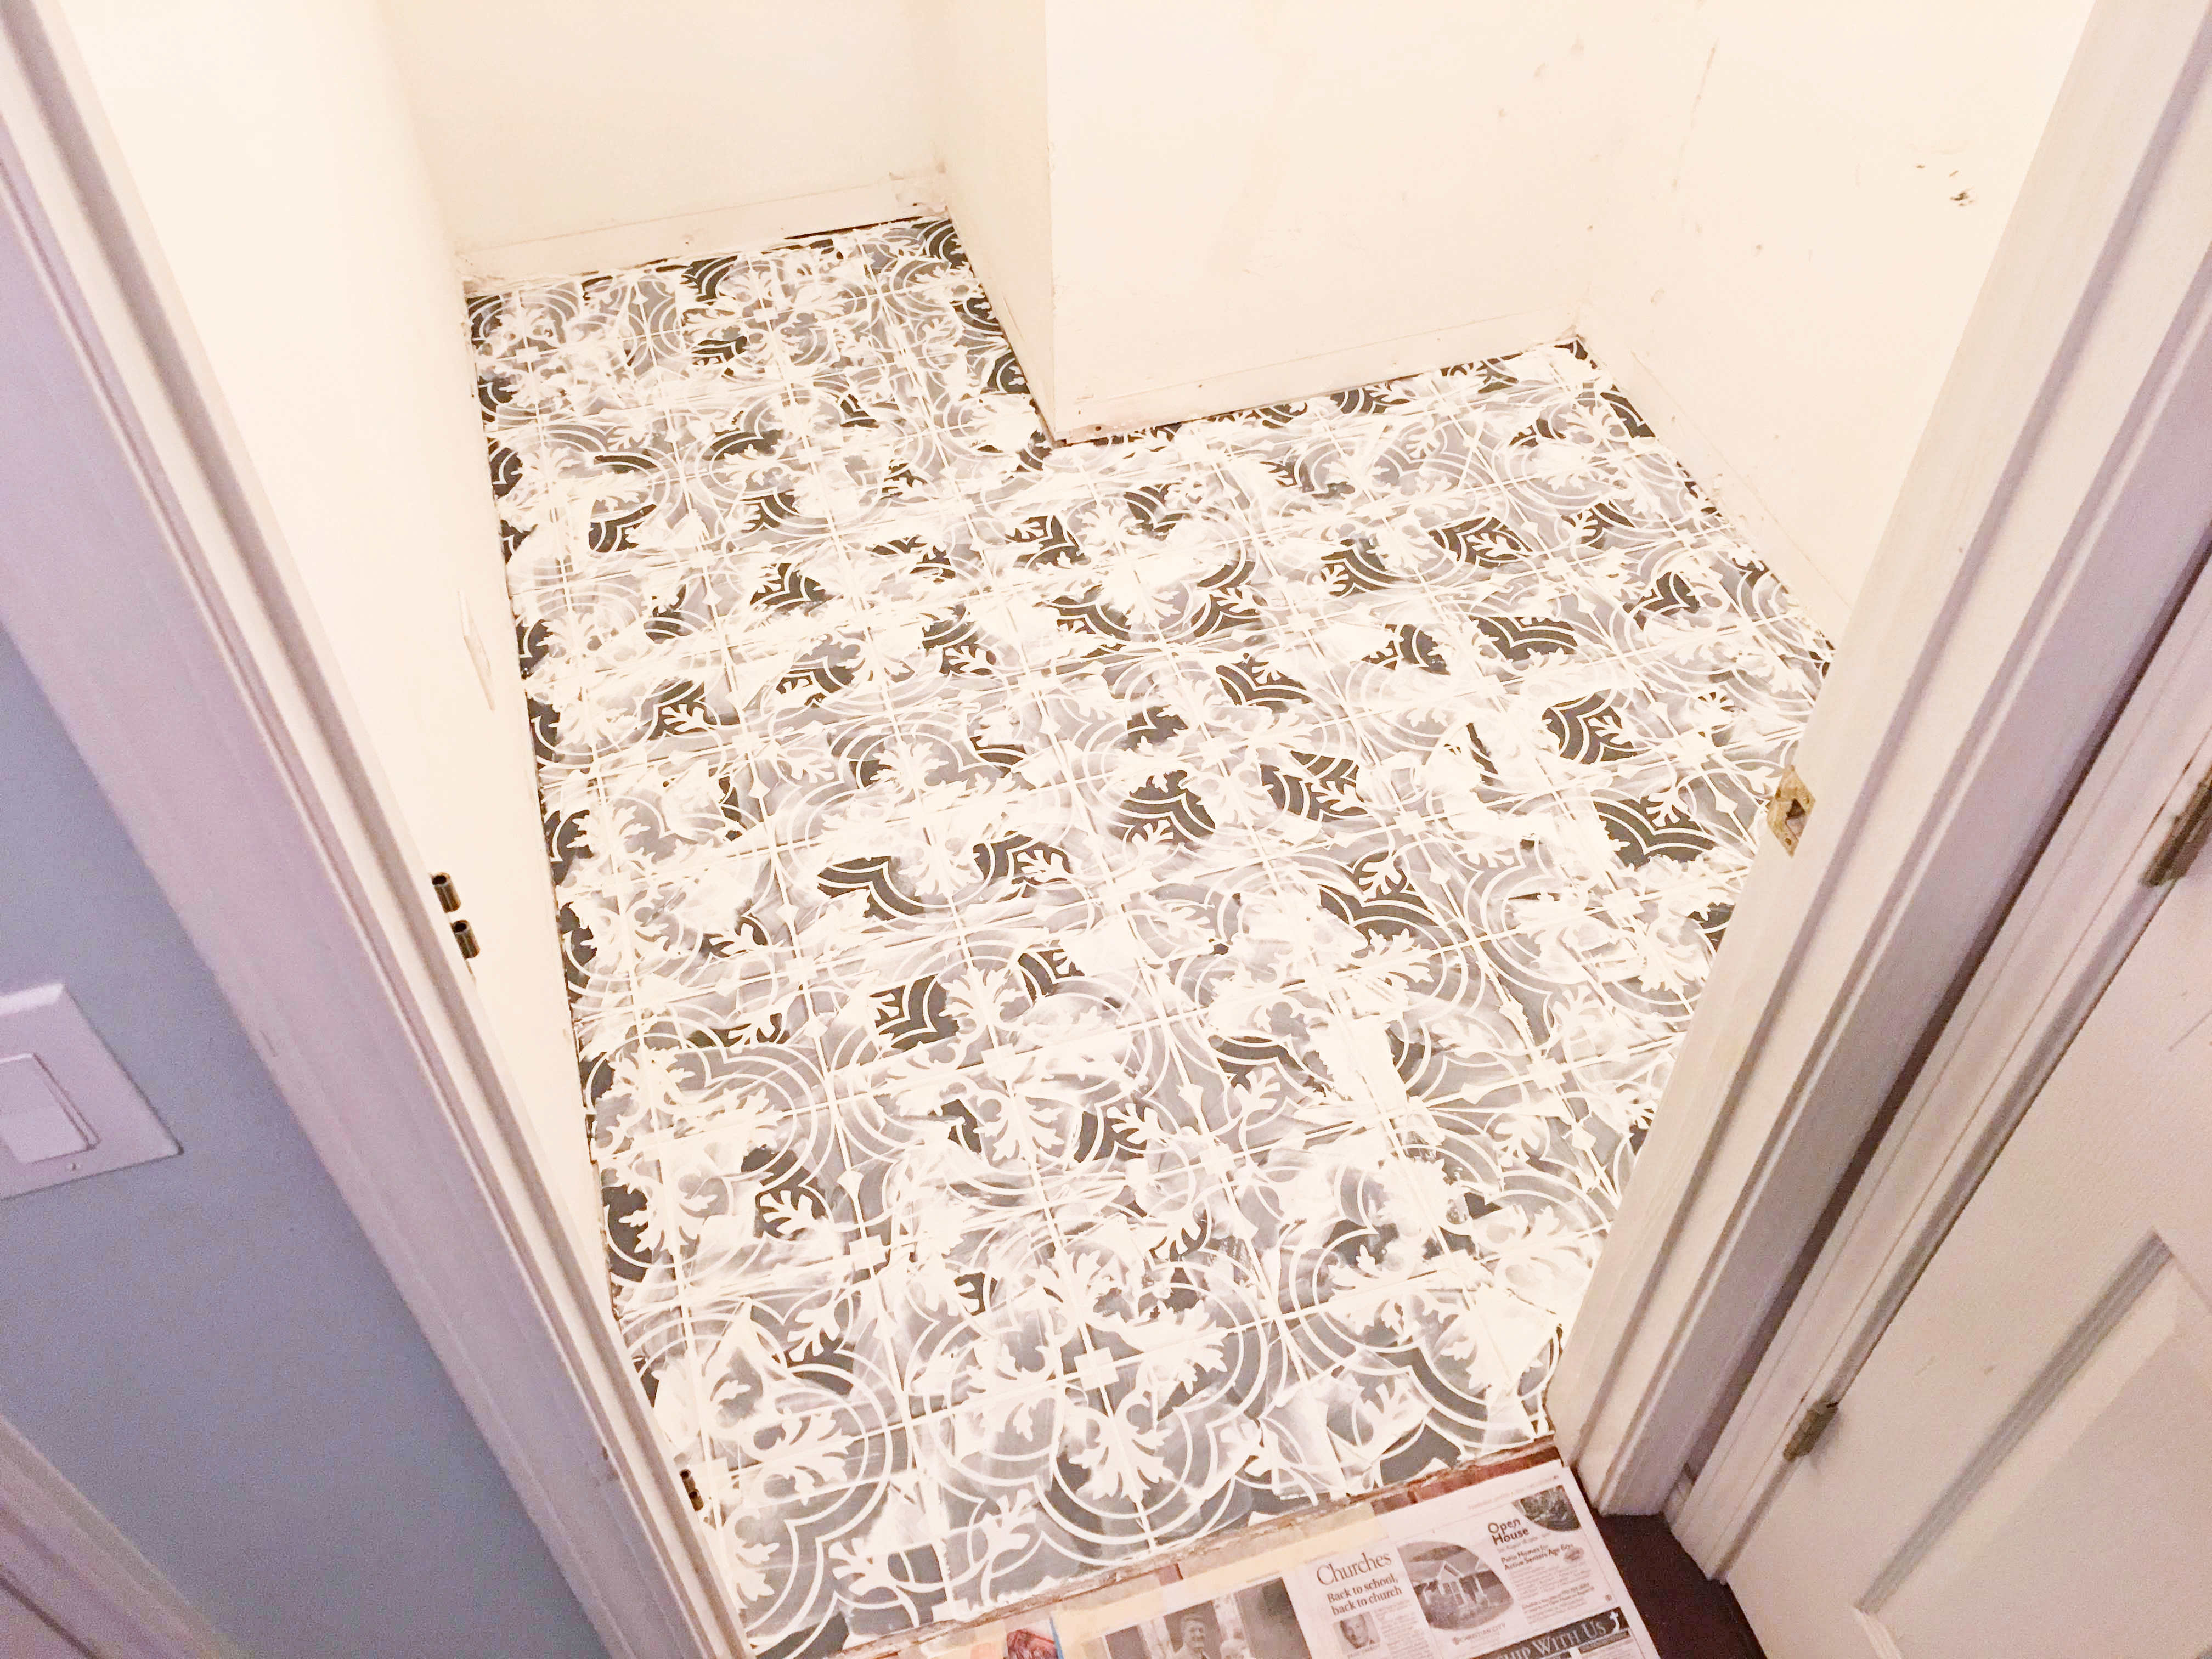
Step 12. Sponge away excess grout after 20 minutes.
- After you finishing applying grout to every seam except the outer, wall-facing edges, wait 20 minutes to allow the grout to set.
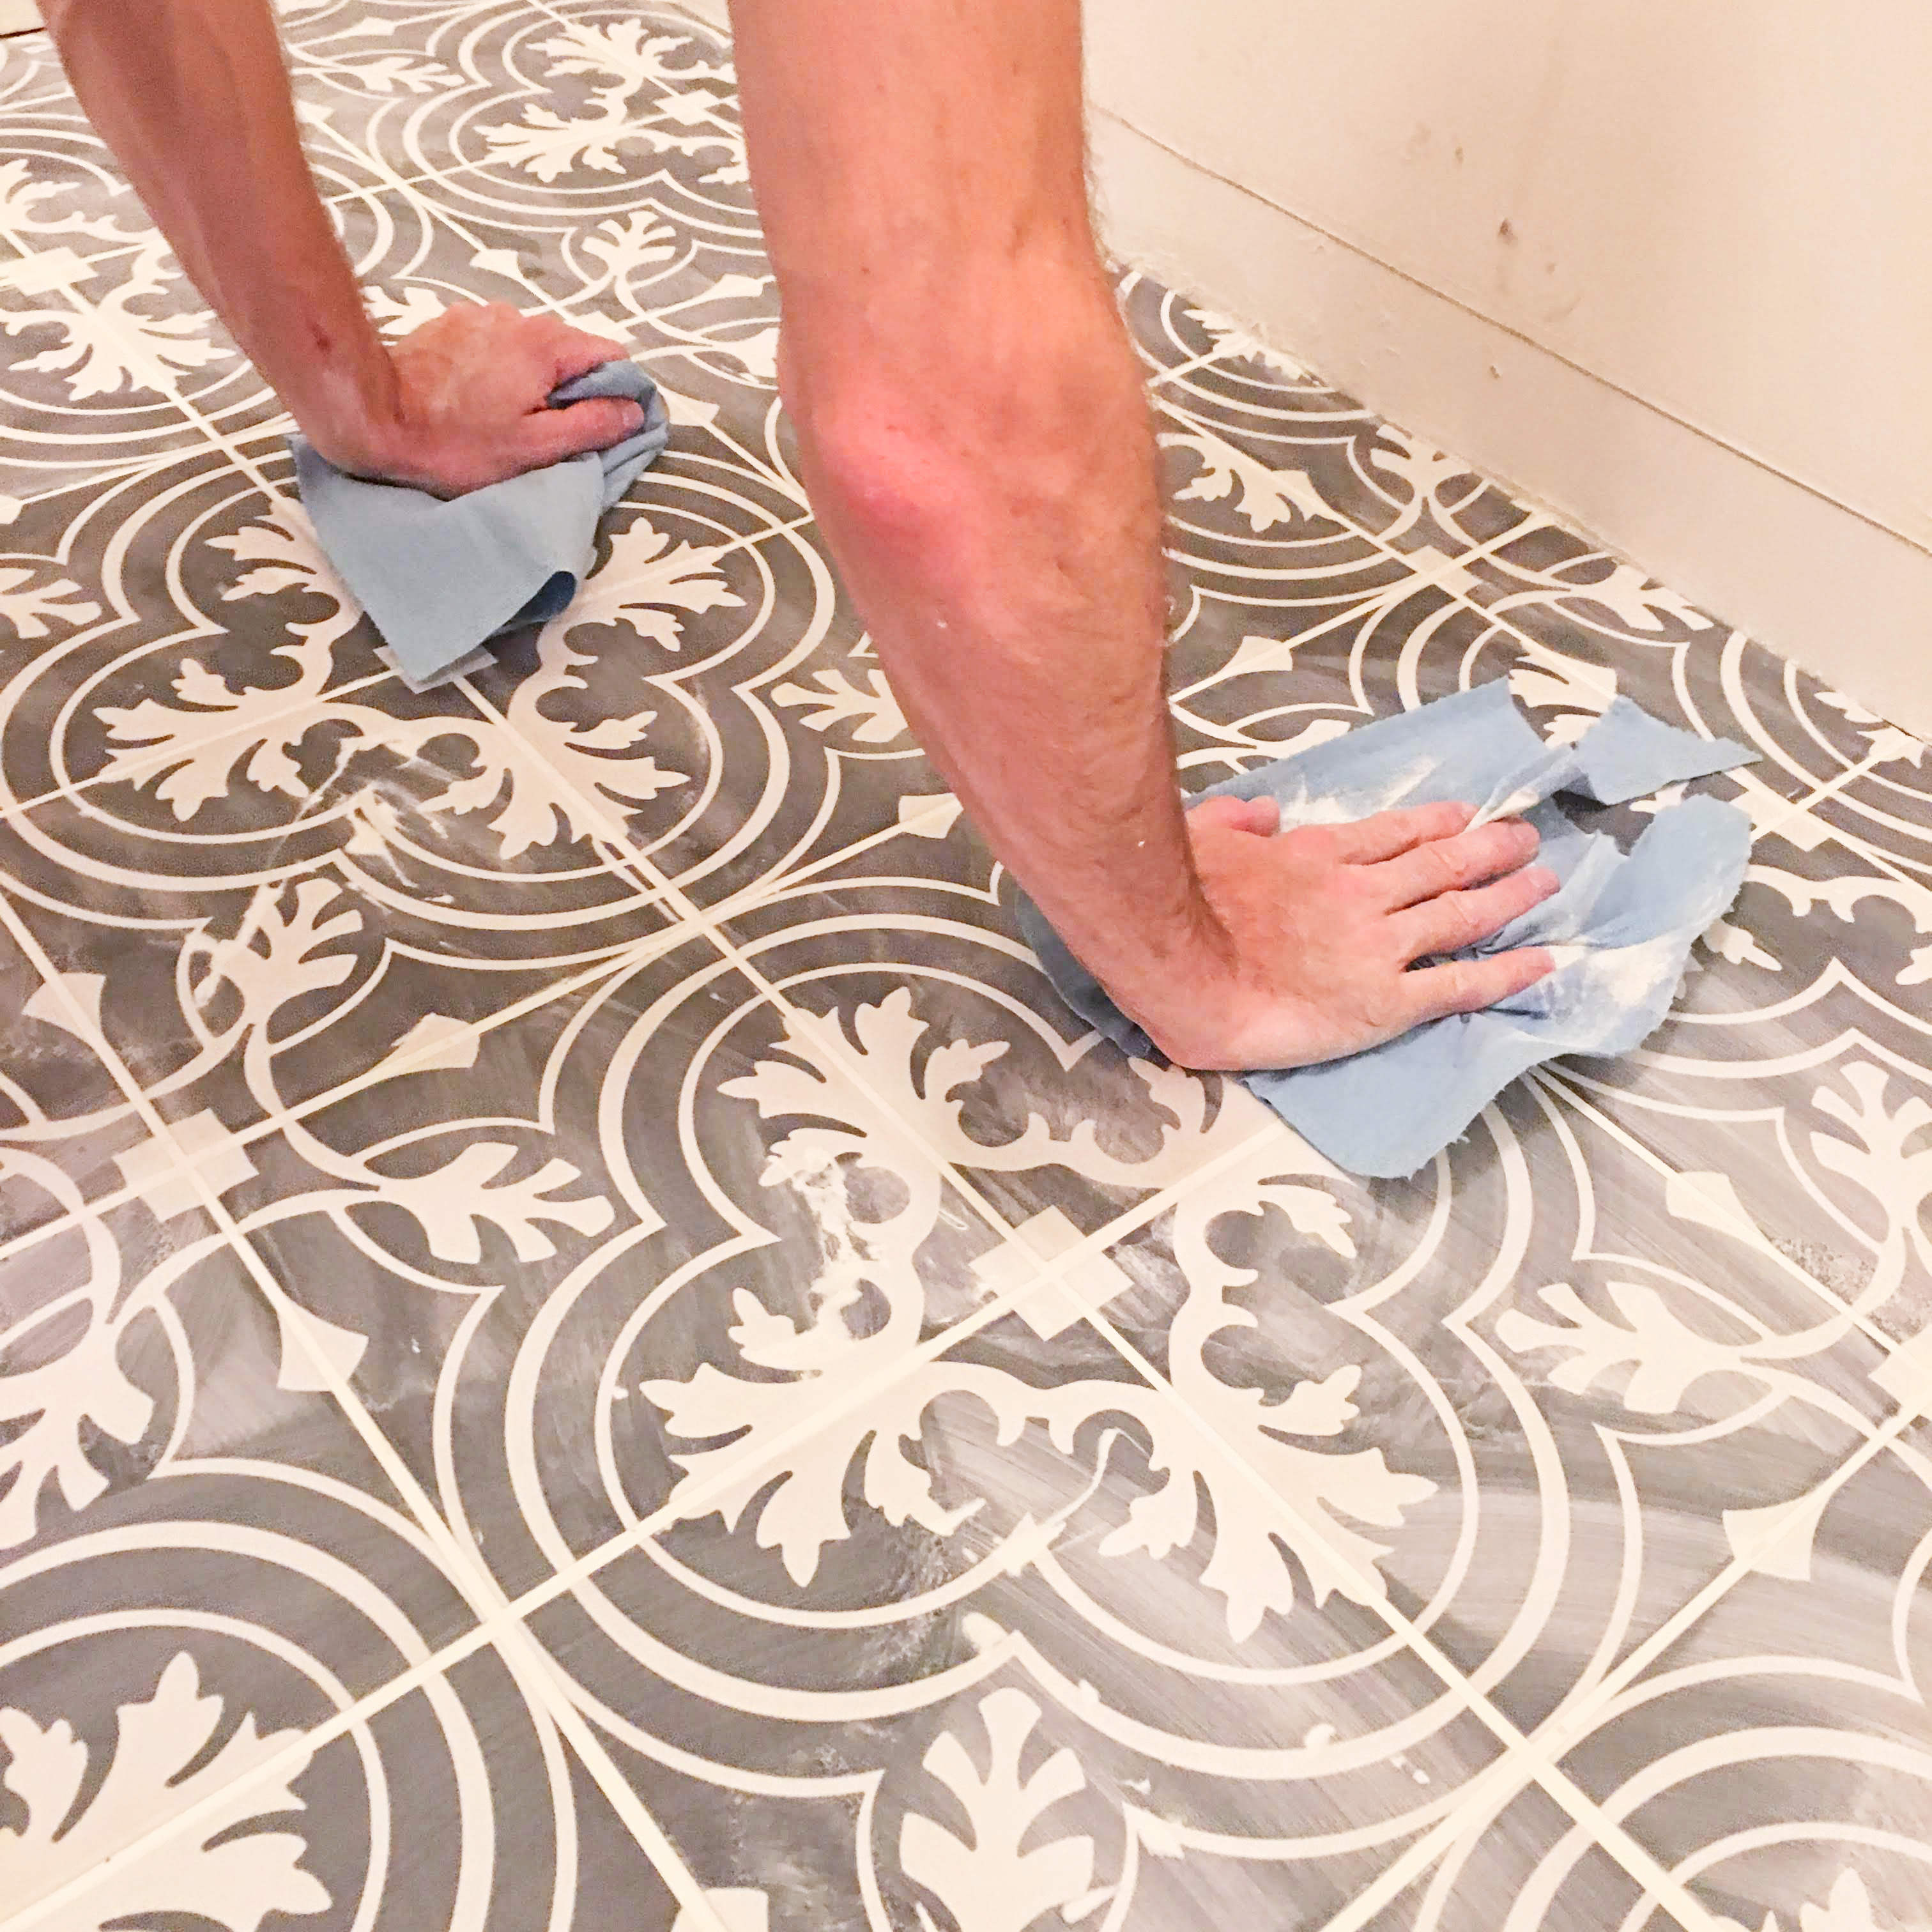
- After 20 minutes, fill your plastic bin half full with water, snag your sponge and take this bad boy to the cleaners. Wet your sponge, wring it out and scrub off ALL excess grout on the face of every tile. We’re talkin’ elbow grease. You should be sore tomorrow.
- Whenever the water in the plastic bin gets super muddy with grout, dump it out and refill with clean water to halfway. Clean out the sponge under a spigot until water exits completely clear. Continue cleaning the tiles.
- Once complete, there will be a grout haze covering most of your tile. Not a problem. You’ll be able to wipe away the haze in a few hours.

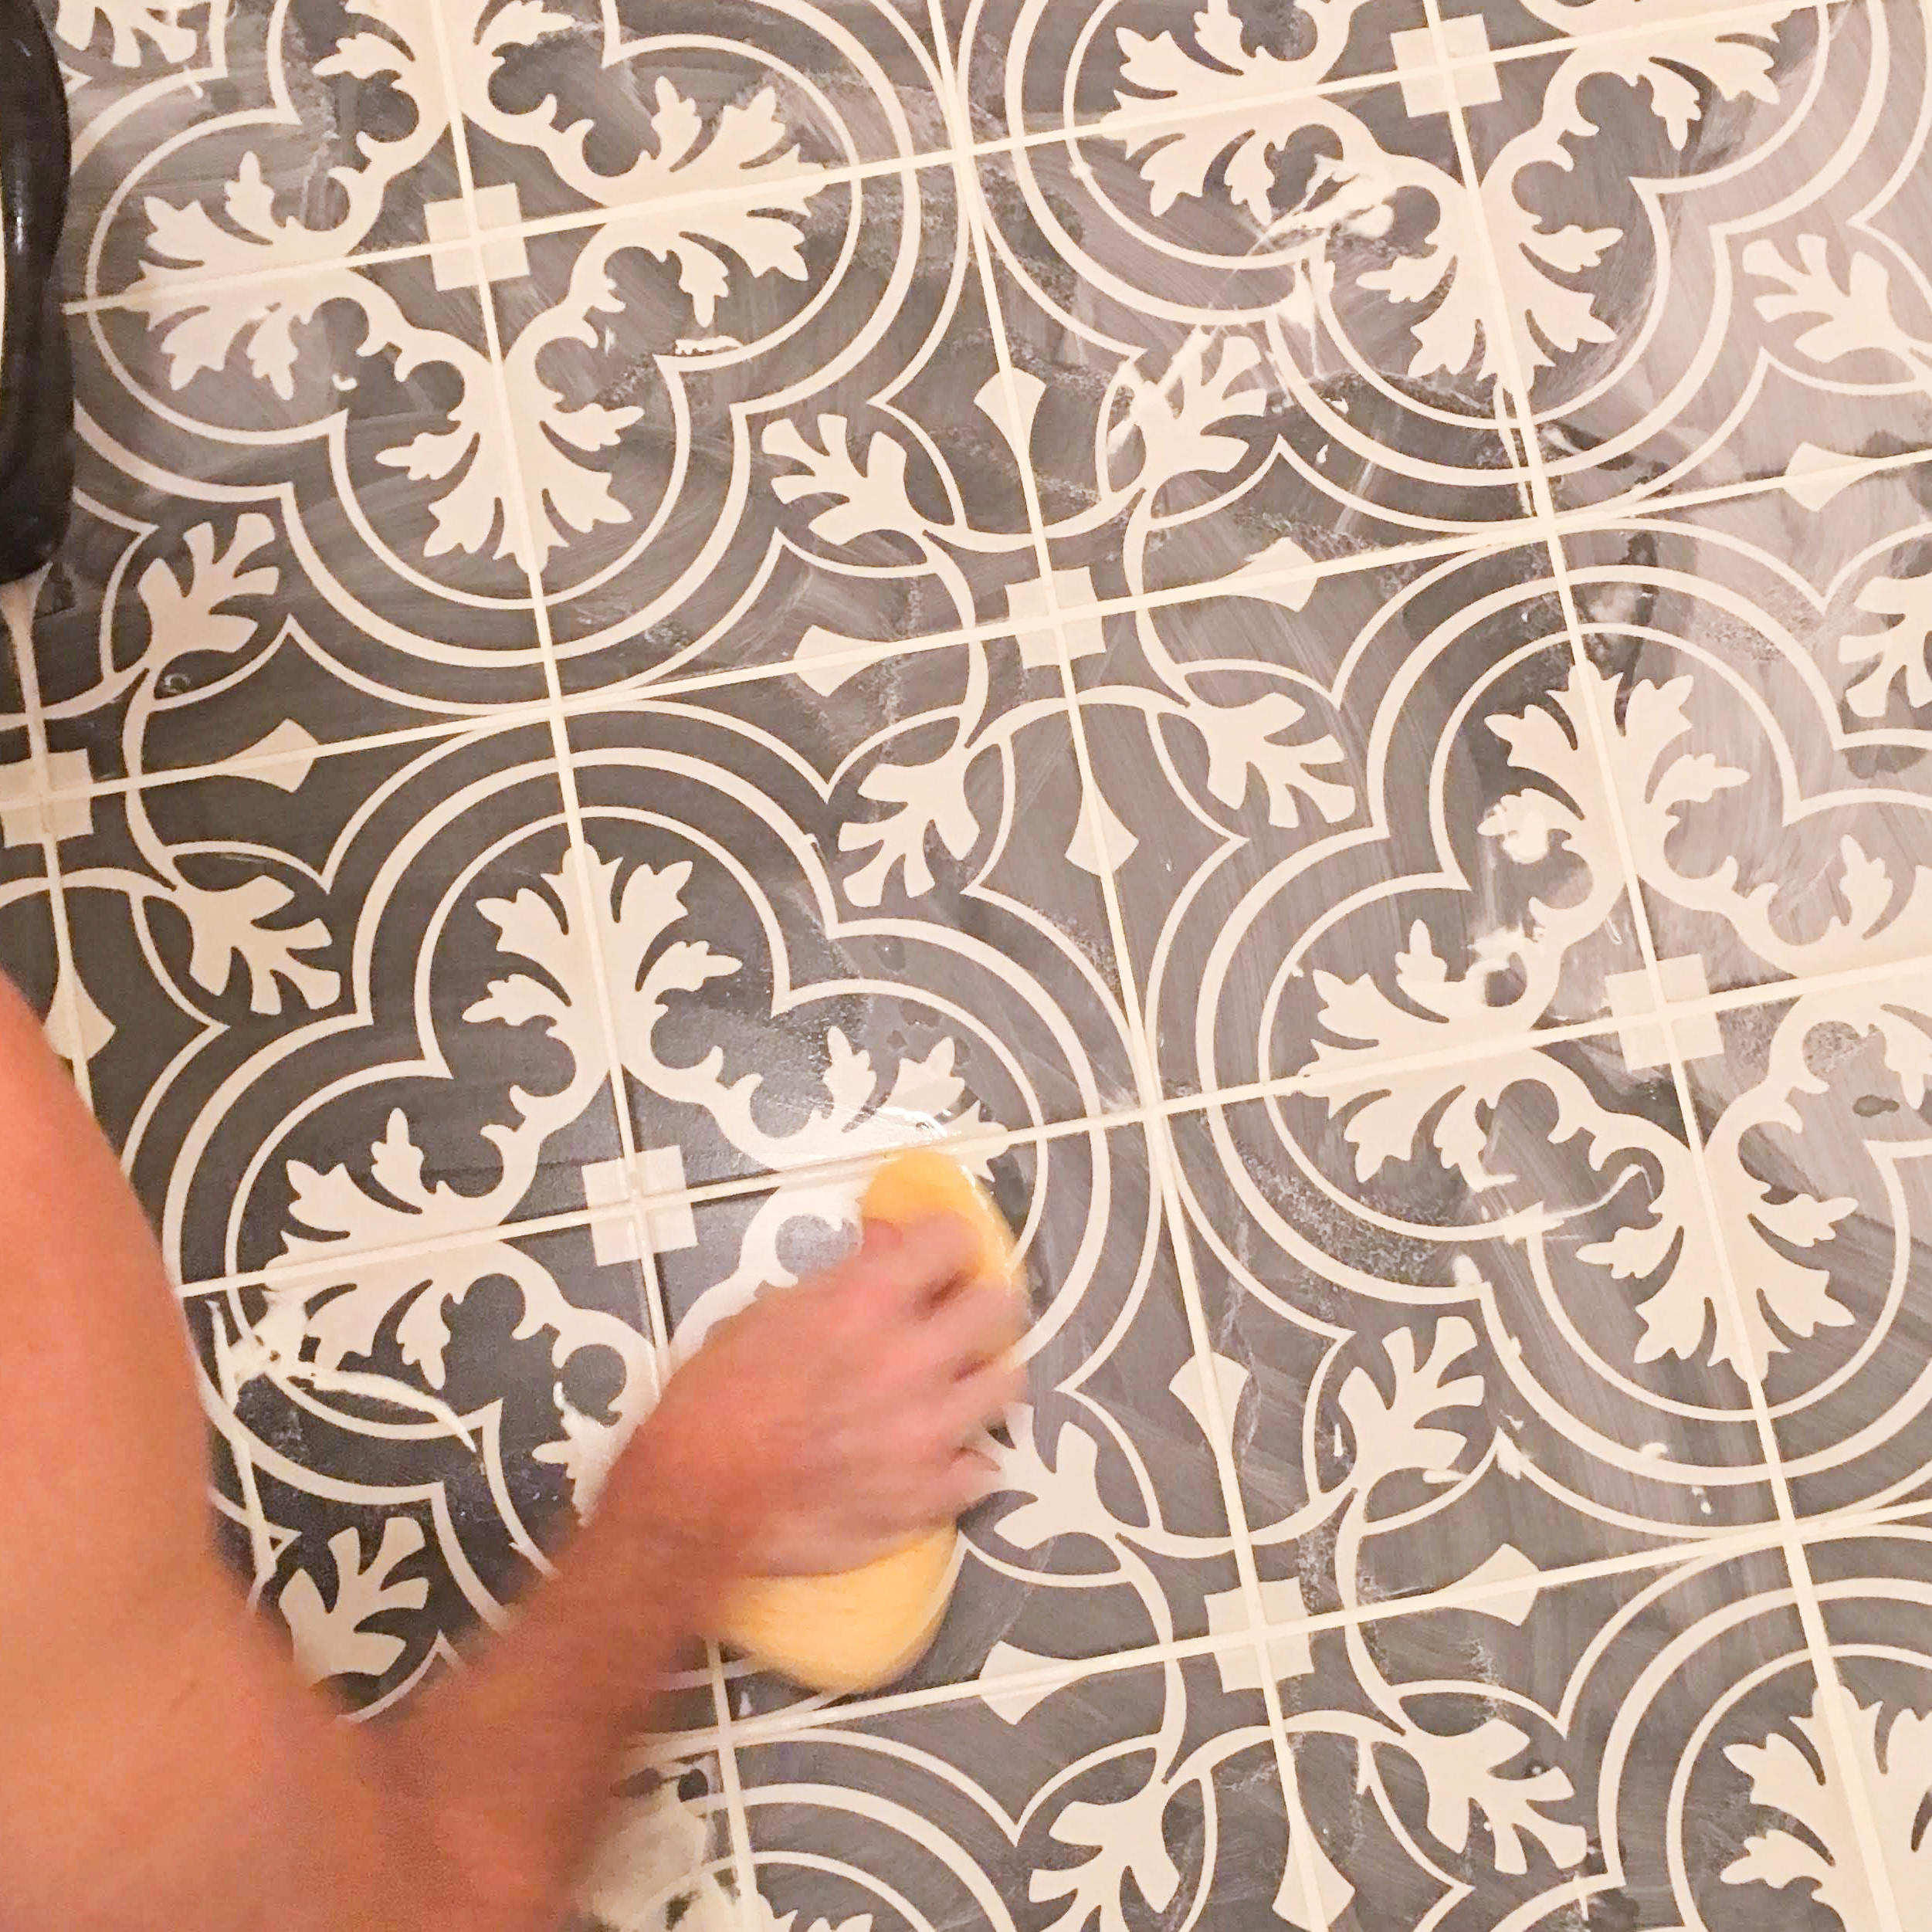
Step 13. Remove grout dust after 2 hours.
- 2 hours after sponging away excess grout, clean up the grout dust lingering on your tiles.
- Your blue shop towels or old rags should work perfectly. Wipe away ALL grout haze and dust from the face of every tile.
- If your grout isn’t dry enough and begins to smudge as you wipe with a towel or rag, wait an additional hour or two.
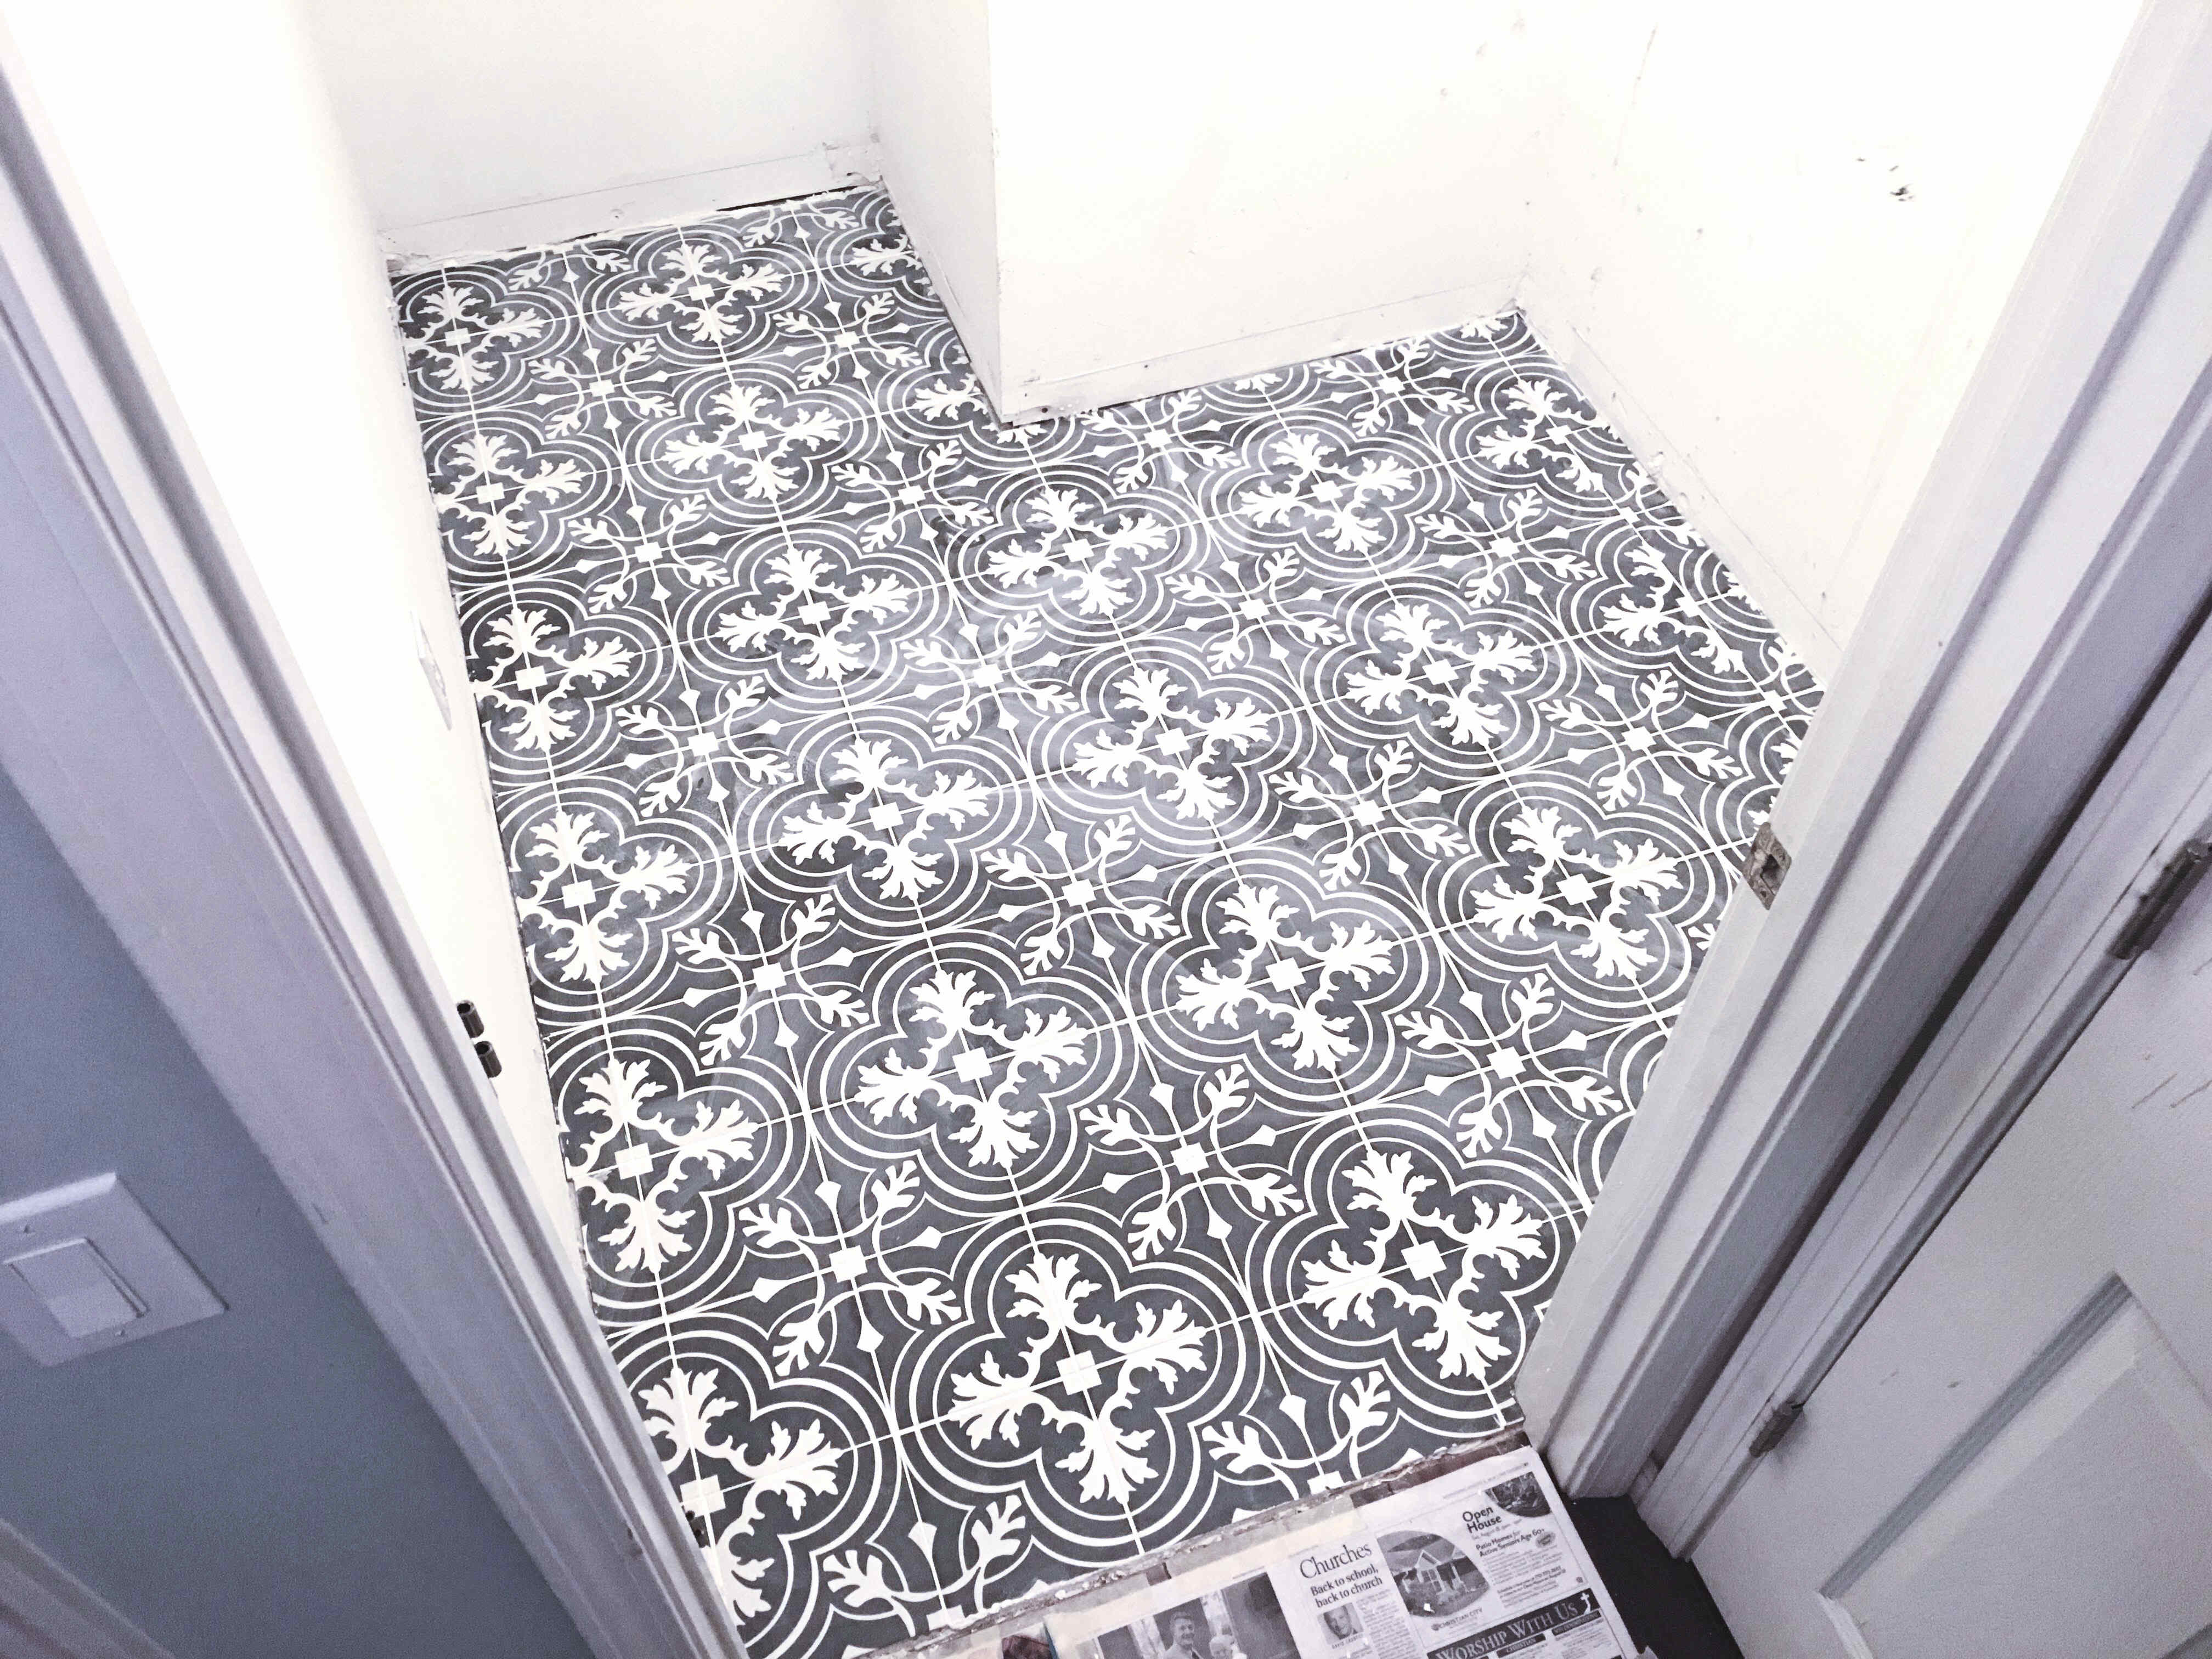
Step 14. Clean up & let dry 24 hours.
- Repeat step 9 for the grout in your 5 gallon bucket. Thoroughly clean out ALL of the leftover grout and residue with your margin trowel and load of water.
- Allow the grout to dry 24 hours before walking on it.
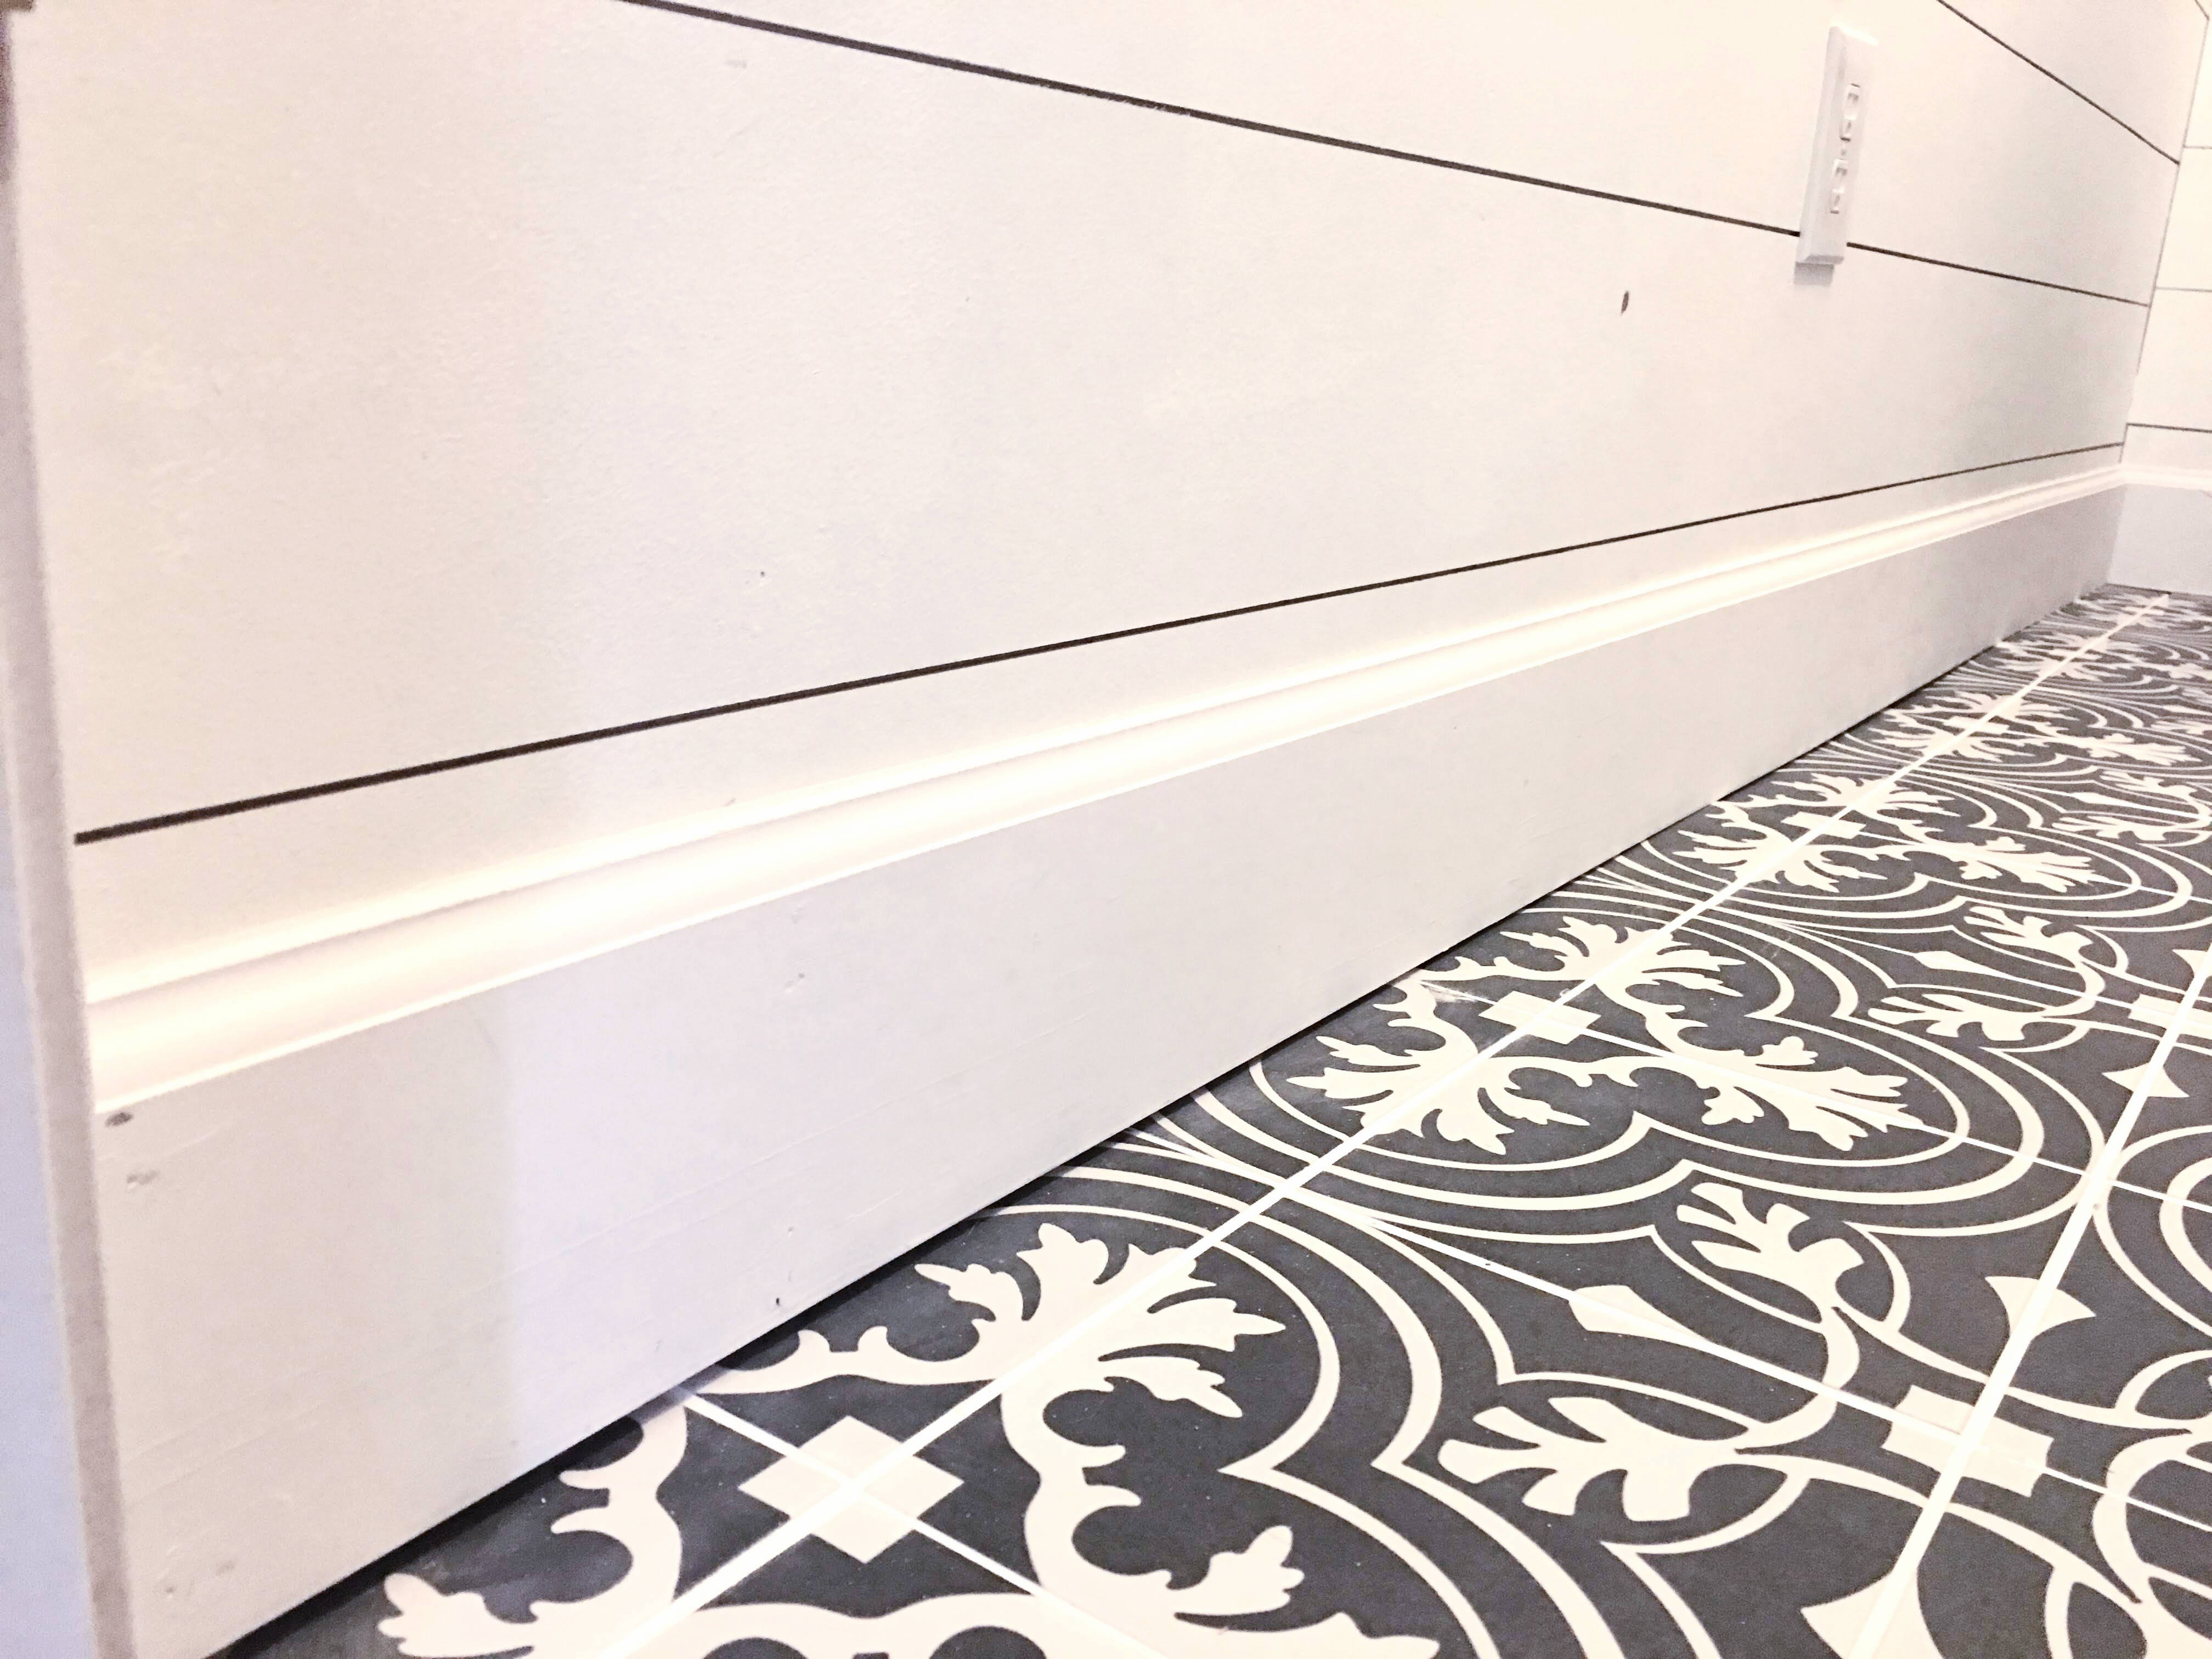
Step 15. Install baseboards or shoe mould.
- Reinstall the previous baseboards or brand new ones now using your compressor and brad nail gun loaded with 2 inch brad nails. Or good old-fashioned nails and a hammer.
- If the baseboard sufficiently covers the gaps between the tile edges and the wall, then you can avoid using shoe moulding or quarter round. If there’s a visible gap after installing the baseboard, then add shoe moulding (the thinner version or quarter round if necessary).
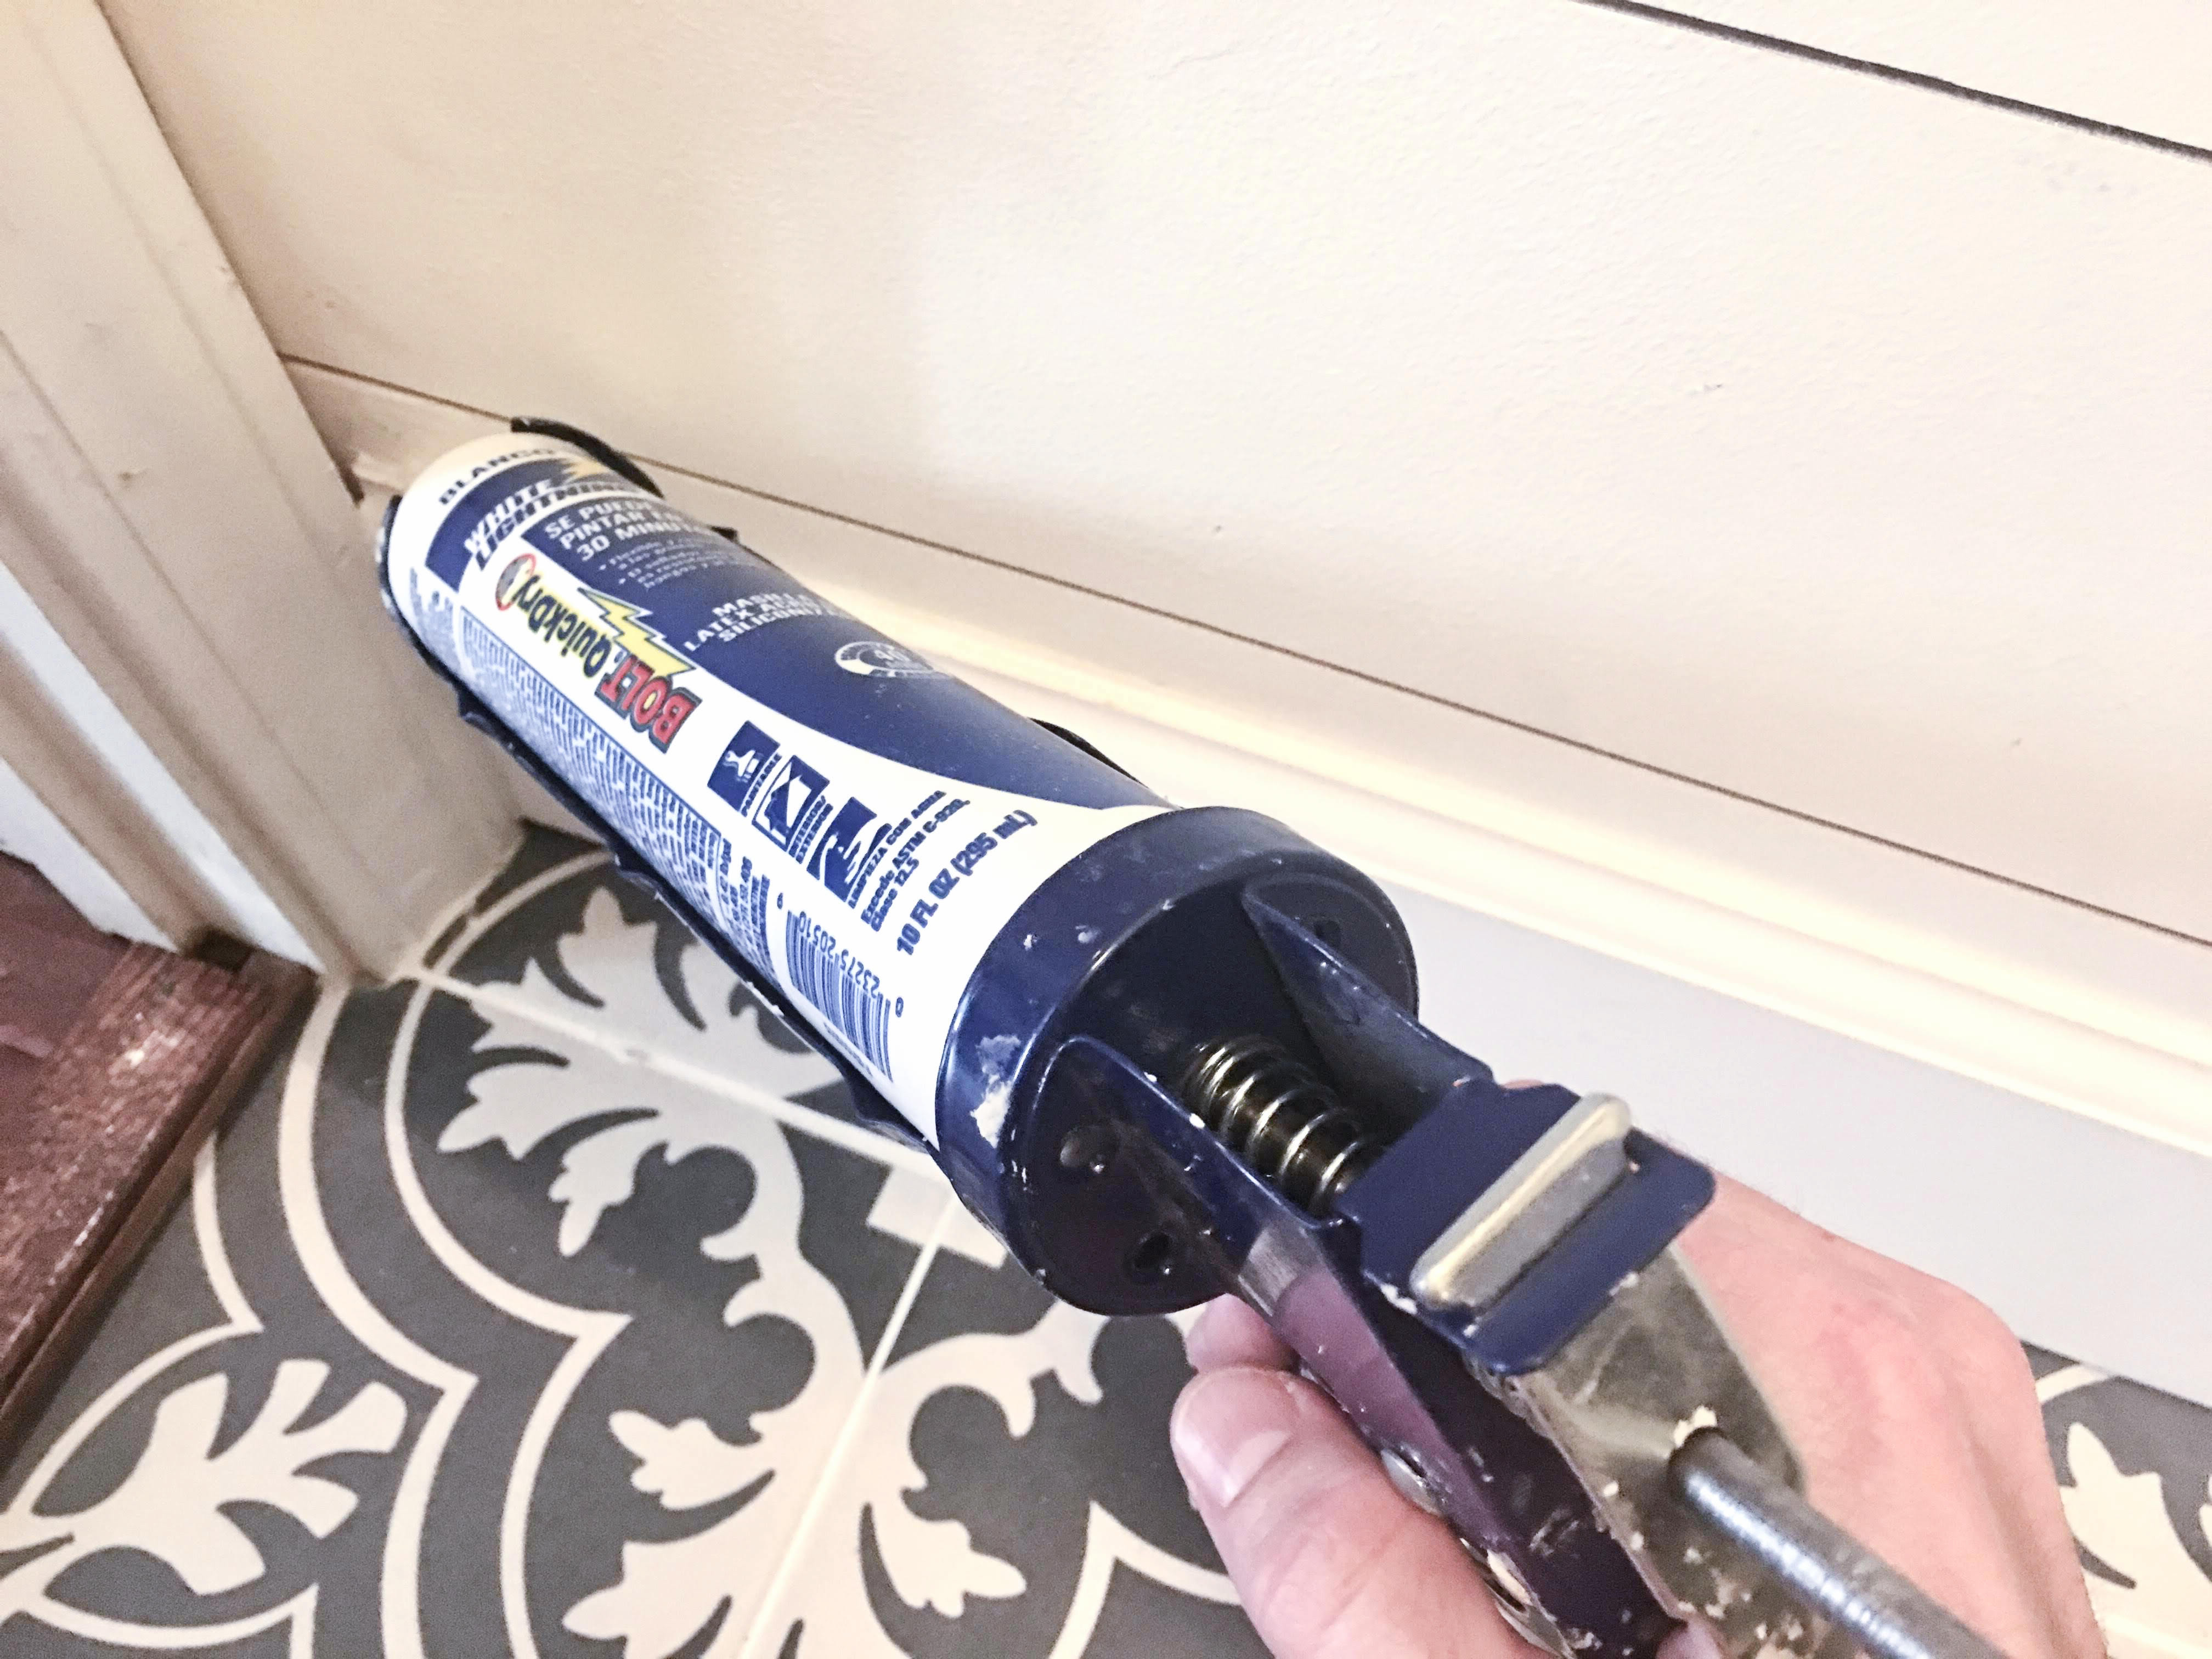
Step 16. Caulk baseboards.
- Using your caulk gun loaded with a fresh tube of white caulk, apply a thin bead along the gap between the baseboard and the wall.
- Apply a bead of caulk where the mitered ends meet, where the baseboard meets the door casing, and anywhere there’s a noticeable gap.
- Let dry for at least 30 minutes or according to the instructions on your tube of caulk.
Now you’re a DIY pro.
You’re an animal. You tiled an entire space with your bare hands. You can DIY anything you want now. Go tell every homeowner you know. And then teach them how to install their own tile flooring. Even better – install it alongside them and they’ll pay it forward.
Did you place your furniture or appliances or area rug back in the beautifully tiled room? We’d love to see it. Send it our way for a little mutual encouragement and camaraderie. Your space never looked so good, friend.