Your furniture piece is begging you for an update.
That sad, antiquated look was enough to break you. Something must be done to it. Throw it out the window? Sadly, no. You have too much heart and too little wallet.
Maybe a little paint. Or stain. How about both?
Layering & contrast are the keys to visual interest.
We’re not a huge fan of stain by itself for most custom builds. Antiqued is our go-to.
The goal of staining wood is to achieve a pigment you can’t otherwise afford. Fancy hardwoods are the color of your staining liquid – they don’t require any stain at all! But if you’re reading this finishing tutorial, it’s unlikely you’re wanting to drop a couple fat stacks ($$$) on black walnut or mahogany hardwoods.
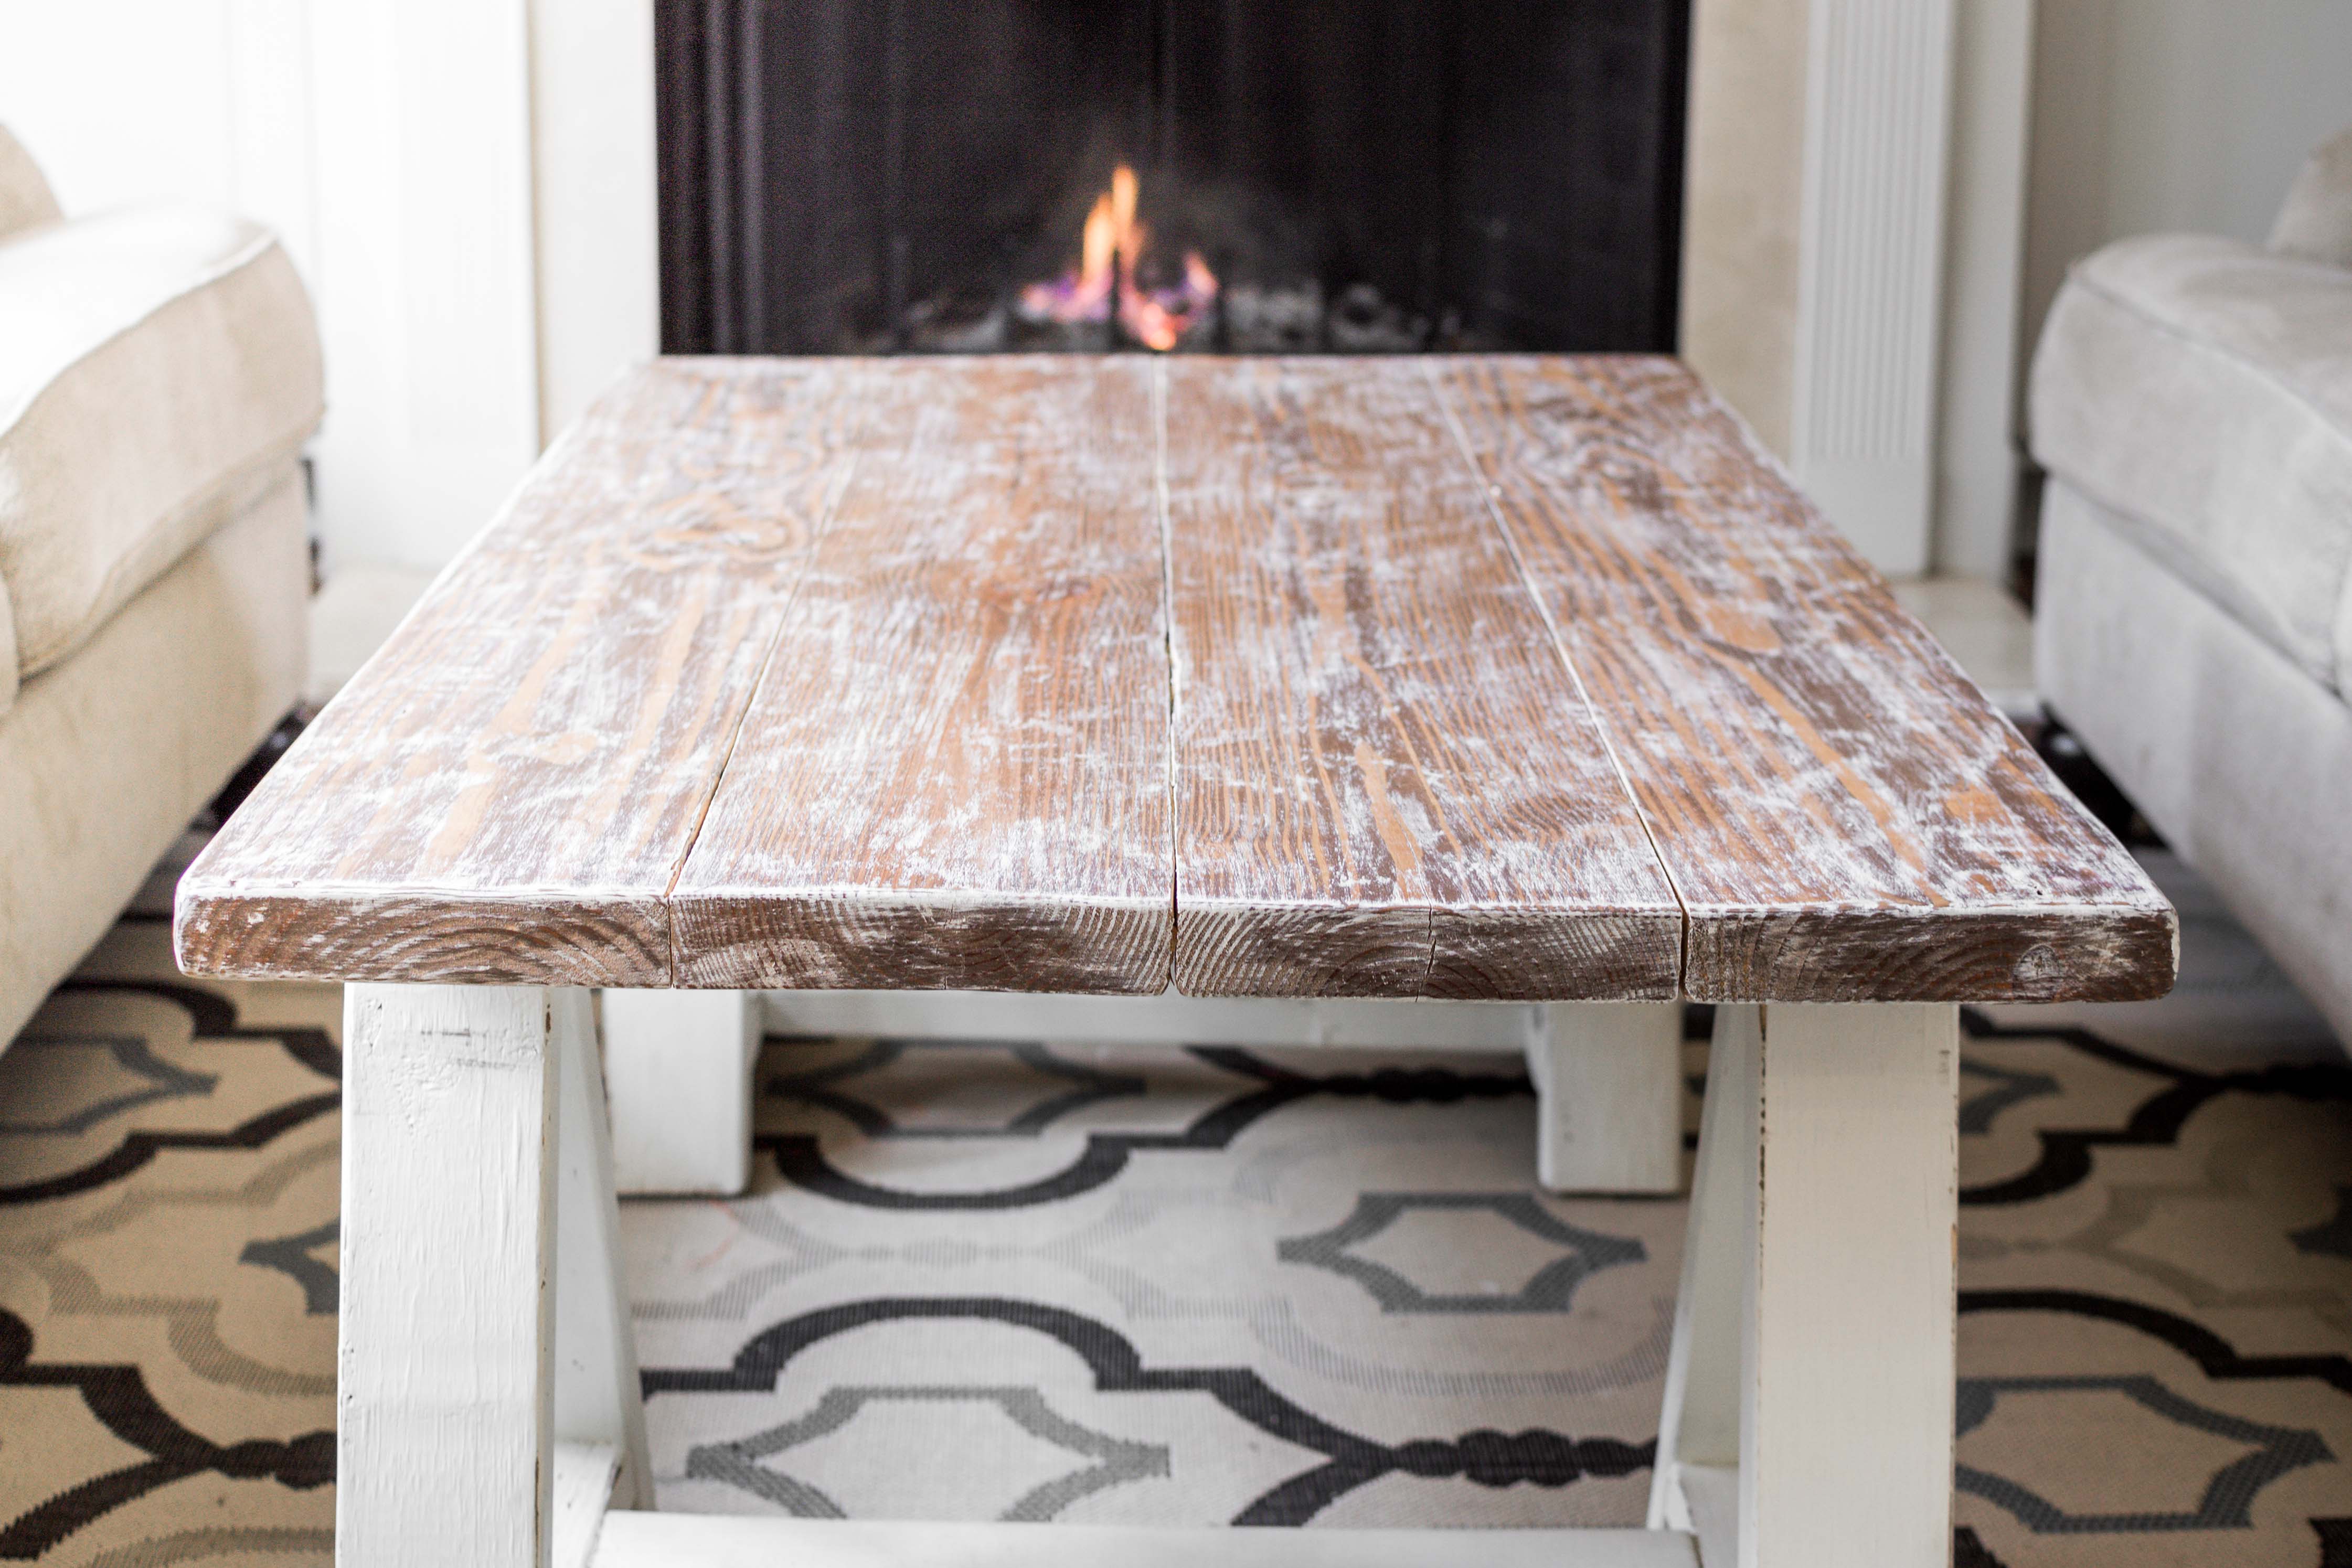
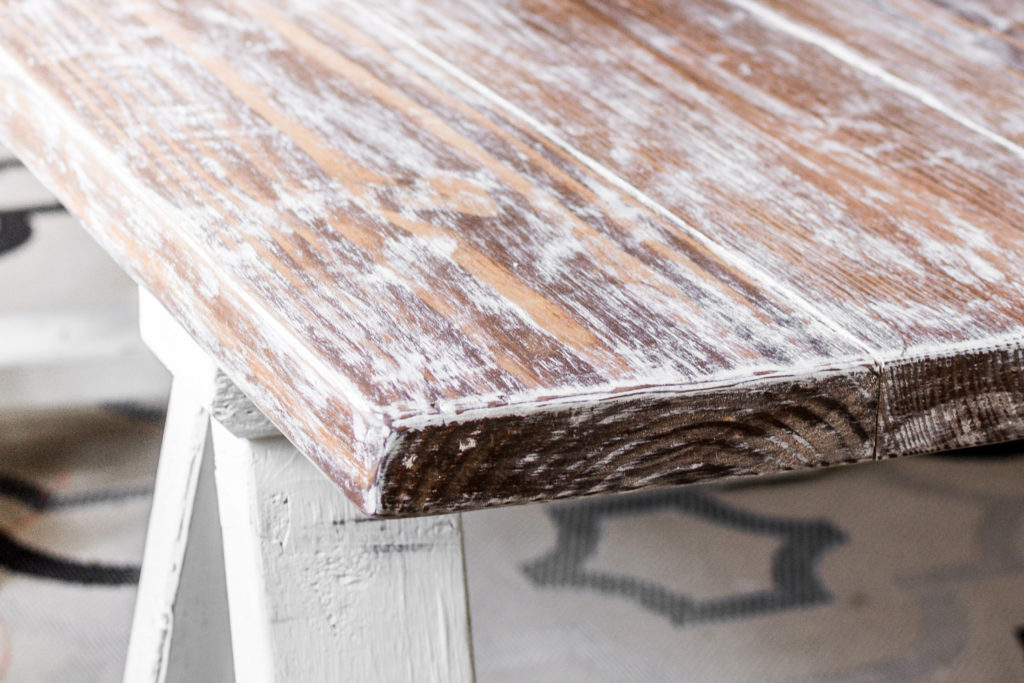
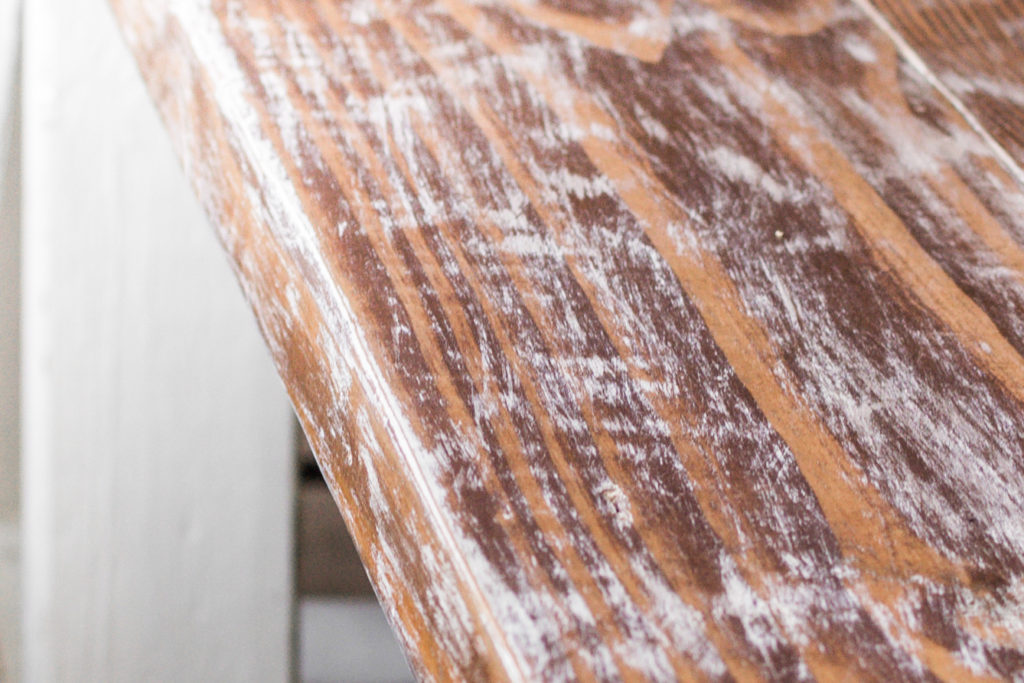
Our favorite: the top is stained, then dry brushed with white paint and sanded until the pigments blend together. 2 coats of wax offer a warm luster. We LOVE the balance of the white paint with brown stain that yields warm natural wood tones while remaining light.
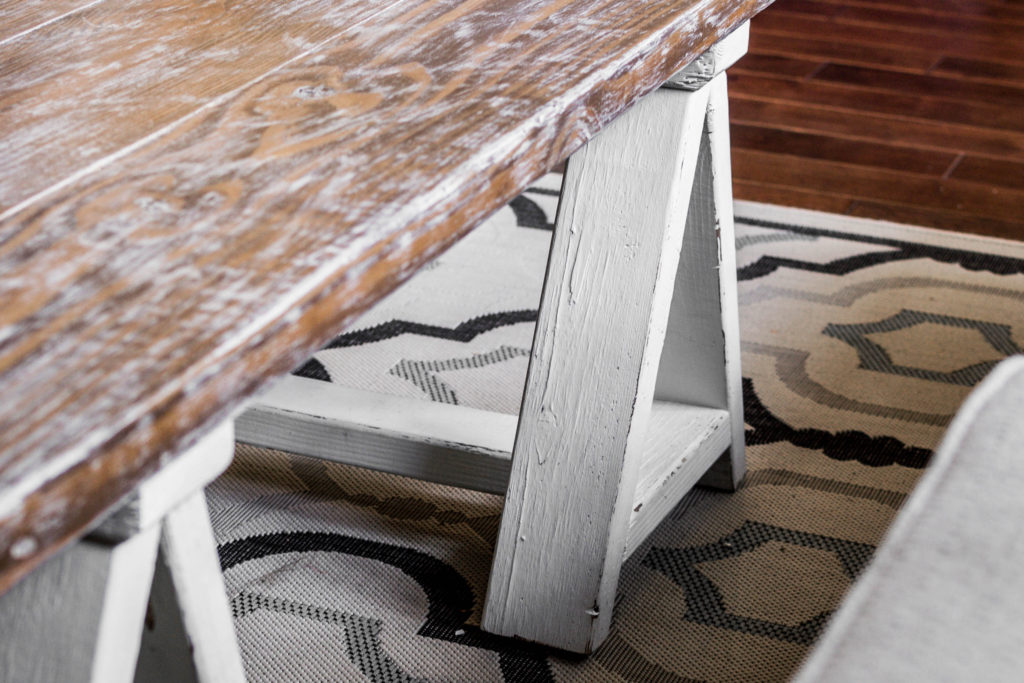
The legs are also stained, then painted with two full coats of white paint. Lastly, they’re hand sanded to reveal the stain underneath. This scuffing and distressing yields an antique look.
Now it’s time to try your hand at refinishing your furniture piece. Snag a look at our overview below:
Coffee table of contents.
- Step 1. Hit up Home Depot or Lowe’s.
- Step 2. Stain the coffee table top & legs.
- Step 3. Paint the legs.
- Step 4. Dry brush the coffee table top.
- Step 5. Sand the top.
- Step 6. Second coat on the legs.
- Step 7. Wax the top.
- Step 8. Sand the legs.
- Step 9. Second coat of wax on top.
Note: we built the coffee table using Rogue Engineers’ plans. Take a peak if you’re interested in hand-crafting an identical build. High-fives to Jamison for designing a killer table.
How to beautify your coffee table with stain & paint.
Materials.
- Wood stain. We used Varathane Early American. Linked 2-pack (1 qt. each) for $15.96. Buy one can for $8.98.
- White paint. We chose a Benjamin Moore Simply White color match in a can of Behr base paint. 8 oz paint sample for $3.27 may suffice for a smaller coffee table. Or any leftover white paint that you like.
- Paste finishing wax. 16 oz can for $16.38.
- Paint brush. Buy a kit to save money. Single cheap brush for ~$1.
- Blue shop towels. Linked 6-pack for $11.98. 3-pack for $5.98.
- Nitrile gloves. 50 for $4.97.
- Sandpaper sheets – to sand by hand. $5.28 for an assorted pack.
Tools.
(Optional) Orbital sander + sanding discs.
Budget.
- All materials cost = $45.86.
- All materials cost for DIY regulars = $0.
We already had leftover stain, paint, wax, paint brushes, shop towels, nitrile gloves and sandpaper sheets from previous projects
Step 1. Hit up Home Depot or Lowe’s.
Note: this tutorial ONLY covers the finish, not the build. Make sure your coffee table is already built. Or a coffee table you purchased that needs to be refinished.
STAIN
- We used Early American stain made by Varathane brand.
- Mid-tone brown color, balancing cold and warm tones. We don’t like overly “red” or warm stain pigments.
- Find it cheaper than Amazon (below) at Home Depot in the “materials” link above.

PAINT
- We like the neutrality of Benjamin Moore Simply White, color matched to a Behr paint base at Home Depot. Just ask the hardware store associate for the color match. It’s slightly off-white without a visible bent toward blues or reds.
- Any neutral white paint will suffice. Keep in mind: it will cover the legs, but only dry brush the top.
- Dry brushing adds the antiquey streaks, some of which you will sand off and help blend into the stain.

WAX
- The aesthetic of paste finishing wax is unmatchable. In the words of Minwax, it adds a “hand-rubbed luster.”
- Relatively hydrophobic, meaning it repels water to better protect the wood from moisture damage or excessive changes in humidity.
- Less protective than an oil or water based polyurethane. Though neither are necessary – a coffee table isn’t designed to eaten on.

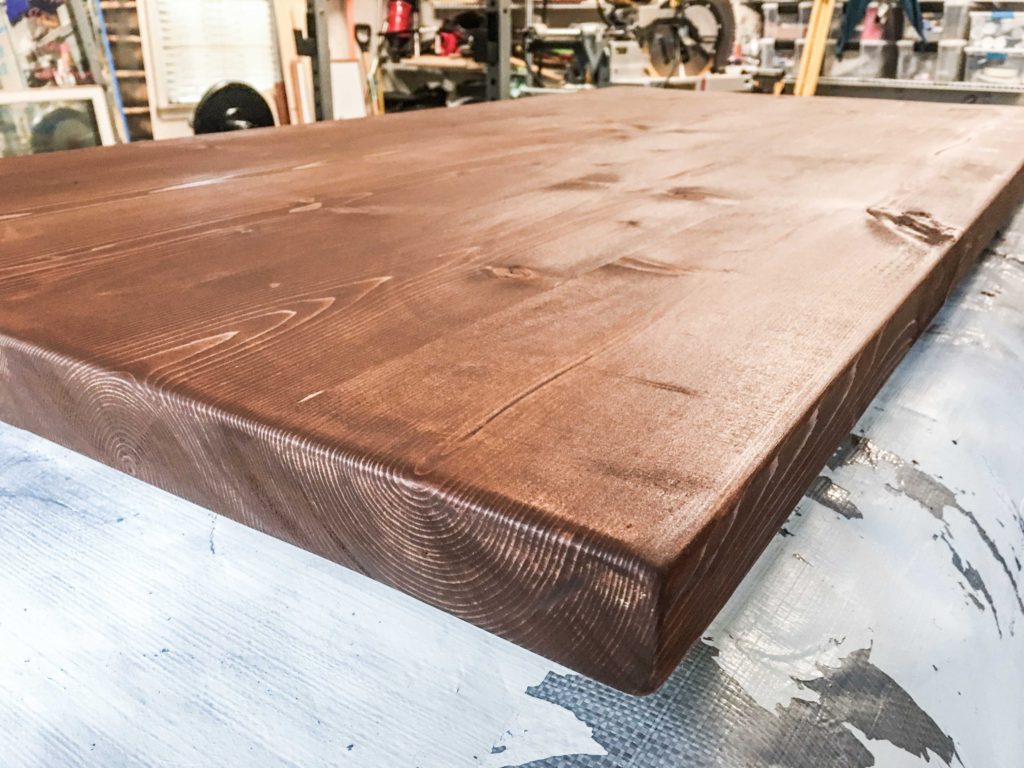
Step 2. Stain the coffee table top & legs.
- Put on some nitrile gloves, big shot. Don’t stain your hands for a week.
- Open you can of stain and mix thoroughly with a wooden paint stir stick for at least one minute. It tends to coagulate at the bottom.
- Apply a generous amount of stain to the top AND legs with a fresh blue shop towel. Rub it into every square inch for even coverage.
- Let stand for 5-10 minutes before removal, allowing the stain to penetrate the wood grain.
- Wipe off ALL excess stain with a new shop towel.
- Let the stain dry for at least 1 hour in ideal conditions. If the temperature is lower than 70º and humidity is higher than 50%, then allot a much longer drying time.
Step 3. Paint the legs.
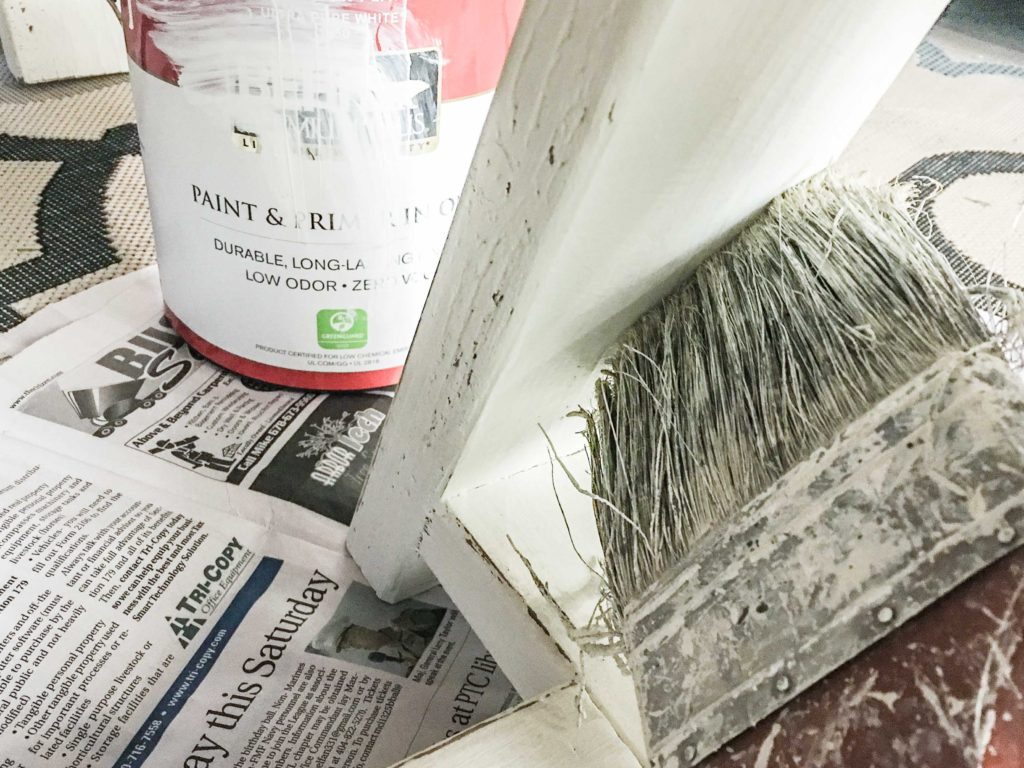
- After the stain is completely dry, open your sample or can of paint and thoroughly mix with a wooden paint stir stick for at least 1 minute.
- Apply a full, even coat of white paint until the legs are completely covered.
- Let dry for at least 2 hours before a recoat, according to Behr’s guidelines for their paint + primer interior flat white paint.
Step 4. Dry brush the coffee table top.
Find a scrap of plywood or cardboard or poster board.
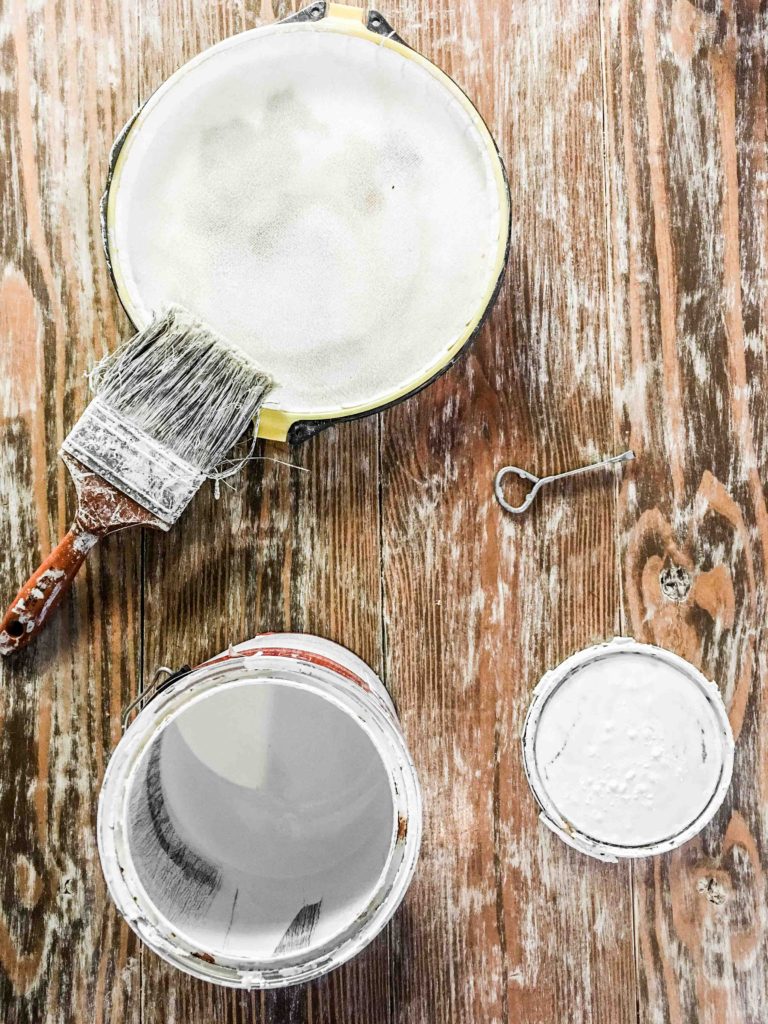
With your paint brush, apply paint to the scrap piece and remove MOST of the paint from the brush.
Using a very light & sporadic back & forth motion, apply streaks of paint to the tabletop and side of the top with your brush. The coverage should be extremely light and textured.
Continue this method until you achieve your desired aesthetic.
Step 5. Sand the top.
- The top will most likely dry before the legs – dry brushing is much lighter than a full coat of paint.
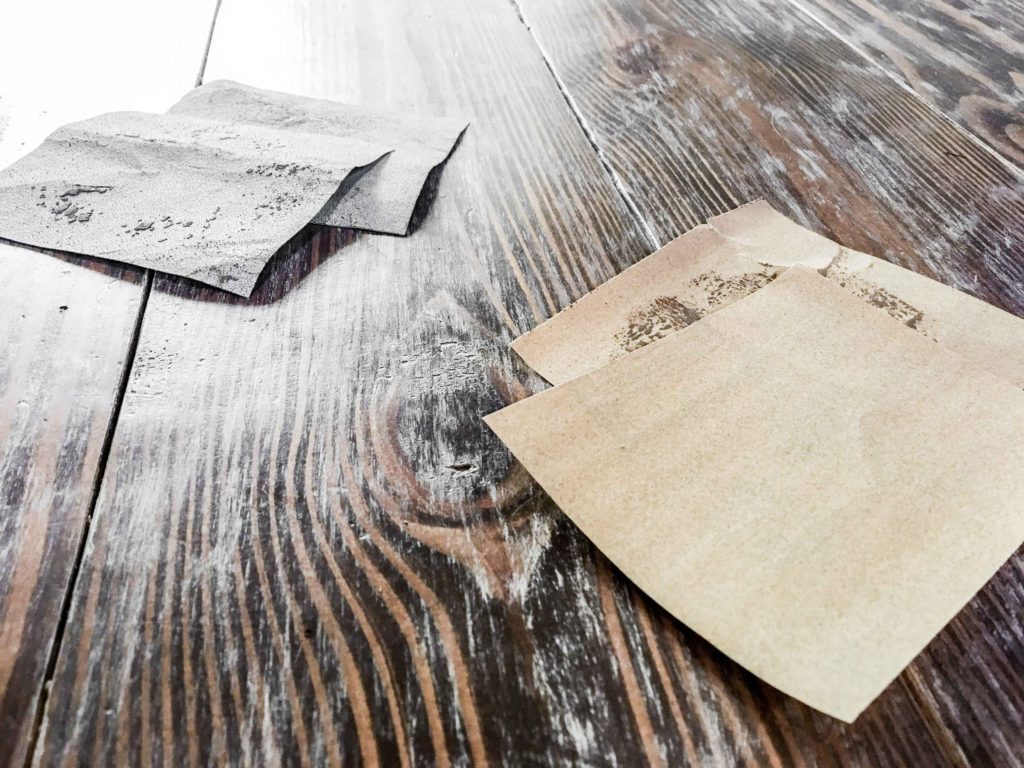
- After the top is completely dry, begin sanding the dry brush streaks by hand. Consider using an orbital sander, but be careful not to remove excess paint, remove stain or make a bunch of divots. Your goal is to blend the dry brushing into the stain.
- Don’t forget to sand the sides of the top
Step 6. Second coat on the legs.
- Make sure the first coat of paint on the legs is completely dry.
- Using your paint brush, apply another full coat of white paint to the legs.
- Let the paint dry for at least 2 hours before moving it.
Step 7. Wax the top.
- If you like the way the white blended with the stain on top, then proceed to use the wax as-is.
- If you want to better blend the white into the brown of the stain AND add a little more white pigment to the top, then tint your wax. See our standing desk build for an example of adding two coats of white-tinted wax to wood.
- To tint your wax, scoop ¼ cup wax into a clean plastic container and thoroughly mix with 1 tbsp of white paint.
- In both cases, apply the wax to the coffee table top and sides of the top using a new shop towel. Rub it in along the wood grain until coverage appears to be even.
- Allow to dry for 15 minutes.
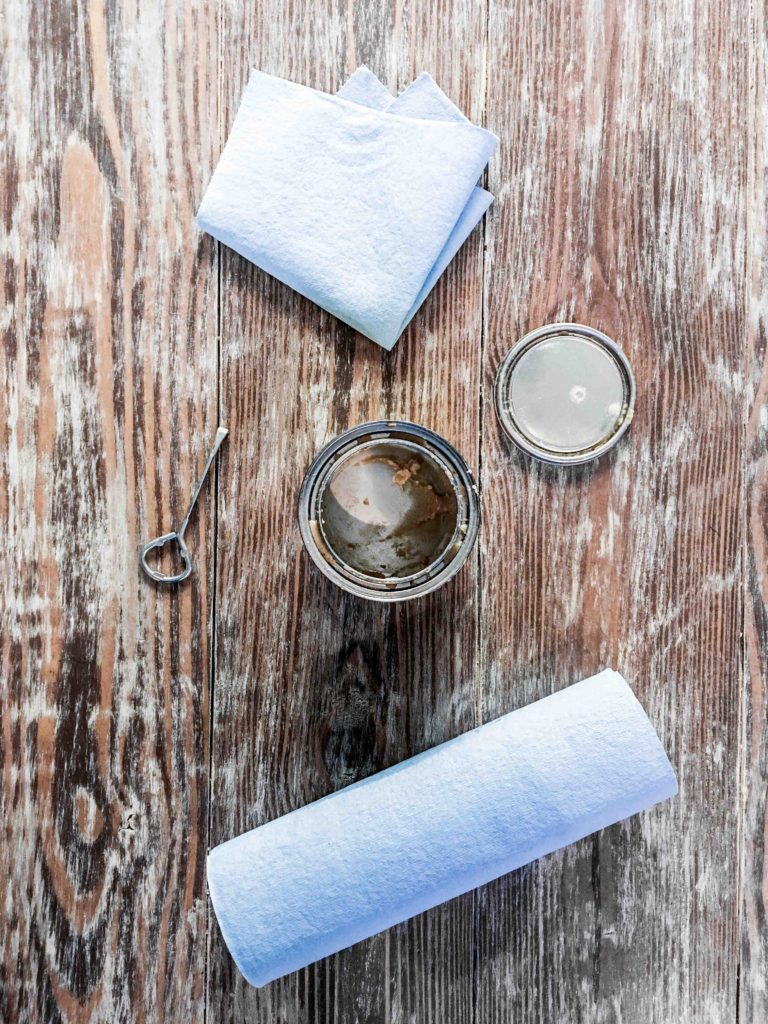
Step 8. Sand the legs.
- You’re distressing the legs to create an antiqued vibe.
- Only sand the white paint enough to reveal the stain underneath for a visual contrast. Don’t oversand and remove the stain to reveal raw wood.
- Sanding by hand, focus on the edges and corners. Try to vary strokes, amount of paint removed and where you remove it. The goal is a weathered look that appears as if it happened naturally over time instead of manually in an afternoon.
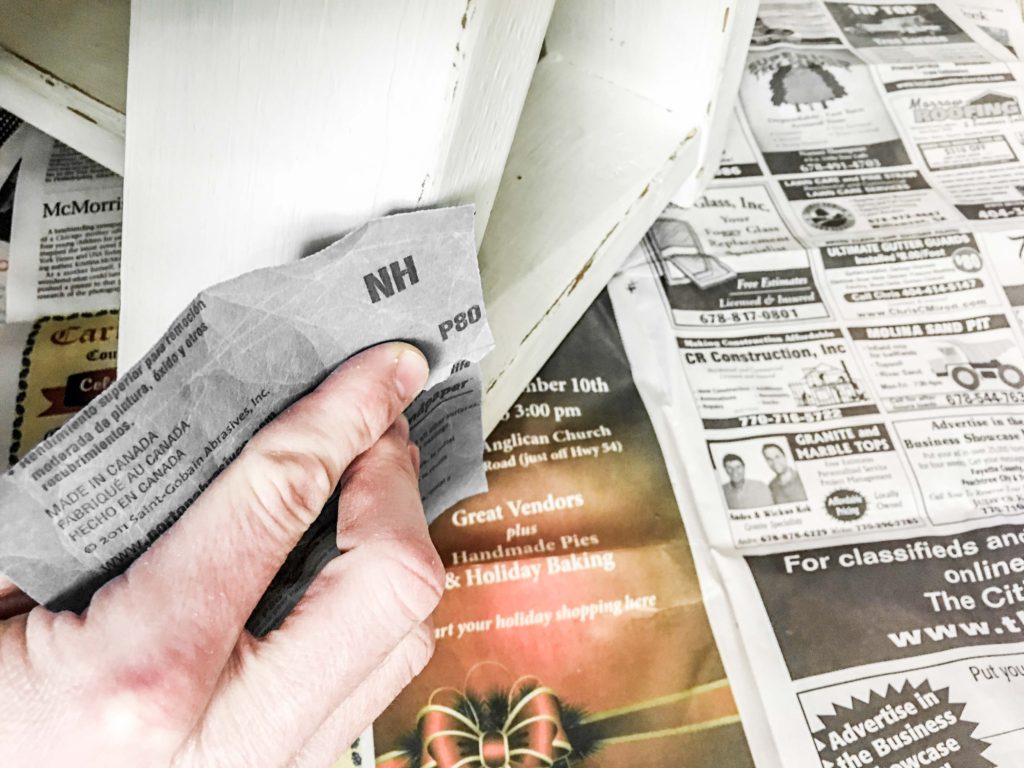
Step 9. Second coat of wax on top.
- Using a new shop towel, apply another coat of wax to the coffee table top and sides of the top.
- Make sure your hand strokes follow the grain.
- Let the second coat of wax dry for 15 minutes.
- Buff the table top with a new shop towel with very light and rapid hand-movements.
Rustic interior design at its best.
Beautiful coffee table finish, friend. The perfect blend of rustic and chic. Modern and farmhouse.
Inspired to finish or refinish a few other items for your home? Check out some of the finishes we’ve loved over the years:
- How to Dry Brush Reclaimed Pallet Wood with Paint.
- How to Make & Install DIY Stained Wood Shelves.
- How to Build & Install a Sliding Barn Door.
- Stain, Whitewash & Distress a Herringbone Headboard.
- Double-waxed Finish on a Restoration Hardware Copycat Headboard.
- Centerpiece Pallet Wood Box.
- Rustic Finish For Your Reclaimed Table.
- Paint, Stain, Whitewash & Distress Your Farmhouse Table.
- How to Clad with Pallet Wood in Your Kitchen.
- How to Install a Solid Wood Range Hood Cover.
