***Disclaimer: changing a light fixture by exposing live wires can put you at high risk for electrical shock, bodily harm & a very bad day. Consult a licensed electrician to reduce your risk. Don’t you dare try this at home if you’re going to electrocute yourself. Back to our regularly scheduled ego
bloatingboosting.***
You’re sitting rather comfortably in your home. You look up and think to yourself, “When did the 90s ransack my light fixture? And who the heck designed this dome light to look like a ceiling boob?” (I mean, seriously though… don’t tell us you haven’t ever had that thought.) We feel your pain, friend. It’s about time for an upgrade.

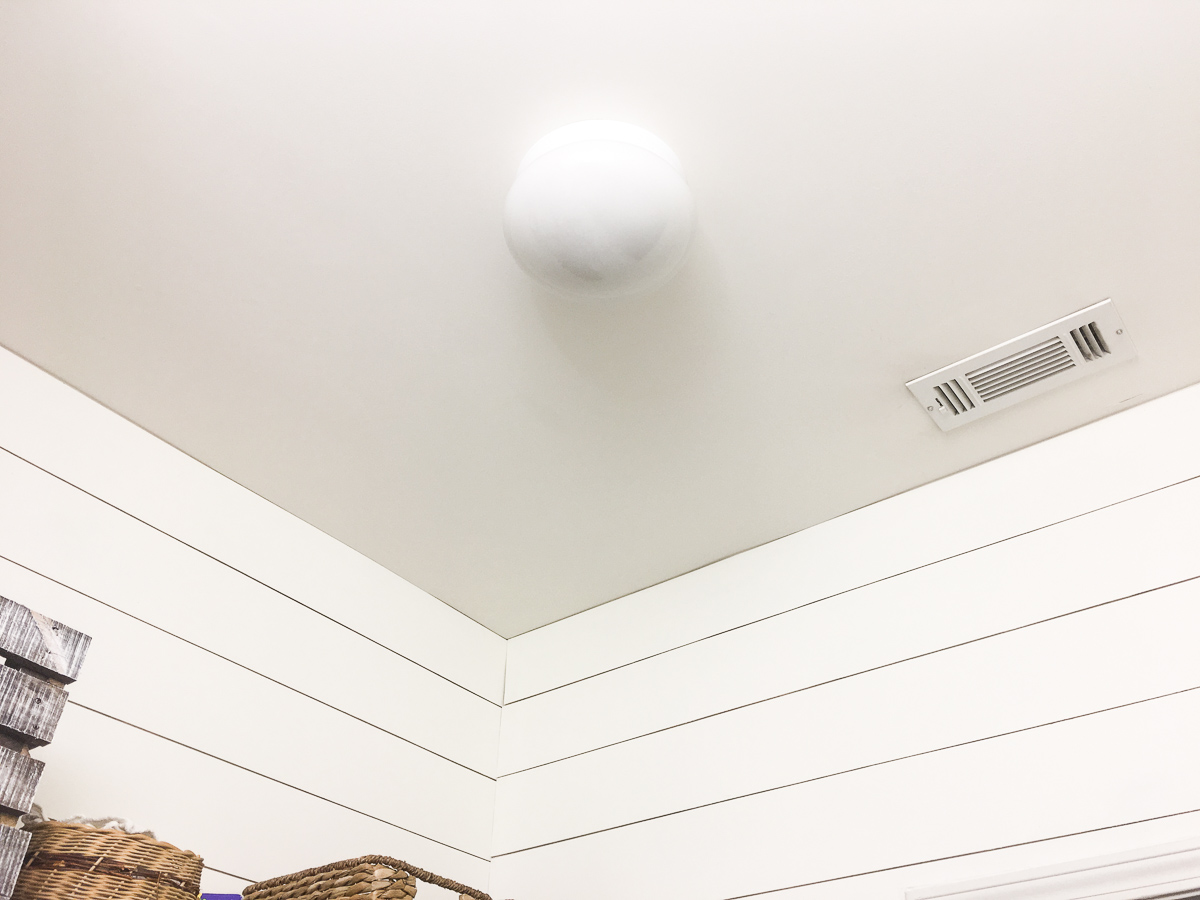
Does your home suffer from design confusion? Contemporary wall colors, custom art and decor, updated furniture. Eclectically mixed with:
- Dingy track lighting.
- A brass chandelier likely commandeered from the Cave of Wonders.
- A few ill-placed fluorescent tube lights because you love to reminisce on your recent visit to Target.
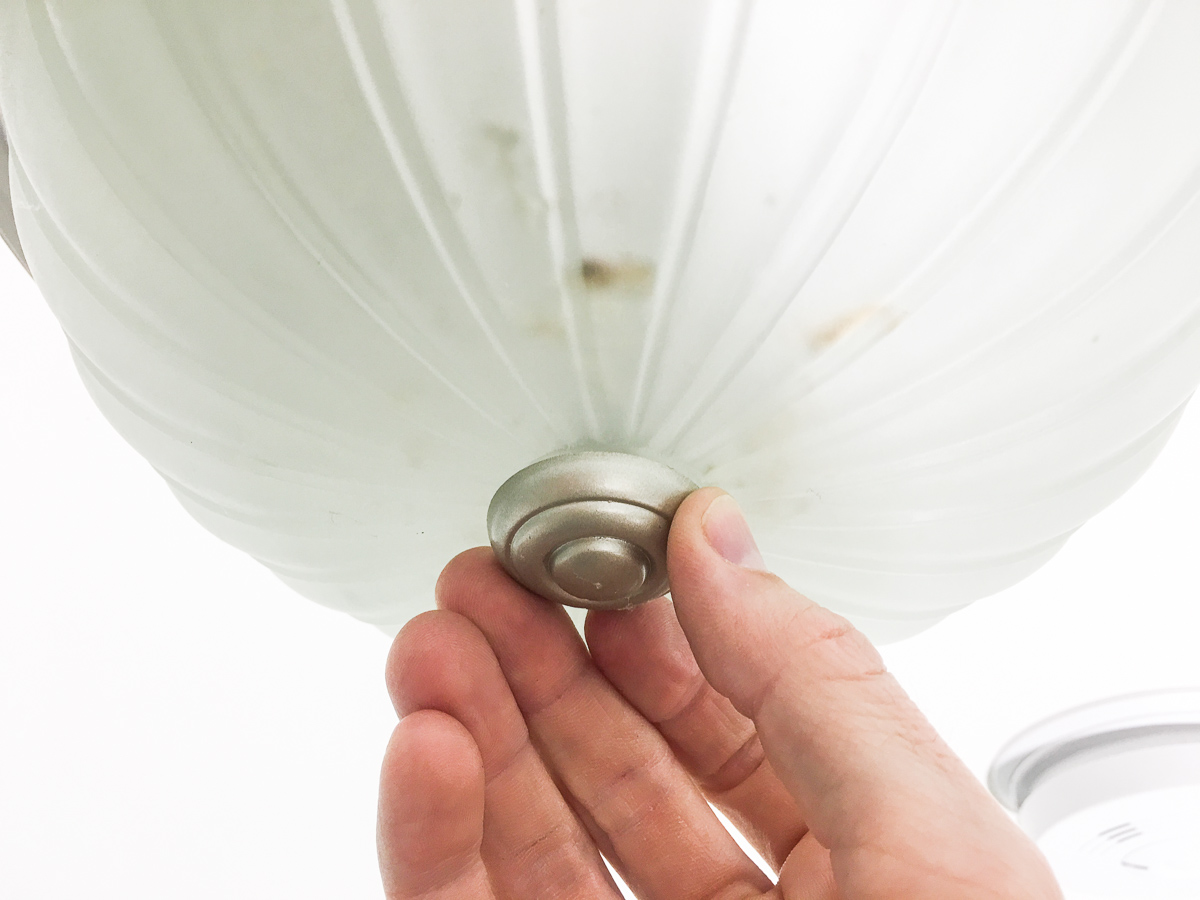
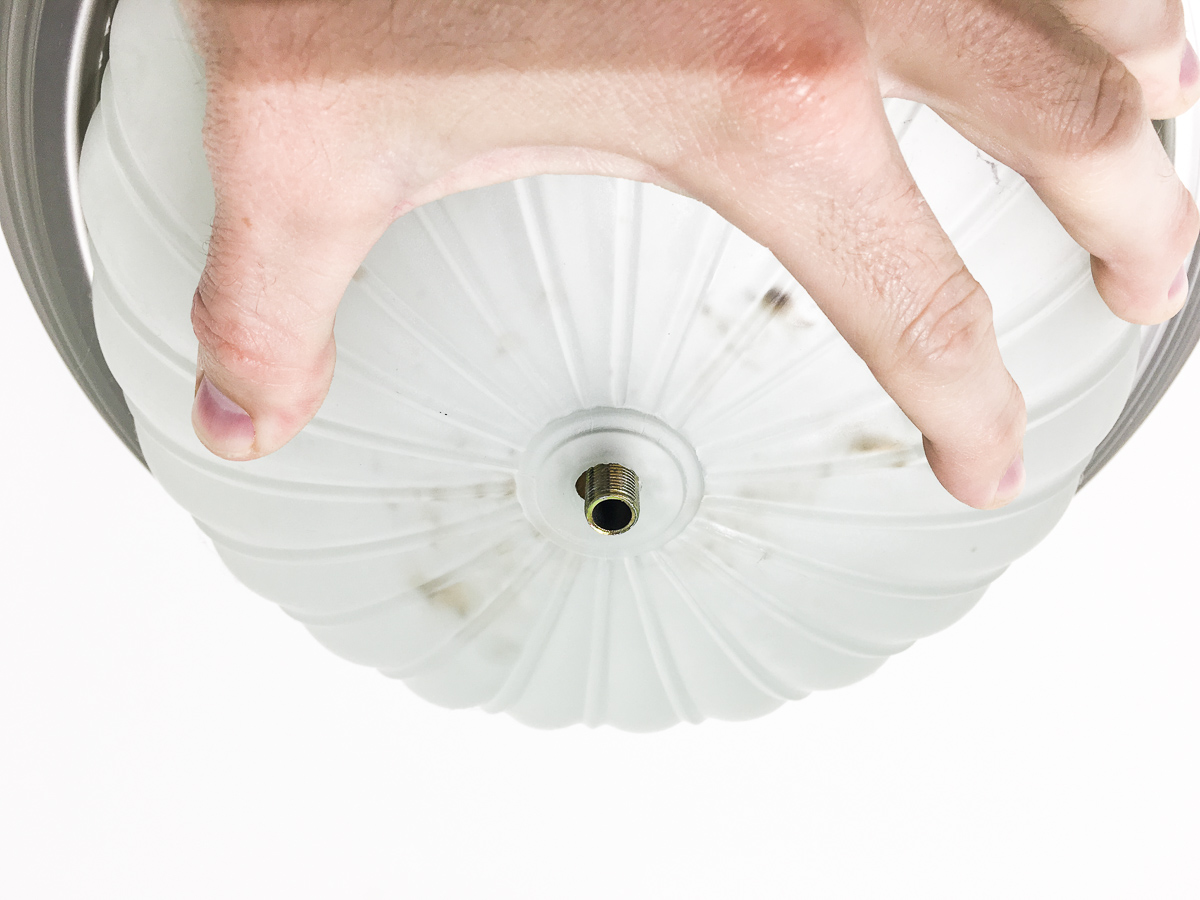
- The aforementioned ceiling dome lights that we affectionately call boob lights. (They ain’t cute). Also sorry that you will now forever always think of this when you see one. Here’s a quick demo of the anatomically-inspired lighting device:


Overview: swapping out your light.
Not sure where to begin? Afraid of getting electrocuted? Or dropping the old, glass fixture as you remove it? Afraid of your spouse or roommate falling victim to all of the above? Don’t worry. We’ll meticulously walk you through every step to avoid getting injured or breaking things. Here’s our detailed step-by-step below. Totally doable. We believe in you.
Table of most excellent contents.
- Purchase your new light fixture.
- Hit up the local hardware store for the tools you need.
- Turn off the appropriate breaker.
- Setup your ladder.
- Test the voltage of the old fixture to prevent getting shocked.
- Remove the old fixture.
- Carefully set aside the old fixture’s shade, cover, diffuser, bulbs, etc.
- Test the black wire to ensure no current.
- Remove the 2 or 3 wire nuts.
- Set aside the base of the old fixture.
- Unpack your new fixture & read the directions.
- Attach the new fixture wires to the exposed wires.
- Attach the new fixture base to the ceiling or wall.
- Install the shade, trim, diffuser or cover.
- Turn the breaker back on.
- Test the light switch to ensure proper functionality.
How to upgrade your ceiling light fixture in your home.
Materials.
- Your brand new light fixture. – We chose “Design House Kimball 1 Light Semi Flush Mount Ceiling Light, Bronze” for $23 bones on Amazon for a modern yet elegant design.
- (Optional) Bag of assorted wire nuts.
- (Optional) Bulbs if needed. Choose LED bulbs to maximize energy efficiency, save cost long term and to avoid changing a bulb for 10+ years (see the bulb’s description to know how long it will last).
Tools.
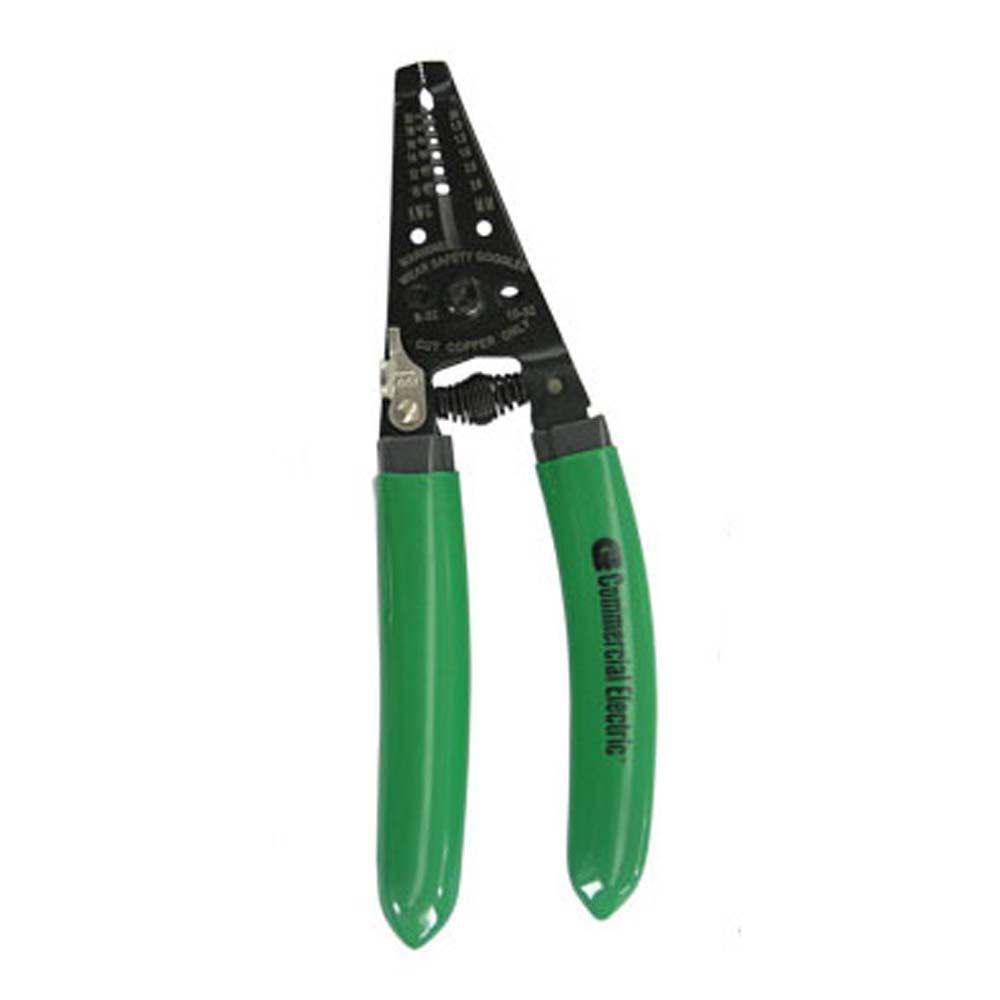
- Wire stripper. $10. – Removes the wire sheathing.
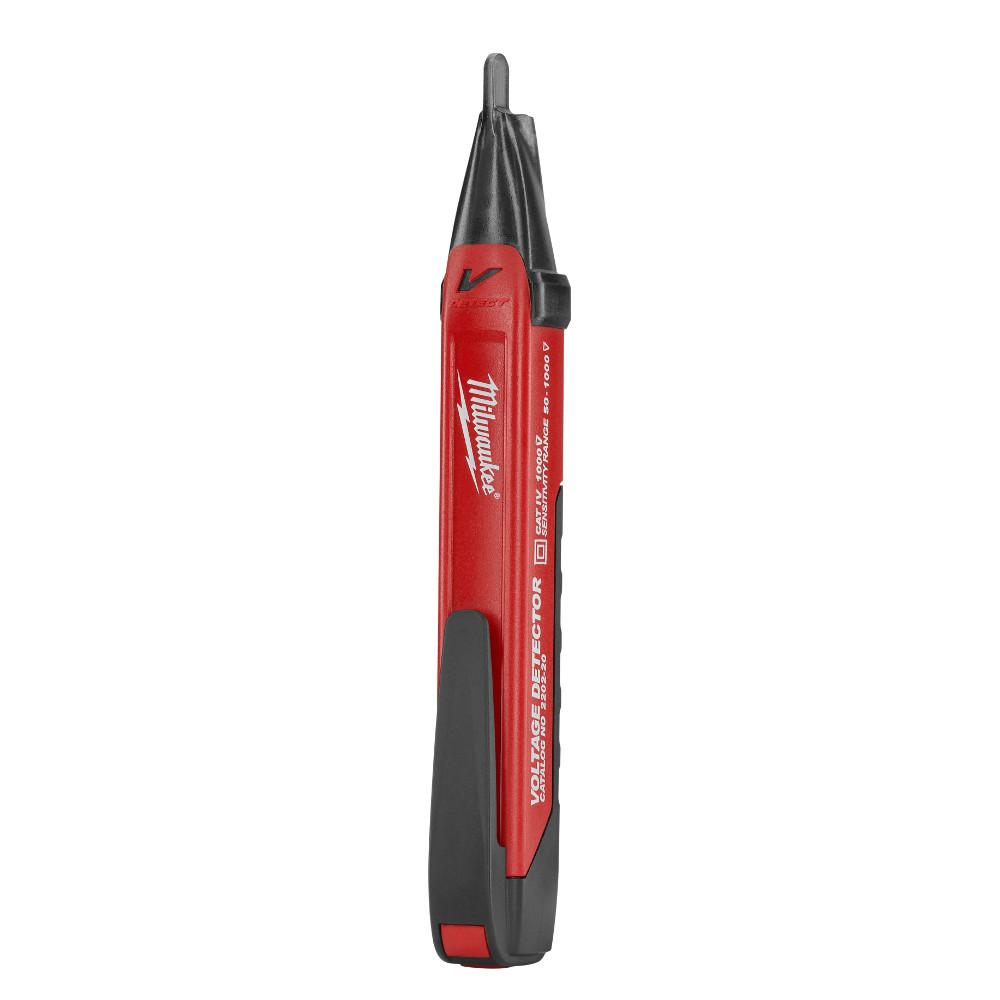
- Voltage detector. $20. – Prevents getting shocked.
- Ladder.
- Screwdriver.
- (Optional) Work light + extension cord.
Budget.
- $23 Light fixture + $10 wire stripper + $20 voltage detector = $53.
- TOTAL COST = $53.
Step 1. Purchase your new light fixture.
- Shop on Amazon, Wayfair or Home Depot to find your favorite light fixture.
- Choose the appropriate type of fixture. Pendants to beautifully hang from the ceiling. Flush-mounted ceiling fixtures to maximize light in the entire room or area. Wall mounted lights or sconces in bathrooms, around the fireplace or on the exterior within arm’s reach.
- Color temperature. Measured in degrees of Kelvin (K). Quick guide:
- 2700K is warm light to set the mood in a non-task area (bedroom, living room, intimate spaces).
- 3000K is cool white light for a blend of no-task AND task areas to ensure sufficient light for activities.
- 3500K is the brightest white appropriate for residential use – task-only, e.g. kitchen, laundry room, office.
- Each color temperature option is contingent on the bulb choice for all non-LED fixtures, and contingent on the fixture itself for built-in lamp LED fixtures.
- Tip: some hardware stores offer a side-by-side lighting display of various color temperatures. Compare in person to confirm the best fit for a specific area of your home.
- Choose LED bulbs or built-in fixtures for a few key reasons:
- Lesser energy used for the same amount of lumens (perceived brightness).
- Last MUCH longer than non-LEDs, sometimes a 10-20 years lifespan.
- Lesser wattage means a cooler, less physically hot fixture. Easier to handle when necessary.

Step 2. Hit up the local hardware store for the tools you need.
- Wire stripper.
- The set of pliers designed to cut wires AND to strip the outer sheathing off of metal wires.
- Most wire strippers offer multiple cut sizes for most residential wire applications.
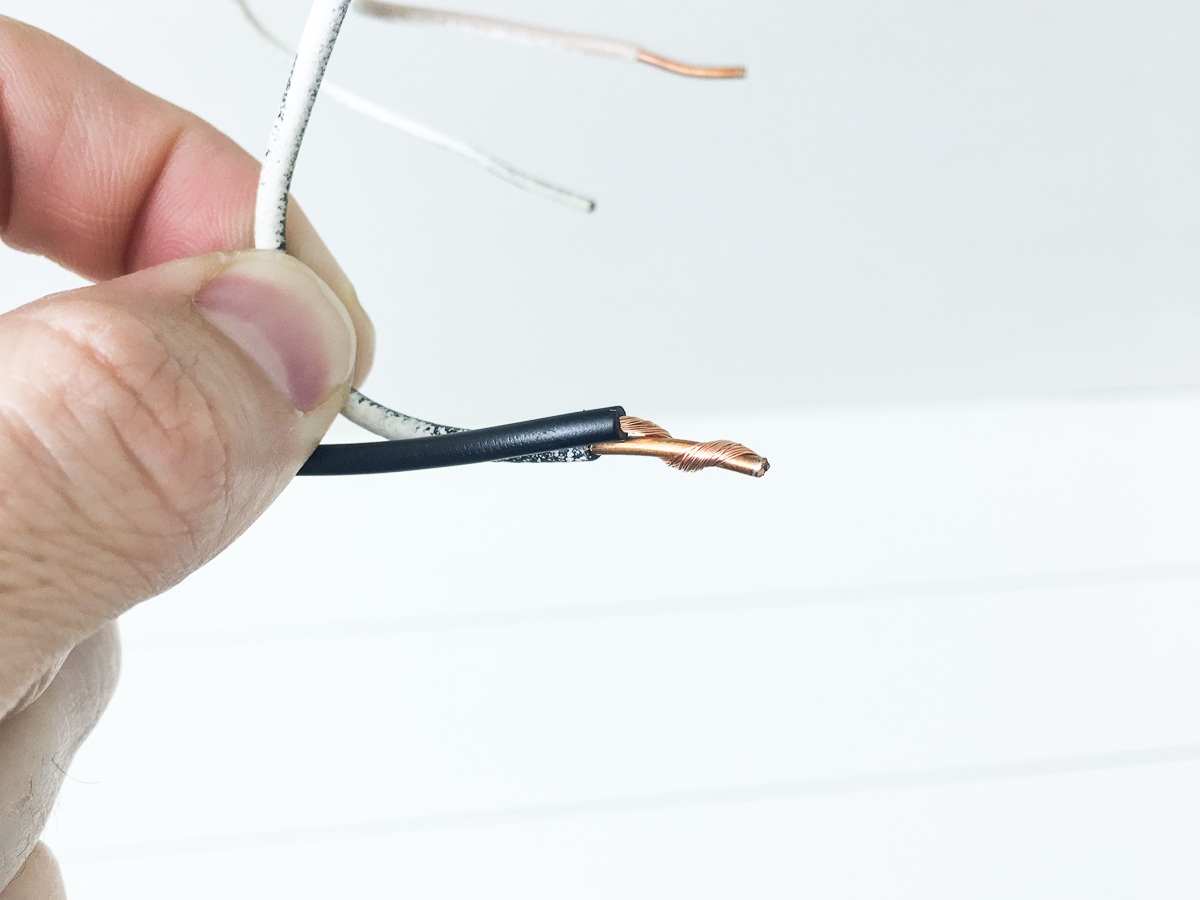
- Necessary for properly connecting wire ends. If black, white, red or green sheathing is covering the end of the wire, it will NOT complete the circuit = no light.
- Voltage detector.
- The shock-prevention tool. Don’t risk getting electrocuted.
- Turn it on. When touching a “hot” or “live” wire, one that has electrical current running through it, the detectors alarm with audibly go off and the red light will flash. ALWAYS assess a wire you know is hot before testing the one(s) you’re working on/replacing to ensure the detector actually works properly.
- Turning off a 1-way light switch should disengage the power supply to the light fixture. However, it’s MUCH safer to turn off the appropriate breaker to cut of the power supply at its source in your home. Even if the old light won’t turn on after cutting off the breaker, it’s best practice to test with your voltage detector to be sure.
- Wire nuts.
- Also known as wire connectors.
- They come in varying sizes to accommodate different wire gauges, and to connect more than 2 wires at once.
- Wire nuts have a built-in female-ended, threaded metal piece that bears down on the wires as its tightened.
- After install, ALWAYS hold the wire nut in one hand and tug on each individual wire with the other hand to assess for a solid connection.
Step 3. Turn off the appropriate breaker.
- Turn the old light fixture on.
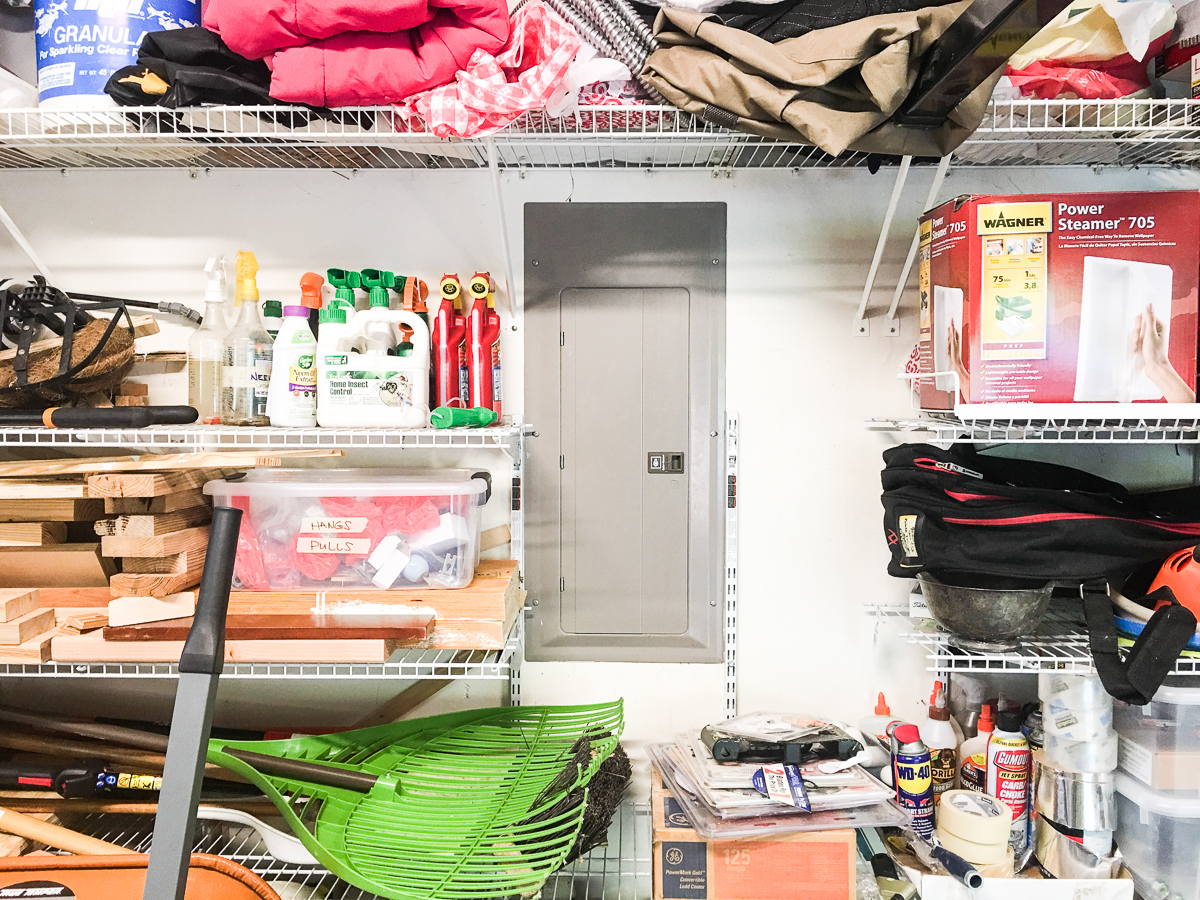
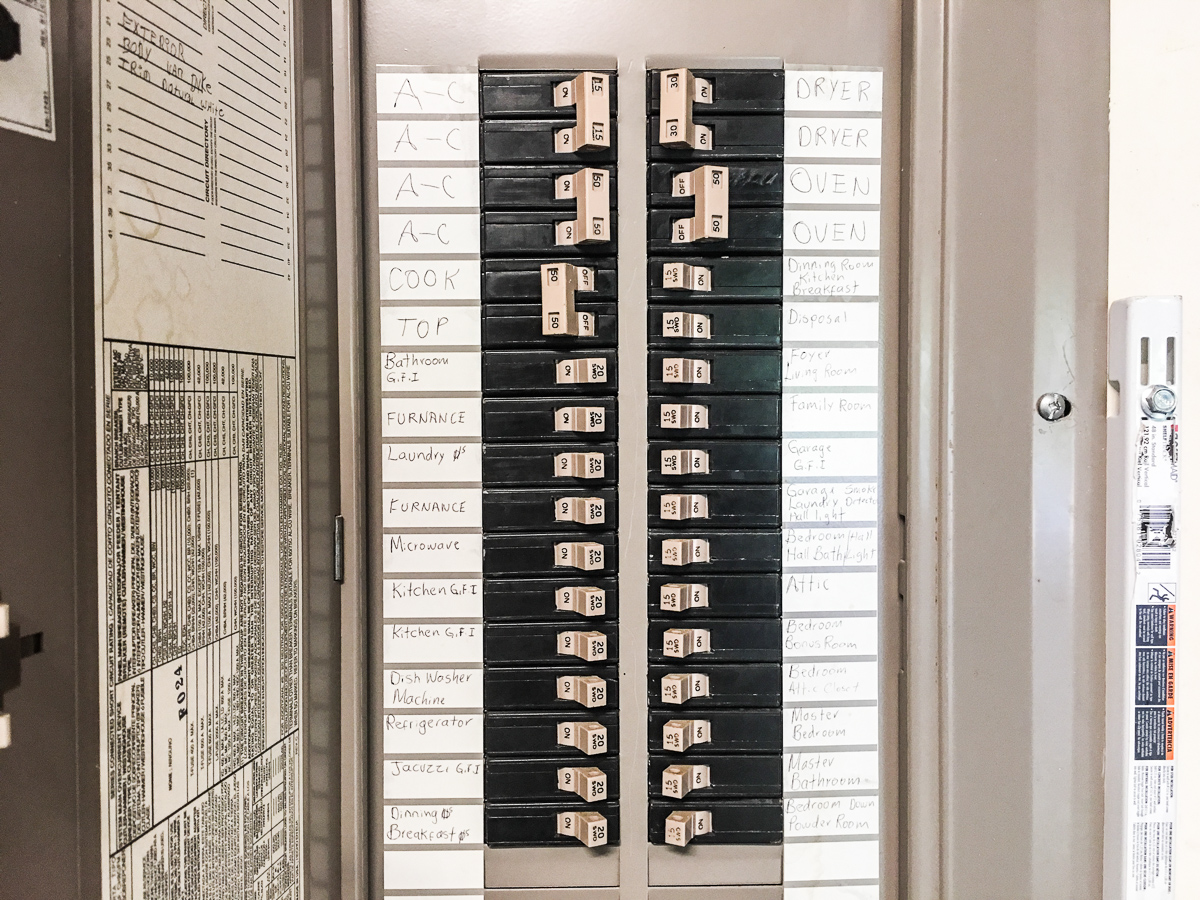
- Find your breaker box. It’s likely situated in your garage or unfinished room in your basement.
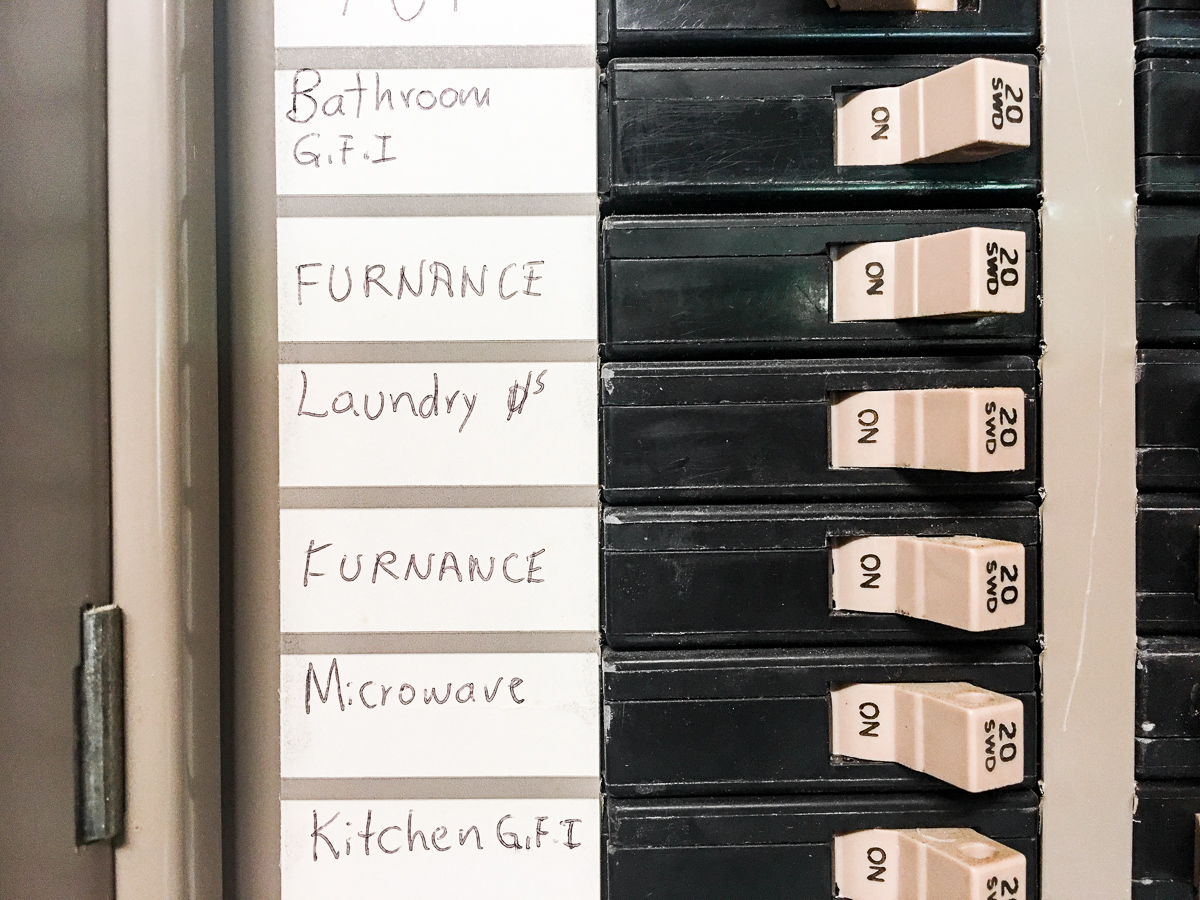
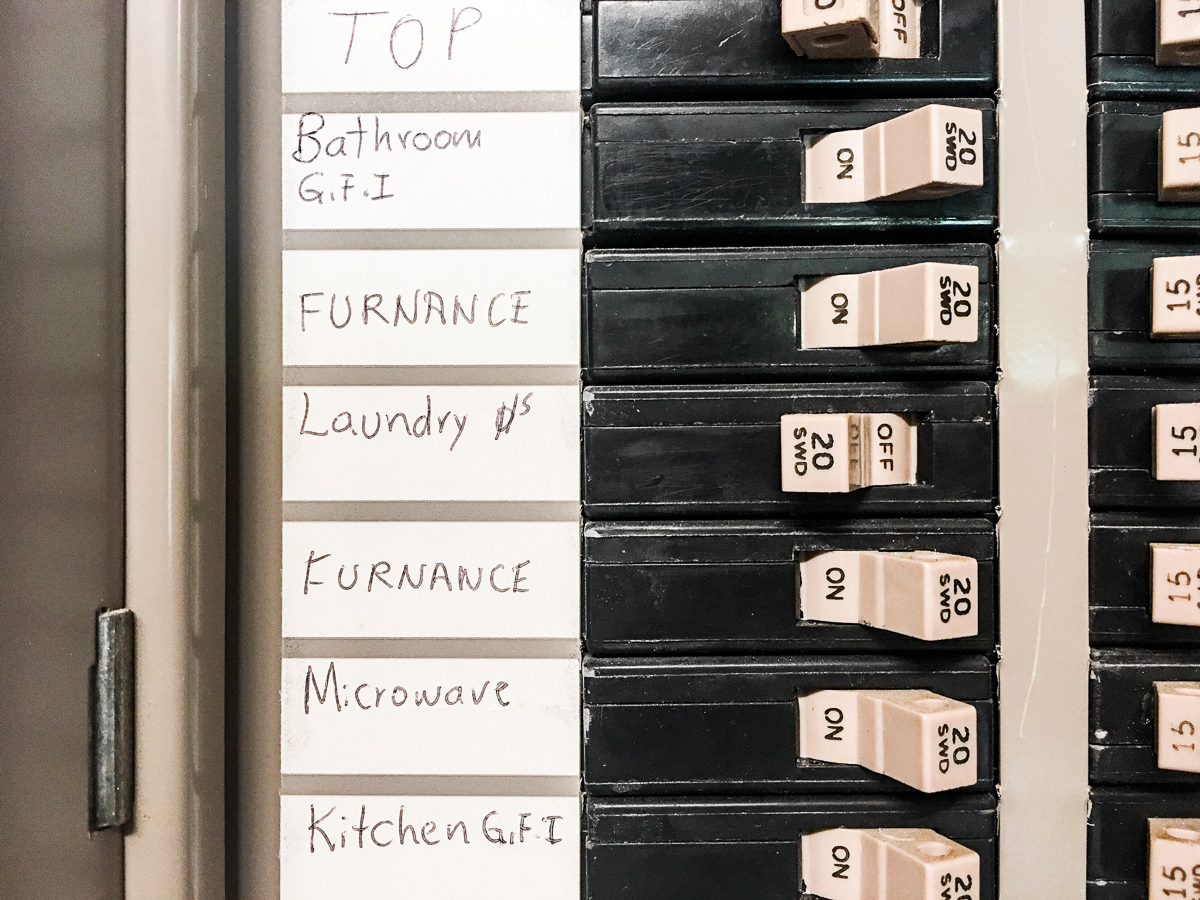
- Push the appropriate breaker to the off position until it clicks. If your breakers aren’t labeled appropriately, you may have to try a couple before finding the right one. This is why you turn the light on first – to ensure you know when you have flipped the correct breaker. (The light fixture will turn off.)
- Go back to the room with the old light fixture and make sure the light is now off. If the light is still on, you turned off the wrong breaker. Turn the incorrect breaker back on and try your next best guess based on the somewhat intelligible scribble next to each breaker.
Pro-tip: consider spending an hour with a friend, call each other on the phone of stand within shouting distance and flip off individual breakers without proper titles, having your your friend confirming what areas / fixtures / appliances are on each circuit, then label them on your breaker panel. This is guaranteed to make your life easier on multiple occasions in the future.
Step 4. Setup your ladder.
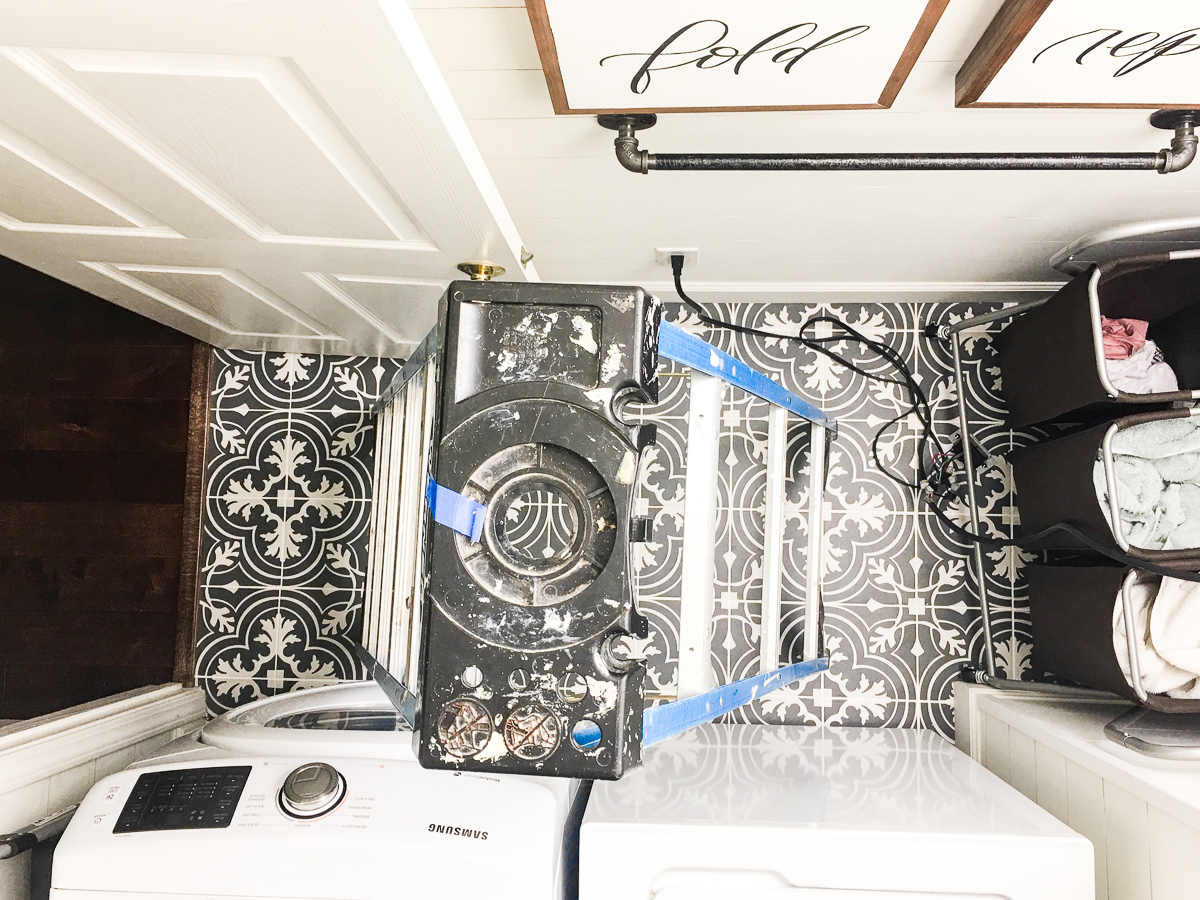
- Set your ladder up underneath the old light fixture for best leverage.
- Pocket your wire stripper AND voltage detector.
Step 5. Test the voltage of the old fixture to prevent getting shocked.
- Turn your voltage detector on.
- Touch the tip to a wire or outlet or switch or fixture that you know is “hot” or currently has power running to it. The voltage detector should flash and beep at you to tell you it’s definitely “hot”. This ensures that your detector isn’t malfunctioning.
- With the voltage detector still on, climb your ladder and touch the detector to the old light fixture to make sure that NO current is moving through the wires.
Note: it may be difficult to access the (potentially) hot wires of the old light fixture. Especially if the wires are covered up. We’ll test the voltage again once the fixture is mostly removed.
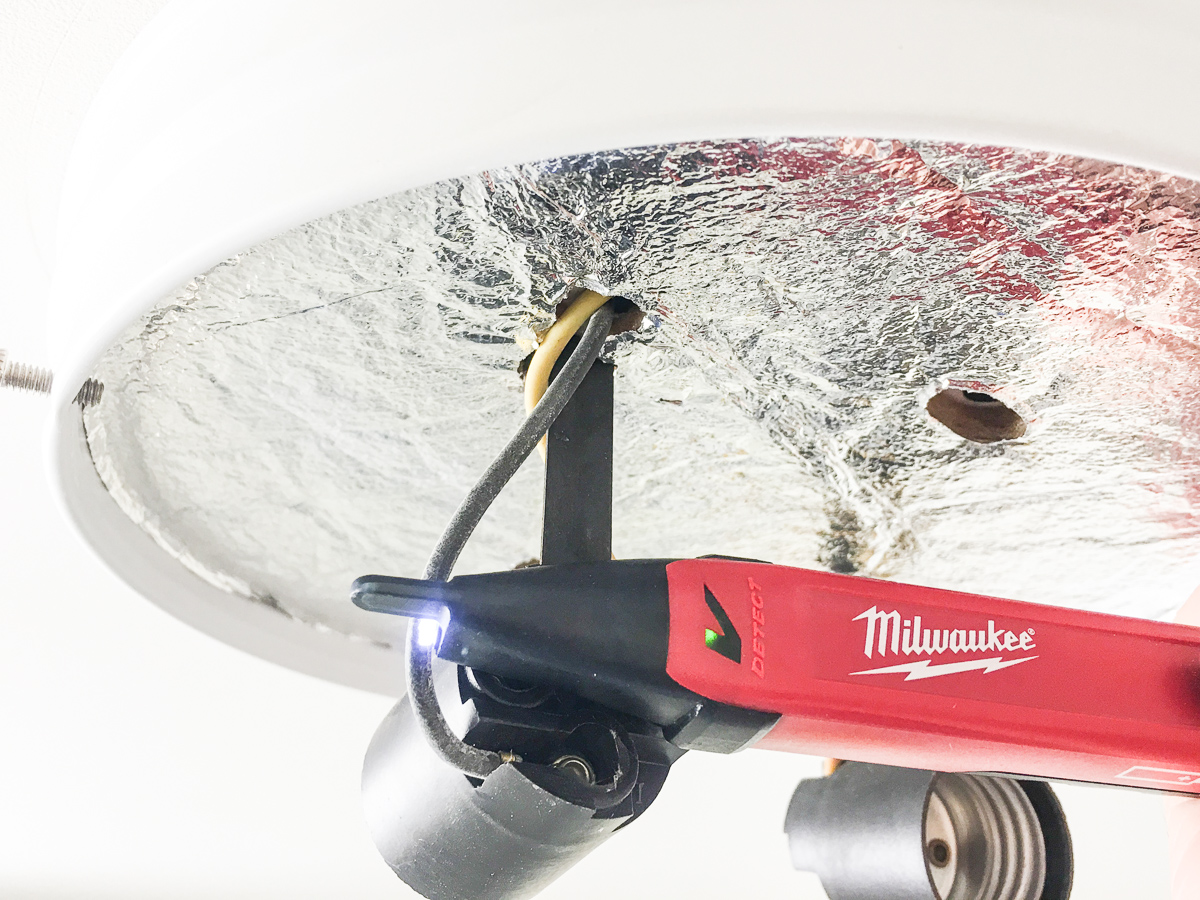
Step 6. Remove the old fixture.
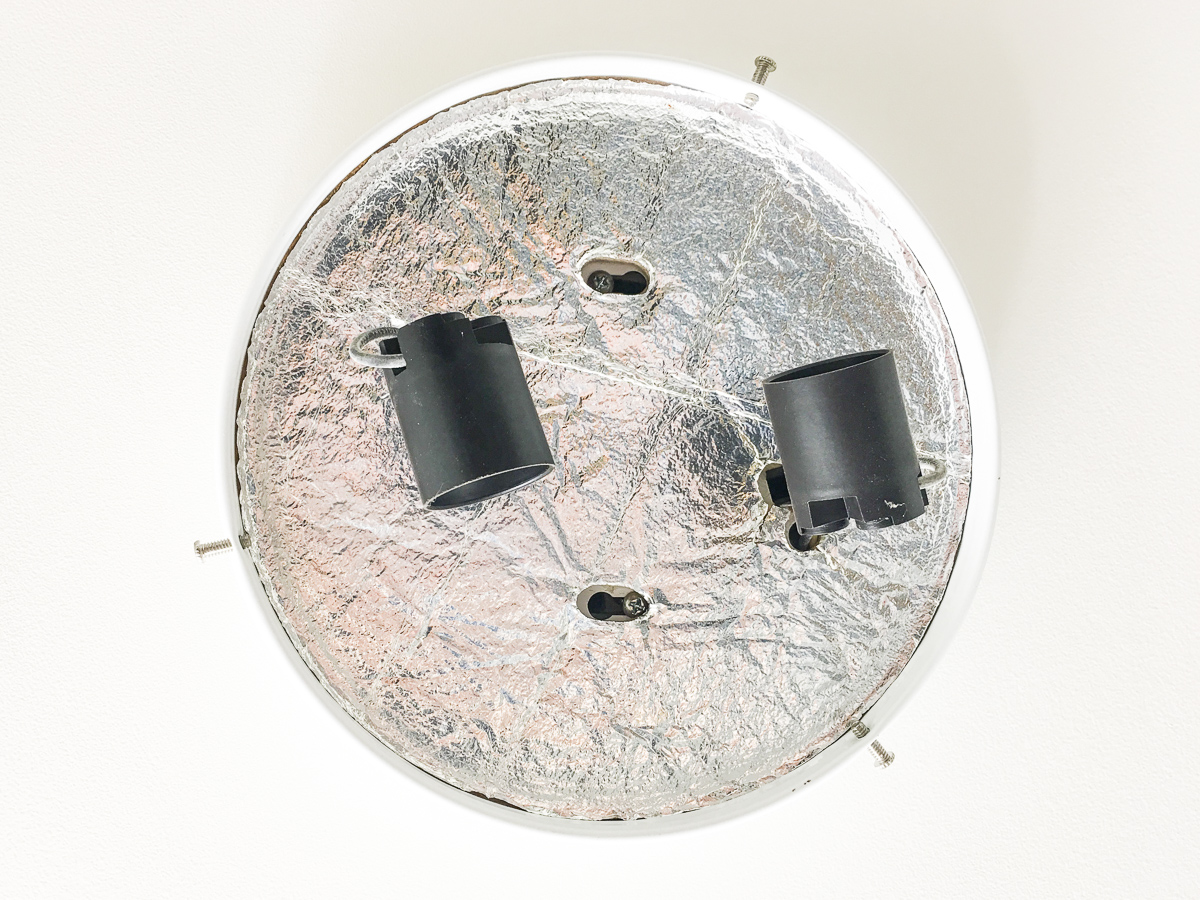
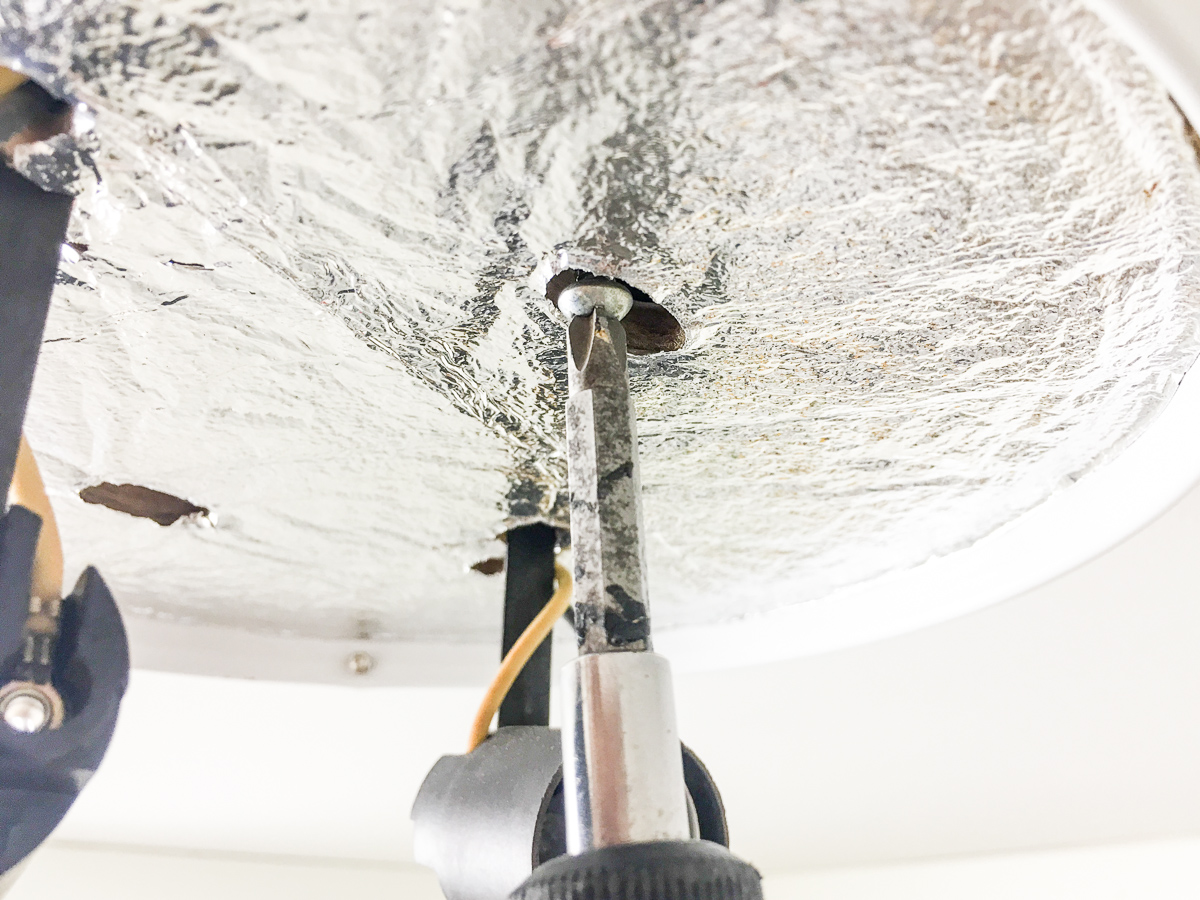
- Carefully remove the shade of the old light fixture. Use a screwdriver if necessary.
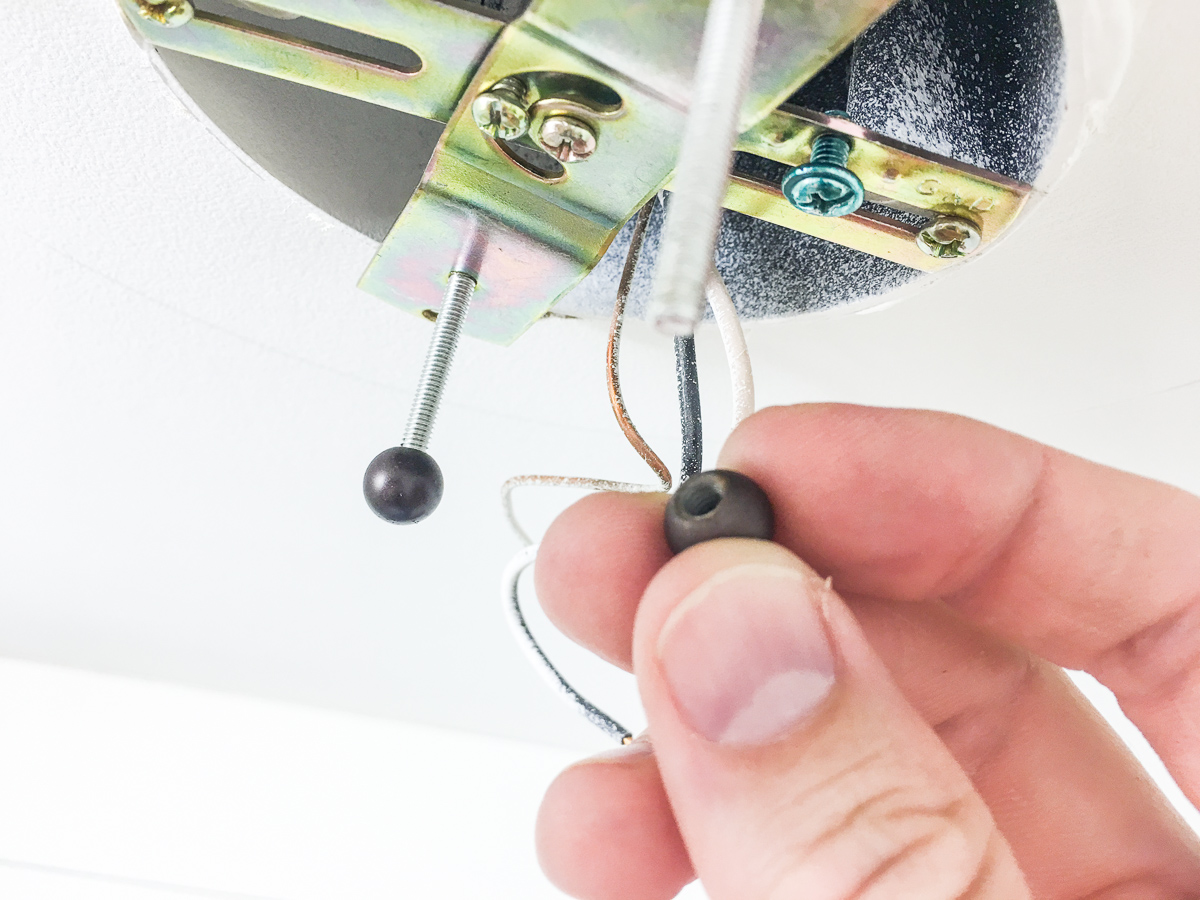
- Dome lights. The very tip is a nut that will screw off by hand.
- Schoolhouse lights often have a lip near the opening where bolts will snug into. Loosen the bolts to disconnect the schoolhouse shade.
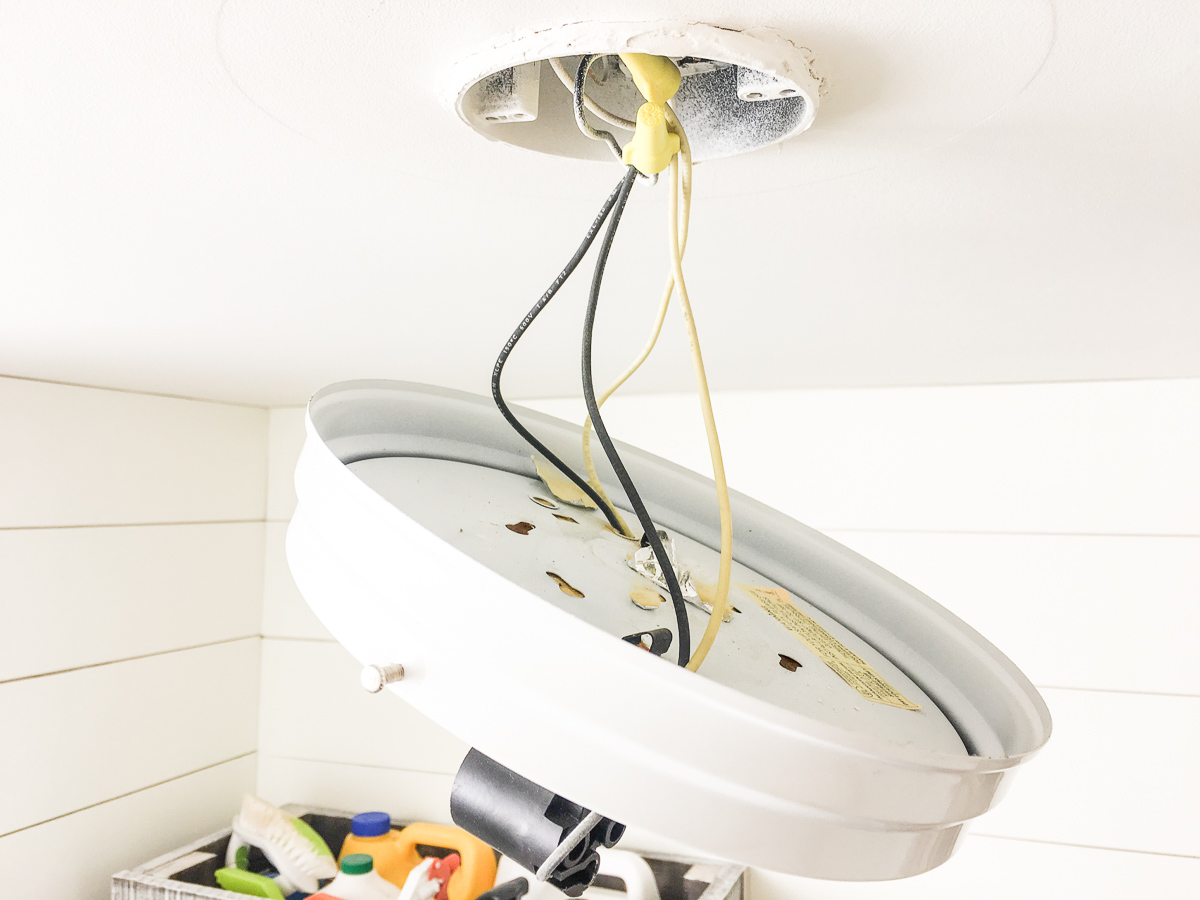
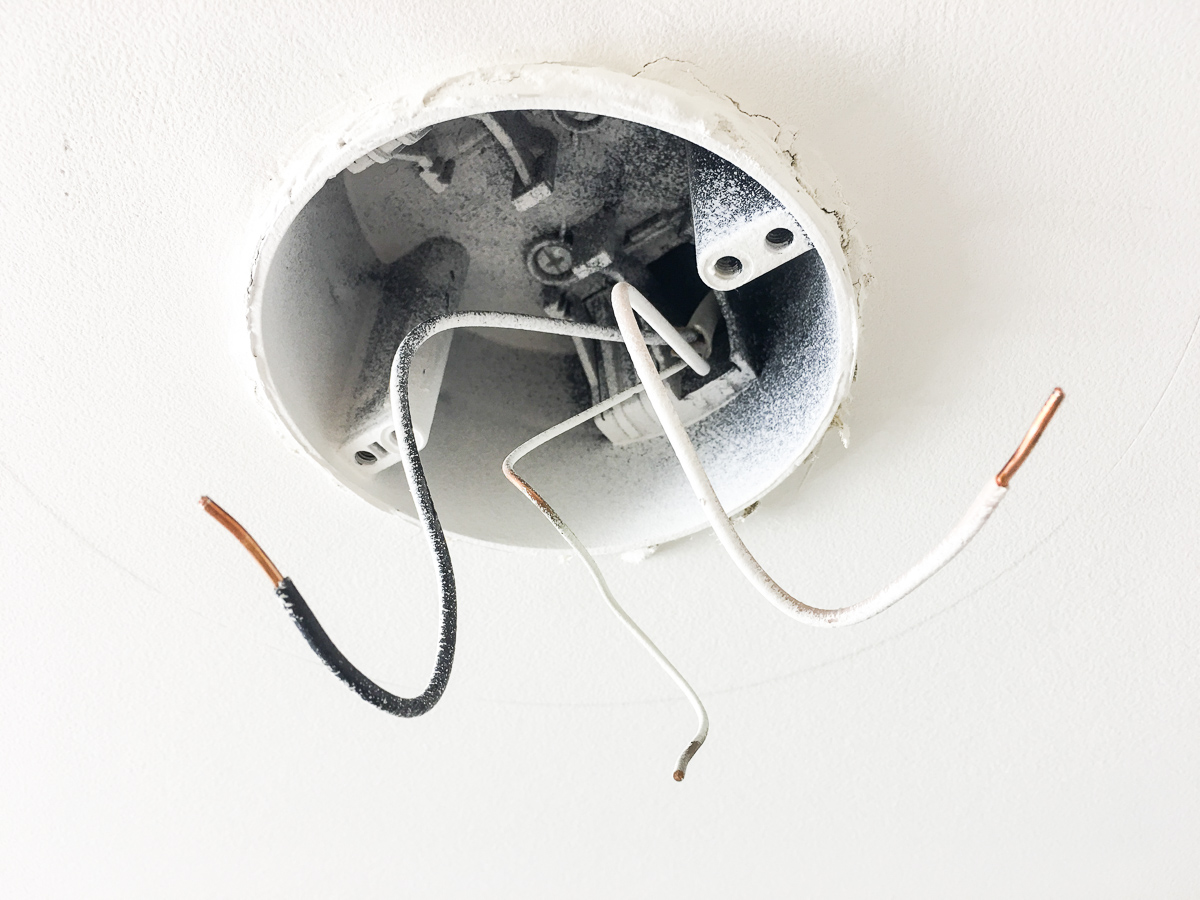
- PAUSE when you see the exposed wires. E.g. black wire(s), white wire(s), bare copper ground wire(s). Wire nuts should be connecting the base of the old fixture to the wires coming out of the electrical ceiling box.
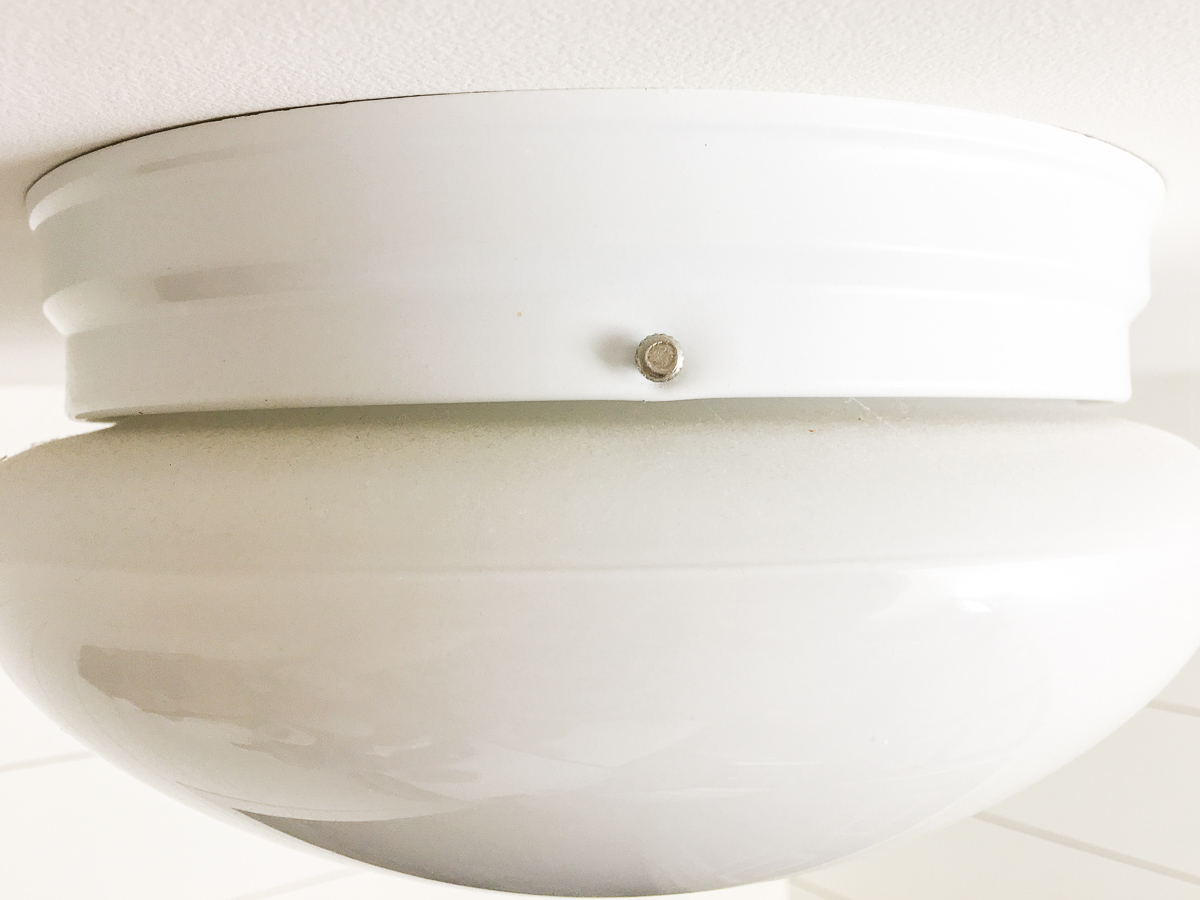

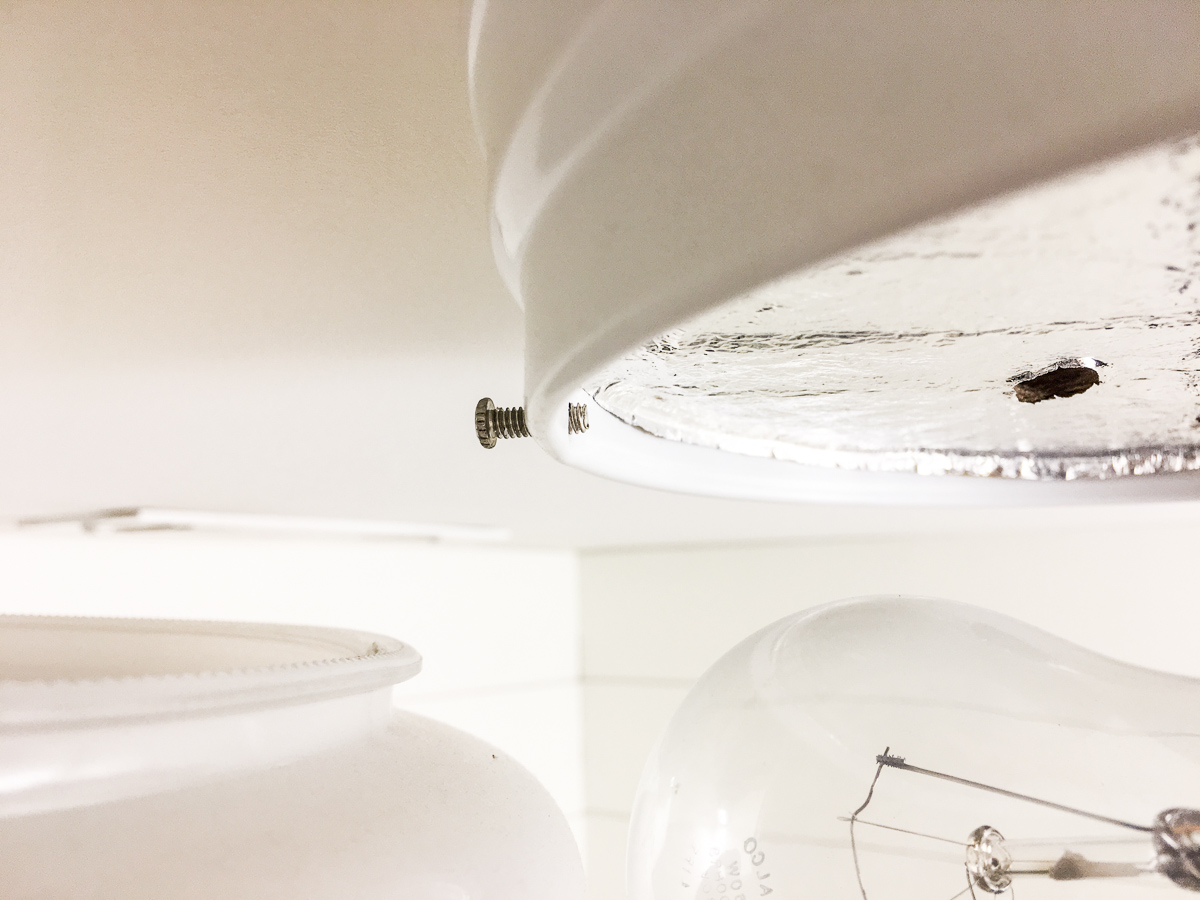
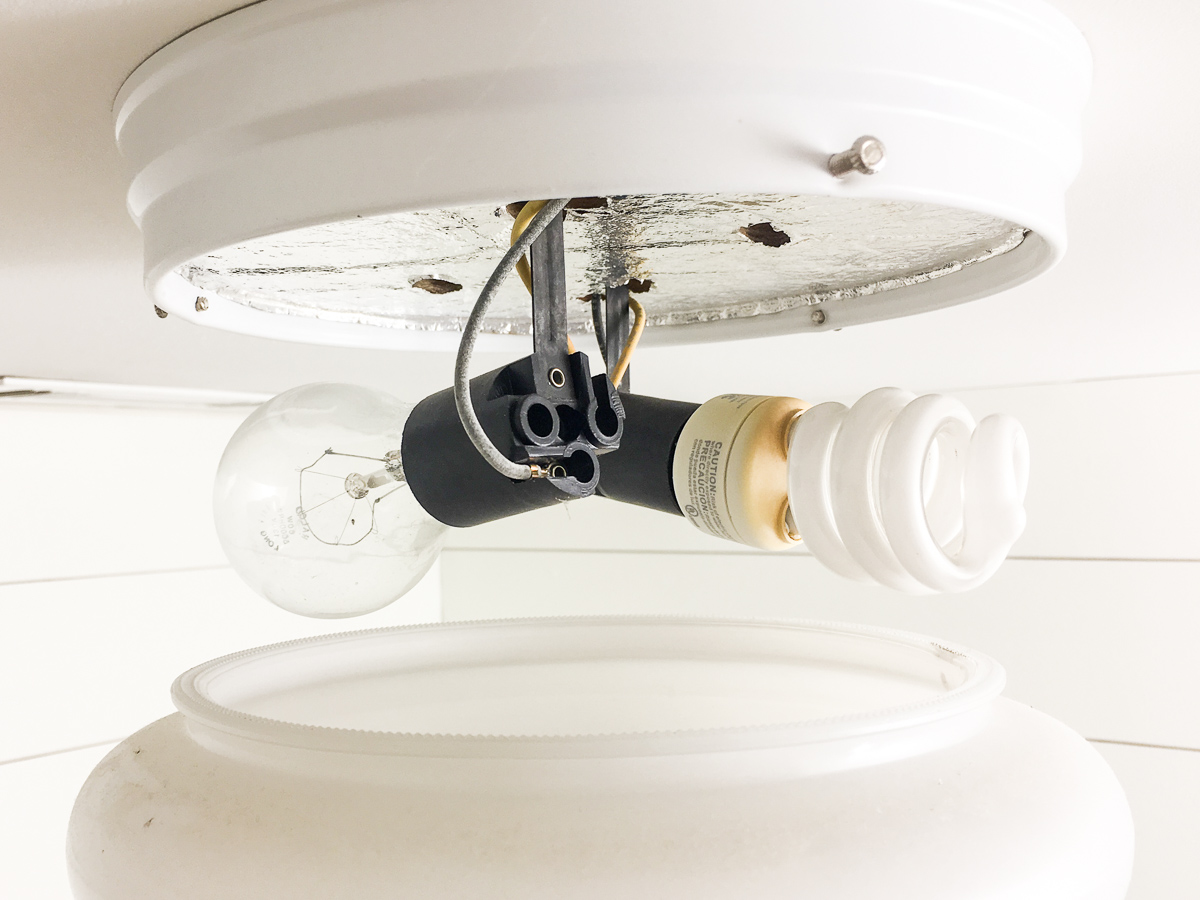
Step 7. Carefully set aside the old fixture’s shade, cover, diffuser, bulbs, etc.
- Designate a place to put all of your old fixture parts and materials. Some may be reusable.
- Do NOT hold a disconnected shade, diffuser, trim piece or cover in your hand for the next step. Do NOT balance old fixture parts on the top of the ladder.

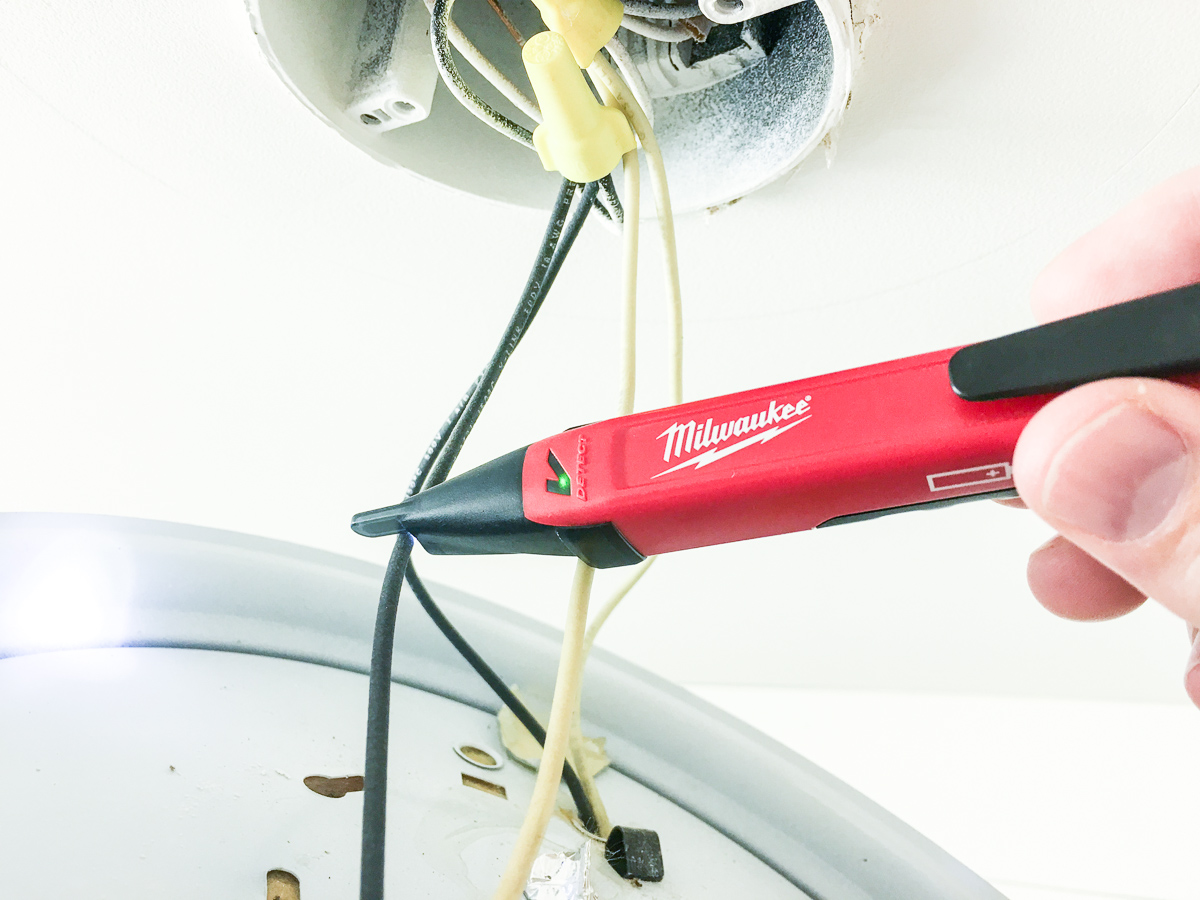
Step 8. Test the black wire to ensure no current.
- Turn your voltage detector on again.
- Touch the tip to something connected to a power supply until the detector beeps and flashes its light. You’ve confirmed it still functions properly and “calibrated” it. Do before EVERY use. It may seem like overkill, but your safety is at stake.
- Keeping the detector on, touch the tip to ALL of the exposed wires still connecting the old fixture base to the ceiling or wall. If the alarm doesn’t go off and the light doesn’t flash, continue to Step 9.
- If the voltage detector indicates a current, then you definitely turned off the wrong breaker OR something isn’t wired properly. Go back to the breaker box and check the next best breaker until the detector confirms that there is no longer any electrical current in the wires connected to the old fixture.
Step 9. Remove the 2 or 3 wire nuts.
- Twist off the couple of wire nuts attaching the old fixture to the ceiling or wall. Lefty loosey!
- Untwist the wires from each other. Use your wire stripper tip if necessary.
- Pocket the wire nuts for later use.
Step 10. Set aside the base of the old fixture.
- Place the base of the old fixture with the rest of the old parts and materials.
- You’ll need two hands to install the new fixture.
Step 11. Unpack your new fixture & read the directions.
- Don’t skimp on this step. Improperly installing the new fixture could mean it ends up on the floor at 2 AM tomorrow morning.
- Read every line of the instructions. Determine what additional tools you need for the install, i.e. type of screwdriver.
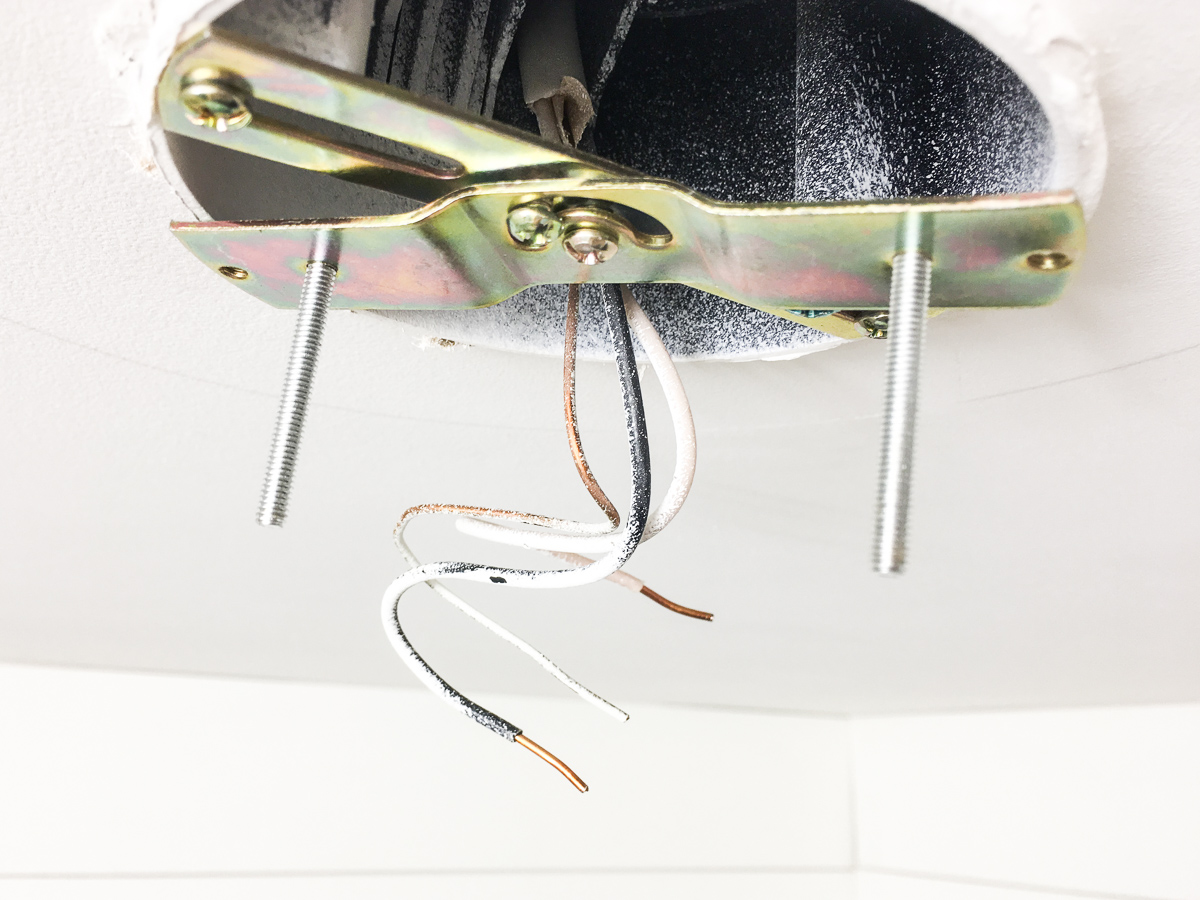
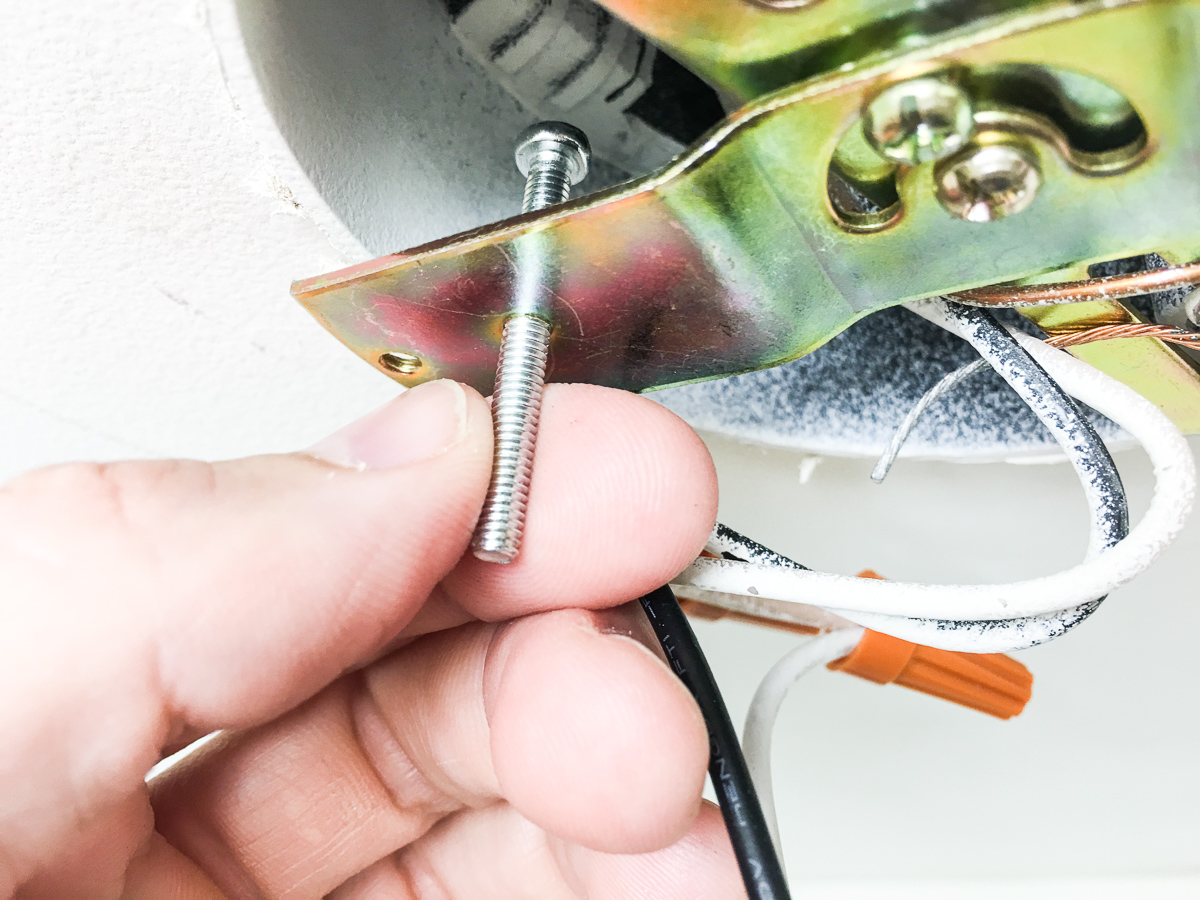
- Decide if you can use the existing screws and bolts and metal bracket already in the ceiling or wall box OR if you need to use the brand new one that came with the new fixture.
- If the old and new bracket and bolts / screws aren’t identical, remove the old ones and install the new ones.
Note: we spray painted ours black instead of leaving it bronze.
Step 12. Attach the new fixture wires to the exposed wires.
- Here’s the tricky part if you’re installing this bad boy Han Solo, aka by yourself.
- Check your pockets for wire nuts. You’ll need them.
- You’ll likely need to hold the base of the new fixture in one hand while the other hand twists like-colored wires together.
- Attach the black to black. White to white. Ground wire to ground wire (usually exposed copper or green). Attach by twisting the ends together by hand or with the tip of your wire stripper.
- Check your installation manual for proper grounding. The ground wire may need to be wrapped around a green bolt fixated to the ceiling or wall bracket. And also attached to the existing ground wire.




Step 13. Attach the new fixture base to the ceiling or wall.
- Pocket your screwdriver if needed.
- Following the instructions that came with your new fixture, attach the base of the new fixture to the ceiling or wall bracket with bolts, screws and/or nuts.
- Bend all the wires (blacks, whites, coppers or greens) into the ceiling or wall box behind or underneath the new fixture base. Keep wires from sneaking out of the box, as crimping them between base and box could fray the wire sheathing and compromise your fixture.
Note: now is a fantastic time to test the functionality of your new light fixture. If you made an electrical error, it’ll be much easier to repair with the shade or cover off. Turn breaker back on. Turn the switch on. Assess if your new light works. If it works properly, turn the breaker back off and resume installation. If it doesn’t work, pray for patience because you’re going to need it. Reread the instructions for greater clarity.
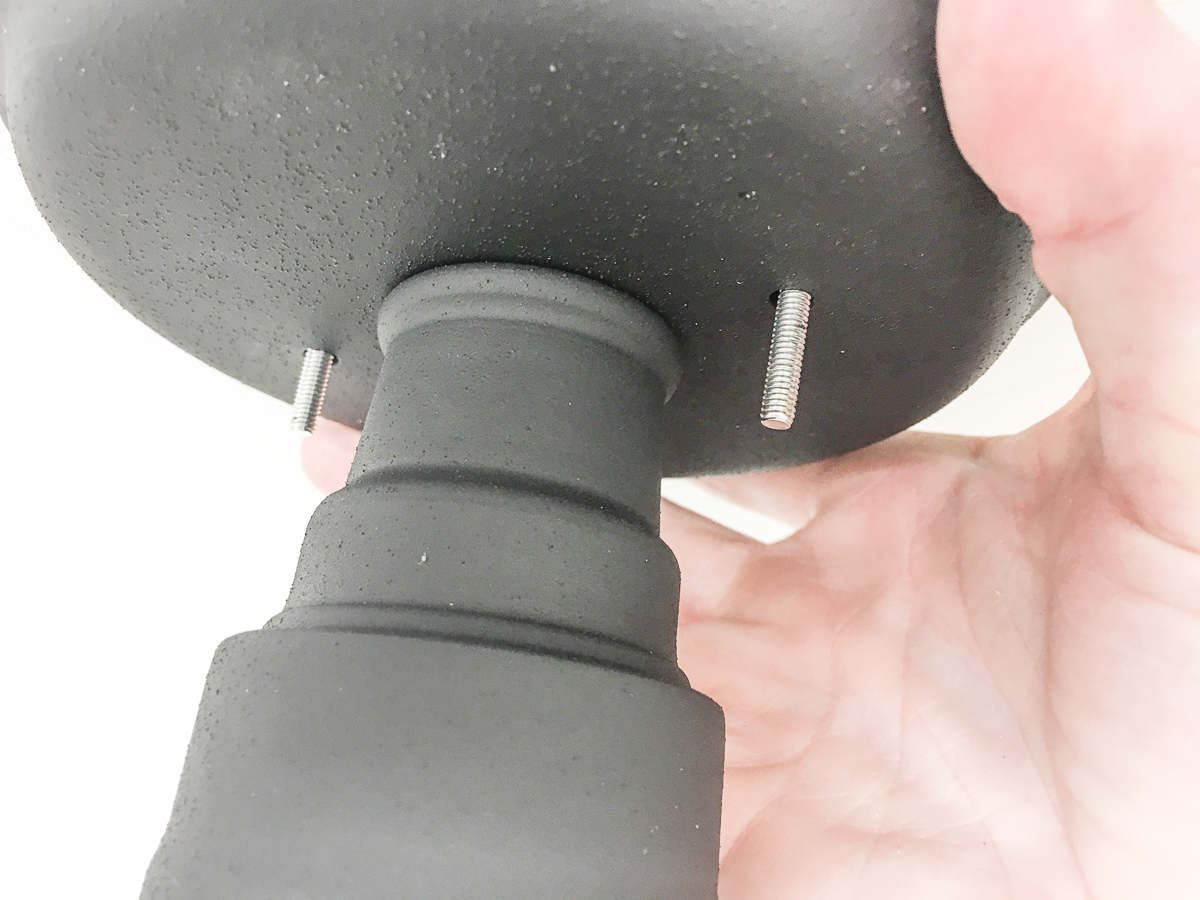
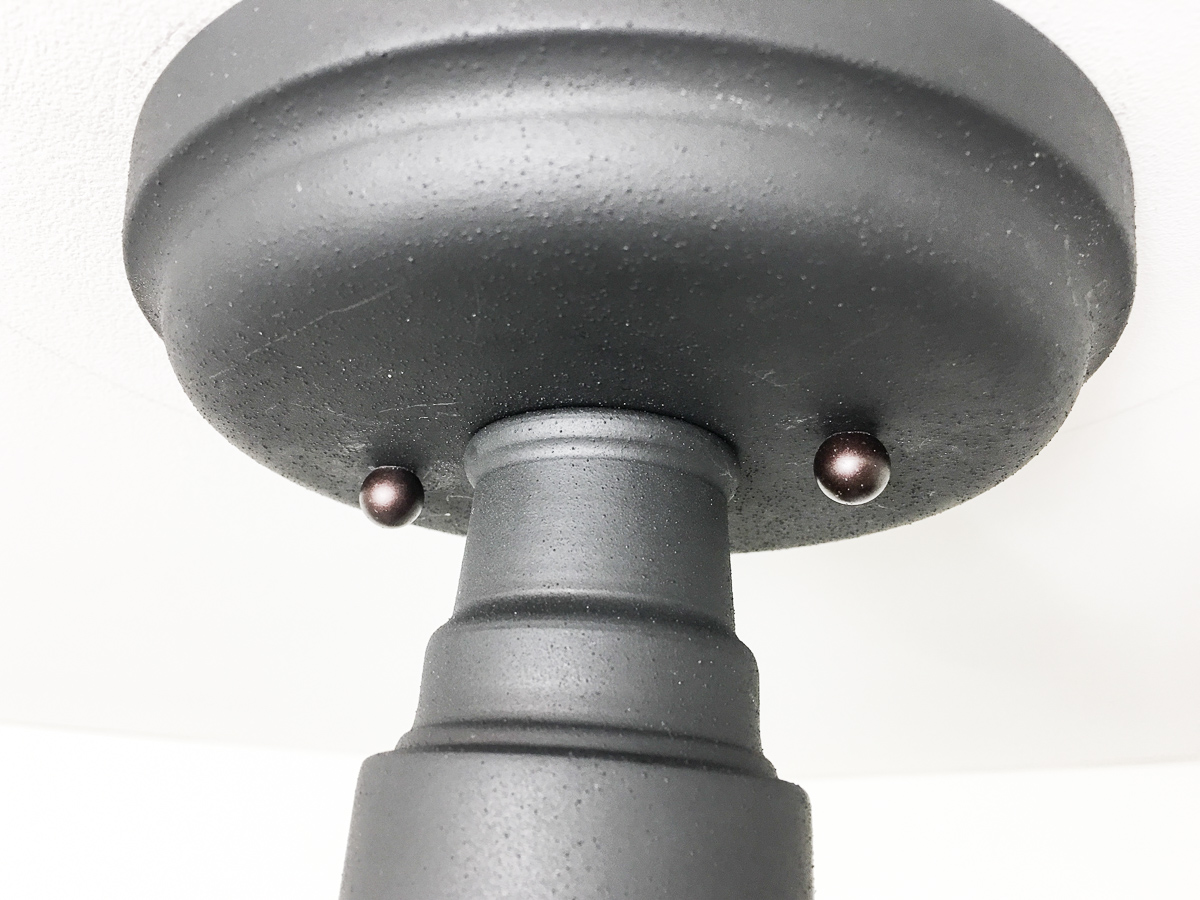
Step 14. Install the shade, trim, diffuser or cover.
- Keep your screwdriver at the ready.
- Install the next piece according to the guide.
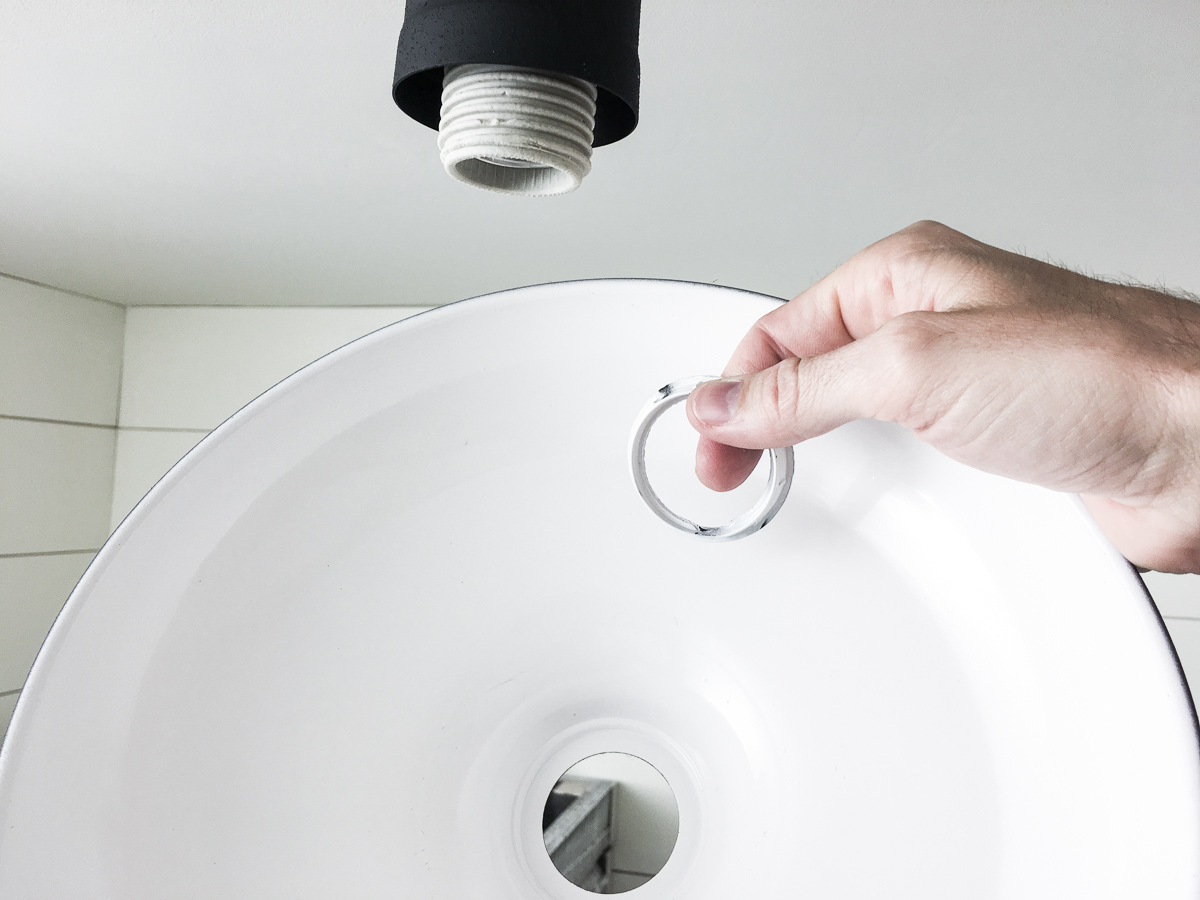
- If your bulbs will be entirely covered by the shade or diffuser, install the bulbs before attaching the cover.
- Complete your installation with the remaining shade, trim diffuser or cover if included in your product.
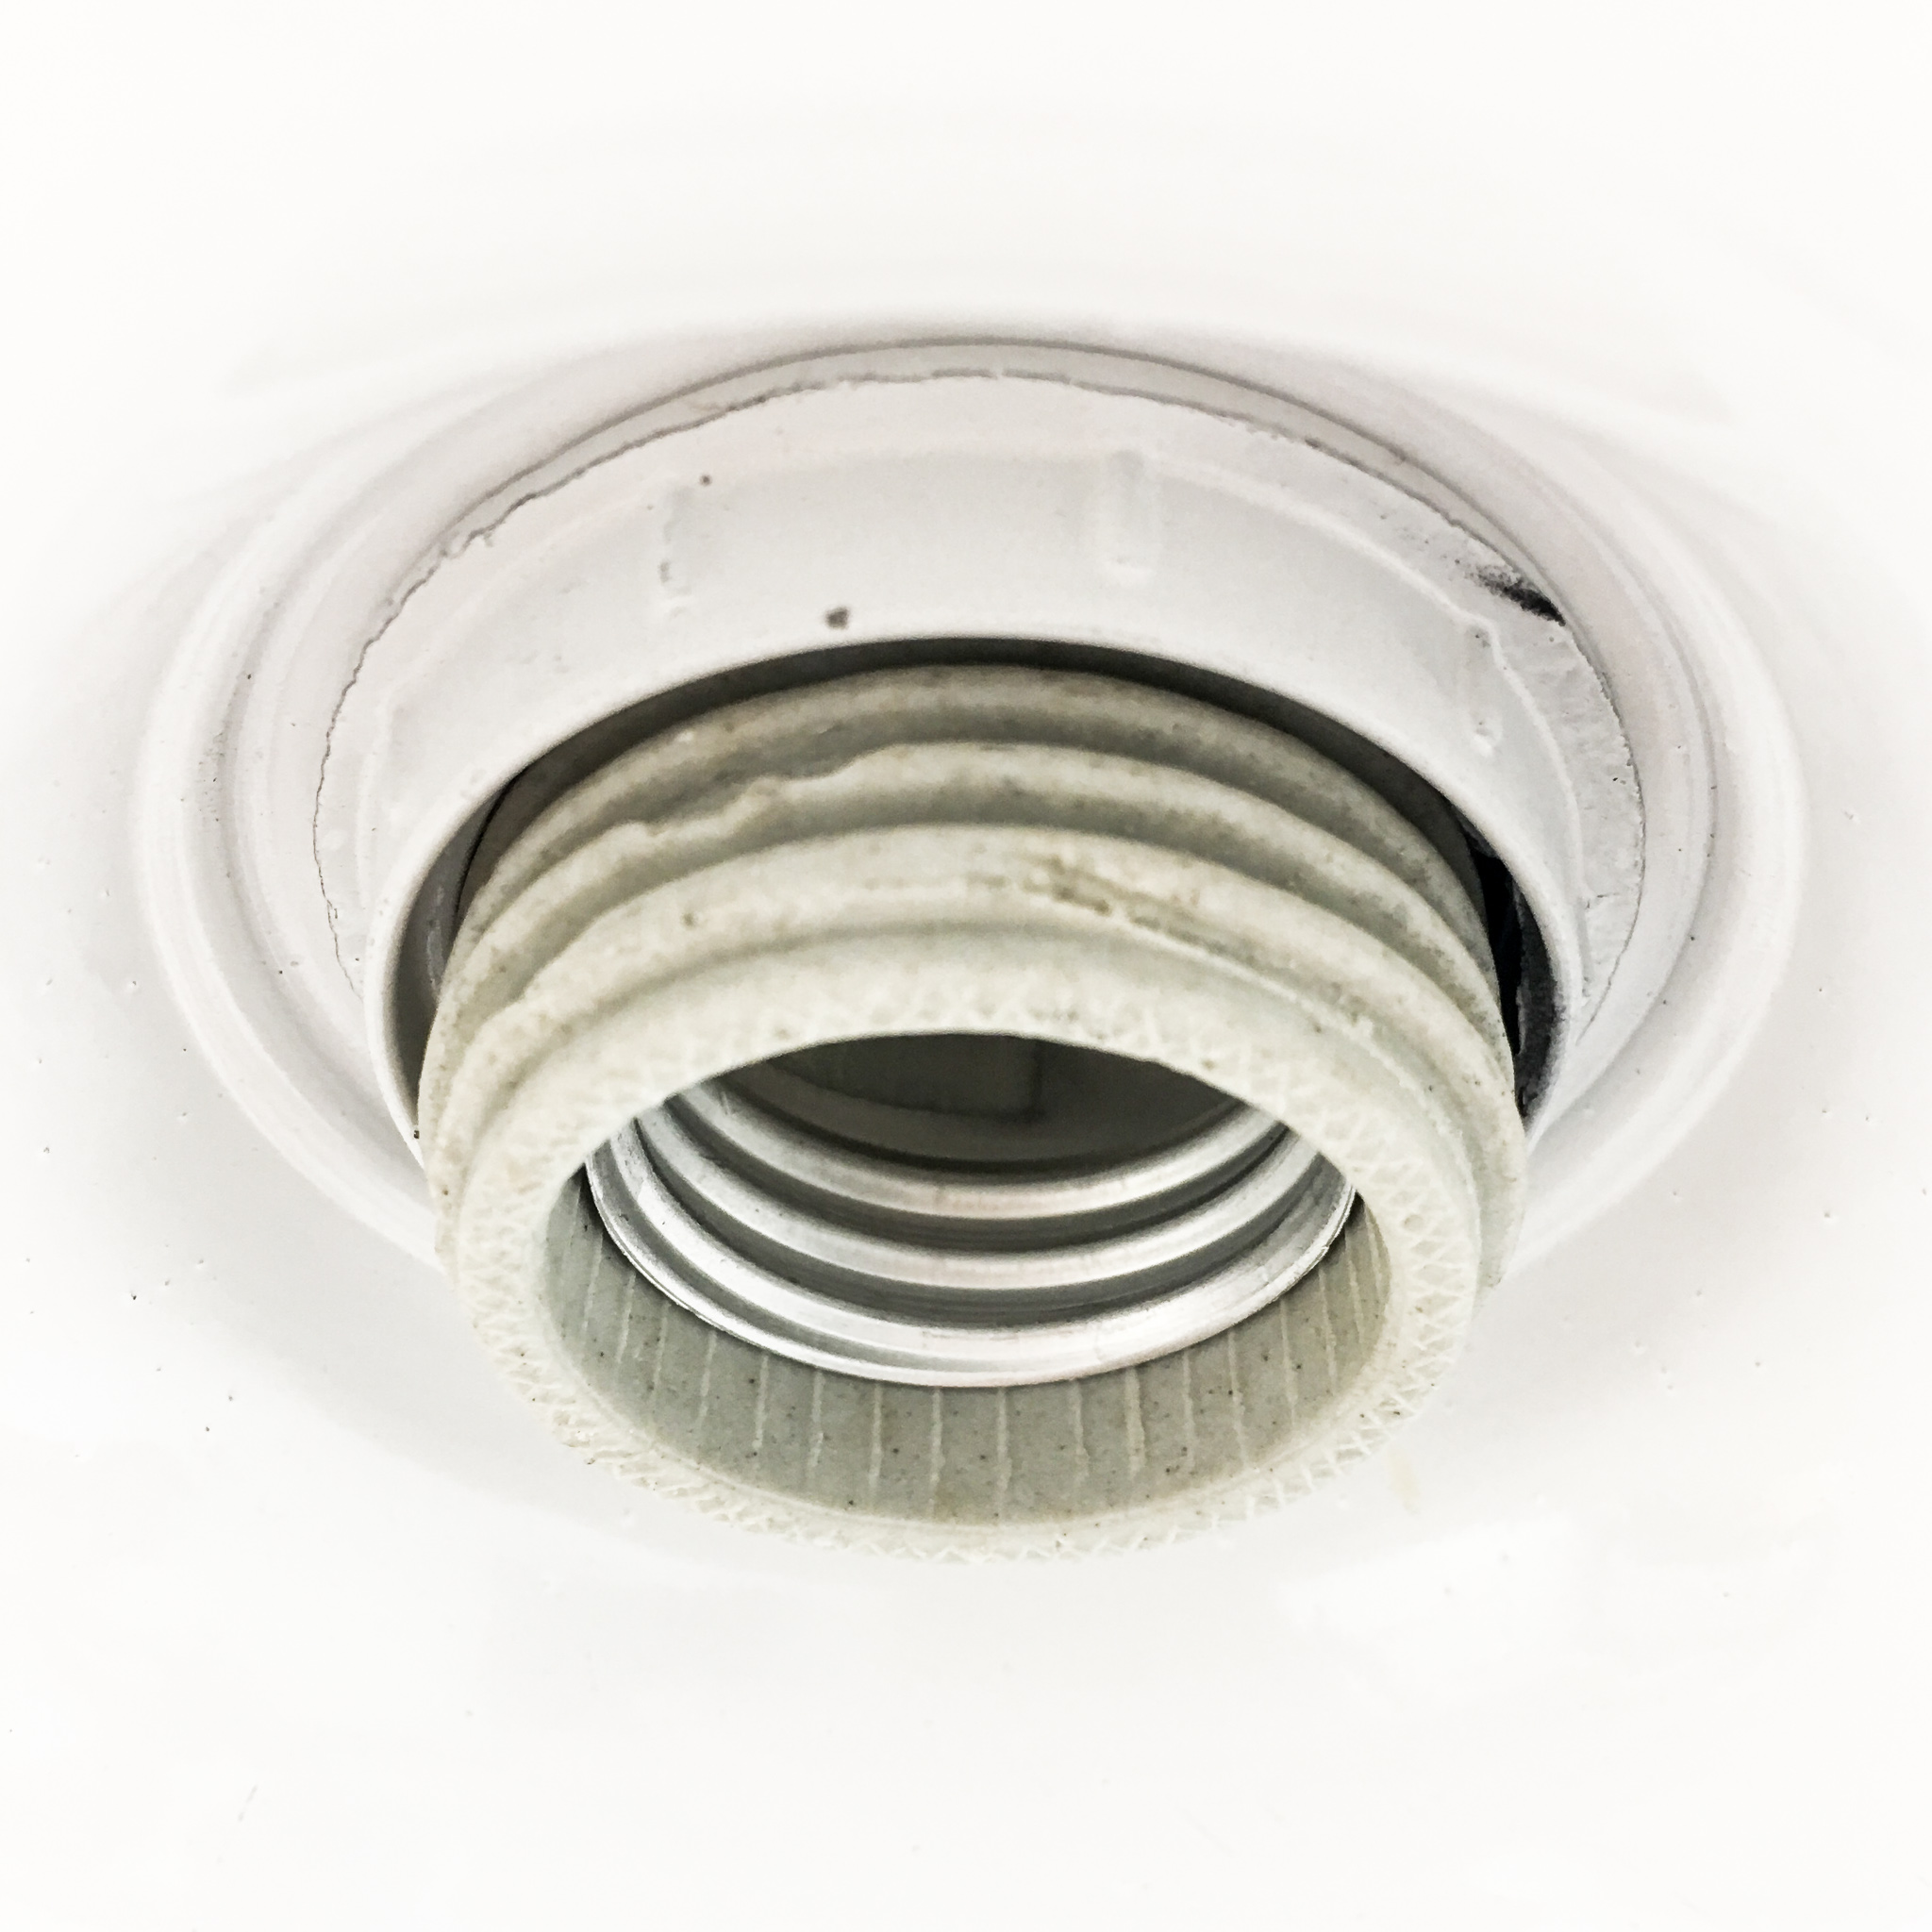
Step 15. Turn the breaker back on.
- Visually assess the new fixture to make sure the installation is complete.
- Go back to your breaker box and turn the breaker back on.

Step 16. Test the light switch to ensure proper functionality.
- Do your final assessment for functionality.
- Does the light work properly? If yes, then it’s party time, folks.

What’s up, light changing champion.
You’re significantly more handy than you were yesterday. That’s worth celebrating. Way-to push through your fear and learn a new skill that you’ll carry with you the rest of your life. Teach it to your kids. Or to your neighbors’ kids. When your local friends need help changing out fixtures, you’re coming to the rescue.
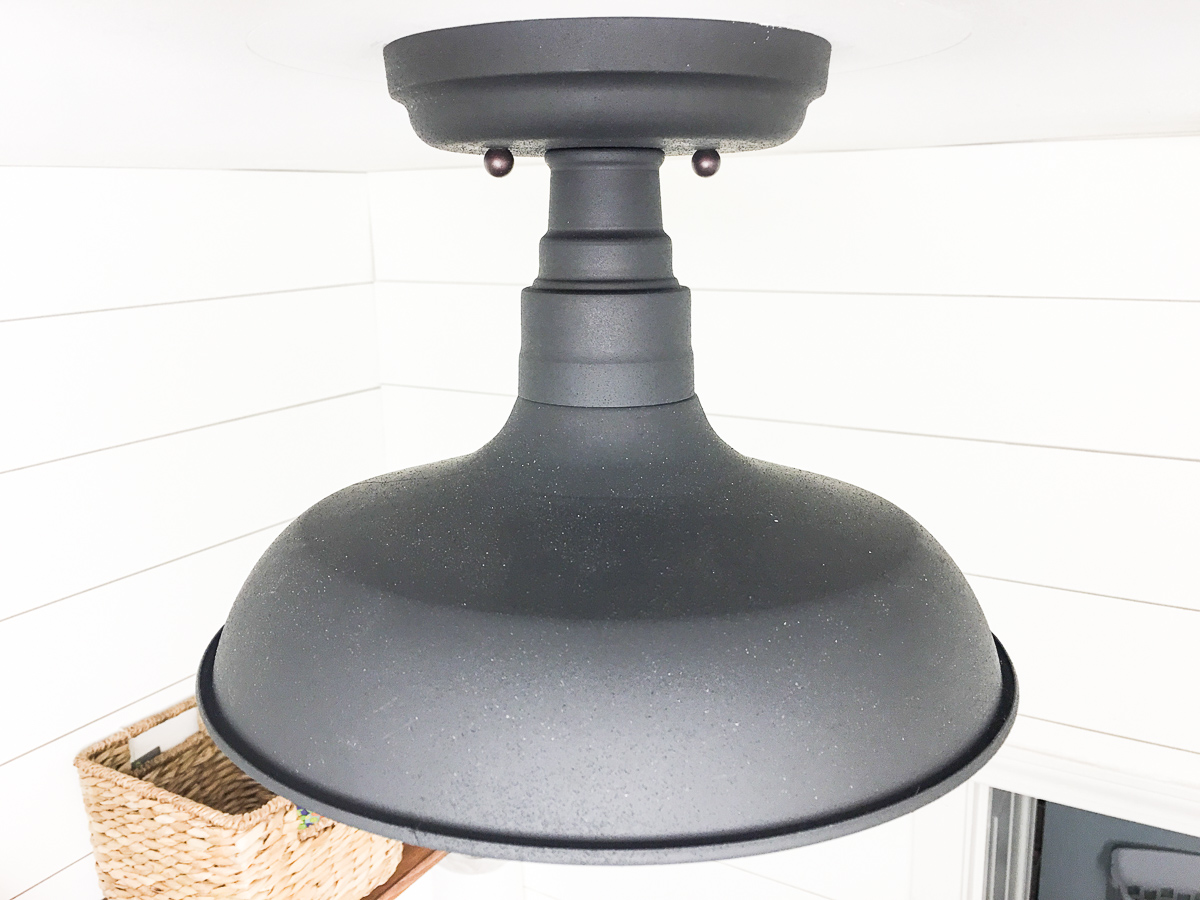
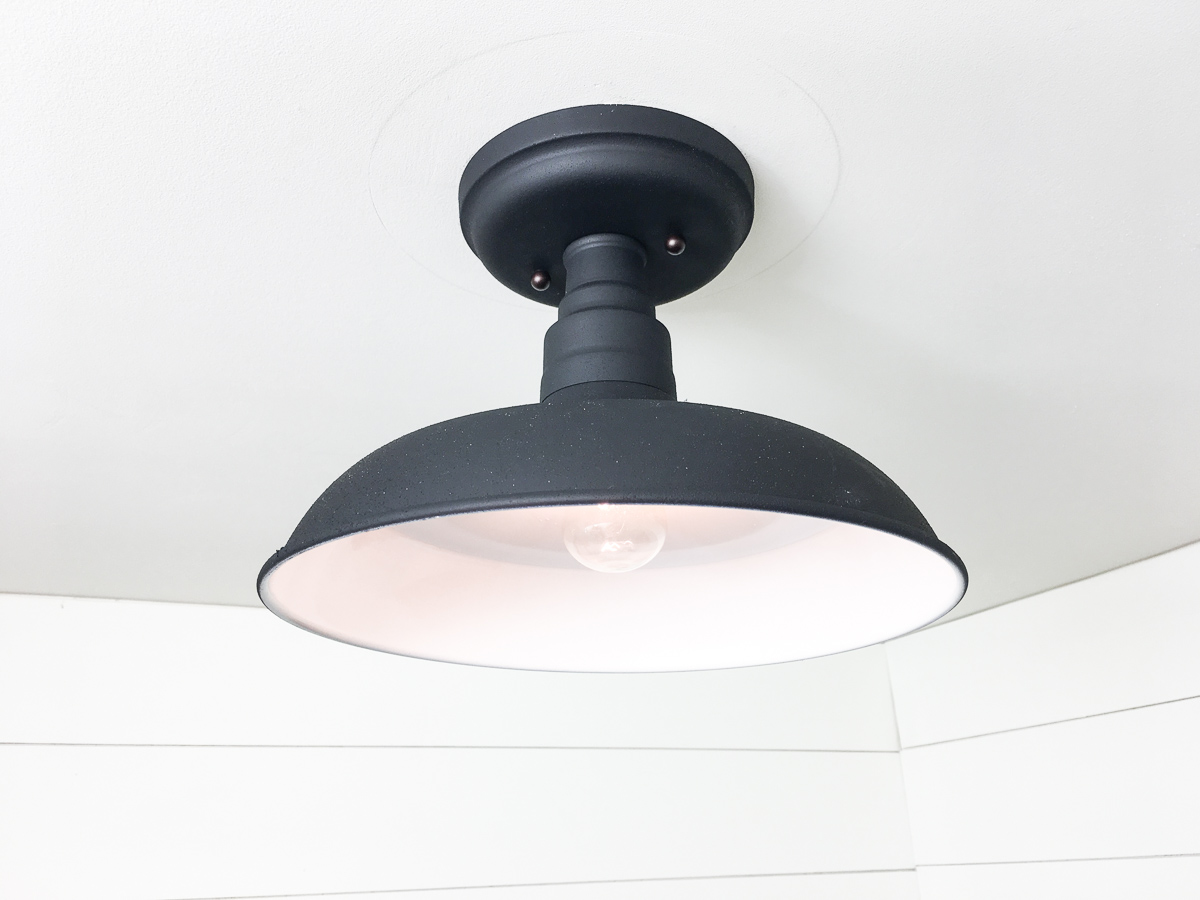
We updated our plain and outdated light fixture in our laundry room. Here are a few other laundry room upgrades and renovations we hossed for our home:
- How to Make Crates out of Wood Pallets.
- How to Make DIY Shiplap.
- How to DIY Install Floor Tile.
- How to Saw Your Door Bottom to Fit Over the Threshold.
- How to Make & Install DIY Stained Wood Shelves.
- How to Build DIY Plywood Canvas with Stained Wood Frame – coming soon!
- How to Dry Brush Reclaimed Pallet Wood with Paint – coming soon!



Hello
I read this post your post so nice and very informative post thanks for sharing this post
Thanks, Thomas! Really appreciate the feedback.
Thank you for this very detailed post!! It was so helpful but I loved that safety was stressed and what safety measures to take were described! I changed my dining room light fixture today! It was the first time I’ve ever done it and I felt so safe doing it! Great post for those who don’t know what they are doing (like me)! 🙂
So glad to hear the post empowered you, Tracey! That’s awesome. Cheers to learning new things. Stay safe and healthy, friend.