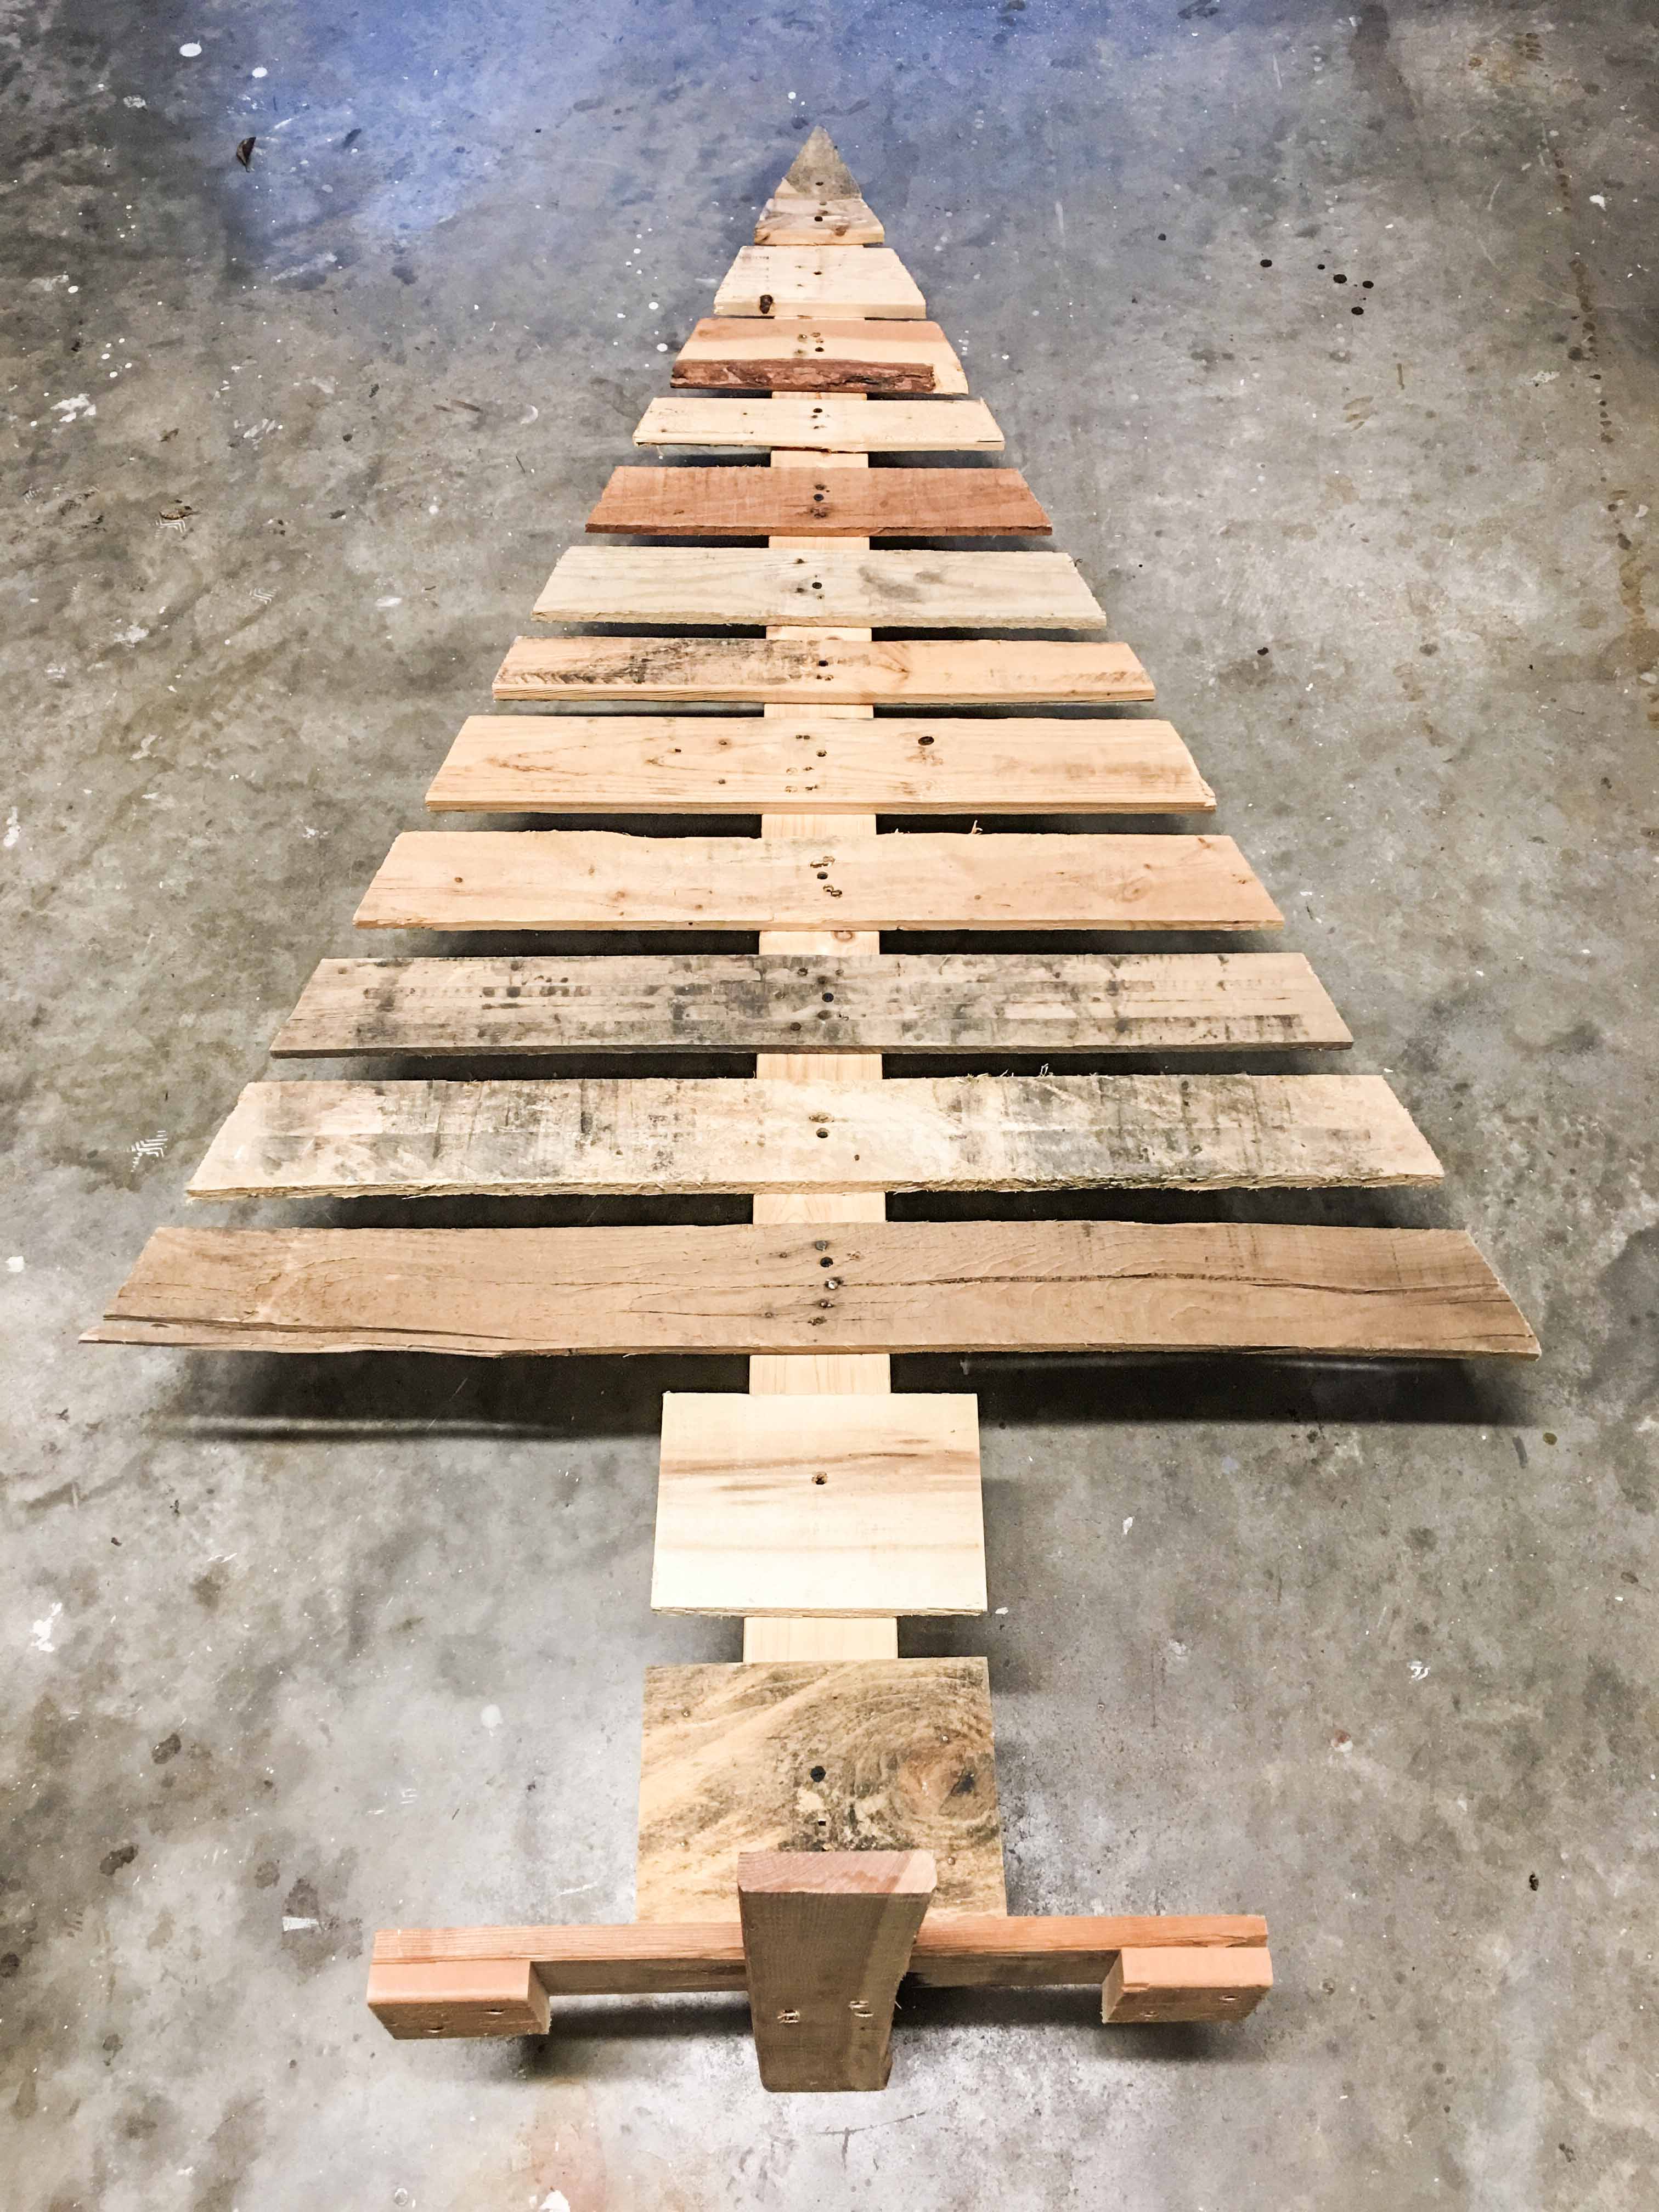
It’s almost Christmas already?? How did this happen?
Last time you stopped and intently surveyed the earth (never), the evening air was comfortably warm, the wonderful world of retail was gearing up for a fall decor frenzy, and freshly-churned local ice cream actually melted onto your hand.
Don’t be a Griswold.
After accepting the instantaneous seasonal transition with a plethora of nostalgic vibes, you turn your eyes to your ill prepared home decor box. Or closet. Or the entire attic. Or that room you never open and tell no one about for fear of being labeled a pack-rat or hoarder.
I prefer to think of it as being well-prepared to seize every moment, throw every party or beat Clark Griswold at his neighborly decorating competition.
Say no to tacky.
You need to up your holiday decor game, but this not-so-recent rustic chic market trend doesn’t just poof into your home. If you’re not really into the itsy-bitsy, oh-so-tacky Christmas trees that twinkle like your Backstreet Boys-themed middle school dances, then we’re definitely friends.
Wanting to try your hand at a reclaimed pallet wood Christmas tree as a statement of style, holiday spirit, frugality and Christmas Vacation shaming? You have our support.
Behind the pallet-tree build.
Why choose wood shipping pallets? Here’s the list of benefits:
- They cost zero dollars. (Dumpster diving FTW)
- Rustic wood is in style.
- It’s an insanely efficient build.
- Wood tones provide warmth against neutrals.
- Pallet wood is raw, which is completely customizable with stain or paint or can be left as-is.
- Pallets have multiple uses. For example:
- Pallets might be closer to your home than the hardware store.
- There’s a massive margin for error. Messing it up provides character and textural variance.
And the list of pallet benefits goes on. What are your top reasons for choosing pallet wood?
Did you say free pallets?
Where the heck do you get free pallets? NOT Home Depot, Lowe’s or your grocery store. These retailers use a pallet pickup service that reuses all functional pallets. Don’t steal. Here are the best places to find wood shipping pallets:
- Dumpsters behind your nearest retail stripmall. These will surely be thrown away. Ask a manager if you’re not sure.
- Side of the road. A little more rare, but always keep your eyes out.
- That tiny manufacturing facility or warehouse nearby. Walk in the door and ask.
- Your friends may have trash leftover pallets at their workplaces. Text them right now.
- Facebook Marketplace. Hands down, this is where I get the most free pallets. Turn on a notification for pallets and check it daily.
The design.
The basic design of this pallet Christmas tree:
- A stringer or two for the tree’s backbone. Stringers are the perpendicular cross supports that pallet slats are attached to. Expect to find an average of (3) stringers per pallet.
- Multiple pallet slats that you install perpendicular to the backbone. Space them as far apart as you like. Mark the tree’s linear angle with yardstick or T-square and pencil. Cut with a jigsaw or circular saw.
- An “X” made of two pallets on the very bottom serve as a base to keep the tree from face-planting.
- That’s all there is to it. The decorating and tailoring is completely up to your design eye.
How to make a rustic Xmas tree out of pallet wood.
Materials.
- (1) or (2) wood shipping pallets.
- 1½” brad nails at $2.99 for 1,000.
- (Optional) Wood glue. 8 oz for $3.97. For an extra strong hold.
- (Optional) Wood stain. We used Varathane Early American. Linked 2-pack (1 qt. each) for $15.96. Buy one can for $8.98.
- (Optional) Blue shop towels. Linked 6-pack for $11.98. 3-pack for $5.98. If you stain it.
- (Optional) Nitrile gloves. 50 for $4.97. If you use stain or paint.
- (Optional) Paint.
- (Optional) Paint brush. Buy a kit to save money. Single cheap brush for ~$1.
Tools.
- Reciprocating saw + wood-nail blades OR wrecking bar + hammer (for you womanly women or manly men).
- Circular saw OR jigsaw.
- (3) options for assembly:
- Compressor & brad nail gun with nails (above). (Save cash buying them together). OR…
- 1½” finish nails + hammer. OR…
- Construction adhesive.
- Nail punch.
- Level.
- Pencil.
- Ear plugs.
- Safety glasses.
- (Optional) Rafter square. But highly recommended for perfectly horizontal pallet tree slats.
- (Optional) Measuring tape. For my perfectionists out there.
Budget.
- Materials cost: you ONLY need nails. Under $10!
Step 1. Find free pallets.
The best places to find FREE pallets (as mentioned above):
- Stripmall dumpsters.
- Side of the road.
- Tiny manufacturing facilities or warehouses.
- Your friends’ workplaces. Text them!
- Facebook Marketplace. Our favorite.

Step 2. Break down the shipping pallets.
WIDER TREE
- Using your reciprocating saw, cut directly through the nails that connect the pallet slats to the supporting stringers.
- Consider positioning the pallet vertically for greater leverage.
- Hammer ALL protruding nail fragments until flat and safe for handling.
- Remove nail fragments from the pallet slats with nail punch and hammer.
THINNER TREE
- Using your circular saw, cut along the stringers, perpendicular to the slats. Stay as close as you can to the stringers with your blade. ONLY cut the inside edge of the (2) outer stringers to maximize pallet slat length.
- Since you’re cutting the slats, your shorter pieces will results in a thinner tree.
- Easiest to position the pallet flat on the ground.
- Hammer ALL protruding nail fragments until flat and safe for handling.
- Remove nail fragments from the pallet slats with nail punch and hammer.
BY HAND
- With extreme brute force, remove the slats from the stringers using your wrecking bar (crowbar) and hammer.
- Place the chisel-end of the wrecking bar in between slat and stringer, and wail on the other end of your wrecking bar with the hammer.
- Once the chisel is sufficiently stuck between the slat and stringer, pull the wrecking bar upward like a lever to separate slat and stringer.
- Remove all nails from slats and stringers with your hammer claw.


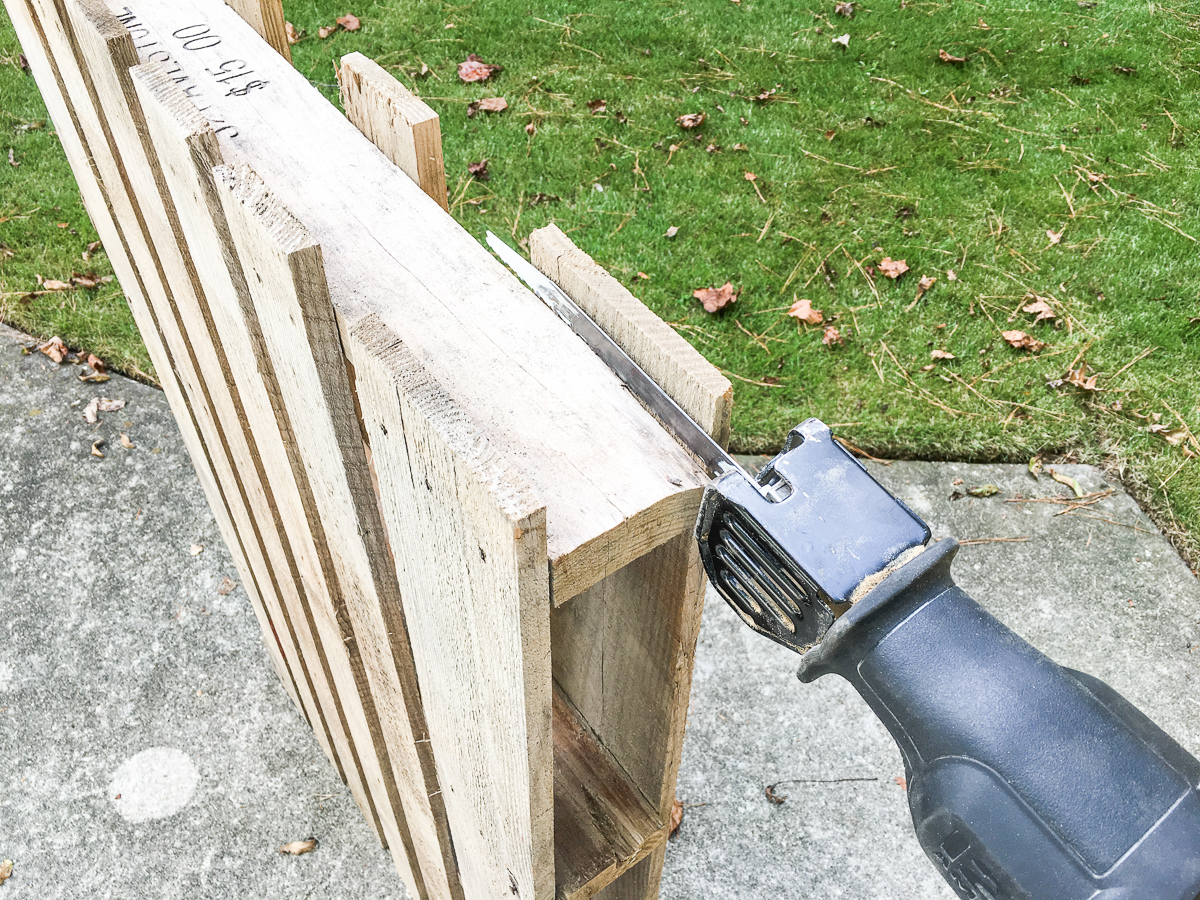
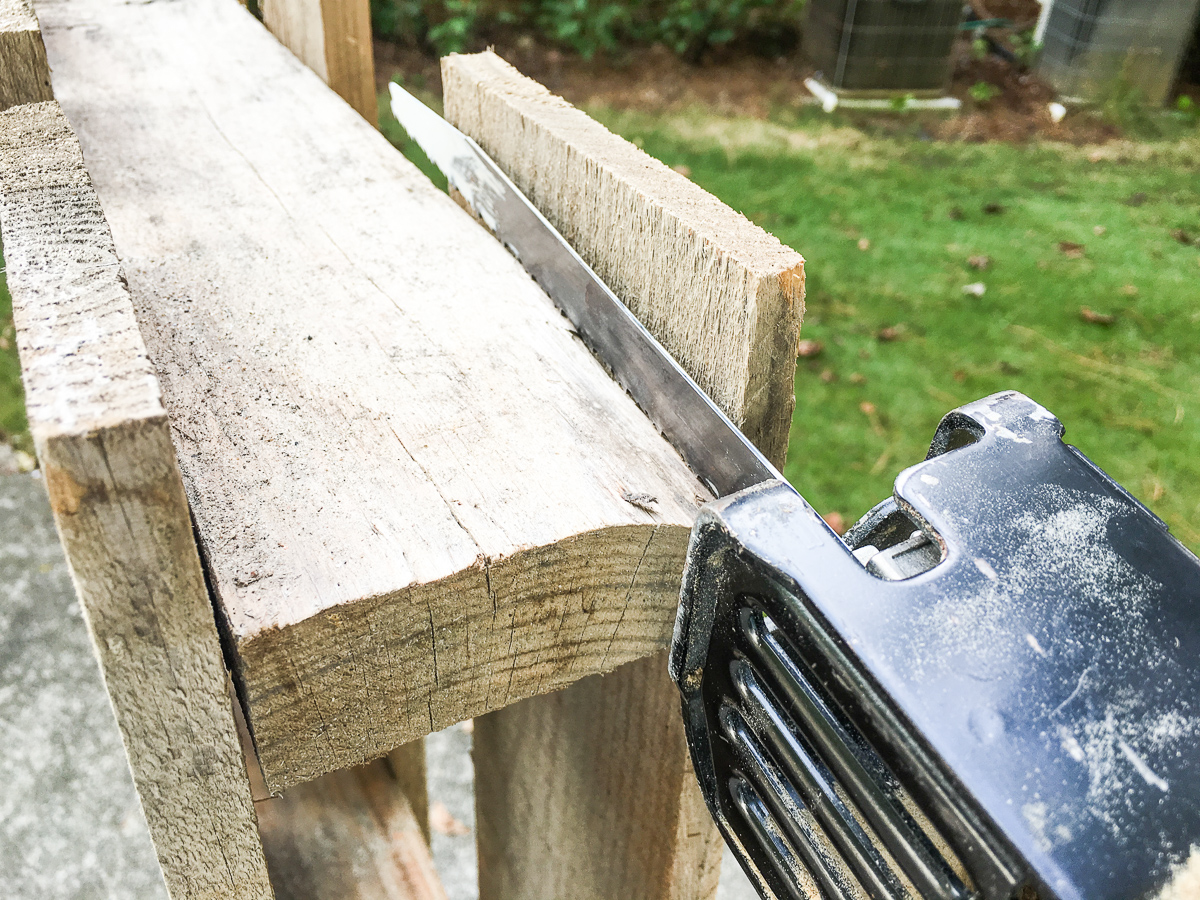
Step 3. Dry fit your stringers and slats.
Note: leave at least (1) extra slat for the “X” bottom piece.
- Lay (1) stringer flat on the ground.
- Place all but (1) of the slats on the stringer, perpendicularly. Space each slat apart at least 1 inch.
- Leave at least 6 inches of bare stringer near the bottom of the tree to act as a visible tree trunk. Or consider adding a few very short pallet slats for a thicker trunk (like we did).
- If your stringer isn’t long enough to accomodate all the slats, or you simply want a taller tree, then connect two stringers together. Brace the stringers with a shortened piece of a pallet slat on either side. Or connect both stringers with the fragment of the third stringers as a brace.
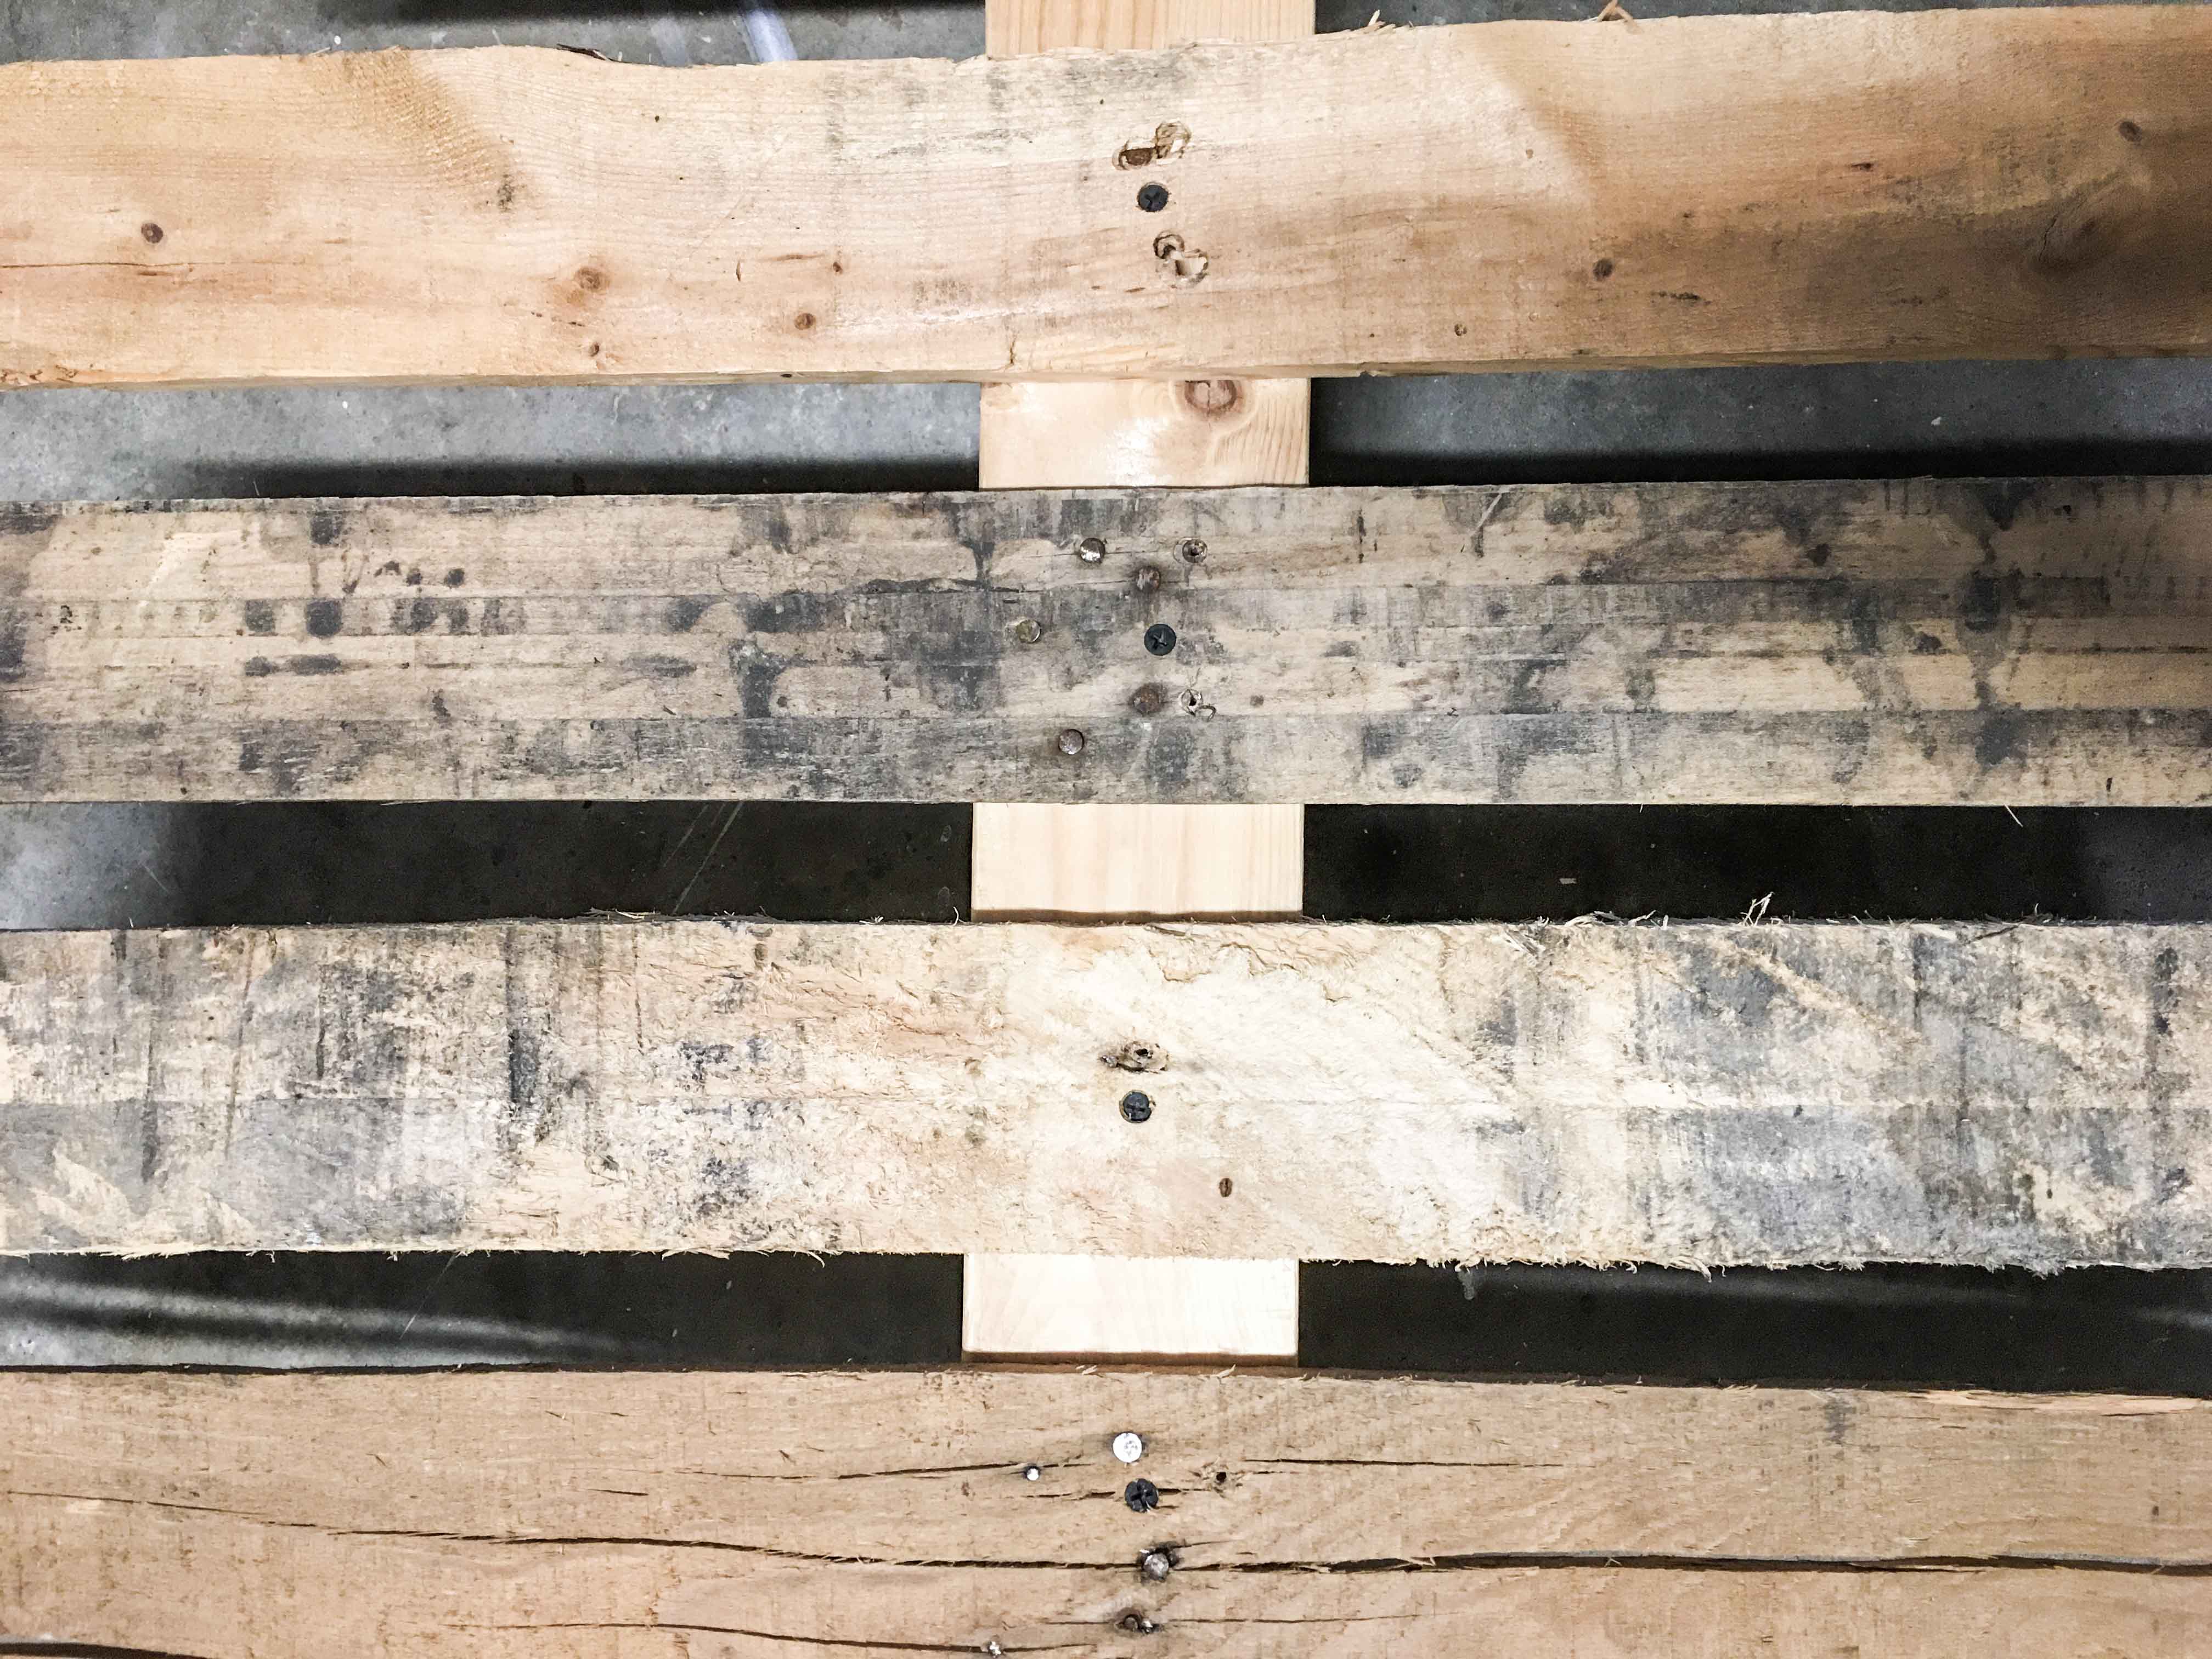
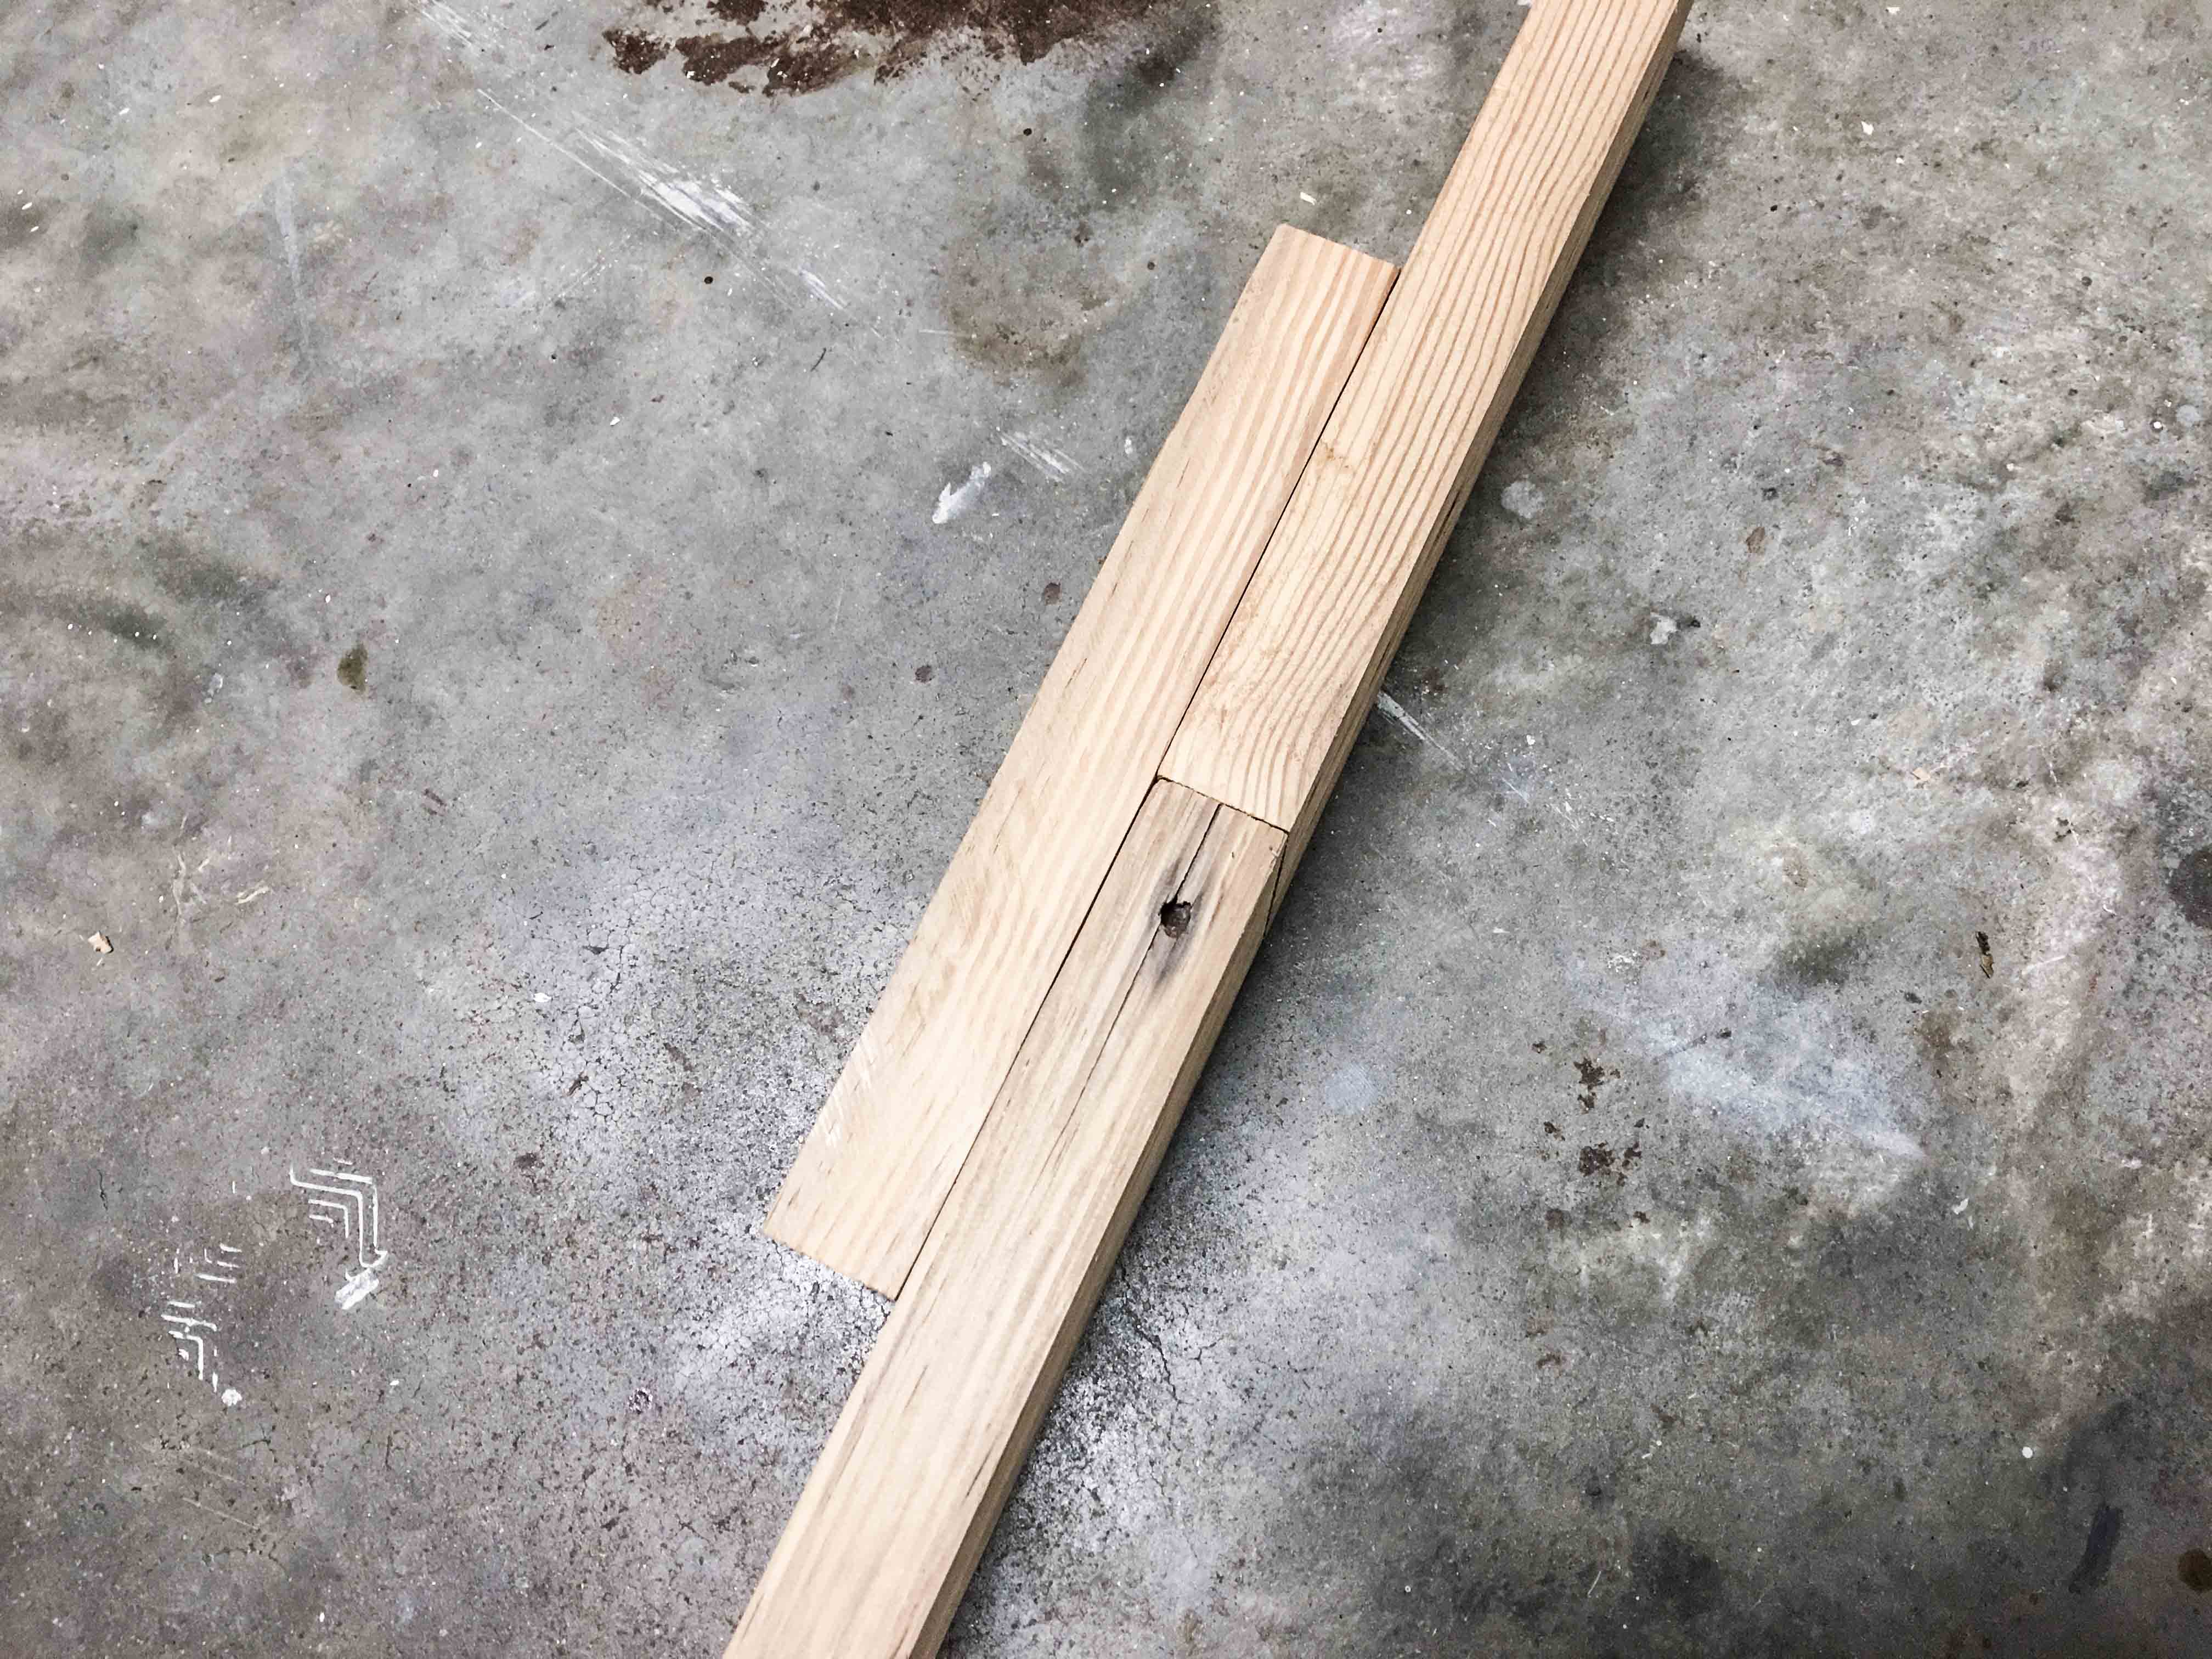
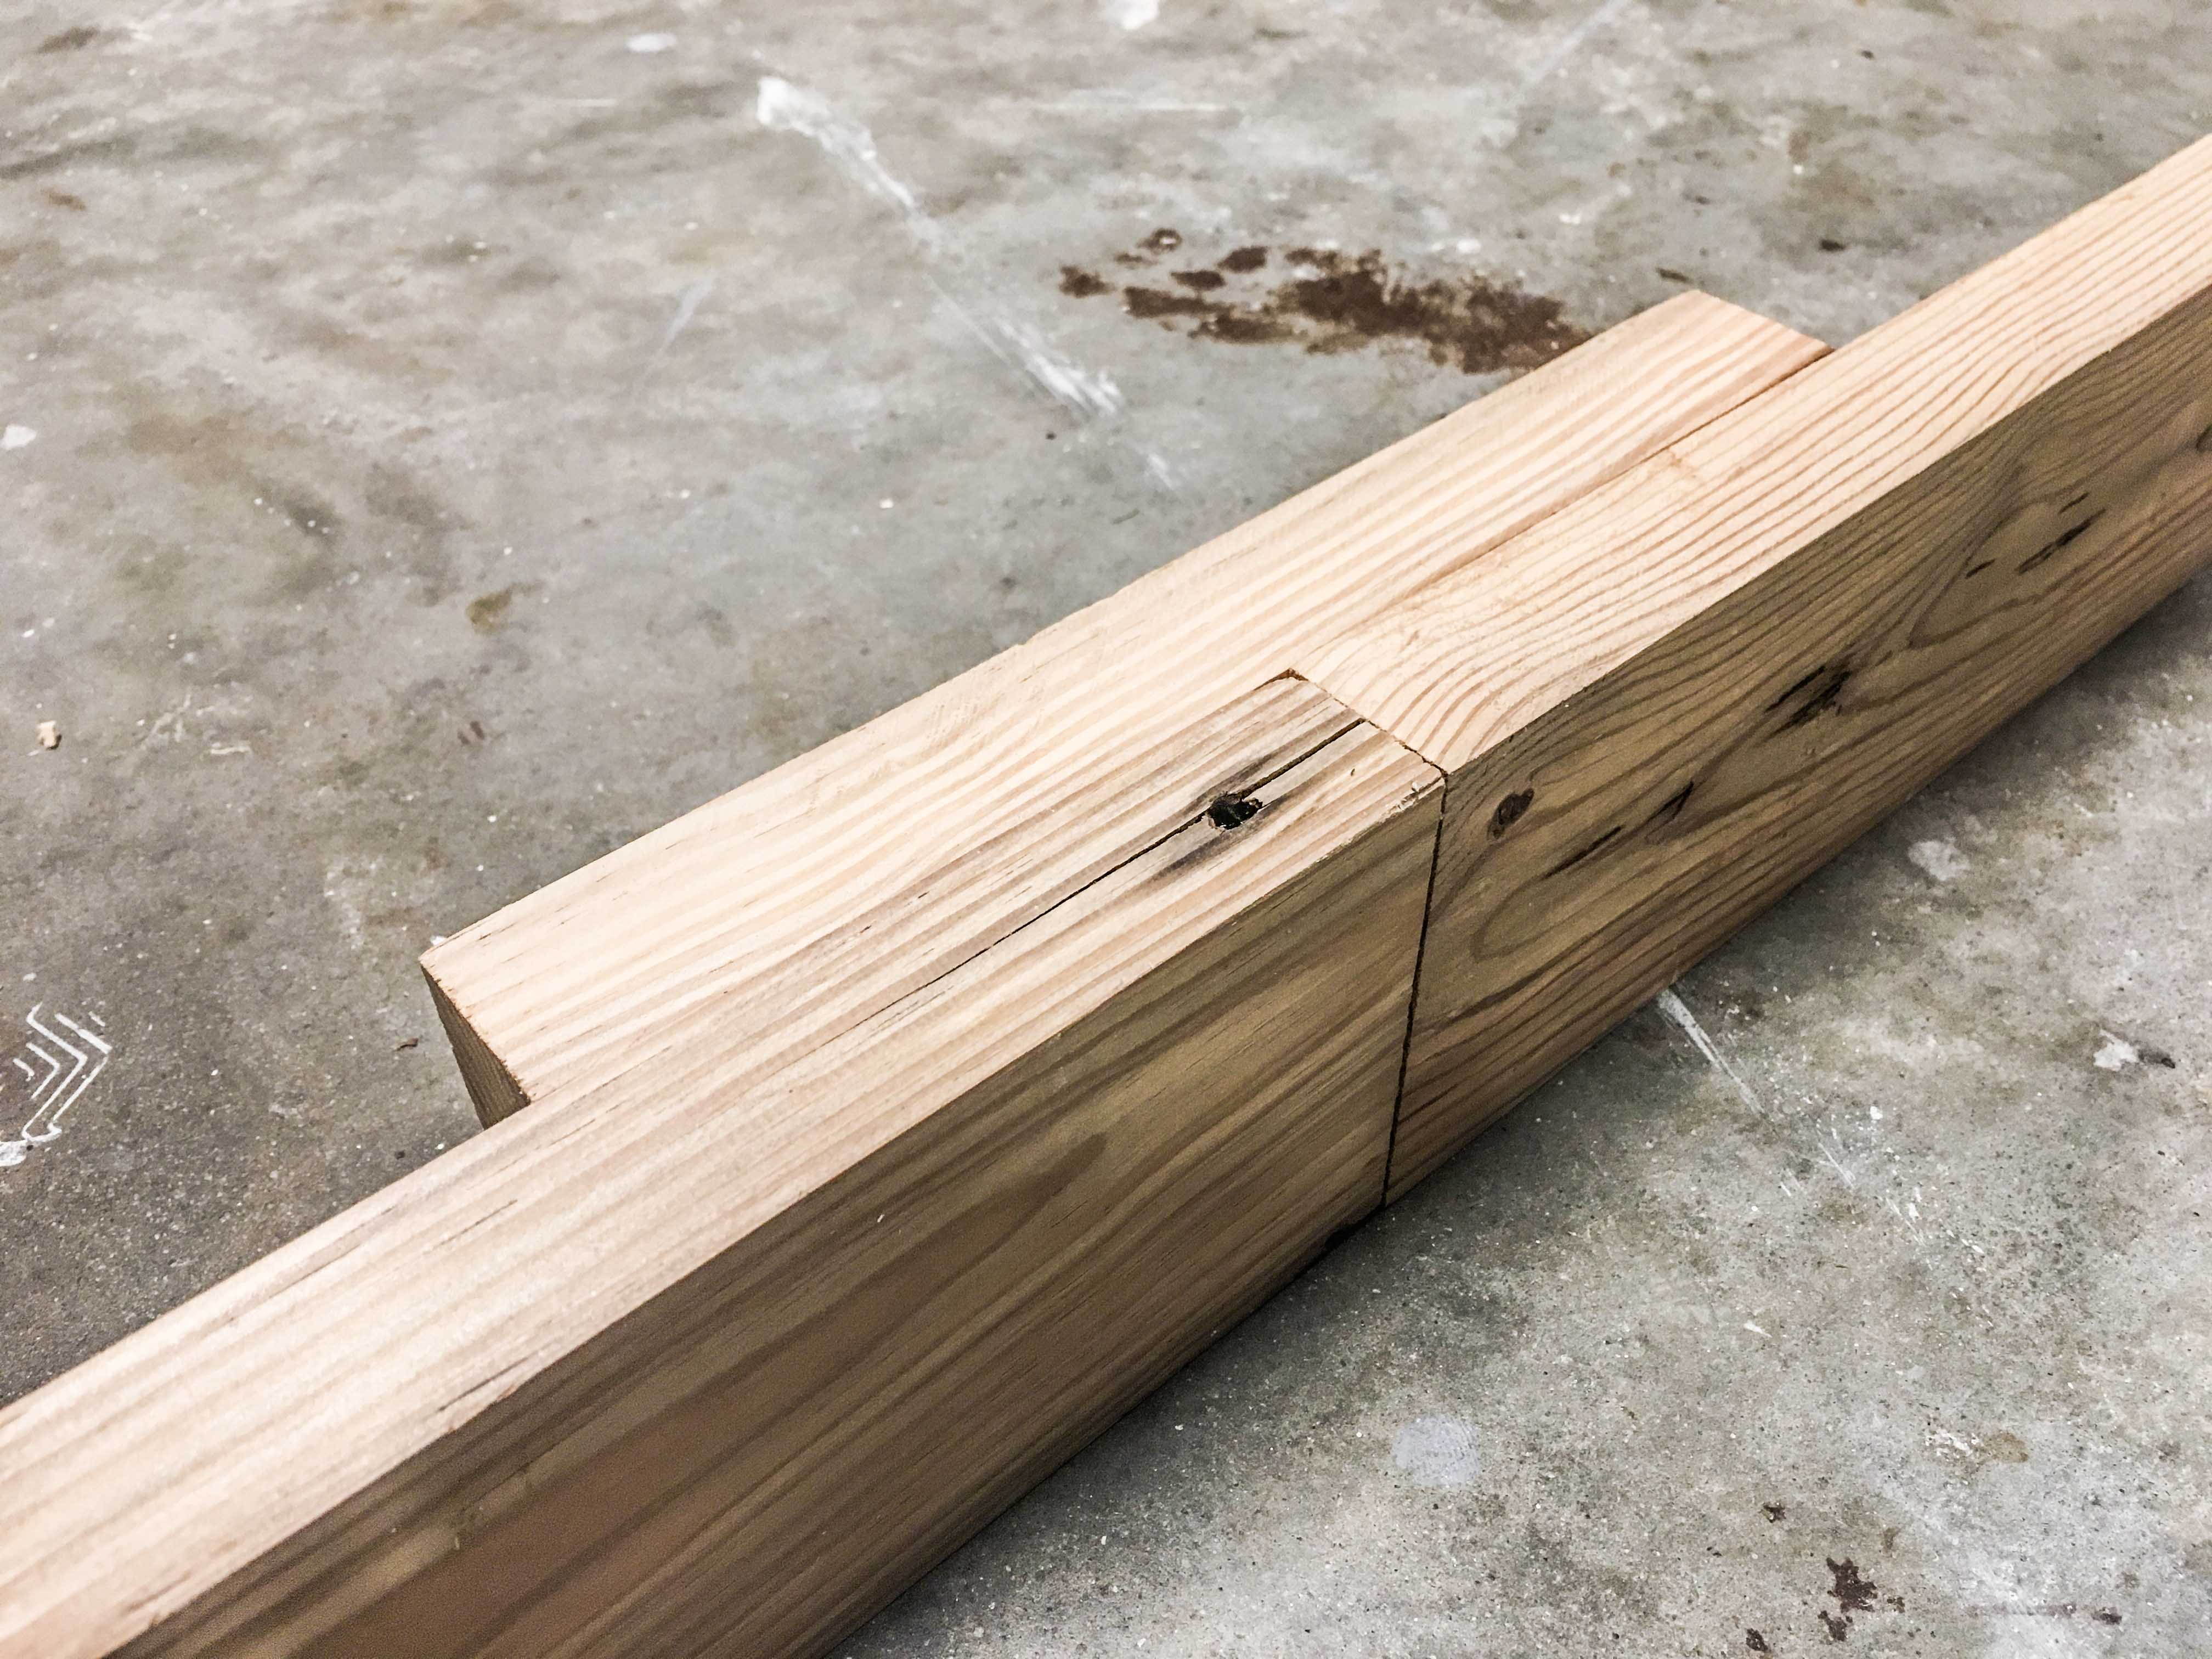
Step 4. Attach the slats to your tree’s backbone.
- Fire up your compressor, if you have one.
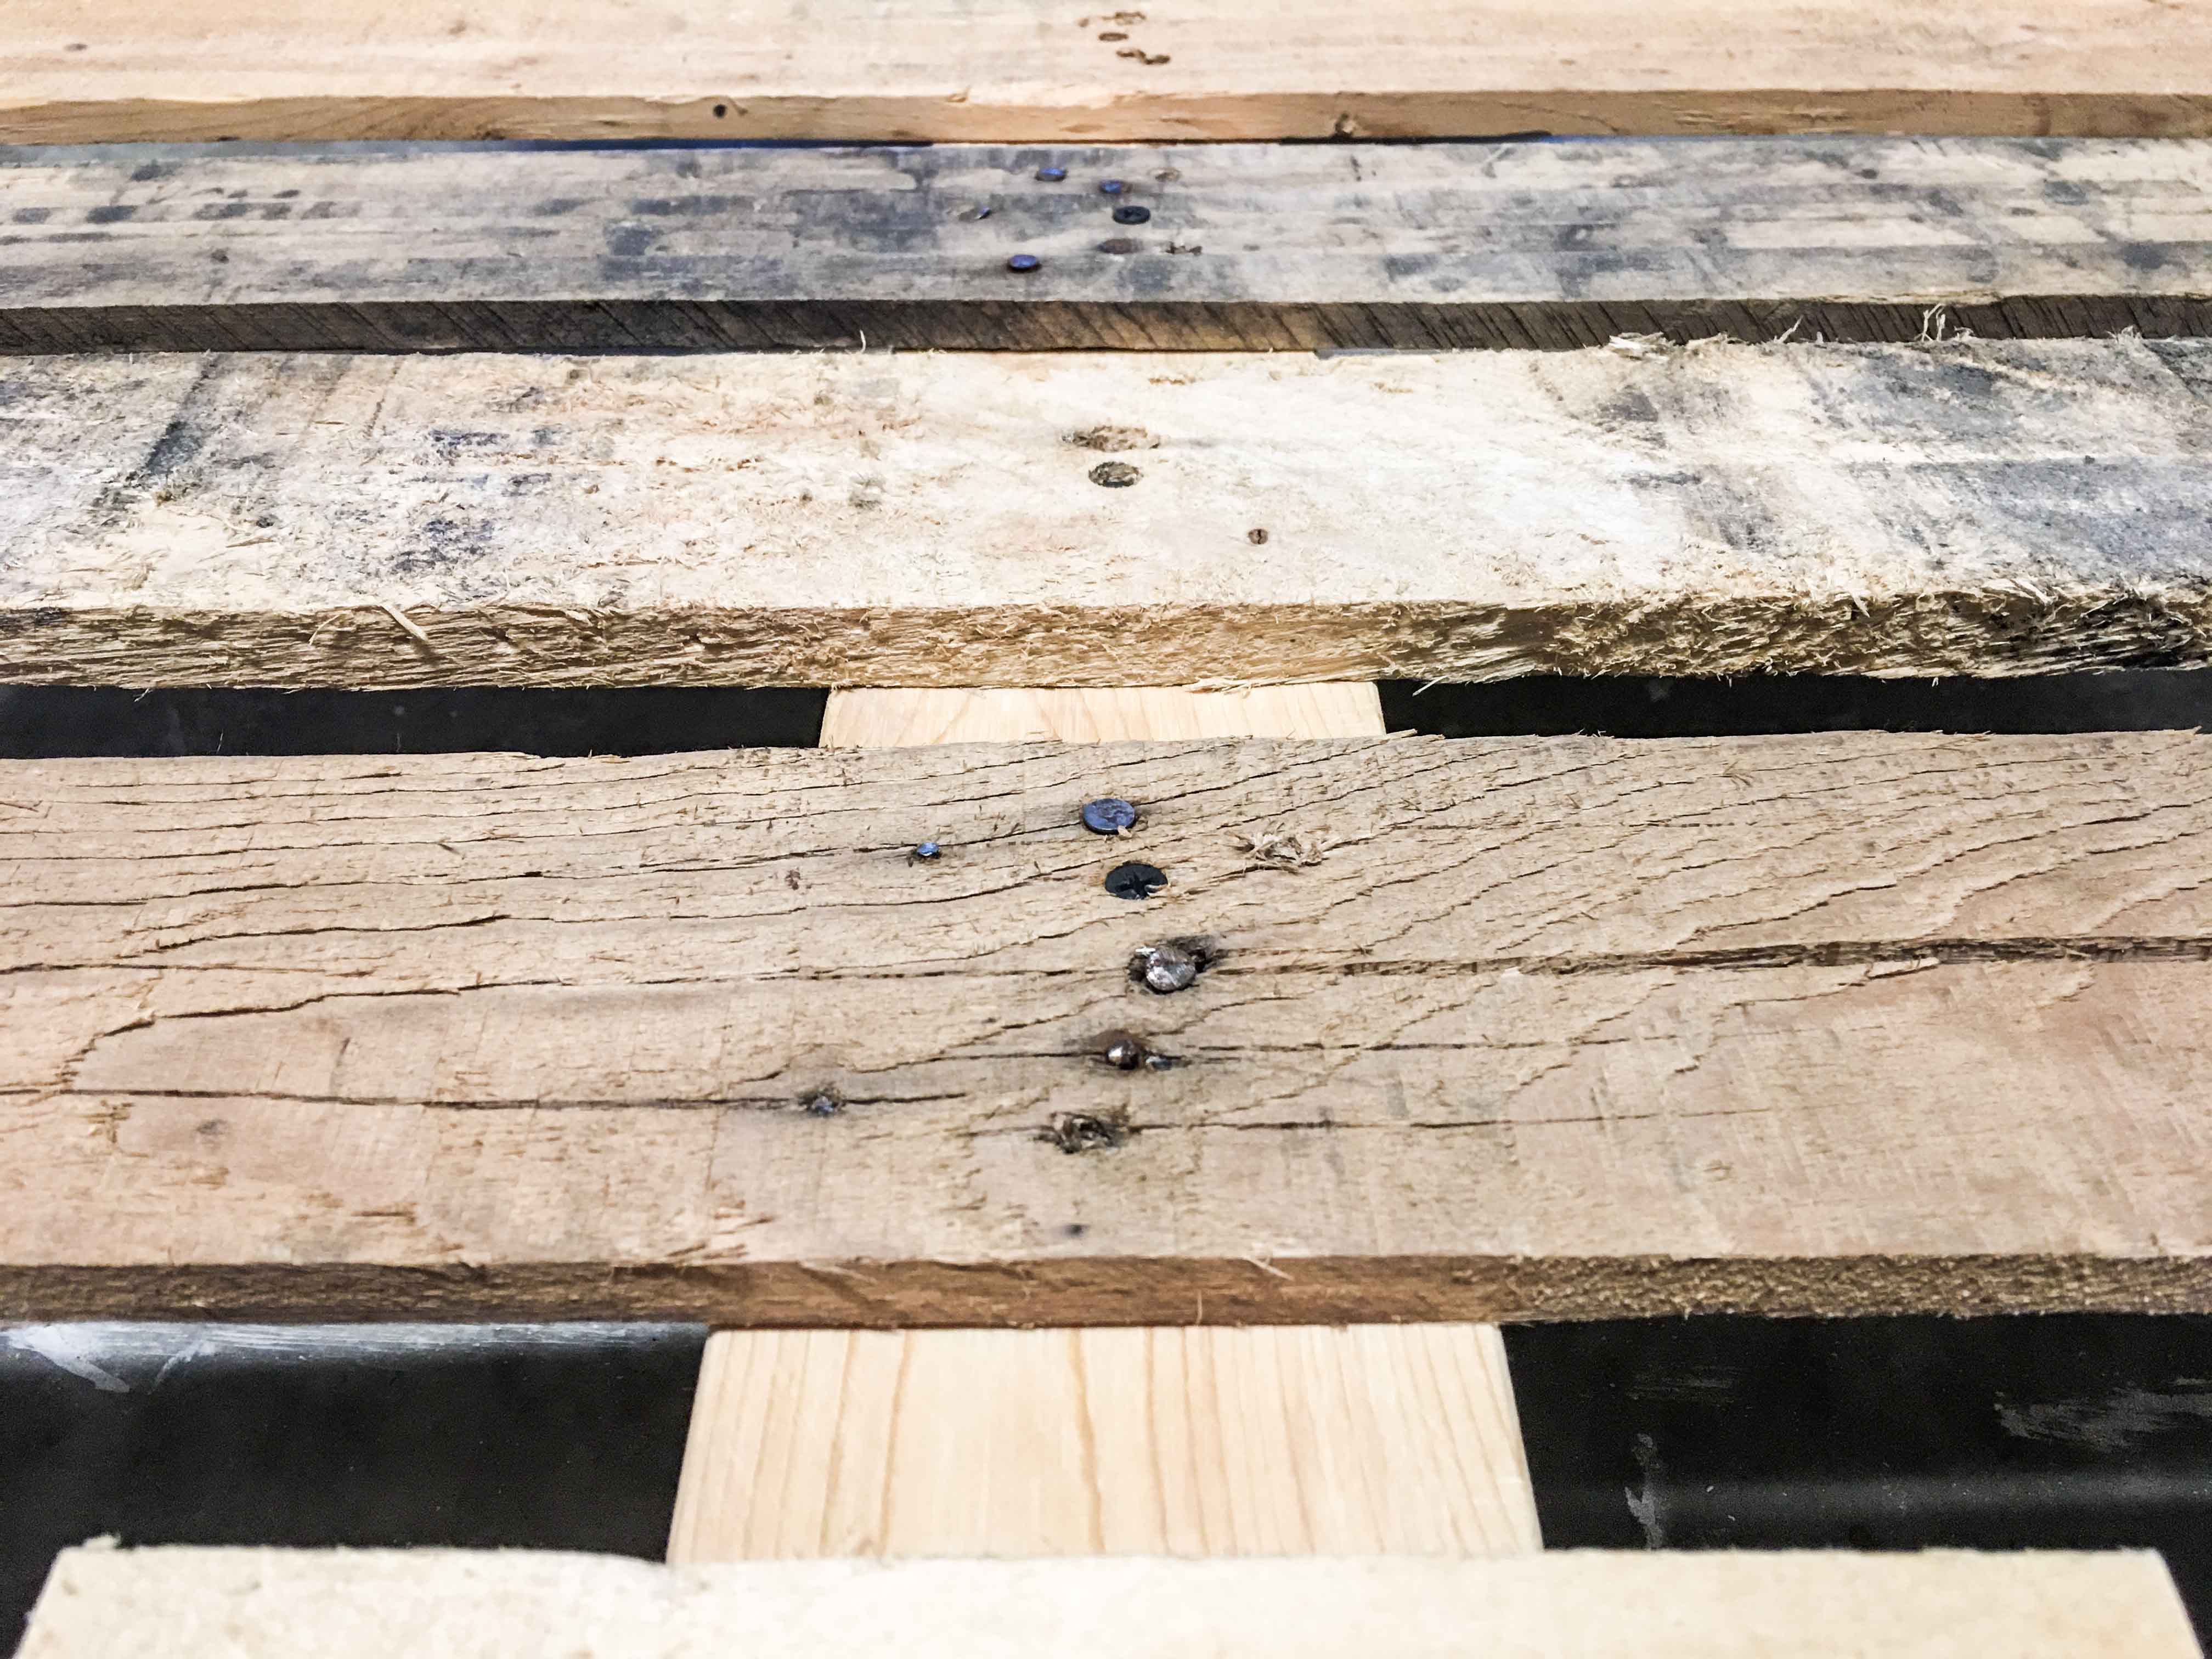
- Install each pallet slat onto the stringer backbone with brad nails. Or use a hammer + finish nails. Or just use construction adhesive.
- Consider using a spacer to perfectly separate each slat.
- Use your rafter square to ensure each slat is perfectly perpendicular to the stringer backbone.
Step 5. Trace & cut the tree’s triangular shape.
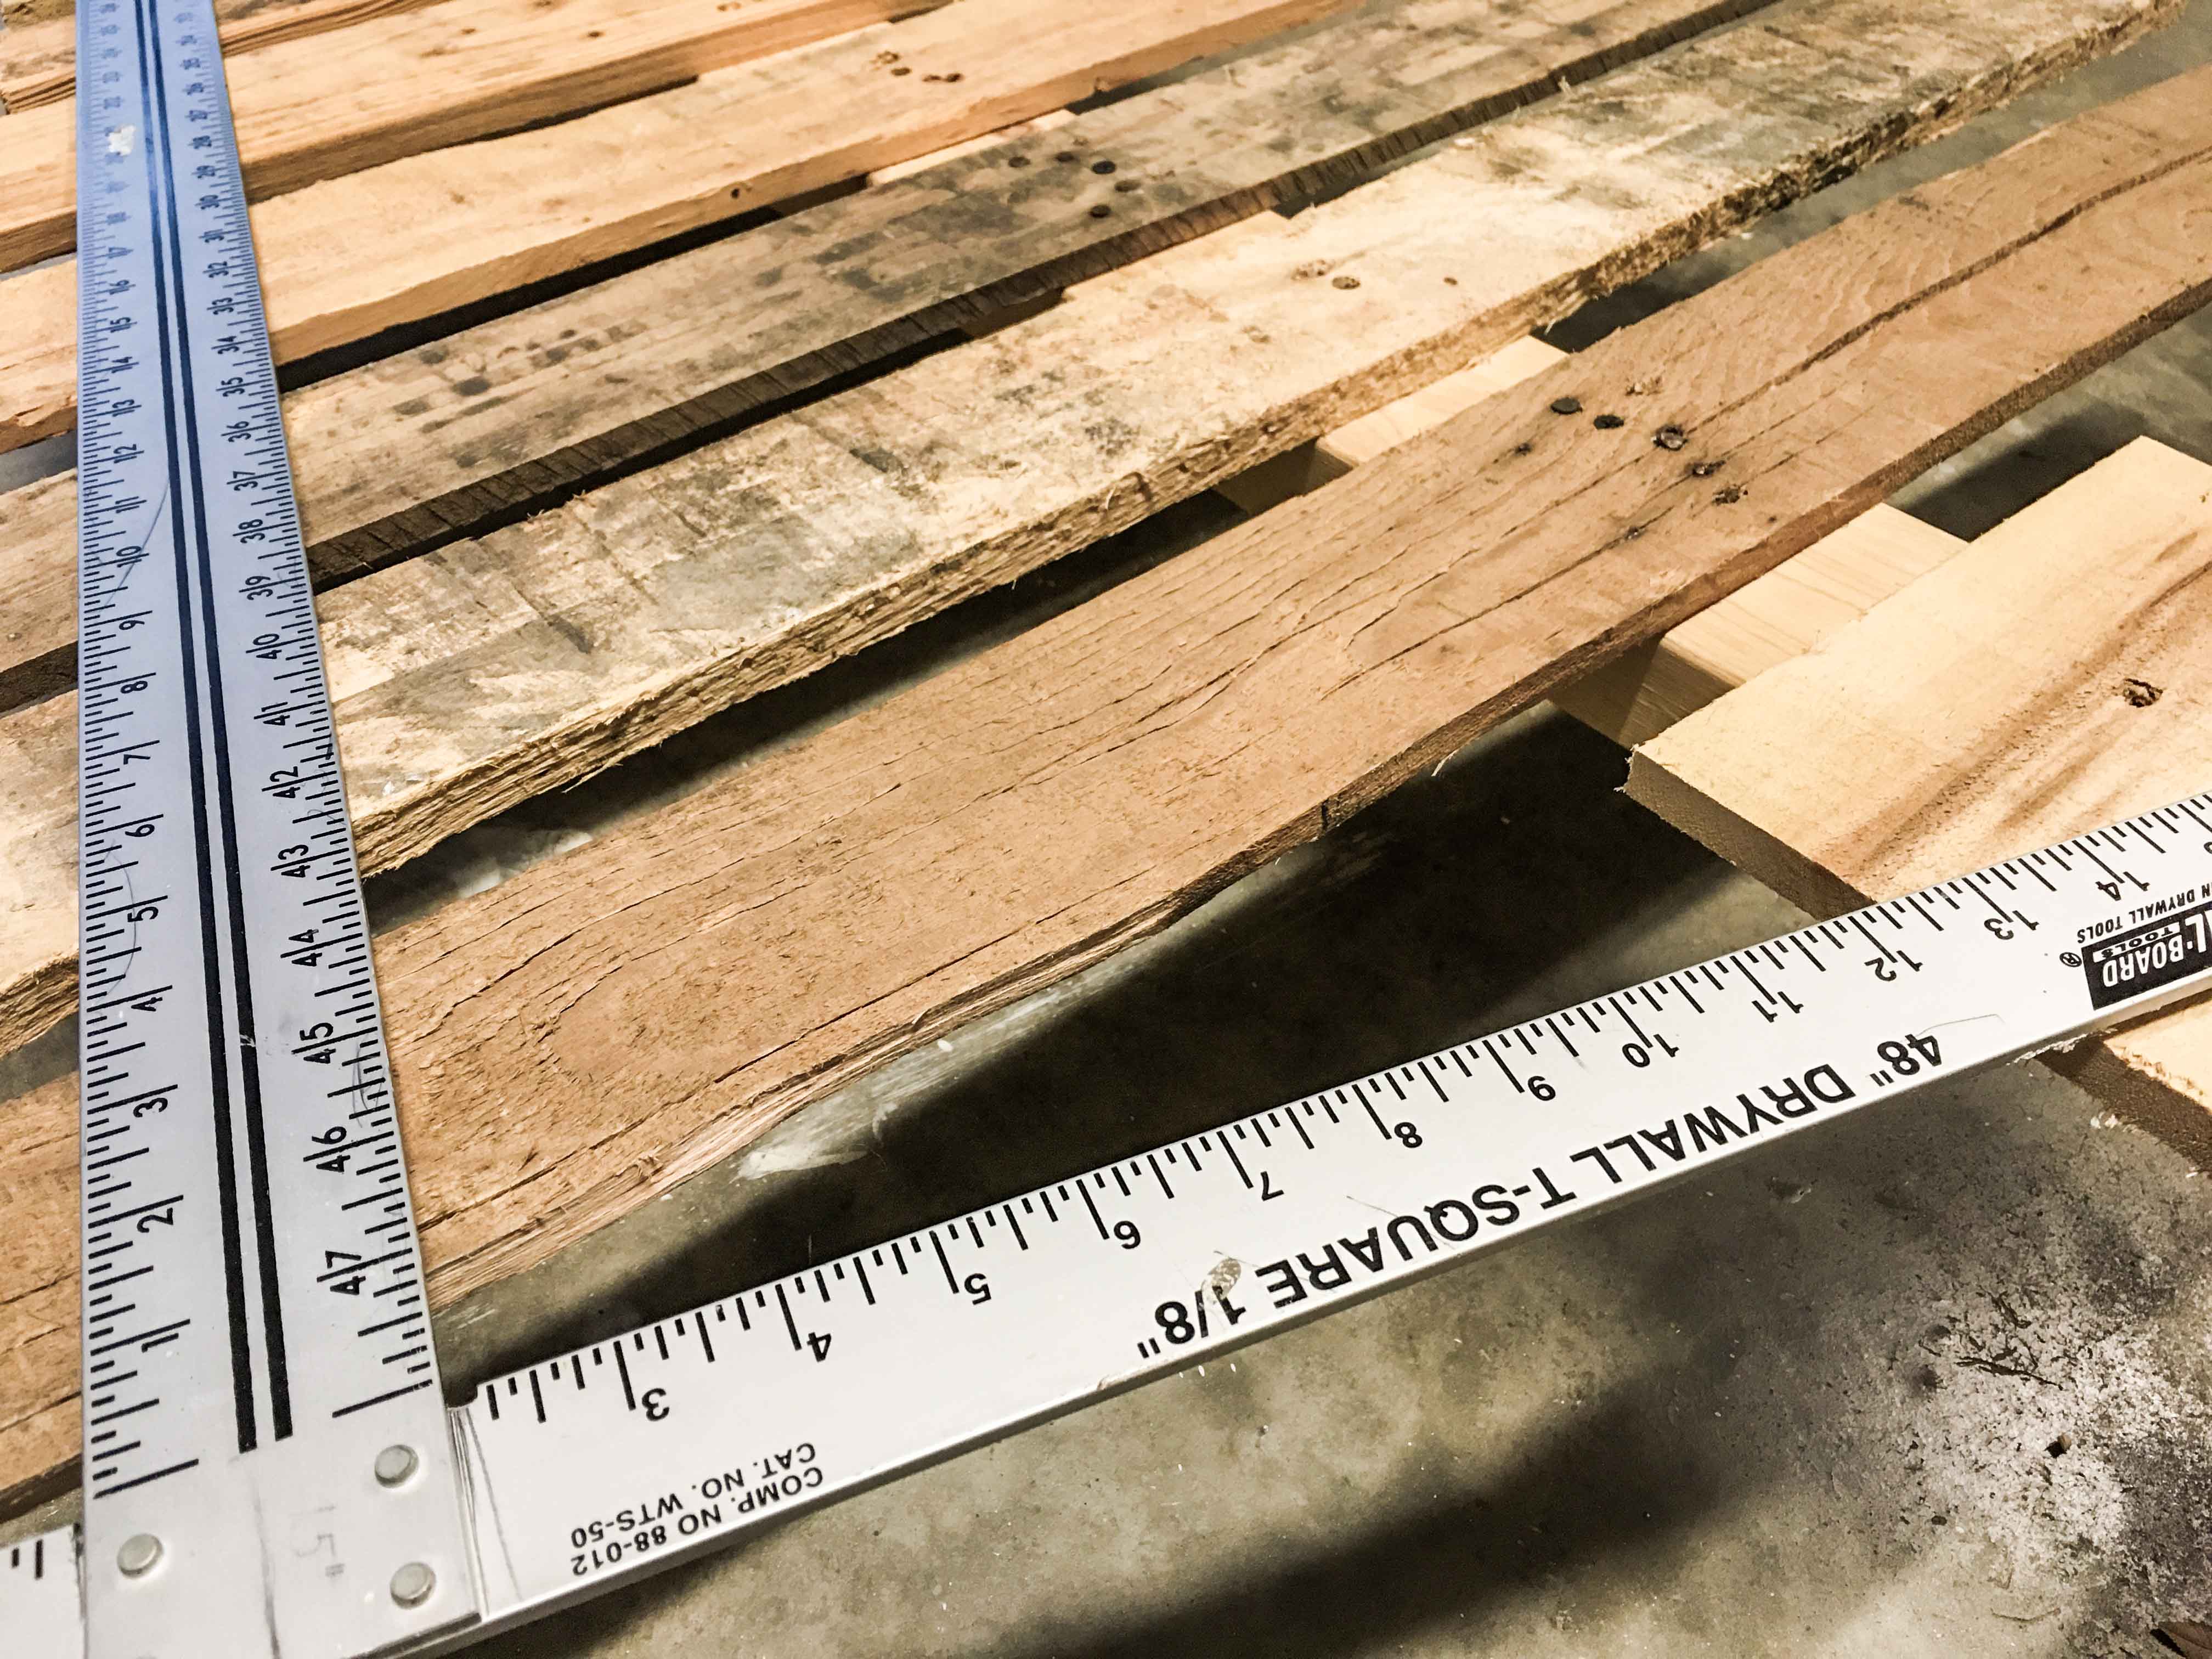
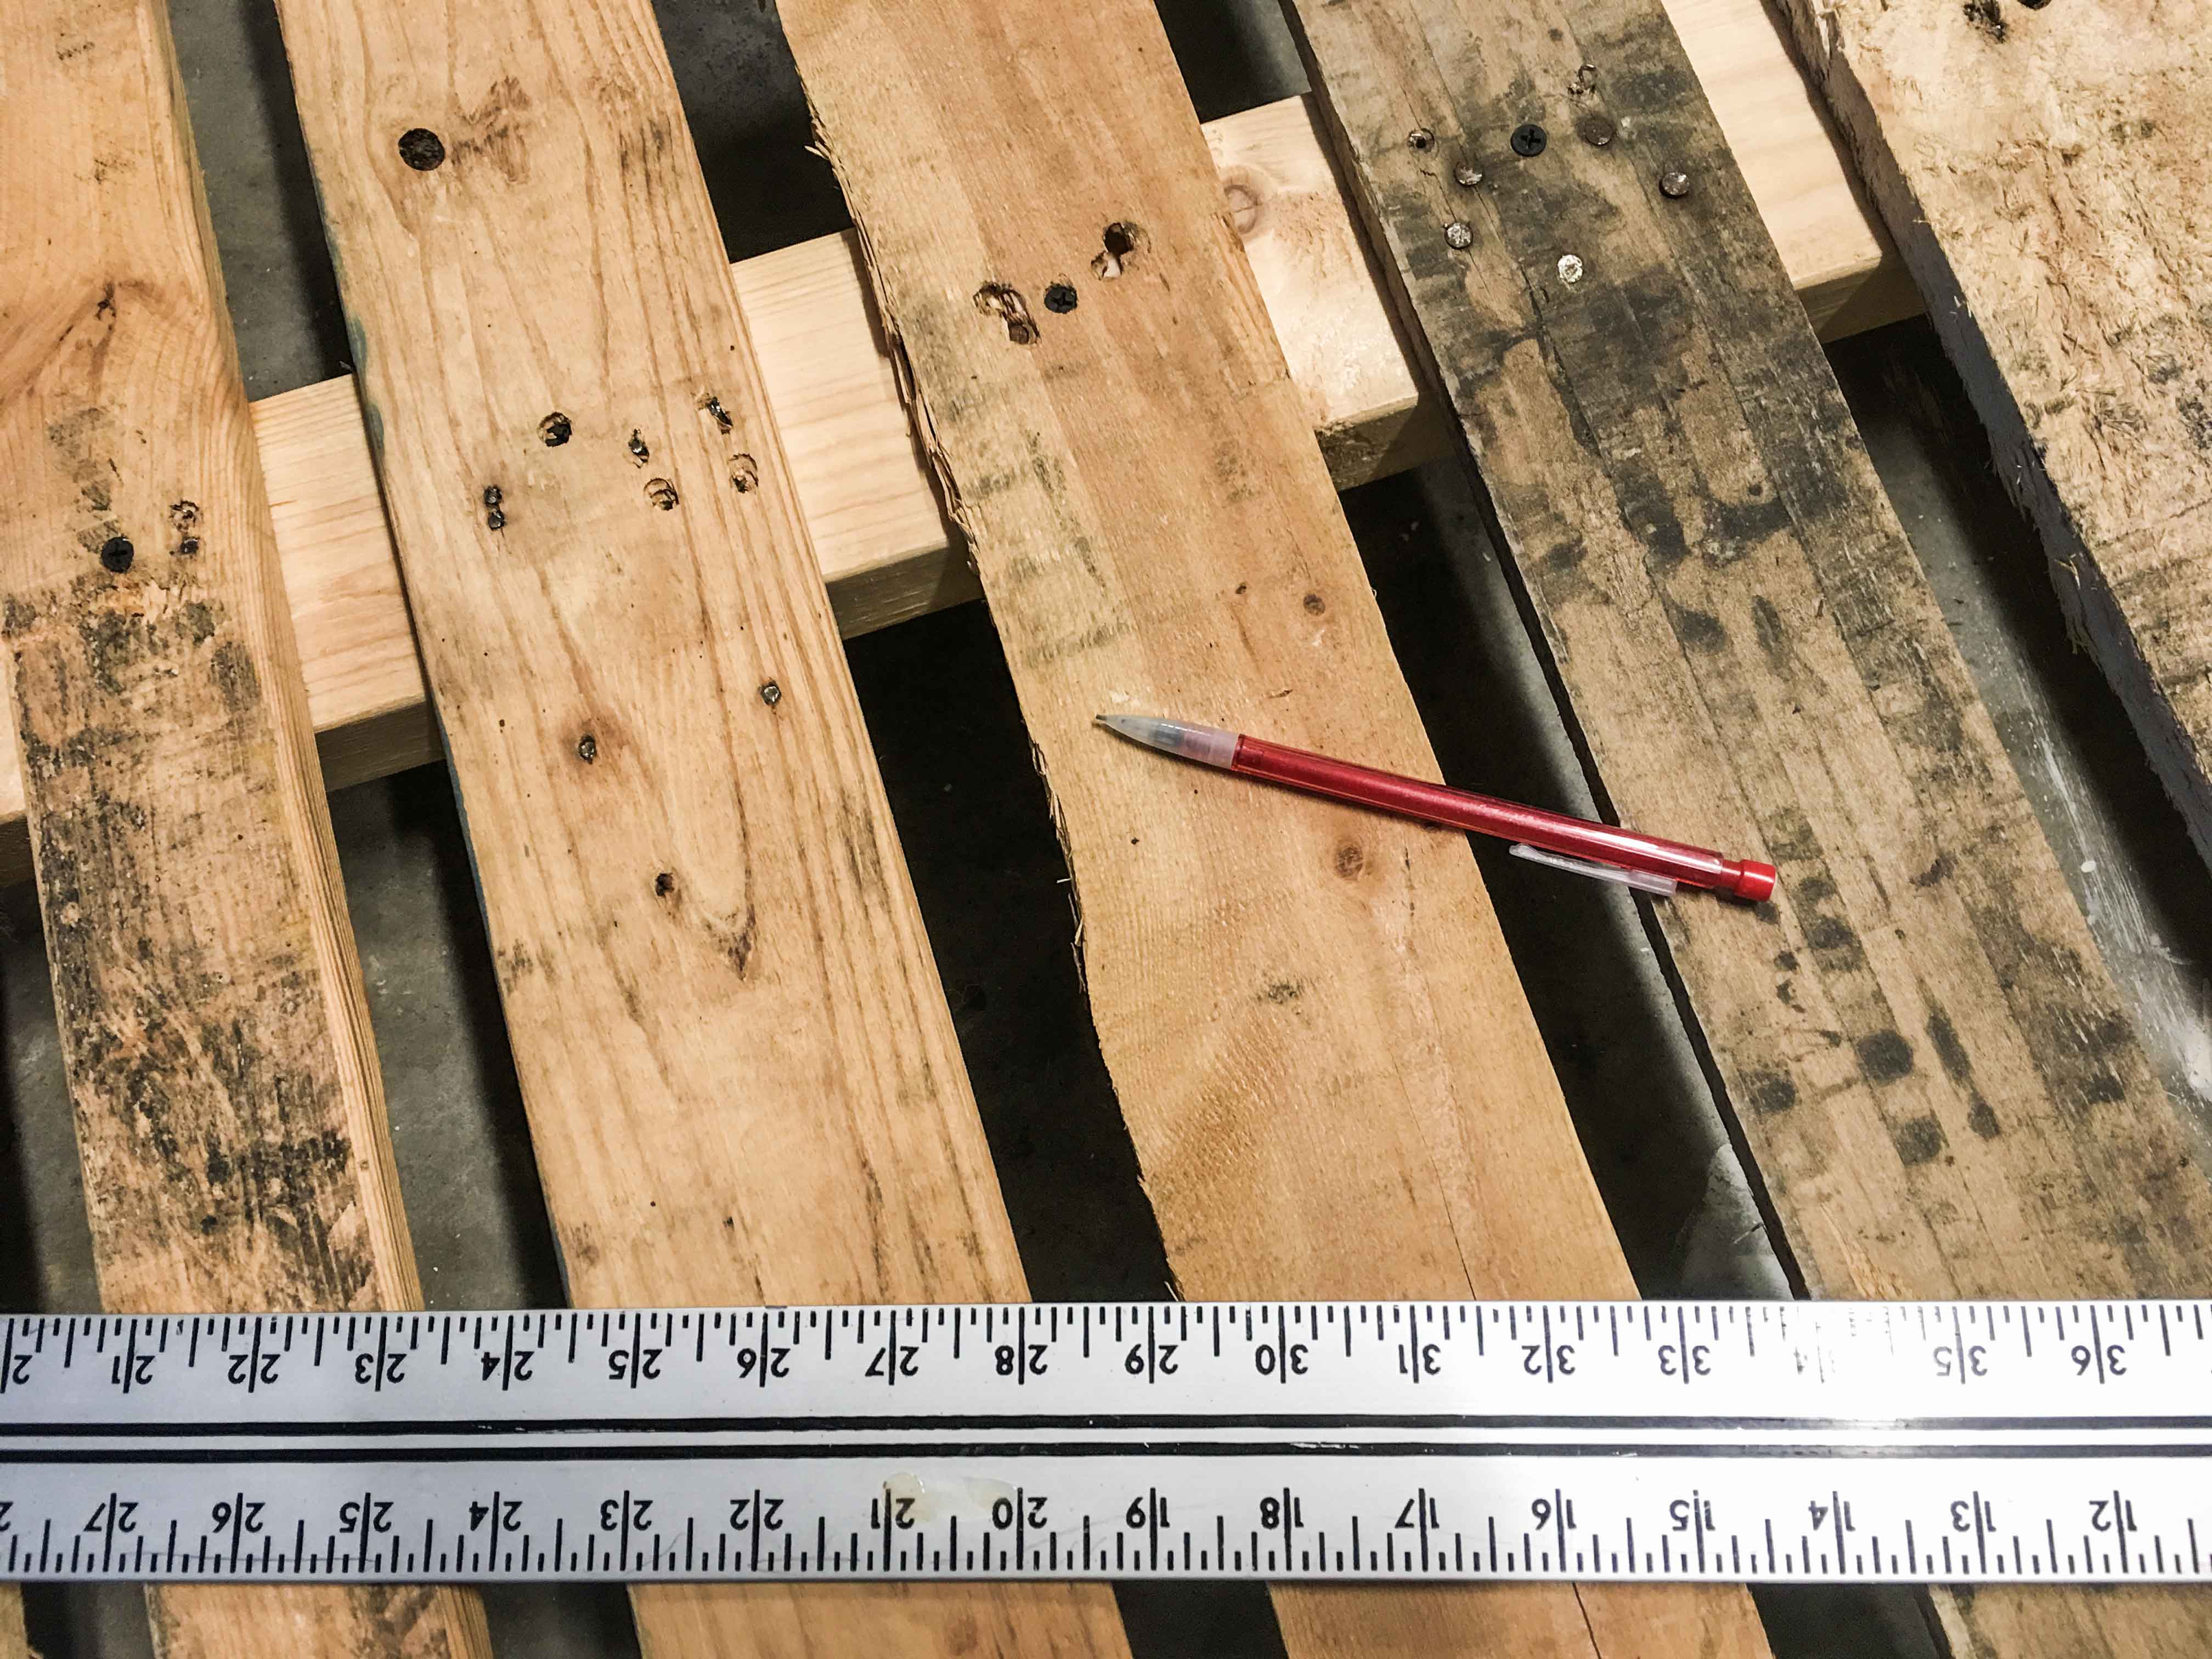
- Using your yardstick or T-square and pencil, draw lines along the pallet slats as a cutting guide.
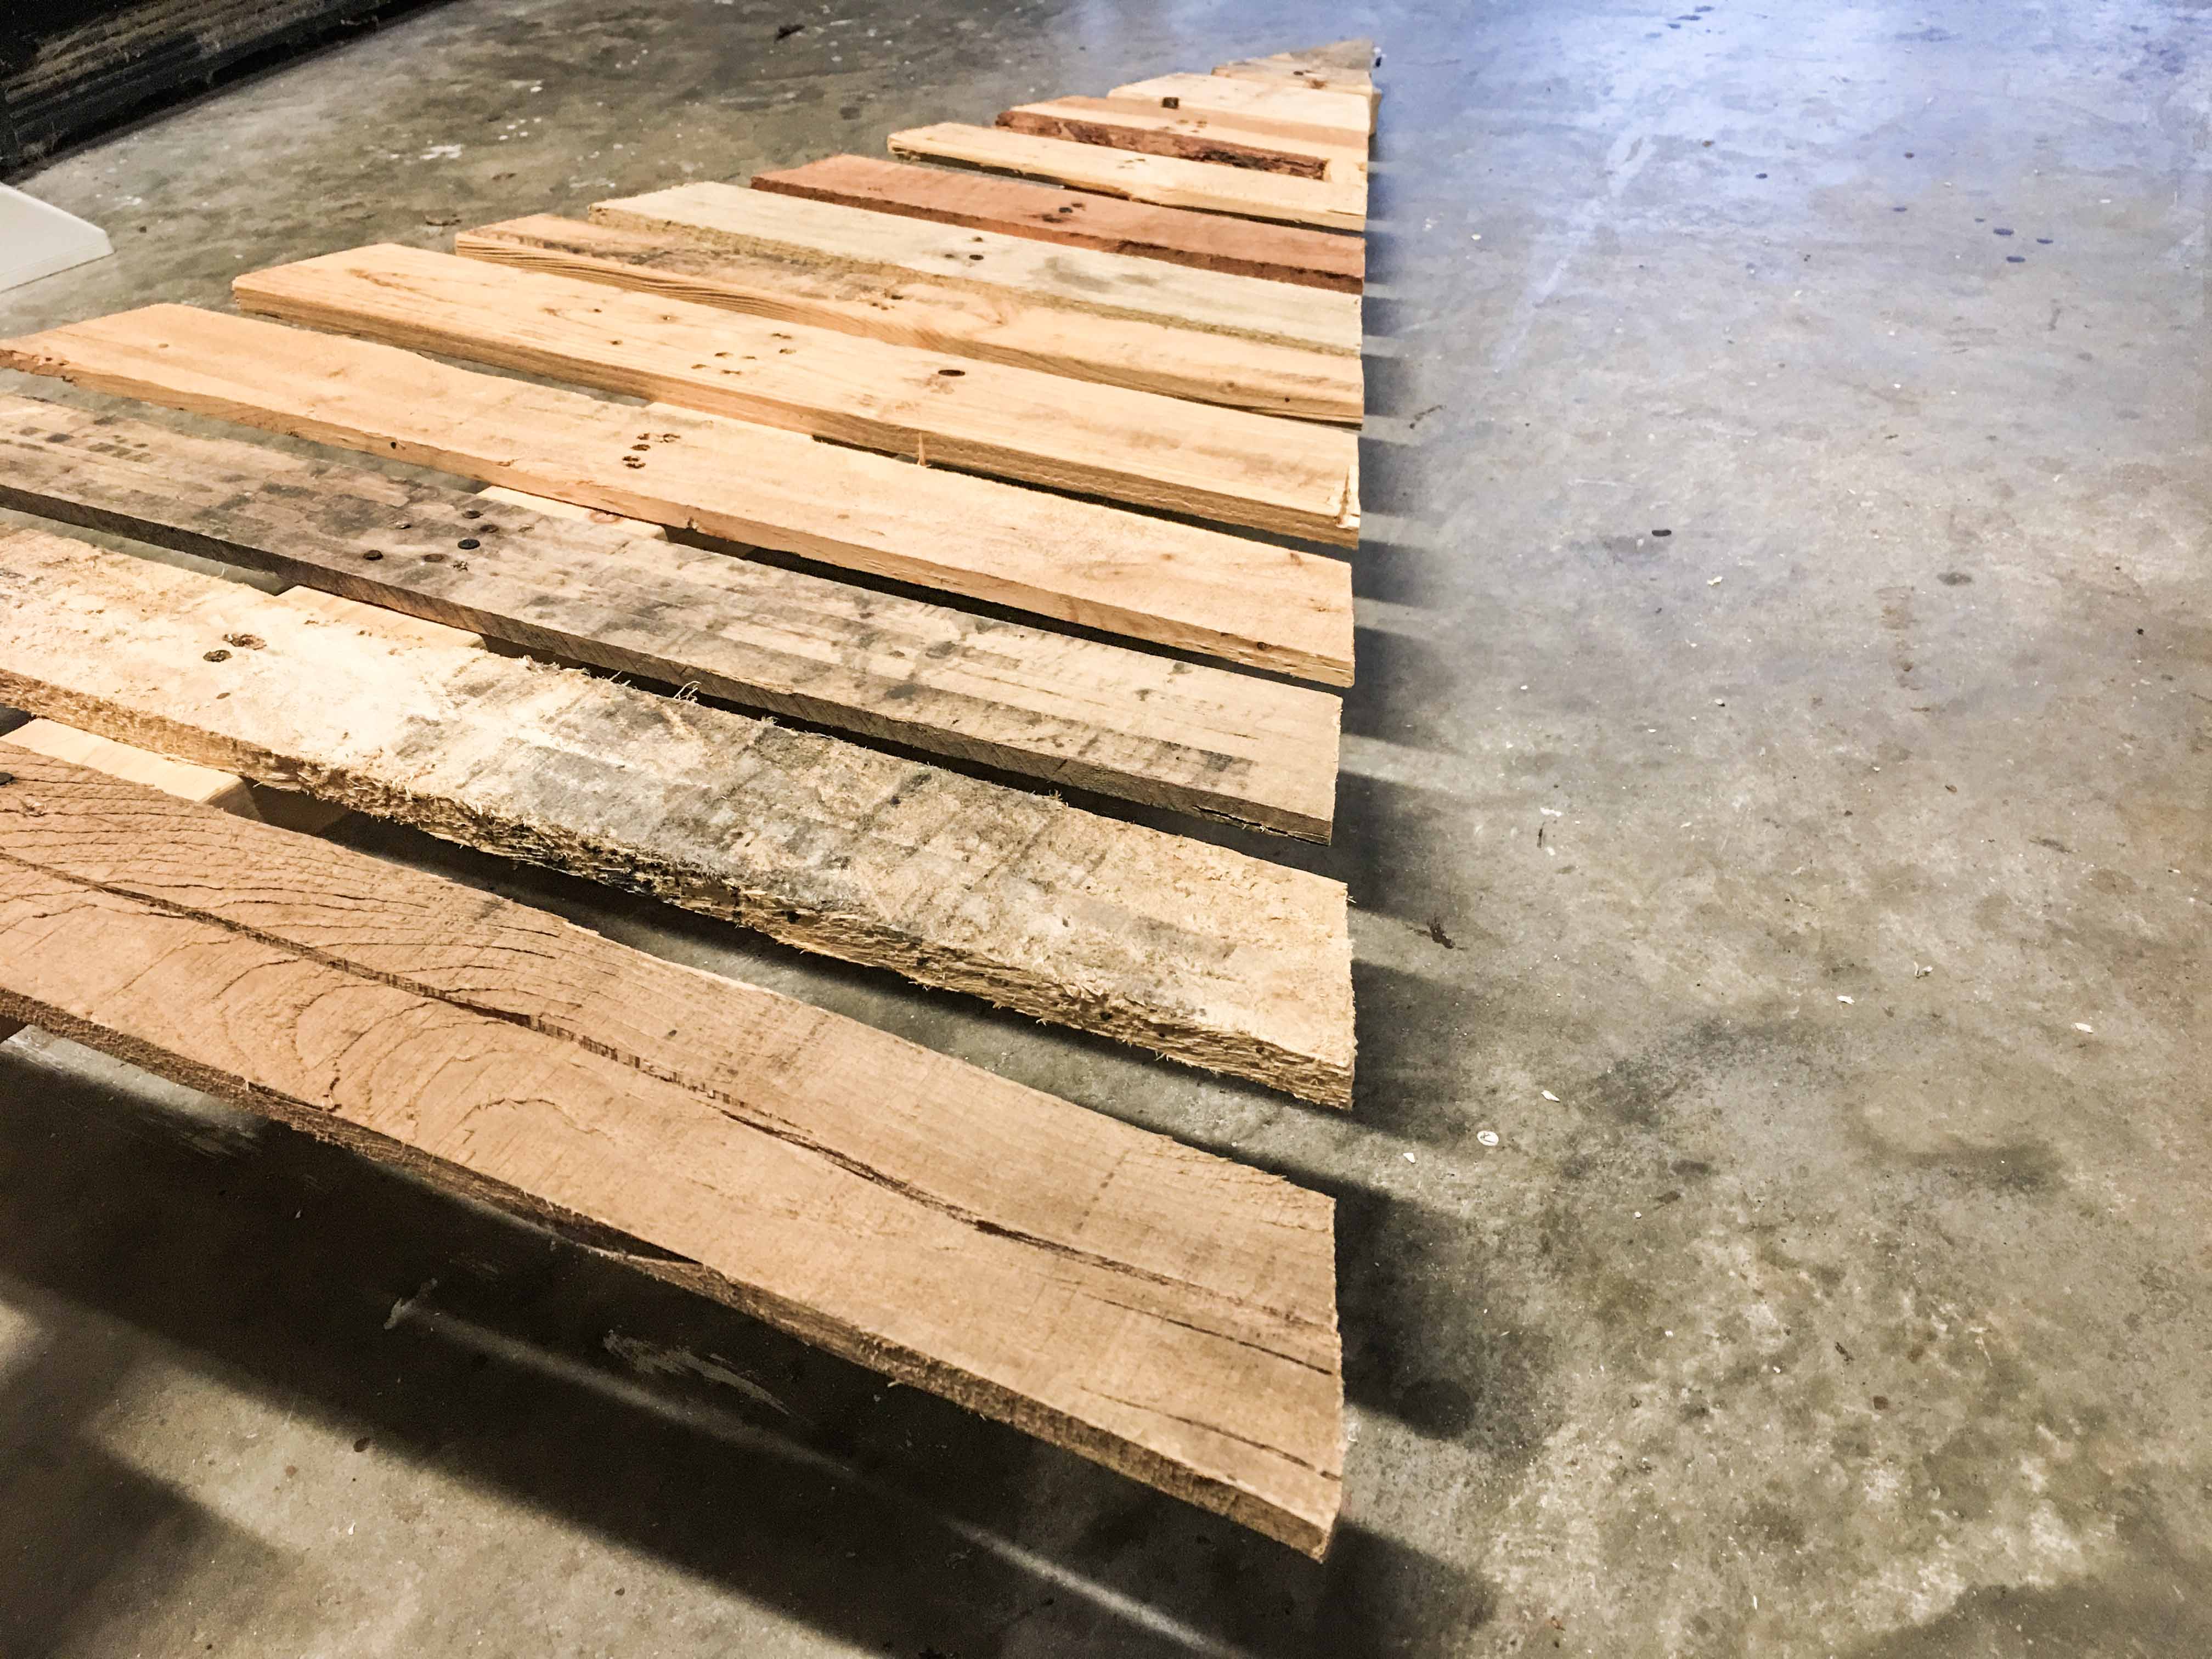
- Aim to have a point at the very top of the tree.
- The lowest pallet slat should be the longest. You can try to match the angle on each side of the tree by eye, or use a tape measure for a perfectly matched angle.
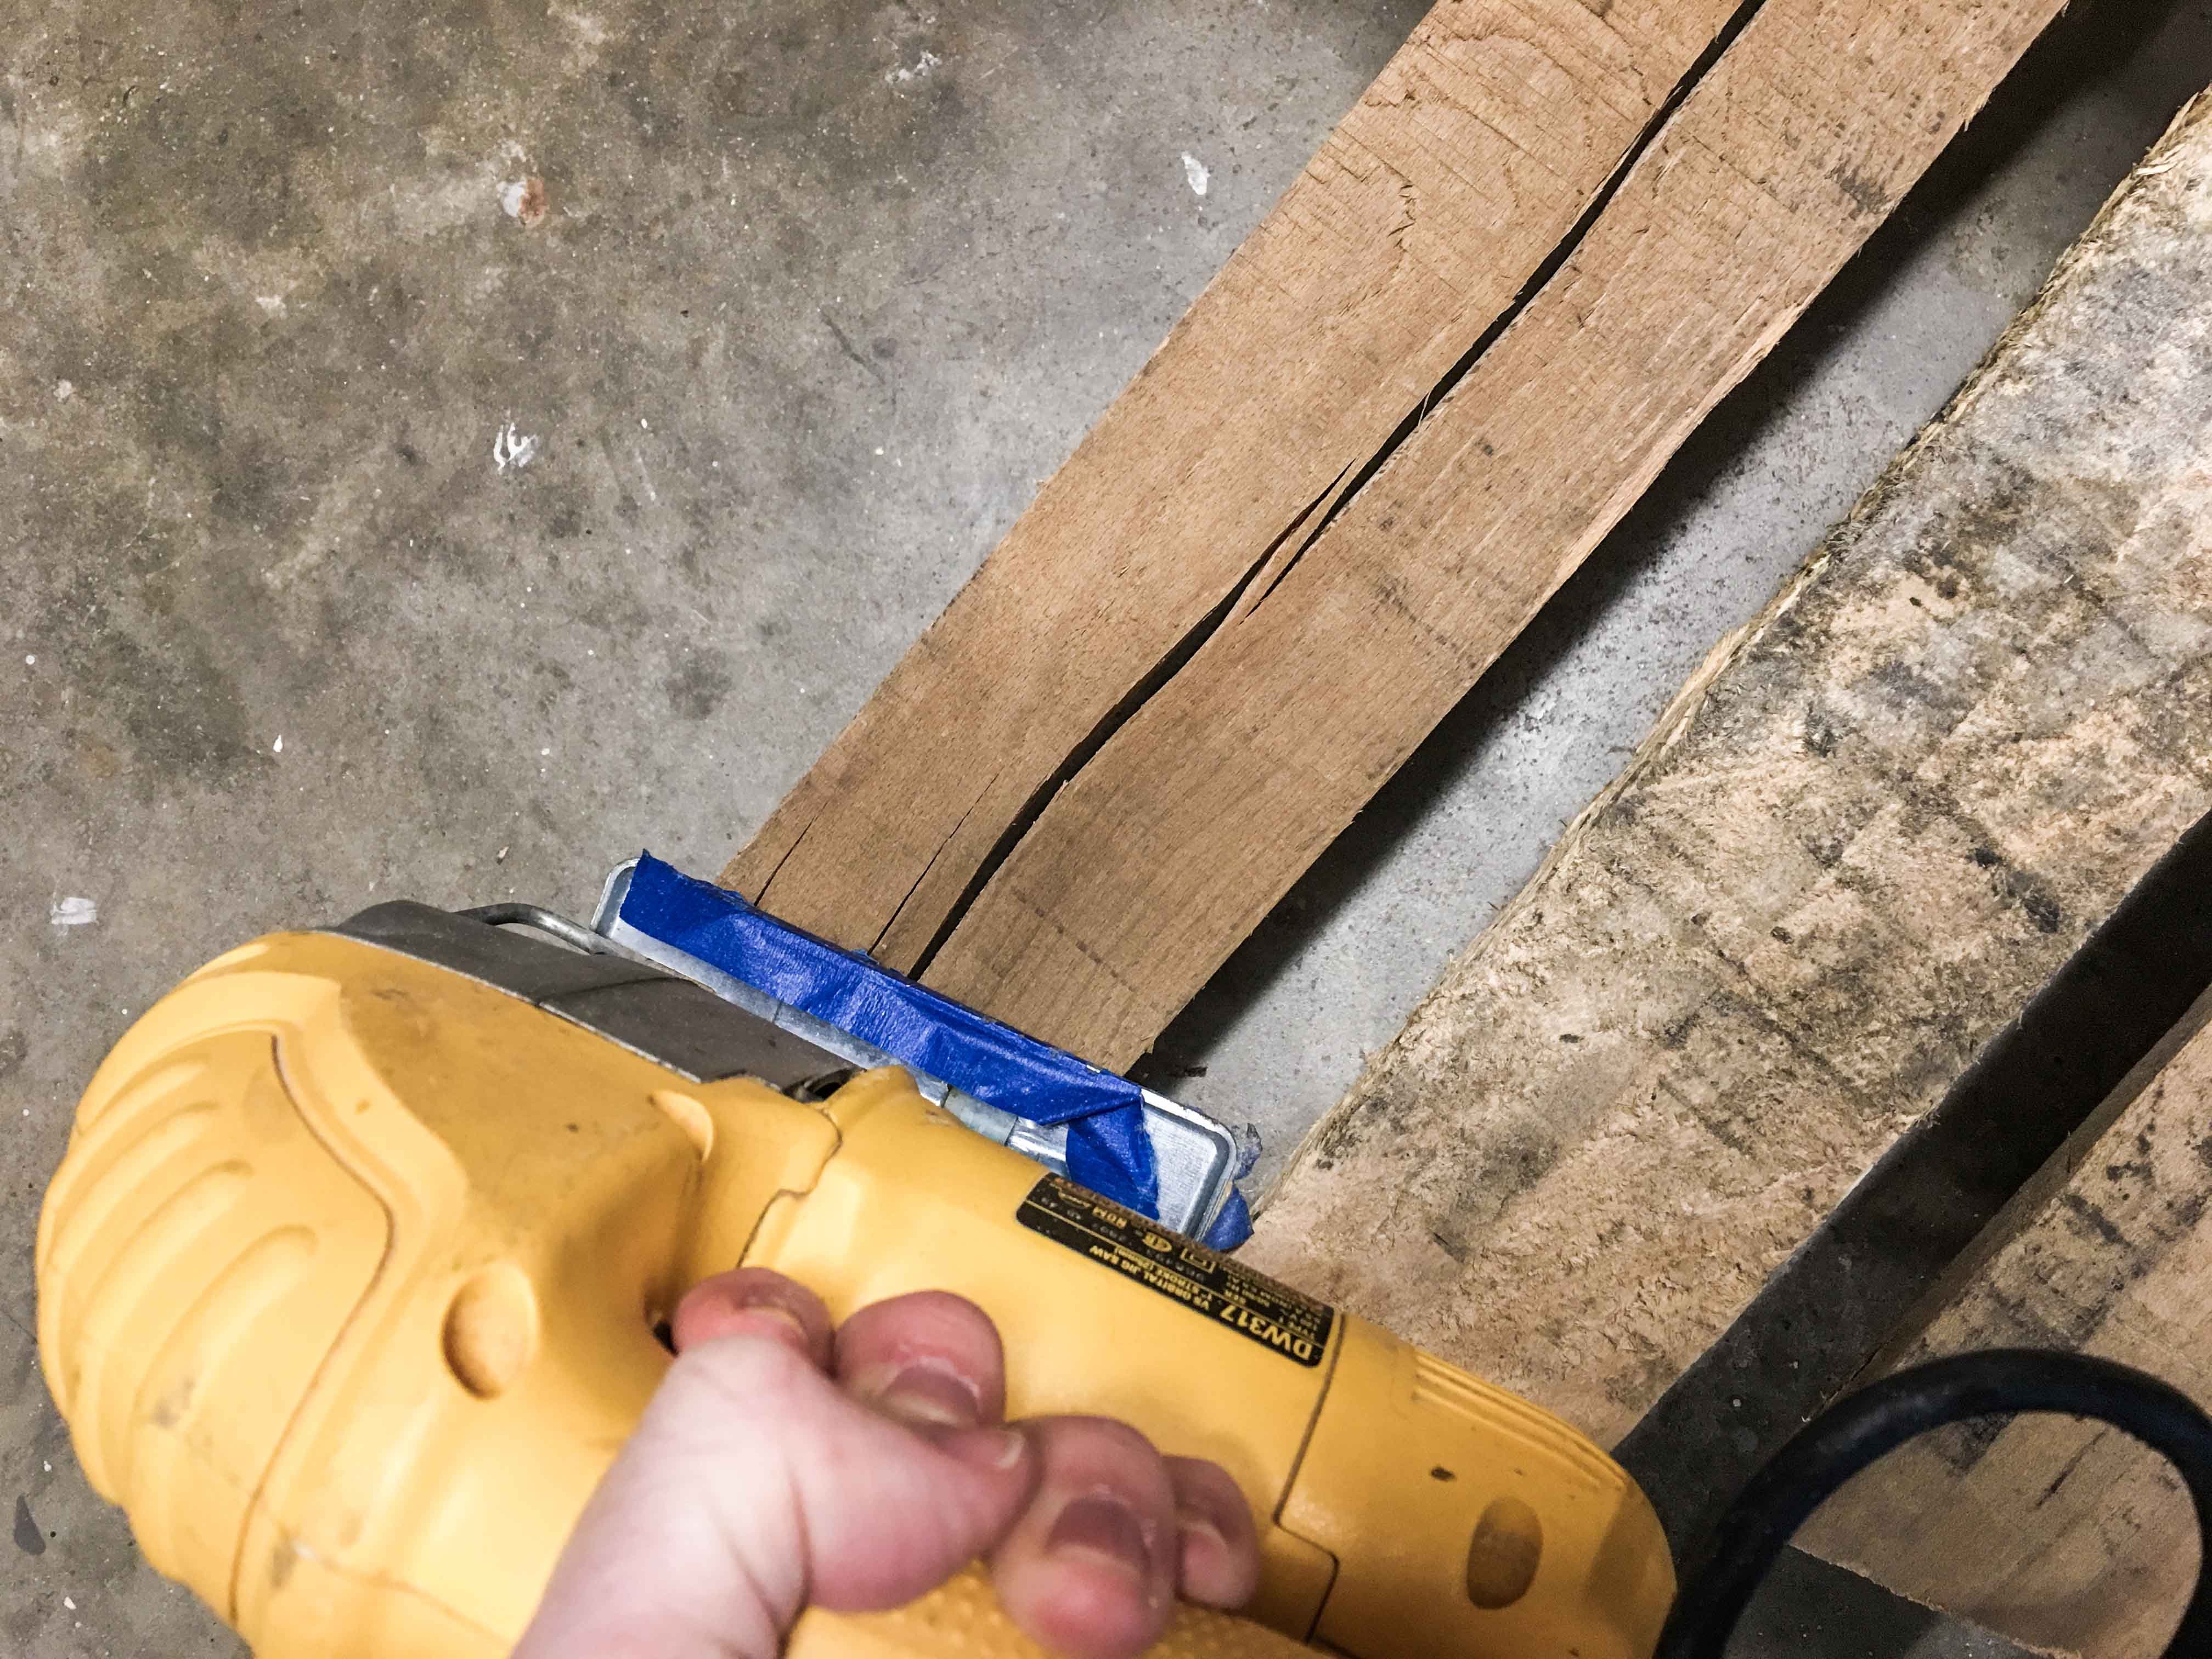
- With your circular saw or jigsaw, cut along each of the (2) linear lines you just drew. Be careful to avoid nails as they will dull the heck out of your blade.
Step 6. Build & attach the bottom support.
- This is the “X” piece attached directly to the bottom of the tree to allow it to stand up straight.
- Cut (2) – 1 foot long pallet slat pieces.
- Cut (2) – 3” long pallet slat pieces. These are footers. 3” is a rough estimate. Just make them square.
- Connect the (2) – 1 foot long slats in an “X” shape with nails or construction adhesive or wood glue or an exceptionally thick loogie.
- Attach the (2) square footer slat pieces on the bottom of the “X” to make it lay flat. Prevent the teeter totter.

Step 7. Consider a stain or paint or both.
We opted to keep ours raw. Here are a few wood finishing options to beautify your pallet Christmas tree. Each offers a different spin on finishing wood with stain, paint, wax, polyurethane or a mixture:
- How to Dry Brush Reclaimed Pallet Wood with White Paint.
- How to Make & Install DIY Stained Wood Shelves. (Stain tutorial!)
- How to Build & Install a Sliding Barn Door. (Whitewash over stain tutorial!)
- Stain, Whitewash & Distress a Herringbone Headboard.
- Double-waxed Finish on a Restoration Hardware Copycat Headboard.
- Centerpiece Pallet Wood Box. (Stain + wax tutorial!)
- Rustic Finish For Your Reclaimed Table.
- Paint, Stain, Whitewash & Distress Your Farmhouse Table.
- How to Clad with Pallet Wood in Your Kitchen. (Stain + dry brush + wax tutorial!)
- How to Install a Solid Wood Range Hood Cover. (Stain tutorial!)
We’re (figuratively) digging your tree.
The perfect addition to your home’s holiday design palette. Rustic wood plays perfectly into many styles: old school or modern farmhouse, cottage, rustic chic, weathered antiques, rustic lux, or whatever the heck Pinterest is getting jolly about.
Now that you’re a pallet pro, get some inspiration from a few of our other pallet builds. Cheers to making beautiful things!
- How to make crates out of wood pallets.
- How to build a DIY centerpiece out of pallet wood.
- How to build a DIY pallet wood pumpkin.
- Clad your kitchen peninsula (or anything) with pallet wood.
- How to make a DIY outdoor fire pit for your backyard (to burn pallets).
