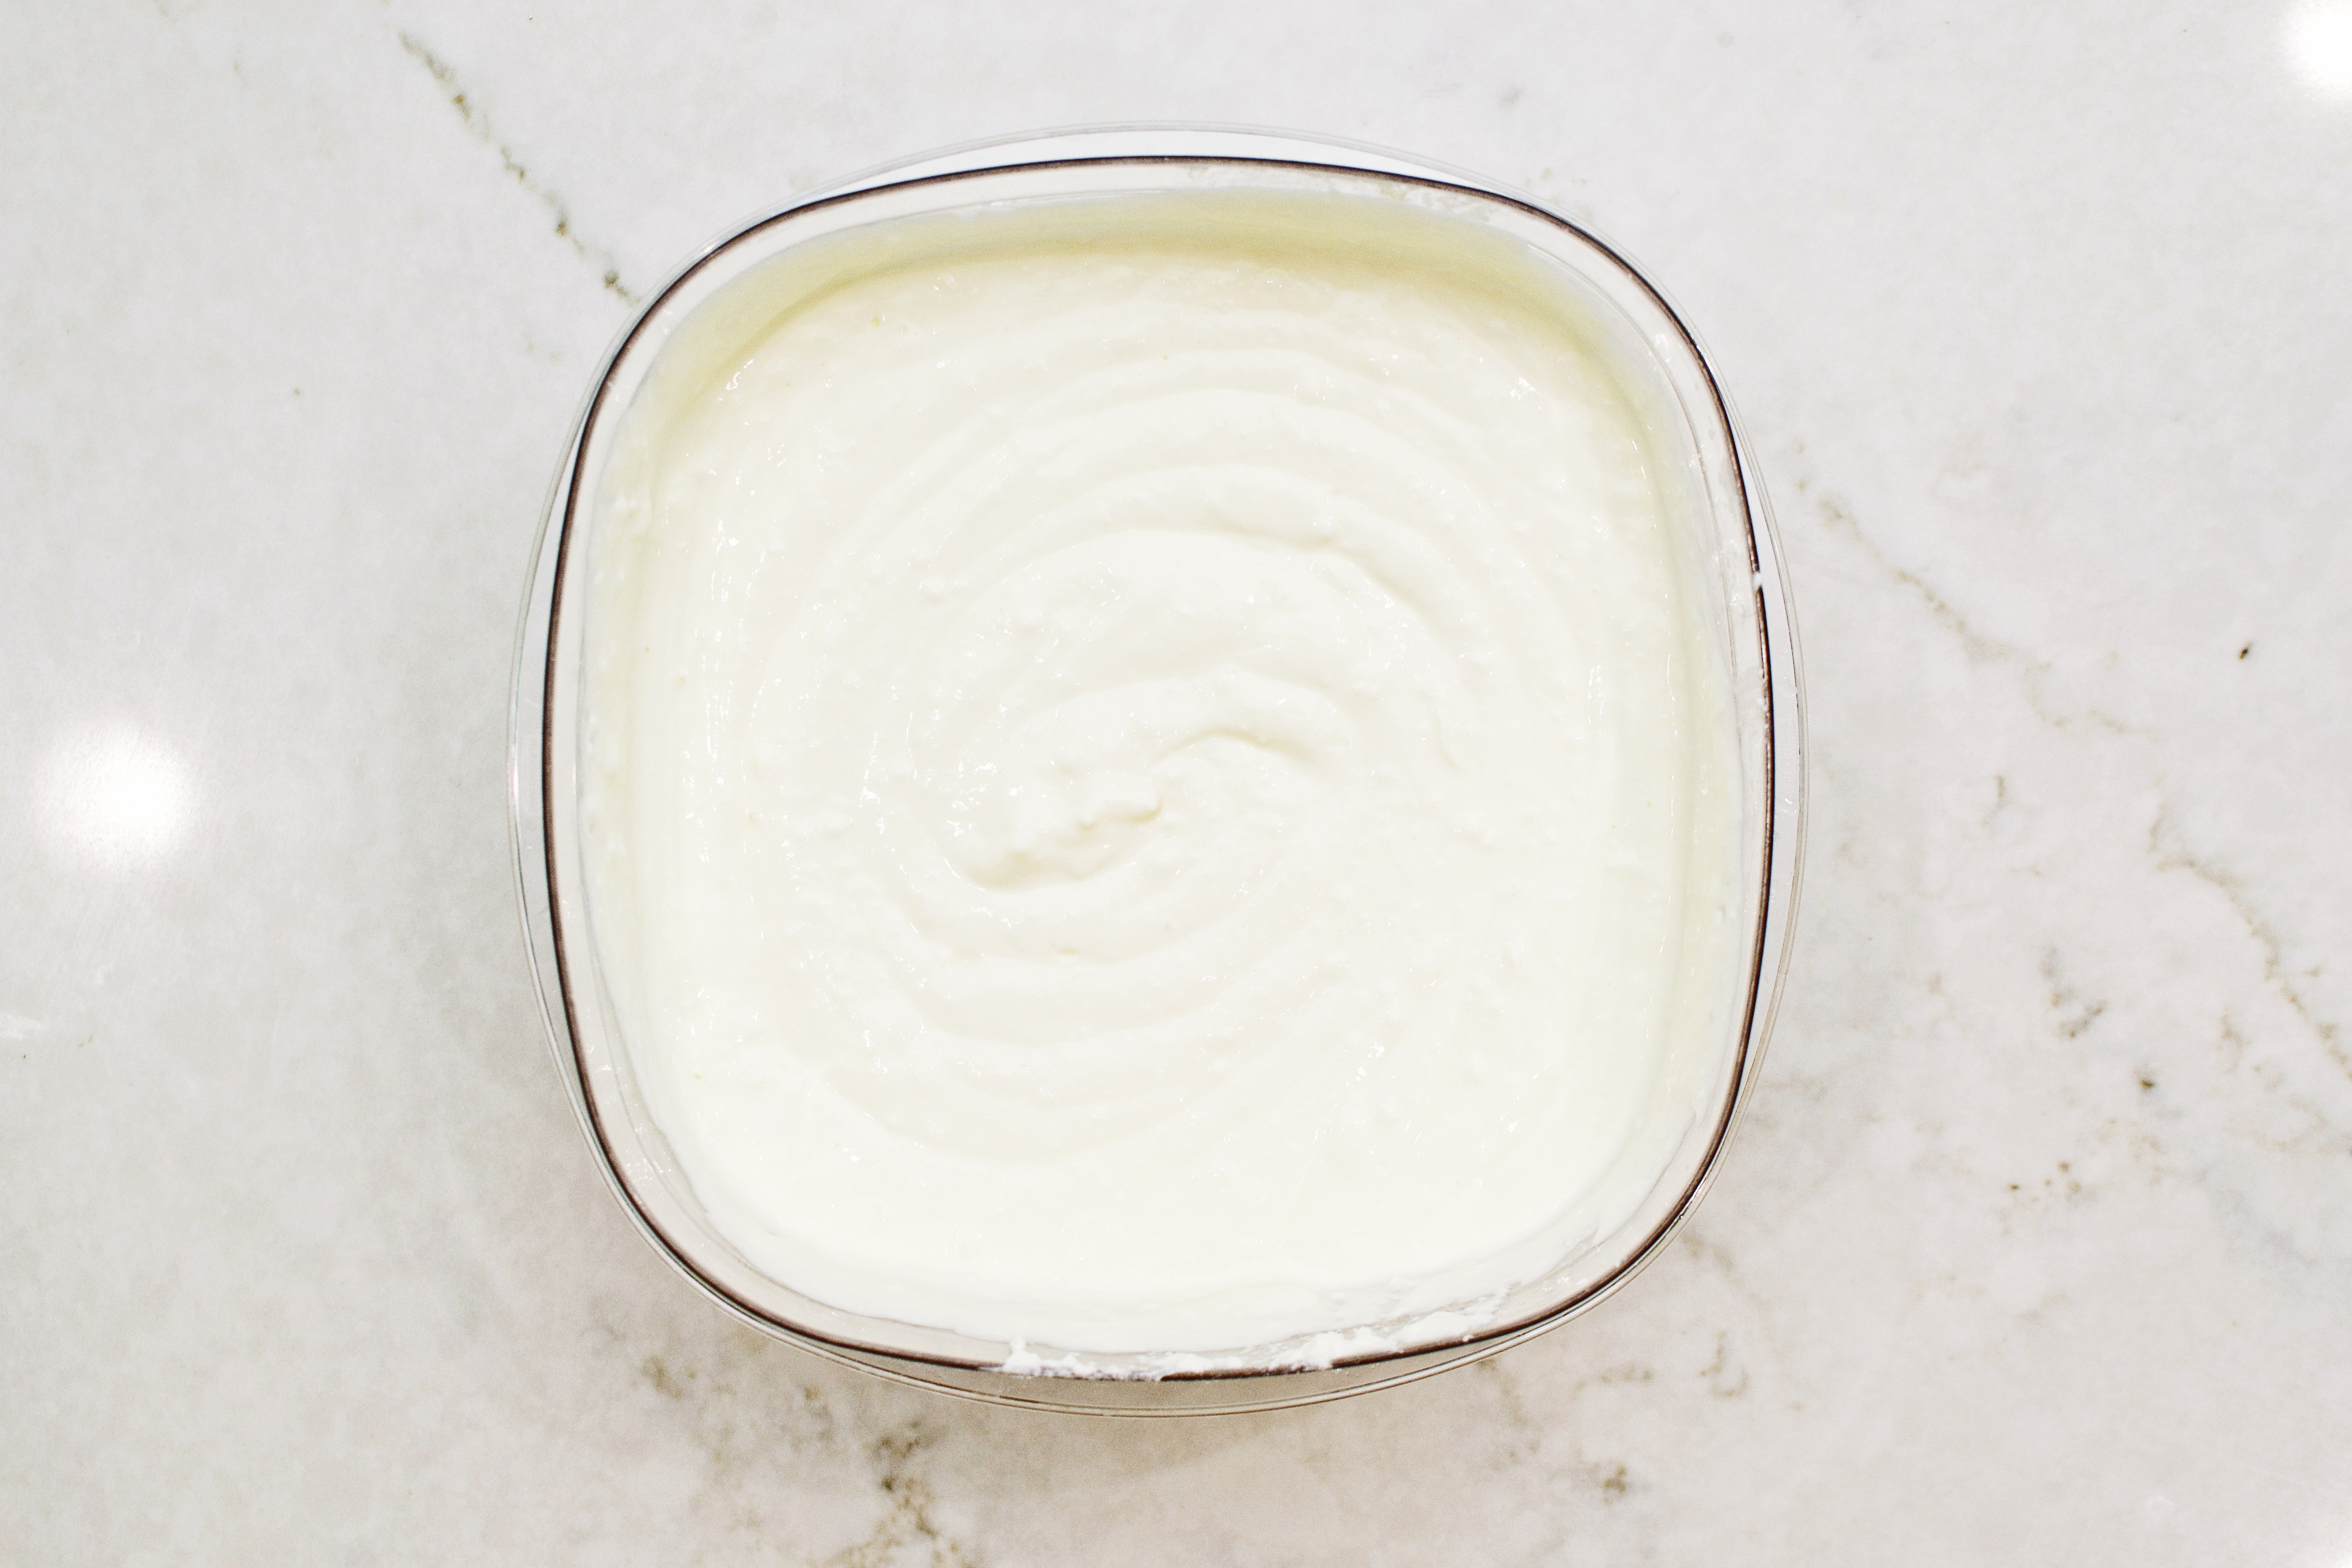
Back when we were first married, we were on a huge greek yogurt kick.
And we were also making like $25k a year combined. So basically, any way we could slash our budget, we did it! Including learning to cut our own hair, sticking to an eating out budget of $10/month and making our own yogurt. I won’t lie to you, we’re still too frugal for our own good (is that a contradiction?) and we still do some of those things. (Ask which one of us pays to get our hair cut–the answer will probably surprise you). We’ve been yogurt making for the better part of 8 years, and we’ve learned a few things along the way.
The full fat benefits.
I used to make a non-fat version. Now we know full fat is where it’s at. Here are the benefits of whole cow’s milk over skim:
-
- Satiety. Fat keeps you full and satisfied for longer. Ever notice that eating a bowl of mainstream cereal with skim milk leaves you hungry 2 hours later?
-
- Omega-3s. Possibly the healthiest fats on the planet, especially for your heart and brain. Per ounces milk, 183 mg in whole milk and 2.5 mg in skim milk. Not to mention a 62% increase in omega-3 fatty acids from conventional whole milk to organic!
-
- Weight regulation. Whole, even though it has almost double the calories, may actually help reduce the risk of obesity.
-
- Blood sugar. Fat intake coupled with sugar intake (lactose in this case) slows the spike in blood sugar, and tempers the crash or drop back to normal. As opposed to sugar without fat. The amount of lactose sugars are the same in both beverages. Relates to the next item:
-
- Metabolic syndrome. Choosing high fat dairy products may decrease your risk of metabolic syndrome.
-
- Absorption of vitamins. You need fat to absorb and use the following vitamins: A, D, E & K.
-
- Saturated fat may not be bad. A 21 study meta-analysis discovered “…no significant evidence for concluding that dietary saturated fat is associated with an increased risk of CHD or CVD.” – from the American Journal of Clinical Nutrition
- It’s insanely creamy. The fat free version is pasty.
Know better, do better. Also, don’t assume the area you choose to incubate is the right temperature. Use a thermometer to measure the temperature of your chosen space over time. More on that in a minute.
Why you should make your own yogurt.
Once you get the hang of it, making your own yogurt is not that complicated and the hands-on time is very minimal. Plus you’ll have a whole 64 ounces of the most delicious, dreamy, creamy yogurt for basically the price of a gallon of milk. (We buy grocery store brand organic for $6 a gallon. Non-organic is usually ~$3 a gallon). Plus it’s kind of fun to make yourself, and people will be impressed with your kitchen skills. The key to yogurt success is maintaining an incubation temperature of 100º-110º F. Probiotics grown in making yogurt are living organisms. If they get too cold, they wont grow (then you’ll just have room temperature milk. Gross. Also likely to make you sick.) If they get too hot, they will die. They’re high maintenance (kind of like working with yeast). But once you know their demands, you’ll be in business.
Incubation location.
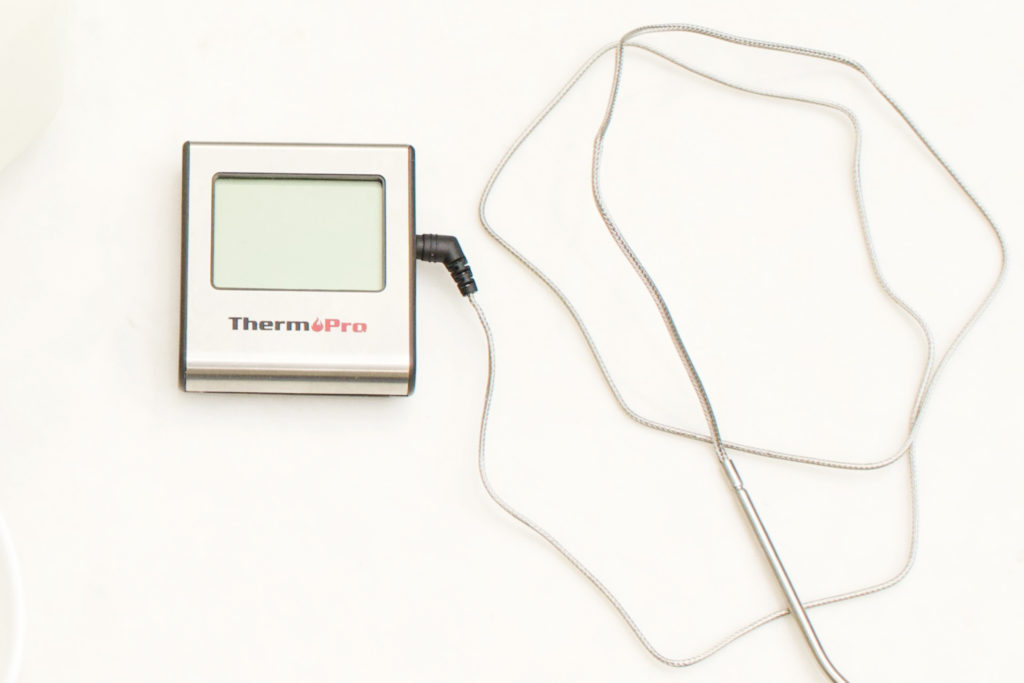
Vital to have a digital thermometer. We recommend testing a few places in your house for their temp before actually embarking on your yogurt making adventure.
-
- Certain ovens have temperature settings as low as 100º F. If you can set your oven to that temp, great!
-
- If not, some ovens will maintain a temp between 100º-110º by just leaving the oven light on (our oven is too new and energy efficient for that). Technology advancements. *rolls eyes*
-
- Some people report good success with having the crockpot on warm. DEFINITELY verify the temp of this by placing the probe of your thermometer in, closing the lid and leaving it for a couple hours.
- You can jerry rig a contraption like ours. We turned our toaster oven on and put the probe of our digital thermometer inside and closed the door. We turned the dial ever so slightly up or down until we found the spot that maintained a consistent temp of 105º F over time.
You’ll want to verify two things about each space you try out:
- Does it maintain a consistent temp of 100º-110º F over time?
- Does a large bowl or pot fit inside?
Incubation time.
Time of incubation is widely debated. Our favorite is 24 hours. Shorter obviously saves time. Here are the proposed & hypothesized benefits of a longer fermentation process:
-
- More probiotics. Yogurt fermentation is where beneficial bacteria like Lactobacillus bulgaricus feast on lactose for food, dramatically increase in number, and release a byproduct called lactic acid.
-
- More tang. Lactic acid gives yogurt it’s dry, tangy & tart flavor / mouthfeel. That little bit of lemony aftertaste.
- Thicker yogurt. The longer the batch ferments, the thicker the yogurt becomes. Cooking the milk to 180º definitely affects the consistency, but it’s not the only factor. Perhaps thicker means you won’t have to strain it as long afterward, yielding more product overall. We have yet to test this theory though.
Ingredients.
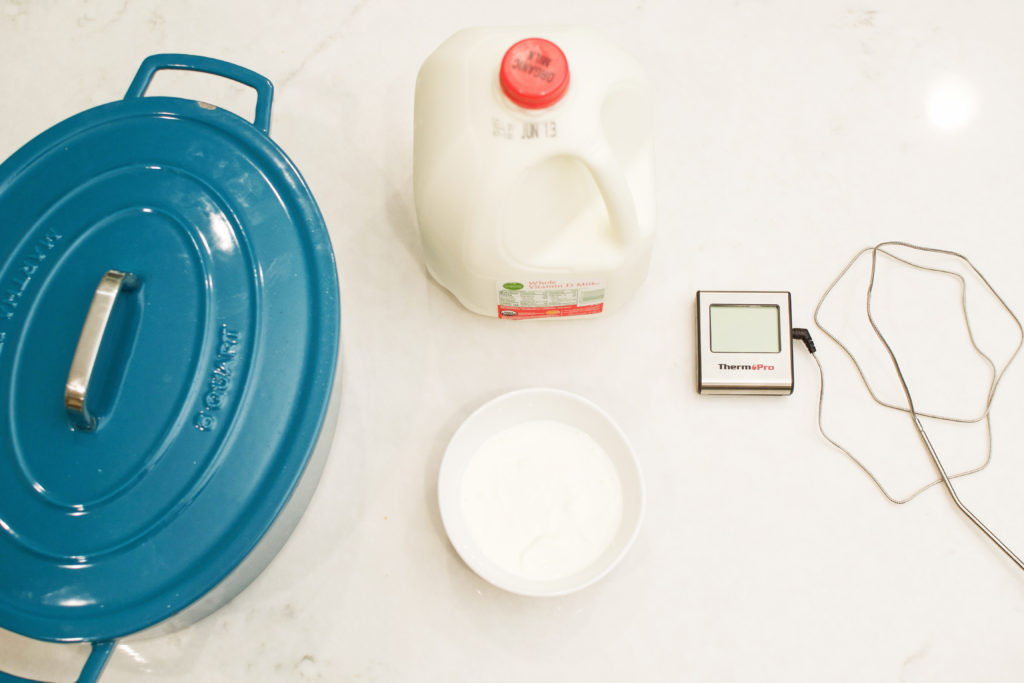
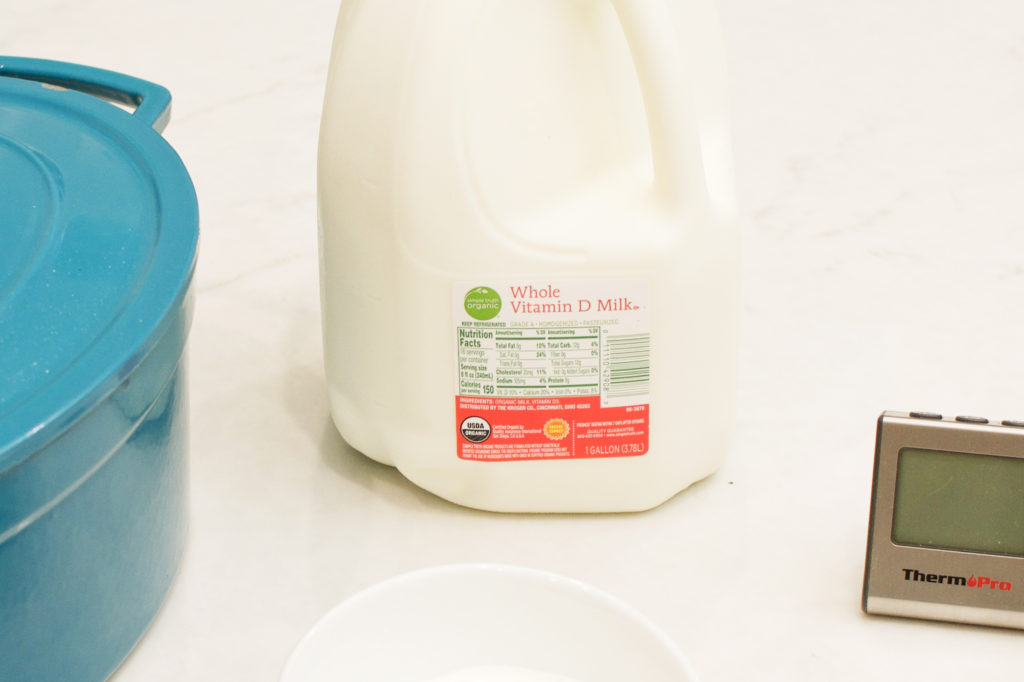
- 1 gallon organic whole cow’s milk. Or non-organic if you choose.
- 1 serving size of store bought plain greek yogurt. The ingredient list must include a few bacteria cultures. Avoid brands with unnecessary fillers or additives. Chobani has a very clean plain option. Once you’ve made yogurt, you can use a few tbsp from the previous batch.
Accessories.
- Oven, toaster oven, crockpot – or anywhere that you have verified can hold a temp of 100º to 110º.
- Large pot – needs to comfortably hold a gallon of milk.
- Baking spatula, for stirring.
- Small bowl or small plate – home base for your spatula.
- Ladle.
- Digital thermometer.
- Cheesecloth, to strain the yogurt when fermentation is complete. Or any micro filter that won’t yield off-flavors in your yogurt. Pre-wetted coffee filters & paper towels have worked for us too.
- Colander or sieve, where the cheesecloth will live during straining.
- Large plastic container (or glass), used to catch the draining whey liquid and to store the final product.
- Large glass jar with lid, to store some of the excess whey liquid if you want to keep it.
How to make it.
- Locate a range, wall oven, large toaster oven, slow cooker or anywhere nearby that can hold a temperature between 100º and 110º. Test it out with a thermometer to be sure.
- Crack open a brand new gallon of organic cow’s milk. Pour it into a pot, place on the stove top and start cookin’ over medium heat. Insert your digital thermometer and set the alarm to 180º. If you only have an analog version, stay close by and watch the temp as it rises. Stir occasionally.
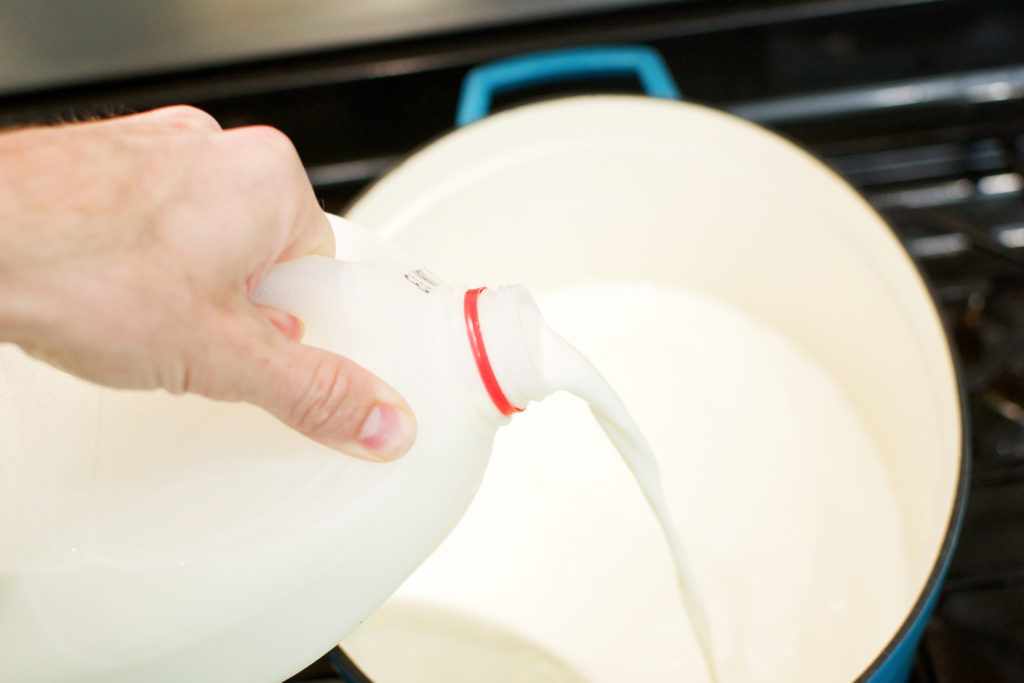
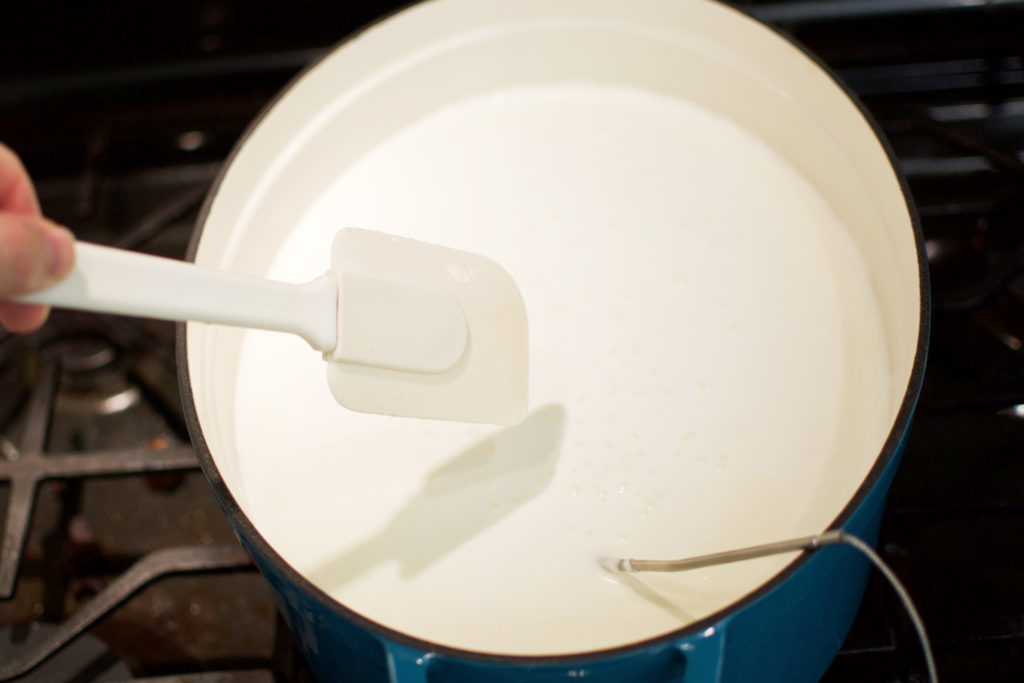
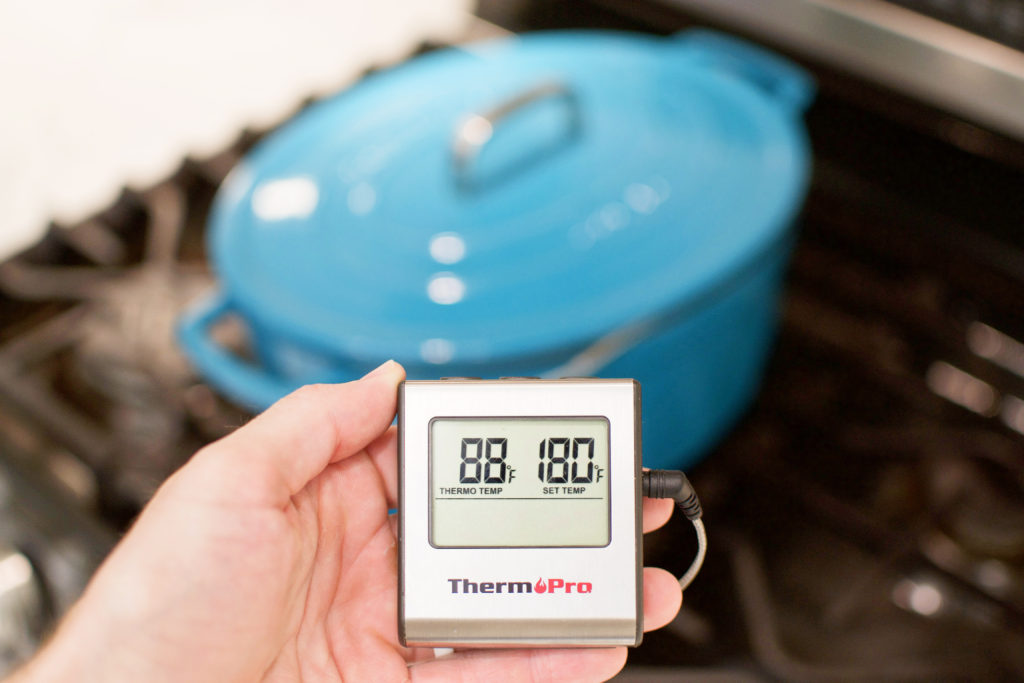
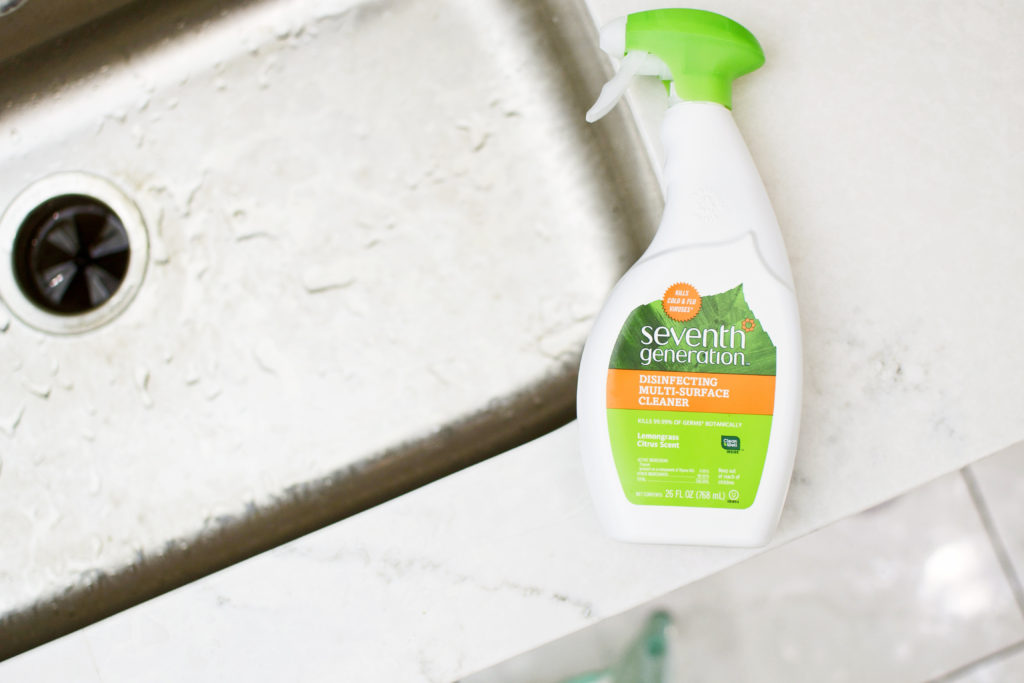
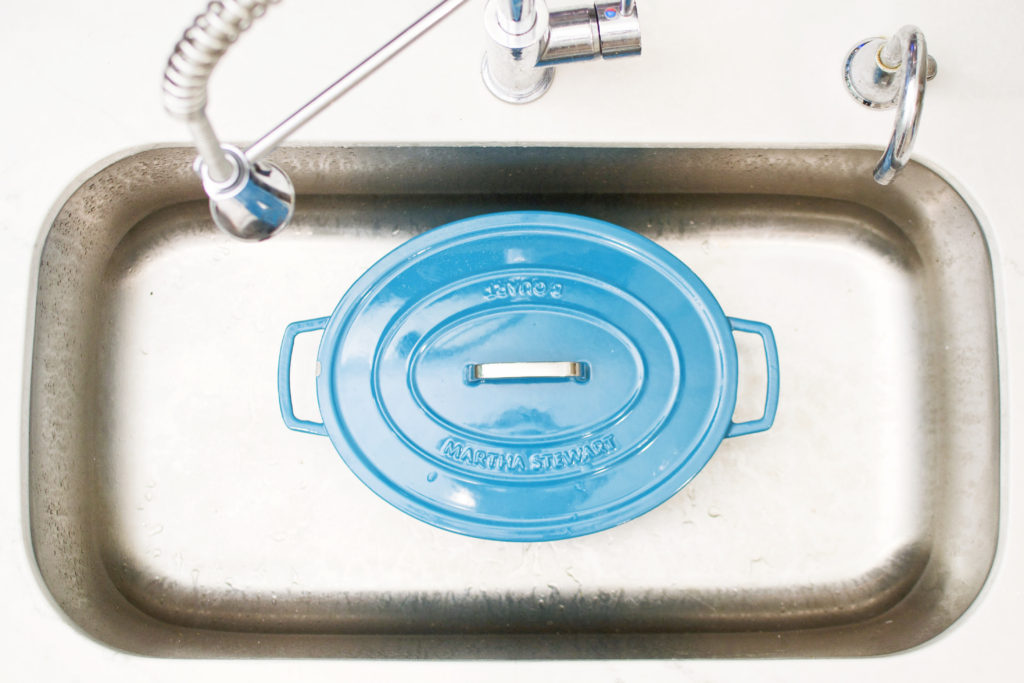
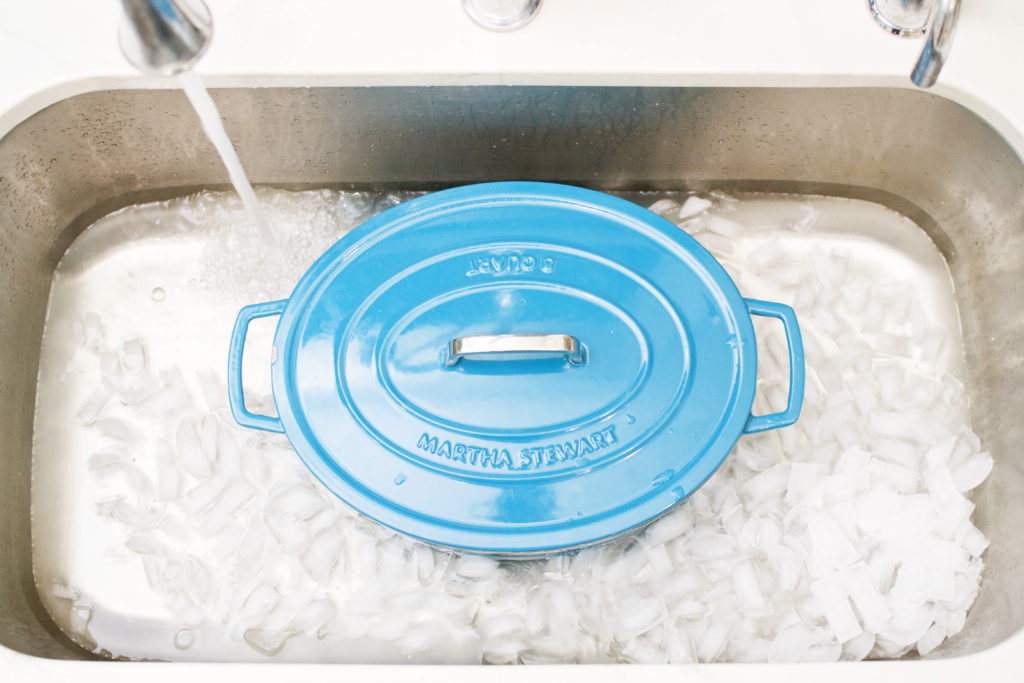
- Once the temp hits 180º, remove from heat. Allow the temp to drop to 110º, ideal for incubation. You can just leave the pot on the counter for this or accelerate the cooling process by placing the pot in an ice bath in a larger pot or in a disinfected sink. Protect the warm milk from all possible contaminants. You don’t want to grow something undesirable.
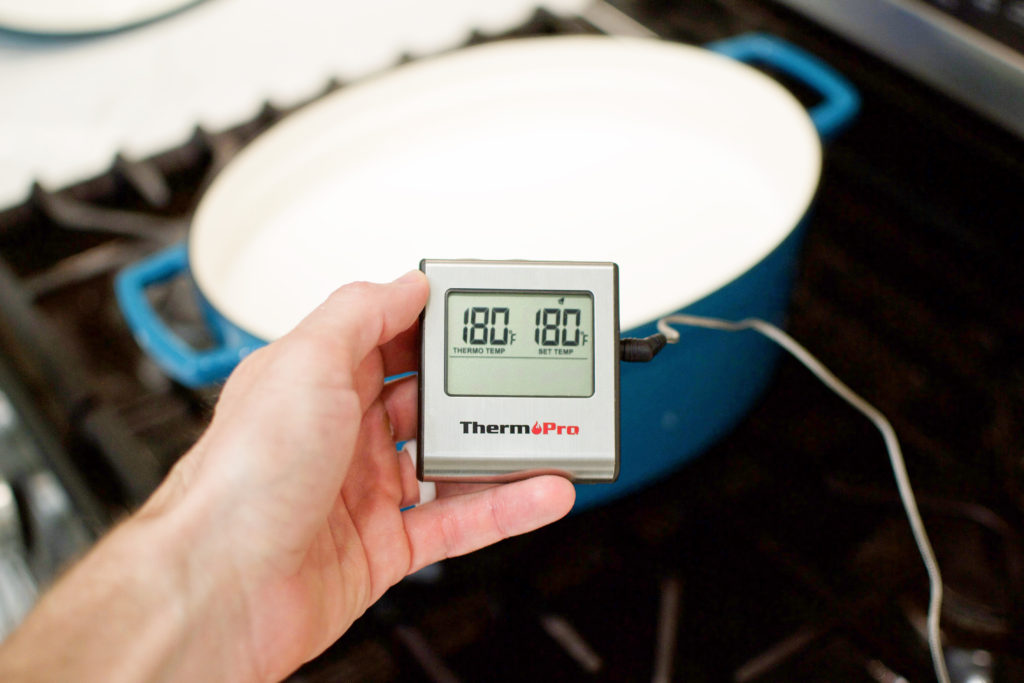
- As you get close to the incubation stage, take your pre-made yogurt out of the fridge and wash your hands. Lukewarm starter mixes better than cold starter.
- 110º is party time. Stir in 3+ tbsp of the pre-made or last batch yogurt to the warm milk in the pot until incorporated.
- Place well-mixed warm milk + pre-made yogurt blend in its incubation location. Ours is the toaster oven. Check the thermometer placement for proper submersion. The yogurt temp should still read between 100º and 110º. Reassess temp a few times over the next couple hours to ensure proper temp.
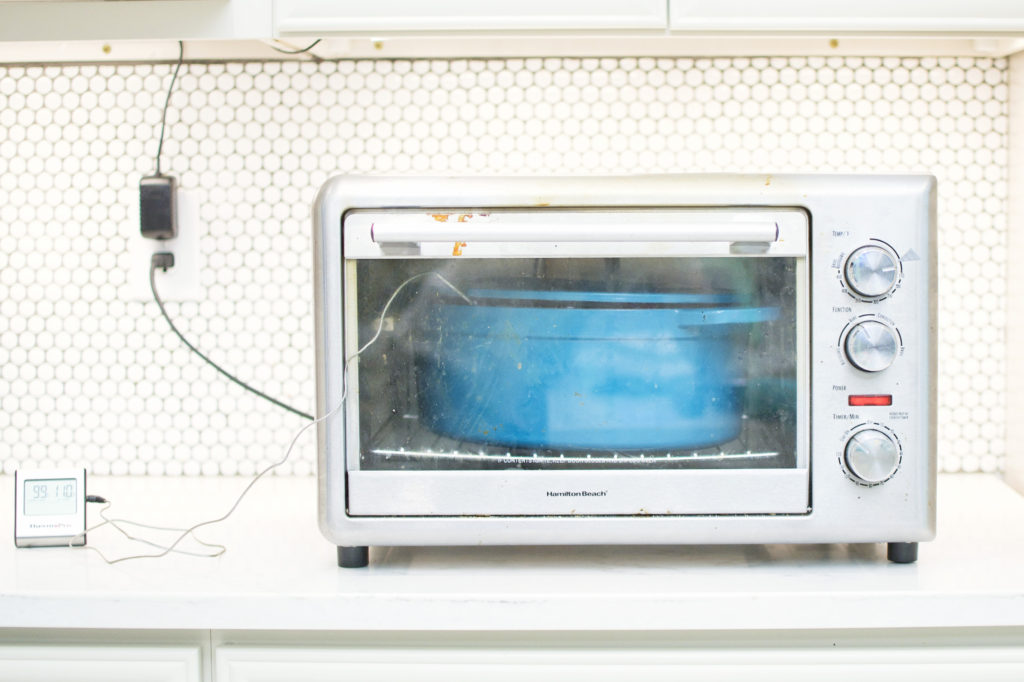
- Leave it for 8 to 24 hours! Set a timer or alarm. Longer means thicker, tangier, higher probiotic yogurt.
- The straining stage has arrived. Once incubation is complete, remove the pot from the oven and place on a hot pad or trivet on the countertop. The appearance should be like soft jell-o.
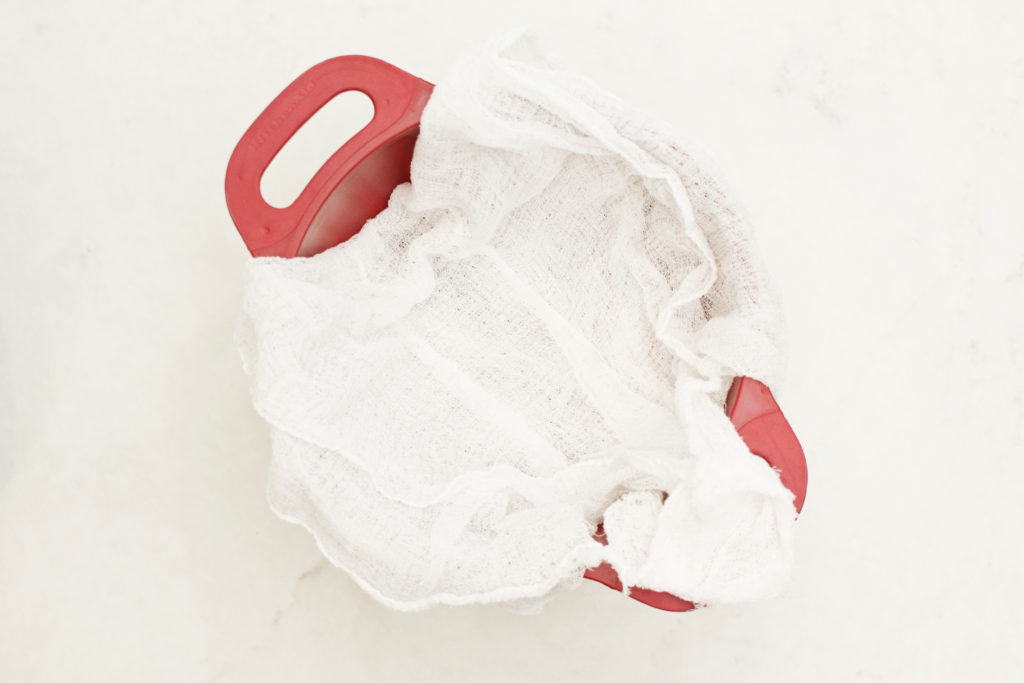
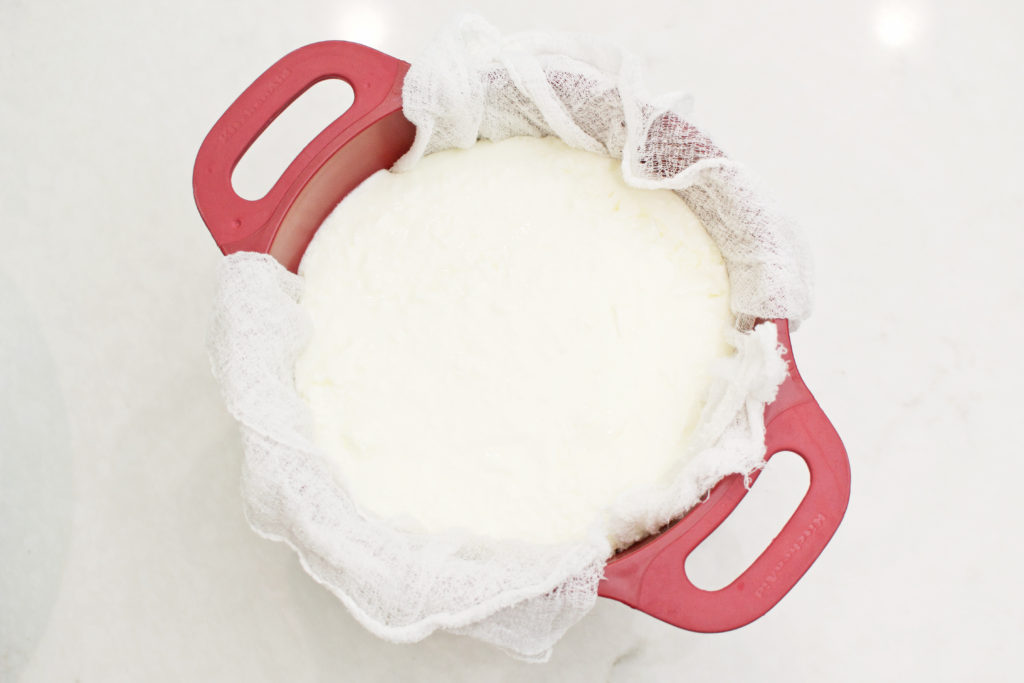
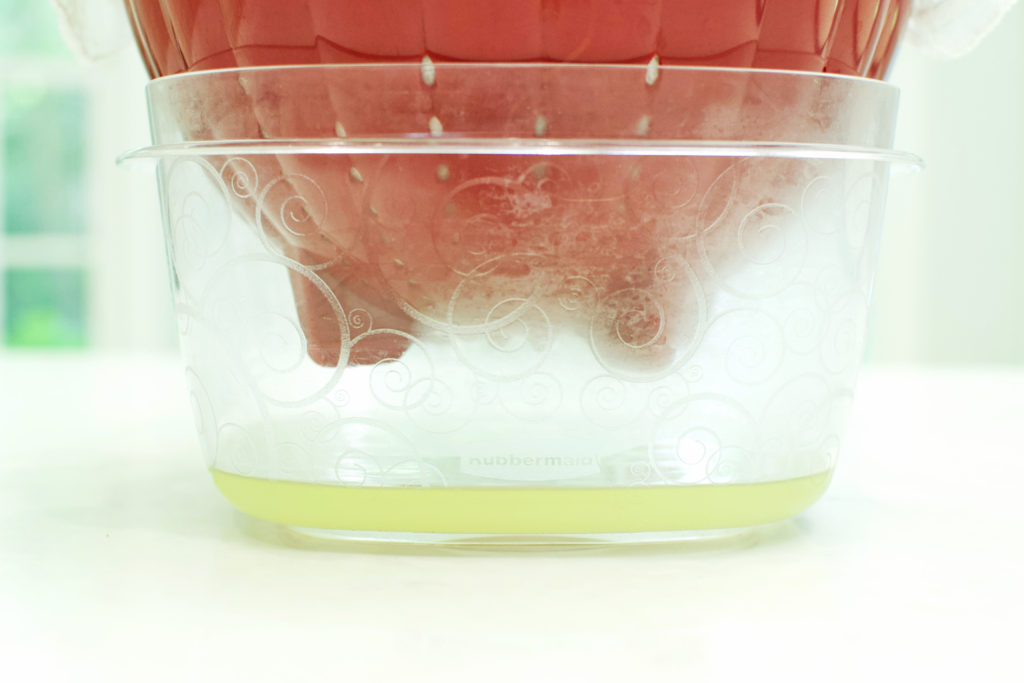
- Place your cheesecloth or filtering material in the colander, and colander inside the large plastic container. Transfer all yogurt from pot to cheesecloth-colander set up with the ladle.
- Allow to strain off the whey for at least 1 hour on the countertop as the yogurt cools. To achieve greek yogurt consistency, you may need to strain up to 4 hours in the fridge. Don’t worry if you over strain it and it become overly pasty – you can re-incorporate the liquid whey but whisking it in vigorously until you reach your desired consistency. I’ve left it in the fridge overnight until it was like cheese. The whey almost instantly made it creamy again.
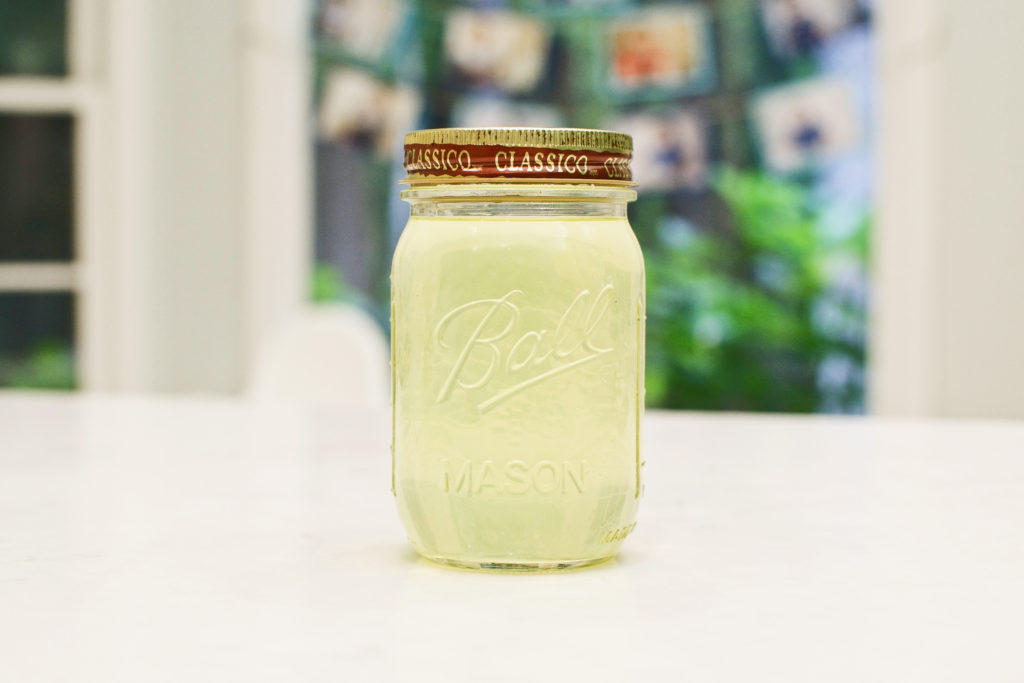
- After the straining stage, pour up to half the green-tinted liquid whey into your glass jar. Use the rest for protein shakes, smoothies, lacto-fermenting veggies or killing weeds. Or simply discard it. Add the thickened yogurt back into the large plastic container, now with no liquid whey in it, and store it in the fridge if the thickness is ideal. If it’s too thick, start adding back whey and slowly stirring it in until it’s perfect.
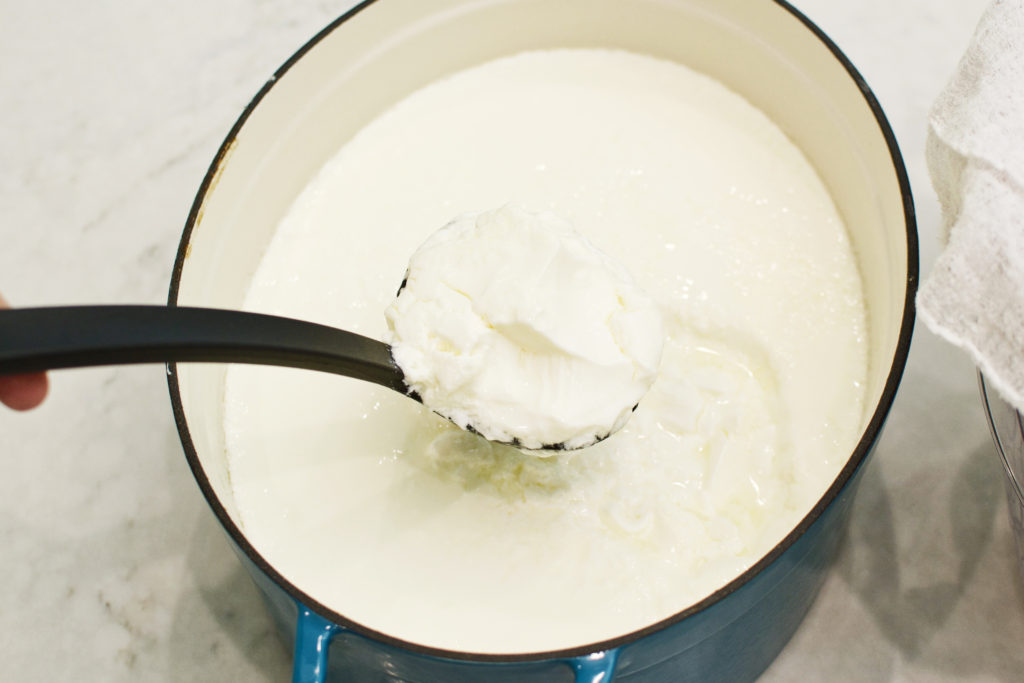
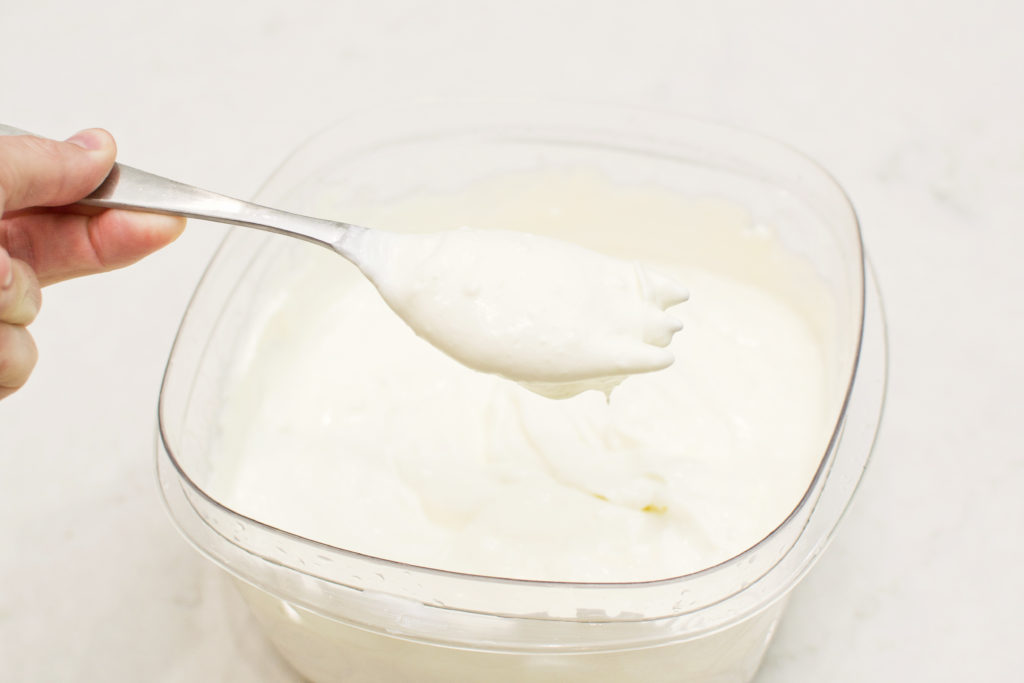
Note: clumps usually form! Don’t be alarmed. Stirring aggressively with a fork or whisk for about 5 minutes will help homogenize the texture.
Our favorite flavor combinations:
- Cinnamon, vanilla and local honey.
- Chocolate chips and peanut or almond butter.
- Fresh berries and granola.
