Good ole Pinterest, all the DIY blogs, the Google machine and home design magazines are “inadvertently” wooing and beckoning your gaze with their custom-built rustic chic furniture pieces. Is that a droplet of drool I spy, easing itself out of the corner of your jaw-dropped mouth? As my 1 year old son would say, you need a “bibuh.” He’s in that adorable linguistic stage where additional syllables are tacked on to words as prefixes and suffixes. “Bib” becomes “bibuh.” Or perhaps his parents ain’t been talkin’ right.
Stop perusing the digital aisles and just make it yourself. You’re not only capable of handcrafting woodworked beauties – you’re made for this. How do you tackle your first (or second or third) woodworking project? By just going for it. By borrowing your fam or neighbors’ tools. By making a handful of mistakes and learning from each of them. It’s not like you’re a plumbing or electrical virgin cranking out a major bathroom renovation, risking a major flood or an electrical fire (we totally did that. Whoops. Hindsight: Probably shouldn’t have done that. Would definitely do it again).
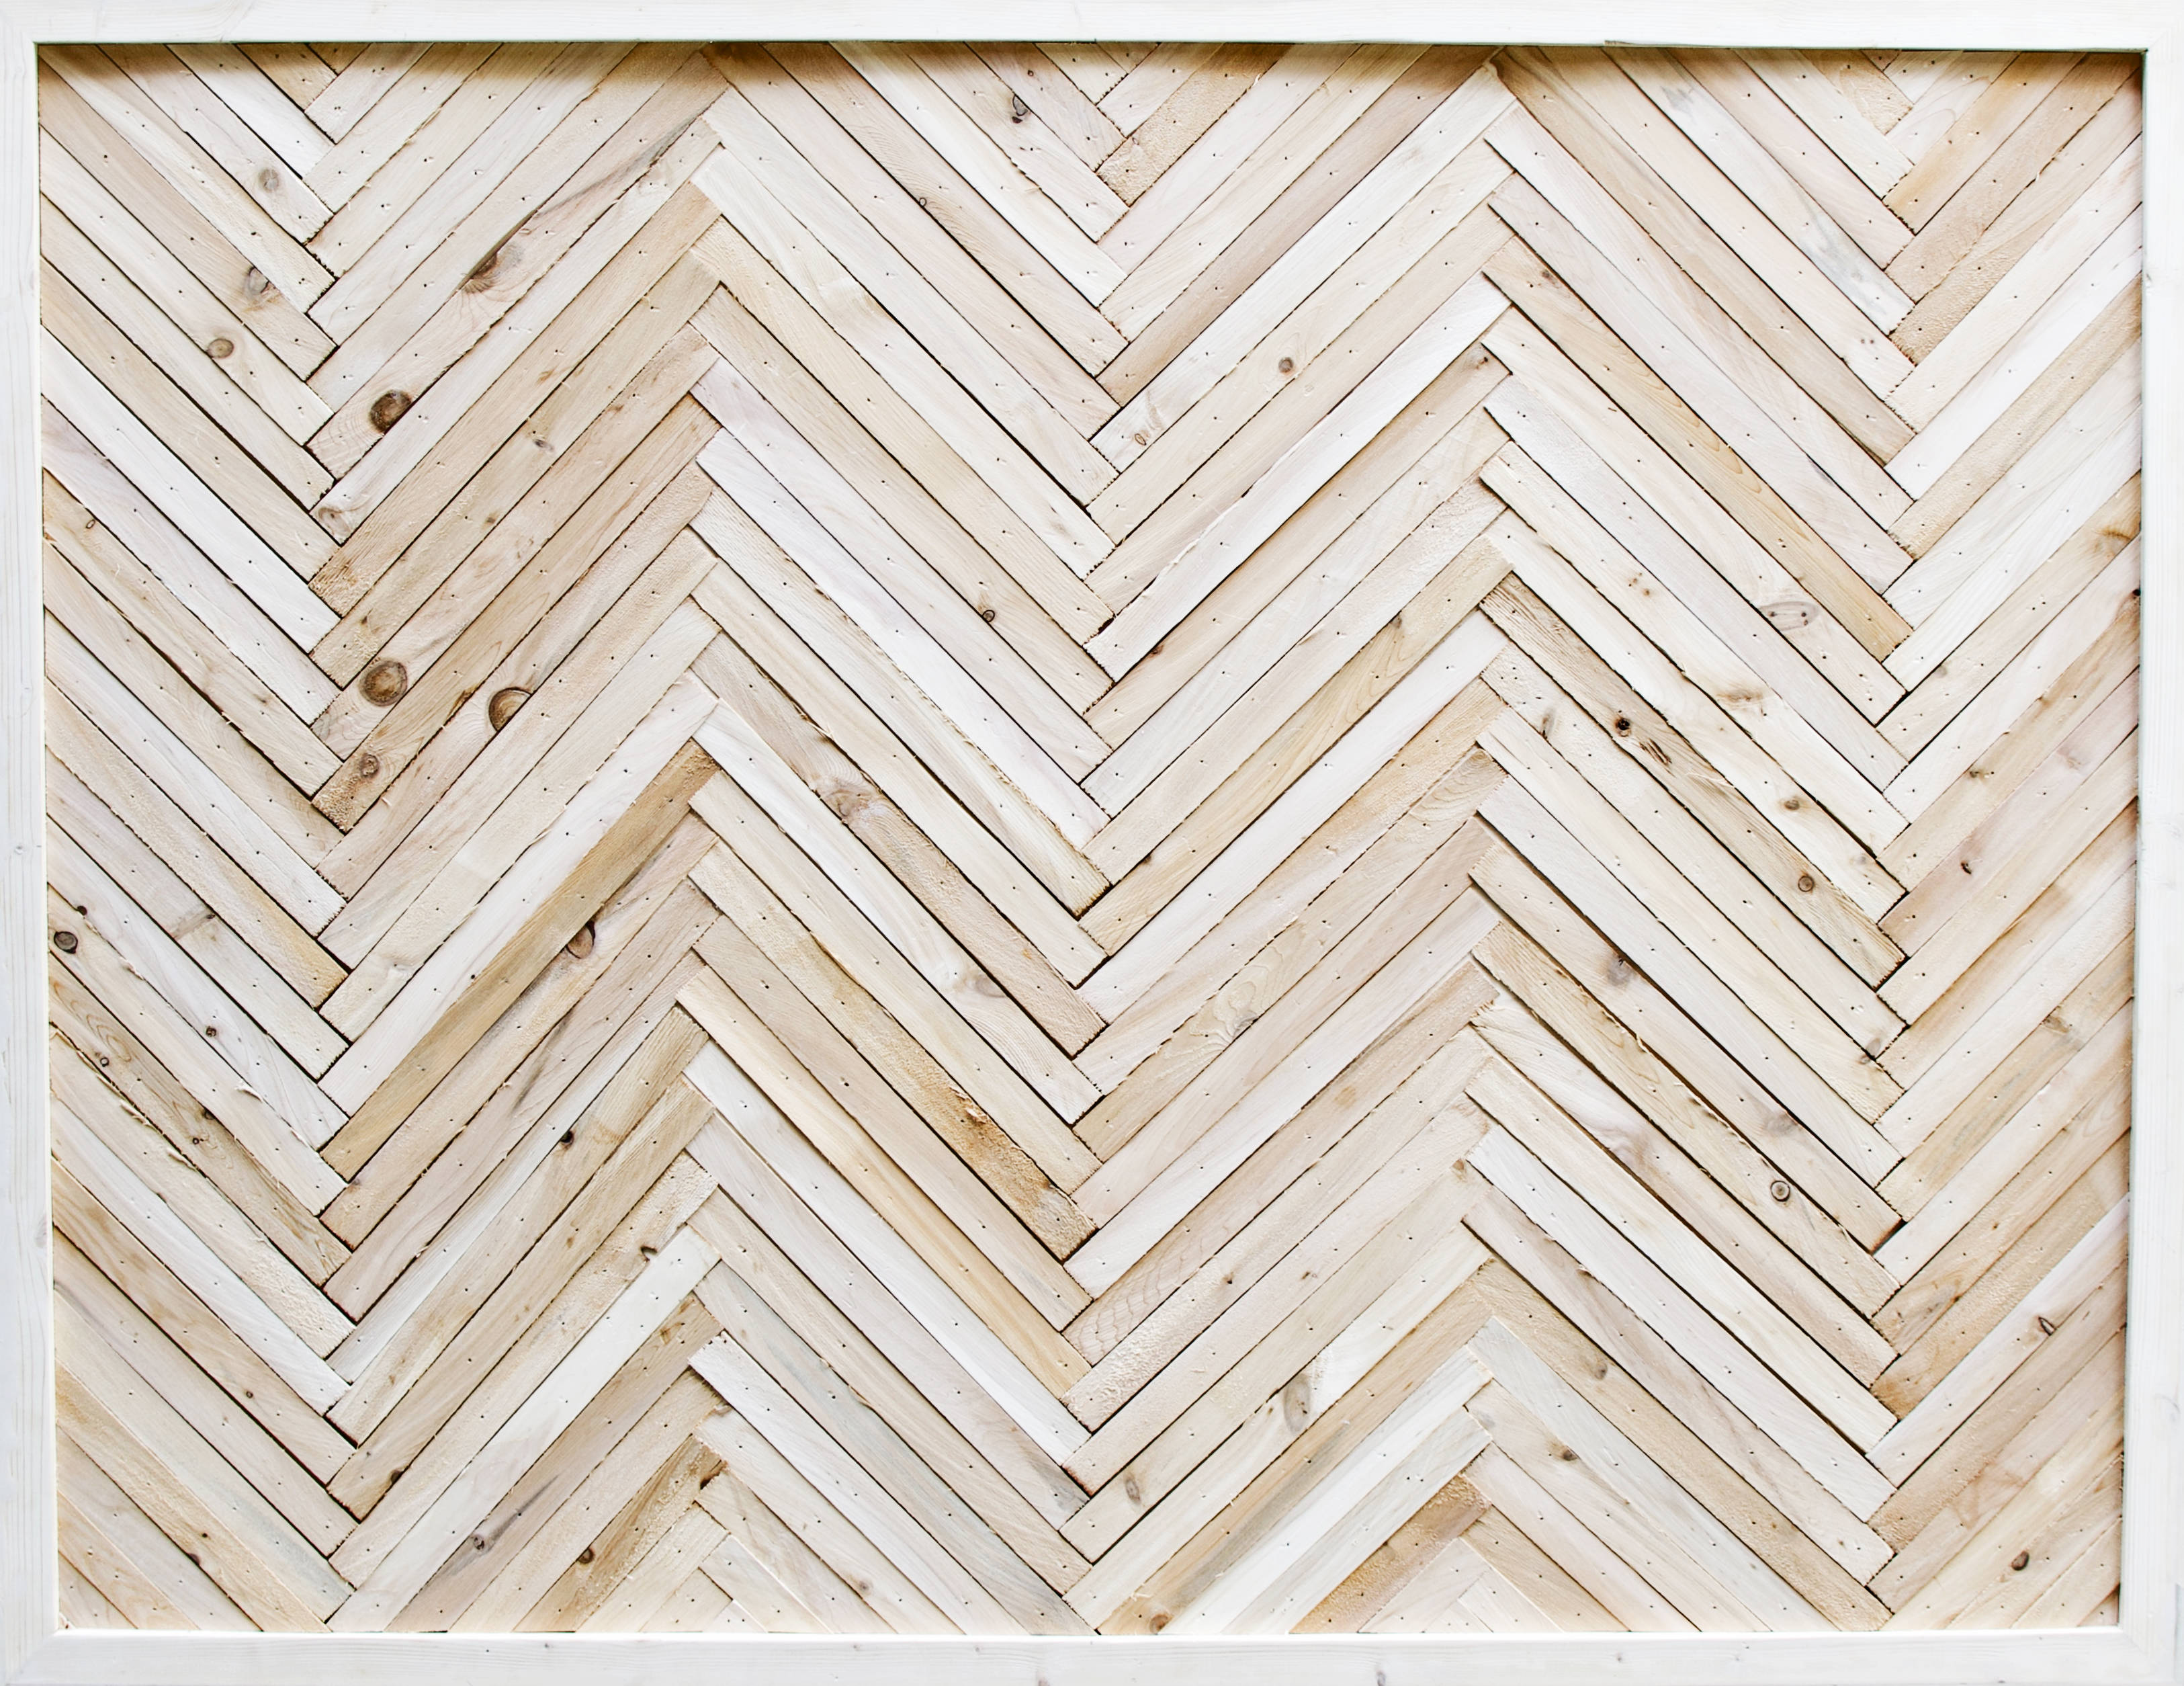
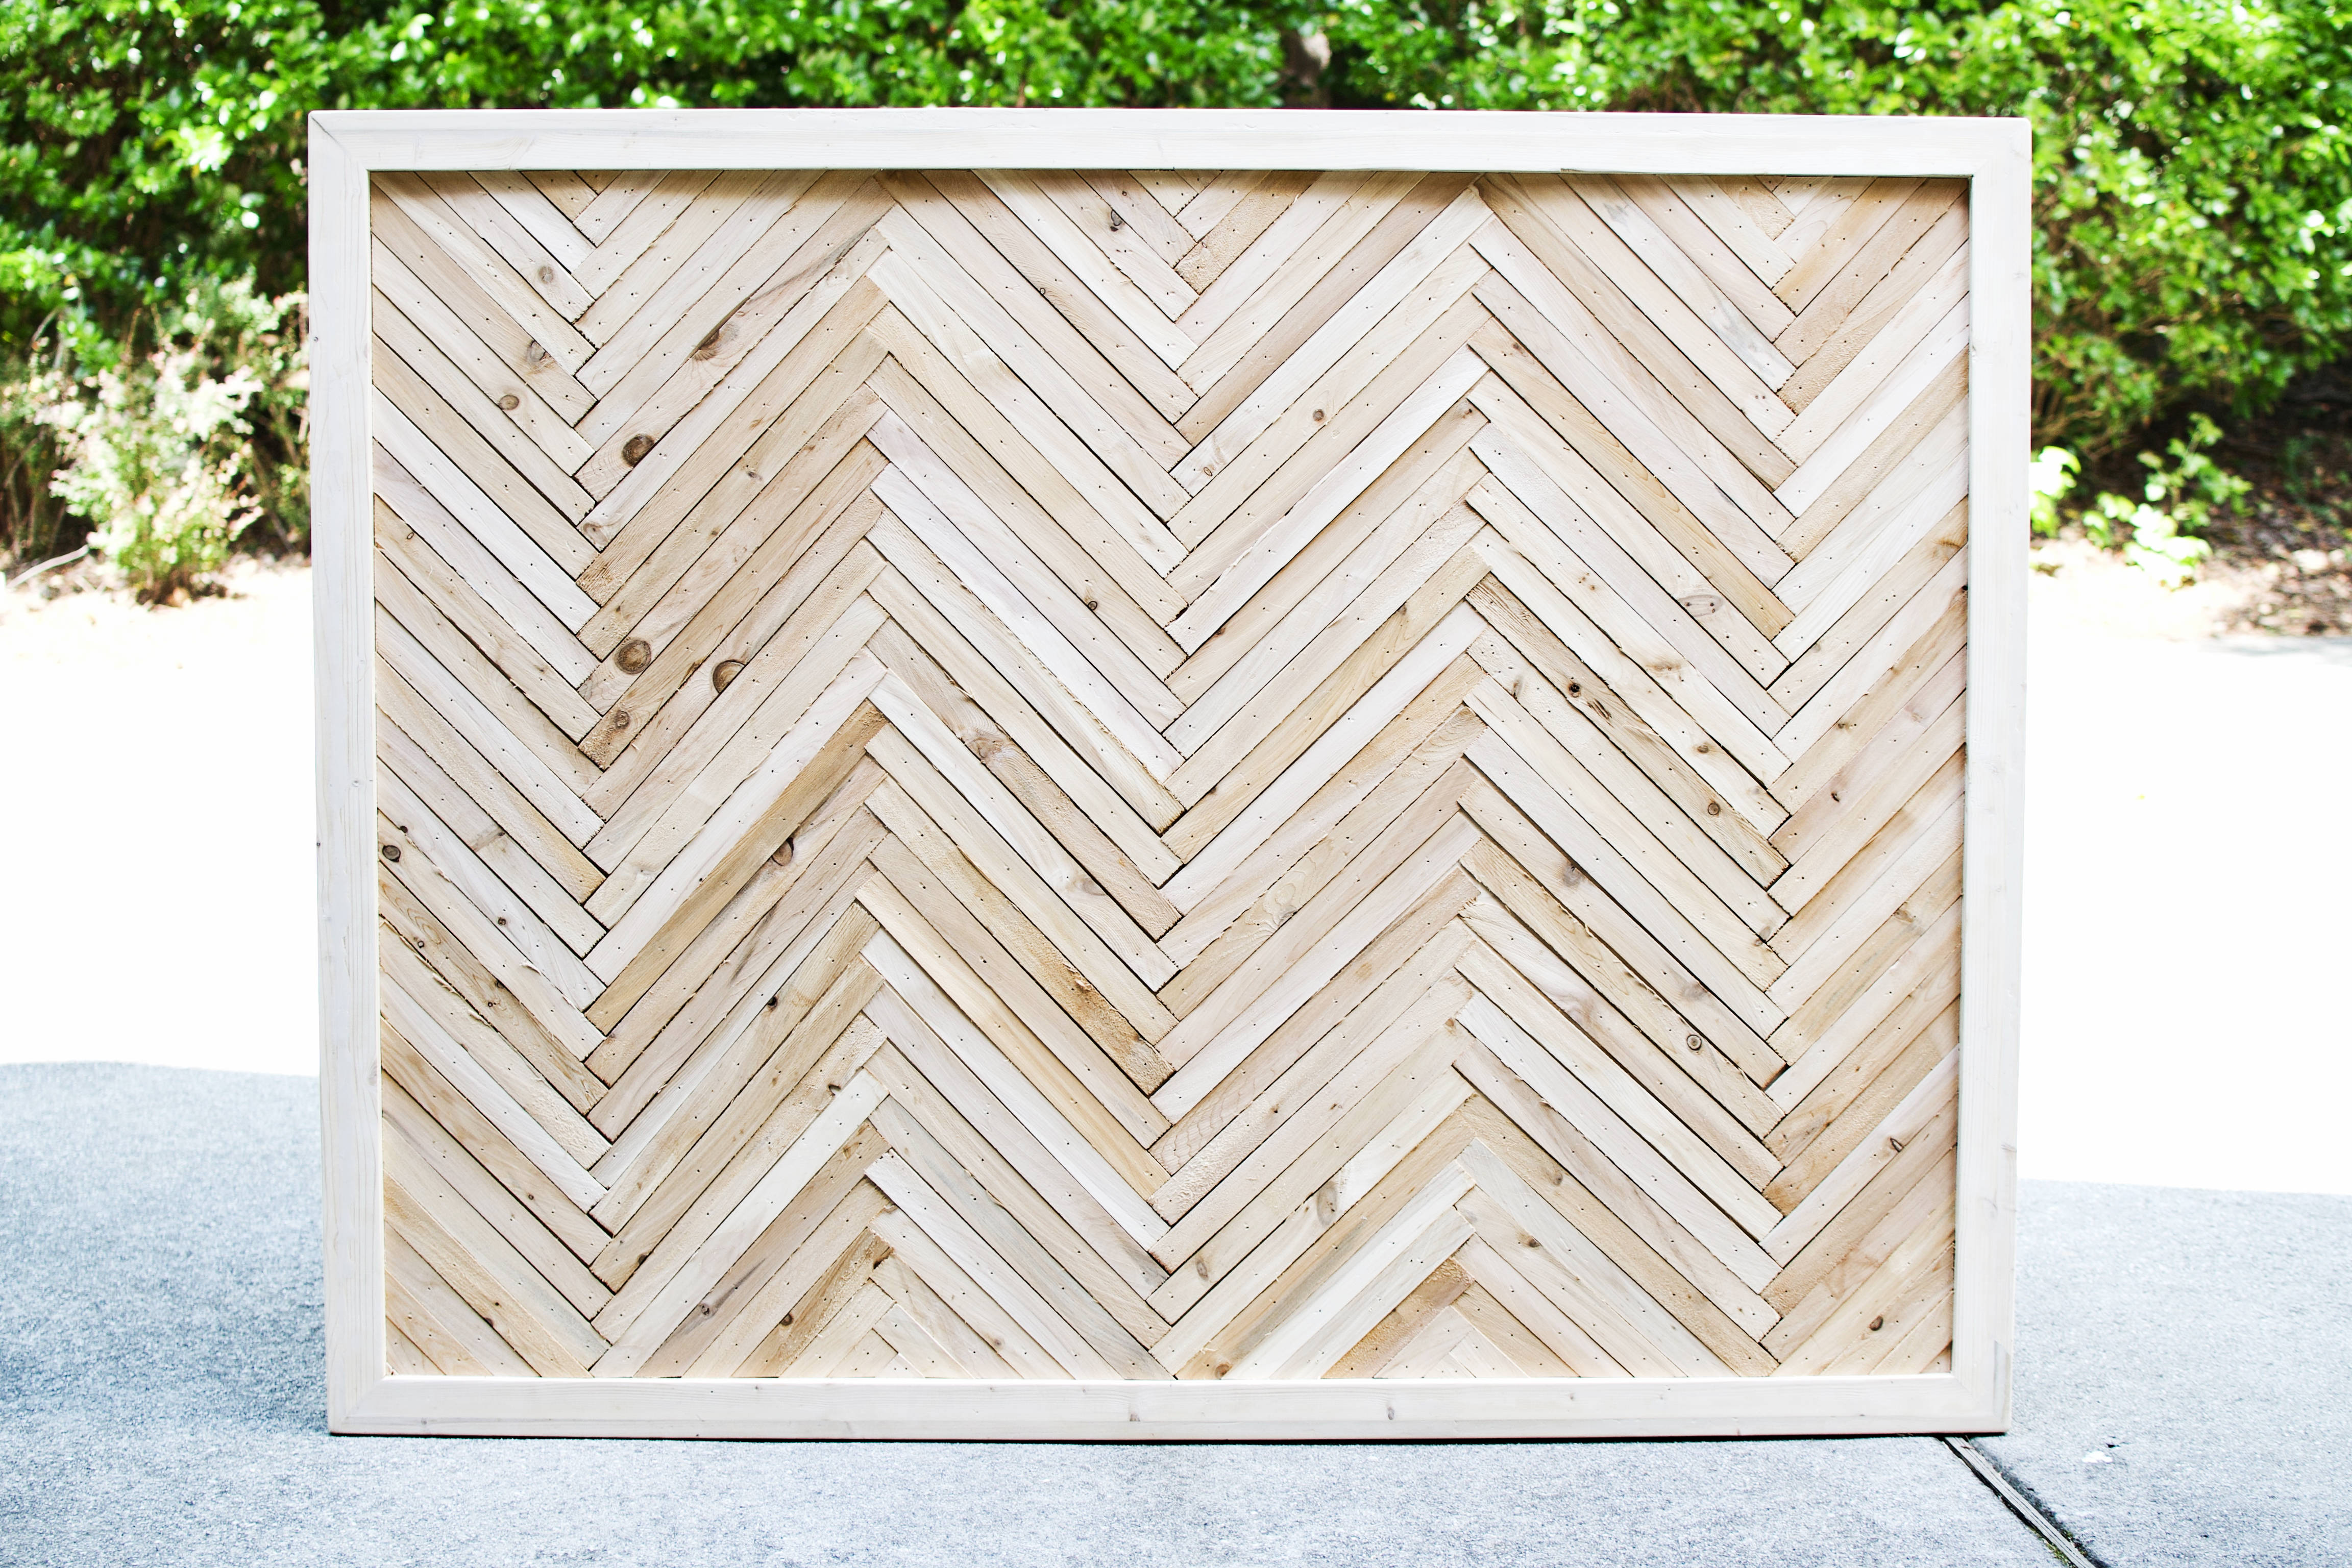
WifeBot and I LOVE this headboard. The textured wood and the visual interest of the herringbone pattern. The cohesiveness of the whole headboard painted white but slightly distressed to call attention to the depth or the slightly variant wood shims. The color contrast of two of our favorites: heirloom white on the headboard and sea salt on the wall. The anti-insect nature of an entire backdrop of cedar. And all of that elegance for only $119.75 or $81.20 if you have a few basic DIY items already. Interestingly enough, there aren’t that many readily available comparables on the market. Every headboard seems to be tufted / covered in fabric these days. Restoration Hardware sells a herringbone platform bed & headboard for $2,695. Casual. If they sold the headboard separately, I’d estimate it being at least $1,000.
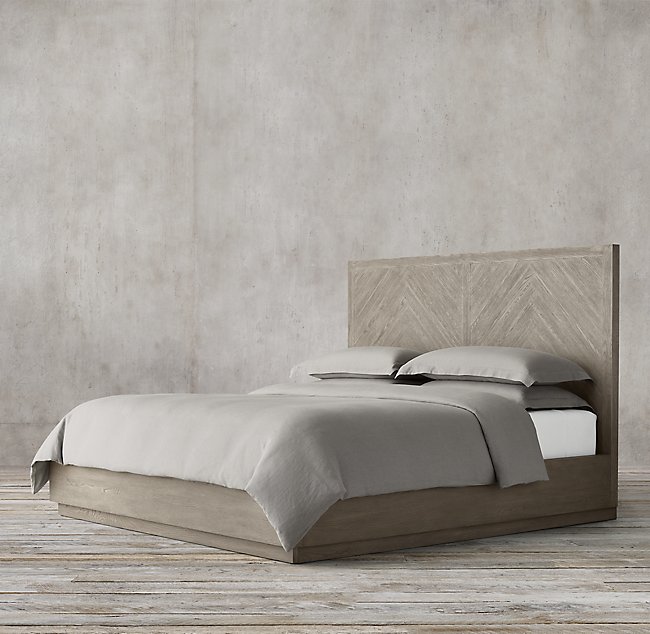
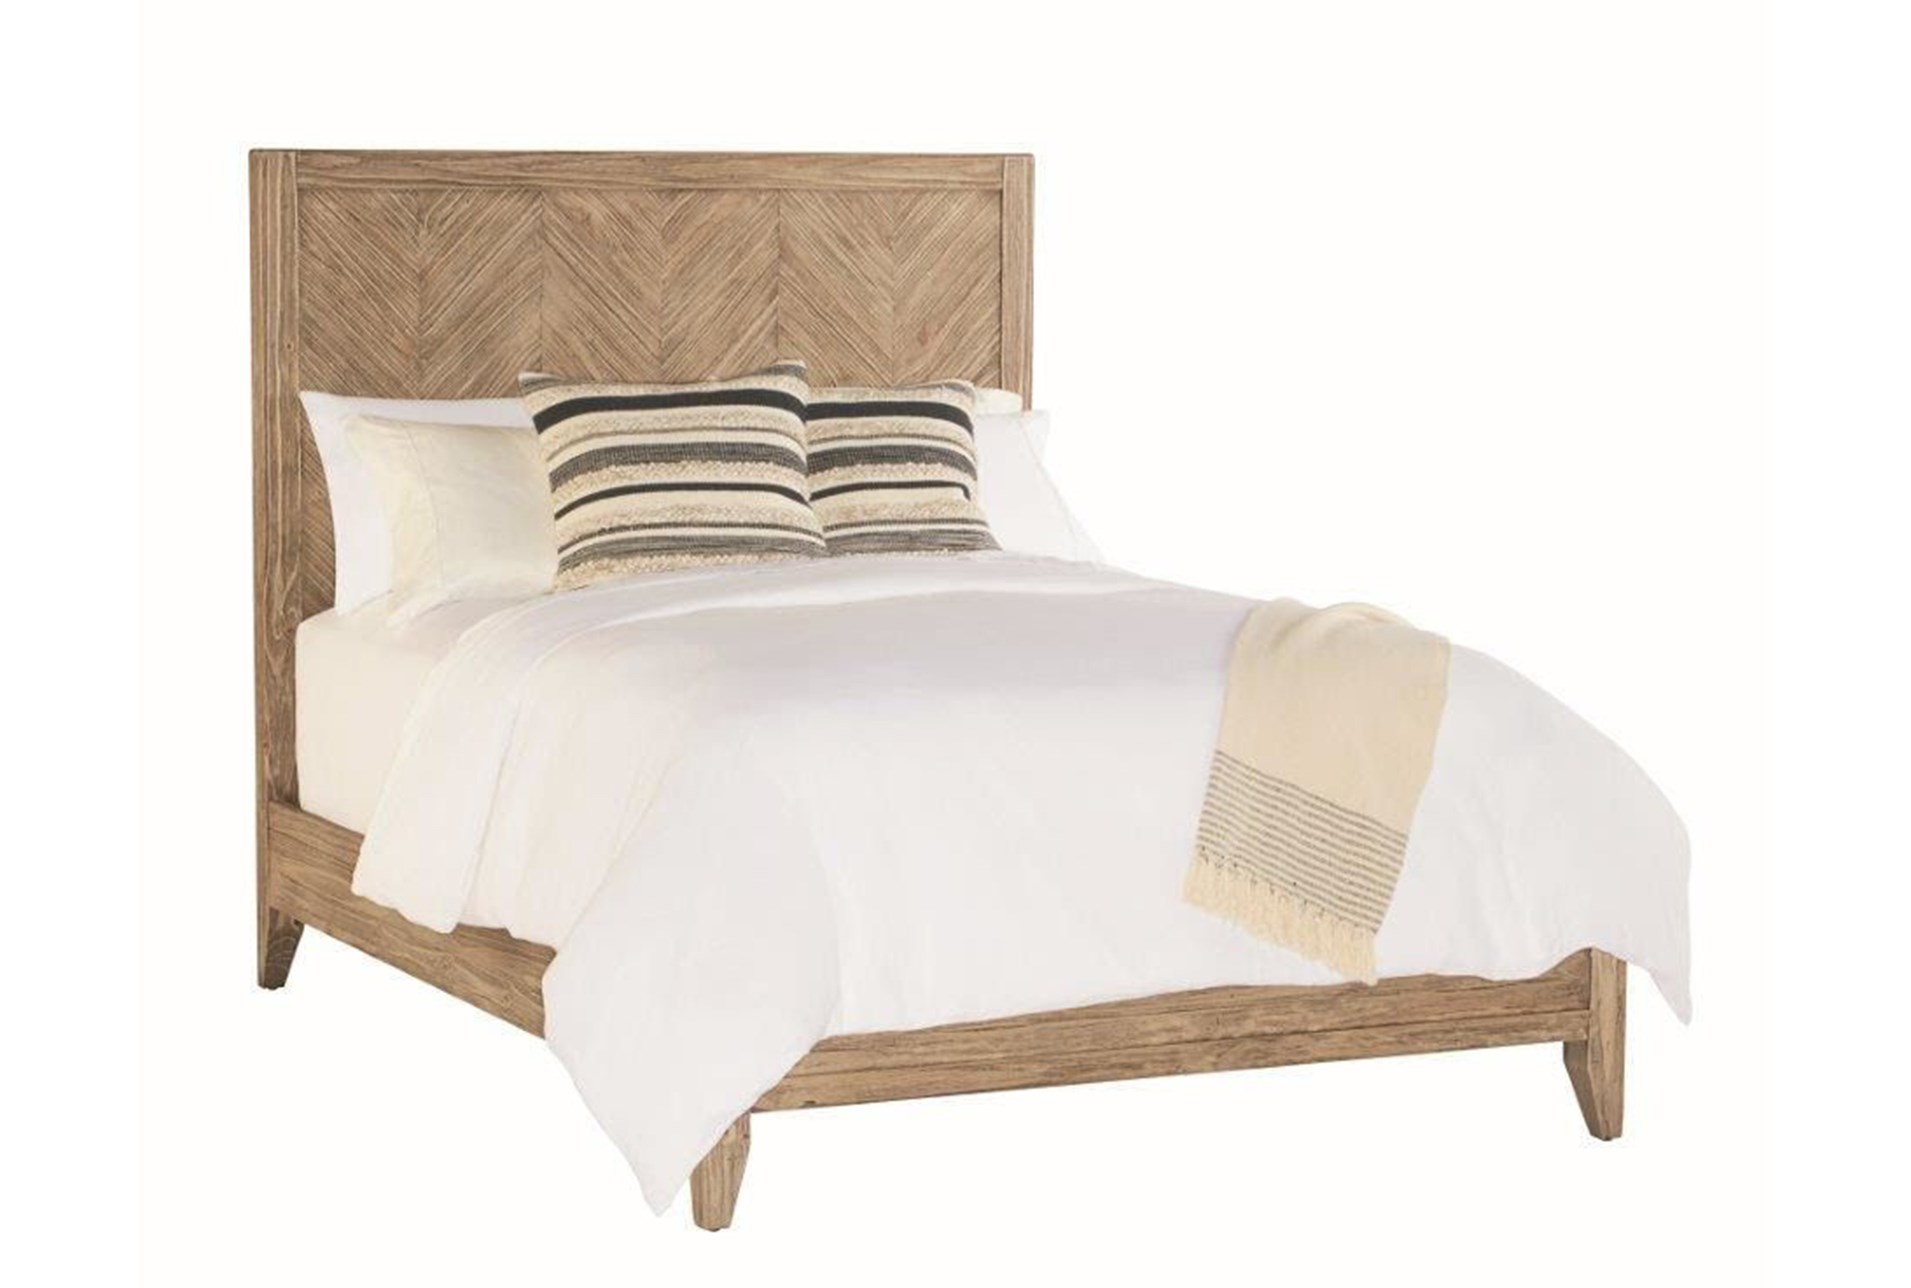
Magnolia Home by Joanna Gaines sells a herringbone queen bed frame for $797, on clearance at Living Spaces for $550. Perhaps her headboard alone would be a couple hundred.
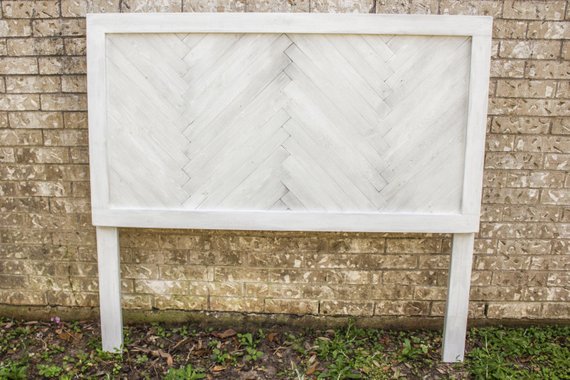
Heirloom By Design is selling a very similar piece for $389.99 on Etsy (image above). I think I’ll stick with the $80-120. Ready to make one? Here’s how.
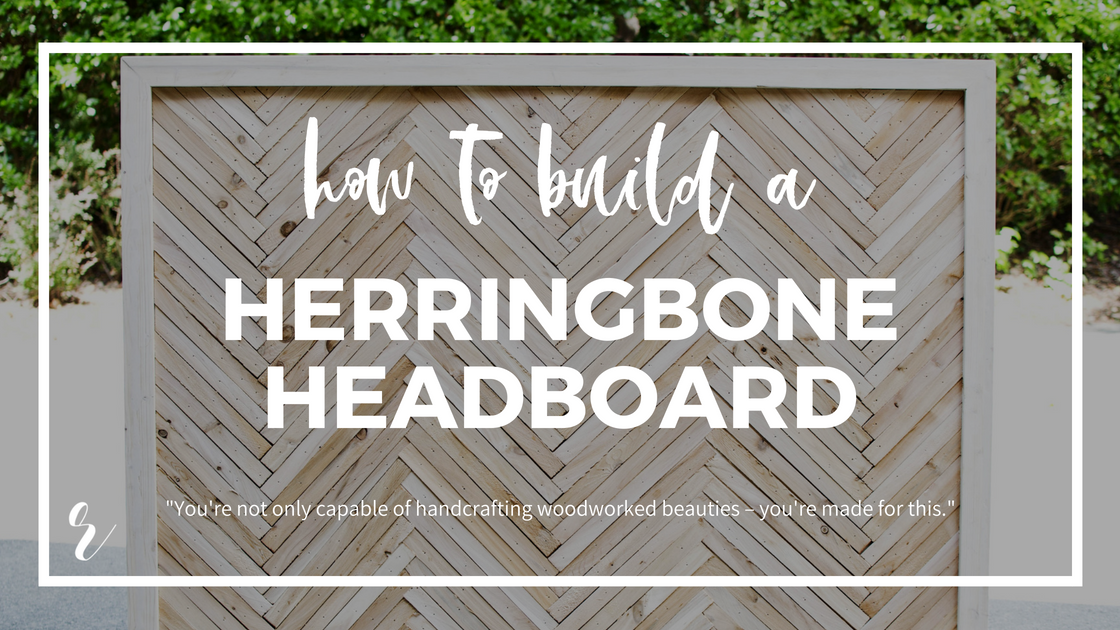
How to build a herringbone headboard with wood shims.
Materials.
-
- (6) 1x2x8 common boards at $2.42 each. (6) Total is $14.52. This is for the face trim and side trim.
-
- (1) 1x4x12 common board for $6.83. The cleat (for install).
-
- (5) Packs of 15″ contractor cedar wood shims to create the herringbone pattern. $4.97 per pack, totaling $24.85. If you’re measuring surface area, there are 42 shims per pack.
-
- (1) 4’x8′ sheet of 3/4″ plywood for $35. Thickness allows shims to be installed with brad nails.
-
- 8 oz. wood glue for $3.59 on Amazon.
-
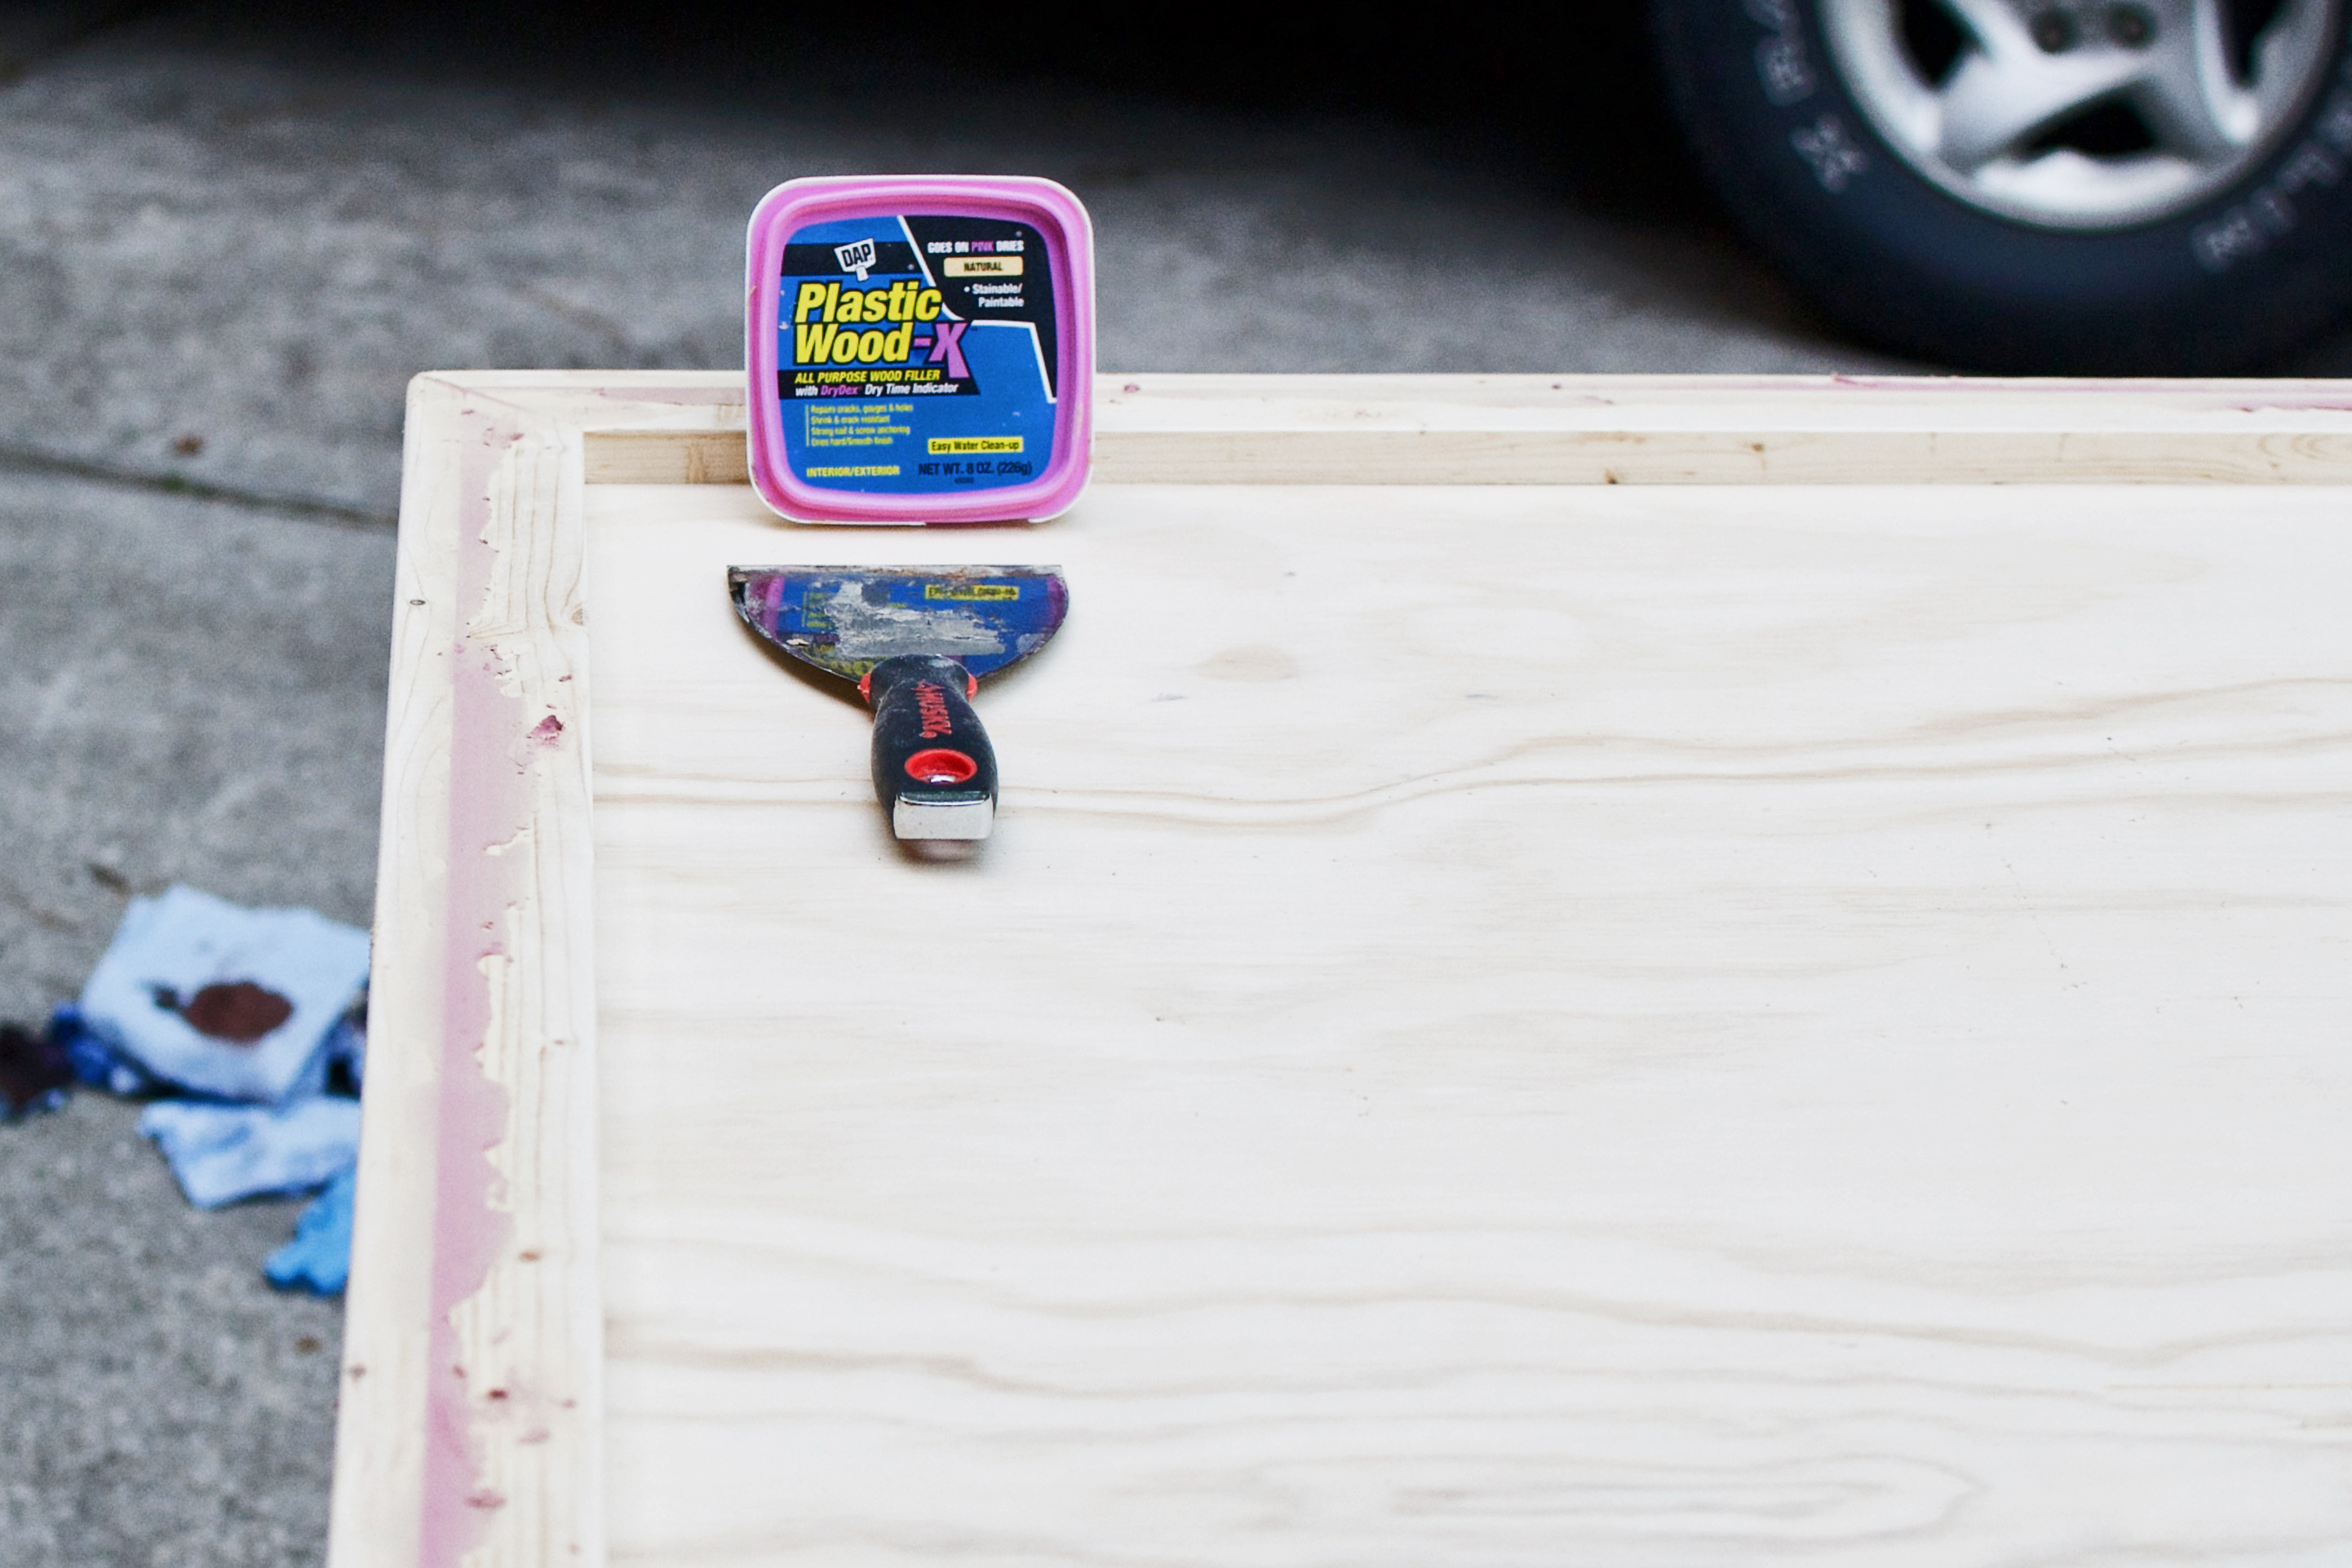
- Wood filler. 8 oz. for $6.28 on Amazon. We like the DAP Plastic Wood that goes on pink and dries light tan.
-
- 100 grit sand paper, $4.27 for 6 sheets.
-
- 1-1/4″ brad nails at $4.02 for 1,000.
-
- 3/4″ brad nails at $3.98 for a box of 1,000.
-
- Deck screws 3″ long, 73 for $6.93. To install the cleat to the wall.
- Deck screws 1-1/4″ long, 184 for $9.48. To install the cleat and spacer to the plywood.
Tools.
-
- Miter saw (or) hand saw with guide. (My fave: Dewalt 12″ double-bevel sliding miter. Best for the price: Ryobi 10″ sliding miter).
-
- Table saw (or) circular saw. (Linked the table saw I currently use & love).
-
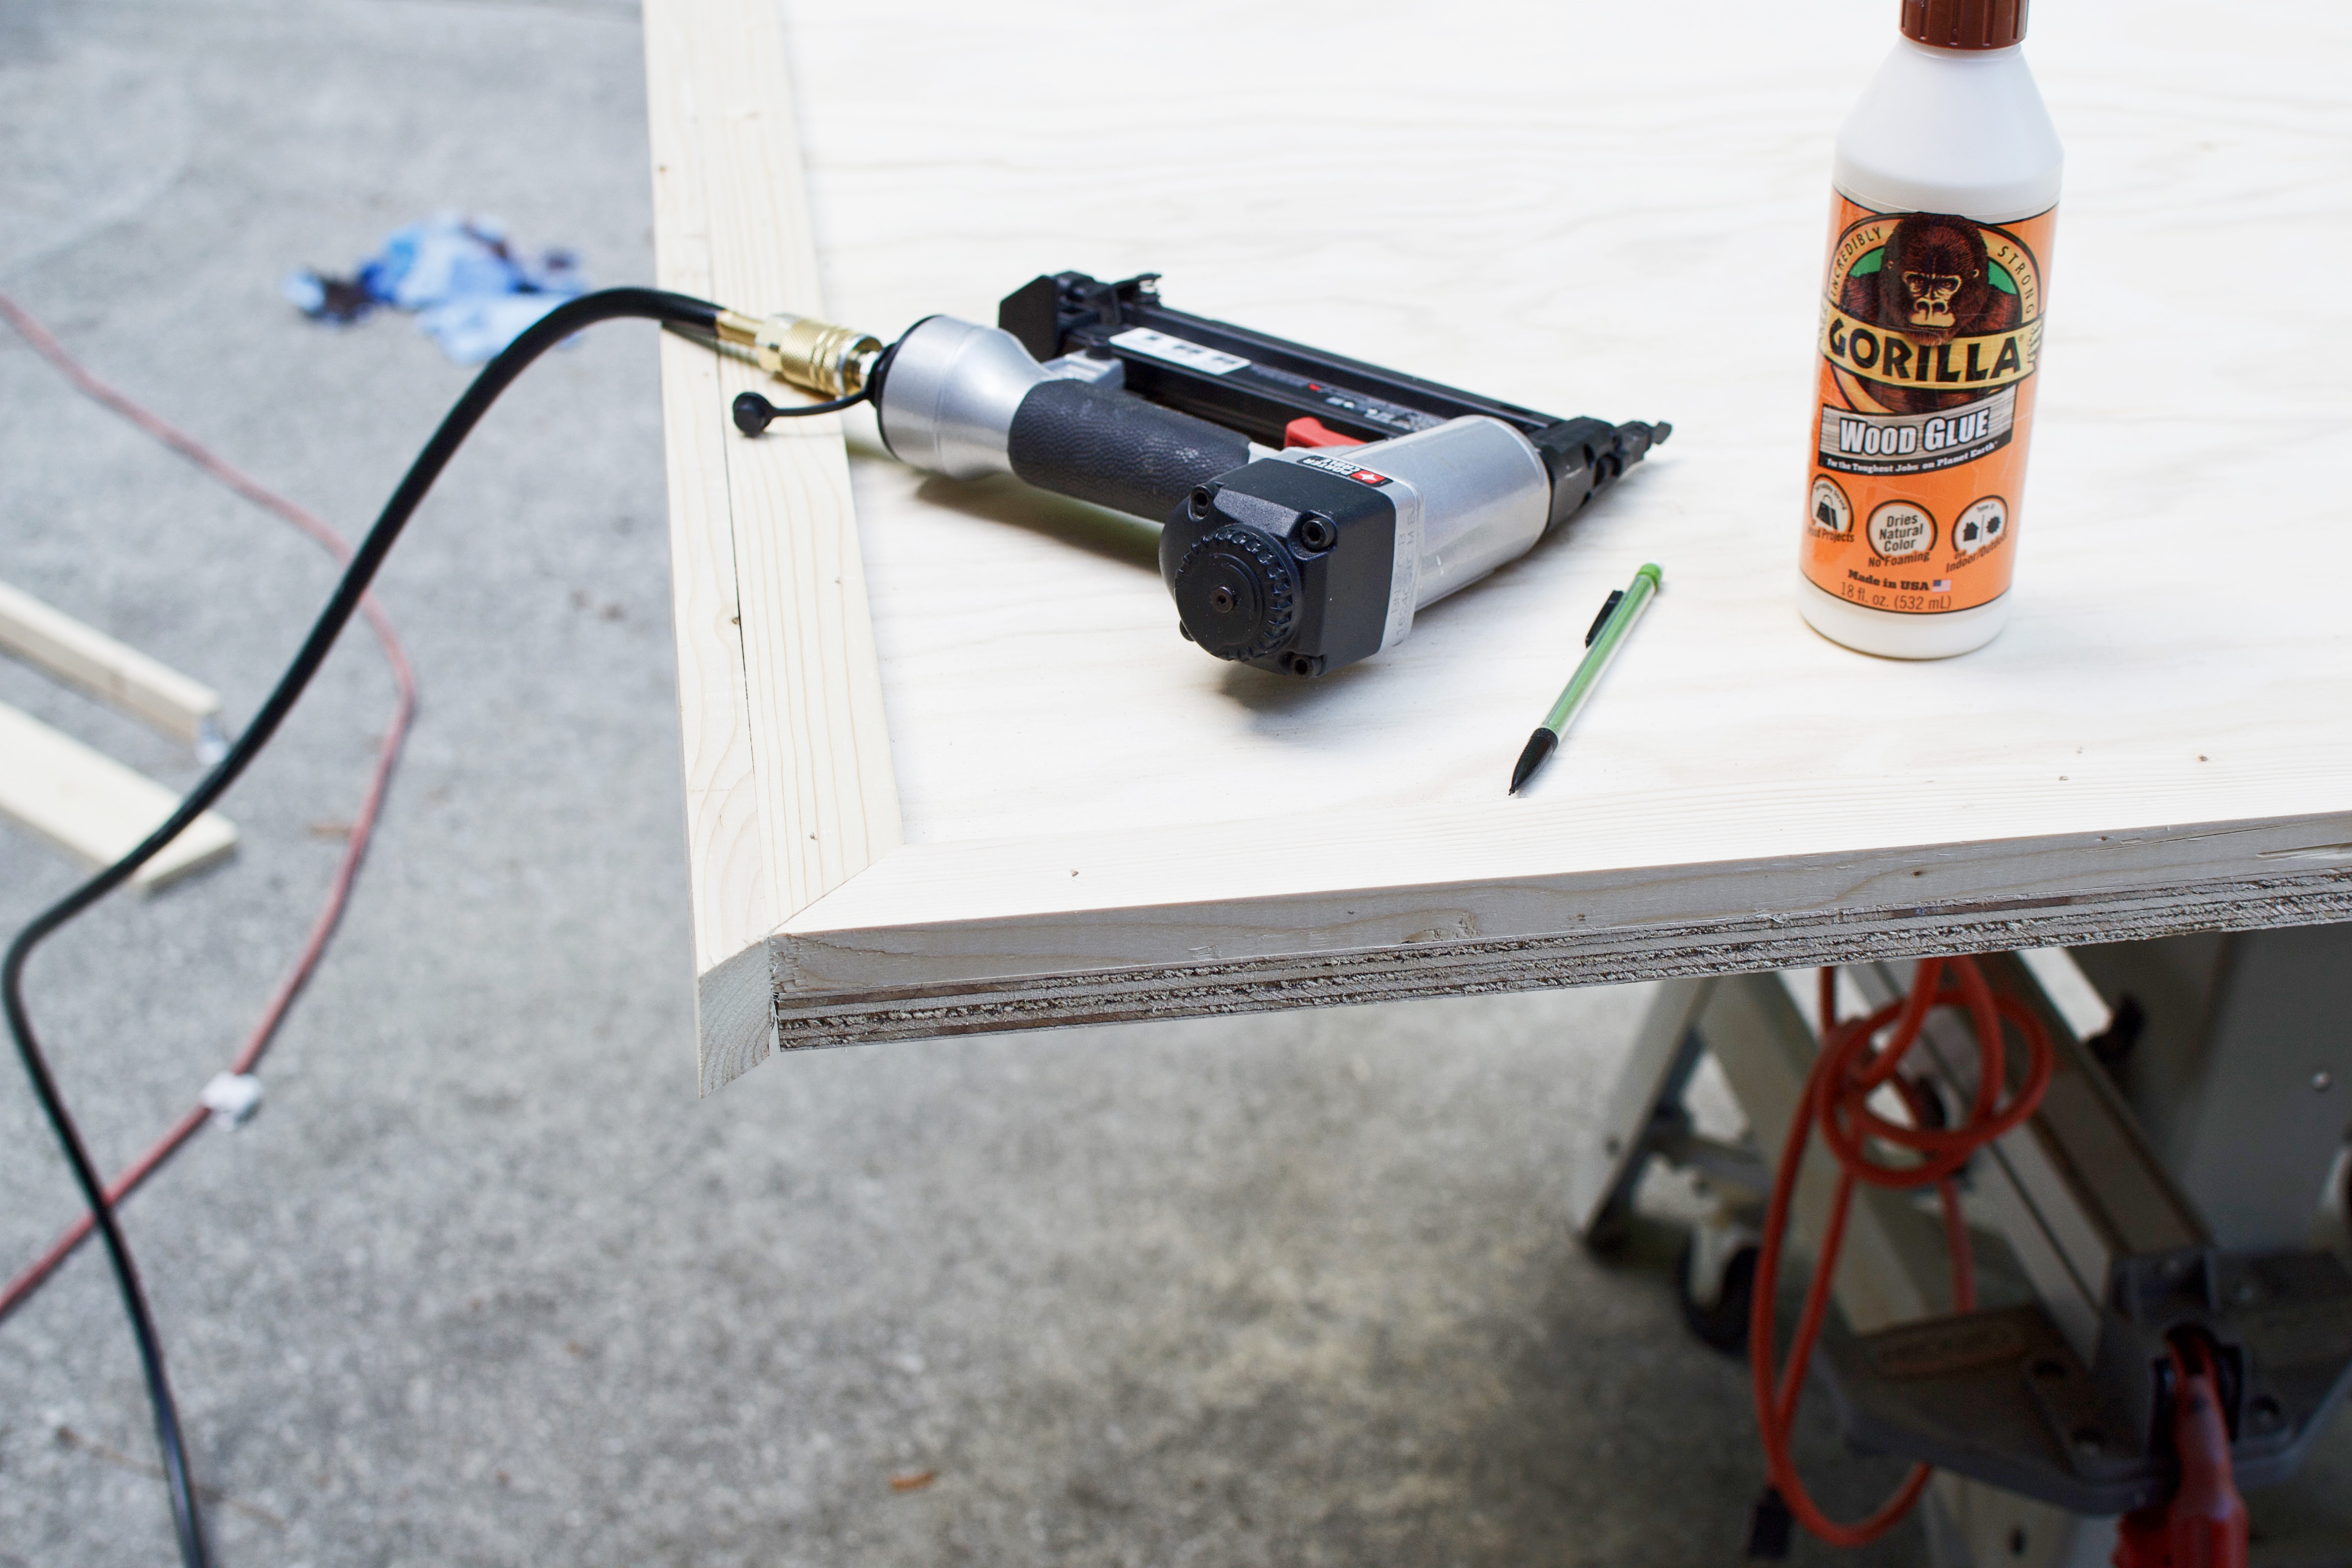
- Compressor & brad nail gun with nails (above). (Mine at home. Keep an eye out for compressor plus nail gun deals to save money).
-
- Putty knife. Metal offers greater precision and will last longer.
-
- Measuring tape. (Mini-version for ease of use, 12 ft max length. Up to a 26+ ft measuring tape to for rooms, framing, joists, etc).
-
- Pencil.
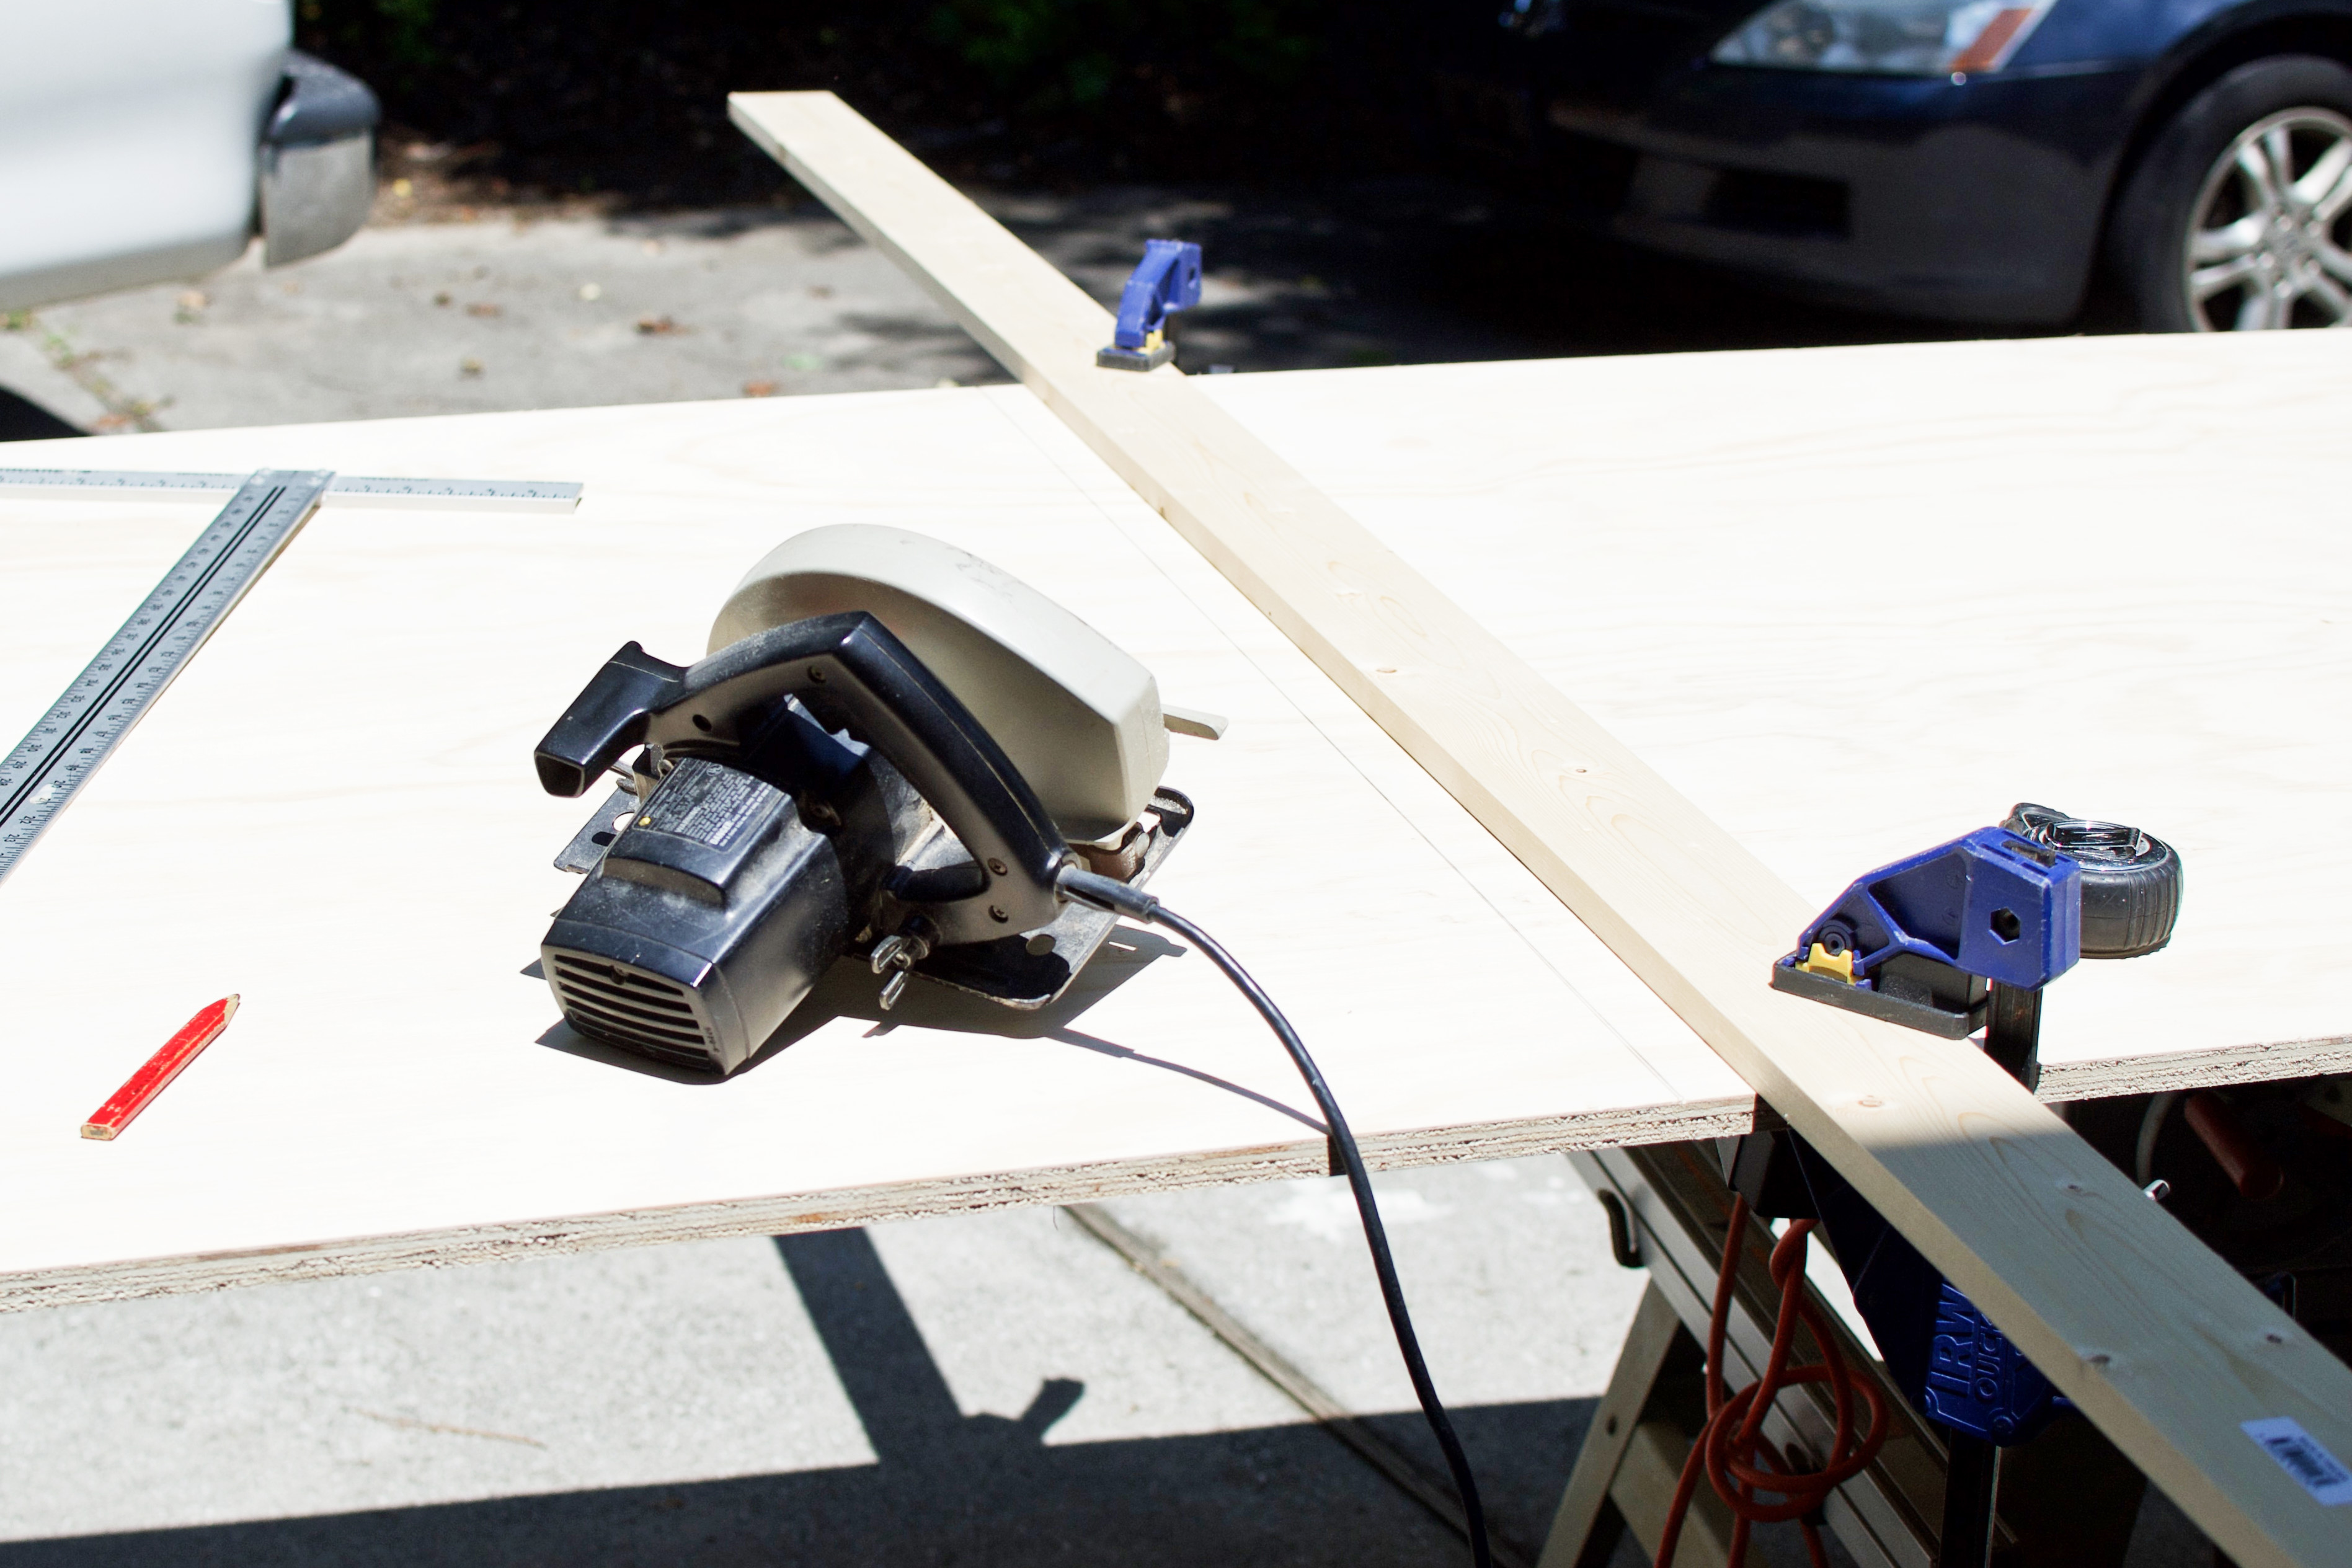
- (Optional, but recommended) 600 lb. trigger clamps. If you opt to cut the plywood with a circular saw, clamp a scrap piece of 1×4 across the ply as a cutting guide. Or just freehand it.
Budget.
-
- Total materials cost = $119.75.
- Total materials cost for DIY regulars = $81.20 … (save up to $38.55 if you already have wood glue, wood filler, sand paper and brad nails).
Step 1. Measure your bed.
Measure the width of your bed. Ours is 60″ wide. Kings are usually 76″. California kings – 72″. Queens – 60″. We added 2″ on either side so the comforter / duvet barely covers the bottom edges of the headboard.
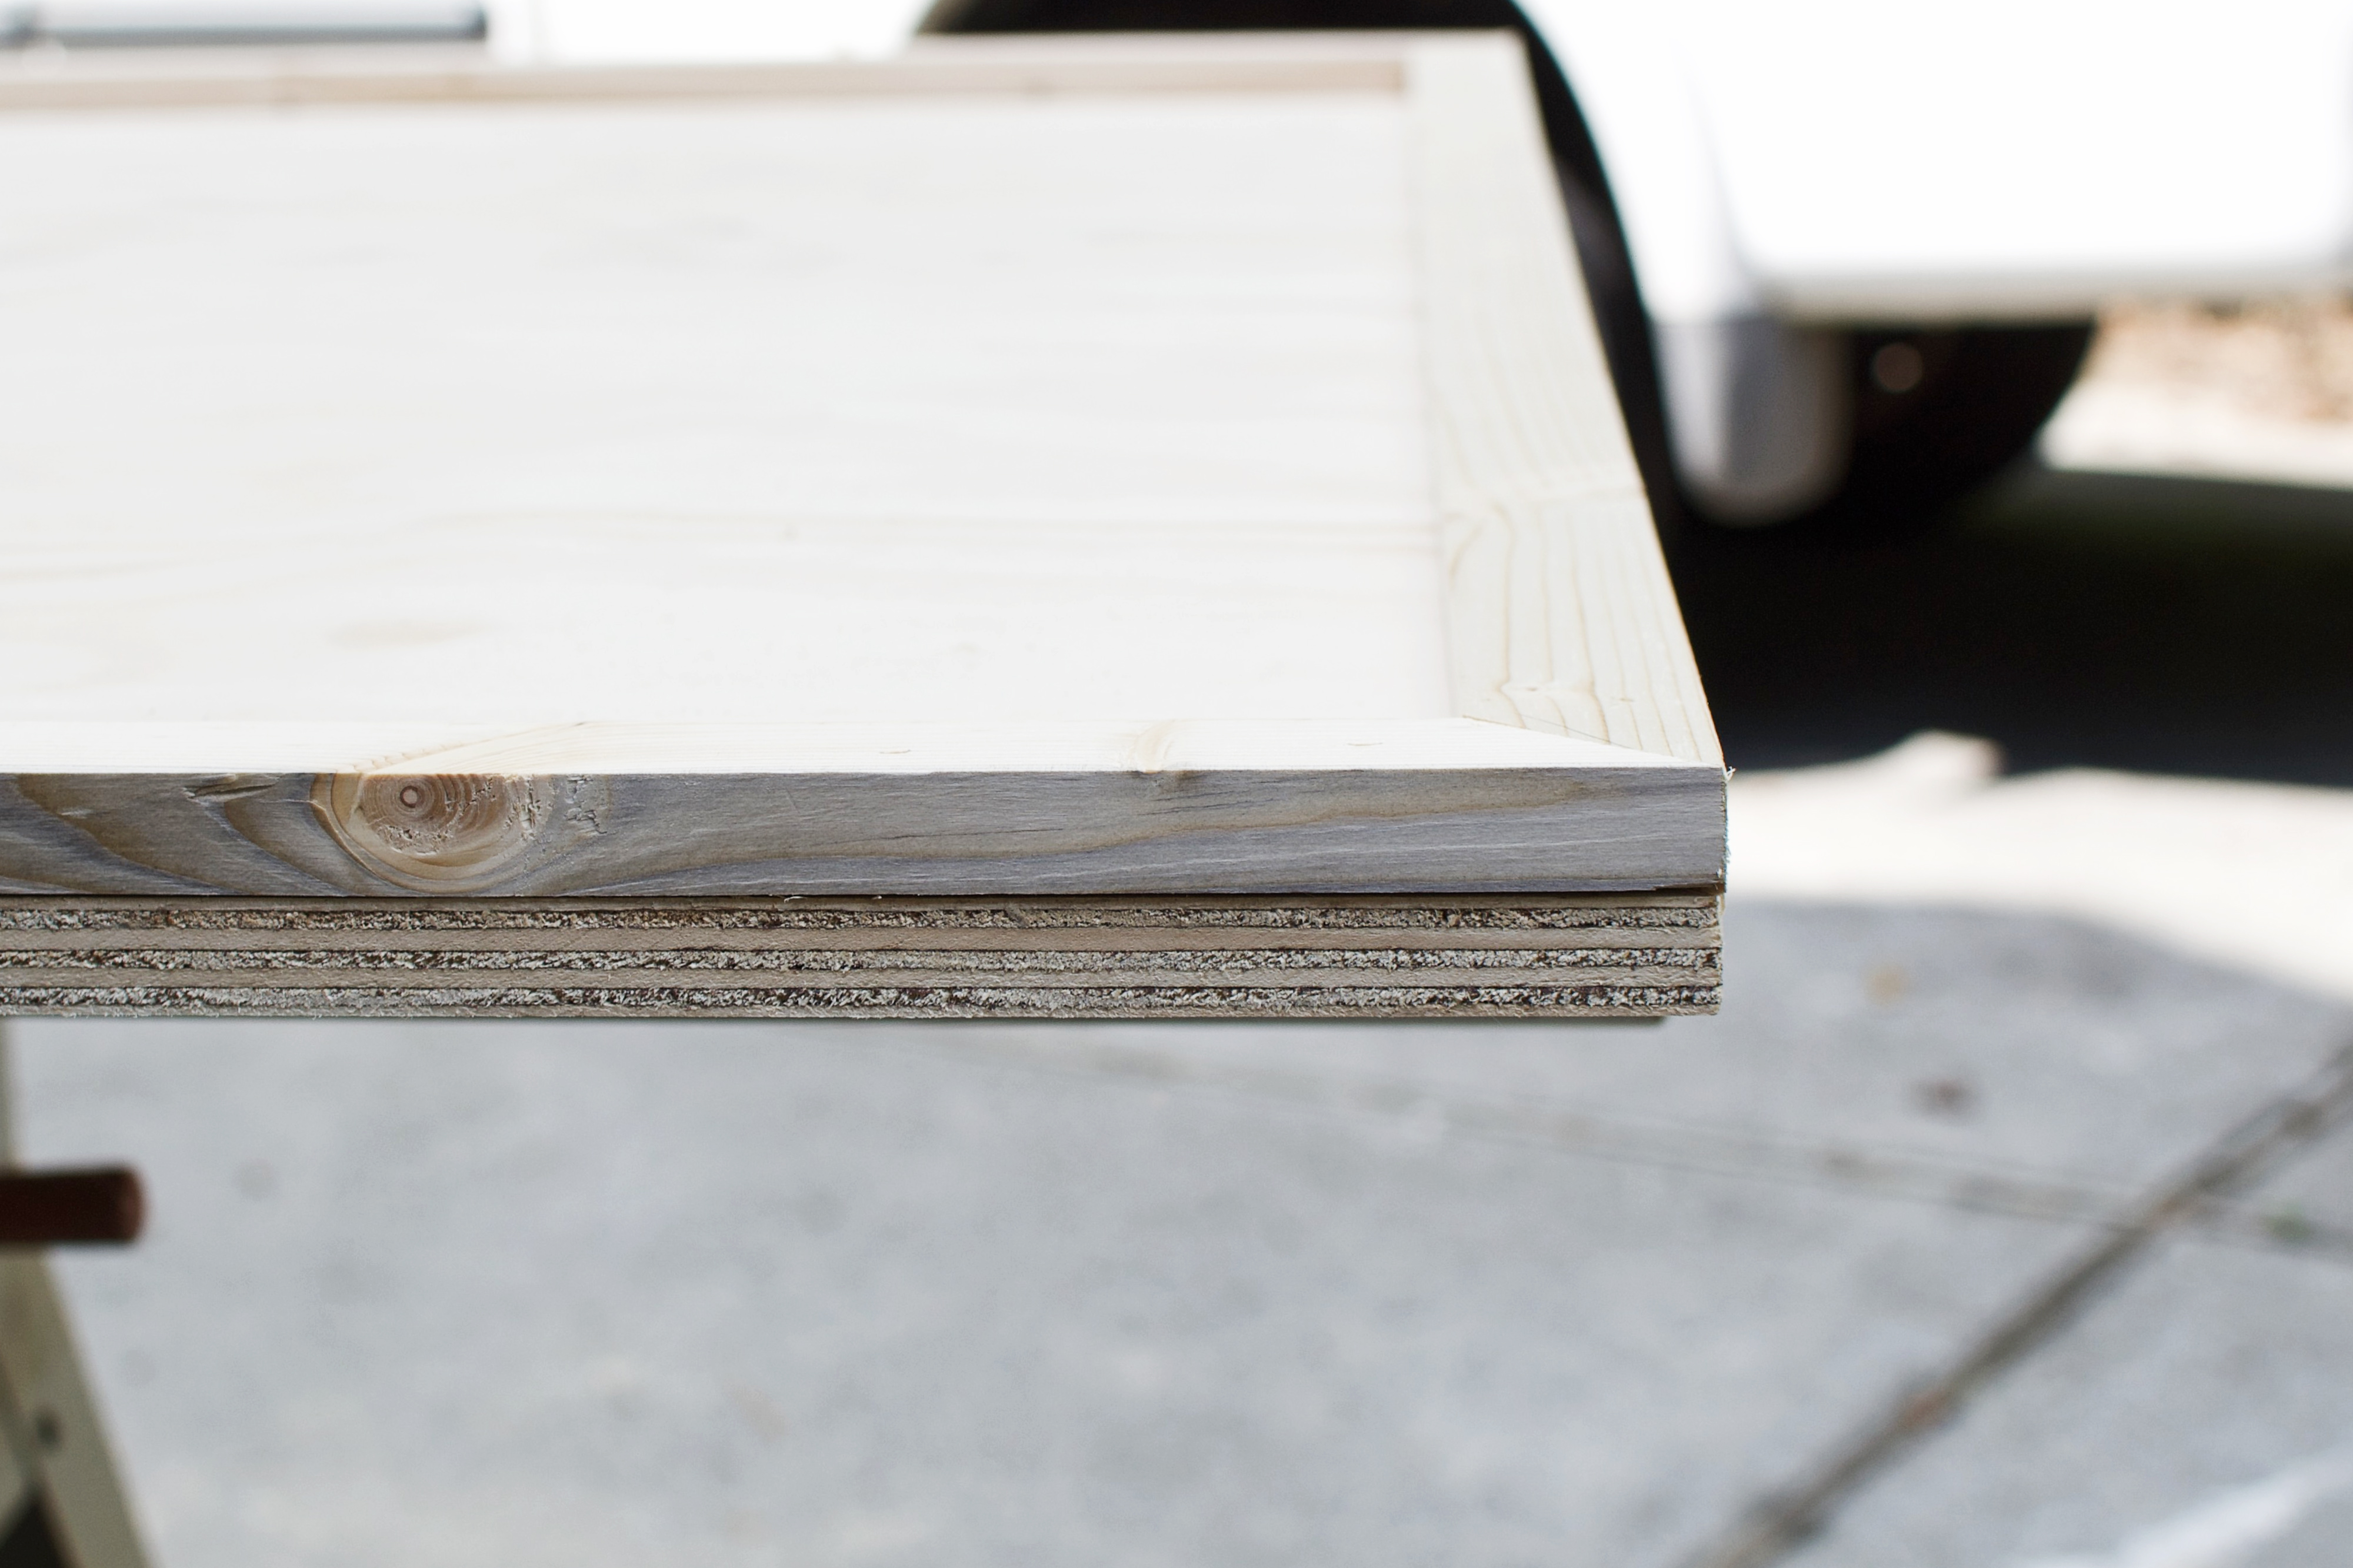
Note: though the length of the headboard is custom to fit your bed, the height of the headboard is fixed at 49-1/2″. The 4×8 sheet of plywood is 48″ tall (picture it up on the wall). Each side trim 1×2 board adds 3/4″ to the top AND bottom of the plywood. 48″ + 3/4″ + 3/4″ = 49-1/2″.
Step 2. Cut the plywood.
If you have a queen bed at 60″ wide, adding 4″ = 64″ headboard that overlaps the mattress, but lines up with the comforter. Then subtract the thickness of your side trim, which is 3/4″ on both sides of the ply. So side trim now totals 1-1/2″. And 64″ end product minus 1-1/2″ side trim = 62-1/2″ plywood.
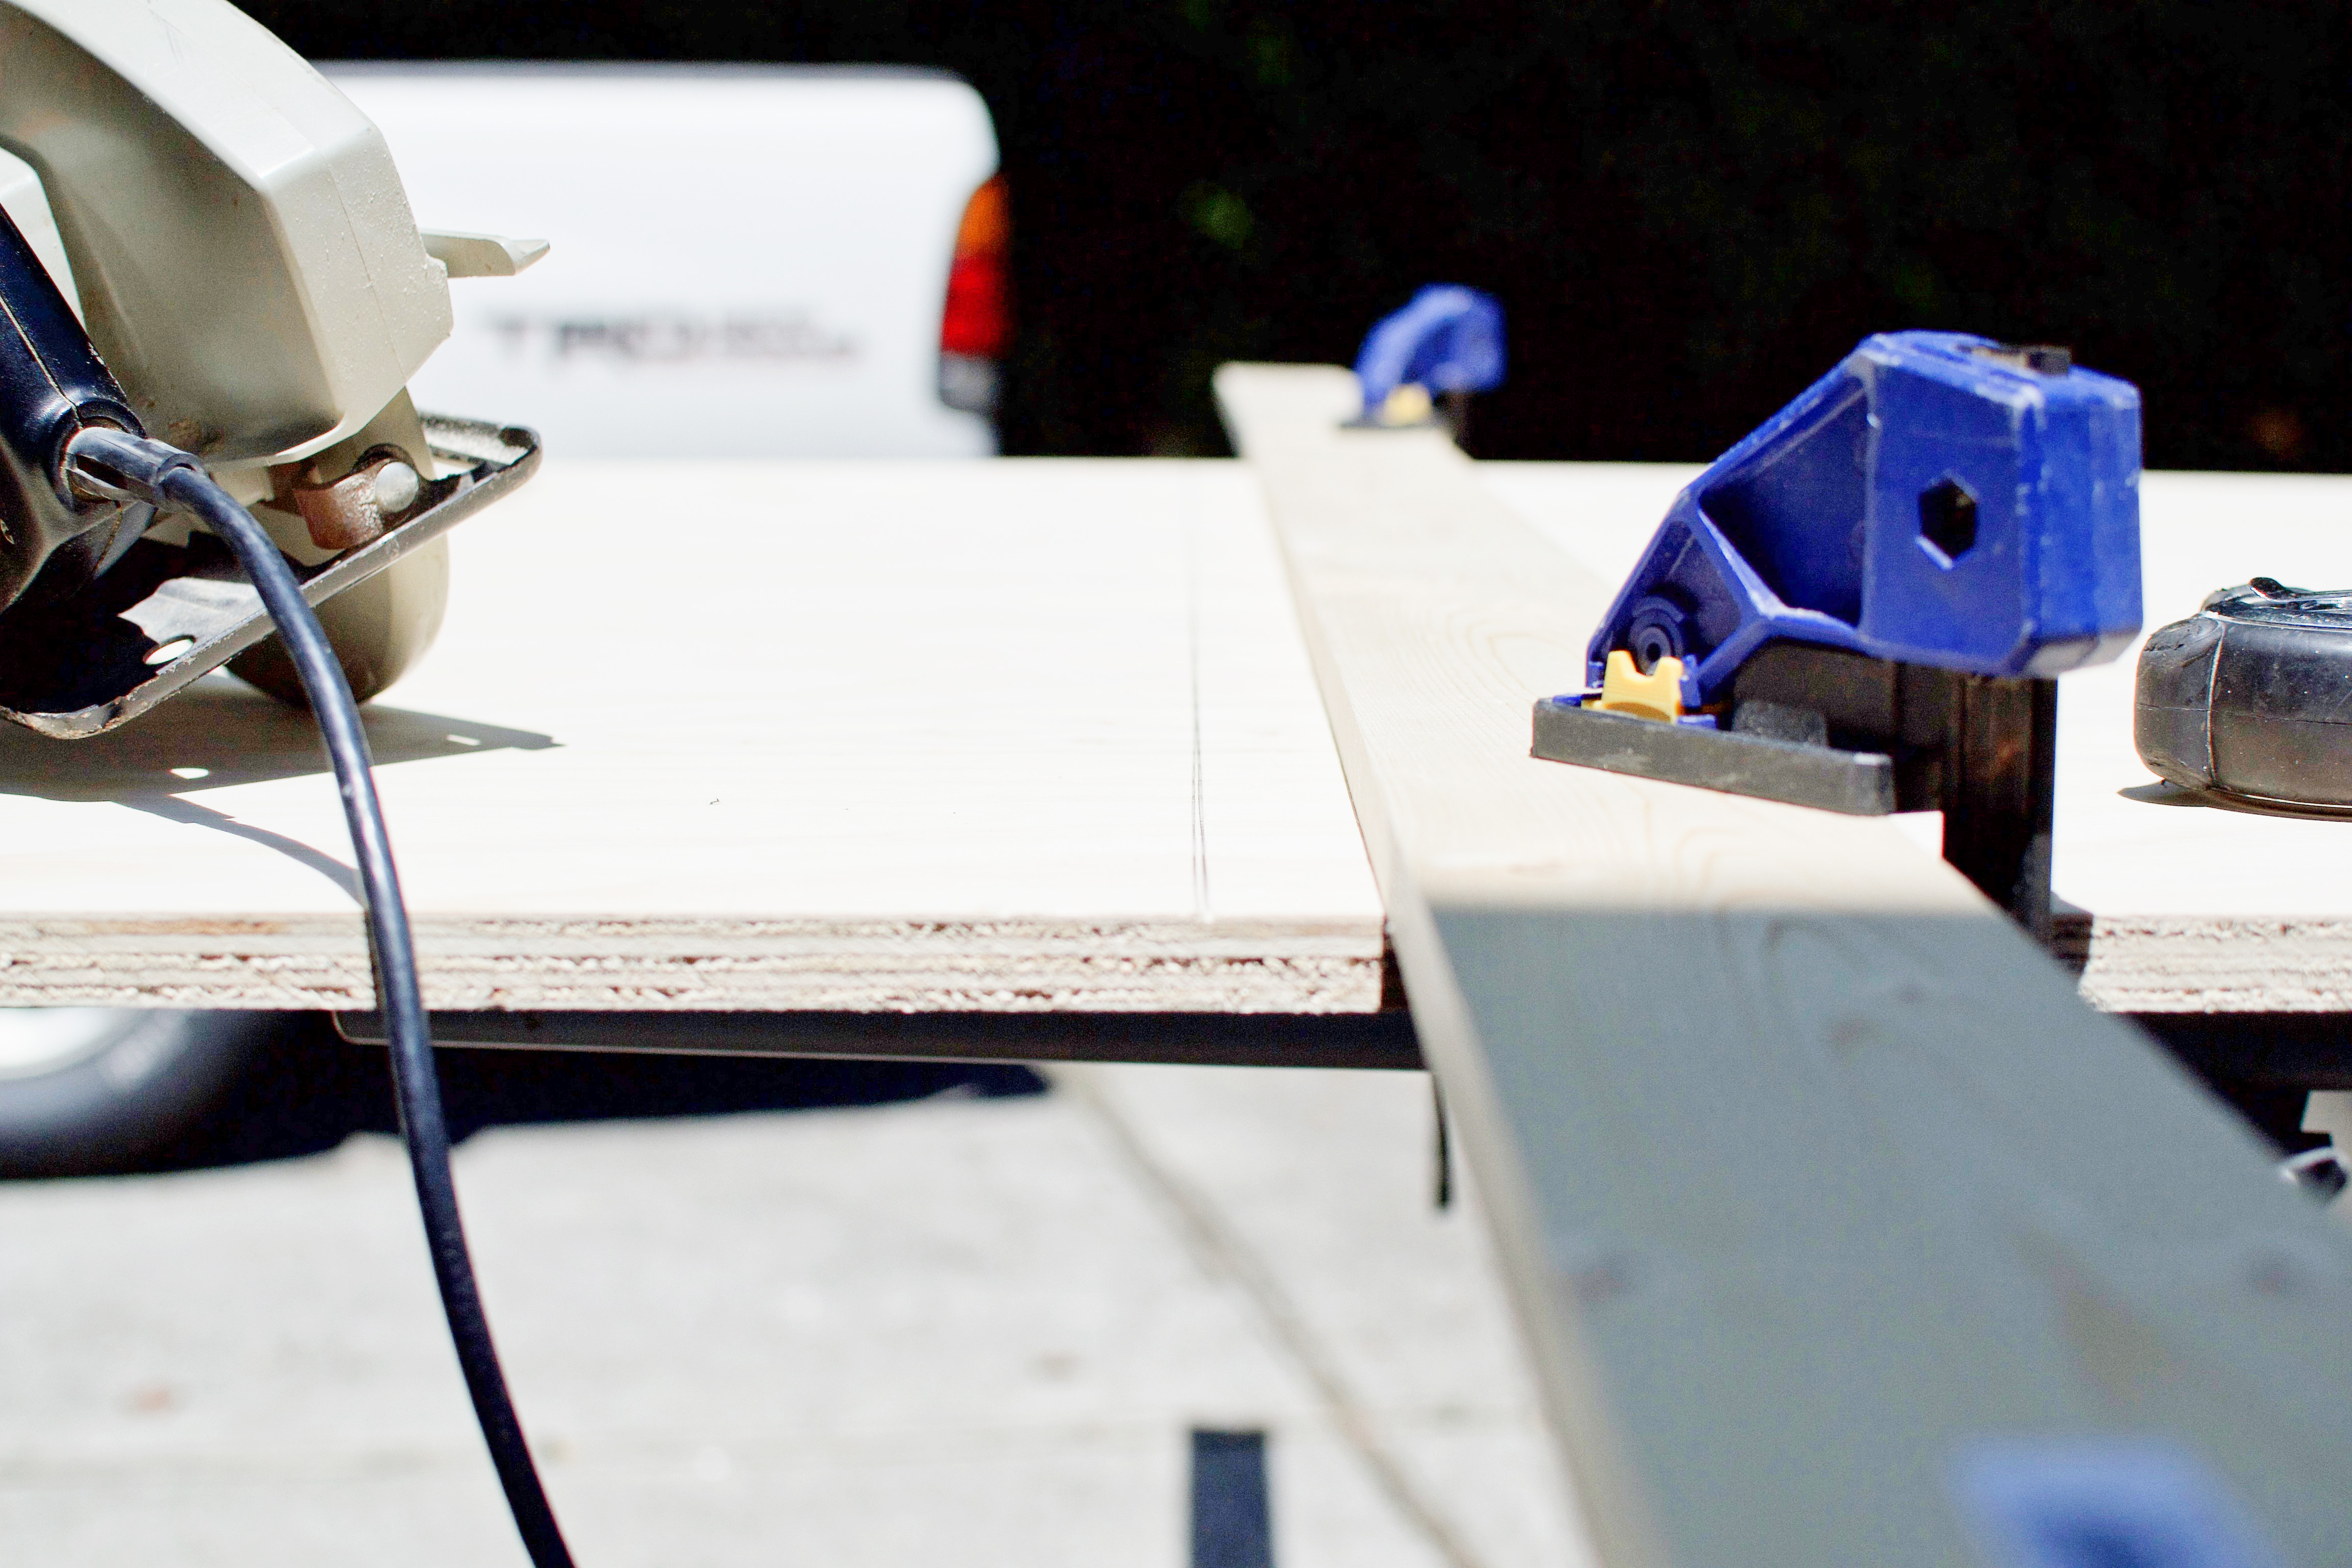
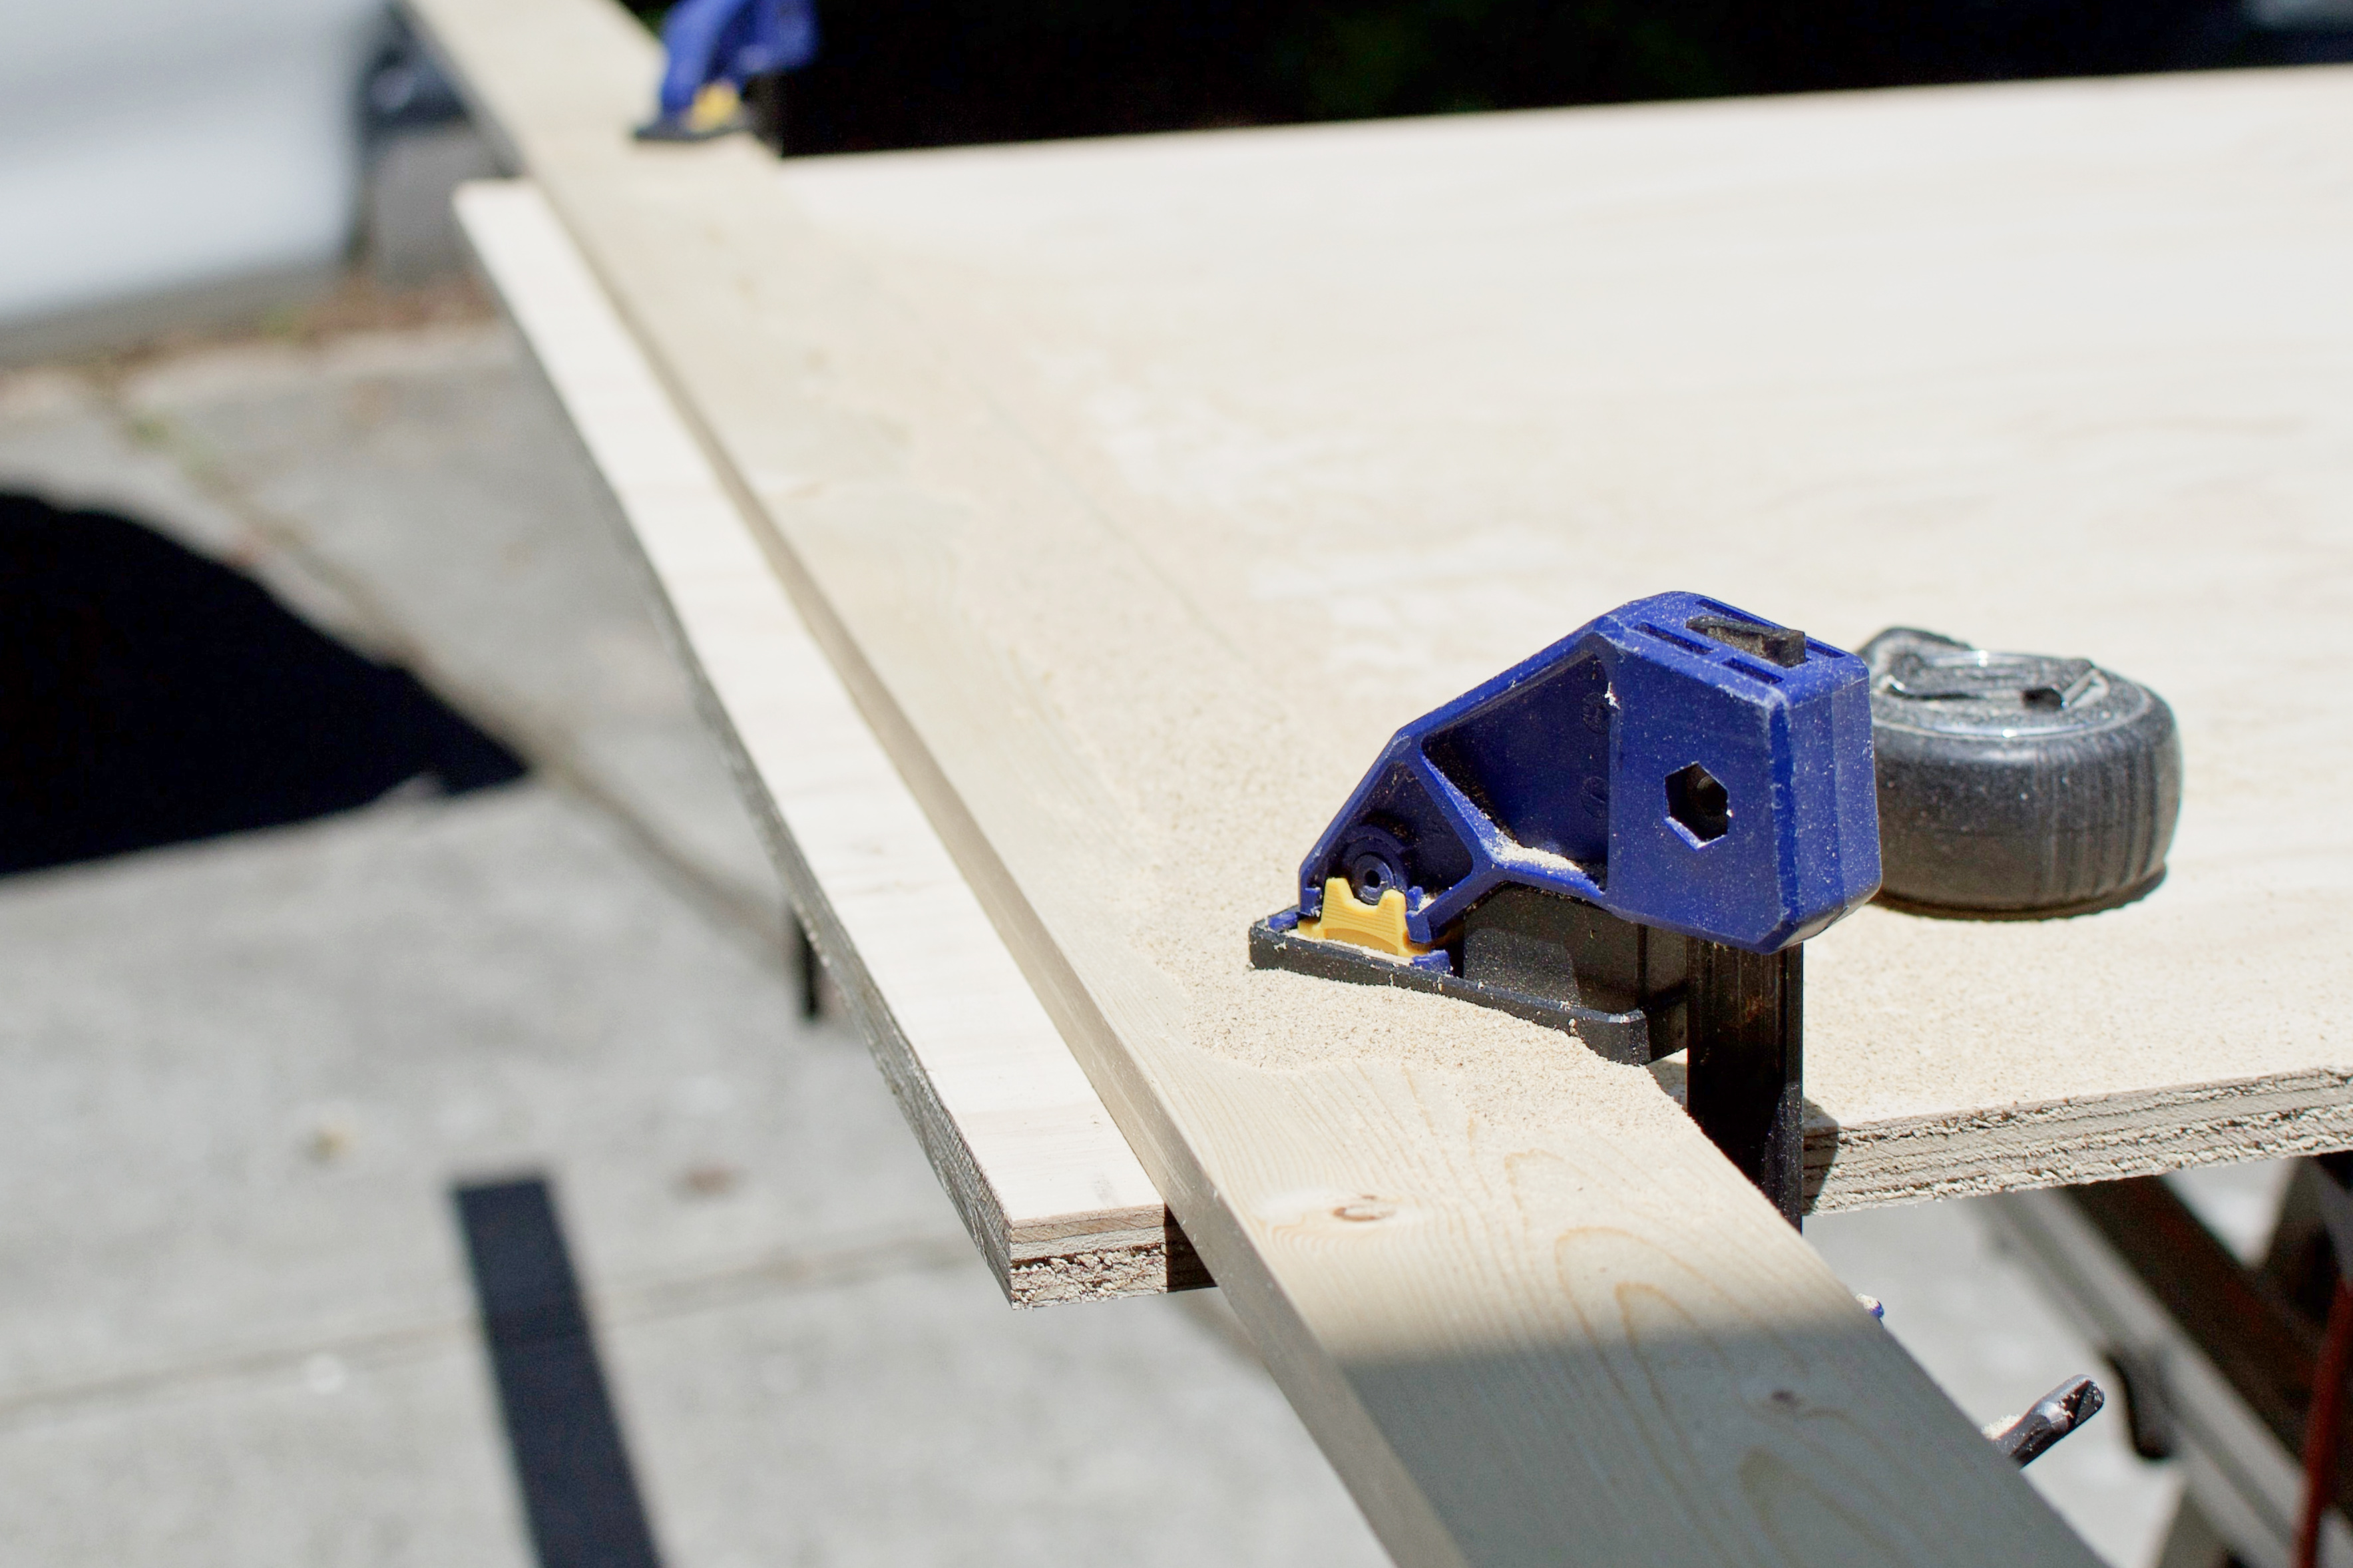
So measure your ply from one edge to 62-1/2″ and mark a line to cup. Then rip it with a table saw. Want to use a circular saw? My table saw fence doesn’t extend that far, so I simply clamped a scrap 1×4 board to the ply as a guide.
Tip: for a circular saw cut, measure the distance between the edge of your blade and the edge of the “shoe” aka the metal plate that your saw sits on as you cut. Then clamp your guide board that exact distance away from the line you drew at 62-1/2″.
Step 3. Cut & install the face trim.
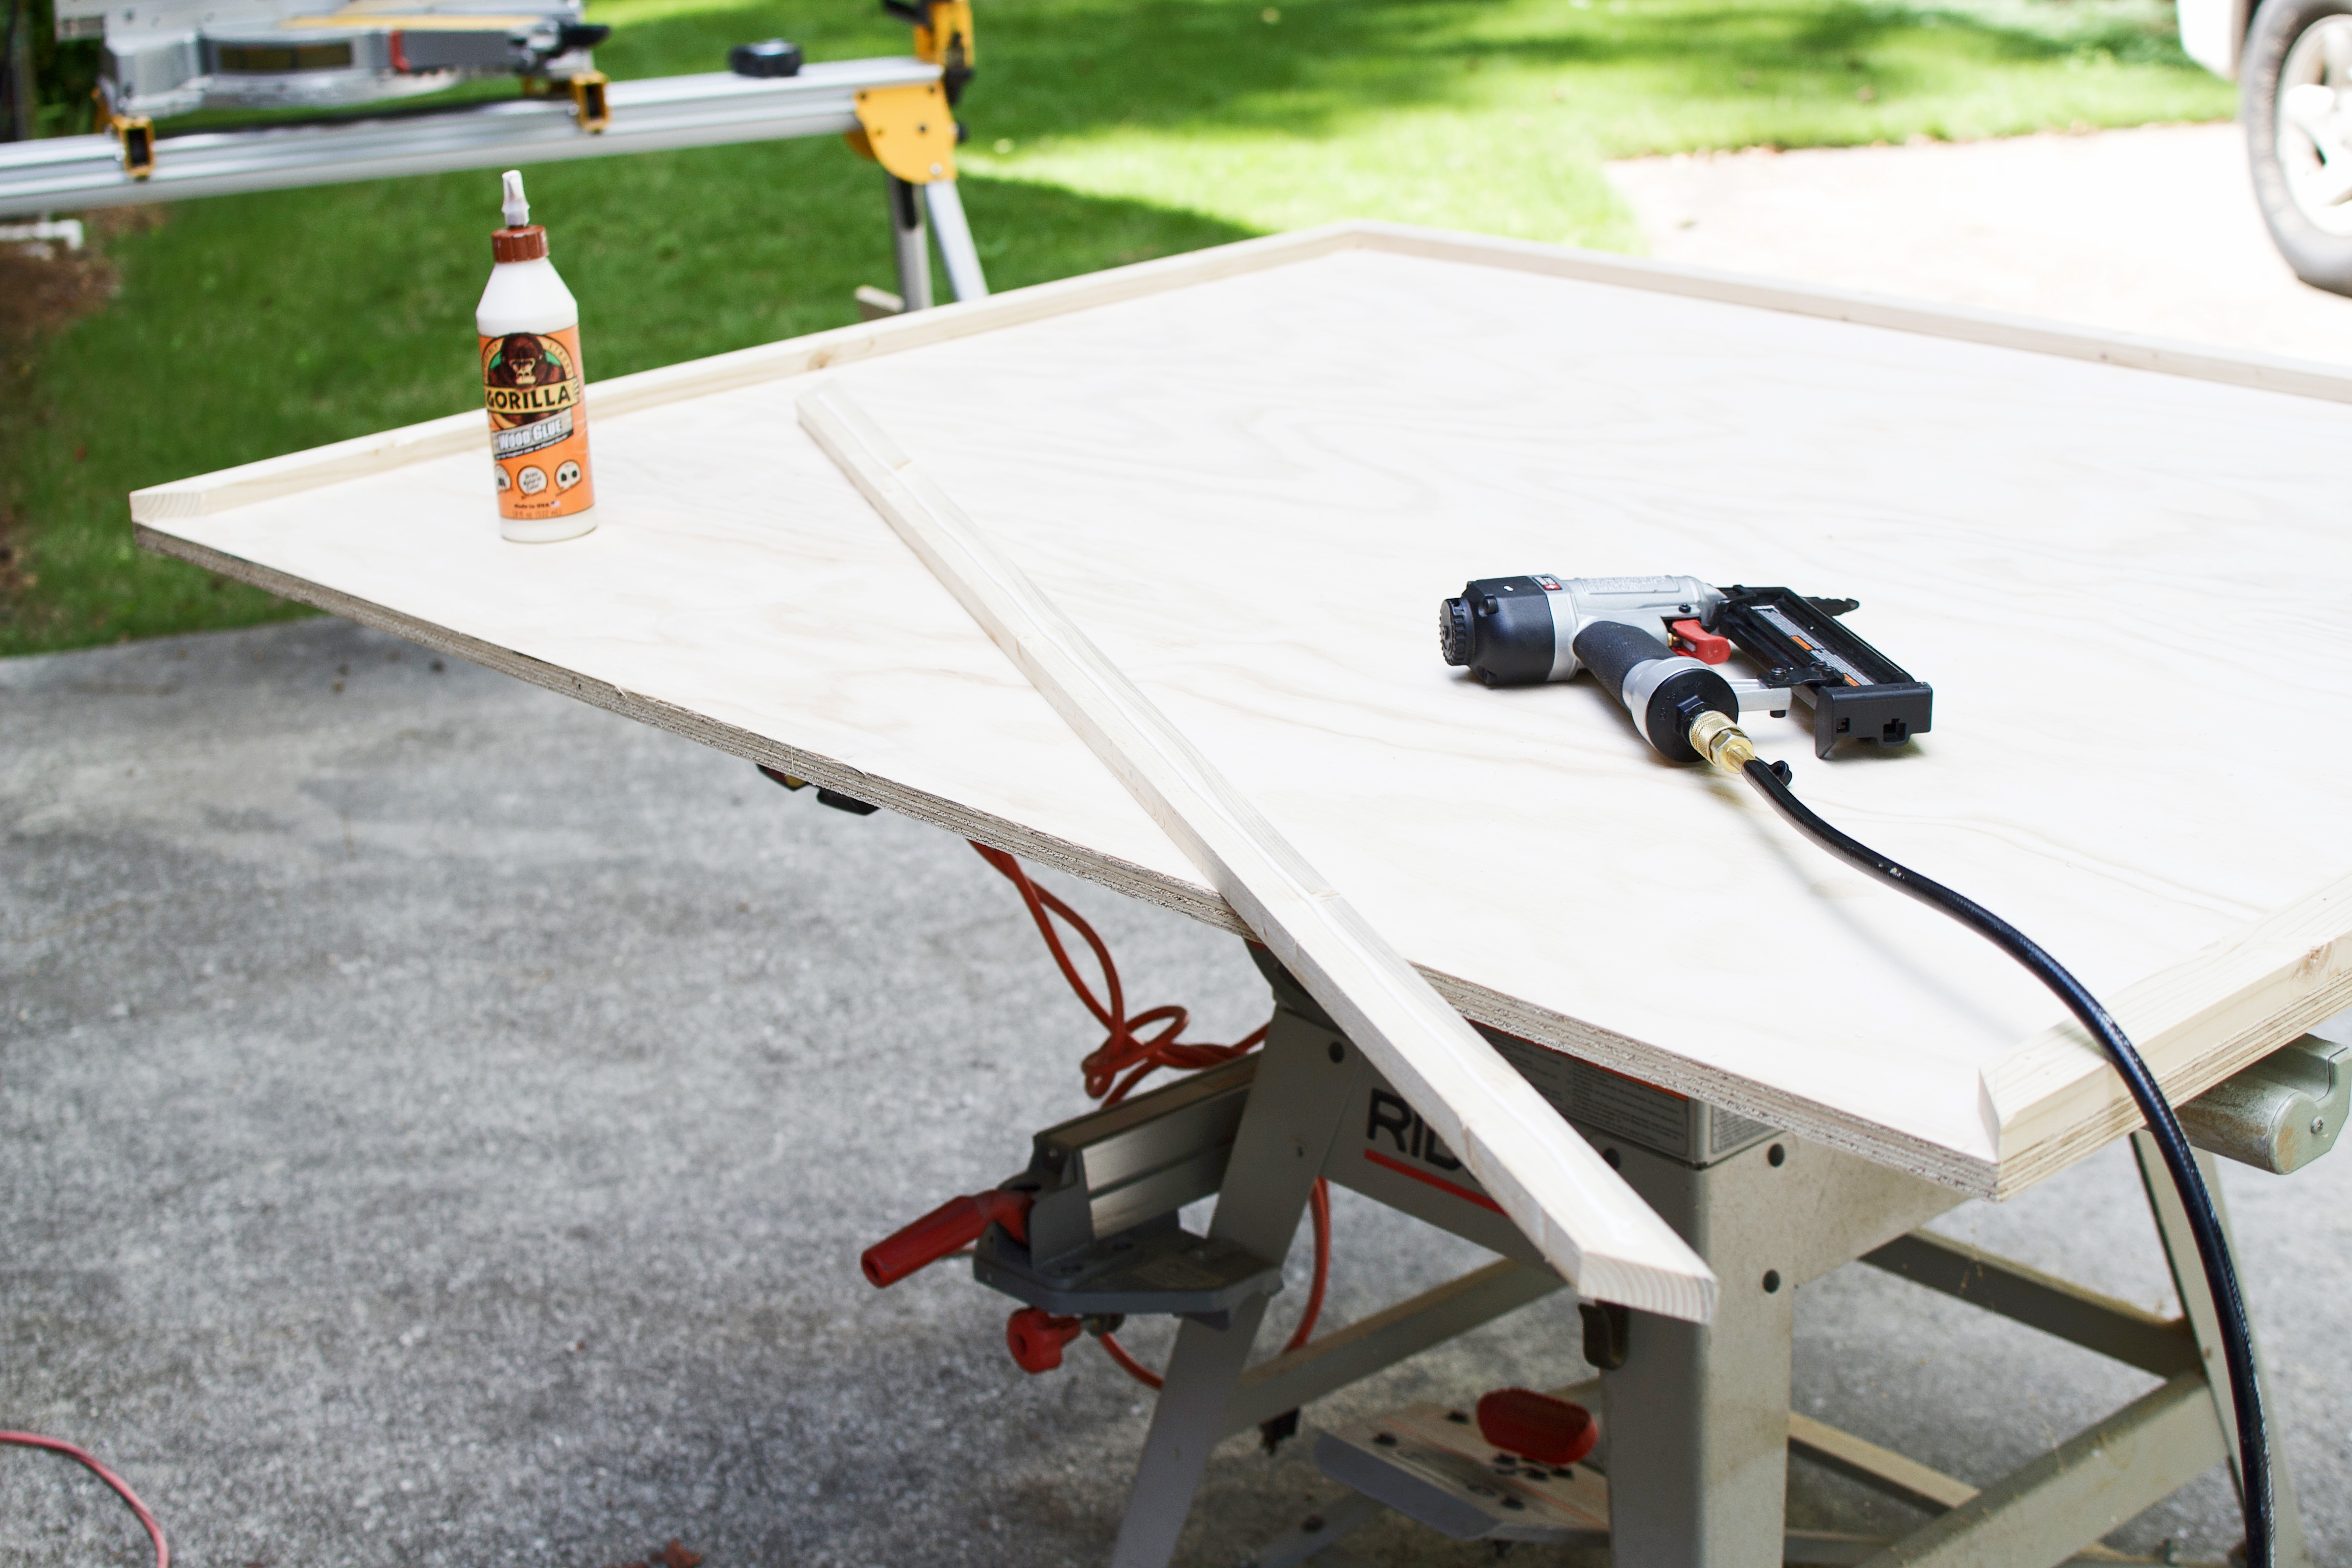
No cut list, friend. Here’s why: you need the trim to match your plywood perfectly. The ONLY way to be sure of this is to dry fit measure – where you hold the trim piece on top of the plywood and mark the exact length needed with a pencil, no tape measure required. If you cut all of the pieces up front, you’ll notice minor errors in length that won’t provide tightly mitered joints.
-
- Fire up your compressor, air lube your brad nail gun, and regulate to about 100 PSI with 1-1/4″ brad nails.
-
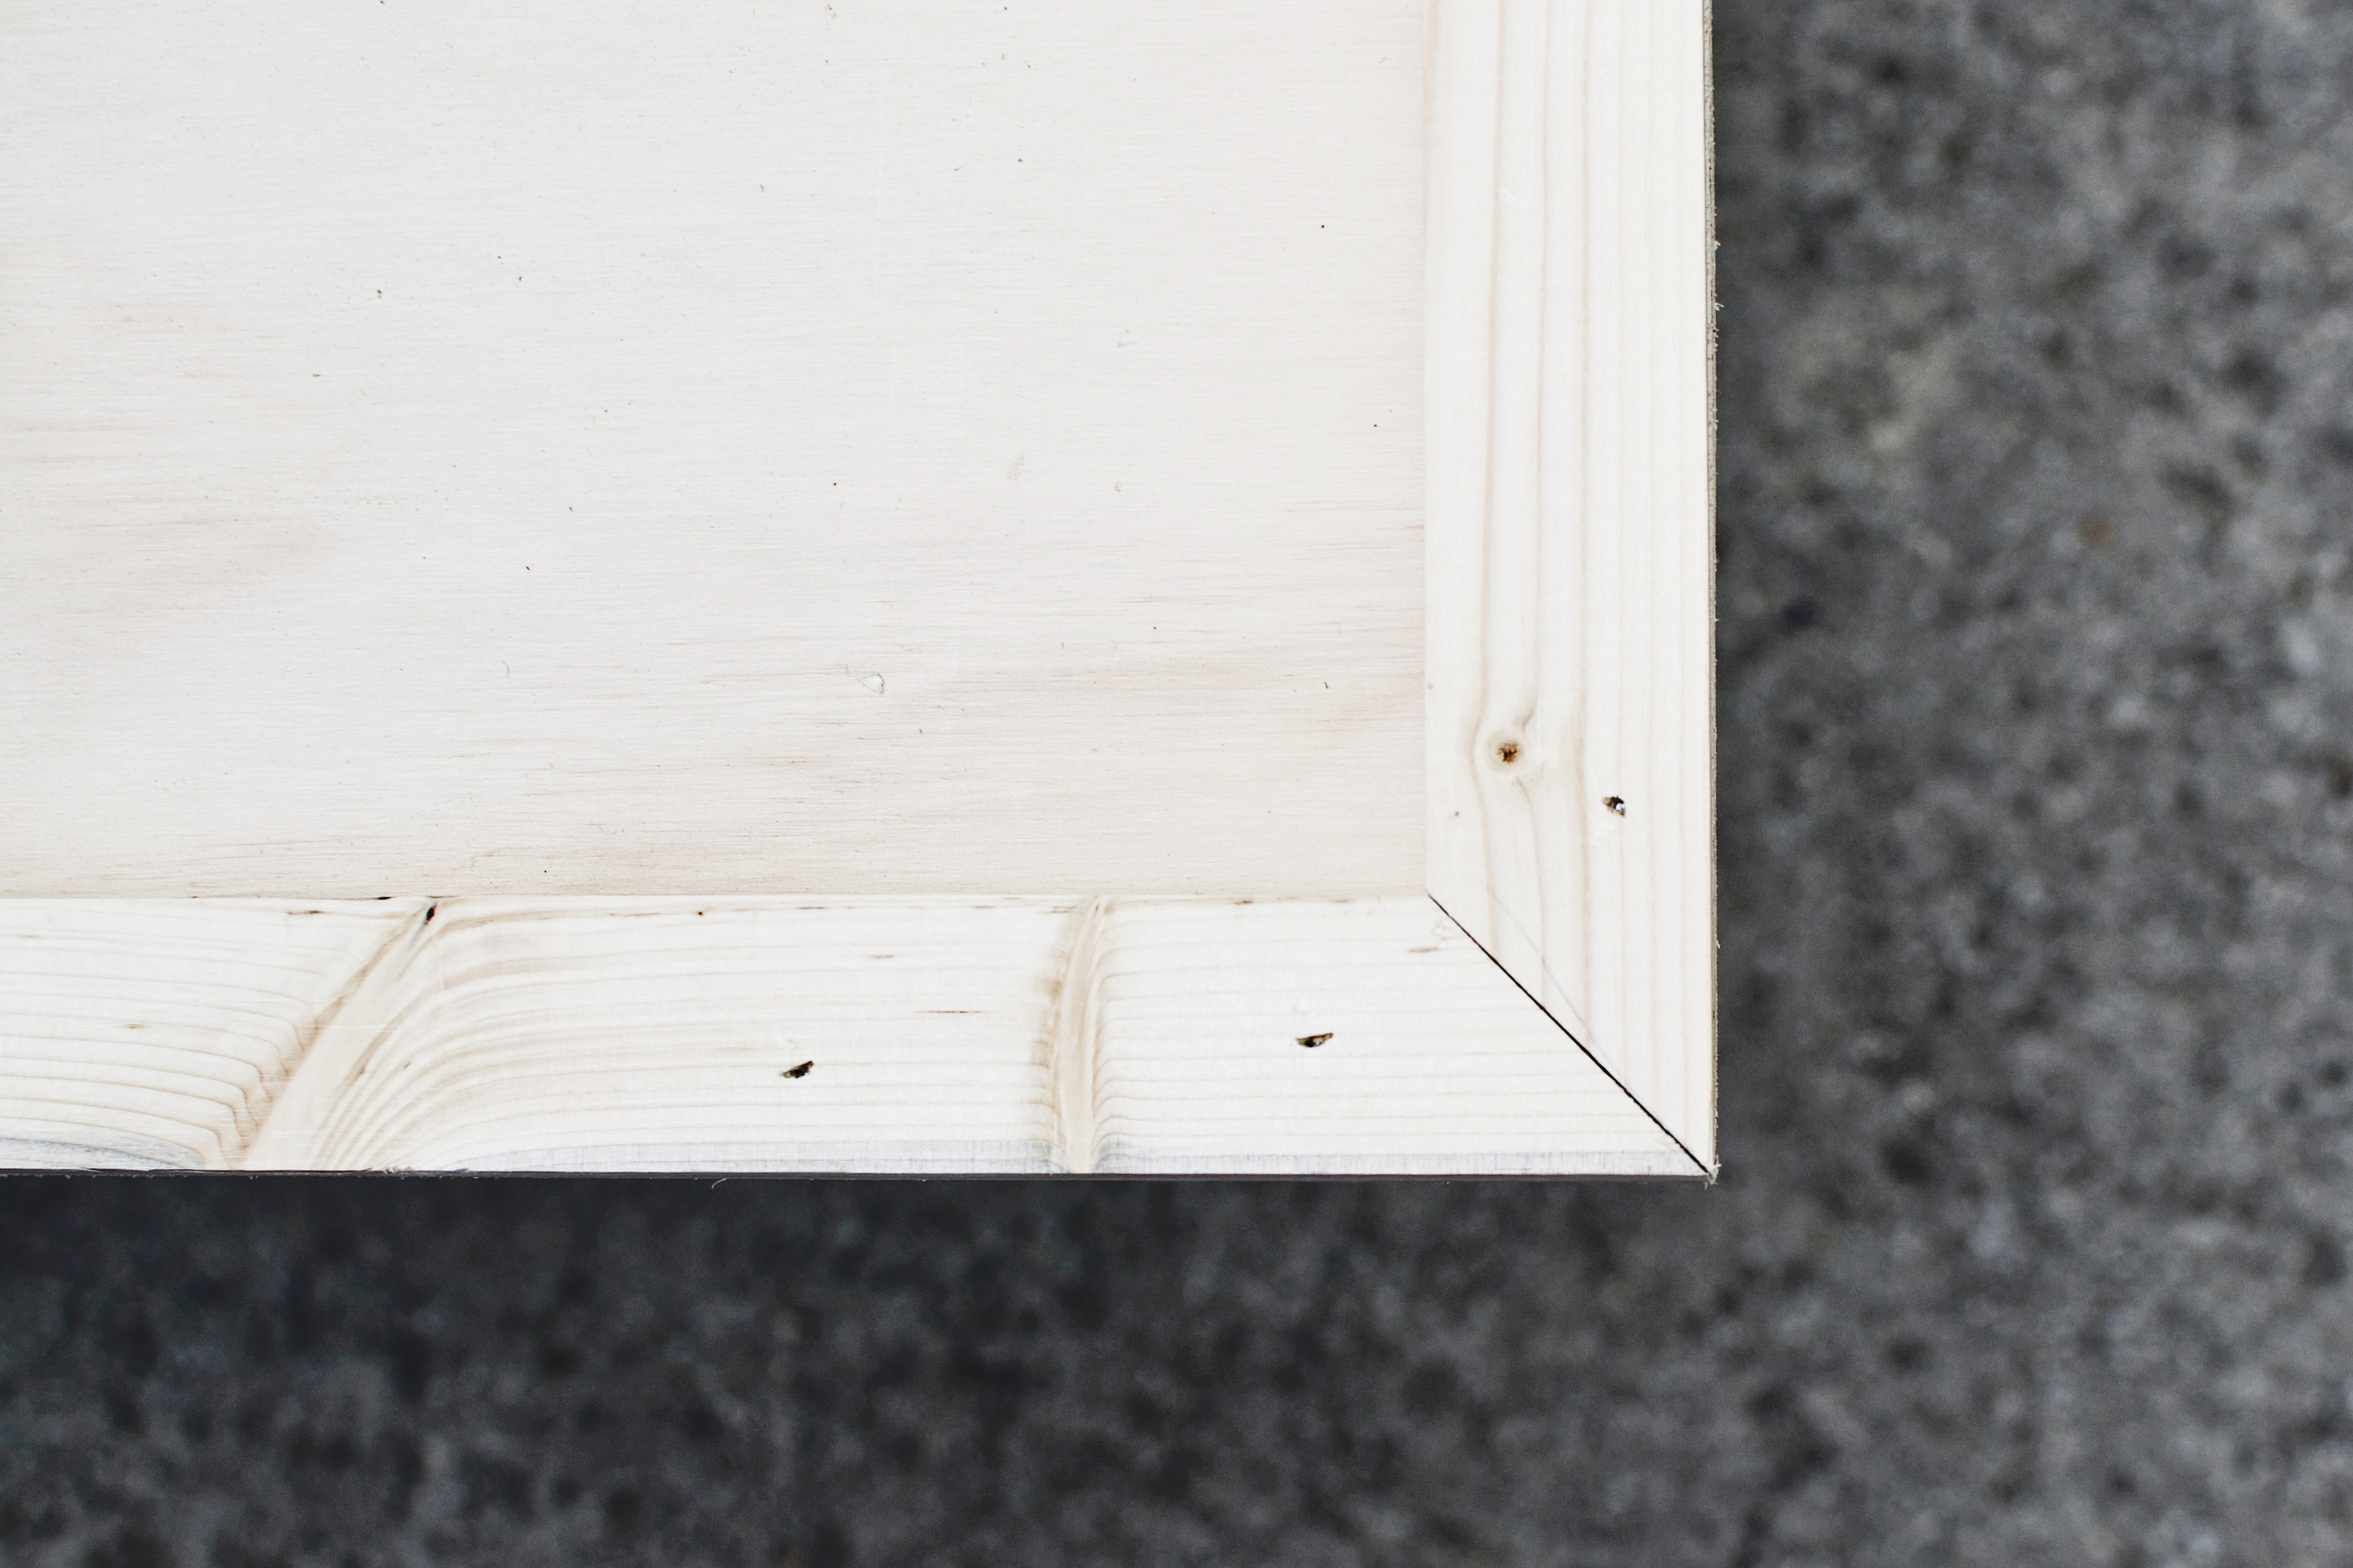
- Make a 45º cut on your first 1x2x8, face side up, only on one end. Place it face up on your plywood, line it up flush with an edge, and make a pencil mark on the underside of the 1x2x8 where it meets the ply. This will be your second cut on the first piece. The line signifies where you will start the mitered cut, NOT end it. Make sure ALL mitered edges are NOT parallel. Think: picture frame.
-
- Cut the first piece a second time as marked.
-
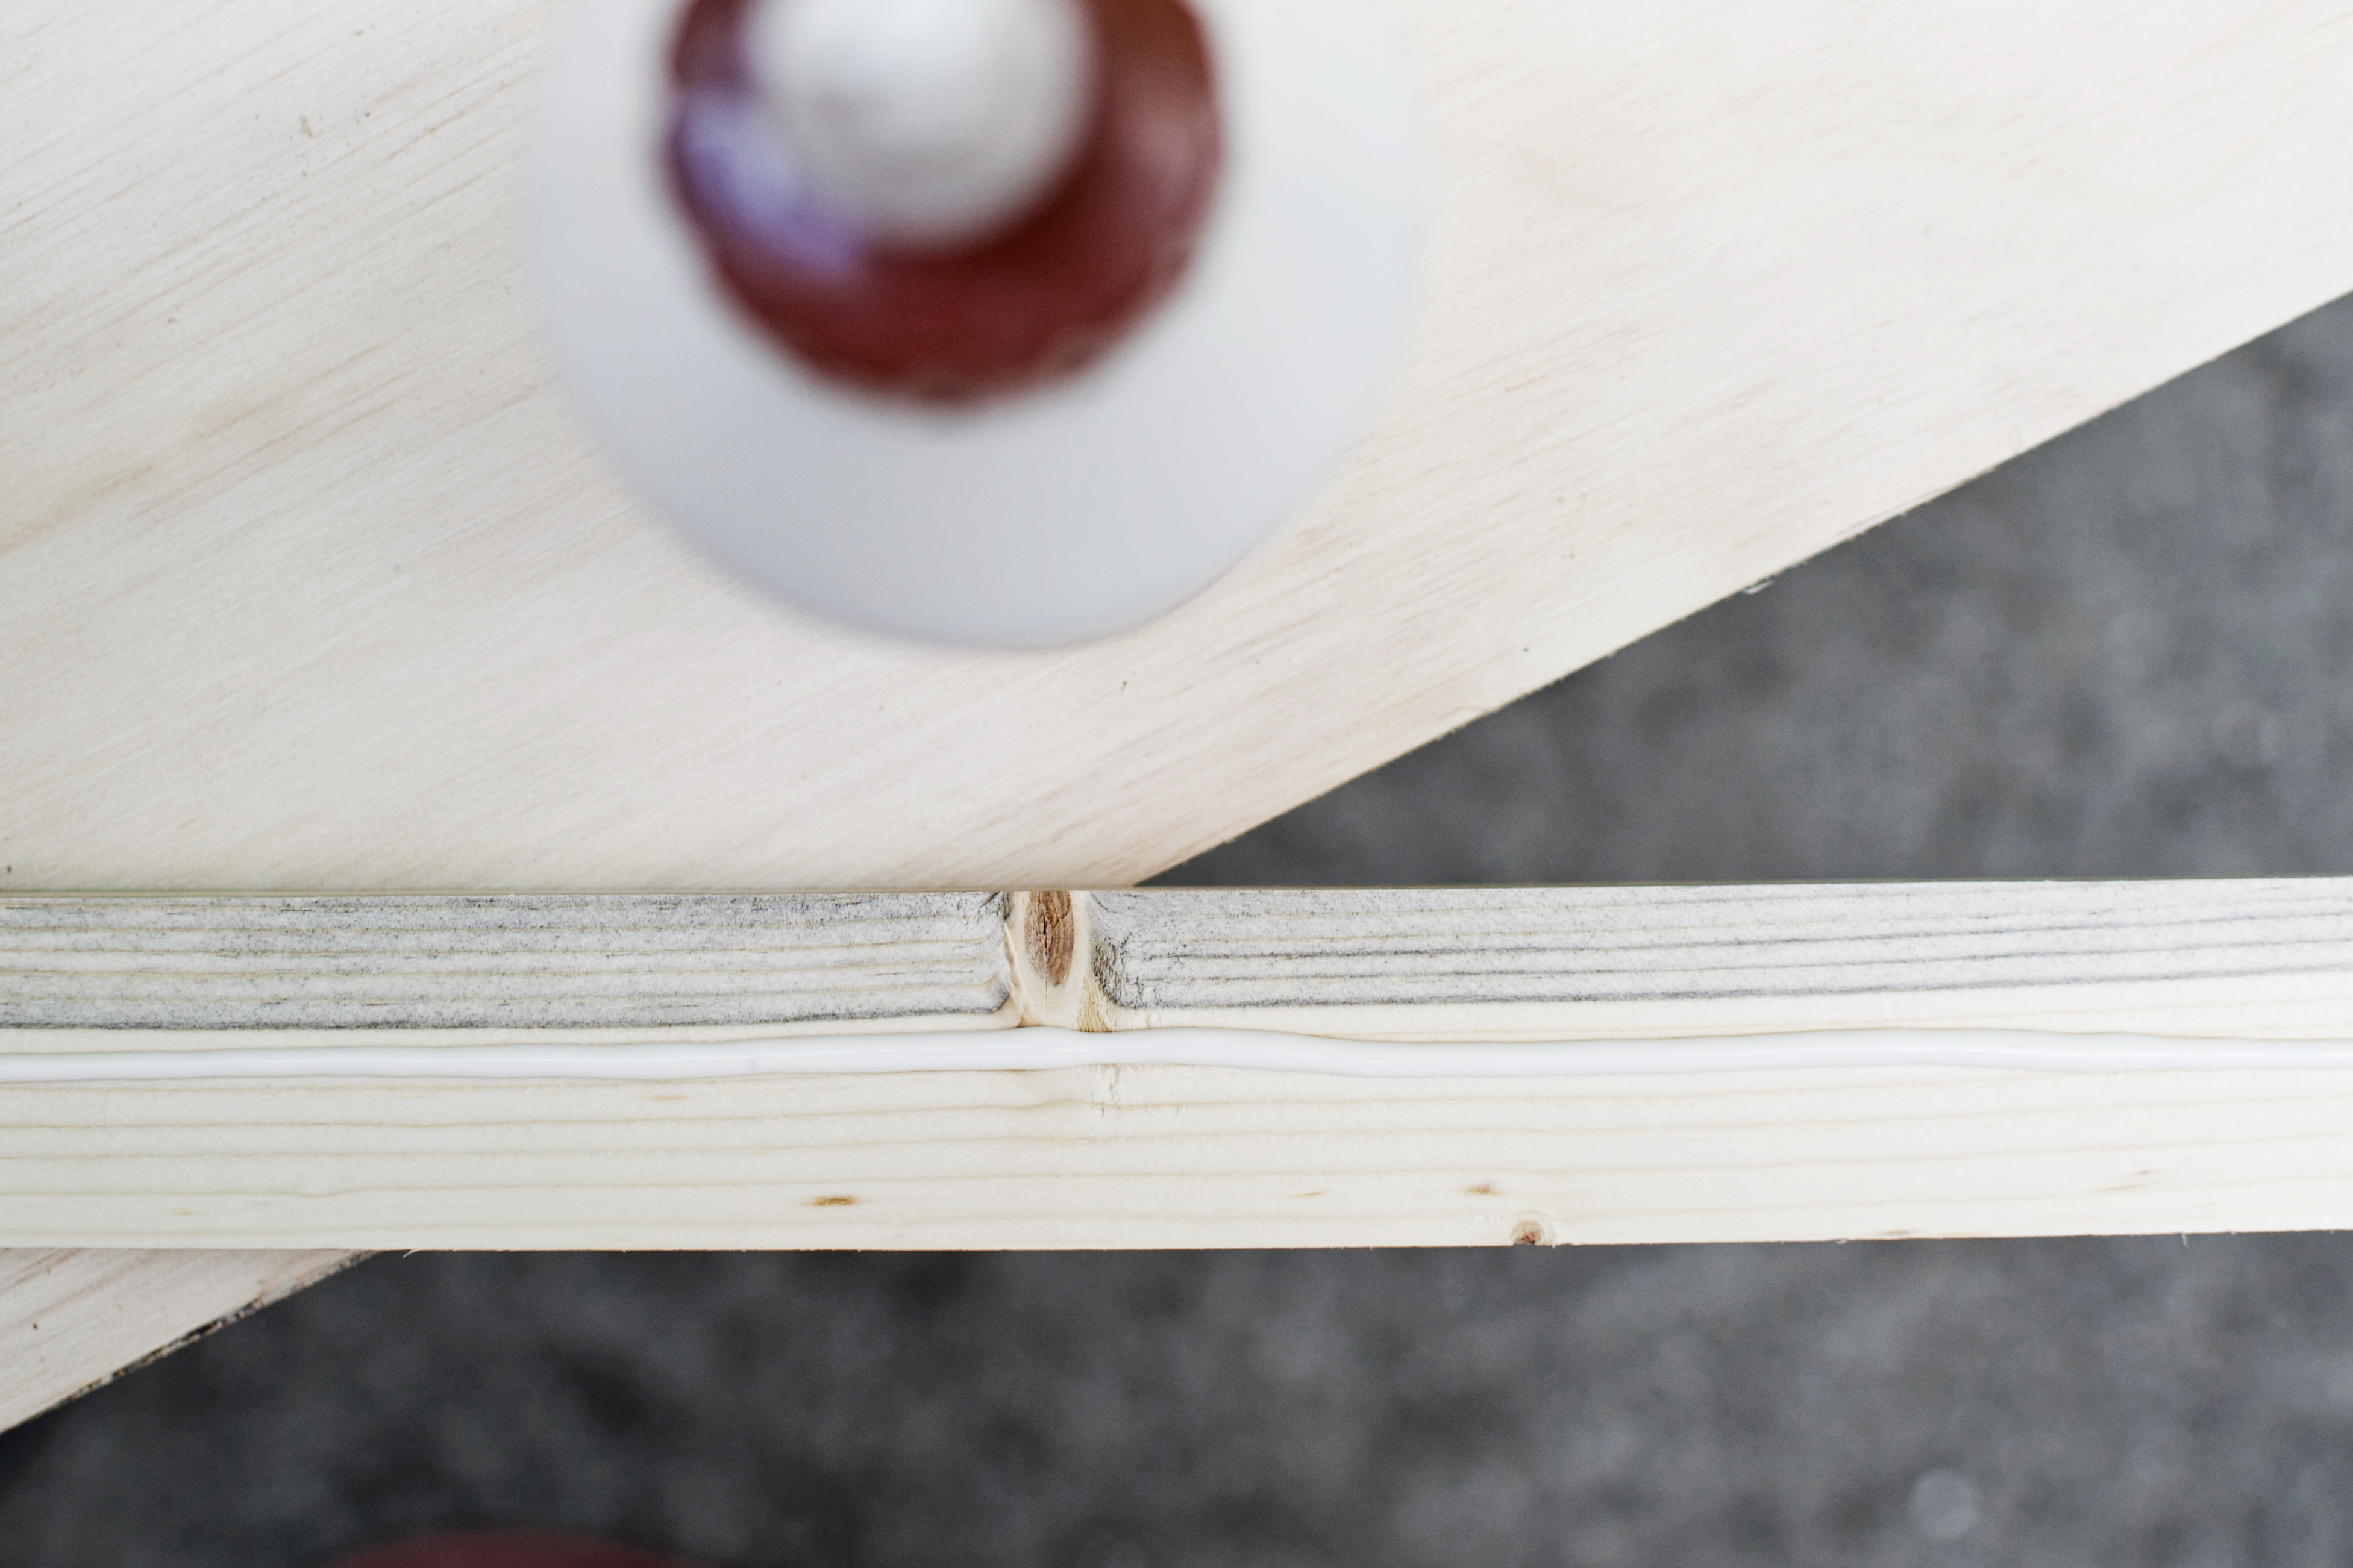
- Grab your glue, apply it to the underside of this face trim piece, squish it down, and nail it to the plywood in several places. Ideal to alternate in a zigzag pattern at least every 6″ to 12″. This is not structural. Plus the glue will create a much stronger bond than brad nails ever could. You’re essentially clamping with nails.
- Repeat steps #1–#4 with (3) more pieces of 1x2x8 common board.
Step 4. Cut & install the side trim
-
- Make a 45º cut on your next 1x2x8 common board, edge side up. The side trim will wrap the outside of your headboard, touching both the face trim AND the edge of the plywood.
-
- Dry fit and mark this 1x2x8 at desired length.
- Repeat steps #3 & #4 in the “Cut & install face trim” section. I.e. Cut each piece to fit with mitered ends at 45º, edge side up, NOT parallel. Cut, glue, and nail until all (4) pieces of side trim are installed.
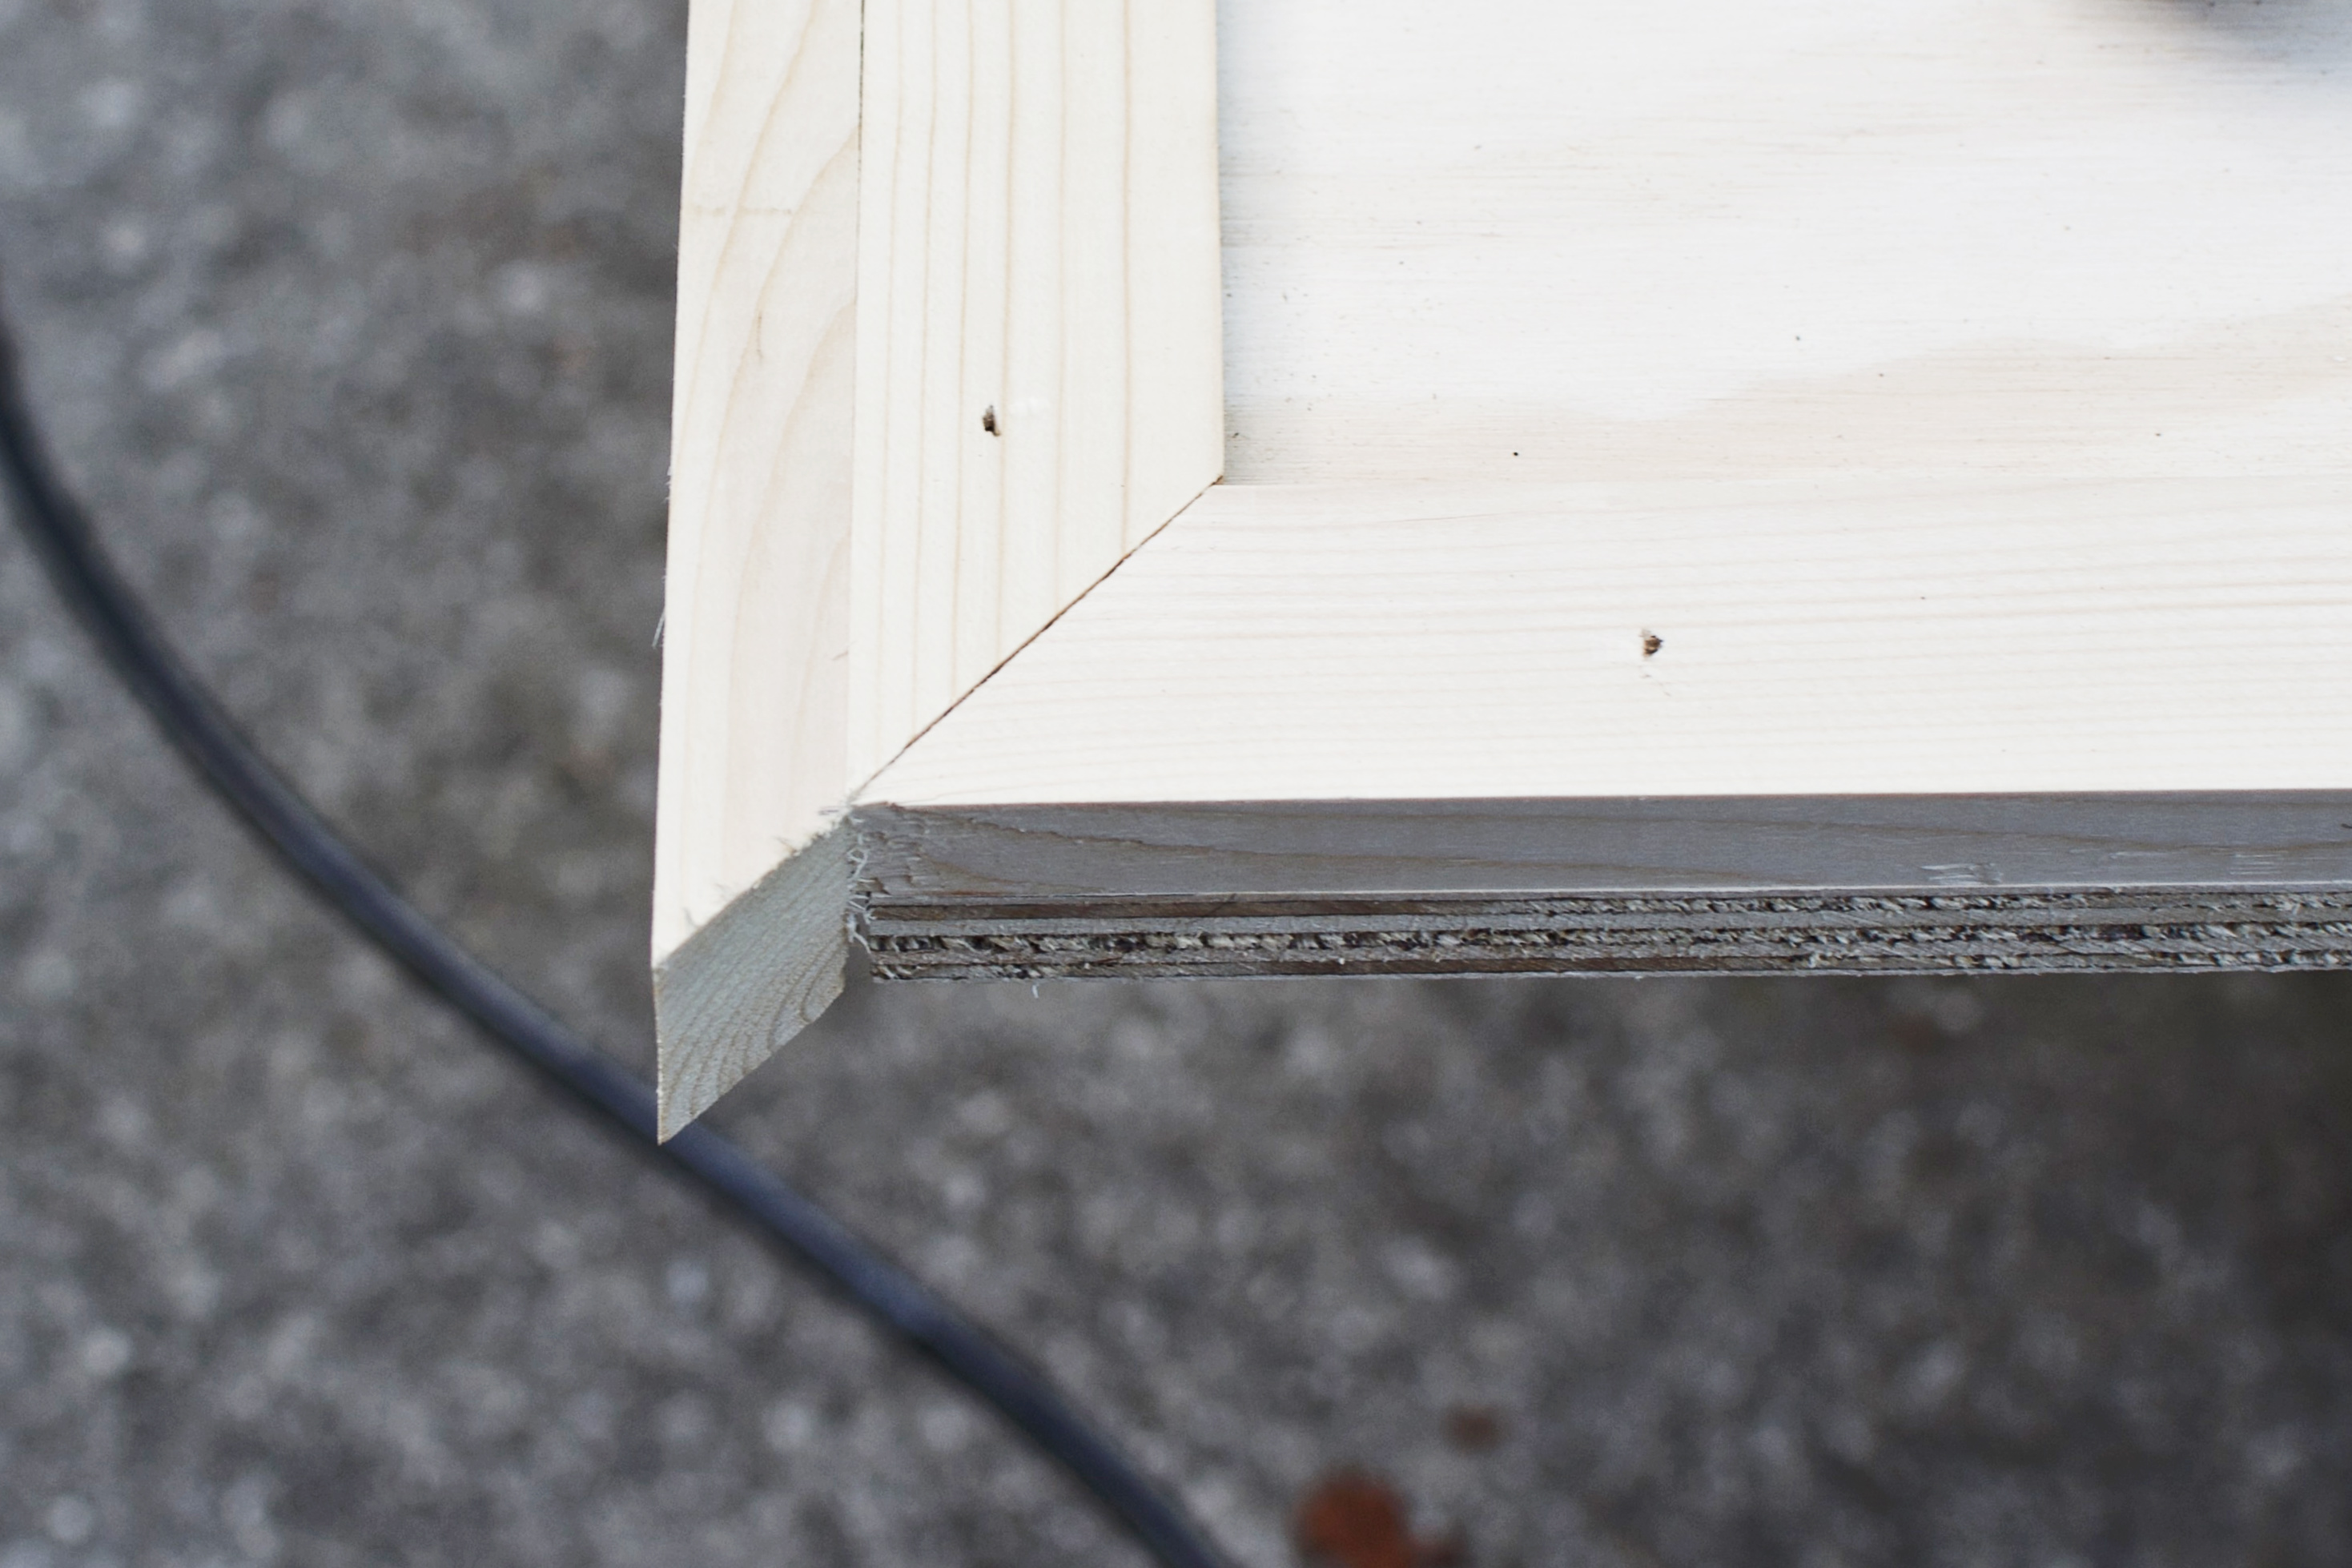
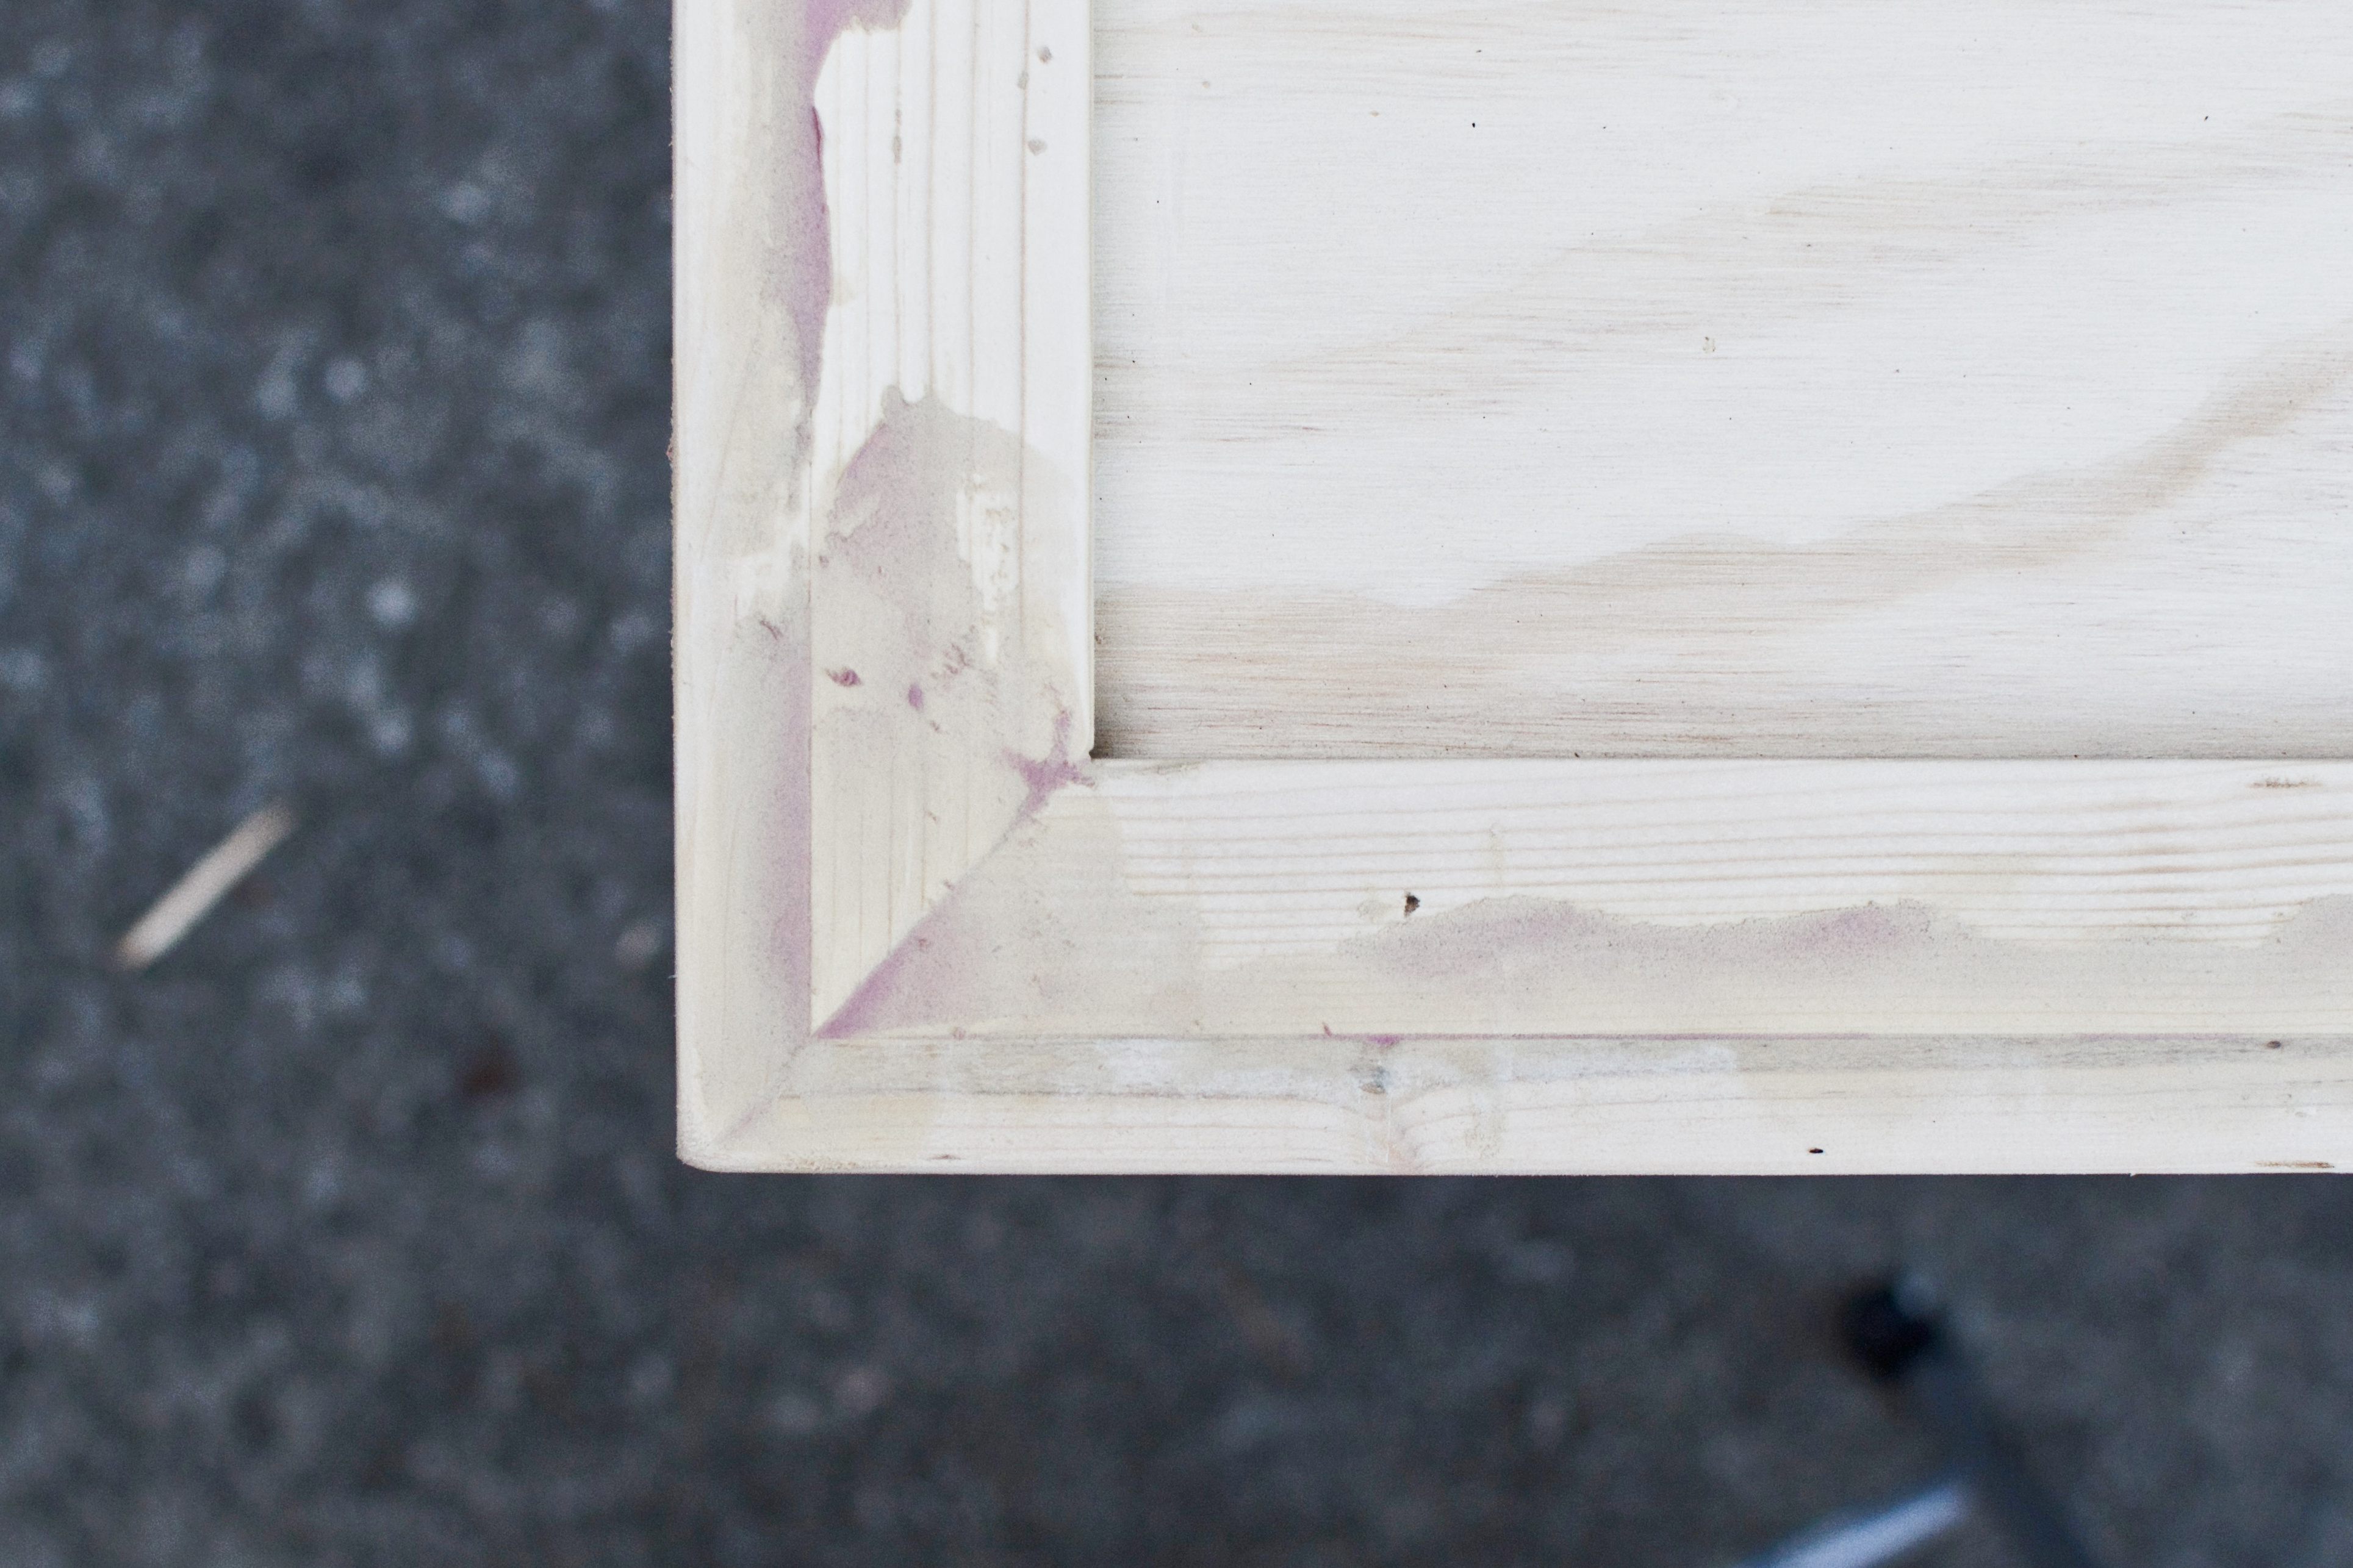
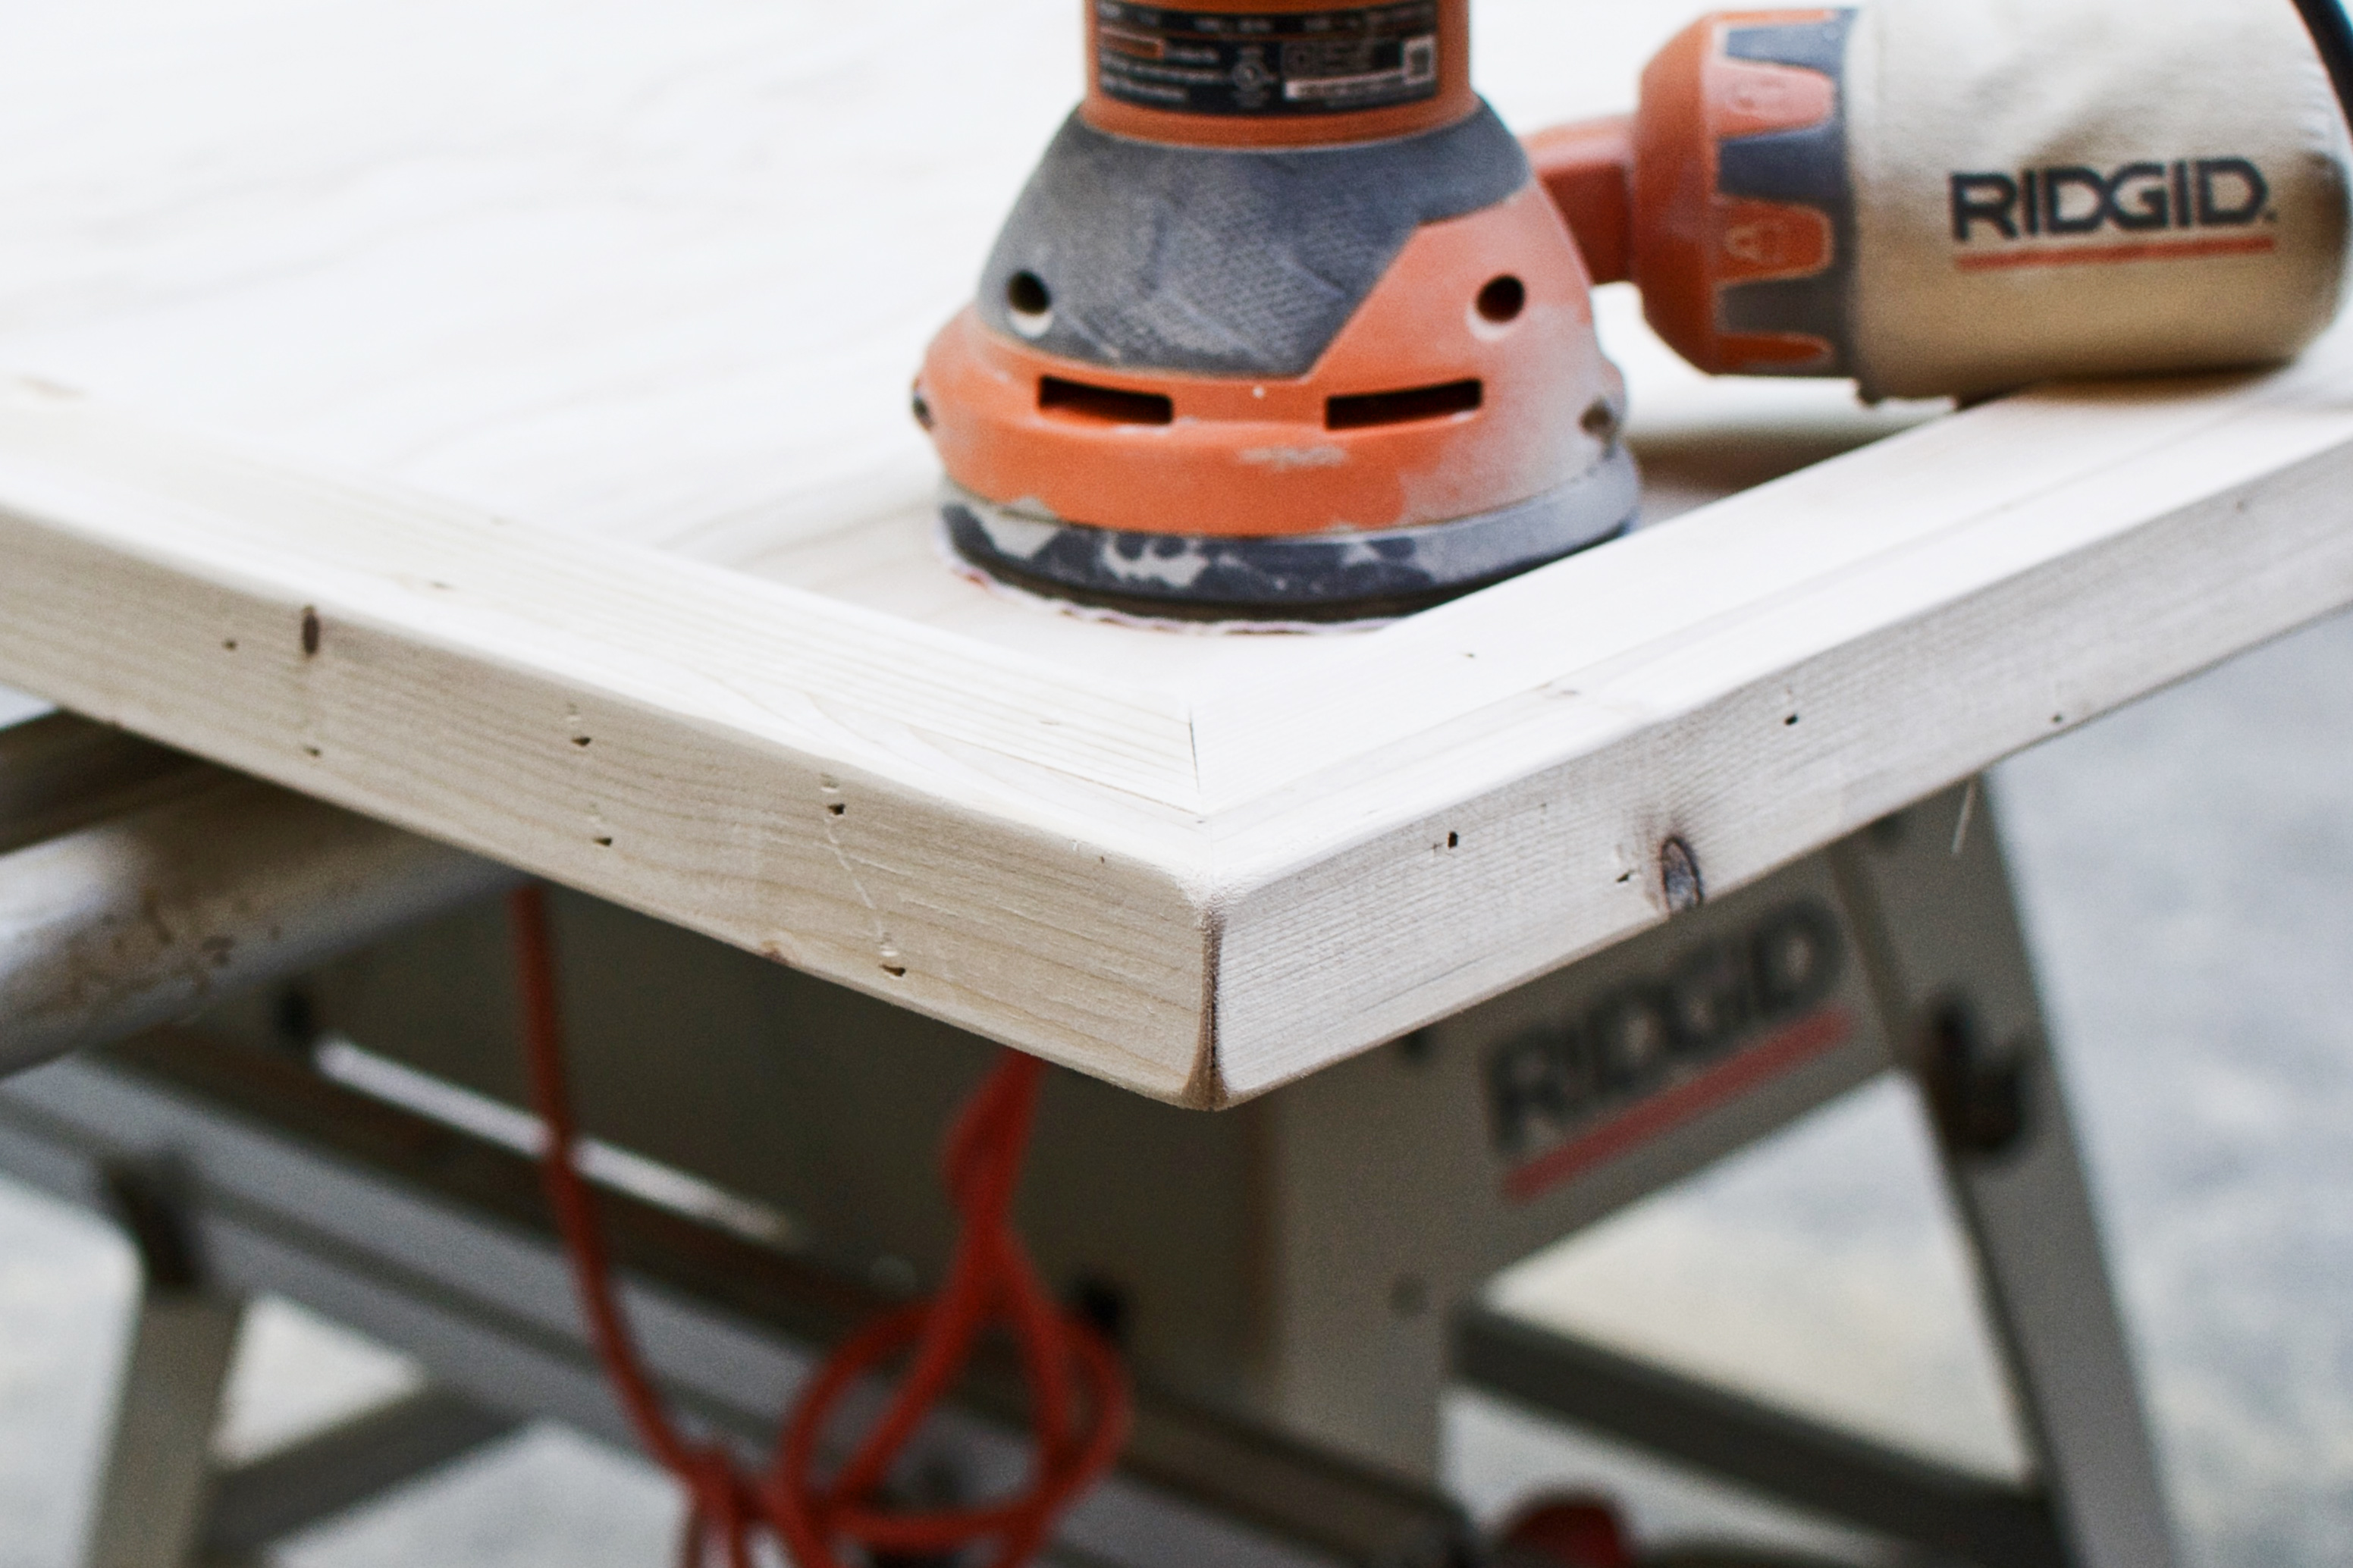
Step 5. Wood filler the trim cracks. Sand everything.
-
- Take your DAP brand Plastic Wood or any stainable / paintable wood filler, and apply it with a putty knife to the cracks where the face and side trim meet. Feel free to fill in the brad nail holes for a cleaner aesthetic, unless you prefer the distressed vibe.
-
- Allow the filler to dry for at least 30 minutes. Allot more drying time for deeper holes and cracks.
-
- Sand off all excess dried filler with an orbital sander. Use between 100 to 220 grit sandpaper. The piece is rustic, so a perfect 220 finish isn’t necessary.
-
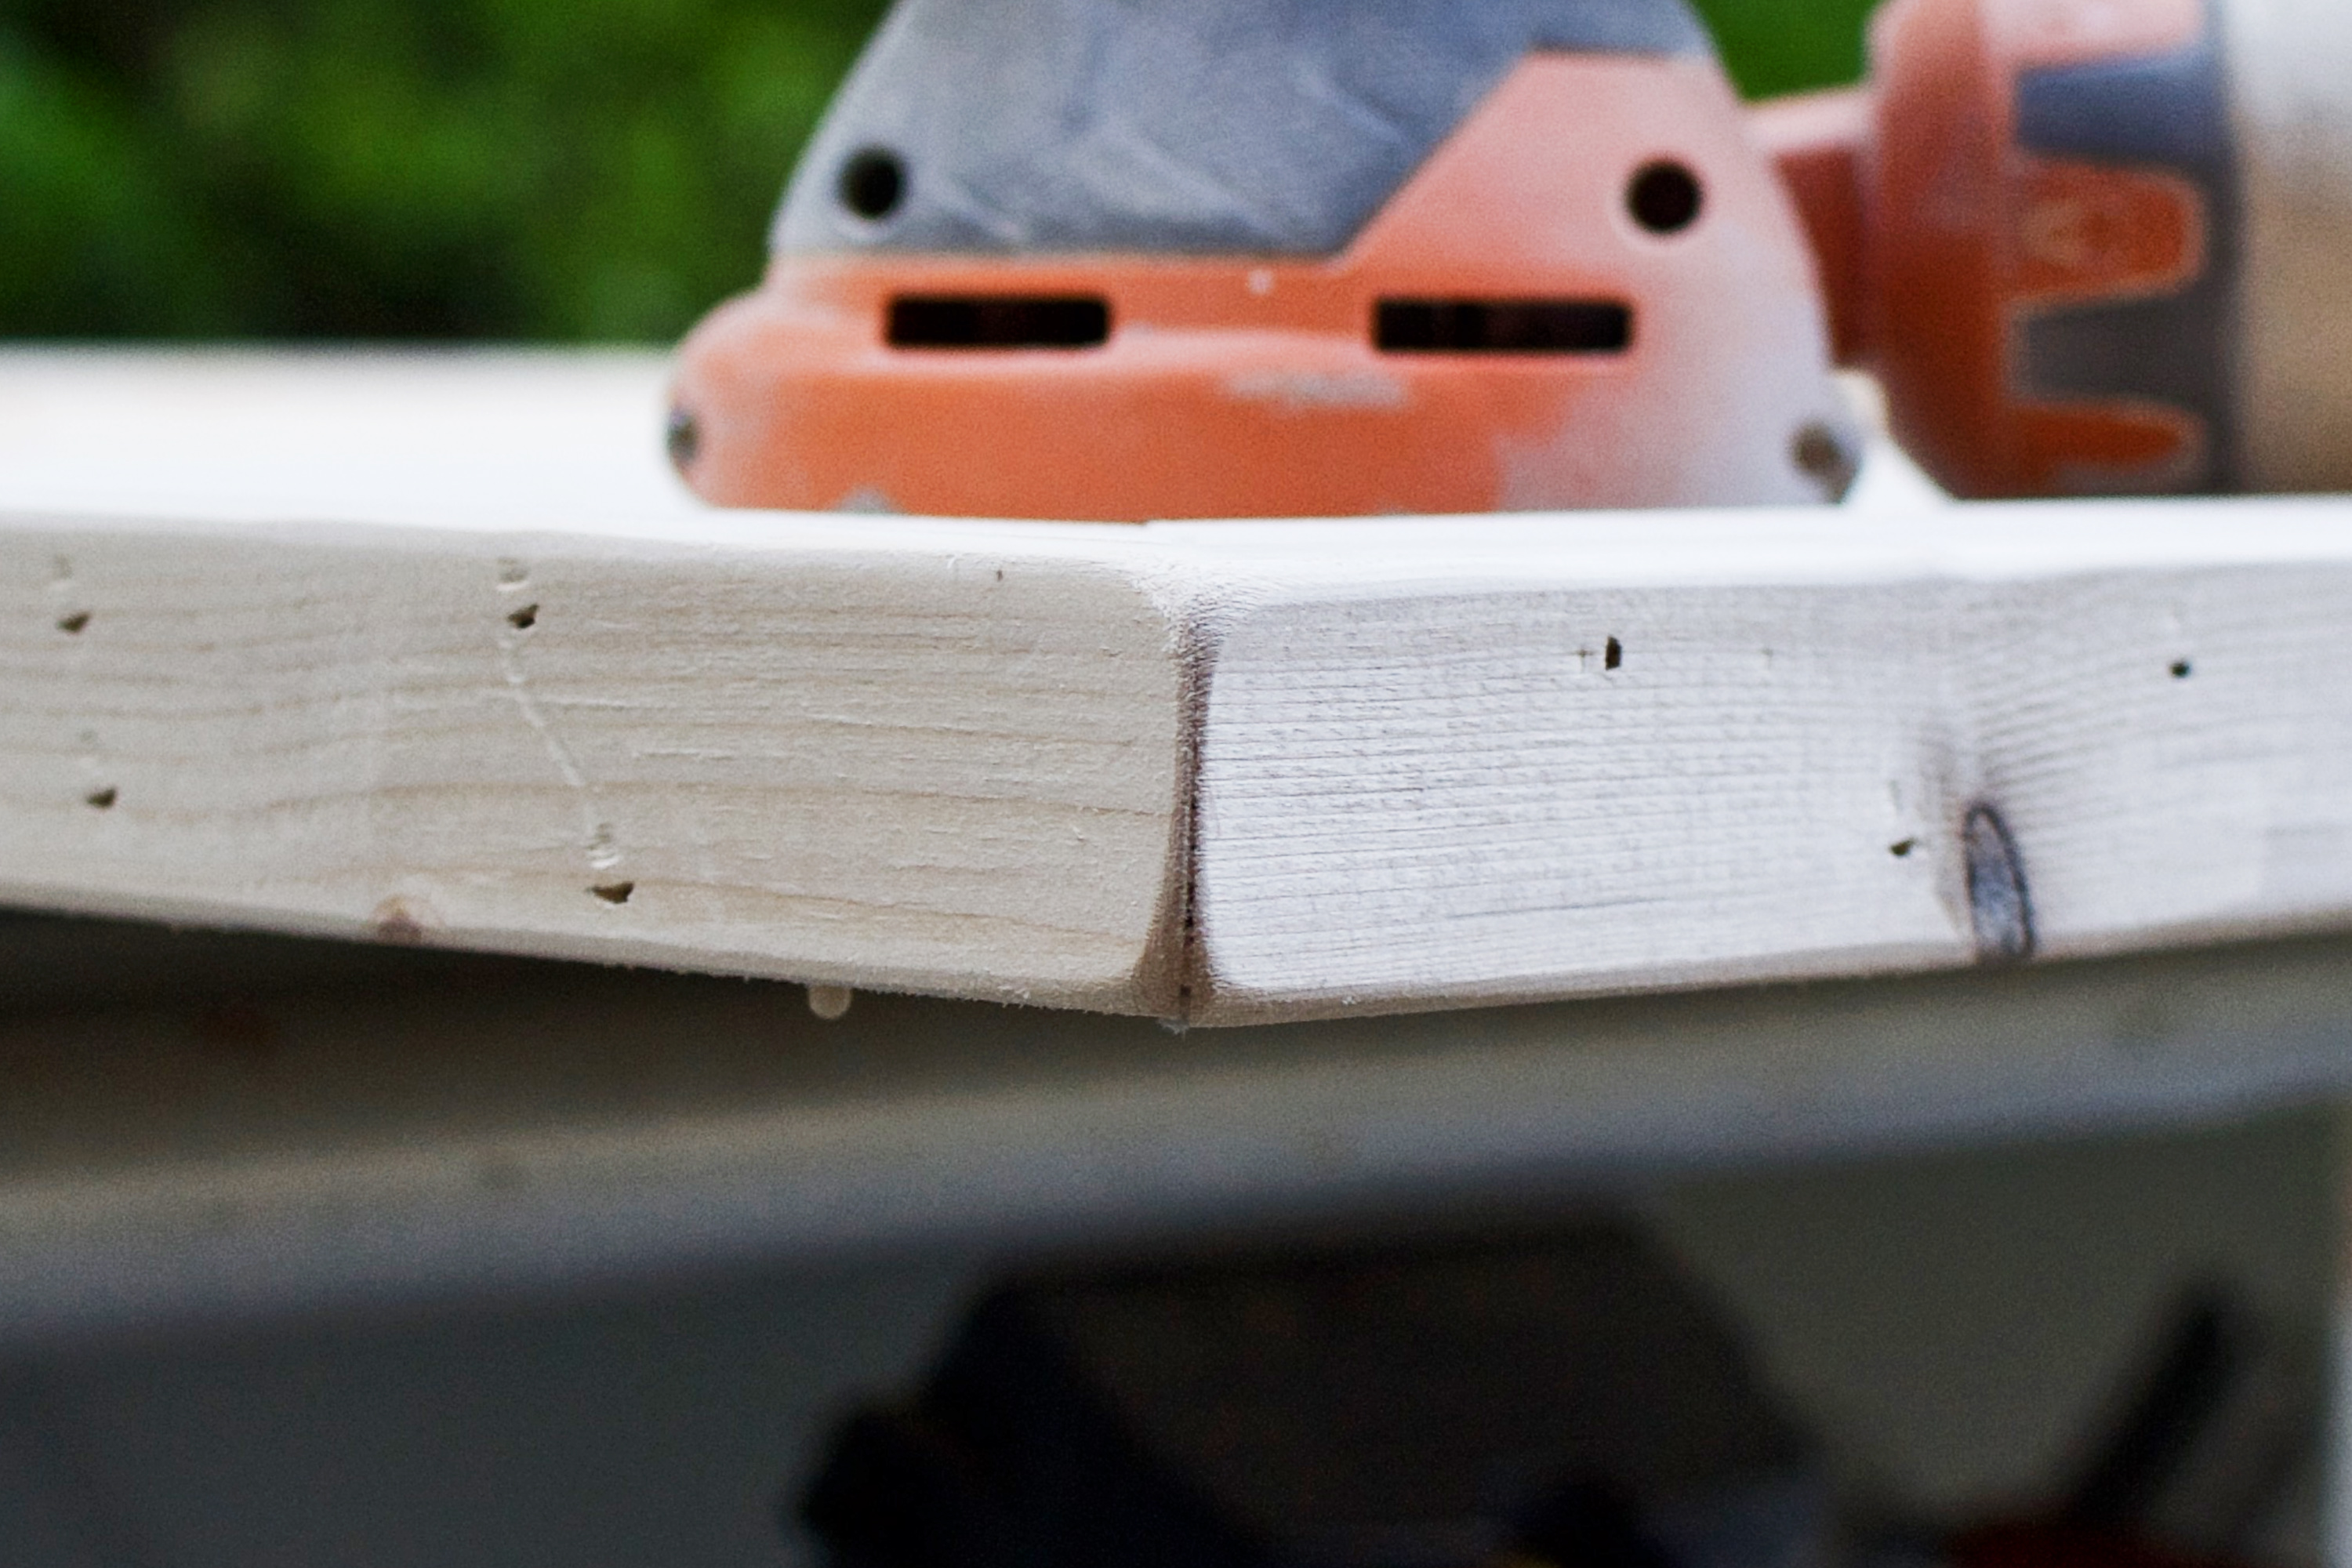
- Sand all sharp edges until slightly rounded to the touch. The back and front of the side trim, the inner edge of the face trim, the corners, etc.
- Hand sand the face trim / side trim joints with your 100 grit. The orbital won’t sufficiently remove all dried filler in divots and dips. Hand sanding will.
Step 6. Create a grid on your ply.
-
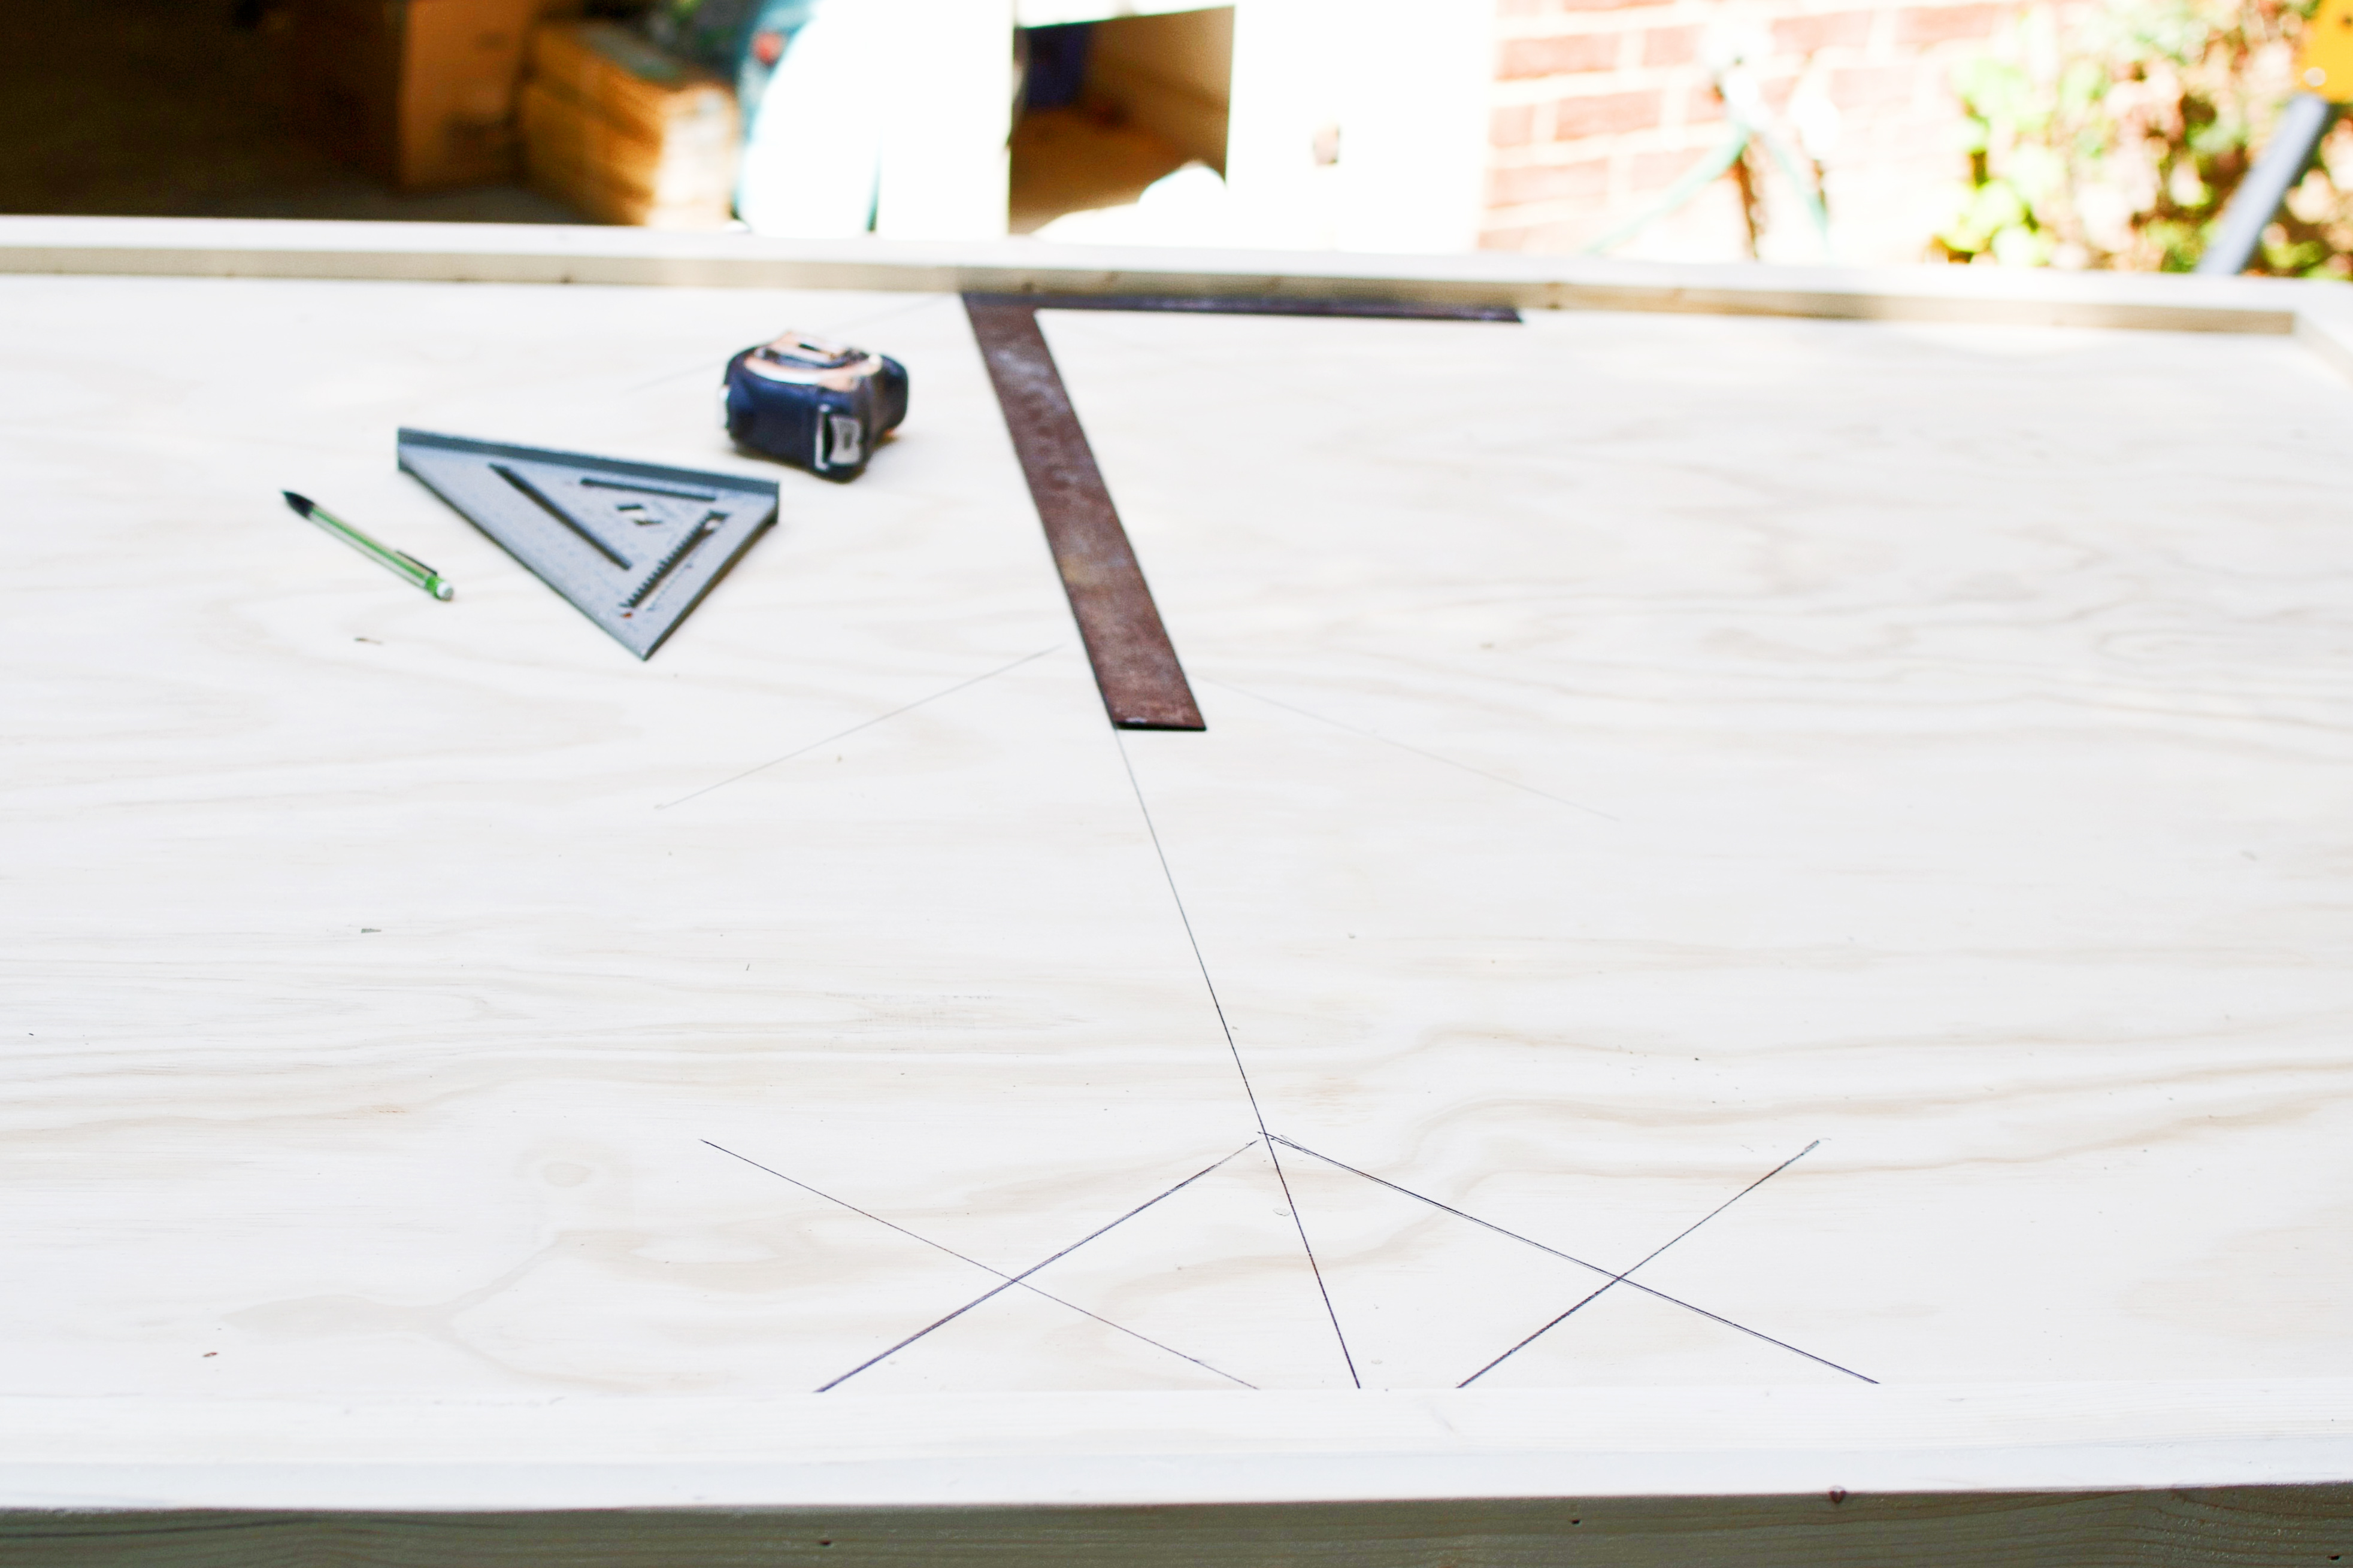
- Before installing the shims, you need to draw a grid for ease of symmetry. Draw a line down the center of the plywood with the help of your tape measure and carpenter square.
-
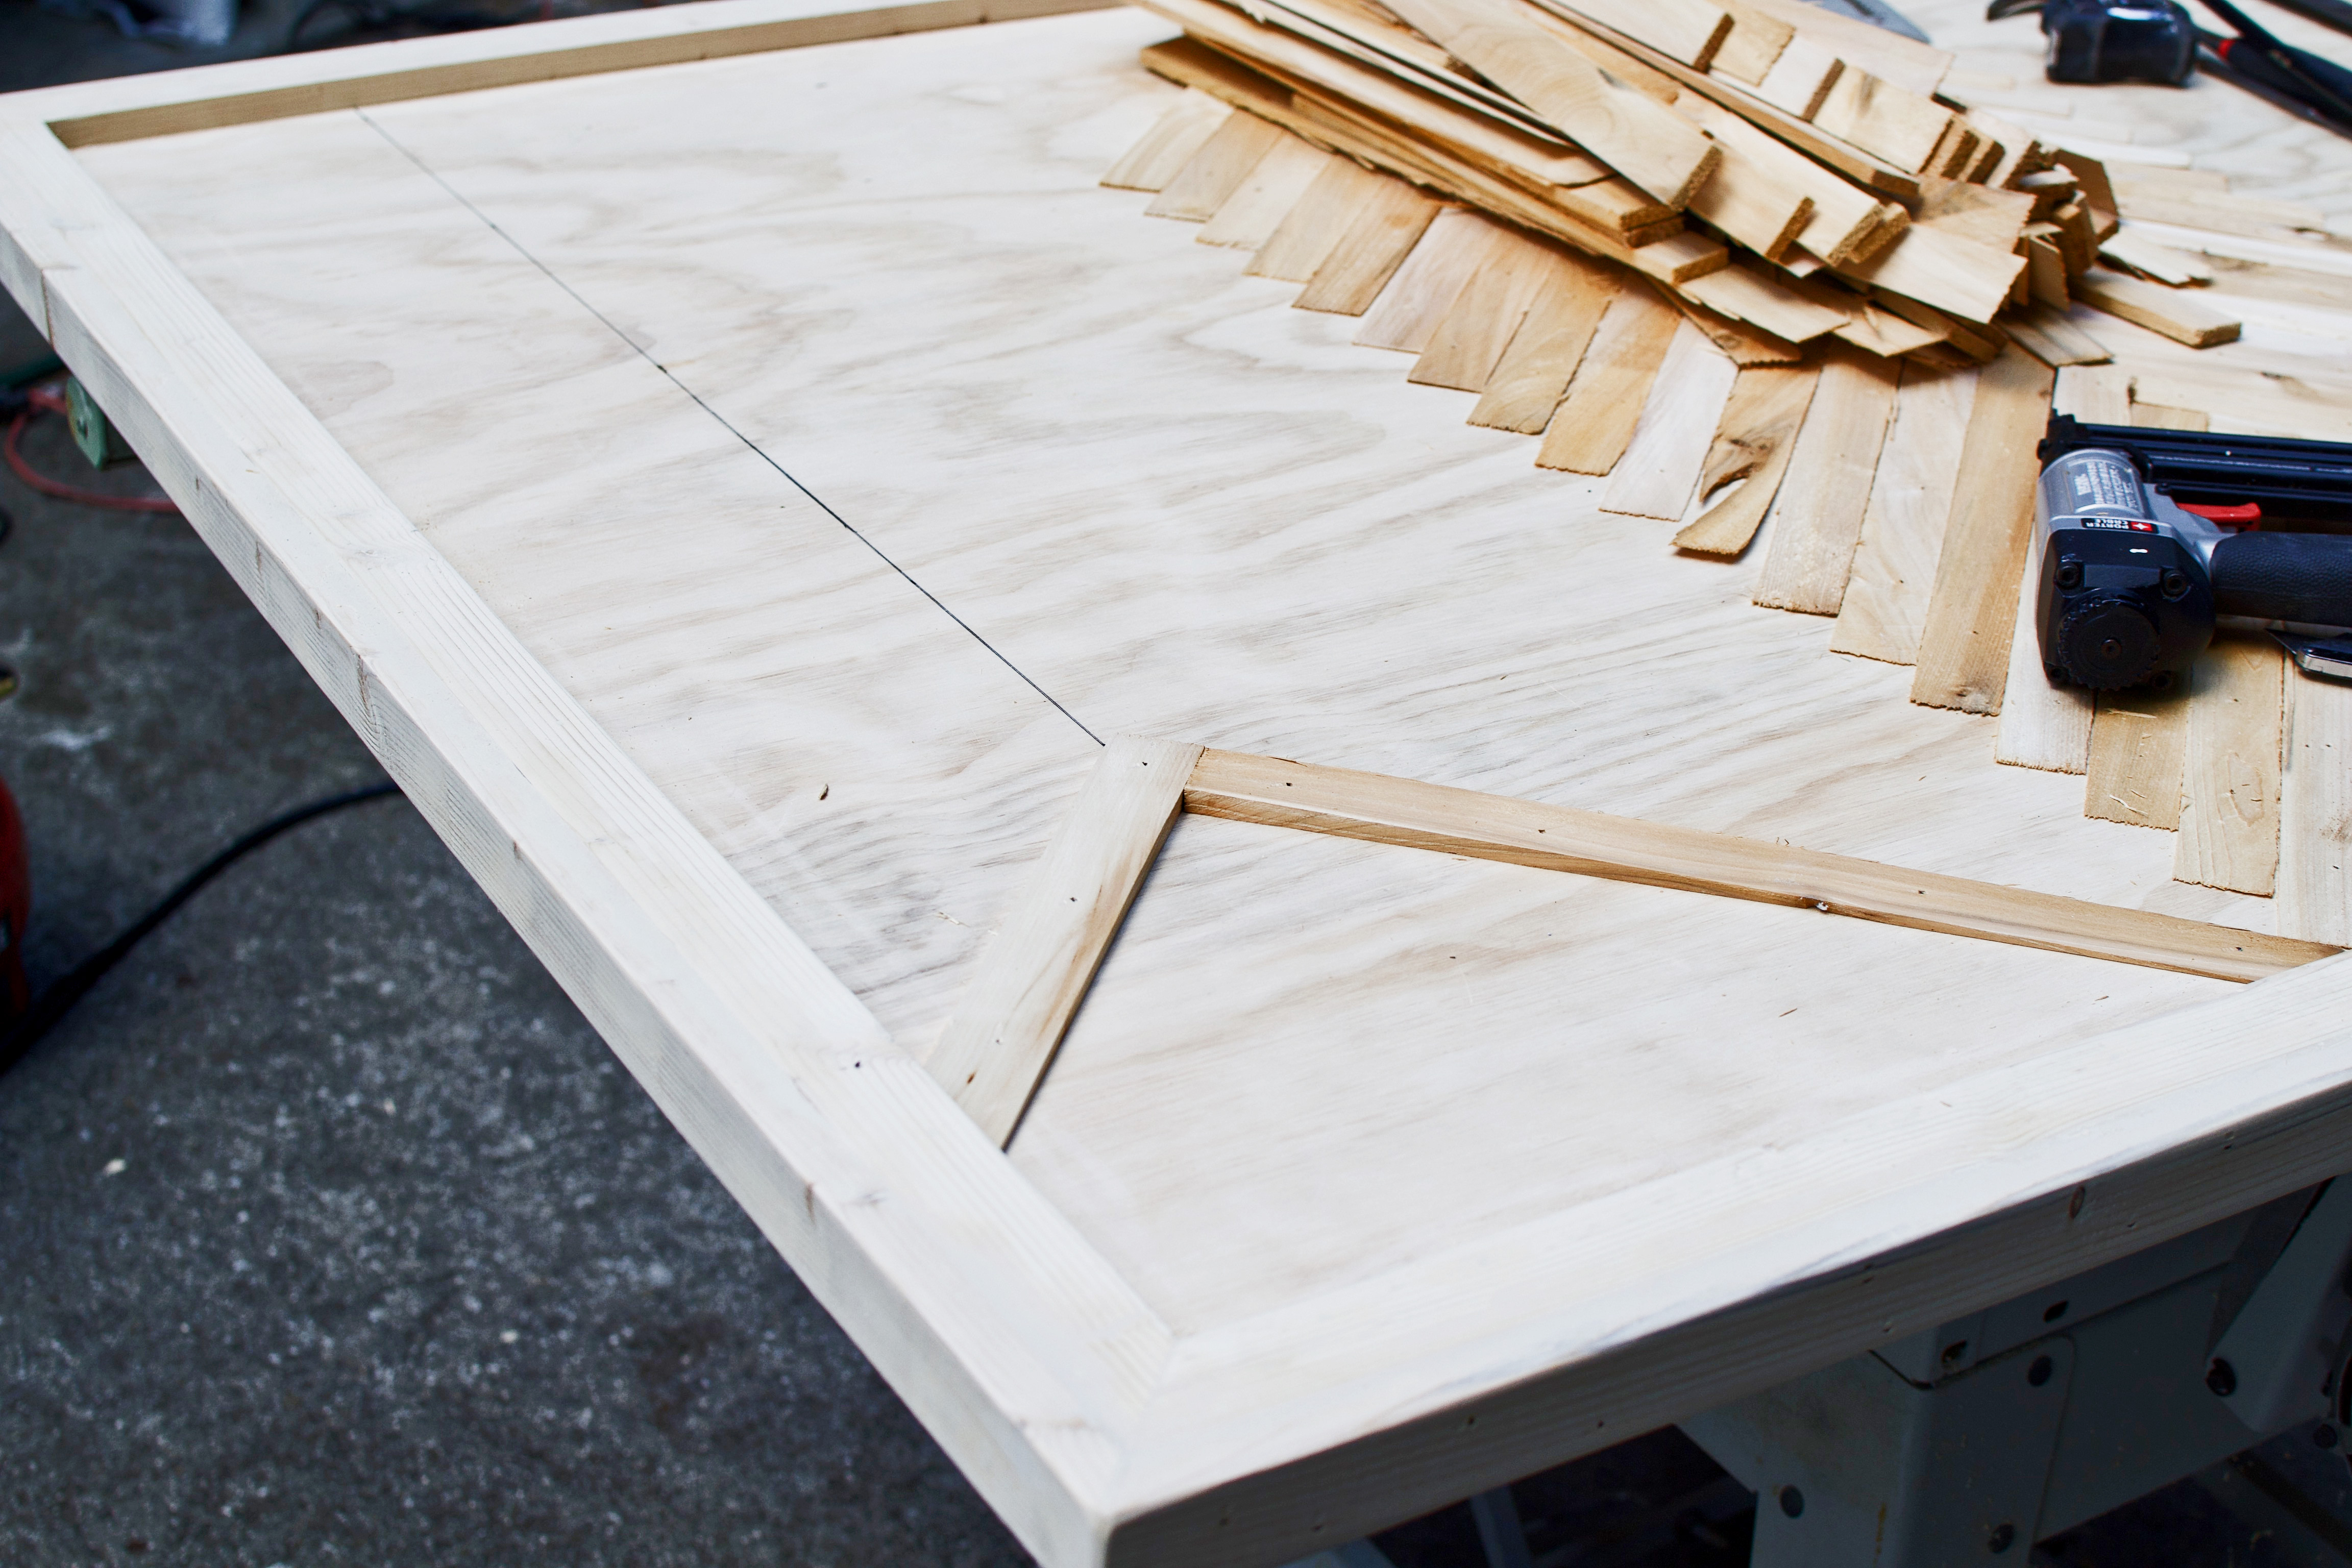
- Use your angled square to draw a 45º “V” shape at the very top of the ply as a guide for your first two shims.
- Dry fit as many shims as necessary to determine where you want to start and finish. I’d recommend starting with the highest full-length pieces in a “V”.
Step 7. Custom cut & install your shims.
-
- Start at the top of the ply. Load your nail gun with 3/4″ brad nails. No longer or else they will poke through the back of the ply. Adjust your regulated pressure to 80 PSI and your nail depth to much more shallow. Use (2) scrap pieces to assess the actual depth the nail after nailed in. Readjust your settings as necessary.
-
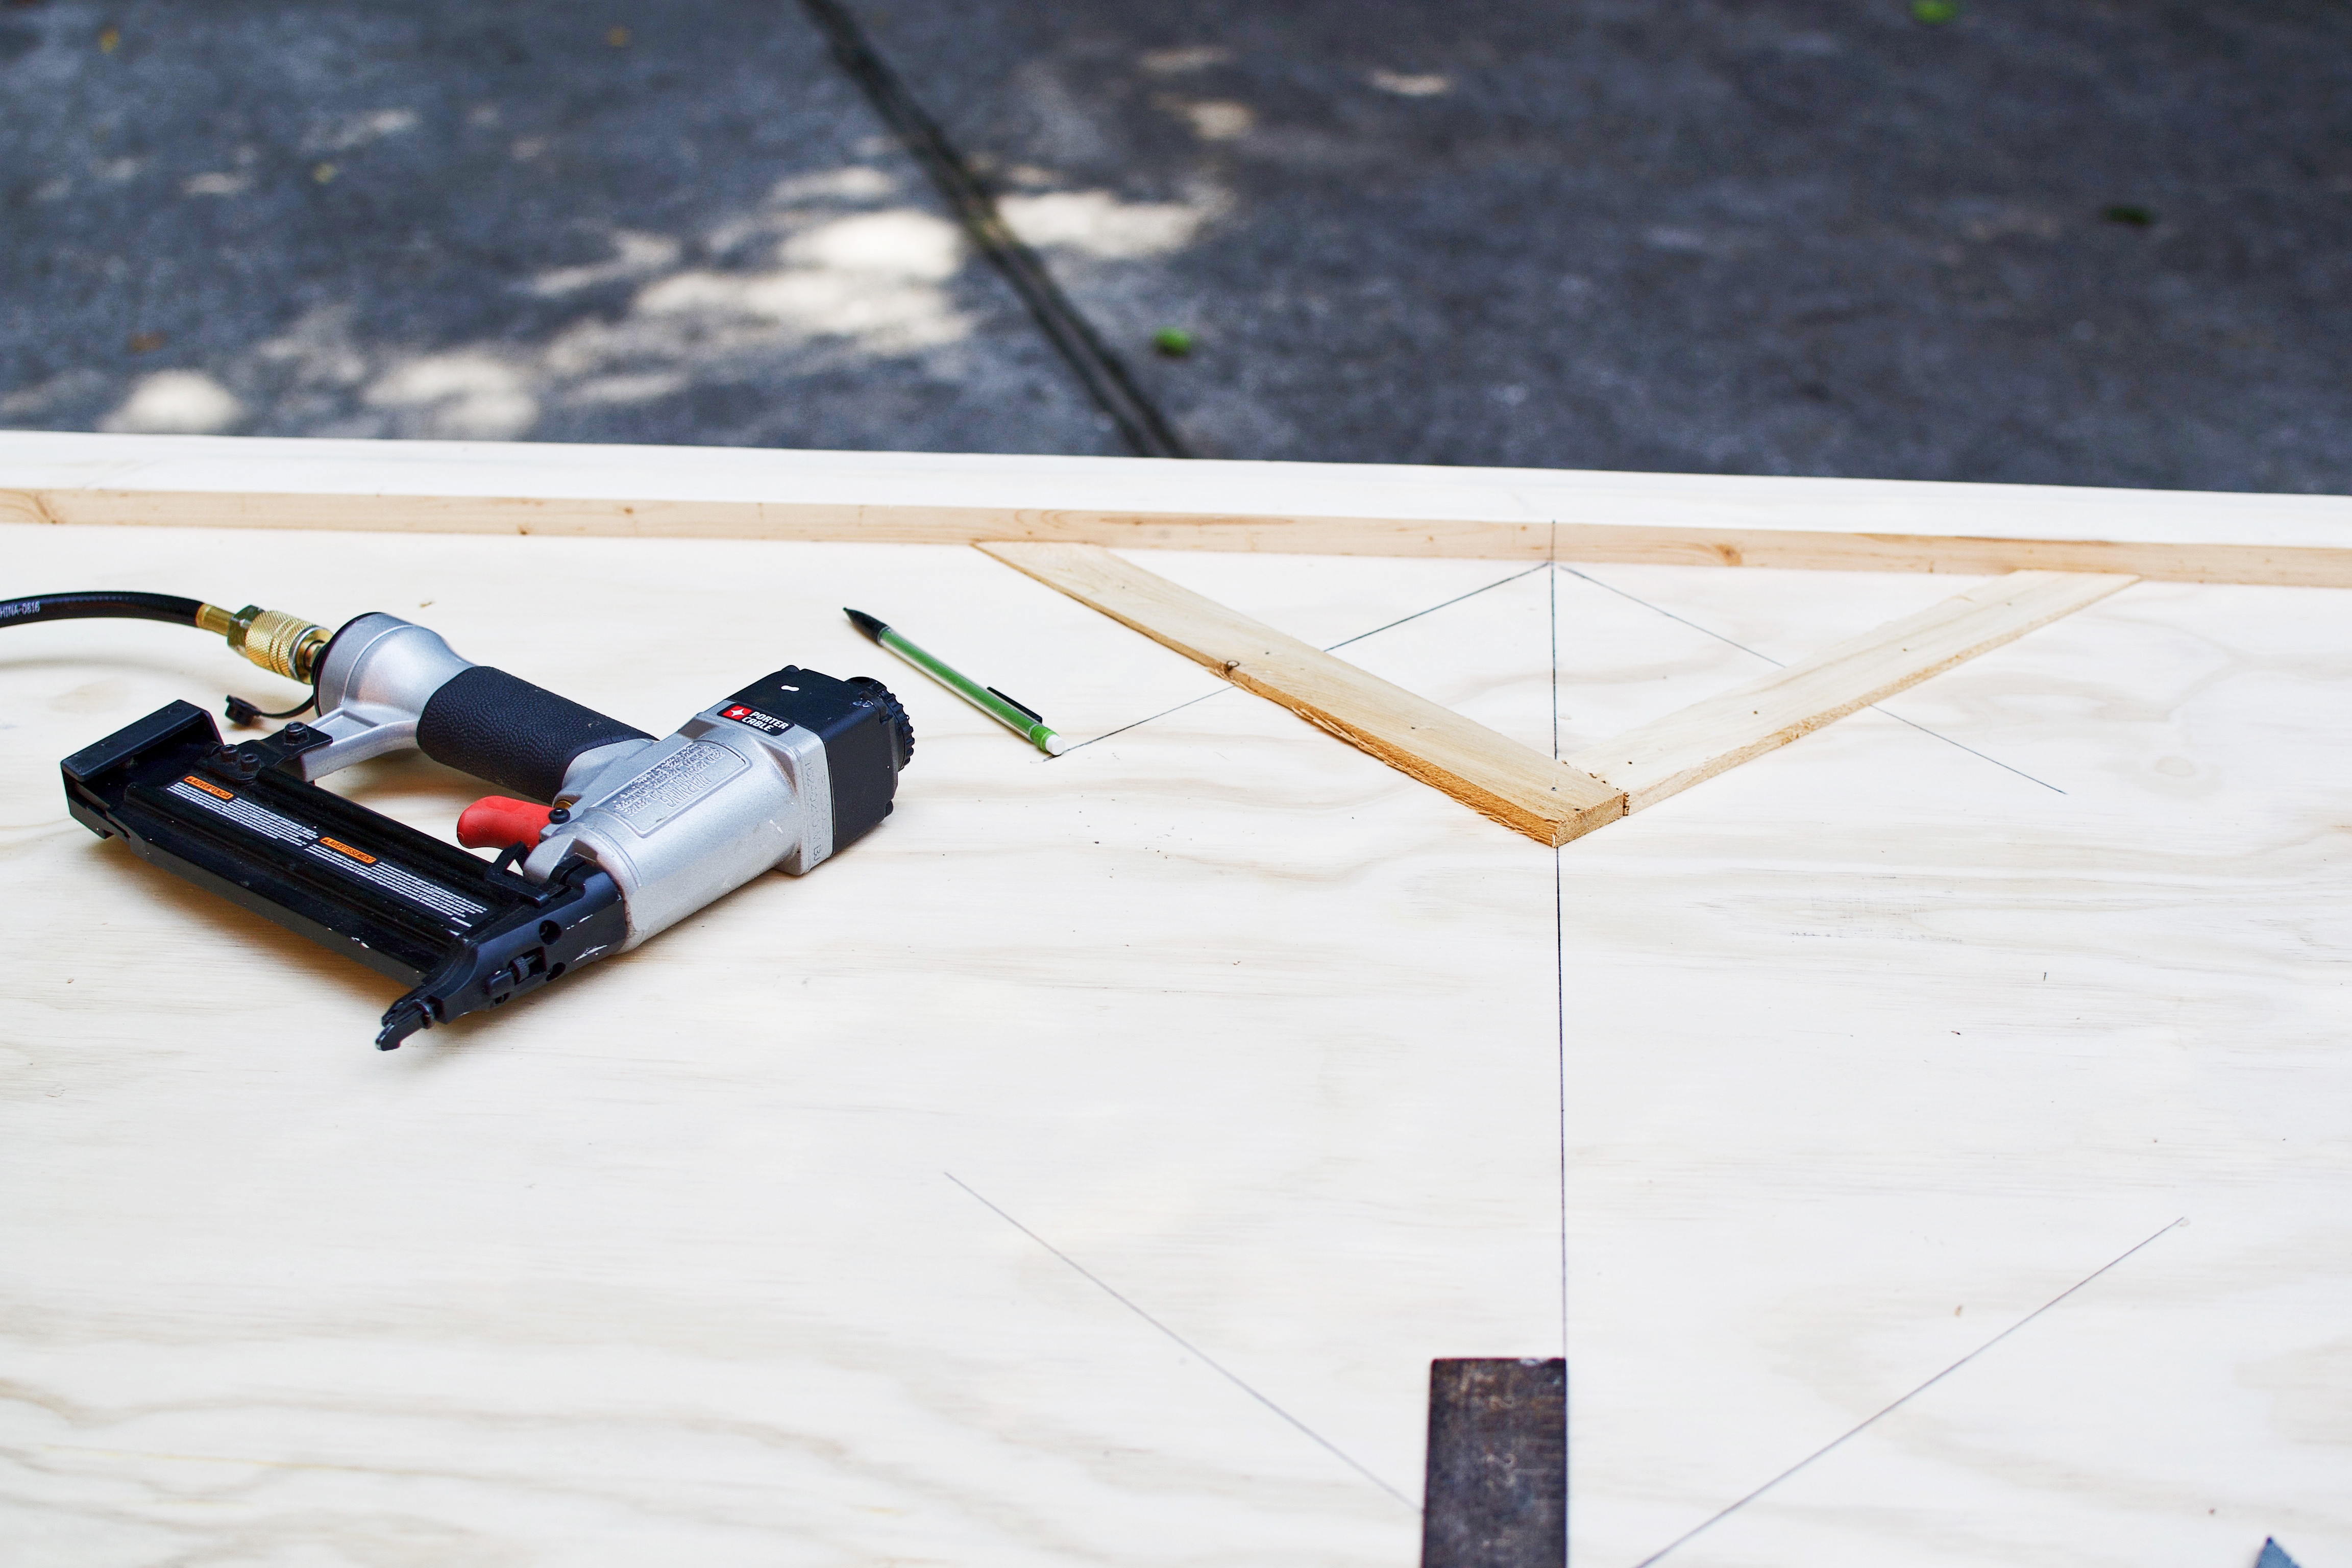
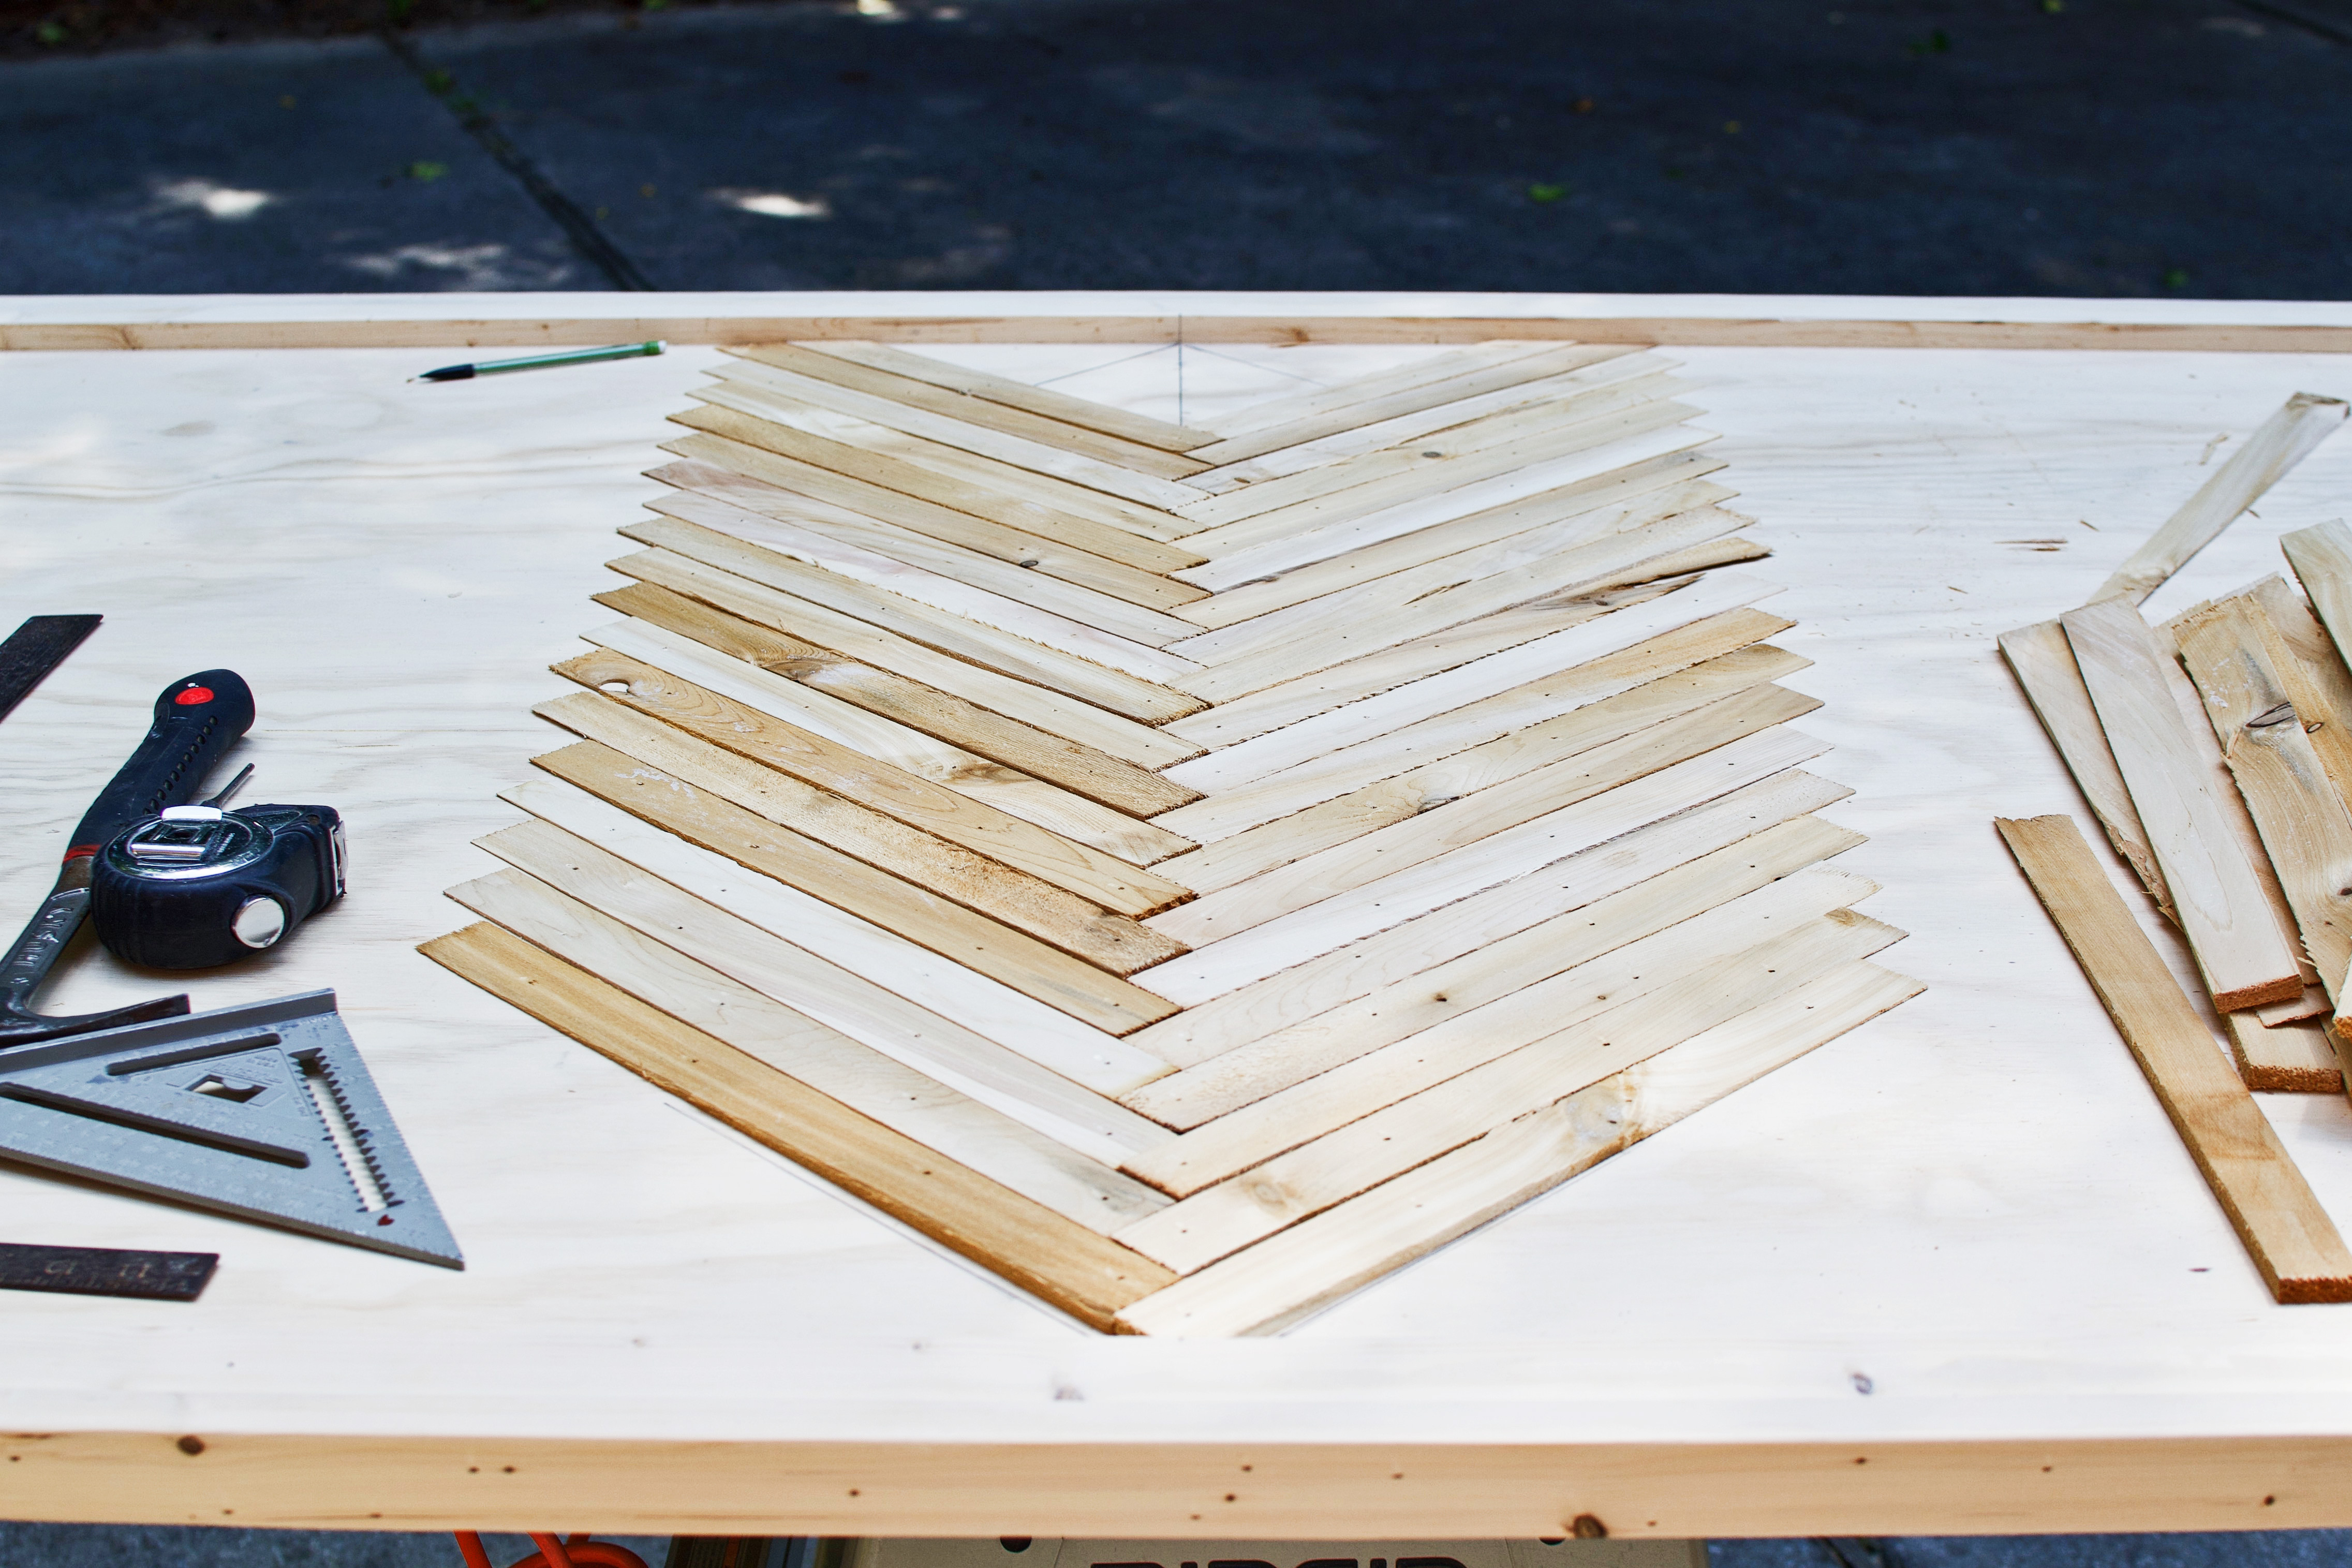
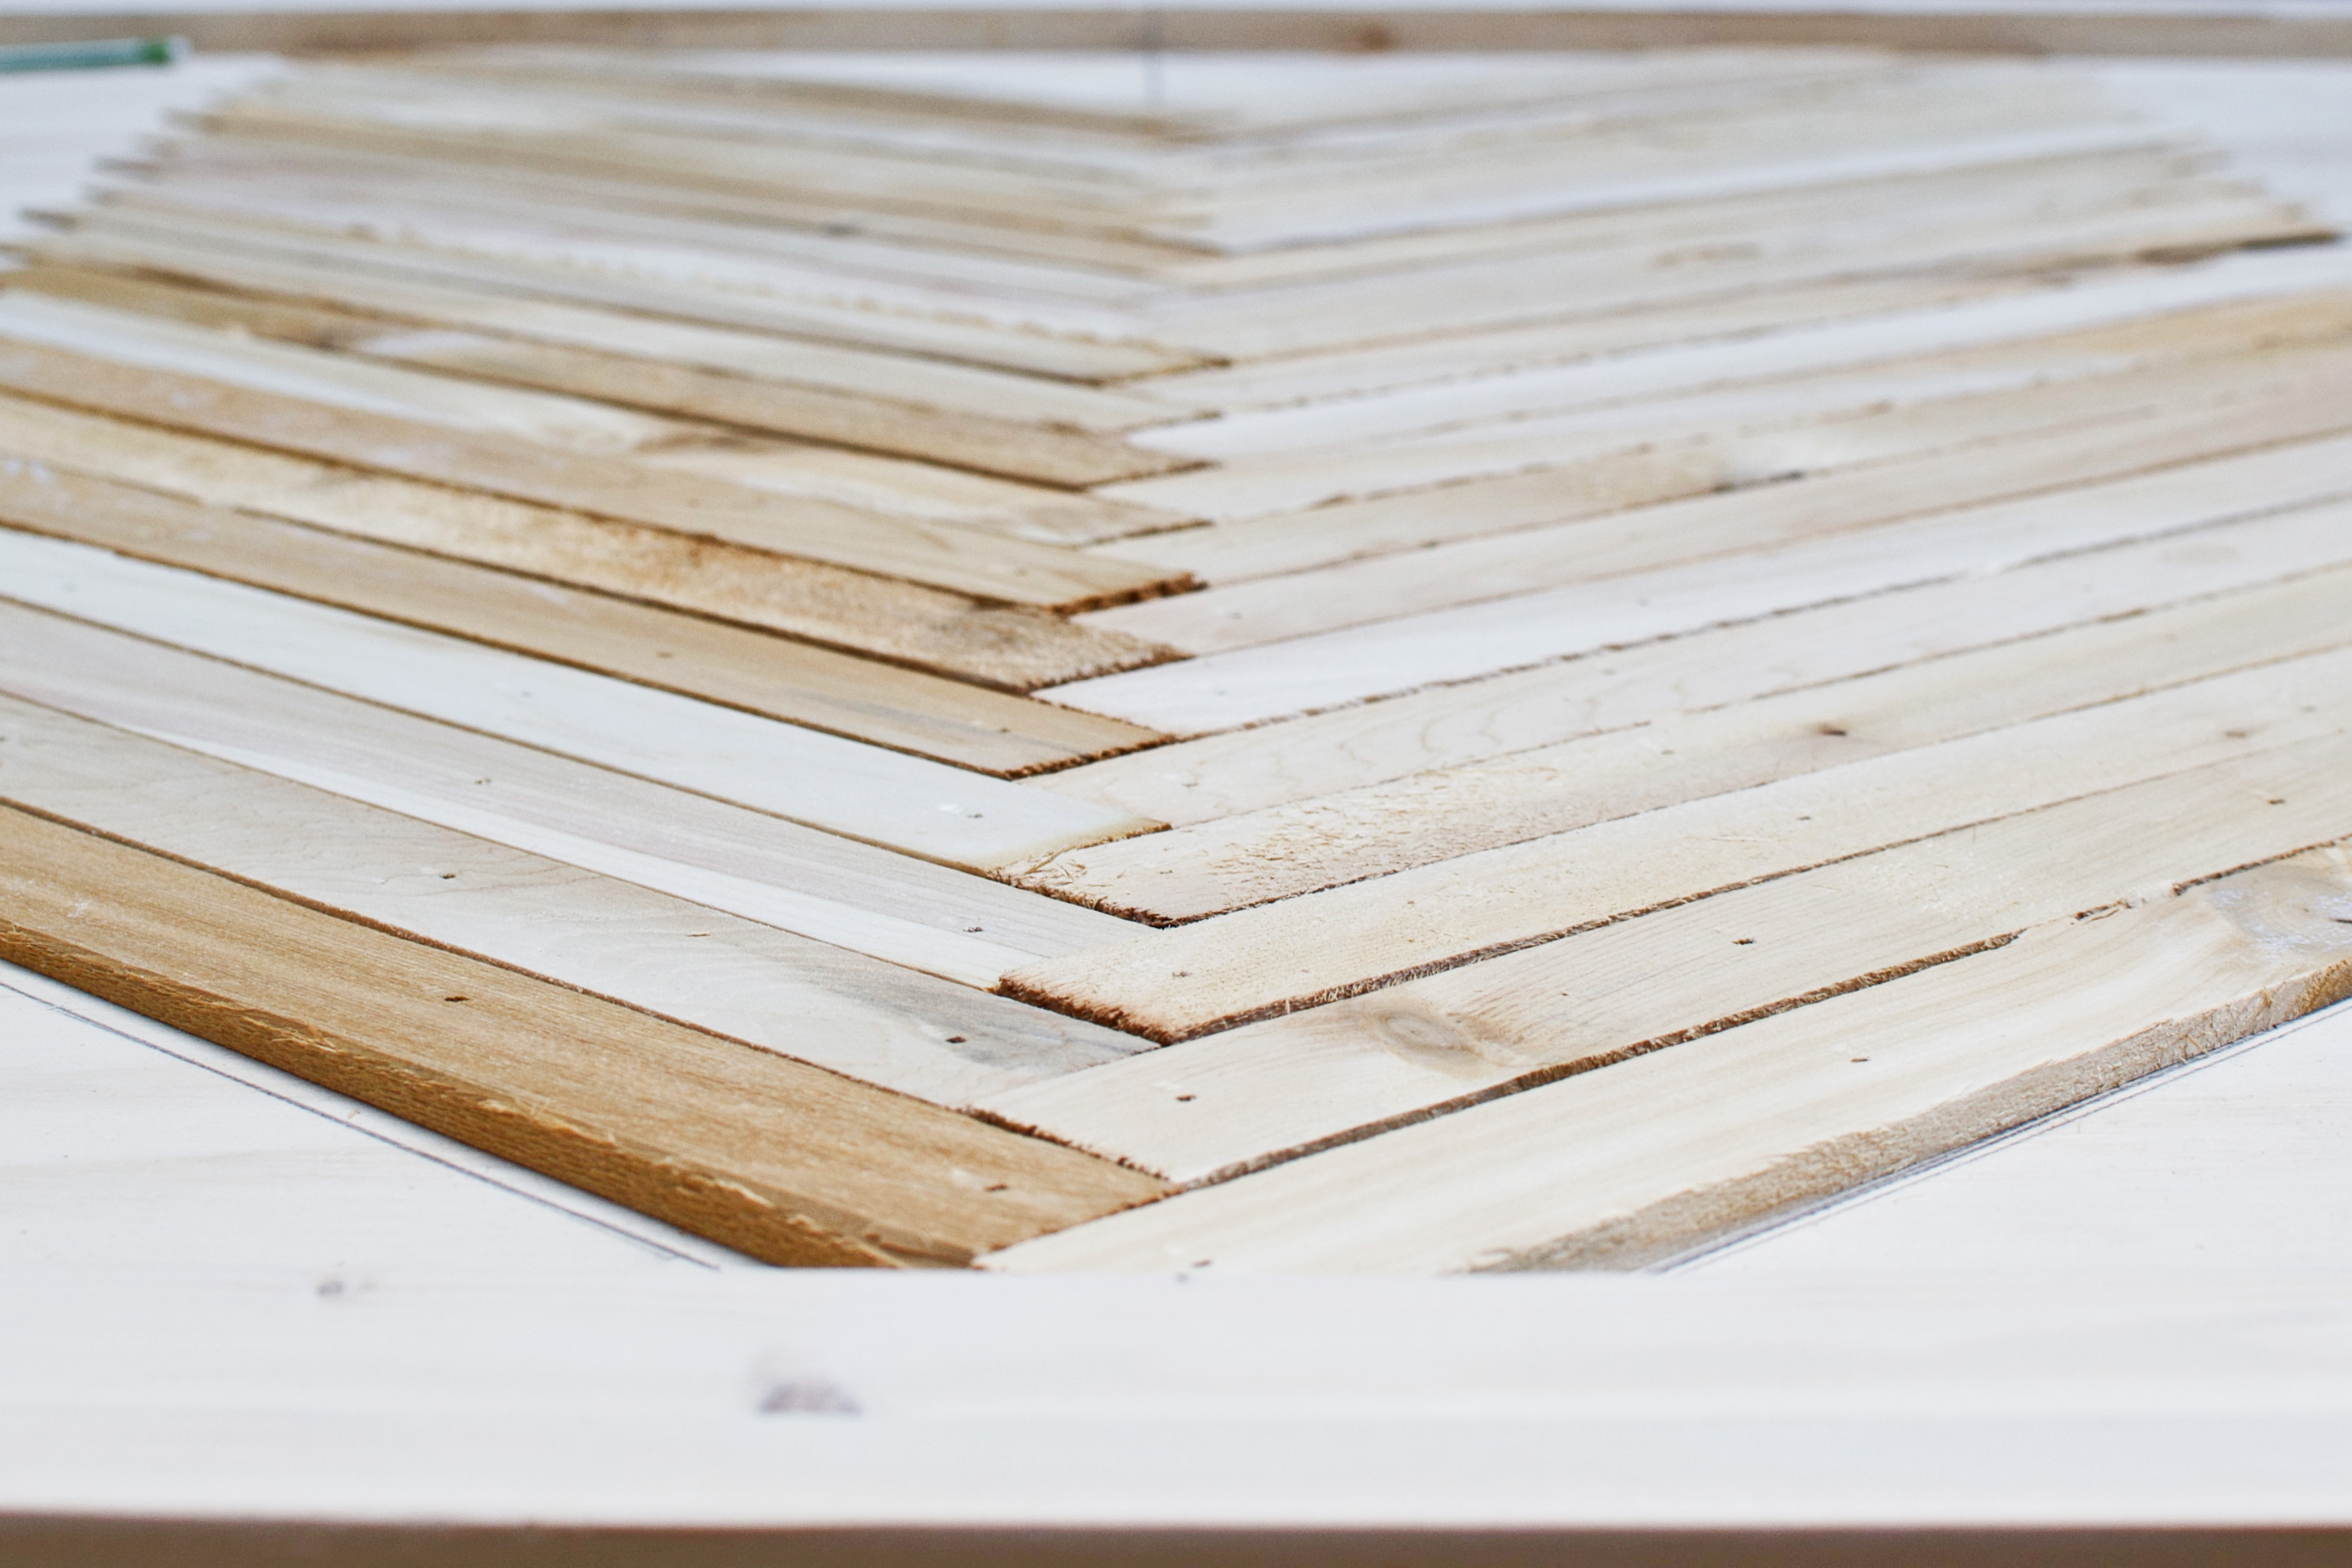
- Install the first two shims in a “V” formation, at a perfect 45º angle (having used the angled square). Fill the center with shims until you need to make mitered cuts.
-
- You’ll likely notice enough room for another “V” on either side of the center “V” for a total of 3. Install an offshoot from the center “V” using your angled square to assess for 45º. Then measure the distance to the face trim and draw a straight line all the way down each side of the ply. This will provide a guide for your second and third “V”.
- Miter all shims as needed, always assessing for symmetry before starting a new row.
Next steps.
This is the point at which my son throws his arms in the air and aggressively waves with both hands, Queen of England style, signifying “all done.” Or you may hear a shout from across the table, “AH DUH.” Don’t worry – we’ll actively translate for all of our dinner guests.
Finishing tutorial coming up! Feel free to get insanely creative. Rustic wood is a fantastic medium for experimenting since the coats can be sanded off if it looks like it got ambushed by finger-painting toddlers. Need a hand hanging it? Just follow our “how to install a DIY restoration hardware copycat maison bed headboard.” I offer step-by-step instructions on cutting your cleats & spacer, installing them on the wall & back of the headboard, and hanging your beautiful new piece on the wall. Go for it!


This looks great! Can you tell me how tall the headboard is?
Thanks so much, Suzanne! Glad you like it. The headboard is exactly 49.5 inches tall. You’ll use a 4×8 sheet of plywood and only adjust the length of it to fit your bed size. The 0.75″ thick outer trim (1×2) will case the edge of the plywood, adding a total of 1.5″ to the height of the headboard. 48″ + 1.5″ = 49.5″. Hope this helps!
I’m trying to make this for my mantle (as a decorative piece to cover the fireplace. Could you let me know how many shims you needed? I see you used 8 inch shims, but I have a space that’s 37.5 inches wide by 47.5 inches tall. I’m not sure how many shims I’d need to cover it.
Hi, Liz! That’s an excellent question. We bought 5 packs of 15″ contractor cedar wood shims for the herringbone headboard. Each pack contains 42 shims. That’s a total of 210 shims. I don’t recall using all of them for the headboard. They’re about 1.25″ wide, so each pack should cover ~5.47 square feet. You’re trying to cover 37.5″ x 47.5″ = 12.37 square feet. So I would buy three packs at 15″ length.
General tip: for wood, tile, or covering any surface, always include a 10-20% contingency for cuts and mistakes.