Beadboard Confessional
Confession: we’re incapable of moving into a house and not renovating something. It’s practically a family tradition. Or a family addiction. I guess we need rehab. Or to rehab another room in our home to get our (non-literal) fix. Our disorder could use some serious synaptic brain remodeling. Better yet, why don’t we remodel a kitchen or a bathroom for a little active family therapy? Hey, what’s more therapeutic than aggressively swinging a carbon steel pry bar into drywall?
Here’s how it goes down.

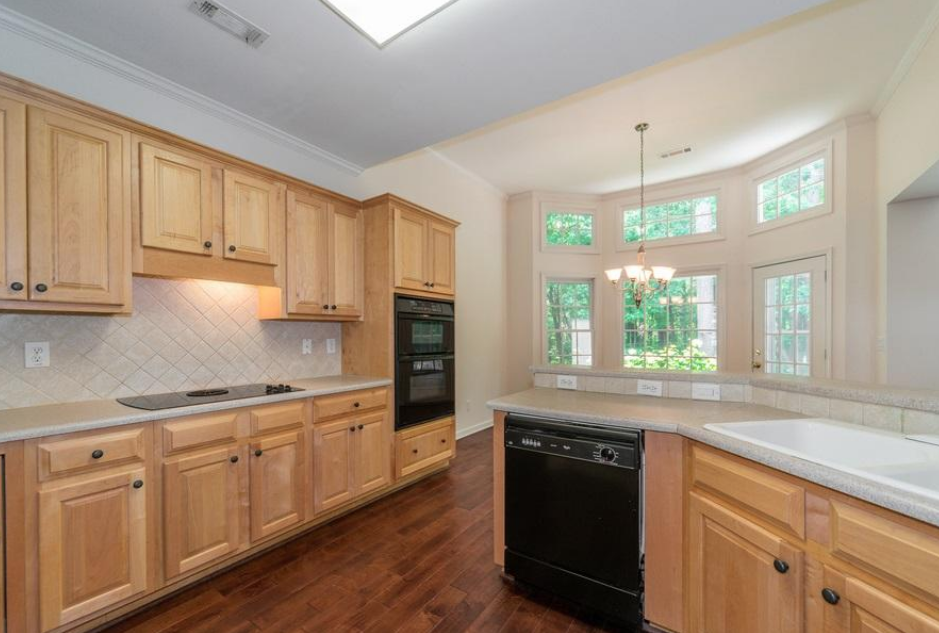
Buy house (above). Snag keys from the previous owner from across a solid mahogany attorney’s table. Drive to house, clouded by ambition, drunk on sweaquity (the ill-perceived equity achieved through demolishing walls or cabinetry and bleeding from your hands when you swing and miss and punch the wall). Plan the dream kitchen. Lizzerooksy (this name stays here) applies blue painters tape to the floor where the new and improved peninsula will be. Hire structural engineer for a $200 consult on how to DIY raise my ceiling without roof implosion. But then comes the best part… DEMO PARTY. Invite all of your friends over to rip out cabinets and drop kick the ceiling.

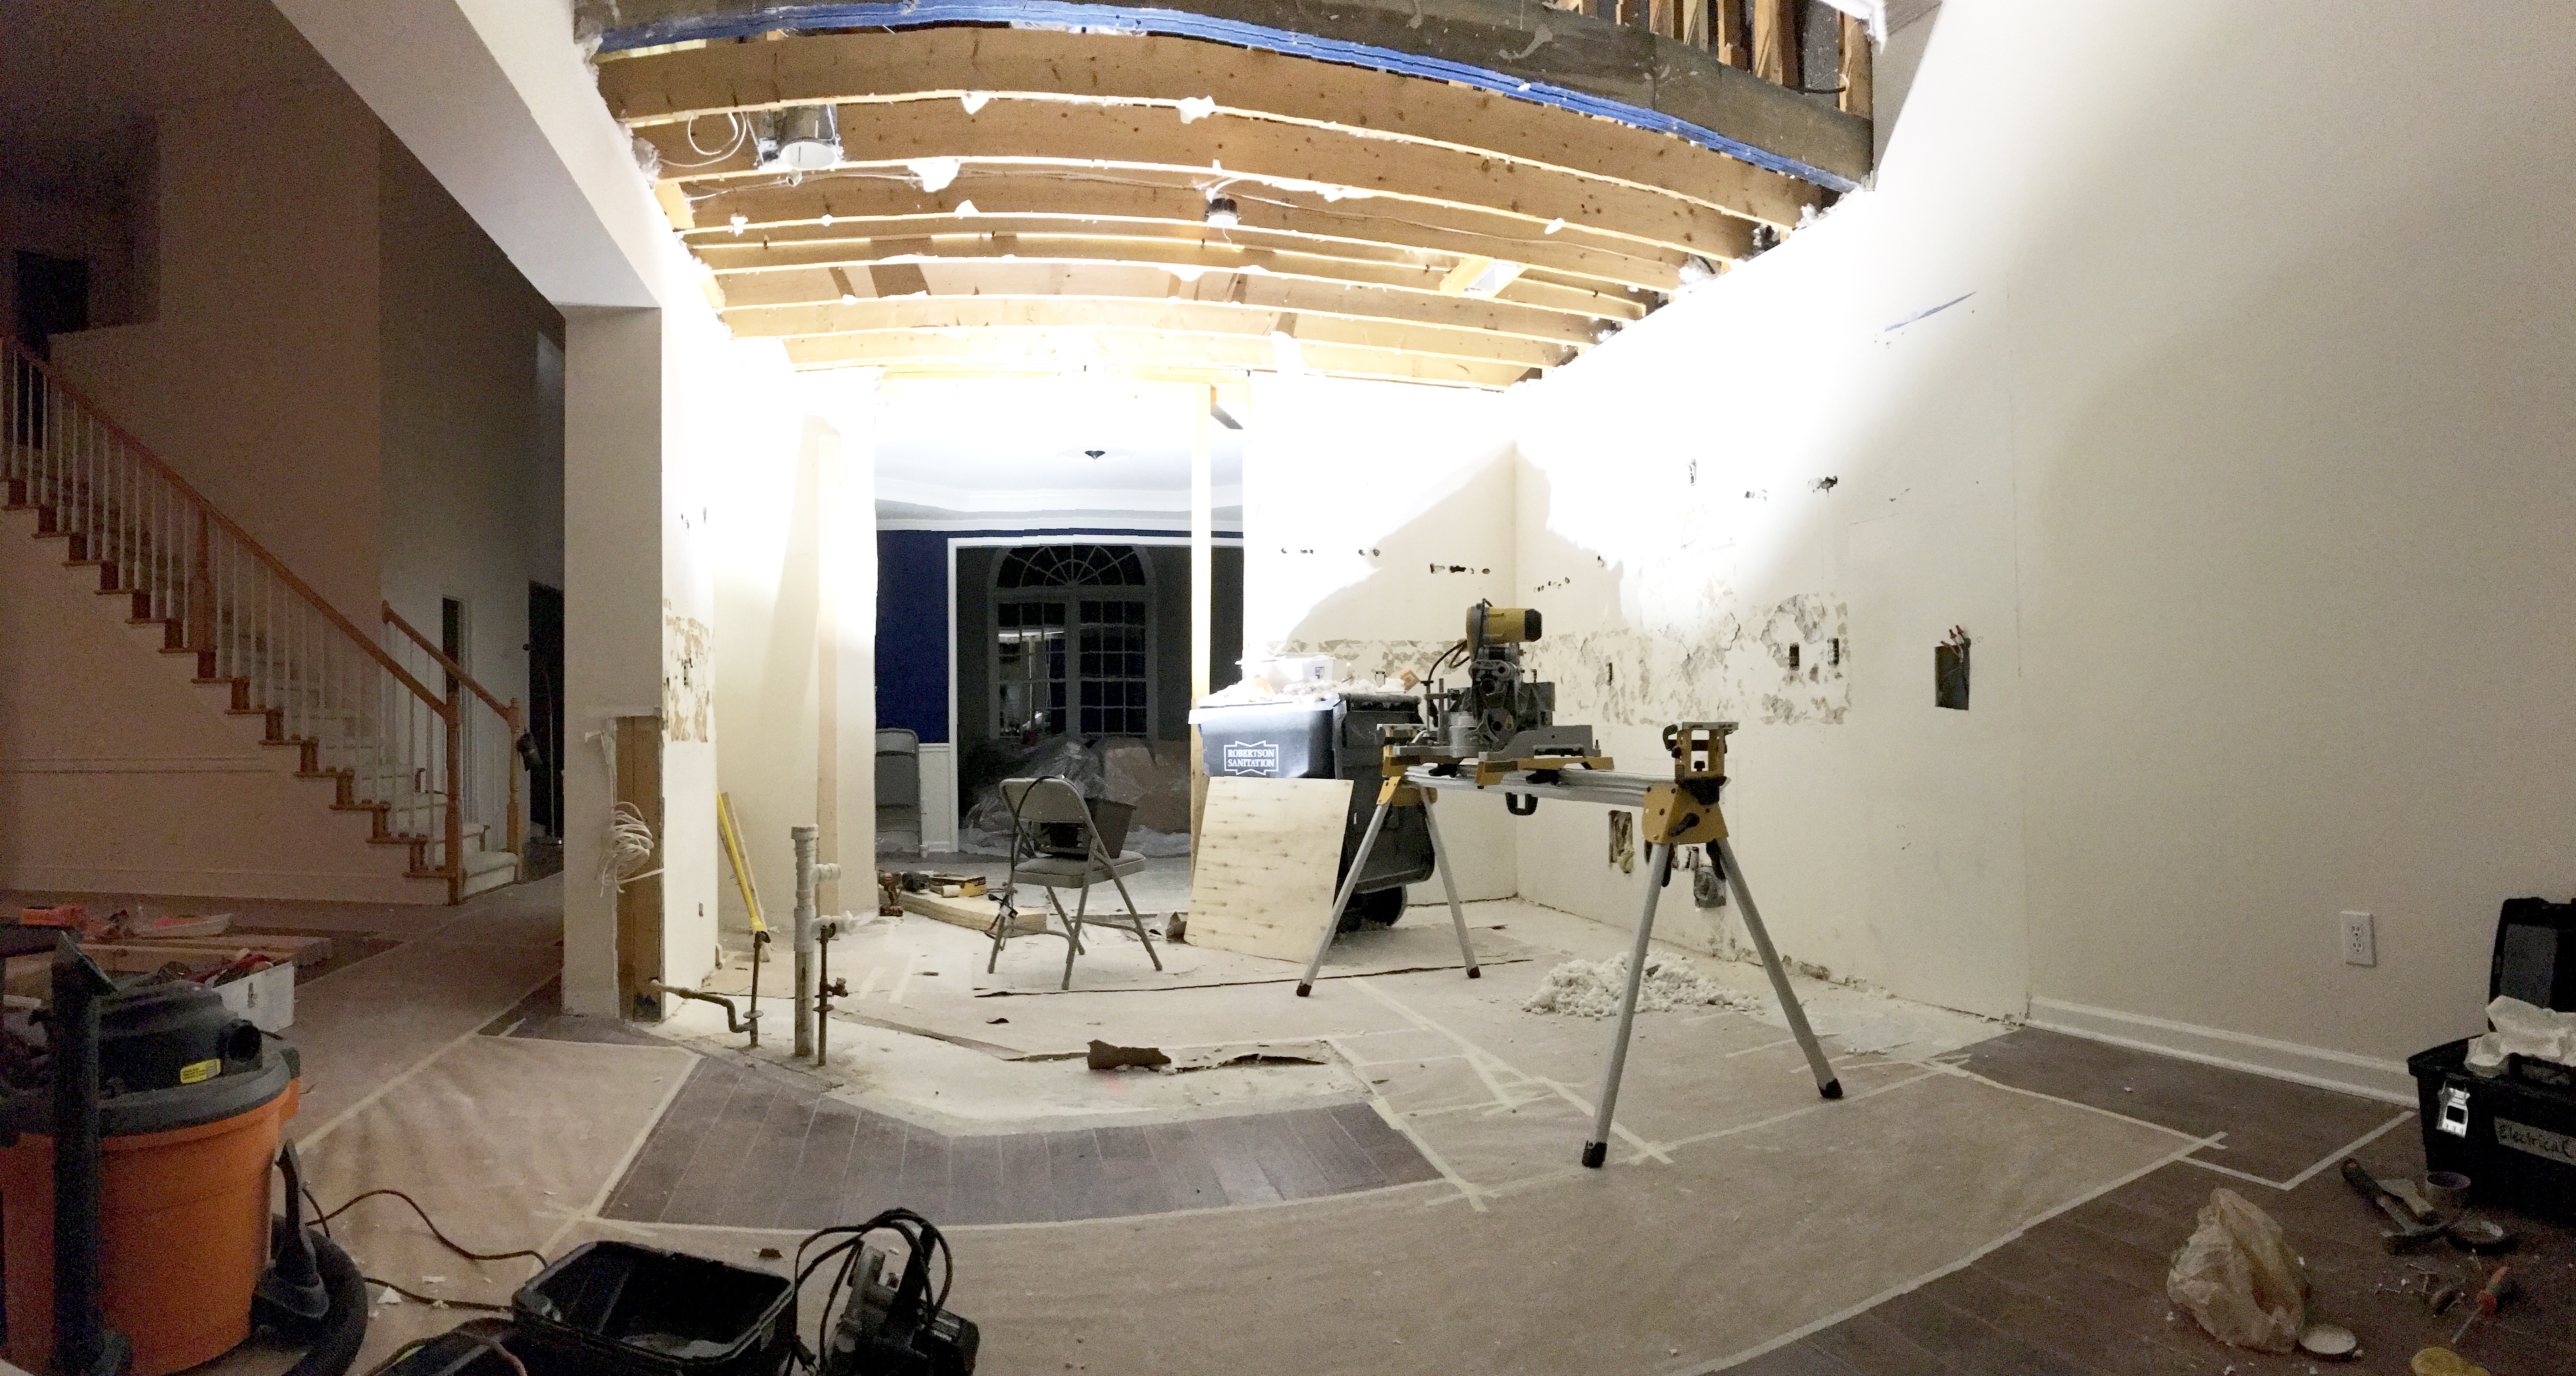
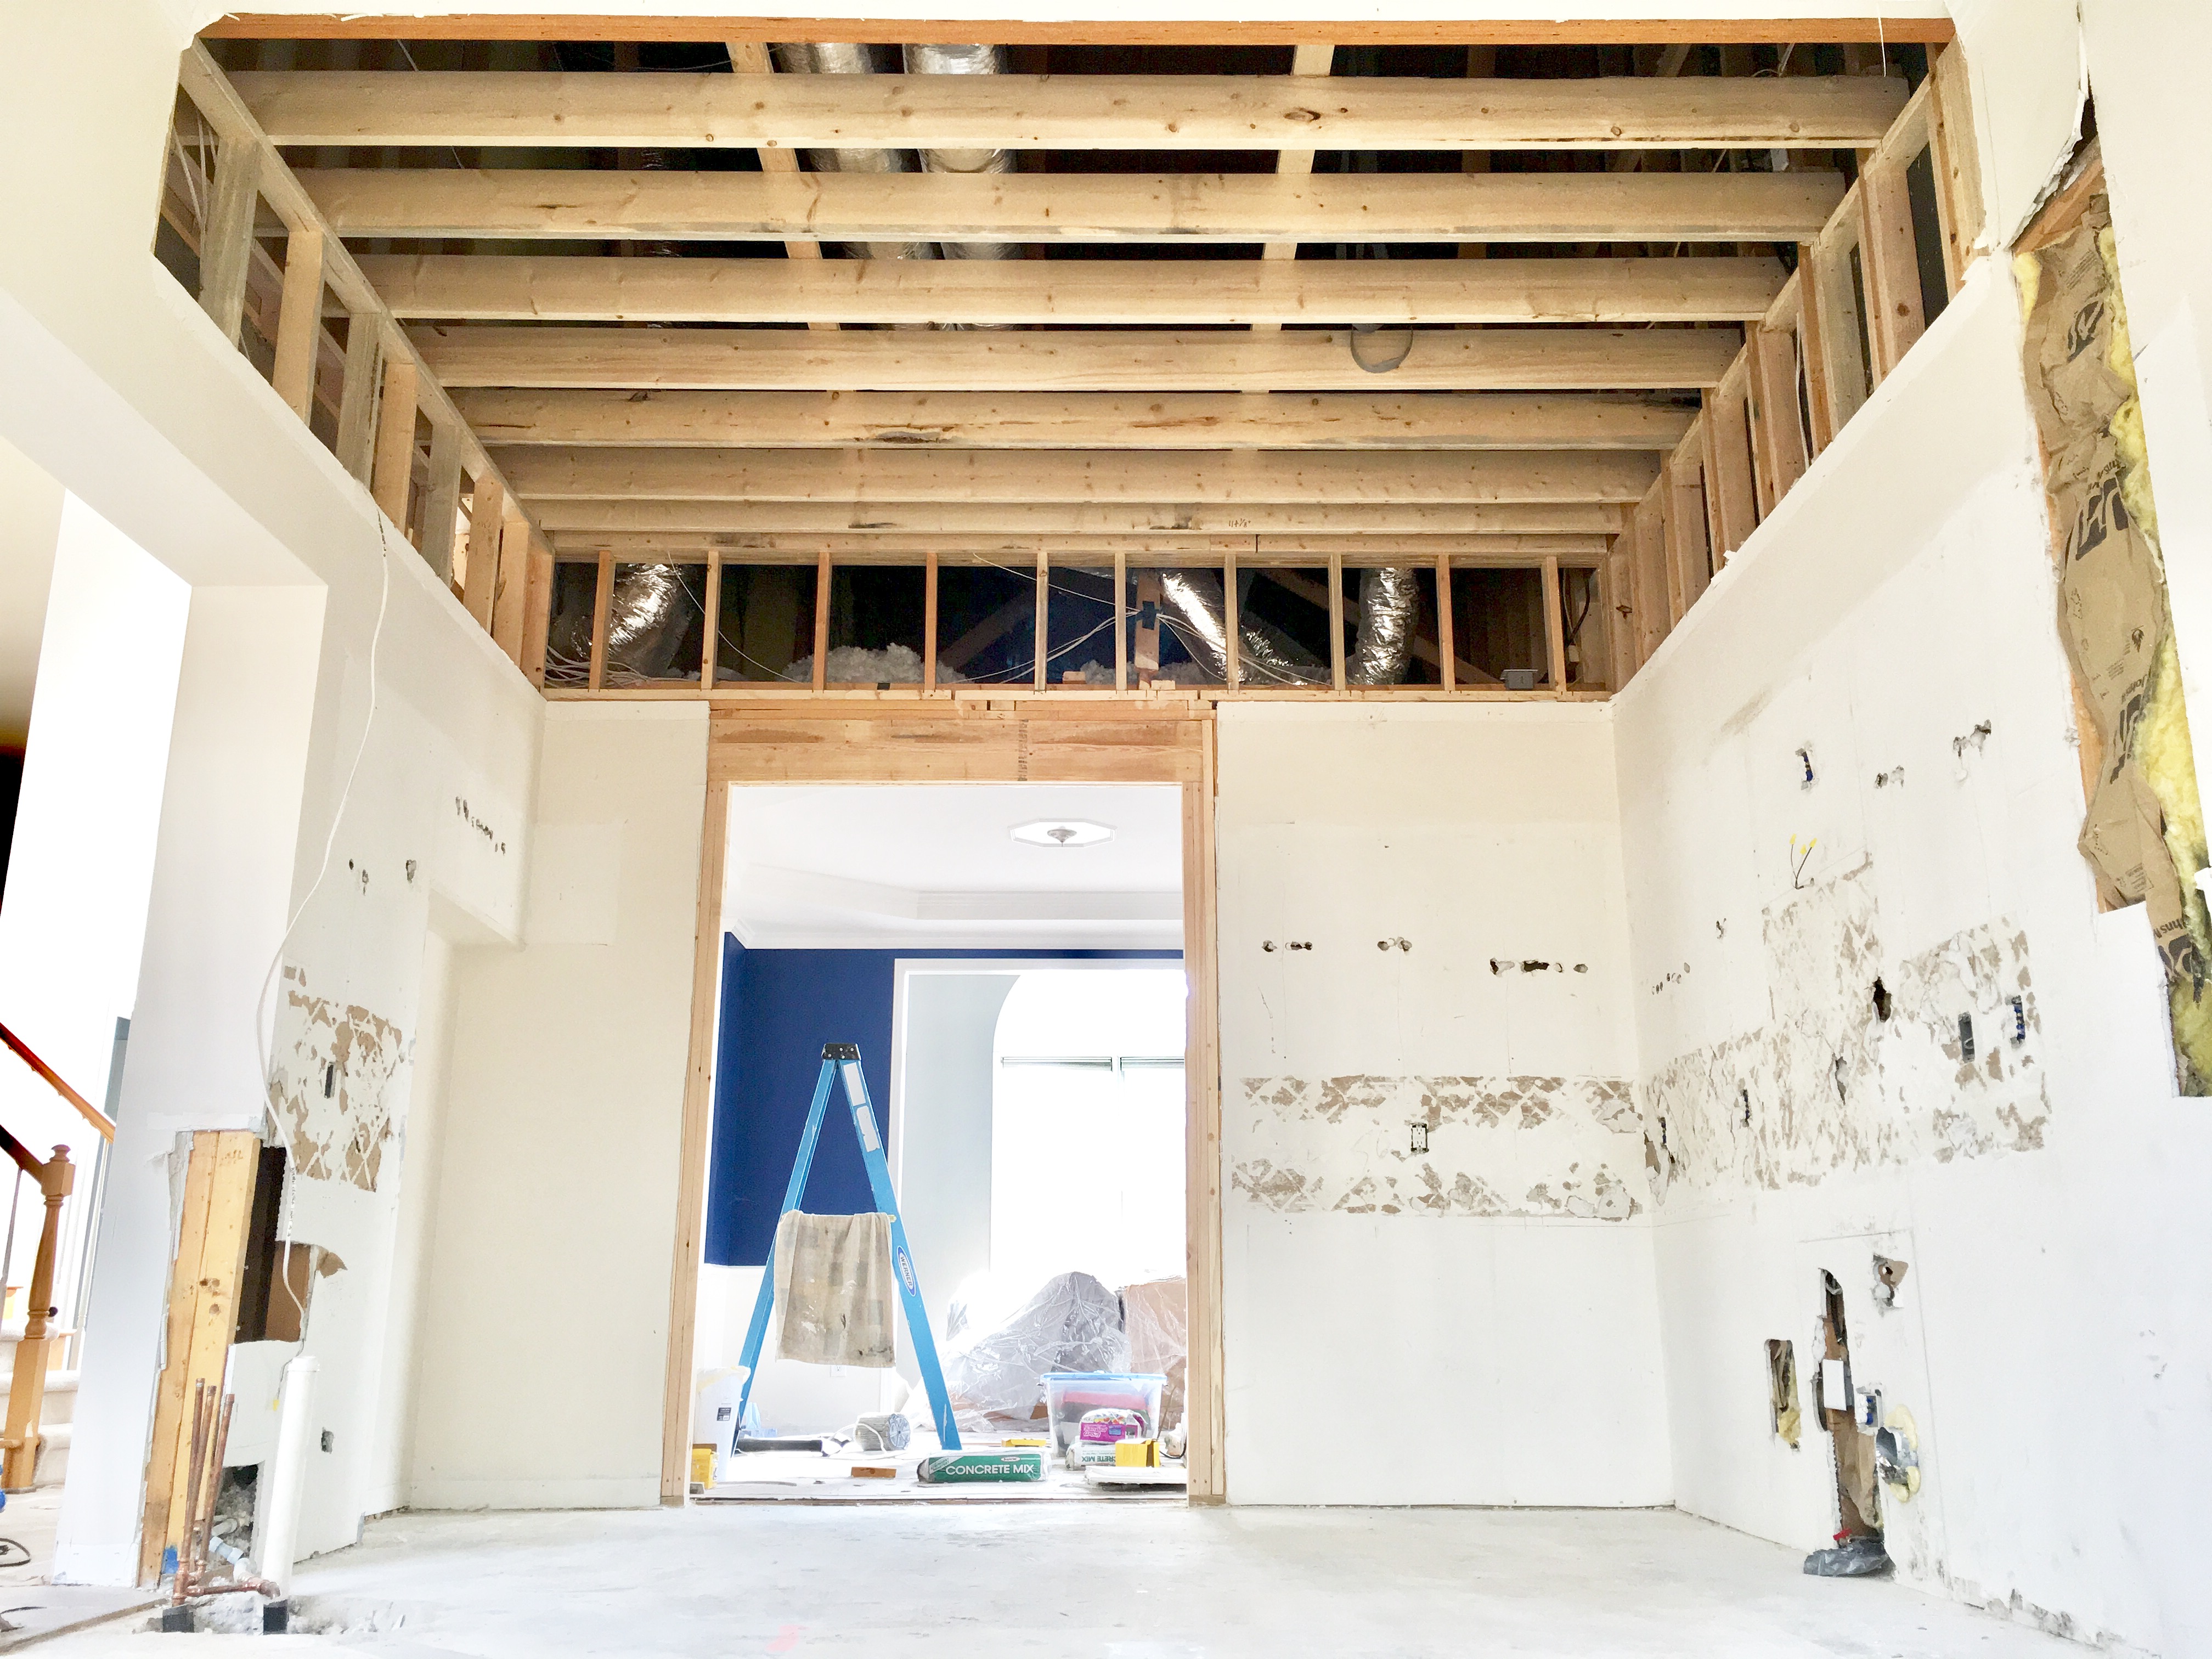
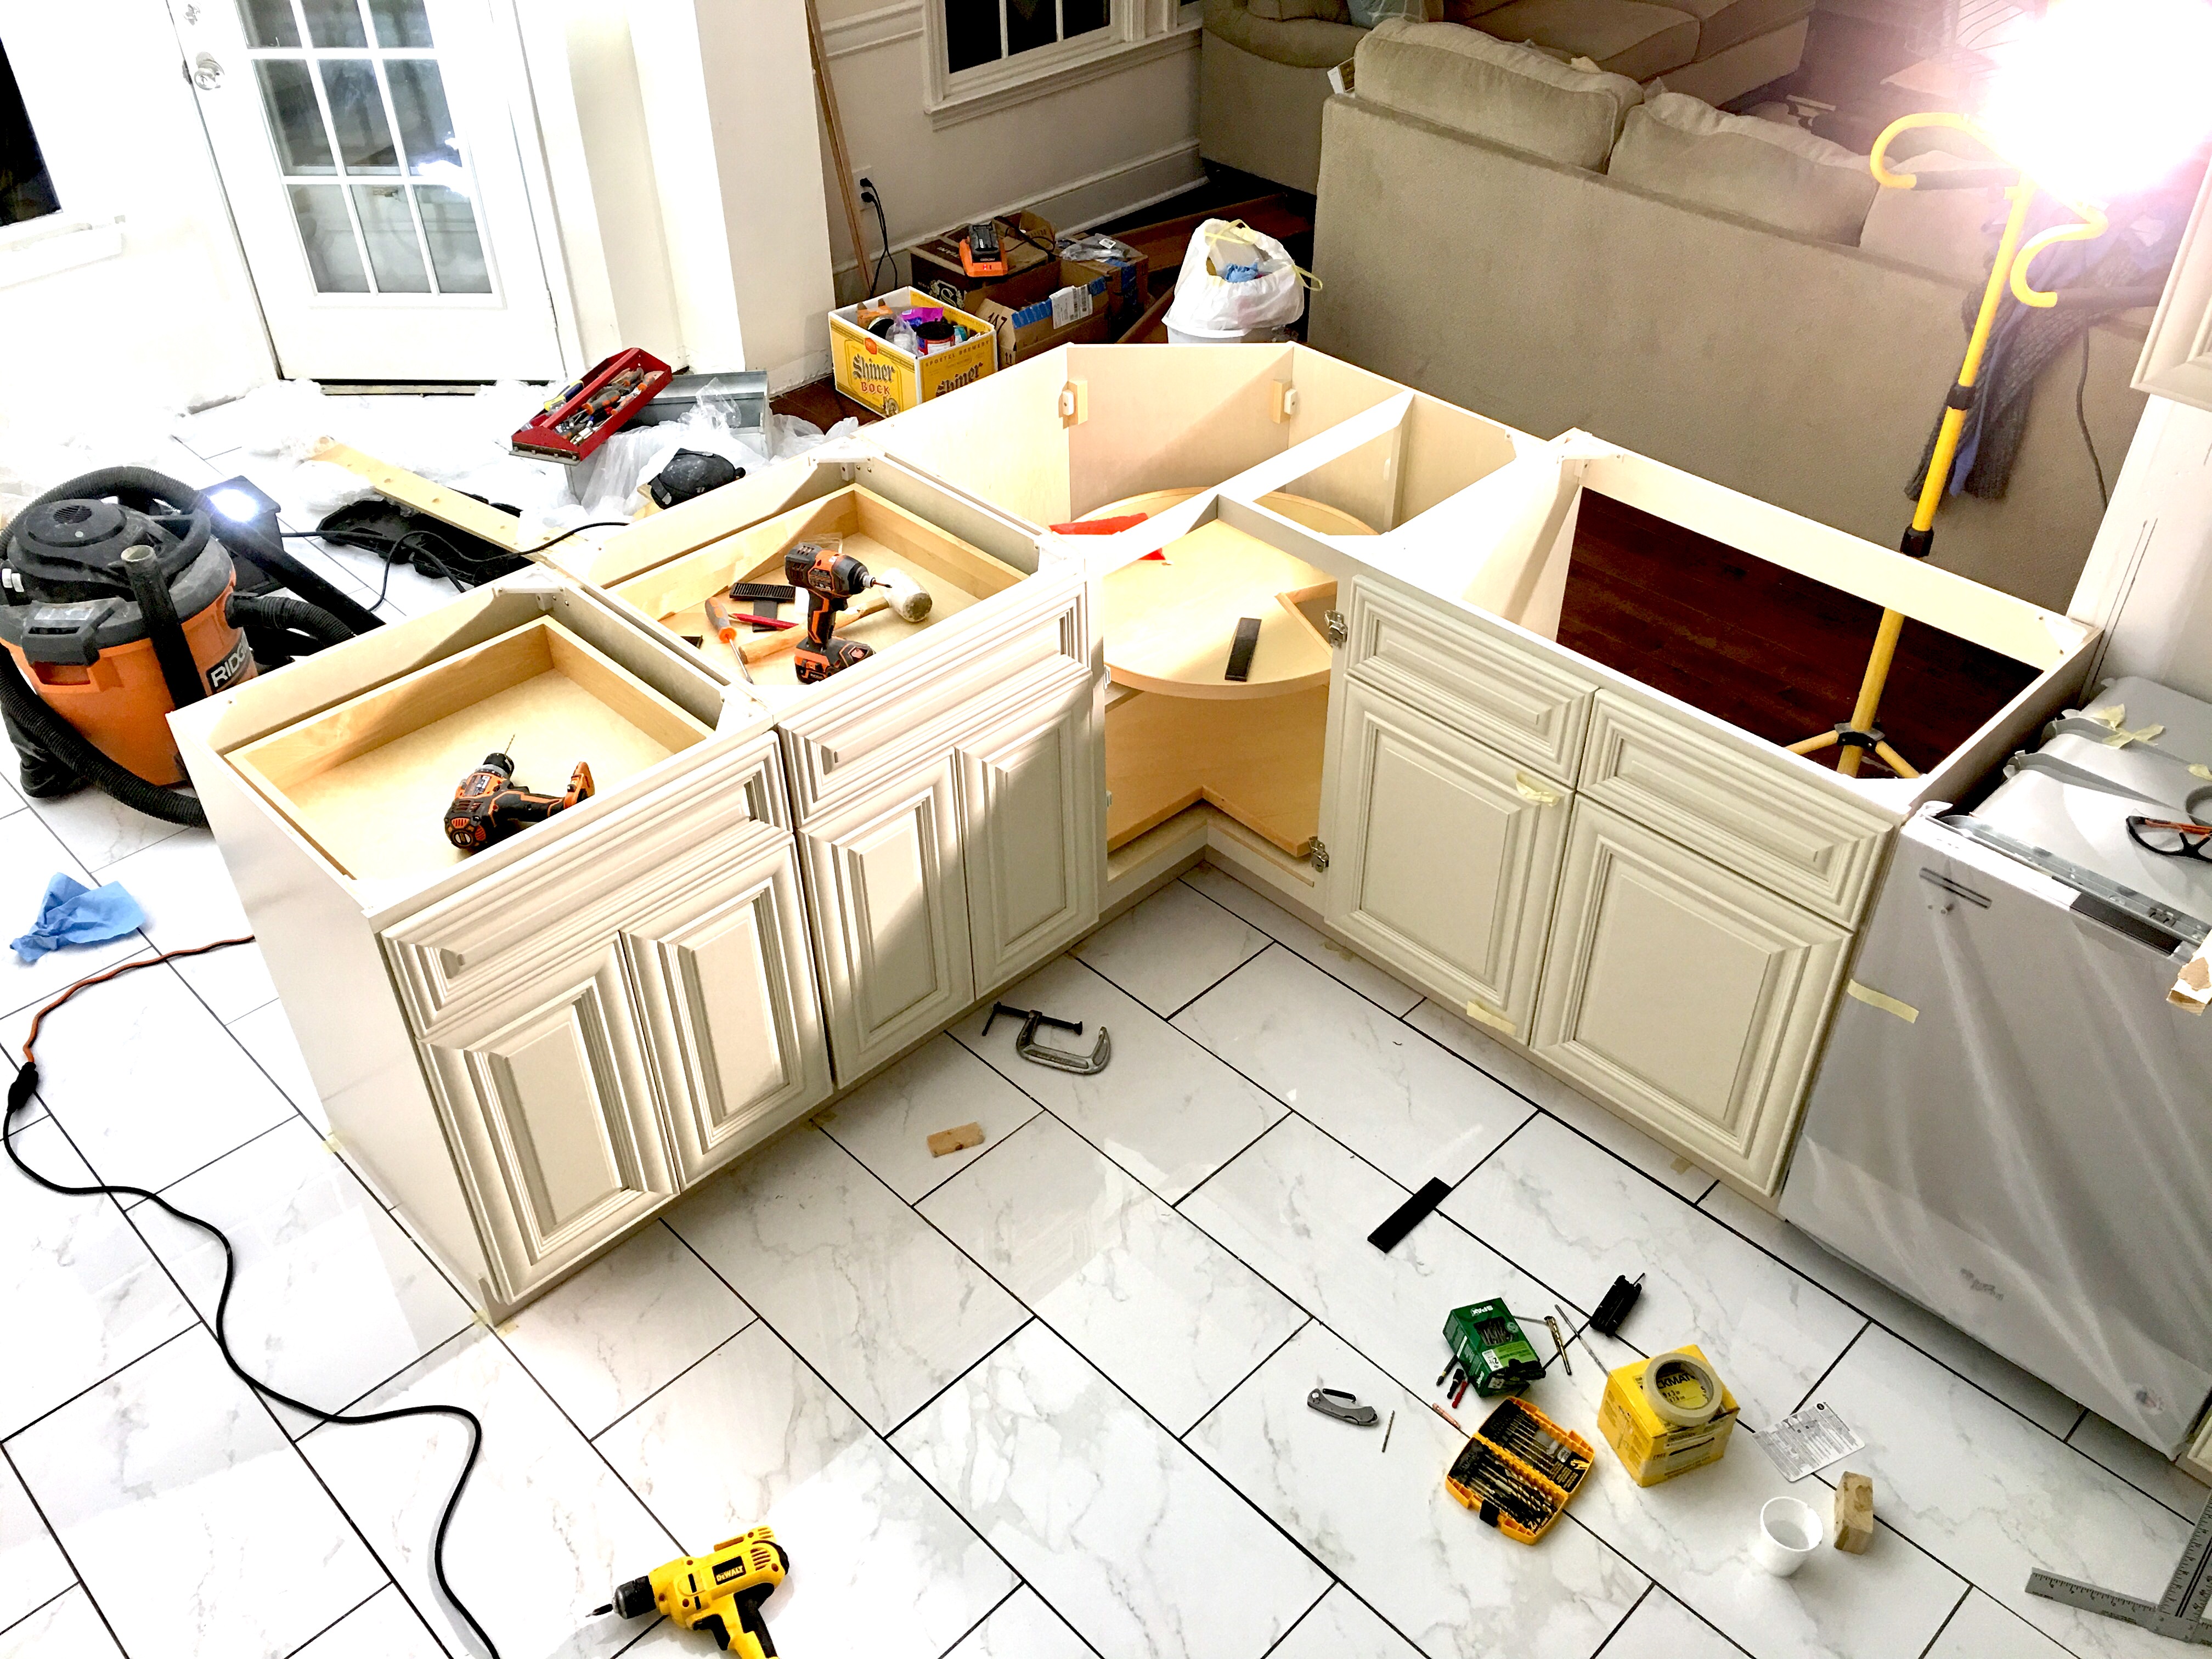
Before the quartz countertops were installed on our custom peninsula, we realized the cabs were back-naked and needed some dignity. Especially that giant hole in the back of our sink cab. What would you clad the backs with? Would love to read some detailed comments.
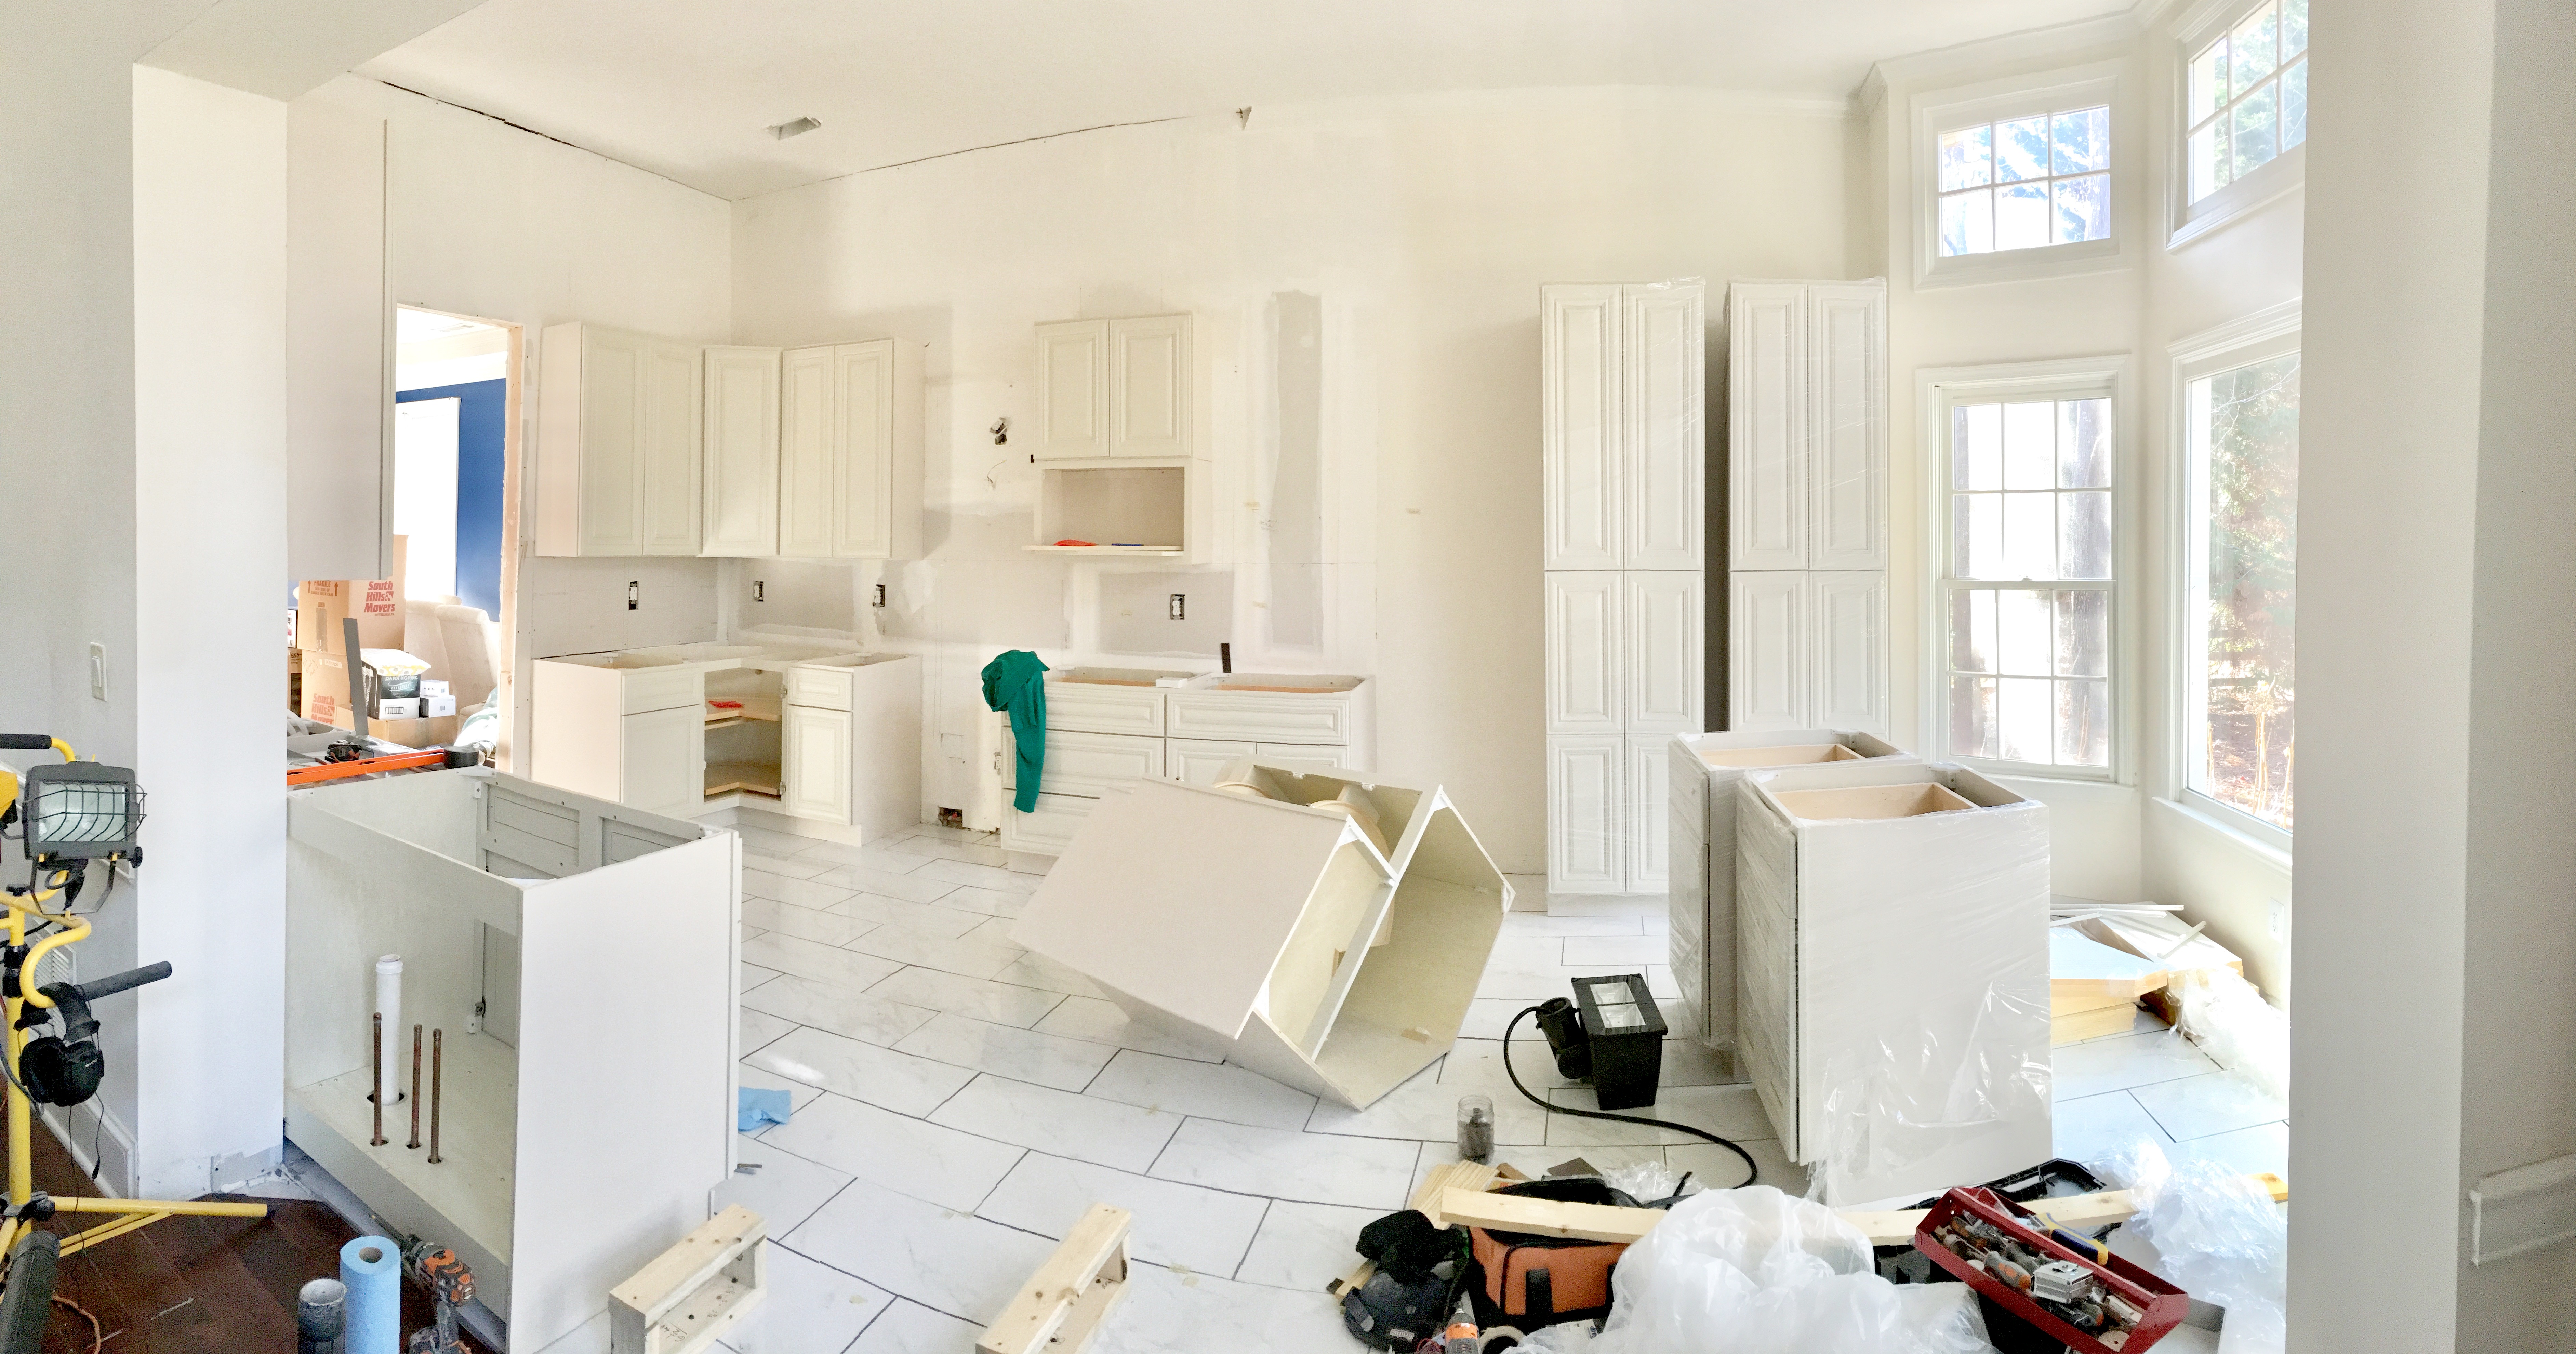
The options are endless. Painted cabinet grade plywood with shaker style trim? Too normal. Beadboard with decorative trim? I’m a fan. Board and batten wainscoting? Huge fan. Faux brick? Definitely extra. #Shiplap? 20 t-shirts that say “#shiplap”? Tile to match a backsplash or floor? Reclaimed tin panels? And that’s when we landed pallet wood, finished to the exact aesthetic we’re visualizing. Here’s what you may need.
Materials
- ¾” plywood sheet(s).
- 1.25″ bugle head screws.
- 1.25” brad nails.
- Large amounts of pallet slats.
- Wood stain.
- Paint (for dry brushing).
- Paste finishing wax.
- 2×4 scraps (optional).
Tools
- Table saw or circular saw.
- Miter saw.
- Power drill (impact driver is ideal for insane amounts of torqueing power and no predrilling).
- Reciprocating saw or crowbar.
- Air compressor.
- Brad nail gun.
- Orbital sander (optional).
- Wet-dry vacuum (optional).
Here’s what we did. Highly recommend you try it.
-
Install subfloor on the cabinet backs.
Subfloor aka ¾” plywood, somewhere in the ballpark of $35.98 for a 4 ft by 8 ft sheet. ¼” is way too thin, flimsy, breakable. ½” would likely do, but consider what you’re attaching to the plywood. The thicker the board, the more secure your nails will be and therefore, the more secure your cladding will be. Rip the (2 in our case) boards to the height and length of the cabs. Consider using 1.25″ bugle head screws if the backs are ¾” thick and your plywood is ¾” thick for ¼” play. Or compressor and nail gun with 1.25″ brad nails for a faster, but less strong install. Screw or nail the pieces of plywood together where they meet at a 45º angle.
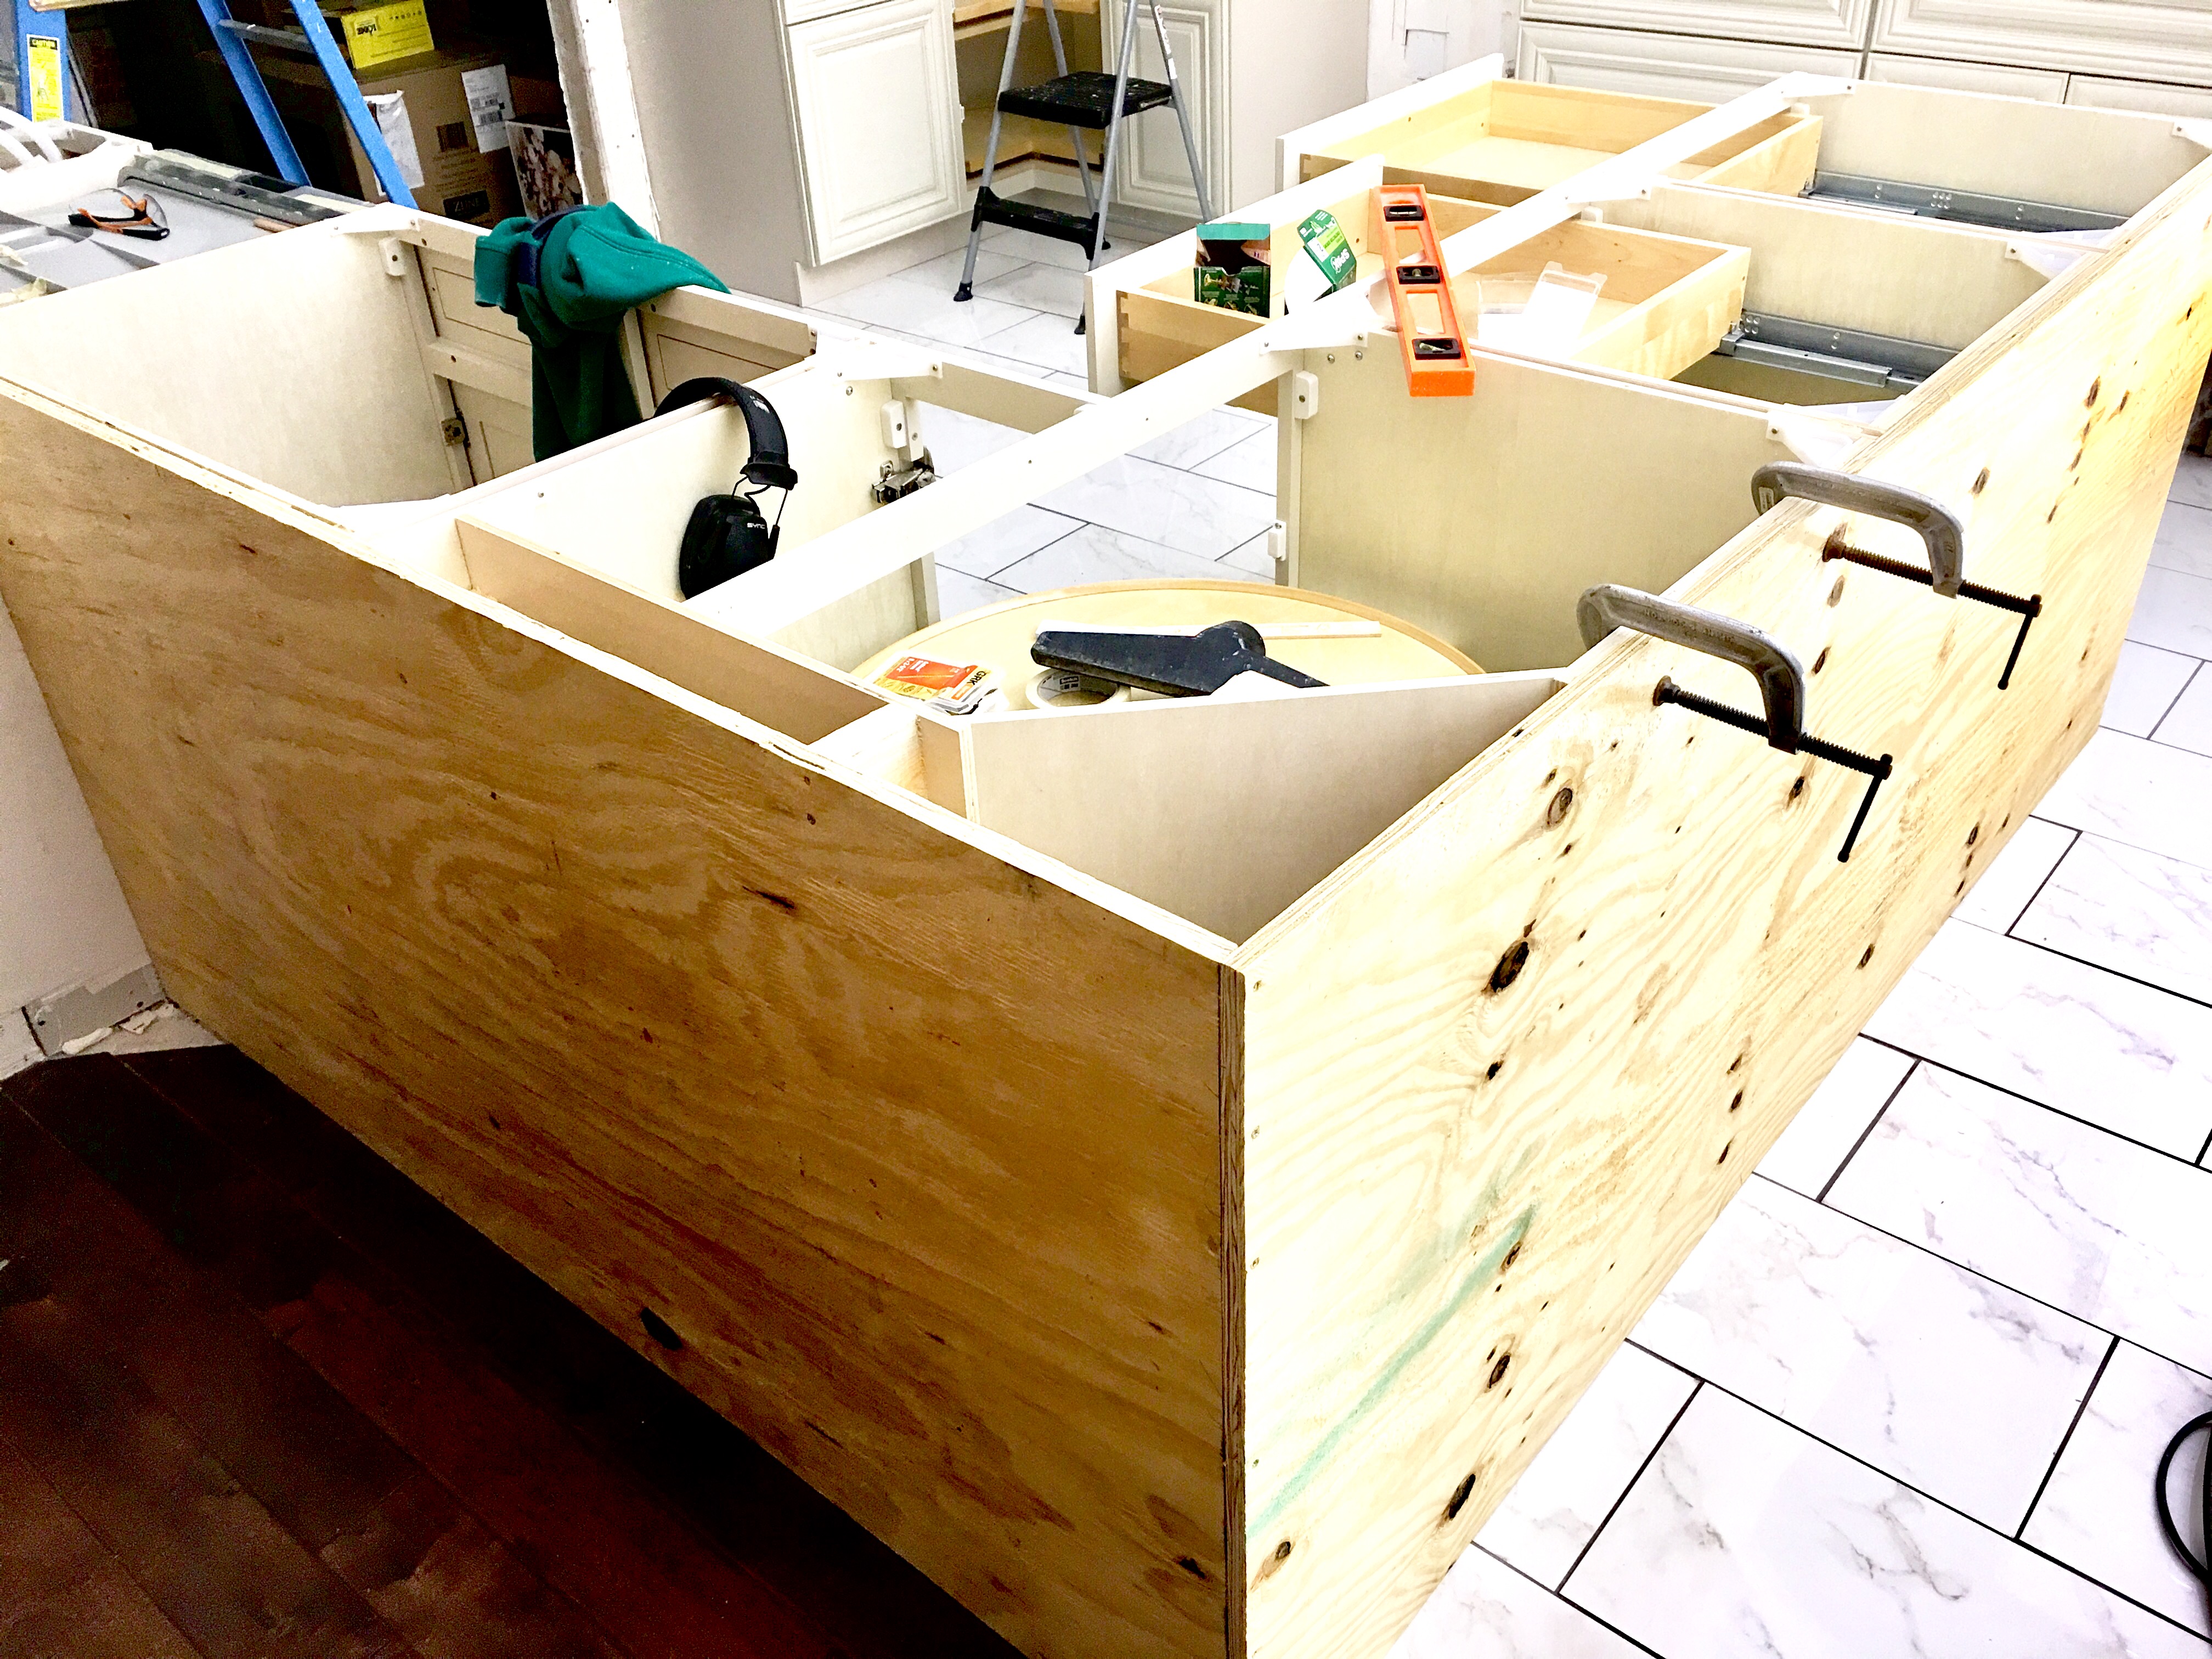
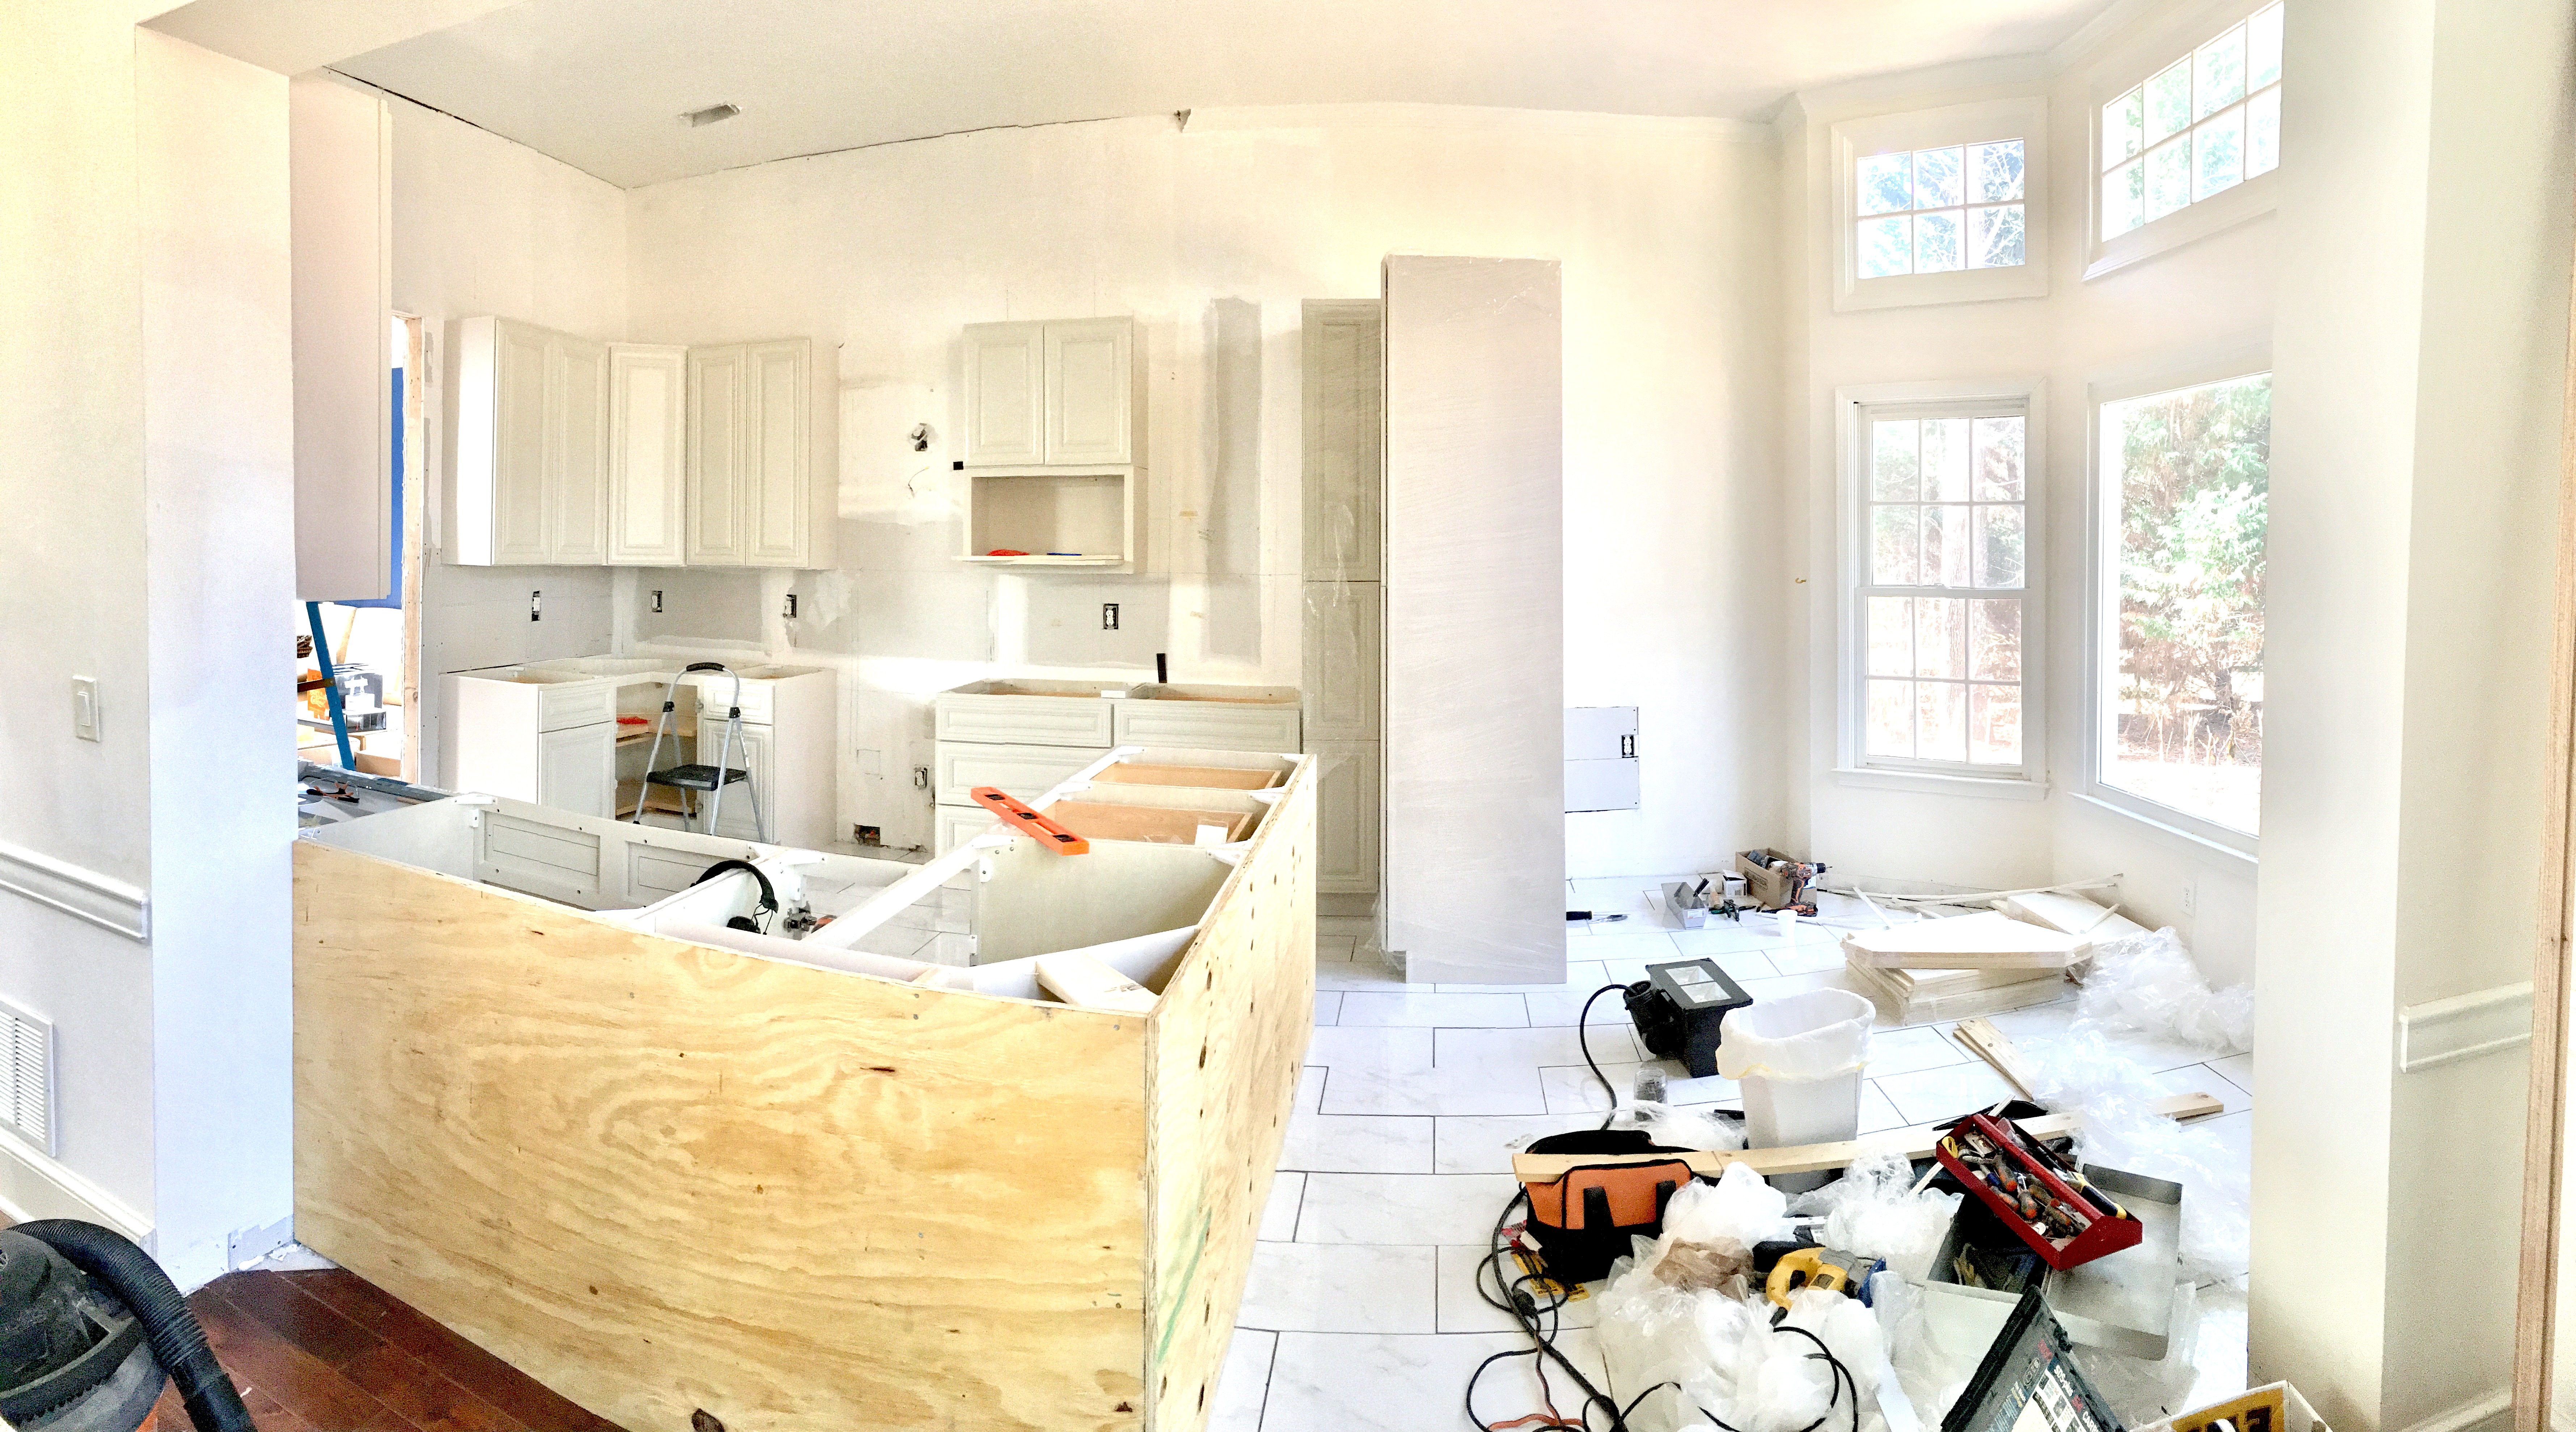
*Note: my tendency is to go overkill per structural integrity. Where gaps existed between cabs and plywood, I added 2x4s cut to exact gap length for added stability. Take a close look behind our not-so-lazy Susan cab in the corner: 45º back and a ~4″ gap that didn’t allow any connection to the plywood otherwise.
2. Find pallet wood.
One real-low-cheap option is to find crusty old pallets leaned up on retail store dumpsters that are NOT being saved by the company for a pick-up service. ‘Cause that’s illegal and crap. Tear those little treasures apart with a recip saw straight through the nails. Use a nail-embedded blade. So hoss. My other fave: bust out your circular saw and crosscut the pallet slats where they meet the outer stringers (perpendicular 2×4 supports). Then crowbar the slats from the middle stringer still attached with nails. Flip the pallet over and repeat.
Or call a local distributor that ships product on pallets and see if they’ll sell you raw pallet slats or give you some for free.
3. Install pallet slats.
Start installing pallets on the bottom, ideally touching a wall if available for a reference point. If your cabs take a 45º turn like ours, you can start at the bottom of the mitered edge. The reason: if you start on top, you may end up with a table-saw-ripped partial board at the visible bottom.
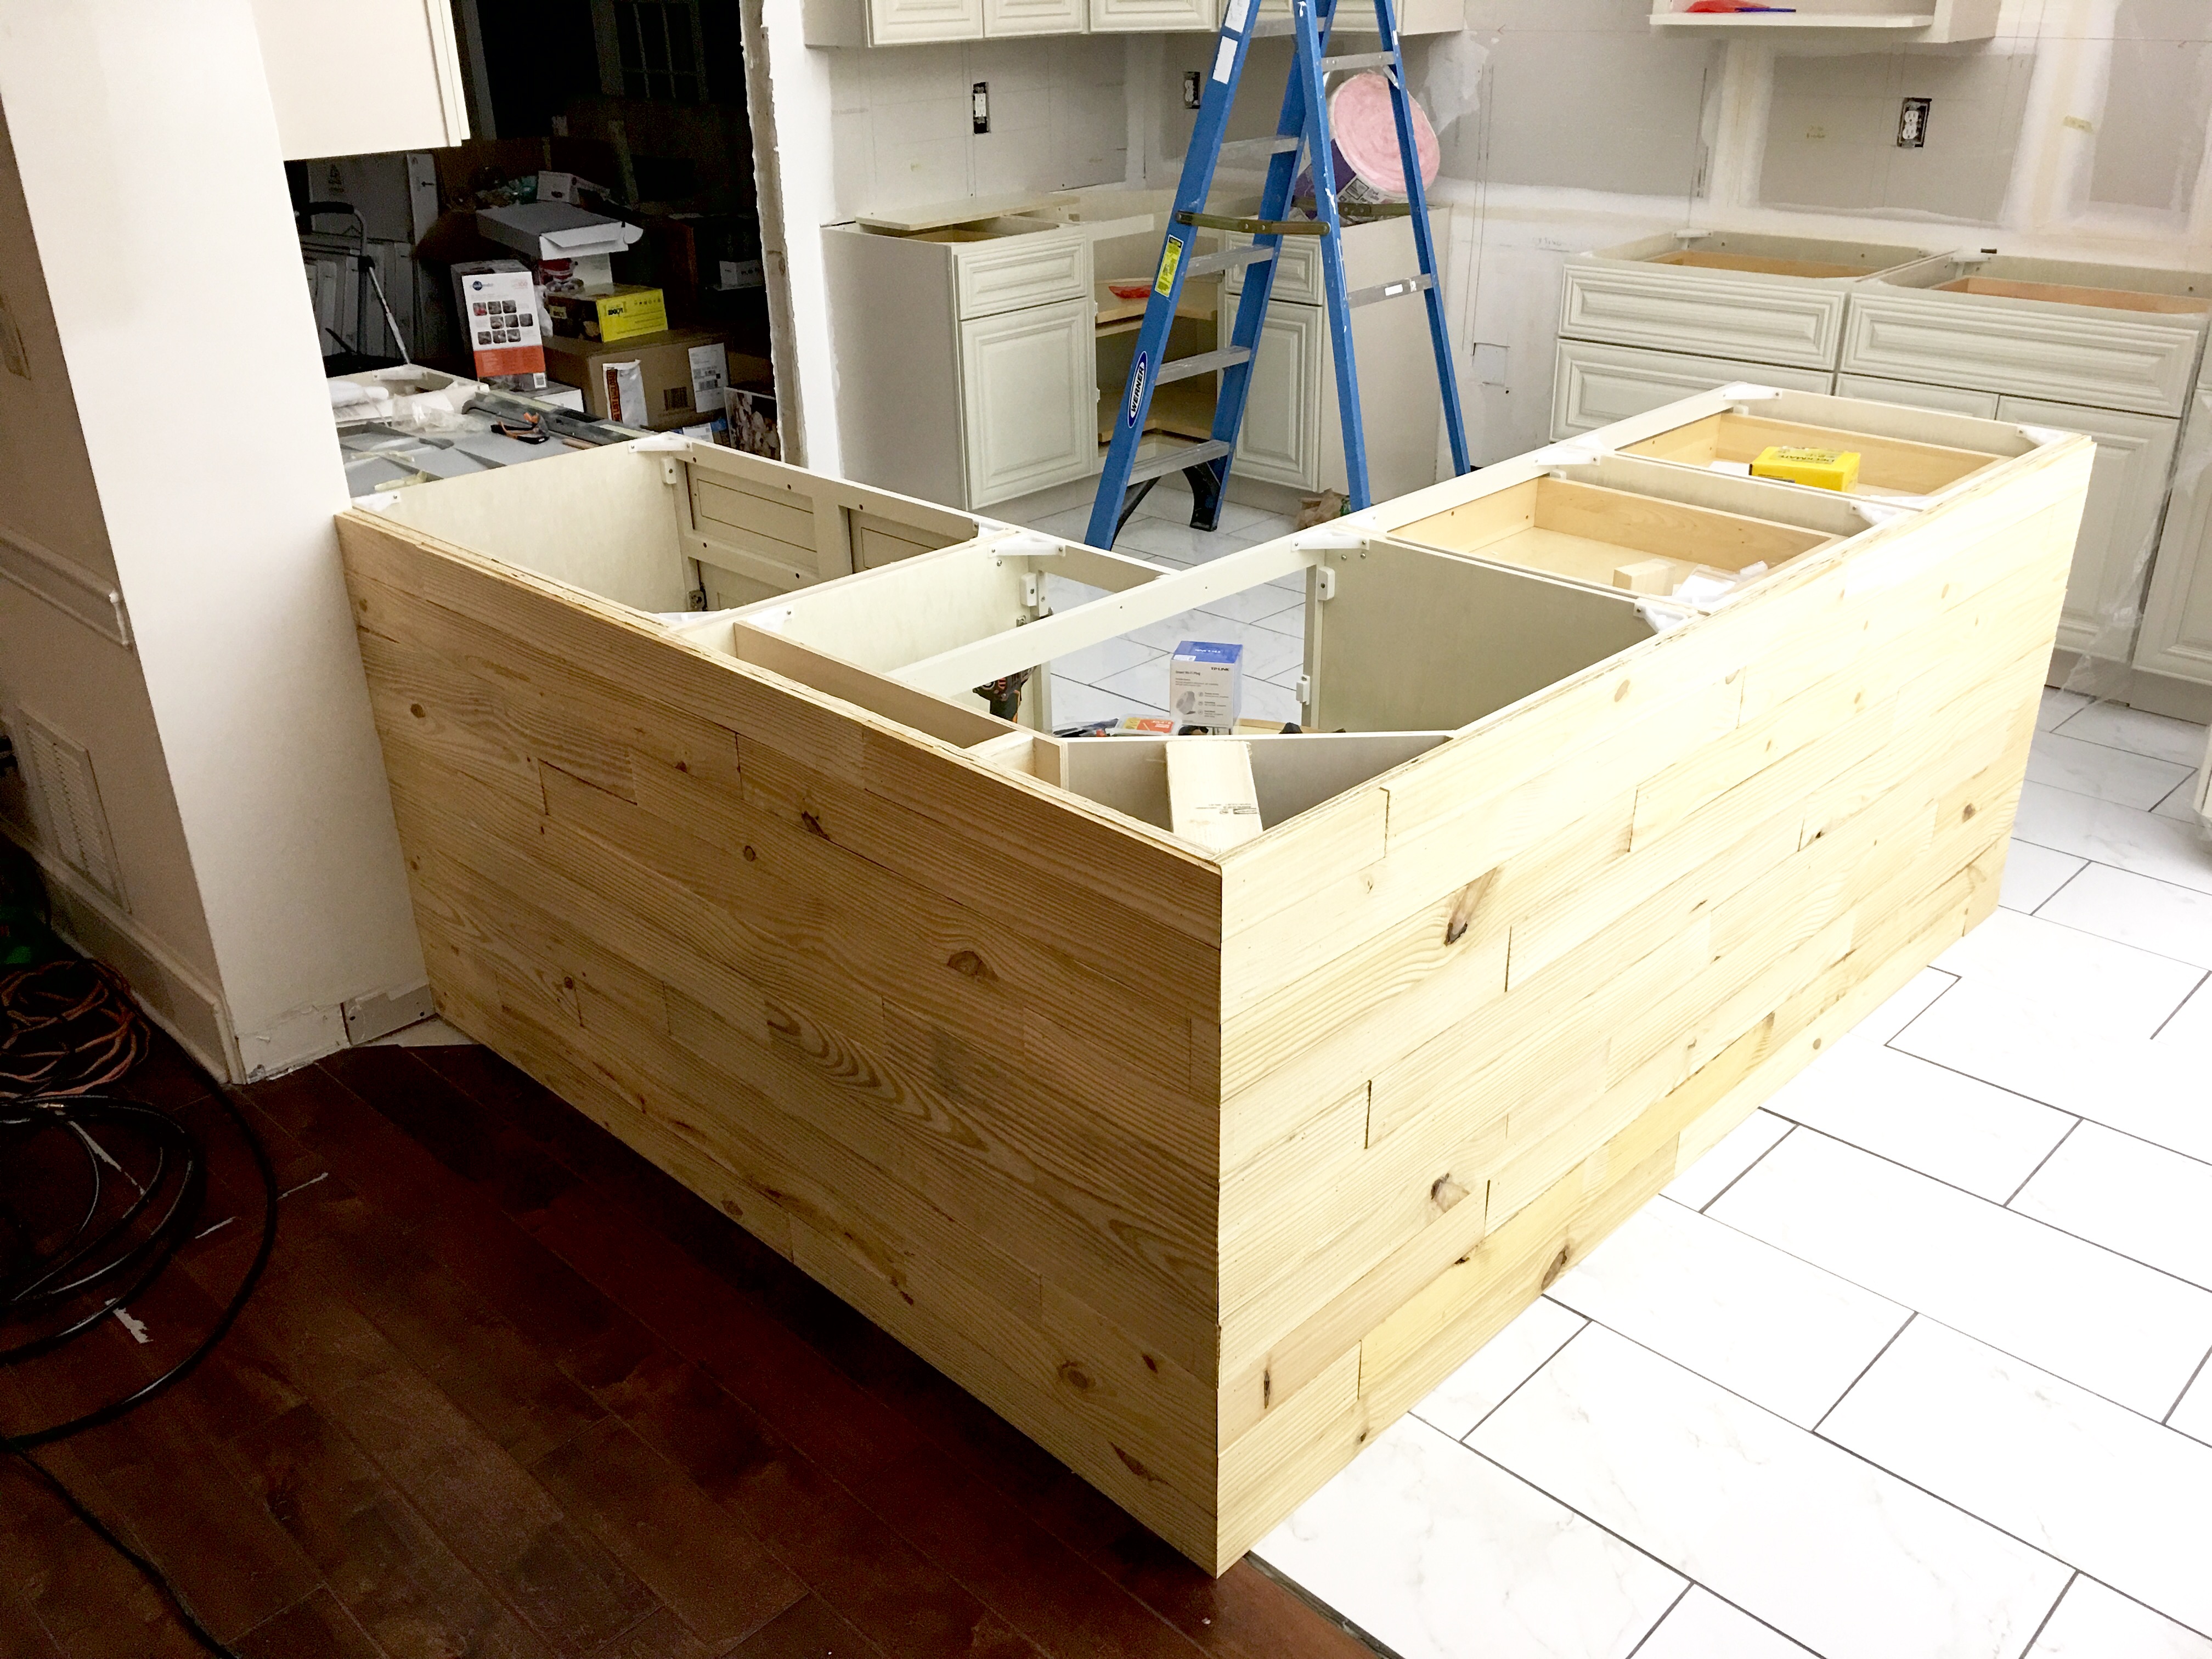
Consider offsetting each row of boards by a designated amount. If you dig our aesthetic, use a 1 ft measurement difference. E.g. start the first row with a 4 ft slat, then the next row up with a 3 ft plank, and the next with a 2 ft, then 1 ft, and start over at 4 ft. Or reverse the order. When it comes to the last row on top, measure the width of the slat needed and rip through your table saw.
4. Stain pallet slats.
After pallet slat install, decide on your finish. Stain? Paint? Both? Wash? Dry brush? Boiled linseed oil? Danish oil? Oil based urethane? Water based urethane? We hit it with some water based Varathane brand dark walnut wood stain. Pretty dark. Total mess. Not feeding toddler red sauce in high chair mess, but close. Newspaper taped to the floor to protect it, nitrile gloves, blue shop towels to wipe off the excess, generous application rubbed into every crevice.
Normally rubbed off within 5 to 15 minutes with fresh towels / rags – however, the super rough / unsanded nature of pallet slats makes it impossible to remove hardly any of the applied stain. Still try. Stain dried on the surface and not absorbed into your wood grain will degrade your next layer of finish. I.e. poly that remains sticky for days (or) an uneven coat of stain (or) paint that doesn’t adhere to the stain properly. Let that bad boy dry for at least an hour.
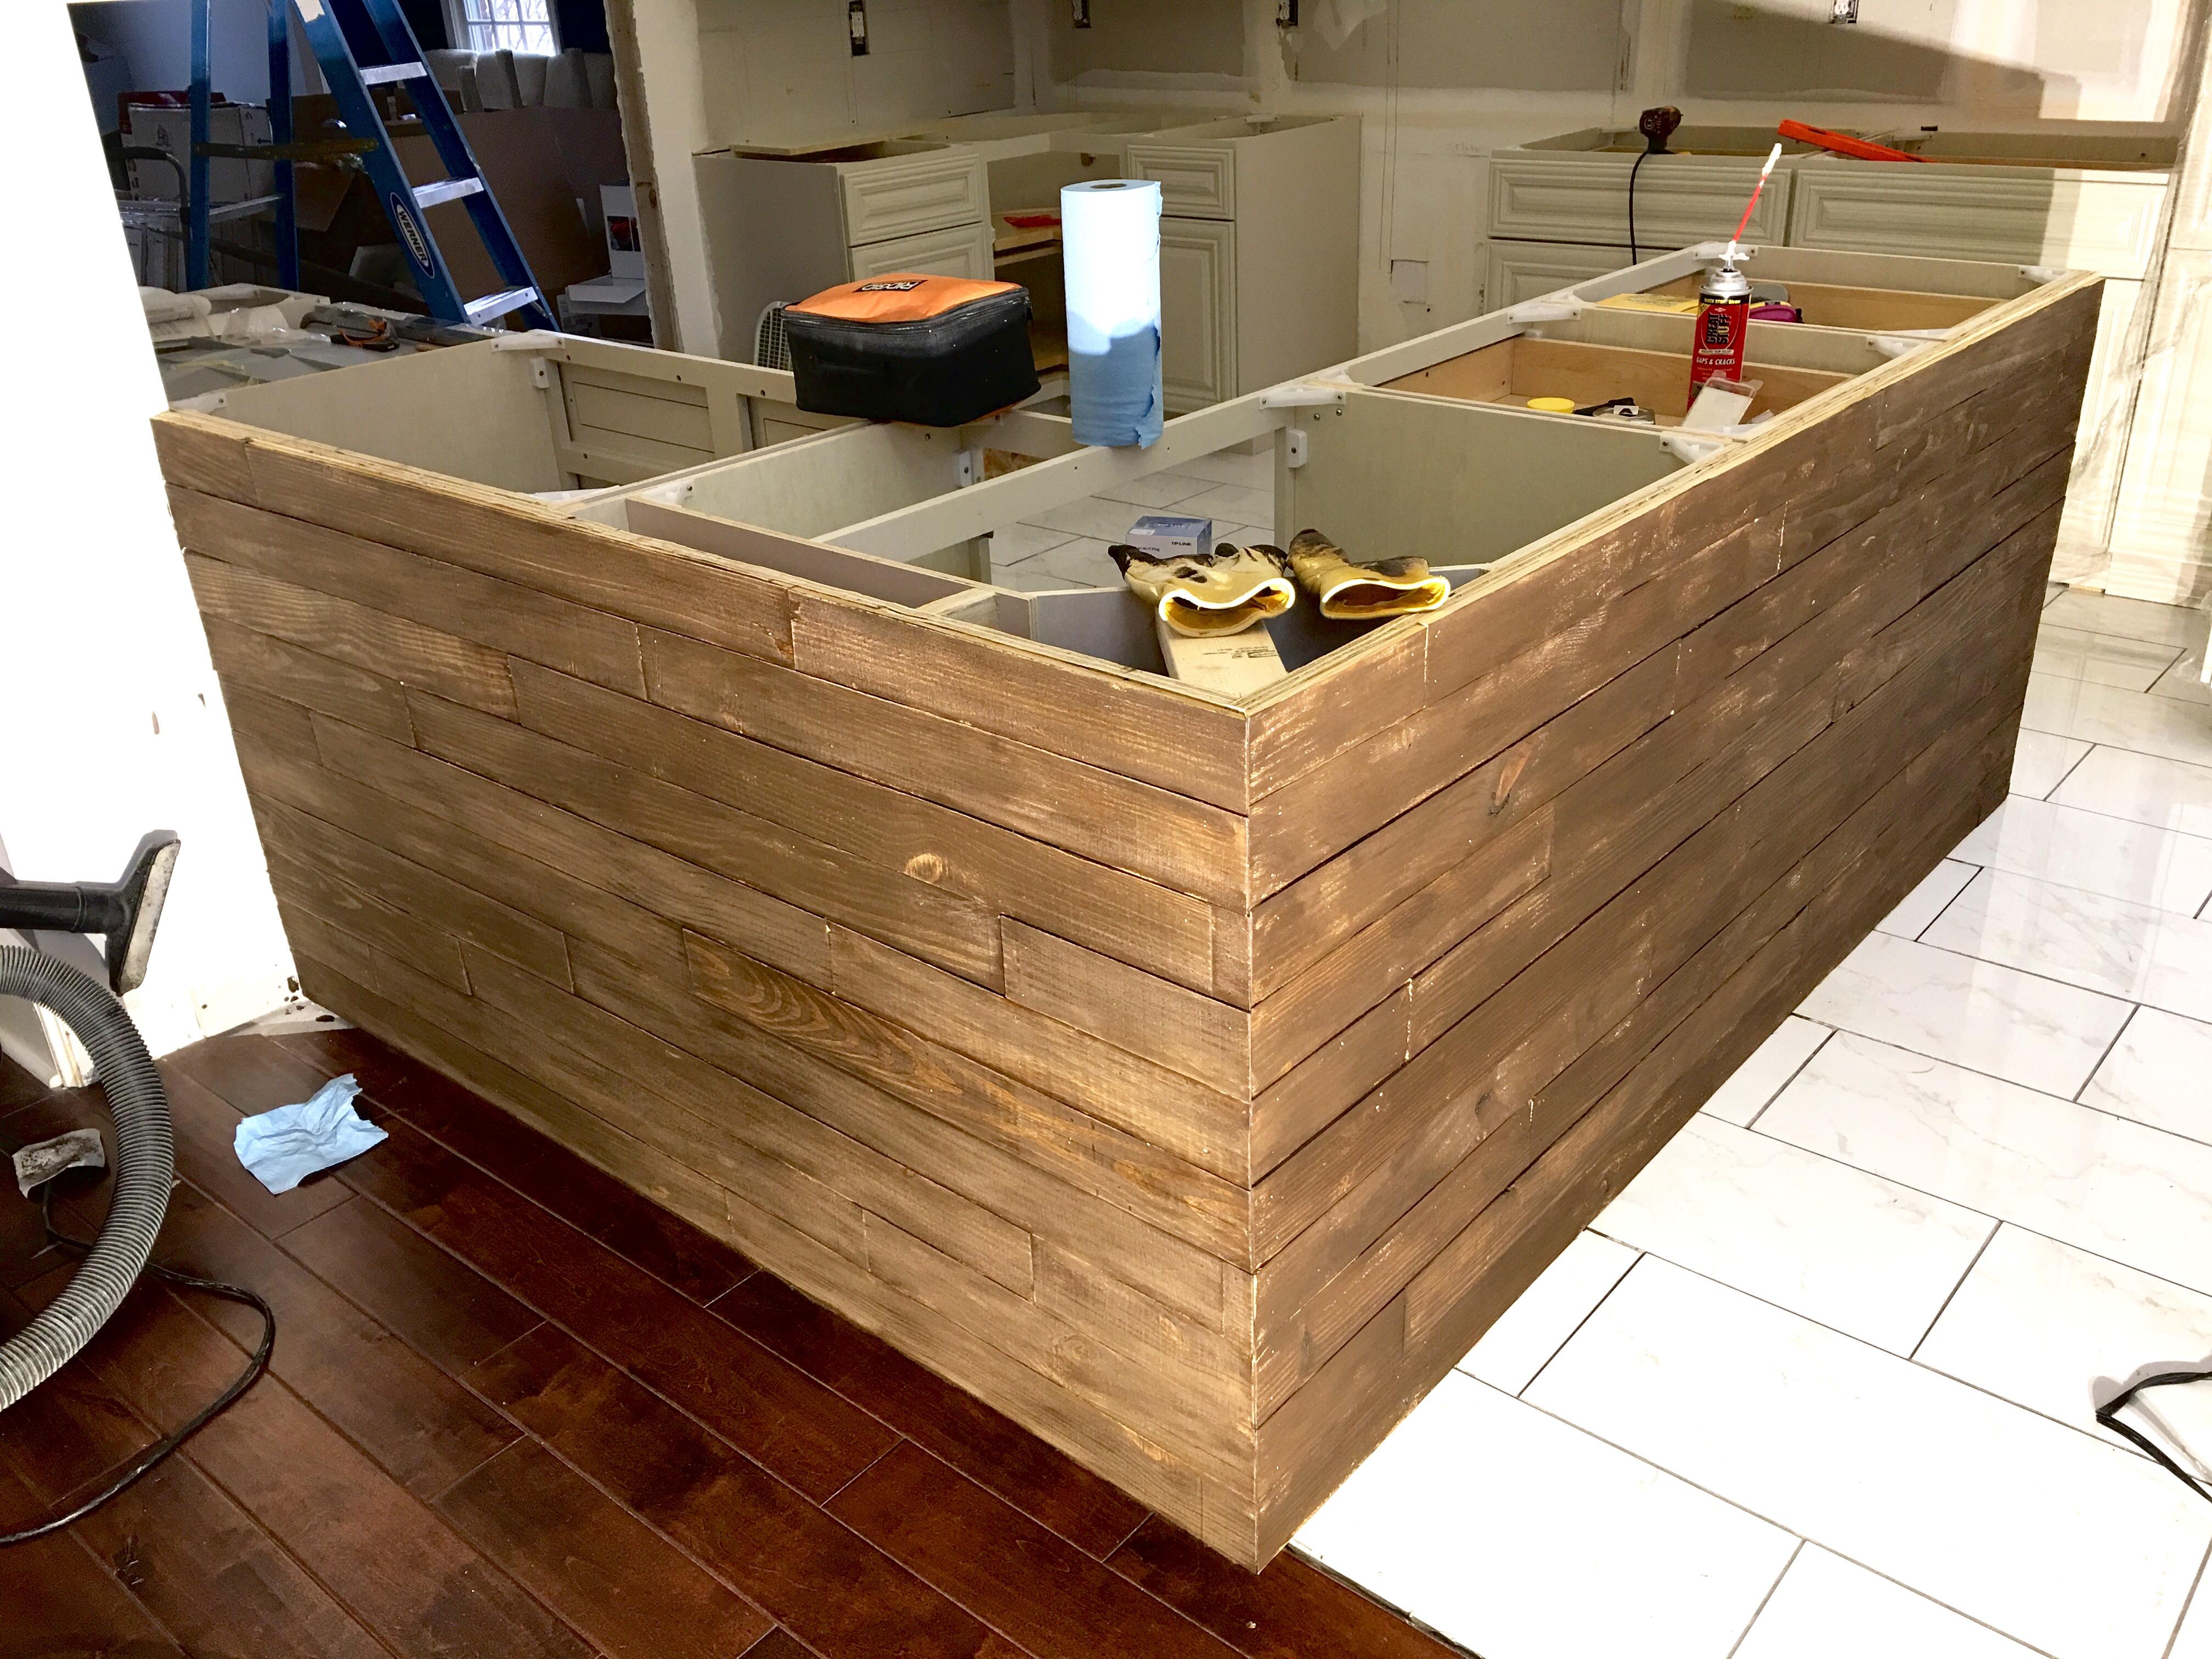
5. Dry brush pallet slats.
Our favorite white paint color of all time is heirloom white. Its antiquey, classic, not too bright, mature, elegant, slightly off-white. It’s actually a Rust-Oleum Painter’s Touch spray paint color, but we loved it so much that we get them to color match it at Home Depot and buy it by the gallon. We’ve used it for everything from this project to refinishing almost every piece of furniture in our house to painting the risers when we redid the stairs at our last house. Ask them at Depot, they will color match it for you.
Dry brushing is different from white washing. White washing is a water-diluted paint (e.g. 50-50 paint to water) applied to your creative “canvas”. Dry brushing is a little more textured. Dip your paint brush in the heirloom white, wipe most of it off on something (cardboard, newspaper, your dog) and spastically apply the paint to the pallet slats with a LOT of wrist motion and little wood slat contact. Ideal for non-smooth surfaces.
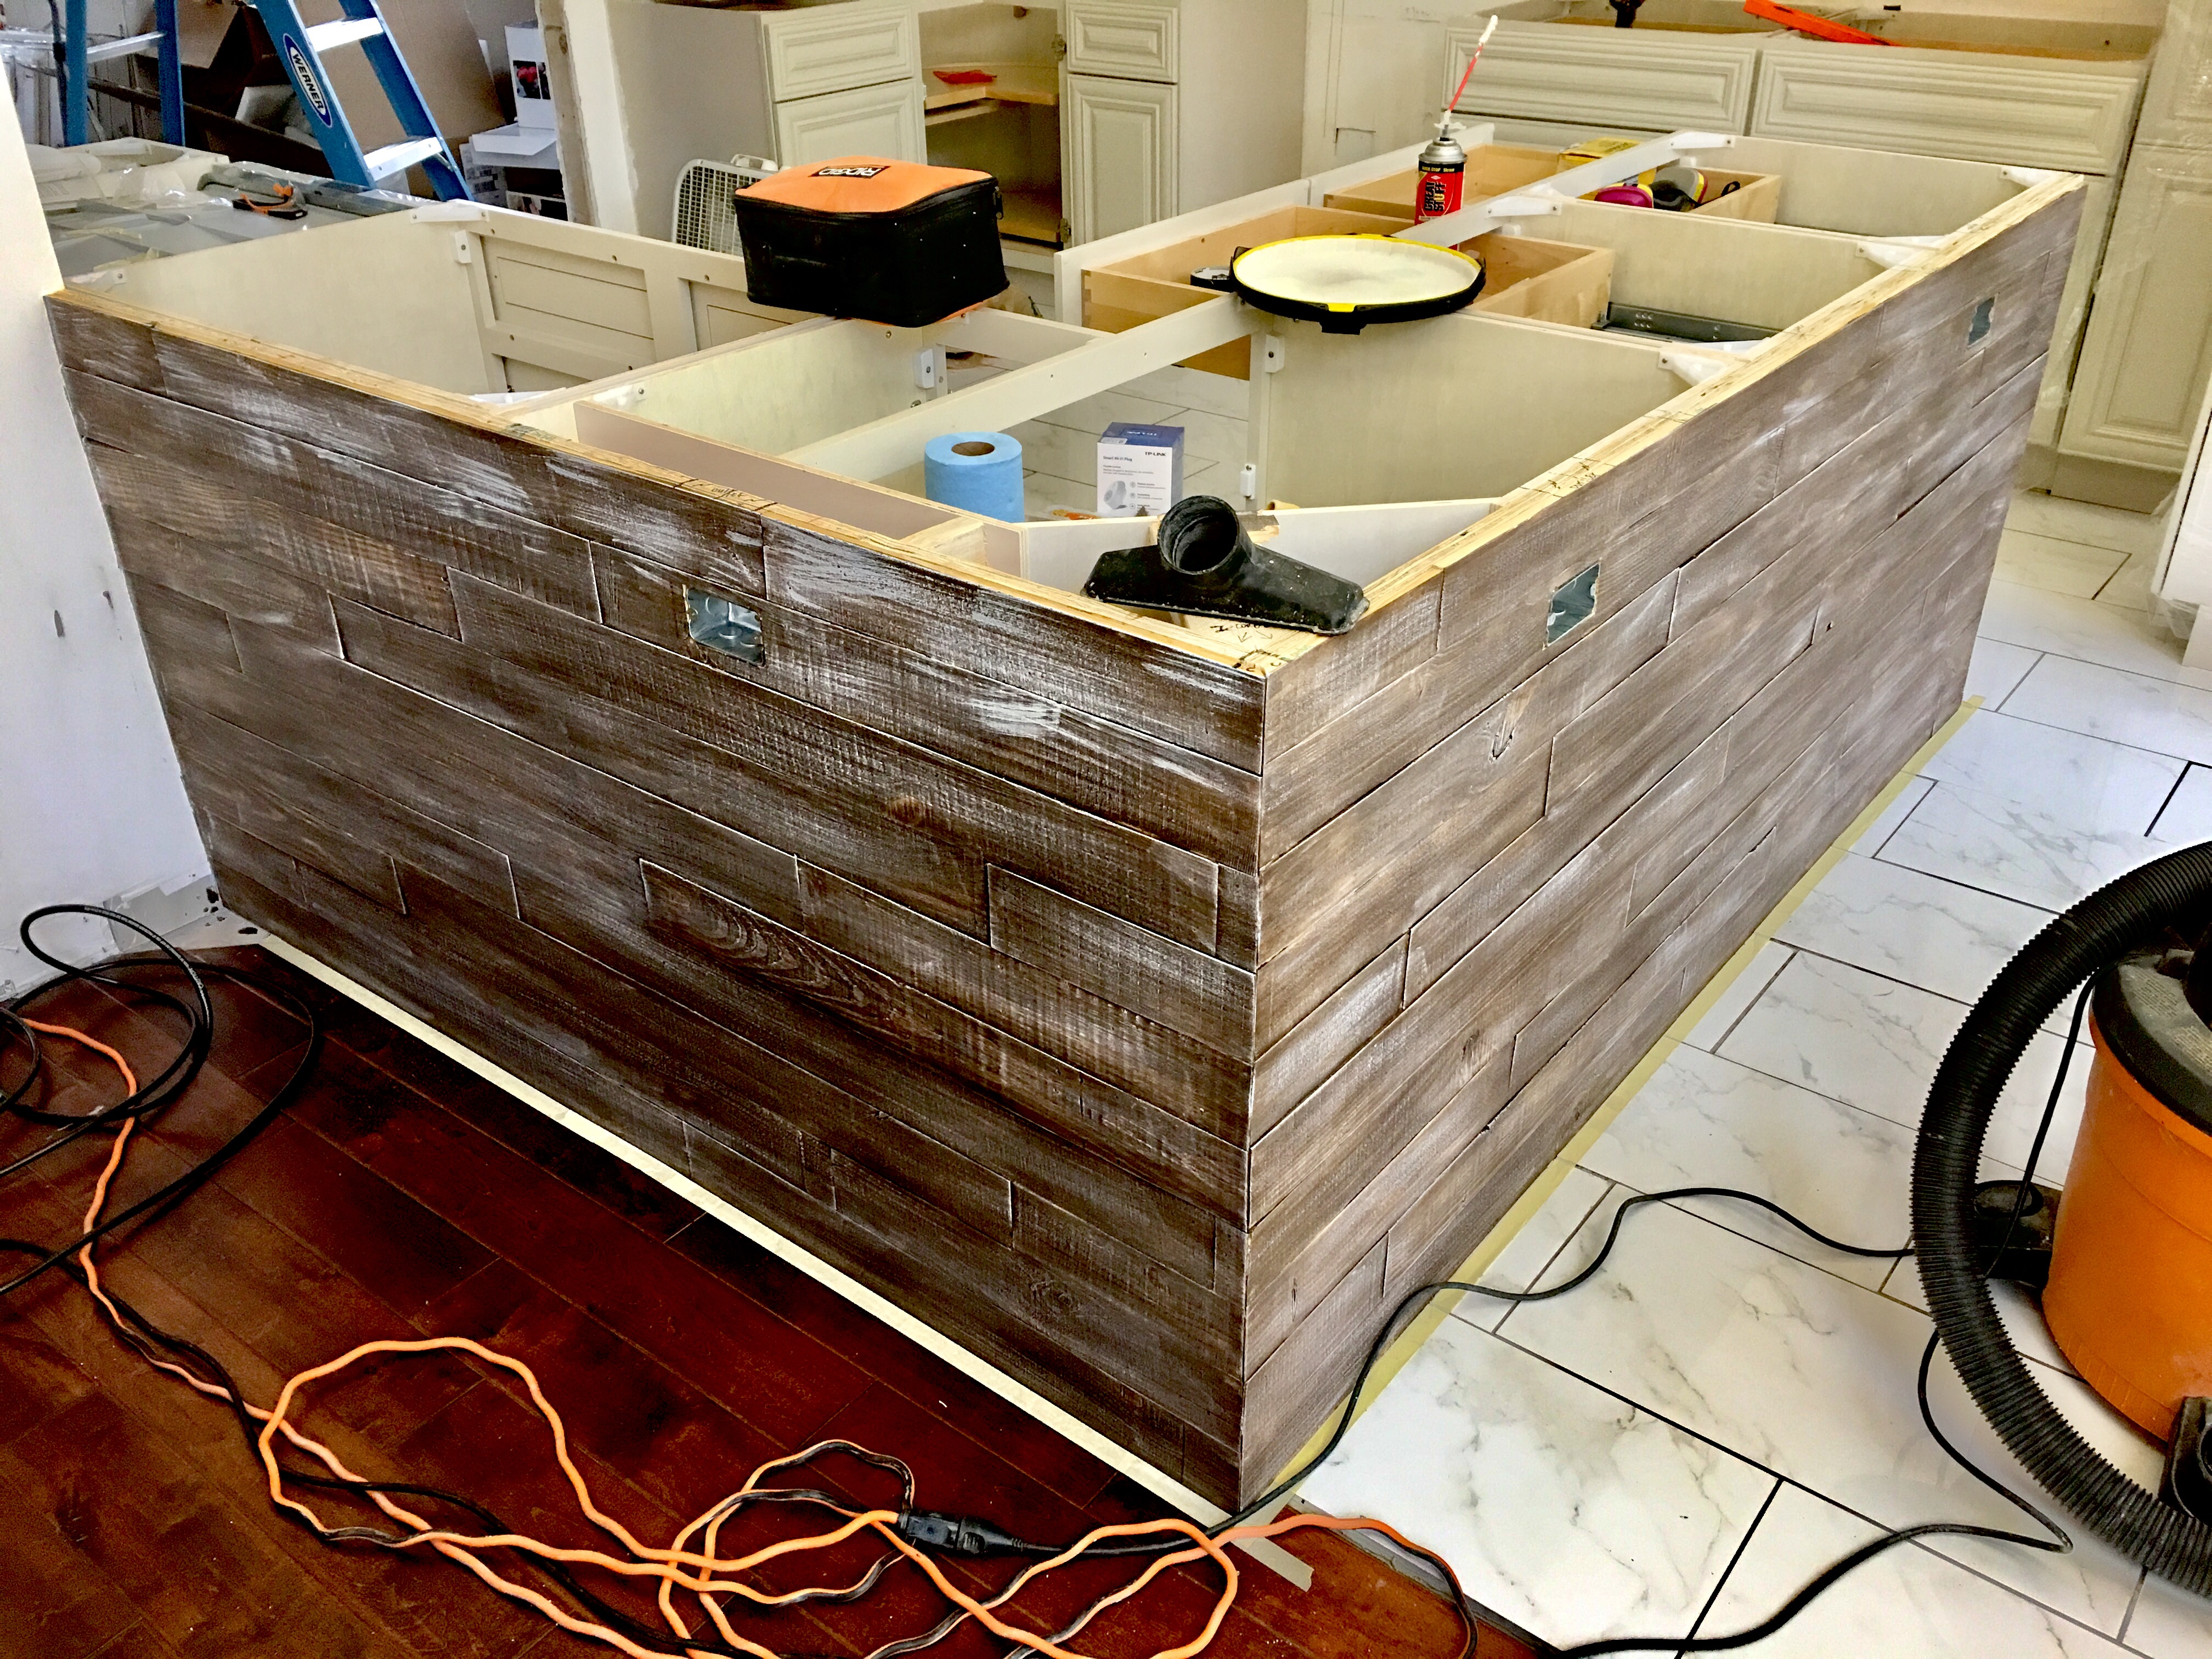
Sand your life away. Ironically, you’ll want to make the dry brush marks look like they weren’t dry brushed. Soften the streaks with a good 30 minutes of hand-sanding. An orbital sander would be prime if not for the rough surface of the pallet wood. Pro-tip: if your slats are not rough, orbital sand and attach your wet dry vacuum to the sander in place of the pouch to minimize saw dust cloudage.
6. Wax pallet slats.
Our jam is MINWAX paste finishing wax for a protective layer with more of a matte finish and the fastest drying time in existence. Glove up. Grab a plain white rag (washed at least once to minimize lint left overs). Scoop out a solid chunk of wax with the rag and rub, rub, rub in into every grain of every slat until the coating seems even. Allow entire coat to dry 10-15 minutes and then wipe off excess wax. If you weren’t vibing the final color of the slats, consider tinting your wax paste with a little dollop of paint of your choice. Mix/smush the paint in to the wax thoroughly before applying to the pallet boards.
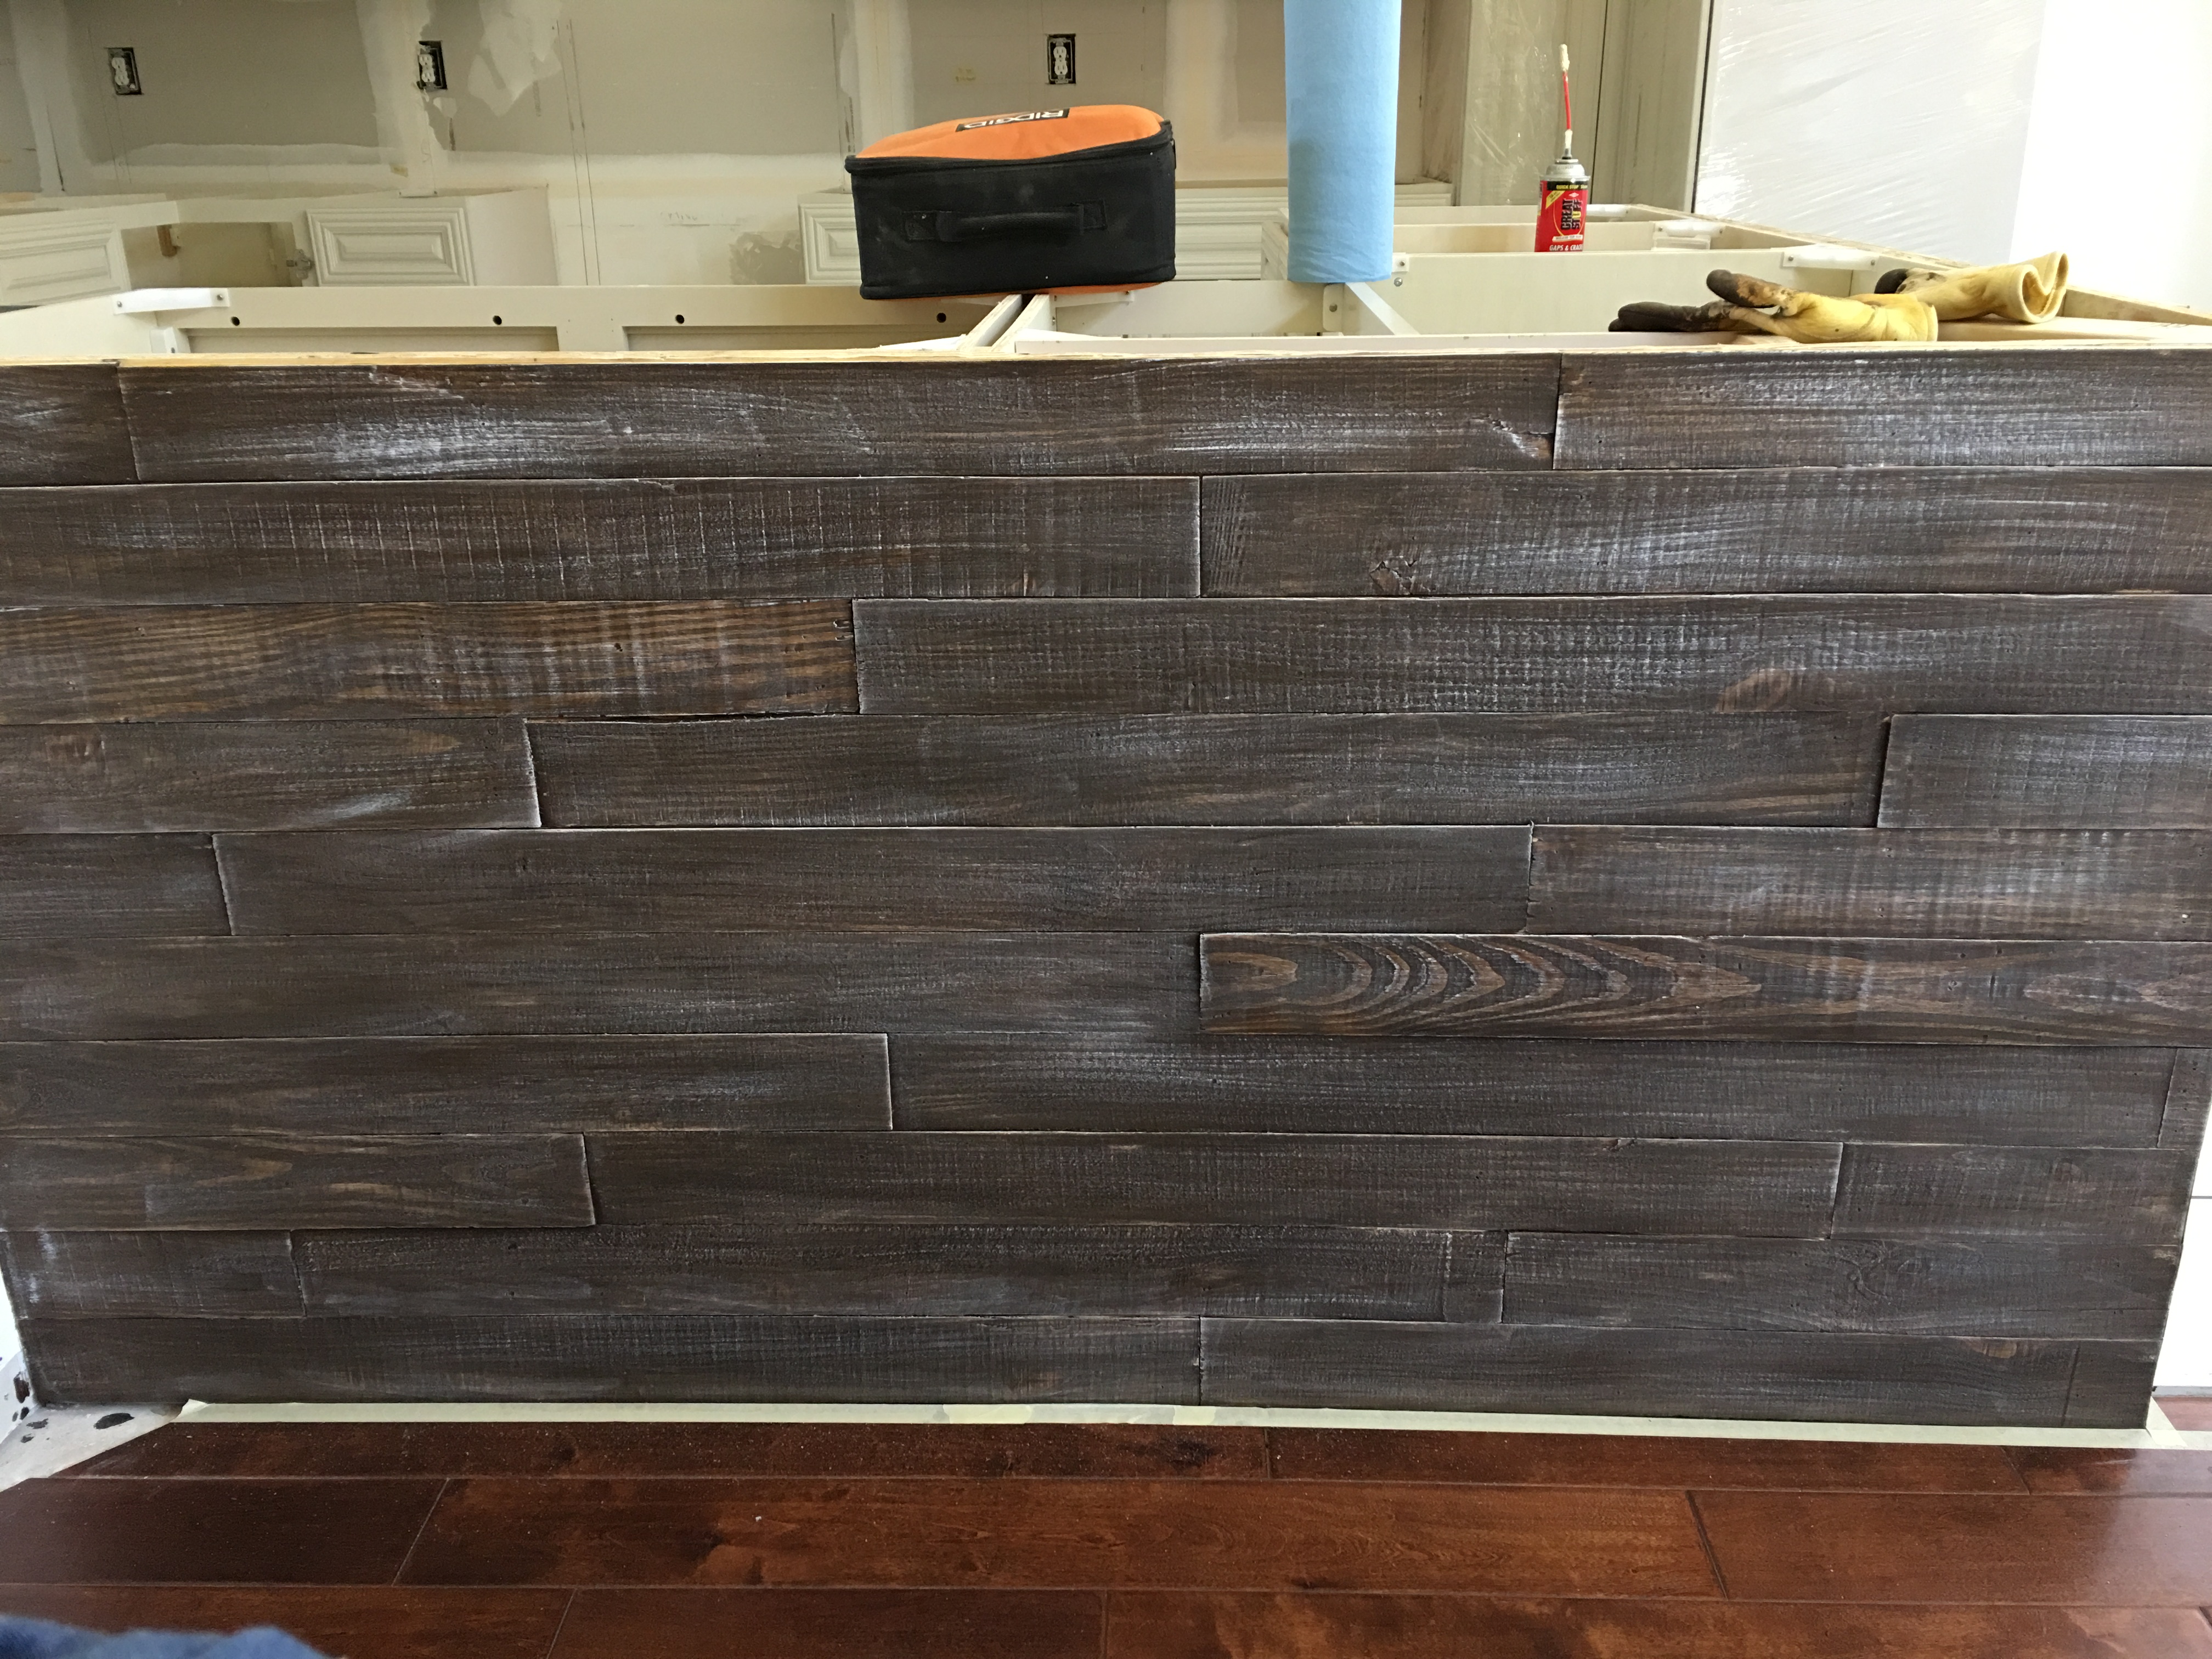
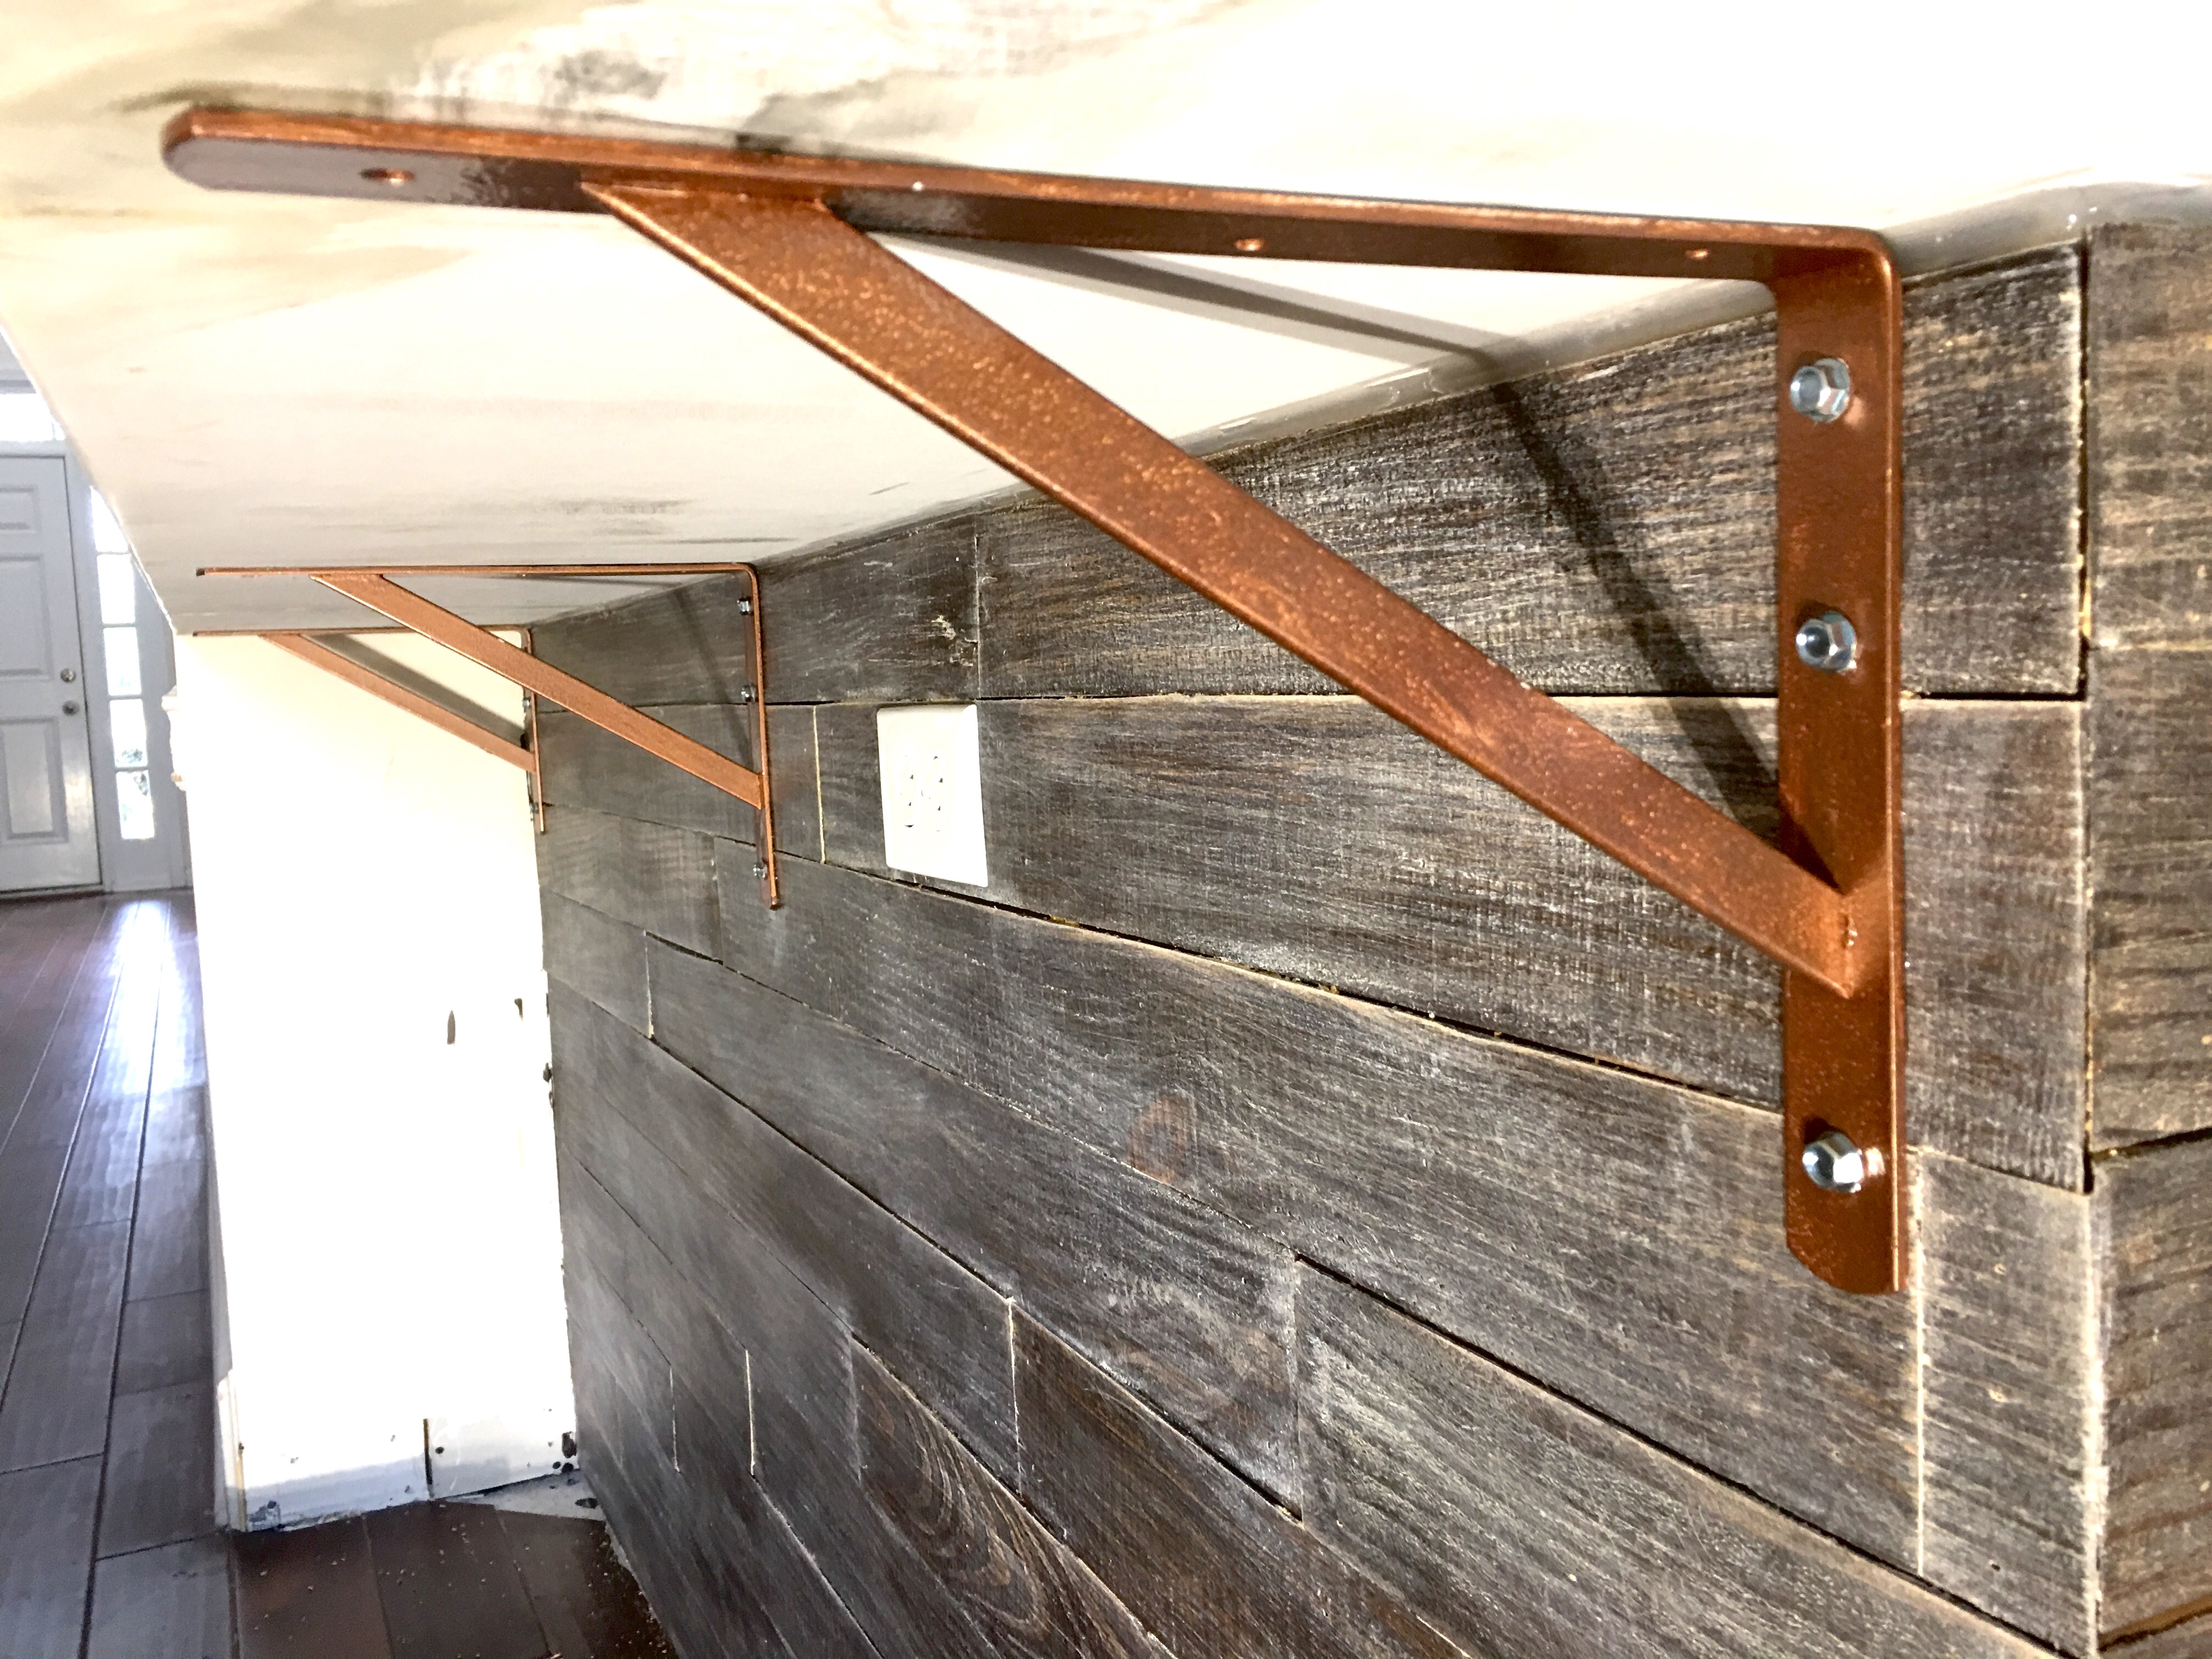
7. Throw a wild dinner party.
You’re done! We were super stoked at the color and textural contrast between our pristine white, marble-looking quartz countertops and our gray-brown pallet cladded peninsula. What do you think? We opted to tie in the 6.5ft custom wood range hood (part II) with the same finish. What’s your overall color and texture and material palette for your home? Love it as-is or get your hands dirty and reno something.


Oh Wow, you two!!! I might admire you more than any couple on the planet!!!
I am so impressed with every aspect of your blog!!! Clever writing and perspective,
such relevant subject matter, fabulous photos, great details for the DIY crowd!
Simply smashing!!!
How do you have the time??
Your fan, Auntie Laurie
Auntie! Thanks so much for the shout out. Really appreciate all of those kind words. So glad to have a fan in the family.