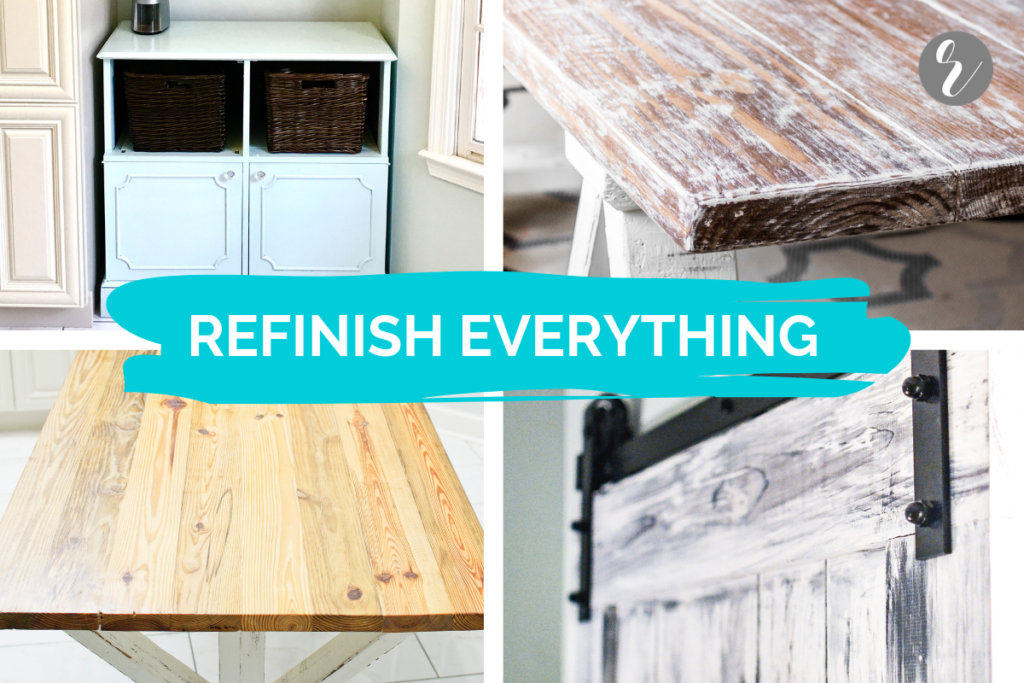
How do you finish a wood piece to match your home’s overall design aesthetic? So glad you asked.
Stain by itself provides a warm and sometimes luxurious vibe to raw woods. But you’re aiming for a little more visual interest.
Paint is clean, fresh and homogenous. It offers one strong or subtle note to your design.
Layering is the key to visual interest.
Why not combine both stain AND paint to upgrade your piece from average to awe-inspiring?
Add your favorite brown stain. Dry brush paint or whitewash over the stain. Sand to blend the two colors together.
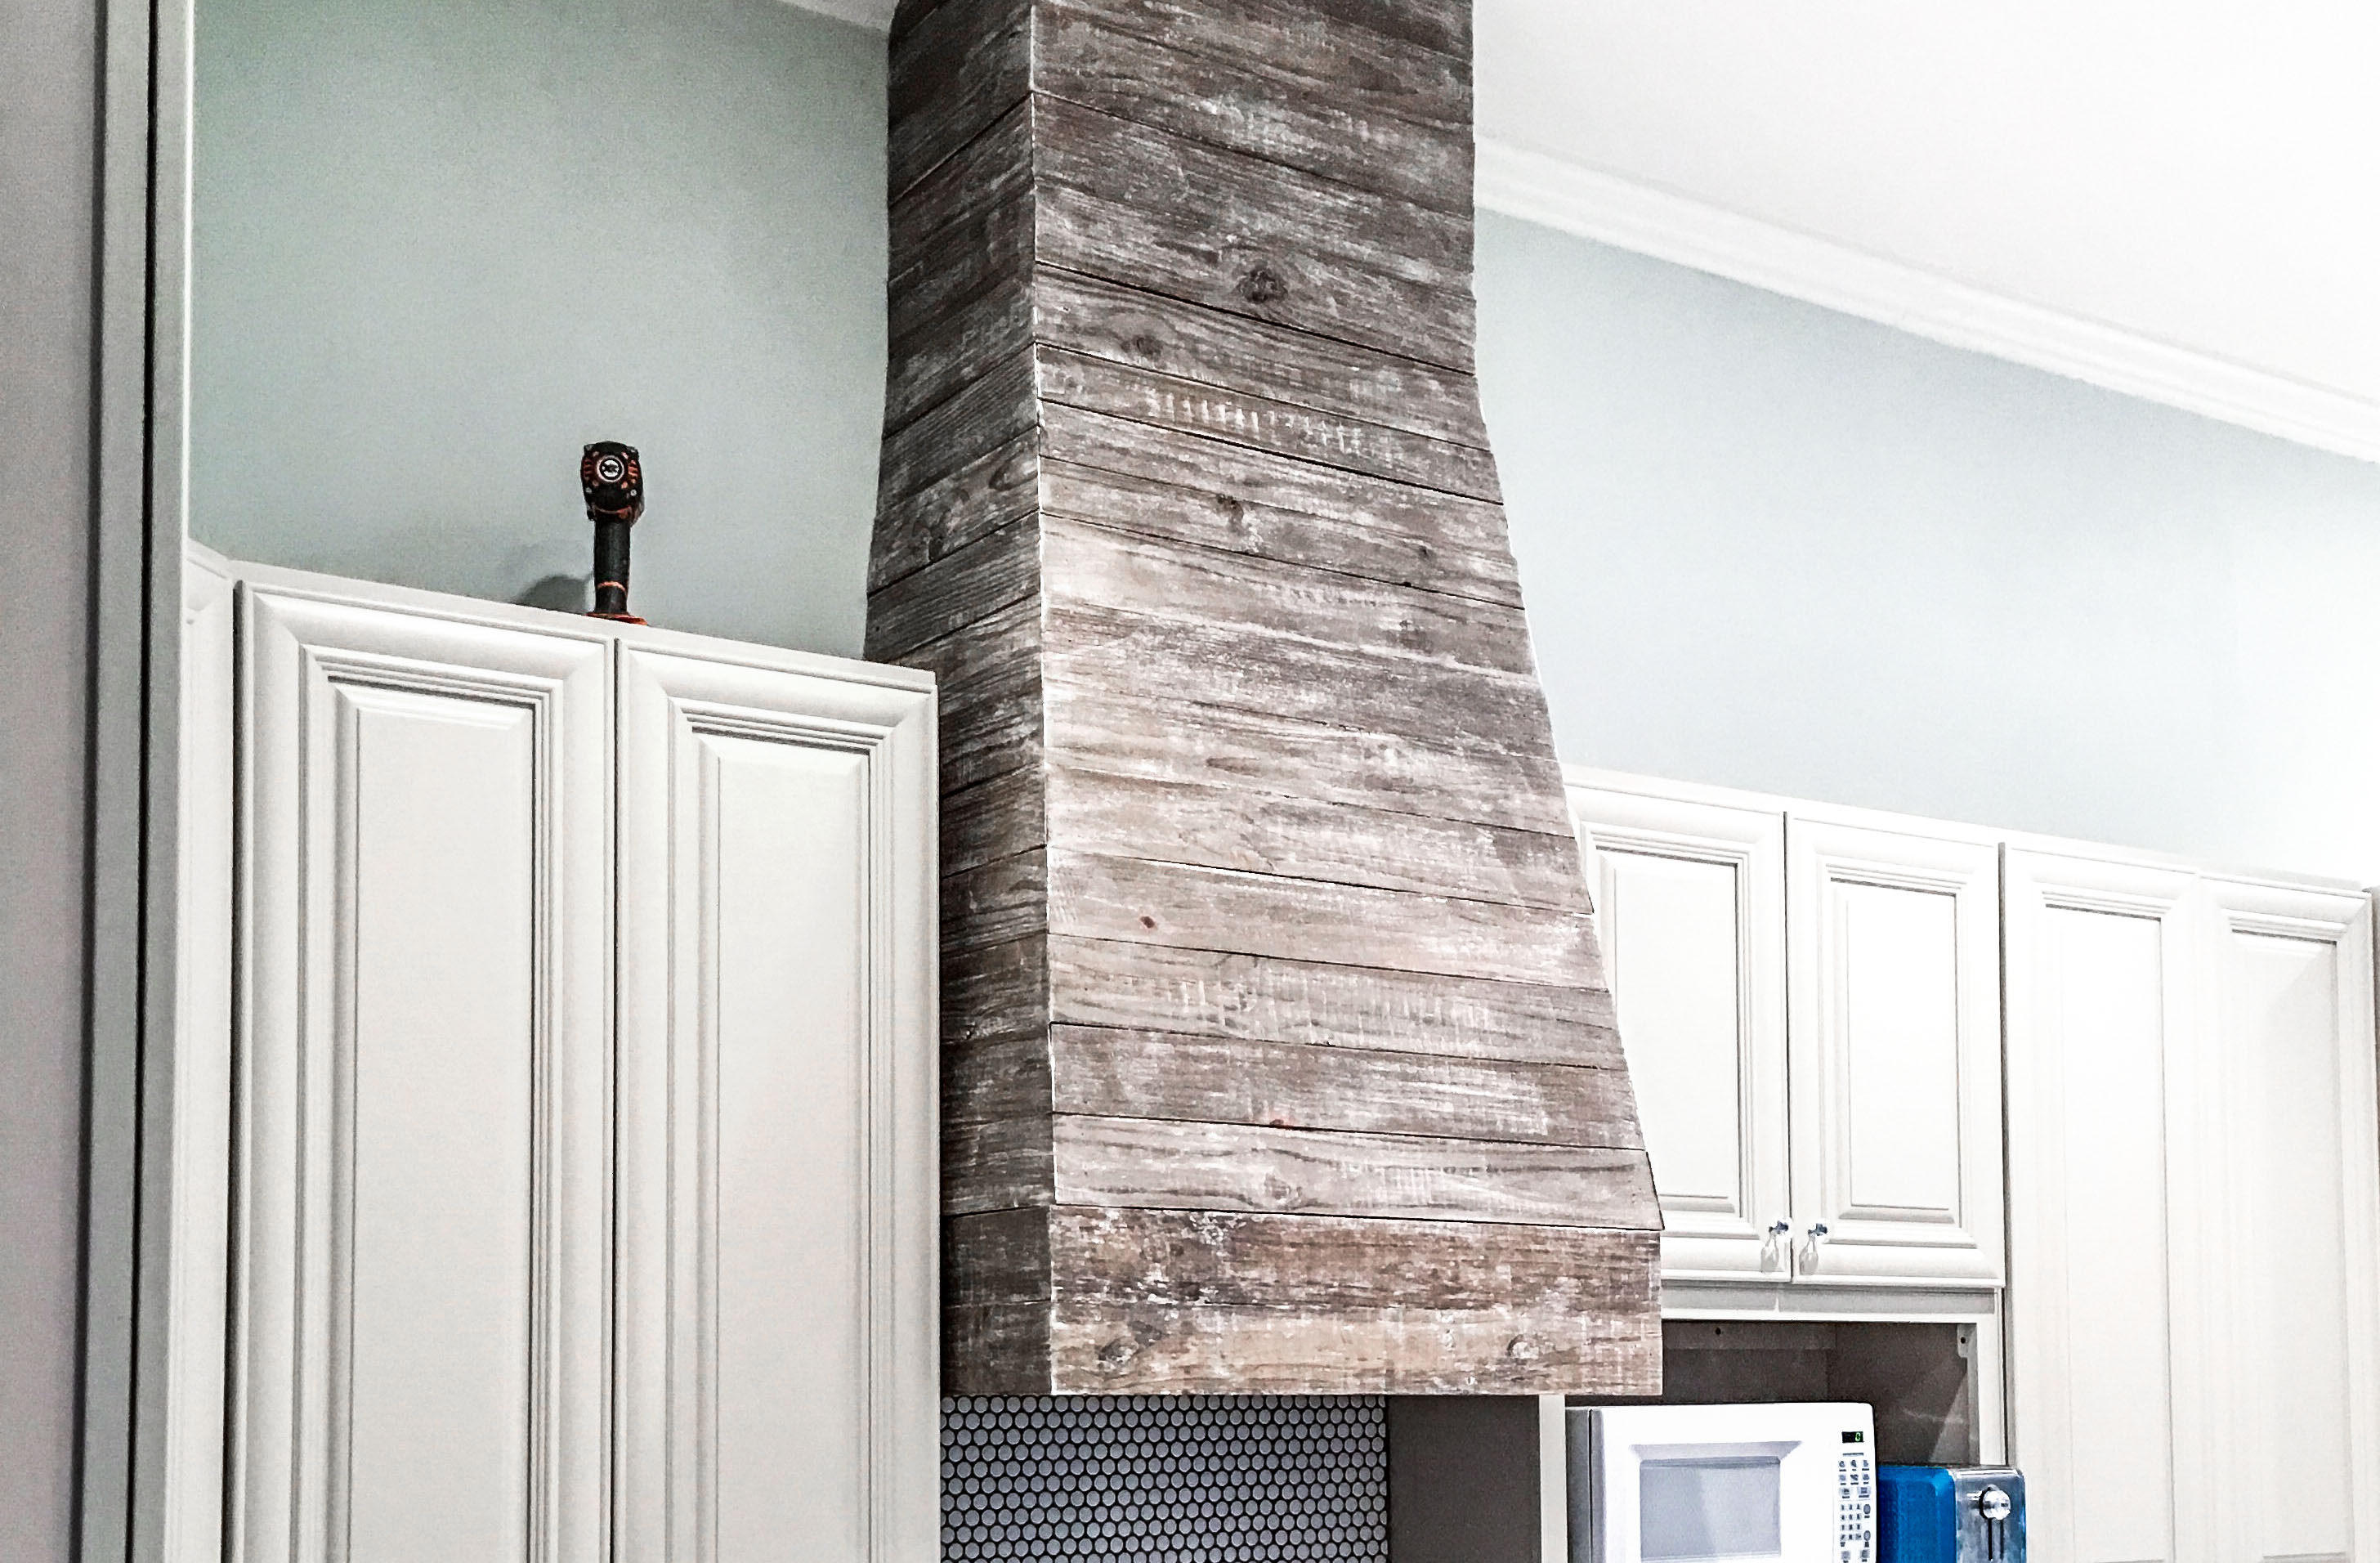
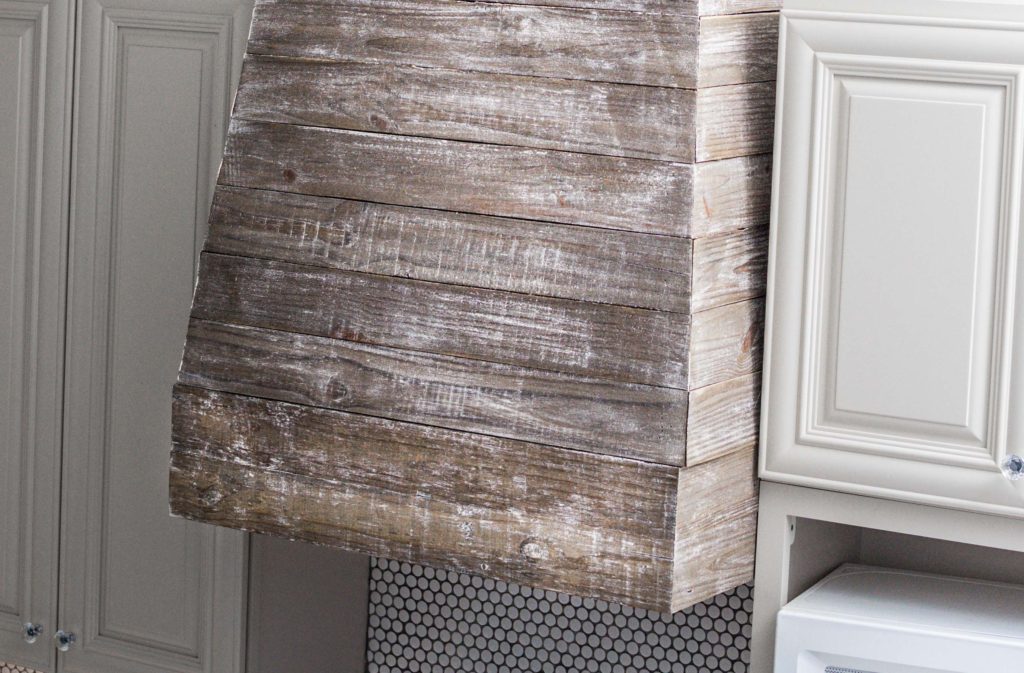
The result is cohesive. Spontaneous and evenly distributed lighter colored paint over a mid-toned brown stain without any noticeable red pigmentation. It’s one form of antiquing. You’re creating a custom piece that either fools guests into thinking it’s truly aged and weathered over the years OR an artist completed the project. You win in both cases.
Note: this wood finishing tutorial is appropriate for most home projects using various types of wood. Try it on your kitchen peninsula pallet wood cladding, pallet crates, side tables, farmhouse table, coffee table, dresser, etc. The creative possibilities are practically endless.
The range hood.
When you’re *figuratively* fed-up with your cast iron skillets smoking up your kitchen and high-fiving your smoke alarms, you install a range hood. Actually happened. Our life for a few years before we got smarter about how we vent our kitchen fumes.
Our favorite is the Z Line Deep Stainless Steel Range Hood Insert for ~$600 or less. 900 CFM of air-pulling power. 1.2 sones (~30 dB) on the lowest setting. 7 sones (~56 dB) on the highest setting aka the noise equivalent of being in an office. Cheaper hoods may only pull 200 CFM. Home Depot’s AKDY brand only pulls 400 CFM, but might max out at a screaming ~18 sones (~69 dB), e.g. being in busy traffic. Don’t put your baby under our fave range hood (just kidding, probably). It’s unfinished – you have to cover or clad it with decorative wood or metal.
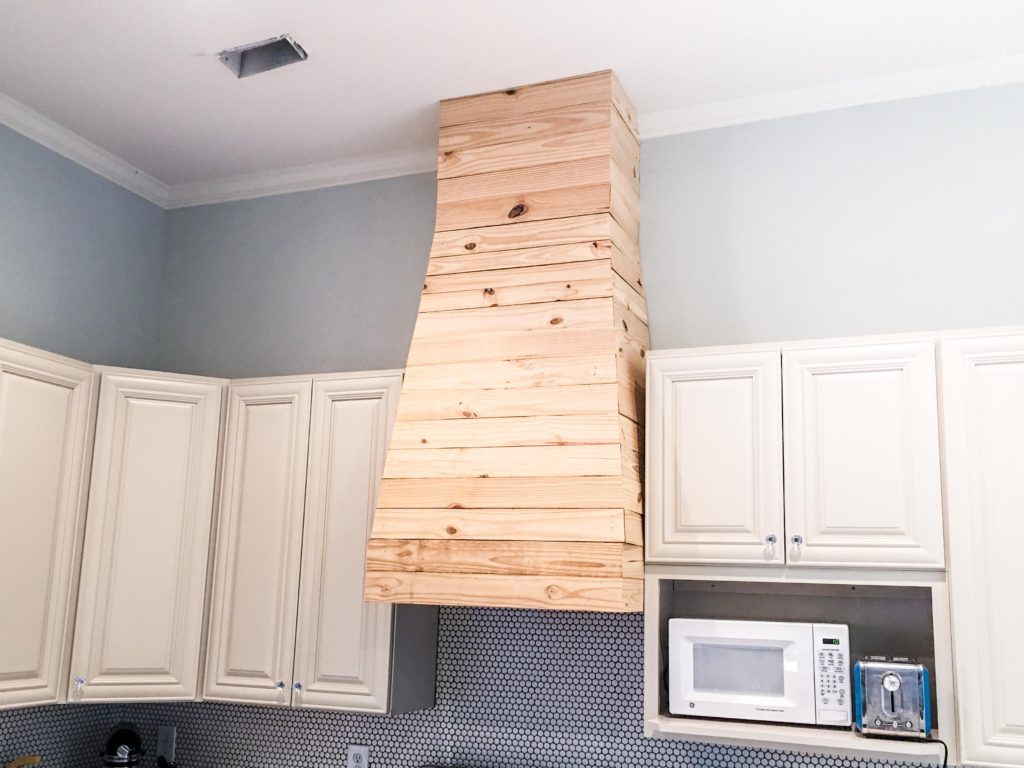
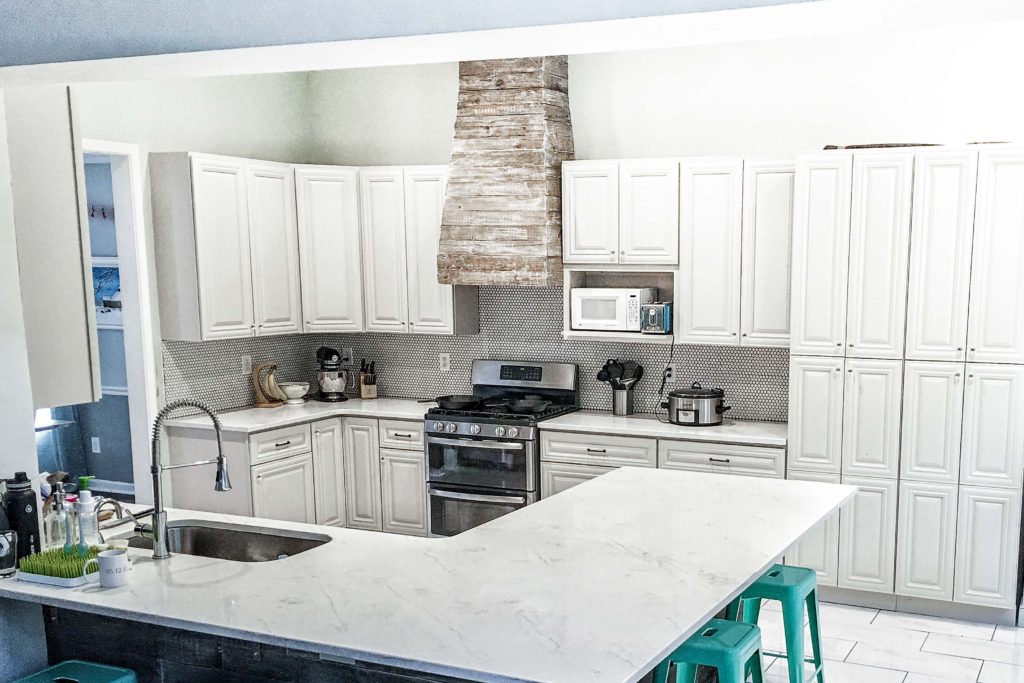
We opted to cover it with raw, unused, pine pallet wood. No plan for the build – it’s a custom build & fit for our kitchen. If you’re installing your own cabinets, or having them installed for a new house, allow a 30” gap between the cabinets on either side of the range hood area if you have a 30” wide range. Otherwise, match your range width. The 28” wide range hood insert will allow a 1” thick board on either side. And 1” dimensional boards are actually ¾” thick, which is perfect. ¼” play offers wiggle room.
In our first house, we vented the range hood outside with a hole in our garage wall and outside siding. The second house, shown in this tutorial, allowed a direct line of ducting to the outside through brick siding.
Note on cutting through brick: use a rotary hammer drill with core bit sized to fit your vent ducting. Keep the bit cool or risk dulling the diamond coating.
Note on range hood height: this particular Z Line product recommends installing the insert at 30” to 36” above the countertop.
I’m chatted out. Let’s make something stunning. Here’s how:
How to stain, paint and wax your rustic wood.
Rustic table of contents.
- Materials.
- Tools.
- Budget.
- Step 1. Order the materials on Amazon.
- Step 2. Build or buy your wood piece.
- Step 3. Apply stain.
- Step 4. Dry brush with paint.
- Step 5. Sand by hand.
- Step 6. Apply wax.
- Step 7. Second coat of wax.
Materials.
- Wood stain. We used Rust-Oleum’s Varathane Early American stain. ~$20 on Amazon or ~$10 at Home Depot per quart.
- White paint. We chose a Rust-Oleum heirloom white spray paint color match in a can of Behr base paint at Home Depot. Or any leftover neutral white paint will do. Test it before applying! ~$15 per quart. Buy a gallon to save money on multiple projects.
- Paste finishing wax. 16 oz can for ~$16.
- Paint brush. 5-piece kit for ~$9. That’s ~$0.60 per brush.
- Blue shop towels. ~$2 per roll.
- Nitrile gloves. ~$0.20 per pair. We’ll budget to use 3 pair for this tutorial.
- Sandpaper sheets. ~$6 for an assorted 5-pack.
- (Optional) Tarp. 8’ x 10’ for <$10.
- (Optional) Pre-stain wood conditioner.
Tools.
- (Optional) Orbital sander + sanding discs.
Budget.
- All materials cost = $60.20.
- All materials cost for DIY regulars = $0.
- The range hood finishing project cost us $0 because we already had every item in stock in our shop (aka garage).
Step 1. Order the materials on Amazon.
- The must-haves. Stain. (Use some leftover white paint or hit up Depot). Wax. Paint brush. Shop towels. Nitrile gloves. Sandpaper.
- Pre-stain wood conditioner. Soft / nonporous woods like pine don’t absorb stain effectively or evenly, yielding a splotchy aesthetic. This isn’t necessary in our case since we’re dry brushing white paint over the stain. In this rare case, the stain splotches actually add more character to the piece. If stain is the final color-add, then ALWAYS use pre-stain wood conditioner before staining pine.
- Orbital sander. The refinisher’s essential tool. Don’t make the same mistake we did: buying a cheapo electric sander that takes three times as long as the orbital. Noob error. Save up and make the wiser investment.
- Belt sander. The power sander designed for flat surfaces ONLY. Faster material removal than an orbital, but with a limited scope. If you’re into sanding / finishing / refinishing tables of all types.
Step 2. Build or buy your wood piece.
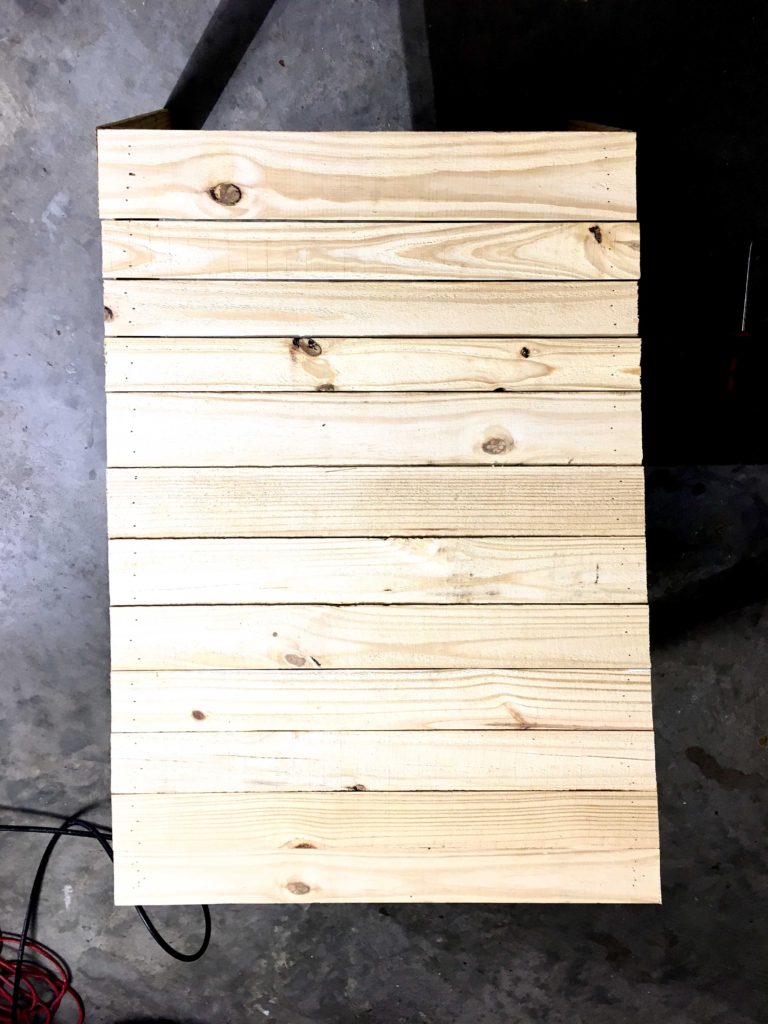
- This tutorial uses a custom built wooden range hood cover, but you can finish ANY decor or furniture piece with stainable wood.
- Sanding. Consider sanding your piece for a smoother feel. Otherwise leave it completely raw for a rustic feel. Use an orbital sander for flat and slightly curved surfaces. A belt sander for flat surfaces only. And use sandpaper by hand for the details, nooks and crannies.
Note on refinishing furniture. You can only stain a piece that is real wood. And stain will NOT be absorbed into the wood grain unless the clear coat (polyurethane) and pre-existing stain or paint is completely removed. Paint stripper might be necessary.
Step 3. Apply stain.
Test your stain on a similar piece of scrap wood to ensure it’s a fit.
- Put on nitrile gloves or enjoy the weeklong, childlike fashion statement of pigment-splotched hands. Throwback to art class.
- Open your can of stain and thoroughly stir with a wooden paint stir stick for at least 1 minute. Ideal staining and painting conditions: at least 70ºF and no more than 50% humidity.
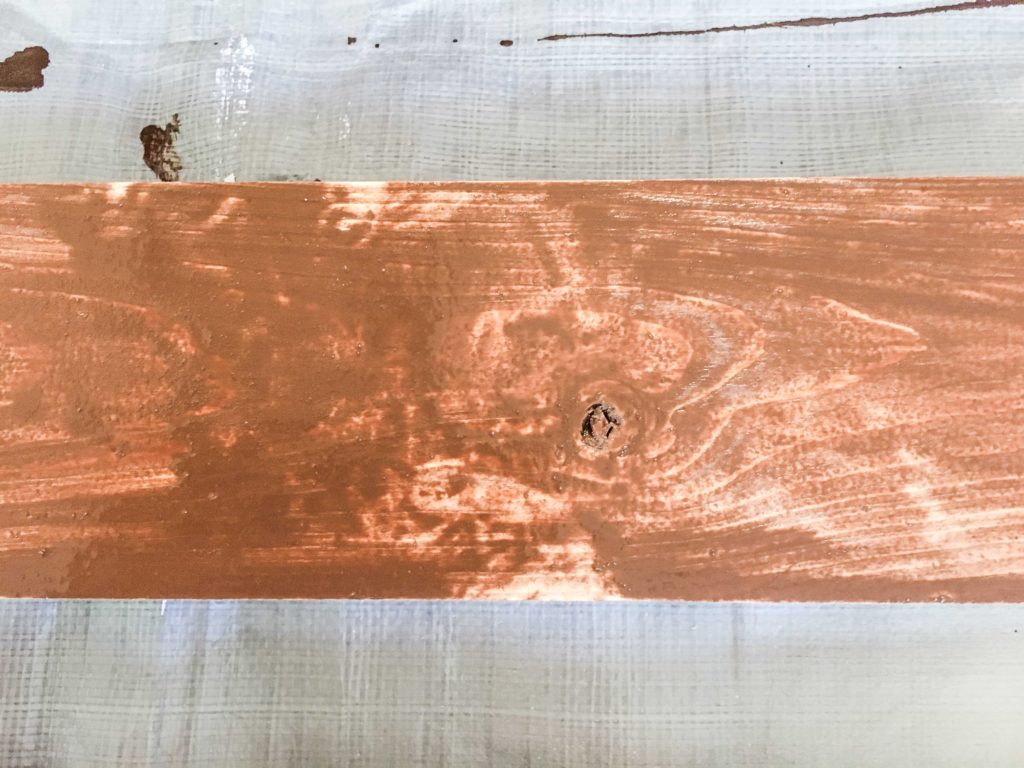
- Generously apply stain to your piece with a shop towel until no raw wood is visible.
- Allow the stain to penetrate the wood grain for 5-10 minute before removal.
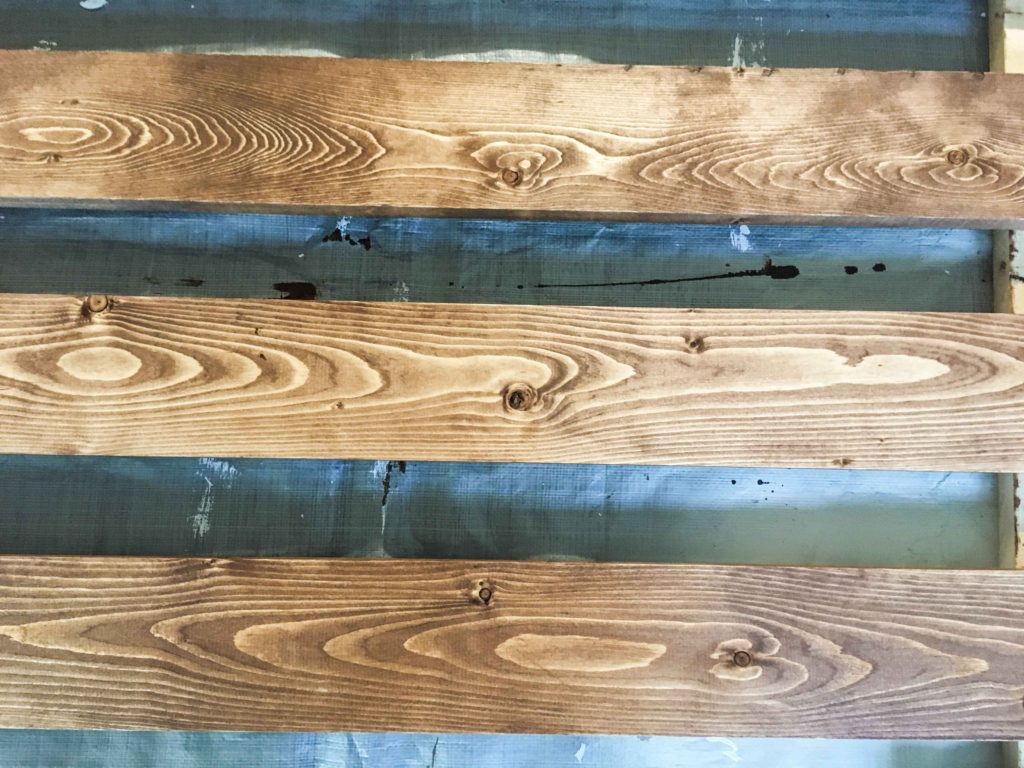
- Vigorously remove ALL stain with a new shop towel.
- Let dry for at least 1 hour in ideal conditions. Allot much longer dry times in nonideal conditions.
Step 4. Dry brush with paint.
Dry brushing is unevenly & sporadically applying very little paint to a surface with a paint brush. An antiquing technique. Test it on your stained wood scrap.
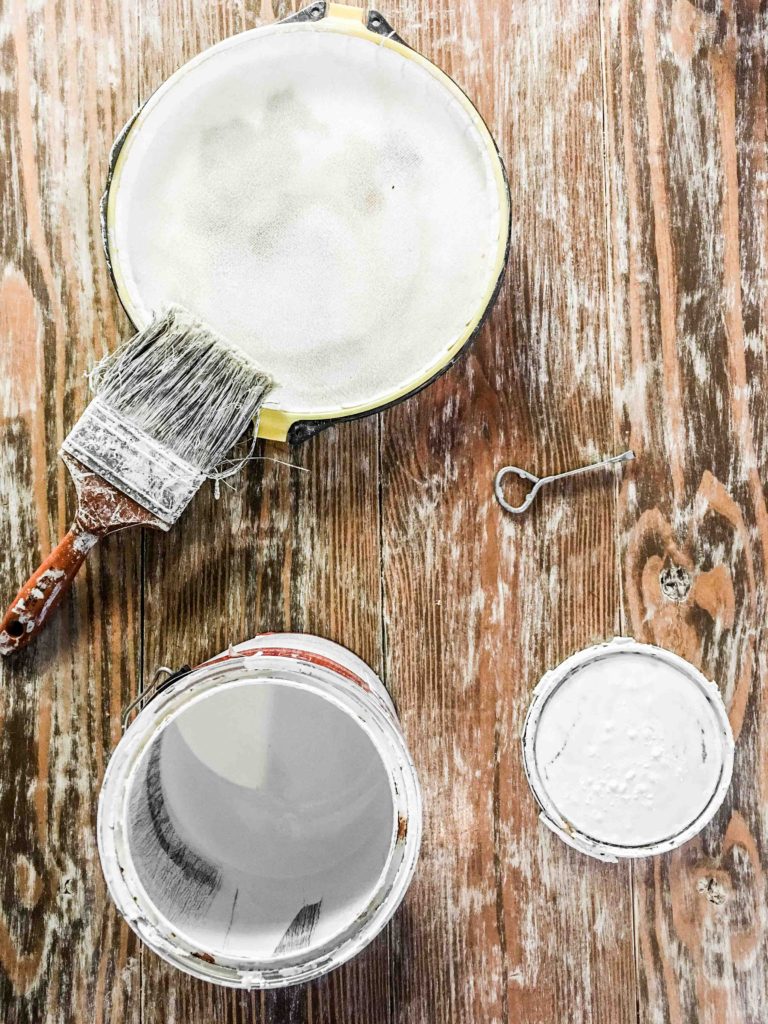
- Open your can of paint and thoroughly mix with a wooden paint stir stick for at least 1 minute.
- Dip the paint brush into the paint and remove most of the paint on a scrap surface, e.g. cardboard or old plywood or a few layers of newspaper.
- With minimal bristles-to-wood contact, rapidly and sporadically apply paint to the wood. Repeat this process until the entire piece is streaked with white paint.
Step 5. Sand by hand.
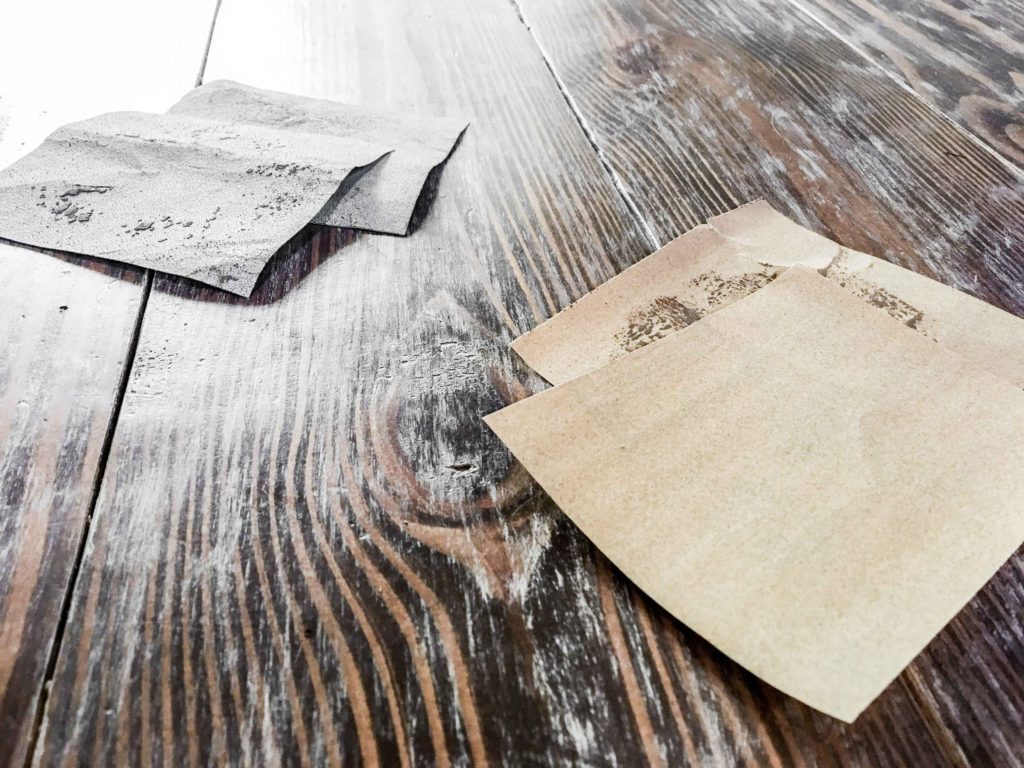
- Soften the dry brushed streakiness with sandpaper. Blend the white paint into the brown stain. Your aim is to make the new aesthetic appear to be naturally achieved instead of hand-painted.
- Sand with 60 grit for very heavy removal and visual “scratching”. The rustic approach.
- Sand with 150 grit for medium removal and a mixture between scratching and softening.
- Sand with 220 grit for light removal and softening. Our favorite. Though it takes the longest of all options.
Step 6. Apply wax.
For a heavier protective coating, use water-based polyurethane.
- Open your can of paste finishing wax and apply a generous amount to every stained and dry brushed surface.
- Rub the wax into the wood until relatively smooth. Remove all excess. Rustic-grade wood will require MUCH more wax to fill the dips and crevices.
- Allow the wax to dry for 15 minutes.
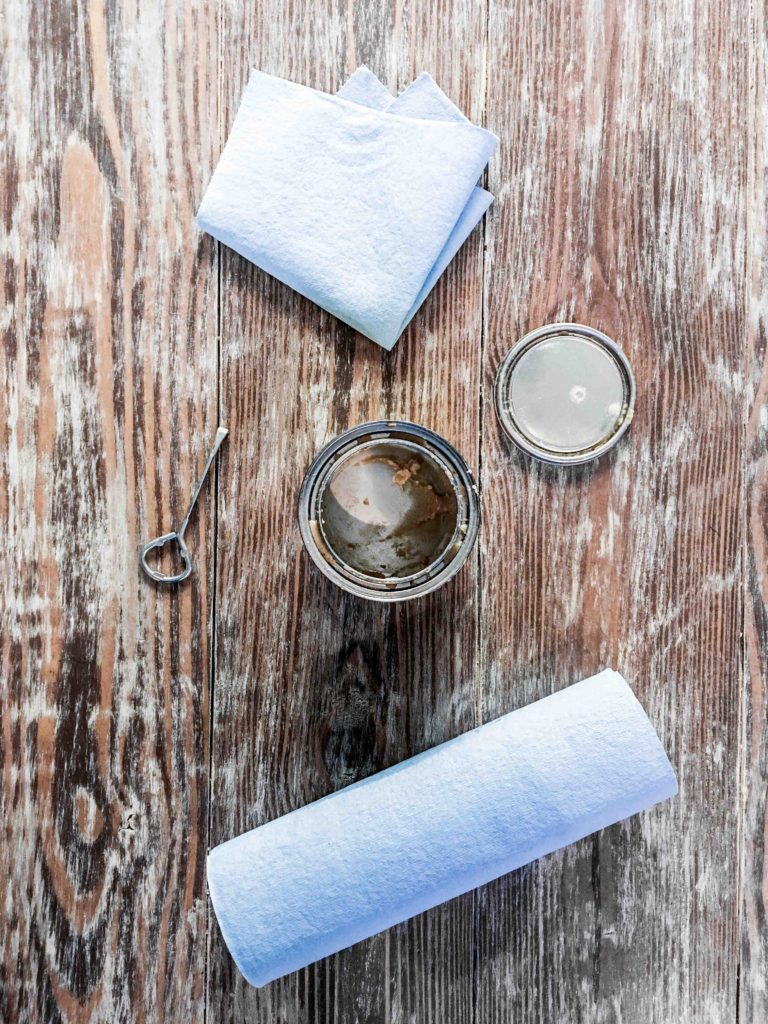
Step 7. 2nd coat of wax.
- Repeat Step 6 and apply a second coat of wax for optimal protection.
- The wax will add a warm luster to the stained and painted wood.
- Let the second coat dry for 15 minutes.
- Polish the wax with a fresh shop towel using very fast hand motions and very little pressure.

Home design inspiration.
Check out our favorite wood finishing tutorials. Get a little home inspo. And then try all of them.

