The Dilemma
You’re in your kitchen, eyeing your built-in recirculating fan underneath your microwave. Sexy. But when you turn up your home cooked cuisine, it seems to better function as a white noise machine than a stovetop exhaust cleaner. Or perhaps you have the upgrade. A minimal footprint range hood that appears to remove vaporized fats and steam into the wild outdoors, but actually just recirculates. No big deal for the occasional pan-wielder and watch-pot-ist. Different story for the regulars with their grill pans, cast iron skillets, woks and big ol’ stainless steel fry pans.
The Woes of no Range Hood
*Smoke alarms goes off (again).*
*Smoke alarm doesn’t go off because you disconnected it for cooking purposes (totally safe).*
*Smoke alarm still attached, but your floor fan is strategically positioned at the smoke alarm to diffuse your burnt pan gases.*
*The scent of your delicacies are permeating nostrils even to the farthest bedroom & bathroom in your home. That’s one way to ventilate.*
*The cabinets above and adjacent to your range are sticky and perpetually moist (ew).*
*Gaze upward and observe that your traditionally eggshell-finish ceiling paint has yellowed and has a high-gloss (grease) sheen, but only directly above the stove (double ew).*
Dreaming about a new range hood, perhaps? So was I. When we bought our short sale, our above-range microwave probably hadn’t been cleaned in several years. No slightly damp paper towel or wax paper ever covered a single reheated red-sauce-splosion in this box of electromagnetic radiation. So we ripped it out on day one. And ripped out the narsty cabinet directly above it. Then switched to an iron skillet. Shortly followed by our personal experience with each asterisked item above.
Renovation motivation was at its apex. Here’s what we did next, and you should too:
0. Confirm there’s an outlet somewhere above the range.
1. Buy a range hood insert.
You’ve got a plethora of options: wall mounted, island and under cabinet. Wall mounted made the most sense for us, so we assessed even more prefabricated options: copper, stainless steel, wood, and metal with glass. One speed, two speed or four speed fan? How much air pulling power do we need? This is measured in CFM or cubic feet per minute. The $180 metal option at Depot pulled 400 CFM max with a decibel level of 65. We measured the distance between our cabinets, and 30″ was the move. Even at 30″ the price “ranged” from ~$320 for a loud, basic metal hood to a ~$720 hammered copper hood to a ~$1,350 wood hood with crown. But we were hoping for a custom-look like every other entitled millennial with no money (custom = thousands, and thousands = another imminent short sale). To the sweat-subsidizing DIY cave!
Could we purchase a range hood insert to save on cash, AND build a custom wood cover all under $1,000? Let’s see.
We landed on ZLINE’s 28″ Range Hood Insert for $529.95. When it’s on setting #2, it’s pulling 460 CFM at only 41 dB. Setting #4 pulls a whopping 900 CFM at 55 dB. That’s more than twice the air removal at 10 dB quieter. Sold. 28″ in order to make room for the wood cover, which leaves me 1″ on each side.
2. Attach range hood insert to the wall.
Finding studs is absolutely essential to the well-being of your face. The installation guide mandates a minimum of 30″ between your range and your indoor range hood. The paper instructions stated that the front of the insert must protrude out from the wall until covering half of the front range burners or more. Trust me. Don’t spend a couple hundo just to discover your hood only sucks air from the back burners and not the front ones.
Our LG range was 29.5″ deep, minus the 15″ insert is 14.5″, minus the distance from the range front to the middle of the front burner at 8.5″ and you’re left with 6″. Thus, I needed to build a 6″ deep framed box to attach the insert to for proper suckage.
Before attaching framed box to the wall, I attached the insert to the box by means of 4 bolt hole nuts (already built-in), 6 bolts at a matching thread, and 6 wing-nuts. The 4 bolt holes were concentrated around the bottom of the insert, so I drilled 2 new holes at opposing ends at the top of the insert. Then secured the insert to the box. Time to find those vertical 2x4s in the wall! Use a stud-finder and pencil the studs on the wall starting at the desired bottom of your insert and up to the range hood cover’s highest point. I’d recommend ceiling for a tight, clean, seamless aesthetic. Just account for any bevel in your hood cover’s design so you don’t have to paint over the graphite graffiti.
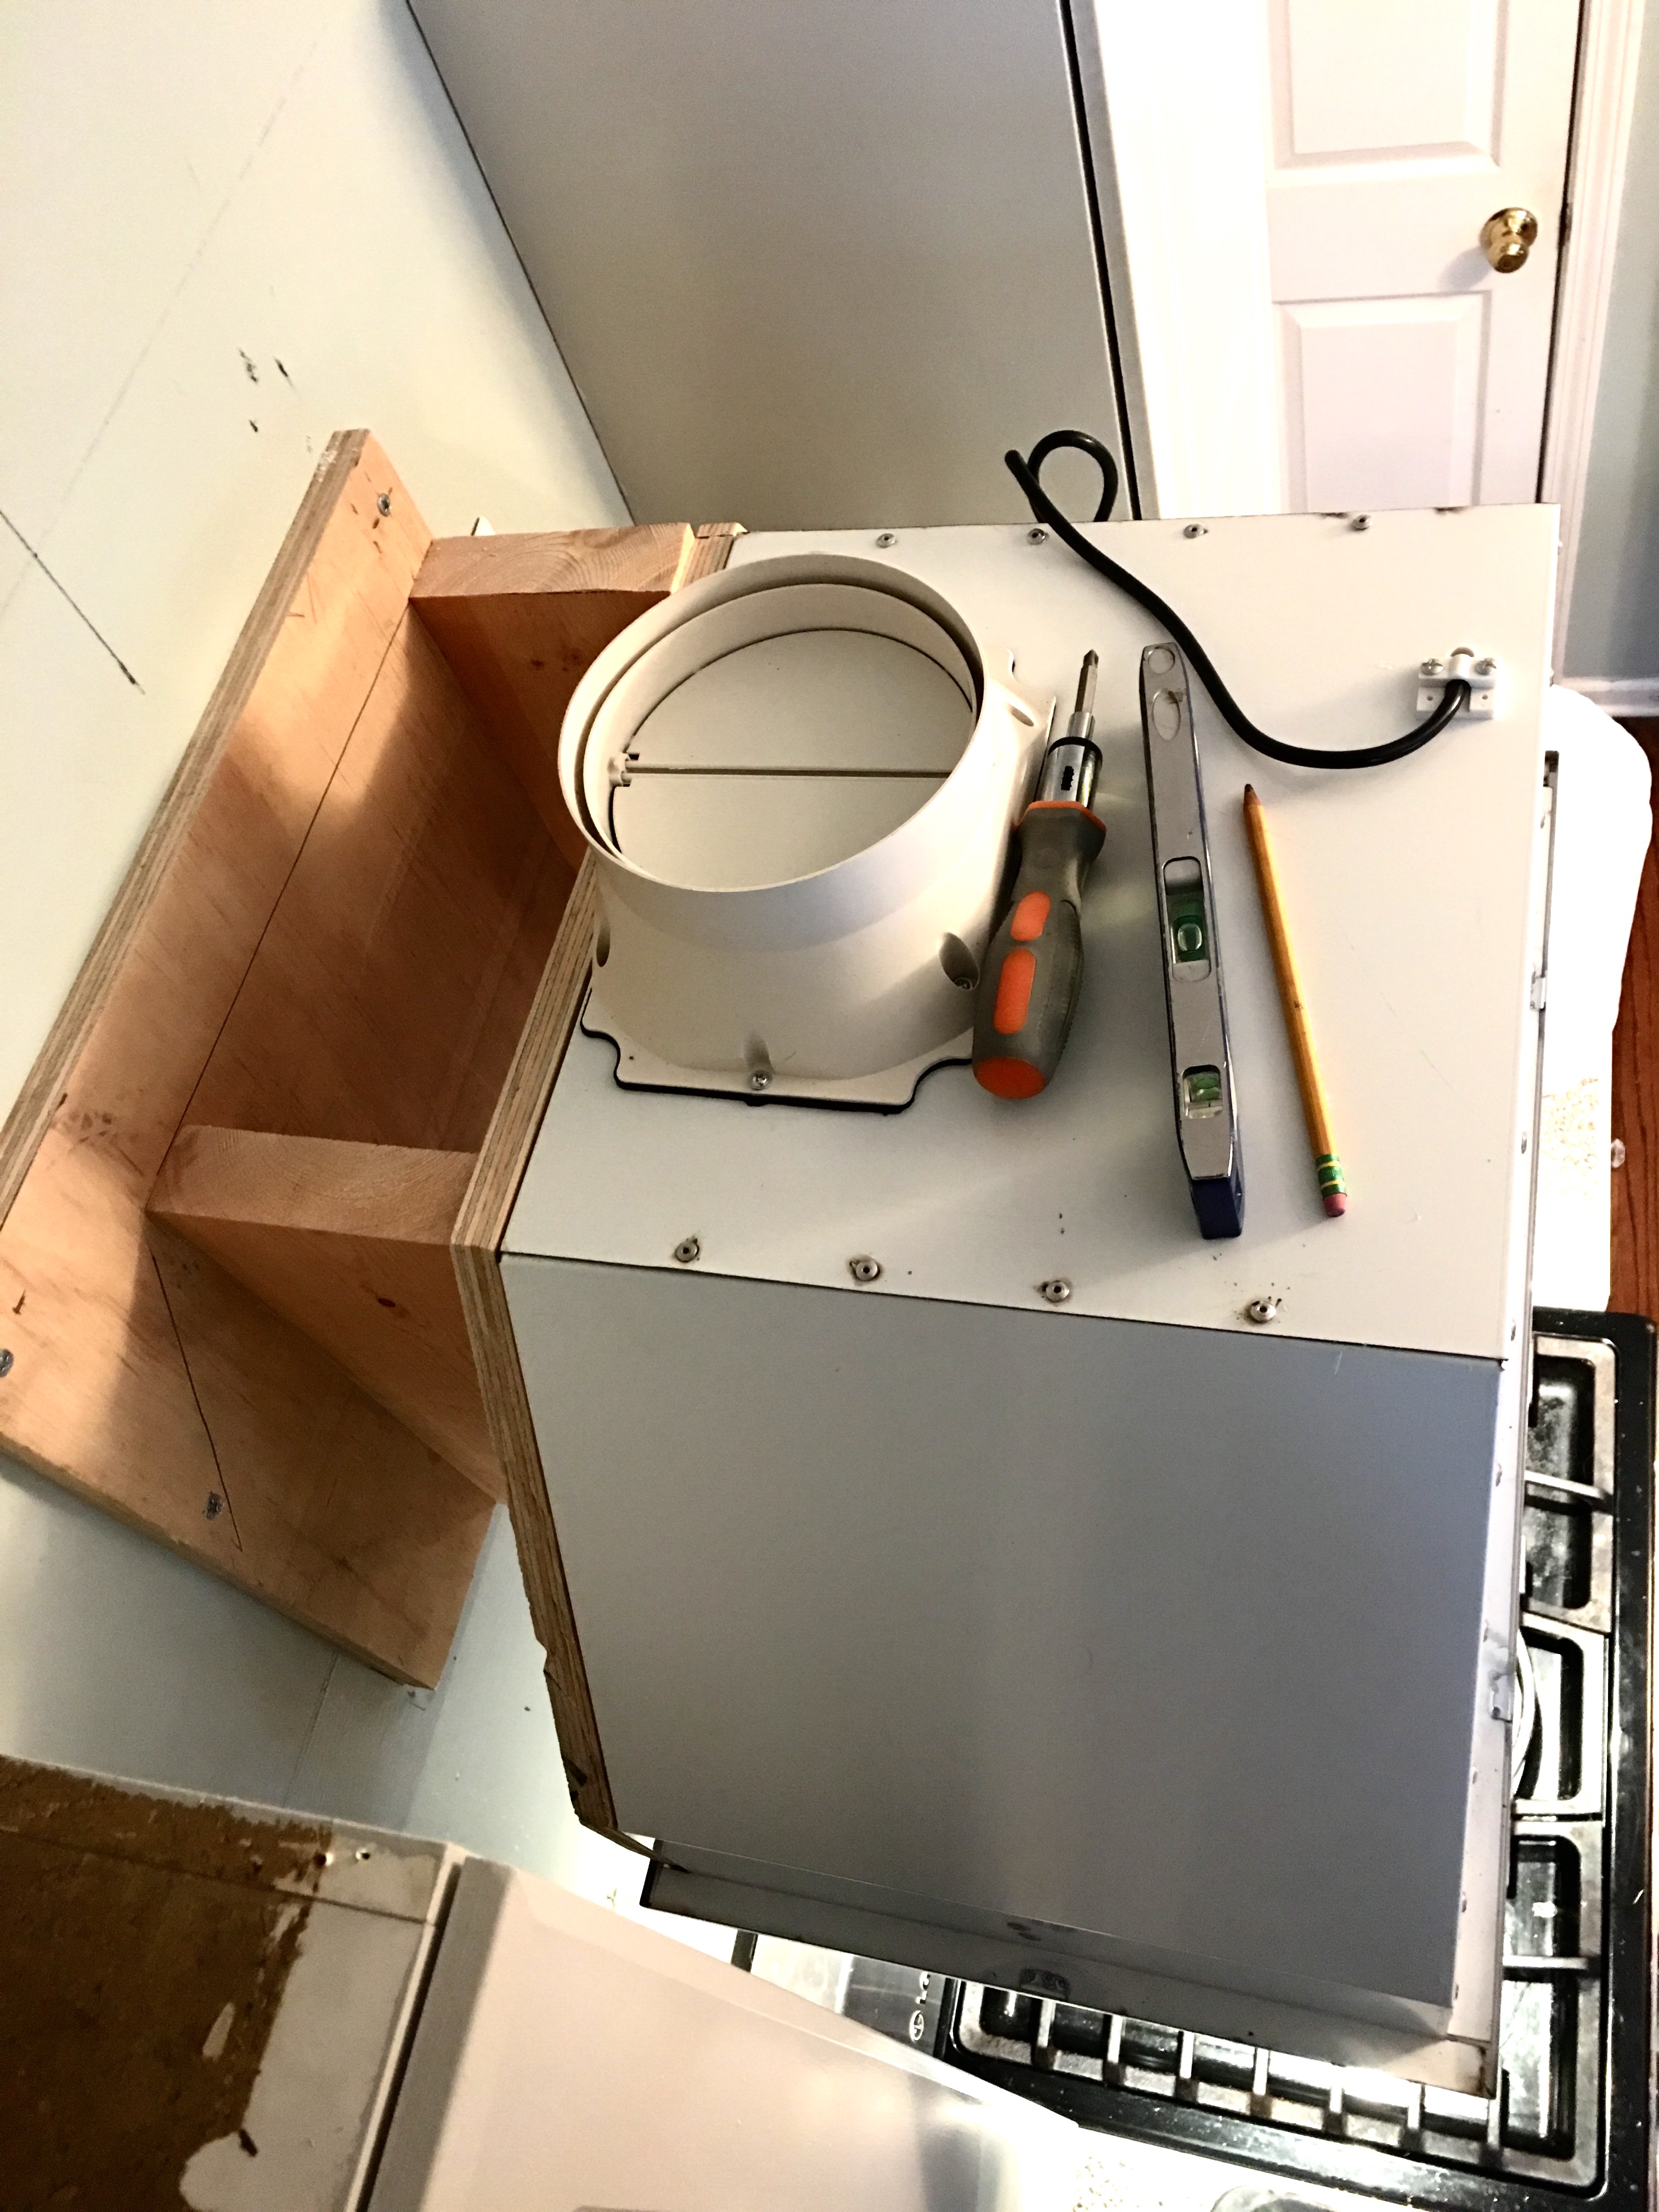
Slap that chunk on the wall! Consider 3″ deck screws, $9.37 for 66. Or 2.5″ pocket hole (PH) screws, $5.47 for 50. Aim for 4-8 screws through the frame into studs, well dispersed to provide structural integrity.
Plug that hunk into the outlet you confirmed was there at step 0. Turn it on to validate that it actually works.
3. Assemble ducting before cutting holes.
Next, attach the ducting transition piece that came with the kit (on top).
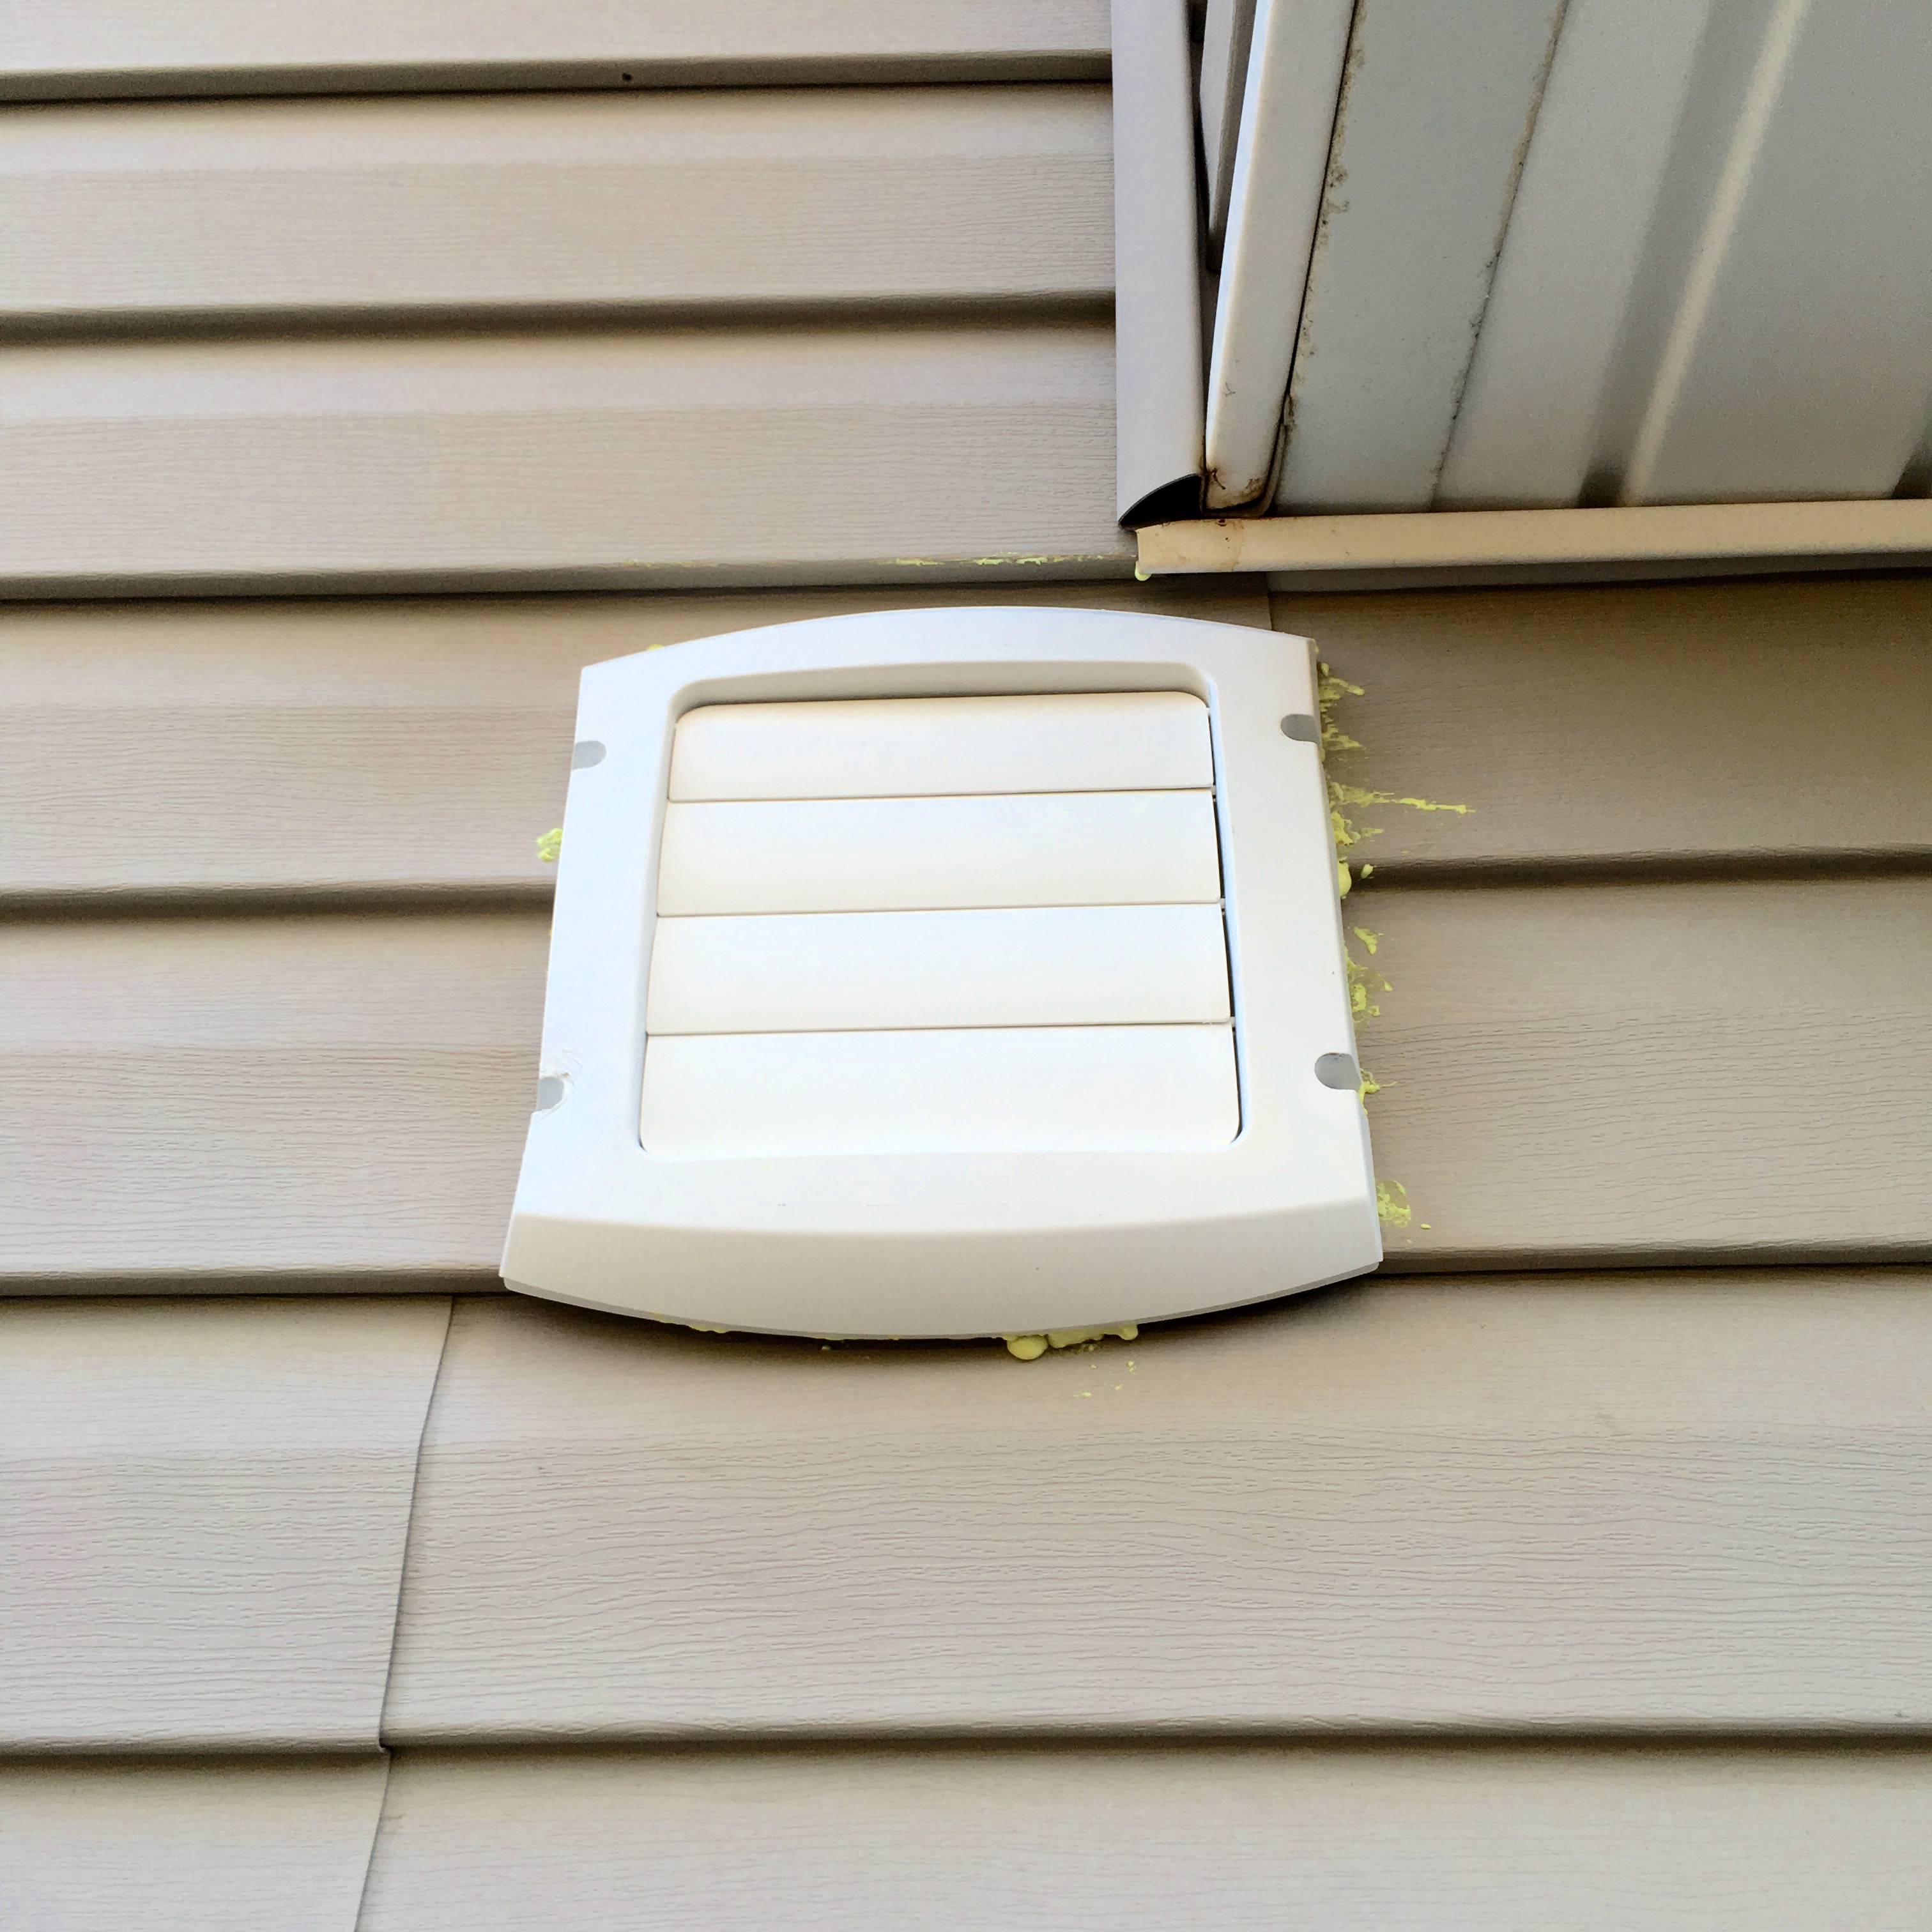
You may need to purchase the flexible 6″ (or appropriate) ducting at $13.98 for 8 ft or whatever length you need, 6″ duct clamp at $6.88 for 2, and some HVAC foil tape at $7.93 for a 50 yard roll. Before purchasing ducting, measure up the wall to where you’ll cut a hole. If it’s not an outside facing wall, measure the additional run through the garage (in my case), attic, or wherever necessary. My run totaled about 10 ft and required a second hole in the back of the house. The floating duct can be held up by perforated metal hanger straps ($12.98 for a 100 ft roll). If your duct needs to exit a vertical wall (and not the roof), snag a 6″ louvered exhaust hood for $15.88, a can of insulating foam sealant for $6.65, and a tube of clear silicone for $6.24.
Attach flexible ducting to the ducting transition piece with your handy dandy duct clamp, then foil tape the heck out of the entire joint to ensure little to no air can sneak through. Set aside the other end of the hanging duct and get ready. Left hand slap the Cowardly Lion and right hand slap Courage the Cowardly Dog because crap is about to get real.
4. Carefully blast through your wall at least once.
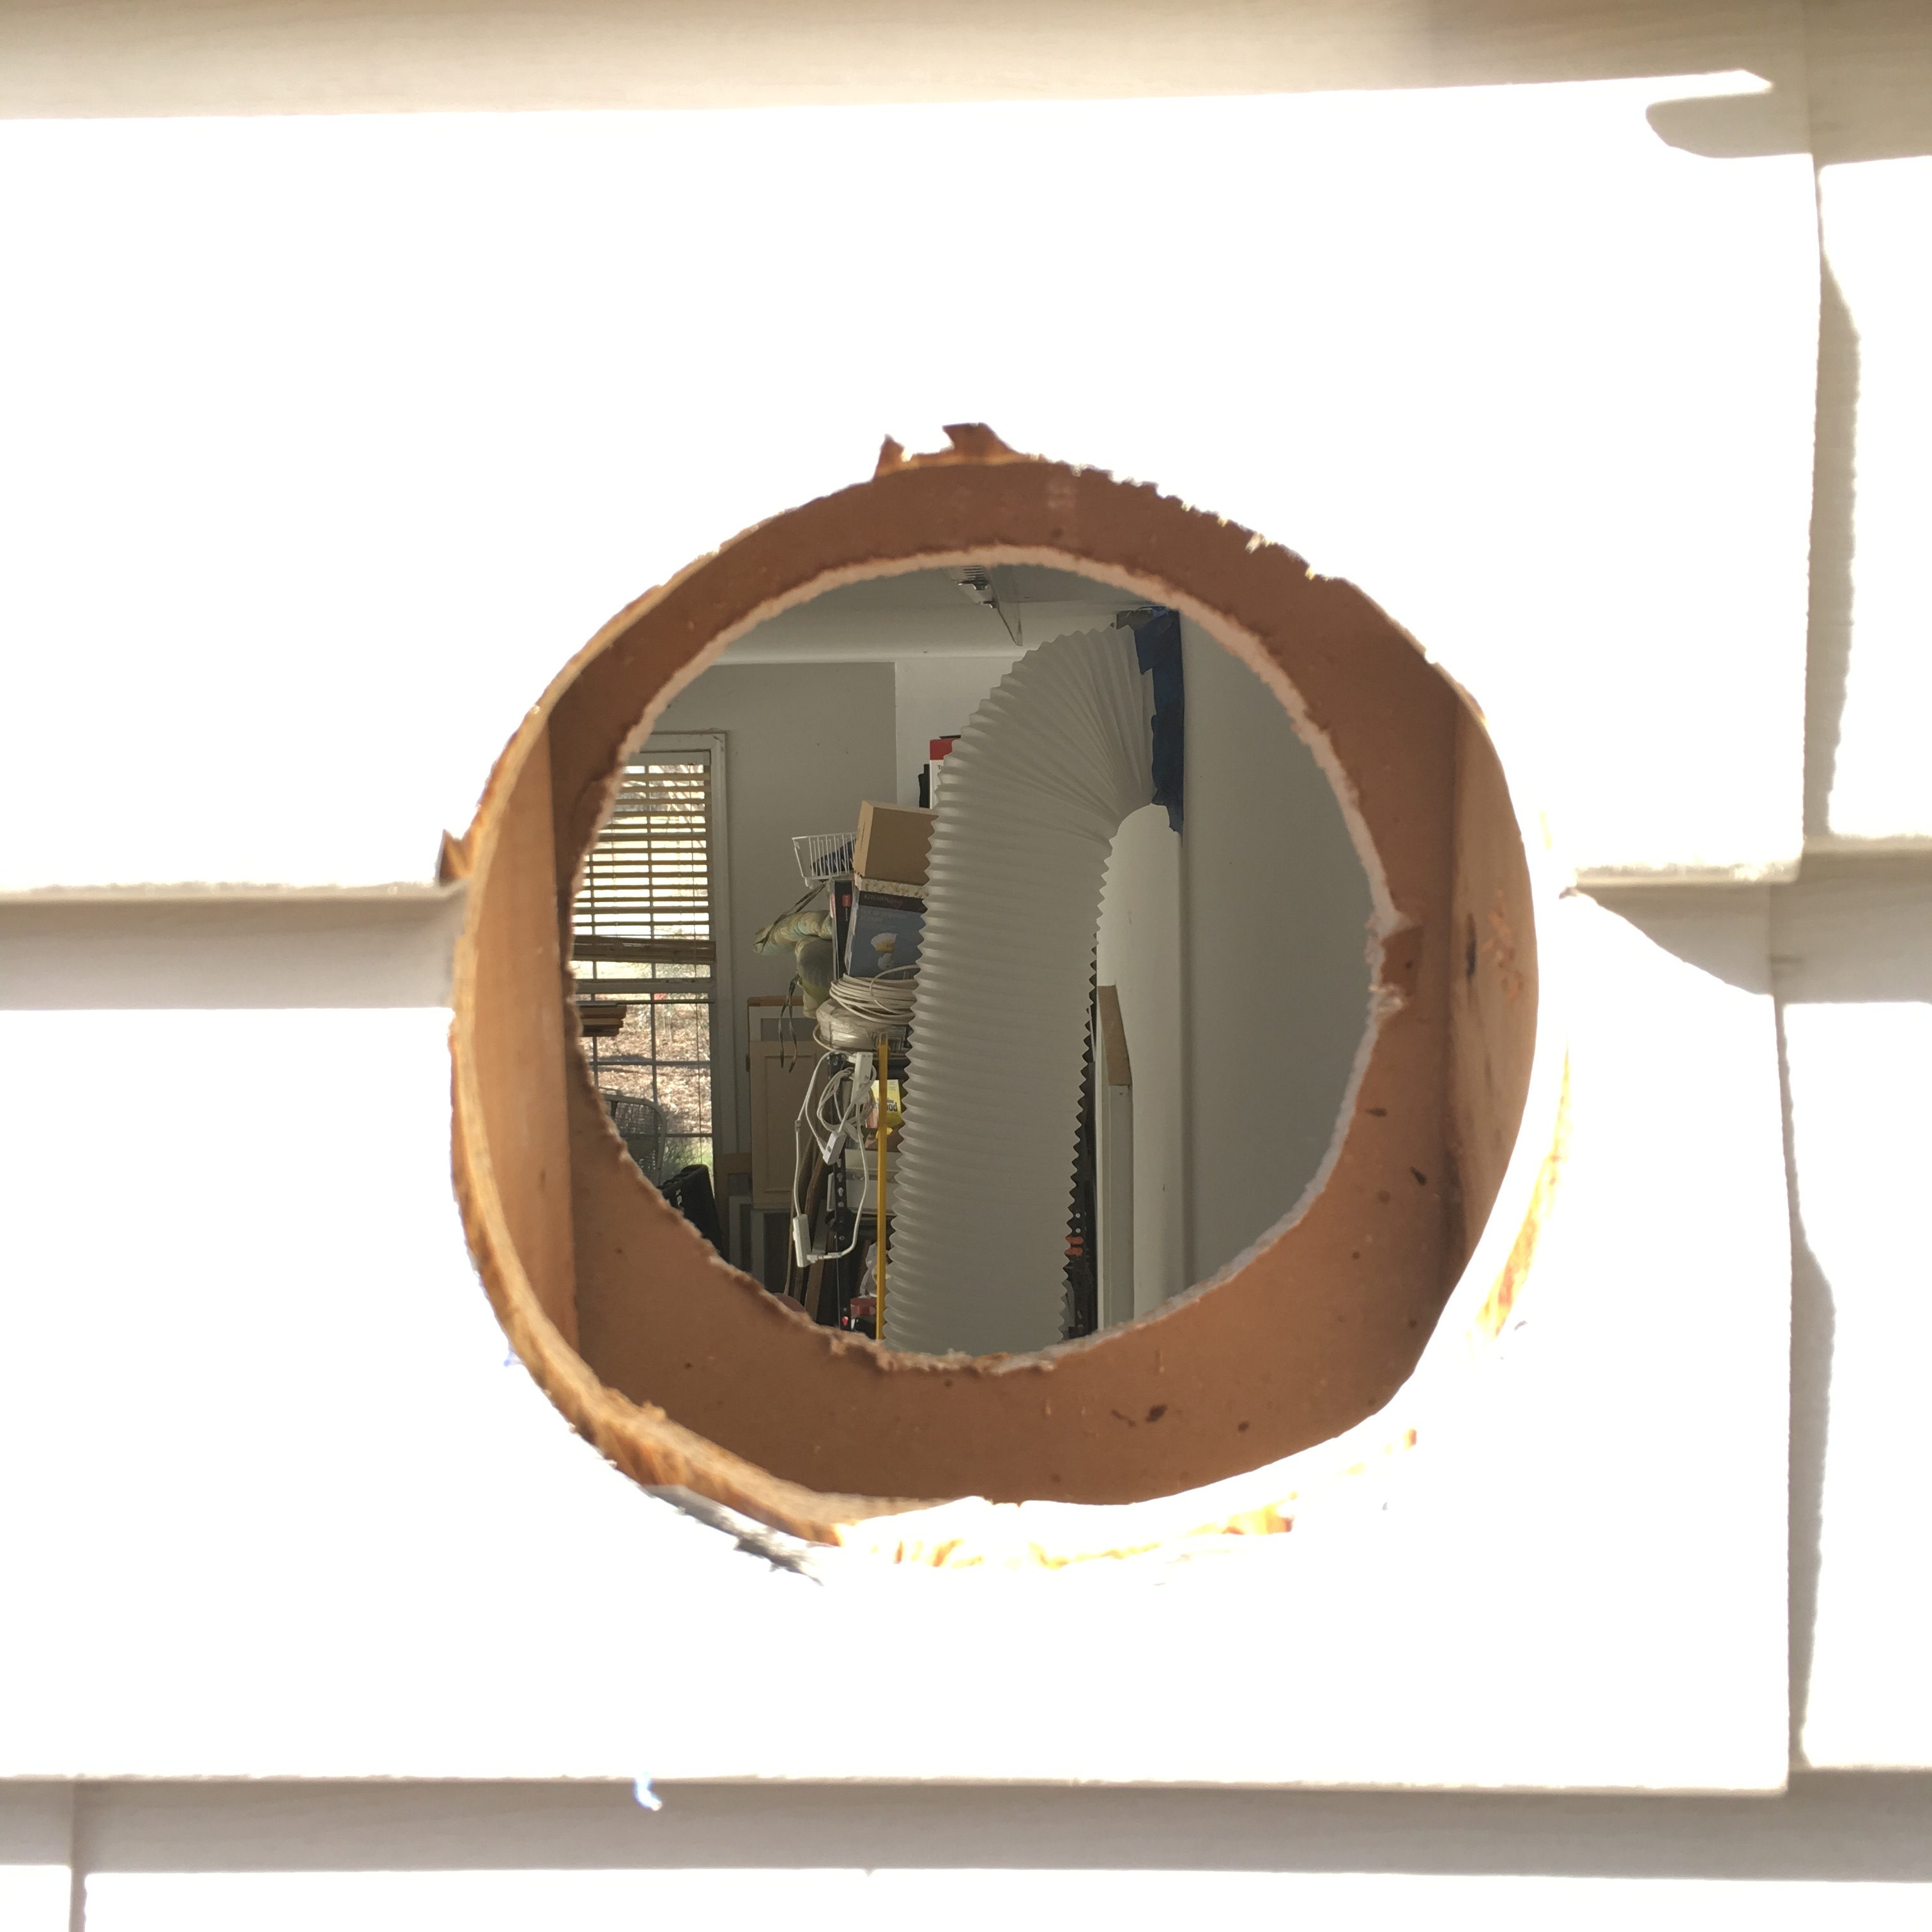
Using your ducting as a guide, trace the circle in the exact location(s) you’re going to make the hole (in between studs and hidden by the hood cover you’re going to handcraft). Drywall saw the drywall, and angle grinder or reciprocating saw the siding. If you have brick, borrow yourself a hammer drill and 6″ core drill bit (gagillion dollars) and hit that orange monster with a constant trickle of water for quite the neighborly performance. E.g. friend holds hose aimed at the bit-to-wall contact point. Water cools the blazing hot diamond bit material for a more efficient cut and dramatically prolongs the life of the bit.
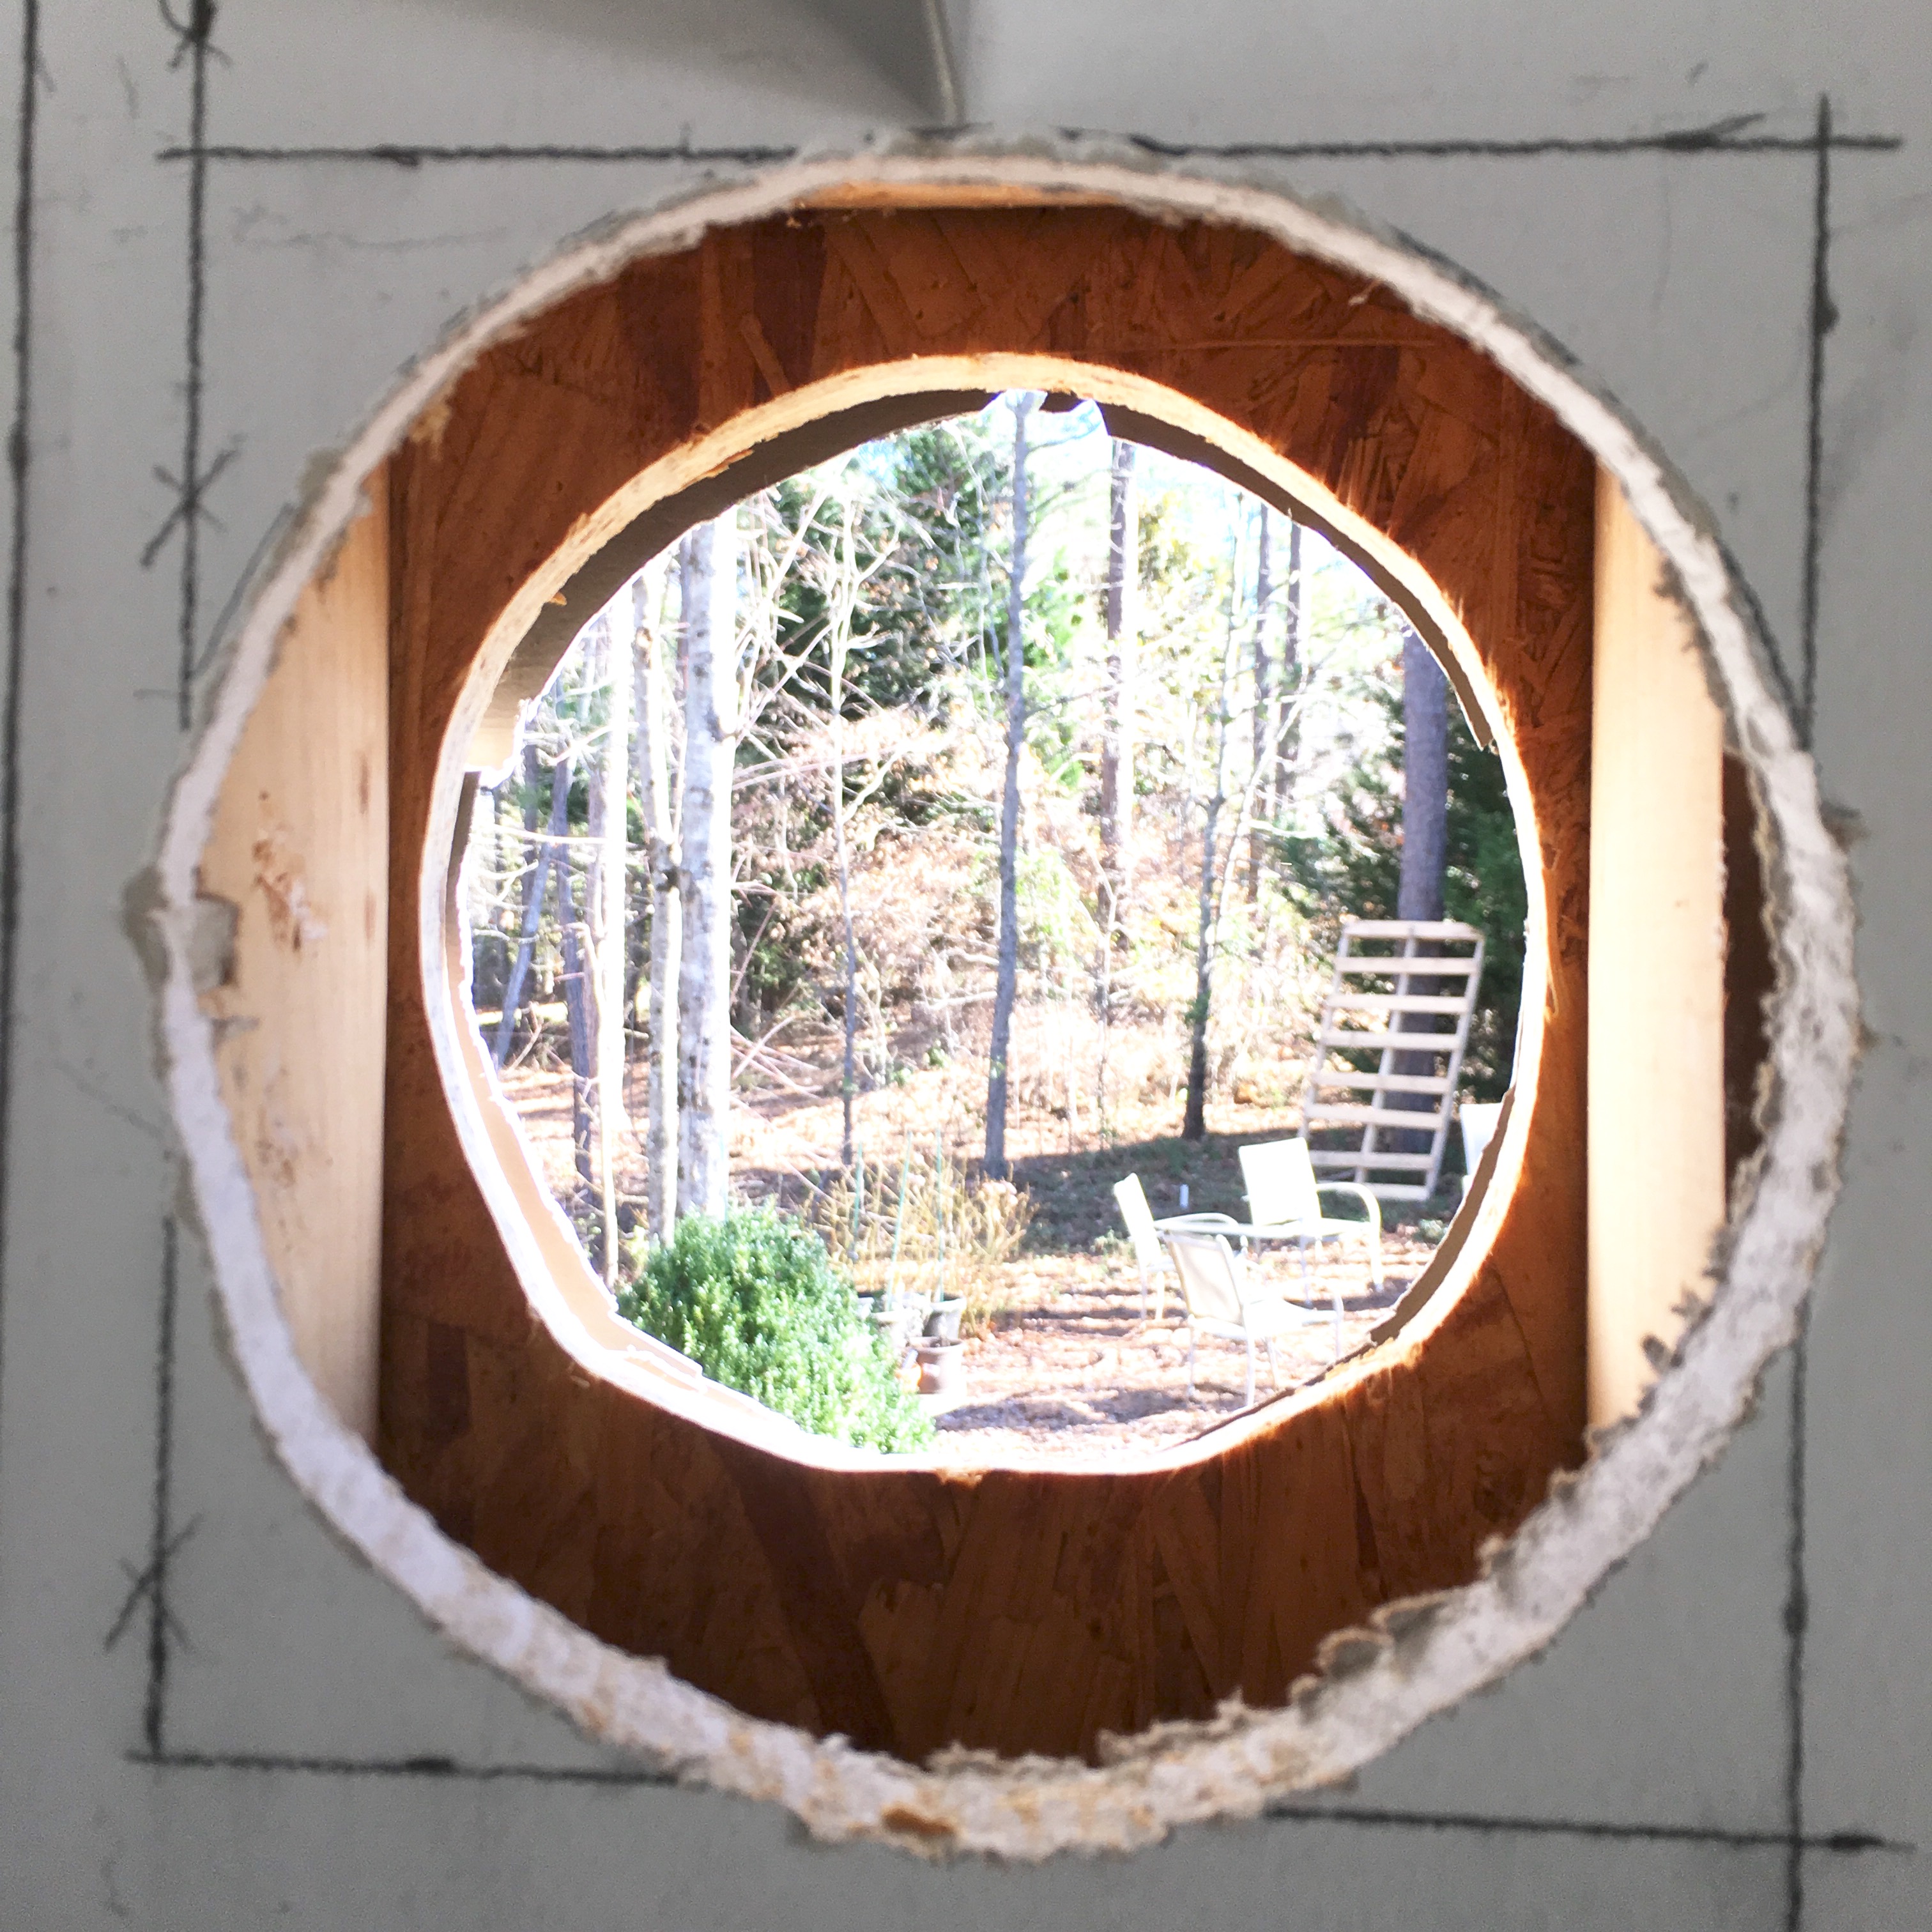
5. Install ducting & louvered vent.
Meticulously cram the 6″ duct through the hole above without damaging it. If there’s another hole to freedom, run the duct to the second hole, connecting with foil tape if necessary and strapping to studs / ceiling joists with pan head screws. Once the ducting is secured, pull it through the final (or only) hole and foil tape it to the louvered vent. Secure vent to wall with screws, then spray foam all up in those crevices. Once the foam dries, slice off the extra with a utility blade and liberally apply silicone to fill the gap between the vent and the wall.
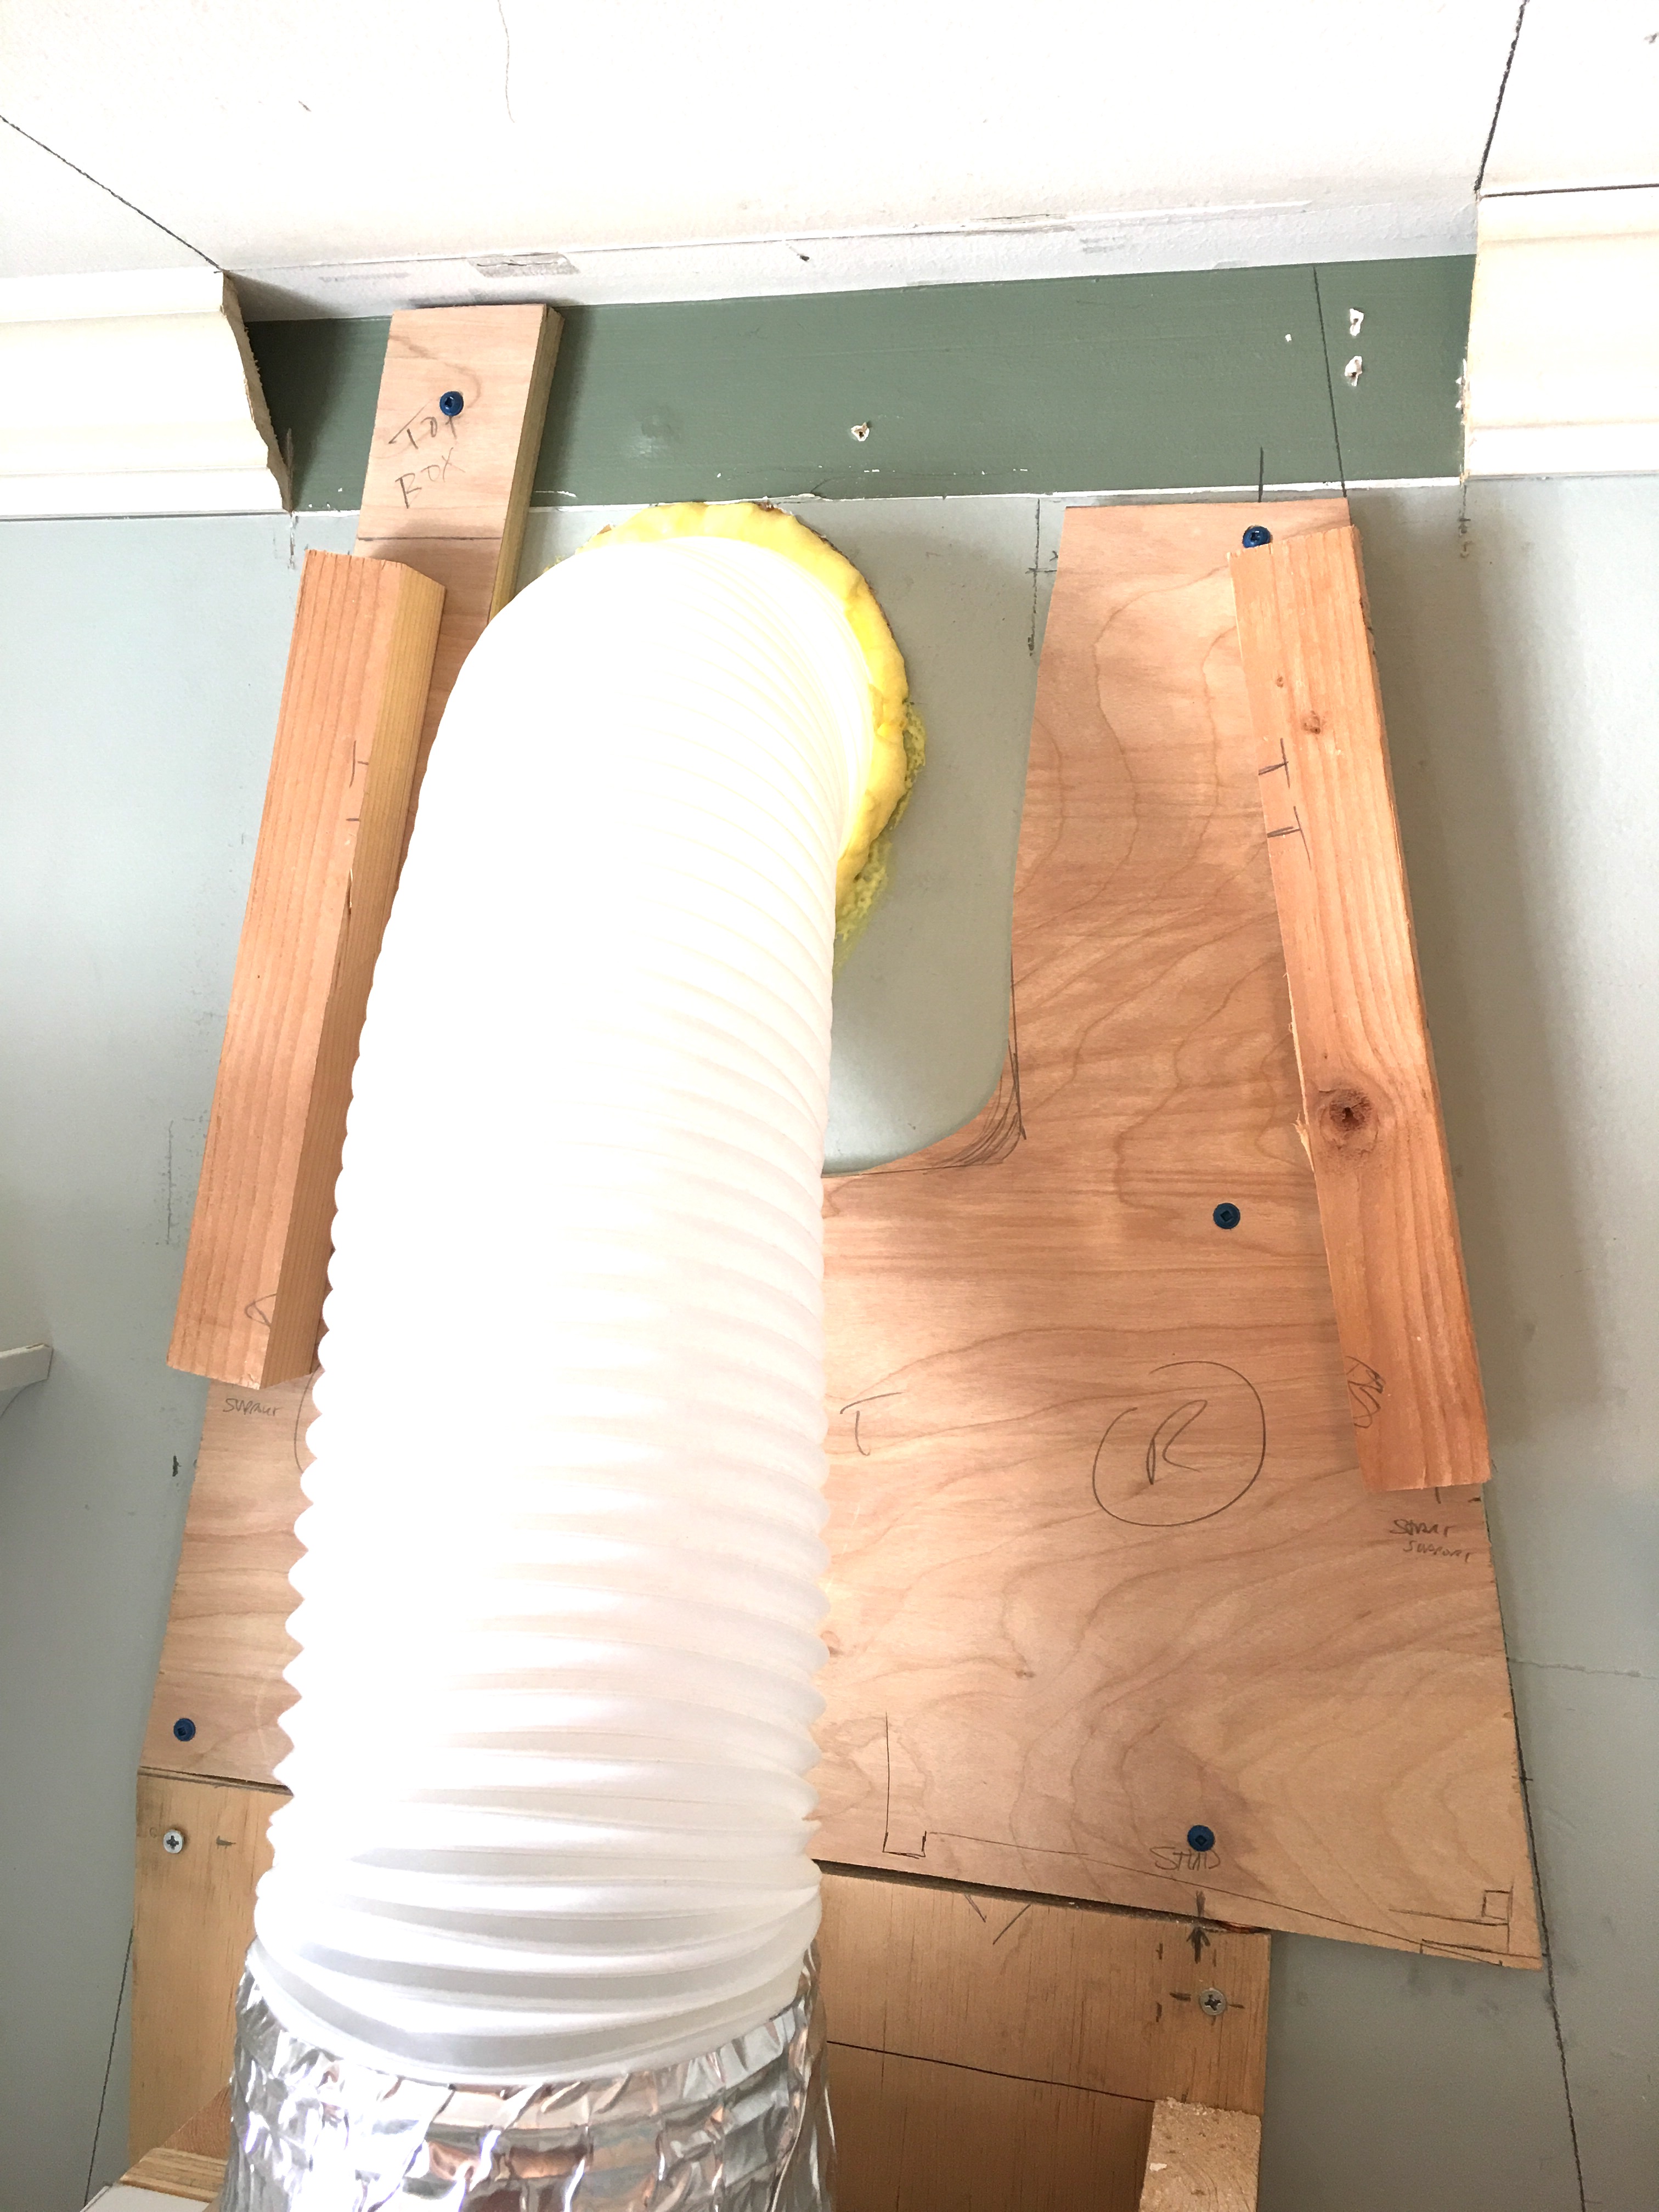
Turn that sucker on. Assess airflow with your hand on the metal filters, and on every joint. Add more foil tape where air is escaping. Are the outside louvers sitting horizontal (open) when it’s on? Do they close when you turn it off? If it passes all tests, then it’s functional! The rest is beautification.
6. Build a stunning range hood cover.
Bad news for all you instruction followers: I totally wung it from here. Here’s the reason. We love the vibe of a large rectangle on the top and bottom, and a linear angle that connects them and tightens as you go upward. Aka a perfect trapezoid with a box above and beneath. I constructed each of the three pieces separately. We’re talking double custom. Boo-boo stood in the kitchen where good things begin and verbally affirmed when the imaginary boxes and angles were primo. The air-fit of dry-fits.
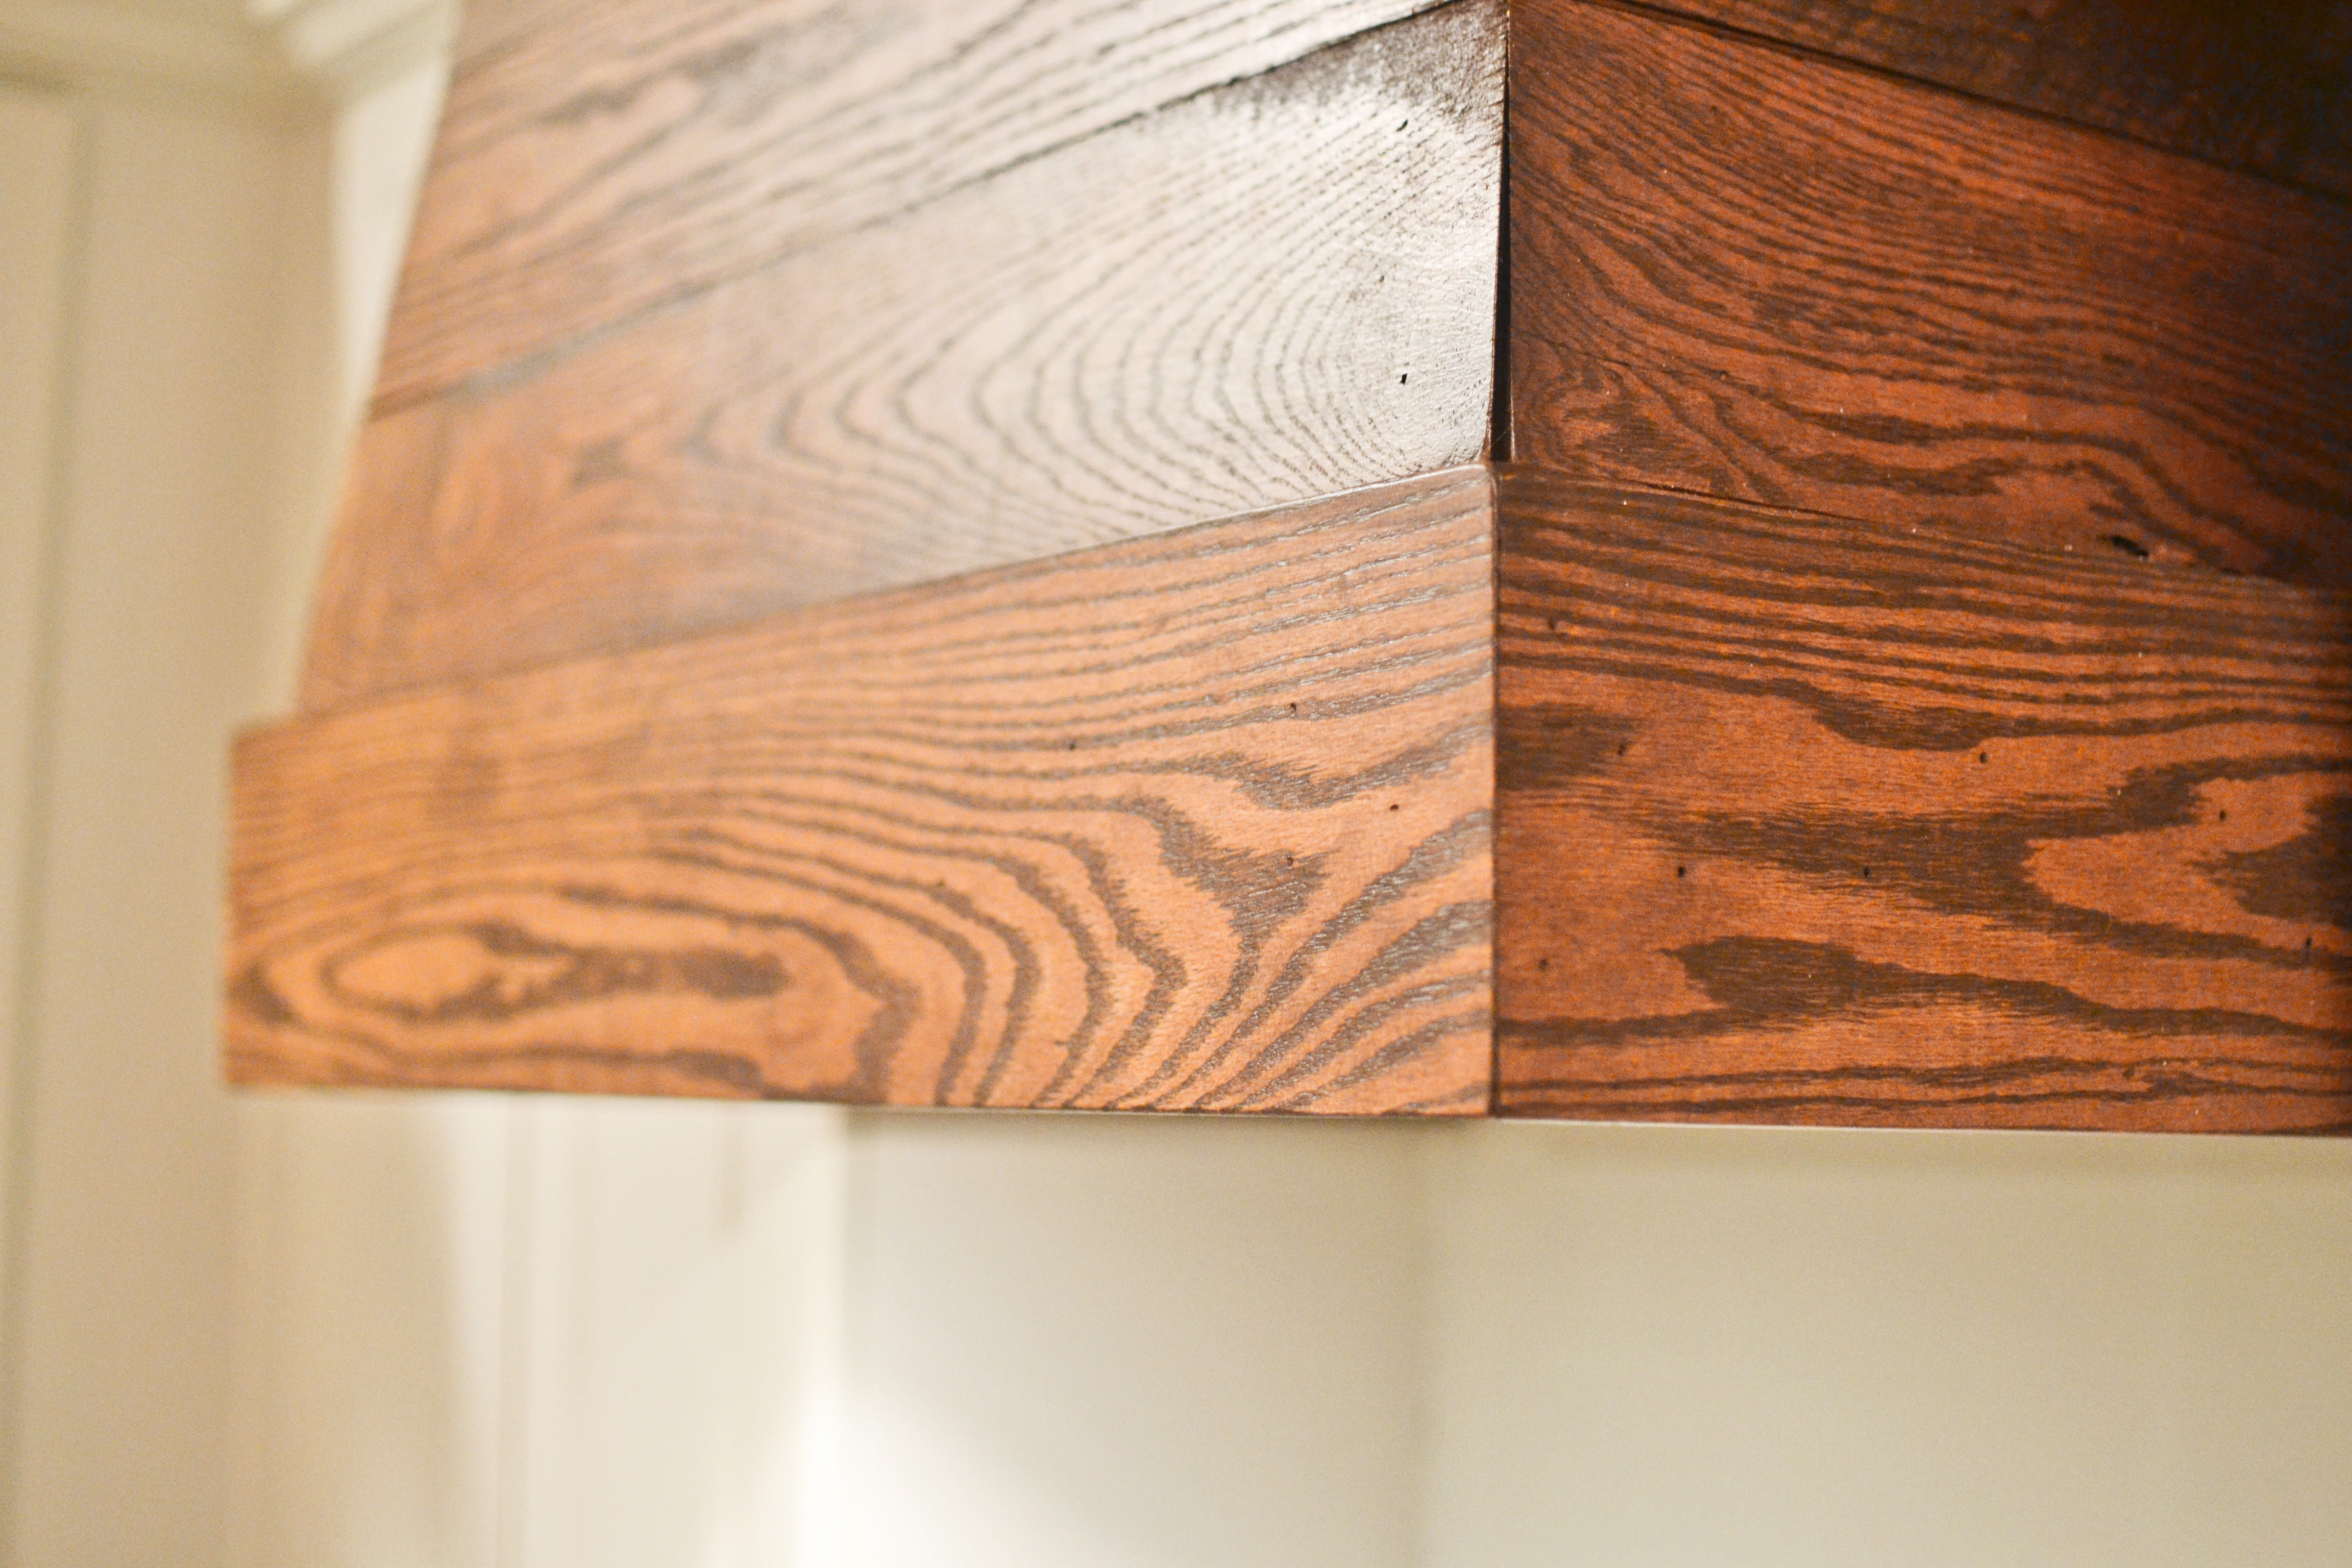
The bottom box sat fully supported by insert. I designed it to slide into place. Top box attached to a ceiling joist and to the wall. The beefy beveler was a plywood shell that I pre-measured to fit in between the boxes and tightly hugging the insert. “Don’t get crazy,” echoed the words of Bon Qui Qui in my head, but I was in too deep and I was trying to keep up above in my head. Committed to saving monies and making this is designer as possible, I yanked some tongue and groove solid oak flooring out of storage with which to clad it.
Don’t do this. Please. Every single angle is cut to fit, one and a time. We weighed the beefy beveler at… can you guess? Try 62 lbs. Took three humans to hang it on the wall. I screwed the ends of the slats touching the wall to the brace I installed inside of it. Beefy was snug to the brace upon shove-install, meaning the screws held very tightly to the brace and the brace to studs in the wall.
Would I do this again, Ms. Qui Qui? Absolutely. That is what I had said. And I did. Except round hashtag 2 was about 3 ft taller and half the weight (thank goodness). Equally as wung. Equally as exhilarating of a build. There’s really no turning back now.
