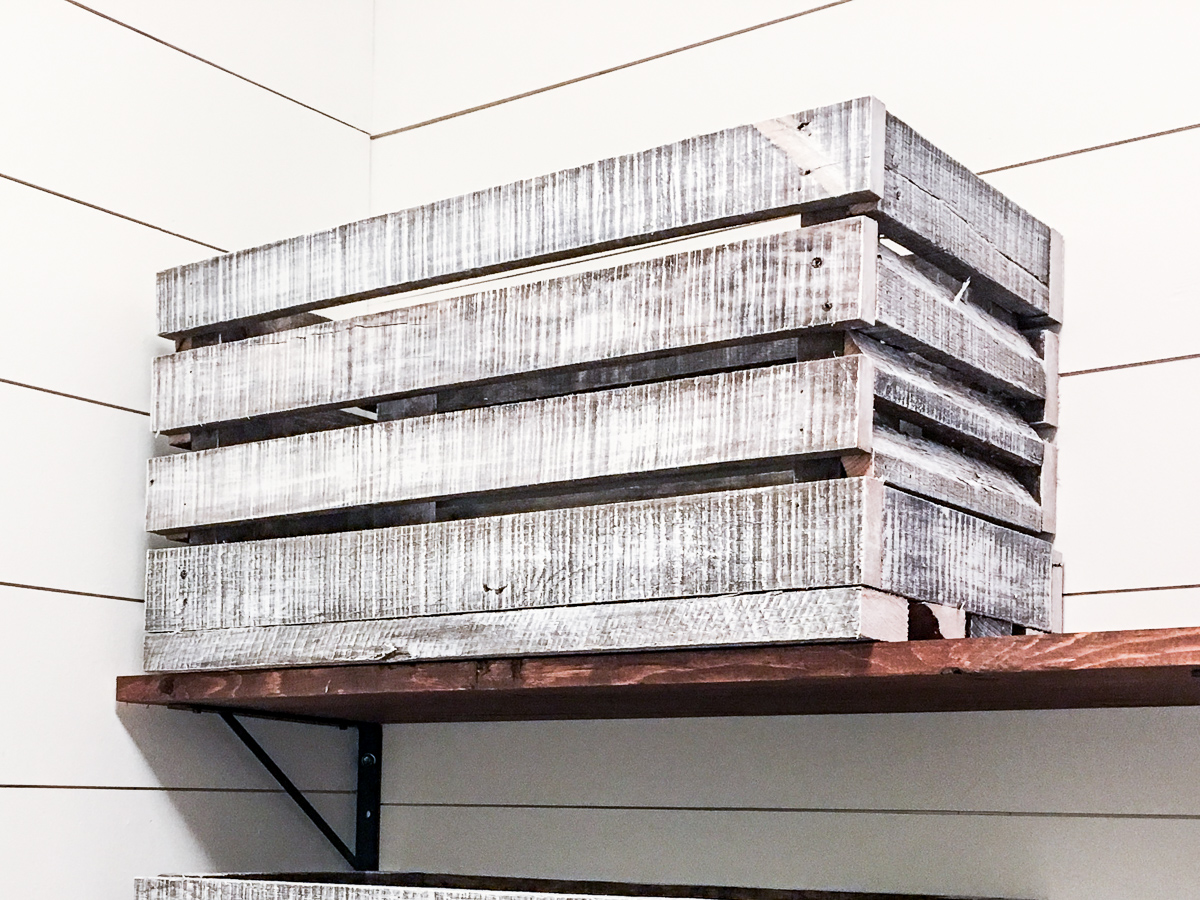
You’re into that rustic chic, antique-y design aesthetic? So are we, friend. Reclaimed, shabby chic, distressed, whimsically beat up, tastefully destroyed, weathered, aged, repurposed, reused. Not just words to describe the decor you’re passionate about. They’re a way of life. Making old things new. Breathing life into what would otherwise be forgotten or overlooked. Vintage at heart.
But what the heck is dry brushing??
What is dry brushing?
Dry brushing is the application of paint to a medium using a paint brush and an insufficient amount of paint spread across that medium to create an antiqued, streaky & uneven textural variance of pigment for artistic or design purposes. *Phew*. Real talk, my 7th grade literature teacher would have lit me up for the length of that sentence (literally).
Not to be confused with whitewashing or color-washing.
Color-washing is the application of a water-based paint diluted with water. It’s evenly & thoroughly brushed onto a medium (usually wood) to allow the grain or material’s texture to show through the thinned paint. Think: brand new solid wood shiplap. The grain is still quite visible underneath the diluted coat of paint.
Design lesson is over. Class is dismissed (I thought I’d never get out of there). Go dry brush something amazing. Create next level DIY art. Here’s how.
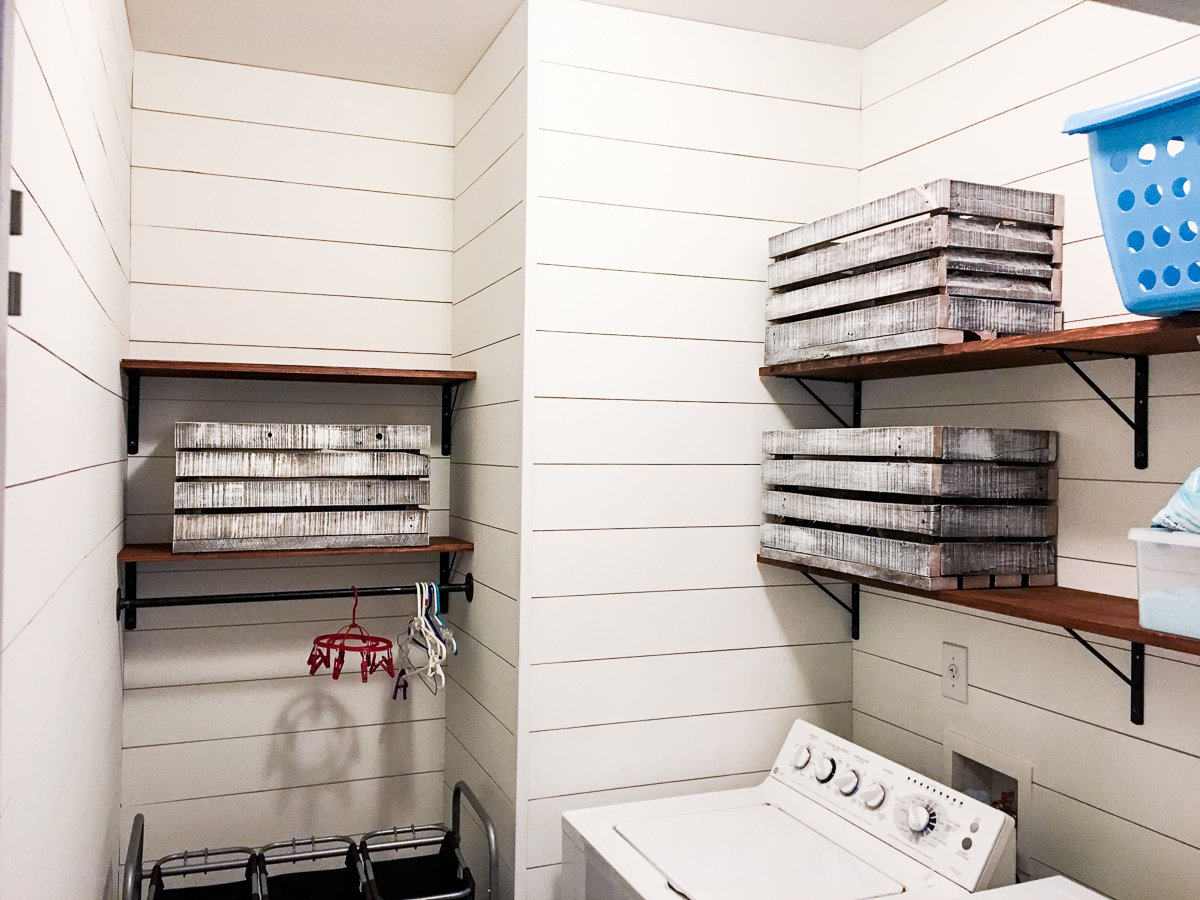
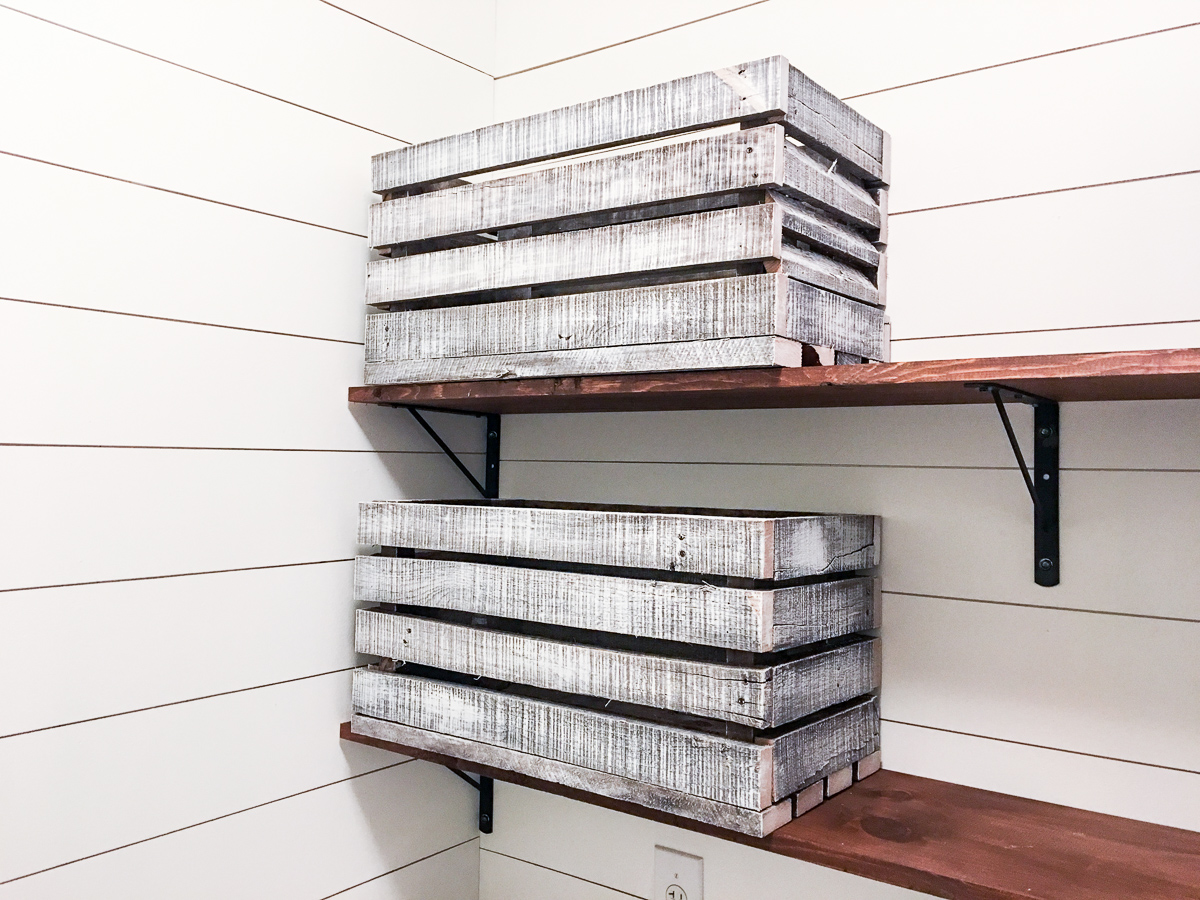
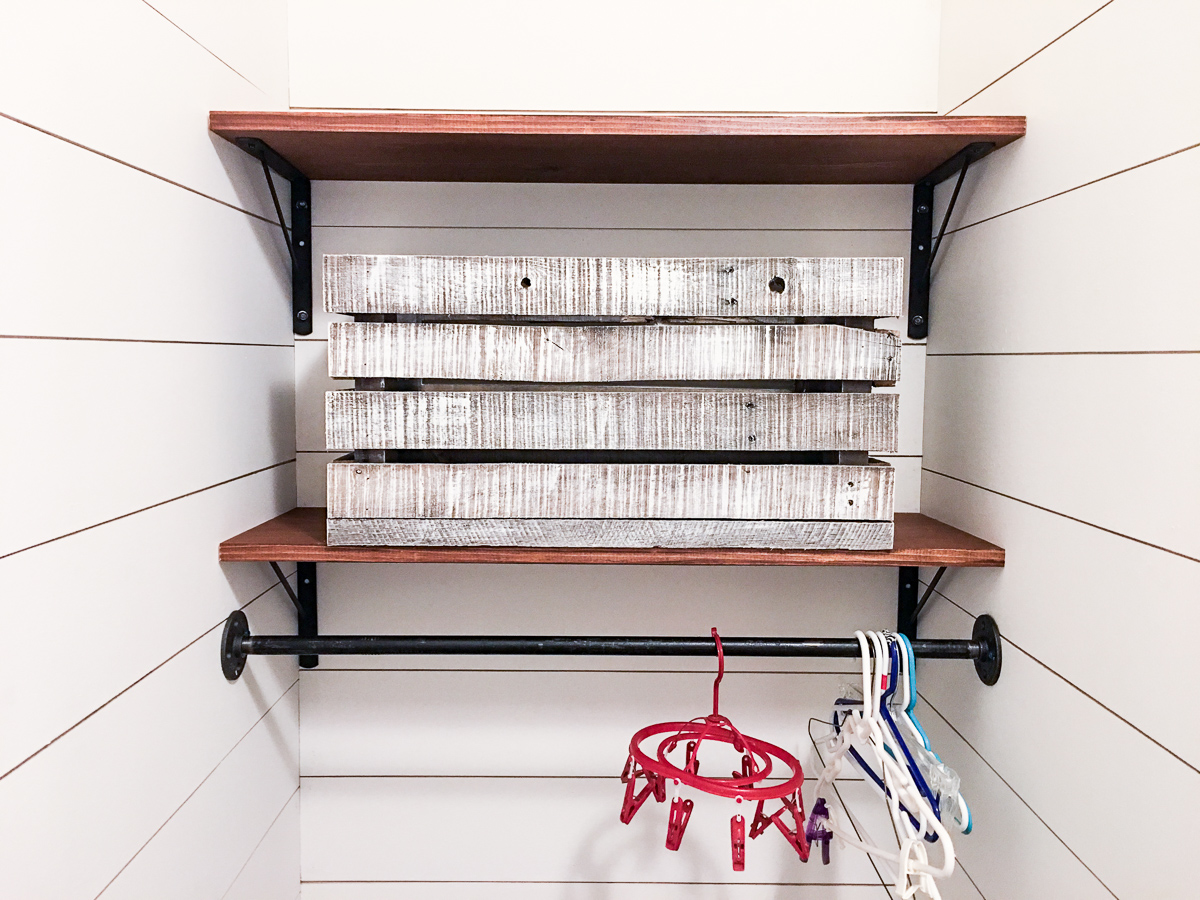
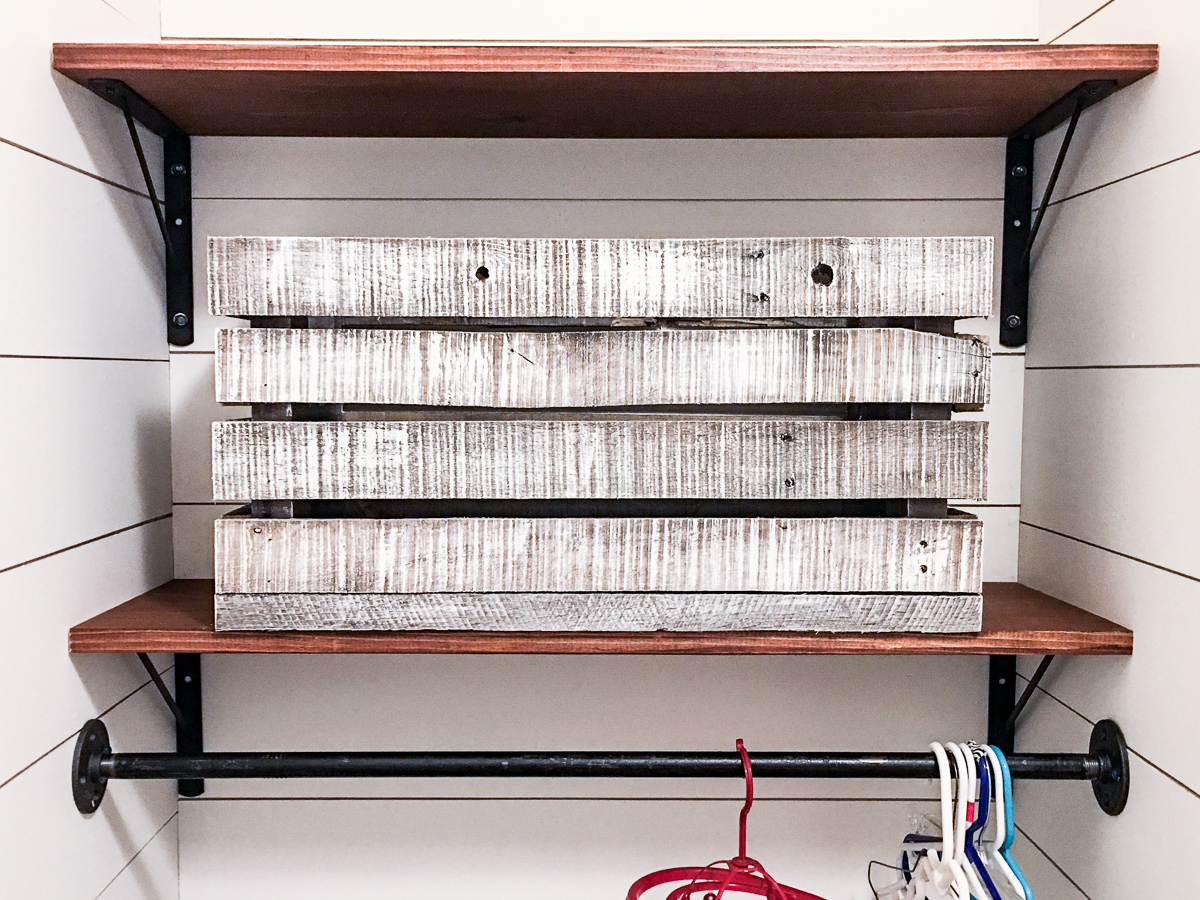
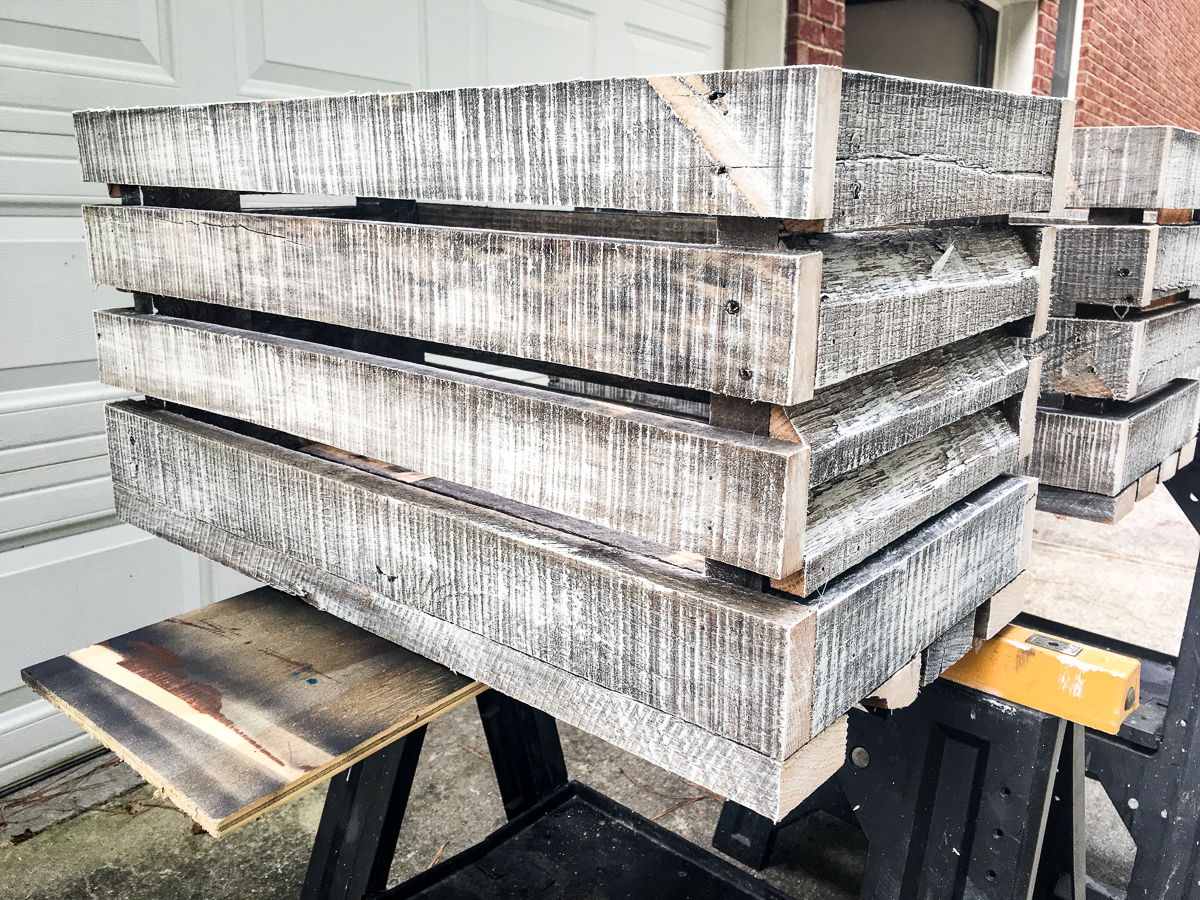
Note: we built the reclaimed pallet crates used in this tutorial. Need somewhere to store shoes, cleaning products, laundry room items, craft room goodies, toys for your kiddos or games? Pallets crates for the win.
How to dry brush reclaimed wood.
Materials.
- 1 quart of flat paint. We color matched Benjamin Moore Simply White to a can of Behr paint. Budget ~$13.63.
- Paintbrush. (Cheapest 3-pack of paintbrushes at Depot for $6.93).
- Wooden paint stir stick – free at the hardware store.
- Paint can opener – free at the hardware store.
Tools.
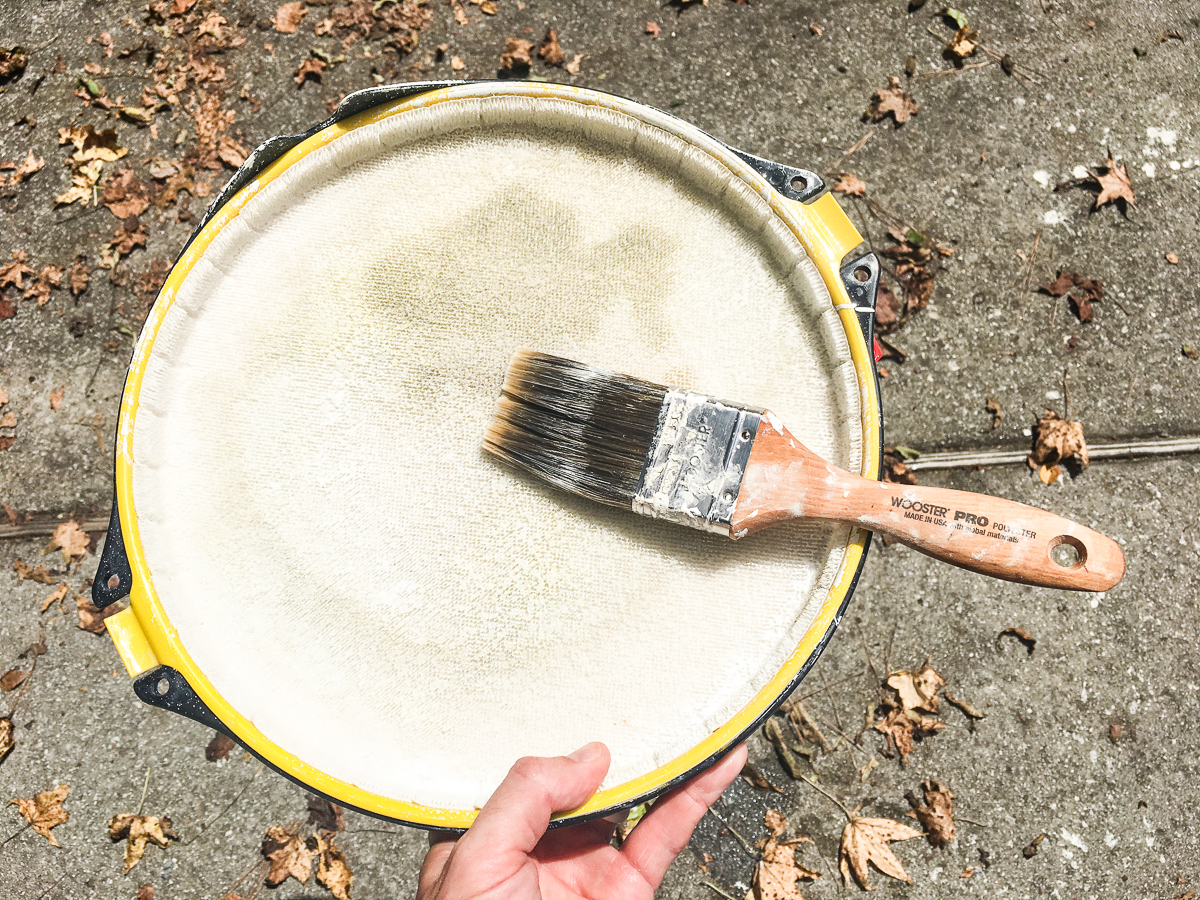
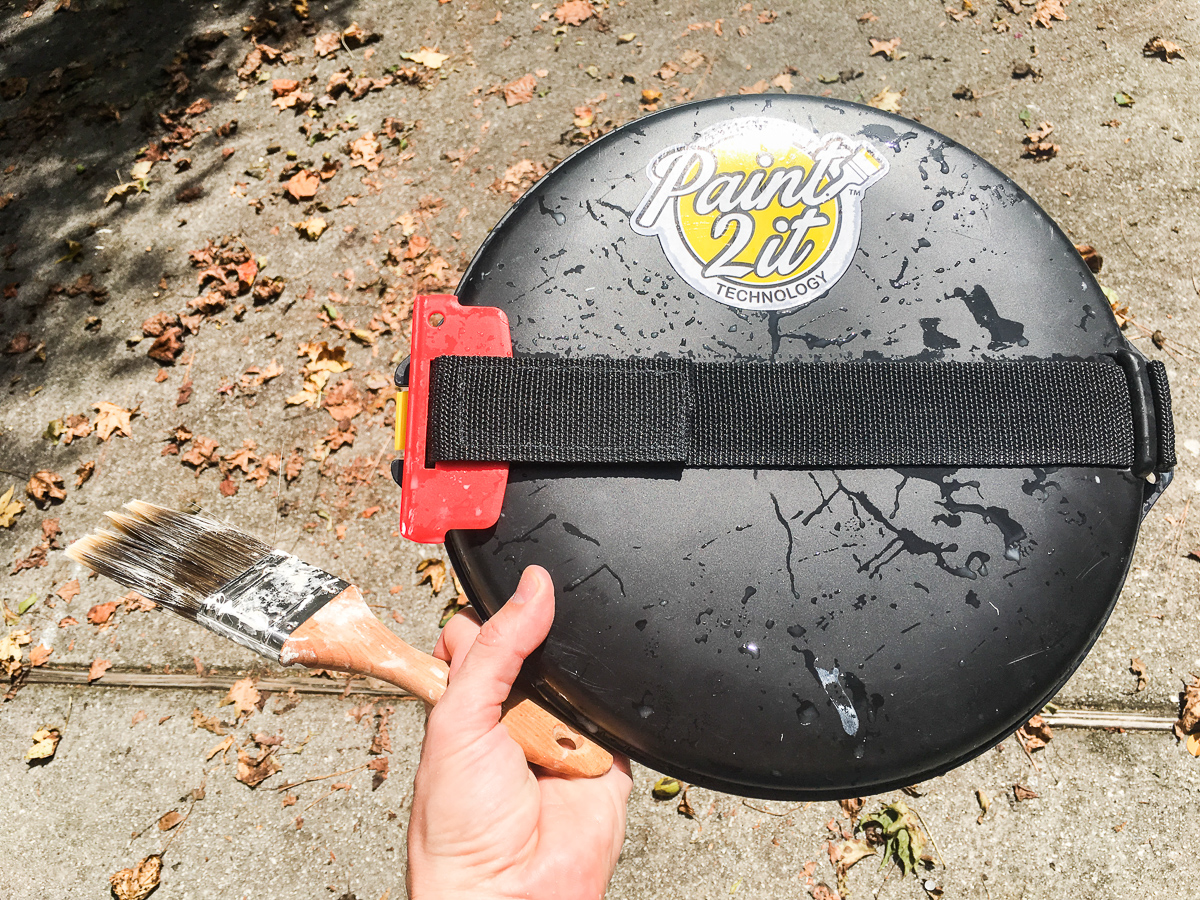
- Paint2it – anti-gravity paint tray palette for ~$20 – ideal for handheld use with zero spills. Or some newspaper or cardboard or scrap wood. All allow sufficient removal of paint from the brush before application.
- (Optional) Orbital sander.
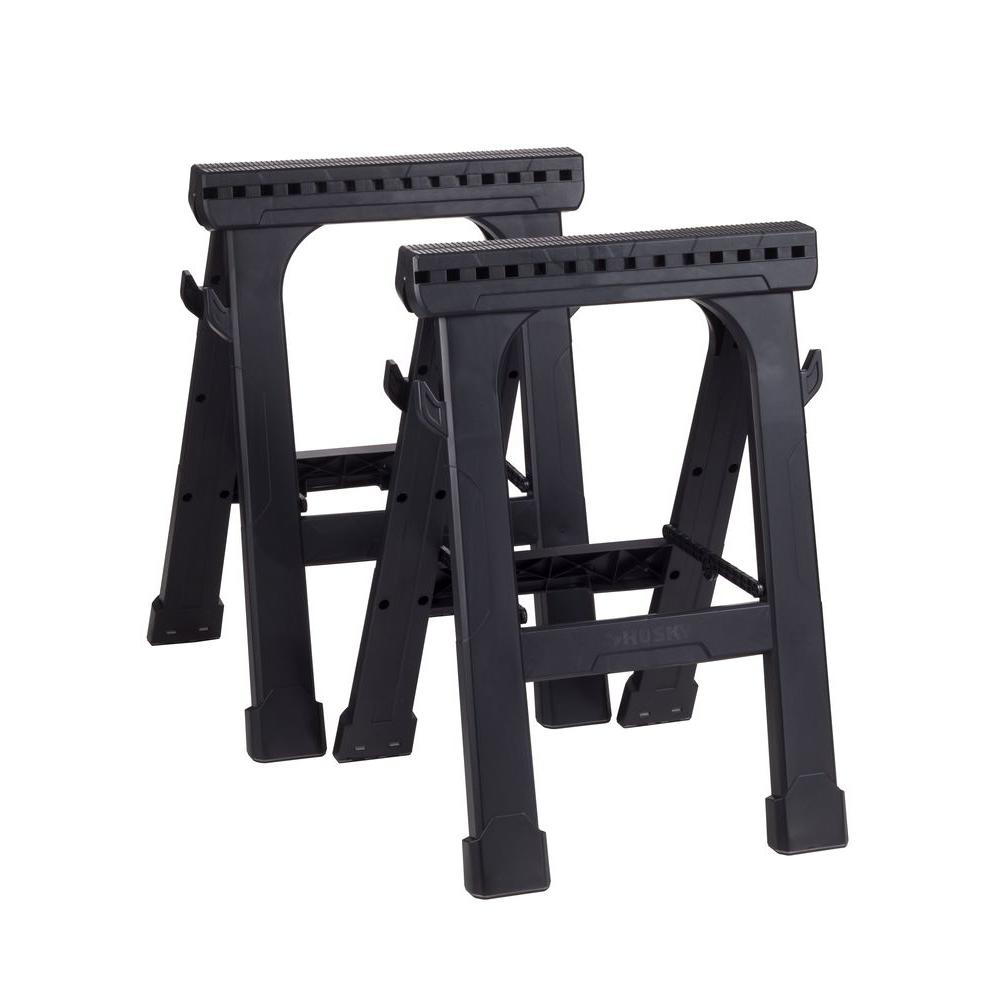
- (Optional) 2 saw horses. Functions like a portable workbench. Sometimes I use my table saw for this purpose, covered with a tarp and wooden spacers.
Budget.
- Paint + paint brushes + Paint2it paint tray = $40.56.
- ONLY paint + paint brushes = $20.56.
- If you have some paint + a paintbrush = FREE.
Step 1. Hit the hardware store or Amazon.
- Choose your single or multiple colors of paint for dry brushing. Inventory your garage, workshop or shed for usable paints leftover from previous projects.
- Do you have a usable paintbrush? No worries if it’s a little beat up. Dry brushing is an intentionally uneven and streaky coat of paint.
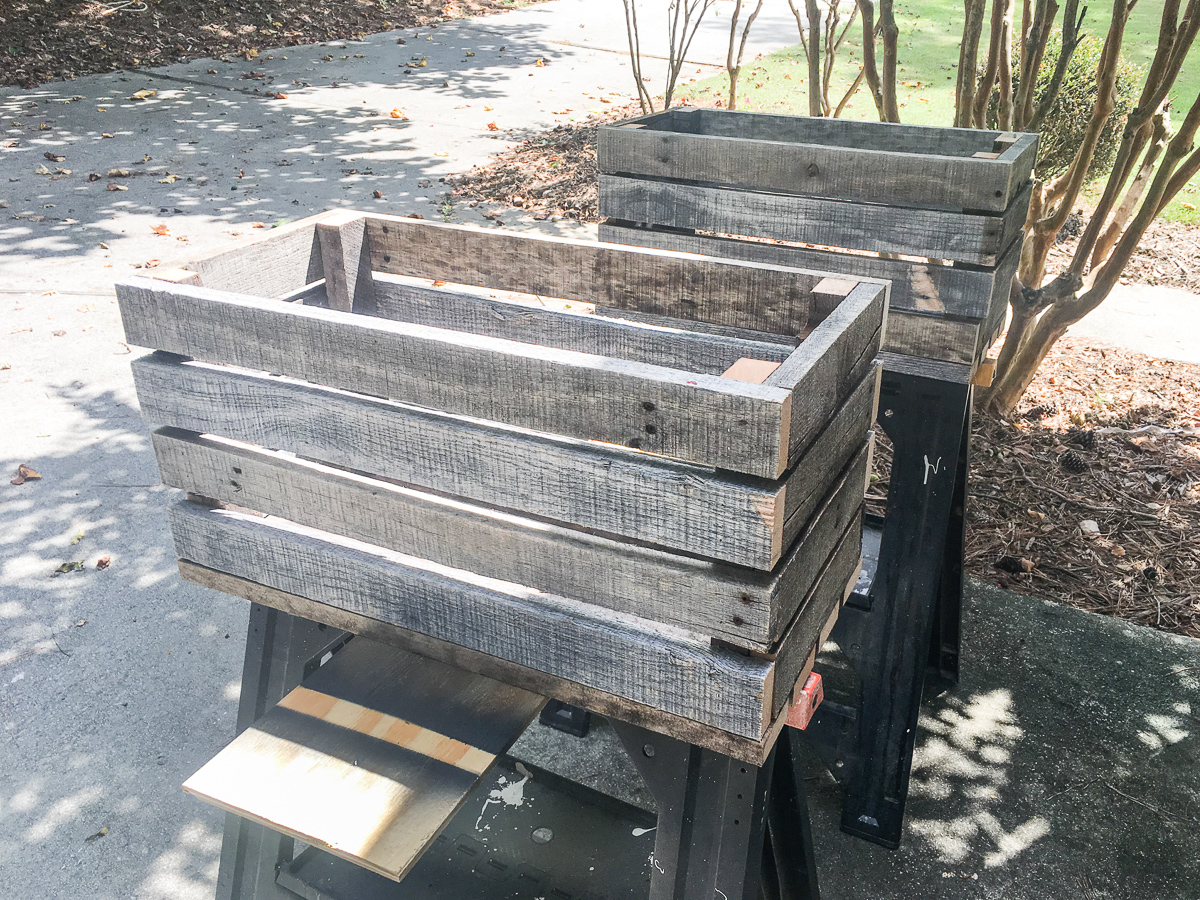
- Painting is ergonomically easier while standing. We like to place our pieces up on something so they are lifted off the ground. 2 sawhorses with a piece of plywood connecting them is cheap and easy.
- Paint2it was a gift to us from a family member. To be honest, I was skeptical. The marketing is gimmicky and the handheld palette seemed unnecessary. I reluctantly tried it… and loved it! It was a dry brushing game changer. Pour paint onto one side of the palette, snag your brush and go to town. The bristled palette technology allows the paint to adhere to it, minimizing spills and wandering paint.
Step 2. Consider sanding your piece.
- If you’re using raw wood, will your piece function well with unfinished faces and edges? Or does it need a light sanding? Heavy sanding?
- In our case, we made crates from raw & weathered pallet wood. The crates are nestled on our DIY shelves in our laundry room, holding all sorts of cleaning and laundry products and reusable bags. For our application sanding wasn’t necessary. And we like the super rustic vibe.
- If you’ll be regularly rubbing your hand or leg against the edges of the wood piece, you might want to sand the faces enough to prevent splintering. And sand the edges enough to avoid chafing.
- Our orbital sander is our go-to for DIY projects. Corded power tools ALWAYS have more power than battery powered. The circular motion of the sanding pad ensures a more even removal of wood.
Step 3. Mix paint & test a sample piece.
- Time to test out your abilities! Find a piece of wood identical or very similar to the piece you’re aiming to dry brush.
- Open up your can of paint and thoroughly stir with a wooden paint stir stick. Do NOT skip this step – an undermixed paint will yield a splotchy mess of color tones and sheens.
- Pour some paint onto one side of the Paint2it palette. If you opted to use newspaper or another wood scrap or cardboard, dip the tip of your paint brush directly into the paint can. For both methods, wipe off most of the paint onto a clean part of the palette or surface. Now very lightly and quickly spread the paint onto your wood tester piece, allowing minimal contact with the brush bristles using a back and forth hand motion.
- Your brush will run out of paint within 5-10 seconds. Re-apply paint, wipe off most of it, and then wipe the remaining paint onto the test piece again. Getting the hang of it? Let’s attempt the real deal now.
Step 4. Apply paint to your wood piece.
- Following the same protocol in Step 3, apply more paint to your Paint2it palette or directly to your brush from the can.
- Wipe off most of the paint onto the palette or newspaper or cardboard or scrap wood.
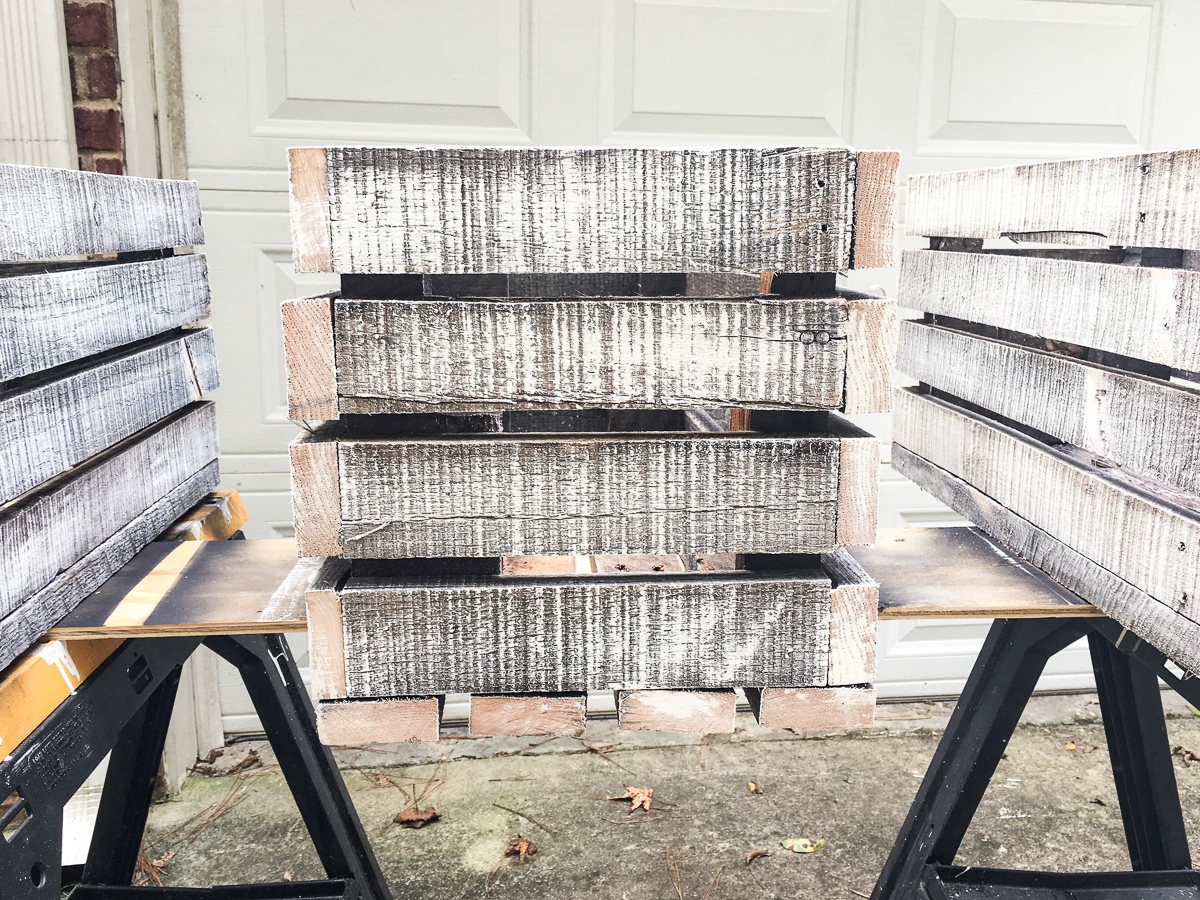
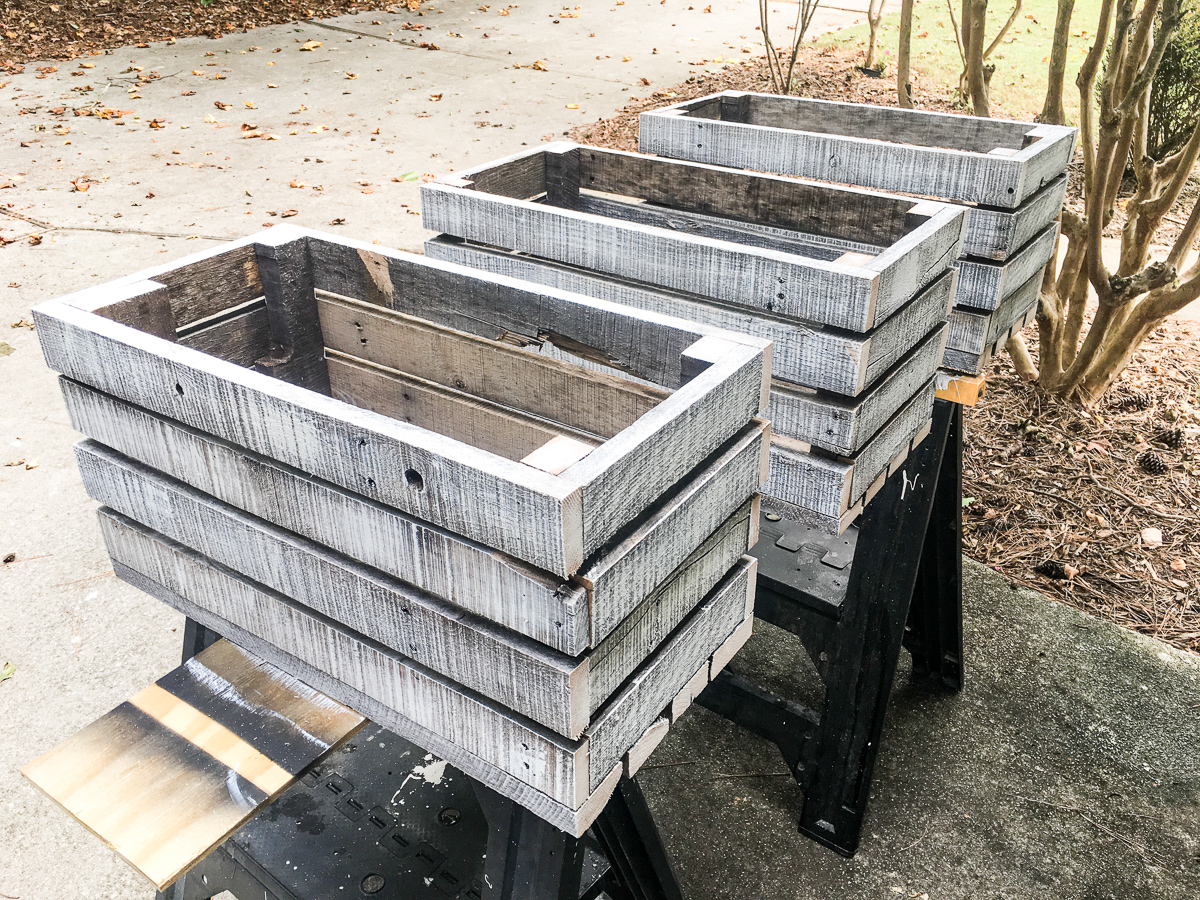
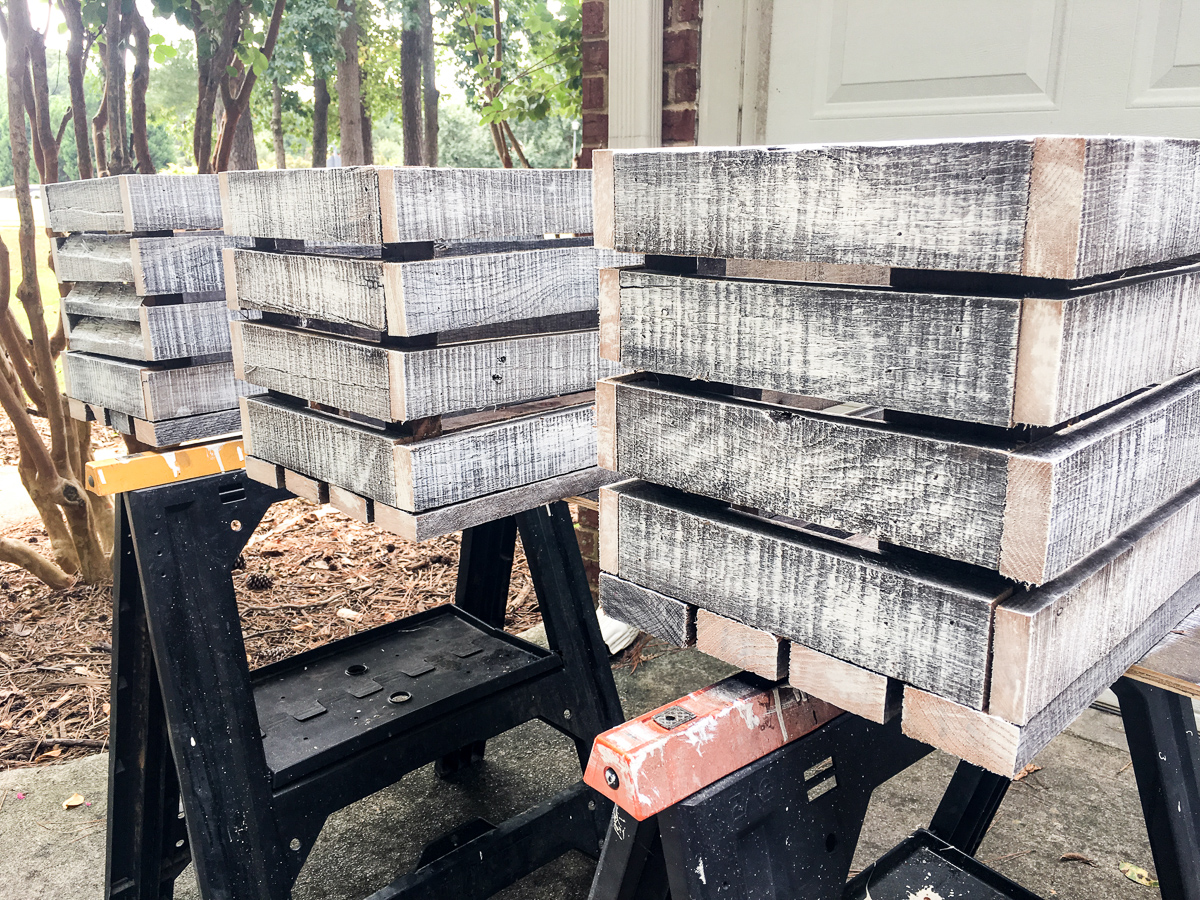
- Quickly and lightly apply the remaining paint to your wood piece, varying the point of focus with every stroke. If you aim for one spot for too long, you’ll fully saturated the grains and have a traditional painted look. We want streaks, lines and plenty of raw wood to show through to contrast the clean paint aesthetic.
- Allow first coat to dry for at least one hour if conditions are normal, i.e. temperature is at least 70ºF and humidity is no more than 50%.
Step 5. Optional second coat.
- Love the dry brushed look, but want to add a little more textural variance? How about adding a different paint color on top of the first coat?
- Or add a few different complementary pigments to various pieces of wood.
- Apply your second coat and let dry for at least one hour.
Step 6. Optional clear coat for protection.
- Before you add polyurethane or any other clear coat, think about the function of your piece. If nothing will ever touch the piece, skip the clear coat. If your piece will be regularly touched, sat on, walked on, etc. then consider adding a few layers of oil-based polyurethane over mid to dark tones or water-based polycrylic over lighter tones to avoid an ambering color.
- Note: we LOVE wax. Paste finishing wax to be exact. It’s not shiny like polyeurathane but still offers some protection from water damage, light usage and can be mixed with a dollop of paint for more visual texture. Check out our favorite waxed wood projects:

- A few other exciting DIY projects & finishes to consider for your next project:
- Pallet wood crates – the ones you see in this dry brushing tutorial.
- A fancy finish on your farmhouse table. White distressed legs with a stained / white washed / sanded aesthetic.
- Custom entryway piece for keys, wallets and coats.
- DIY herringbone headboard – the build.
- DIY Restoration Hardware style headboard – the build.
- Sliding barn door with a rustic chic finish.
What’s up, dry brushing pro.
You’re practically a professional now. With a new set of decor painting skills. You really only have (2) options moving forward, friend. 1. Become a pro-level interior designer / decorator. 2. Dry brush every raw wood in sight at your home. Nothing should be left untouched. Have you found a constant source of free pallets yet? When you do, make all the reclaimed beauty. For free. And share it with us. Everyone could use a little design inspiration on the daily.
