You step outside in the morning and you’re NOT sweating. It’s remarkable. How did this happen? Is it fall? Apparently. Better start decorating before you get ambushed by Christmas.
You want some fall decor, but you’re not into the tacky, store-bought stuff? Let’s DIY it. How about a little rustic pallet wood? We could shape it into a pallet pumpkin, set it on the front porch and inspire all of our guests to make rustic-lovely things. Perhaps get a few neighborly drive-by glances. No rotting vegetables (aka old pumpkins). No need to buy a new batch every year. Consistent with your interior design style. And a lot of fun to construct.
Pallet wood pumpkin overview.
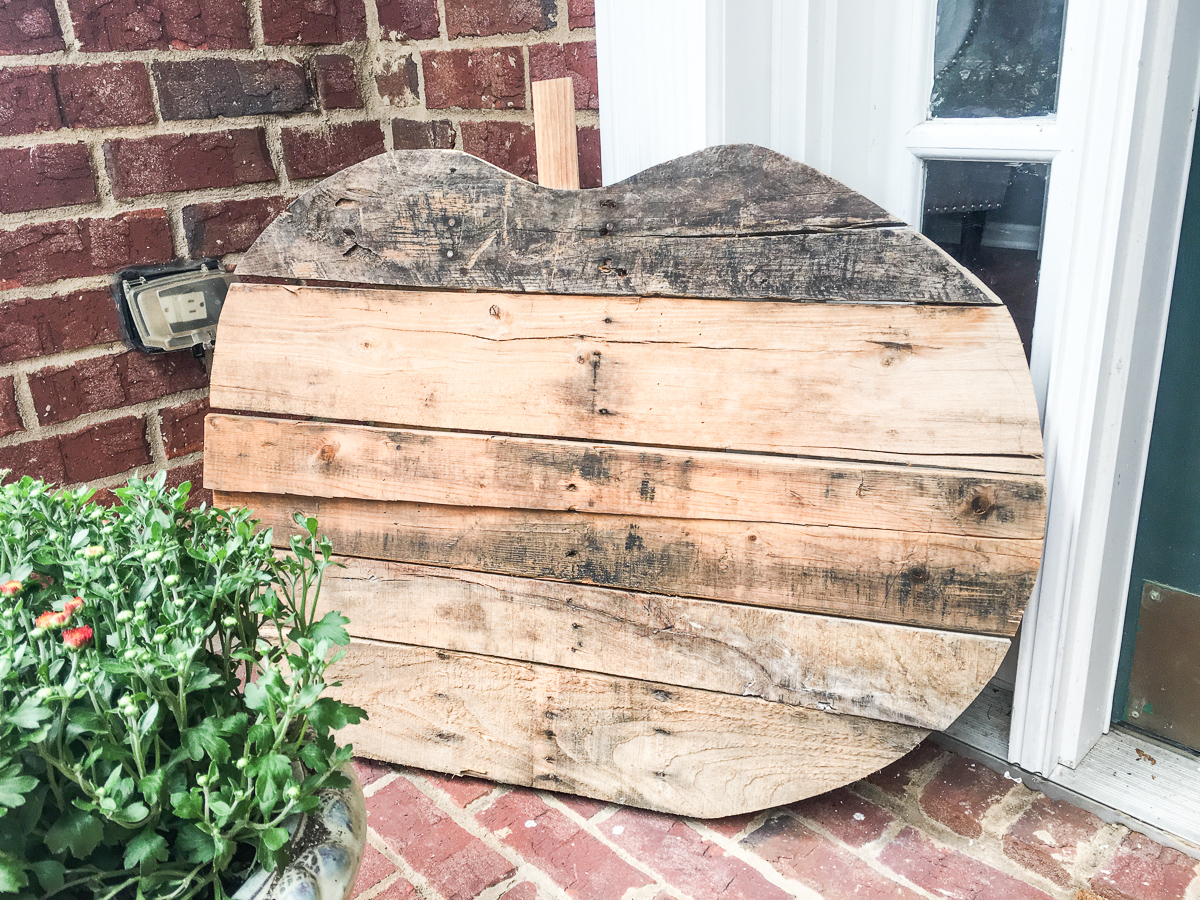
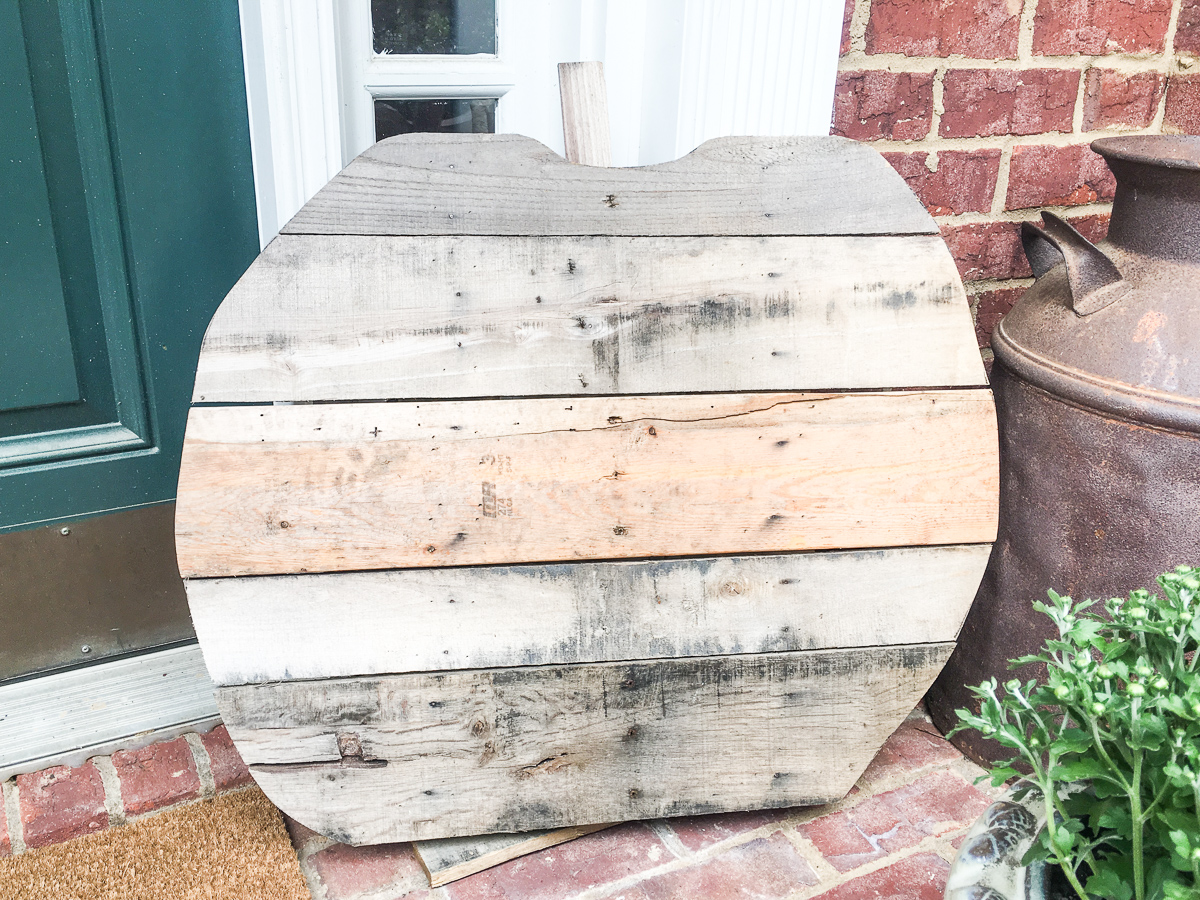
Snag a pallet. Break it down to slats and stringers. Lay the slats perpendicular to the stringers and attach with nails. Carefully cut the edges of the slats to form a pumpkin. Add a stem. Leave as is, whitewash, dry brush or paint for a unique appearance. Enough discussion. It’s time to make something beautiful.
How to make a pallet wood pumpkin.
Materials.
- One wood shipping pallet per pumpkin.
- 1 ¼” brad nails at $4.02 for 1,000 – for 3/8″ to 1/2″ thick pallet slats. Buy 2” brad nails if your pallets have thicker wood. Or 1 ½” finish nails if no compressor or nail gun.
- (Optional) wood & nail cutting reciprocating saw blades. Single blade for ~$3.
- (Optional) jigsaw blades. Two wood cutting blades for $1.72.
- (Optional) wood glue. We love Gorilla brand.
Tools.
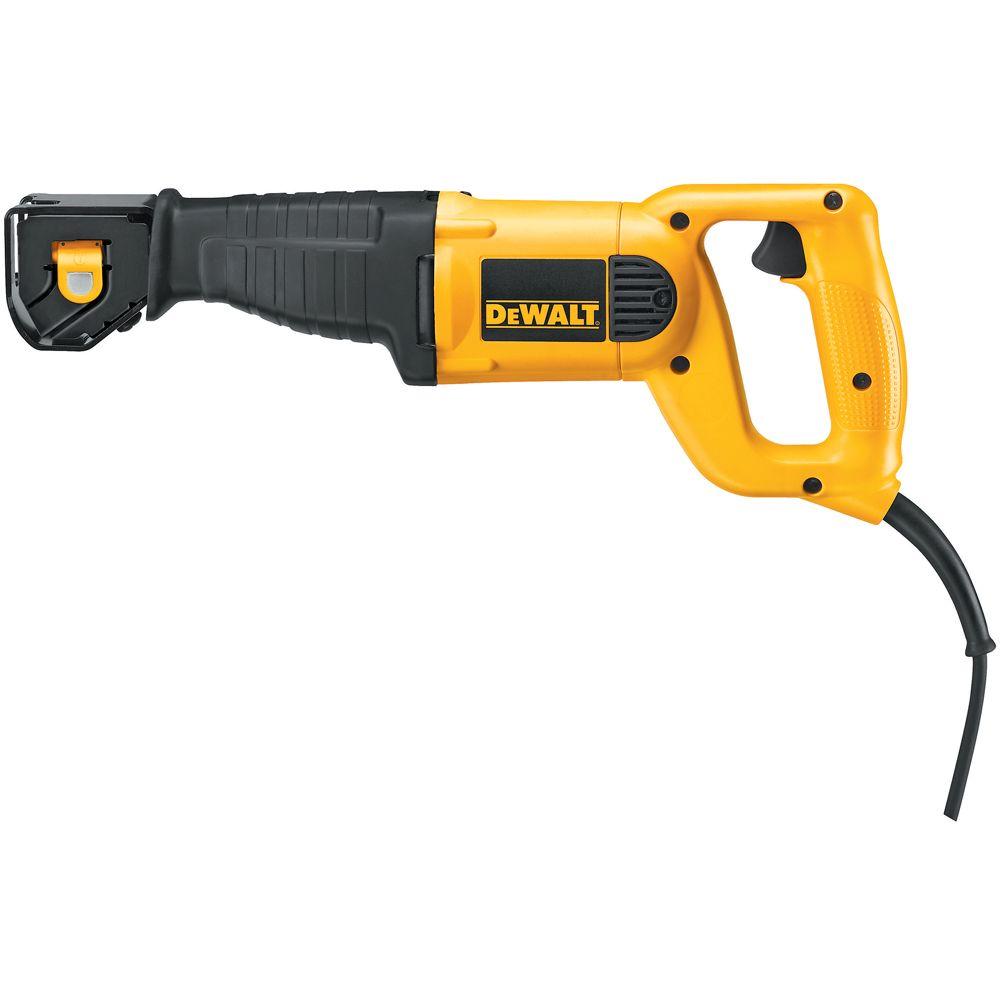
- Reciprocating saw (or) crowbar – to break down pallets.
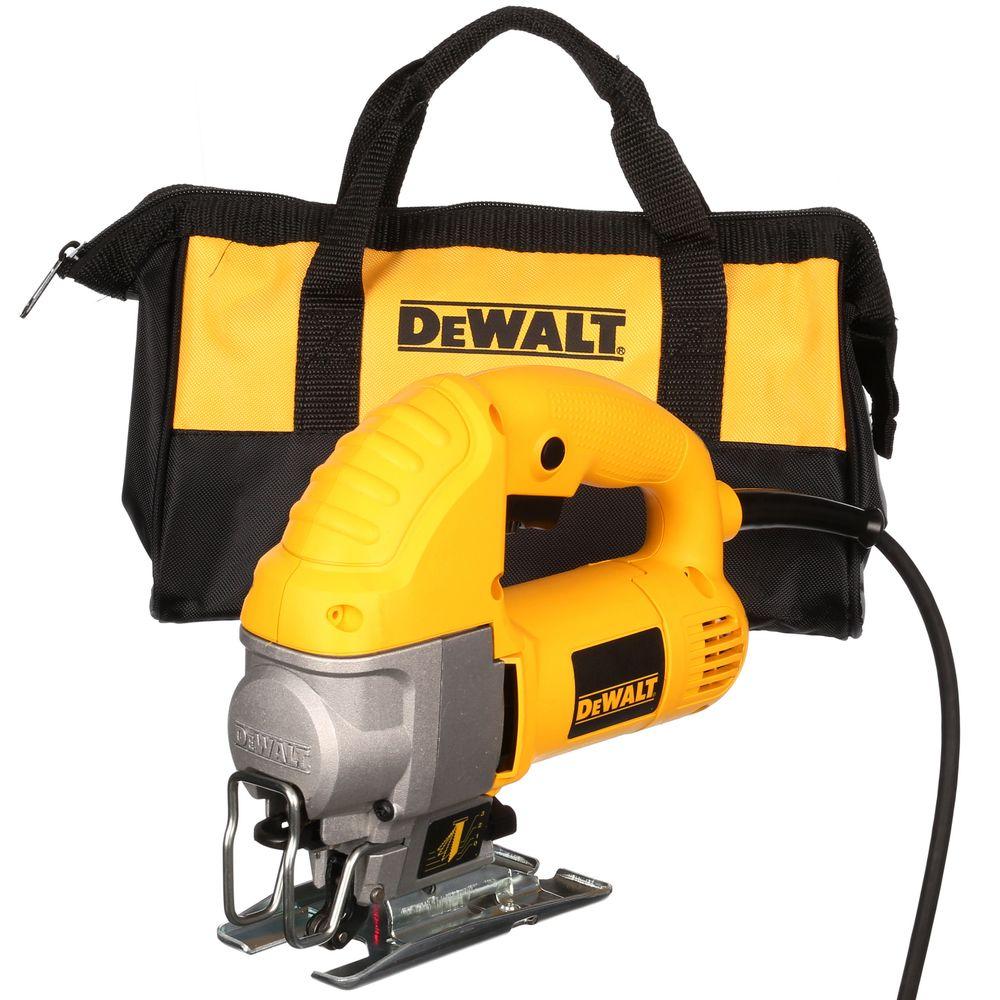
- Jigsaw (or) compass saw – to cut the pumpkin curves.
- Hammer – the 20 oz. head makes a mean demolition tool.
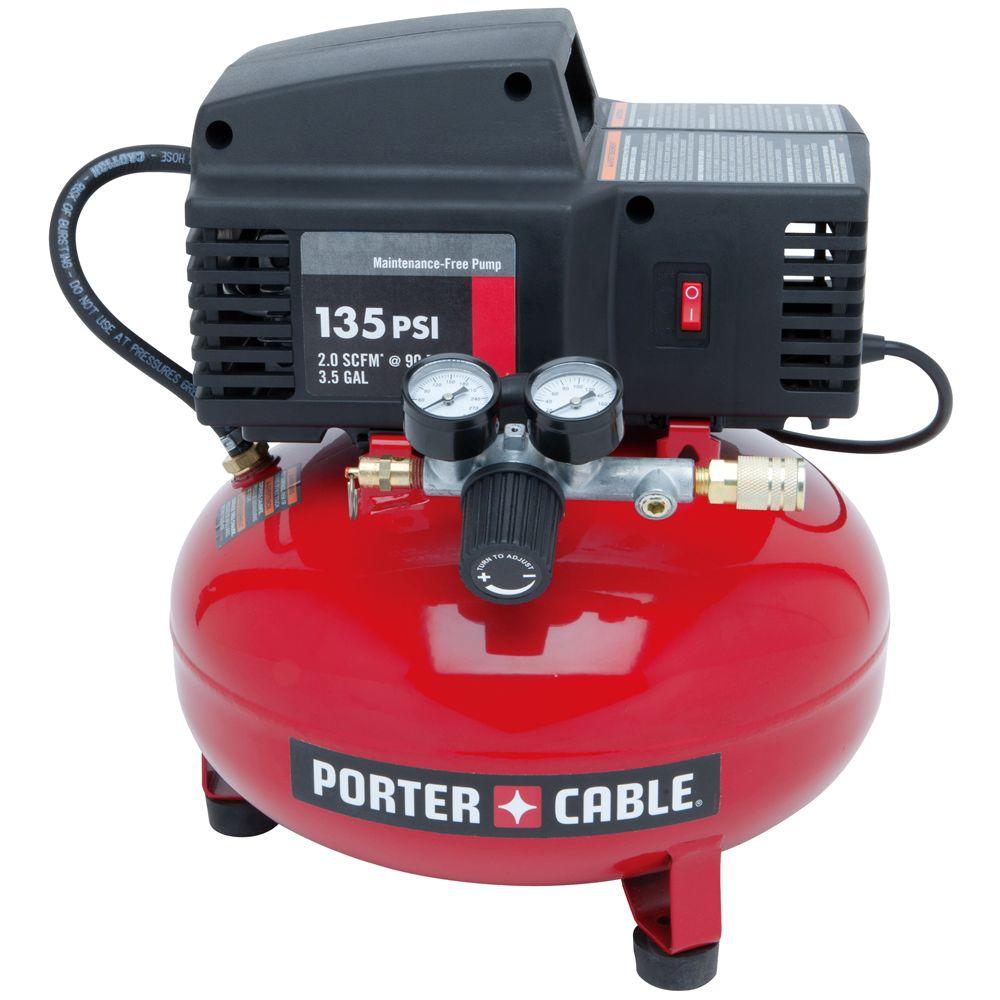
- Compressor & brad nail gun with nails (in materials list above).
- Nail punch – to remove nails from pallets.
- Measuring tape. (We use a mini-version for ease of use on smaller projects like this. Use a 26+ ft measuring tape for rooms, framing, joists, etc).
- Pencil.
- Ear plugs.
- Safety glasses.
Budget.
- The manual labor demo. FREE pallet + $20 crowbar + $3.72 finish nails (hundreds) + $10 compass saw = $33.72.
- The power tool demo. FREE pallet + $4.02 brad nails + $3 recip blade + $1.72 jigsaw blades = $8.74.
Step 1. Inventory your garage or shop.
- Determine your demolition approach.
- “Manual labor” requires a hammer & crowbar to break the pallets down, a box of finish nails to attach the slats to the stringers and a compass saw to cut the pumpkin shape.
- “Power tool” requires a reciprocating saw, wood & nails reciprocating saw blade, compressor with brad nail gun, brad nails, jigsaw and wood jigsaw blade. To save time and money, borrow the power tools you don’t yet have at home.
Step 2. Make a run to the hardware store.
- Recip saw. If you’re ready to buy a reciprocating saw, consider corded vs. cordless. If you only plan to use it at home, the corded may be more appropriate with the added benefit of more power to do more damage. If you’re demolishing pallets and dilapidated barns offsite, then the cordless is ideal. Make sure you brand match ALL cordless power tools you own for interchangeable batteries. E.g. Ridgid drill, Ridgid yard trimmer, Ridgid recip saw, Ridgid miter saw.
- Compressor. Need an air compressor? Smaller DIY applications don’t need more than a pancake version. Consider a combo kit to save money on nail guns. Pin nailers for small moulding installation. Brad nailers or finish nailers for larger moulding and small scale DIY builds. Framing nailers to frame walls, attach floor / ceiling joists, large scale residential construction. Why not buy a battery powered nail gun instead of a compressor combo kit? The compressor has countless uses other than pneumatic nail guns: filling up tires, staplers, paint guns and equipment cleaning.
- Jigsaw. The freehand, powered way to cut tight curves in wood or metal. Far more efficient than a hand saw, compass saw or any non-powered hand tool. Portable and easy to travel with.
Step 3. Scout out free wood shipping pallets.
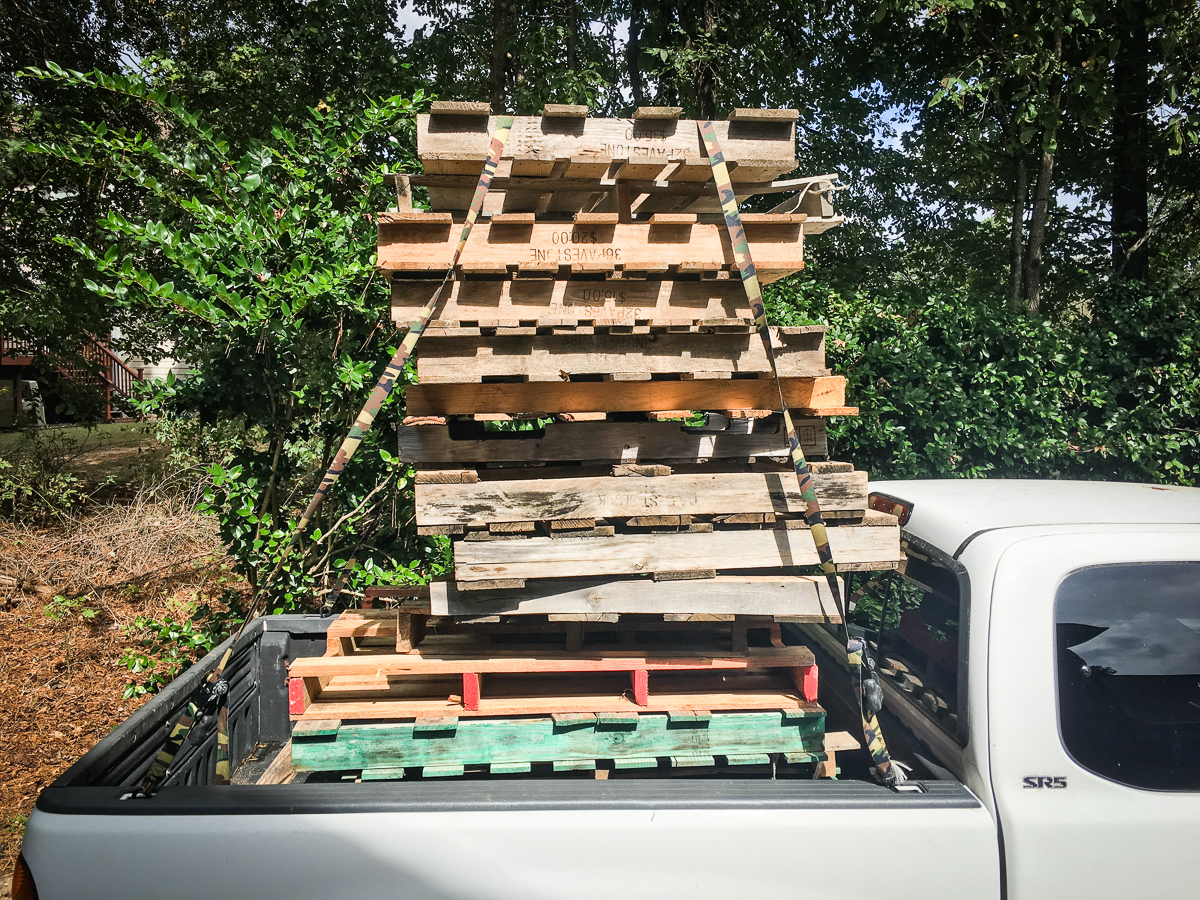
- Free pallets are all over Facebook Marketplace. Do a search for “pallet wood” and turn the notification setting on.
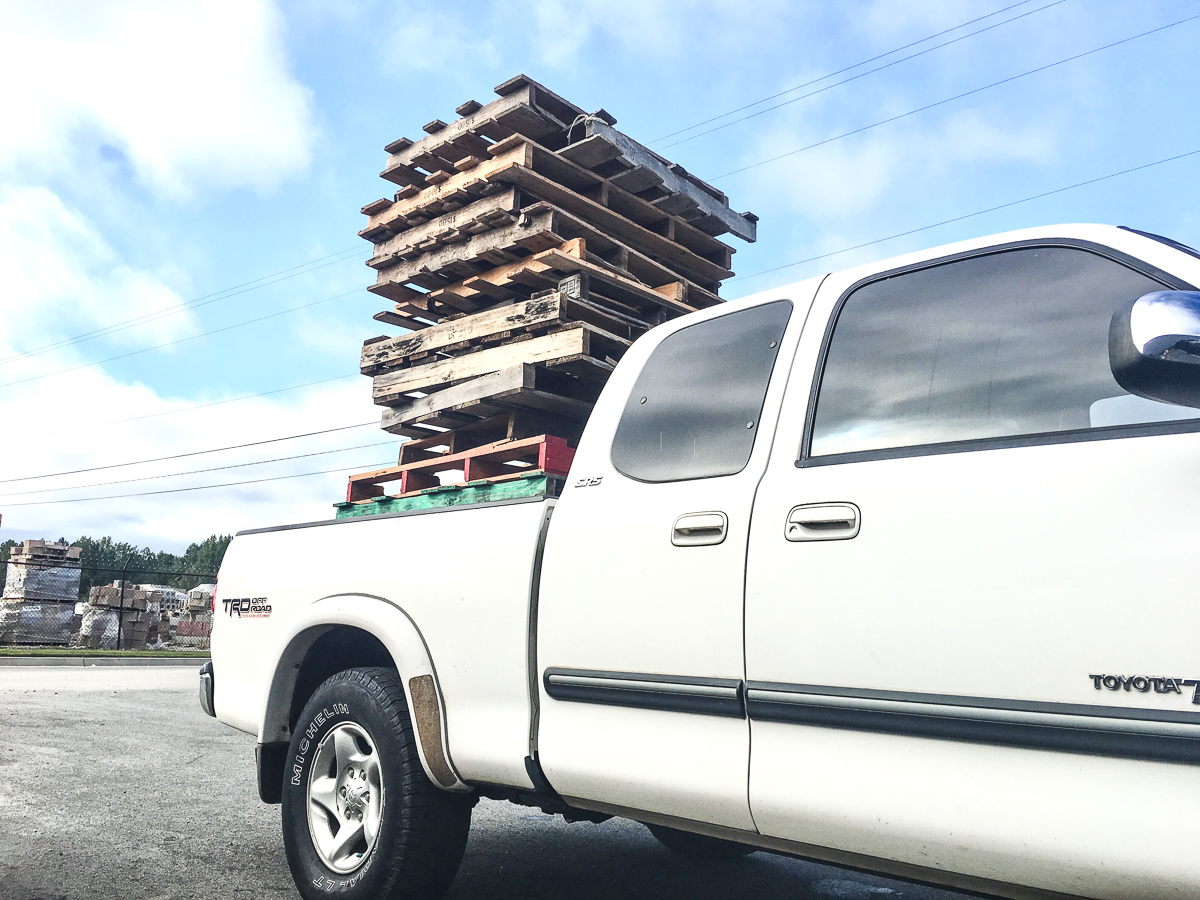
- Avoid: Home Depot, Lowe’s, grocery stores and large retailers. They have contracts with delivery and shipping companies who own these pallets, pick them up after deliveries and reuse them.
- Check around small retailer dumpsters that aren’t behind fences or closed doors. Broken pieces are a giveaway that the pallet won’t be reused and is up for grabs. Uncertain? Ask the store manager for permission.
- Construction sites. When the contractor or subcontractors are working, inquire if they have a burn pile of old or broken pallets that won’t be used.
Step 4. Demo your pallet(s).
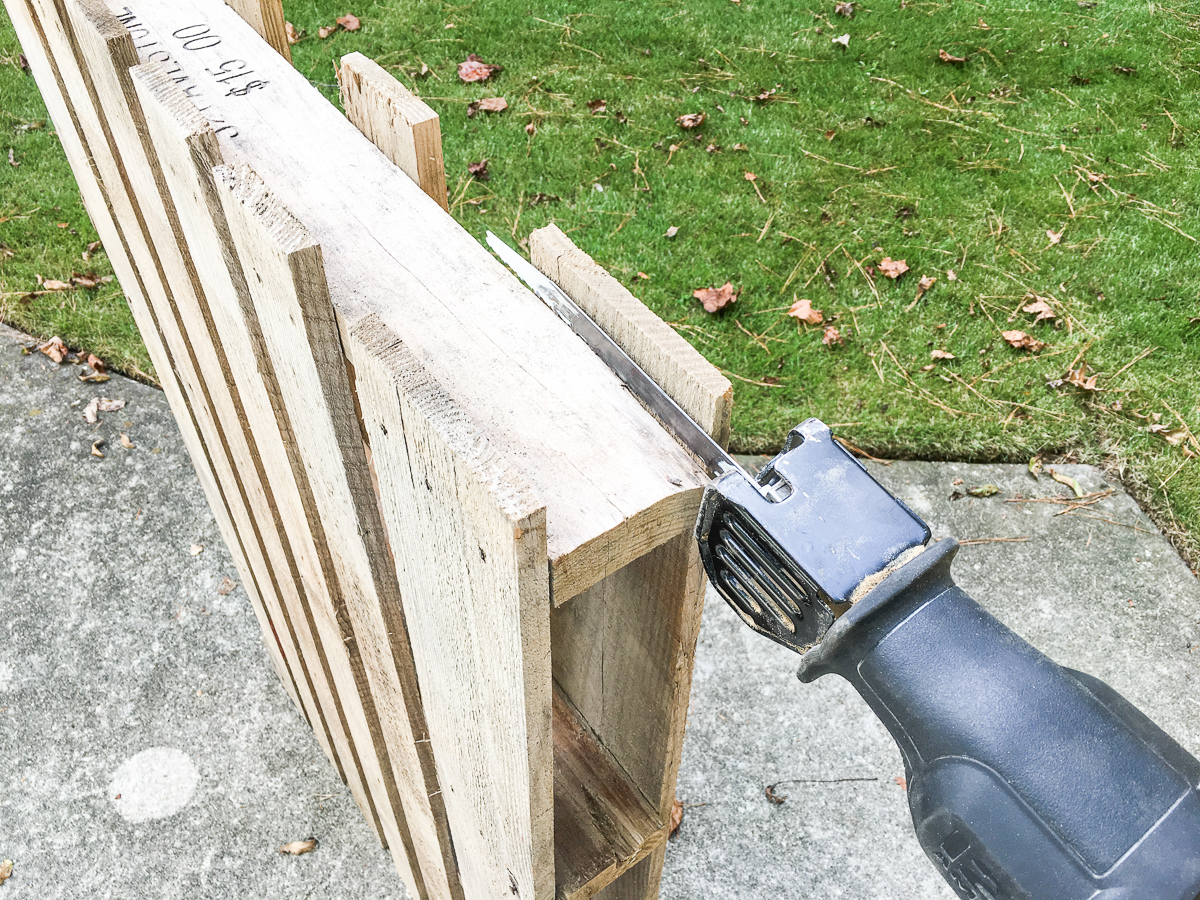
Note: pallet slats run across the top and bottom of the pallet. The stringers are sandwiched between the slats, positioned perpendicularly. Stringers often have slots cut out to allow forklifts easier access.
- Protect your face with safety glasses & ear plugs. That grin is prime real estate, let’s be honest.
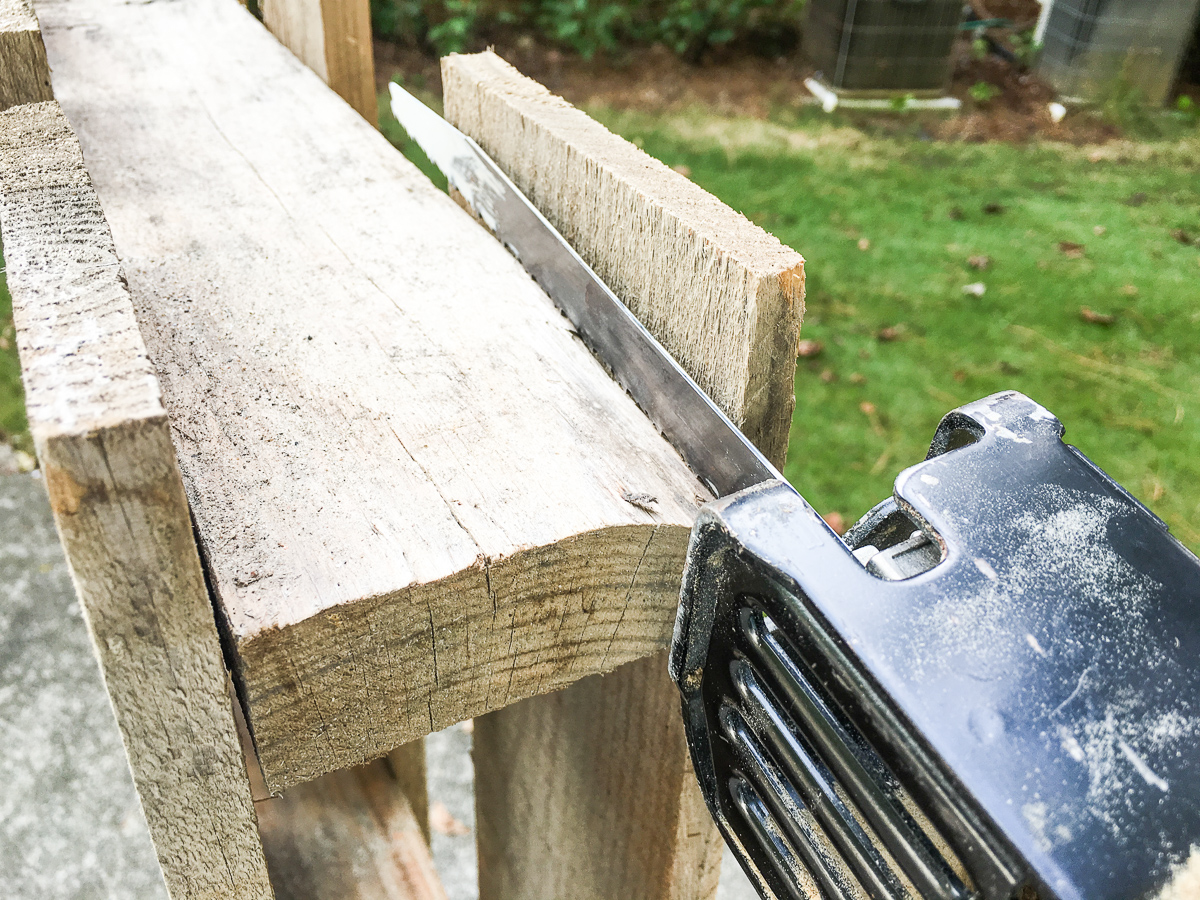
- Demo with your reciprocating saw.
- To maintain the integrity of each pallet slat, cut through the nails that connect slats to stringers.
- Put your pallet on its side (vertical), leaning up against a table saw, workbench or wall for stability.
- Proceed to saw directly between the slats and stringers until all pieces have been removed.
- Demo with your crowbar.
- With all of your might, hammer the crowbar between the slats and the stringers.
- Carefully pry off the slats without breaking them. This is quite an art. Get your sweat on.
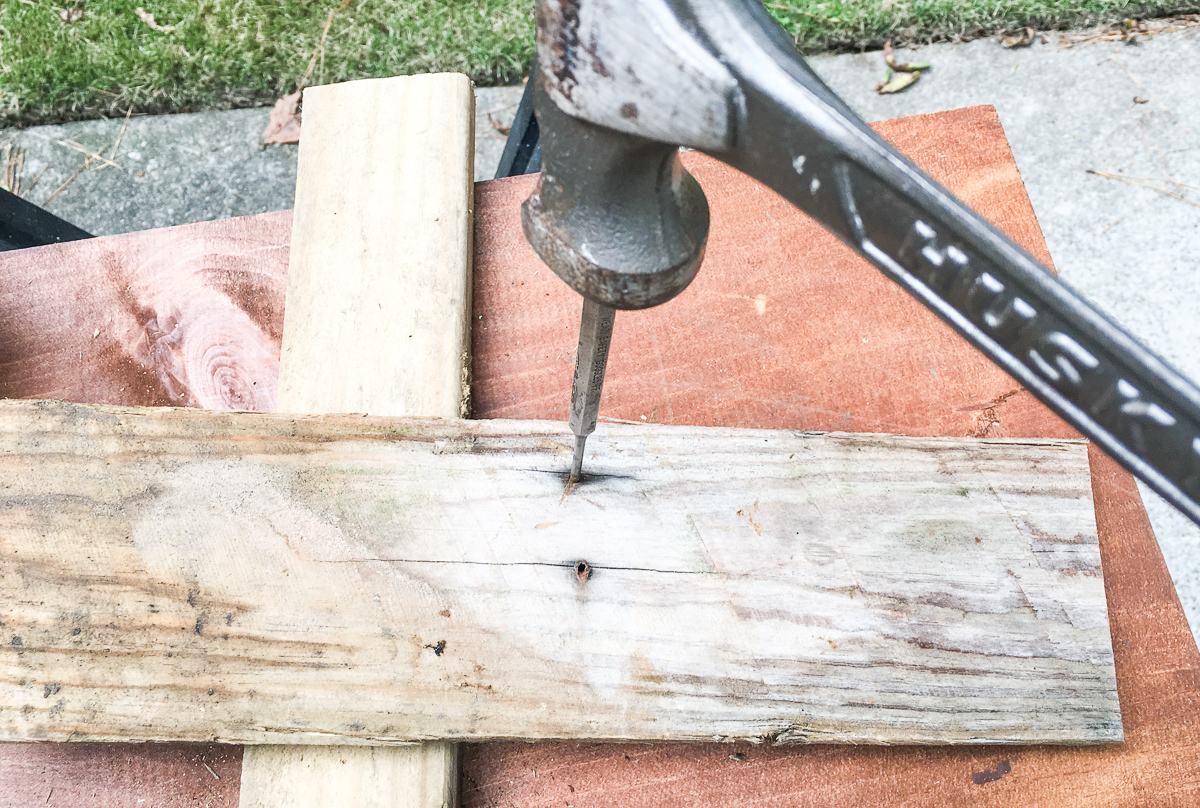
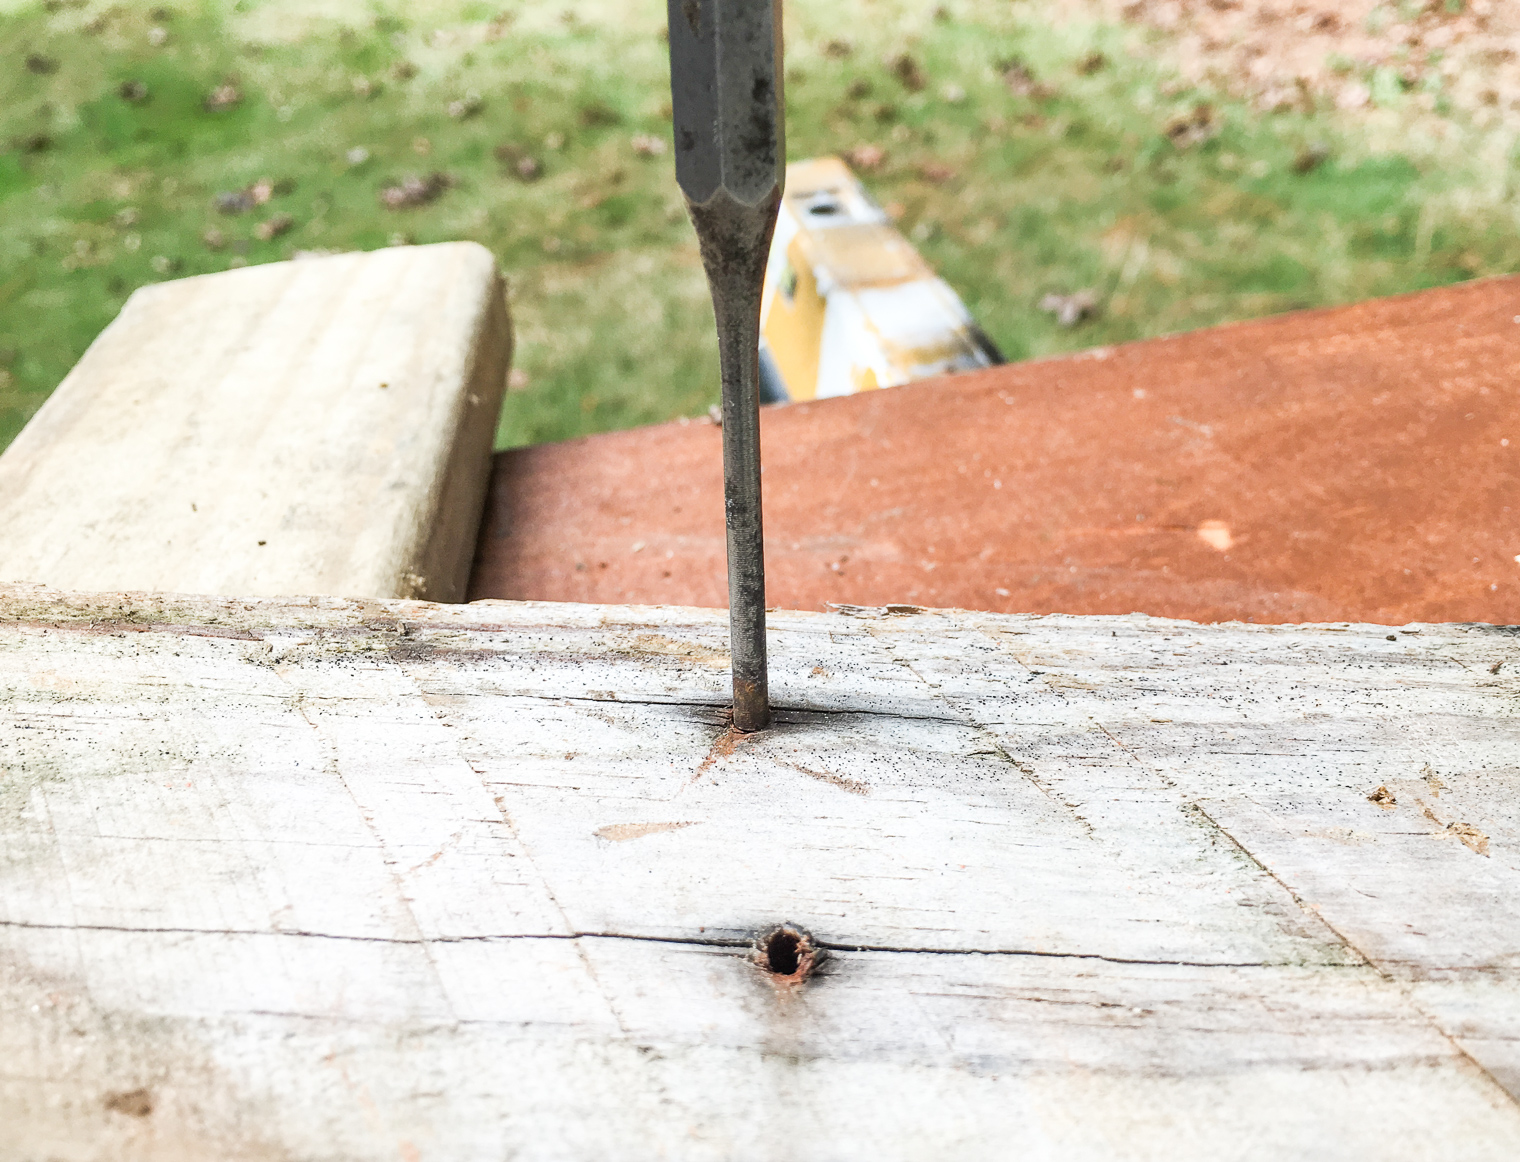
- Nail punch the nails.
- Whether you demo’d with a recip saw or a crowbar & hammer, you’ll need to remove the full length or fragmented nails from the wood. You don’t want friends, neighbors, kiddos or zealous trick-or-treaters to get cut by your sharp, rusty nails.
- Hold the nail punch with smaller, thinner end up against the nail. Hammer the end of the punch until the desired nail pops out of your slat or stringer.
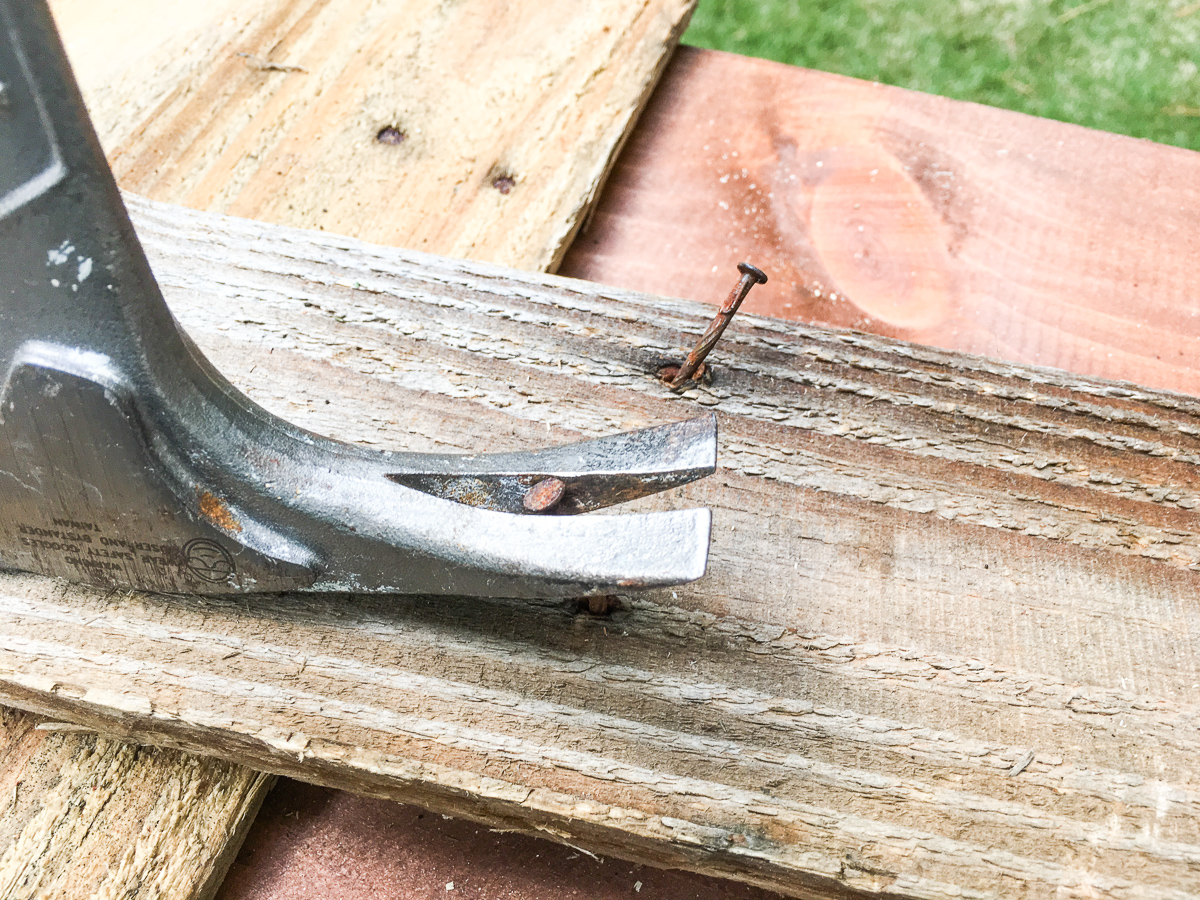
- Remove all partially embedded nails from the stringer with the hammer claw. Or cut flush with a recip saw and nail punch the sharp remains beneath the surface.
Step 5. Attach wood slats to stringers.
- You broke down the pallet just to put it all back together?? That’s correct. More beautifully, of course. And much more pumpkin-y.
- Fire up your compressor.
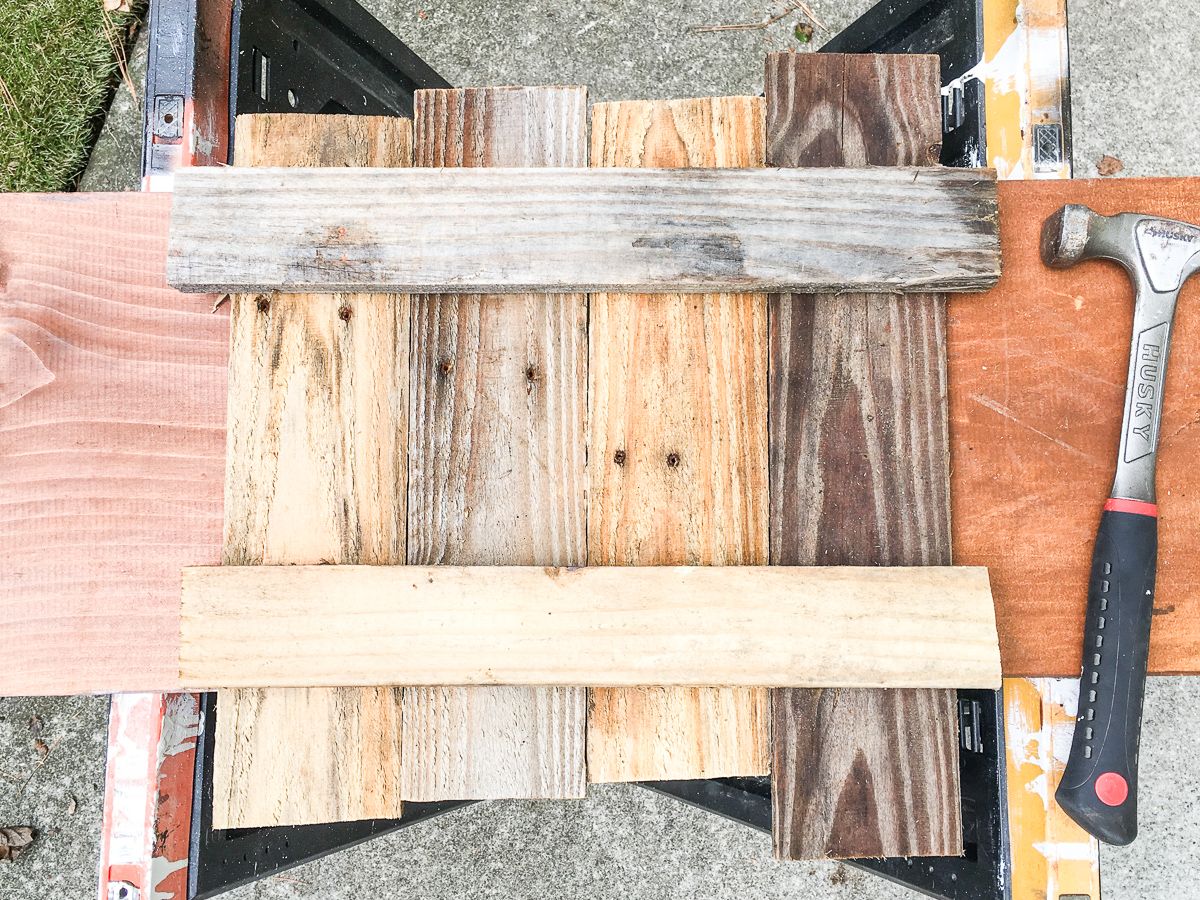
- Lay out your slats face down on a flat surface. The garage floor is often your best option, even though there’s a slight grade.
- The more slats you place, the taller your pumpkin will be. Make sure the slats are touching, but not overlapping.
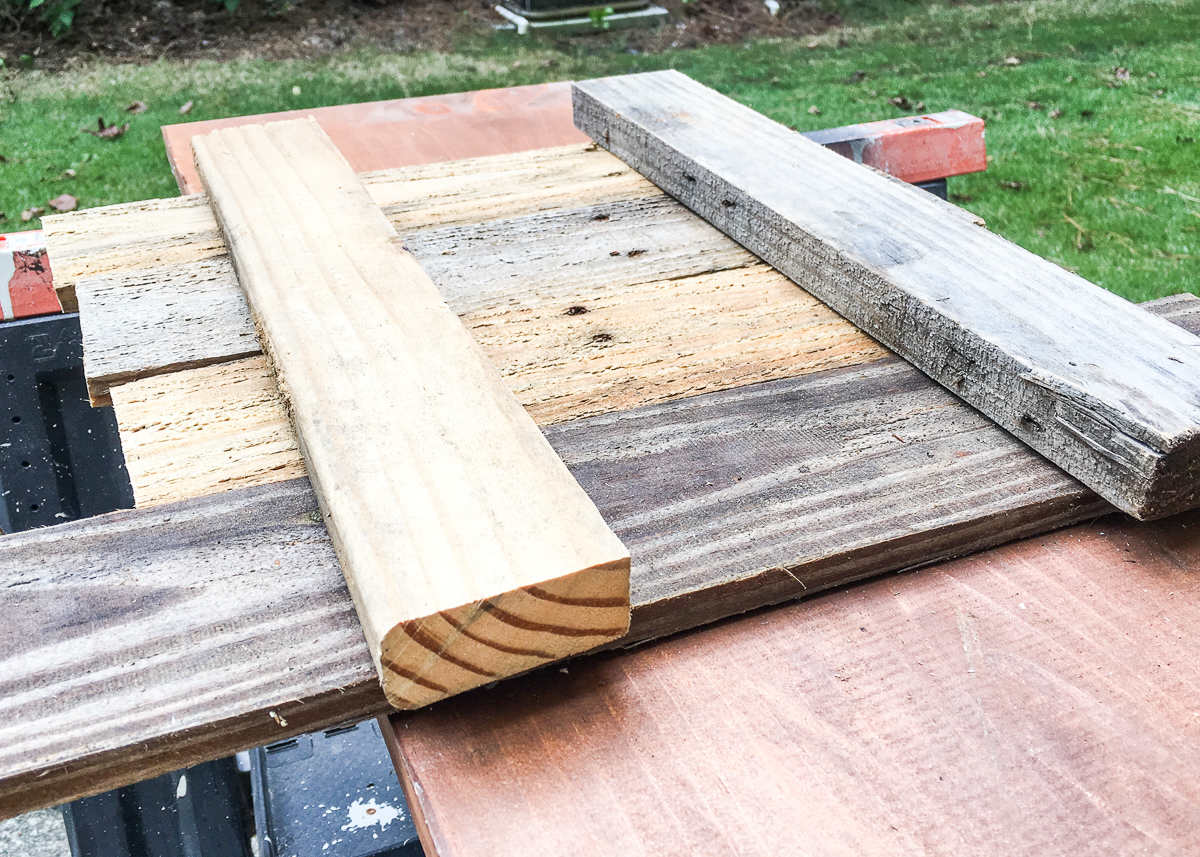
- Place either 2 stringers OR 2 extra slats on top of the row of slats on the ground, perpendicularly. The 2 you choose will act as a support brace on the back of your pallet pumpkin to ensure it stays together.
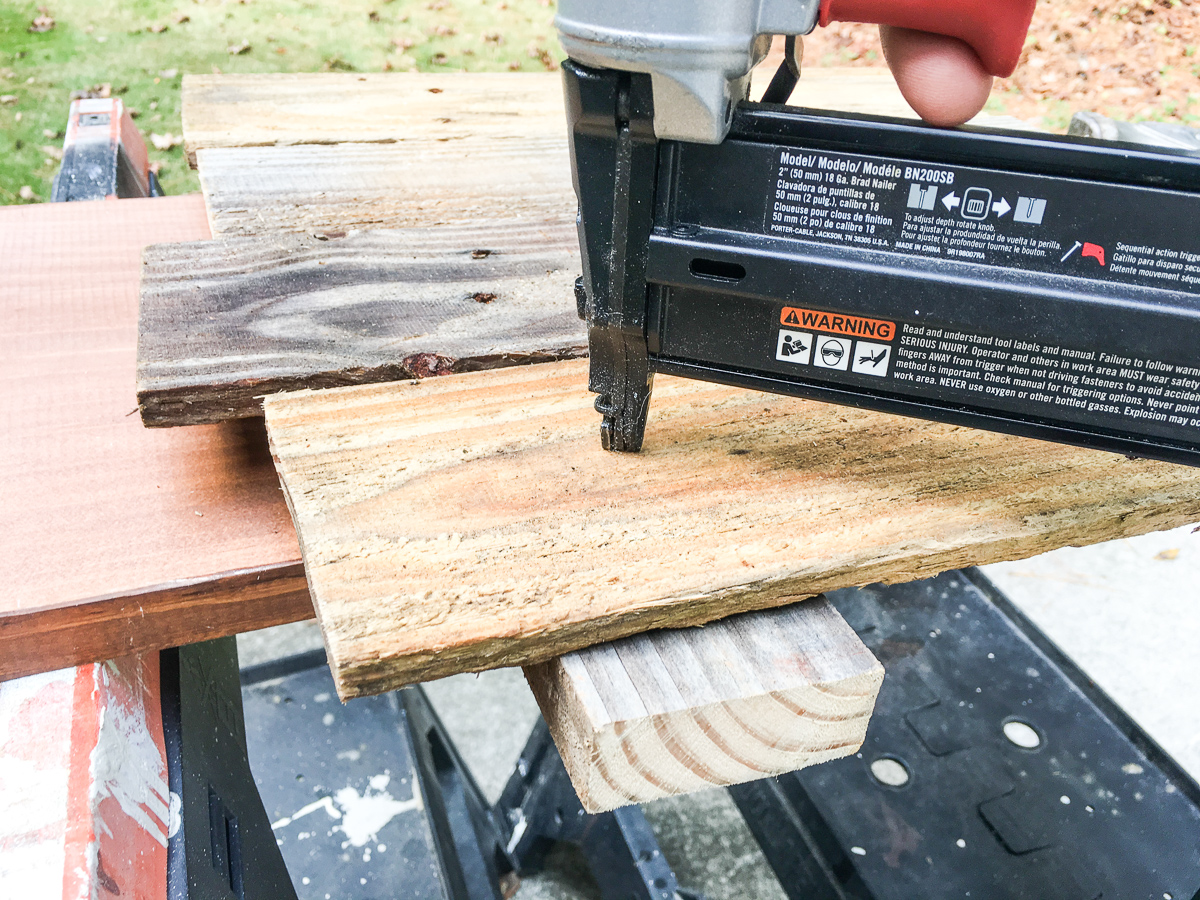
- Attach the slat braces to the row of slats on the ground with compressor and brad nail gun. If your nails are slightly longer than the thickness of two stacked slats, shoot the nails at a slight angle. To use stringers for braces, place your stringers directly on the ground and place ALL slats in a row on top of the stringers. Nail the slats to the stringers through what will be the face or front of your pumpkin.
Step 6. Trace the pumpkin.
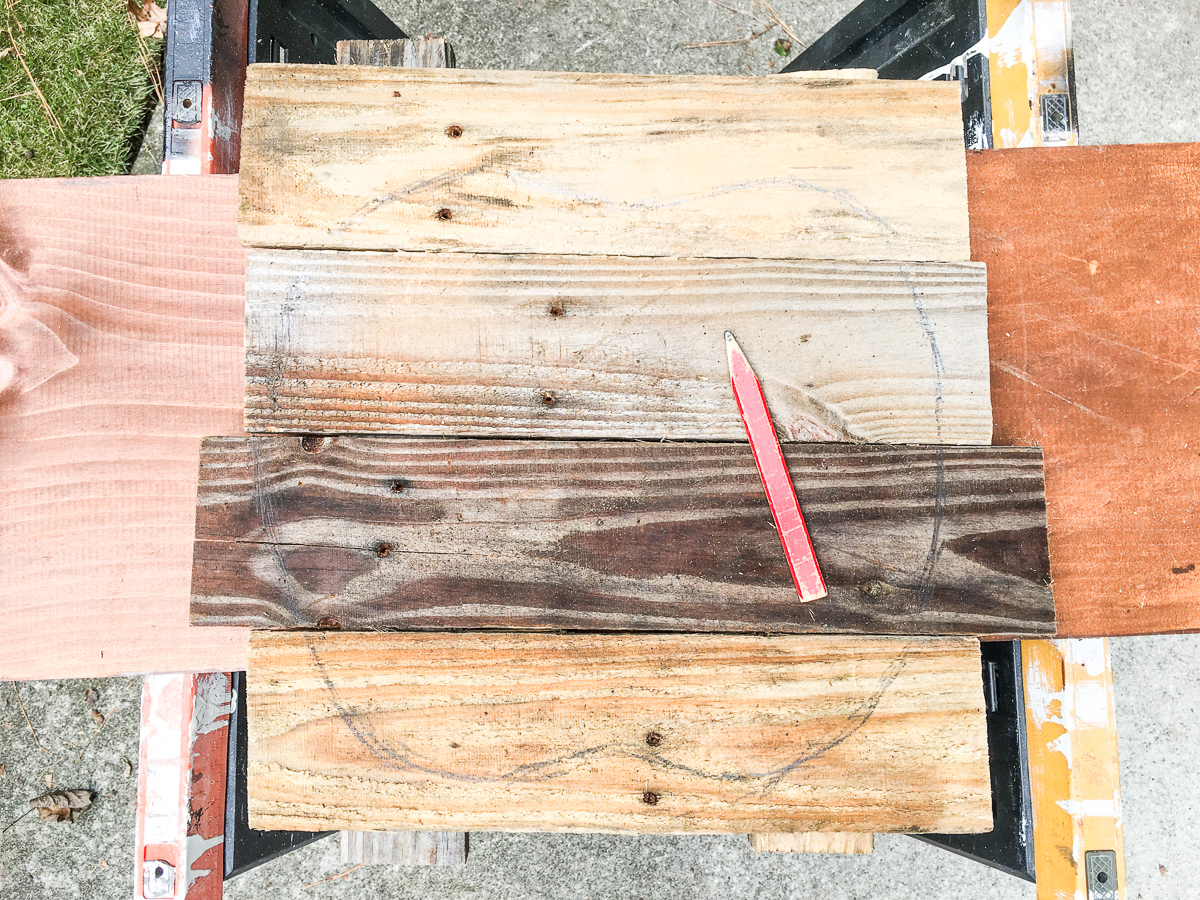
- Decide on your ideal shape of pumpkin. Rounded with slight ridges? Oblong with a very inwardly curved top and bottom? Mixture between the two?
- Grab your pencil and freehand sketch a pumpkin onto your row of pallet slats.
- The curves don’t have to be perfect. As you jigsaw, you can smooth out the inconsistencies.
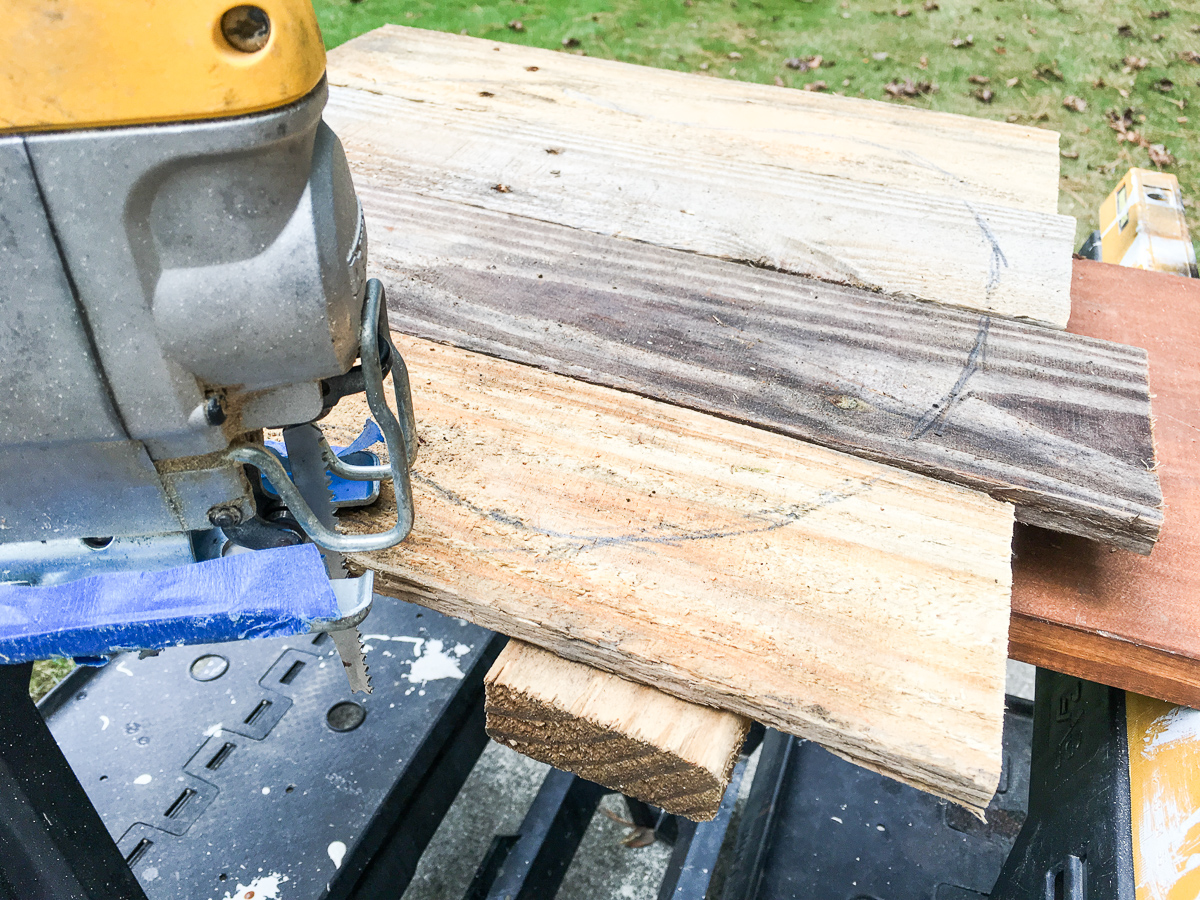
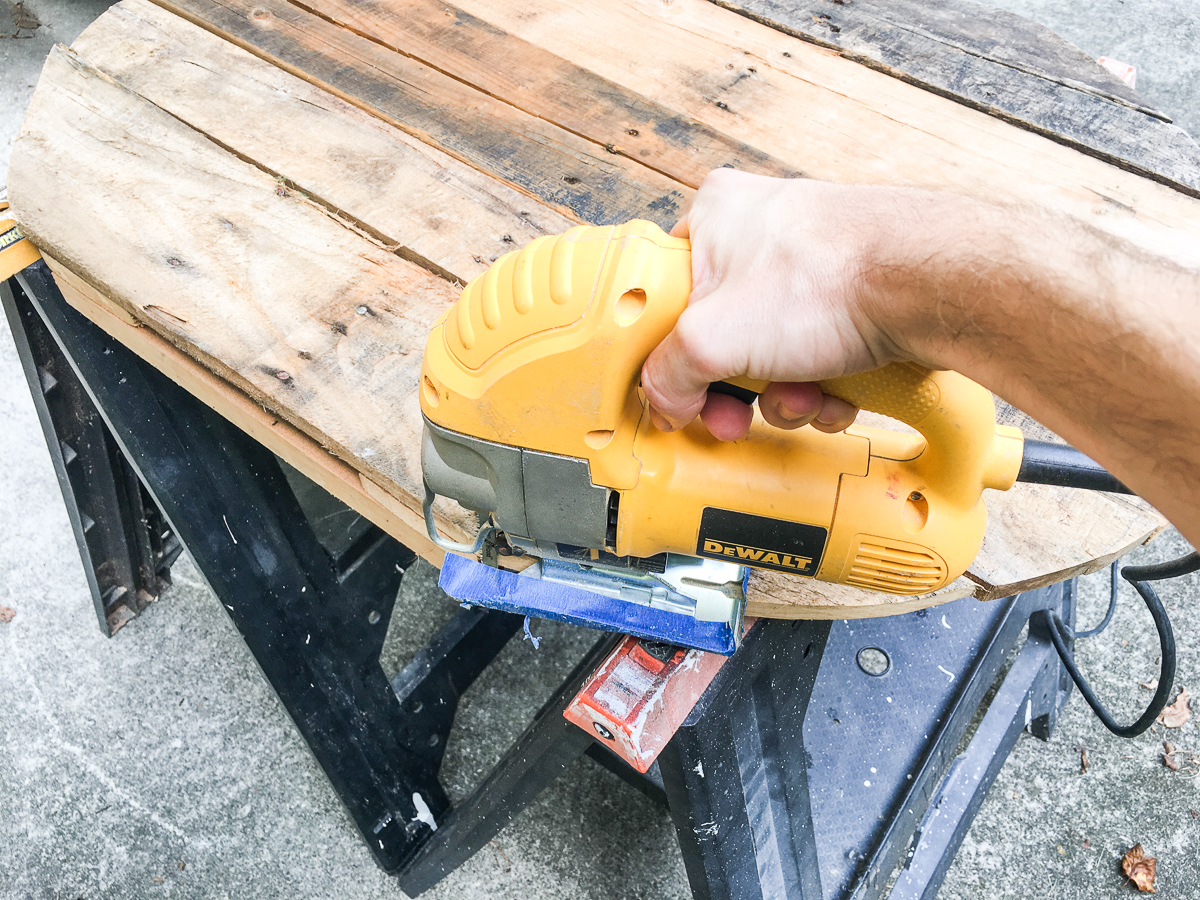
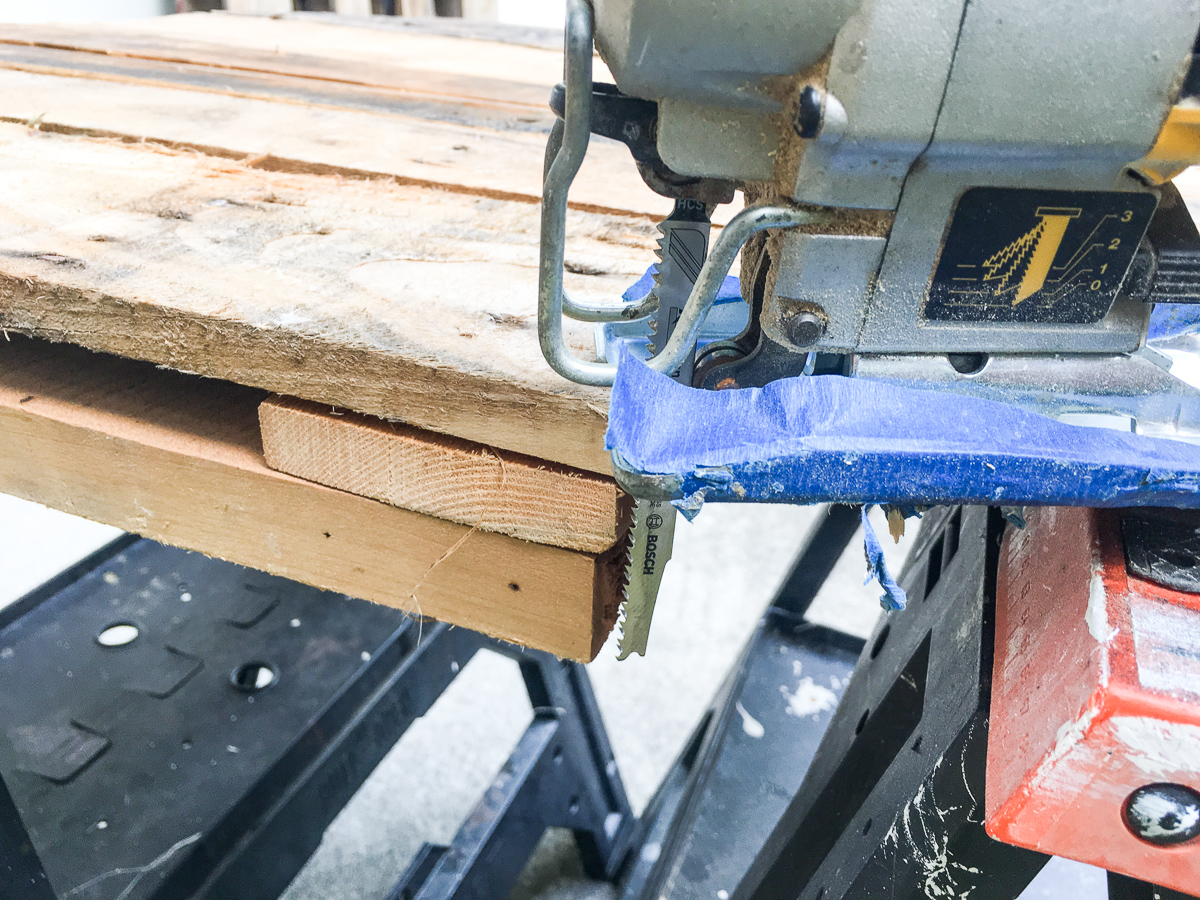
Step 7. Cut the pumpkin shape with your jigsaw.
- Arm your jigsaw with a wood cutting blade.
- If you opted to leave any nails in the wood, DO NOT cut through the nails with your jigsaw blade. It’ll become dull immediately. Consider using a bi-metal jigsaw blade designed to cut nails AND wood.
- Take wider passes to leave pallet wood beyond your line. Prop up the pumpkin, reassess your lines and finish the cuts as desired.
Step 8. Attach a pumpkin stem.
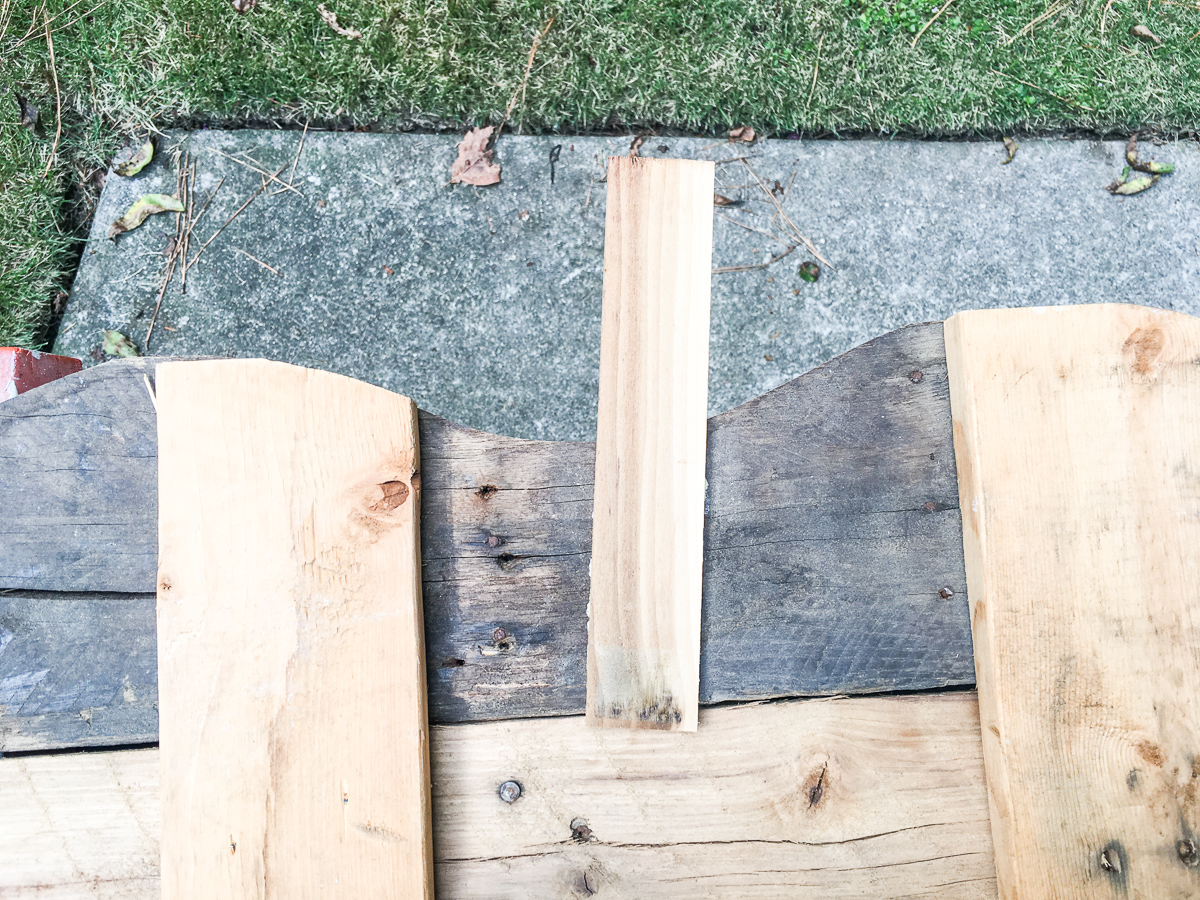
- Have a scrap piece of wood lying around? Cedar or pine wood shim? Any pieces at ½” thick? Consider using the free wooden paint stirrer from the hardware store. Or cut a pallet fragment.
- With your compressor and nail gun, attach the piece of wood behind the top of the pumpkin to act as a stem.
You’re bringin’ all the fall.
On behalf of the season known as Autumn, interior decorators and the DIY community: we’re proud of you, friend. Not only did you make your space a little more warm and welcoming, you’ve inspired your neighborhood to stop the store-bought-mainstream. Perhaps they’ll ask where you bought your pallet wood pumpkin, and you’ll tell ‘em, “I built it with purely creative ambition.” But make sure to pay it forward so they don’t walk away thinking you’re some cosmic weirdo.
If you’re wanting to add a little color to your pallet pumpkin, here are a few tutorials you can dig into:
- Make the natural look pop with some sanding, boiled linseed oil, mineral spirits and polyurethane. Our reclaimed tabletop has this exact finish.
- Match our Restoration Hardware copycat headboard trim finish with a coat of brown tinted wax and white tinted wax.
- Stain the slats, then whitewash and vigorously wipe off for a very worn and distressed aesthetic. Just like our DIY sliding barn door.
- Stain the slats, apply 2 coats of white paint and then unevenly sand and distress like our farmhouse table legs and apron finish.
