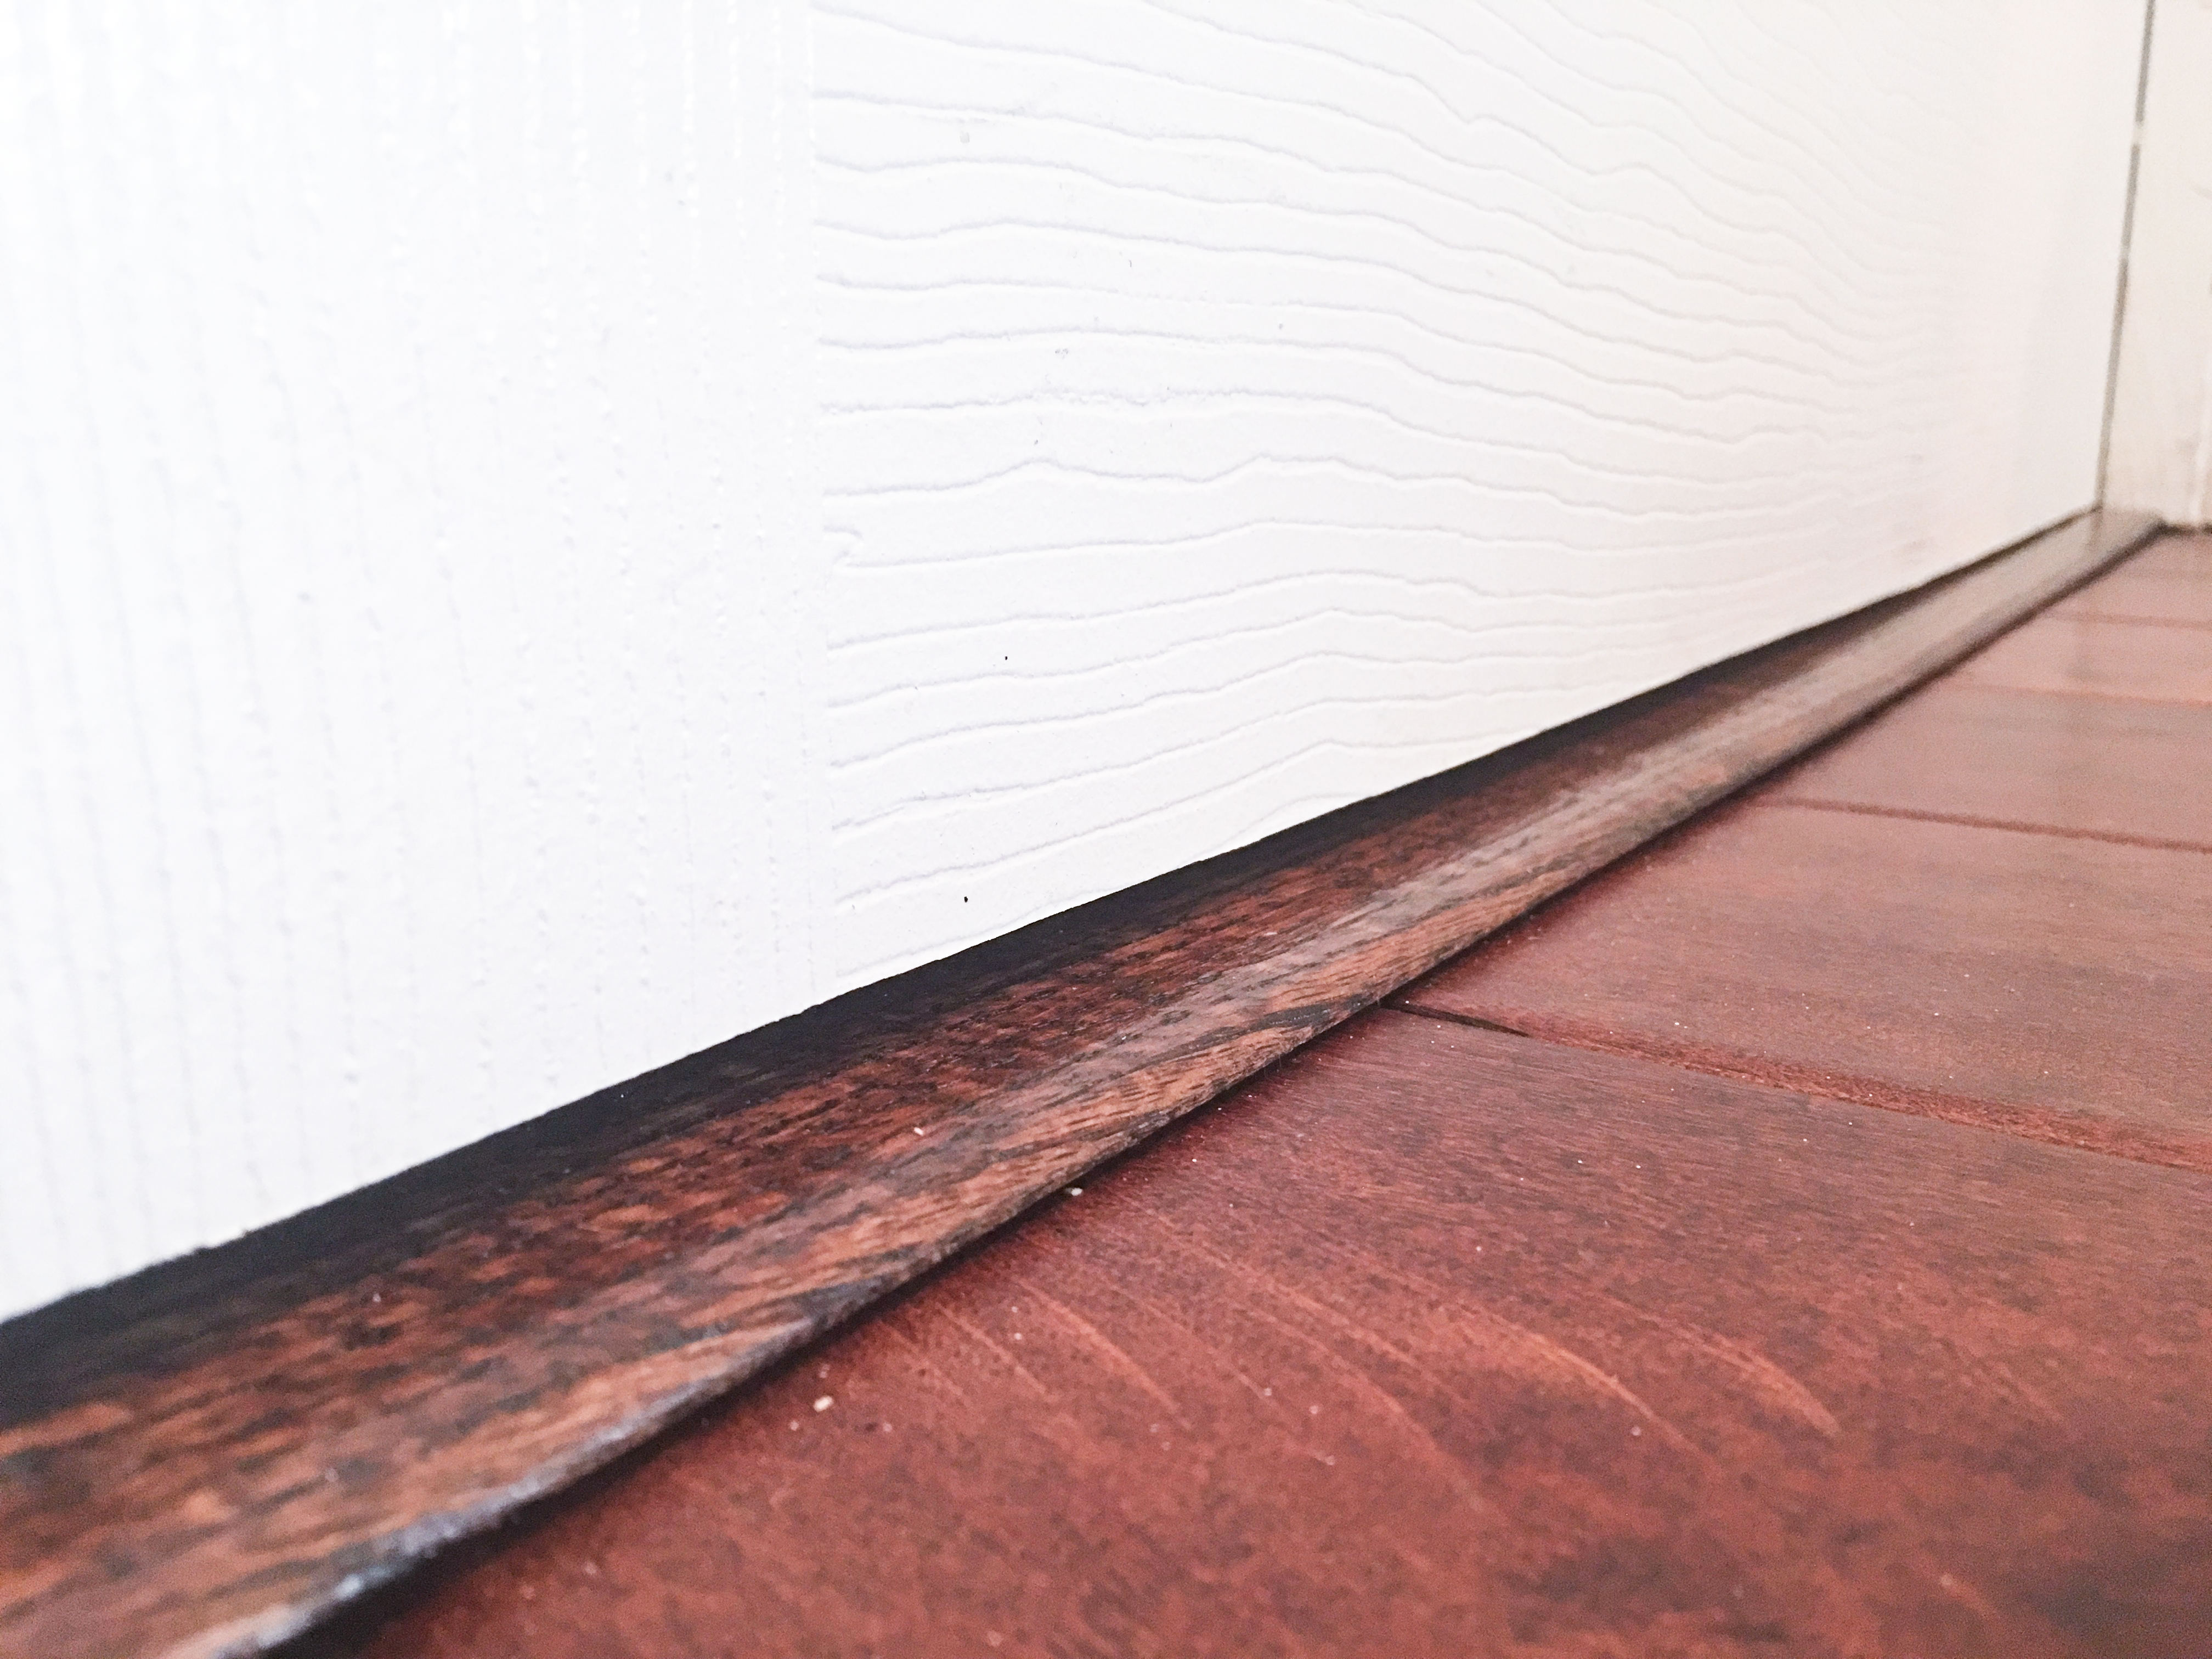
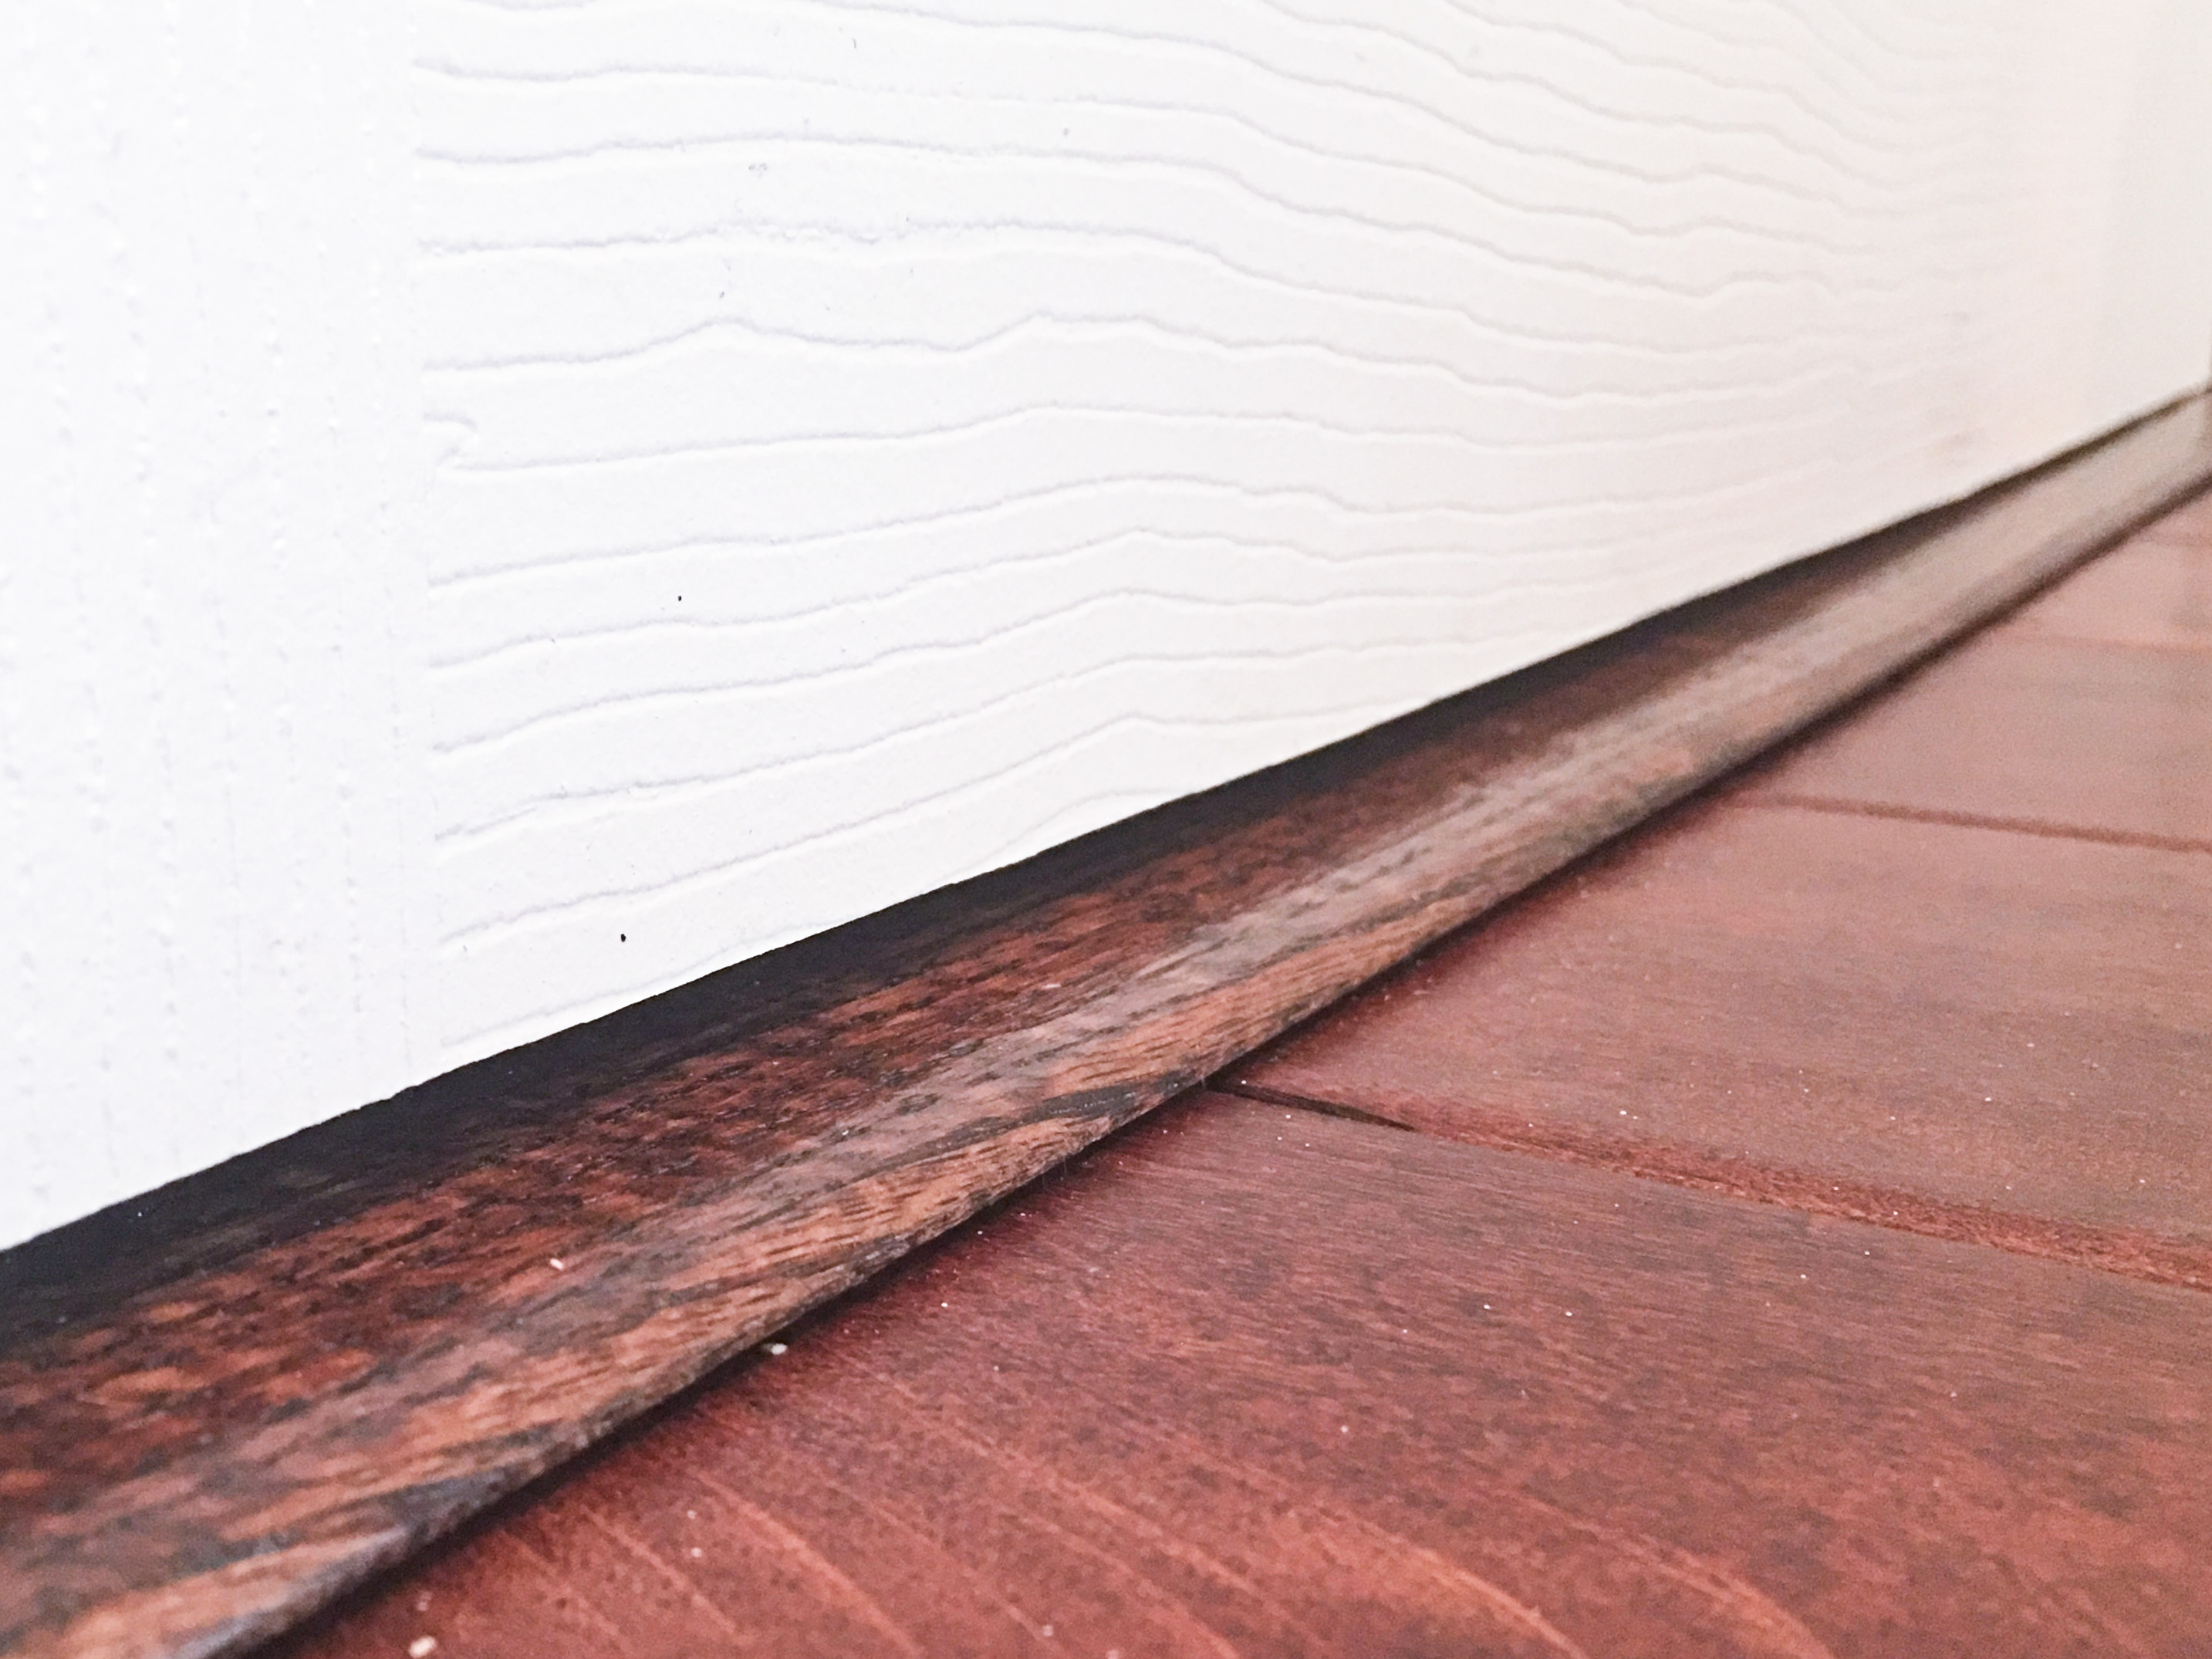
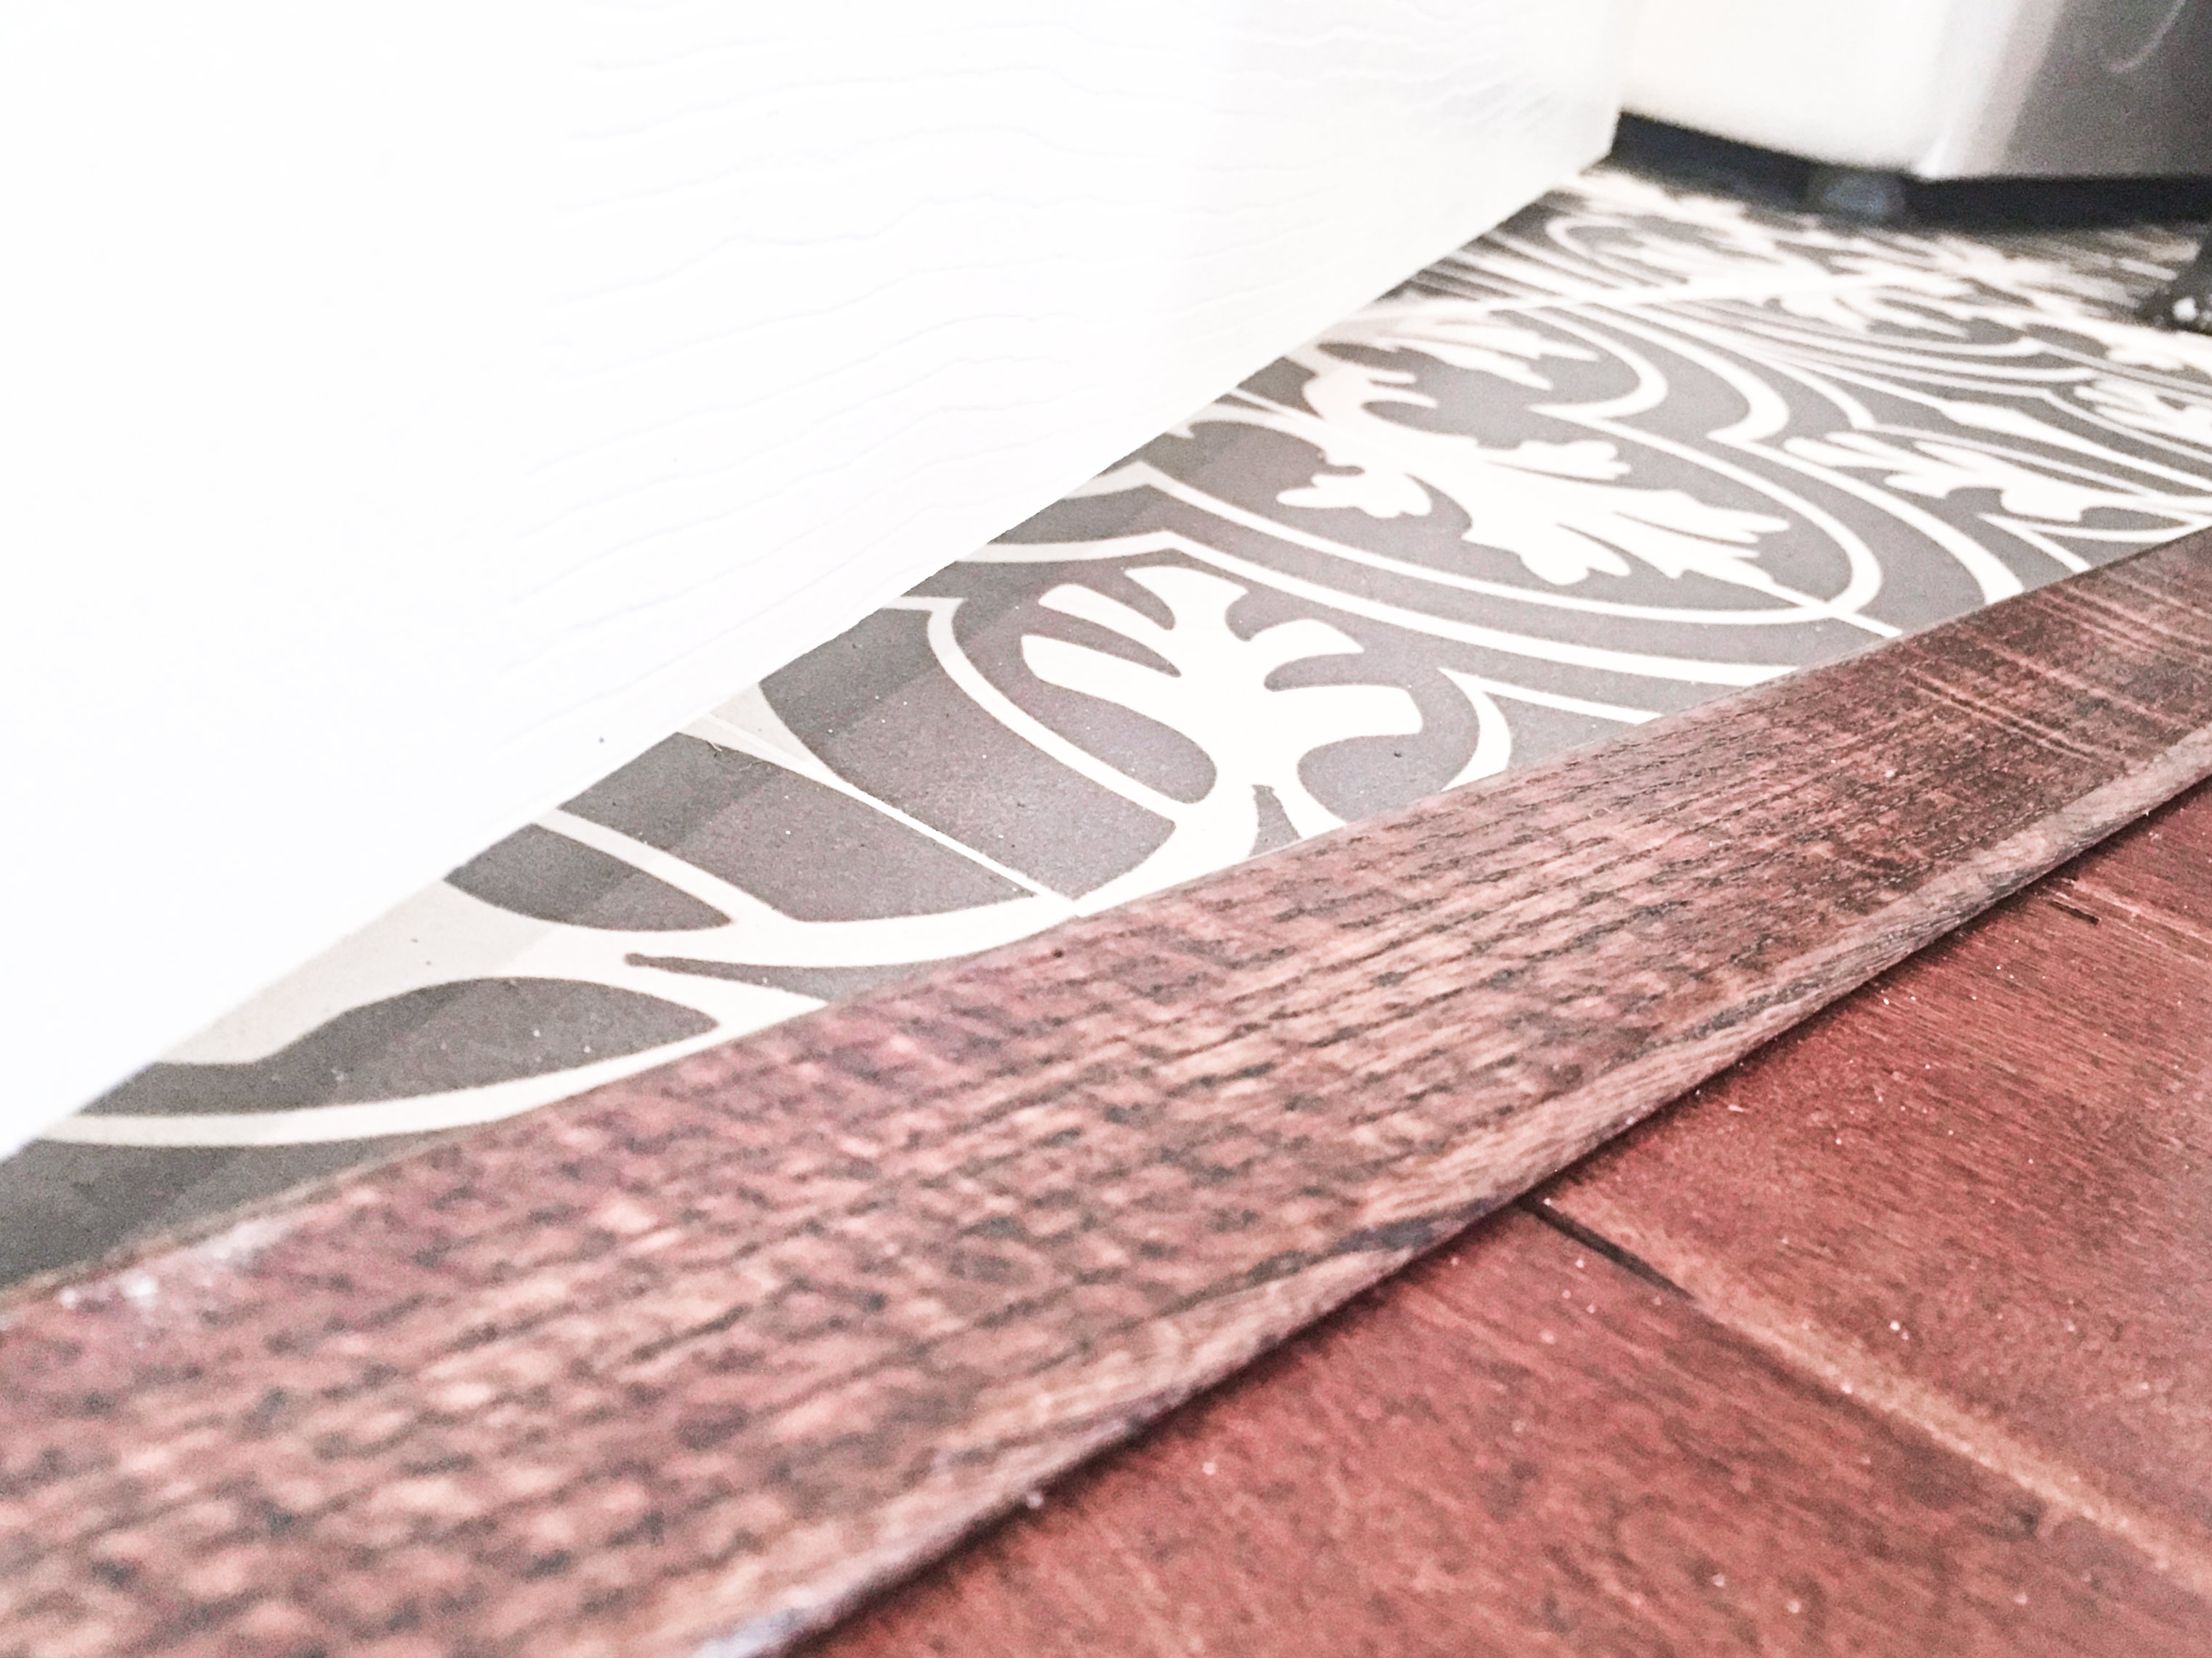
Let me guess. You renovated your flooring from shabby to chic, but your door won’t fit over the new threshold. Been there, friend. Your gorgeous new floor deserves a properly functioning transition from room to room.
Don’t fret. Don’t pull your hair out (unless it’s on your back, then we support that compulsive decision). It’s a simple fix that may only take you 30 minutes to complete.
Show that door who’s boss.
What’s the solution? Rip that bad boy off its hinges (not literally) and saw off the extra. What type of saw? “NOT a hand saw” said the 100 year old carpenter who has spent more than your lifetime actively sawing wood in two. Try a circular saw. Corded or cordless. The cut itself will take approximately 15-20 seconds. Let’s make that door closable again. Here’s how:
How to cut your door to make it close properly.
Materials.
- Your obstinate door.
Tools.
- Circular saw. Buy or borrow one.
- Rubber mallet. Or hammer.
- Nail punch. Or buy a punch and chisel set. Or an old 3” nail – to take the door off its hinges. Or a screwdriver.
- 2 saw horses (or) workbench (or) table saw (or) any outdoor table (or) pallet.
- T-square (or) yardstick (or) straight edge (or) something straight.
- Pencil.
- Ear plugs.
- Protective eyewear (safety glasses).
- Extension cord.
- (Optional) 2 trigger clamps – to hold your guide in place.
- (Optional) circular saw guide (or) piece of 1” thick wood.


Budget.
- FREE!
- Unless you need to buy the circular saw.
Step 1. Assess your door clearance.
- Attempt to close your door all the way. Dive on the floor like you’re killing some burpees for a Spartan Race and assess the threshold situation.
- Make a pencil mark on the door right where the threshold meets the door. A few notches in a few places. E.g. the far left, the center and the far right.

Step 2. Setup your outdoor sawing area.
- You only need something long and wide enough to place the door on to avoid it teetering like a seesaw as you cut AND to avoid making blade-to-ground contact.
- Setup your extension cord, circular saw and makeshift table. We used our table saw as a table.
- If you’re using 2 clamps and a saw guide, place those at the ready.
Step 3. Remove your door from the hinges.
Note: hinge pins are covered in black grease. Dress accordingly!
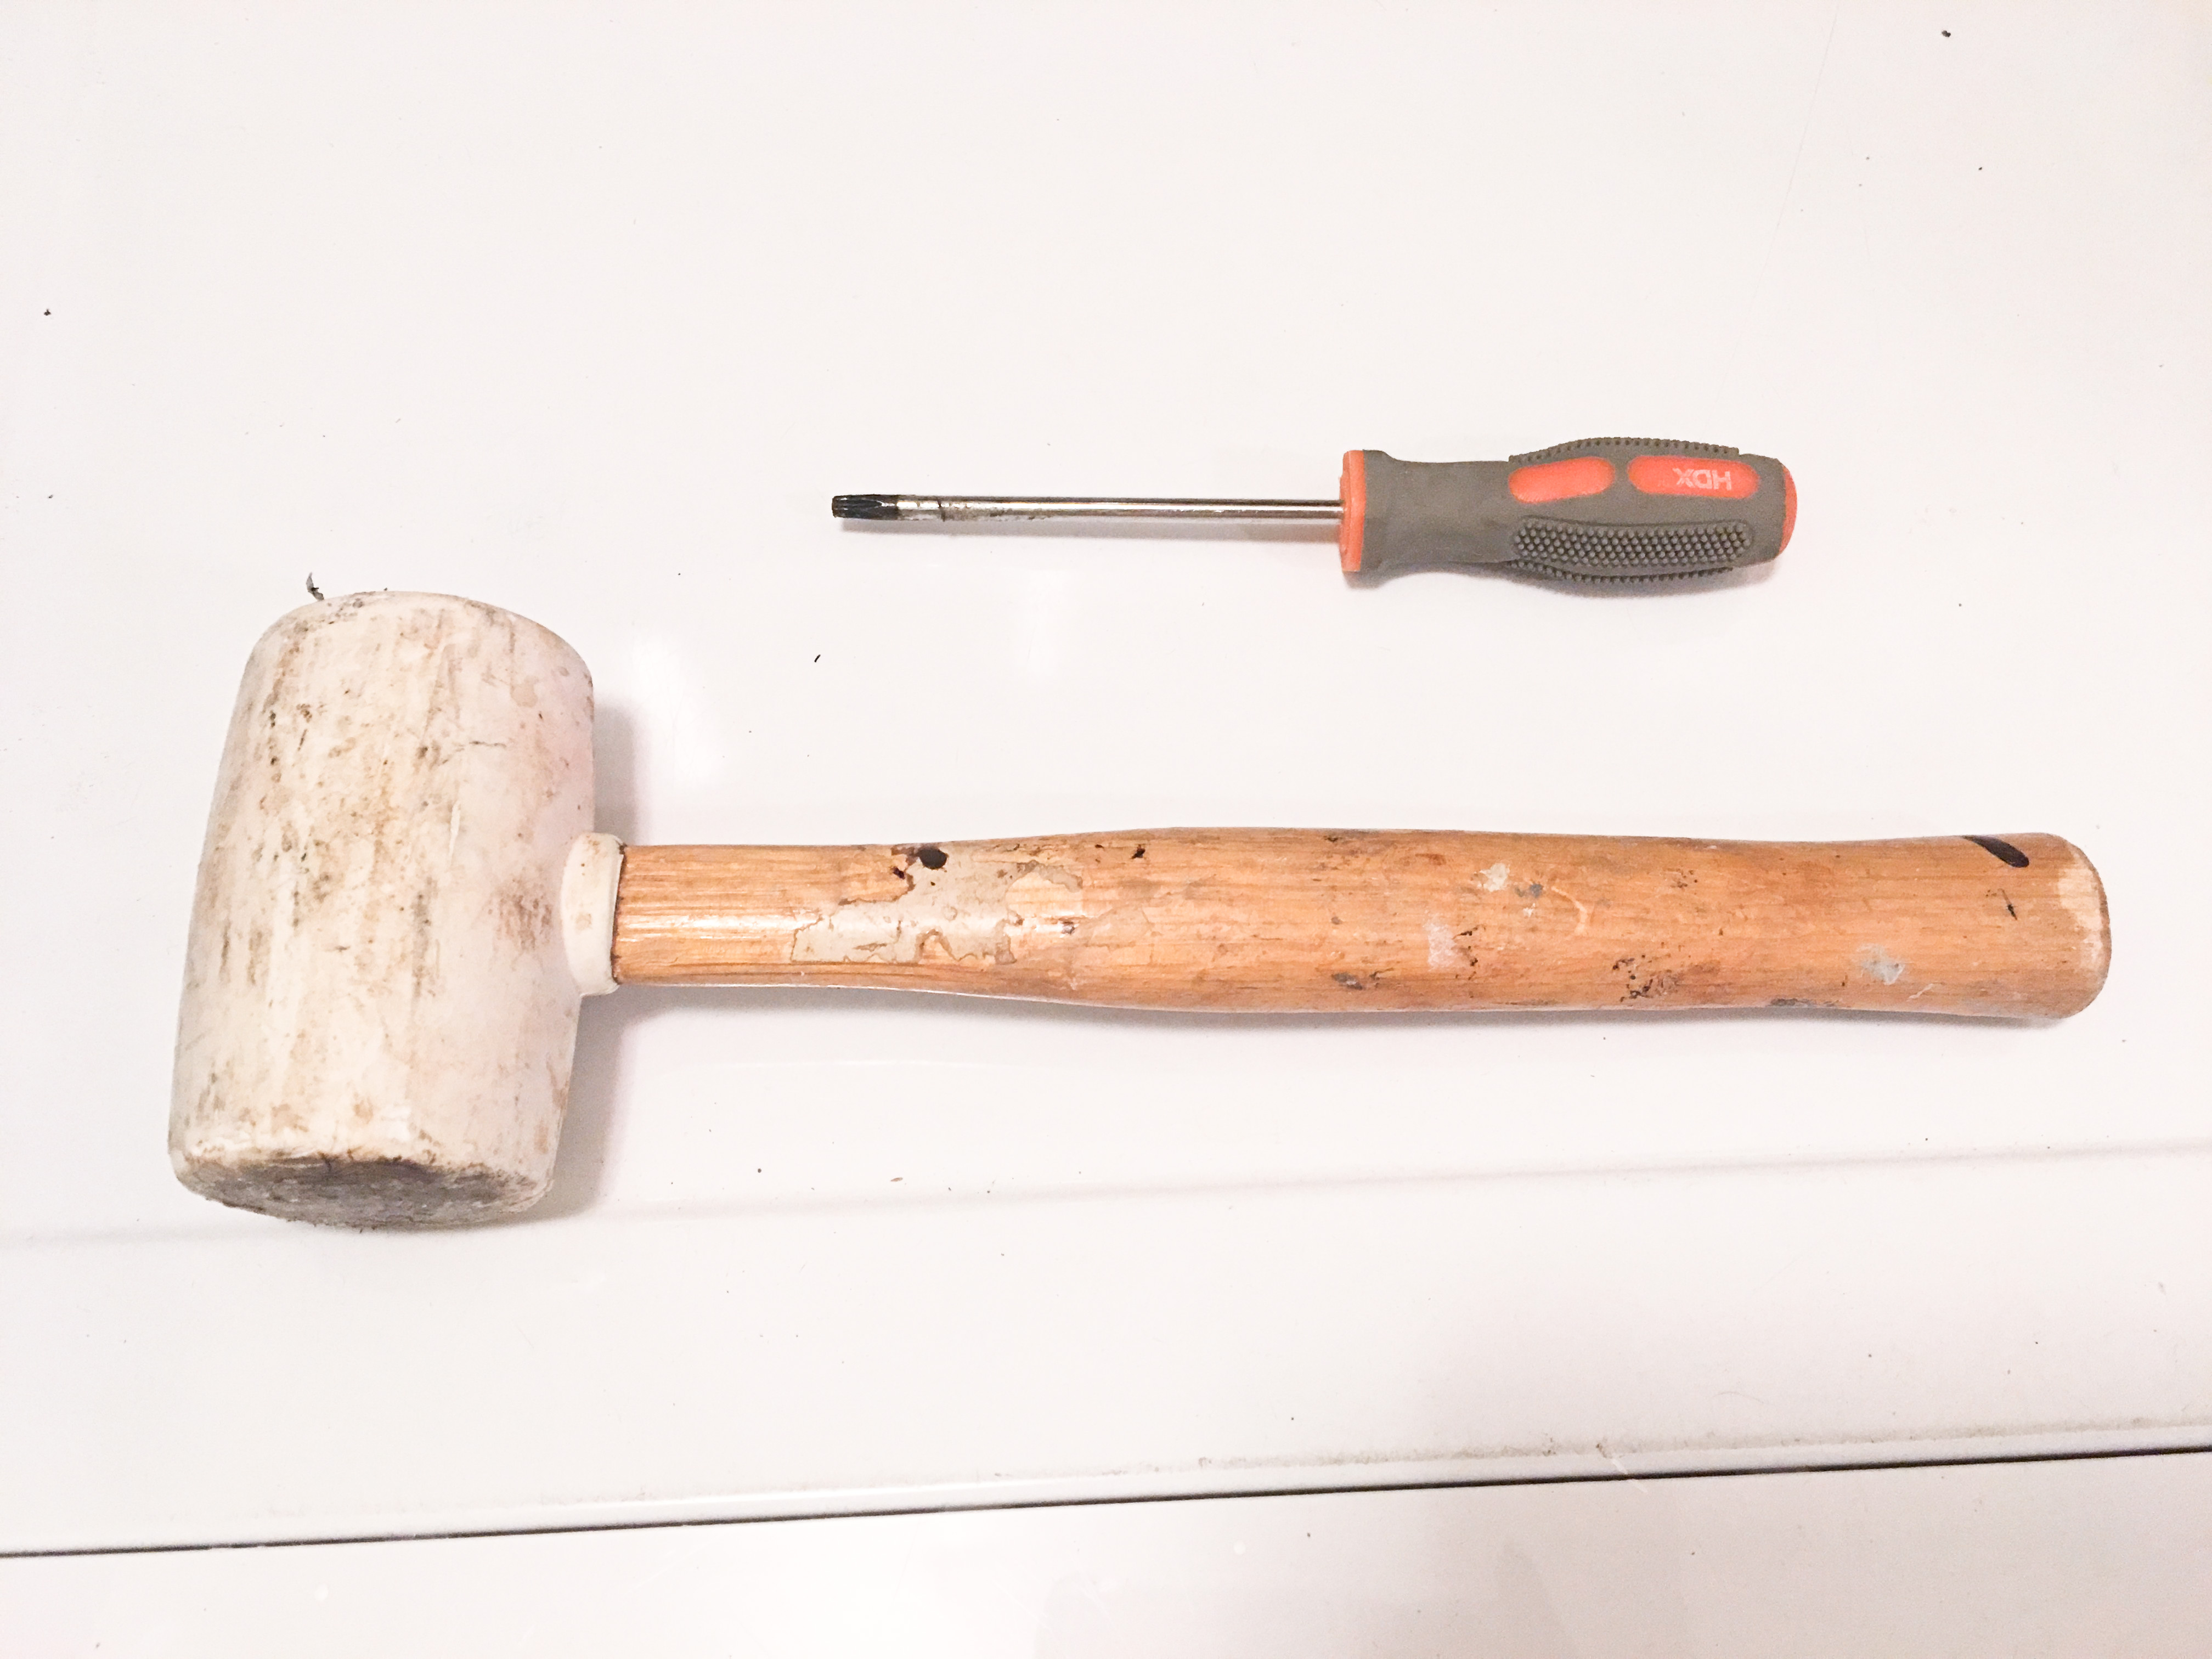
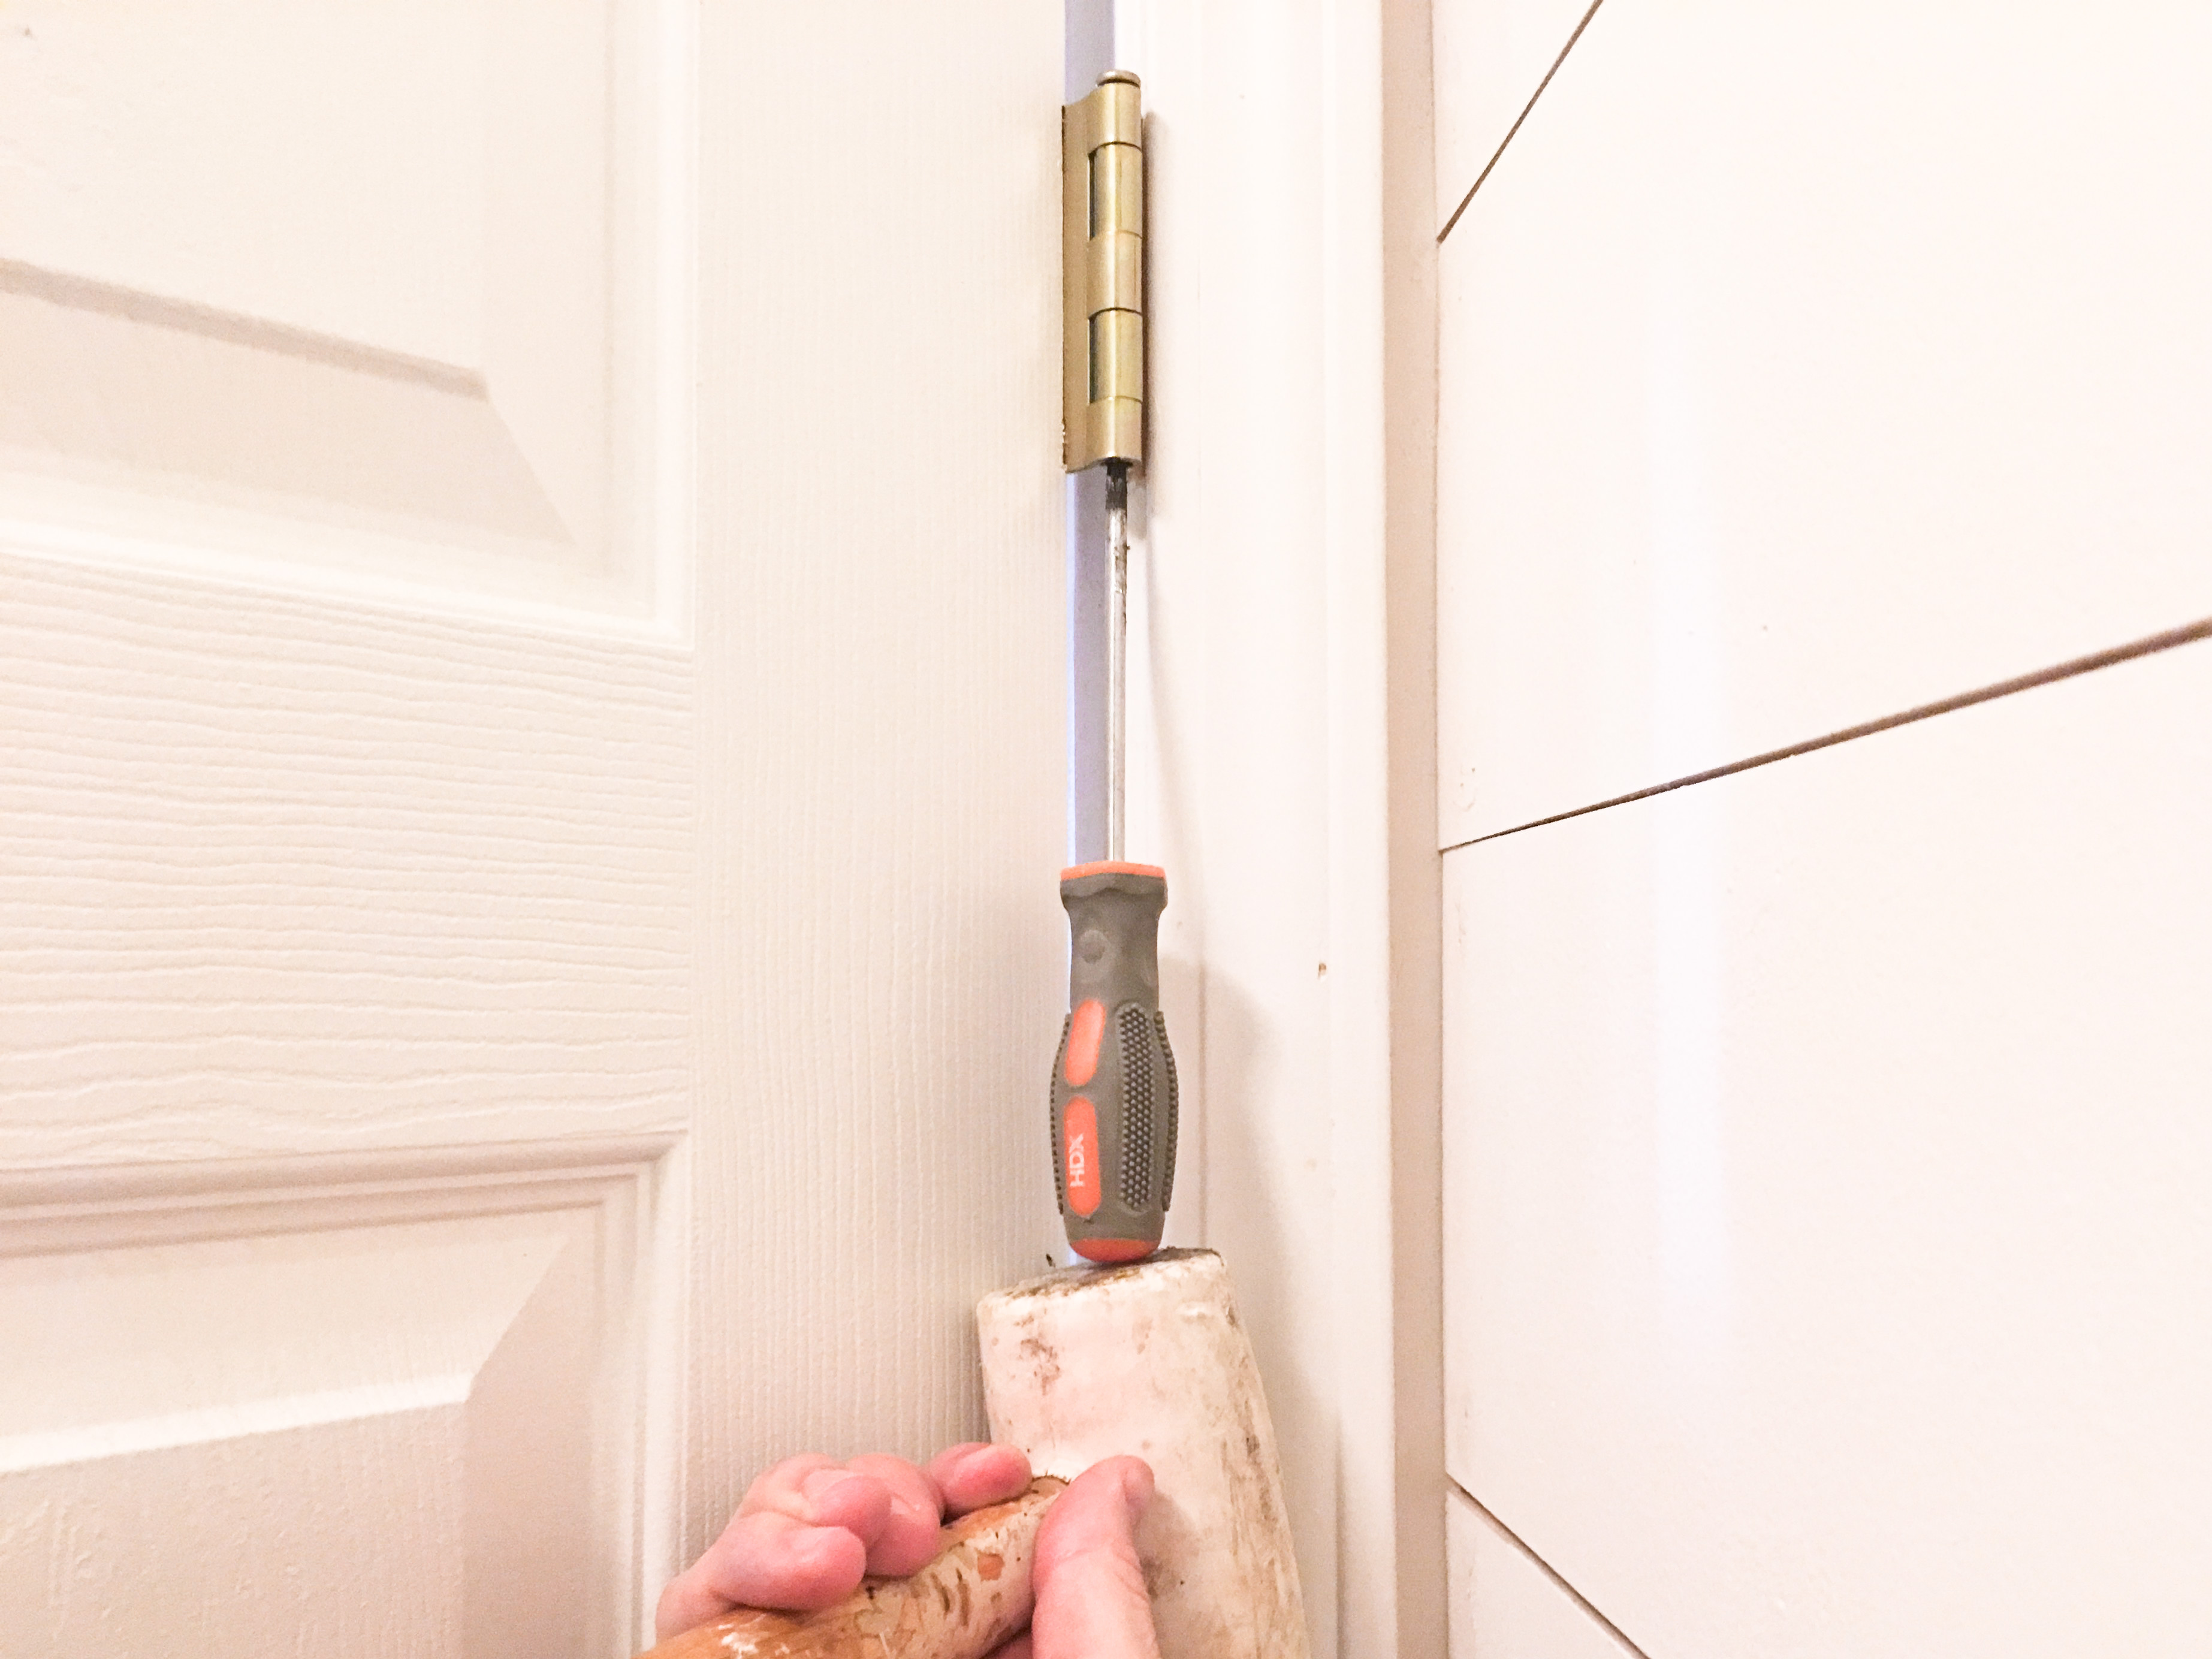
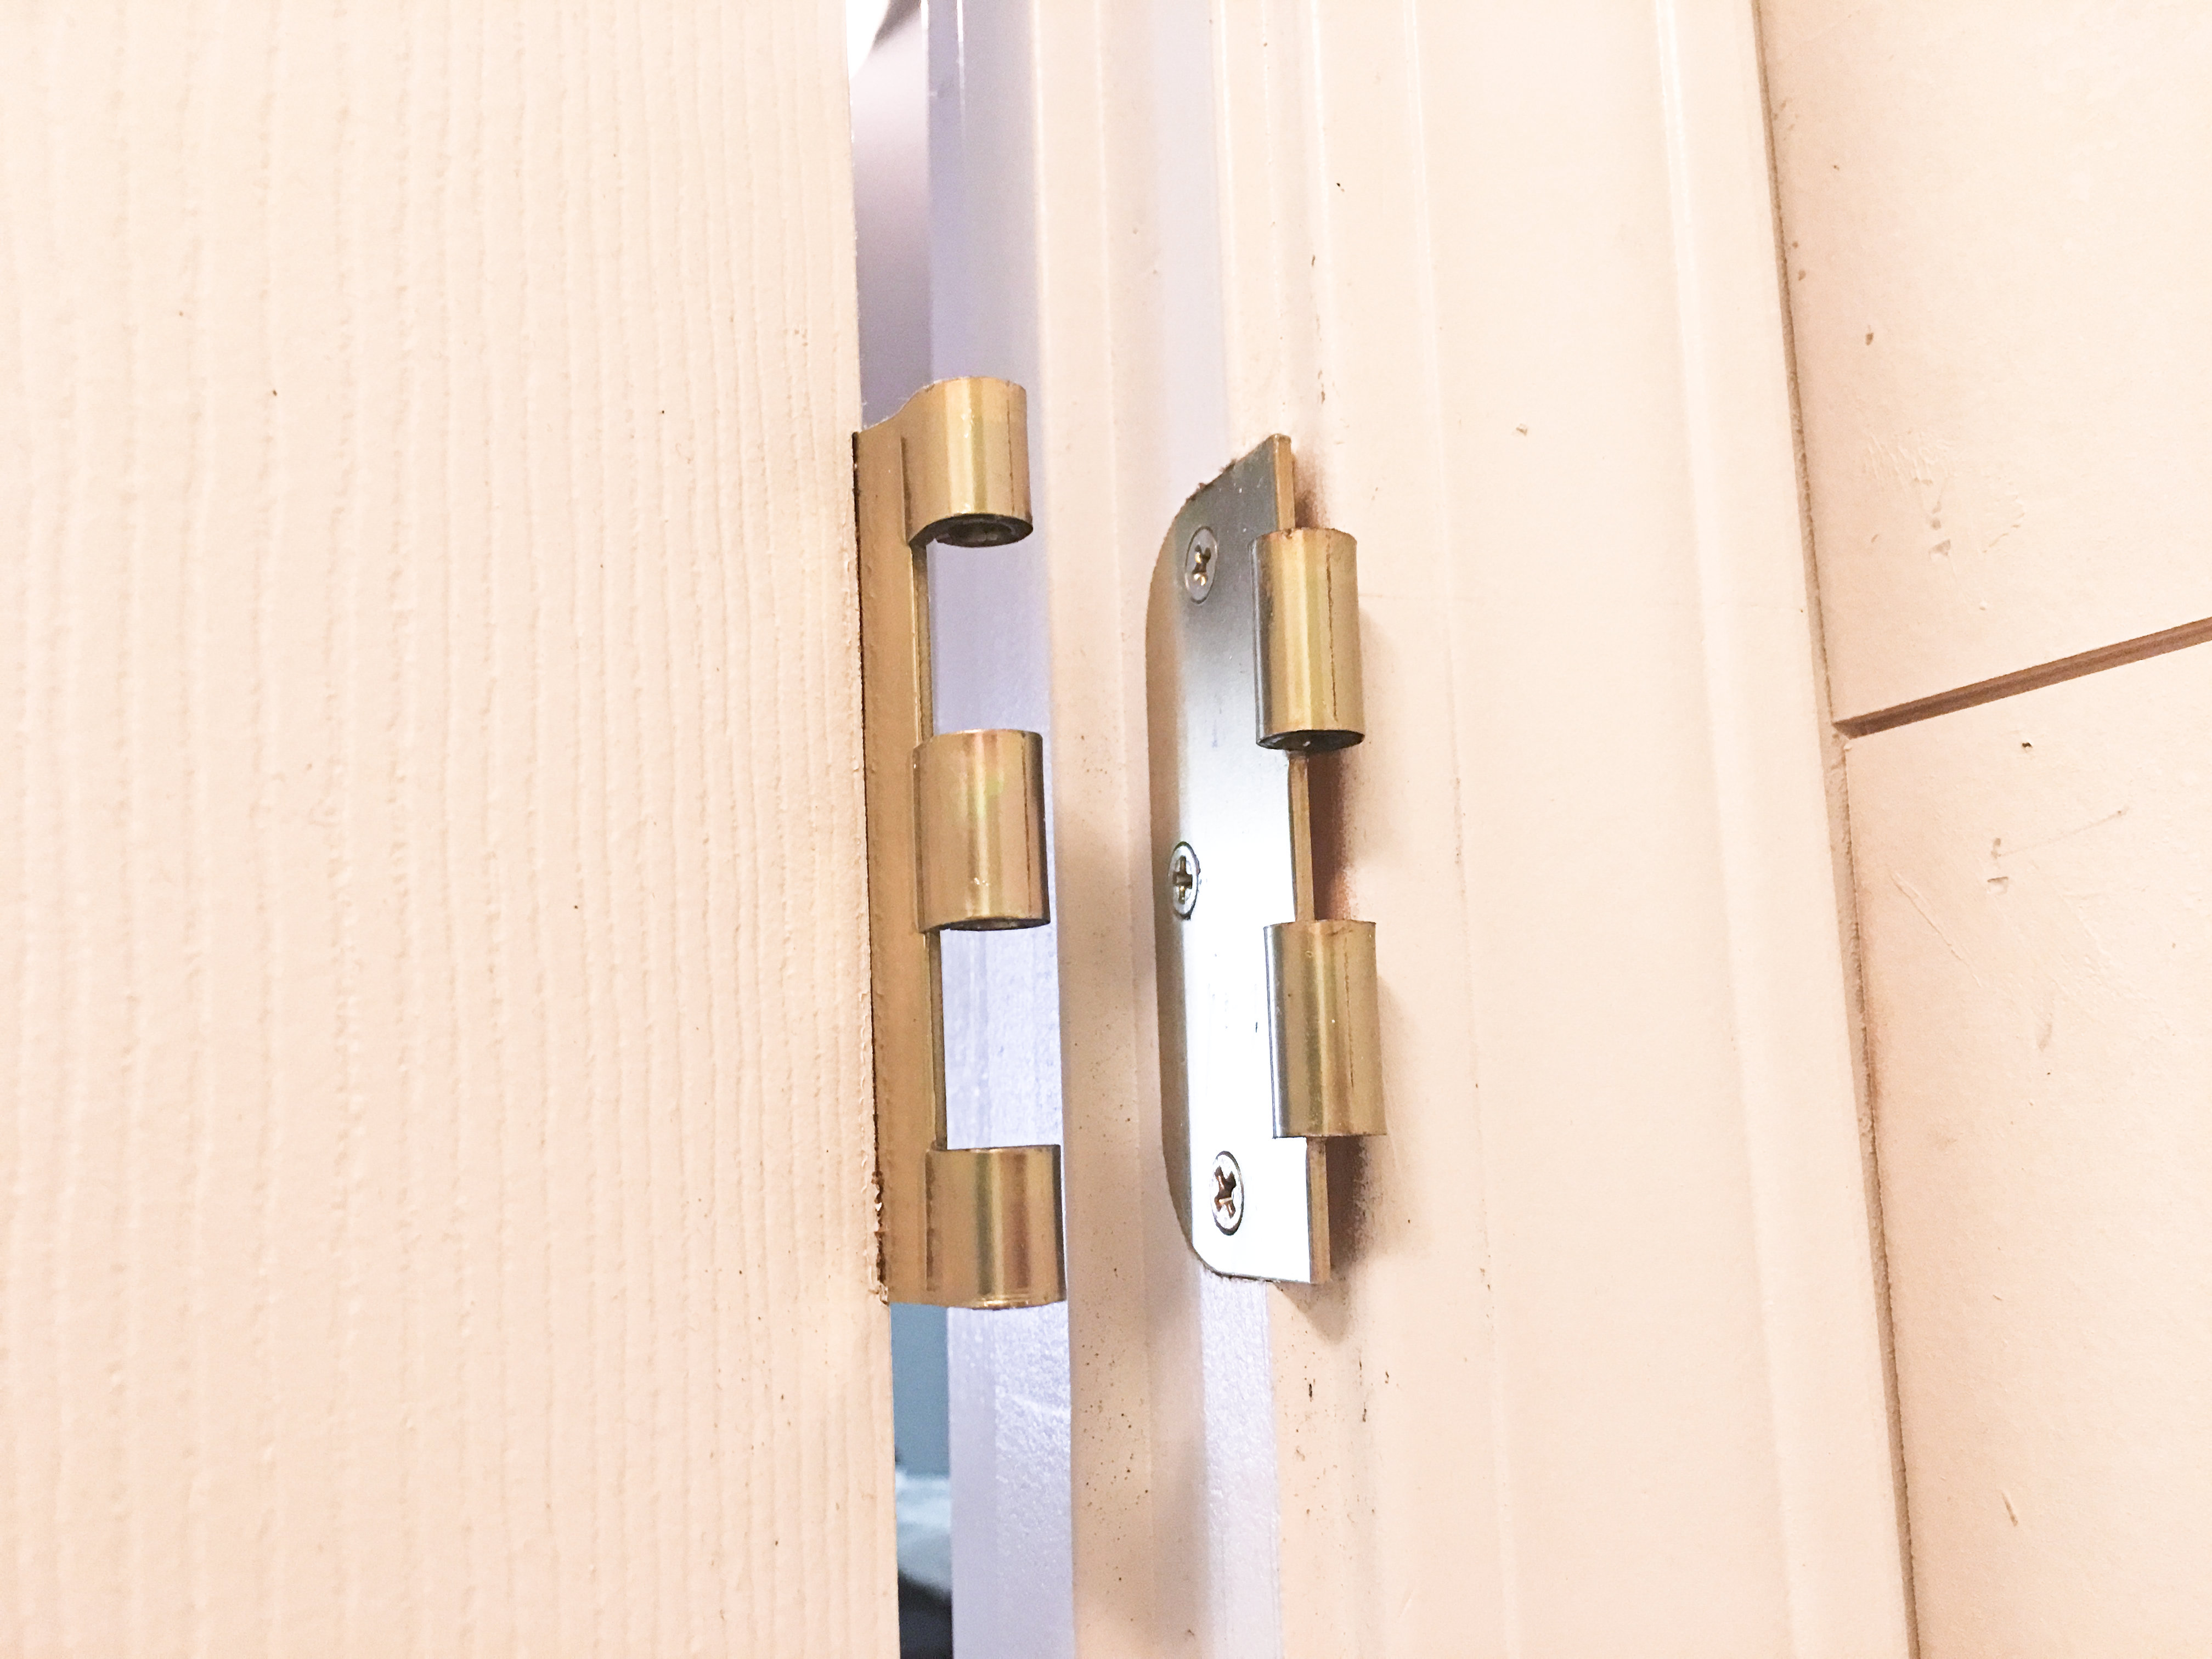
- With your mallet (or hammer) and nail punch, remove all (3) hinge pins from the door hinges. Hammer upward from the bottom.
- No nail punch? Use any long, thin piece of metal. An old 3” long nail will do. Or a screwdriver – ideally with a flat end (square drive or star drive) to avoid dulling your phillips drive.
Step 4. Place door on your sawhorses or table.
- Carefully carry your door to your outdoor sawing space.
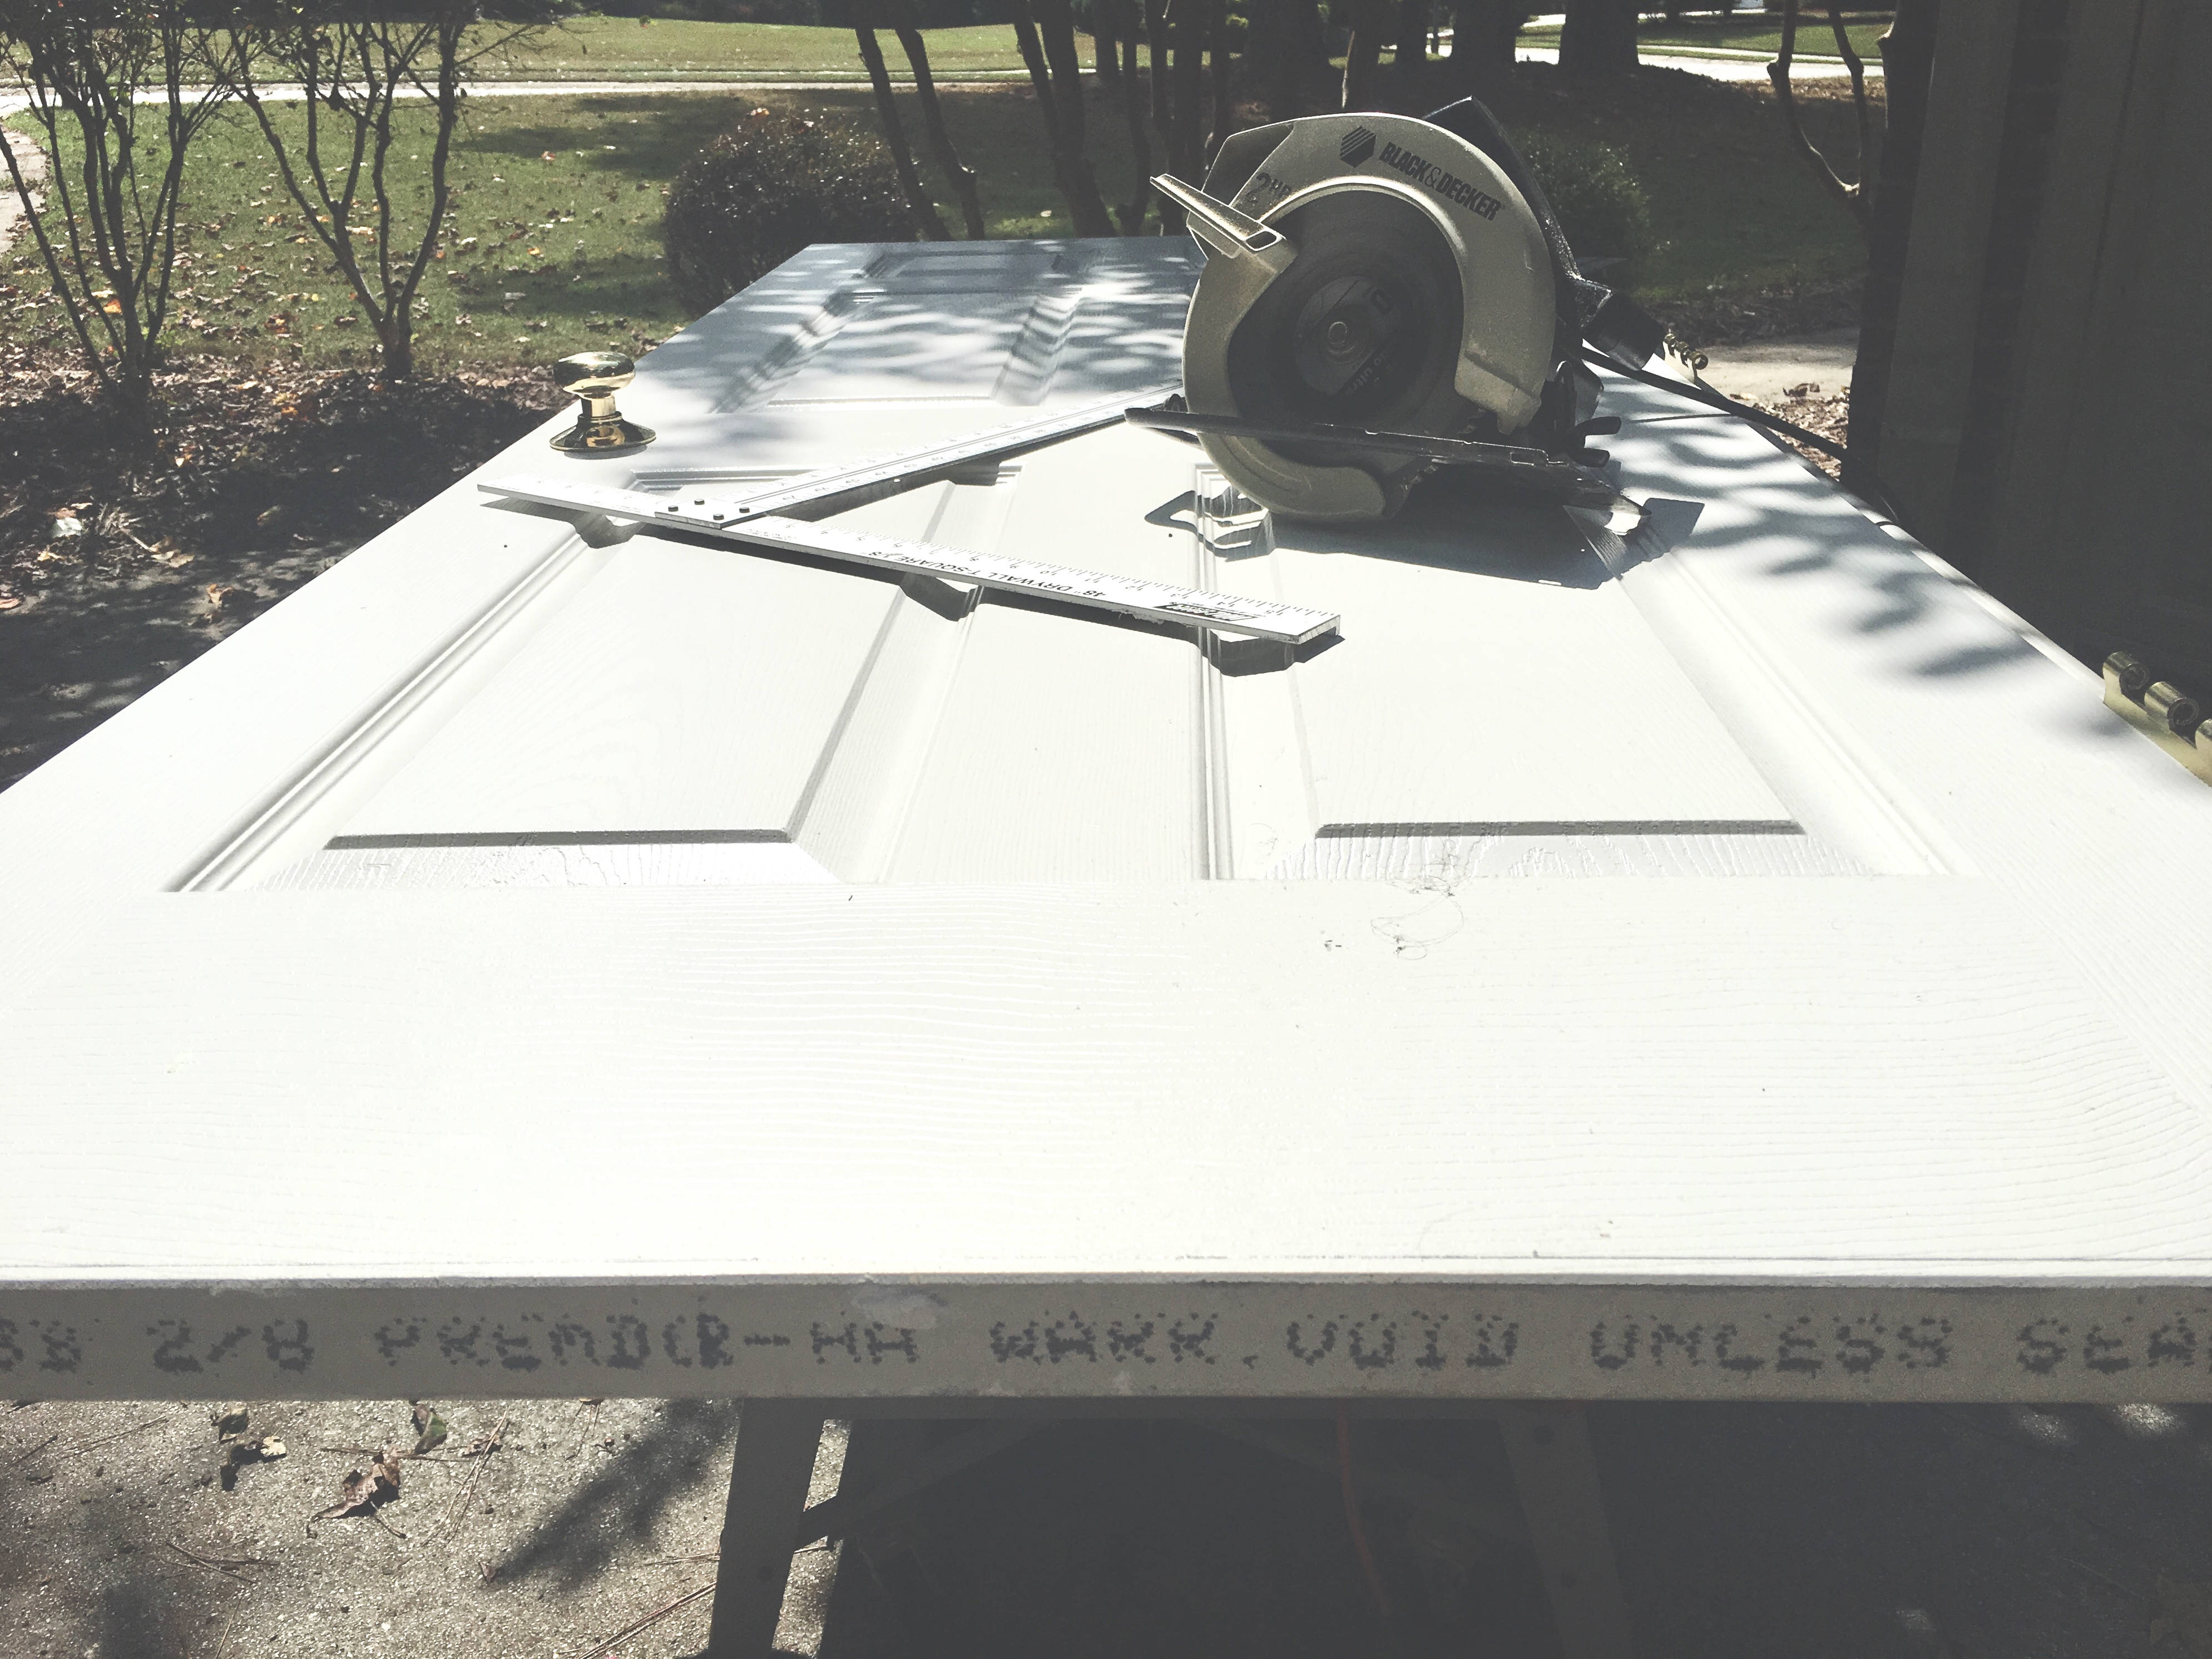
- Place it on your sawhorses or workbench or table saw or outdoor table or intact shipping pallet.
- Position the bottom few inches off the edge of the table to avoid blade-to-table contact.
Step 5. Draw your cut line.
- Line up your T-square with the 3+ pencil marks you made near the bottom of the door.
- If the multiple pencil marks don’t make a linear line, place the T-square at an average between all marks. Draw a pencil line from one edge of the door to the other. This is your cut guide.
- If you’re using a saw guide, attach it alongside your pencil line with clamps. Make sure to offset your guide from the pencil line at the exact distance between the circular saw plate edge and the circular saw blade. Otherwise, you won’t remove enough material.
Step 6. Circular saw the line.
Note: your circular blade is likely ~1/8″ thick, but measure to confirm. Make sure your blade is on the outer side of the line, toward the bottom of the door.
- Put on your swaggy safety glasses and ear plugs and connect your extension cord to your circular saw (unless it’s cordless).
- Inspect your saw. Is the angled setting at 0º? Set to 0º for a square cut.
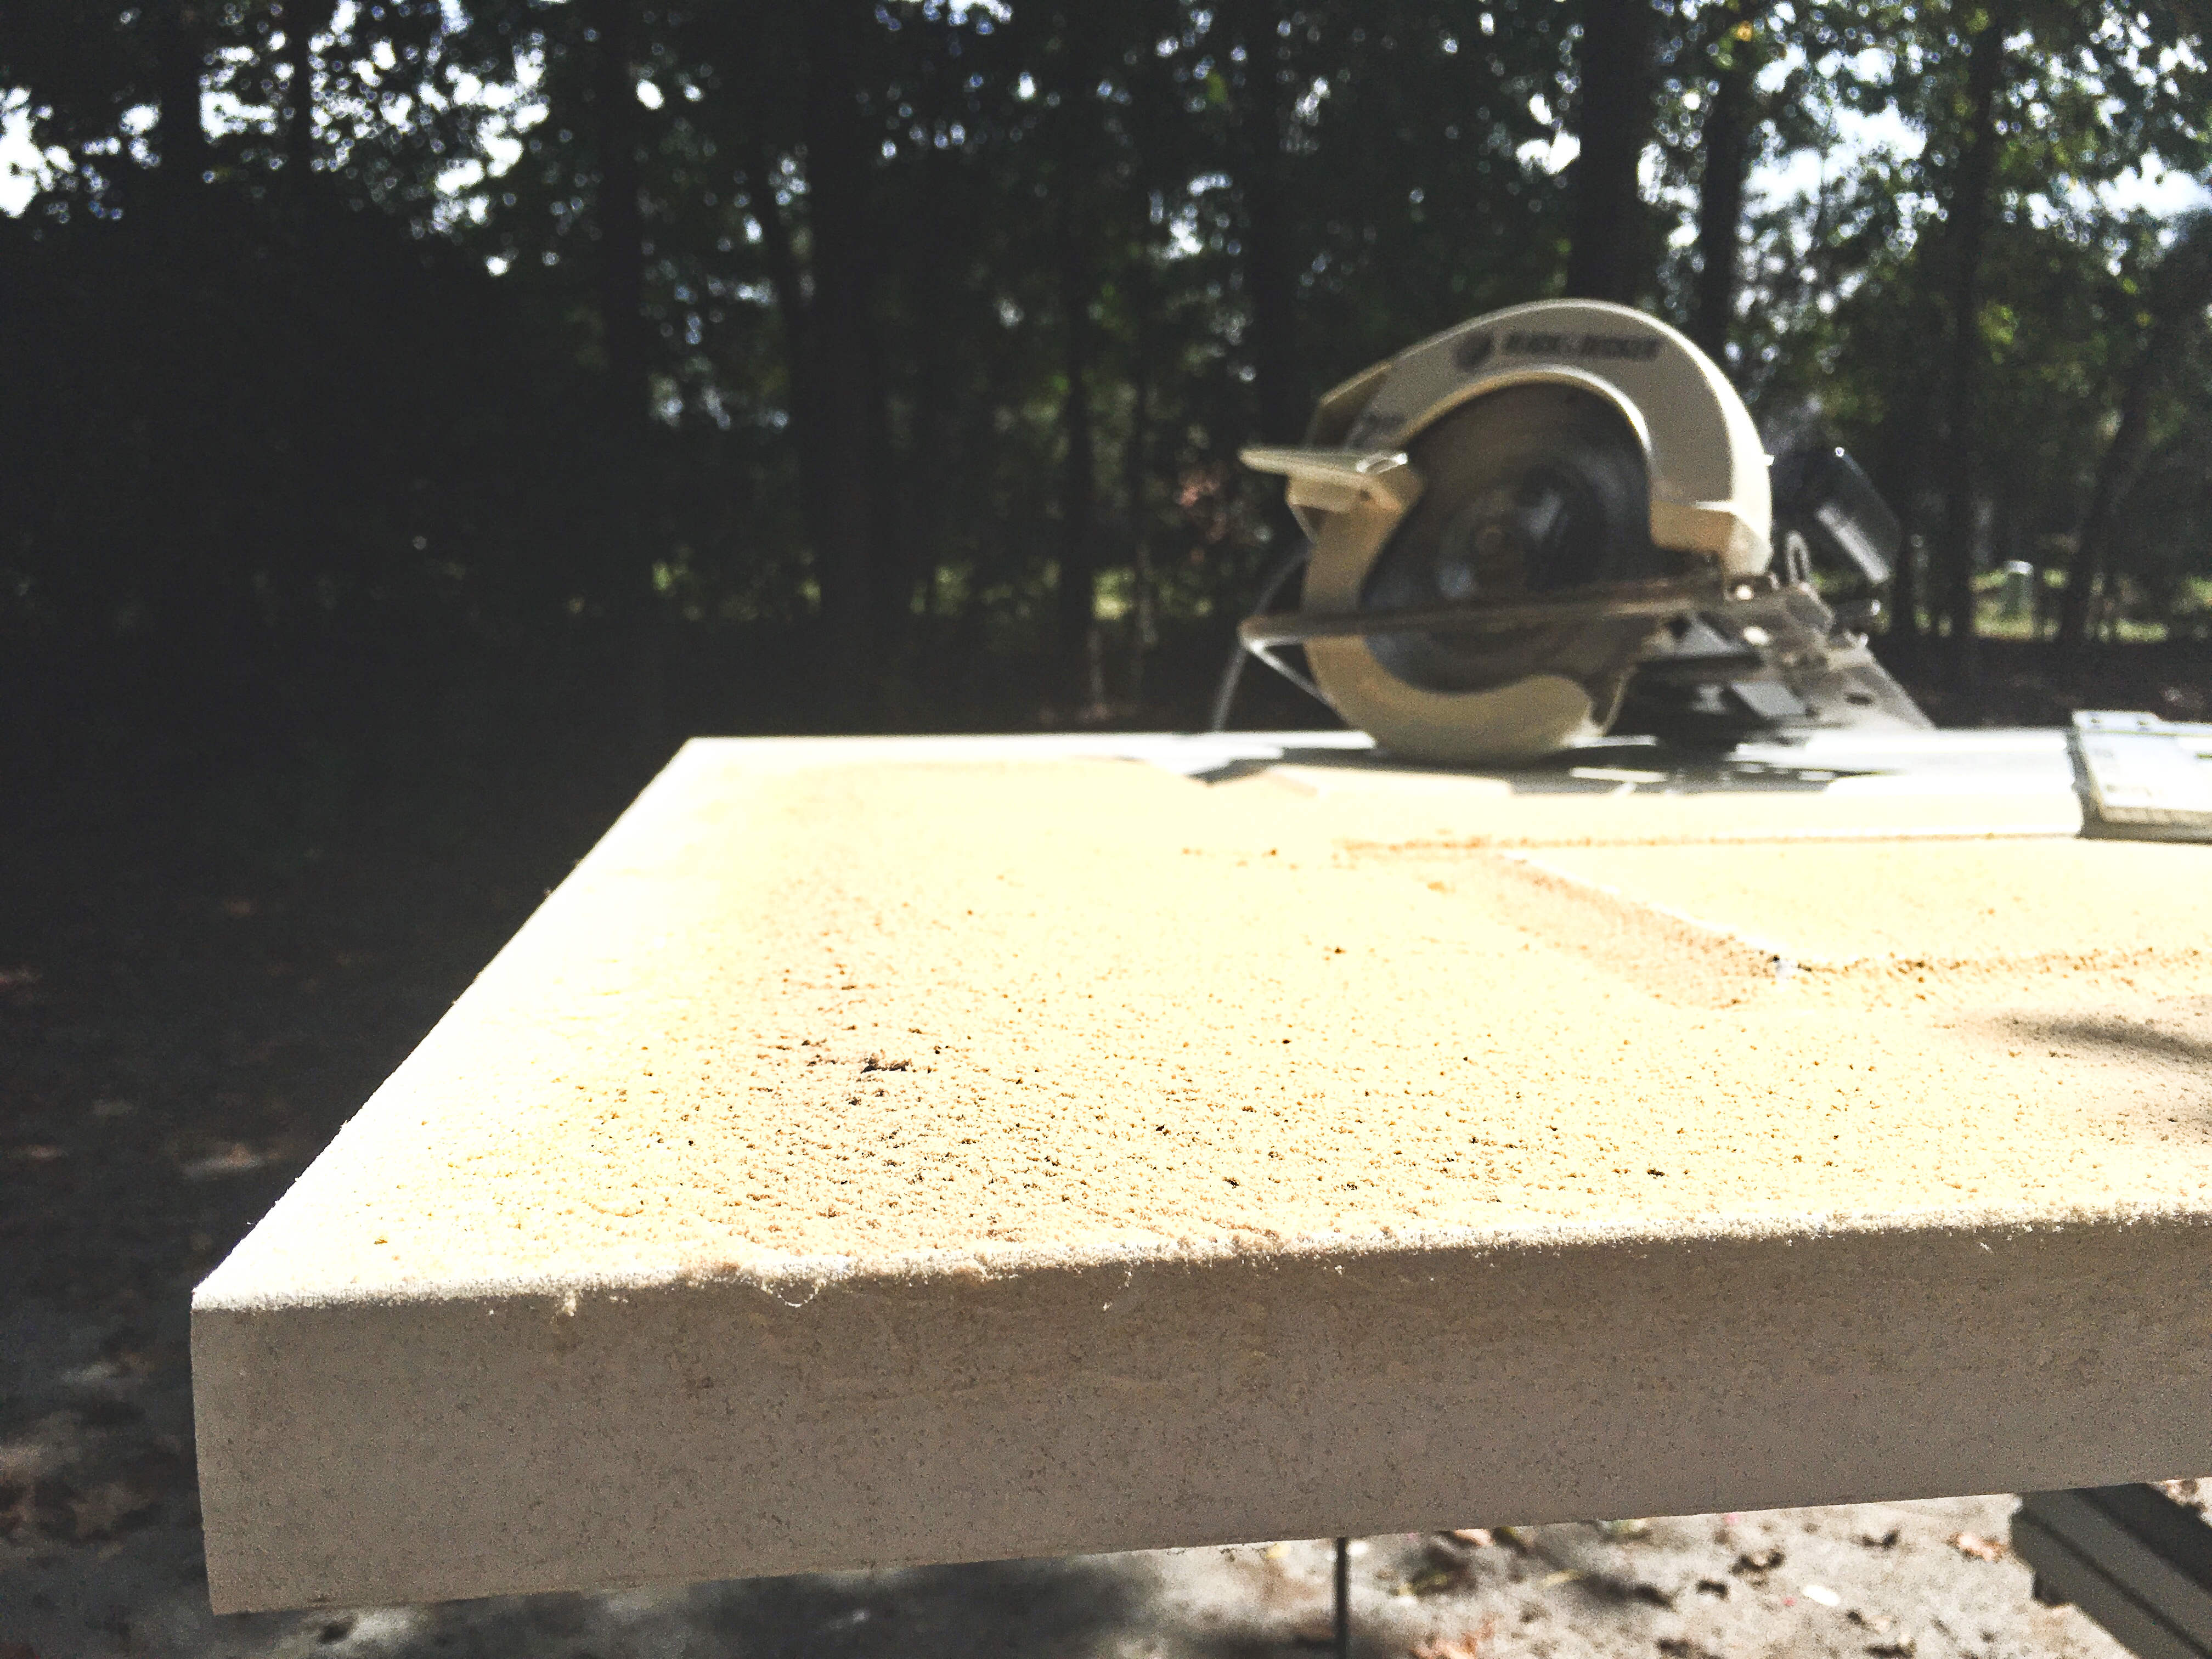
- Adjust your saw blade depth. The carbide tips should jut out just beyond the underside of the door.
- Fire up your circular saw and make the straightest cut of your life. Very slowly. Make sure your circular saw plate stays flat against the door for the duration of the cut.
Step 7. Reinstall the door.
- Place the door back on its hinges.
- Reinstall the hinge pins.
- Close the door and assess the threshold clearance.
- If the door still won’t close all the way, don’t worry. We’ll make another pass with the circular saw.
- Hit the floor and pencil mark the area that needs to be nixed.
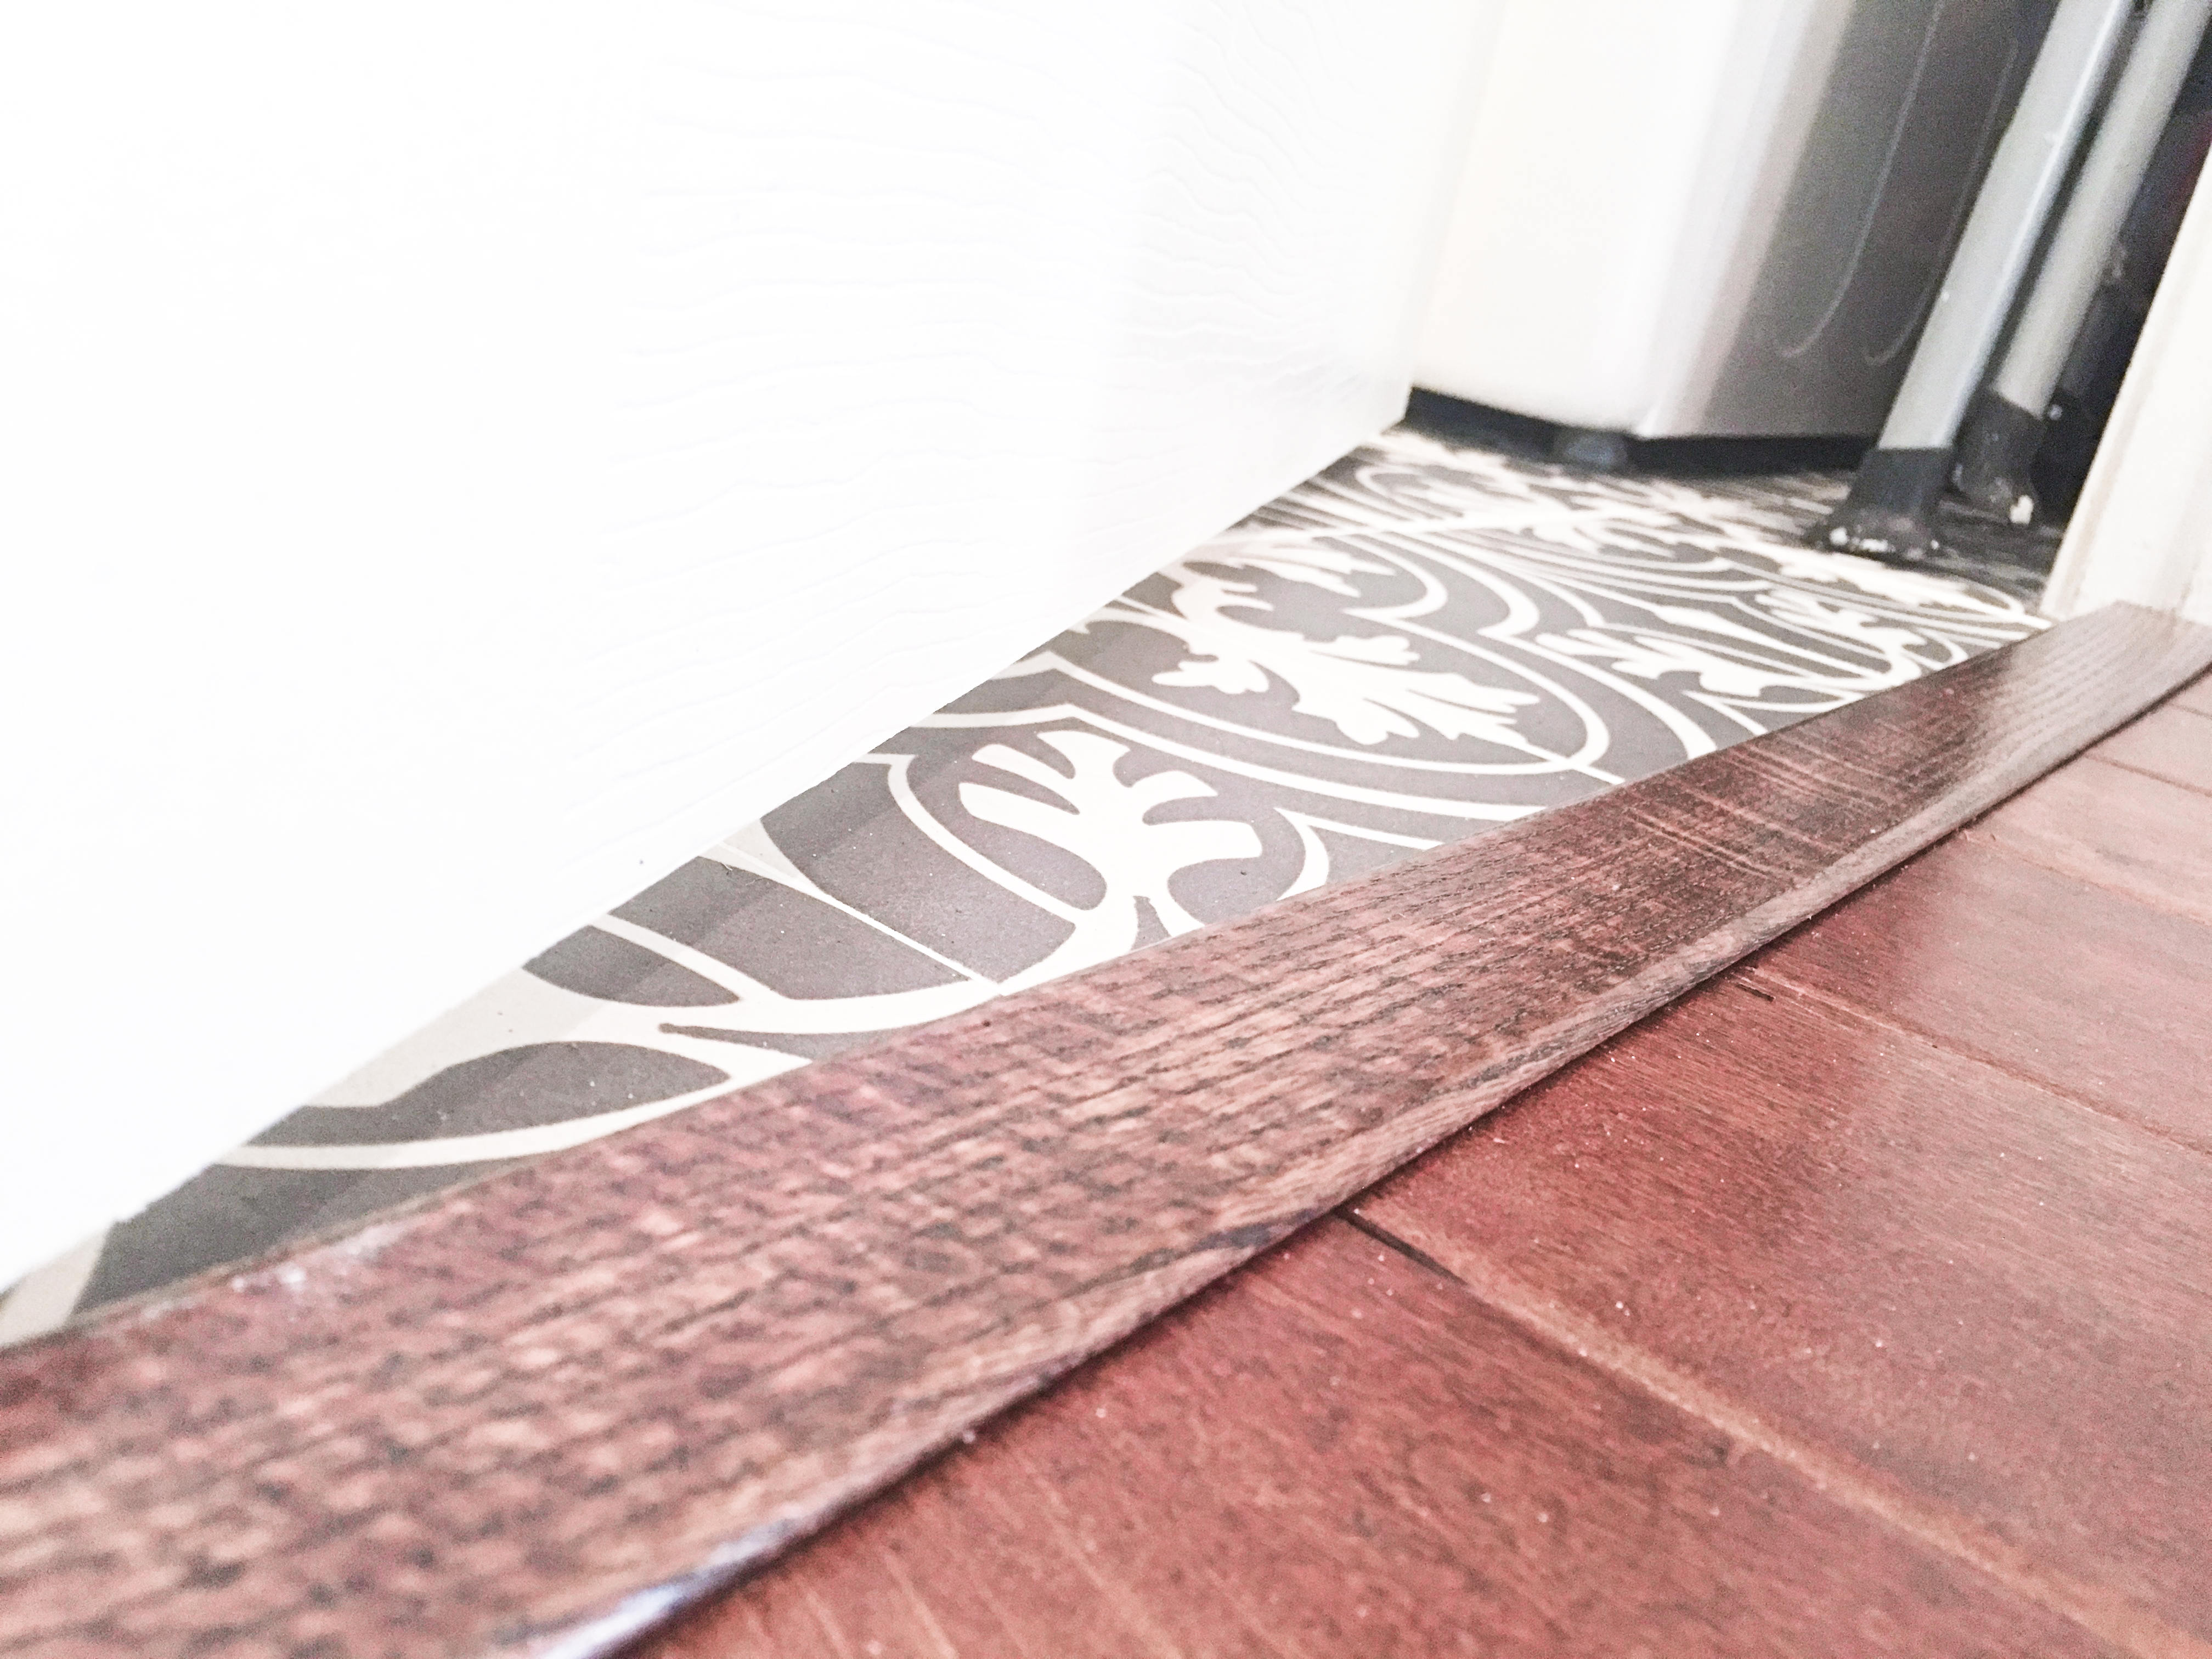
Step 8. Mark the door if it doesn’t fit yet & re-saw.
Note: skip Step 8 if your door closes all the way!
- This final door bottom adjustment may be too thin to effectively use a saw guide.
- With your T-square, mark a linear line where the door bottom still touched the threshold.
- Free-hand saw along the outer side of your new line.
- Reinstall the door with hinge pins and reassess its ability to fully close.
- Repeat if the door still touches the threshold. Otherwise, call it a day.
Your flooring renovation is officially complete!
Crack open a La Croix and give yourself a high five. You nailed it. Or sawed it and hammered it to be more specific. If you finished your flooring renovation only to find that your door didn’t close, this is a HUGE sigh of relief. The reno is officially donzo. We renovated our laundry room with tile flooring, a new t-moulding threshold transition piece and our door didn’t fit. We know the feeling. While you’re taking a breather, snag a quick look at these other project how-to’s for some future weekend inspiration:
- How to DIY tile your floor.
- How to make DIY shiplap.
- How to make crates out of pallet wood.
- How to build a wall-mounted entryway organizer.
- How to make a DIY fire pit in your backyard.
- How to make a herringbone headboard using wood shims.
